A Simple Tray Quickly Made
I made a few of these recently, and we filmed how to make one for YT, so here is the link for you to follow: https://www.youtube.com/watch?v=4gRIkUidQWg
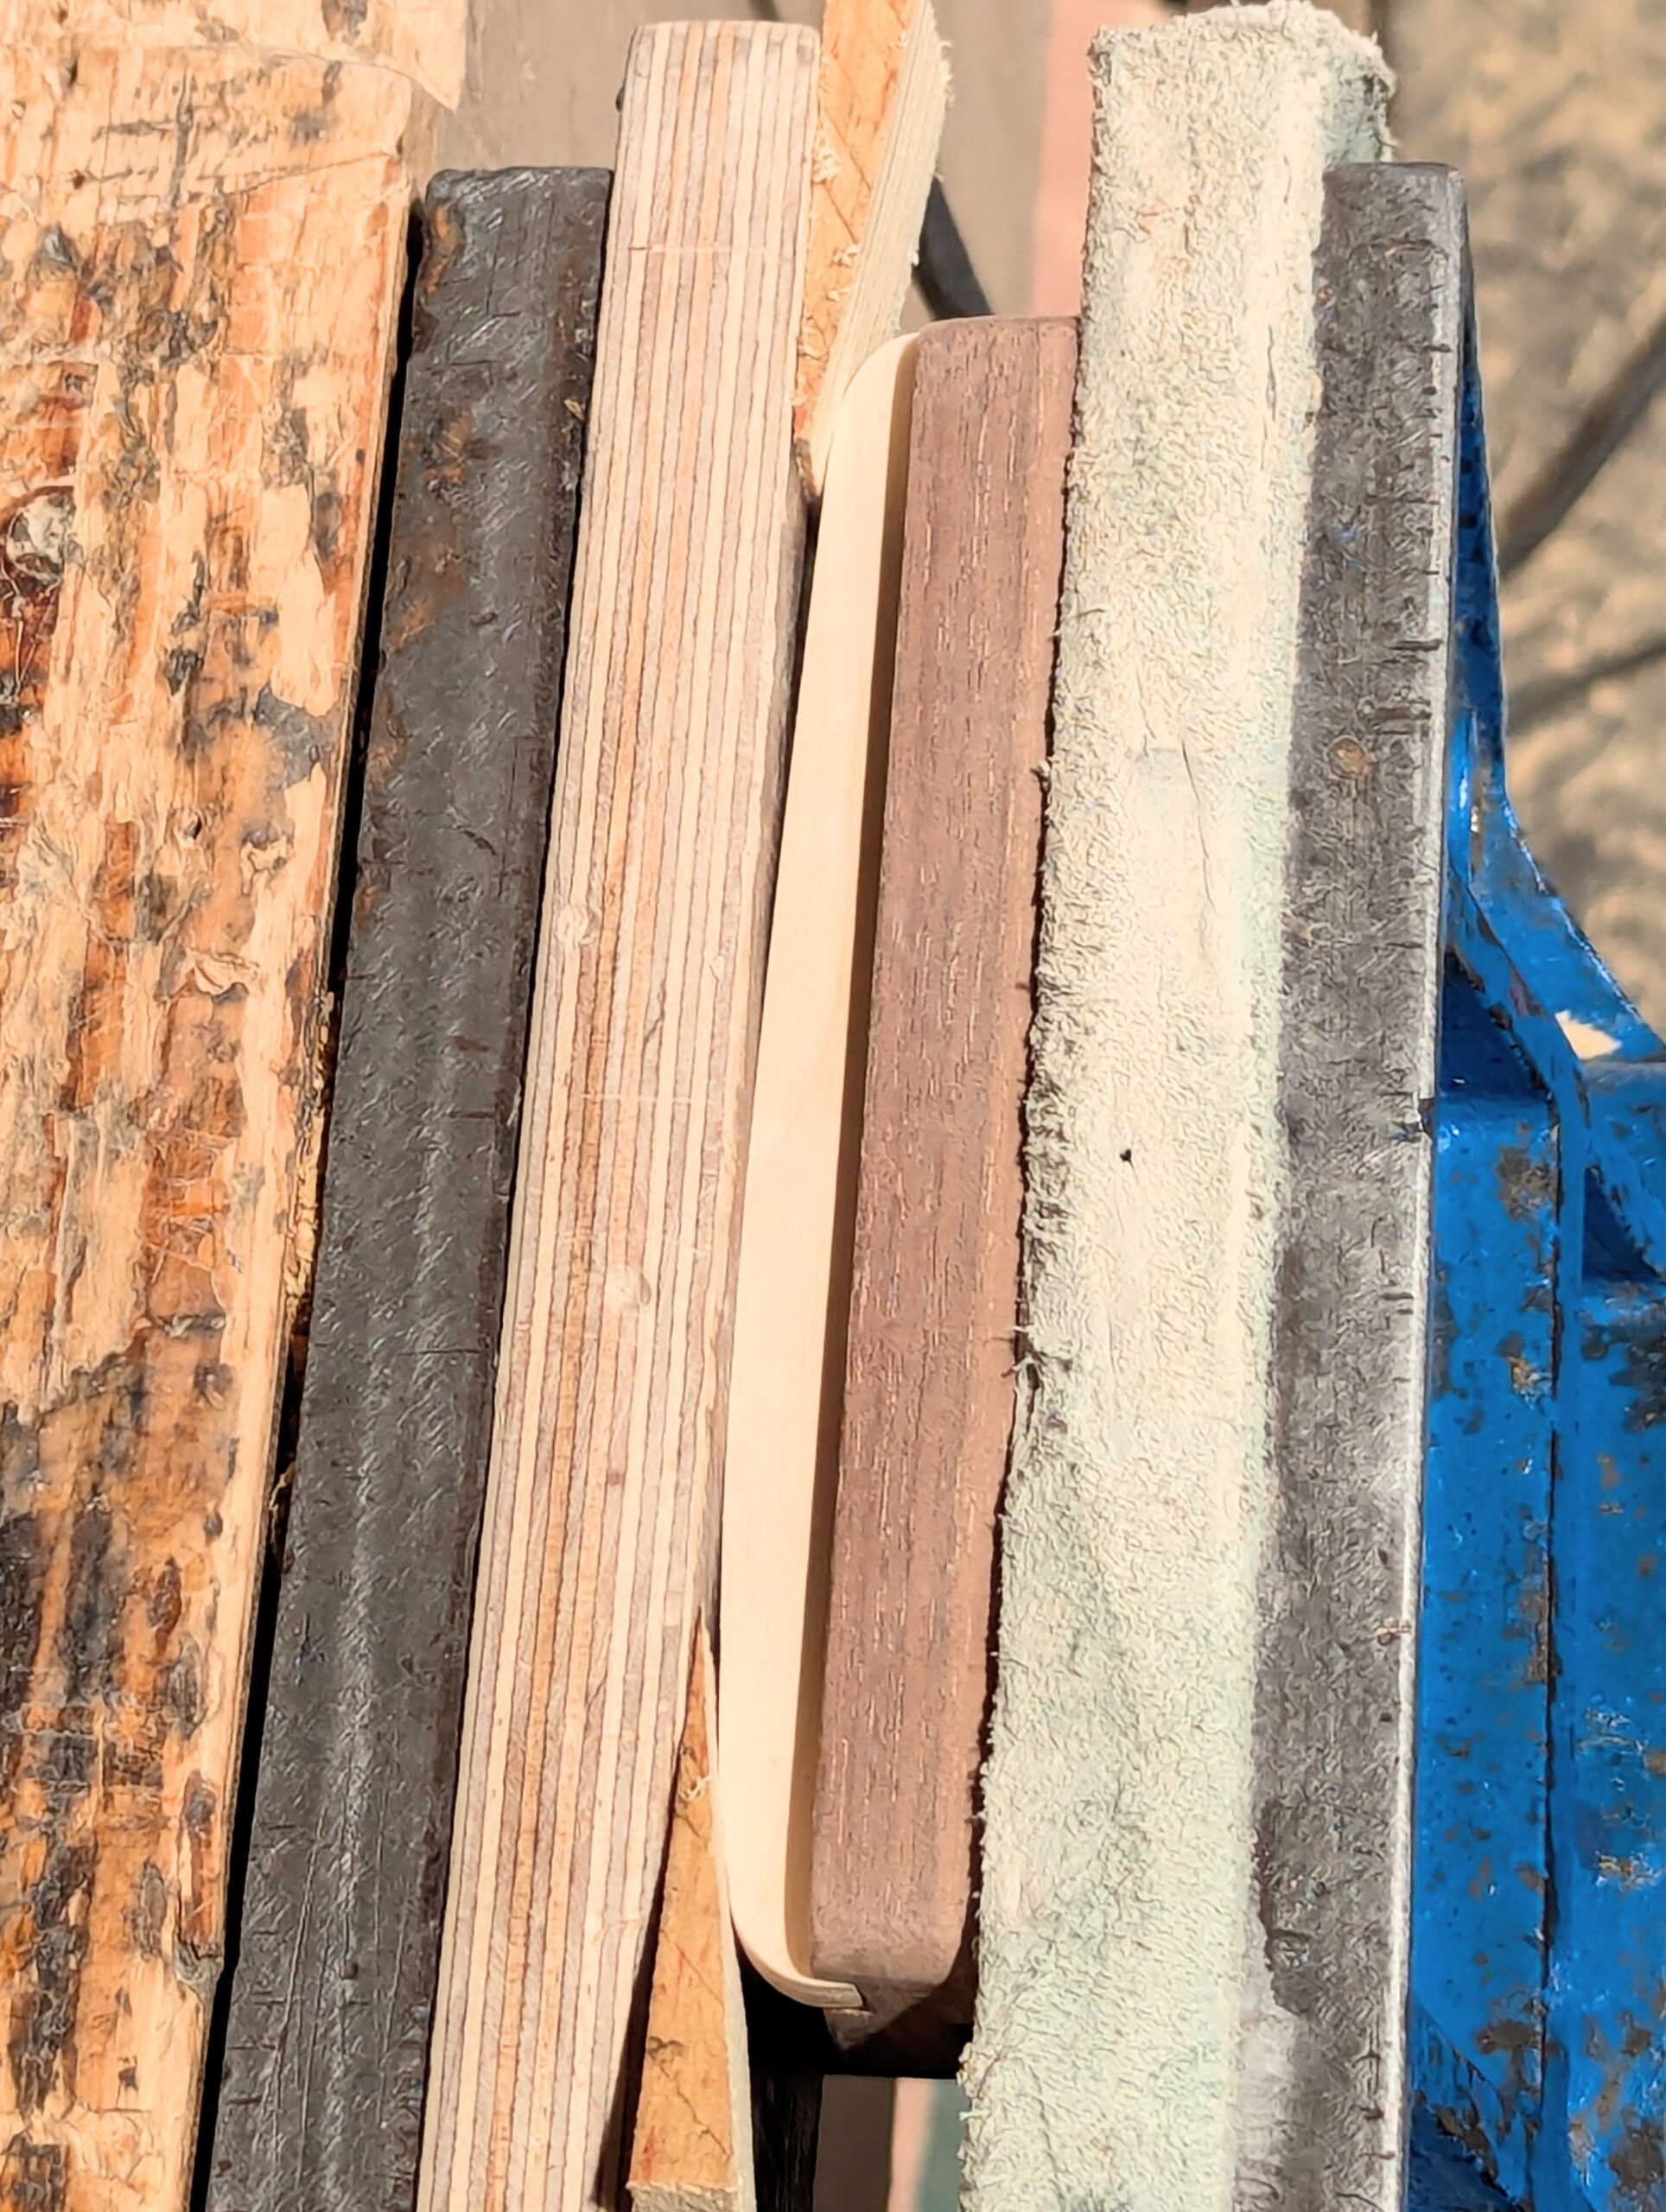
Two strips of wood, grooved, and a piece of birch plywood came from offcuts I wouldn't find much use for. The wood was long enough to make the four sides from, and it's easier to groove in longer lengths and crosscut later. The tools? A plough plane, gents saw, saw rasp and file, a bench plane.
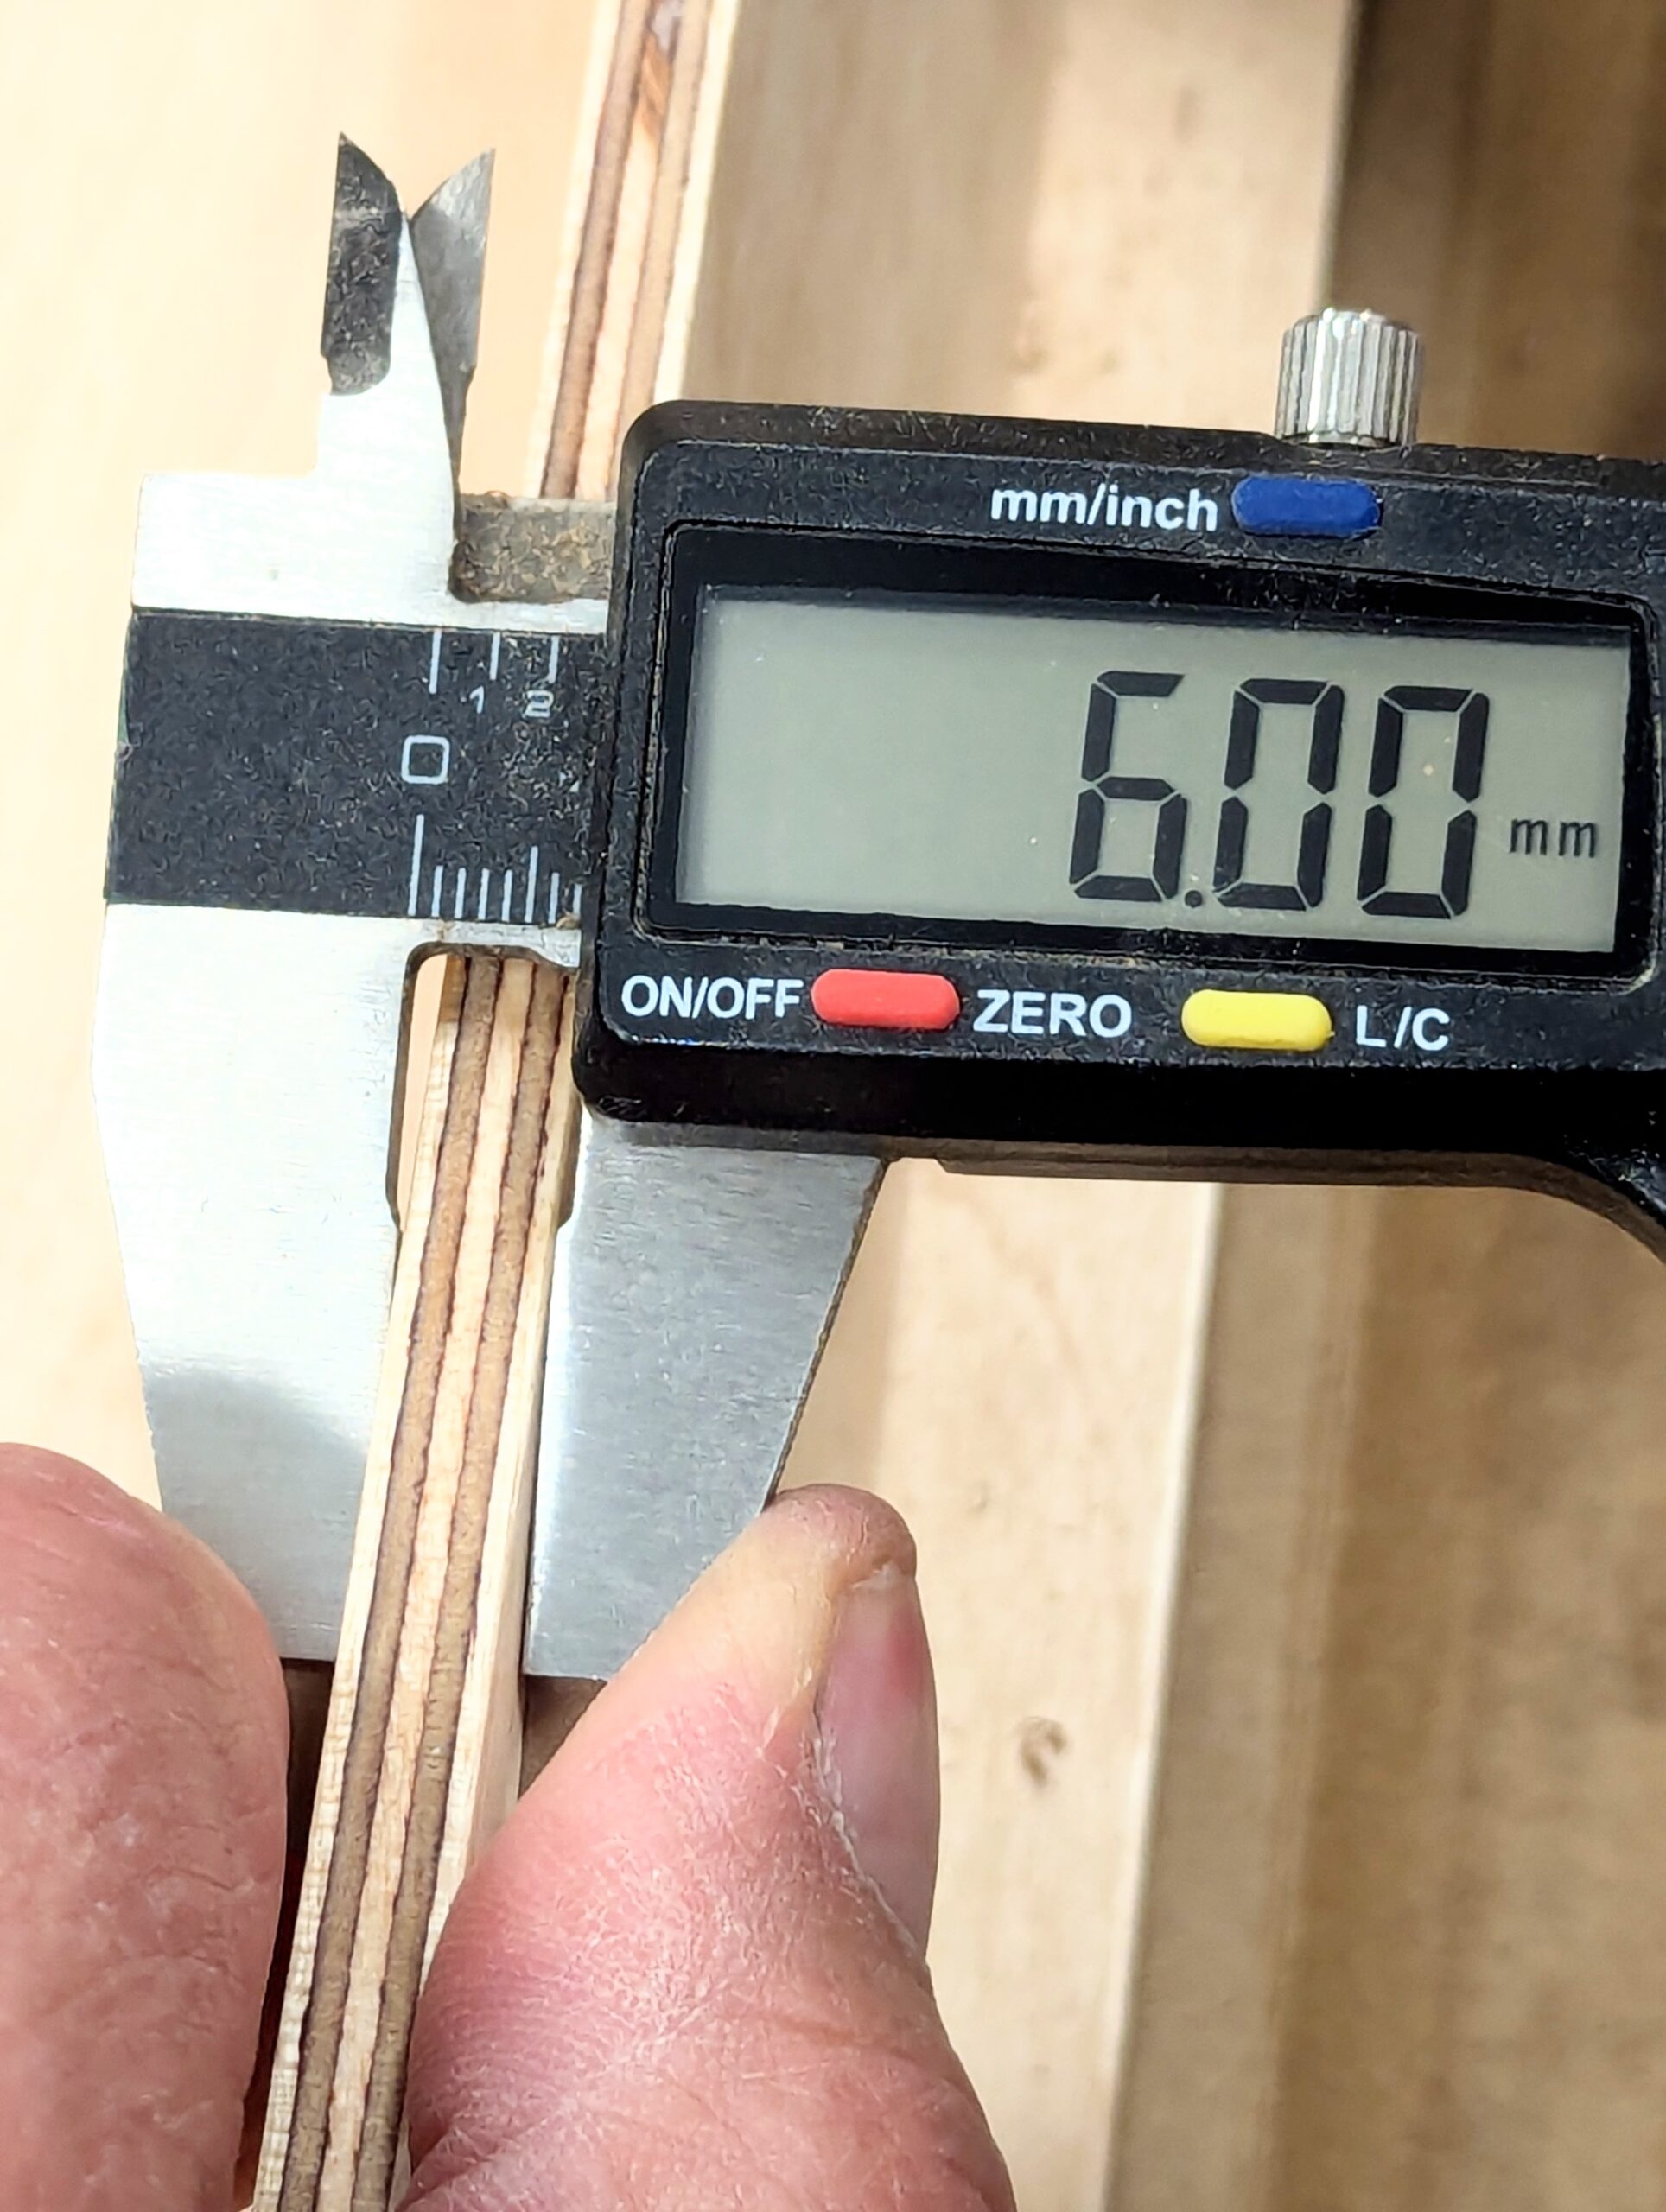
I enjoy birch plywood when it's the quality version with thicker layers and not faced with a decorative, pretend skin of another wood. I used 6mm (I'm in Europe) so we use metric measurements for practical purposes. 6mm plywood is not trying to be a quarter inch alternative––6mm is 6mm and not a nominal 6mm of 5.3mm. But then you can, of course, buy 1/4" plywood that's quarter of an inch too.
The birch plywood layers are of equal thickness at 1.2mm. The odd or uneven numbers, as in five for 6mm plywood, gives you alternate orientation to the layers with the two outer layers going long grain in 2.440m by 1.220m so that the outside layers are both oriented in the same grain direction. Small notes of interest to plywood buyers to understand. It might not seem significant, but it is. That's why flooring plywood is laid across the joists and not with or along them––that extra layer going longways makes the plywood stronger in that direction. It might well be significant in some of our projects too.
Birch plywood planes perfectly well on the edges, and any minor level of surface damage can usually be planed or scraped if needed; that's only when the outer layers are equally thick and not purely decorative. Birch plywood generally has an equal thickness to each layer, and lesser quality veneer goes on the opposite face. . .
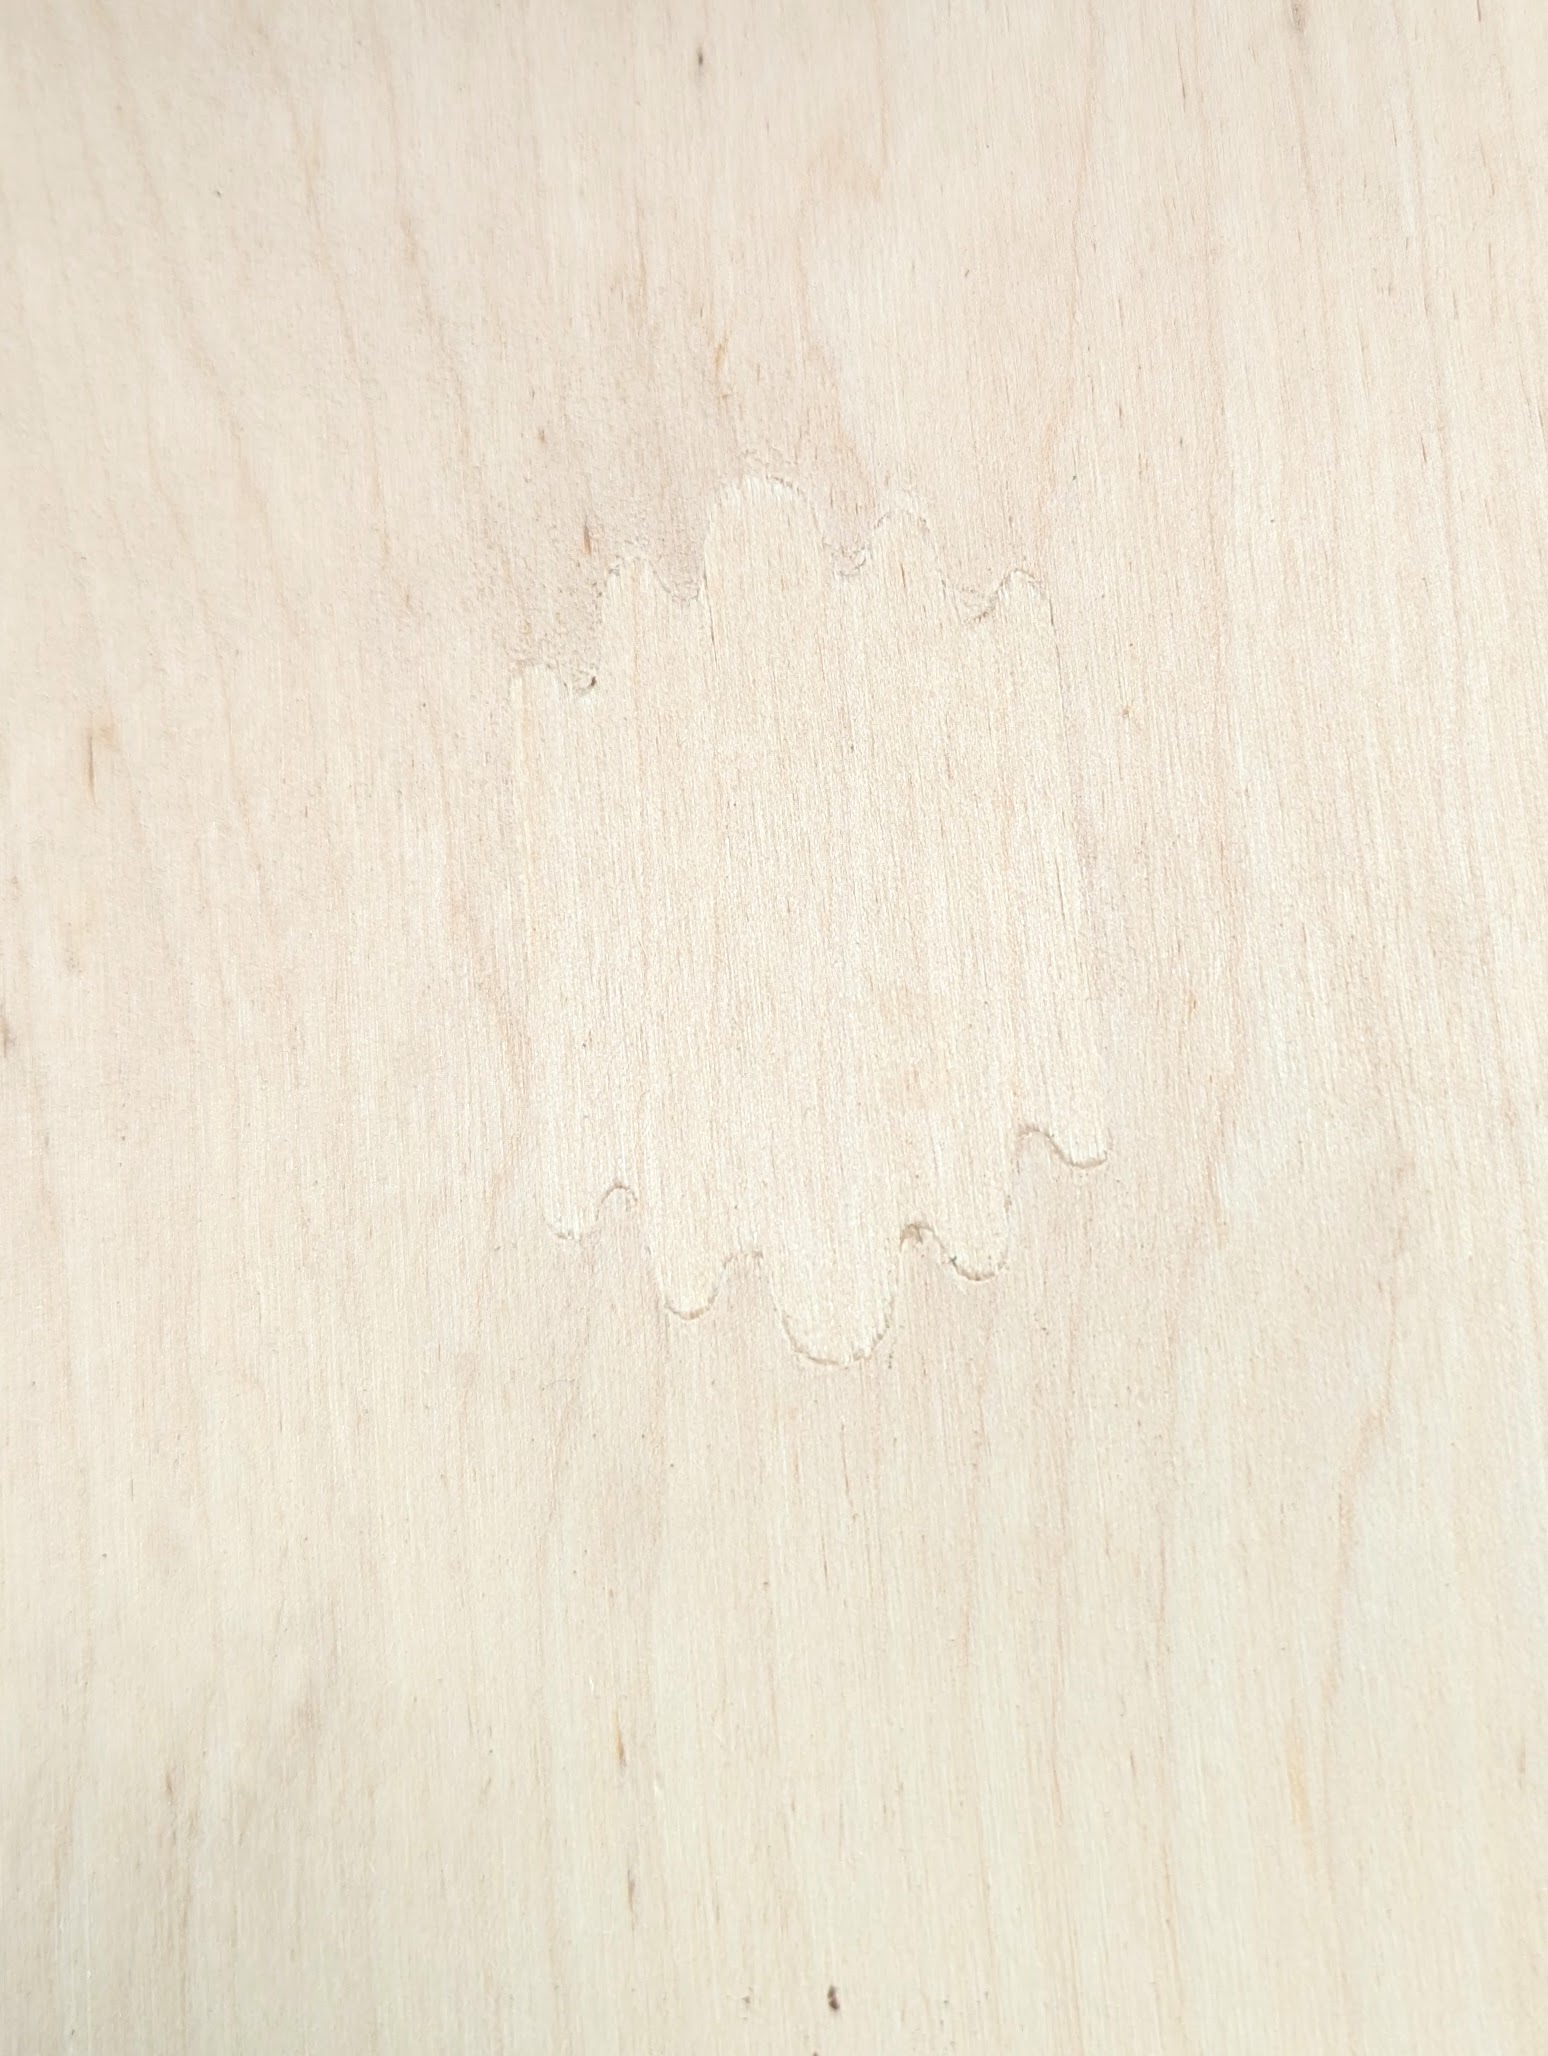
. . . it's also worth noting that the secondary face usually and almost always has the puzzle piece to replace the dead knots we associate with birch as a softer grain hardwood. This shaped inset disguises the inset by not using any straight lines. Camouflage!
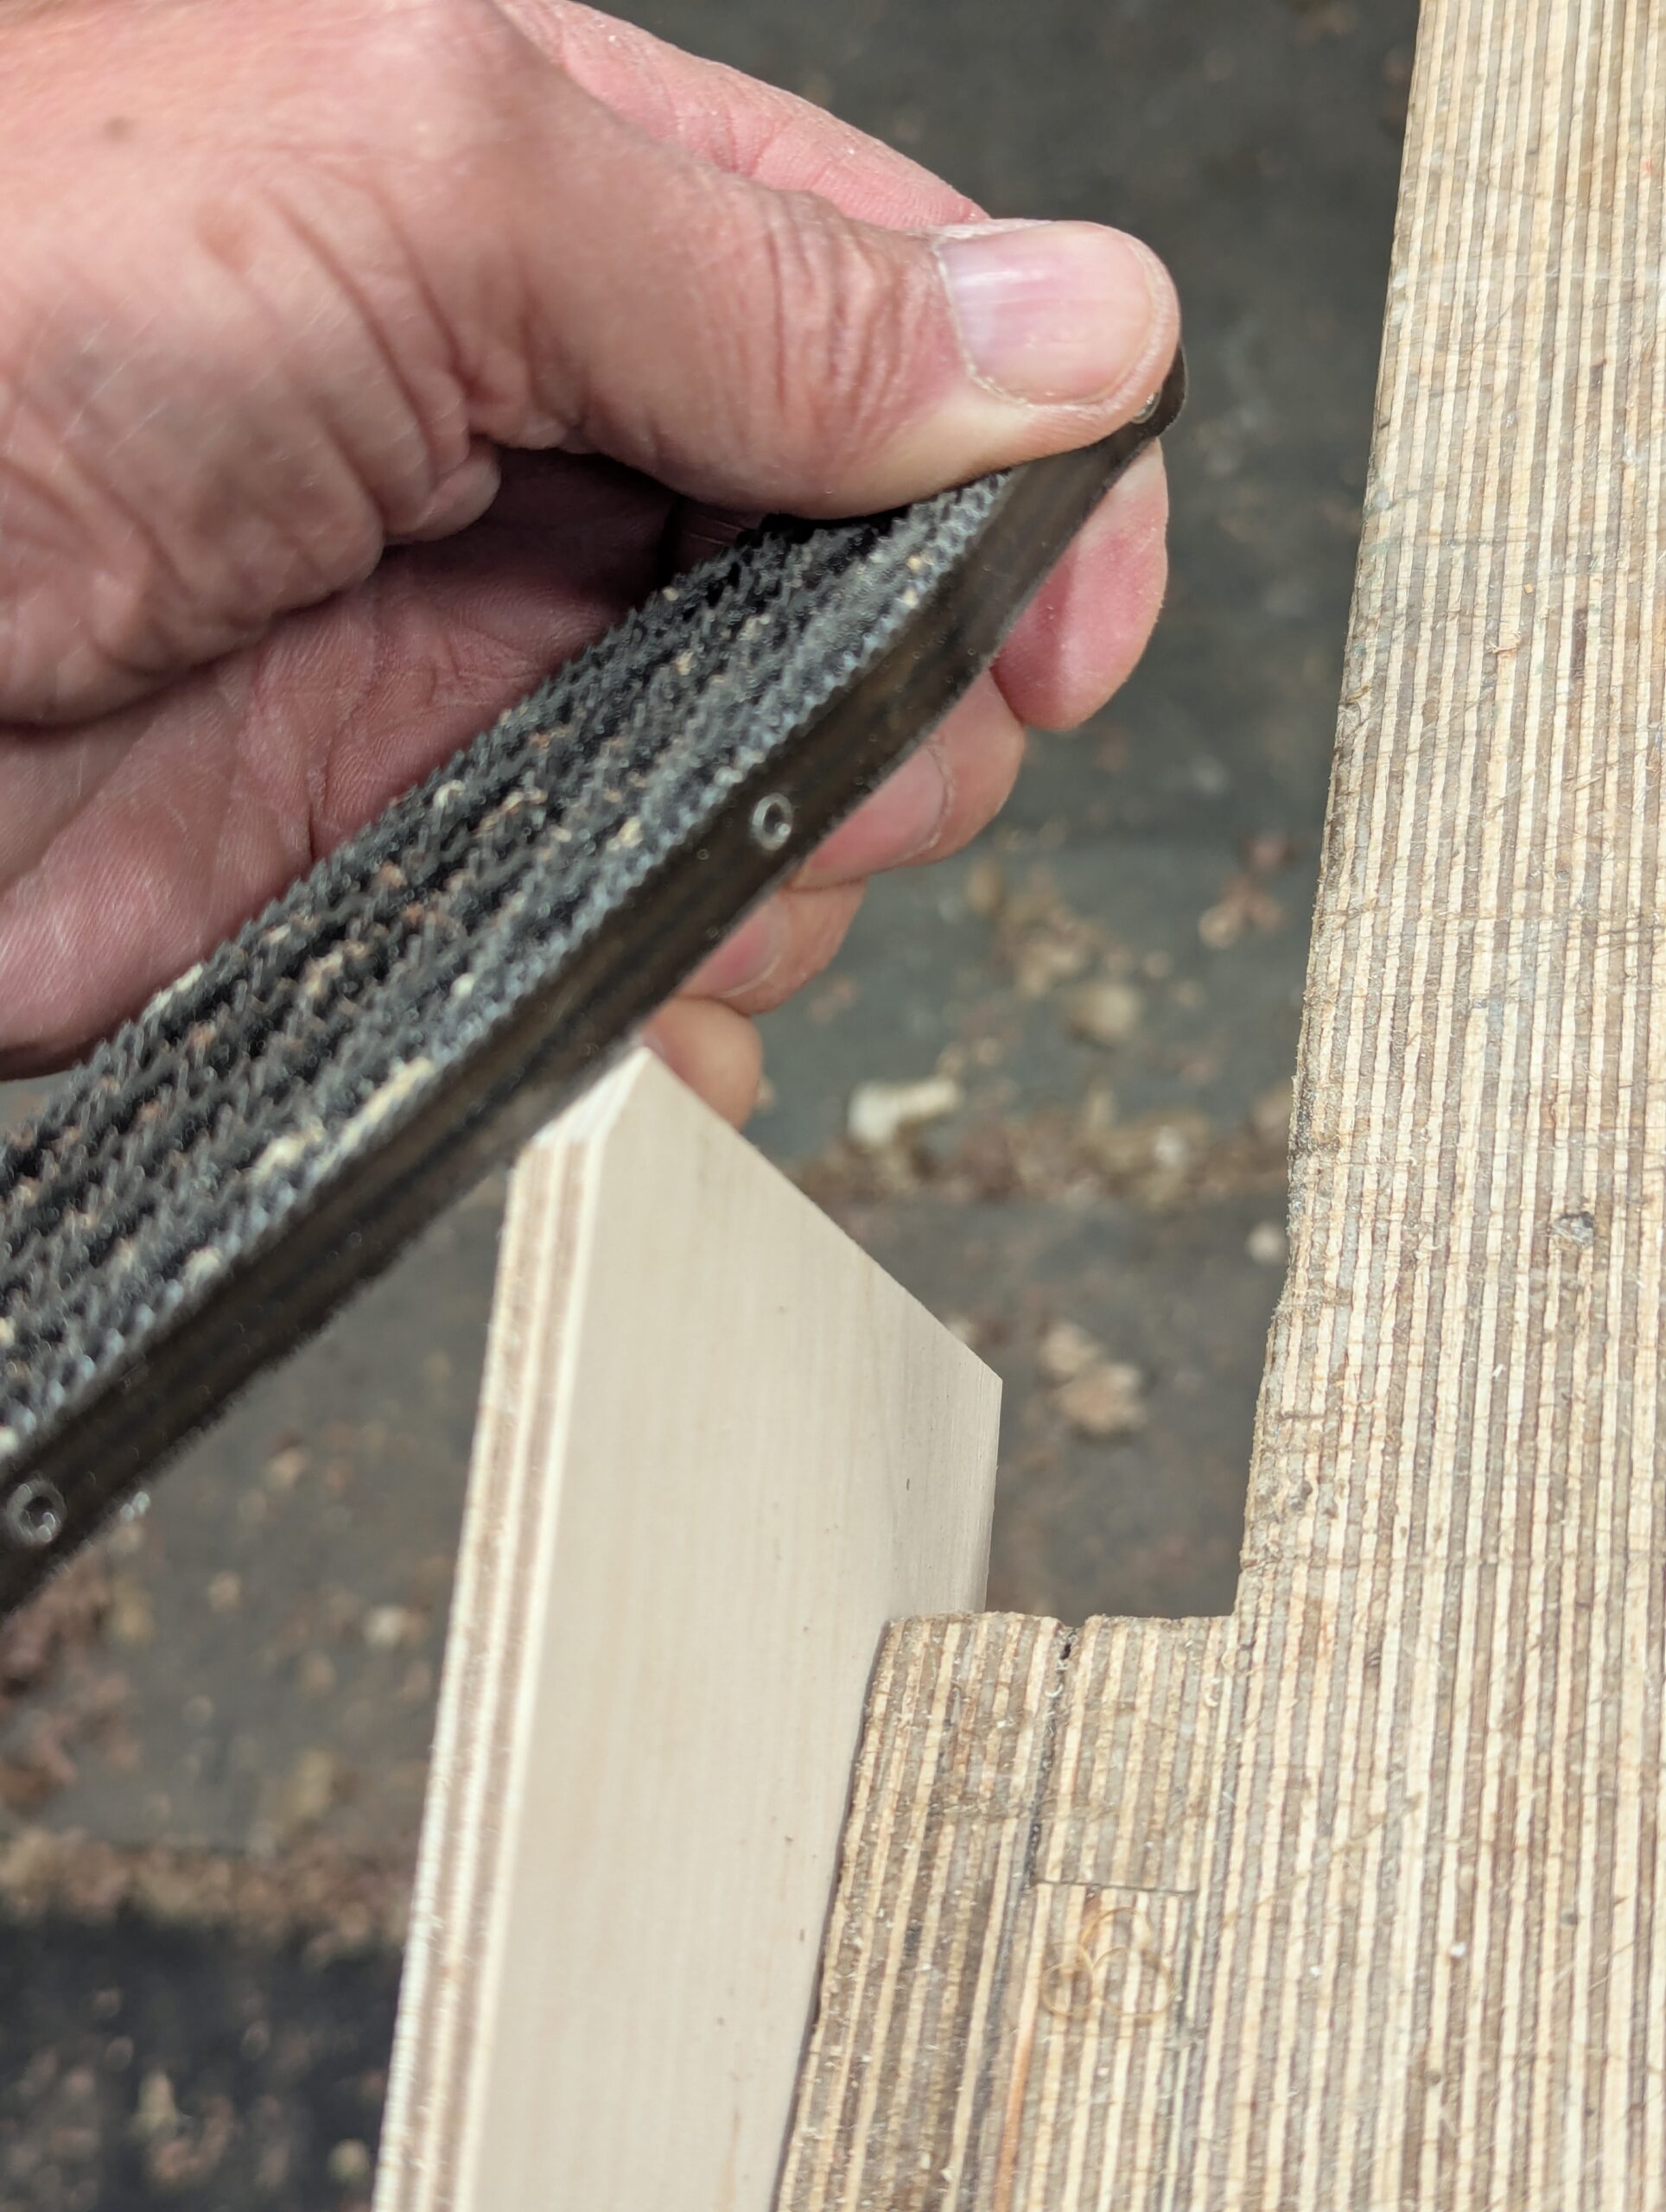
Use a rasp, a spokeshave or a file whenever you want to on plywood but feel after the best direction working as you work with the alternating ply directions. By this, I simply mean swivelling and skewing or turning the tool or the wood end for end and feeling out for the smoother cuts. By doing this, you will optimise the best outcome. This sensitivity increases the more you work with hand tools. You will develop tricks too.
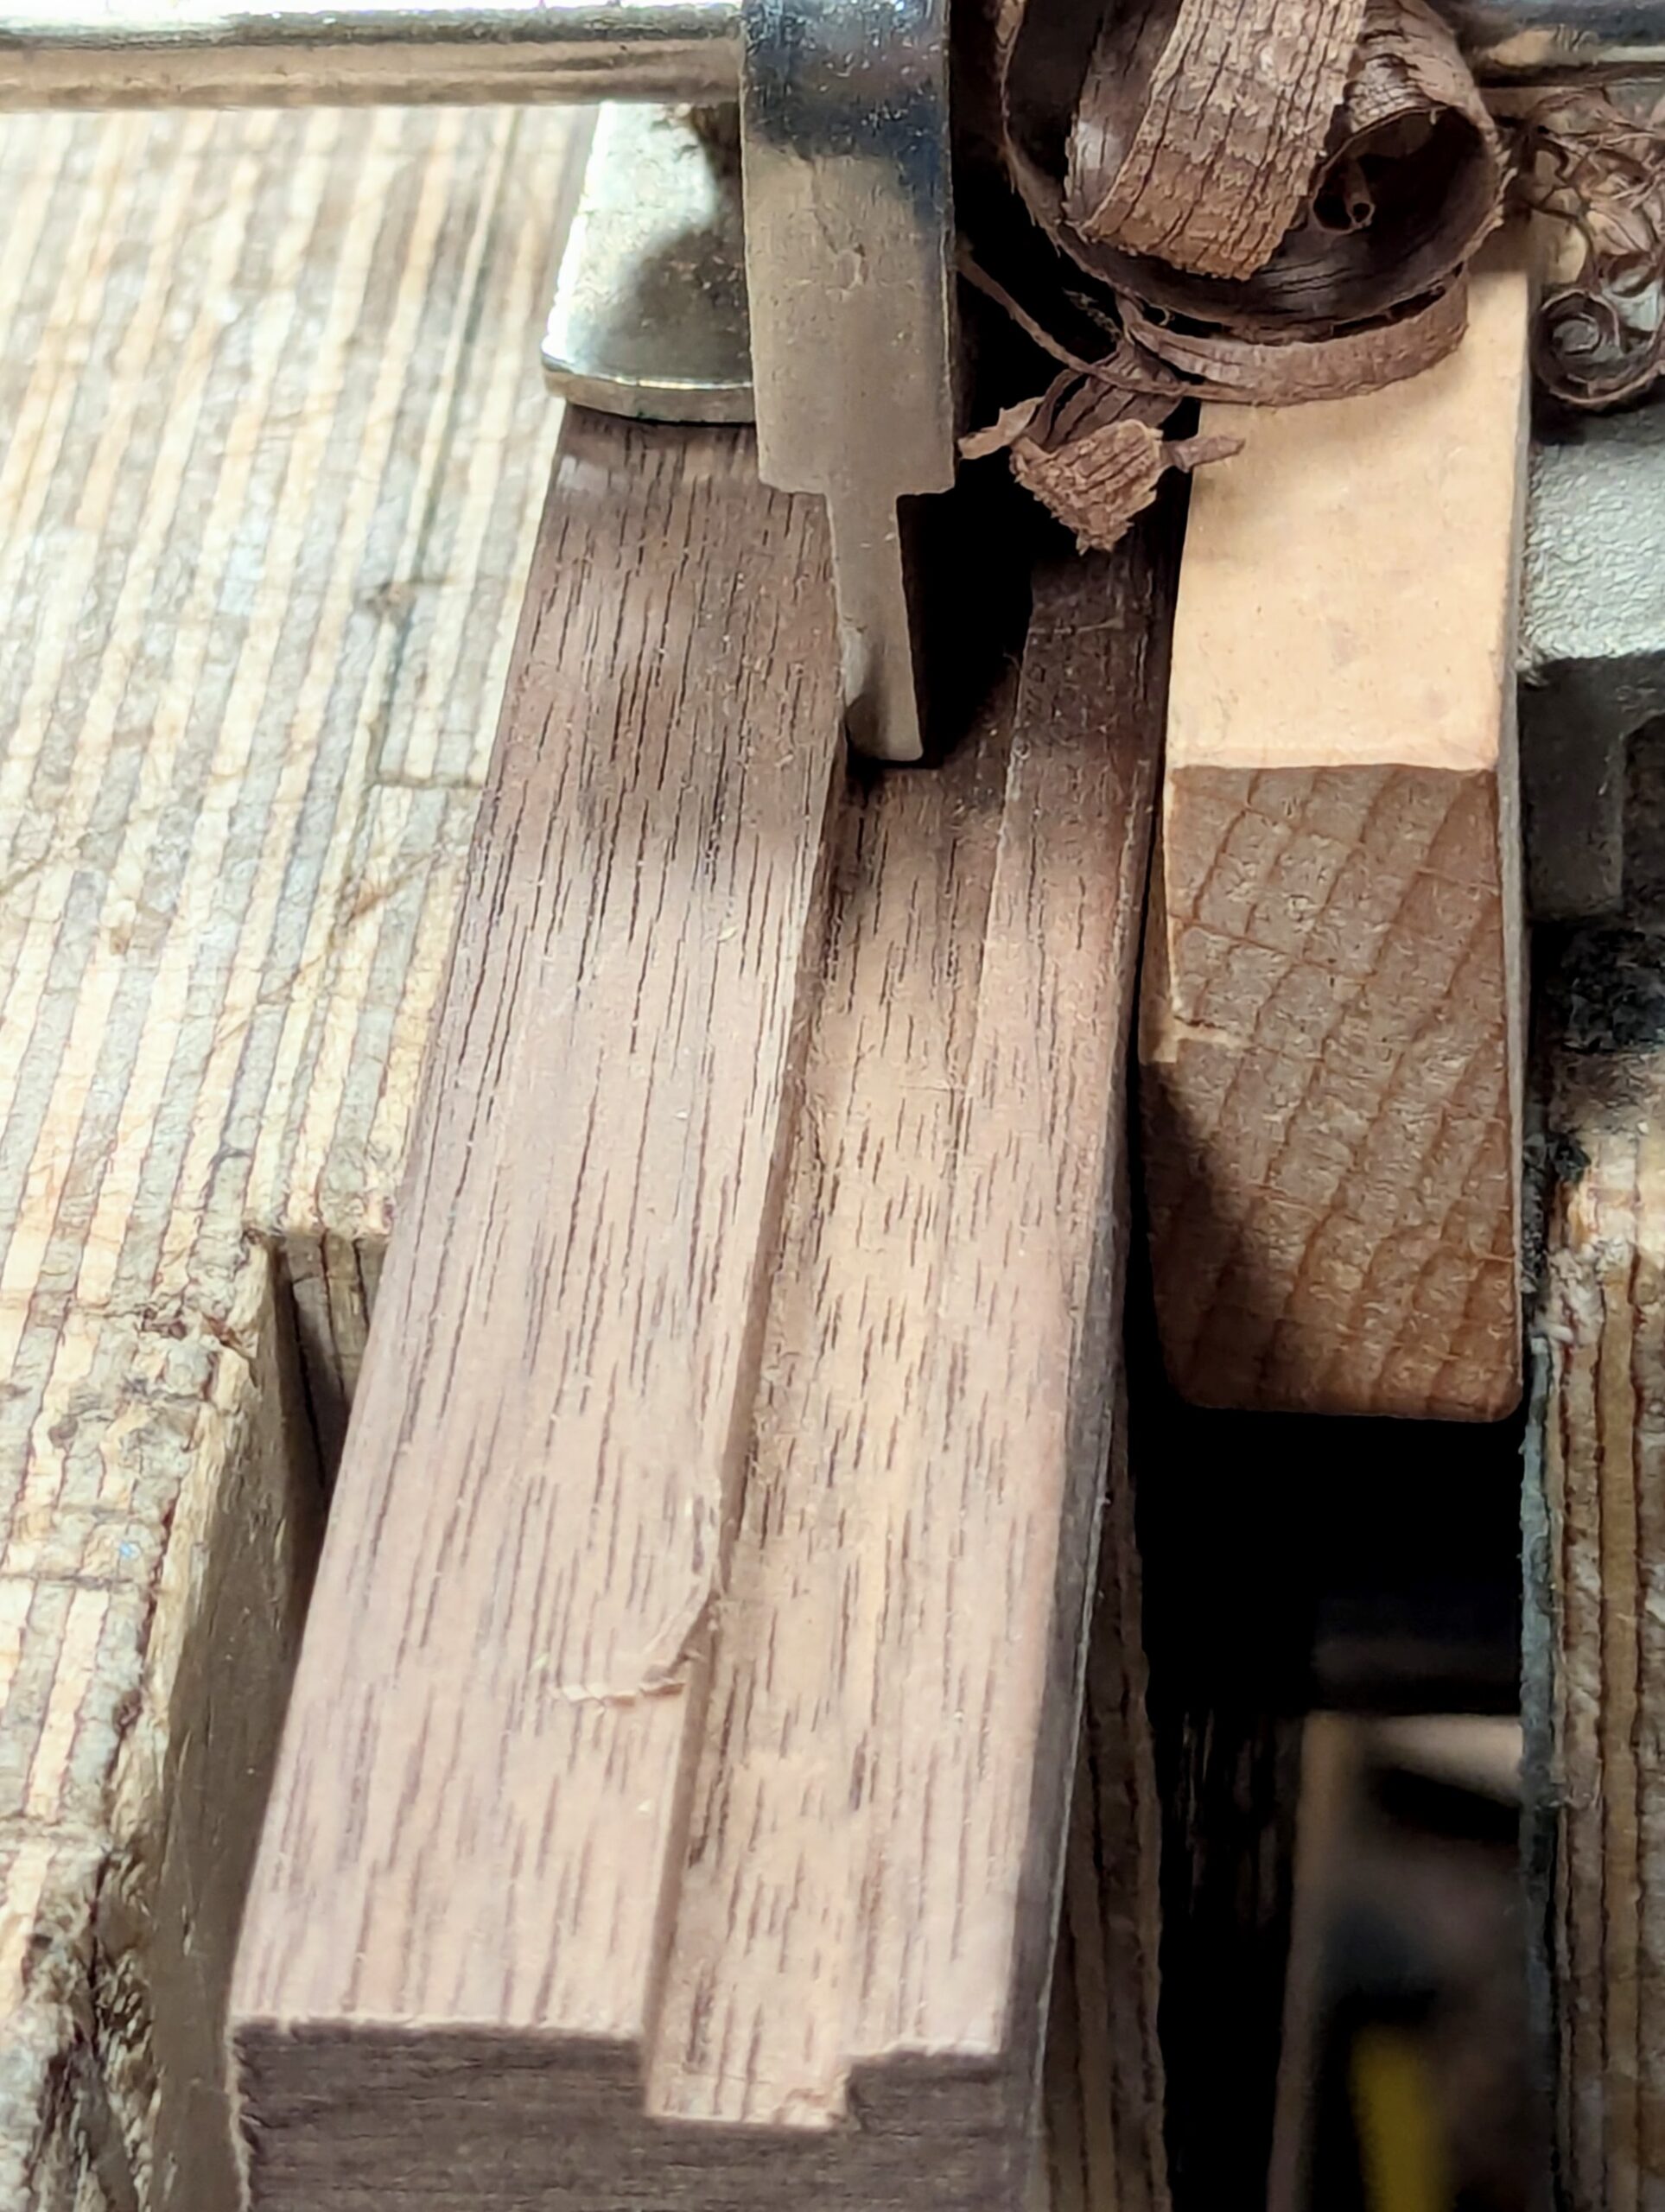
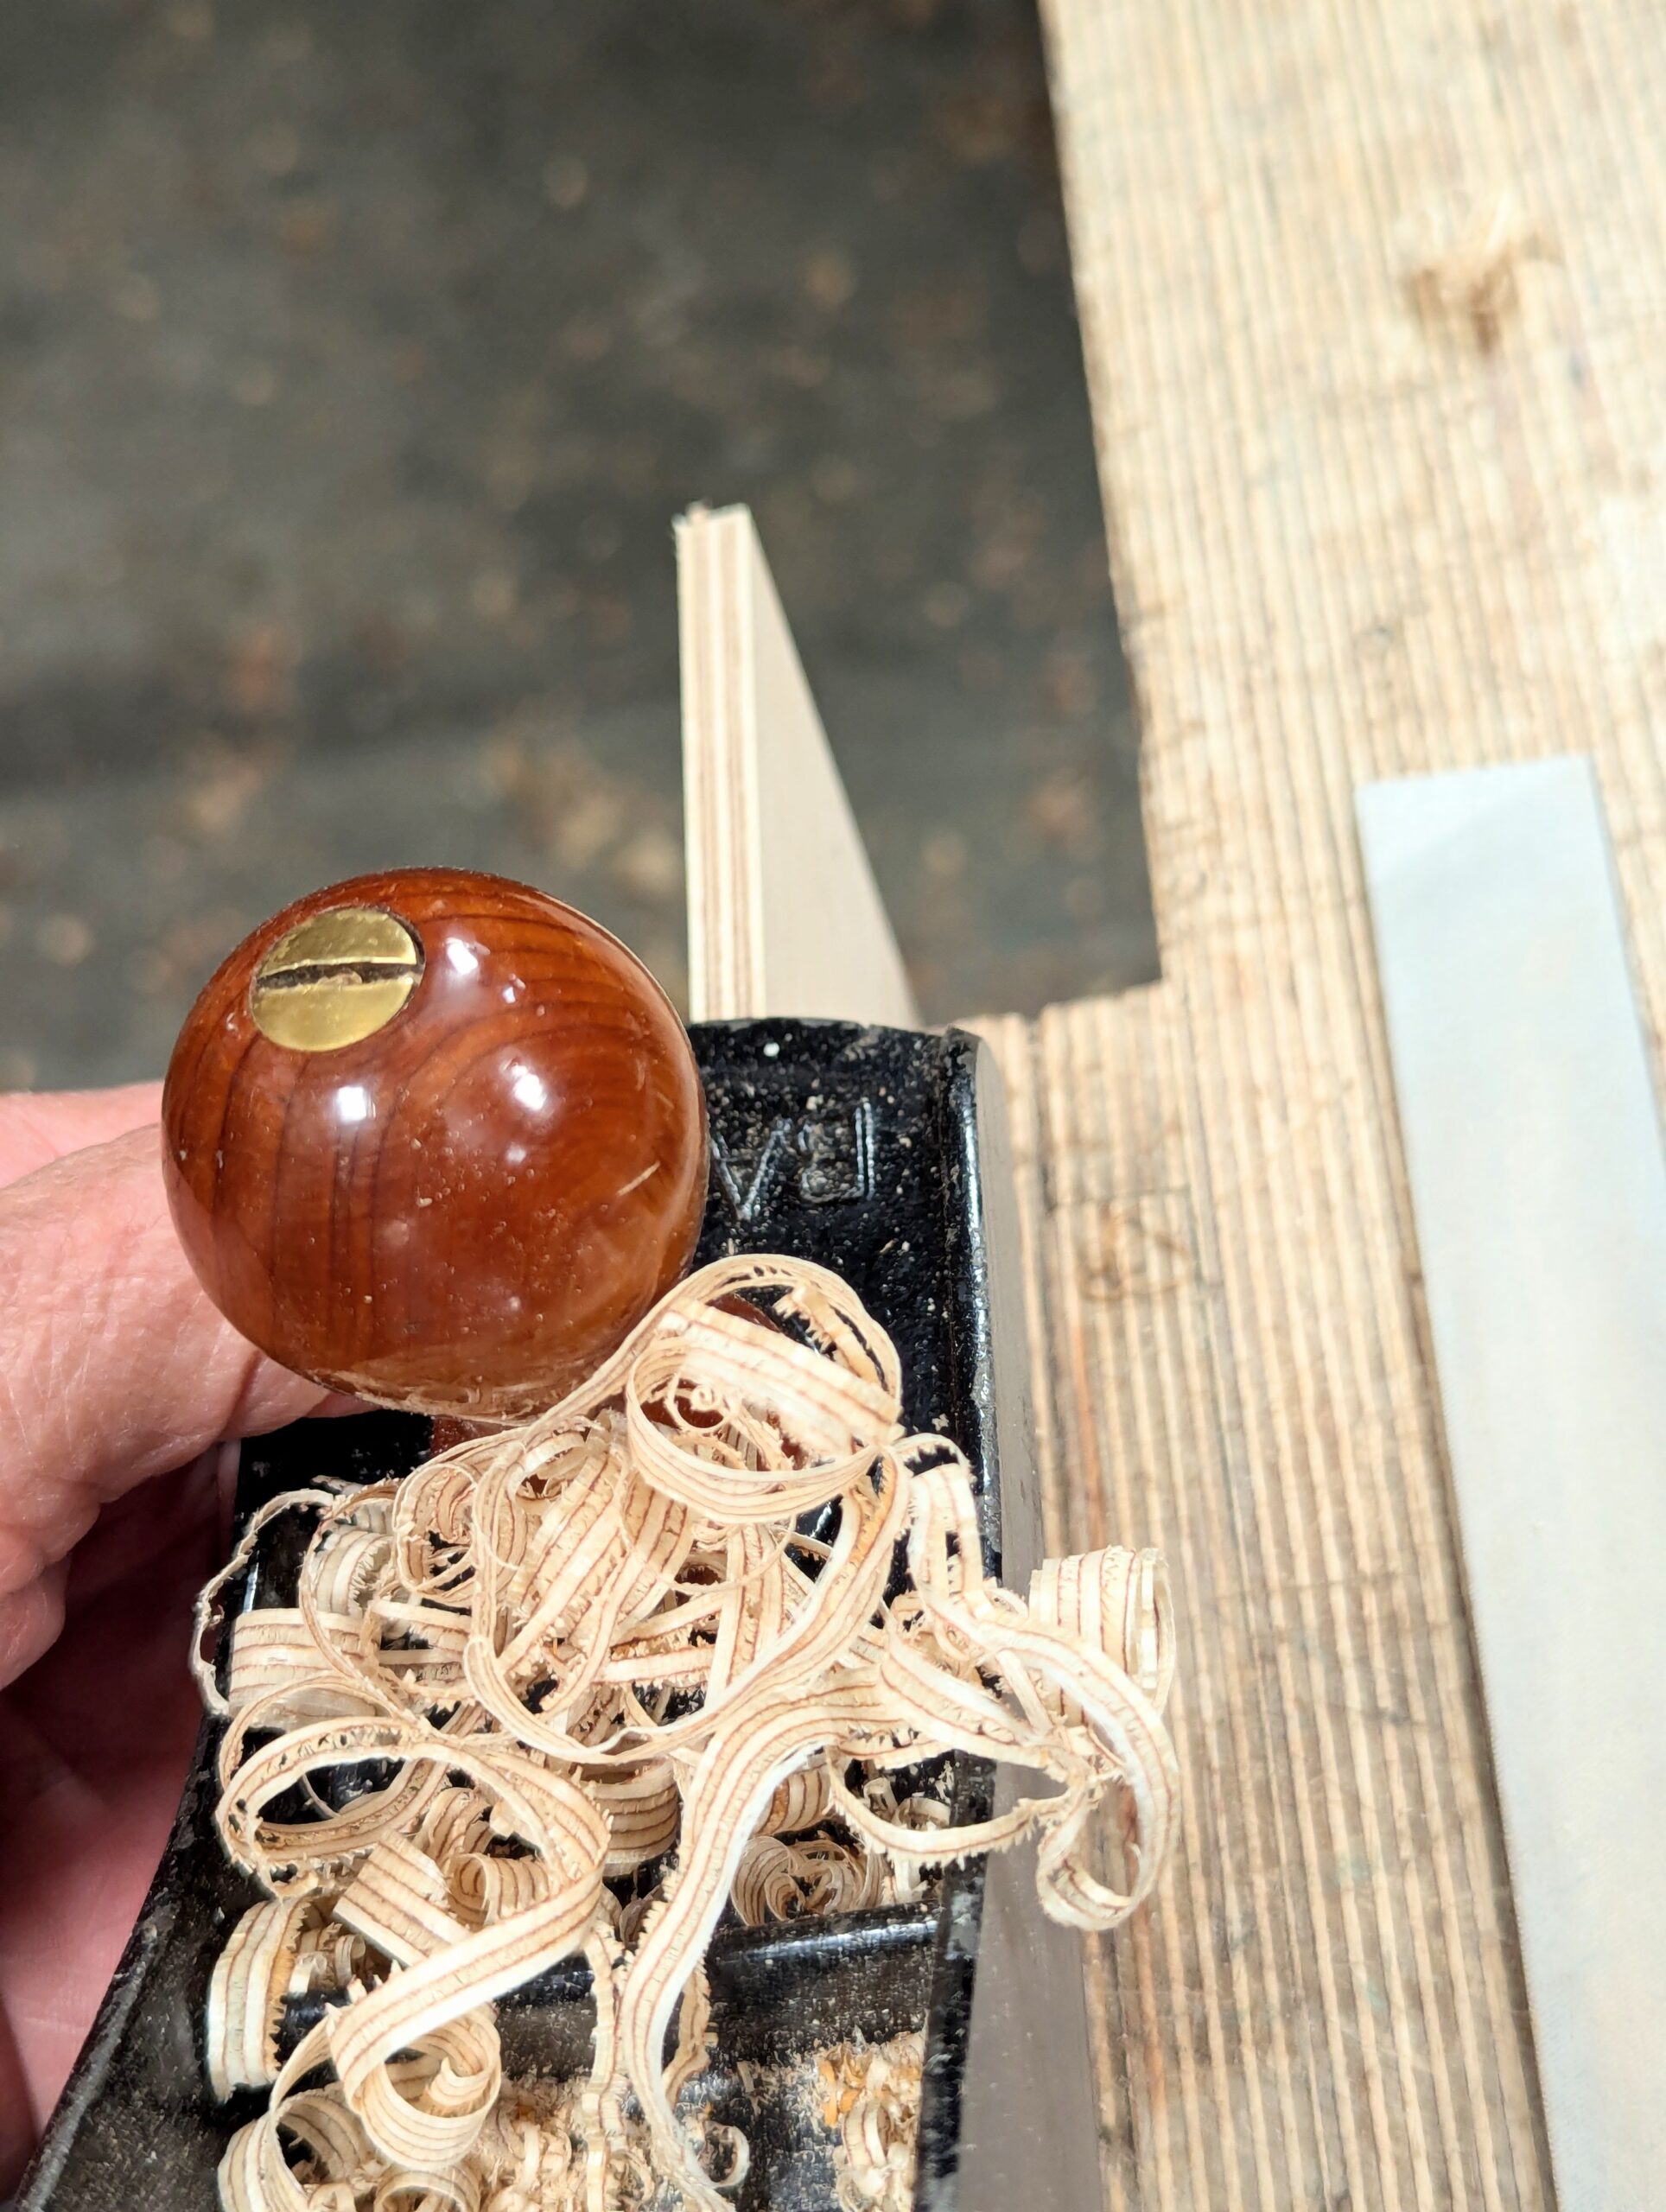
Ploughing the grooves in a wood like walnut is delightful, simply because the bands are so narrow, they peel out like butter. It's best done in longer lengths for holdability in the vise or with clamps. I overhang mine from the vise substantially so that the fence of the plane is free from catching the vise. I have different makes and sizes of plough planes, but I used the smaller of them on this particular project, the Record 043, with a matching cutter sized to suit at 6mm. Oh, BTW, I have made specific cutters from O1 flatsock tool steel to specifically match other plywood thicknesses. Sometimes, especially in the USA, 1/4" plywood from the big box stores will be nominally sized and come out less thick in size. I have made several sizes over the years, and it's worth doing for a few minutes work because you end up with sizes that suit just about any size of plywood, which is handy long term.
The great thing about using plywood is manifold. Shrinkage and movement is so minimal it hardly exists (except in the most humid of climates, stability), and then you have incredible strength. Plain-grain, lighter-grained plywoods like birch take stain well if you want a match to wood. Additionally, it planes and shapes fine, and you can even use the plies decoratively should you want to.
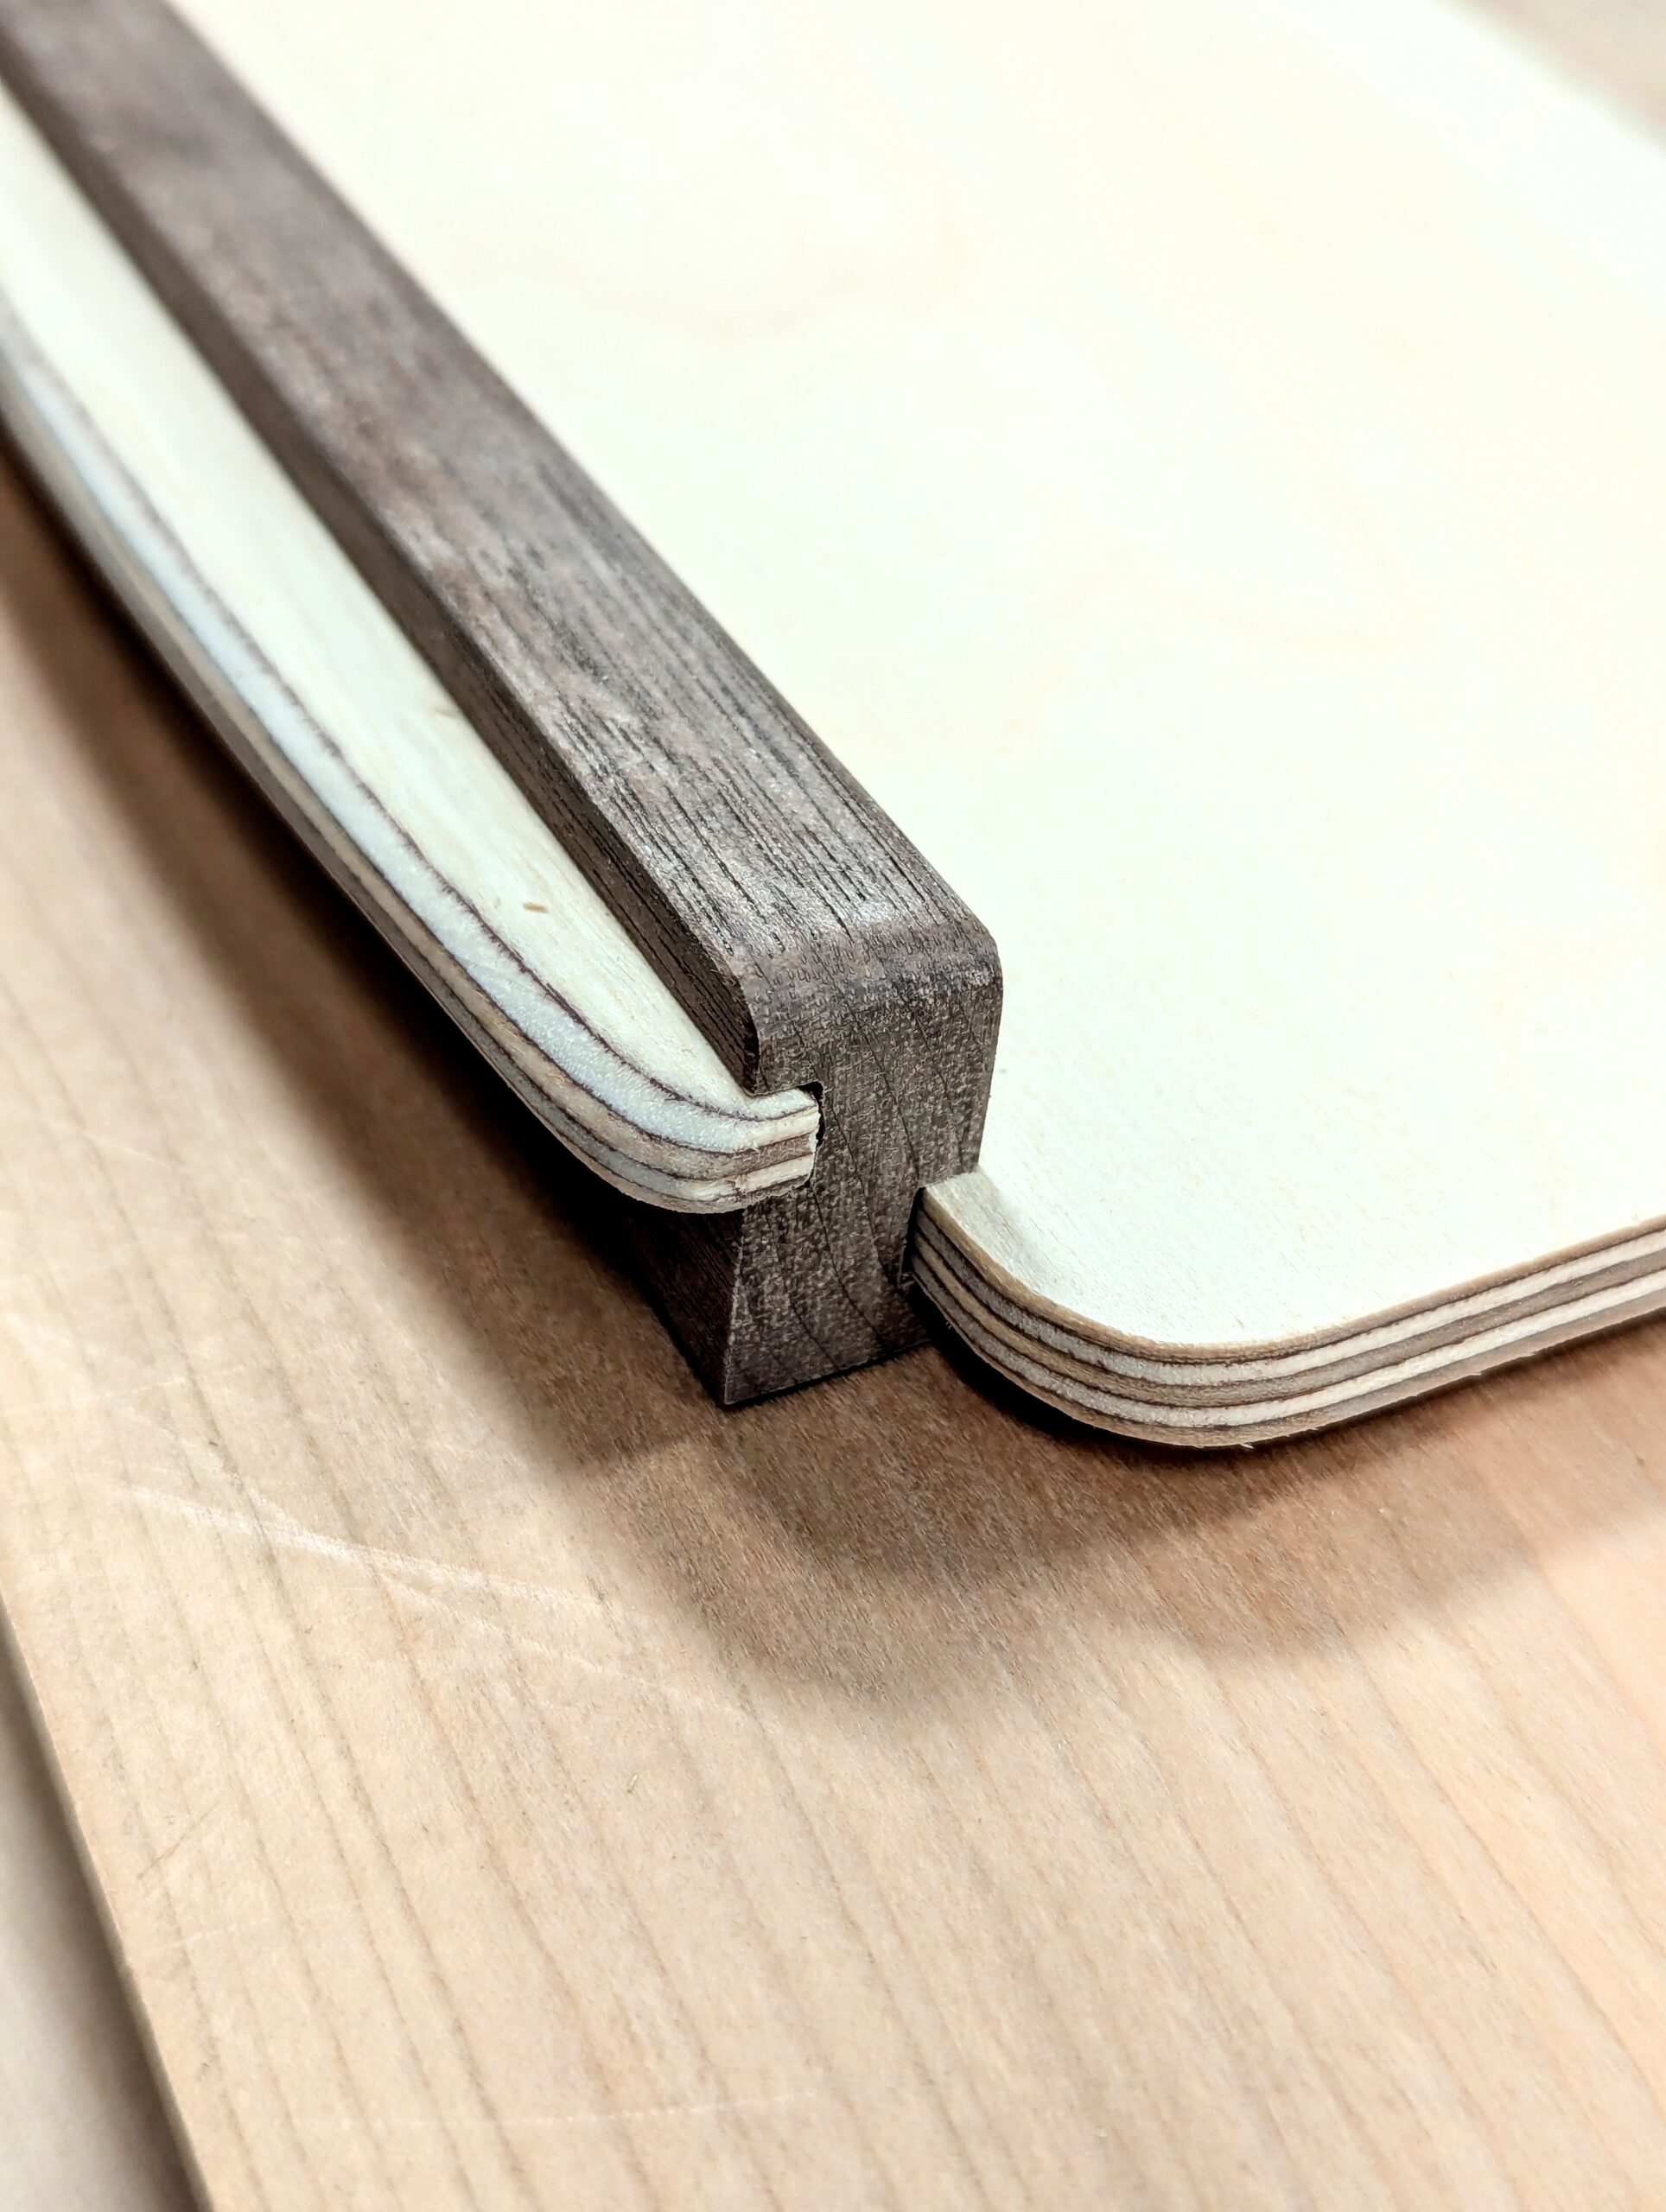
The plywood glues into the grooves just fine and because wood movement is so very minimal in plywood and the long grain, there is no cracking in the solid wood through compromised grain orientation nor any conflict in strength.
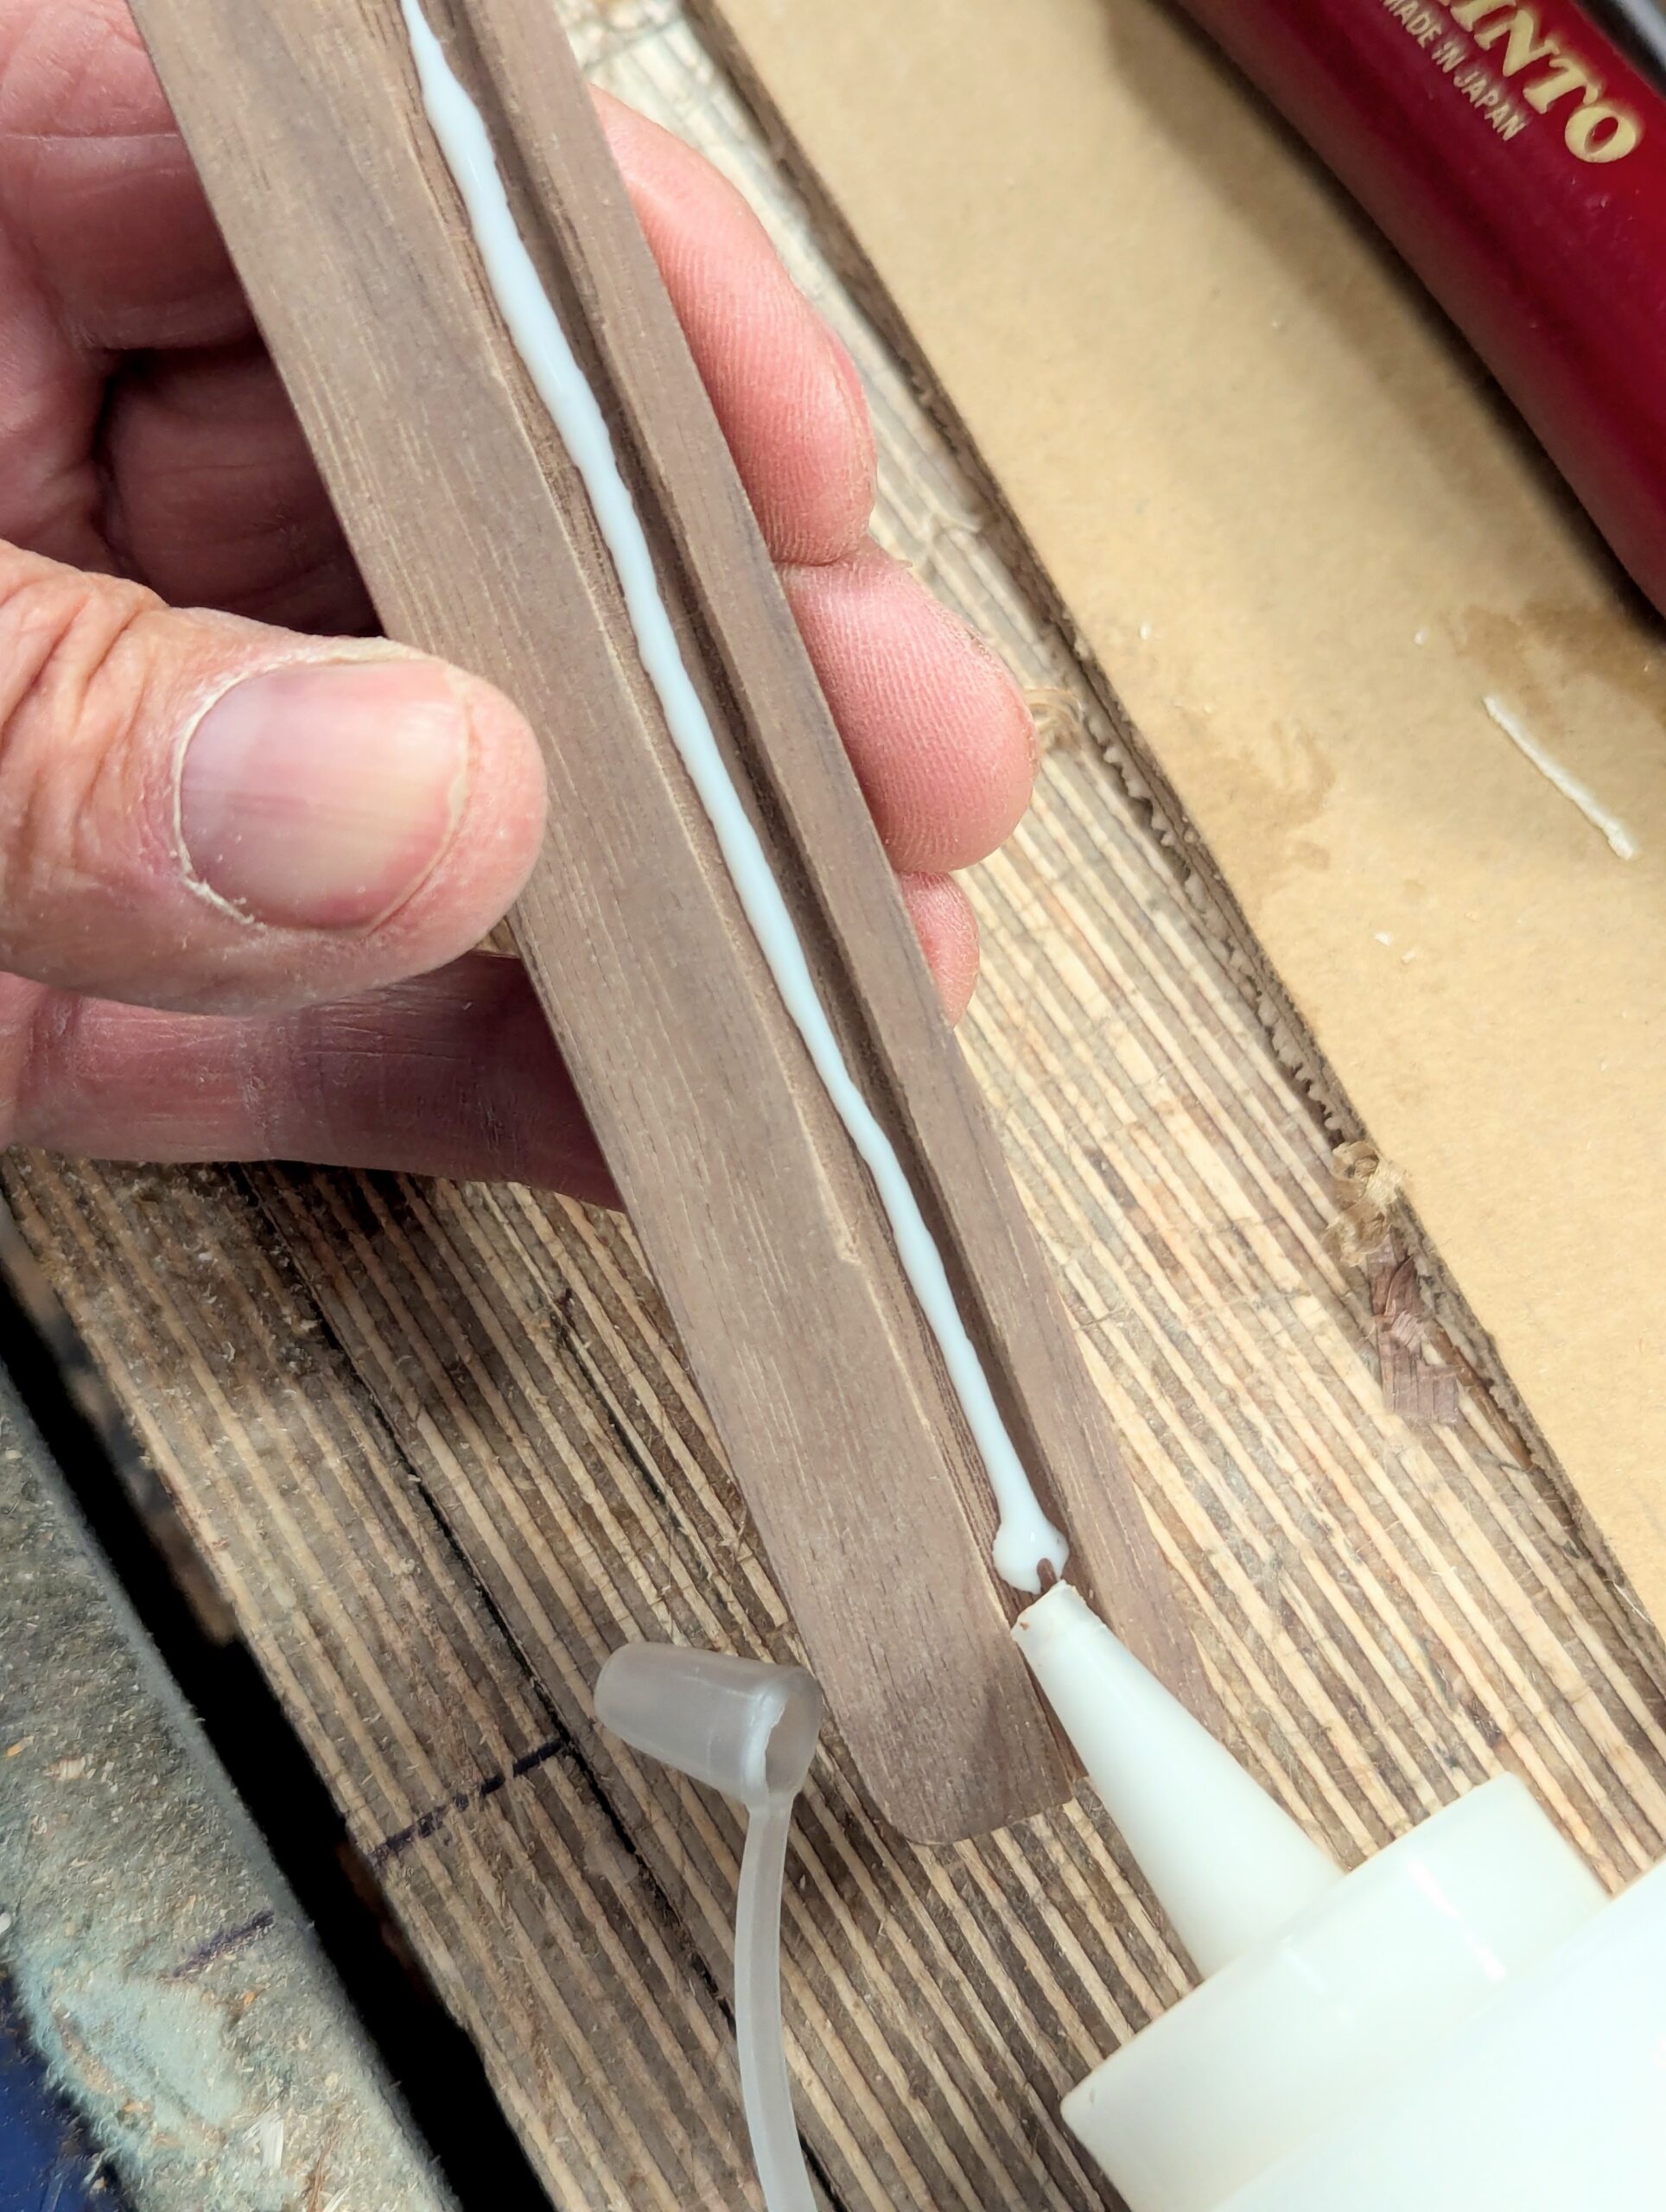
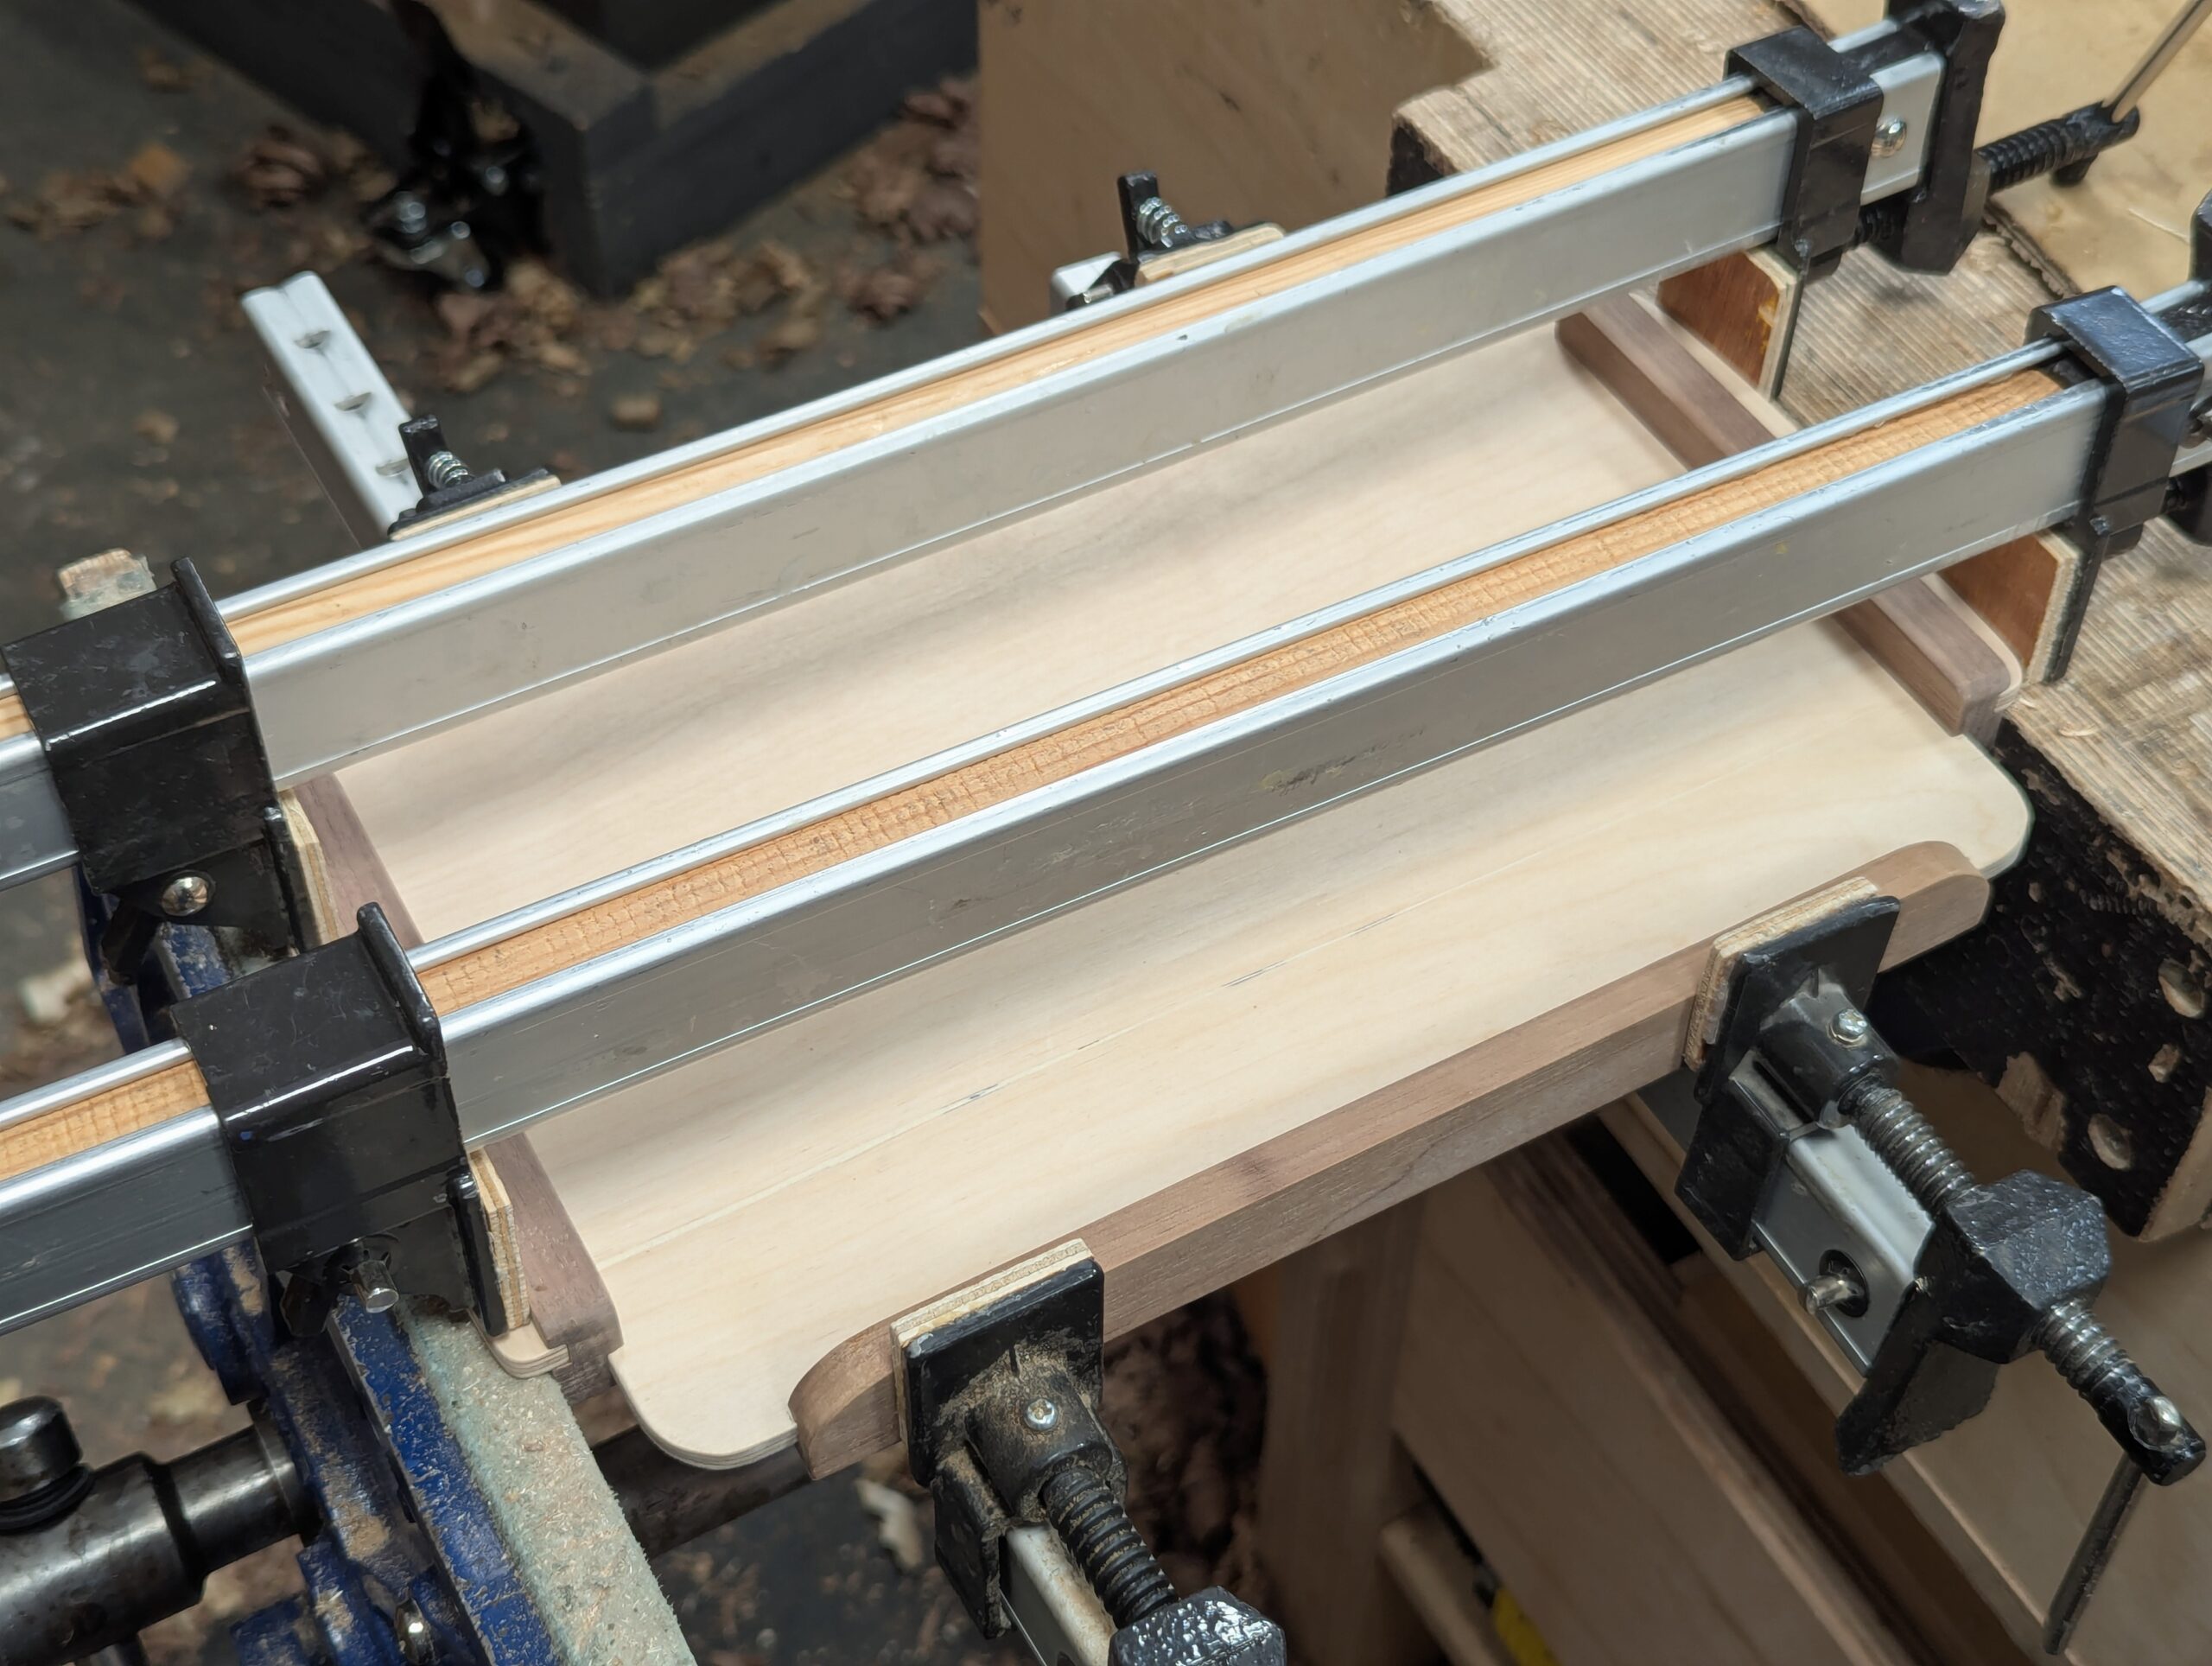
Clamping with tight and well-fitting plywood into the grooves is simple, just a basic plough plane, perhaps a single swipe on the plywood with either a plane or cabinet scraper, and you're ready for a single bead of glue. I used pressure top and bottom where the handles are.
I applied three coats of Osmo hard wax satin finish. The only issue might be that the finish is smooth and slippy for cups and glasses. I cut a silicone shelf liner normally used in cabinets for placing plateware on. The only issue is that this liner type tends to leave a trace of itself on finished surfaces, so I suggest you use it when needed and remove when not in use.
Comments ()