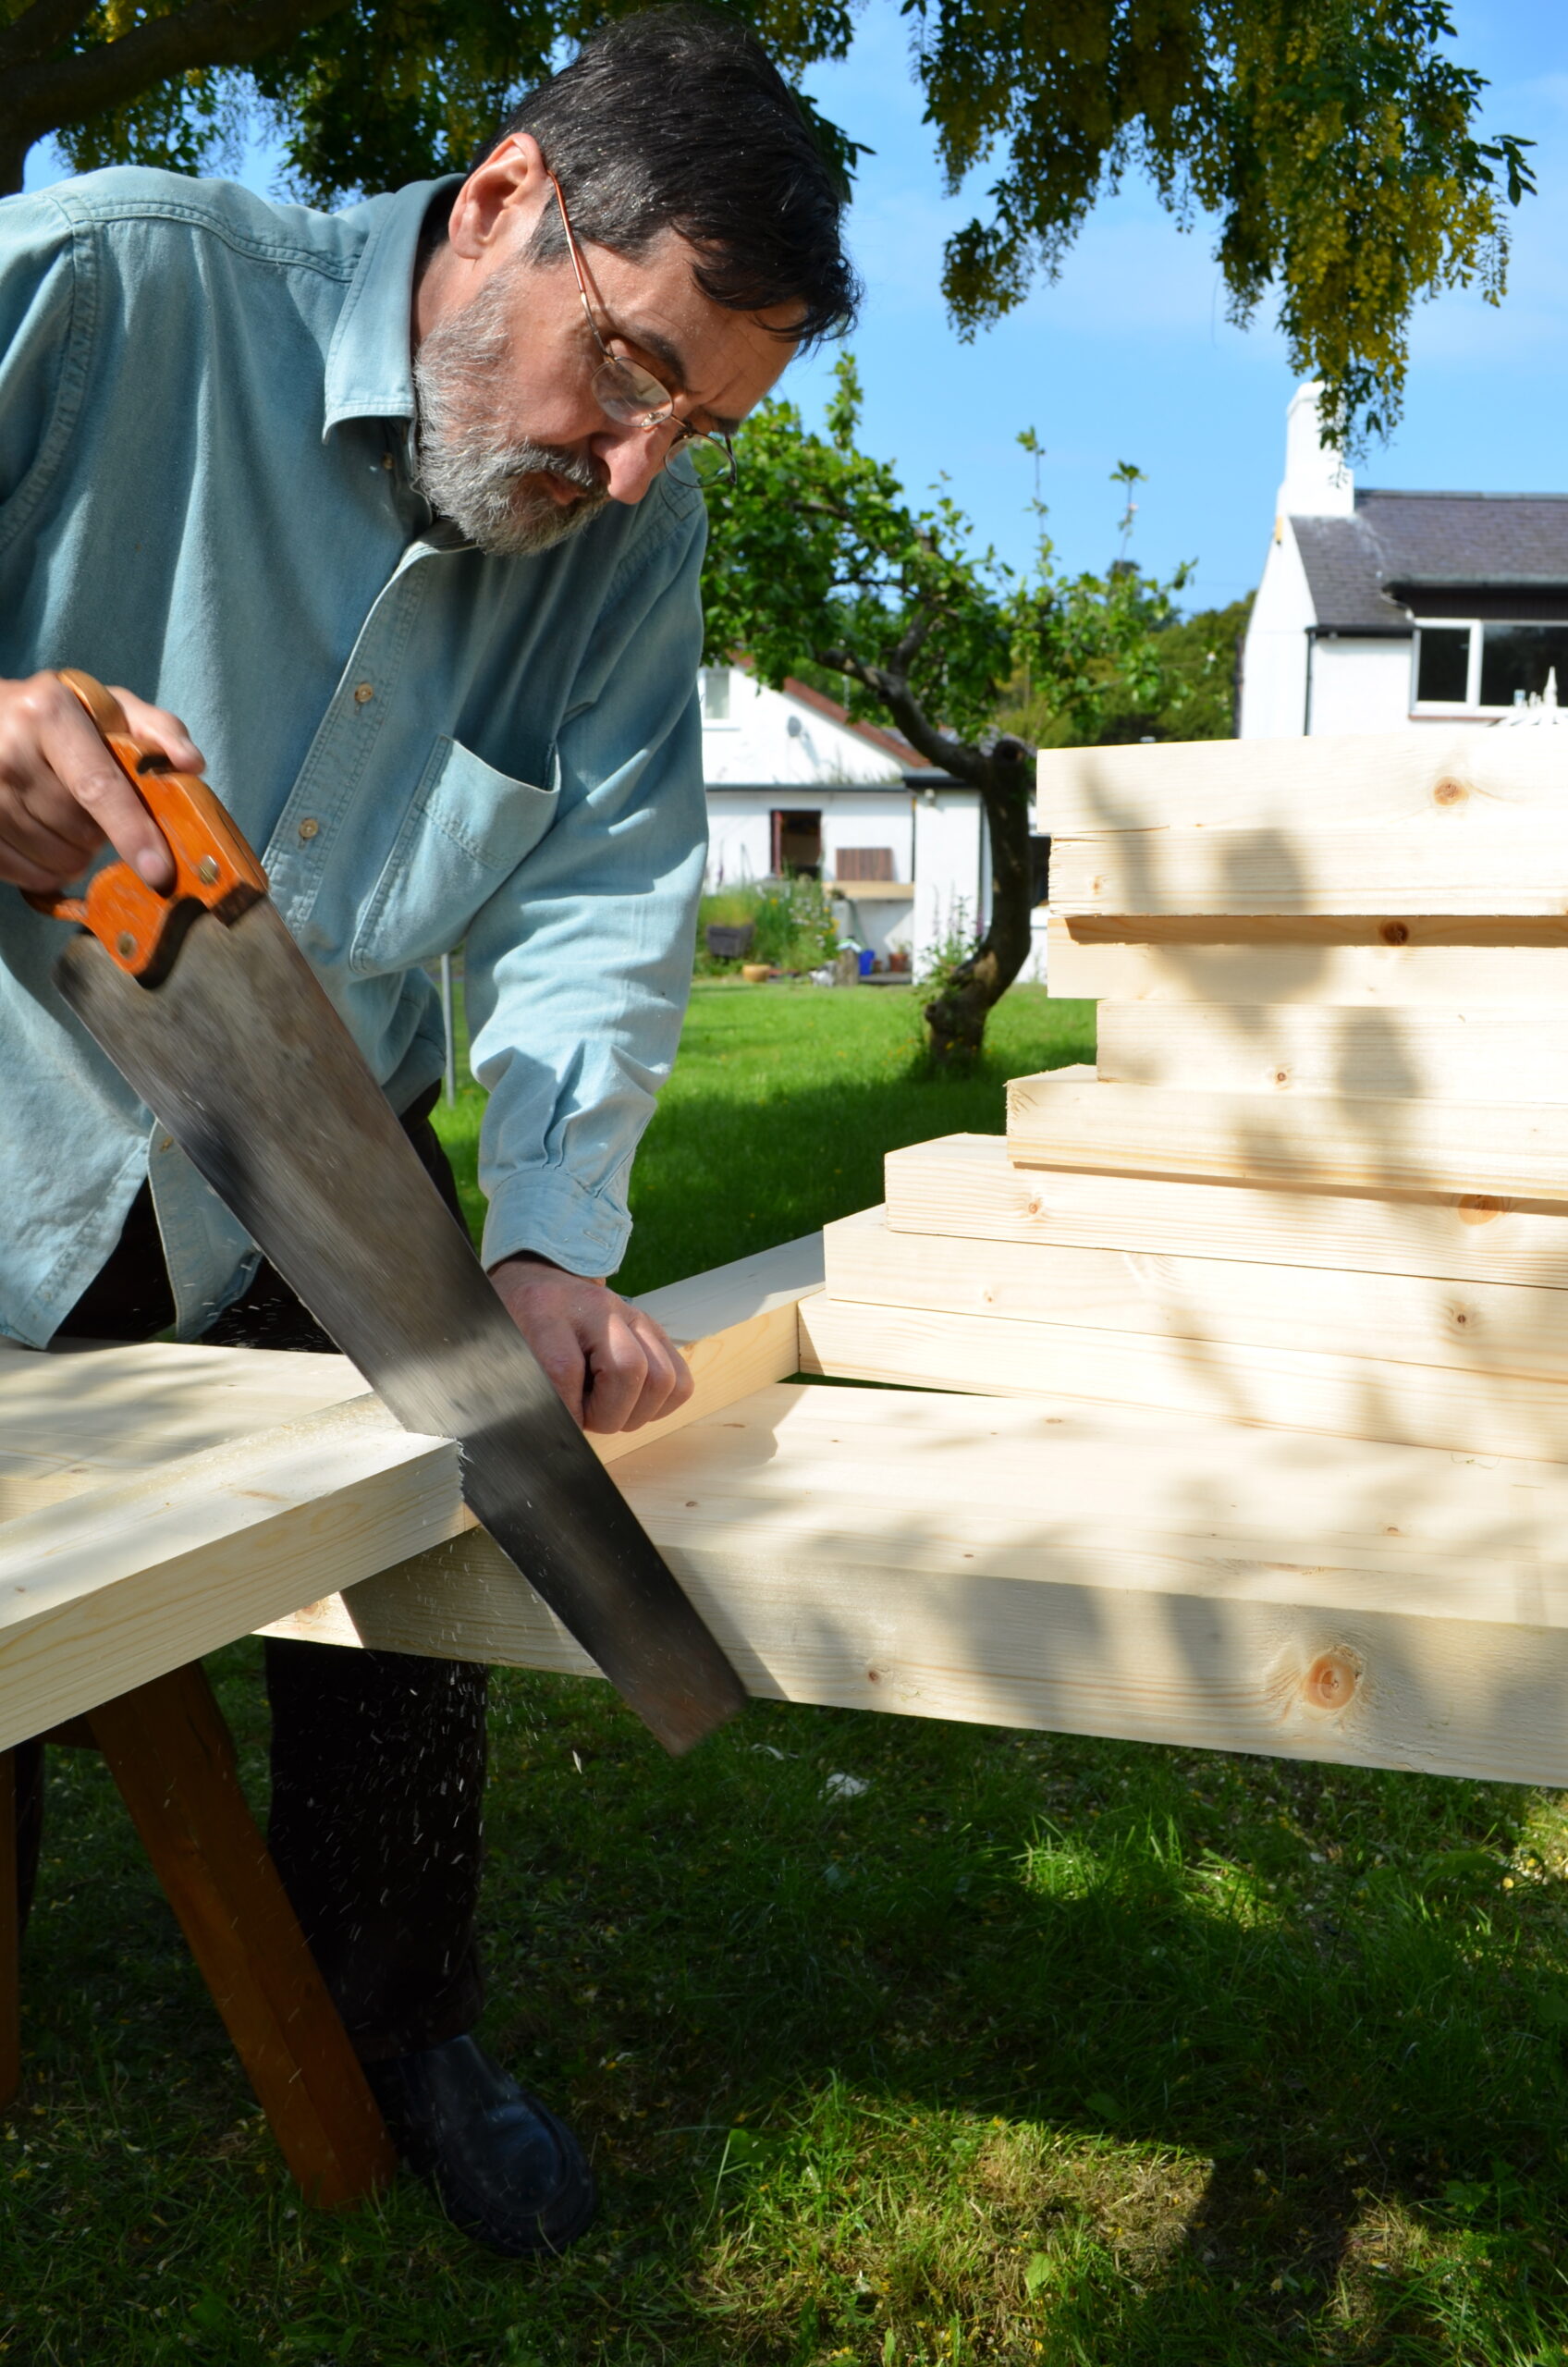
Overworking
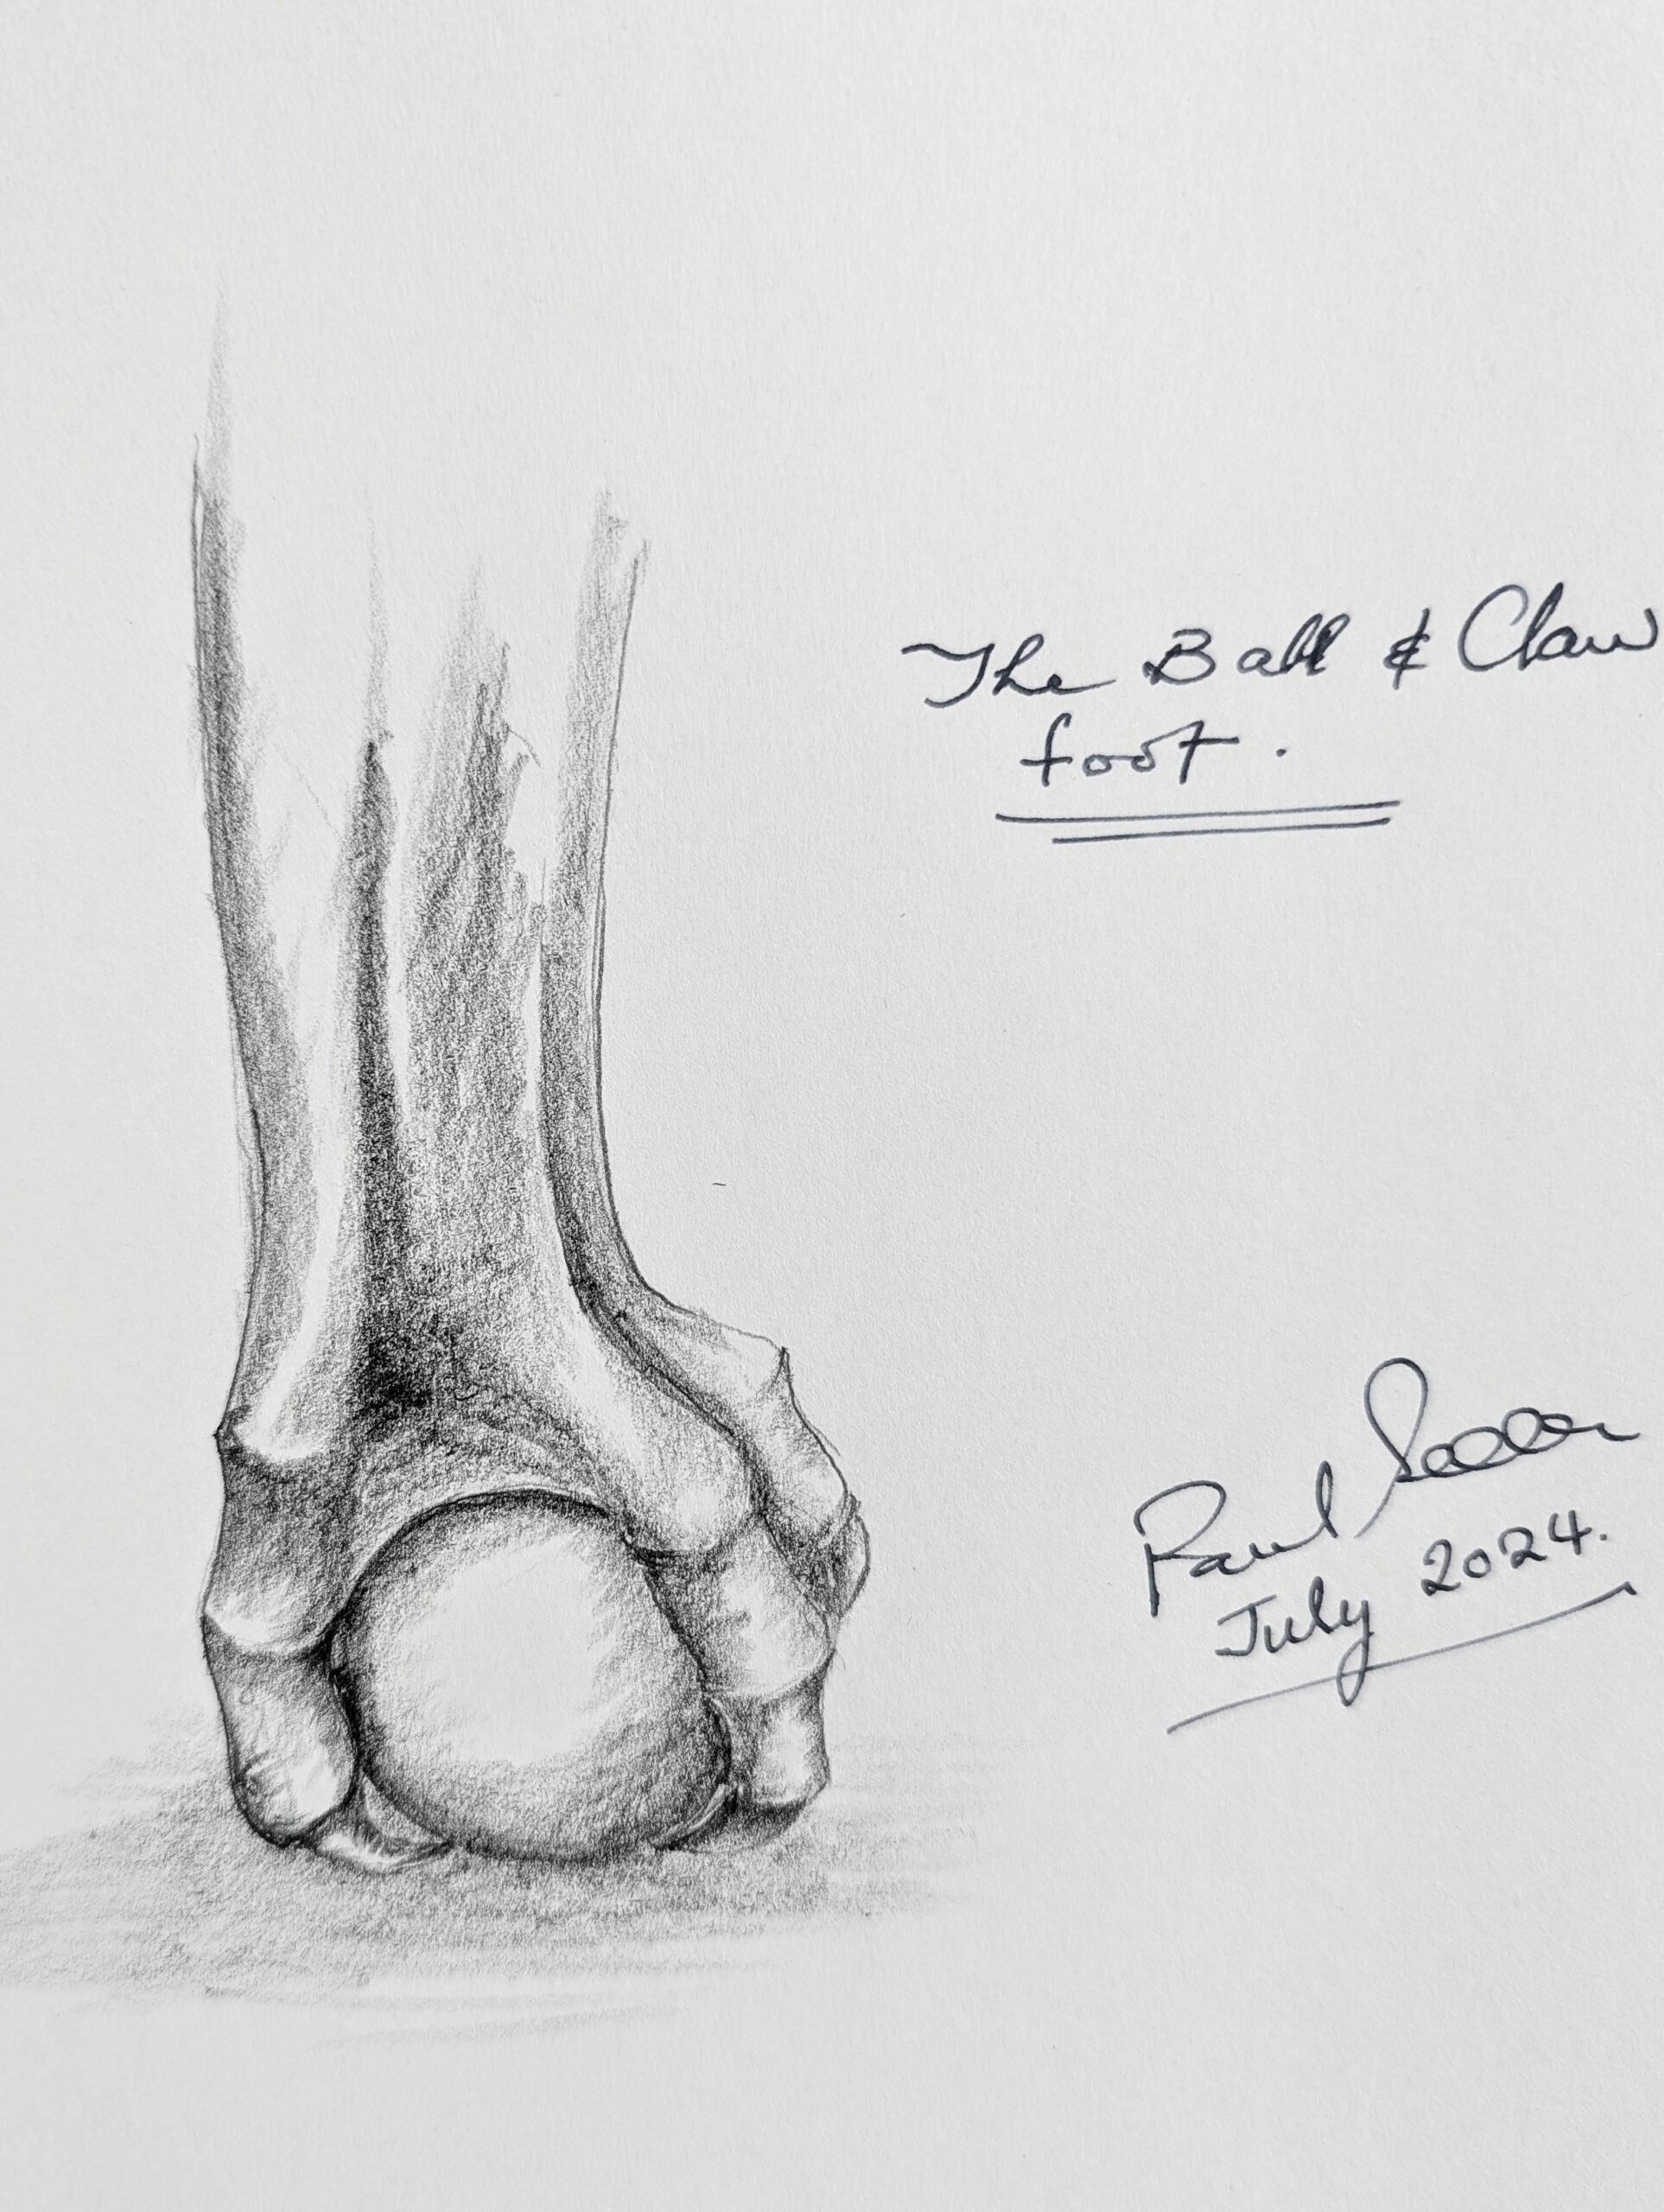
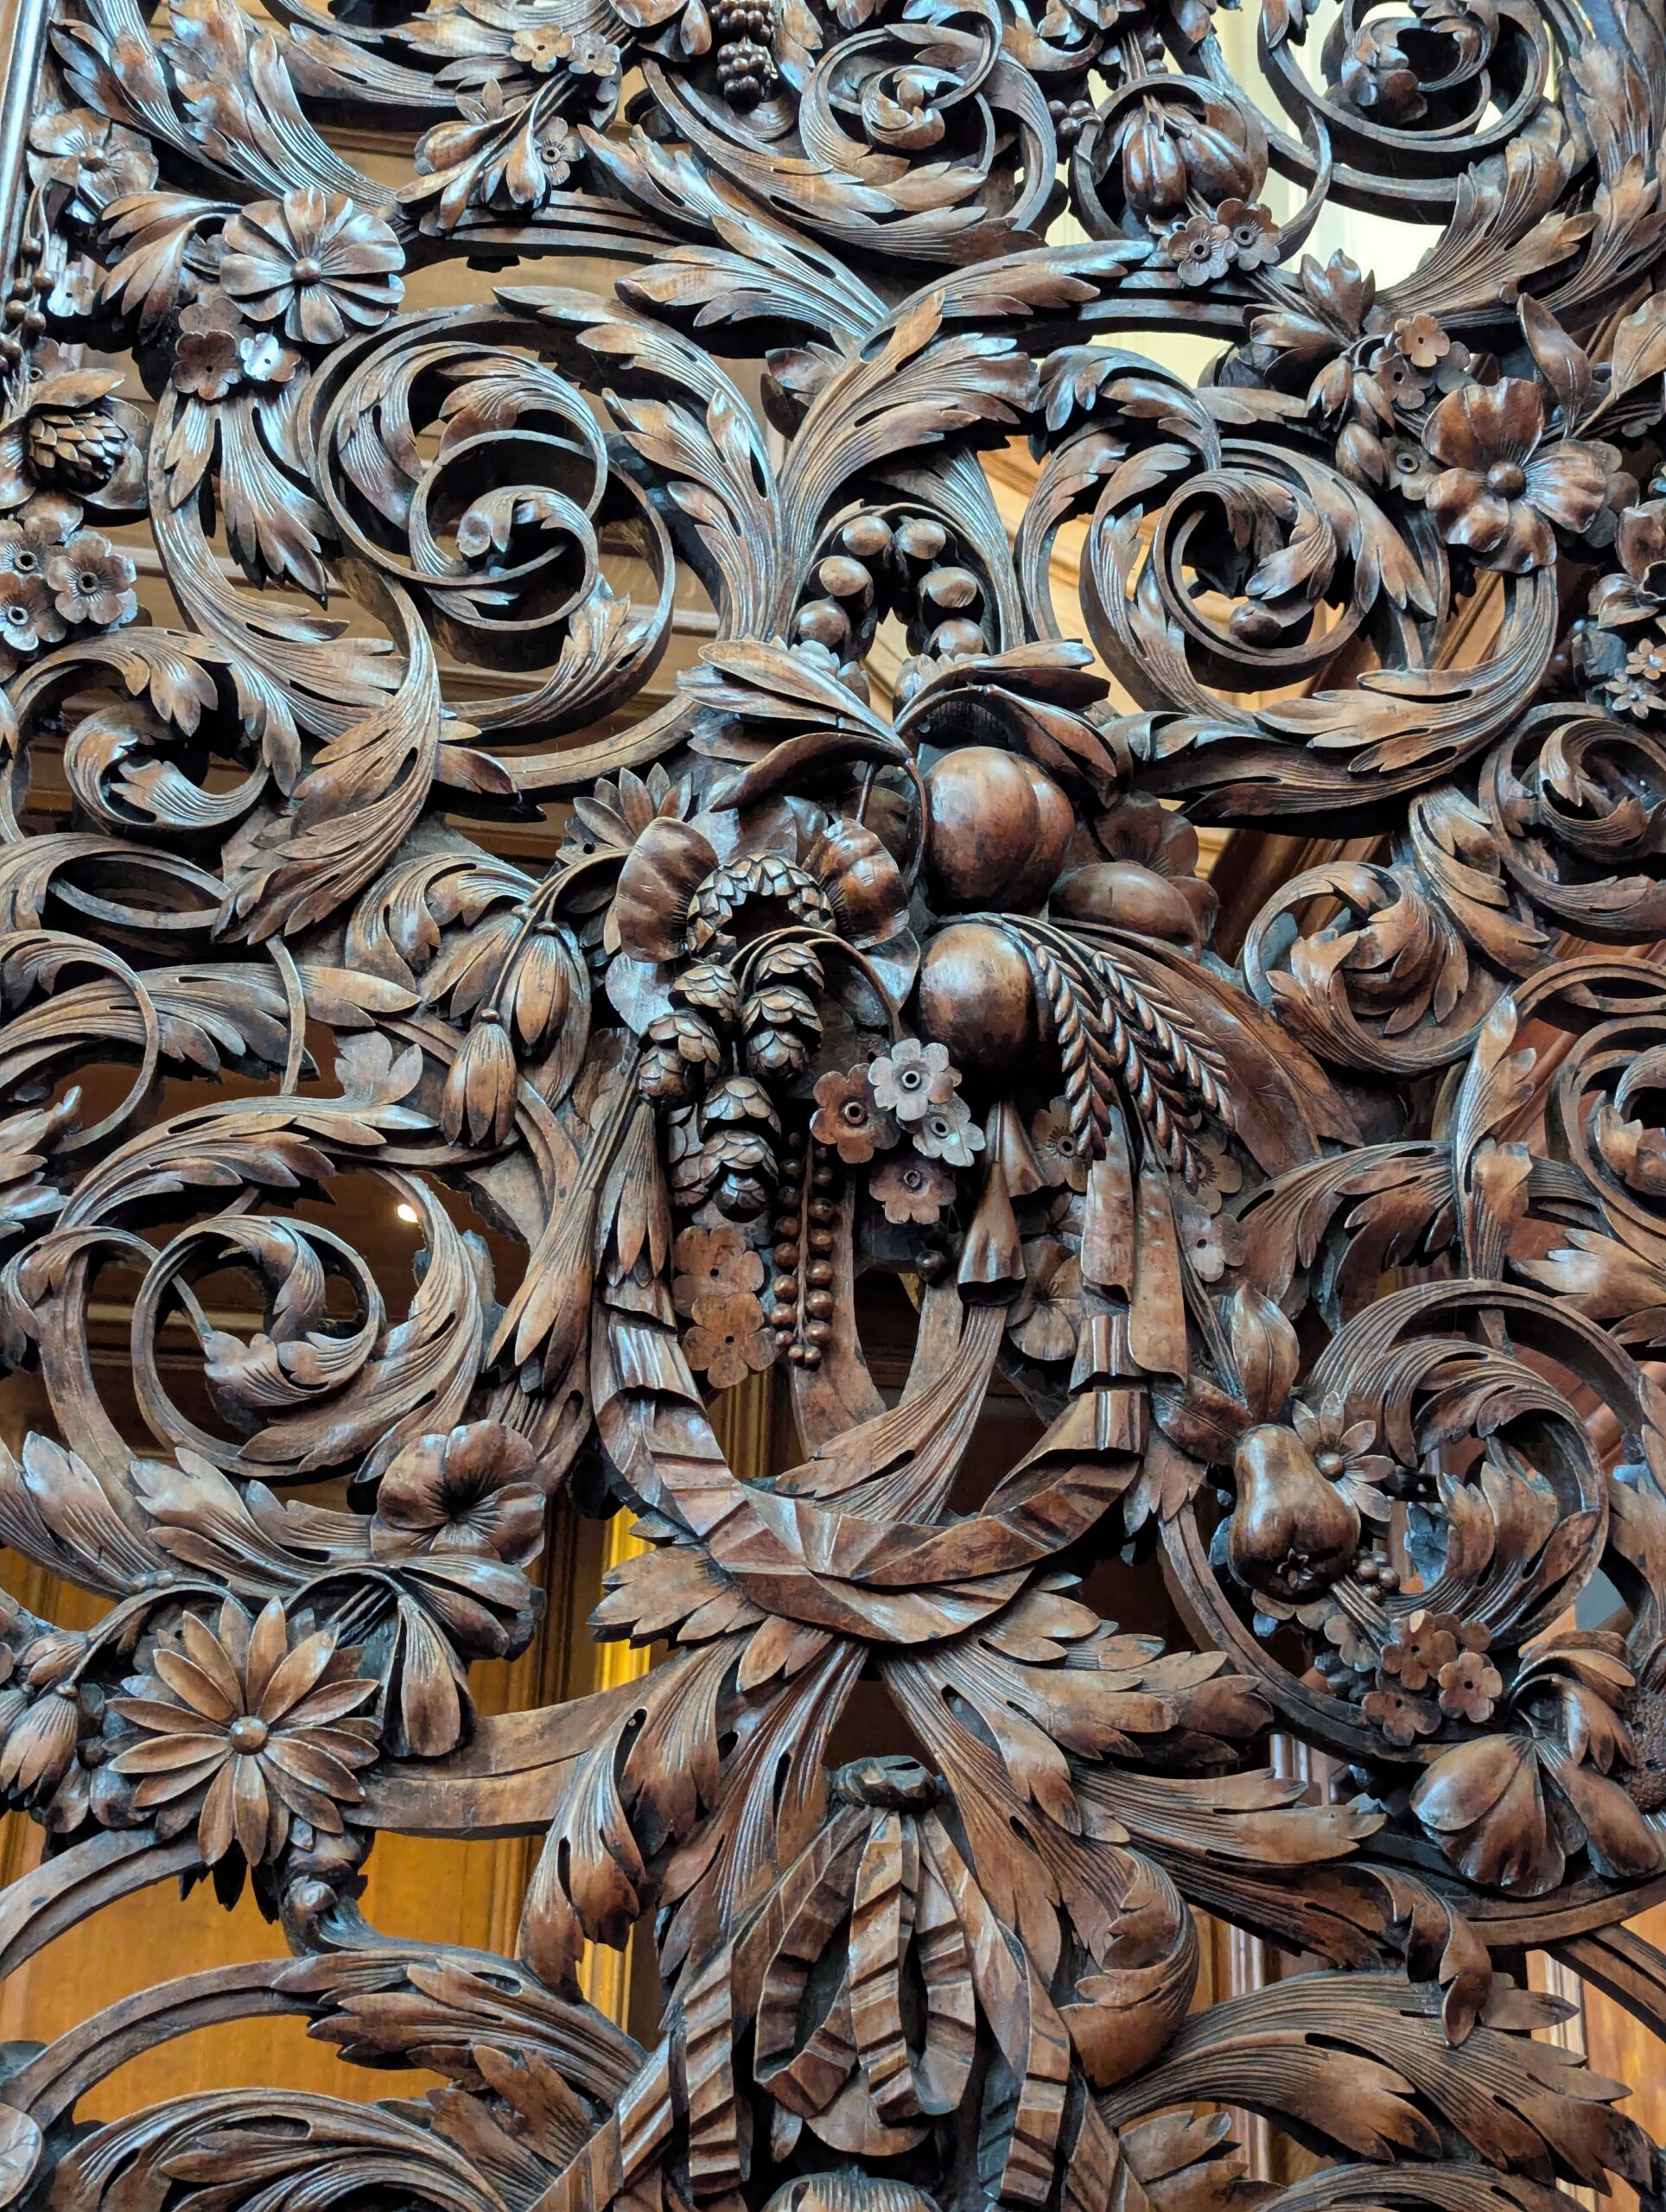
Overworking is not always about putting in too many hours because of job demands, it can be as much about fussing around in miniscule ways that sends a work over the top. I have made many pieces in my lifetime as a maker. Occasionally, some pieces, large and small, ended up being somewhat overworked. I look back into the history of my craft and I might consider the work made for the highly privileged, mostly the wealthy charlatans of past life, though extraordinarily remarkable, and almost all fall into the category of overworked work. I would regard the Chinese Ball and Claw foot (or the Queen Anne- or Philadelphia-style in the west) to be creatively clever and skilfully executed. I also consider it to be overly fussy, pretentious, not particularly difficult but a much overworked chair or table leg. Other aspects of woodworking and furniture making have the same ostentation, I consider 95% of mouldings applied these days to be excessively pretentious or showy, meant to replicate the cleverness of ancient makers using moulding planes skilfully but nowadays, no more than a display of someone owning a power router and wanting to get value for wasted money to do something with it.
One of my early pieces, when first moving to Texas, seemed to stick in my display area. As conversations came and went, I discovered that my visitors wanted darker looks to their choices. I'd used no stain. The stain range went from truly dark and near black to what they called "Early American". They felt that dark stains 'enrichened' the wood, whereas it mostly muddied the grain. Back then they had stains called "Colonial Oak", and then others such as "Antique Oak" and many others. Imagine naming one called "Natural Oak". But stains do have their place, and we too have our British equivalents in Jacobean, Georgian, light, medium and dark Oak. We use them to colour and match existing colours in woods that have been previously dyed or chemically and pigment stained and also aged by life itself; otherwise, a repair or reworked finish intended to match can be garishly obvious.
My sketching takes on a different look as I work through the various levels to a finished image. If I go too far, even an eraser doesn't leave the page impact free, though you might think it does. Reworking the same patch of paper to apply graphite once more is not the same, and that's because erasing removes much of the 'nap' of the paper and that reflects surface texture and light reflected differently.
As it is with wood, it's better to get it right and not need to try to undo what we've got. Drawings and planning minimise the risk, but we should not be afraid to take risk. That's all the more high self-demand when we are the originator of designs and not merely copying the work of others. My opening line sketch above this one actually works without tone. Our minds fill in the missing parts in the same way our minds can still read 95% of words, ofter cutting off the tops or bottoms halfway.
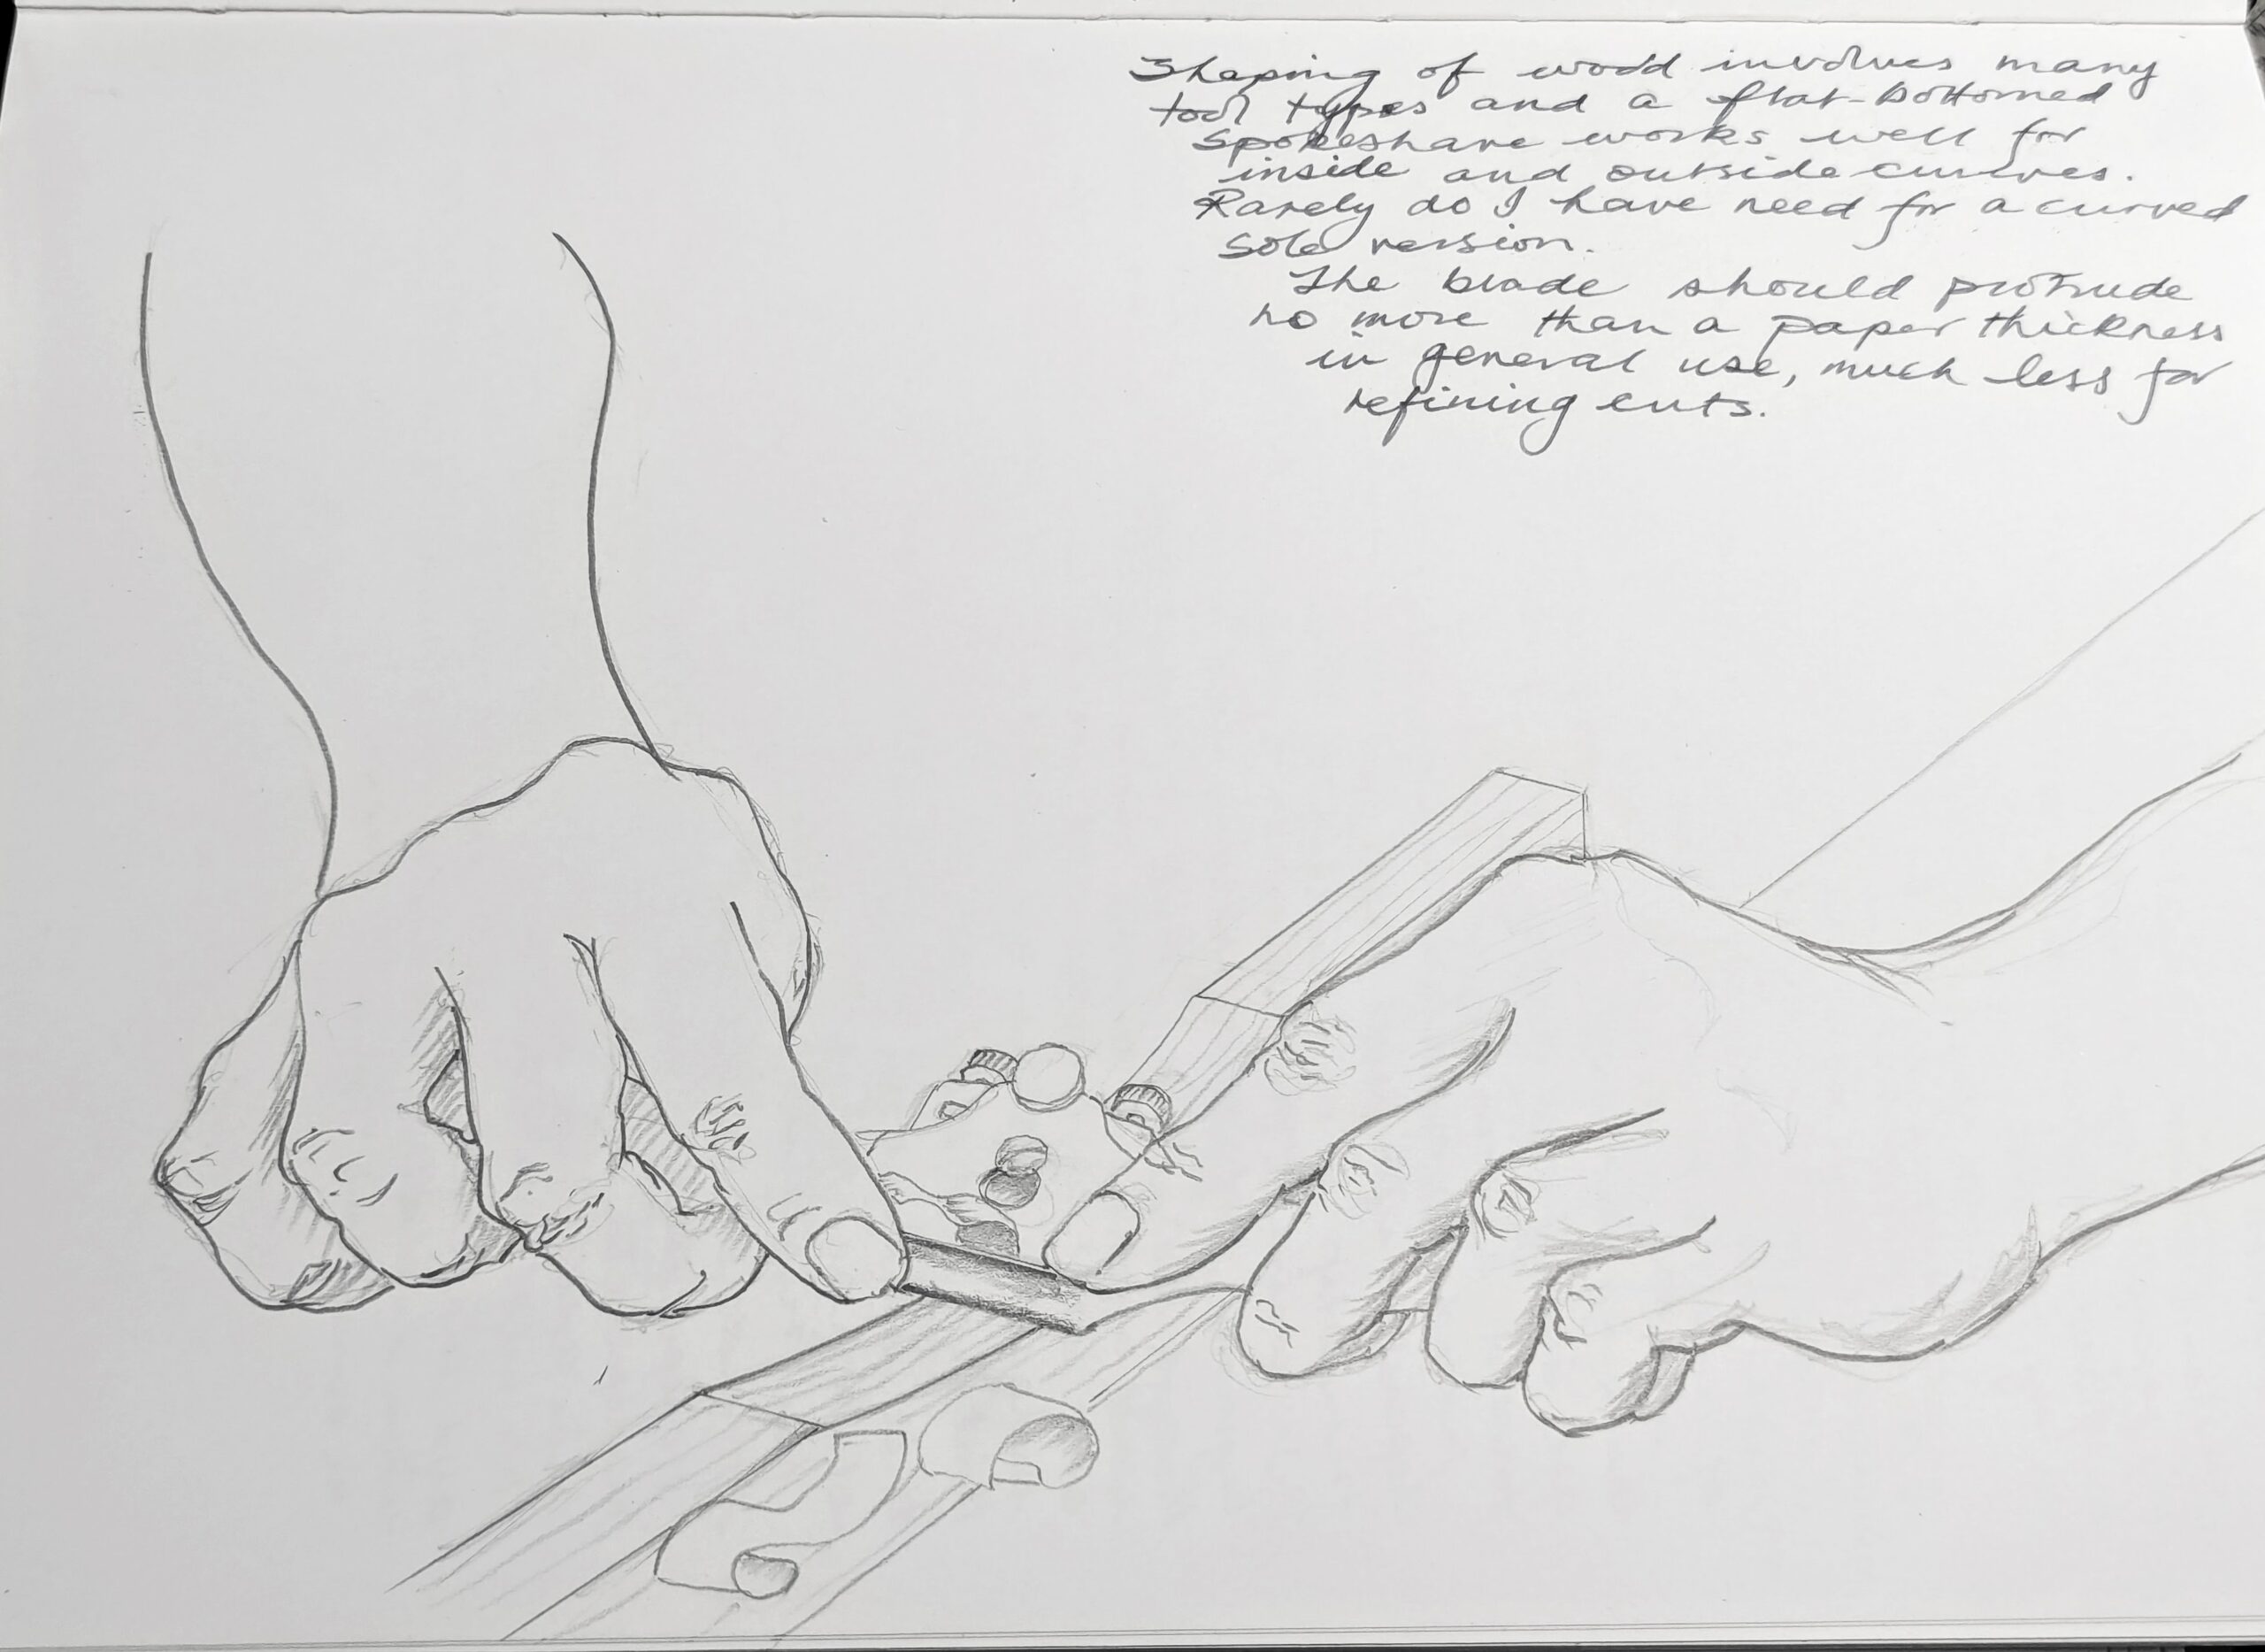
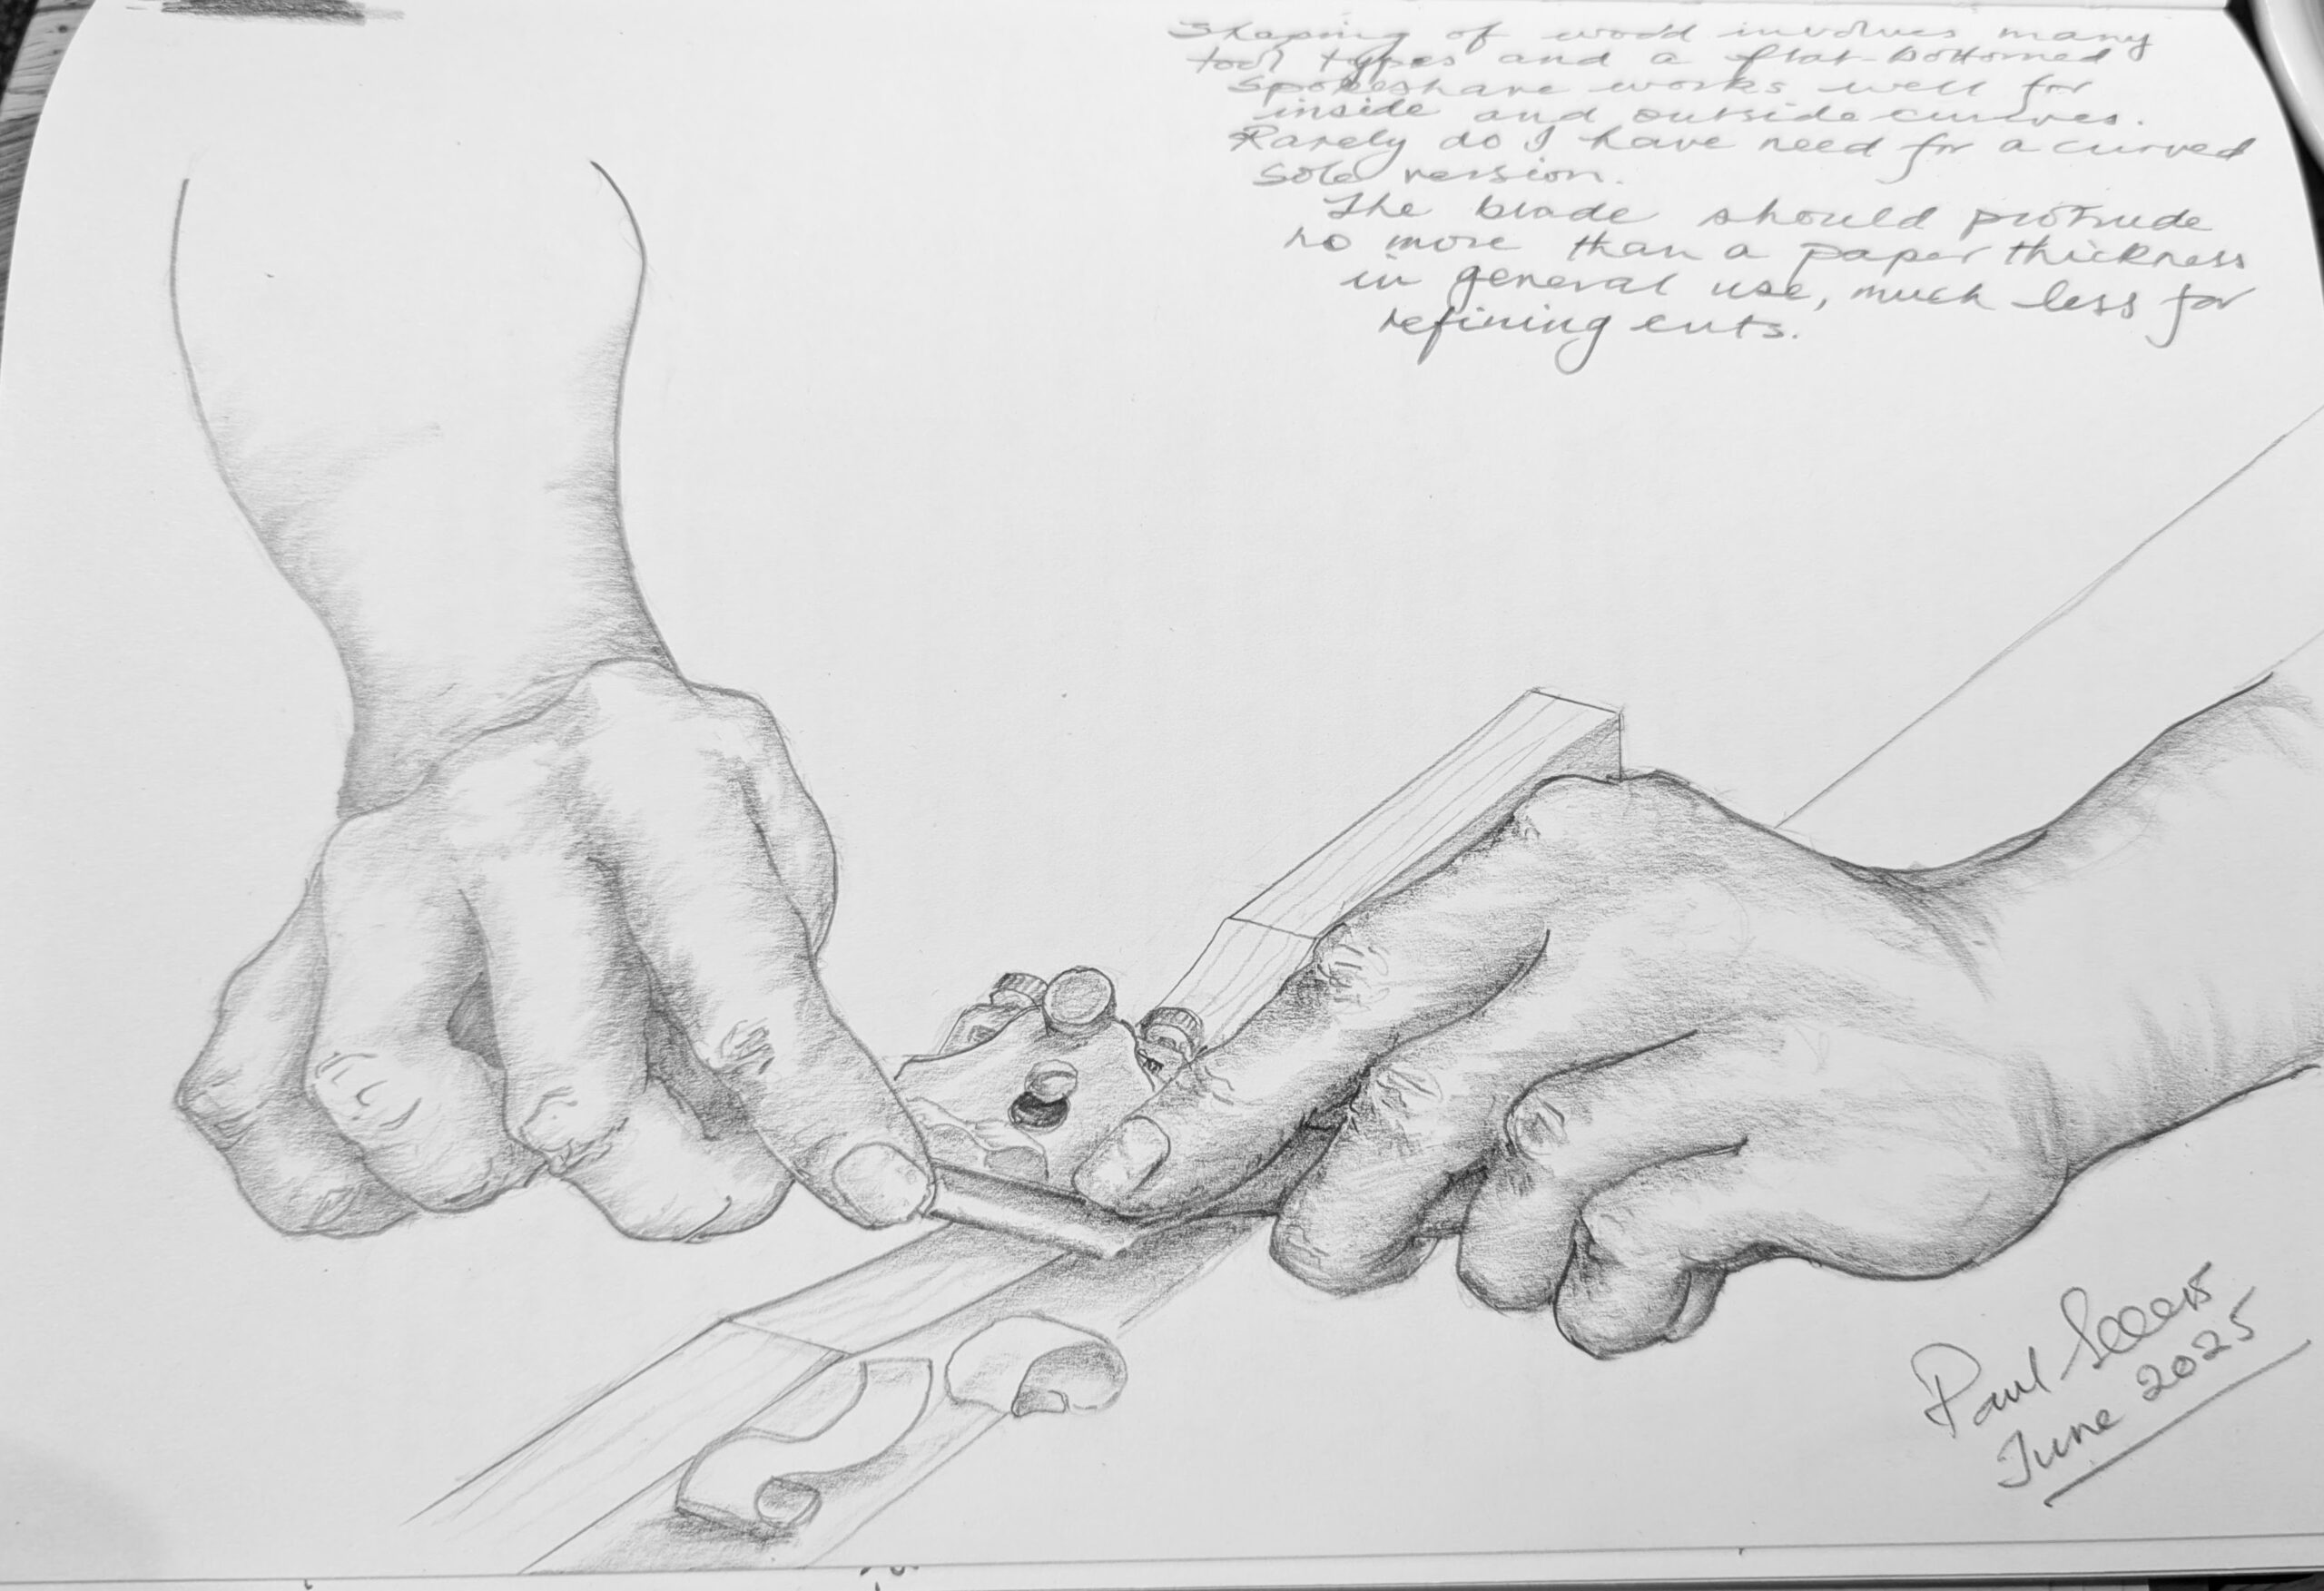
My drawing progresses in stages of my working the page and graphite. Usually, often, I put the work away for another time. Some drawings I abandon for weeks, but I almost always go back to them. In this drawing, you see how the left hand starts to contrast markedly with the right one simply by a few minutes of shade tones I create. Only when I start to add shading does the other hand look neglected and lacking. In the shop, bevelling a chamfer, inlaying a stripe of contrasting wood, marginally changes the look. Adding moulds radically shifts the eye from the simple to make it look more complex, even though adding the power-routed mould takes only very minimal skill and a matter of seconds.
It's usually finished with the signature, but still, I might just go back when something I missed seems more obvious, That's not always so easy to do with my woodworking and especially is that so once the finish goes on. That's where a drawing to scale helps, and my notebook journal gives me that. I can put an arch in and take it out, expand a width to a door and then change it for better proportion. My work sketching is faster than using the computer and the feedback is instant. I know most are using a software programme, and my final drawings for the online PDFs come from SketchUp 3D Design Software.
Greyscale is an intermediate colour between black and white. We refer to it more accurately as a neutral colour which is achromatic and that means it's devoid of chroma. Simply put, in art and in craft too, at least, chroma comes from the Greek word meaning colour.

The colour of our working wood lies in not taking things too far. By this, I mean decoration. Wood carving is inevitably predicted by the carver. In most past works, it was the purchase of the artist by the noble that was paid for by those wealthy and too often powerful overlords. Excessive adornment would be their way of expressing themselves as influencers, even though they only paid for it and accomplished not too much with their non-working hands.
I'm looking into past workings. The eccentricities of the rich exemplifying extravagance only they can afford. It's not the free spirit of creatives but the bought and paid off, bought creativity those privileged few who could and would and did afford to pay a pittance to buy and own with laundered money, clean clothes and hands that never did a lick.
There's an art to developing simplicity in the unsullied final look of it standing there. It comes in the same way I recall concluding, walking across a field in Texas, that with three woodworking joints and no more than about ten hand tools that you could make just about anything from wood. Simplistic? Well, see for yourself. If you've been following and learning from me for very long (and even a very short time too), then you've been following that course that came to me in a Texas scrubby waste in all that I teach. It formed the basis of all that I have taught since that day, all those decades ago. Oh, there are variations on those self same three and the way I teach others to use the ten, but the work only becomes a slight variation to maximise the outcome in so punchy a way. Everyone now takes it for granted that we can plane the cheeks incrementally to a dead-on fit with a hand router plane, though no one did so until Paul Sellers spoke of it and taught others to do it. And what of that brilliant mortise guide, too? Yes, all his idea as well. And who ever used the router plane to lay out tenons and mortises anyway?

Comments ()