Another Guide From the Paul Sellers' Stable
A Guide Like No Other
I'm more an advocate for freehand sharpening because of the speed and efficiency it gives me. My chisel and plane irons come 95% that way, and I'm more an advocate for developing methods that rely on our developing skill and mastery rather than anything that substitutes for it. Also, I don't tend to use machine grinders for sharpening and grinding anyway because they inevitably take off ten times more steel than you would if you were using your own energies and that translates into much wasted steel and steel burning too. Some people will not believe that they are capable of freehand sharpening, but that's absolutely not true. So here I am advocating a guide and jig I came up with for honing plough plane irons. Why did I do that? A couple of reasons. One, there is not much to hold on to with these particularly small blades, so the finger strength needed is often lacking. Two, they are very difficult to keep the cutting edges square, which results in a sloped groove.
This guide is one of the best guides I've ever developed, simply because it's so very much simple itself in its making and its use. By using it, you are guaranteed the pristine cutting bevel you've always dreamed of, and any type of wood scrap will do to make it from too. I chose poplar for my original at top and that works fine, but that may not be in your scrap box. I made the one below from a scrap of sycamore instead. I've been culling down my scrap pile.
The most important aspect of creating this guide will be your accuracy. Take your time, work to sliding bevels, squares and knifewalls throughout. Any deviation from squareness will result in an out of square bevel to the cutting edge. But then, remember, any slip or deviations can easily be corrected with a sharp chisel and a new knifewall.
Before any layout, start by planing the blank straight and square. This is essential as this will affect the precision of the bed angle when the cutting iron is installed for the initial grind to the primary bevel and subsequent honing.
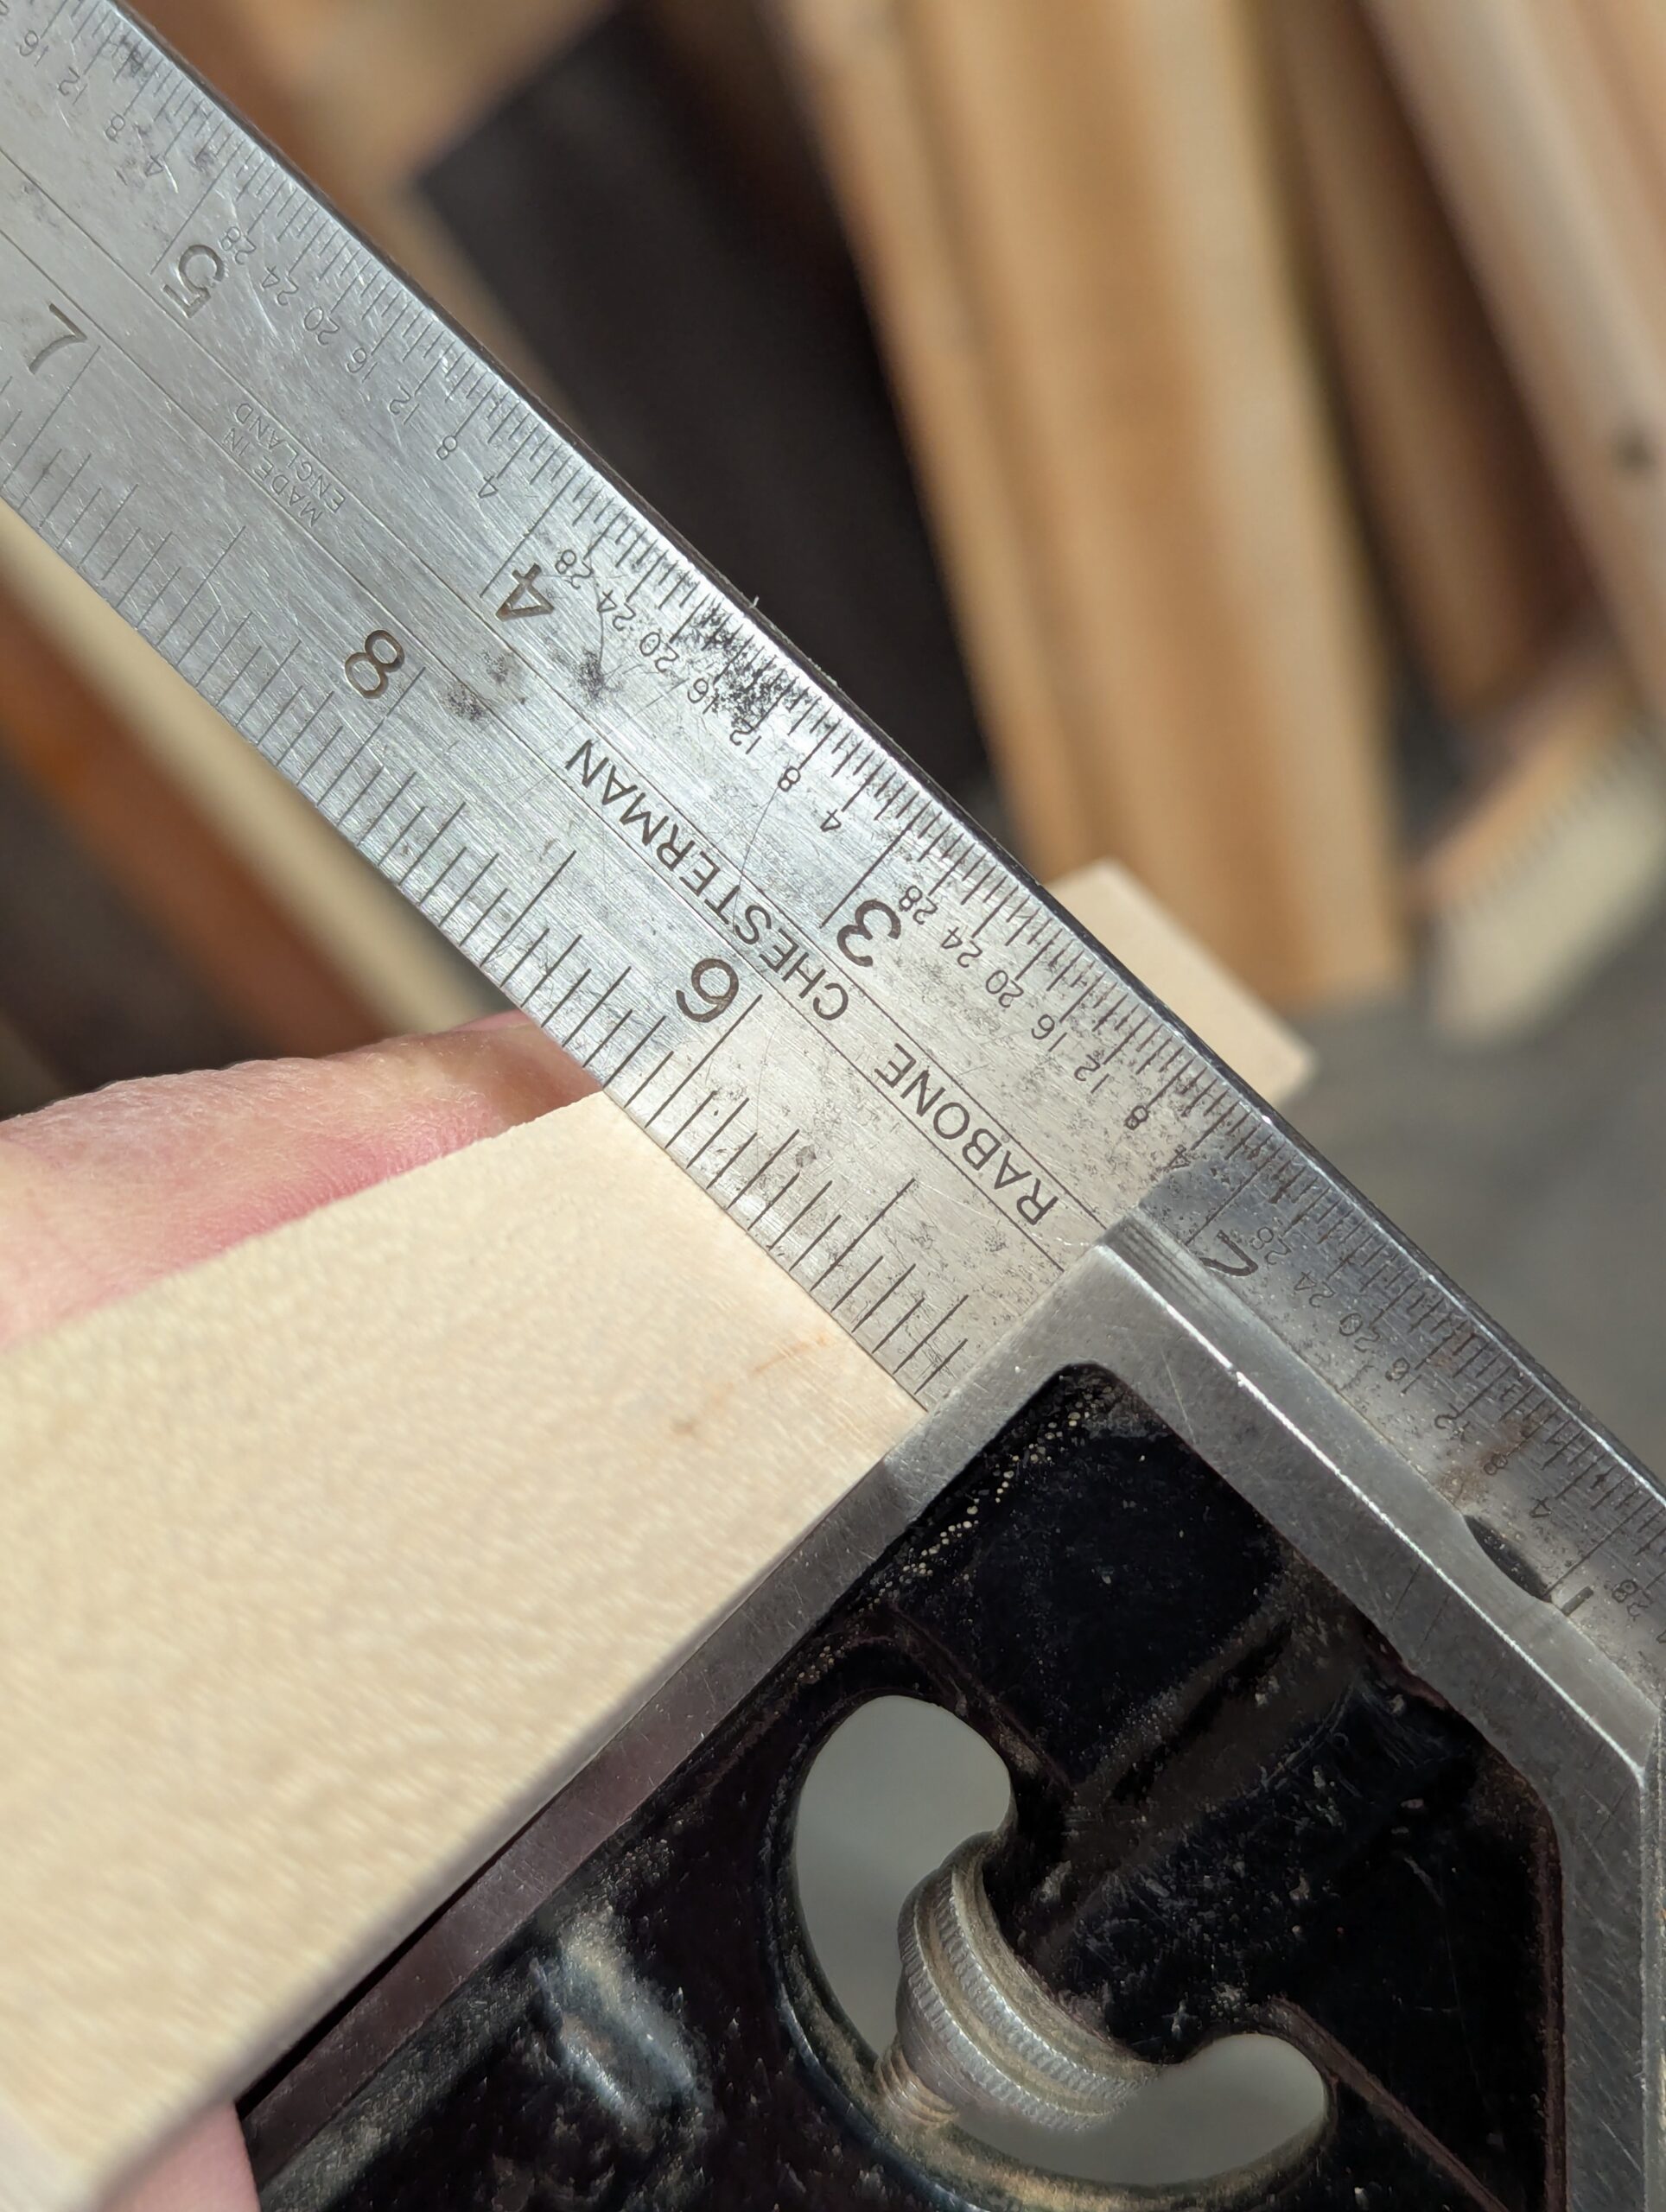
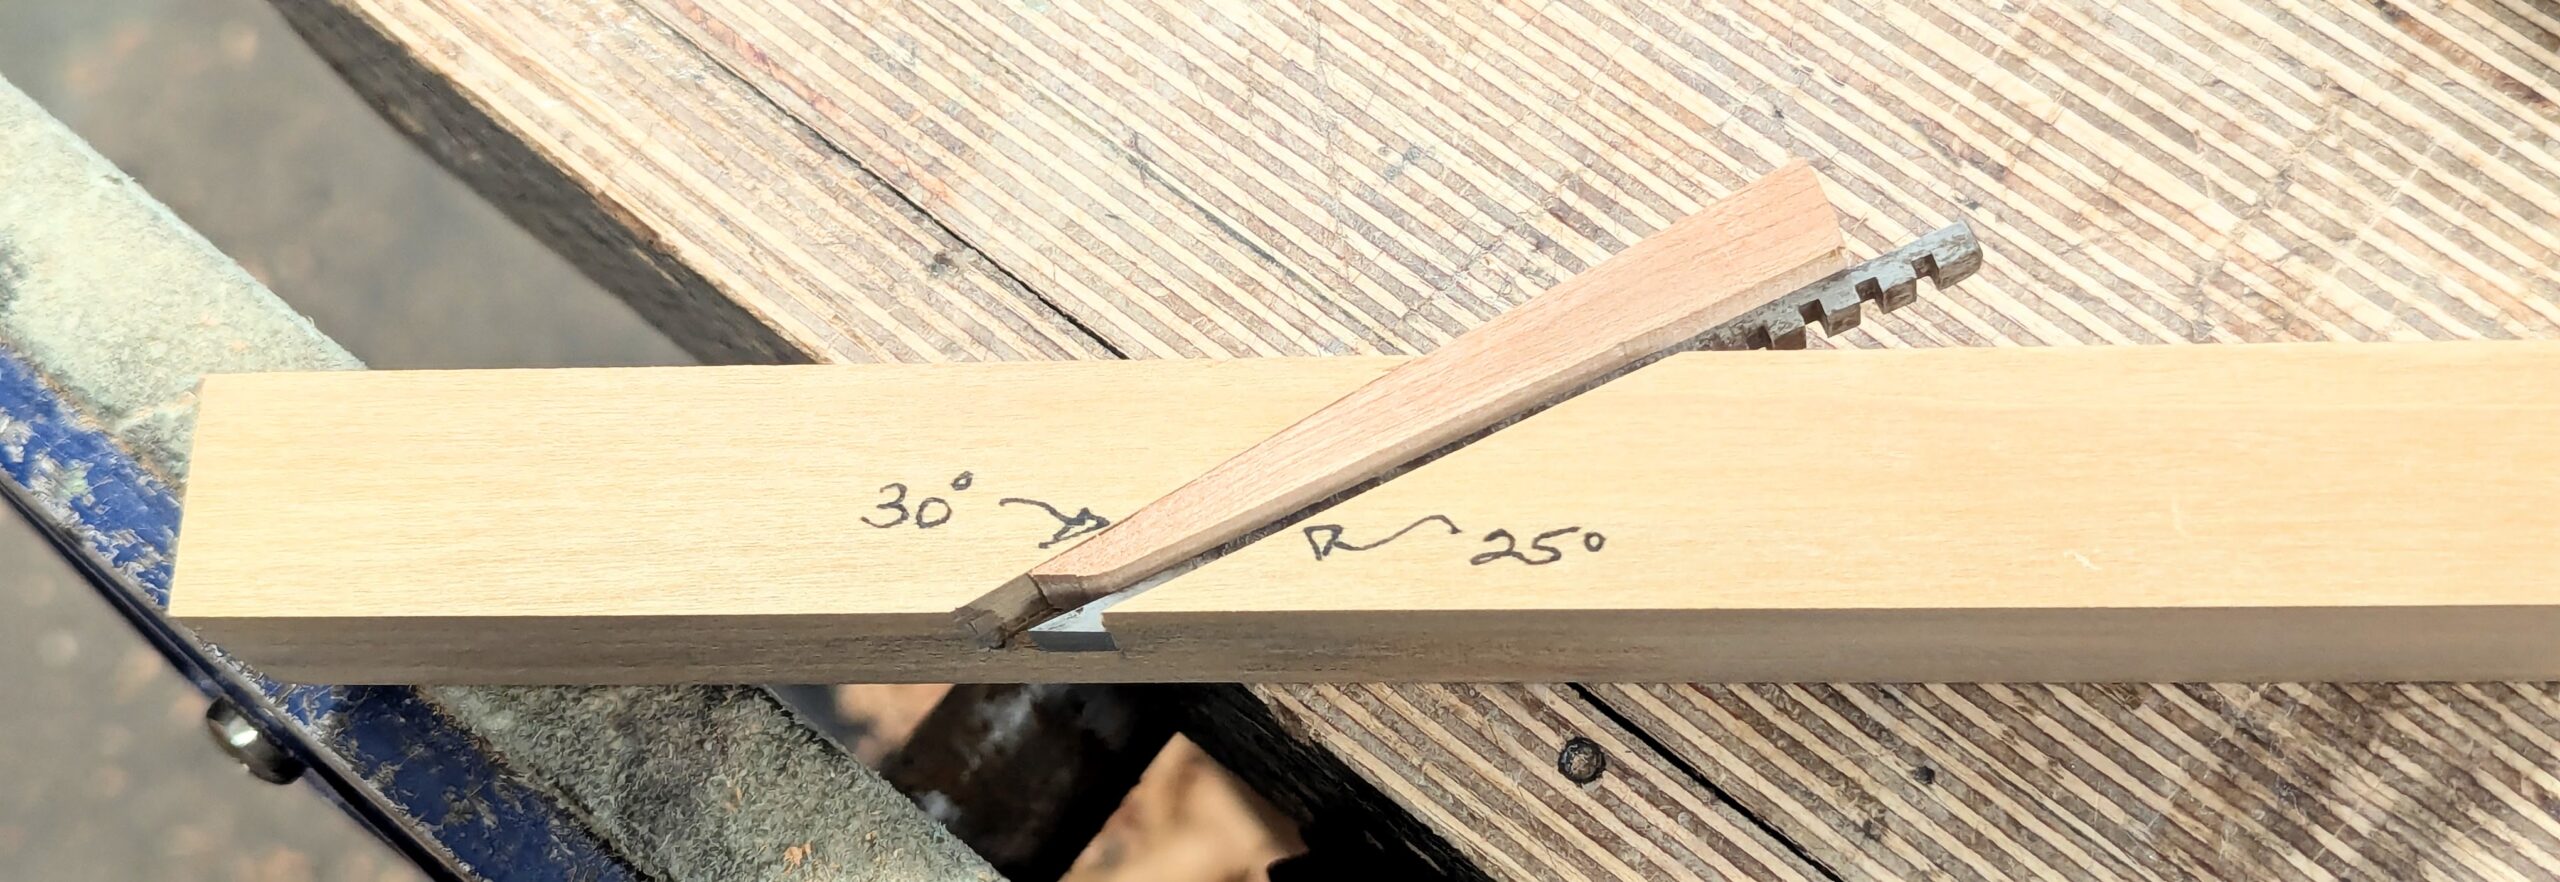
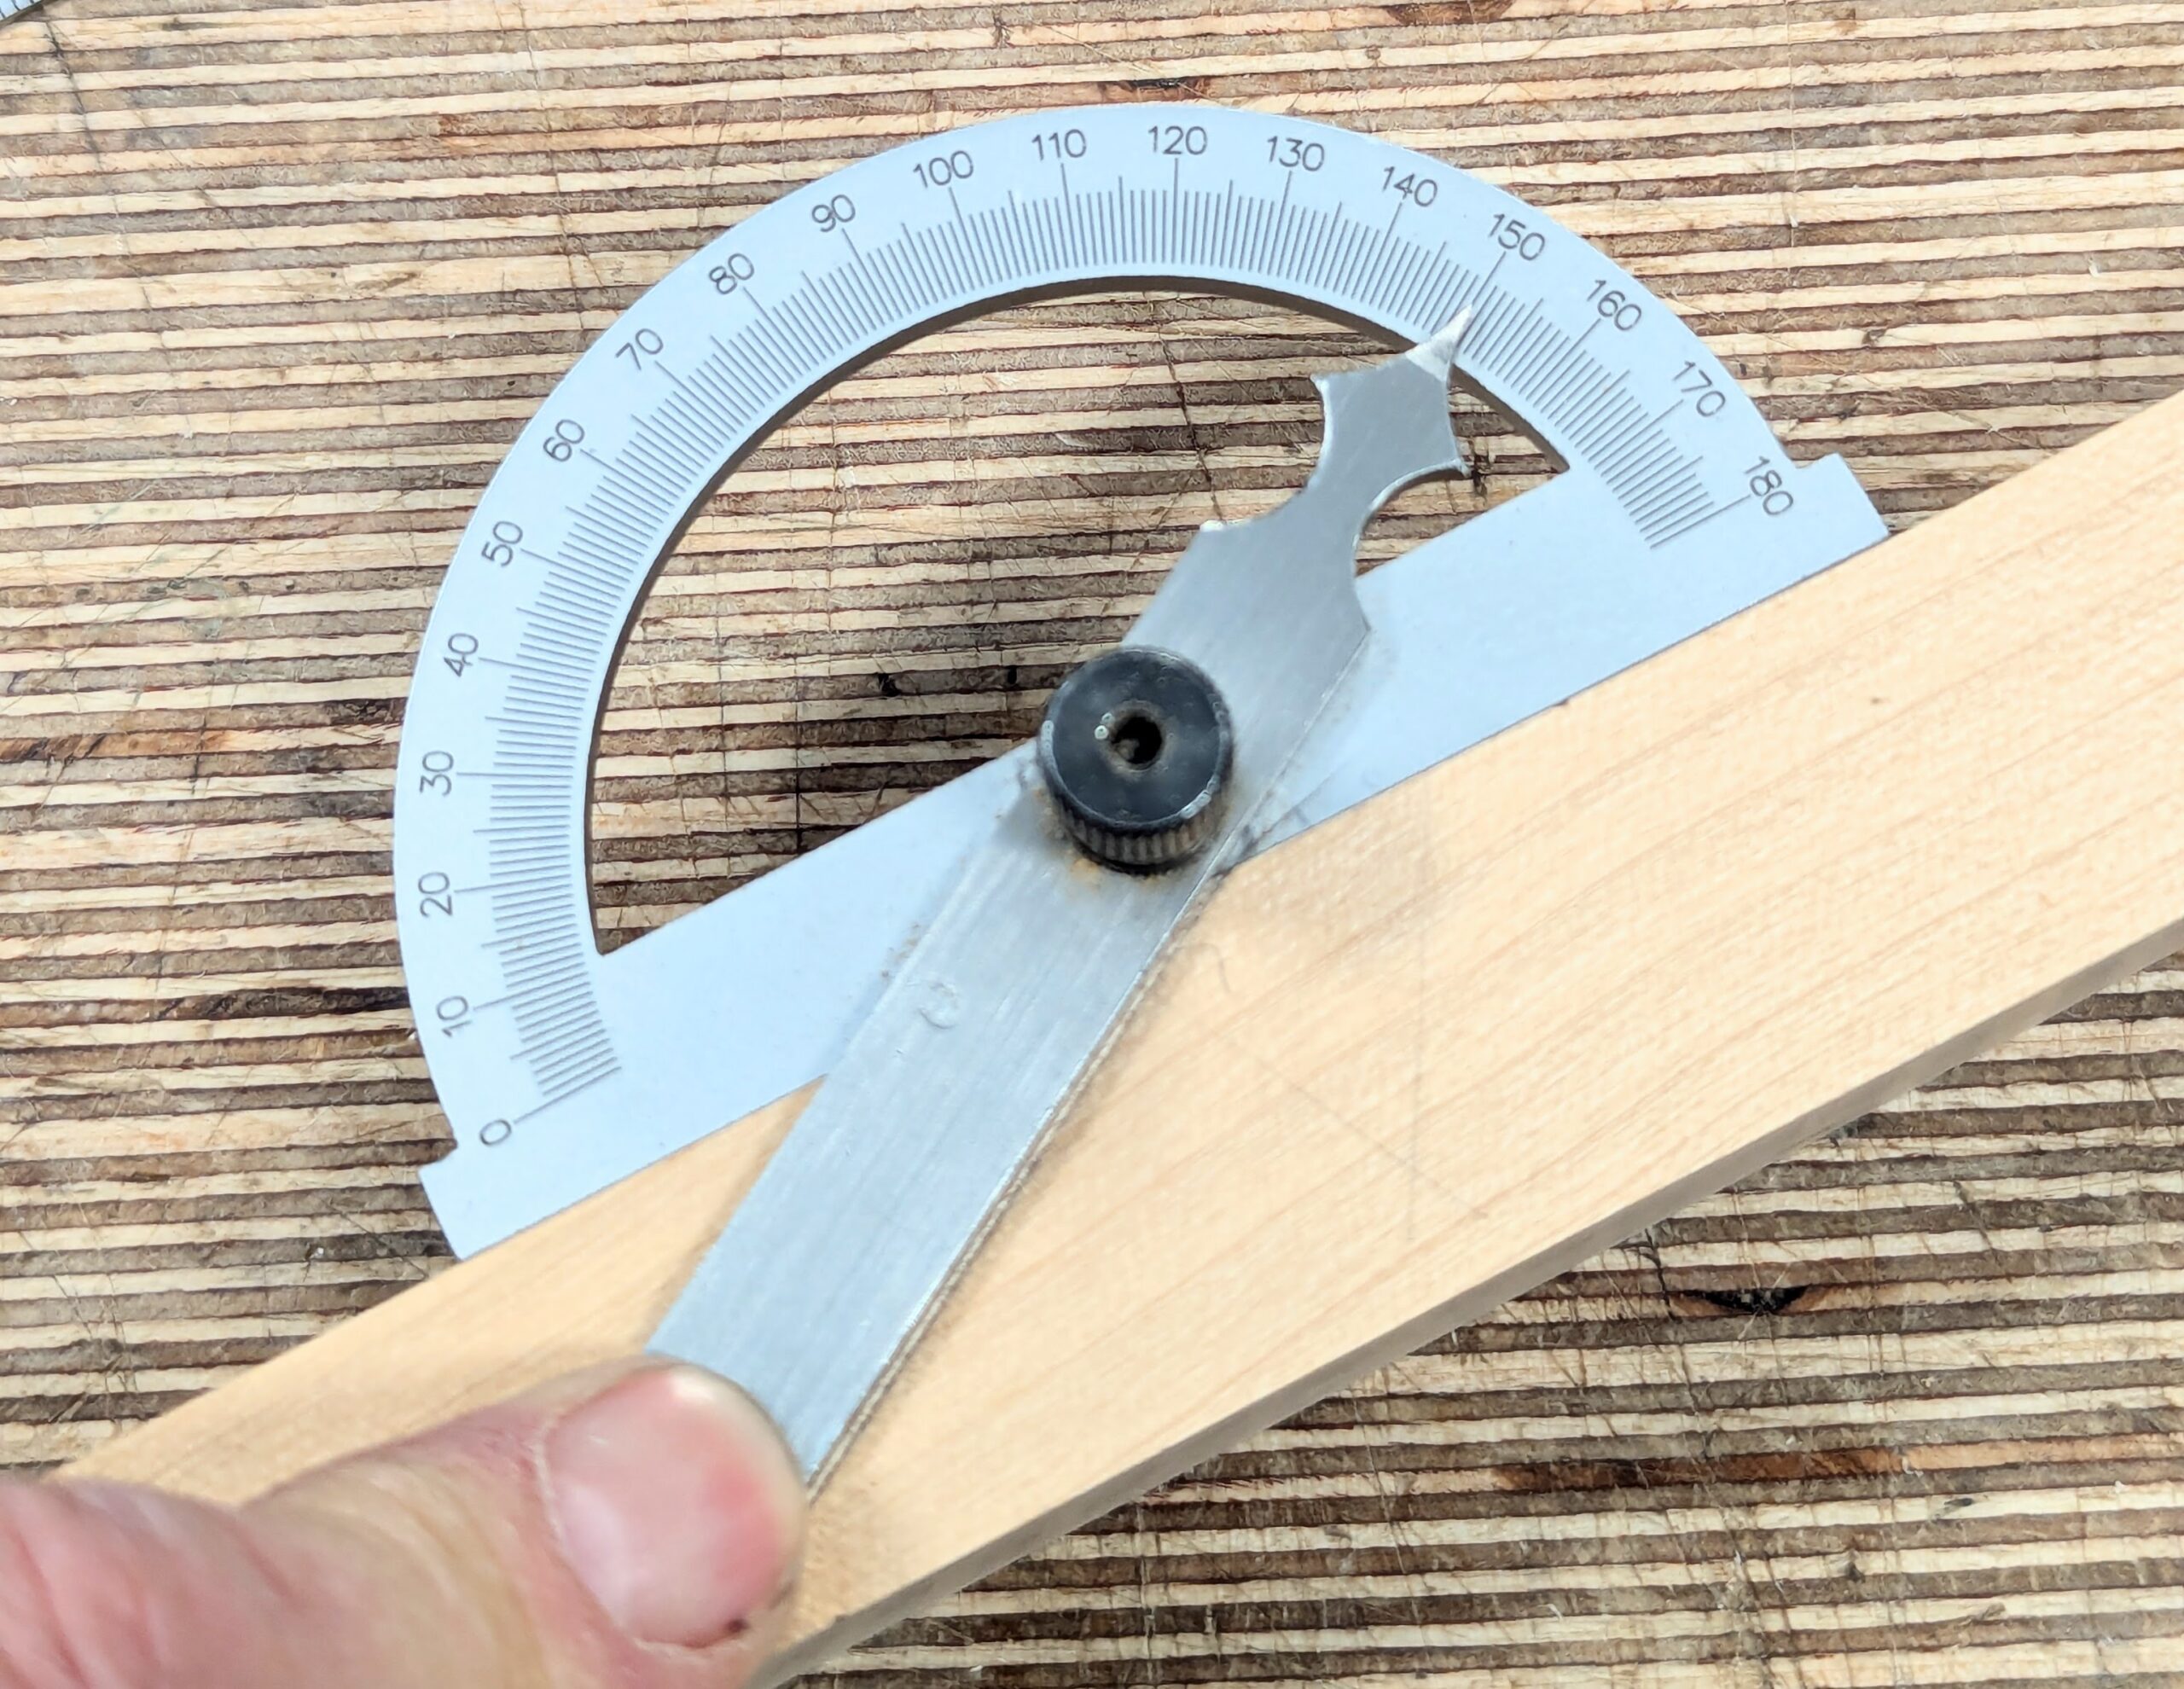
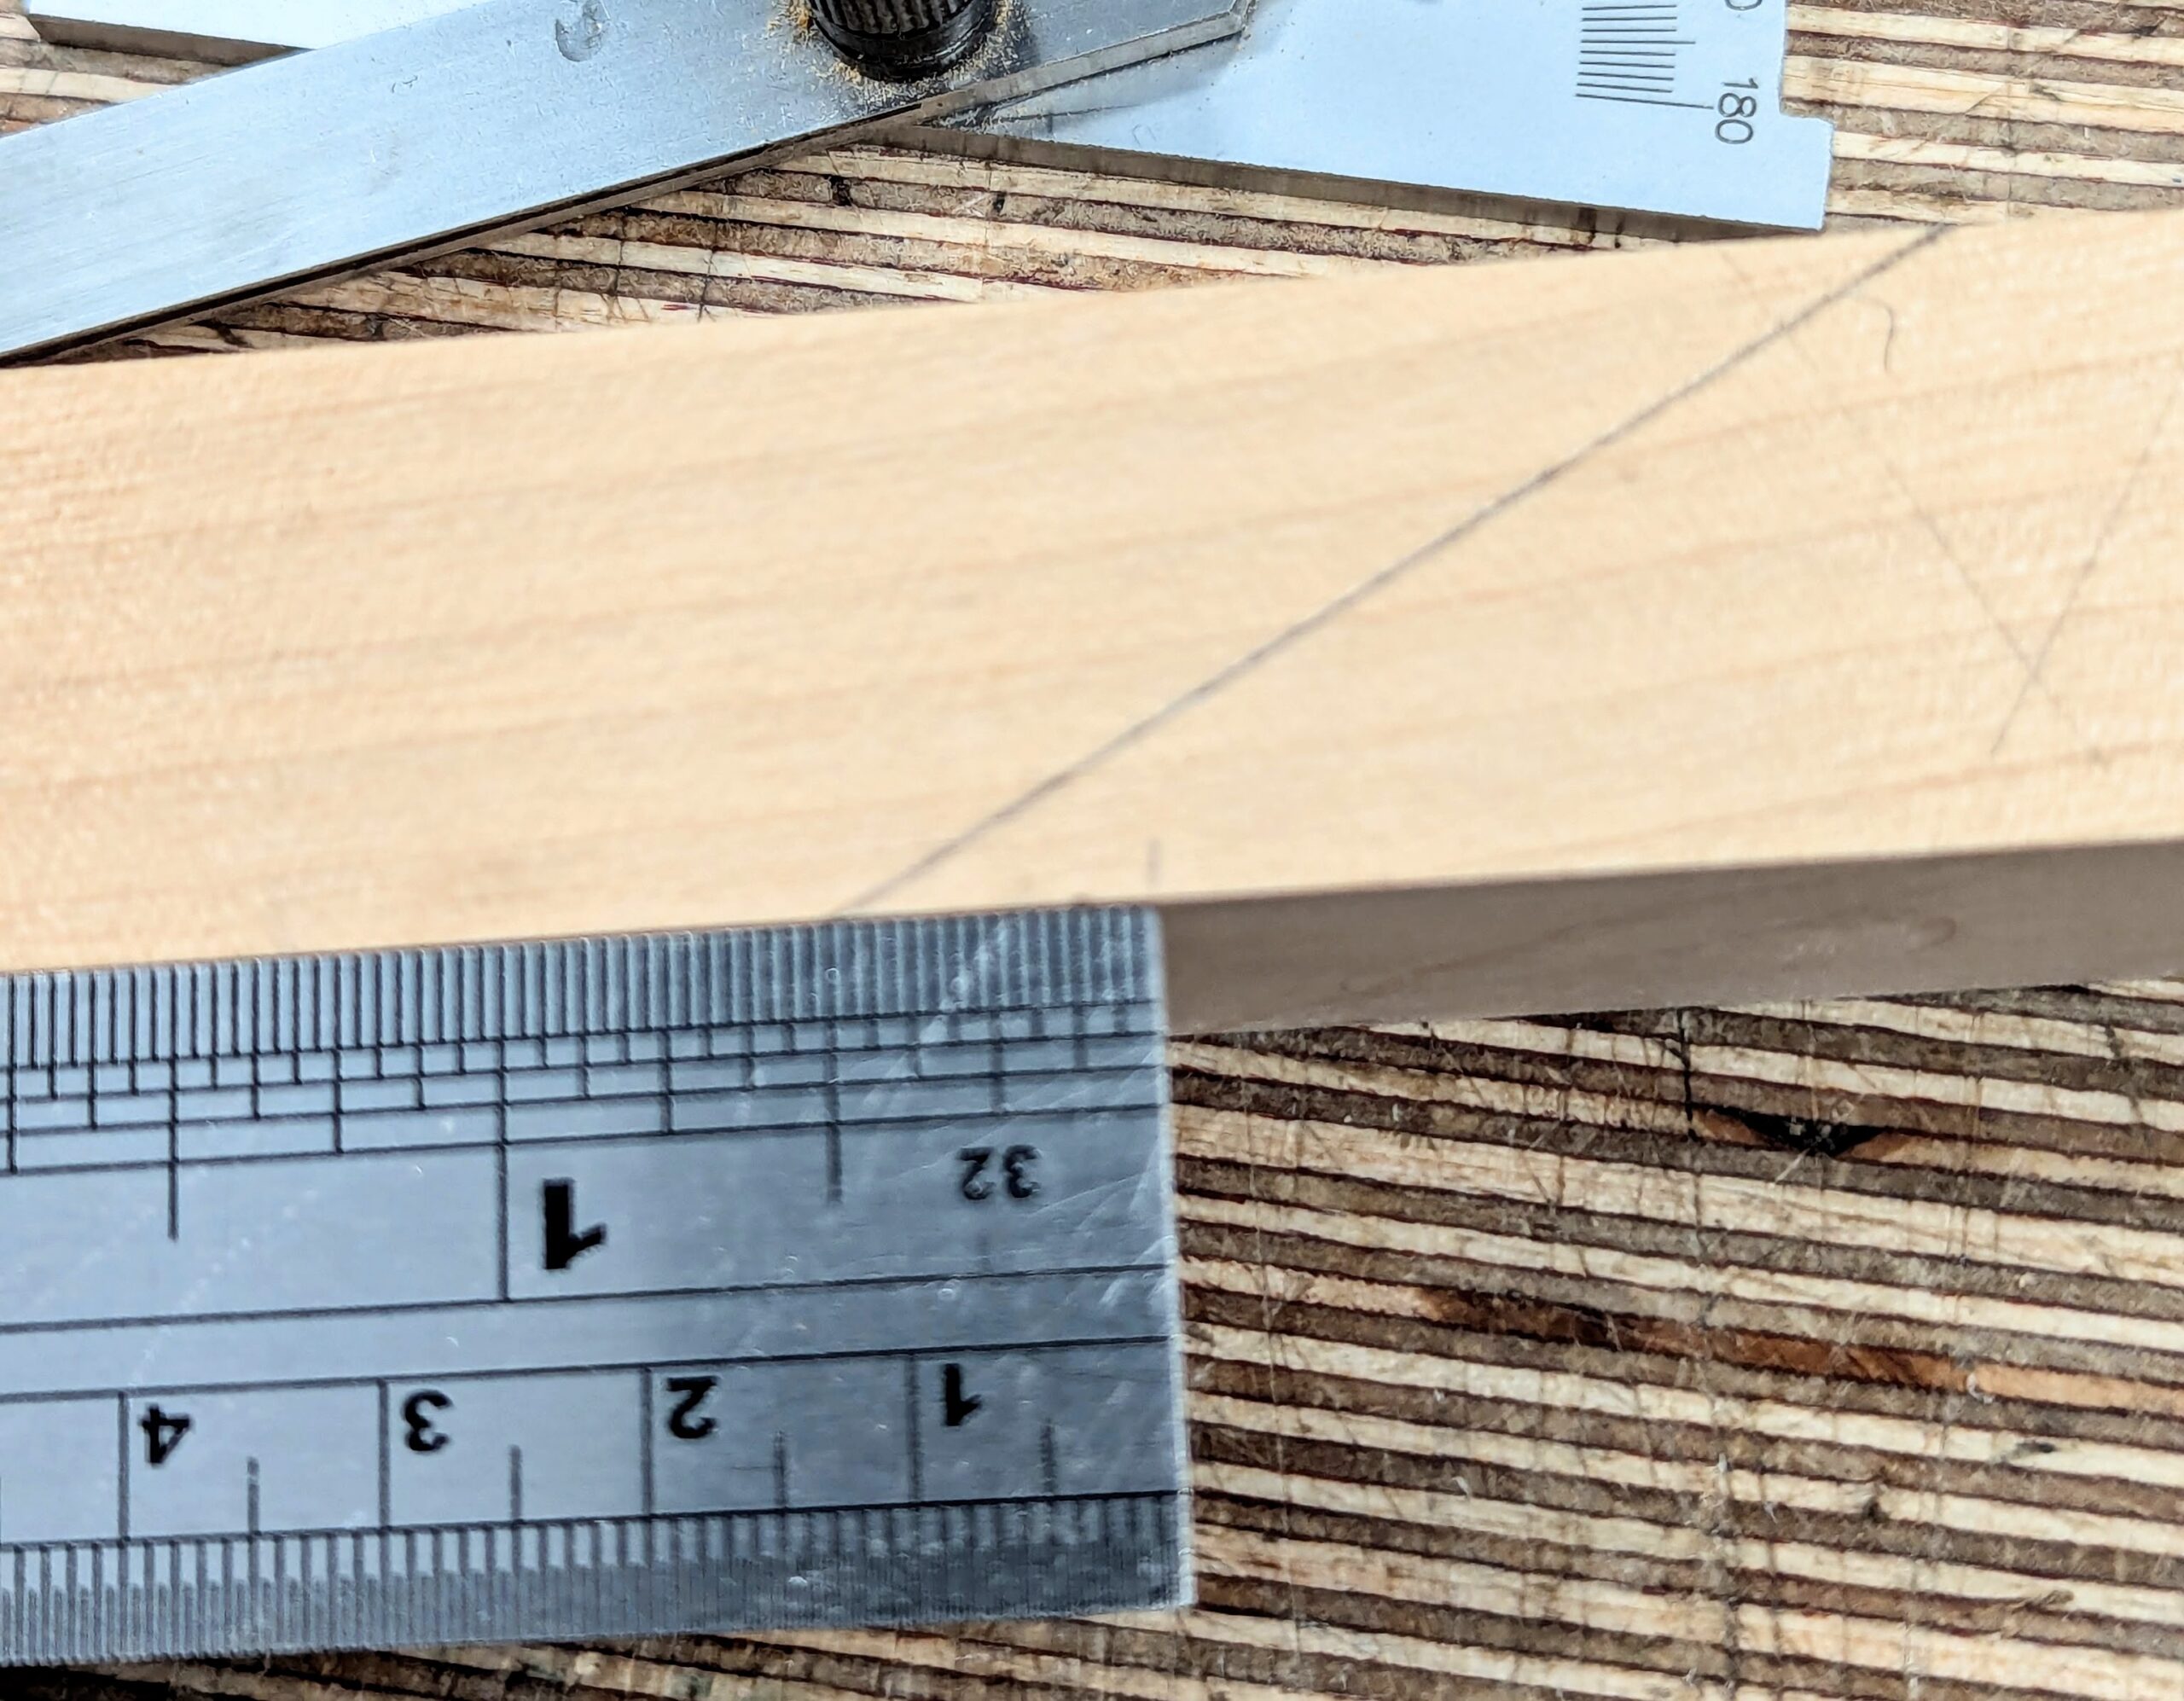
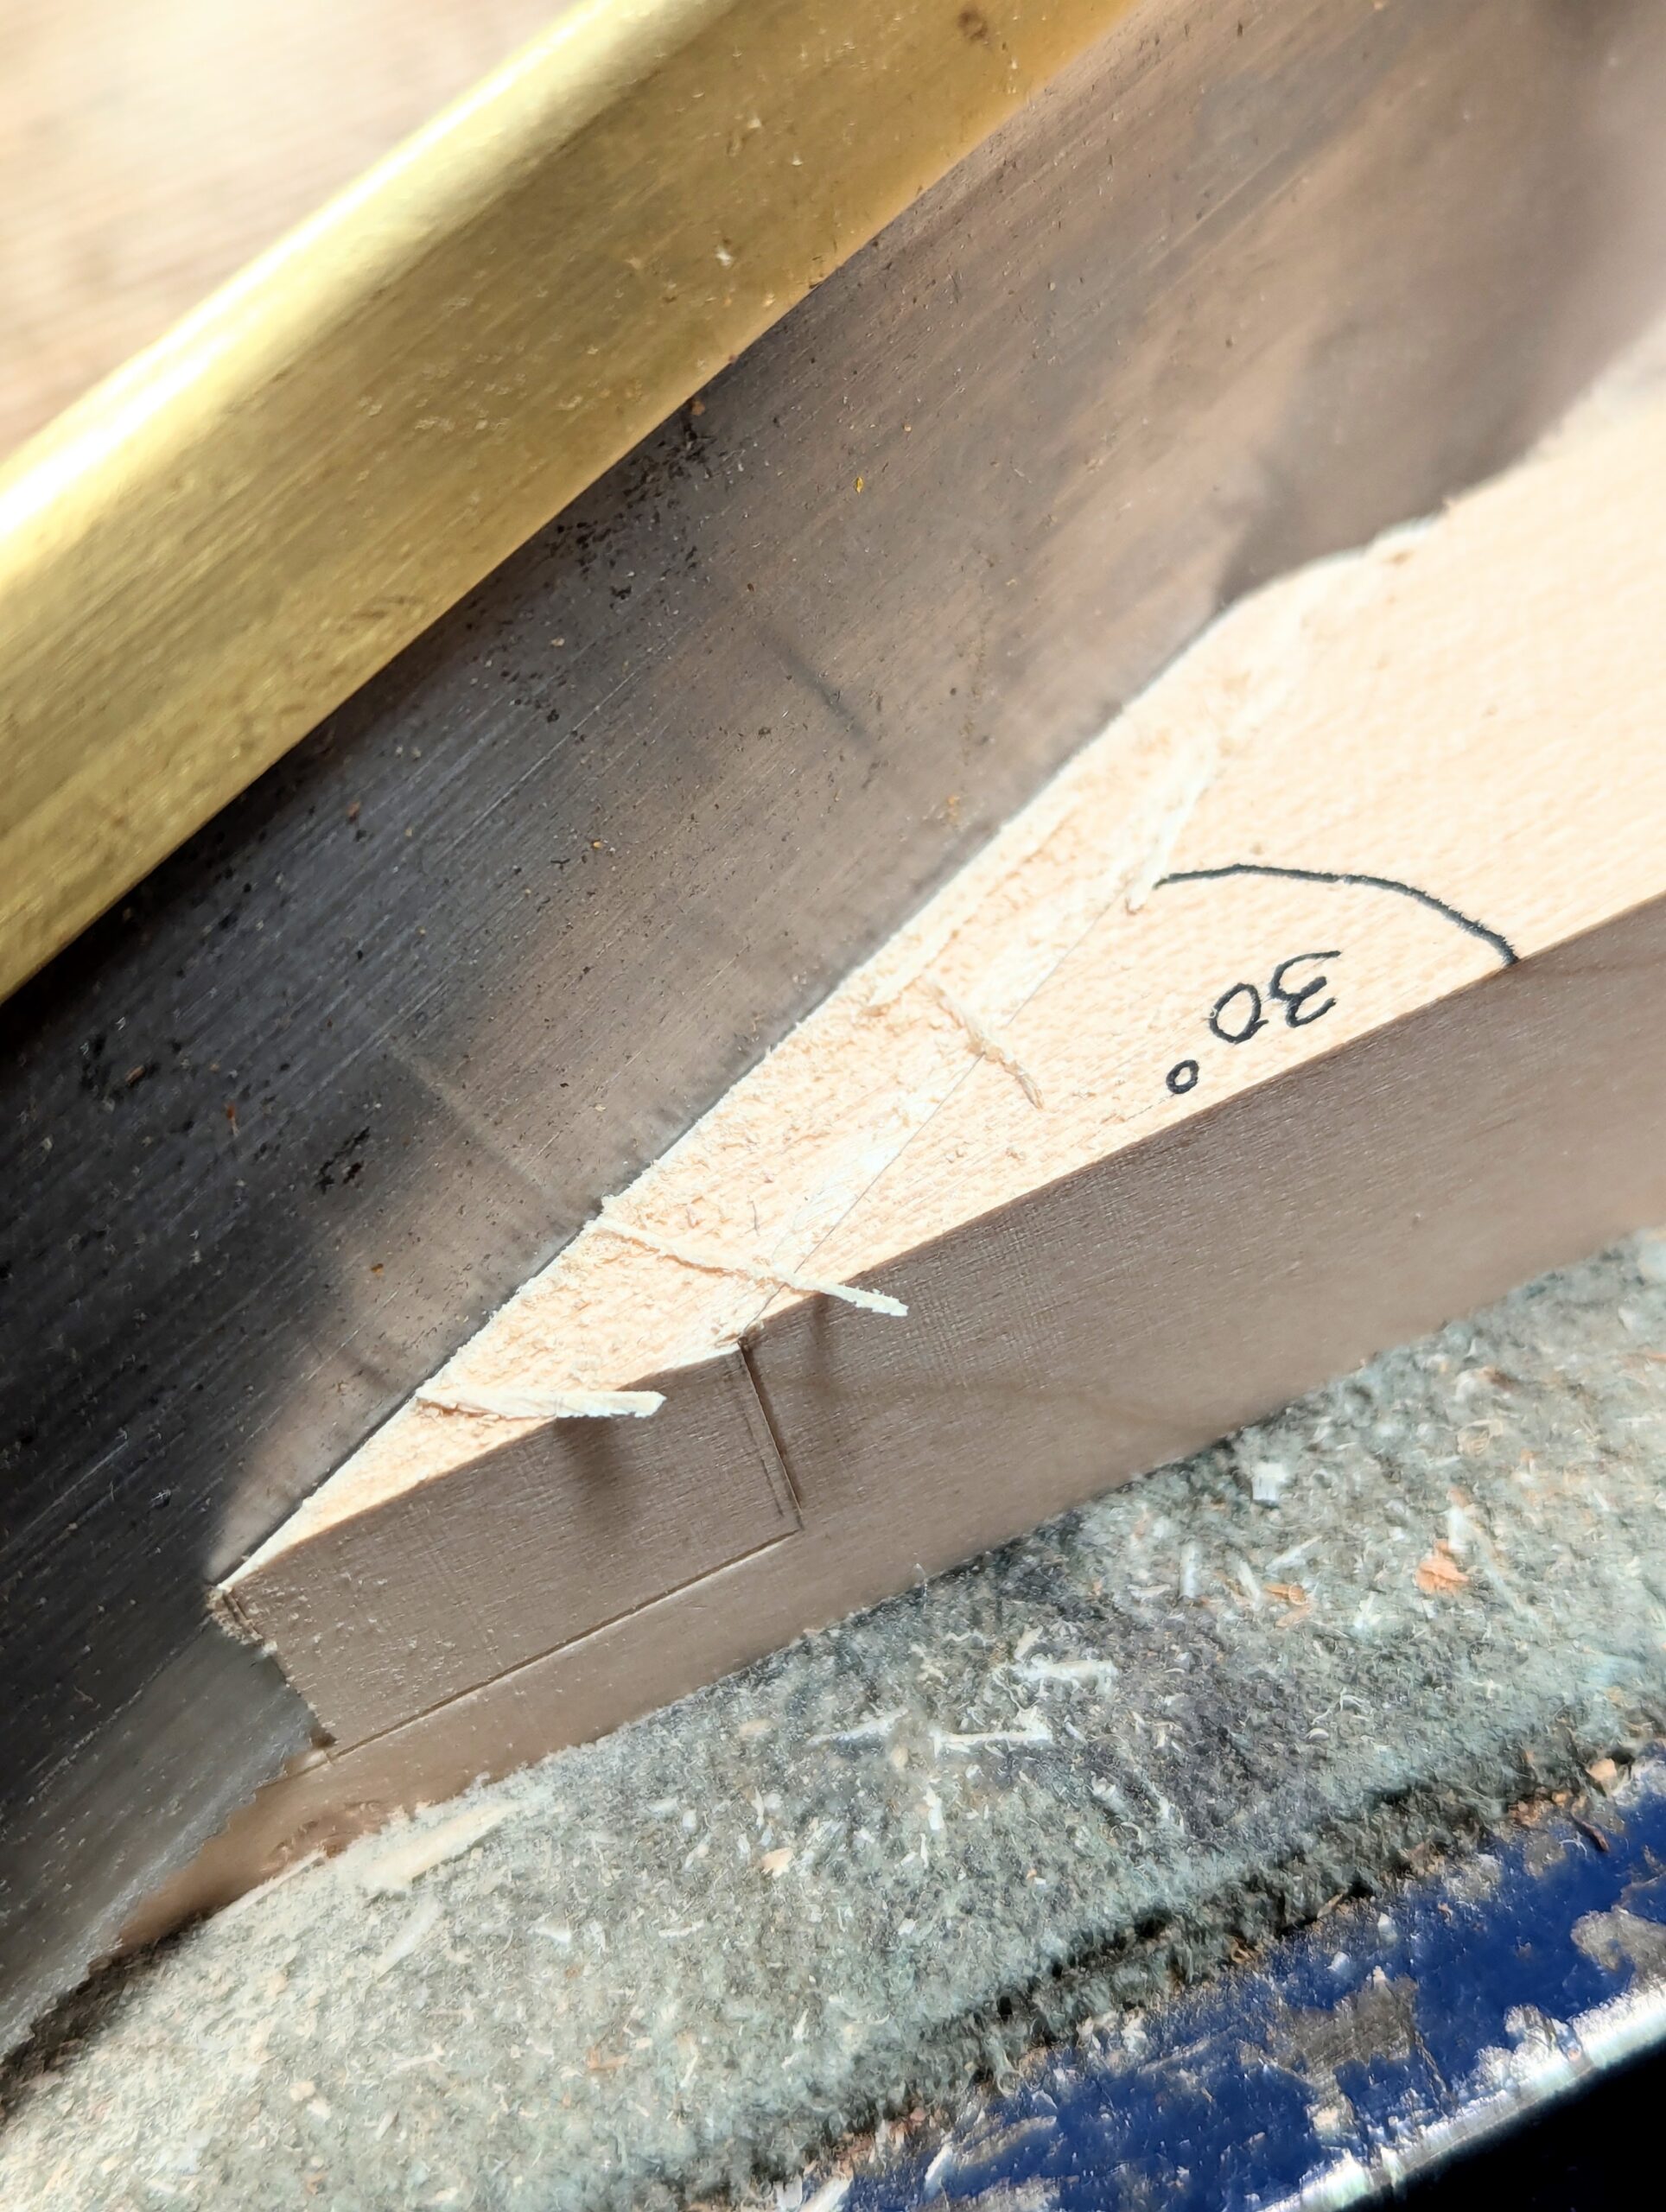
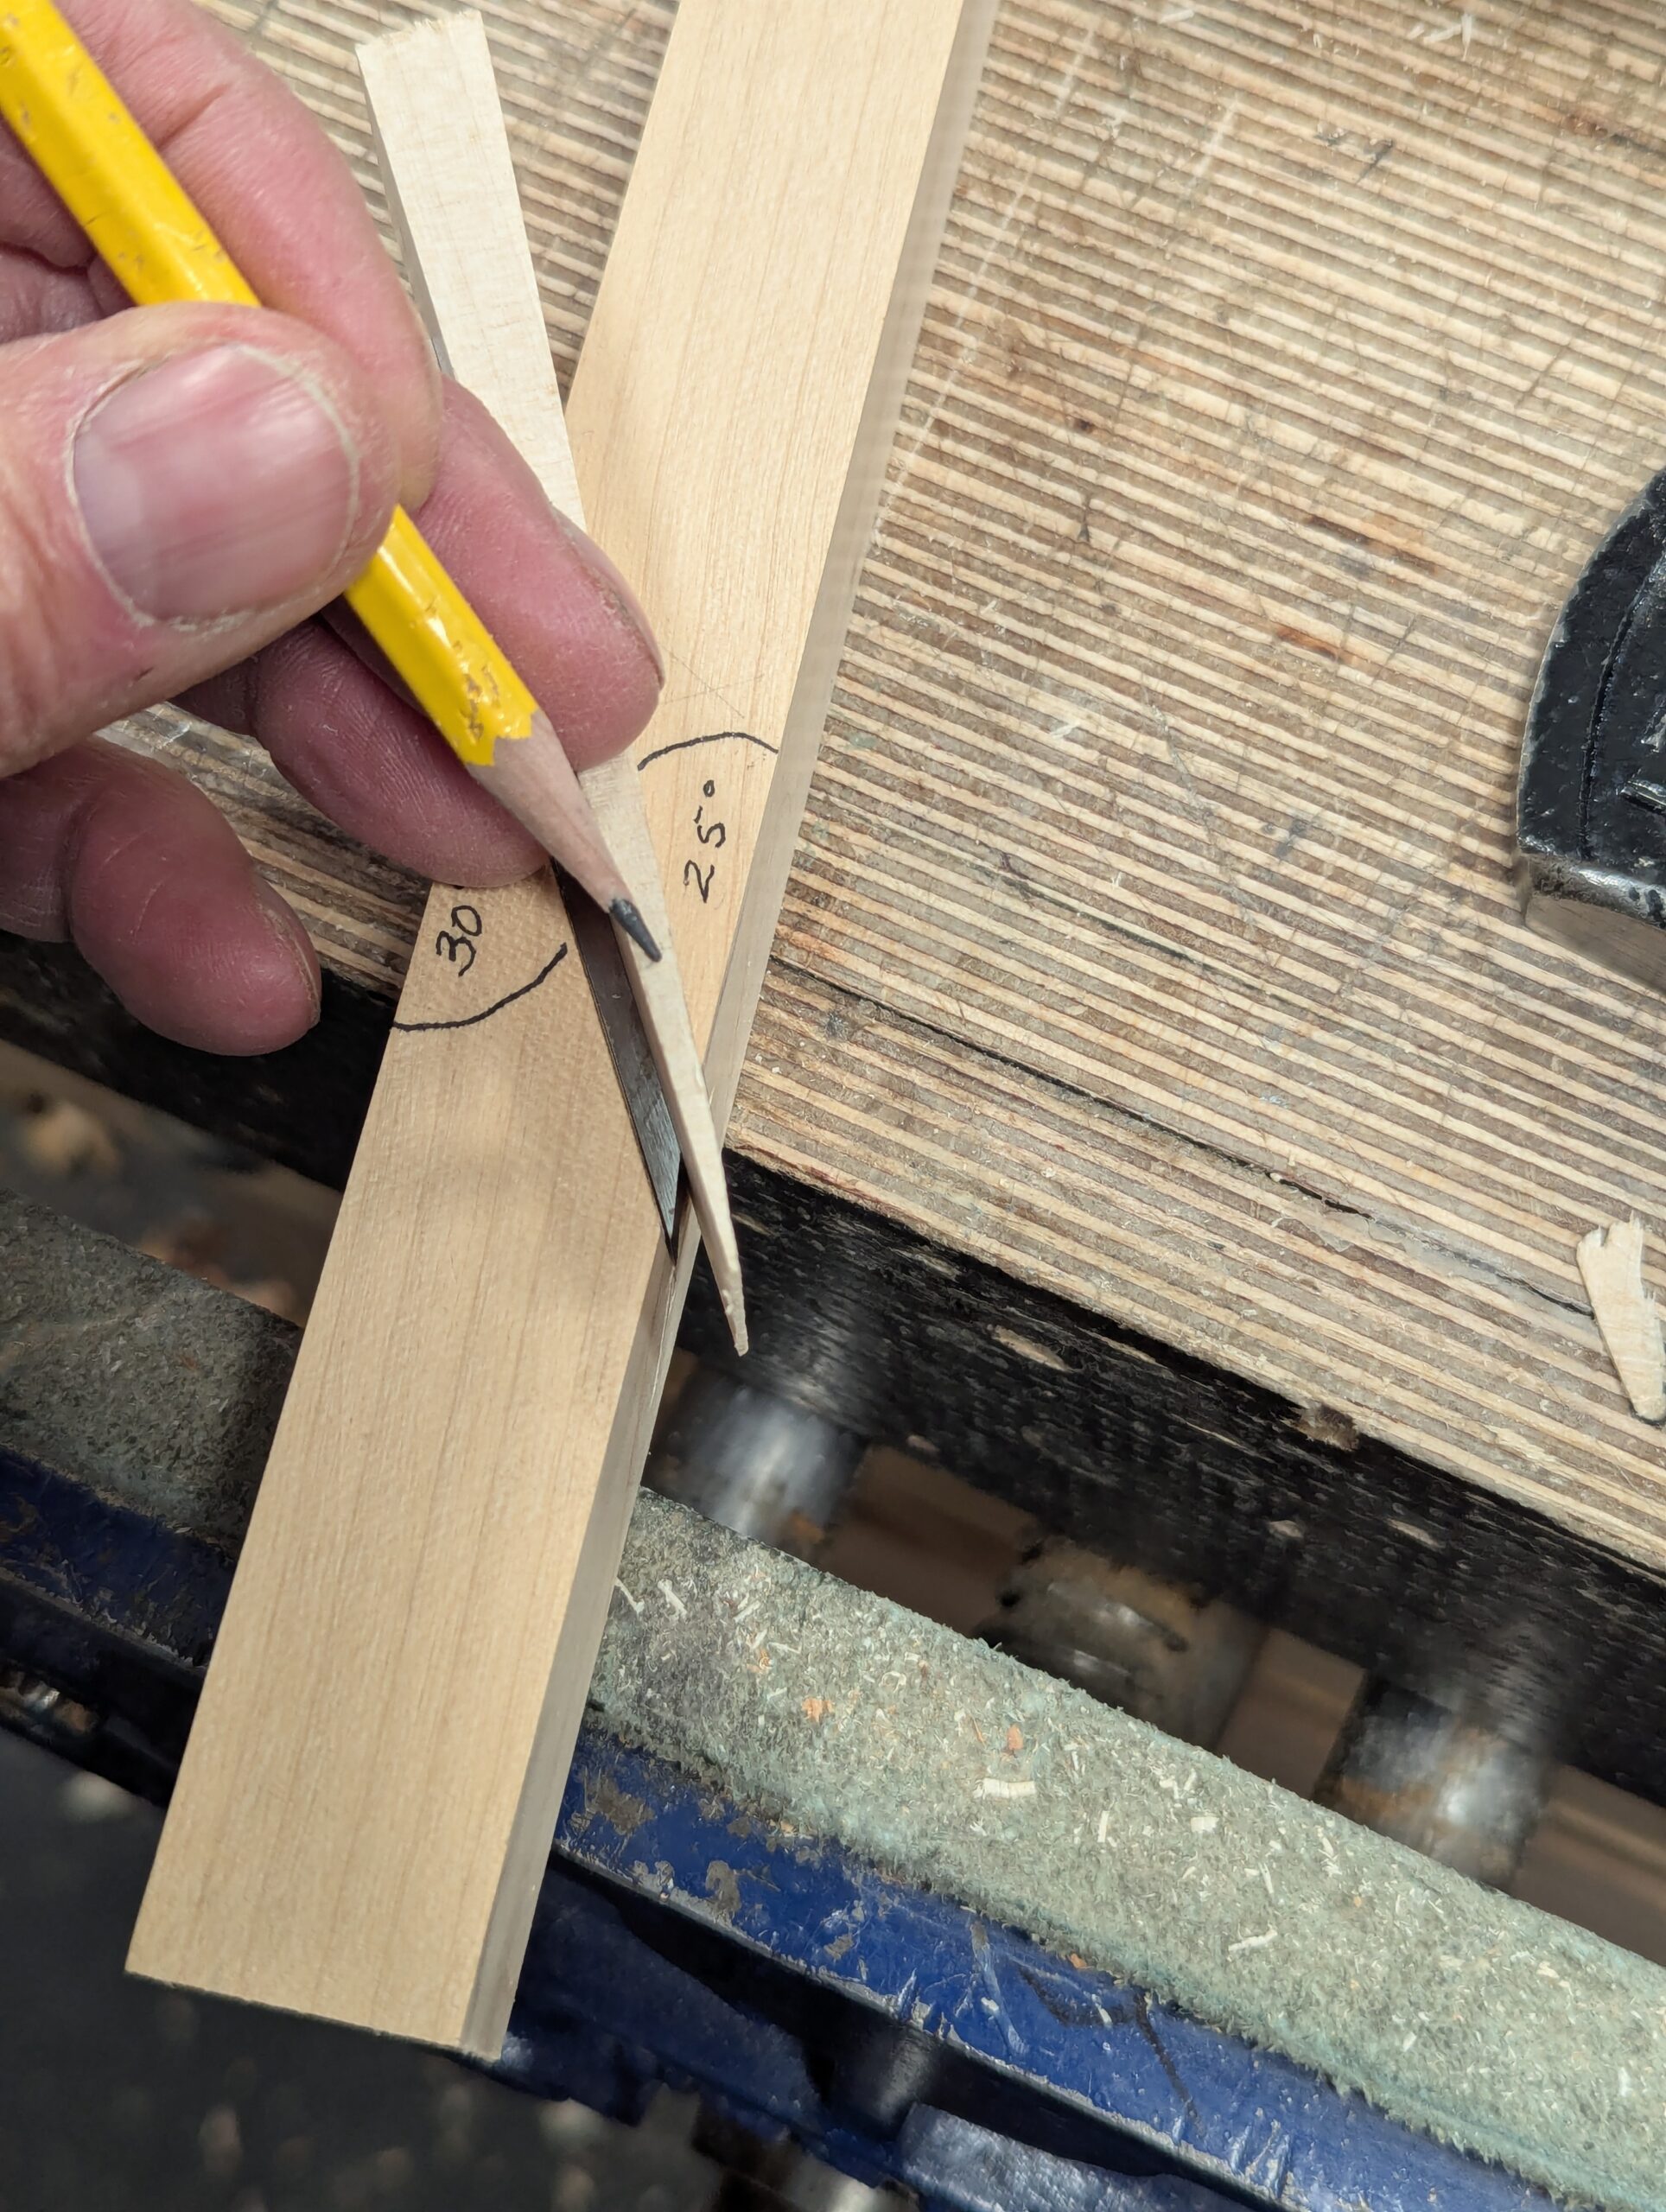
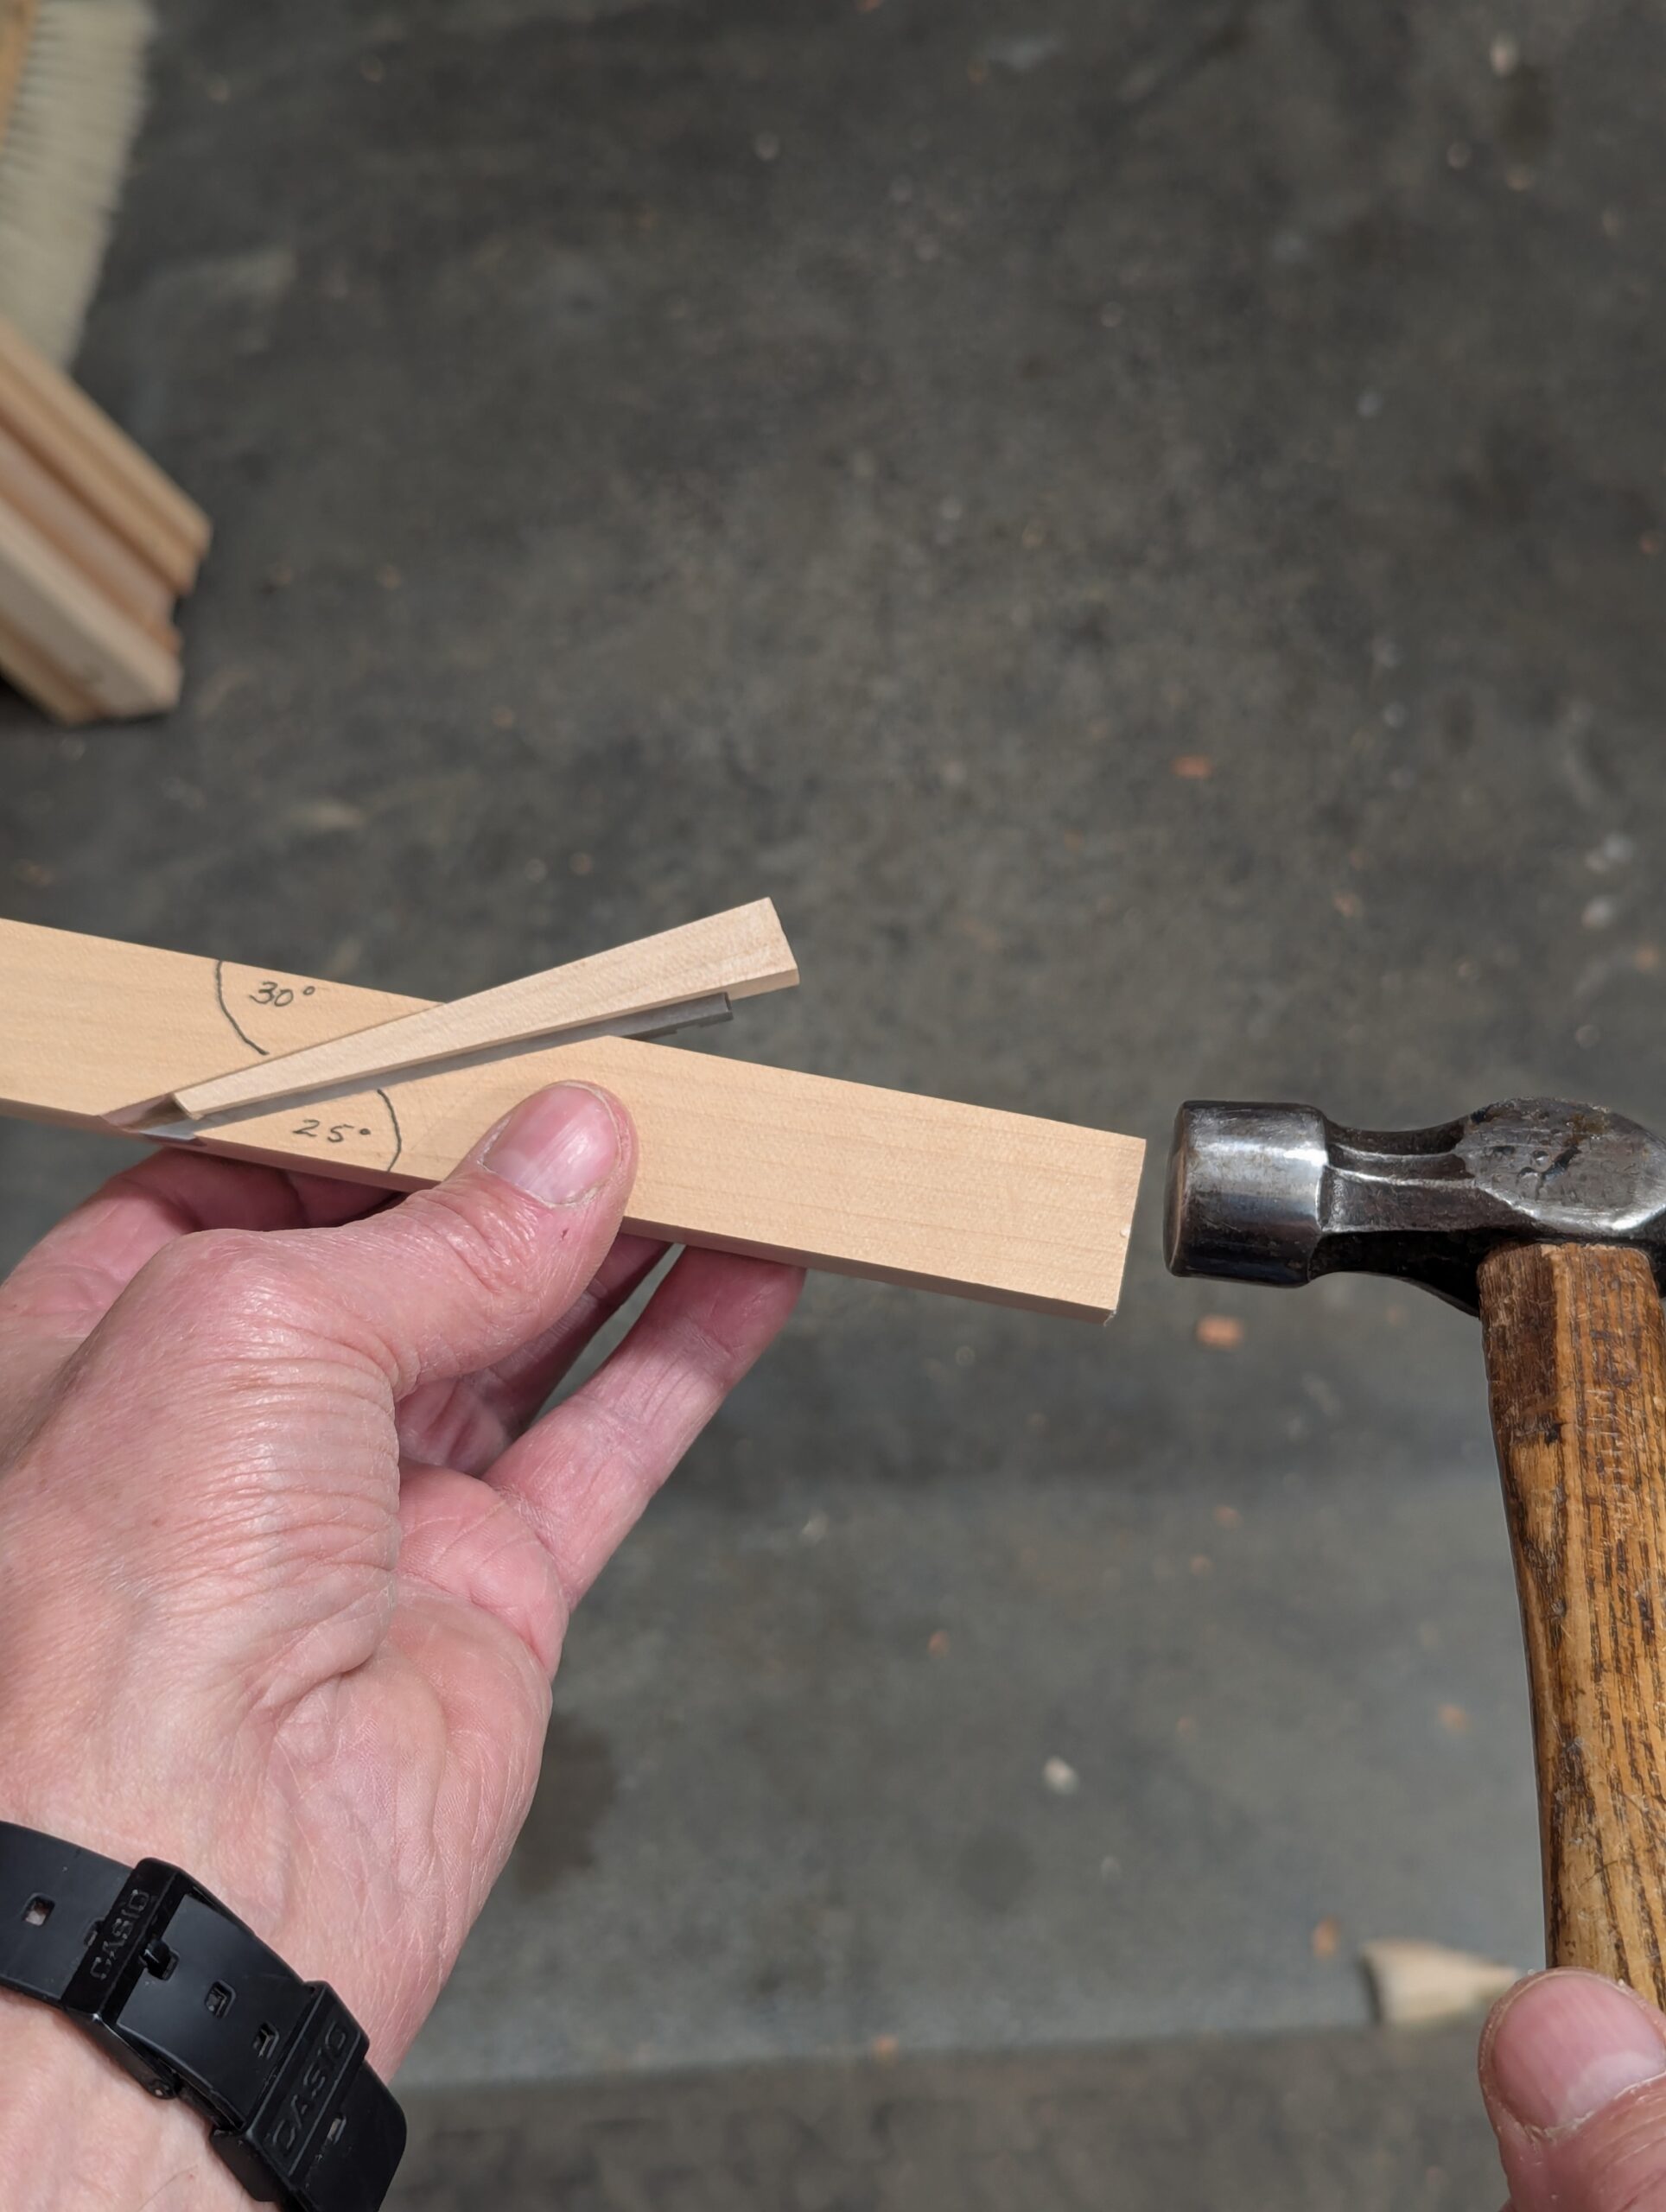
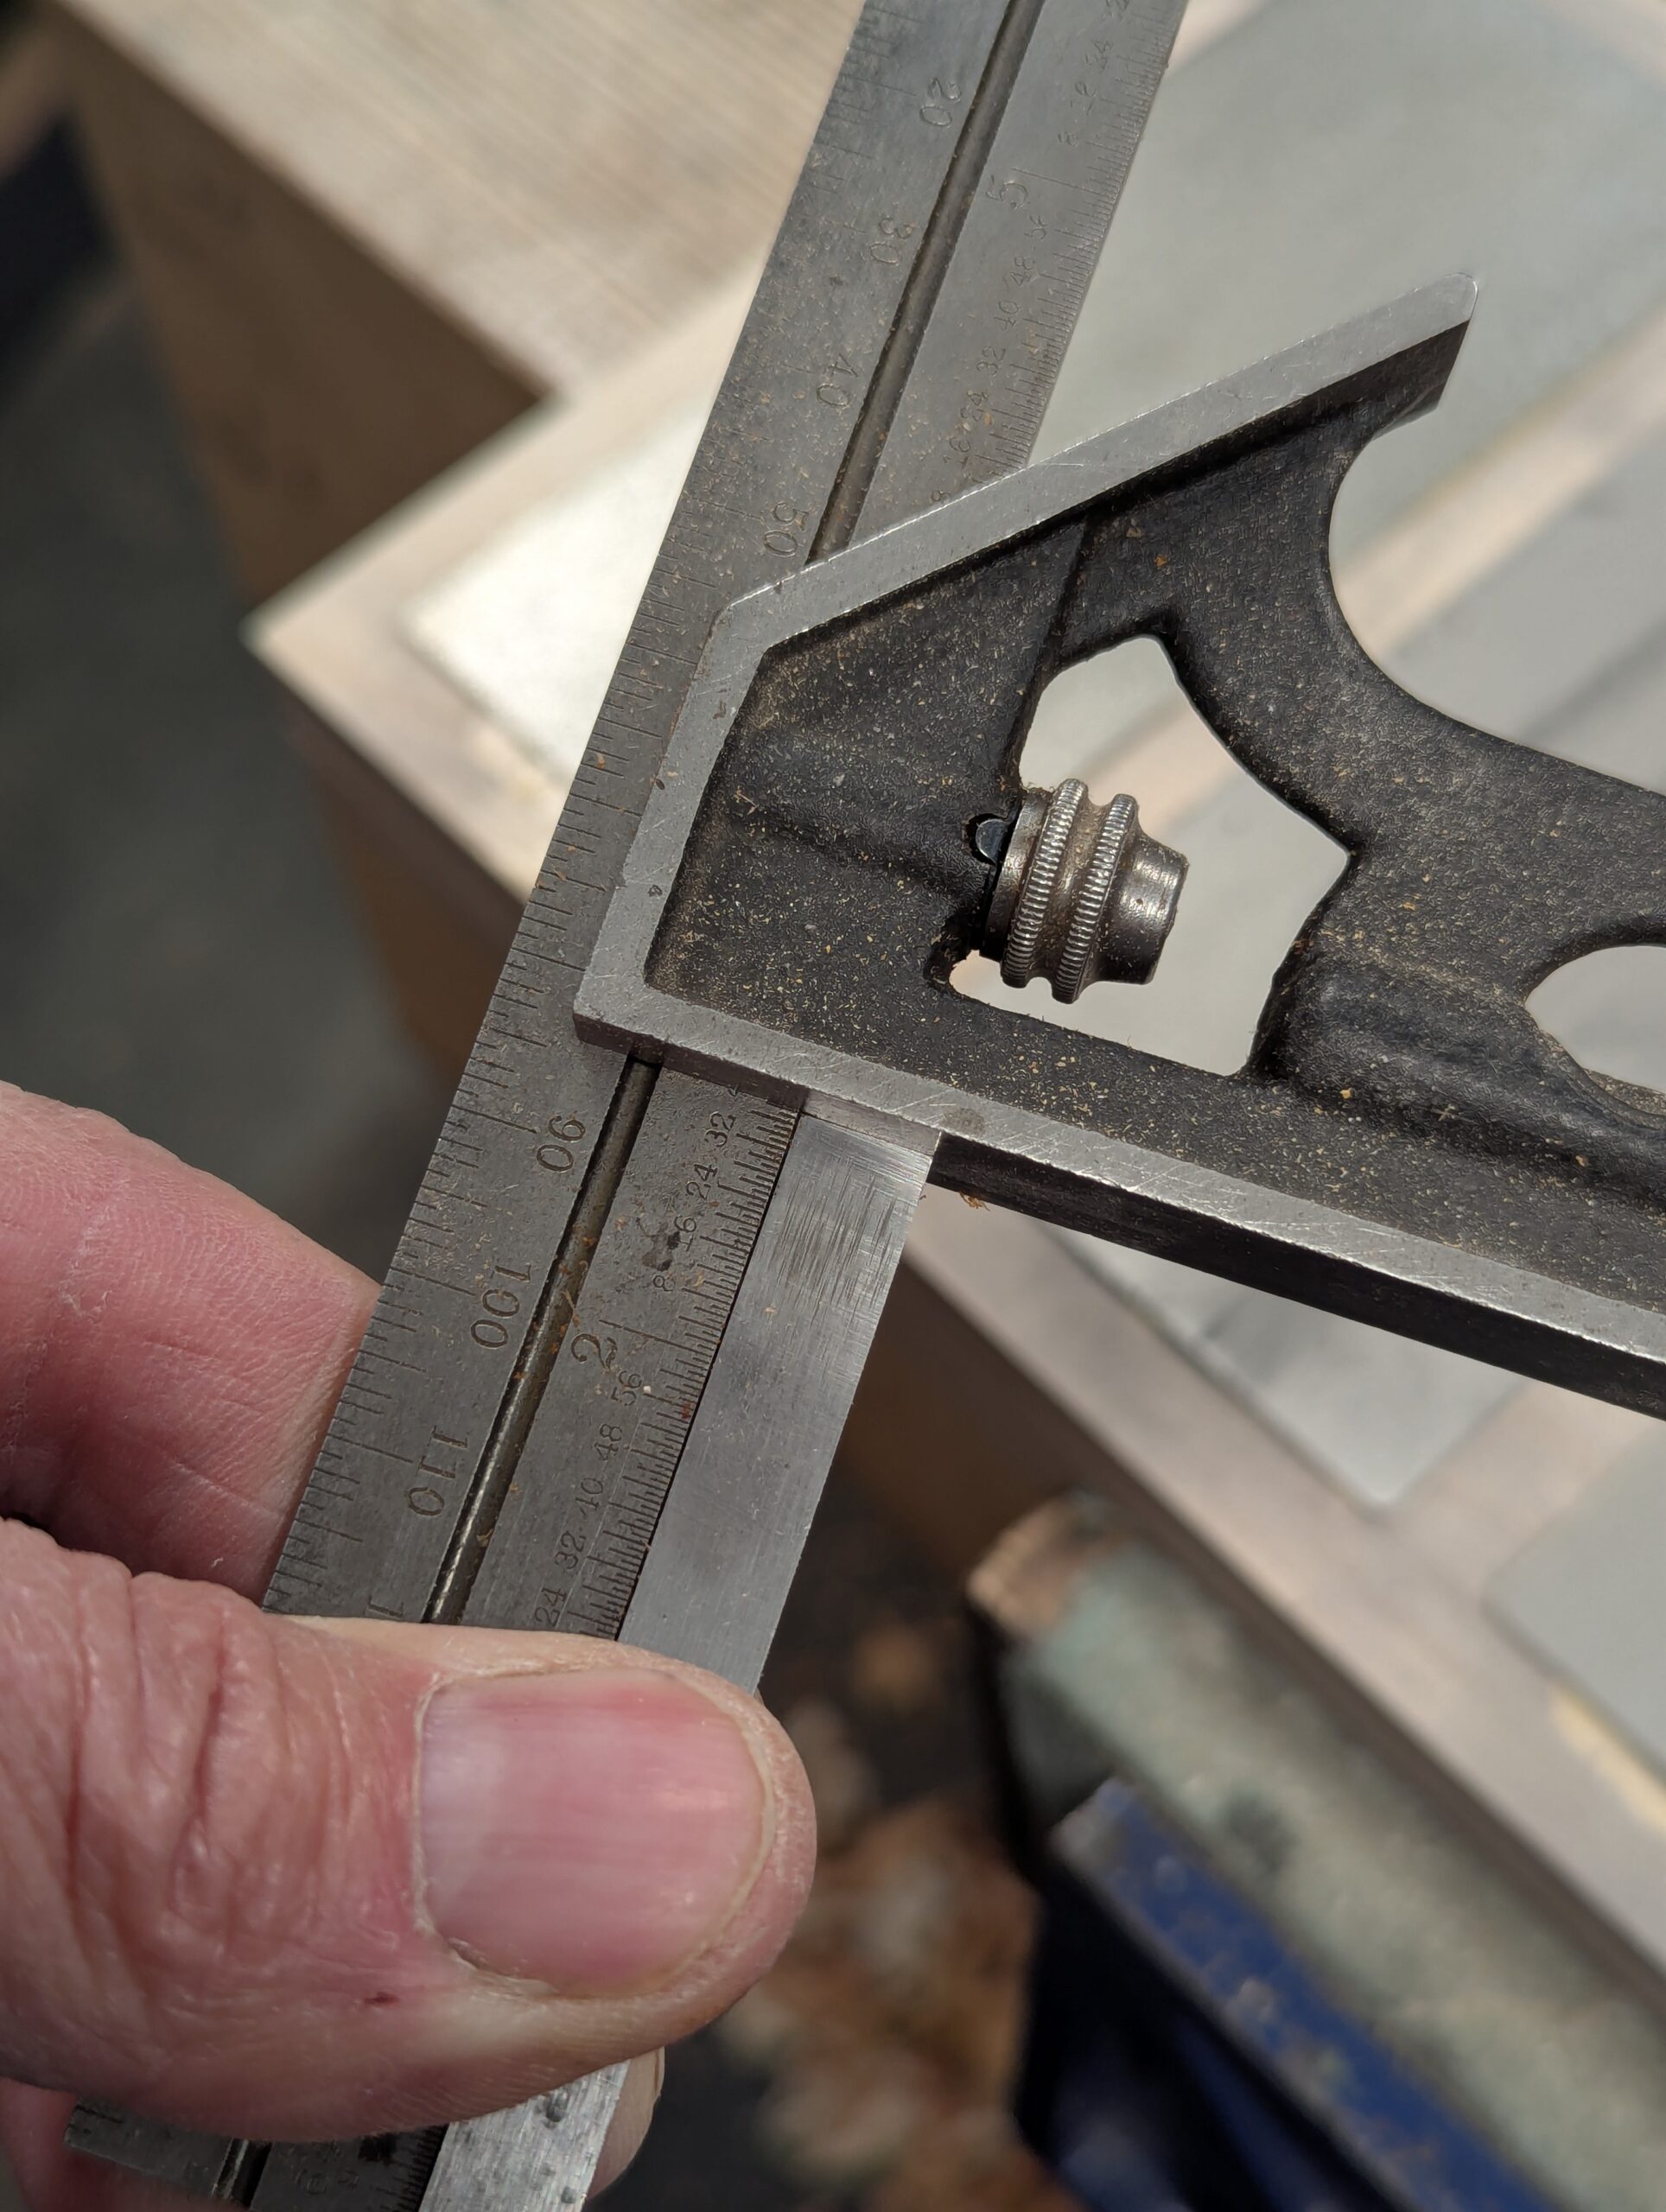
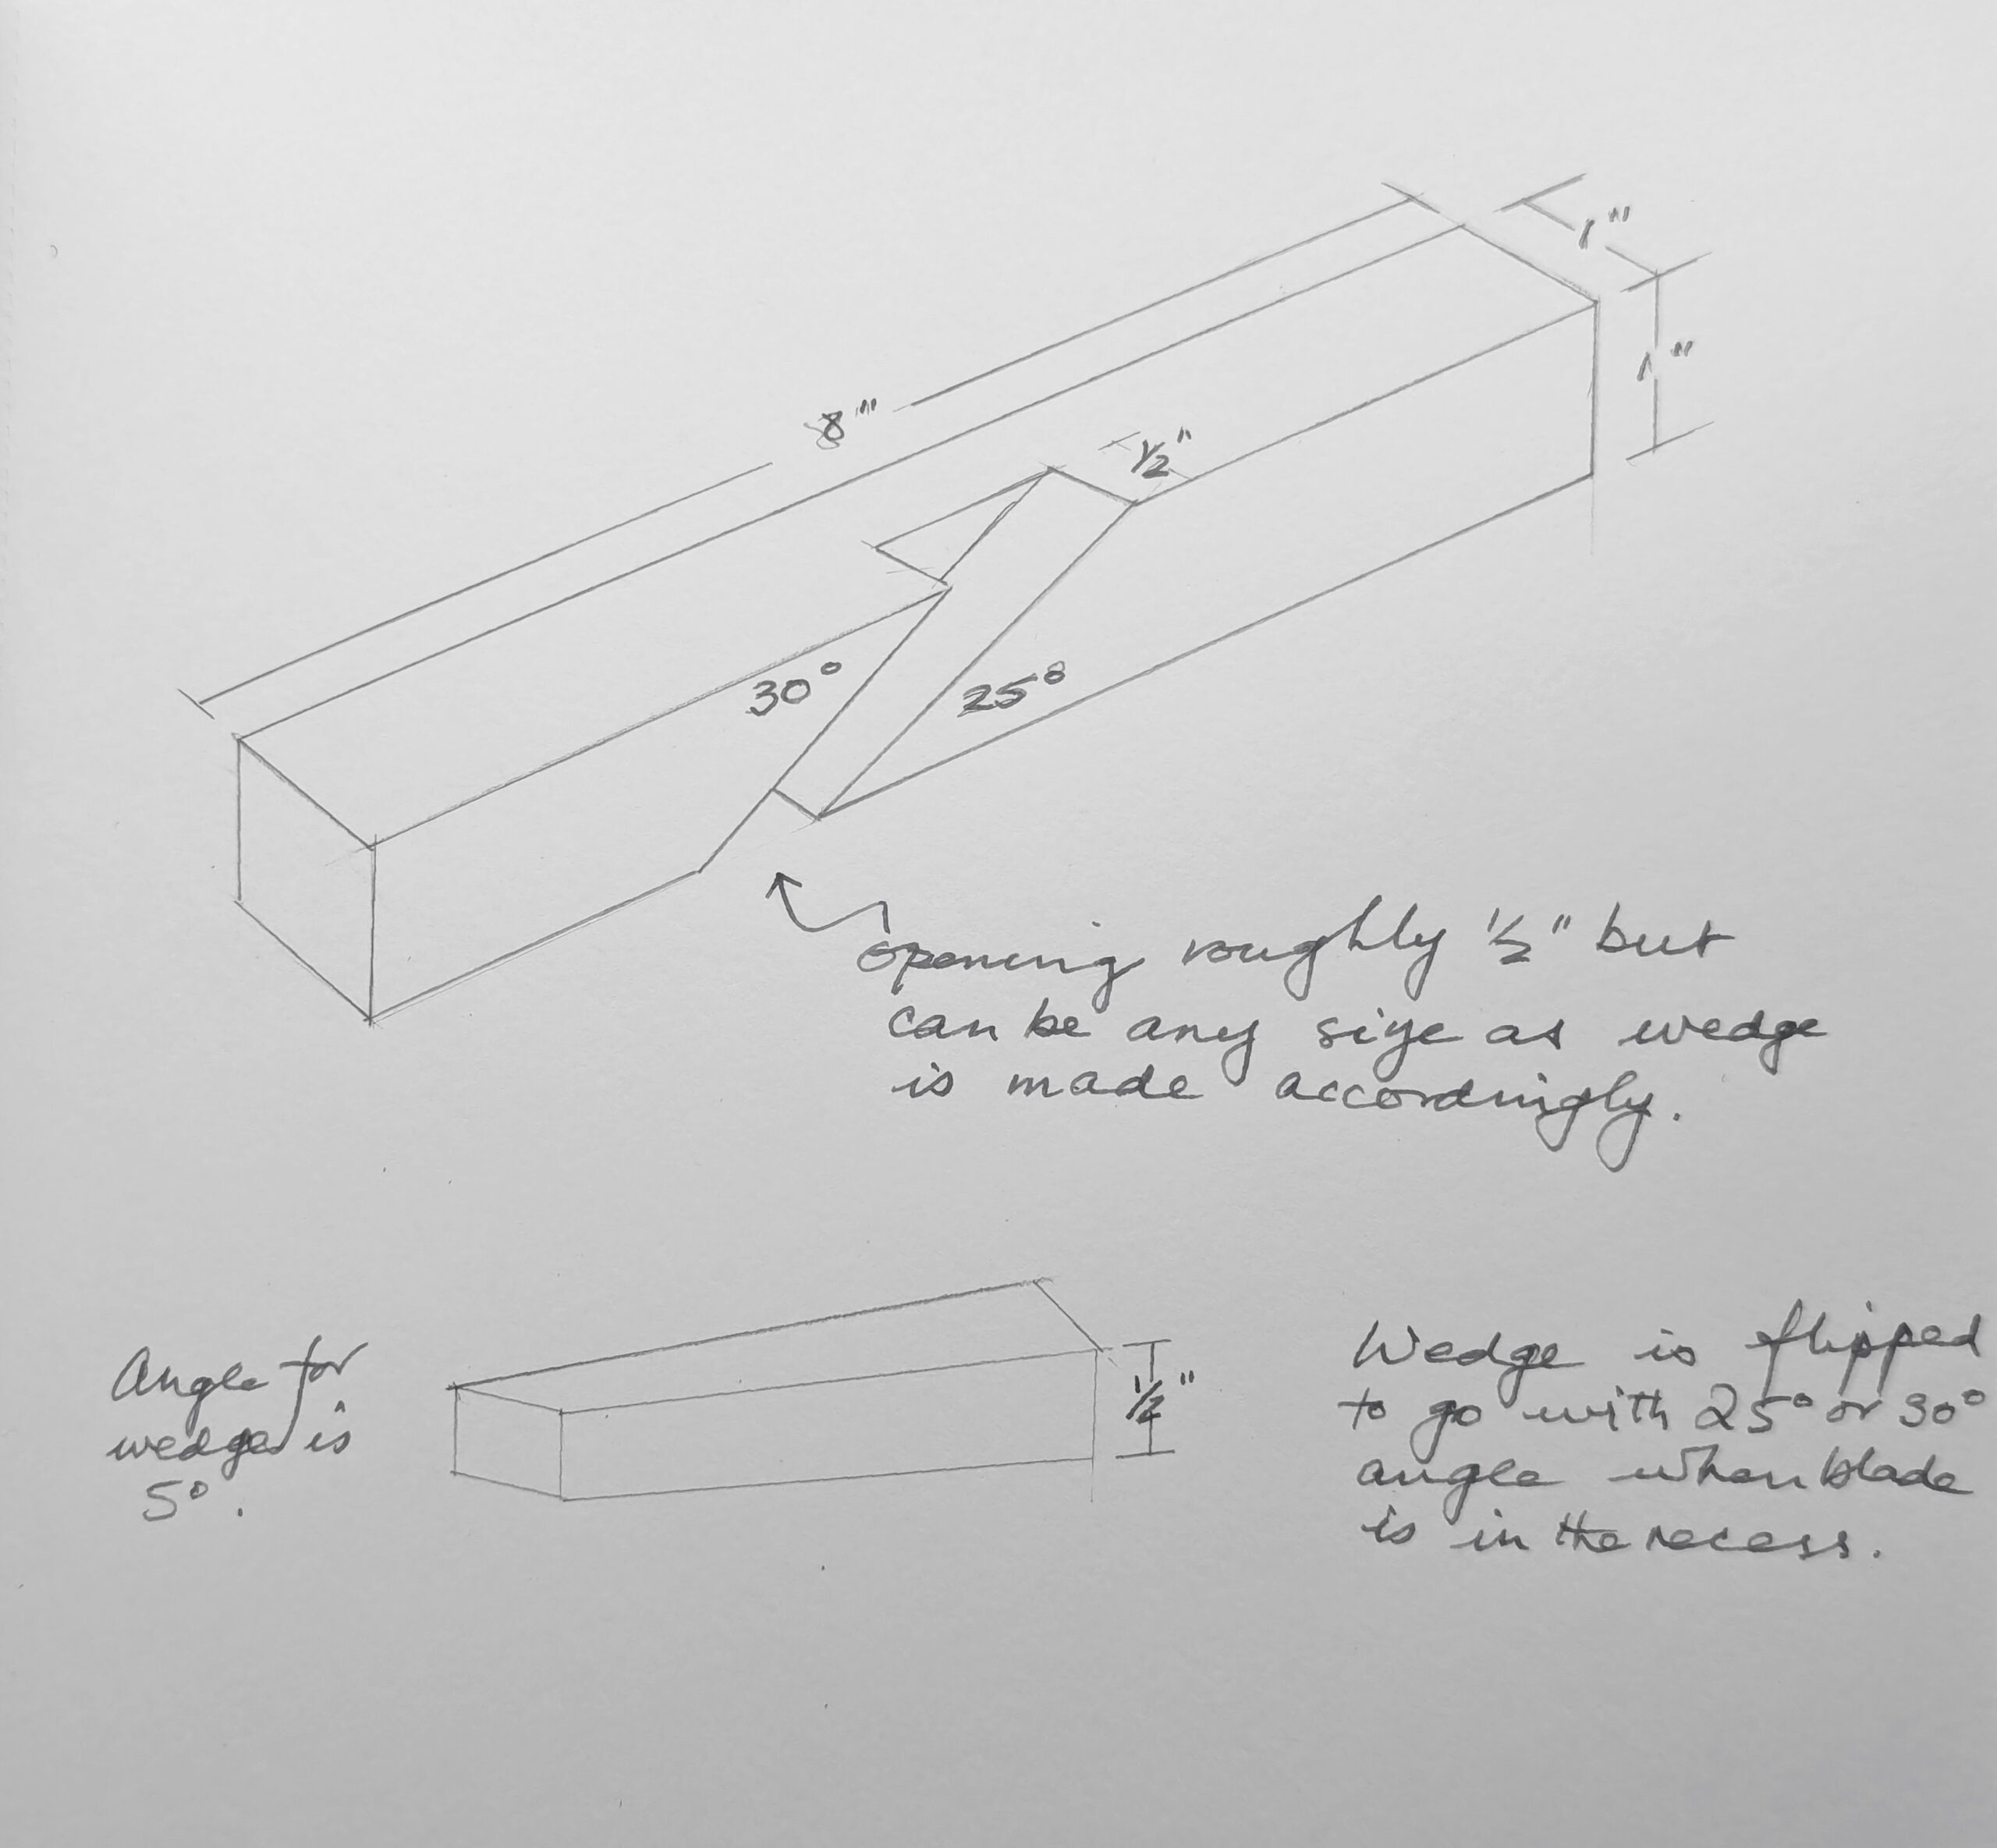
My original guide worked great at 8" long and 1" by 1". Eyeball for a mid-section to lay out in and start with your 25º and 30º angles on the side of one of the faces using either a sliding bevel or a protractor.
The distance between these two angles is immaterial, as the 5º angle on the wedge you make will make up the gap. In my case, the gap along the bottom corner is 1/2".

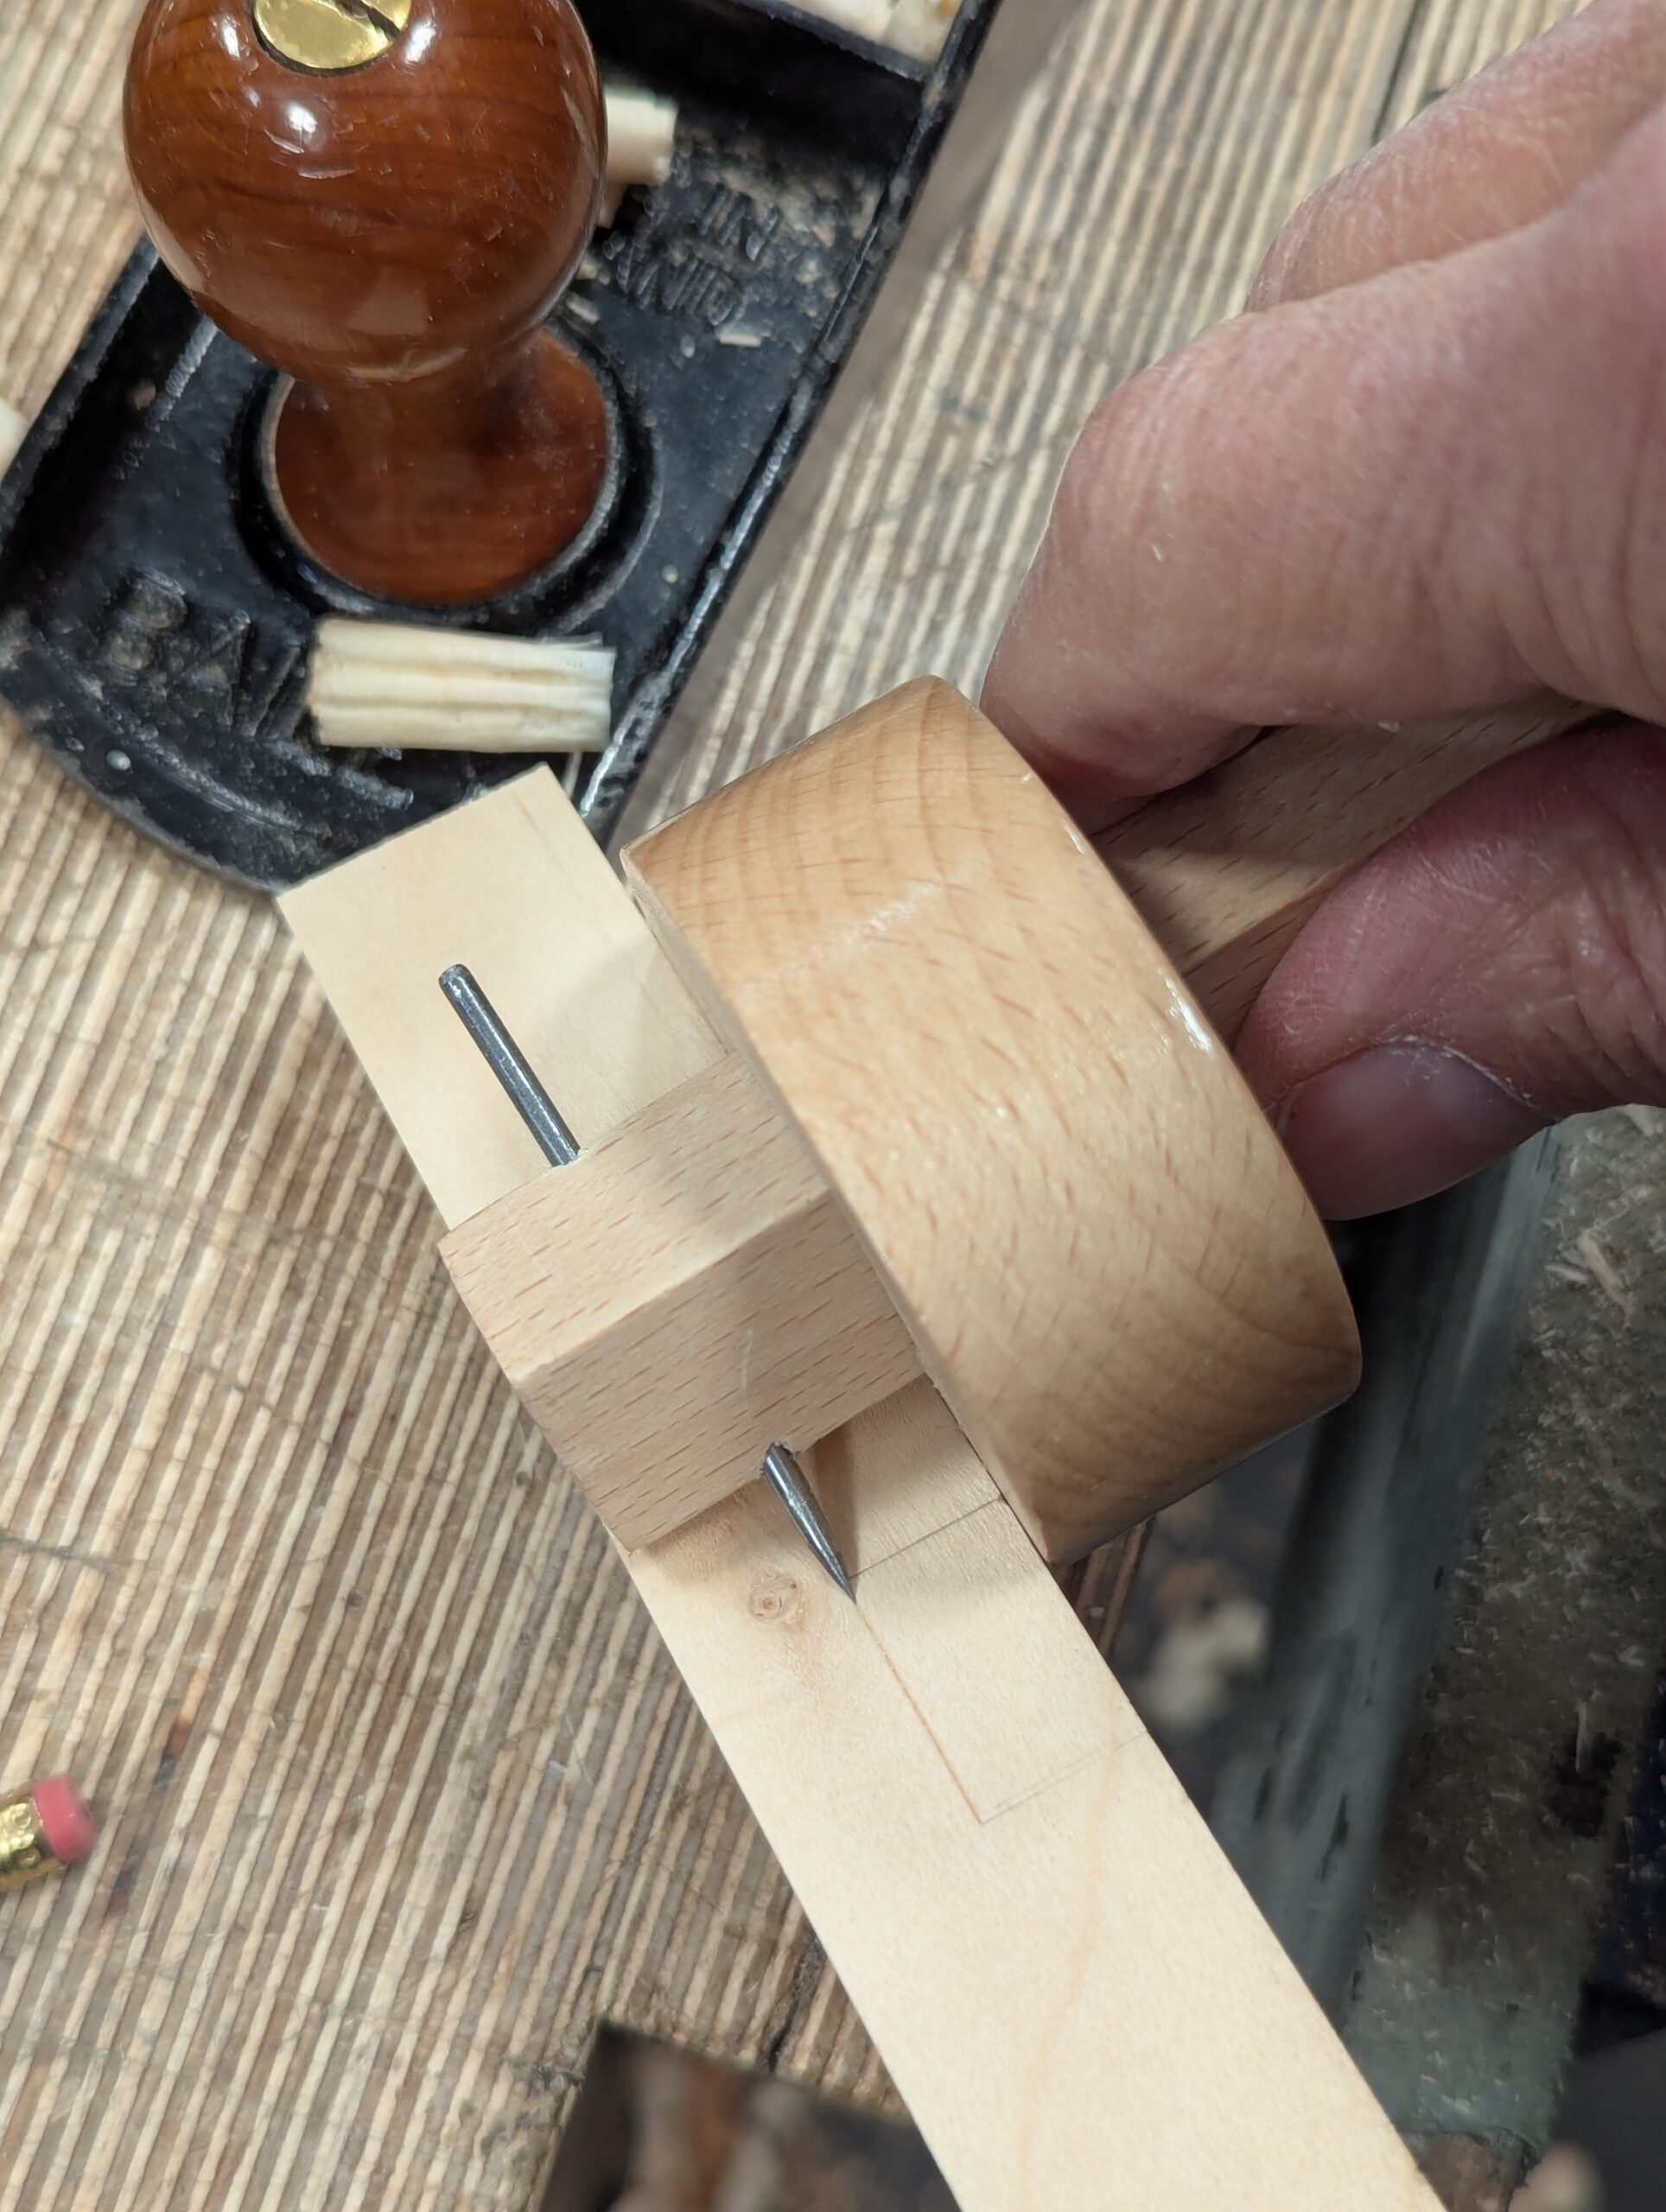
Use a marking gauge to establish the depth of cut.
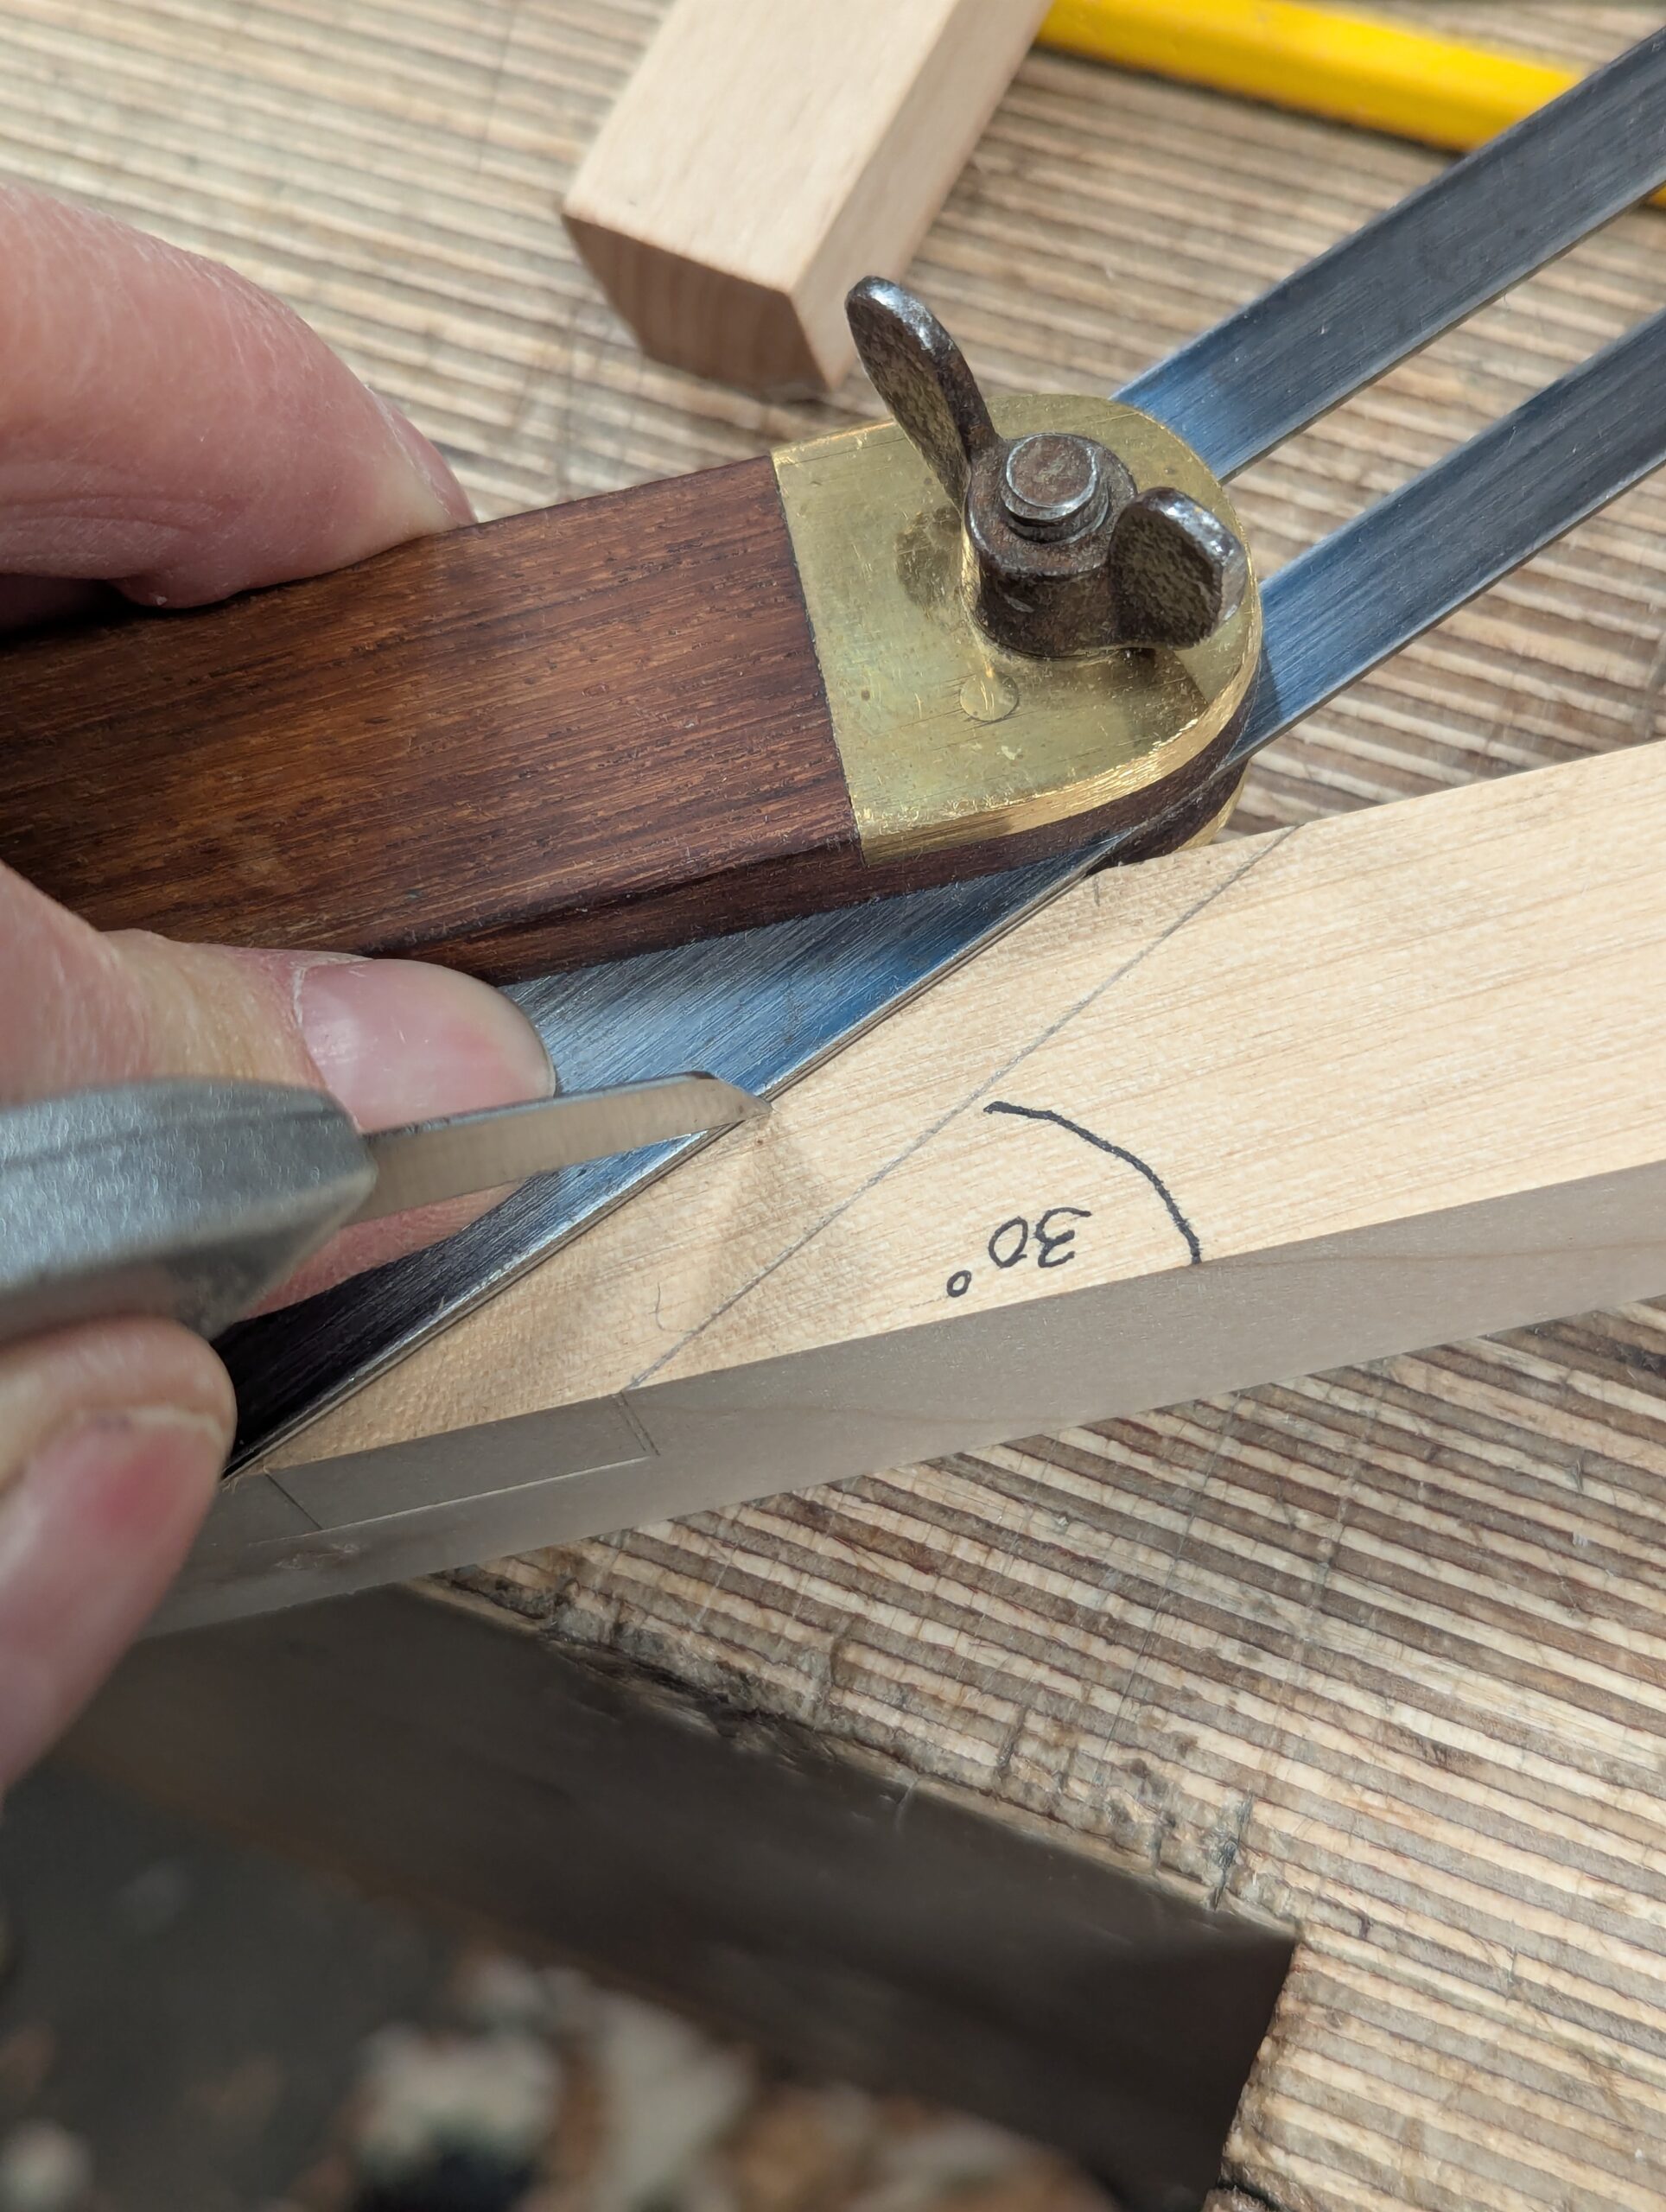
Use the knife, bevel and quare to establish the knifewalls.
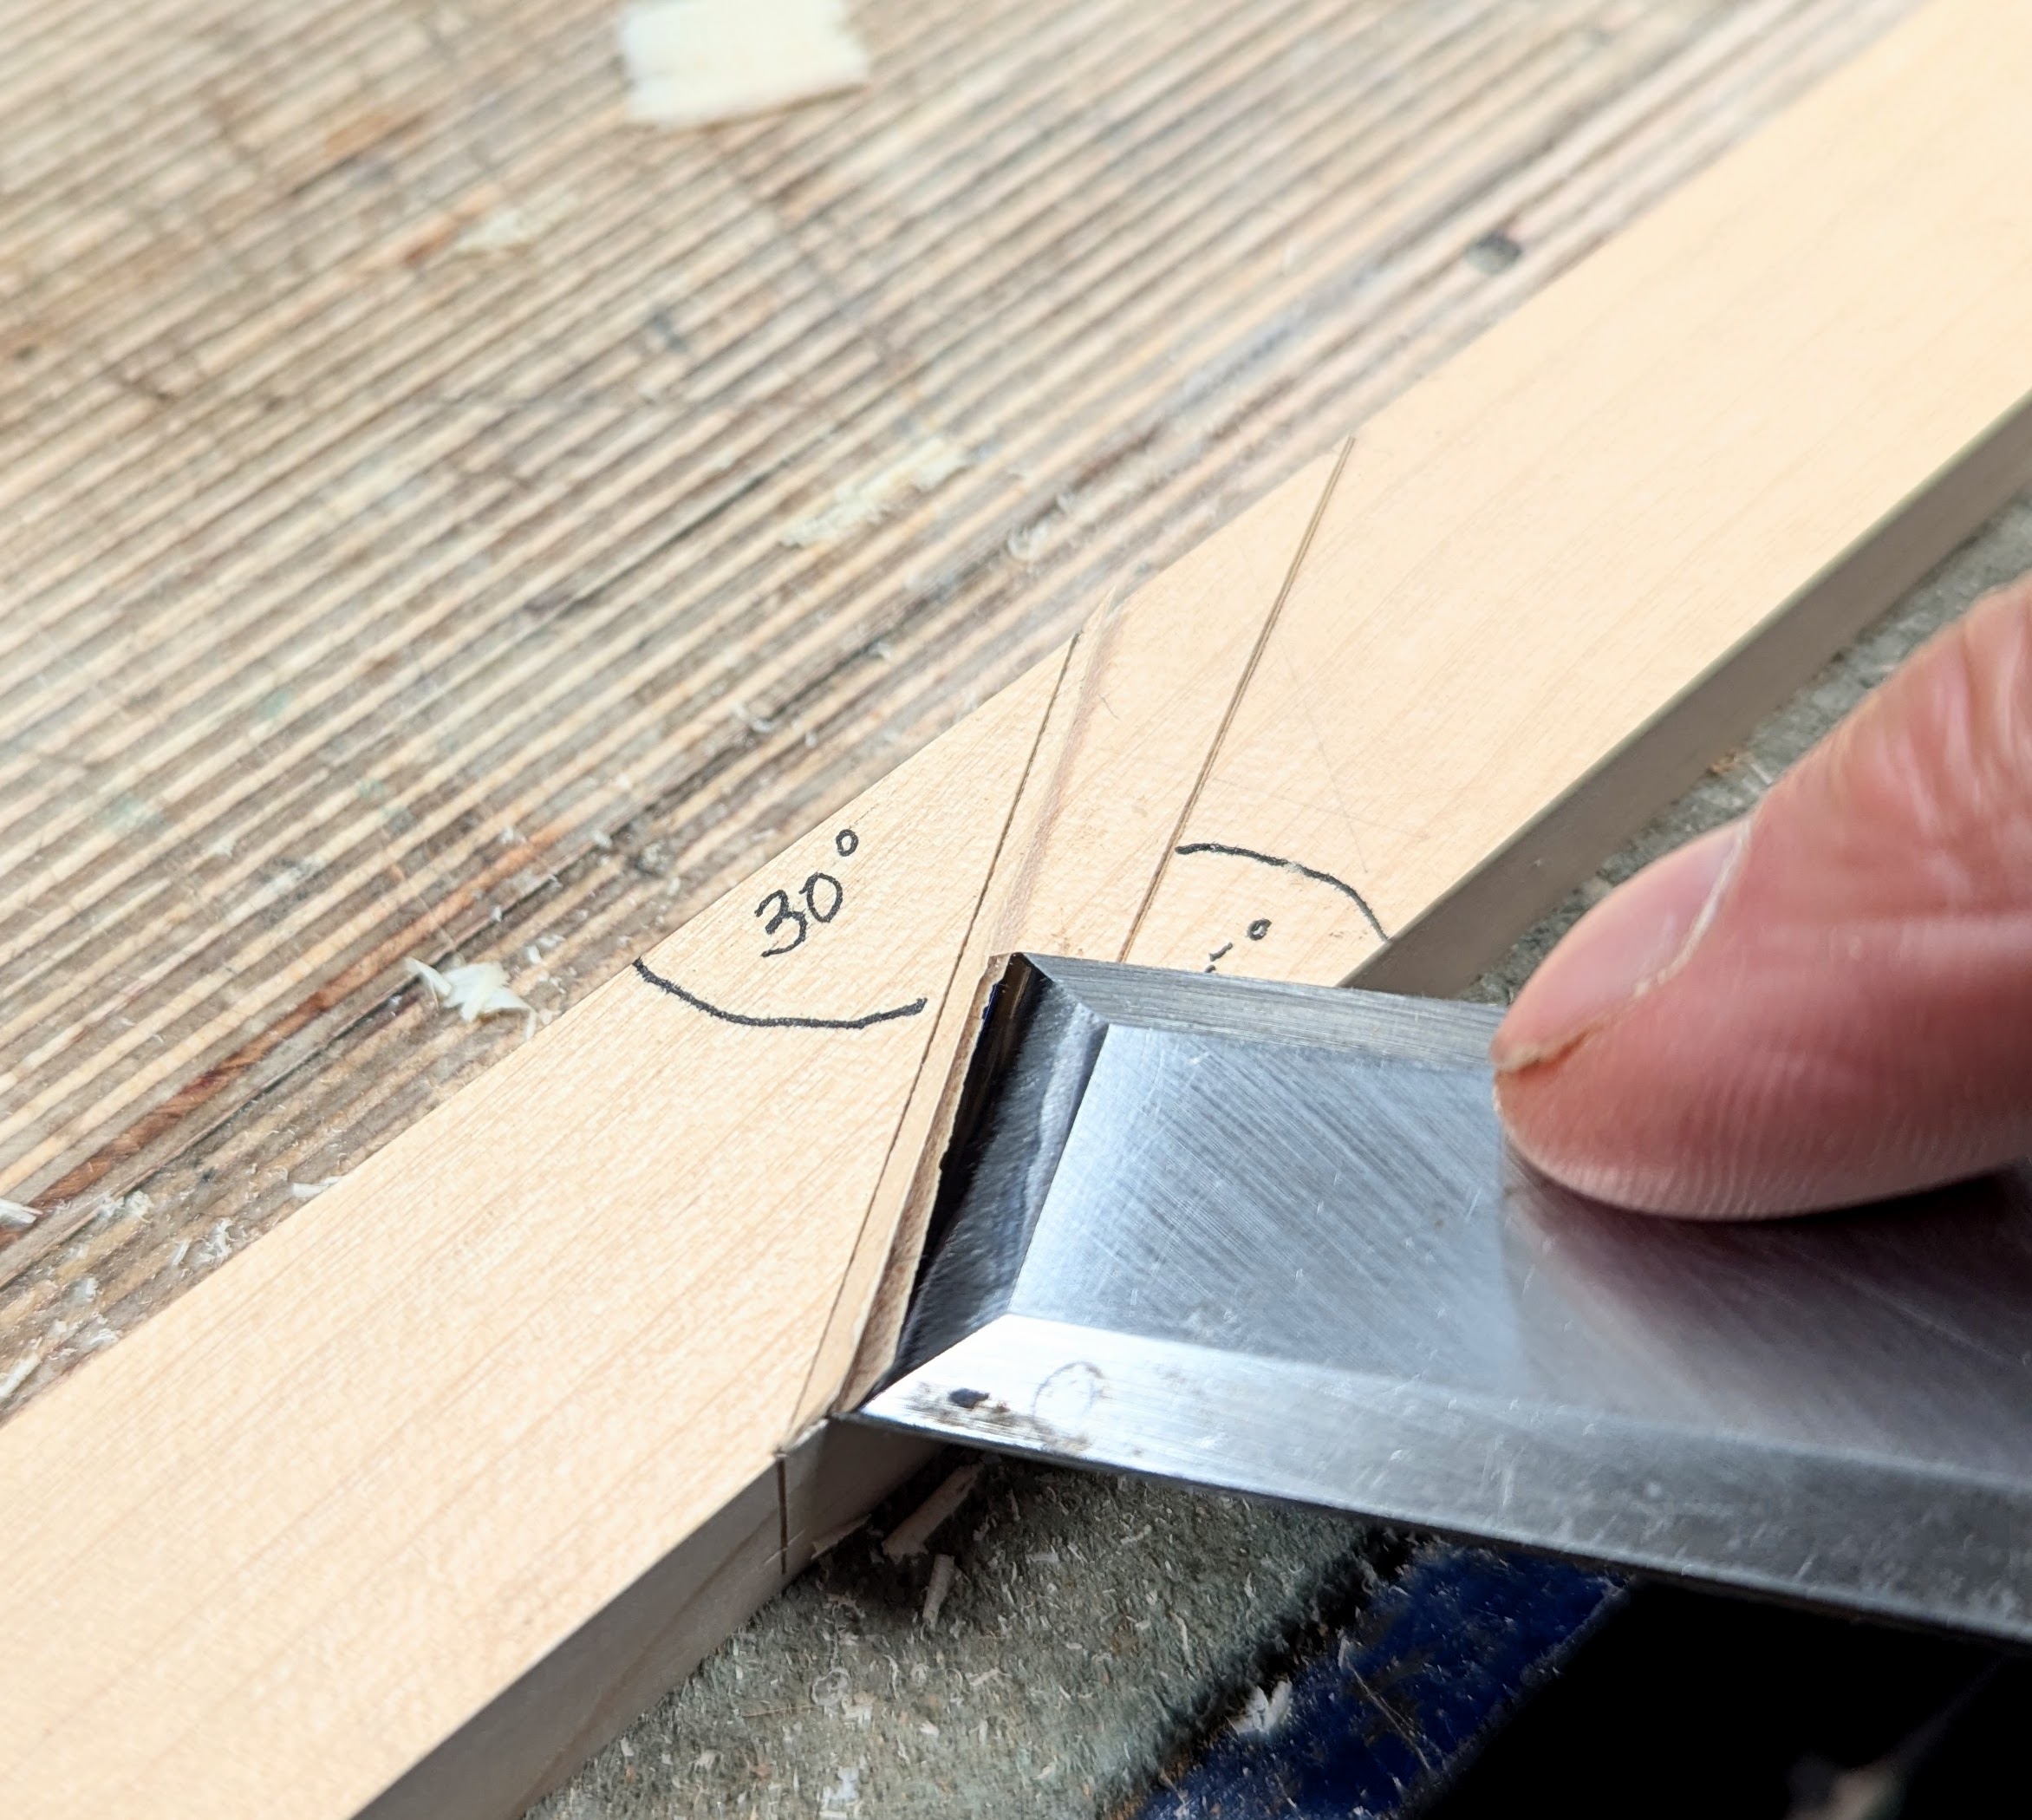
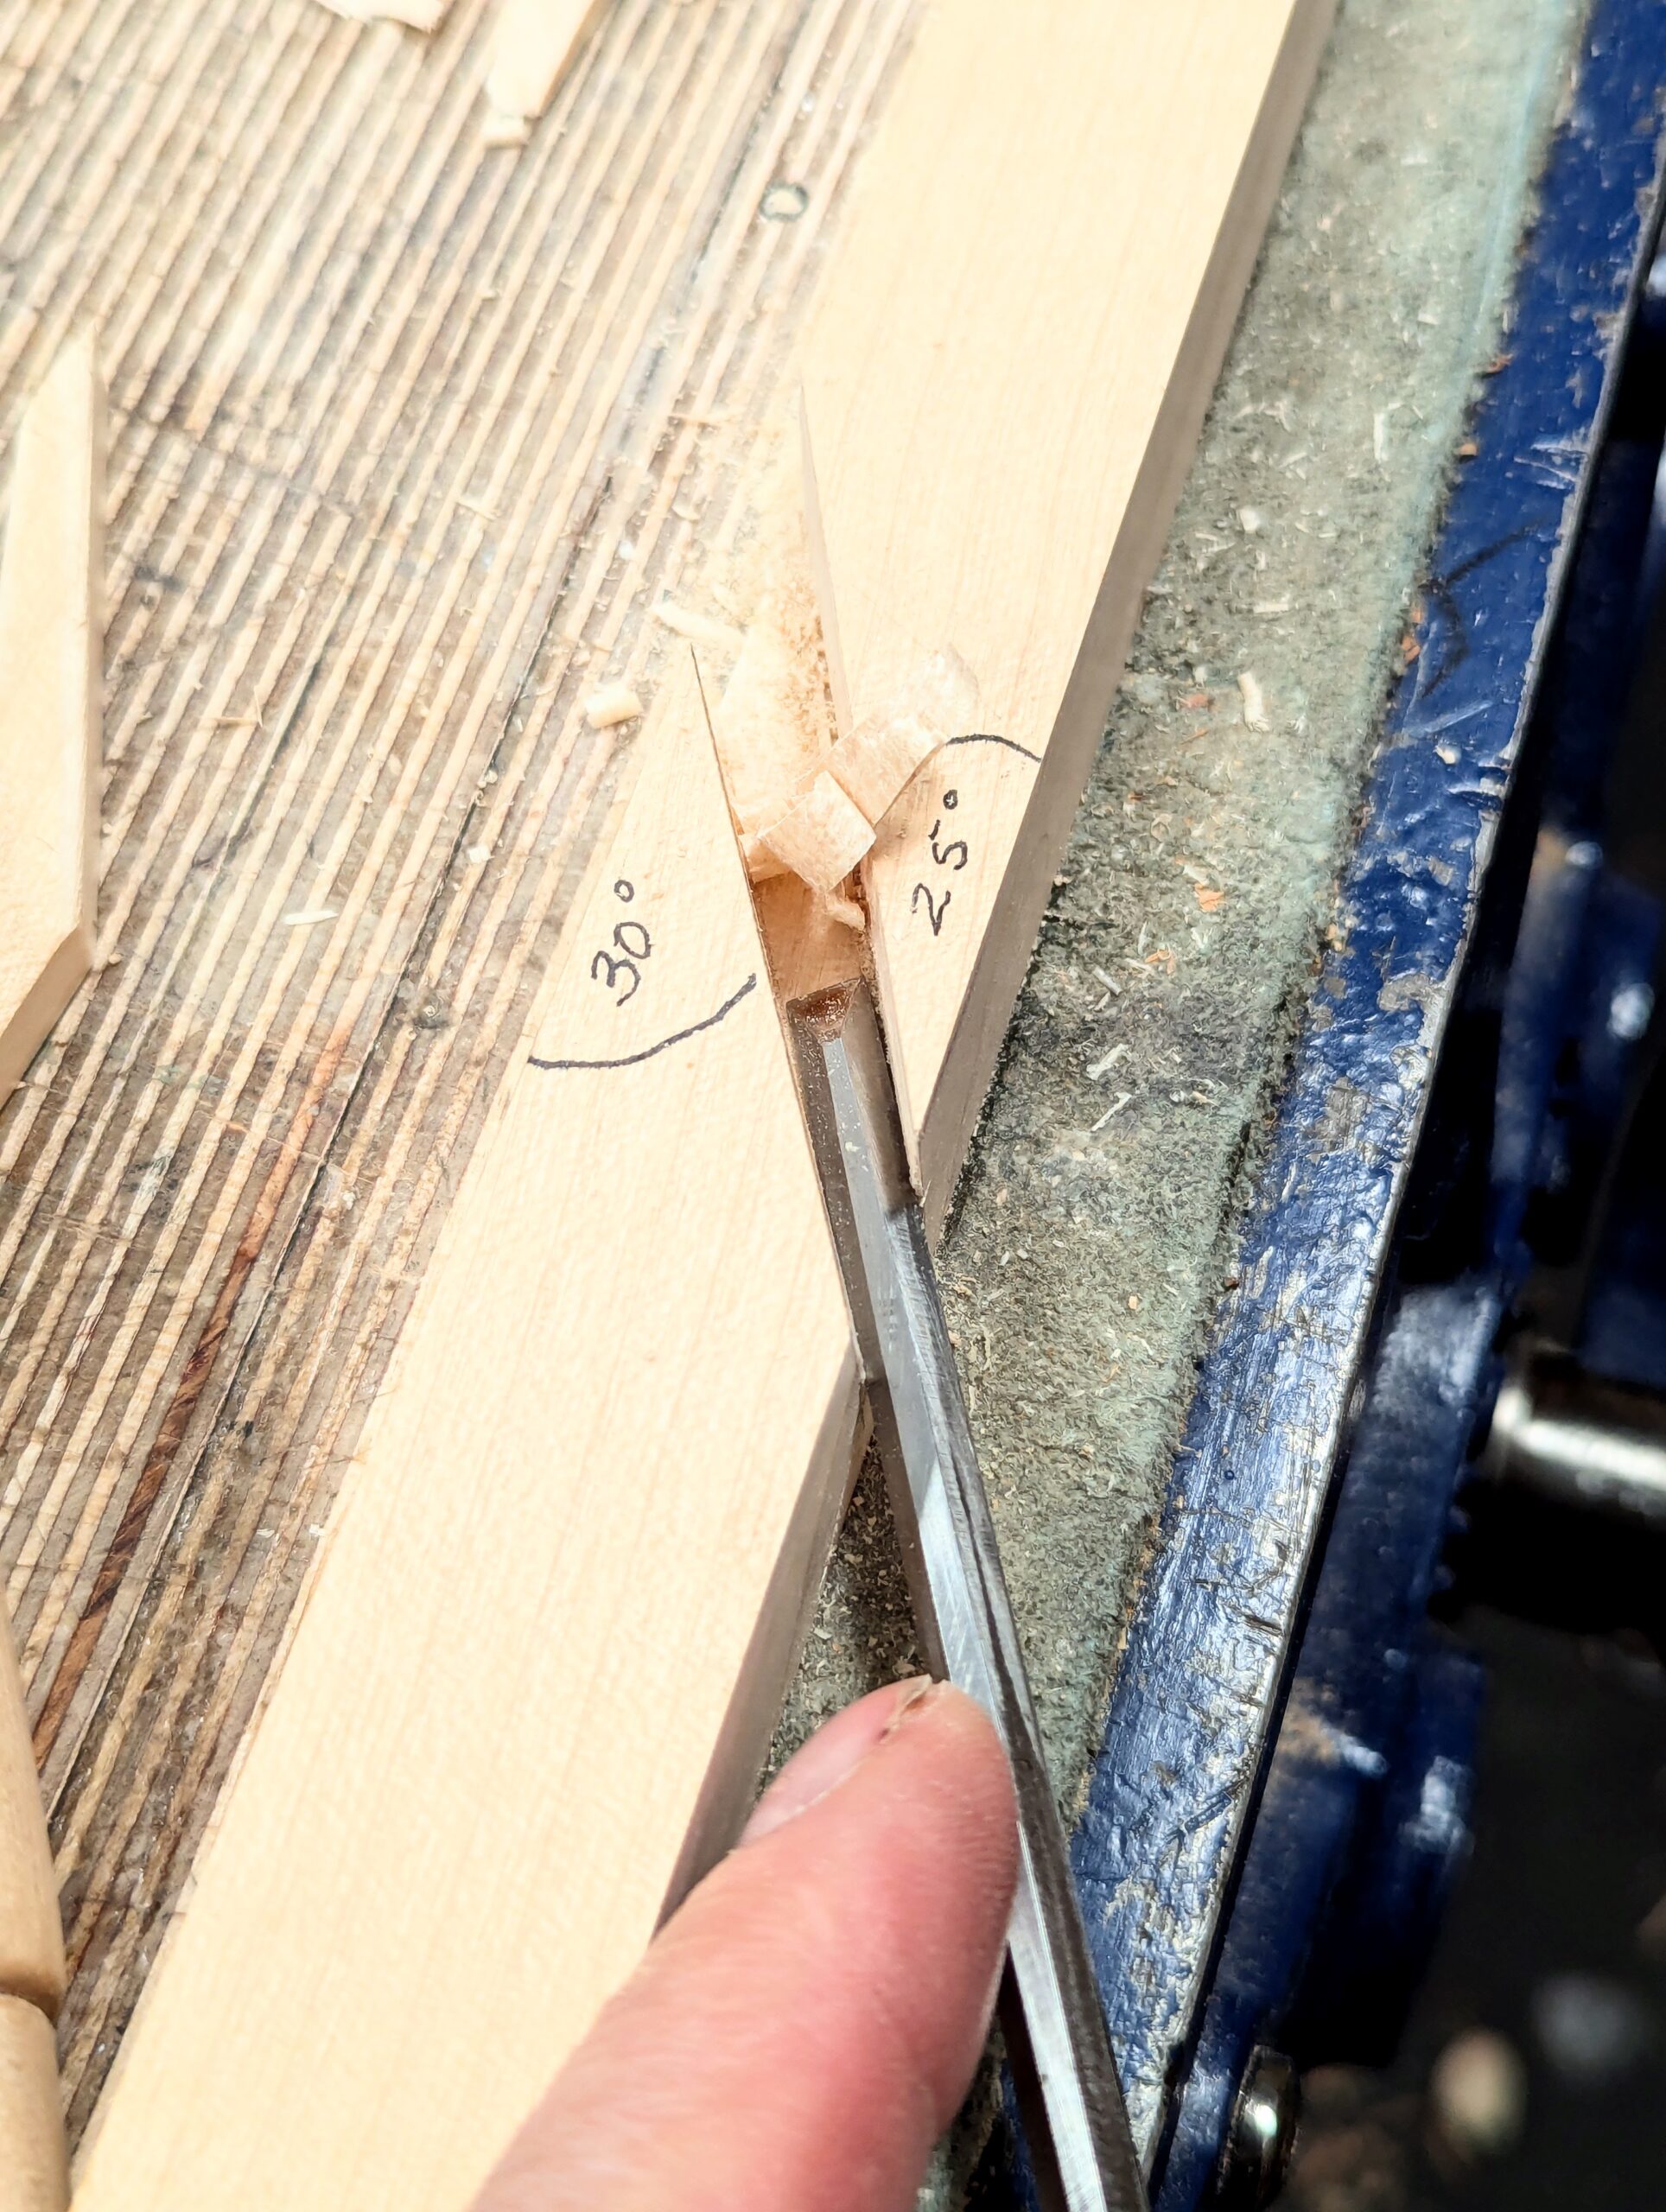
Use a chisel to deepen the knifewalls on the waste sides of the knifewalls.
Saw down the knifewalls as close as you can, but saw away from them onto the waste wood if you prefer to follow on with a chisel to refine the saw cut. Make sure not to cut beyond the depth gauge lines as this will weaken those internal corner fibres.
Remove the waste with a chisel.
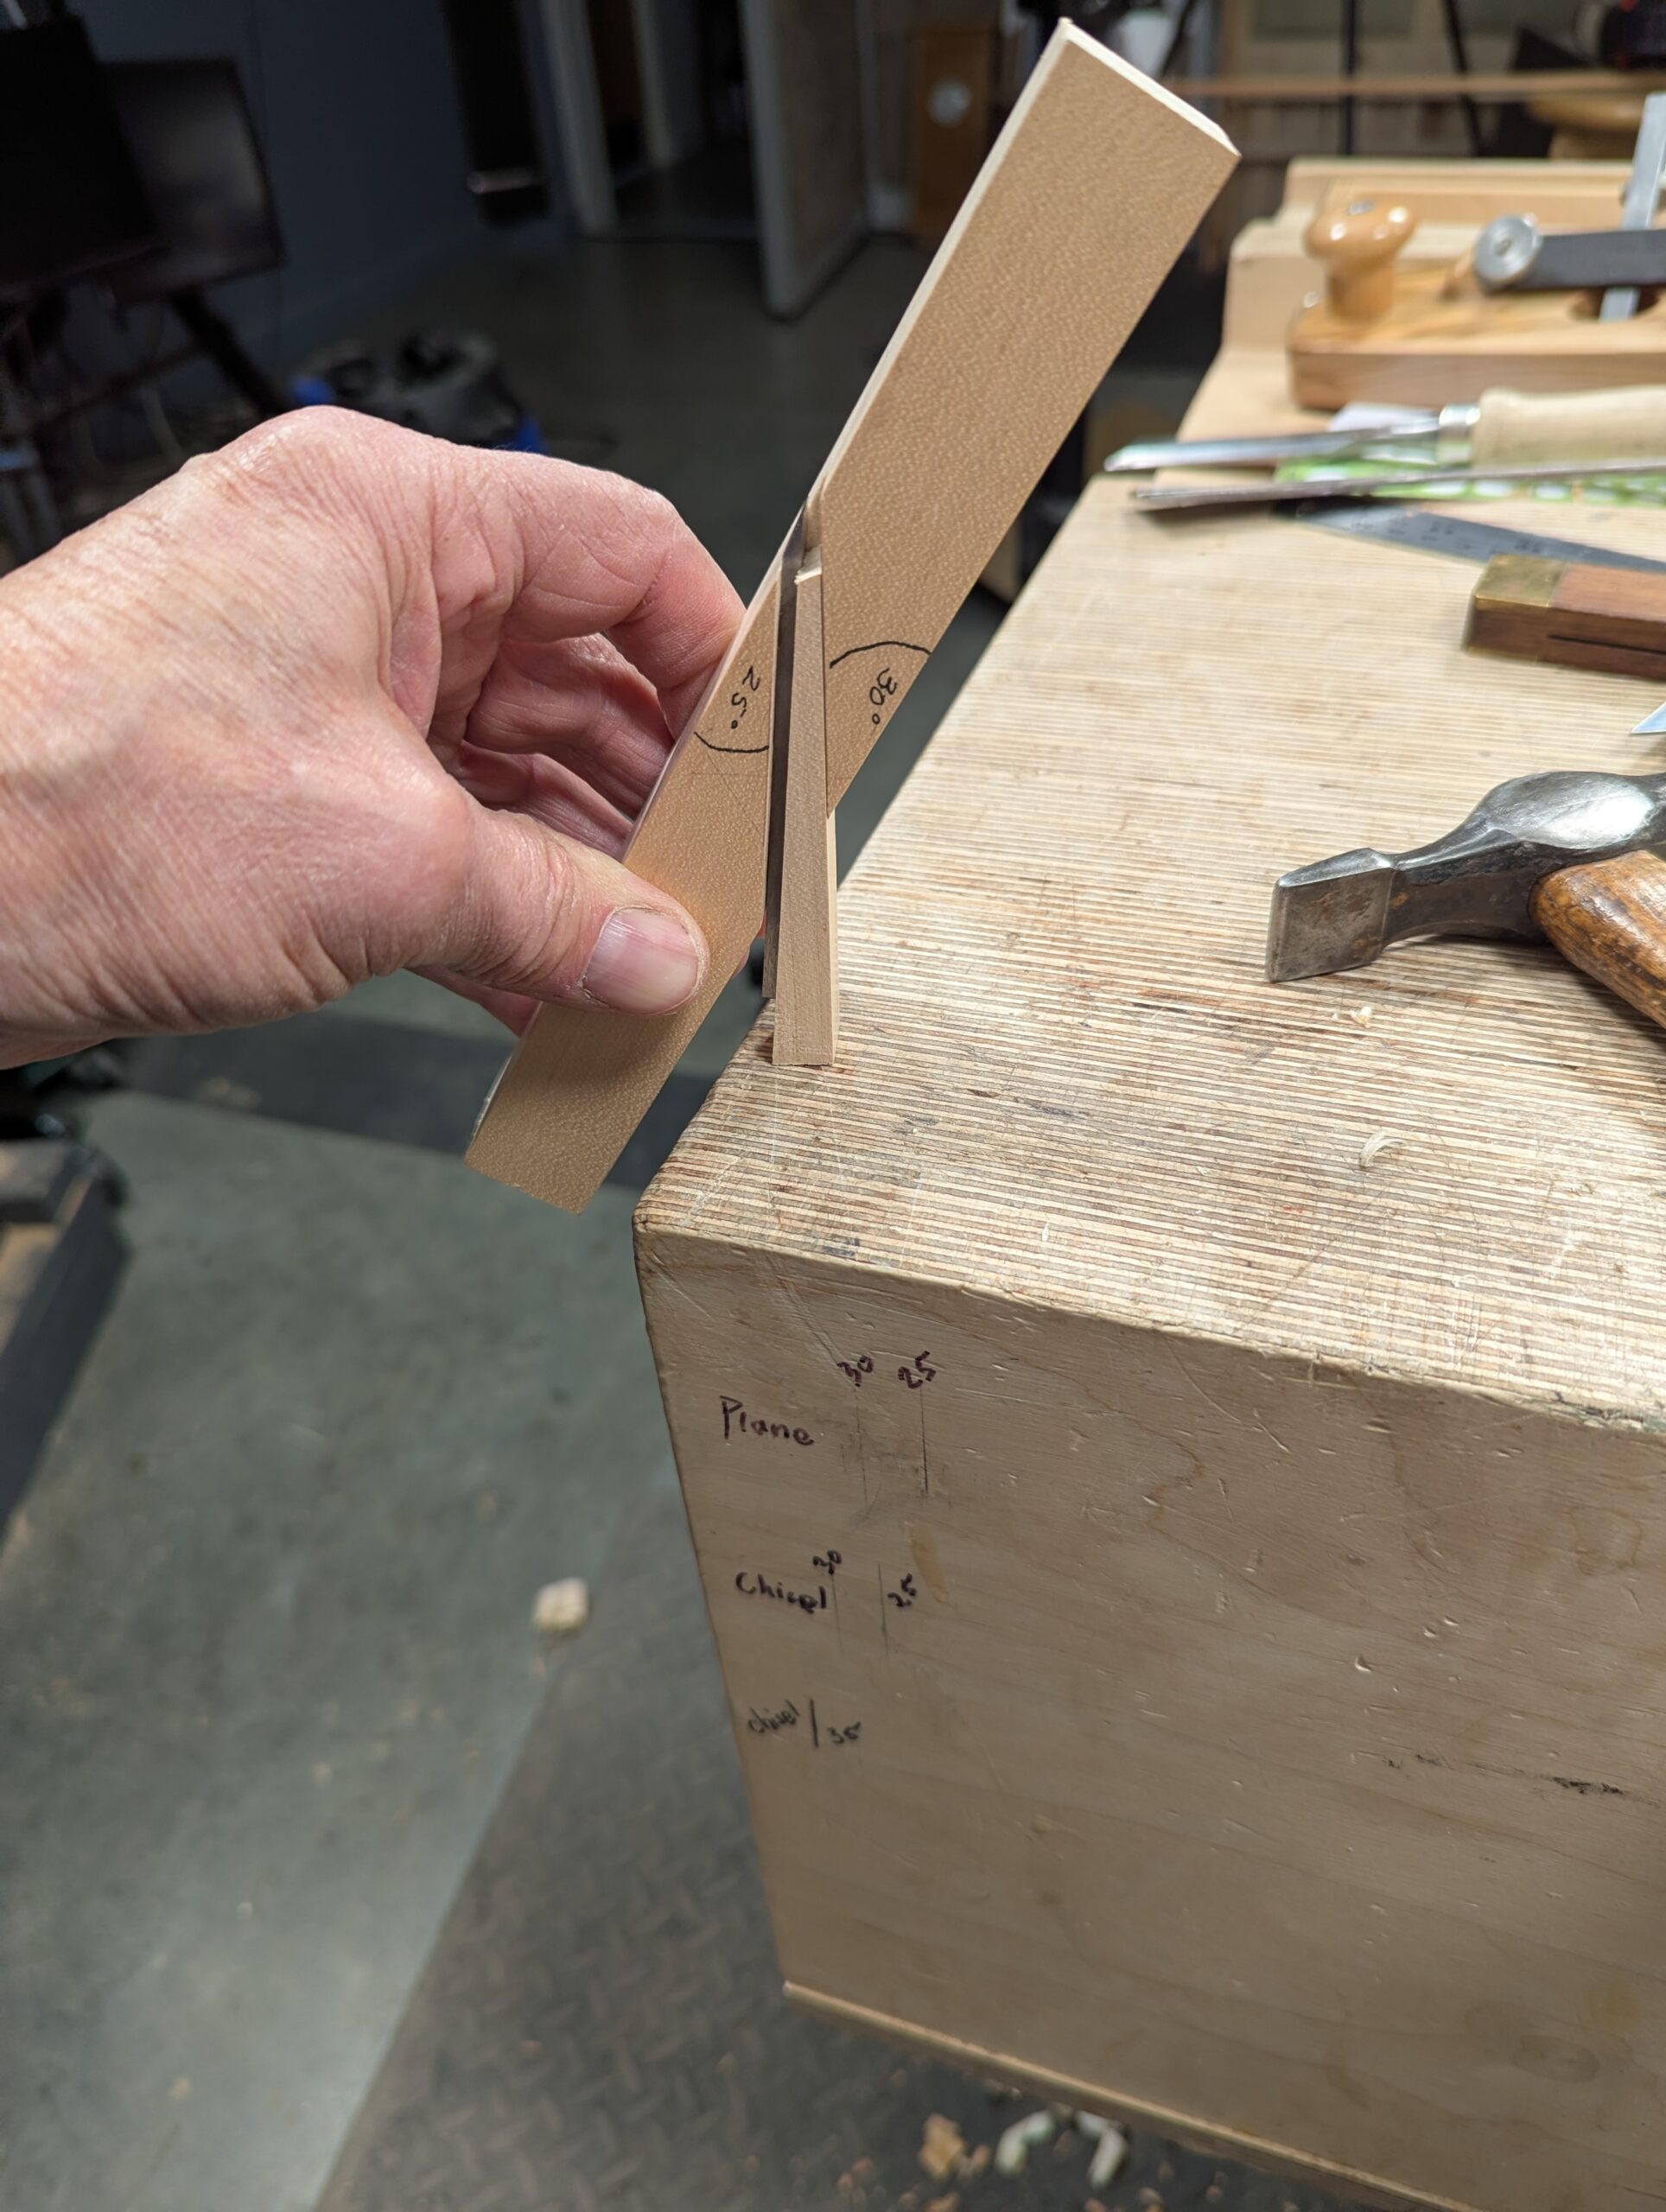
The wedge you make can be a long wedge, going from zero to three or so inches long. If you have cut your recess accurately, the angle needed will be five degrees. Saw the shape with a tenon saw.
Once sawn, try the wedge in the recess and check for any gaps.
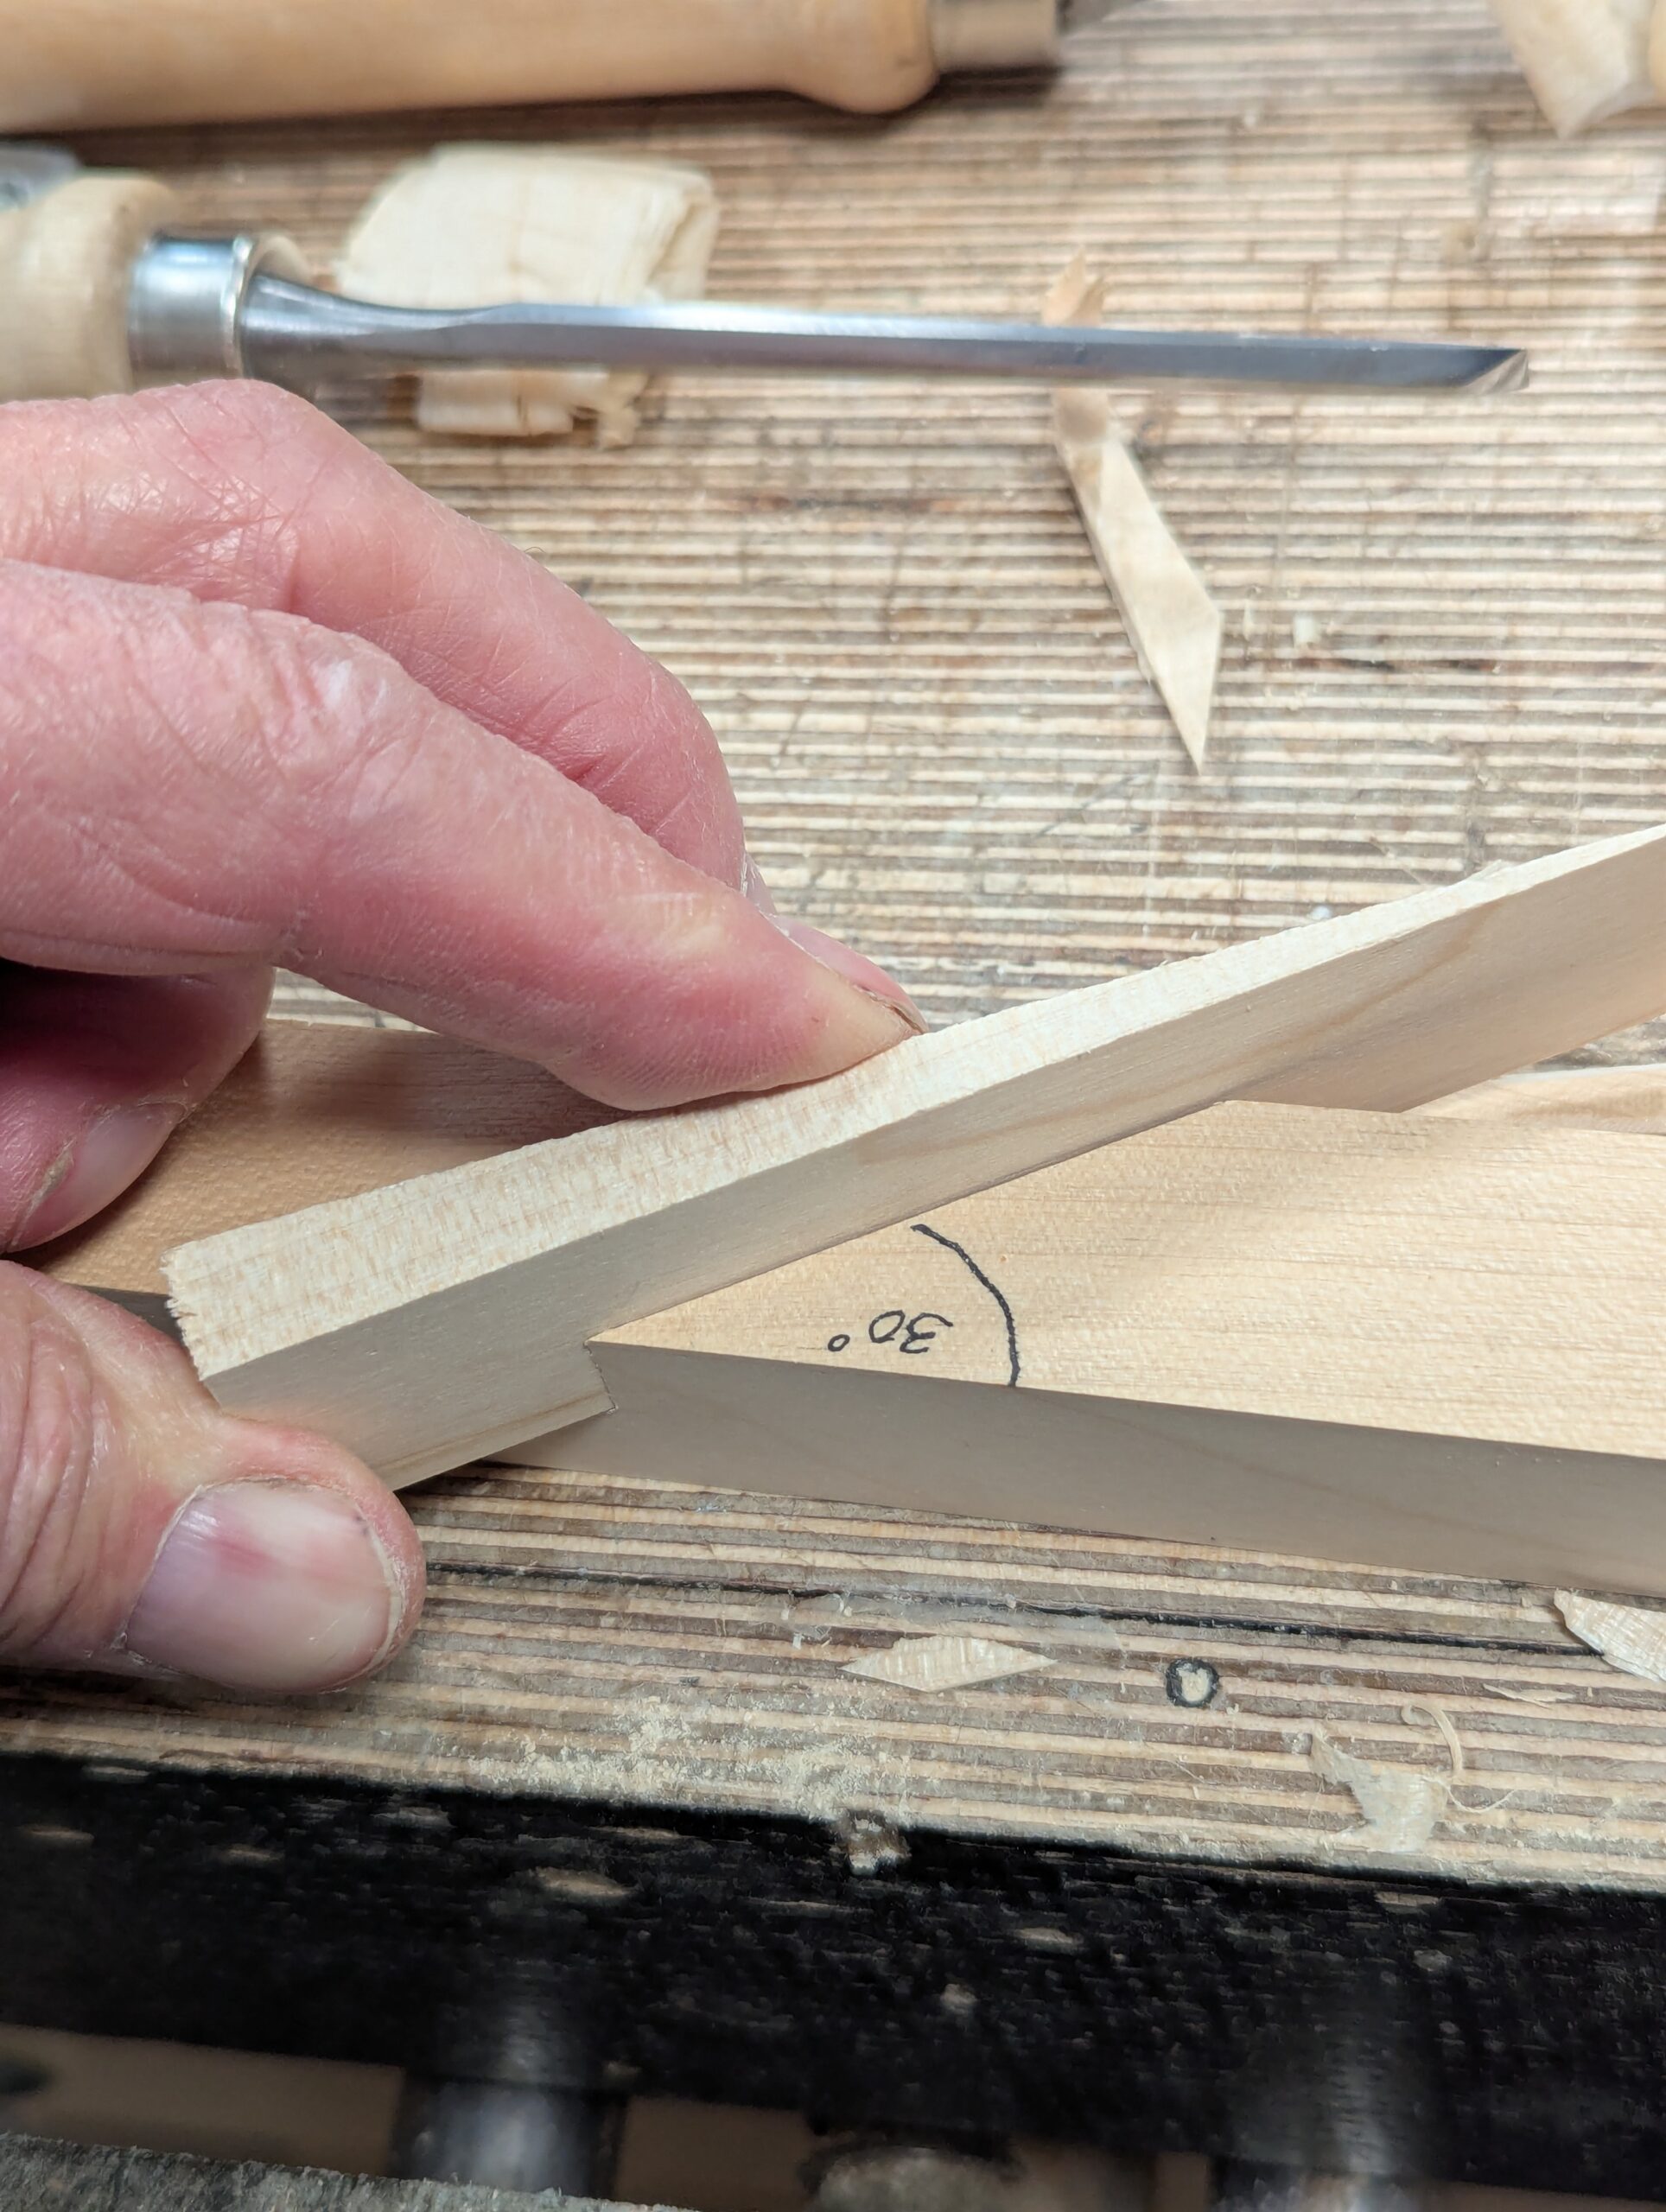
Any gaps can be trued with a plane.
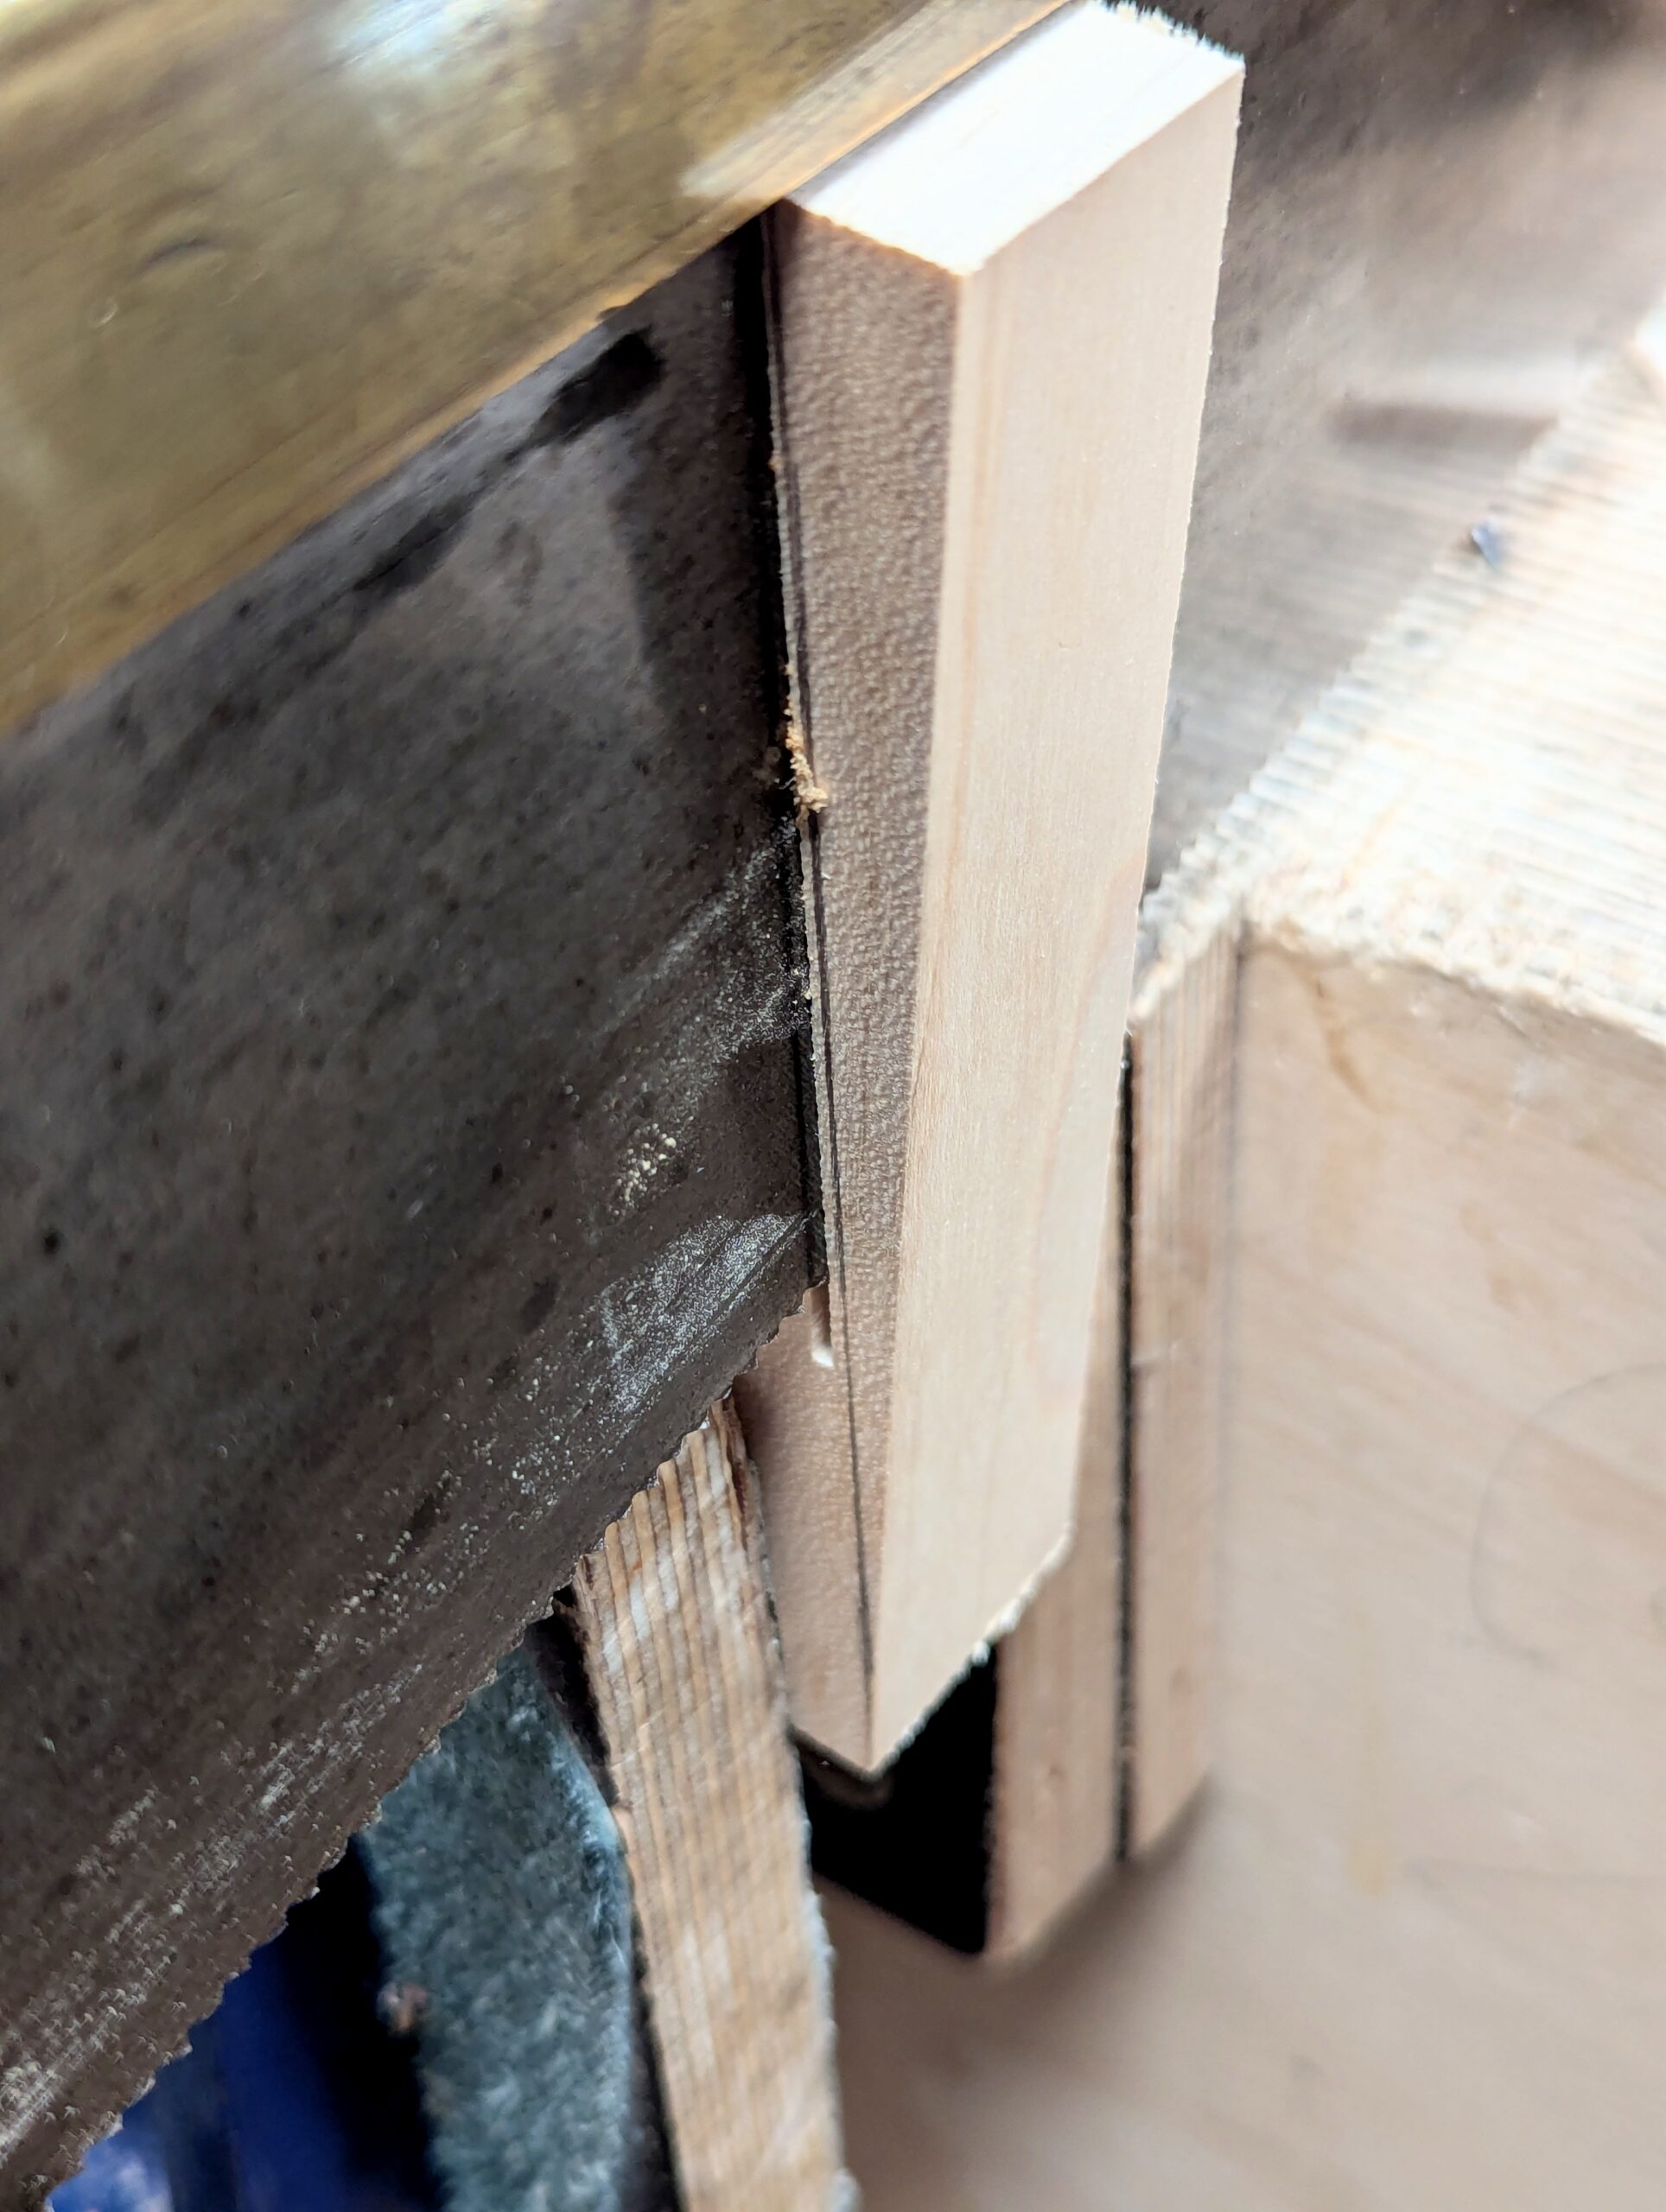
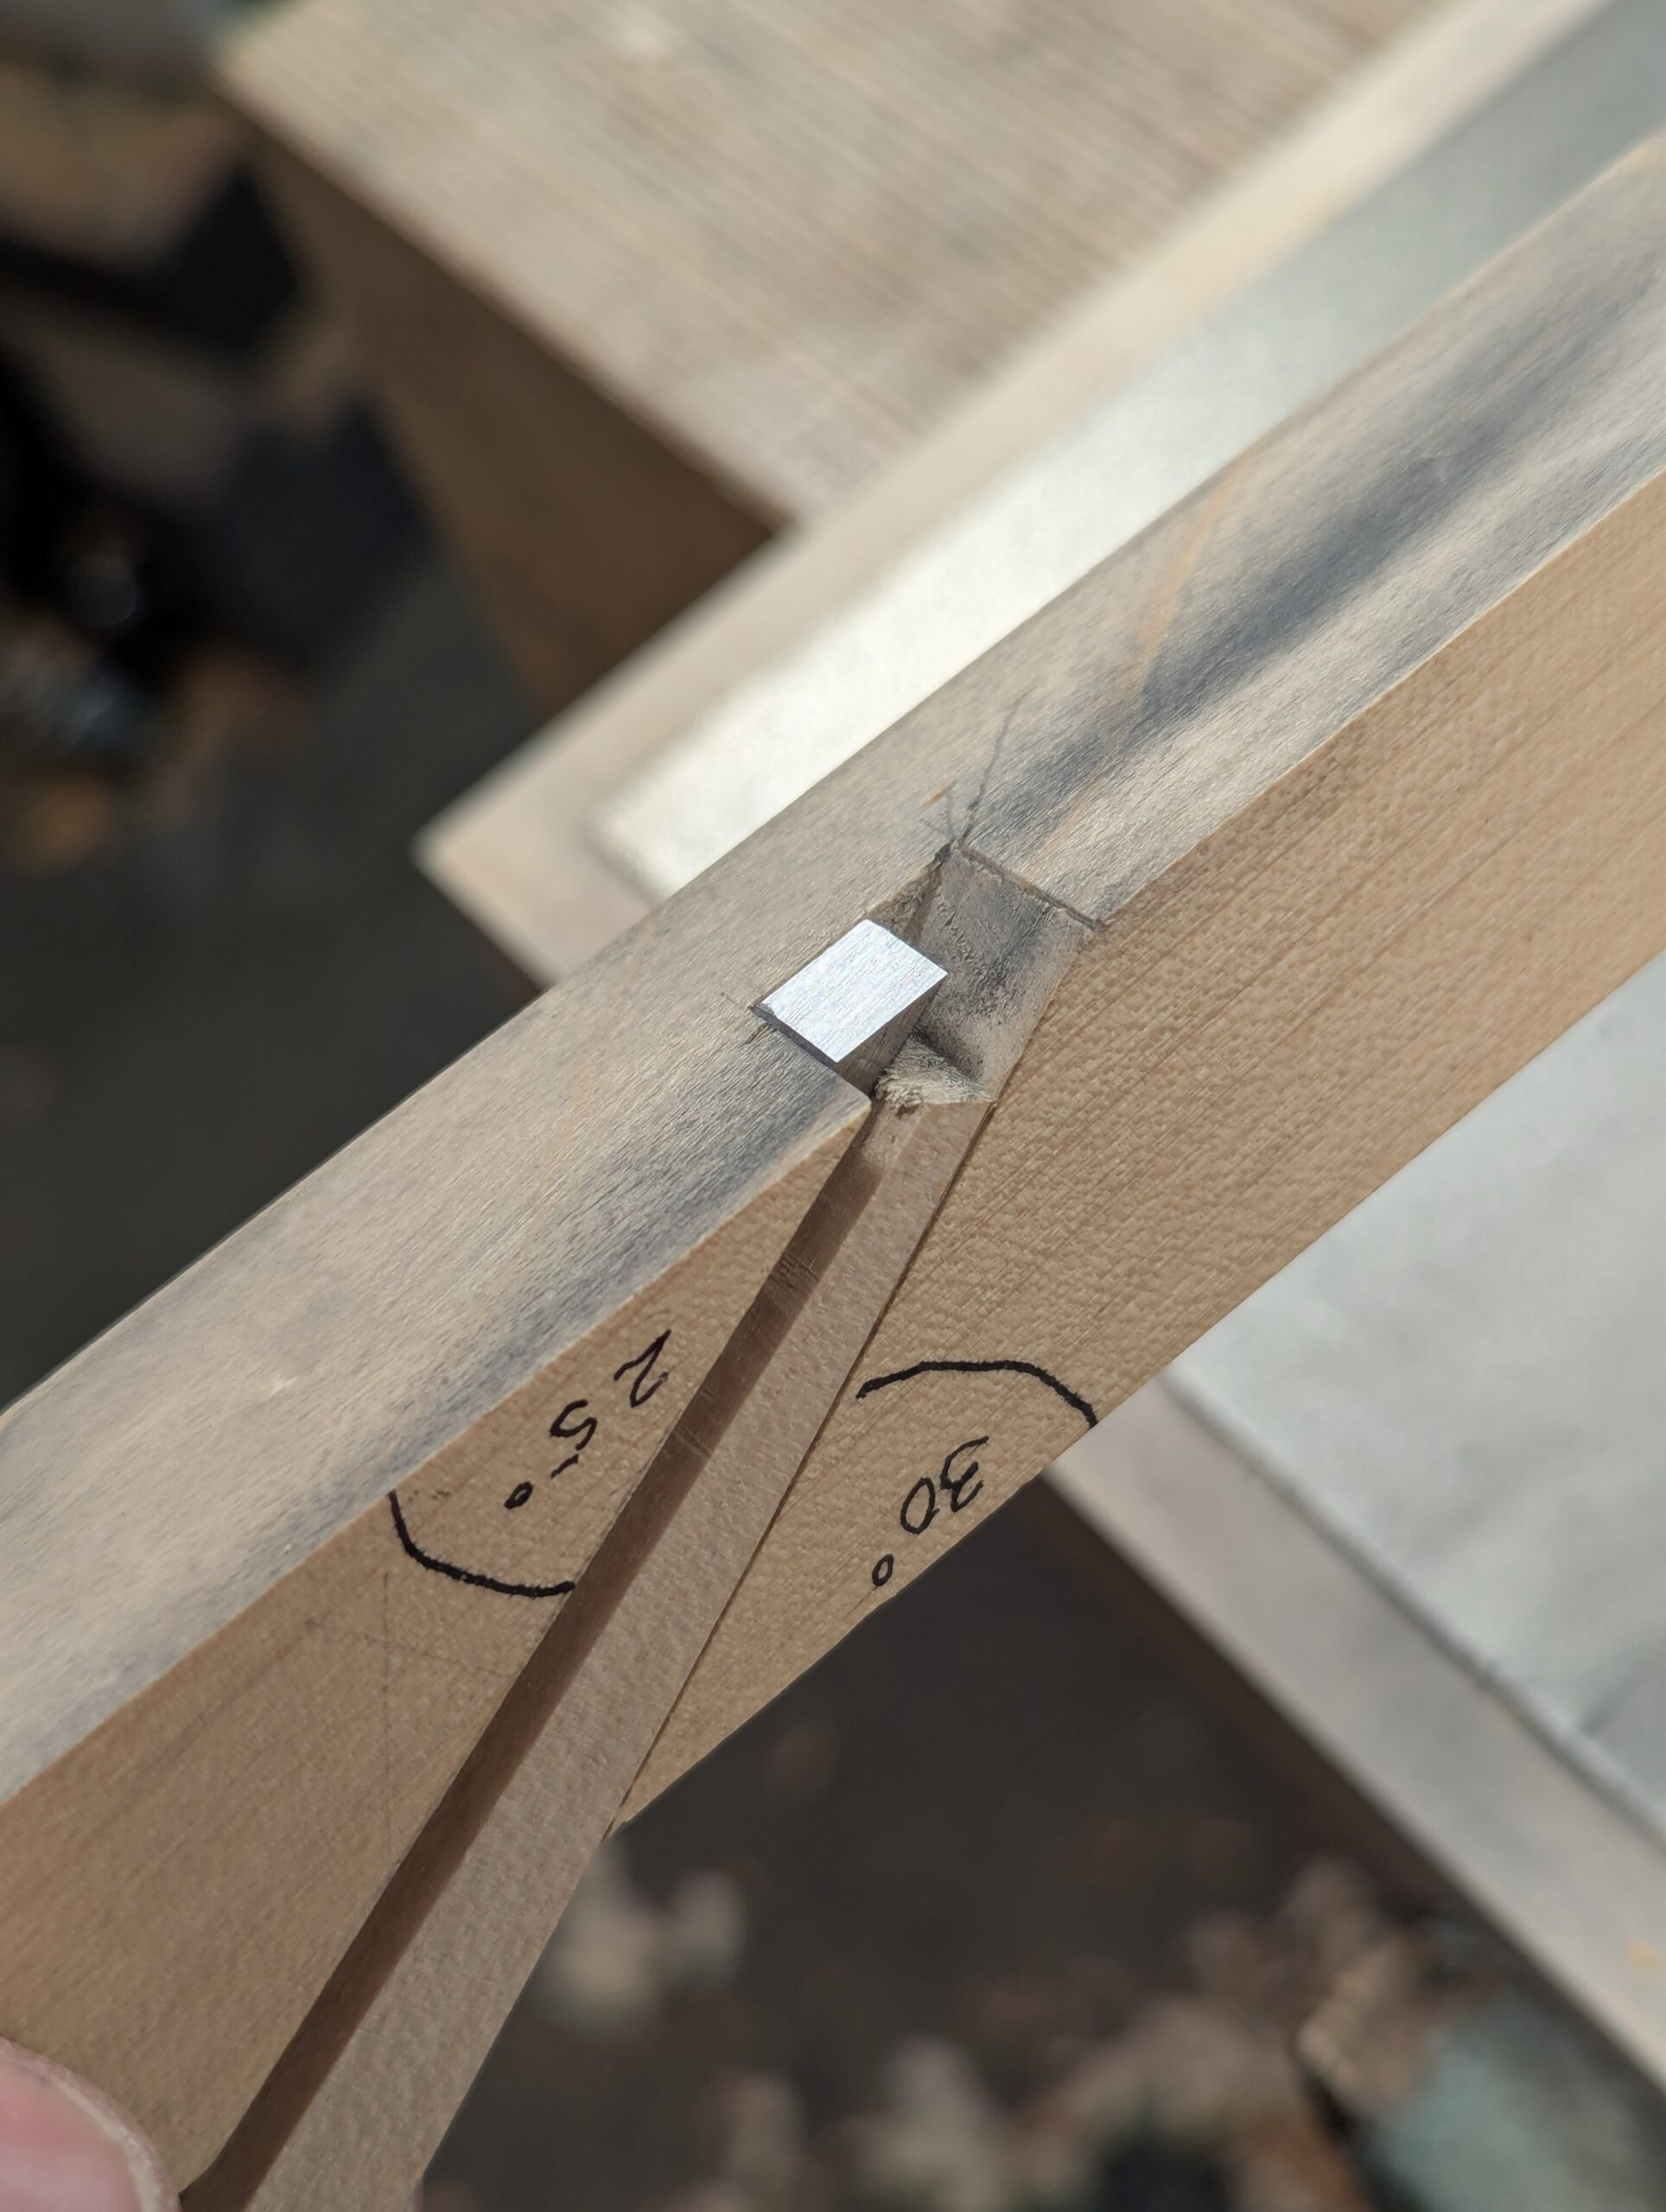
Slide any Stanley or Record plough plane cutting iron into the recess and then add the wedge. This will help you to establish the length of the wedge needed.
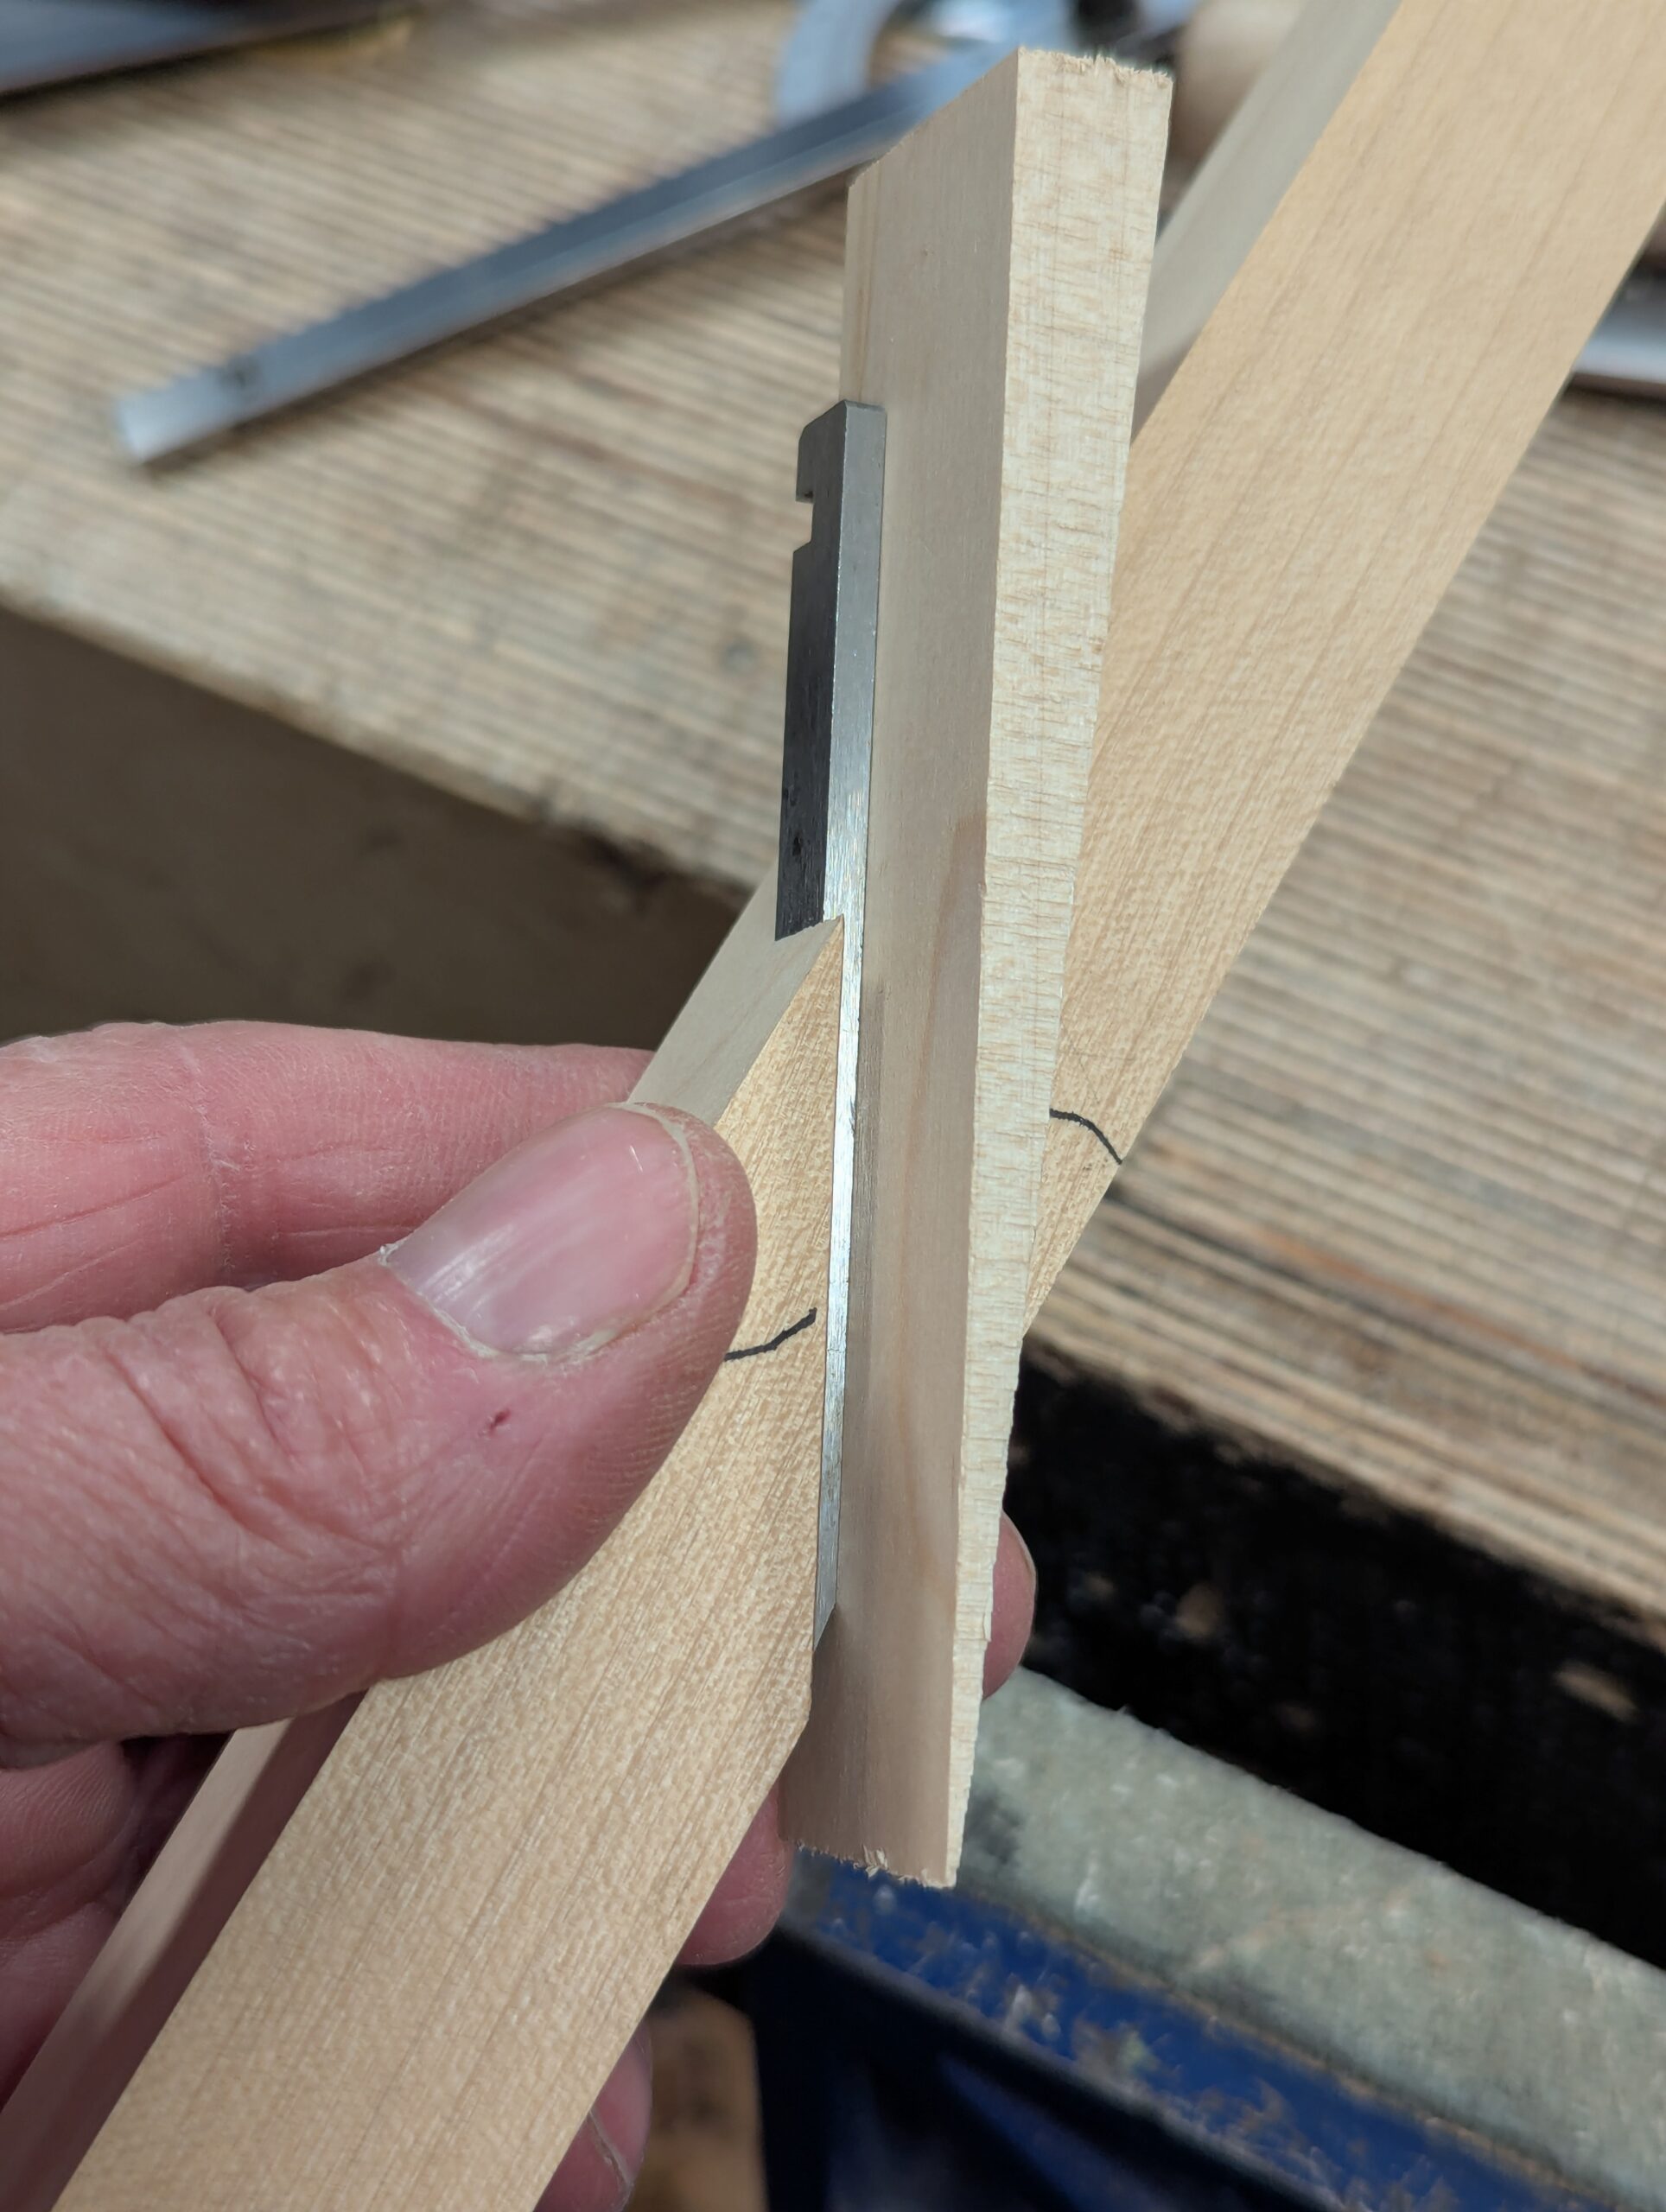
Mark to length and cut and trim as needed.

Your guide is now ready to use.
Though, I have designed this guide to give you two angles in one. If you are like me and rely on a single bevel only, you can simply rough and then refine the bevel all at 30º and dismiss the first 25º bevel.

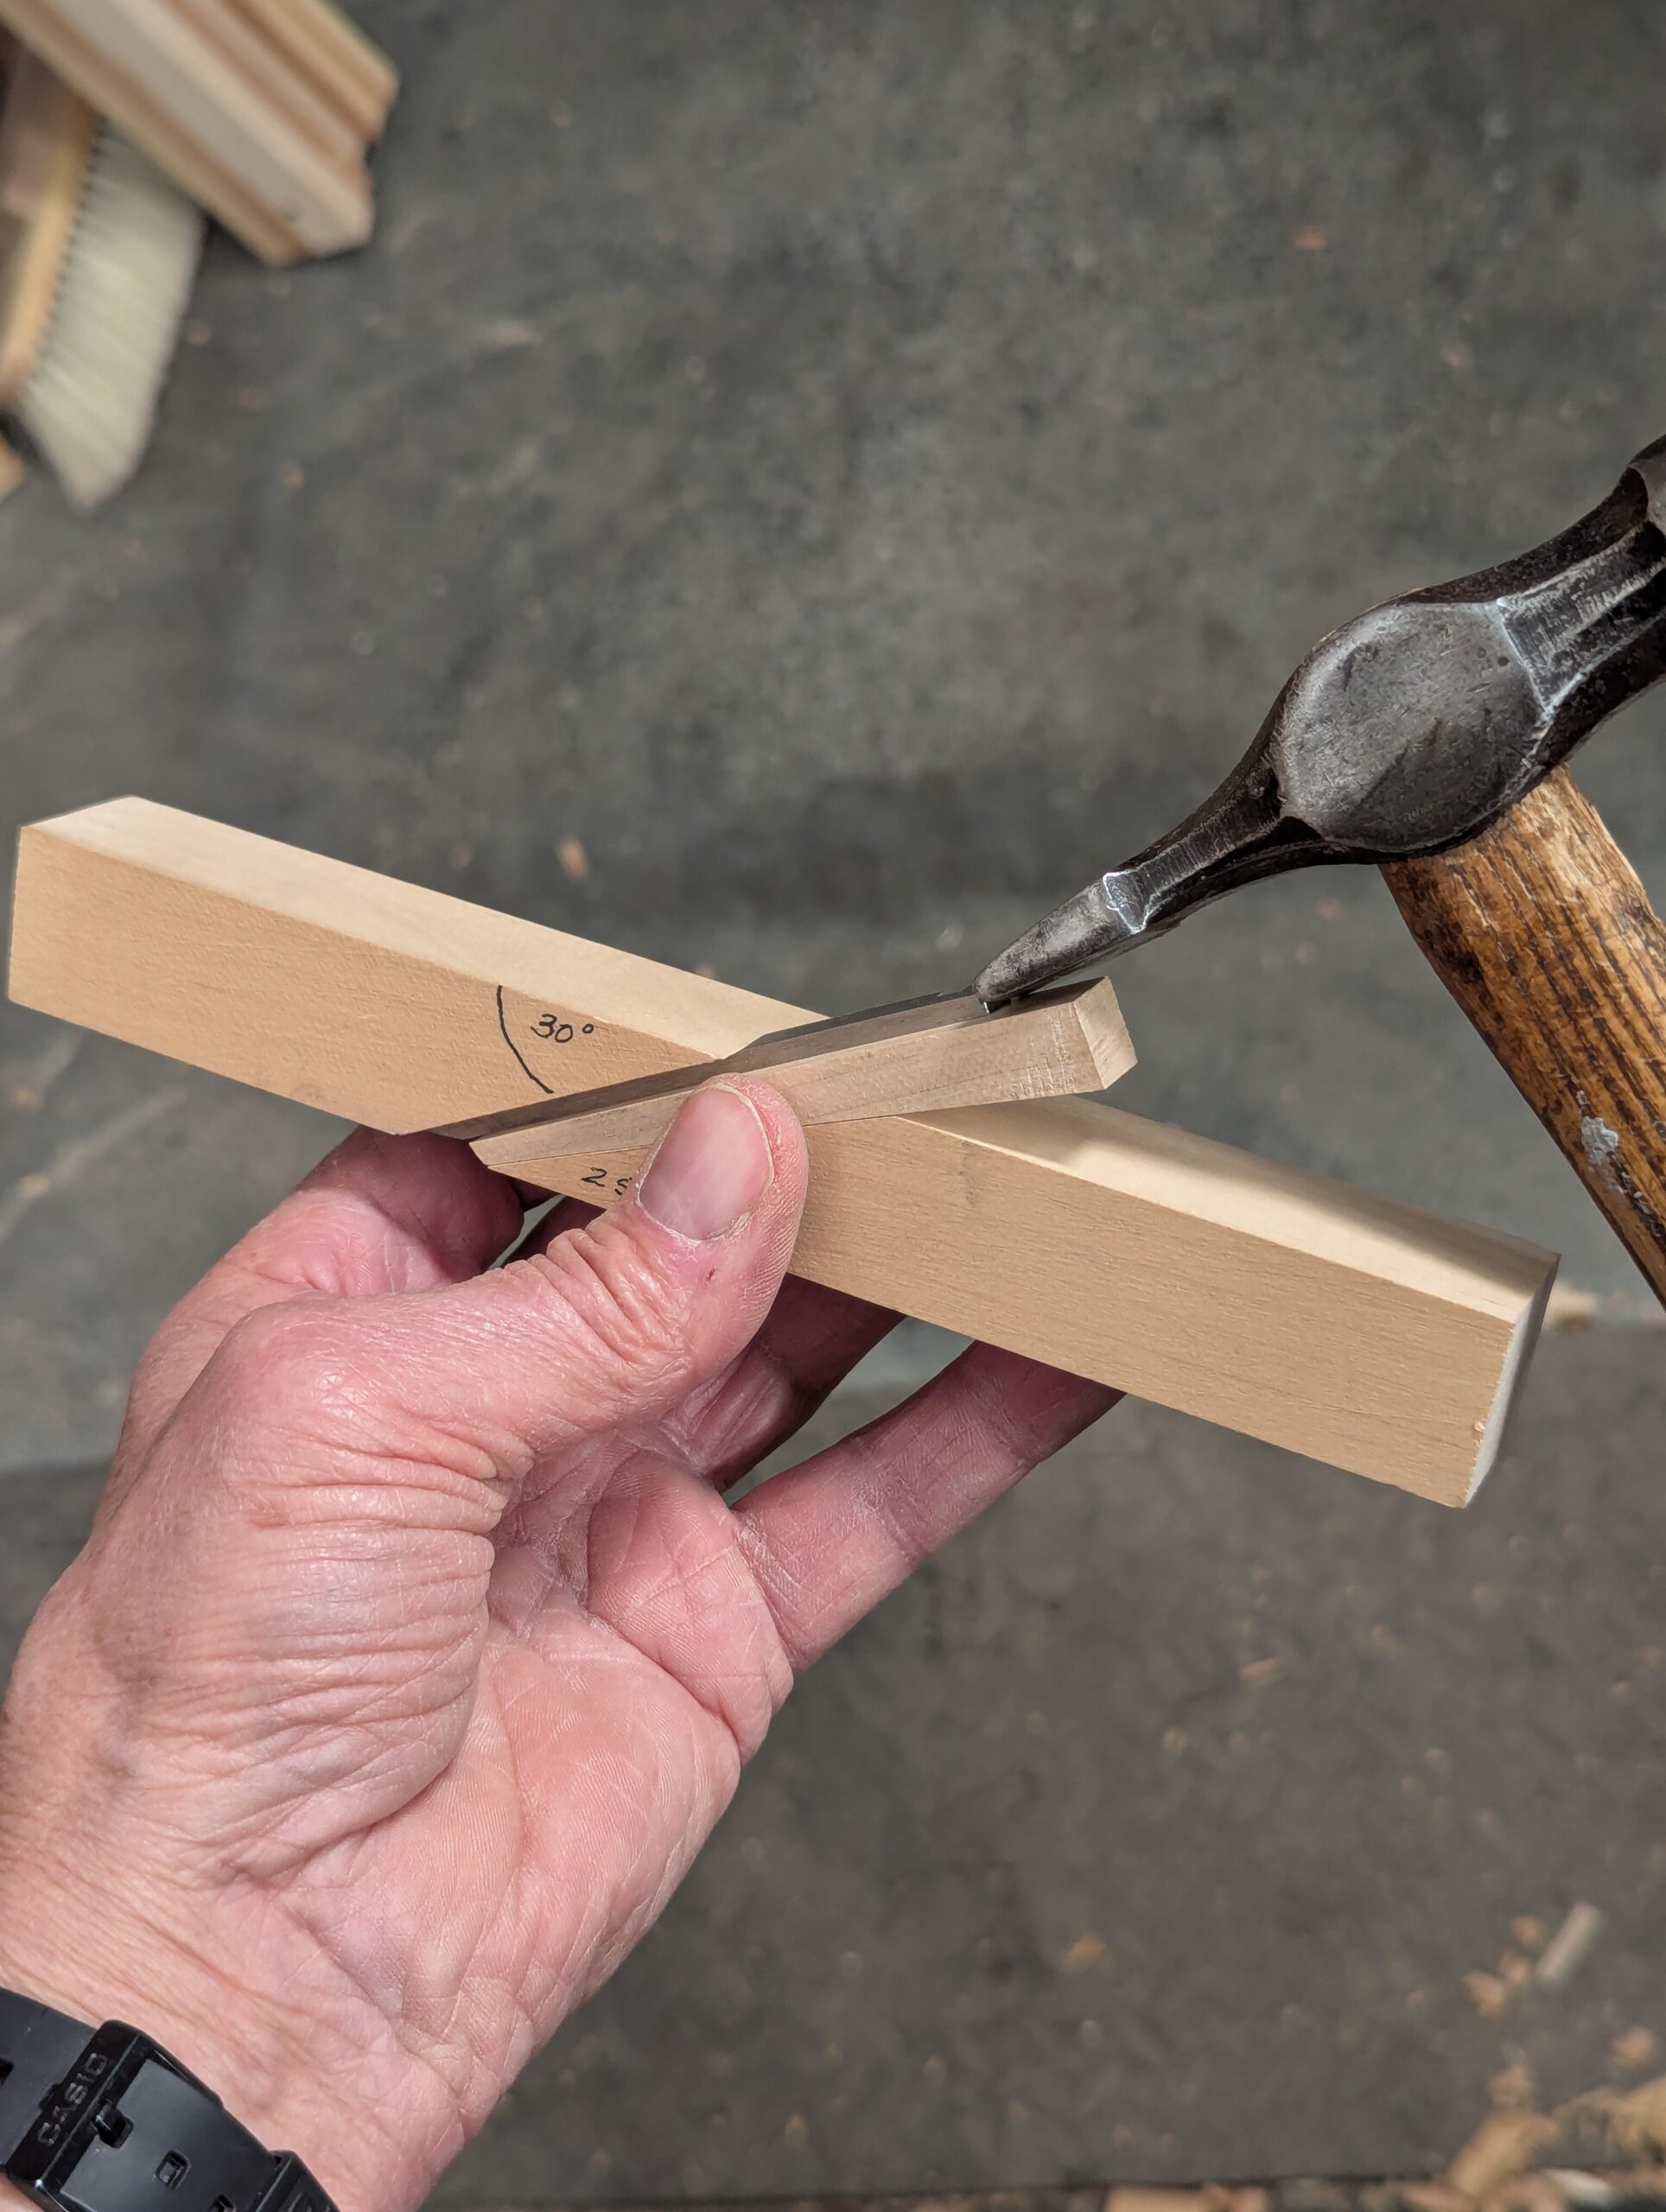
Installing the blade is simple enough. Allow the blade to protrude a paper thickness past the sole, (or as much as is needed if the blade is in poor shape) and tap the wedge end with a small hammer. . .
. . . Or alternatively, tap the wedge on the bench top.
The wedging action can tend to send the blade further out than intended, so this may take a little adjusting.
To reduce the wedge pressure, strike the end of the guide with the hammer, and this will shock the wedge and blade loose.

Once retightened, tap the end of the blade until the blade protrudes slightly past the face of the sole.
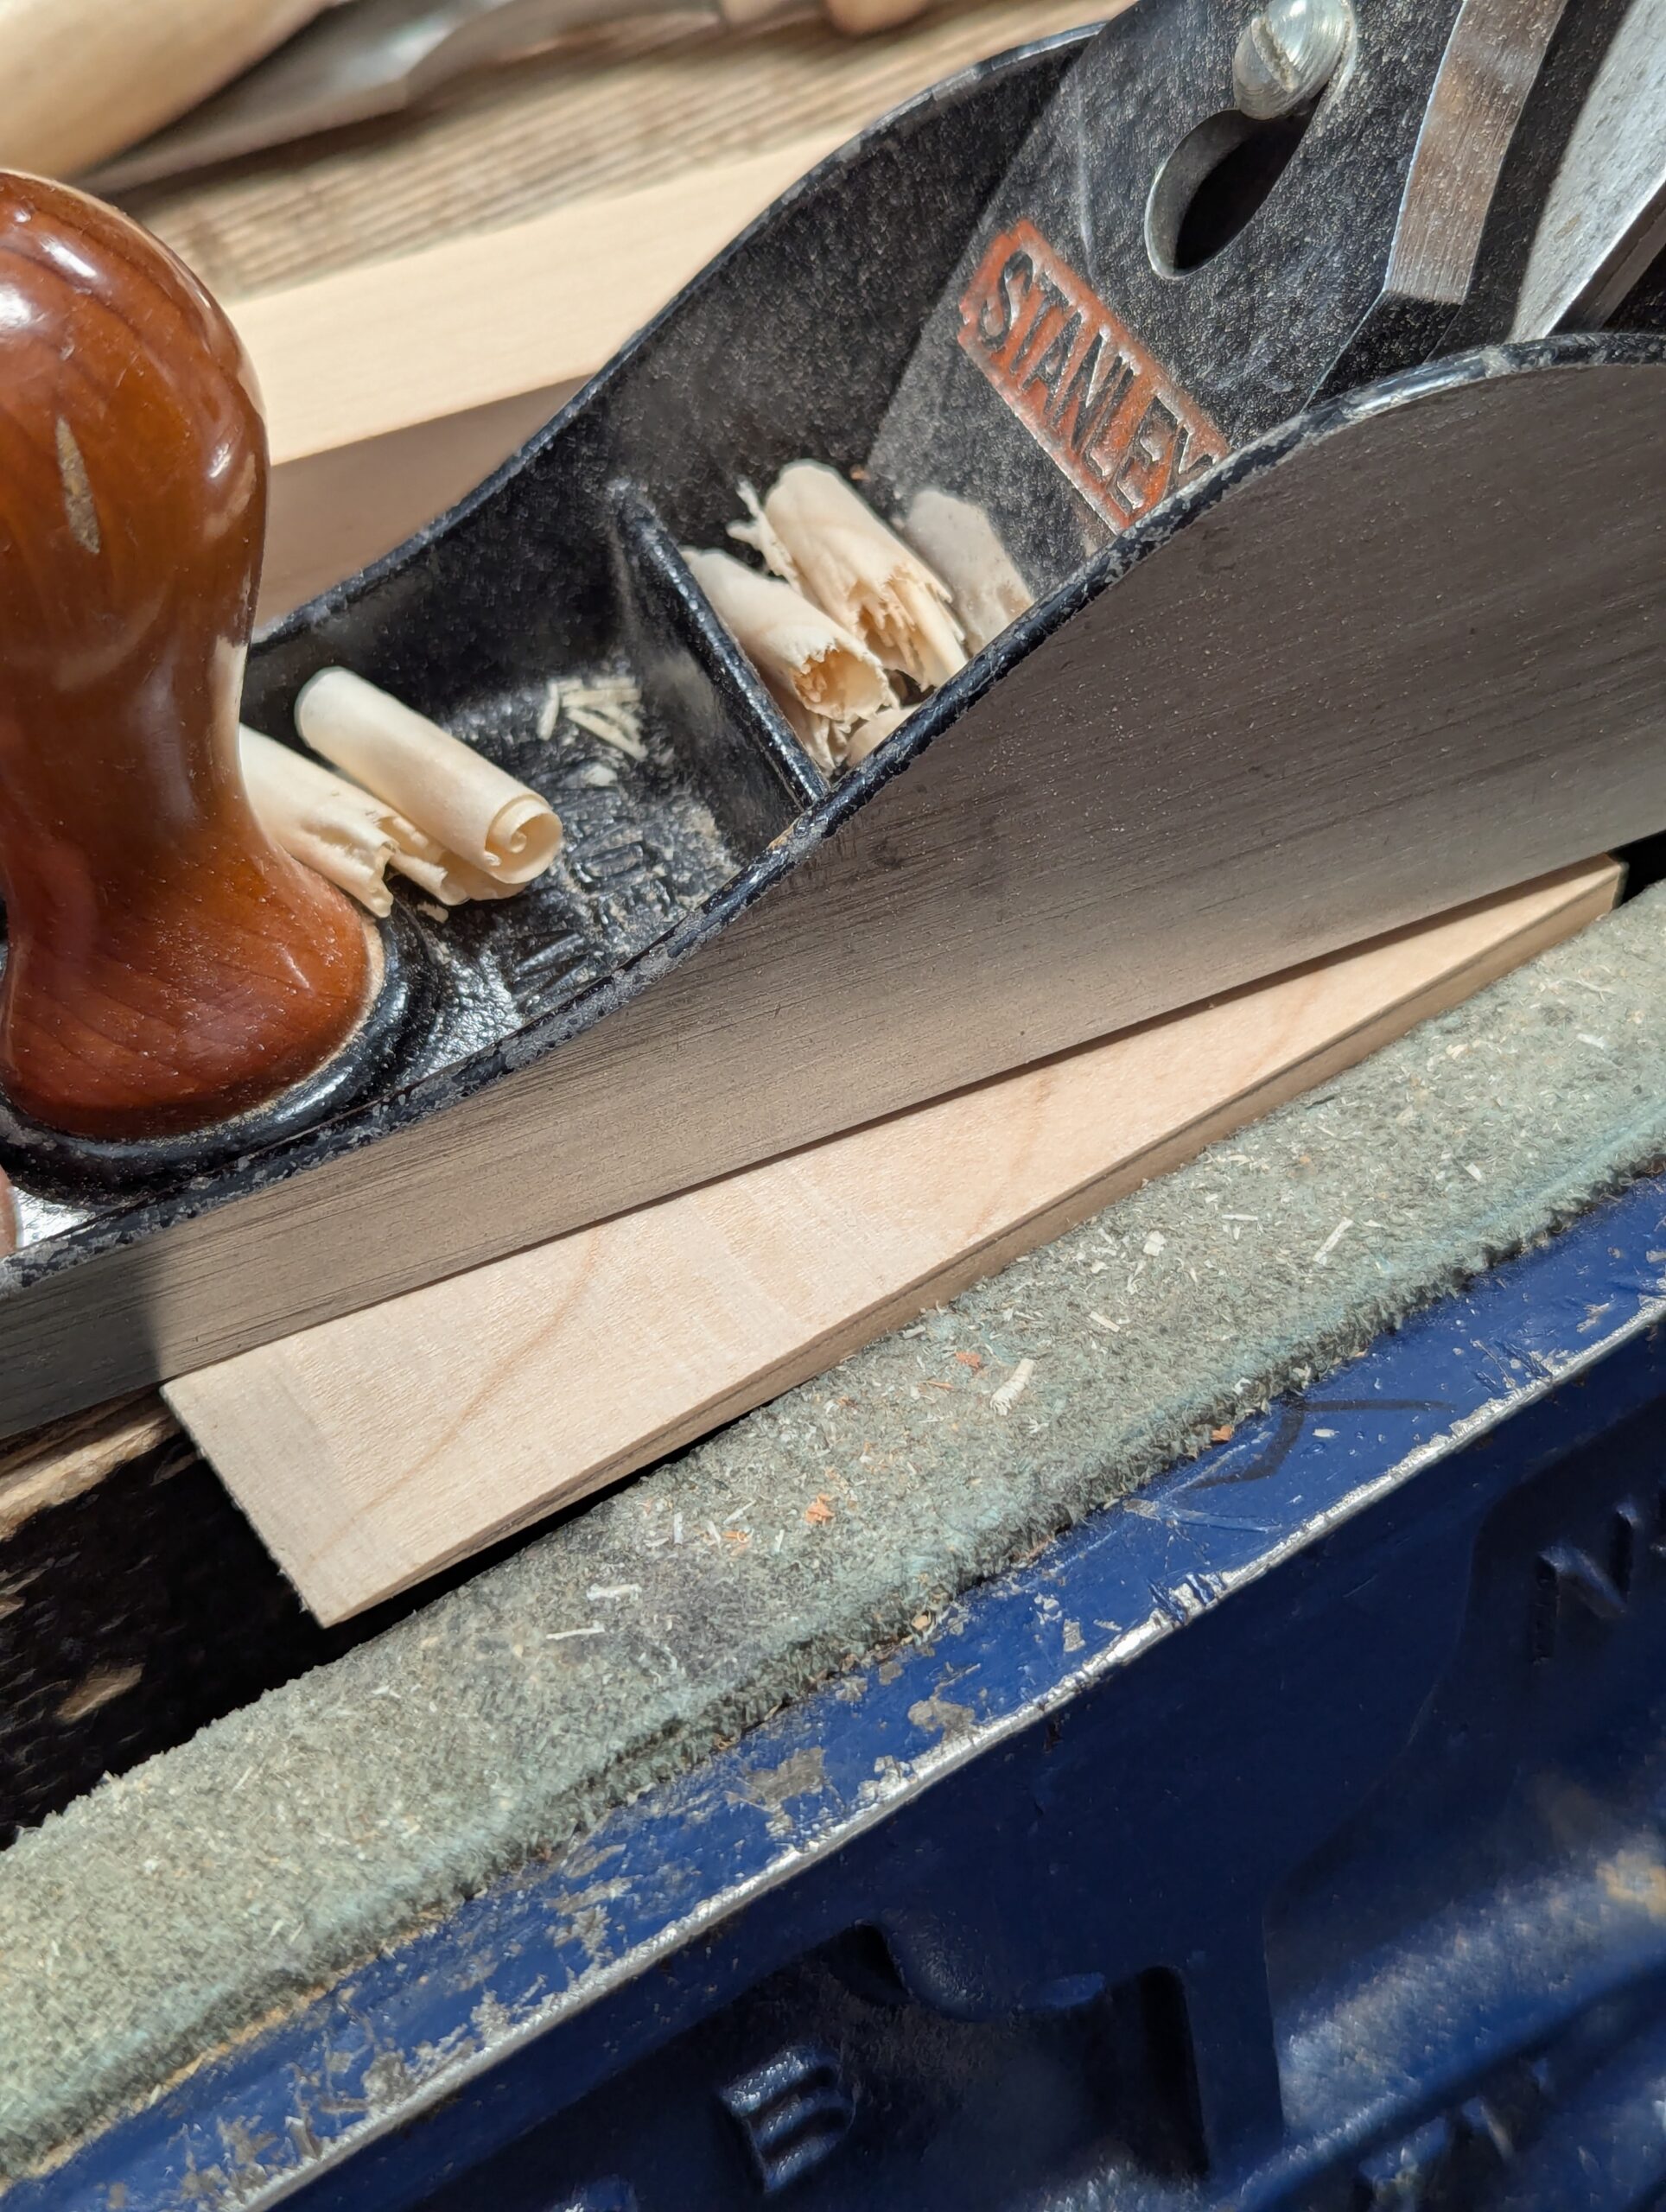
Apply to the coarse abrasive. I'm using diamond plates, but any flat abrasive, including sandpaper will do.
For the finer honing, change the position of the wedge to below the cutting iron, cinch tight with the wedge and set the protrusion to a paper thickness. Now rub three or four times on the fine abrasive.
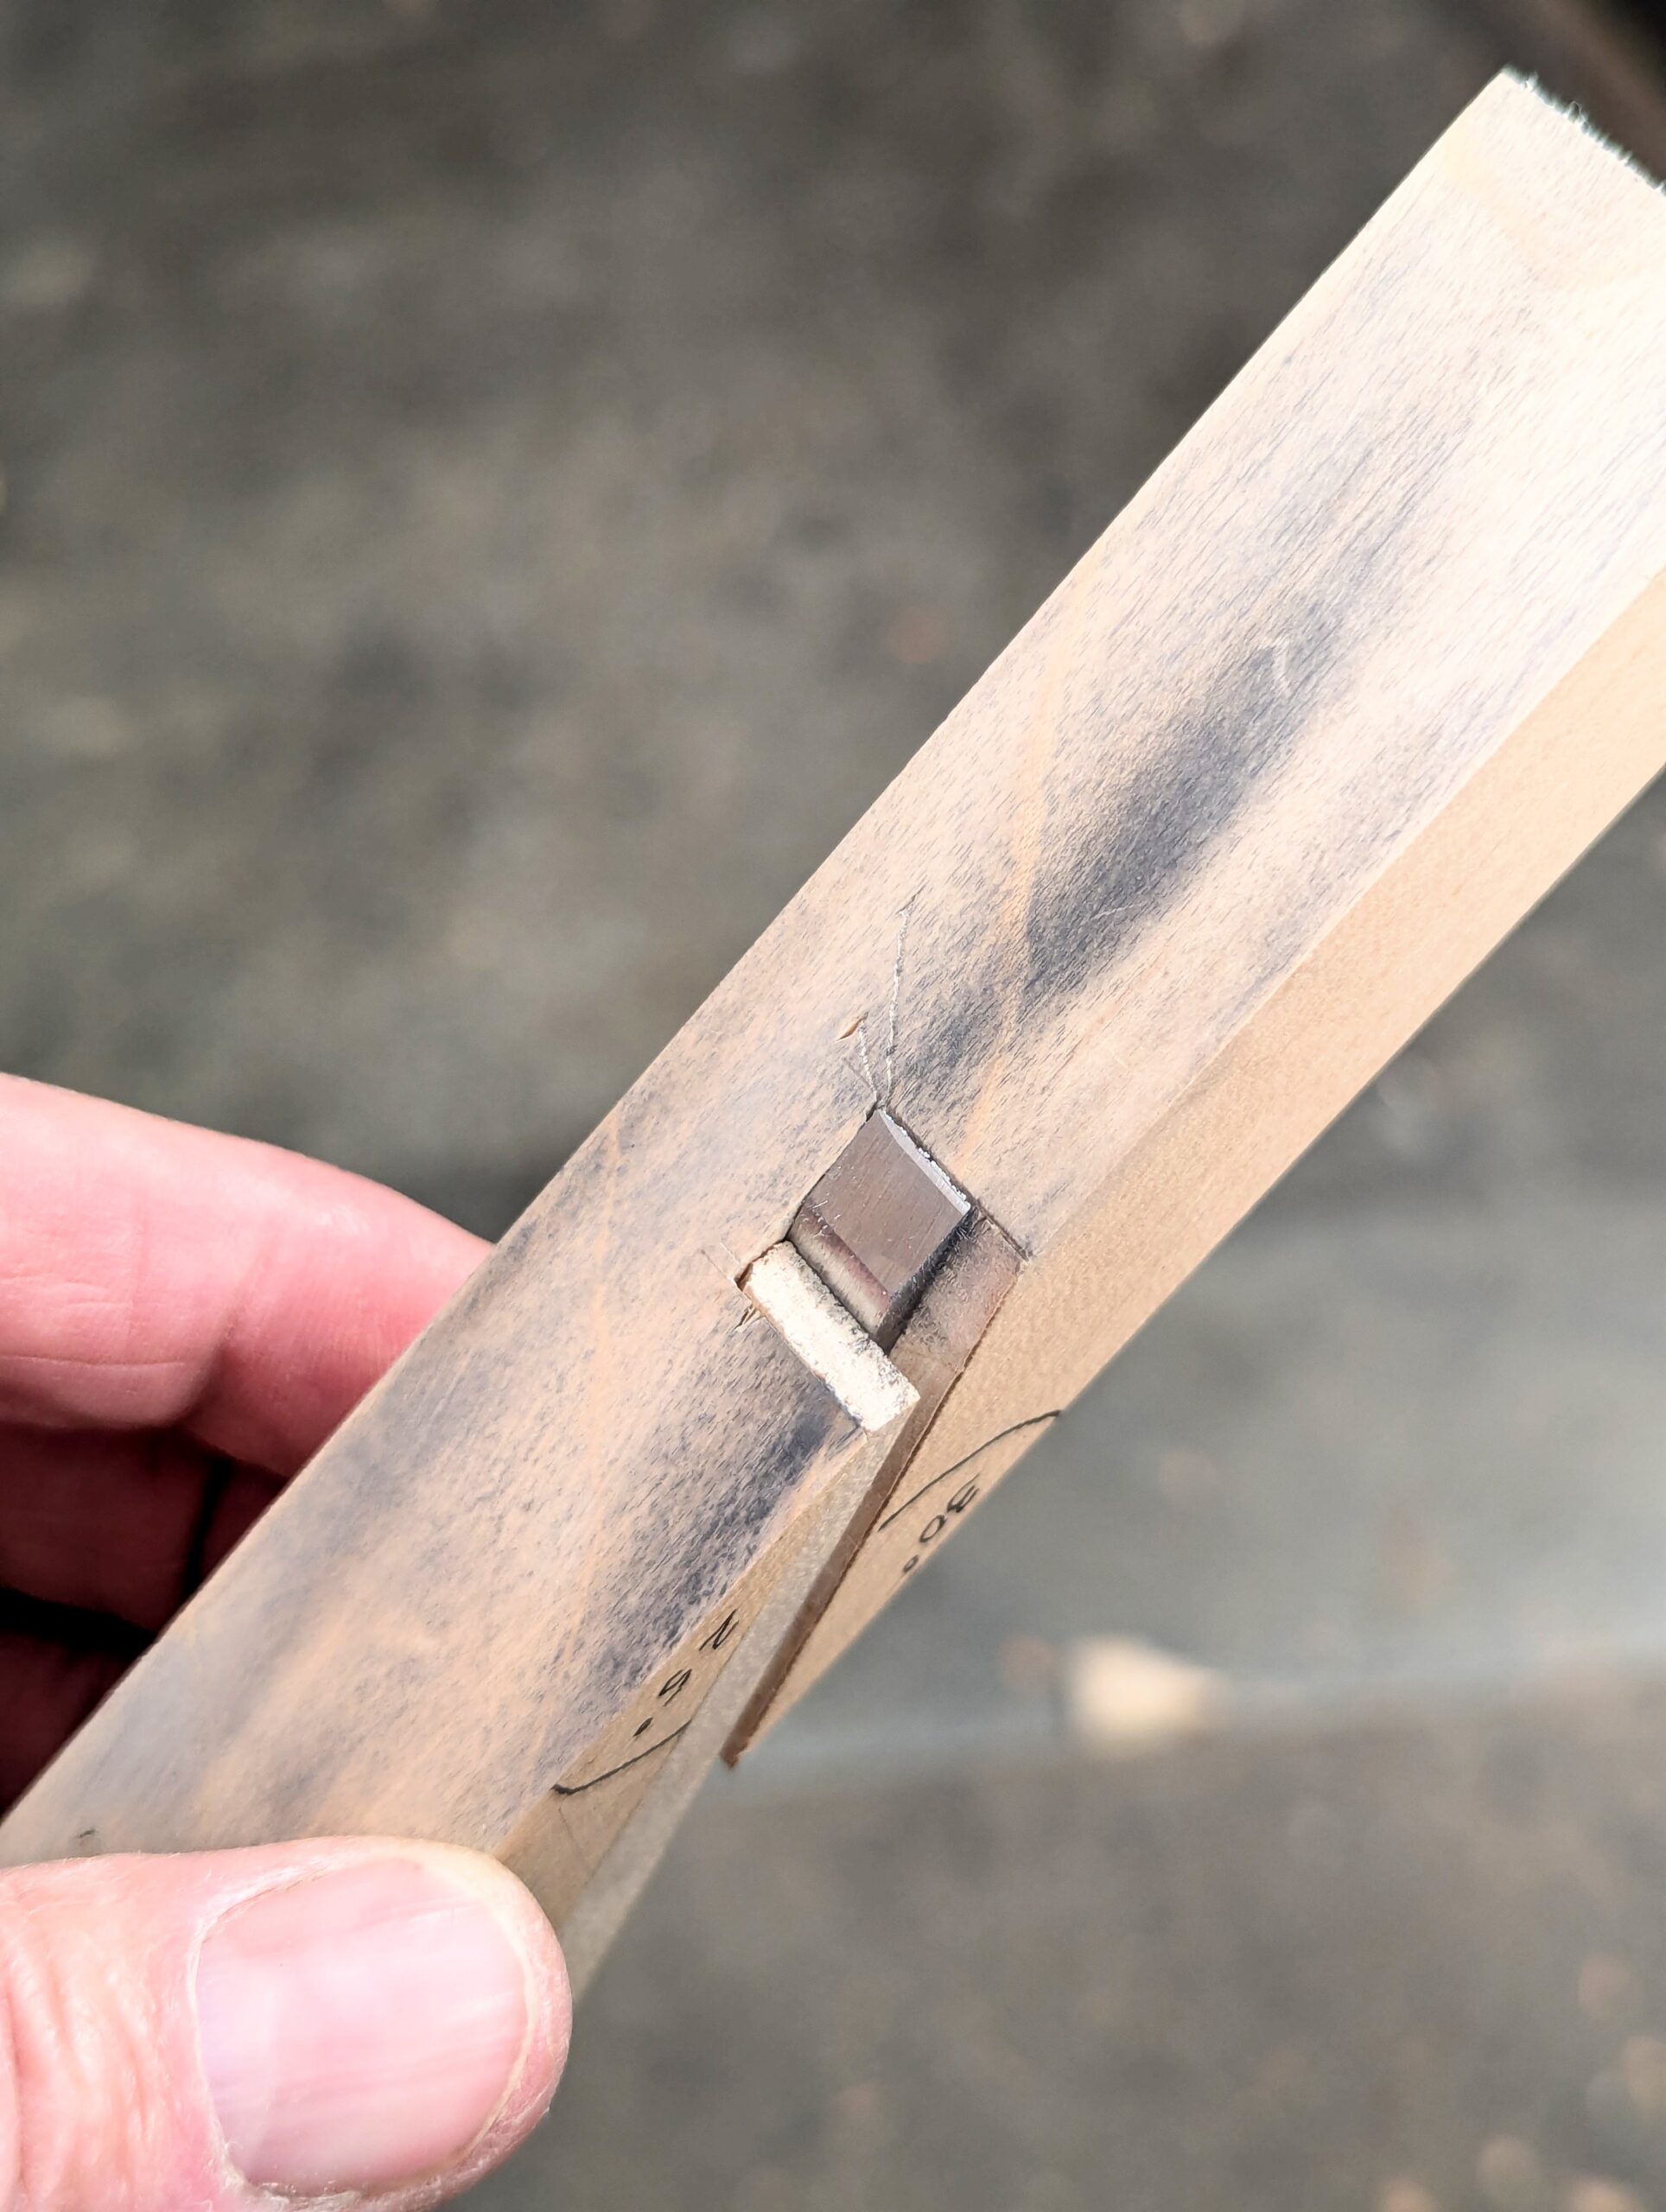
Of course, if the cutting iron is new, then the primary bevel of 25º will already be established and the initial abrading will not be necessary. In that case, sat the blade to the 30º slope and tighten the wedge to the underside of the blade. Adjust the depth of abrading with the hammer and go to the finer grit. Any abrasive over 600-grit will do for plough planes.
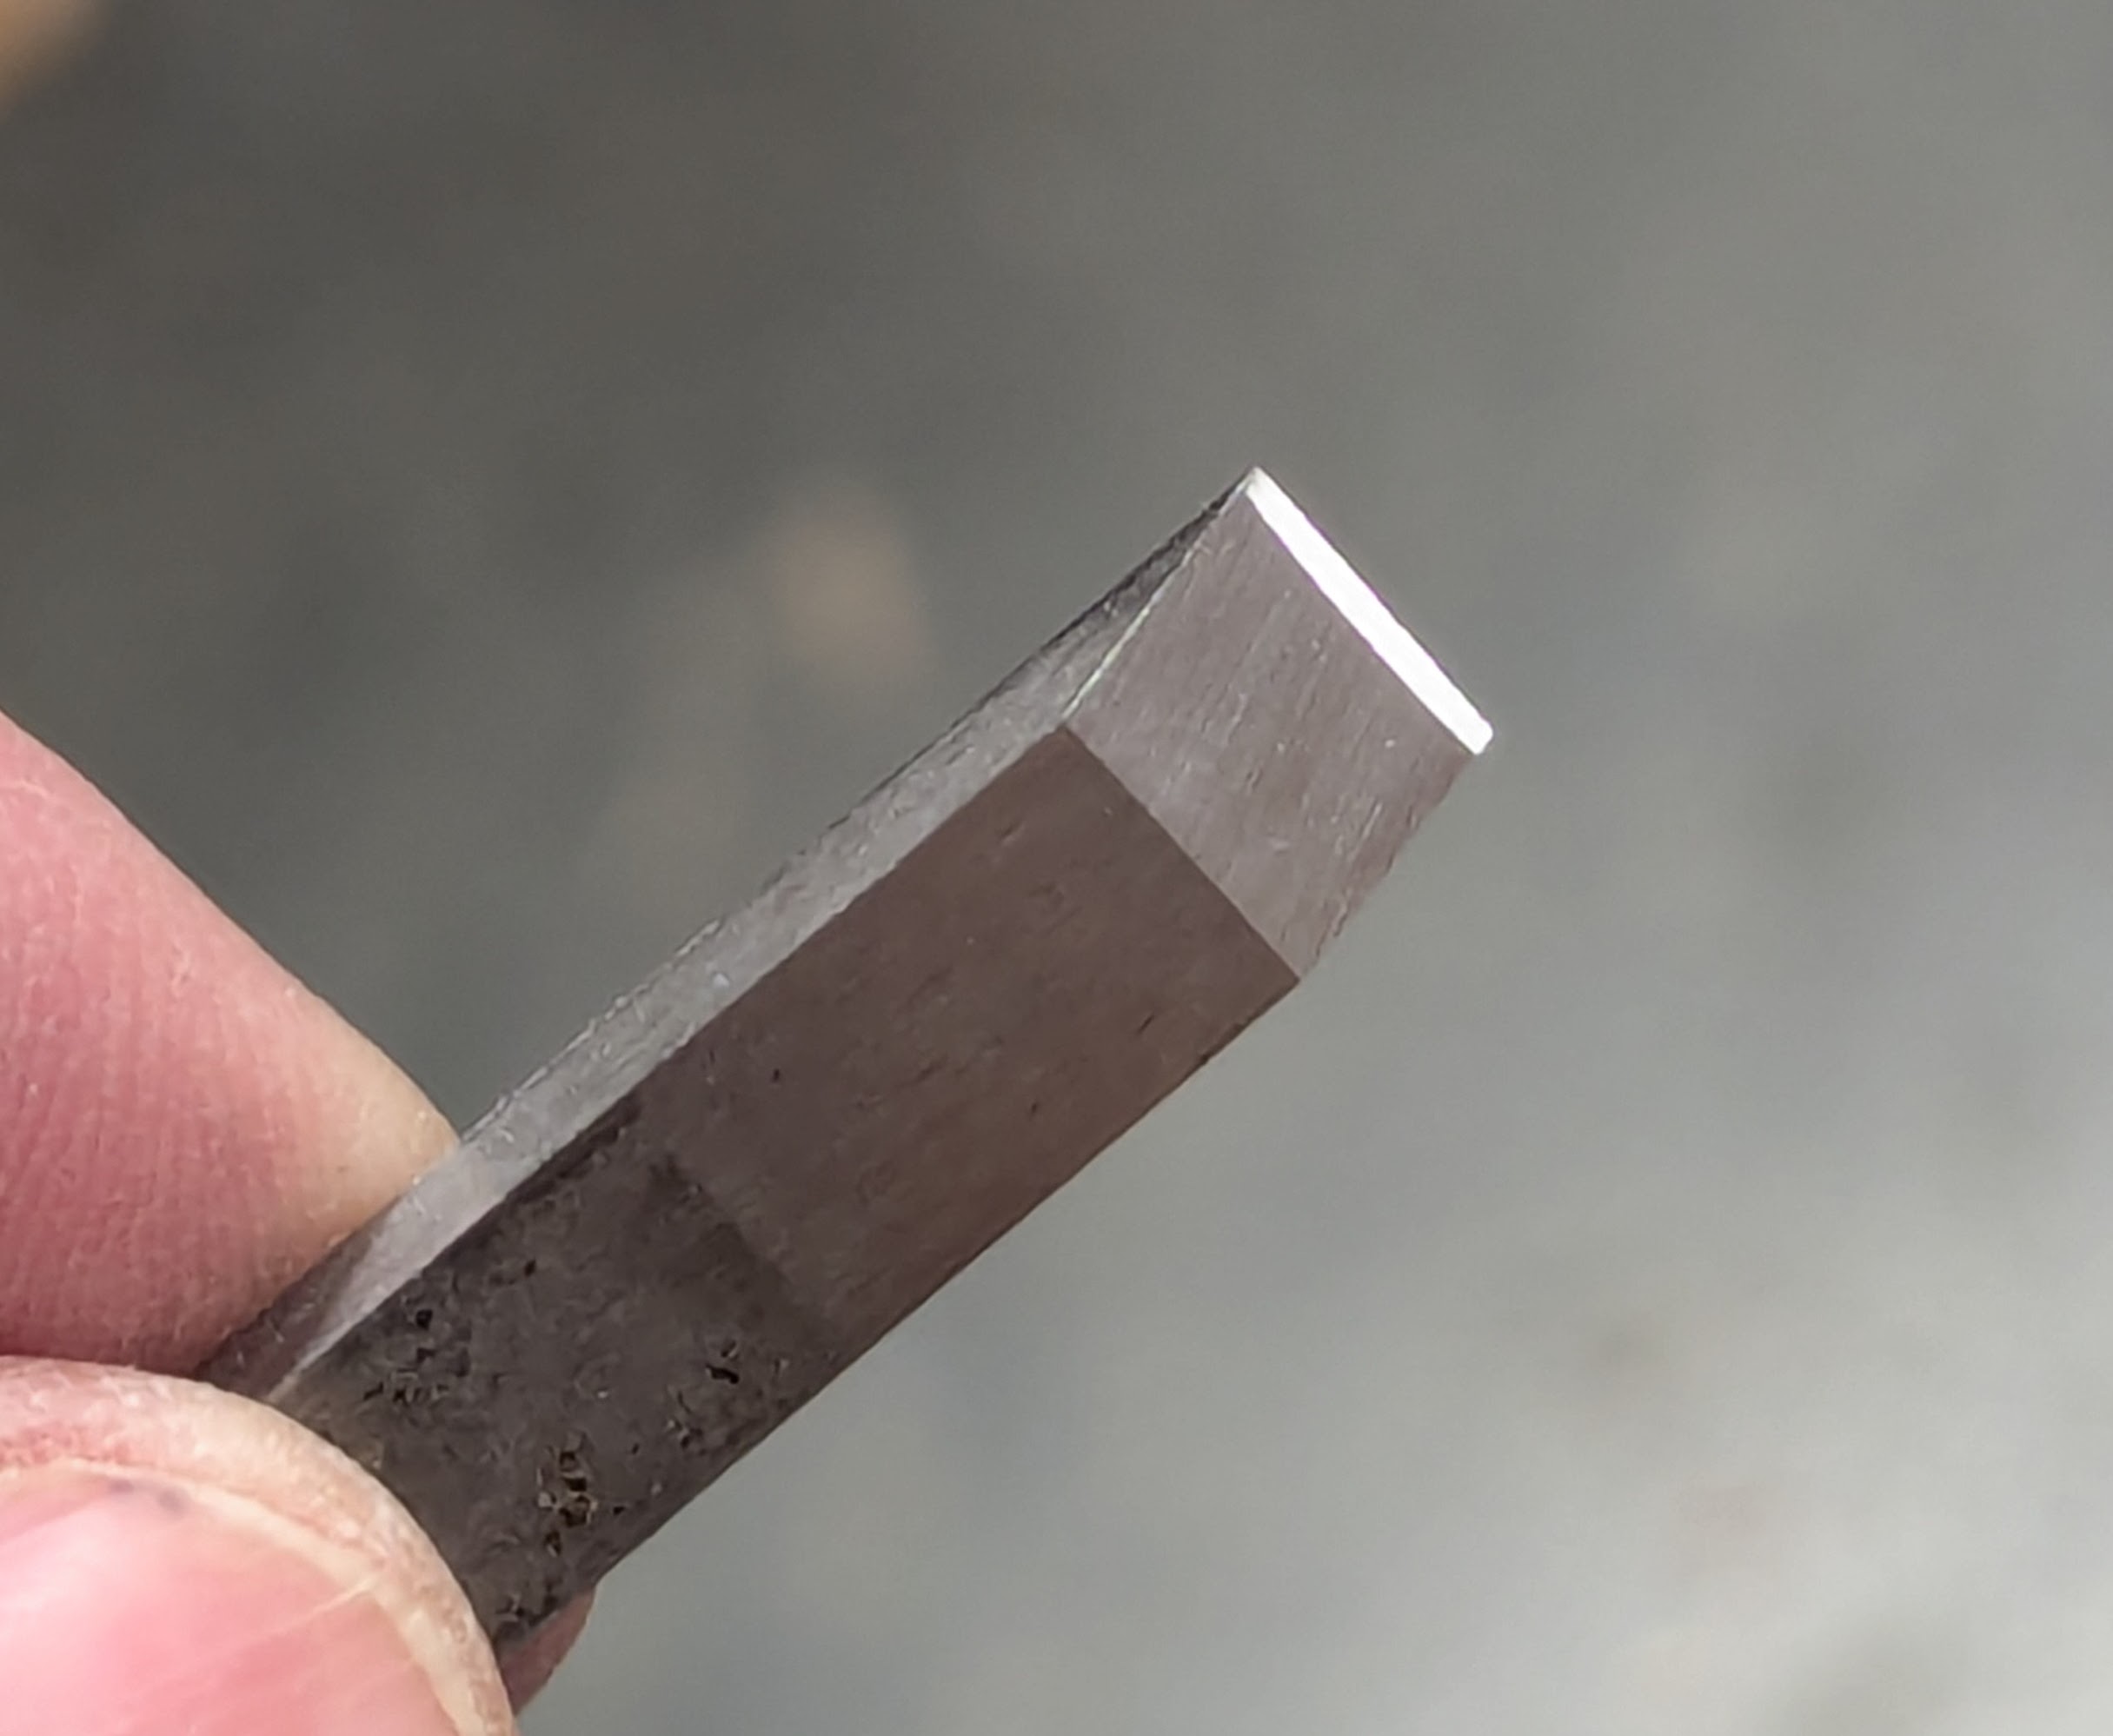
Check the end of the cutting iron for squareness.
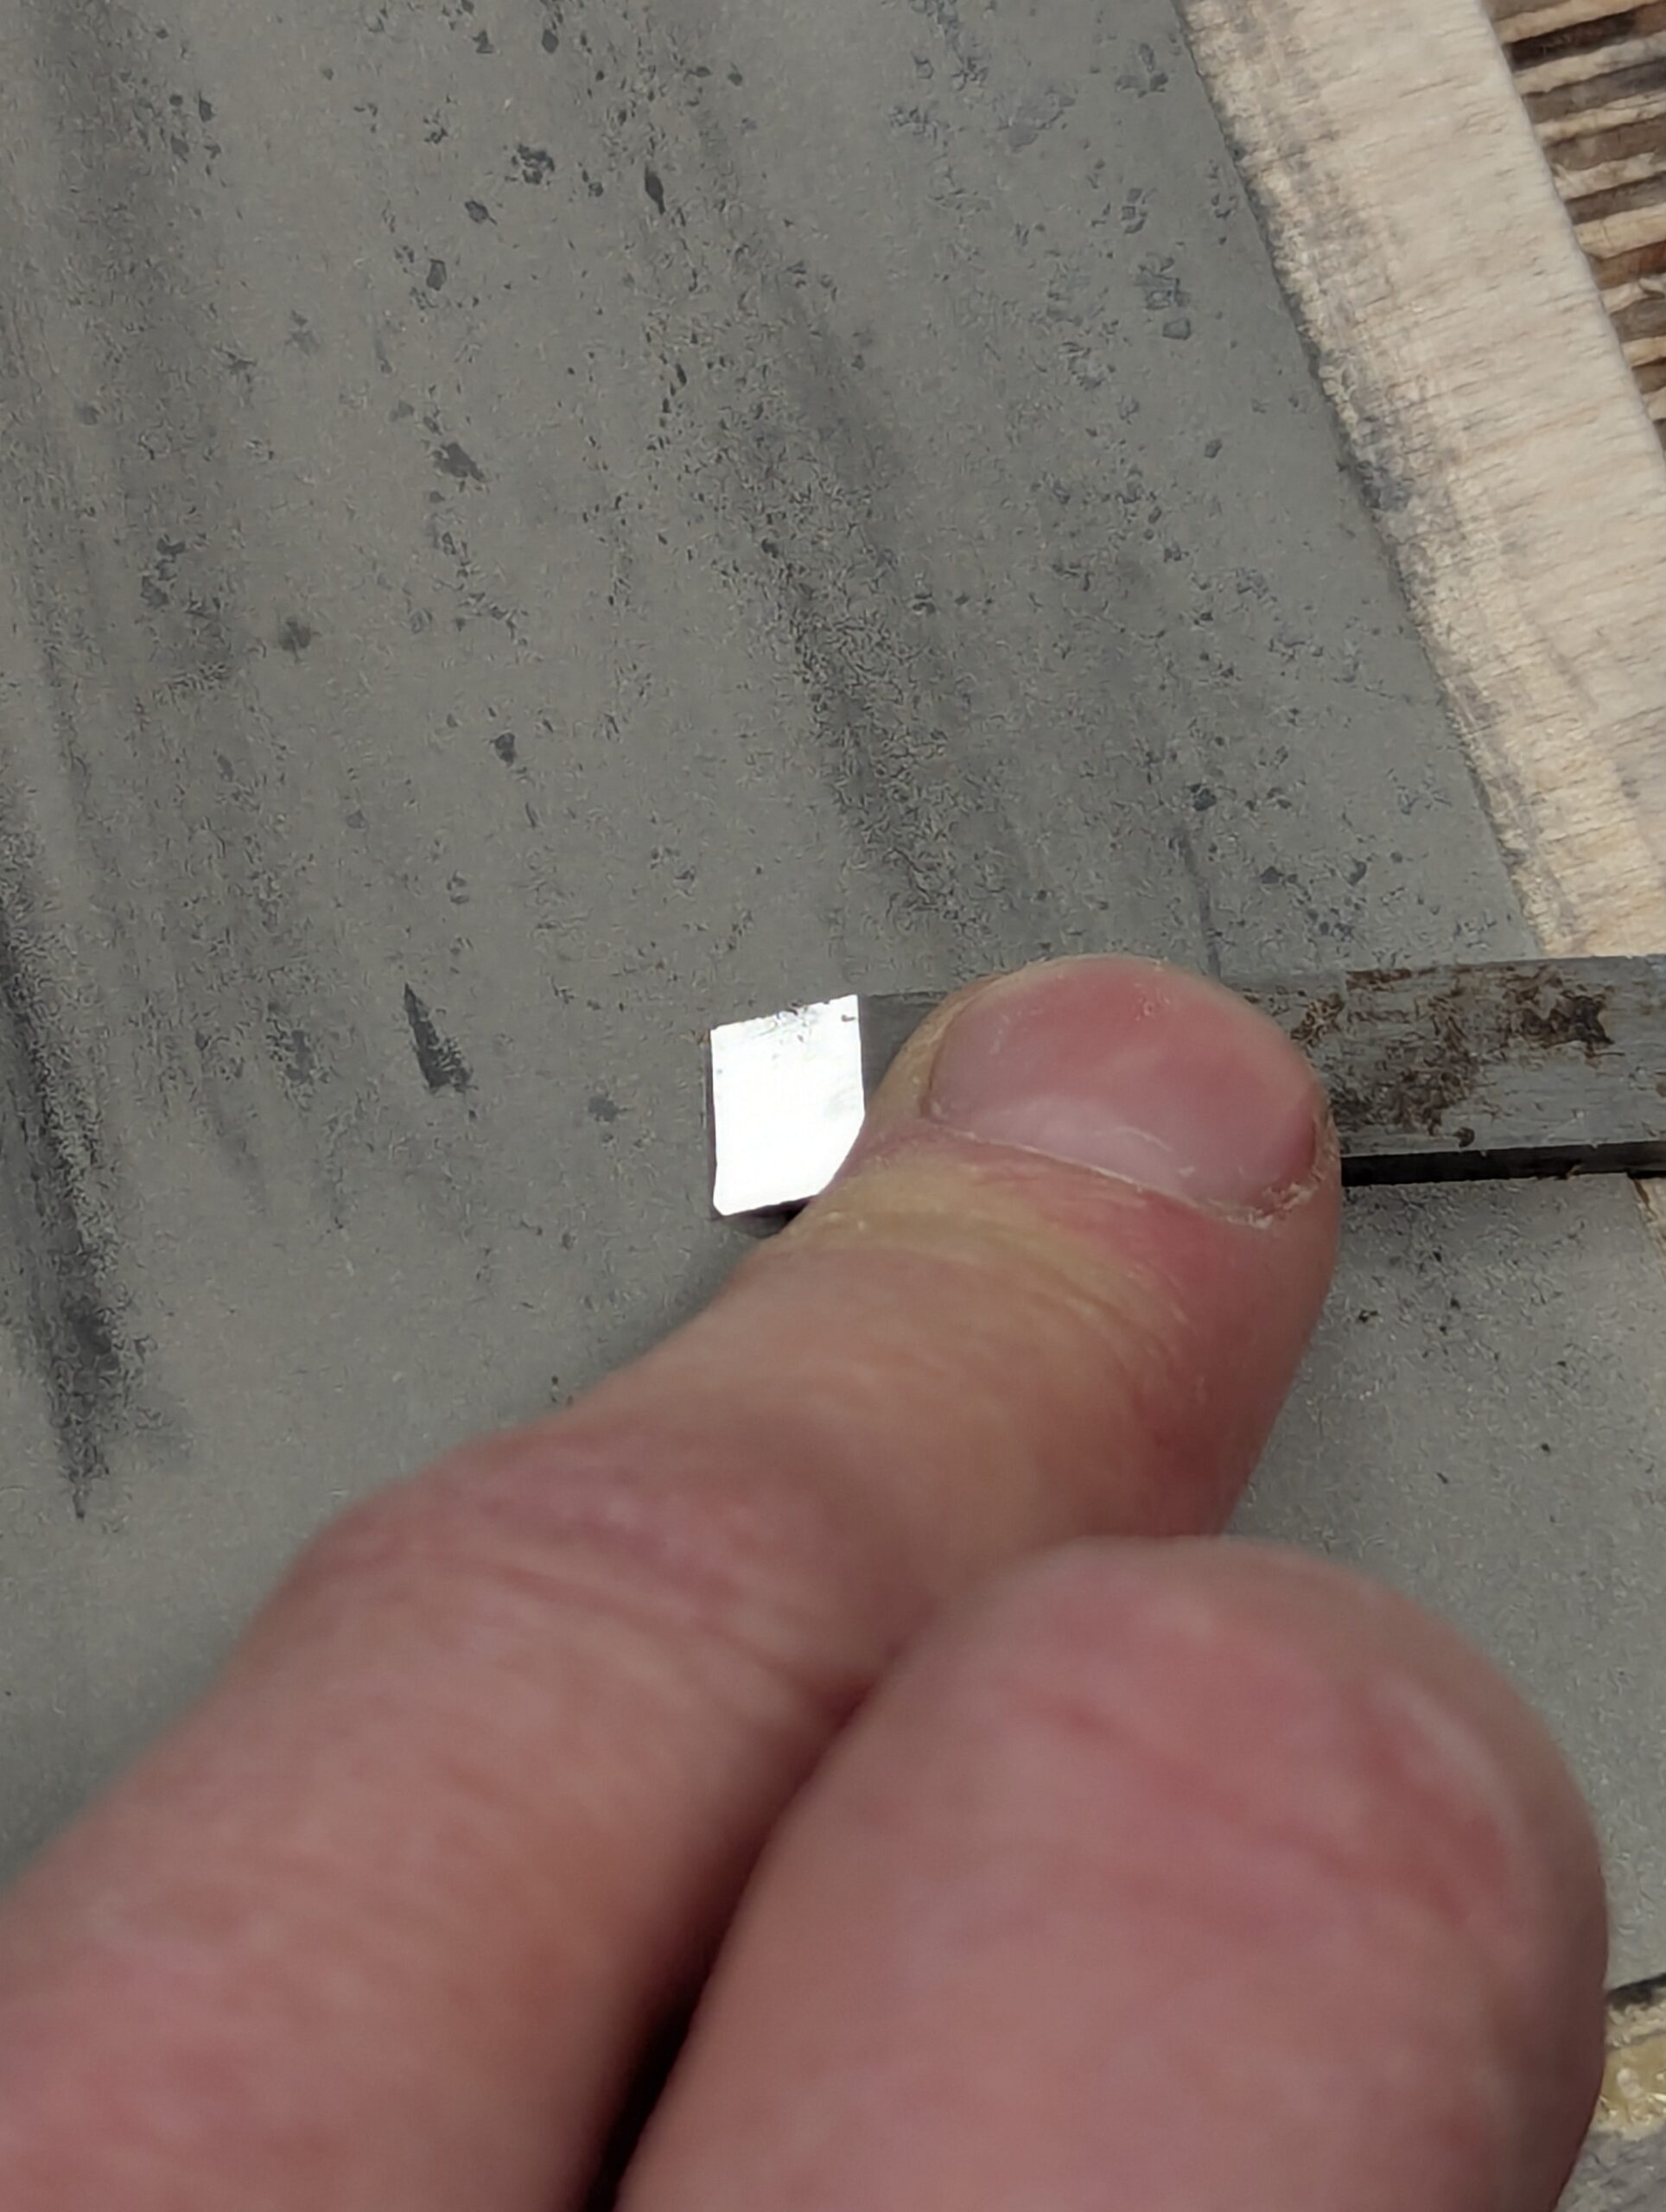
Flip the blade to the flat face and polish this face on the fine stone or plate.
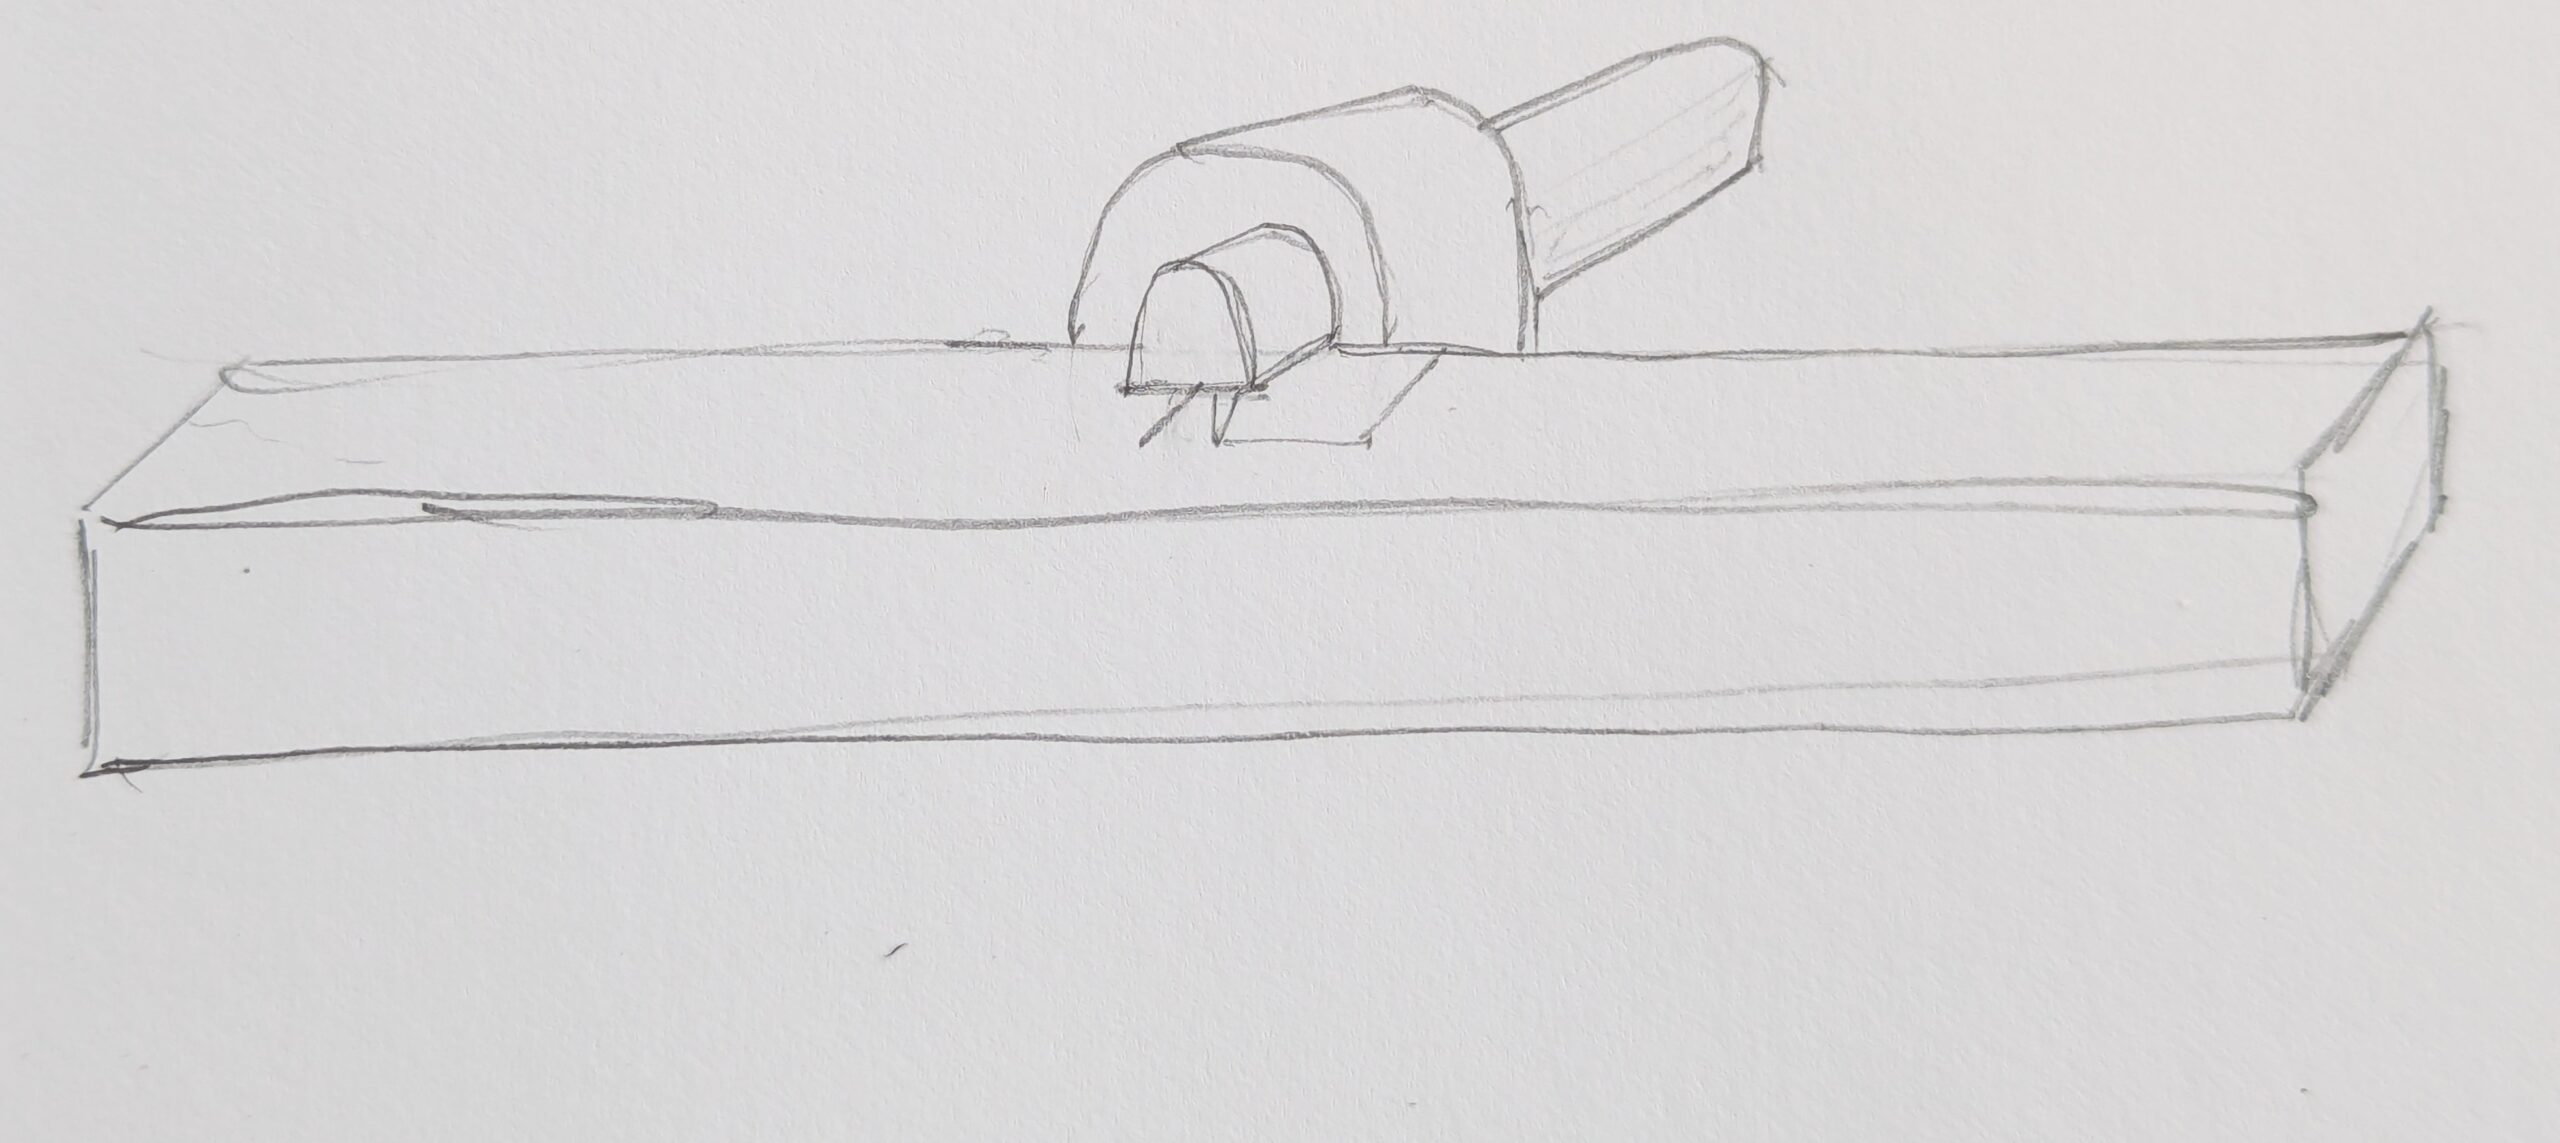
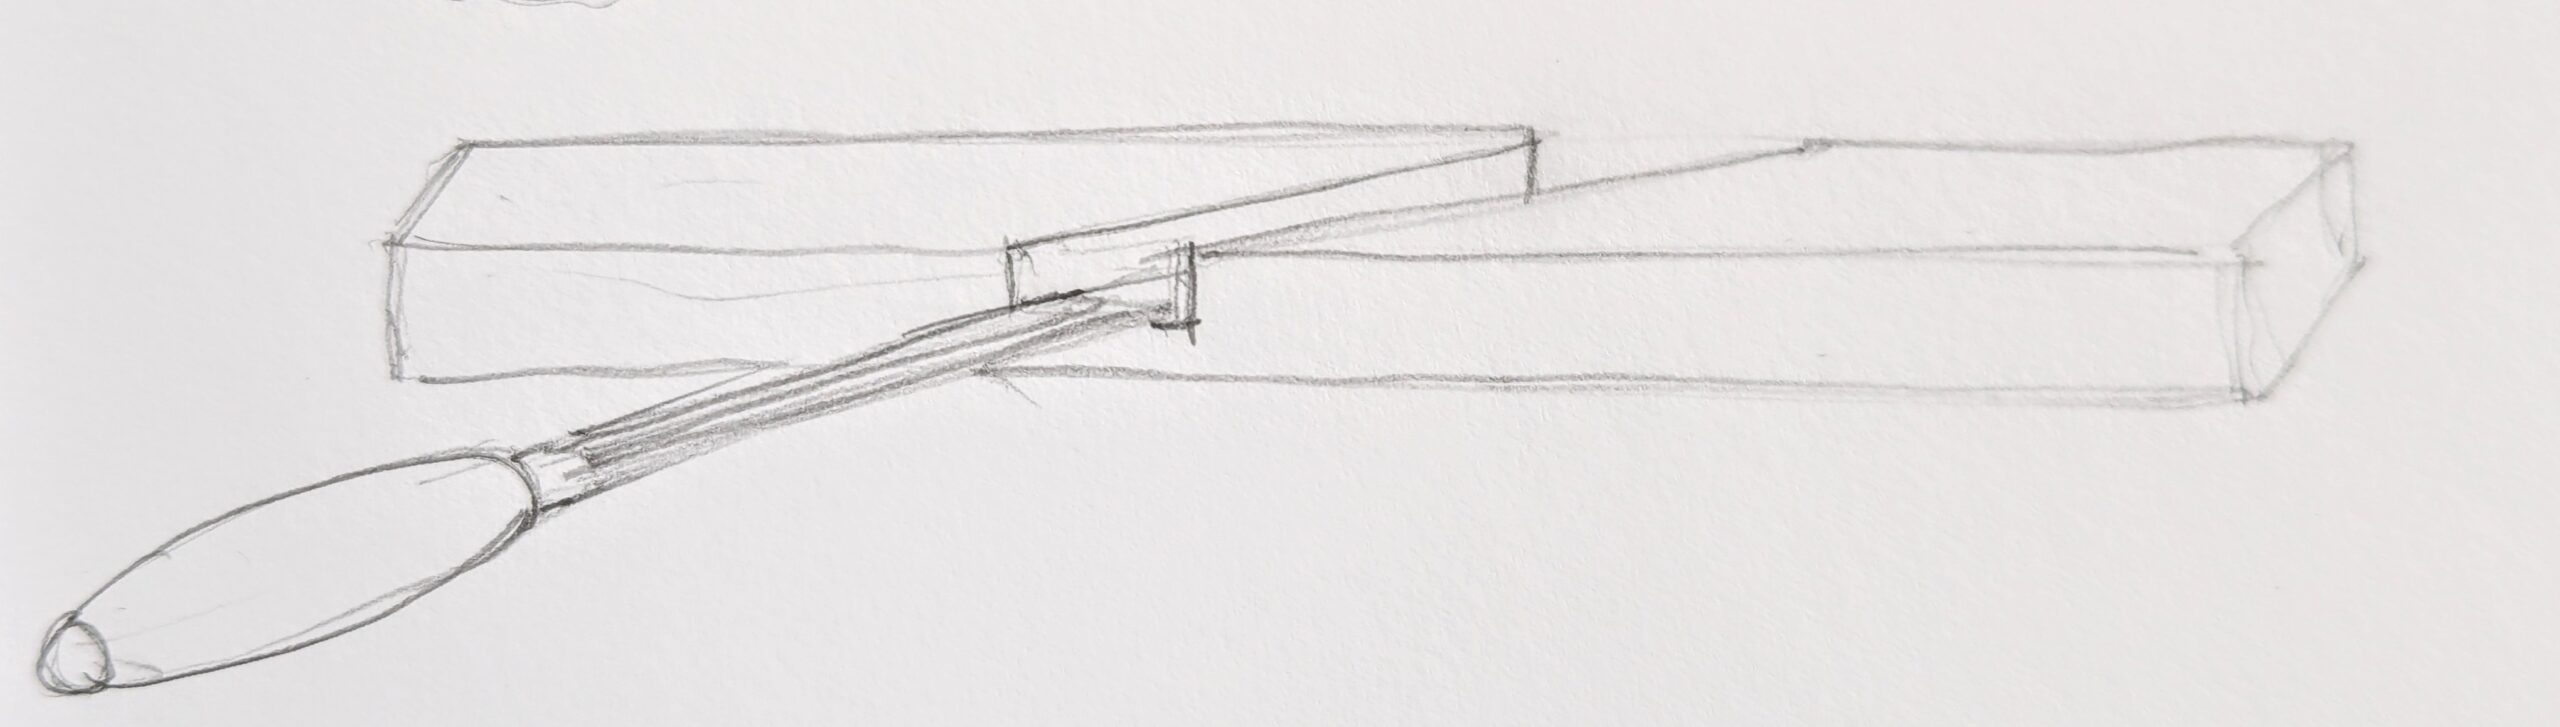
Anecdotally, back in the 1990s, in my early hands-on classes for students, I sat at my bench while they worked on their projects and drew drawings like these to steer them through their project. That's what started me writing and drawing for magazines. Here, I did some drawings, crude though they are, to show what I mean.
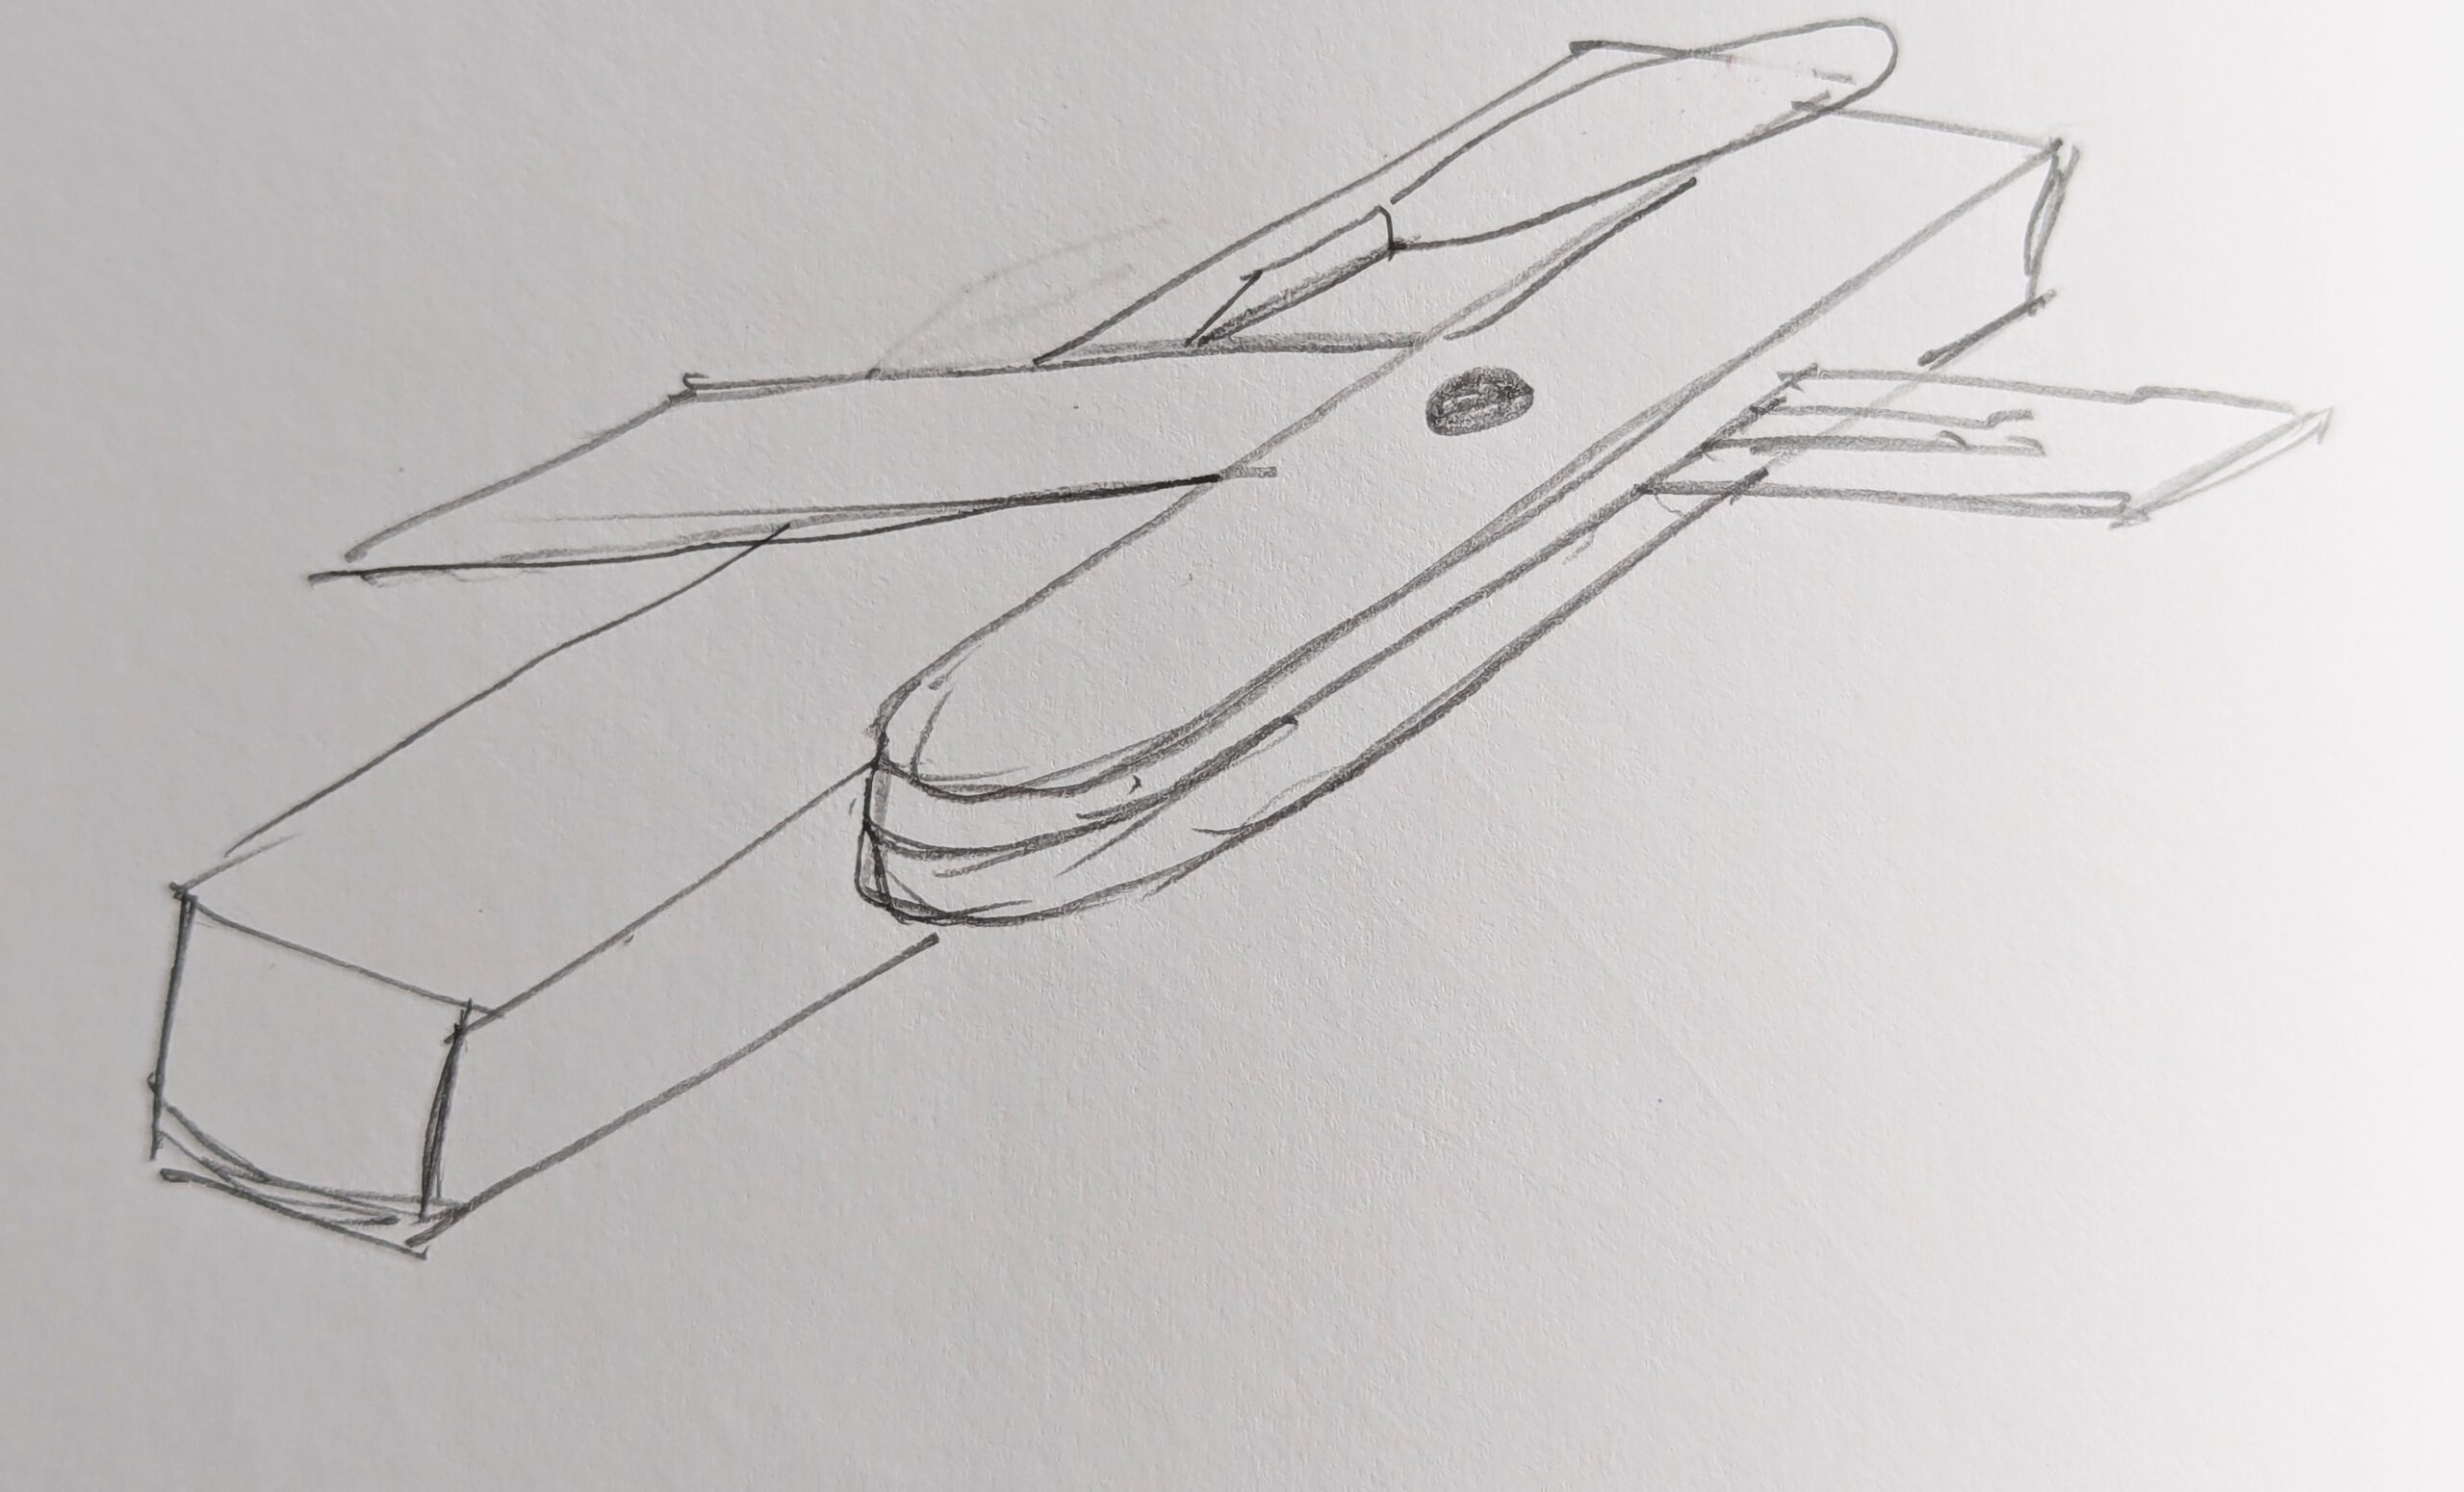

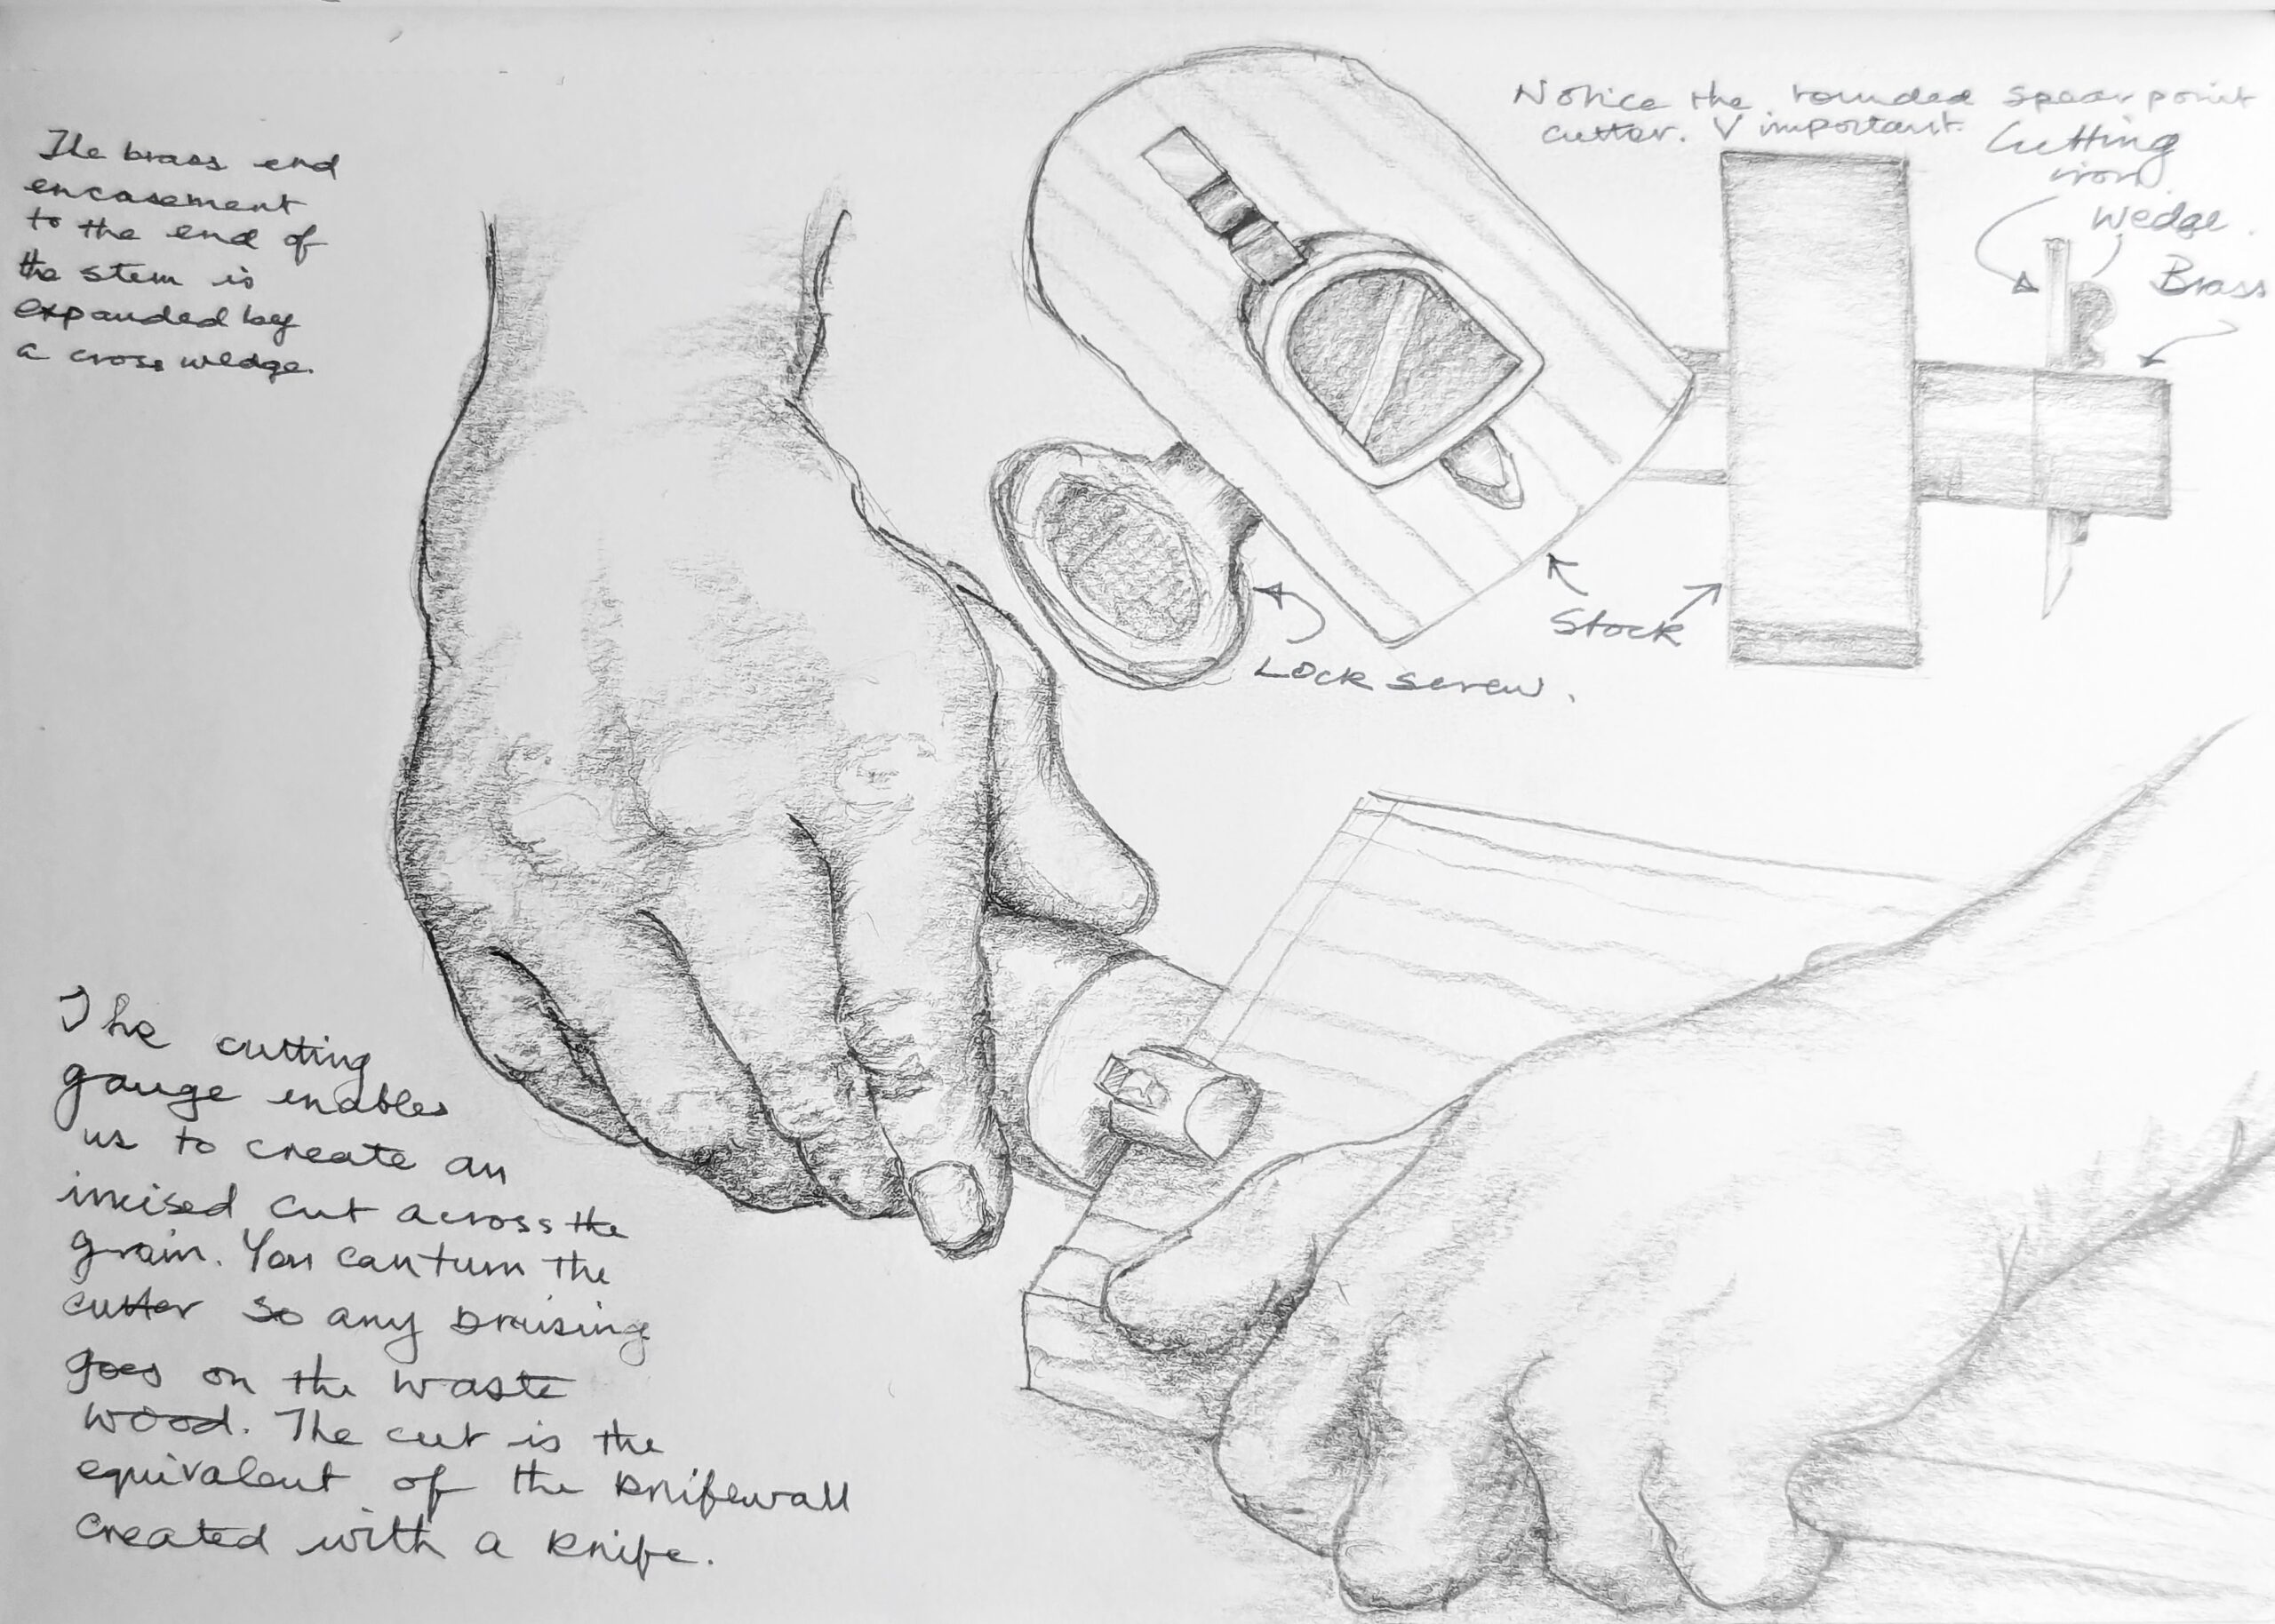
And this is one of my recent December 2024 drawings of a cutting or slitting gauge in use.
Comments ()