Handling Your Work Part II
The handle for the dressing table/computer desk came on a spur of the moment. I definitely did not want to buy something in, and I didn't want to turn them on the lathe, though that is always an option.
I saw a couple of strips of offcuts on my benchtop left from the drawer support rails. In a flash of inspiration, I took one of them and quickly shaped a handle I thought would work well, and we went with it. It's really a ten-minute project to make without turning on a machine, and we all have too many scraps at the end of a project we either burn or throw away.
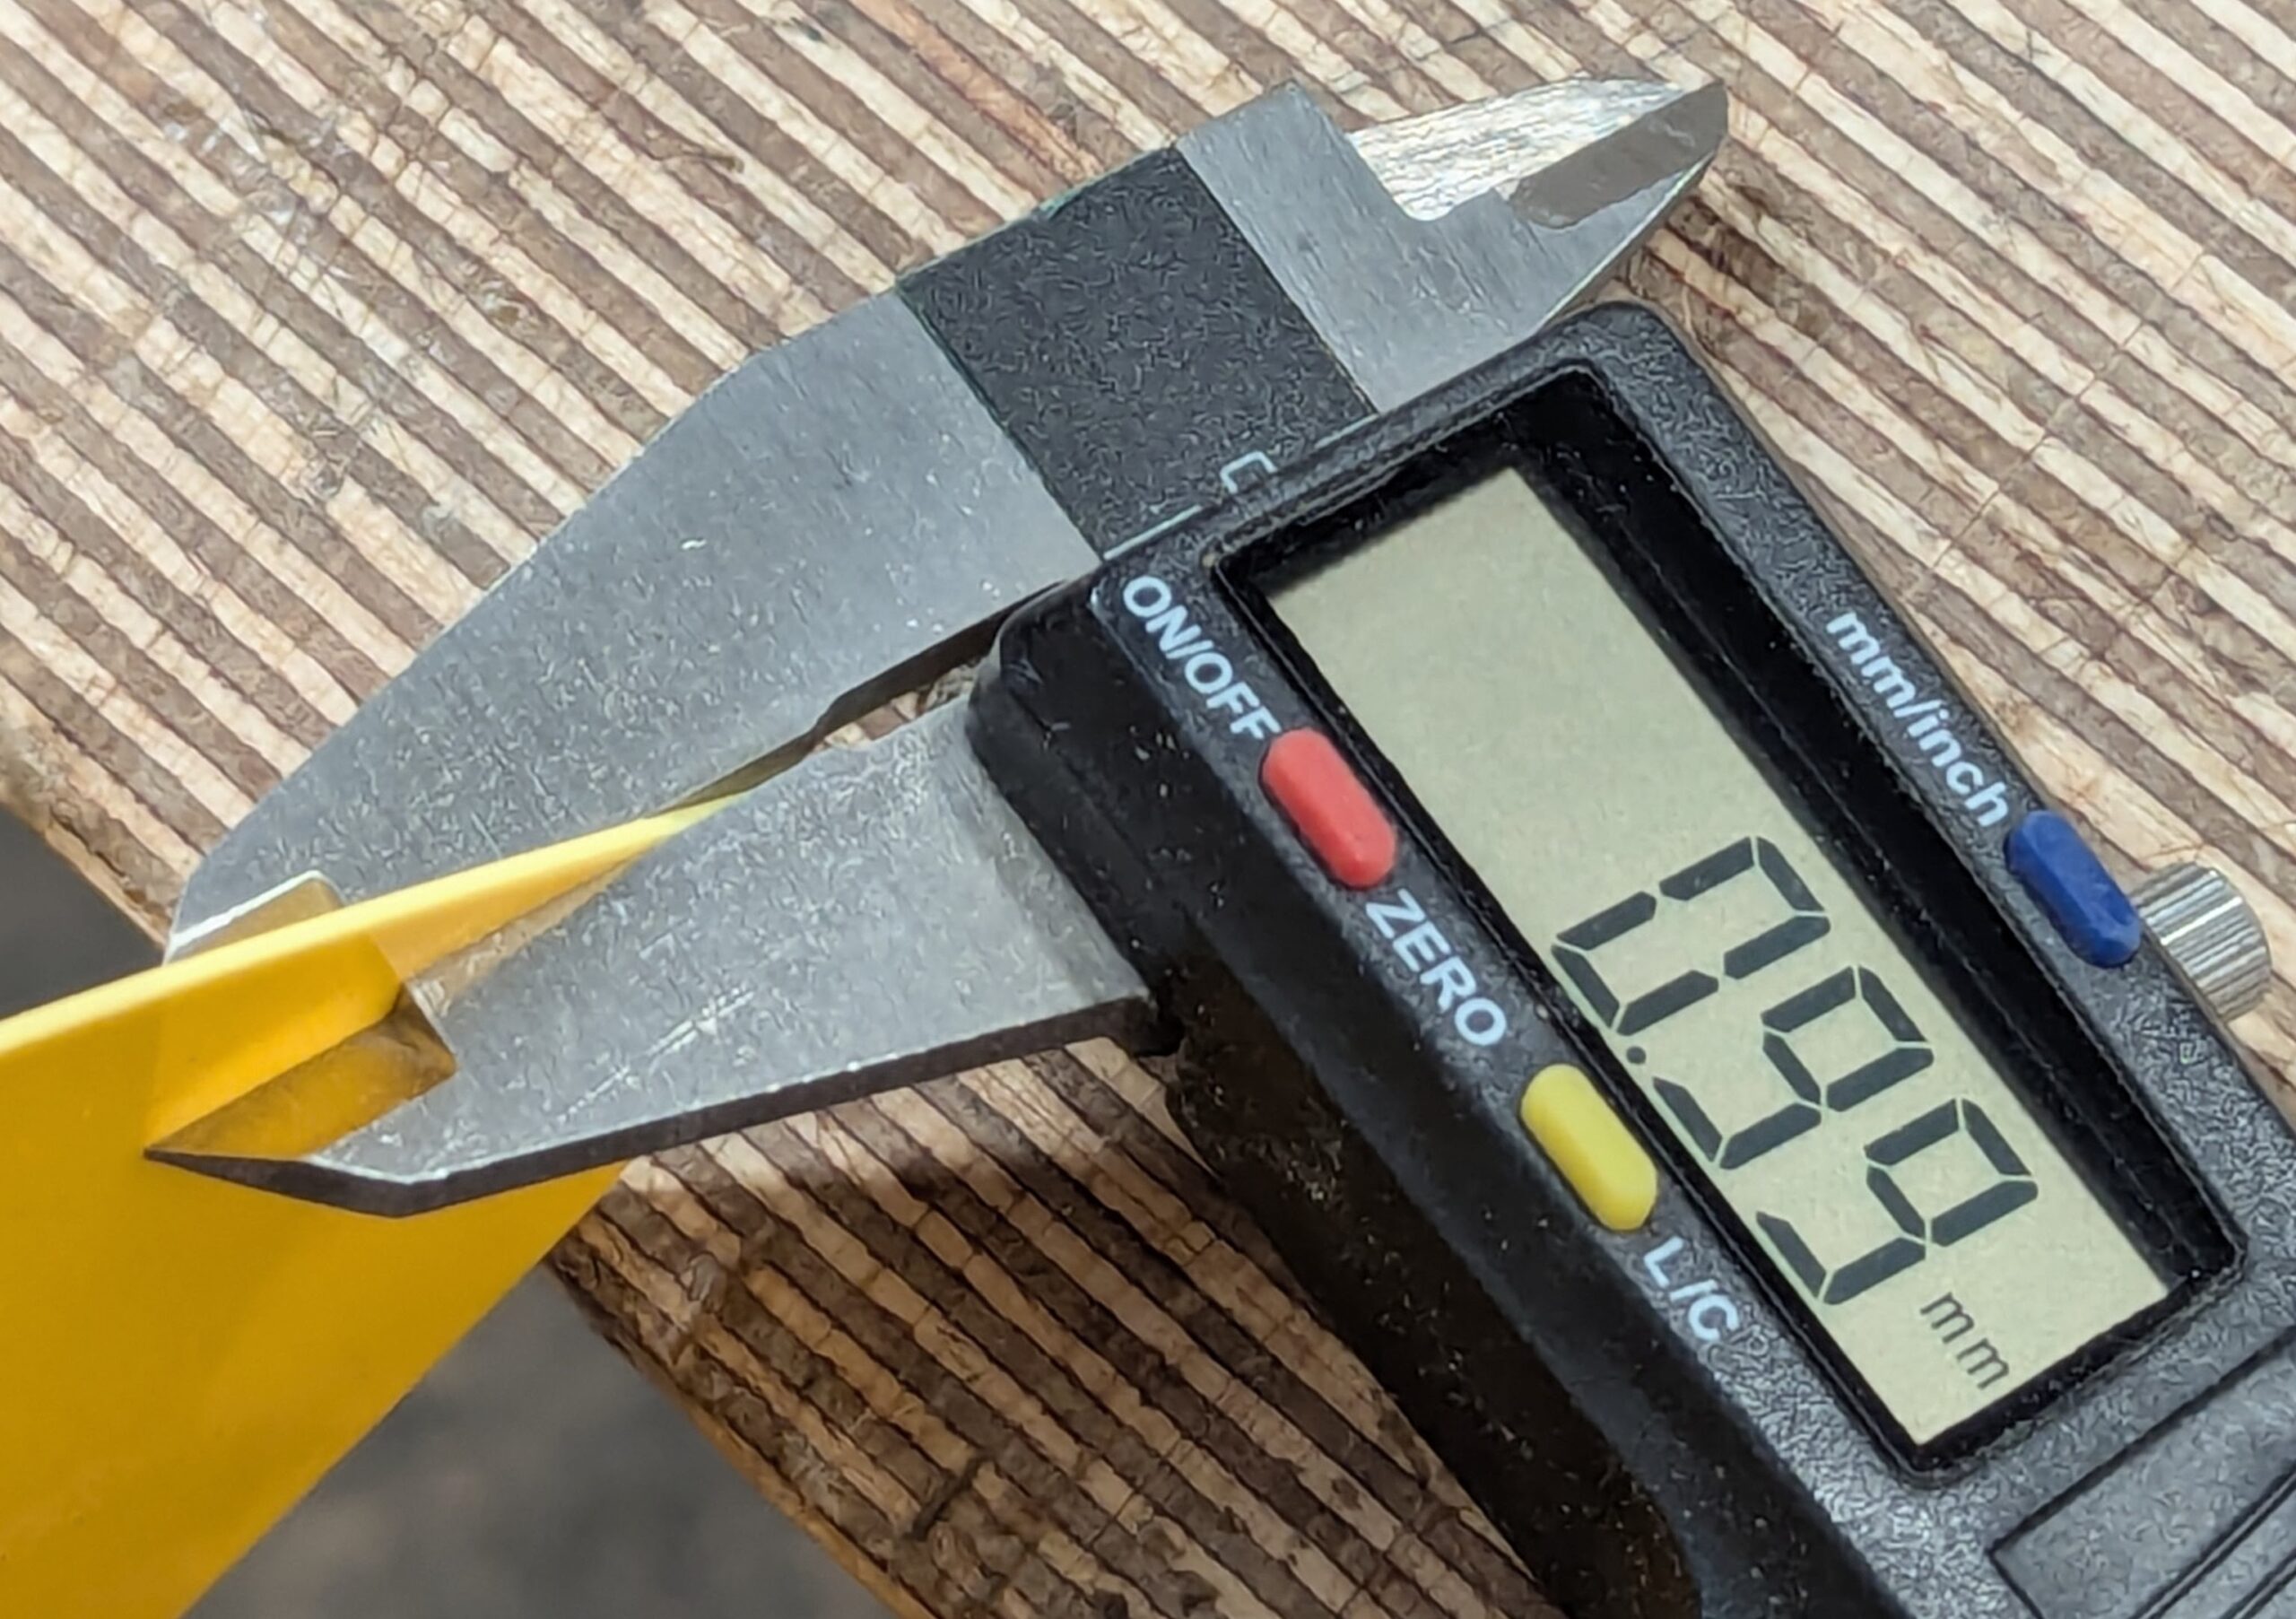
My wood is 14.6cm (5 3/4") x 14mm (9/16") x 11mm (7/16") oak. Any wood will work for this.

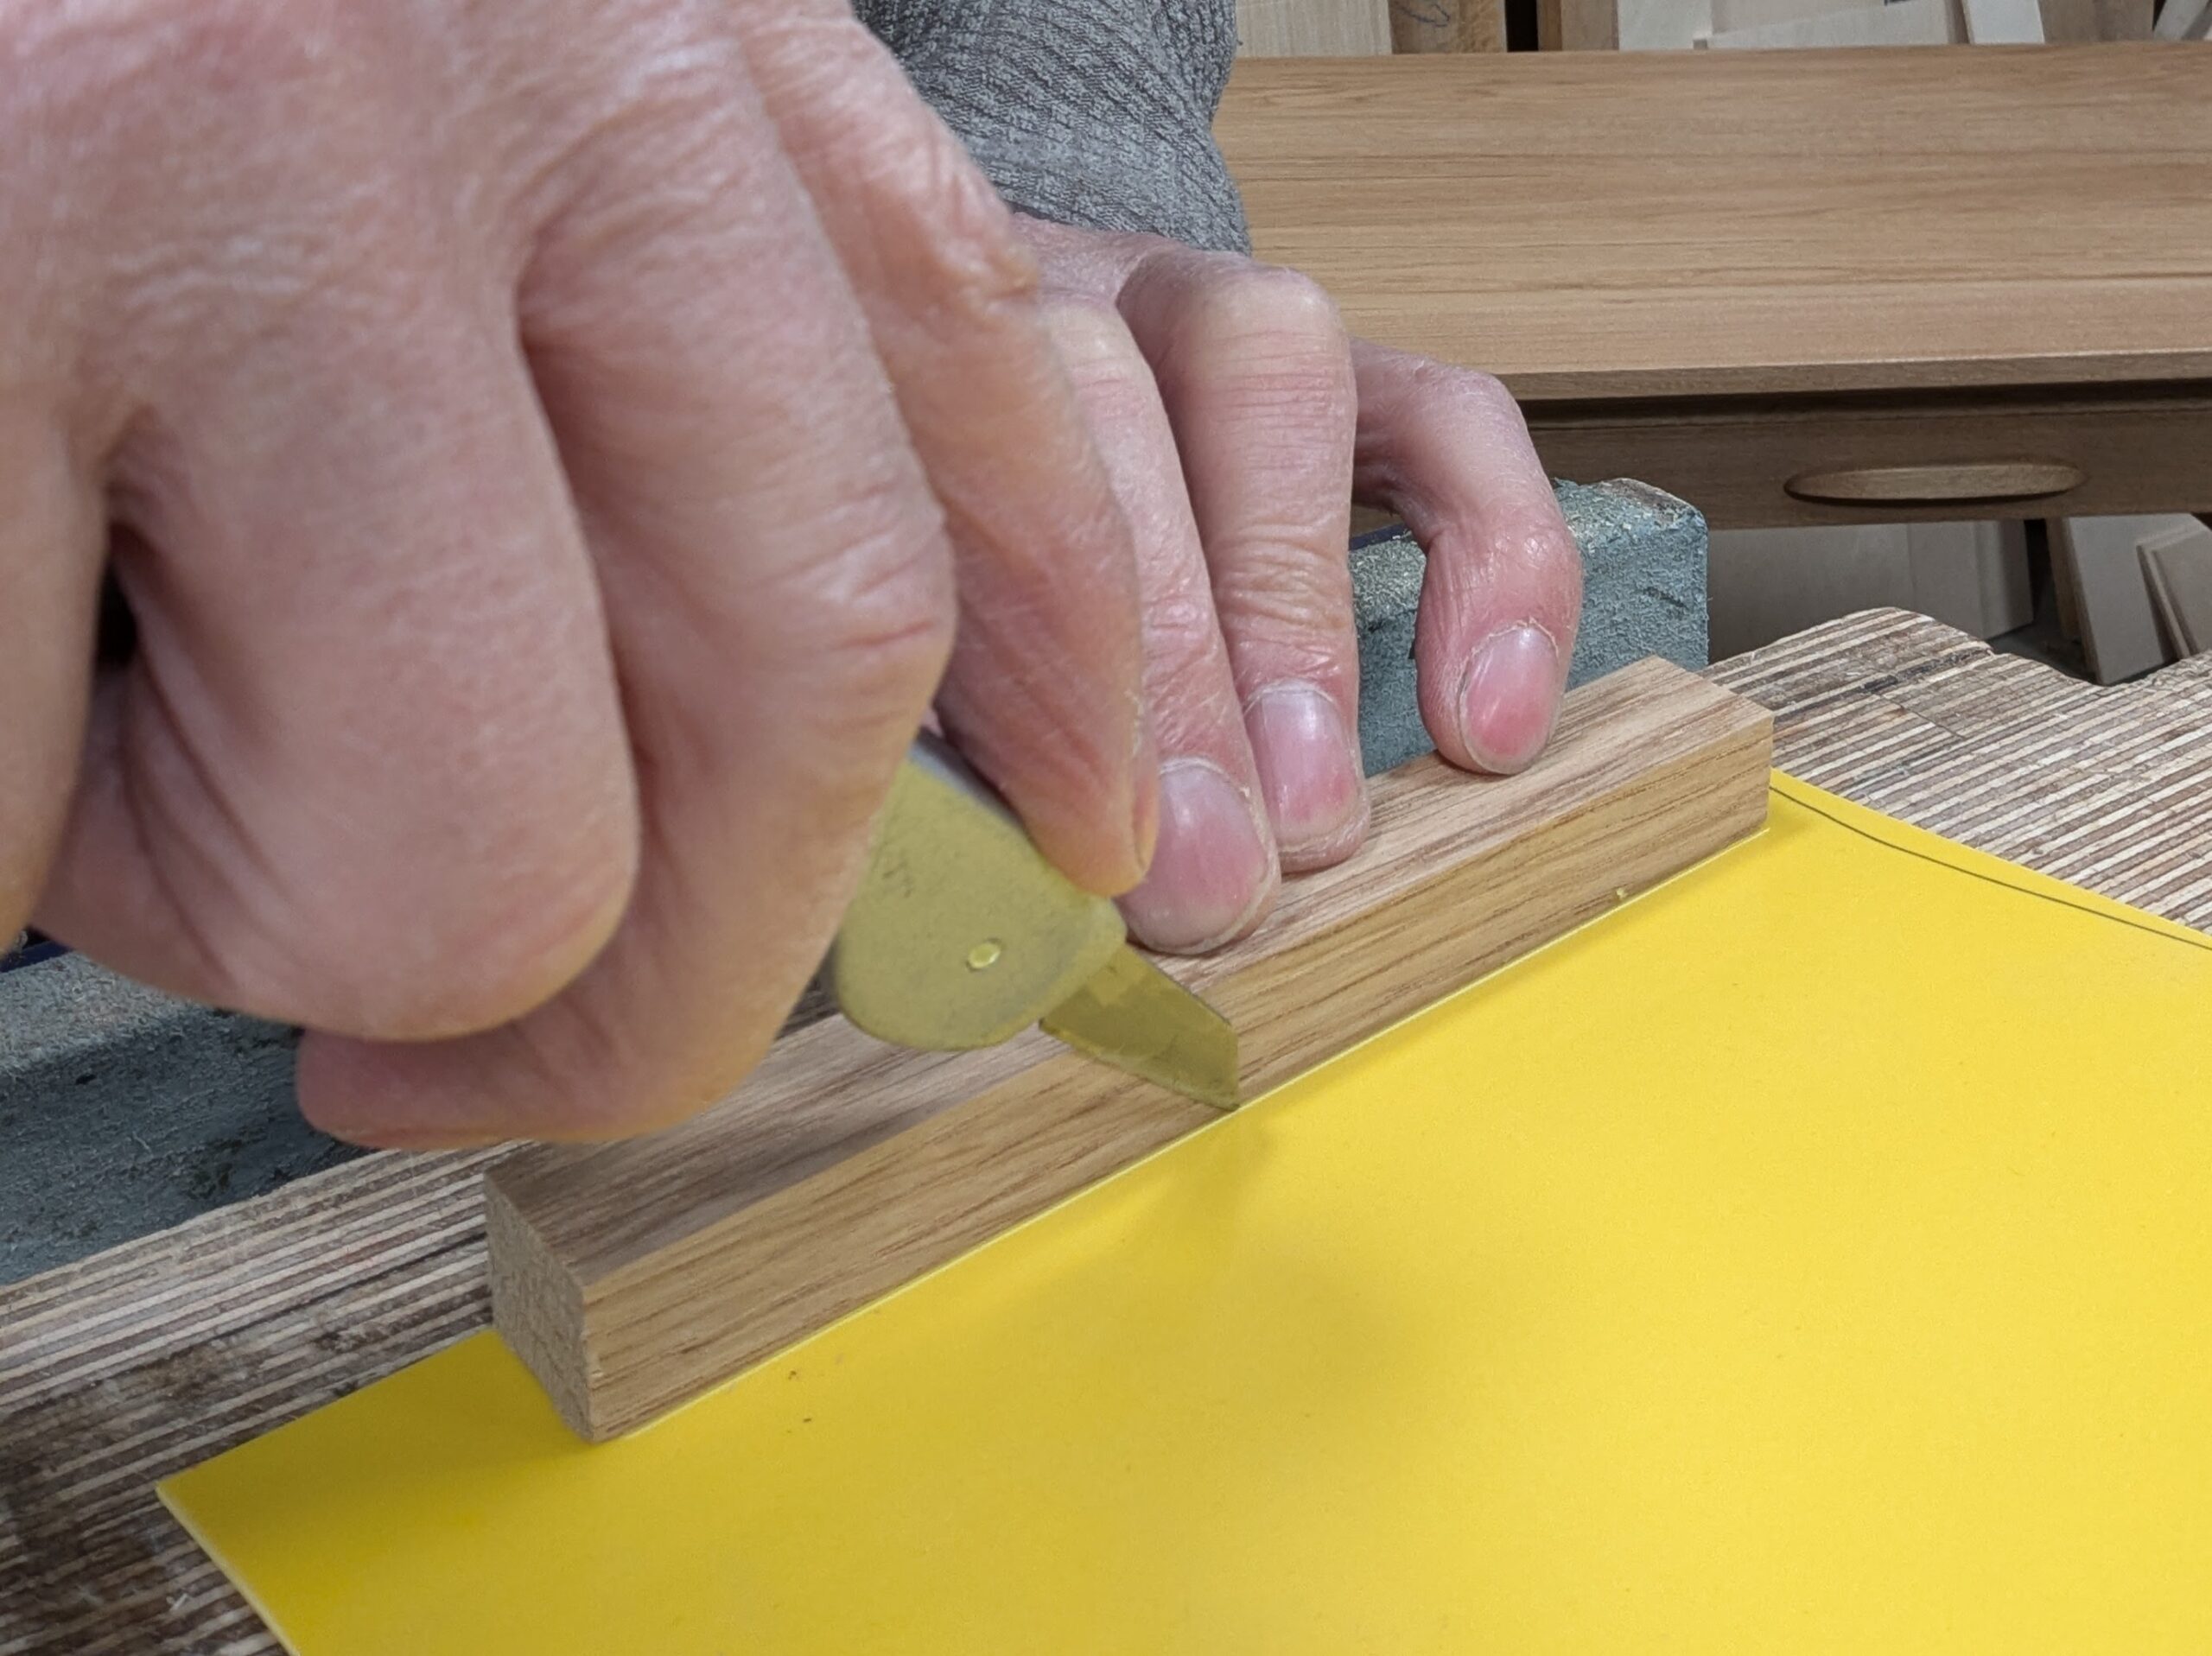
I use sign plastic for 95% of my pattern templates because they are so easy to make, but mostly because they last and take up so little room. I like to keep all of my patterns for reference or making another later. The 1mm snaps to a knife-cut line or shape bang on, and you can plane, file and sand an edge to even out anything that seemed to deviate if needed.
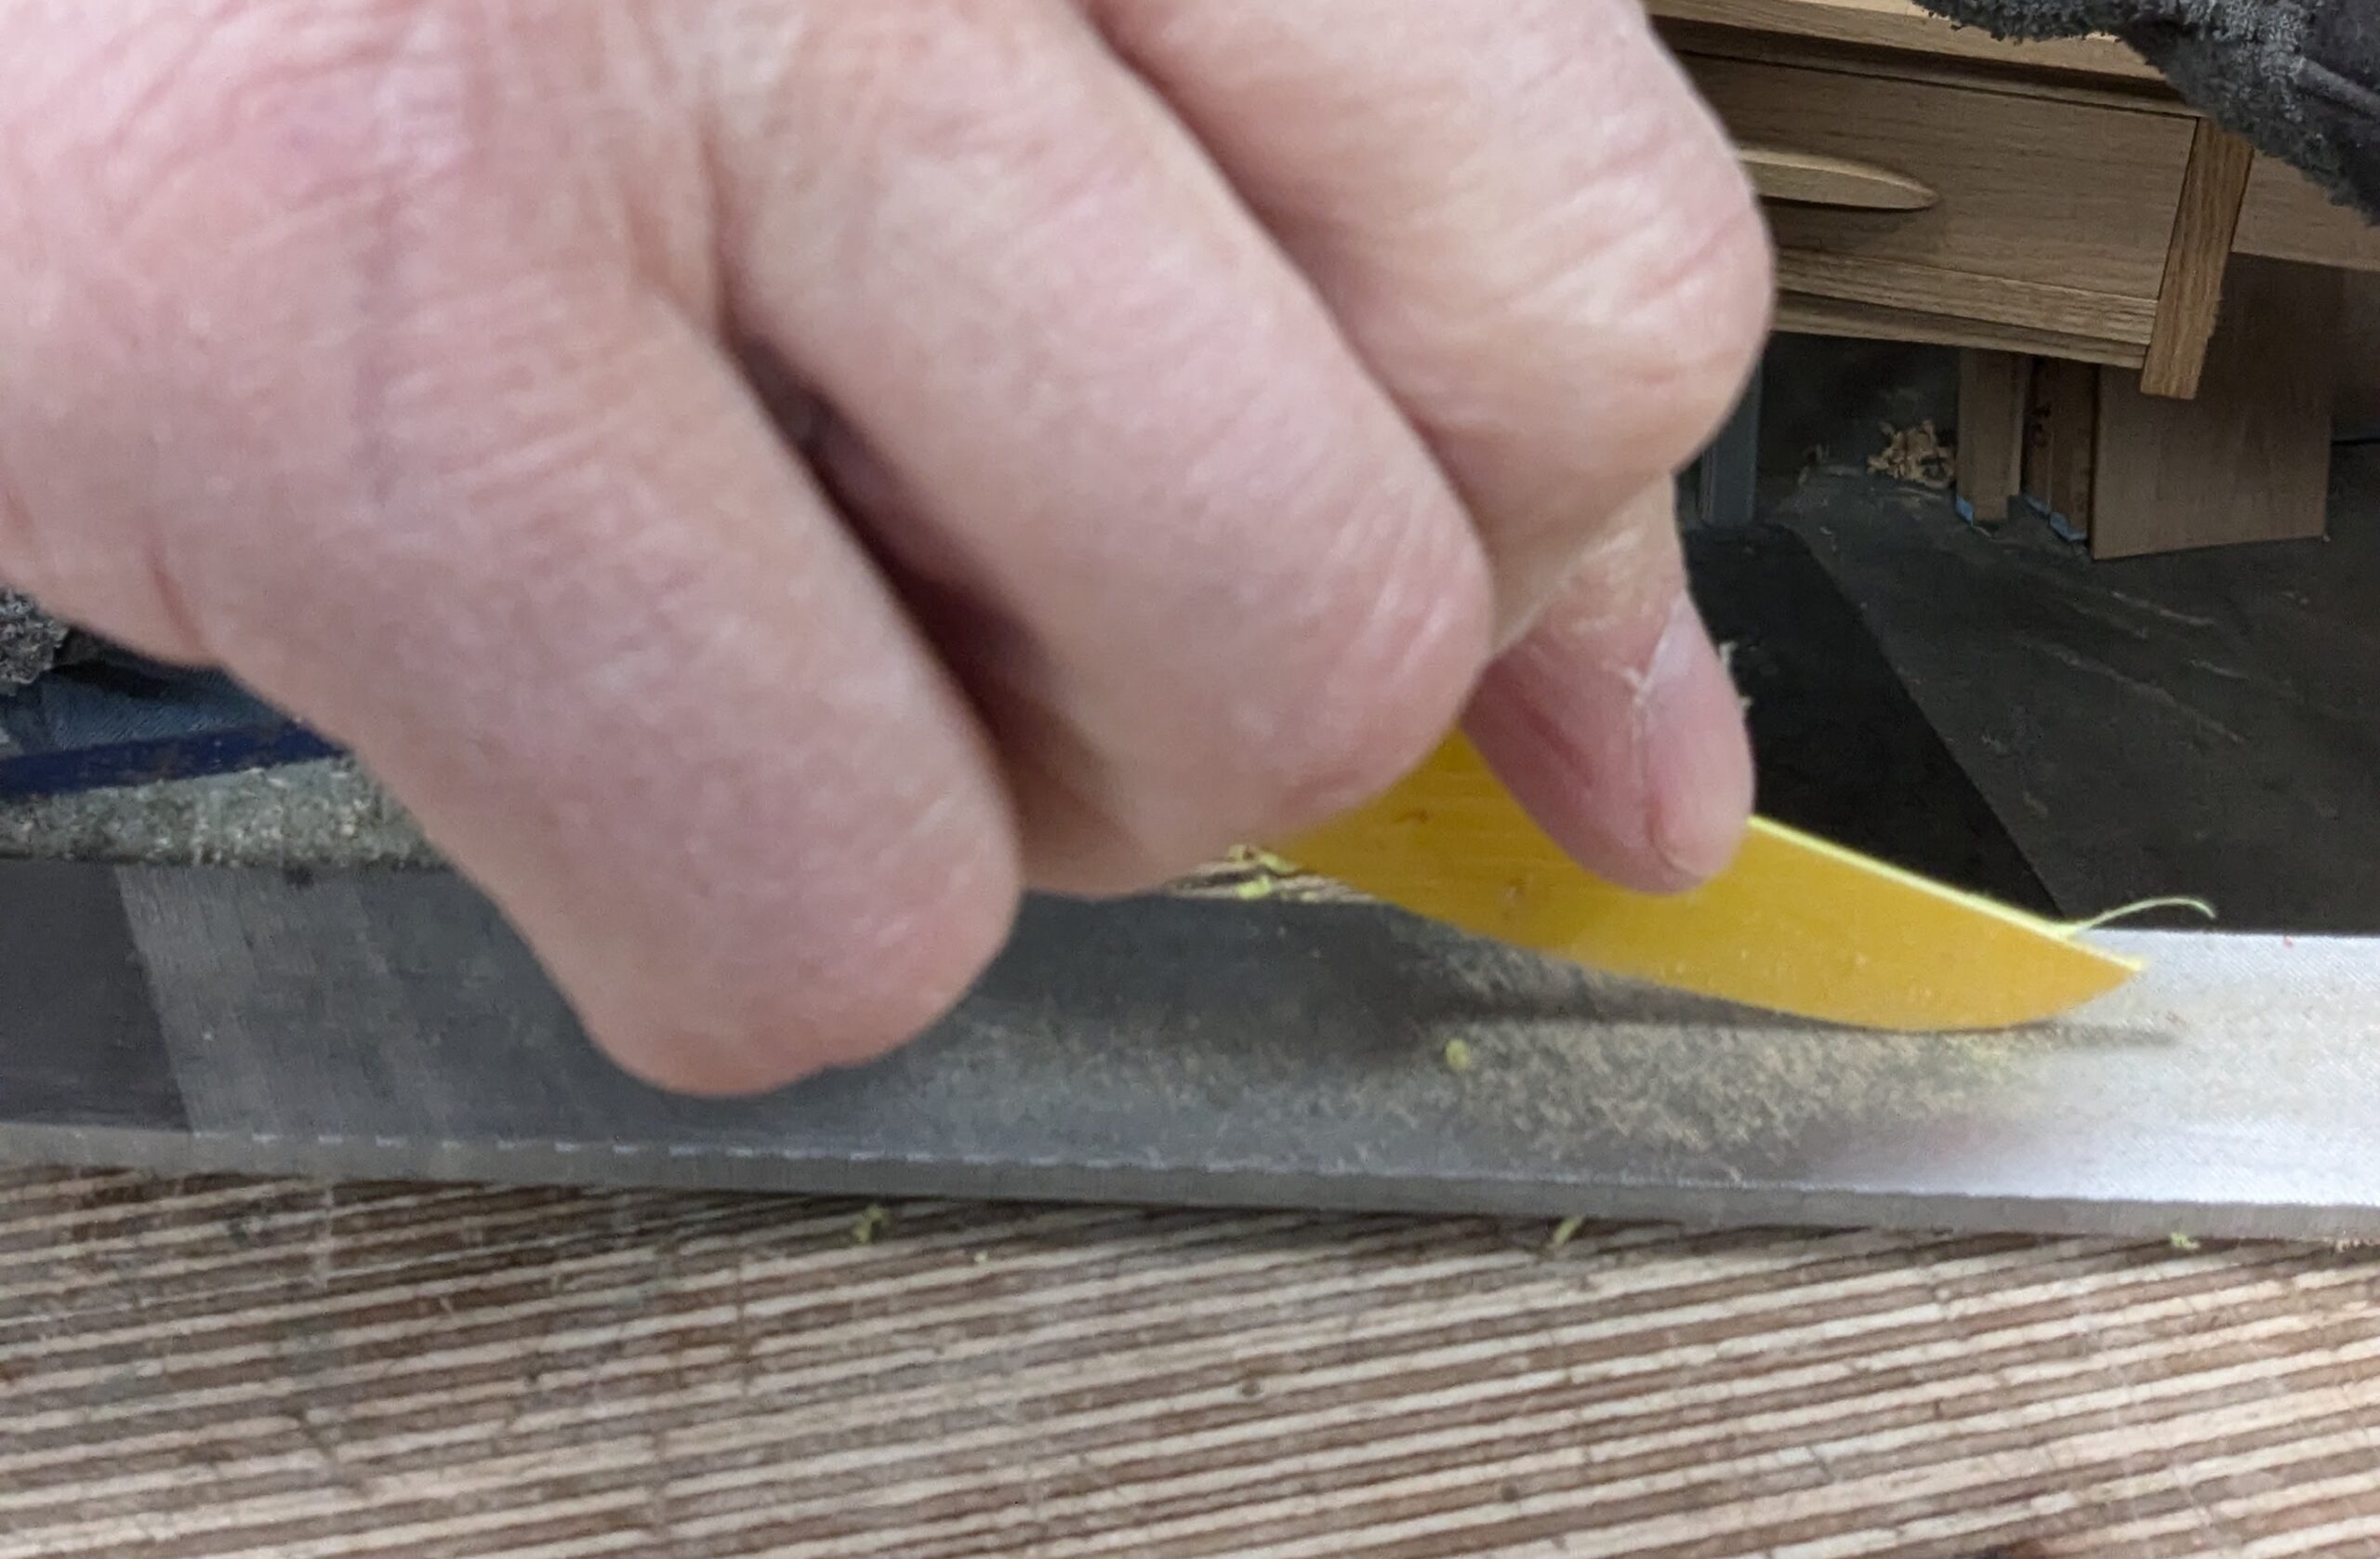
I cut some of the plastic to the overall size of my handle, so 14mm (9/16") in width and then the 146mm (5 3/4") length. This plastic is 1mm (1/32") thick.
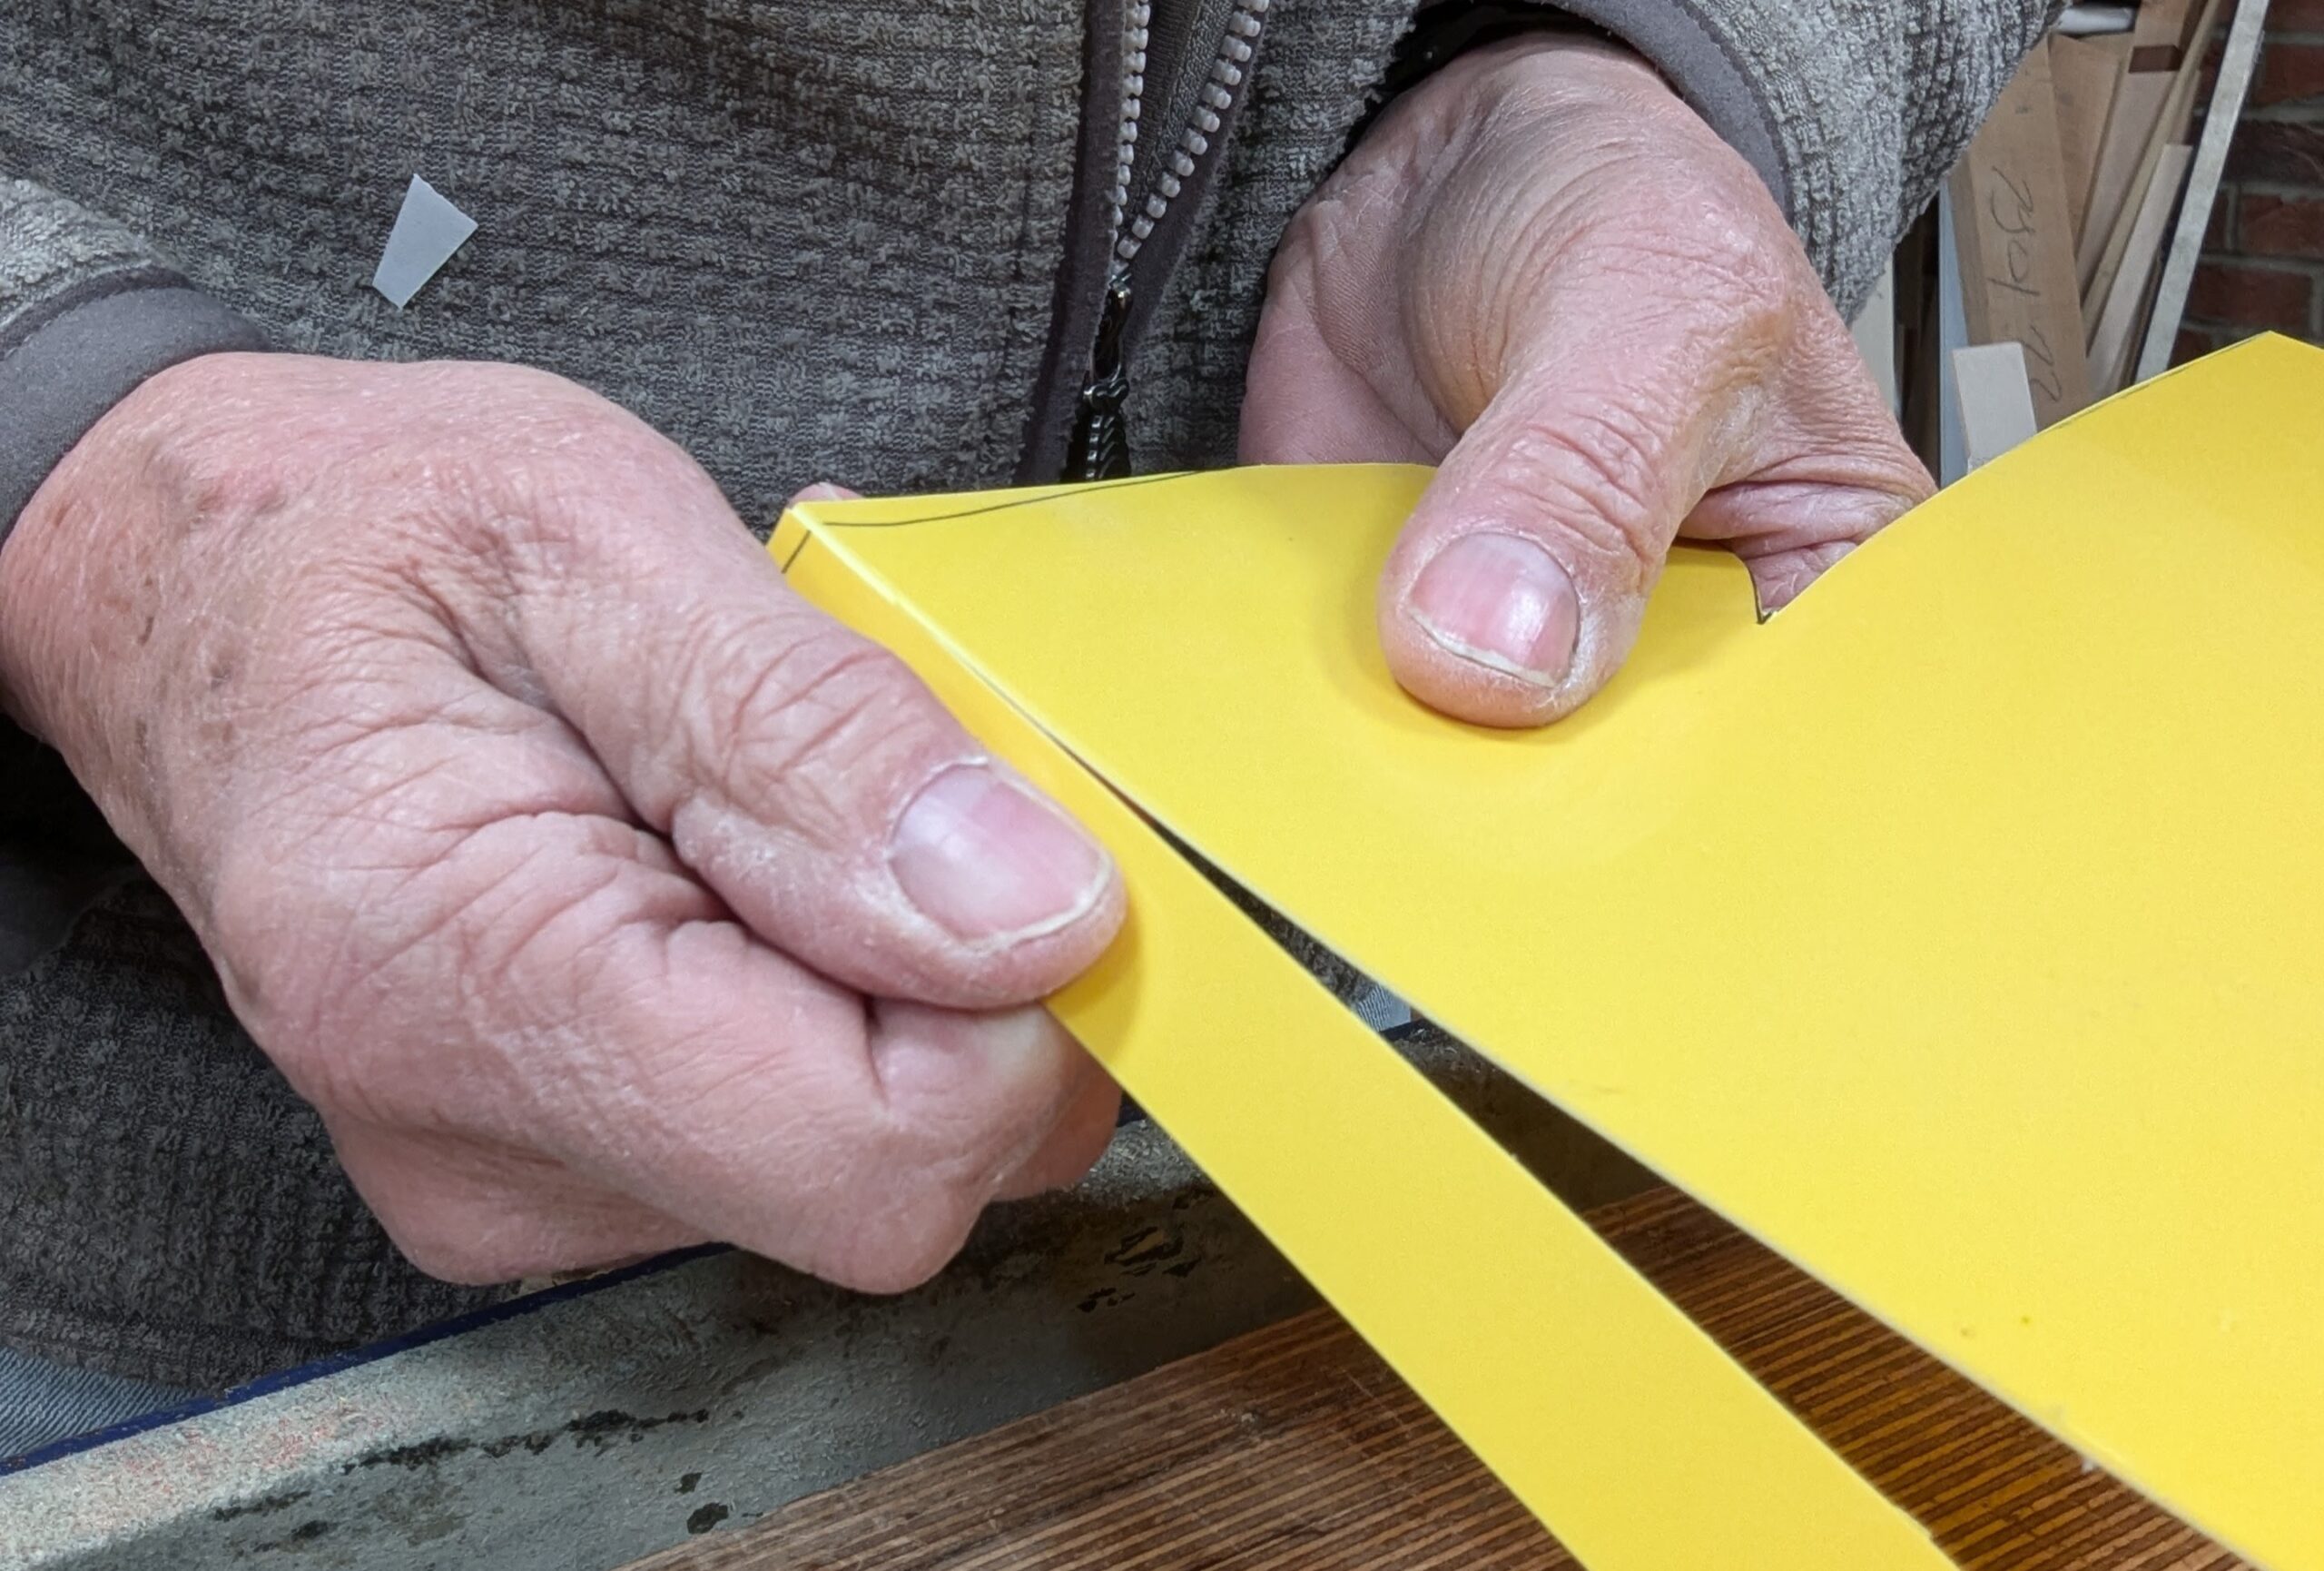
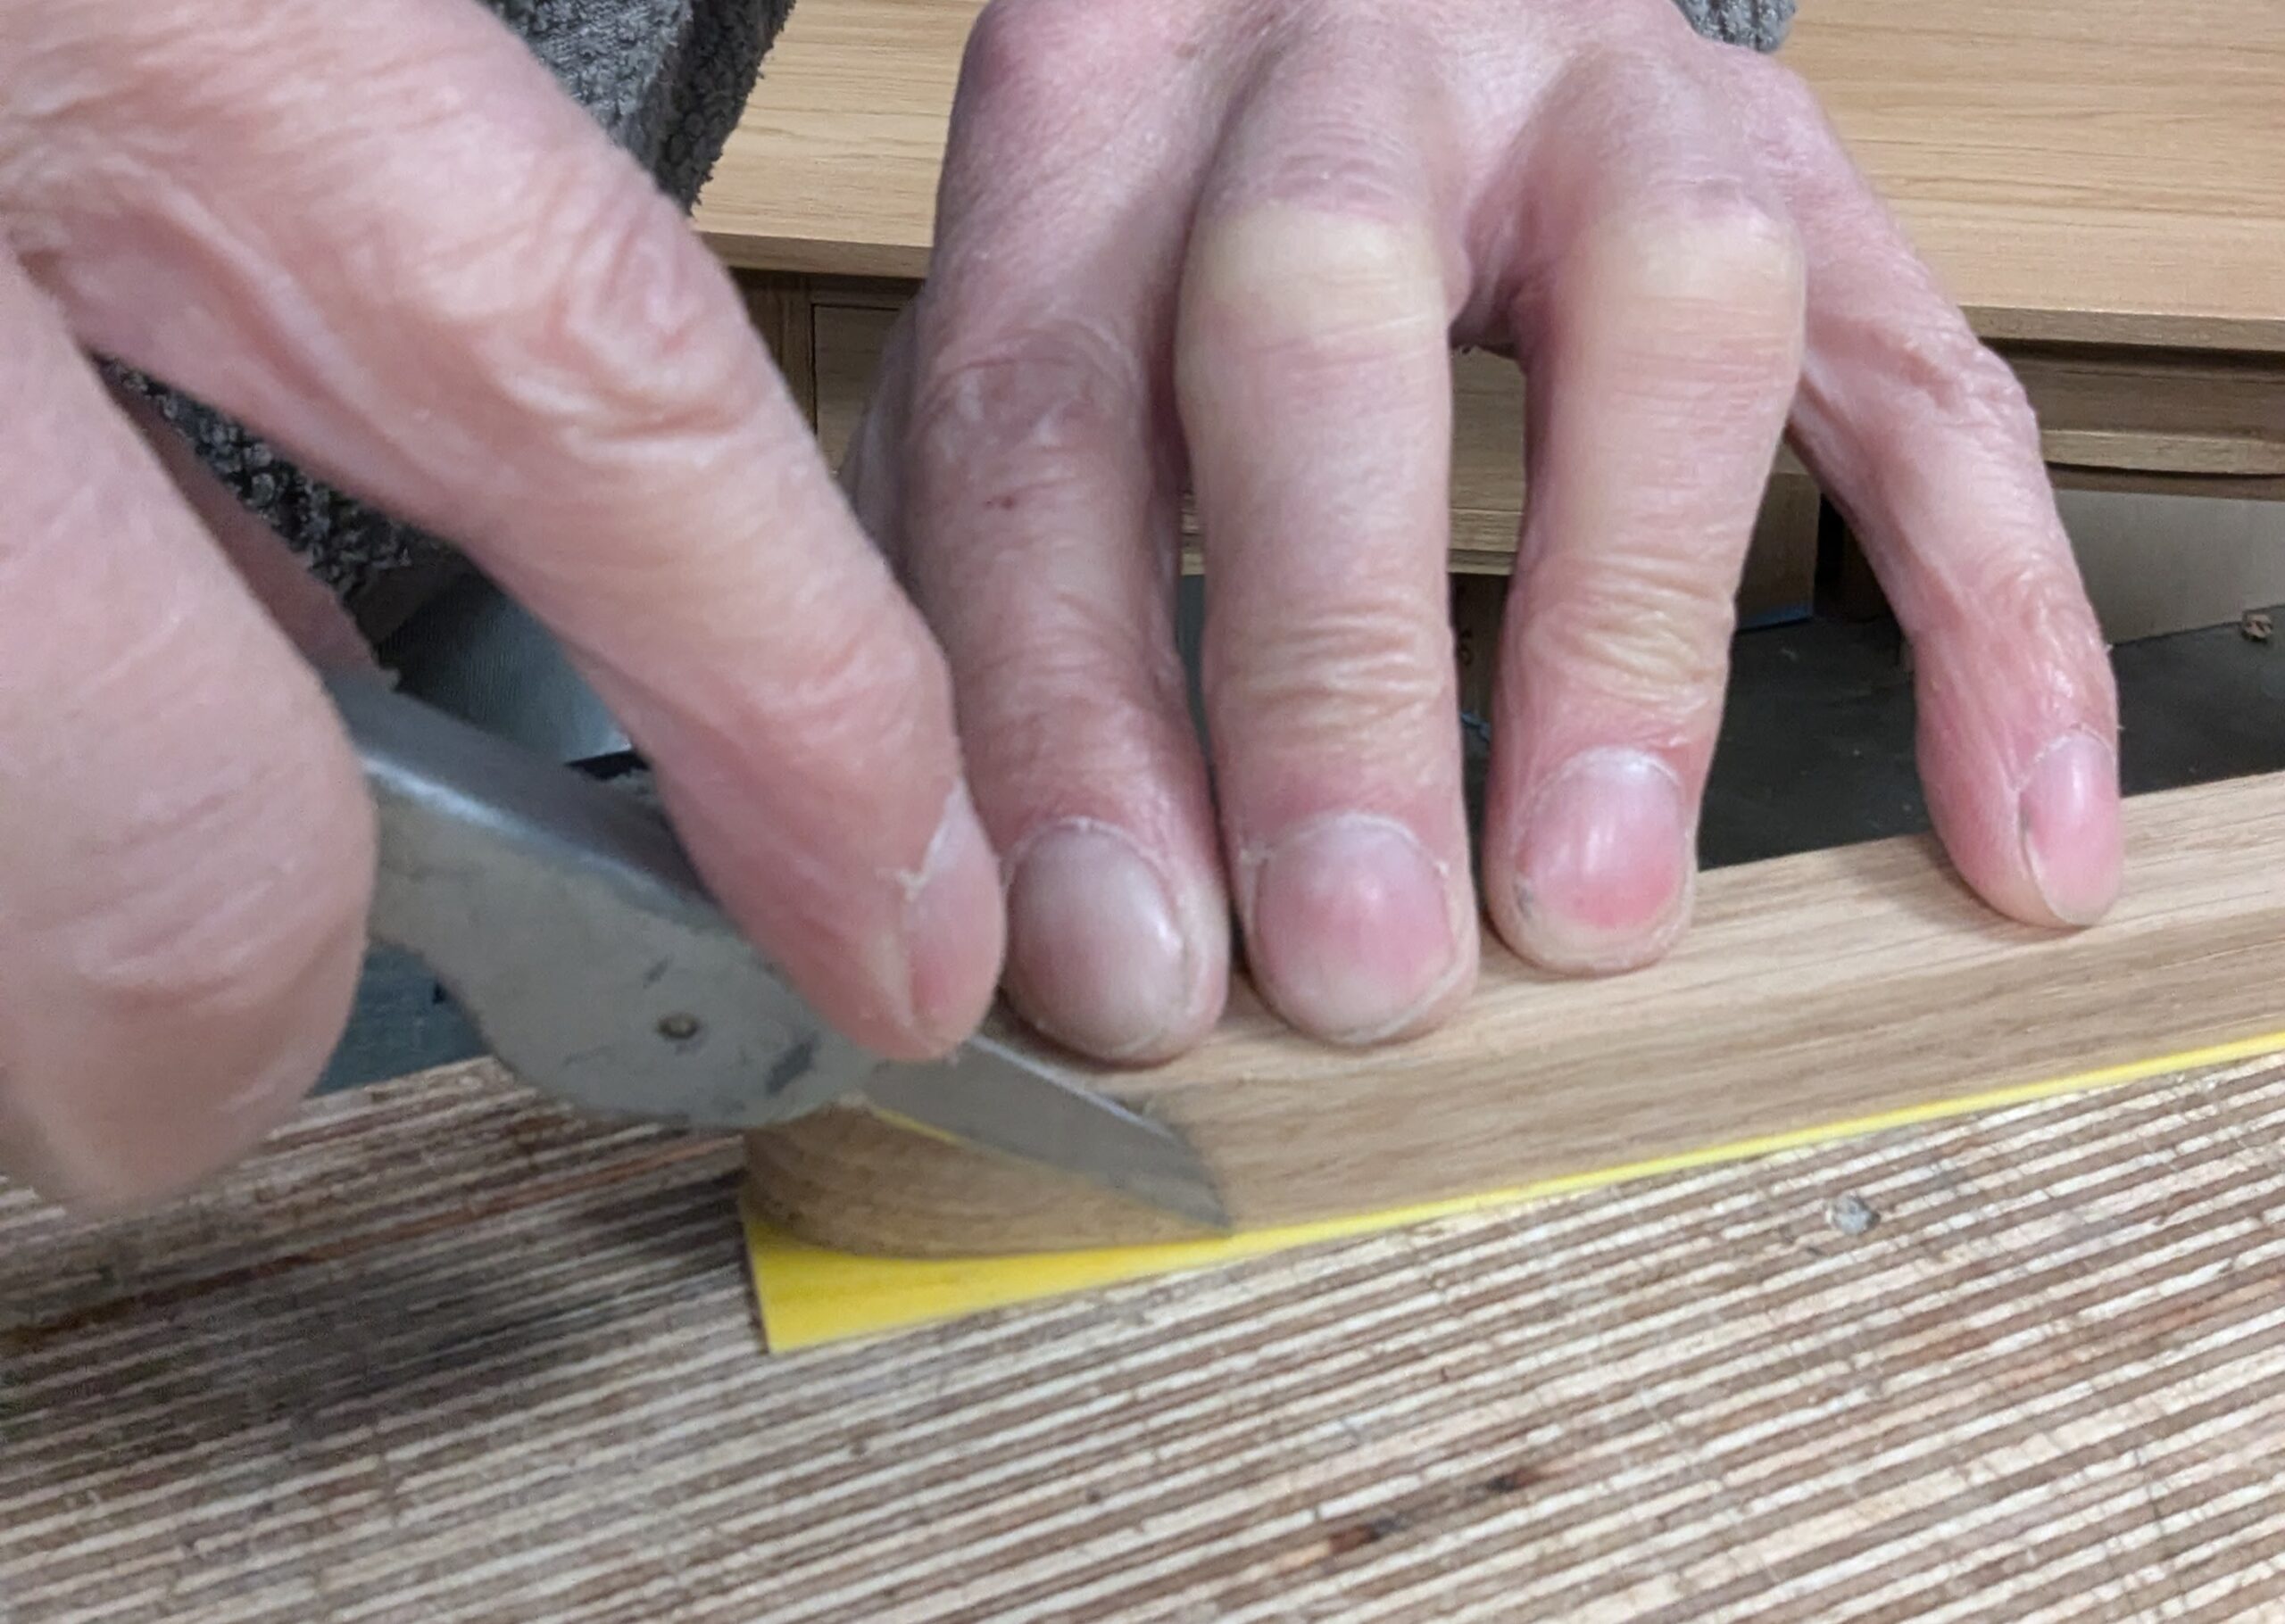
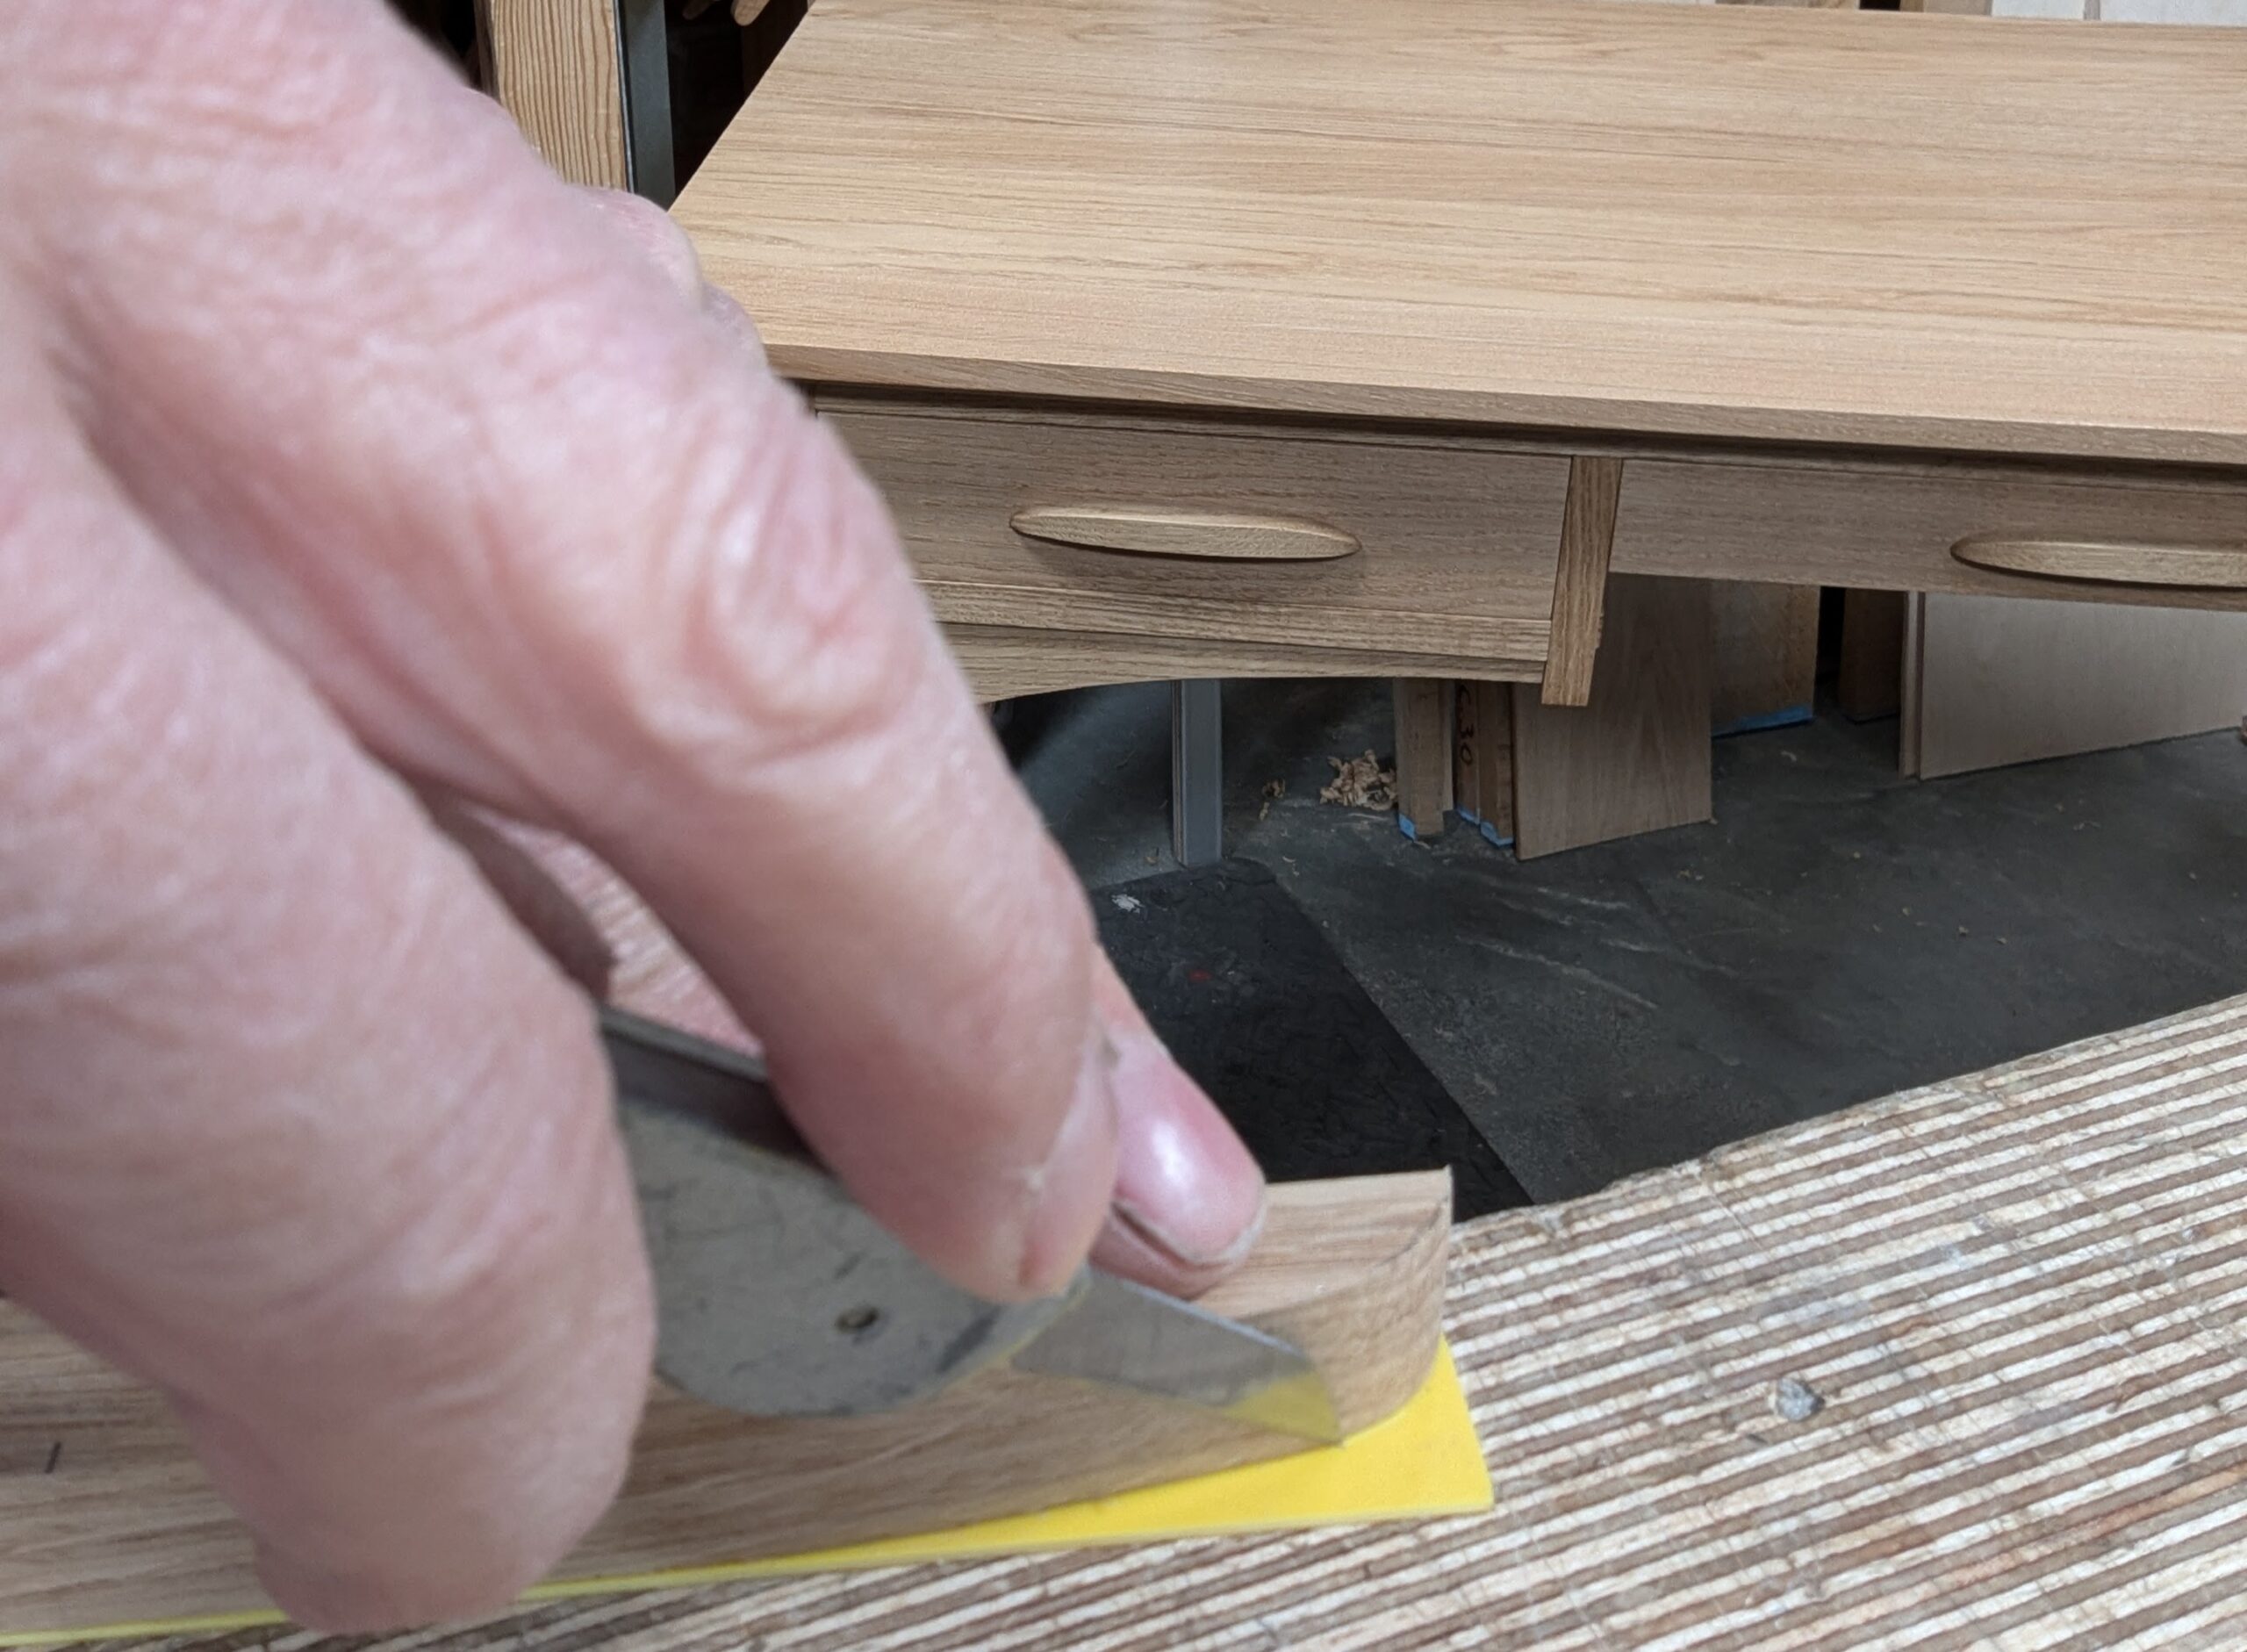
Using the knife works well to cut the surface and does not need to cutting through as it readily snaps to the line dead on.
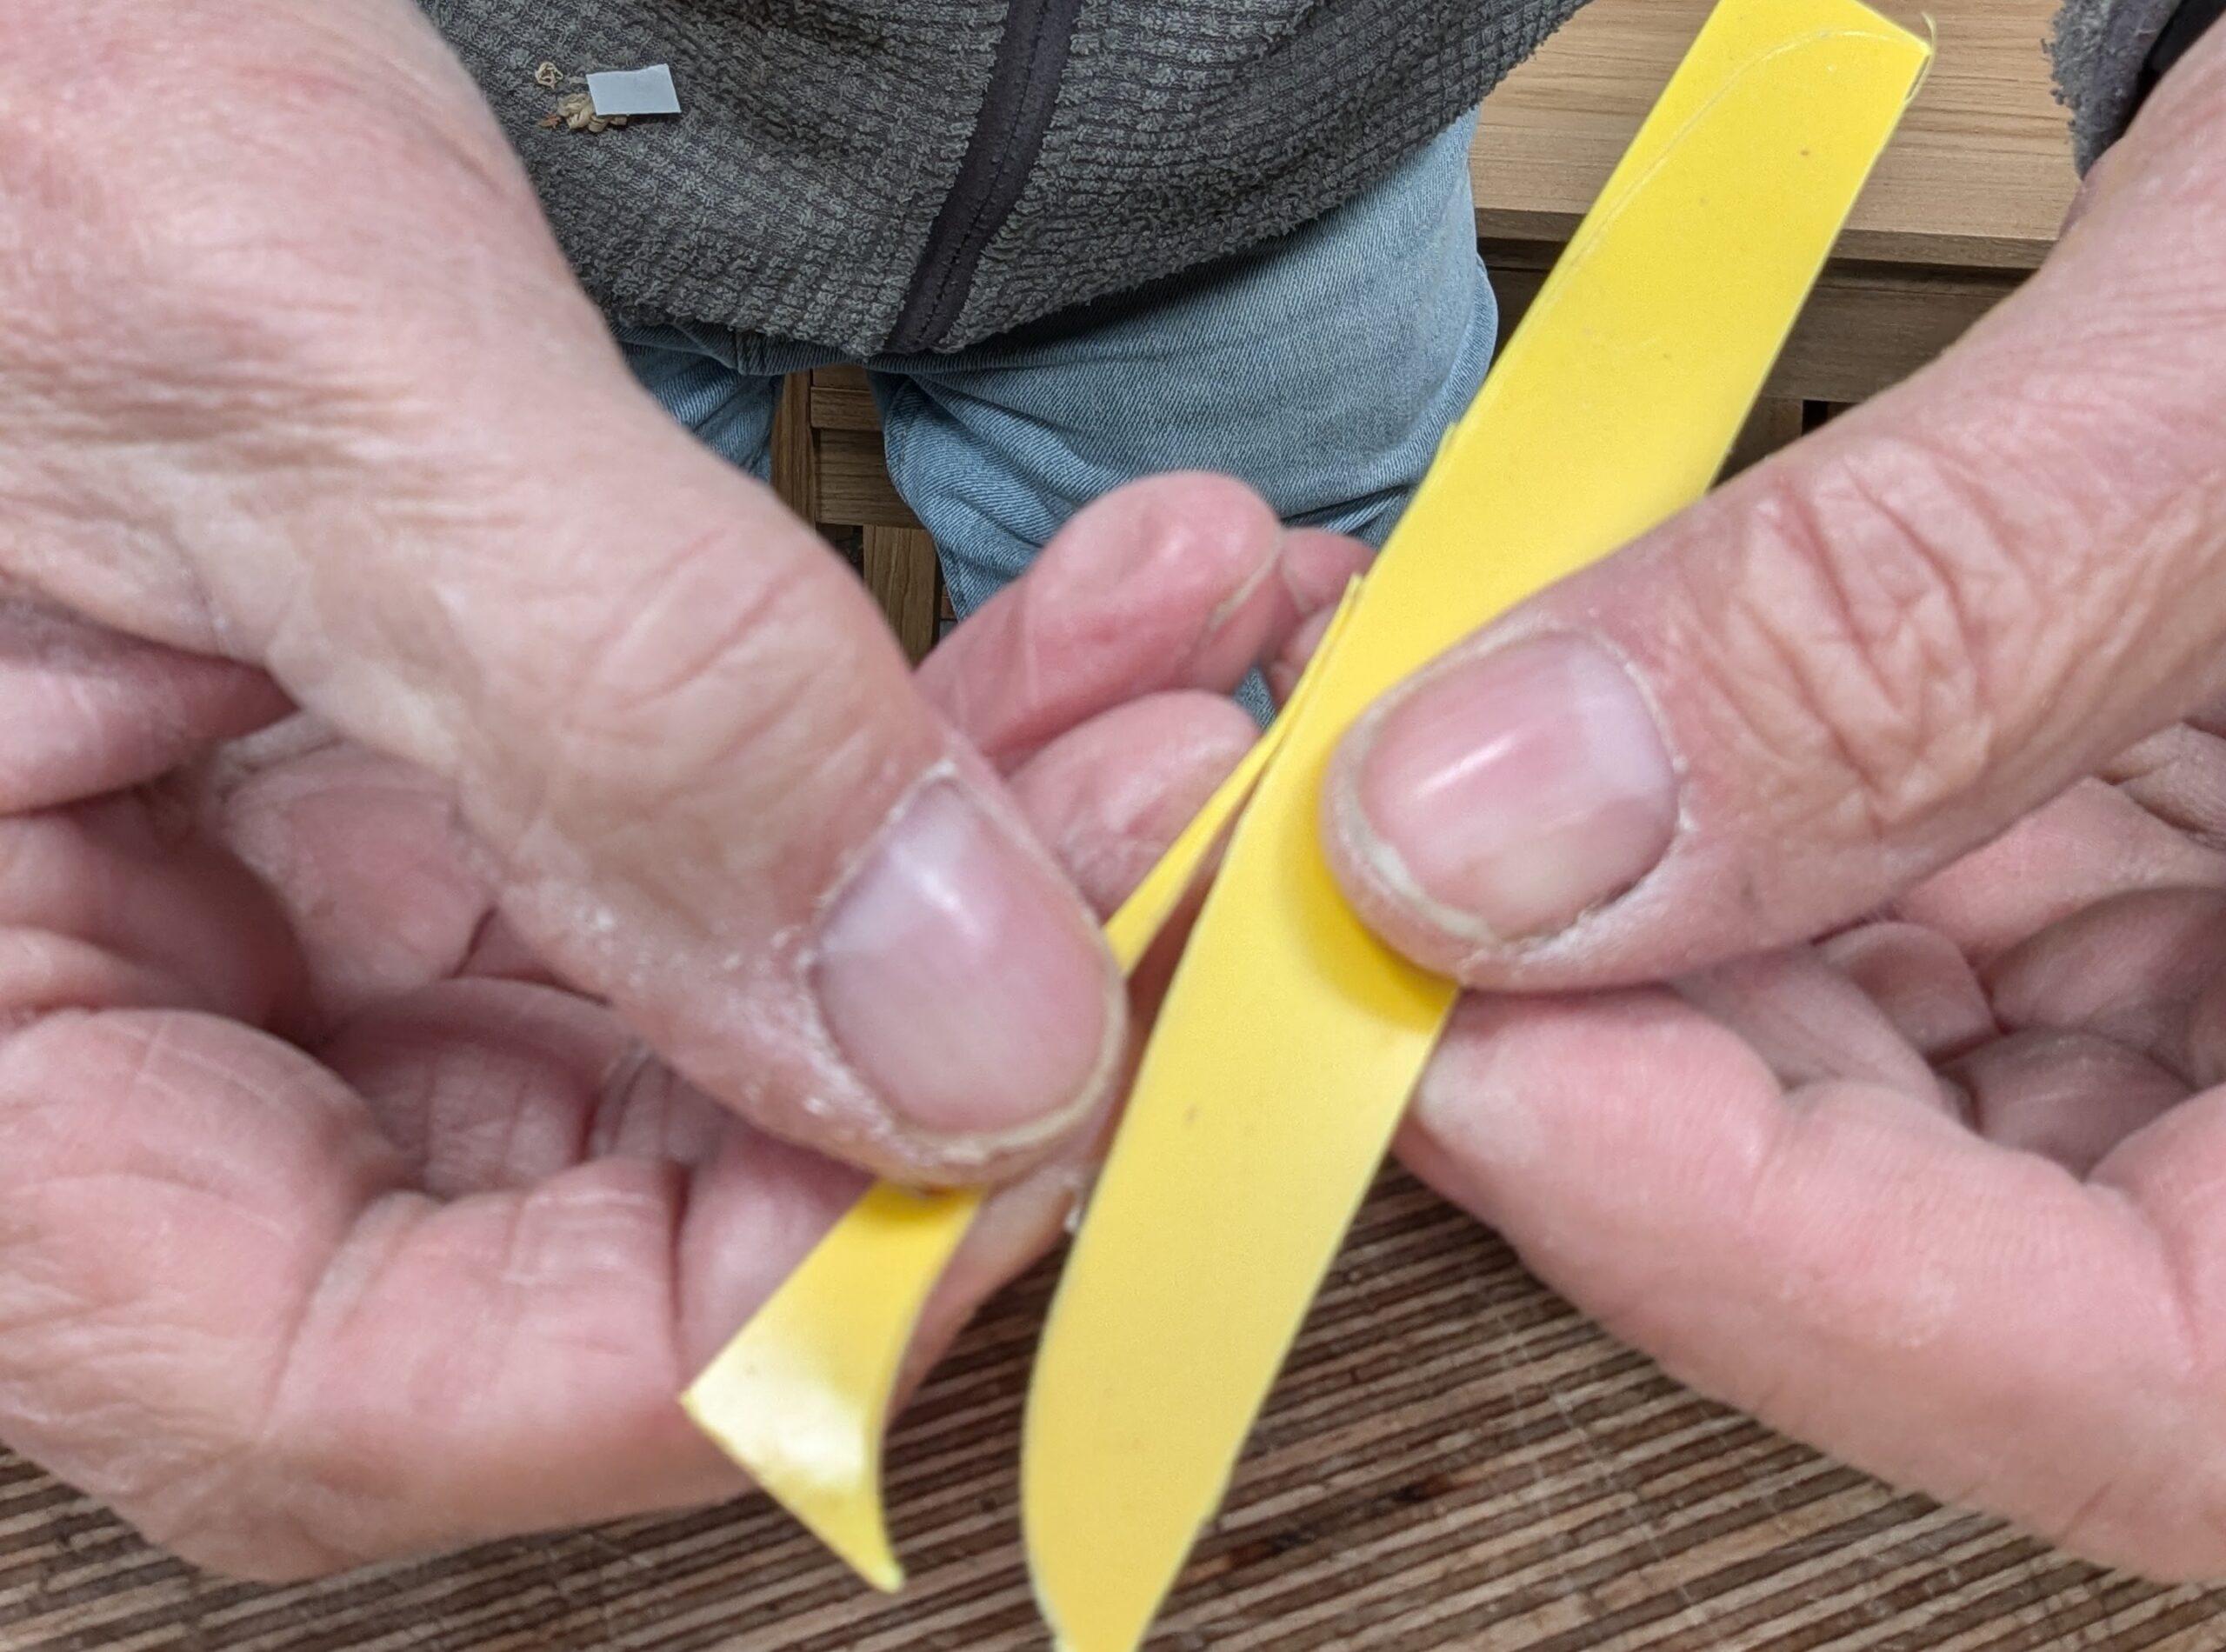
One bend snaps cleanly and square to the face.

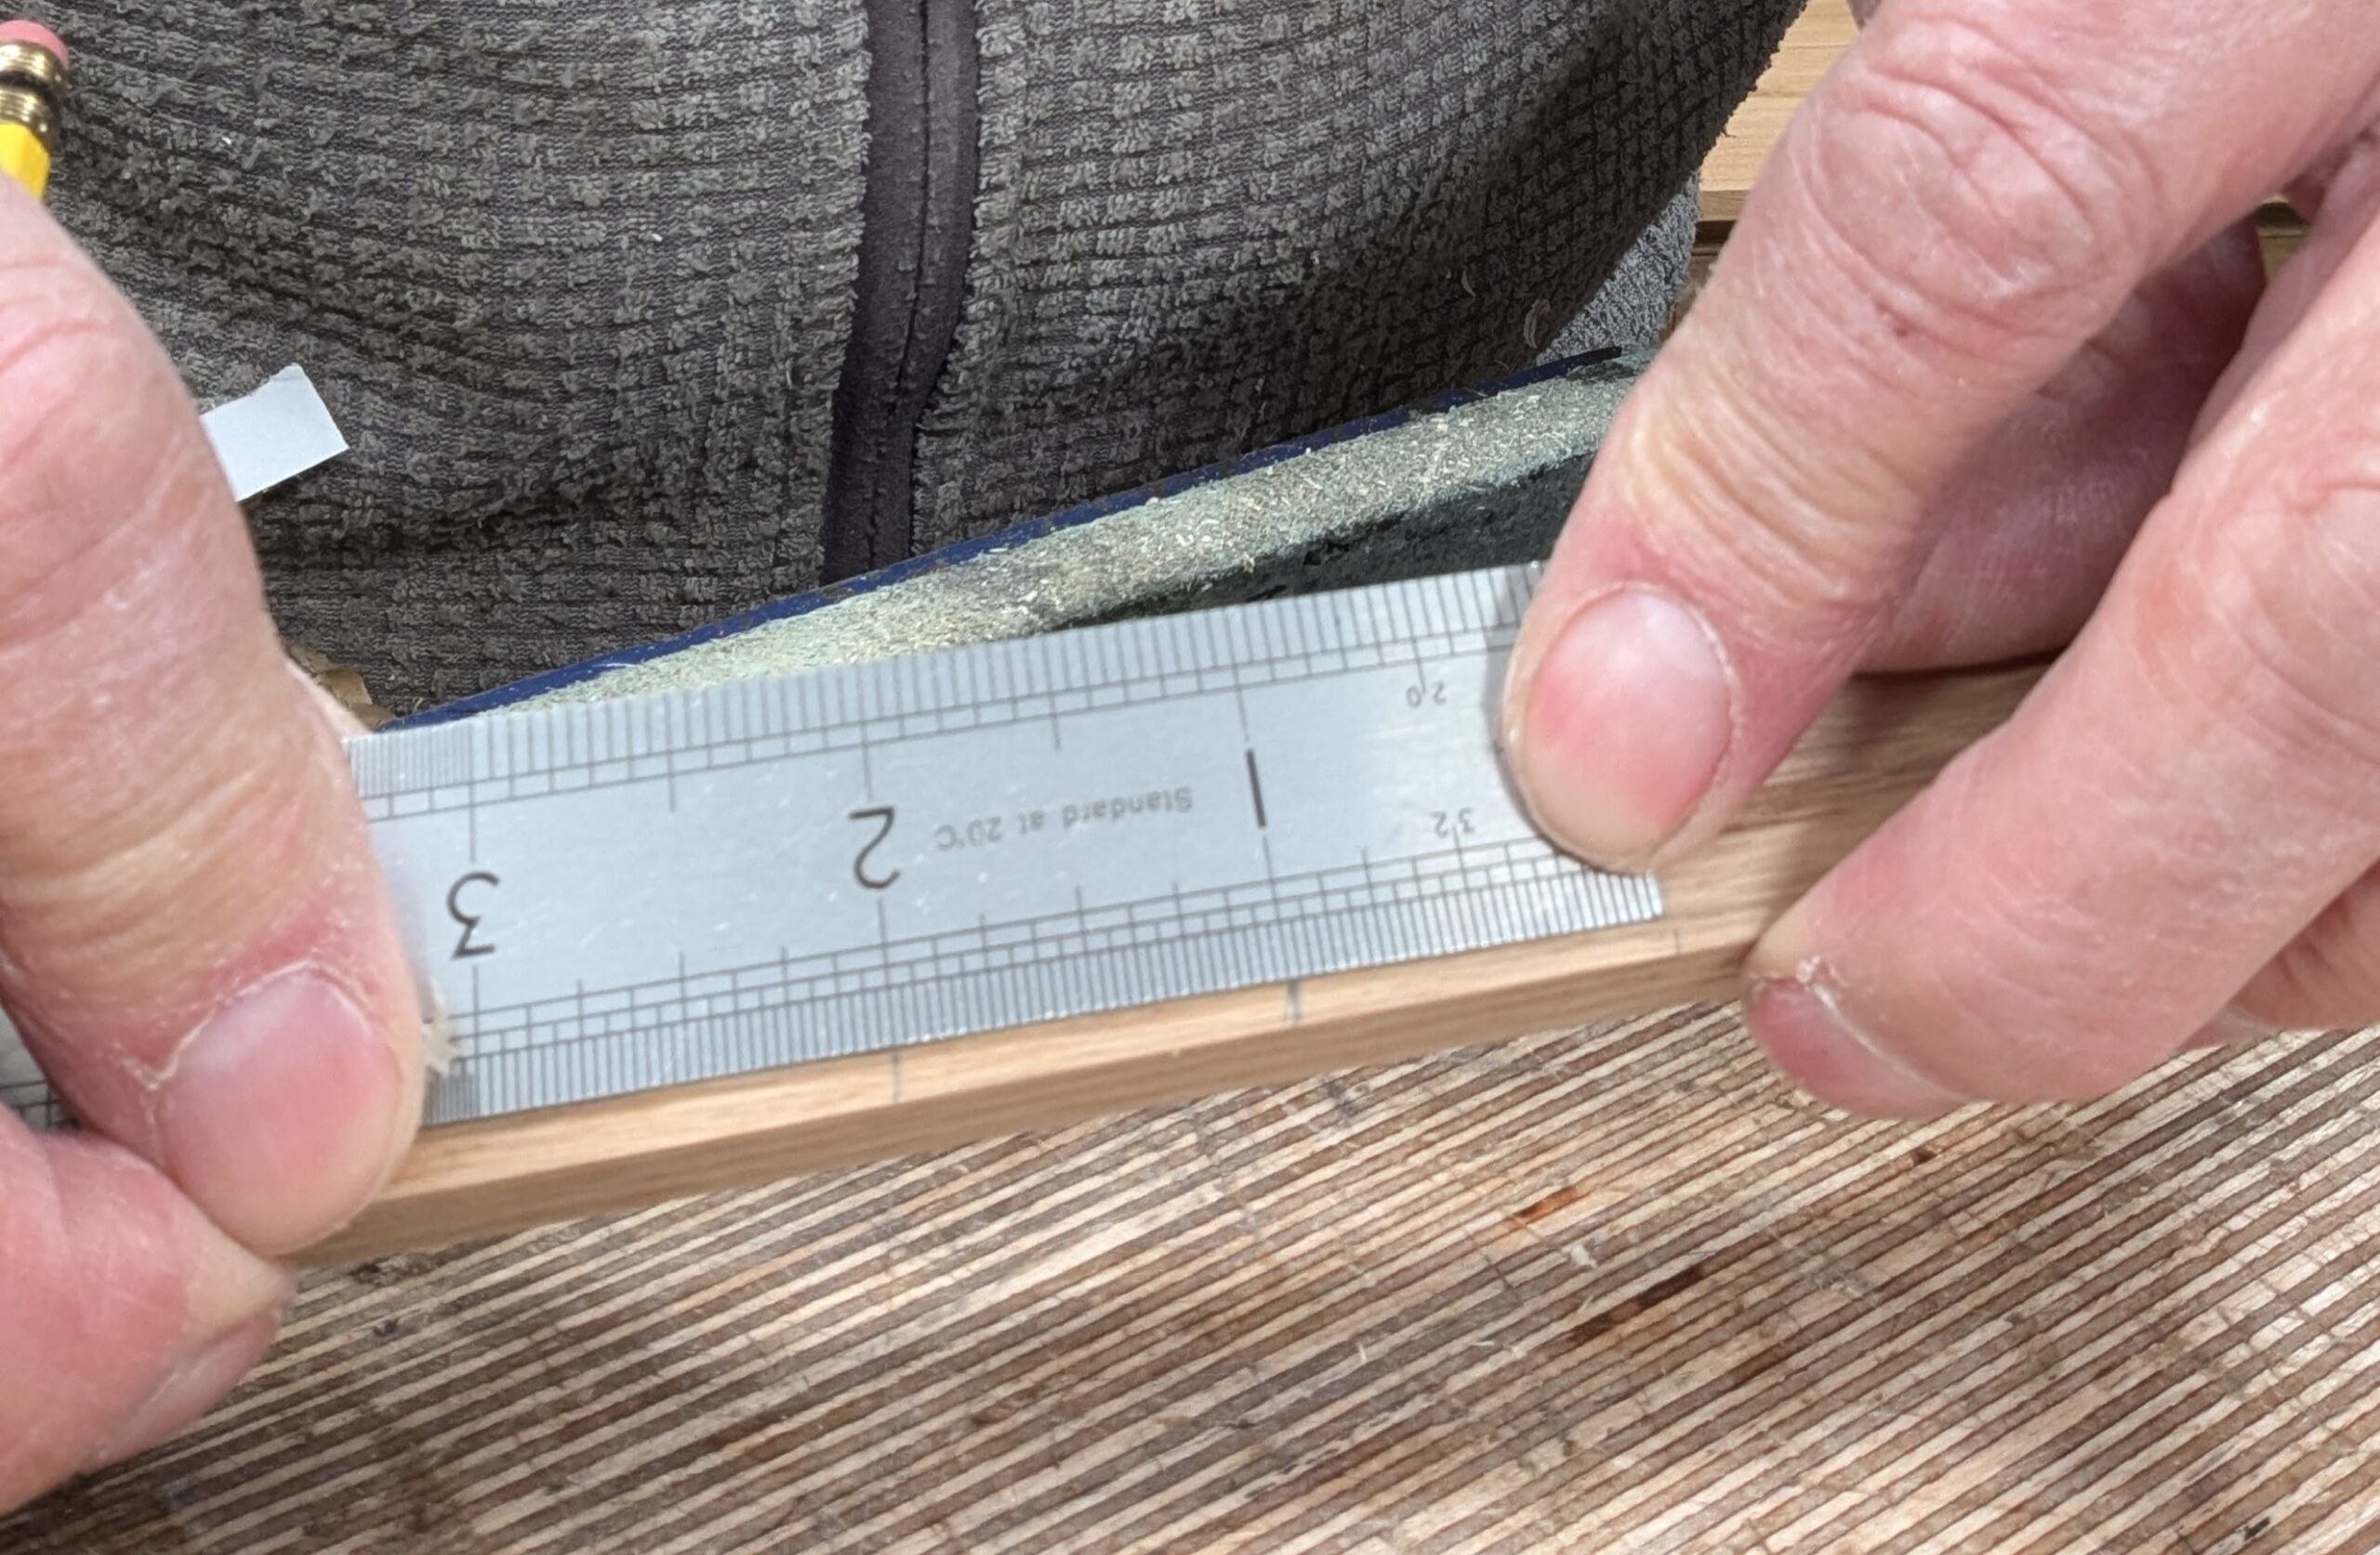
Find the centre of the piece.
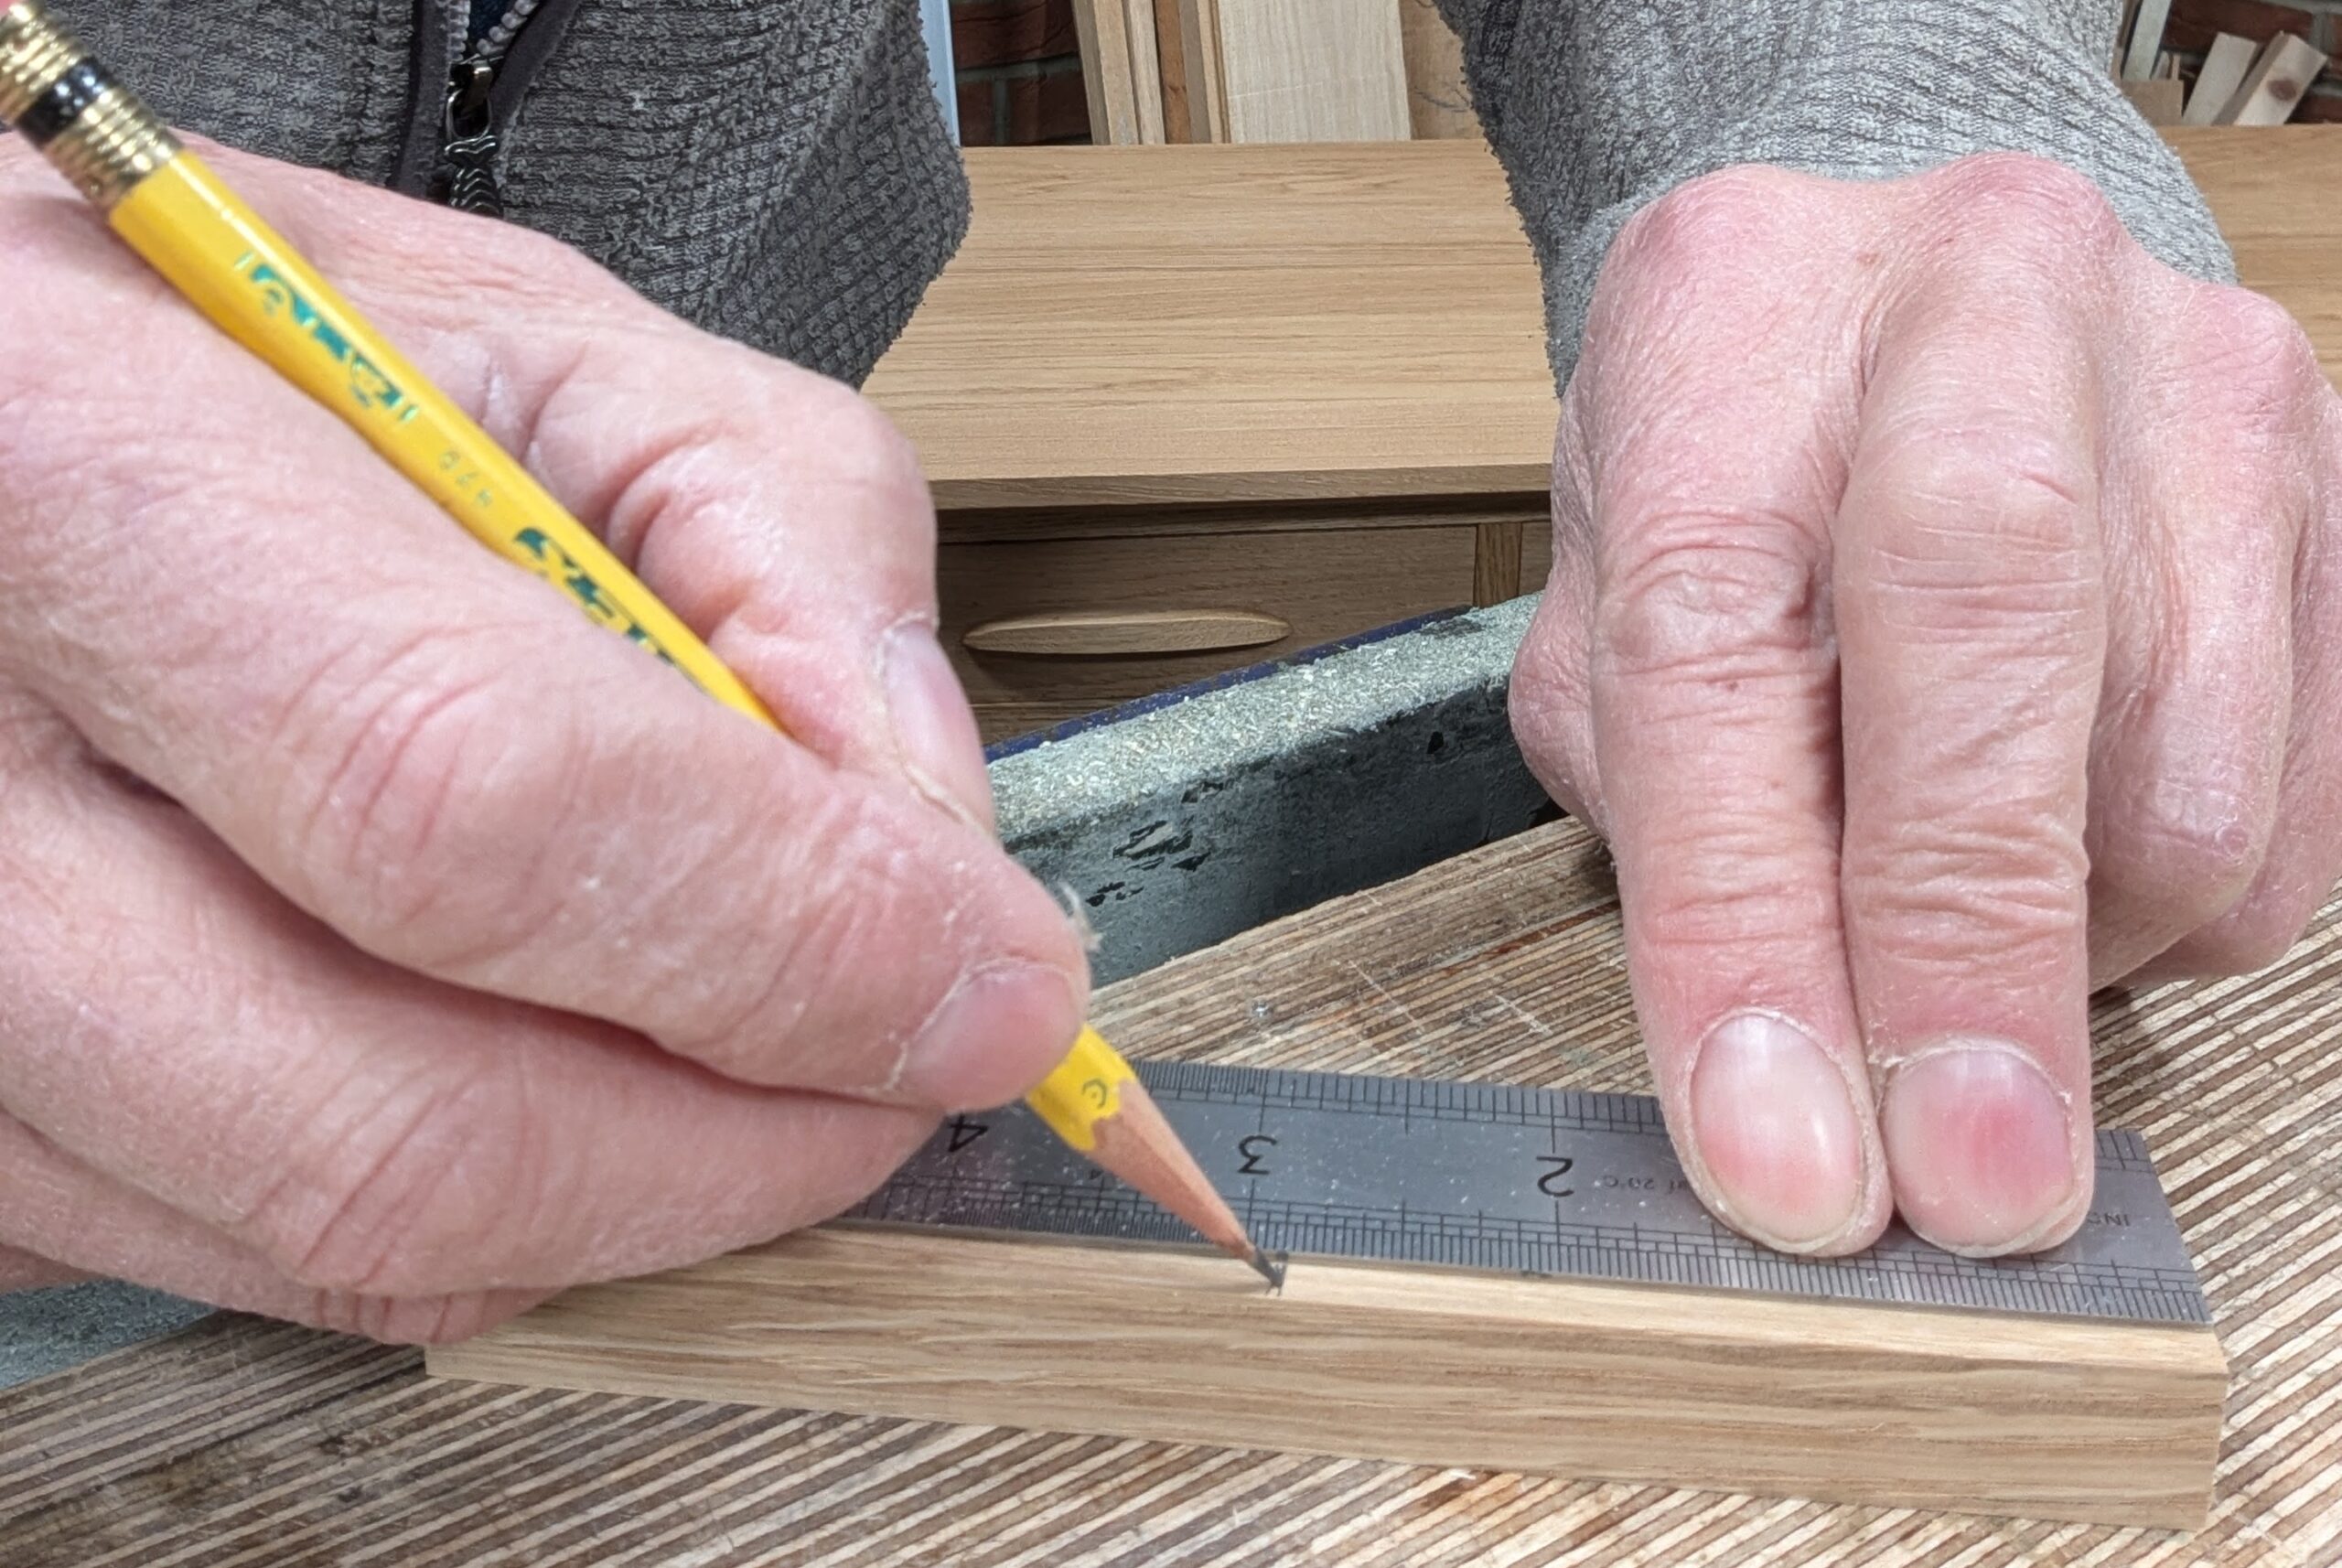
Measure 25mm (1") each side of the centre.
I aimed for something of a quarter elliptical shape and pencilled the shape I wanted onto one end half only. You want symmetry, and the following steps are one of the best ways to get the exact opposite you need.
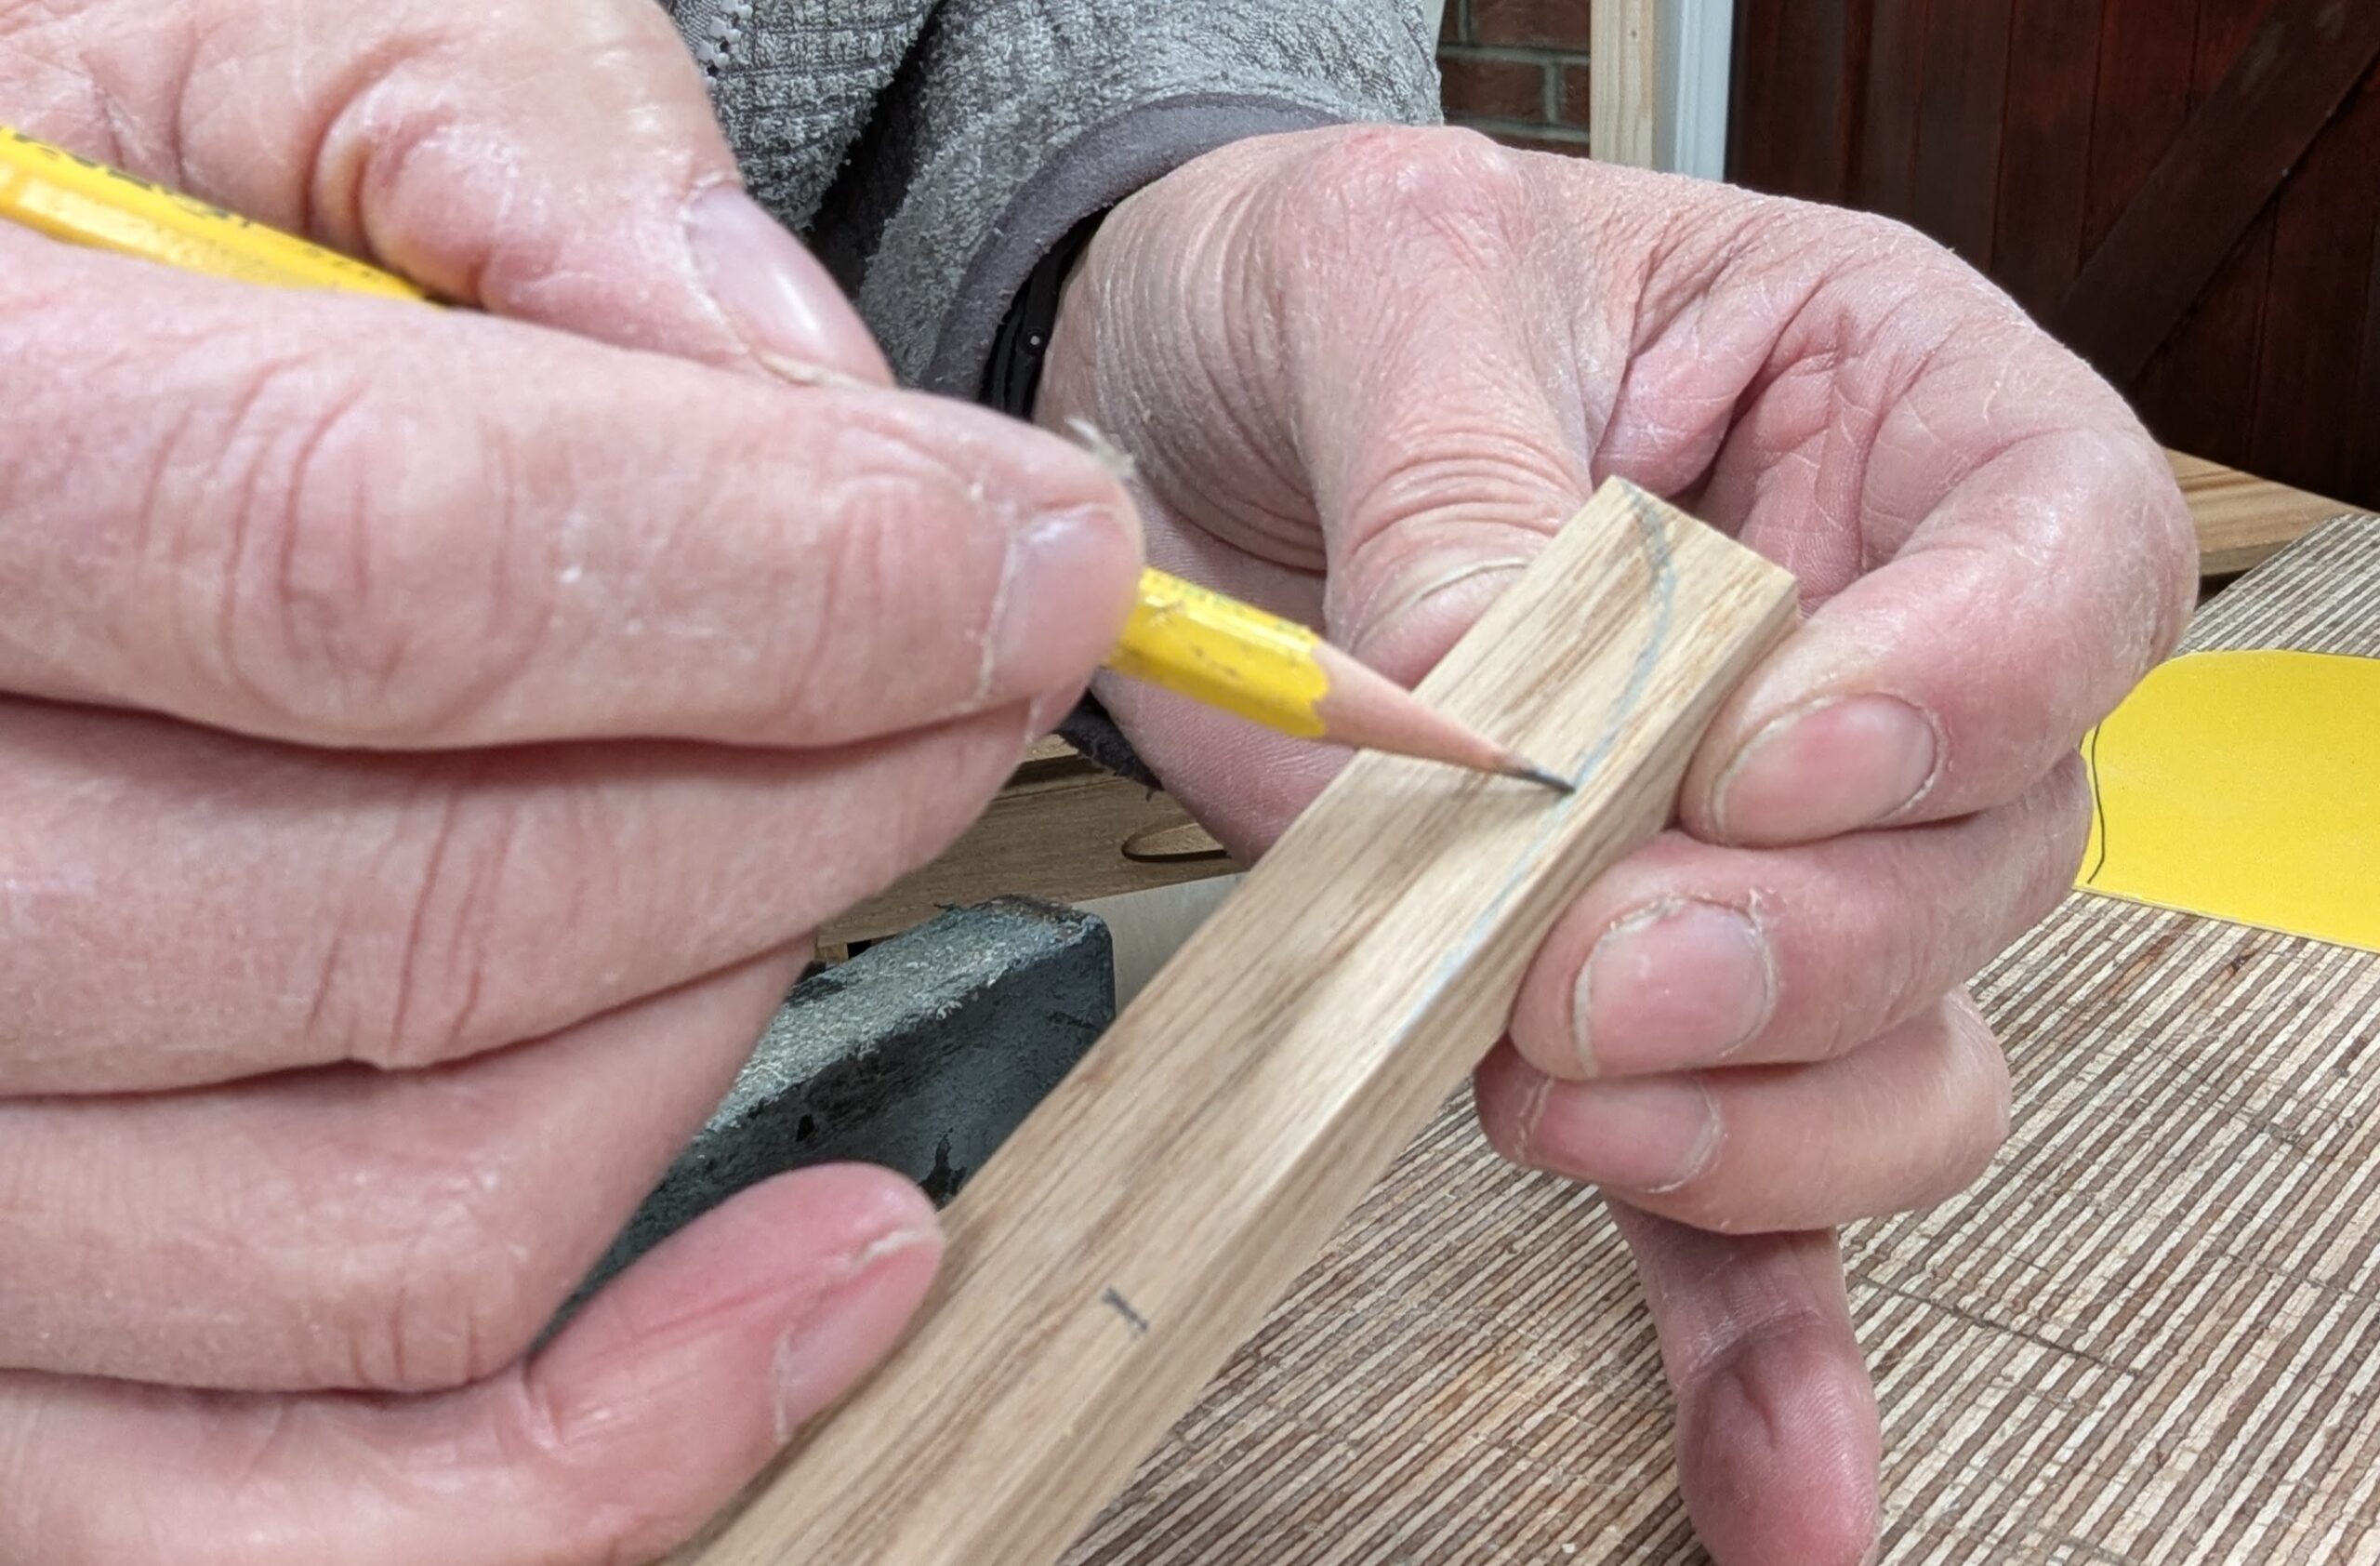
Move the line one way or the other until it suits your eye.
A wider chisel works well for taking off the waste. I used the chisel hammer. Keep the chisel low and flat so that the stock removal remains as parallel to the top face as possible and follow the lines but leaving the line in.
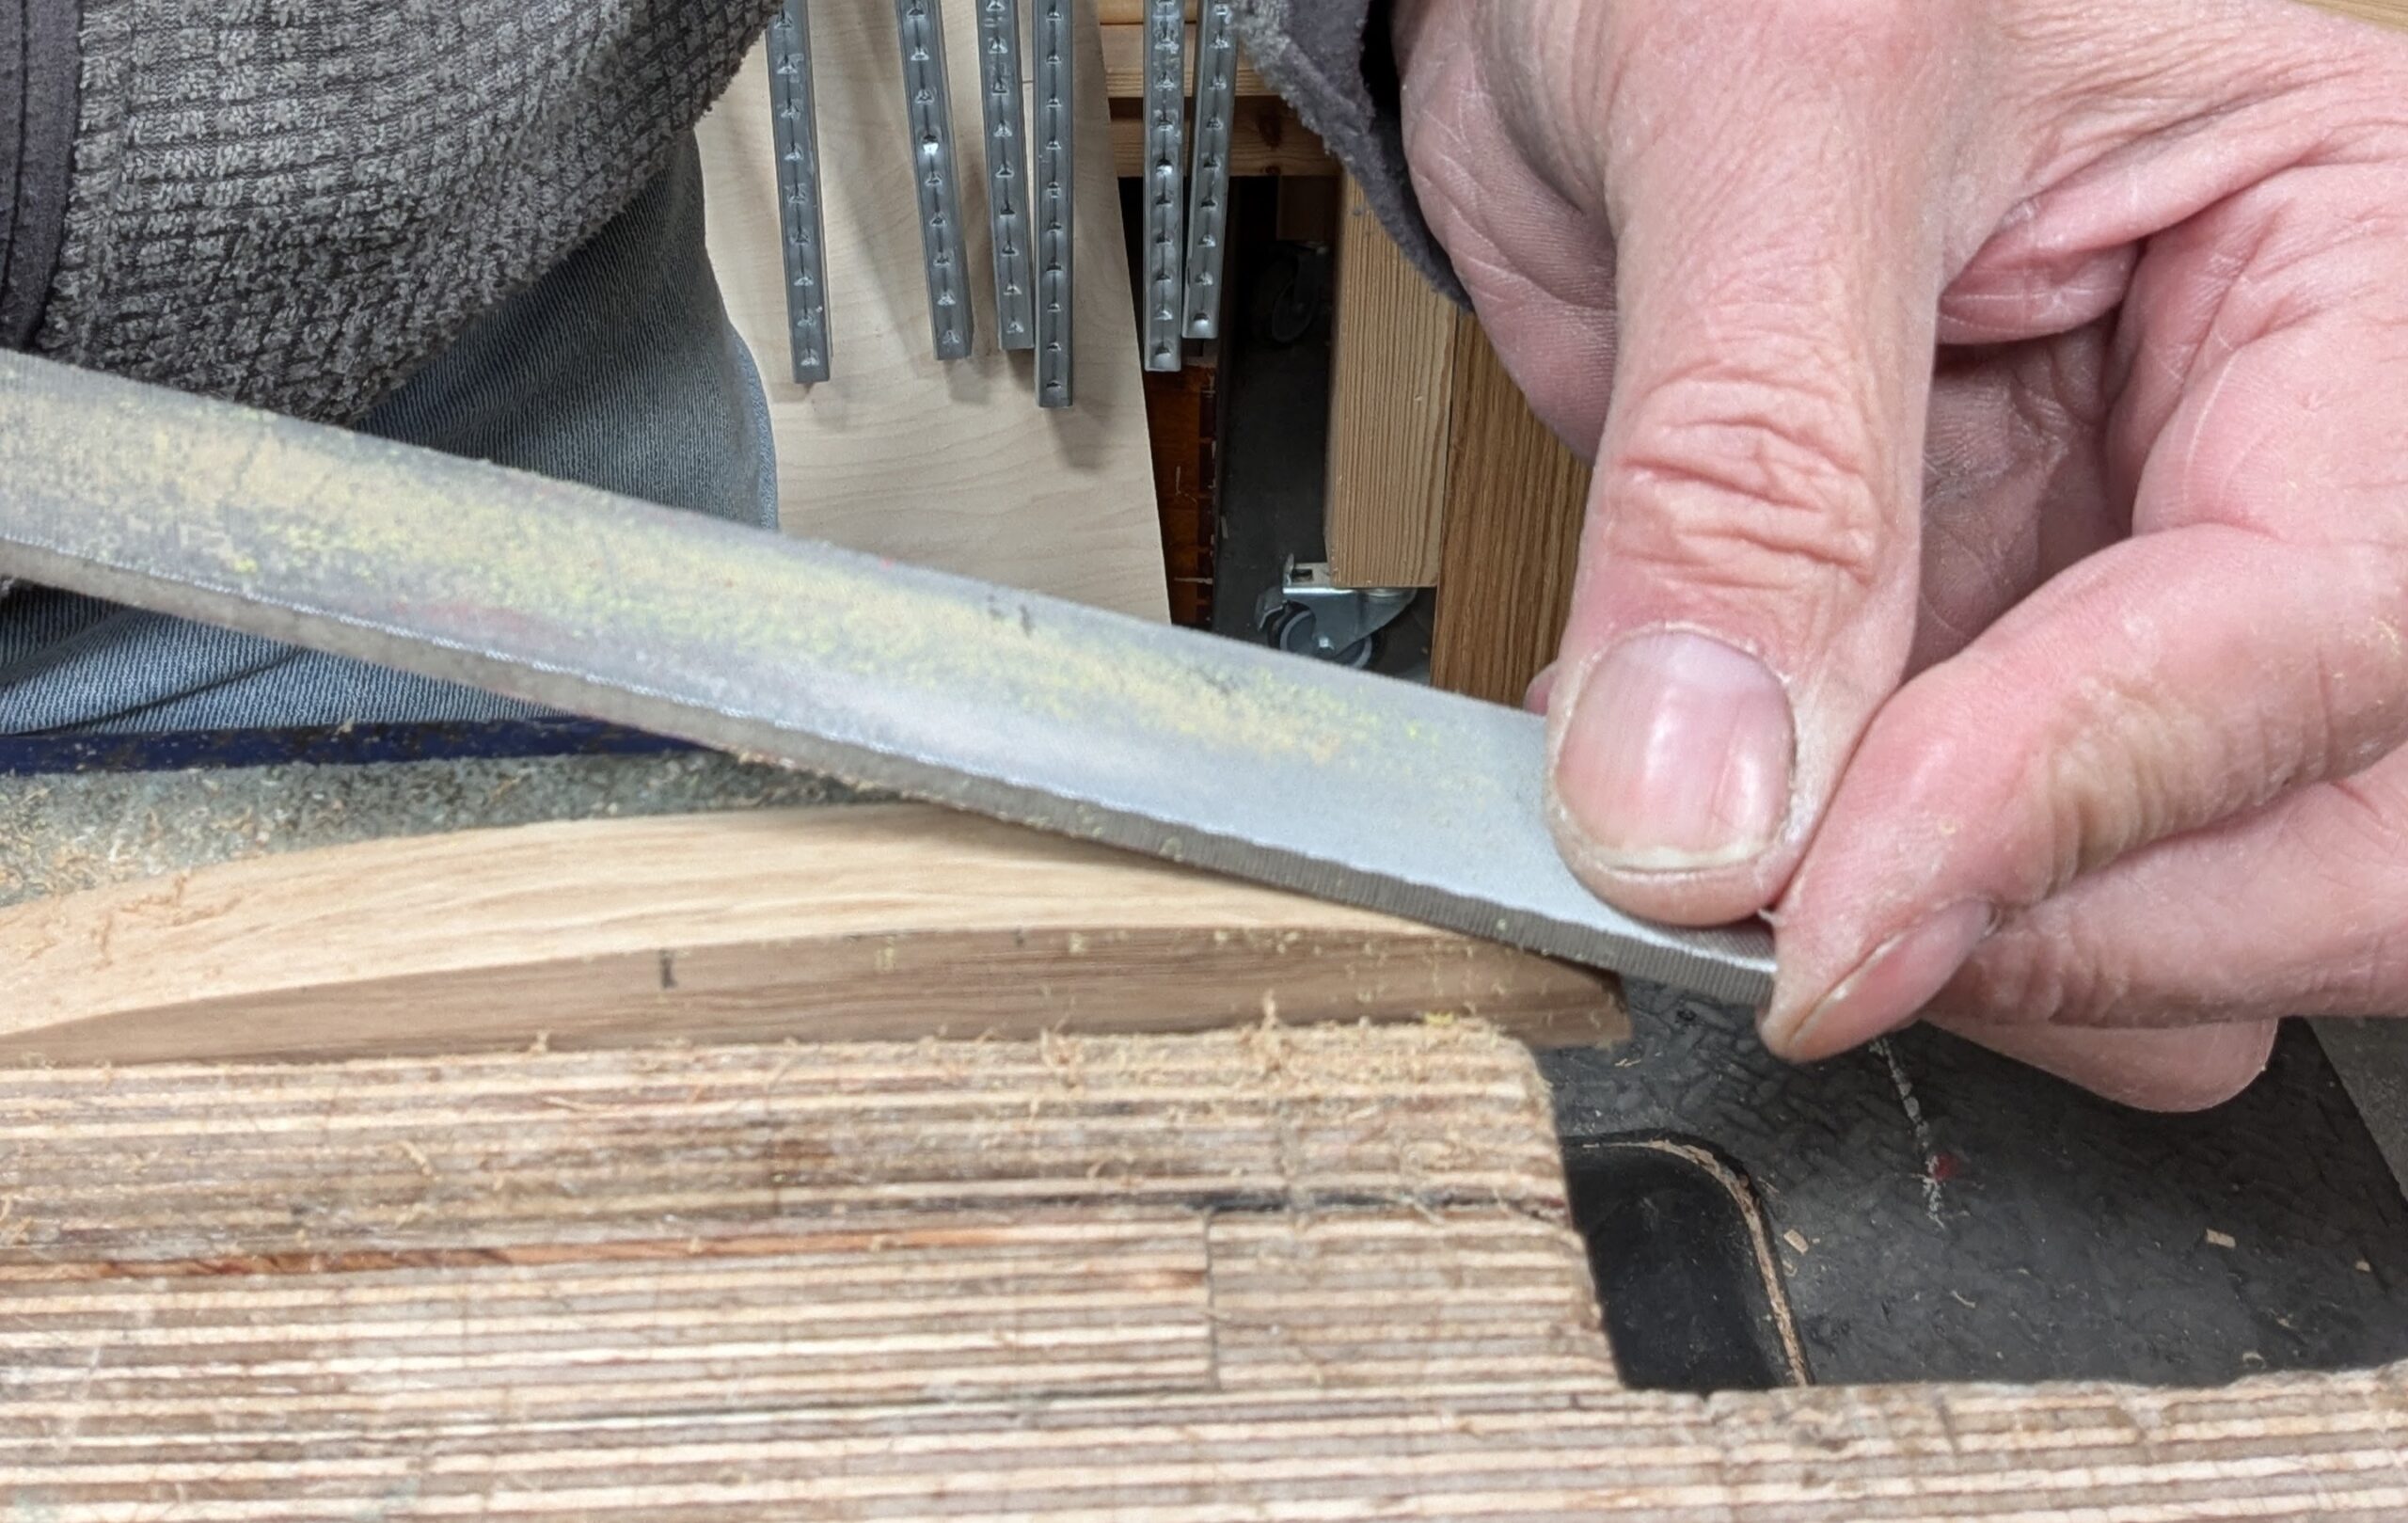
Refine the curve with a rasp or file.
A flat file gives a smooth surface.
Now take the half you created and place it onto your blank. You can just use this one quadrant and flip end for end or . . .
. . . flip the wood end for end and create the second half on the same template.
Snap to the cut lines.

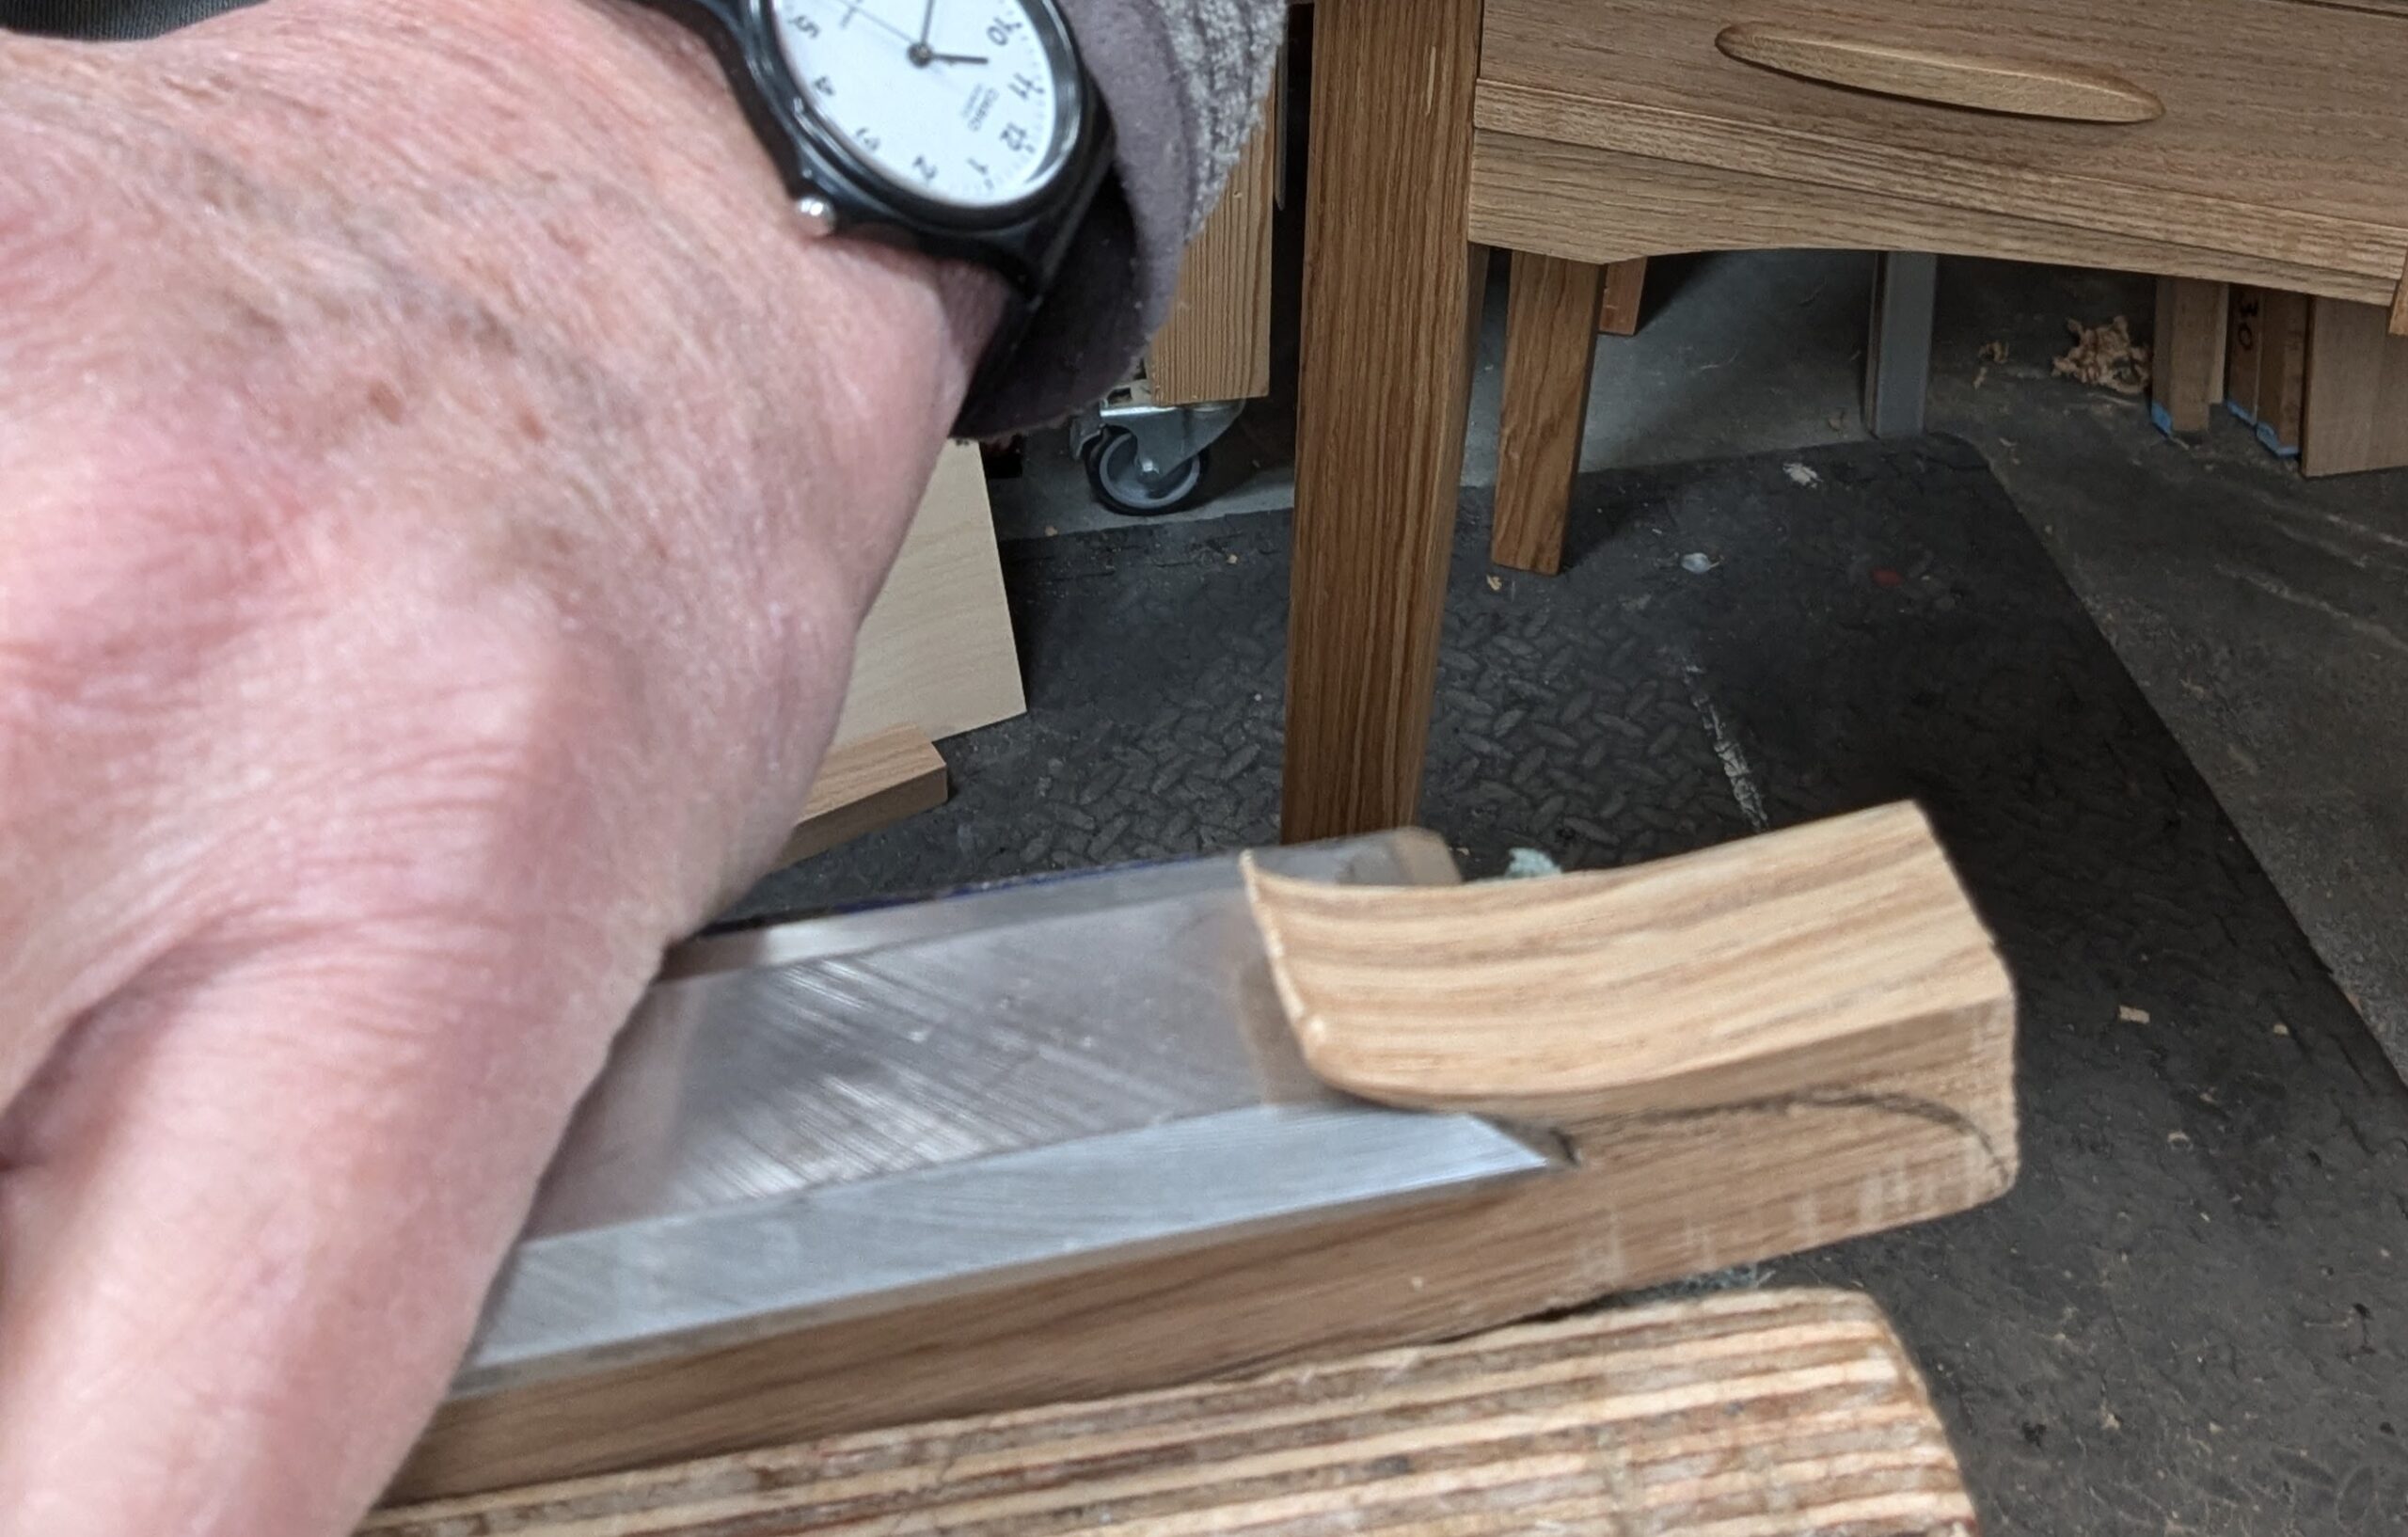
I usually use a spokeshave or a plane to refine the flow of the curves, etc.
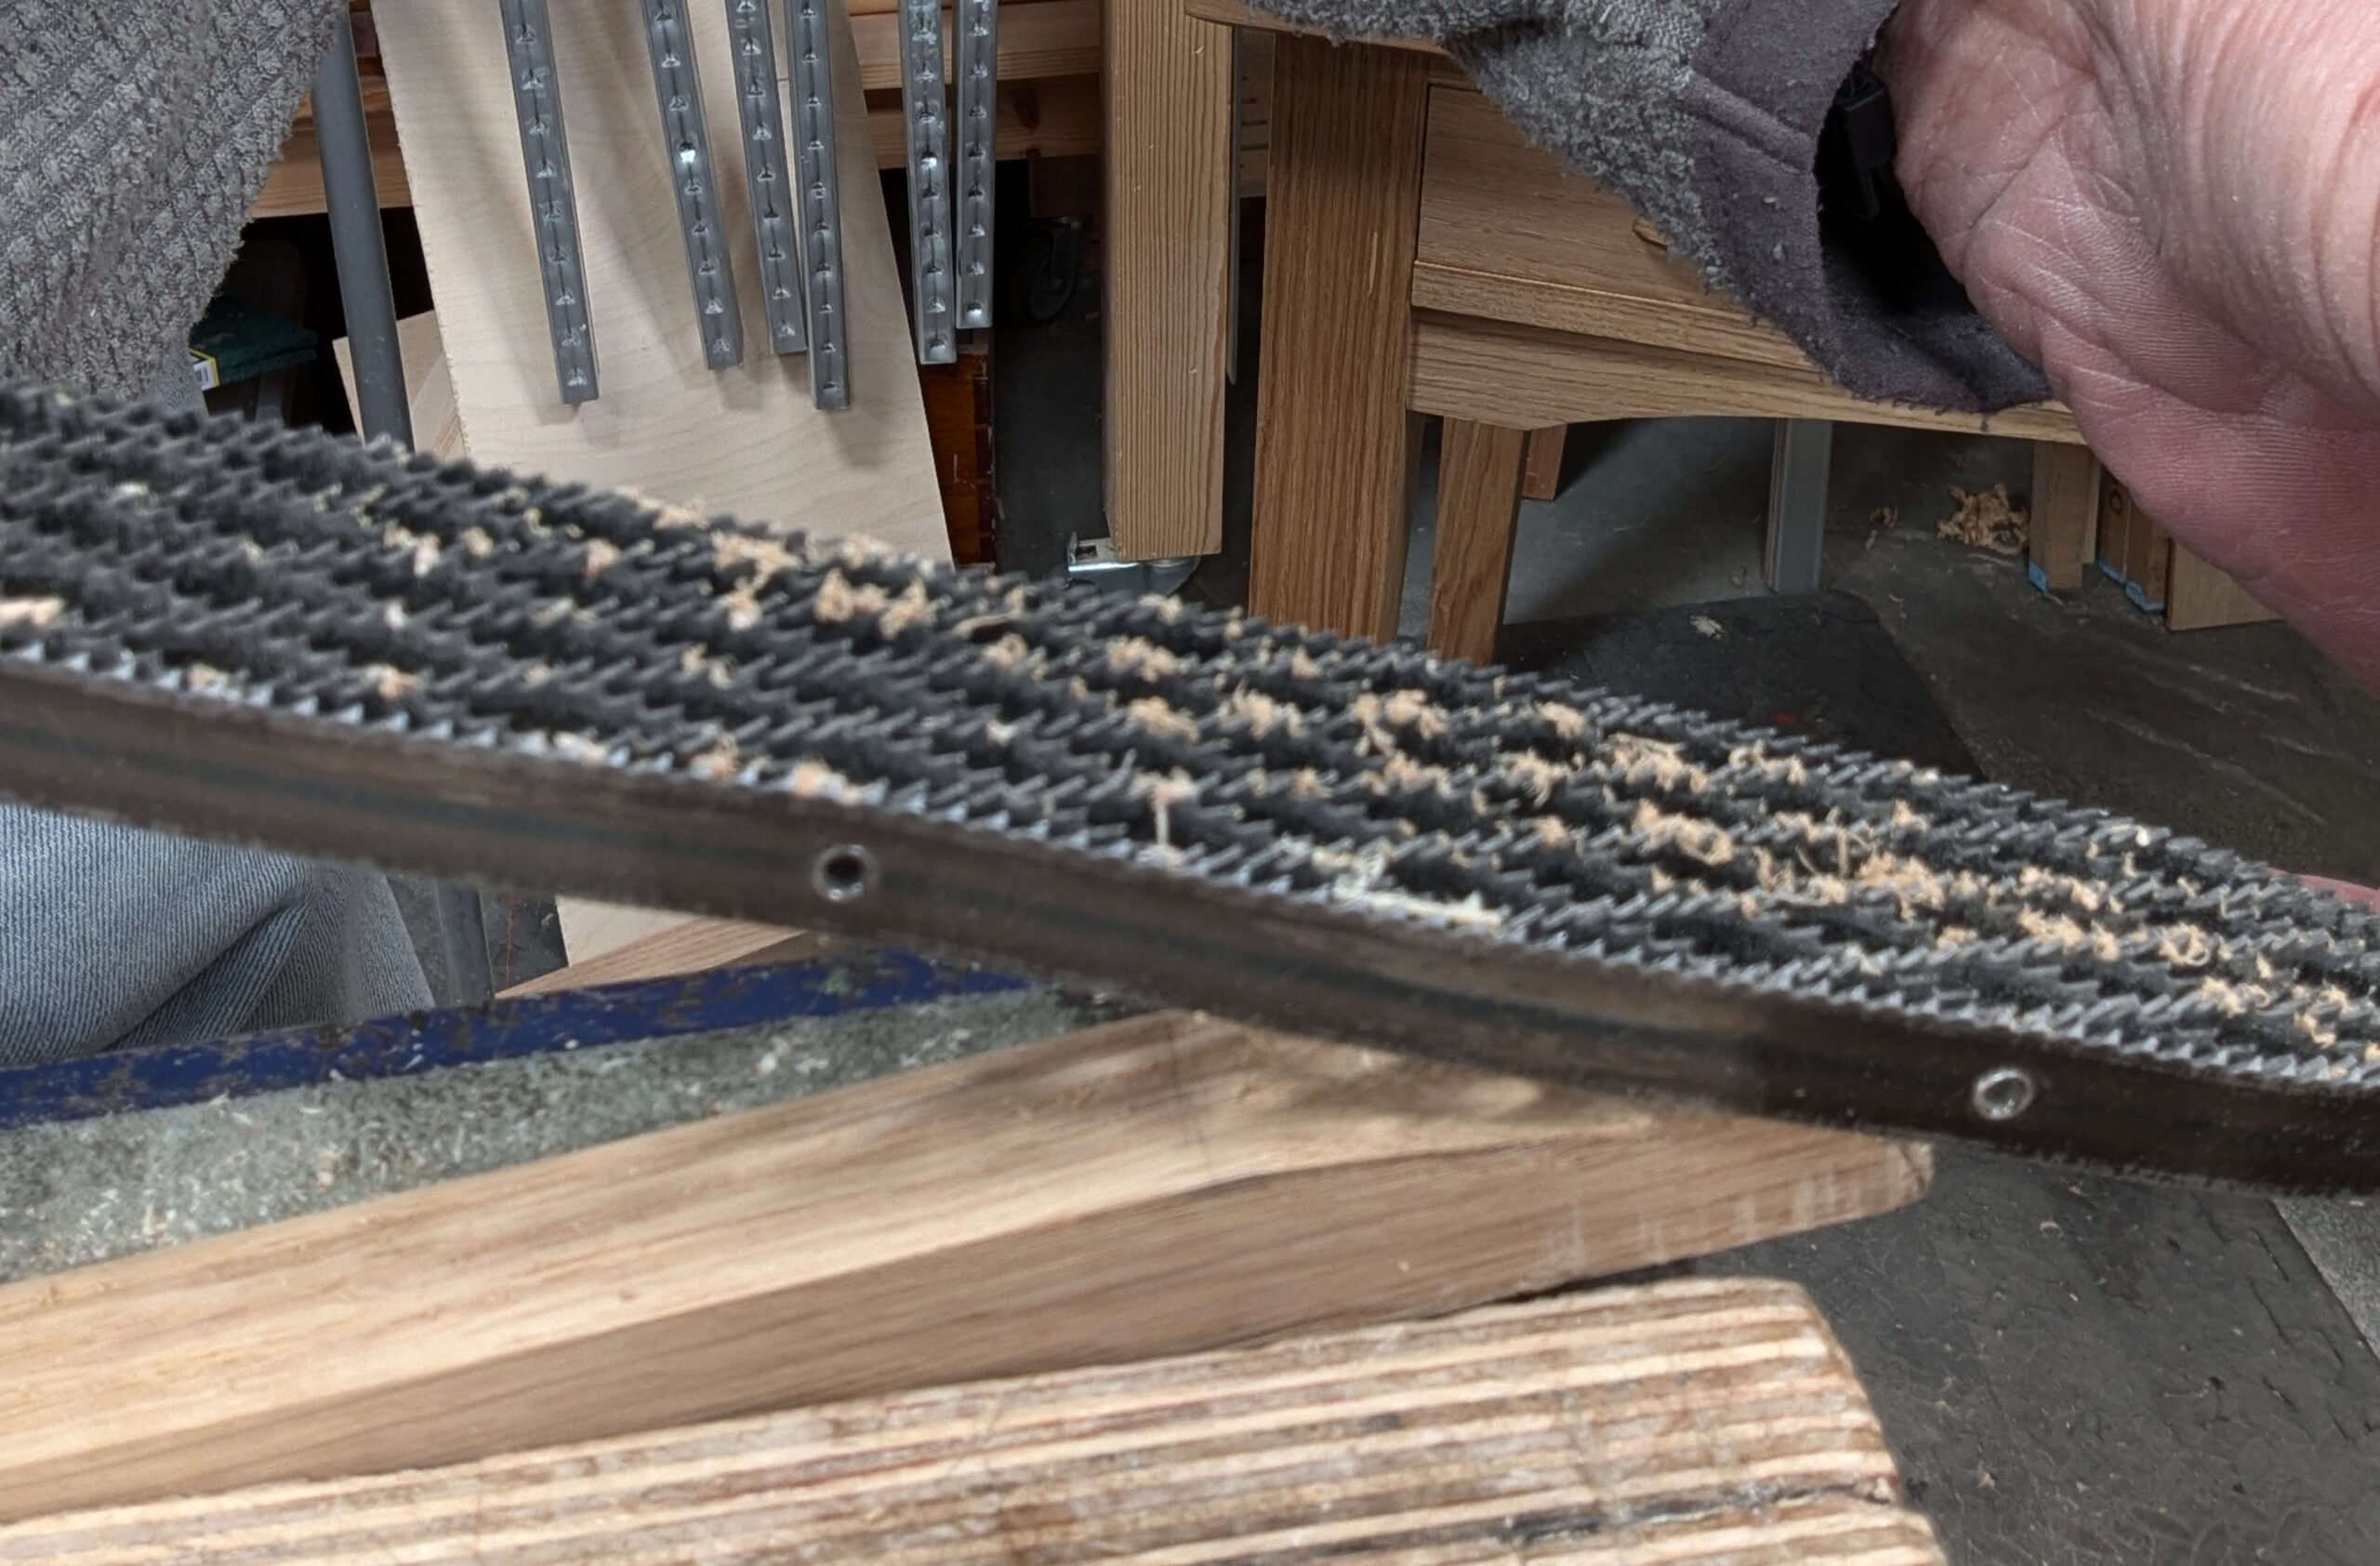
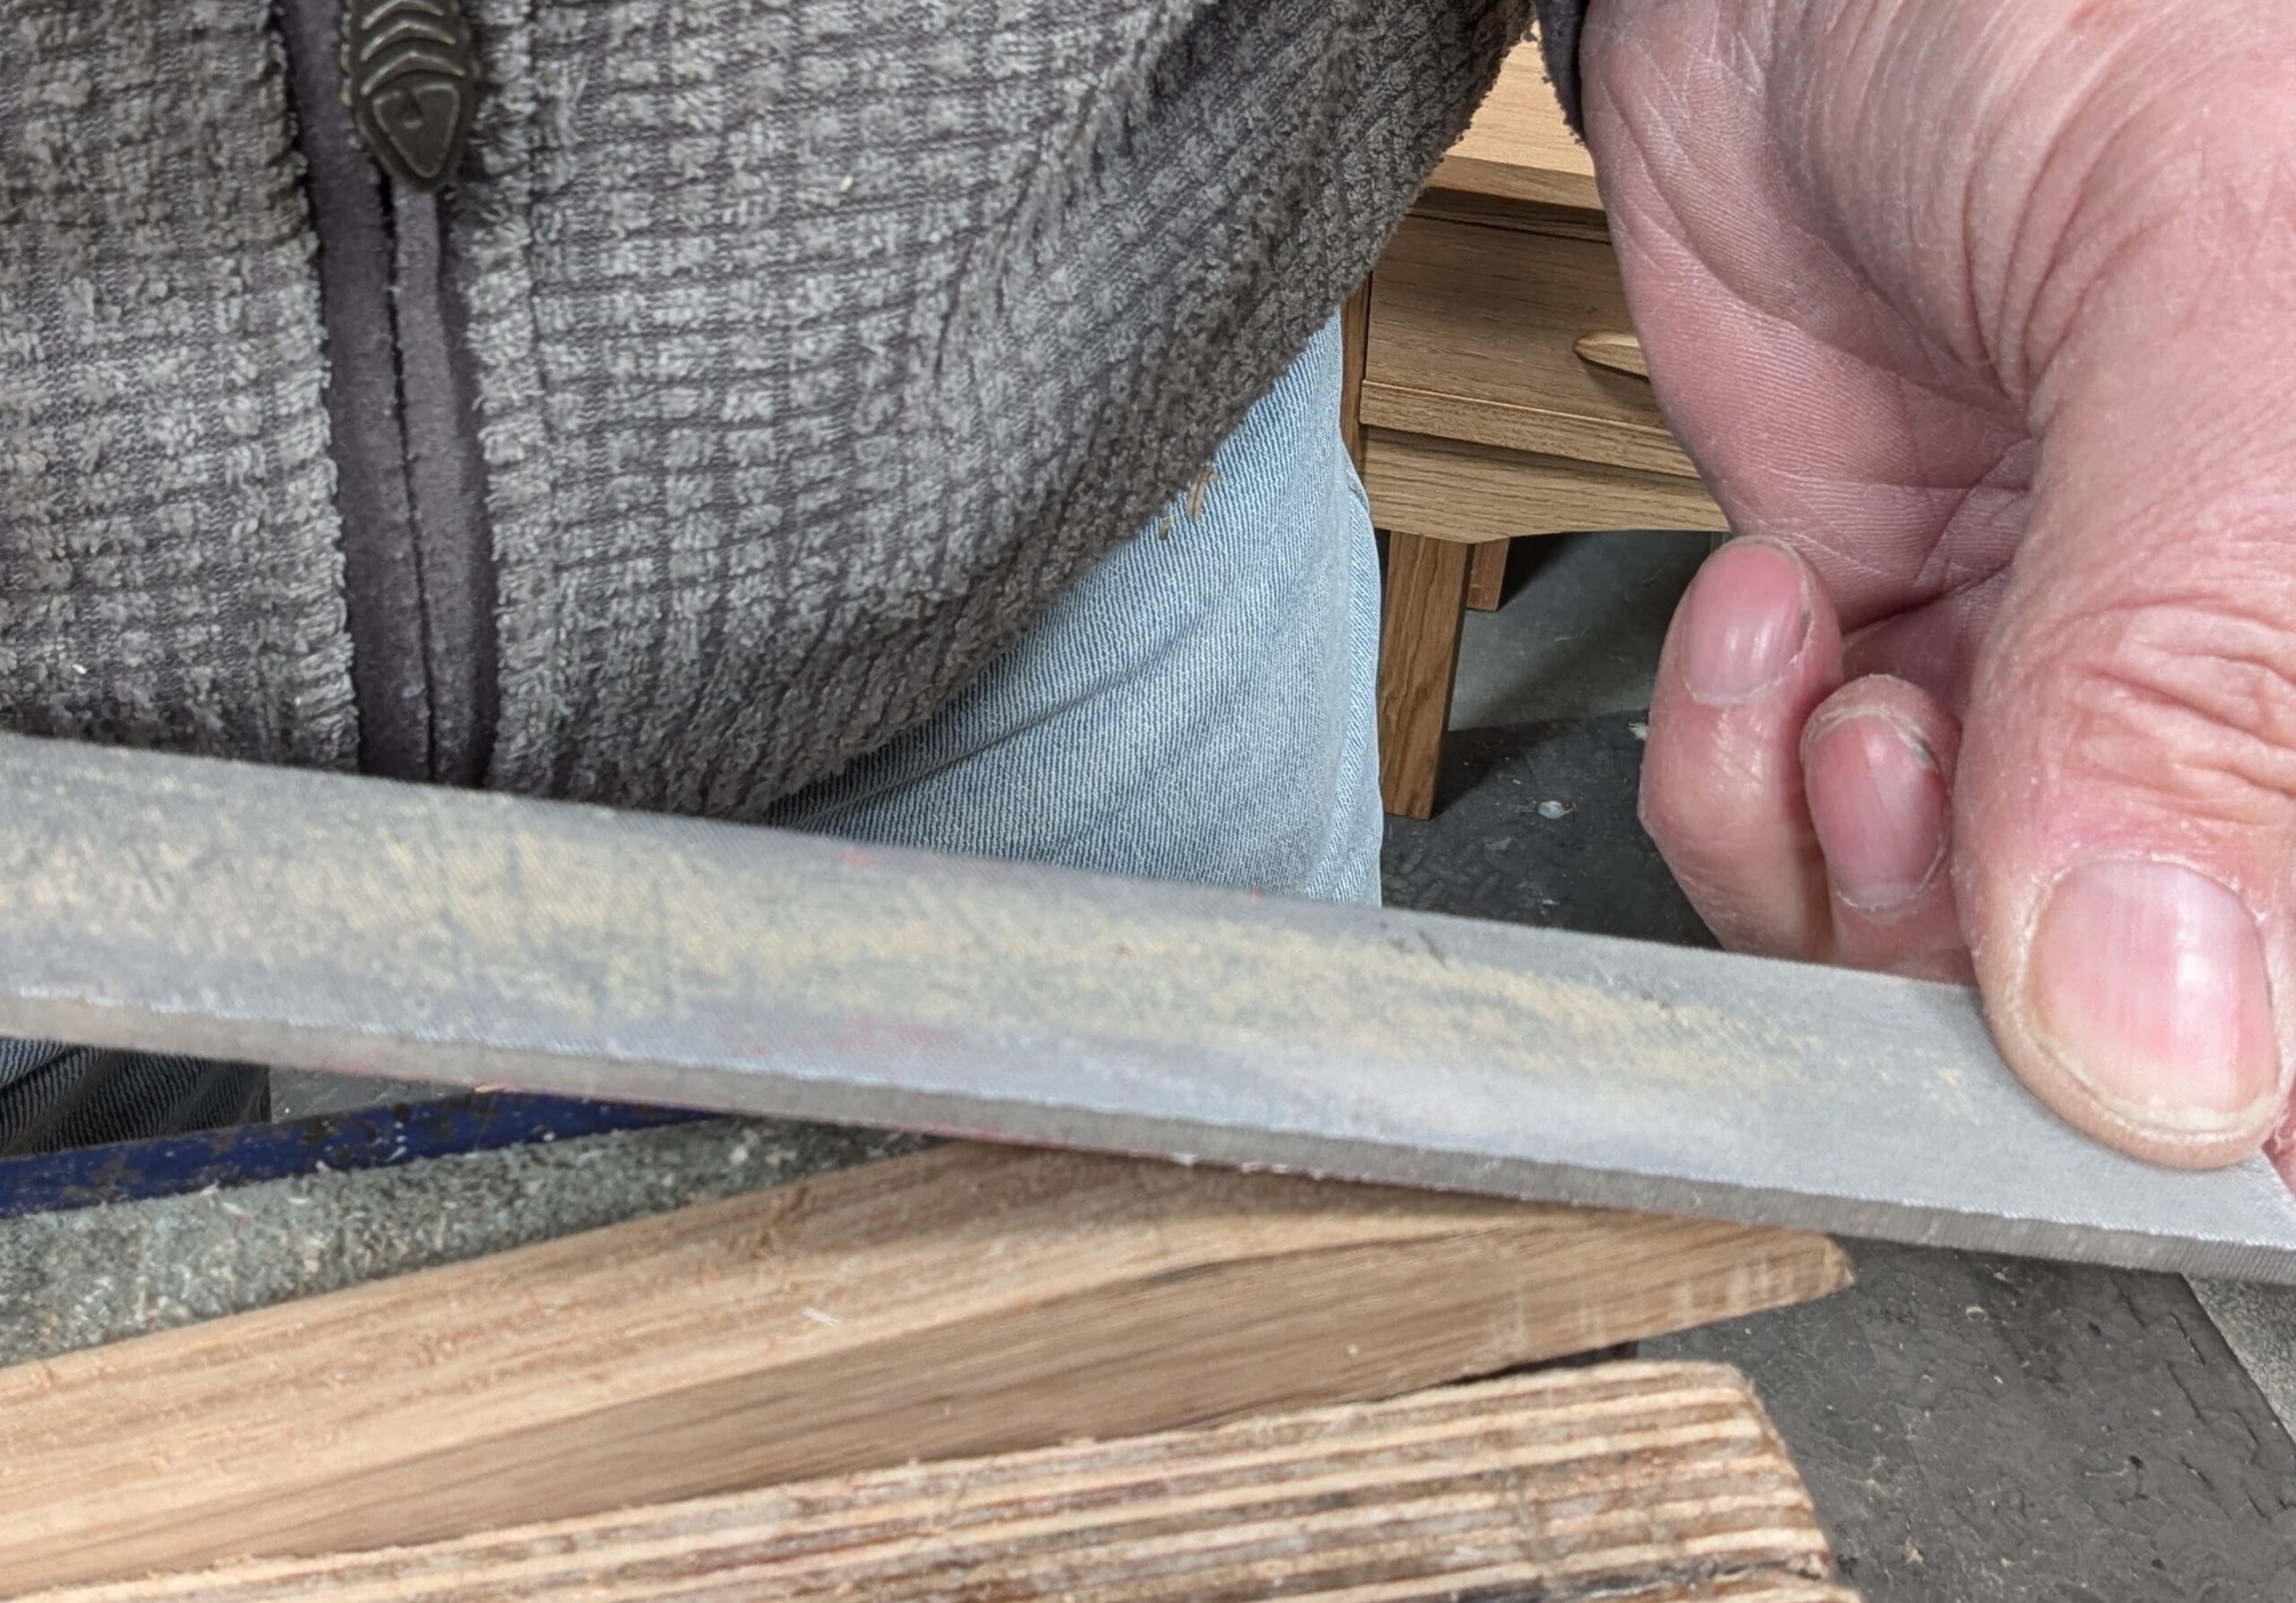
Placing a file on the bench and pulling the template into the teeth of the file also helps to refine the edge.
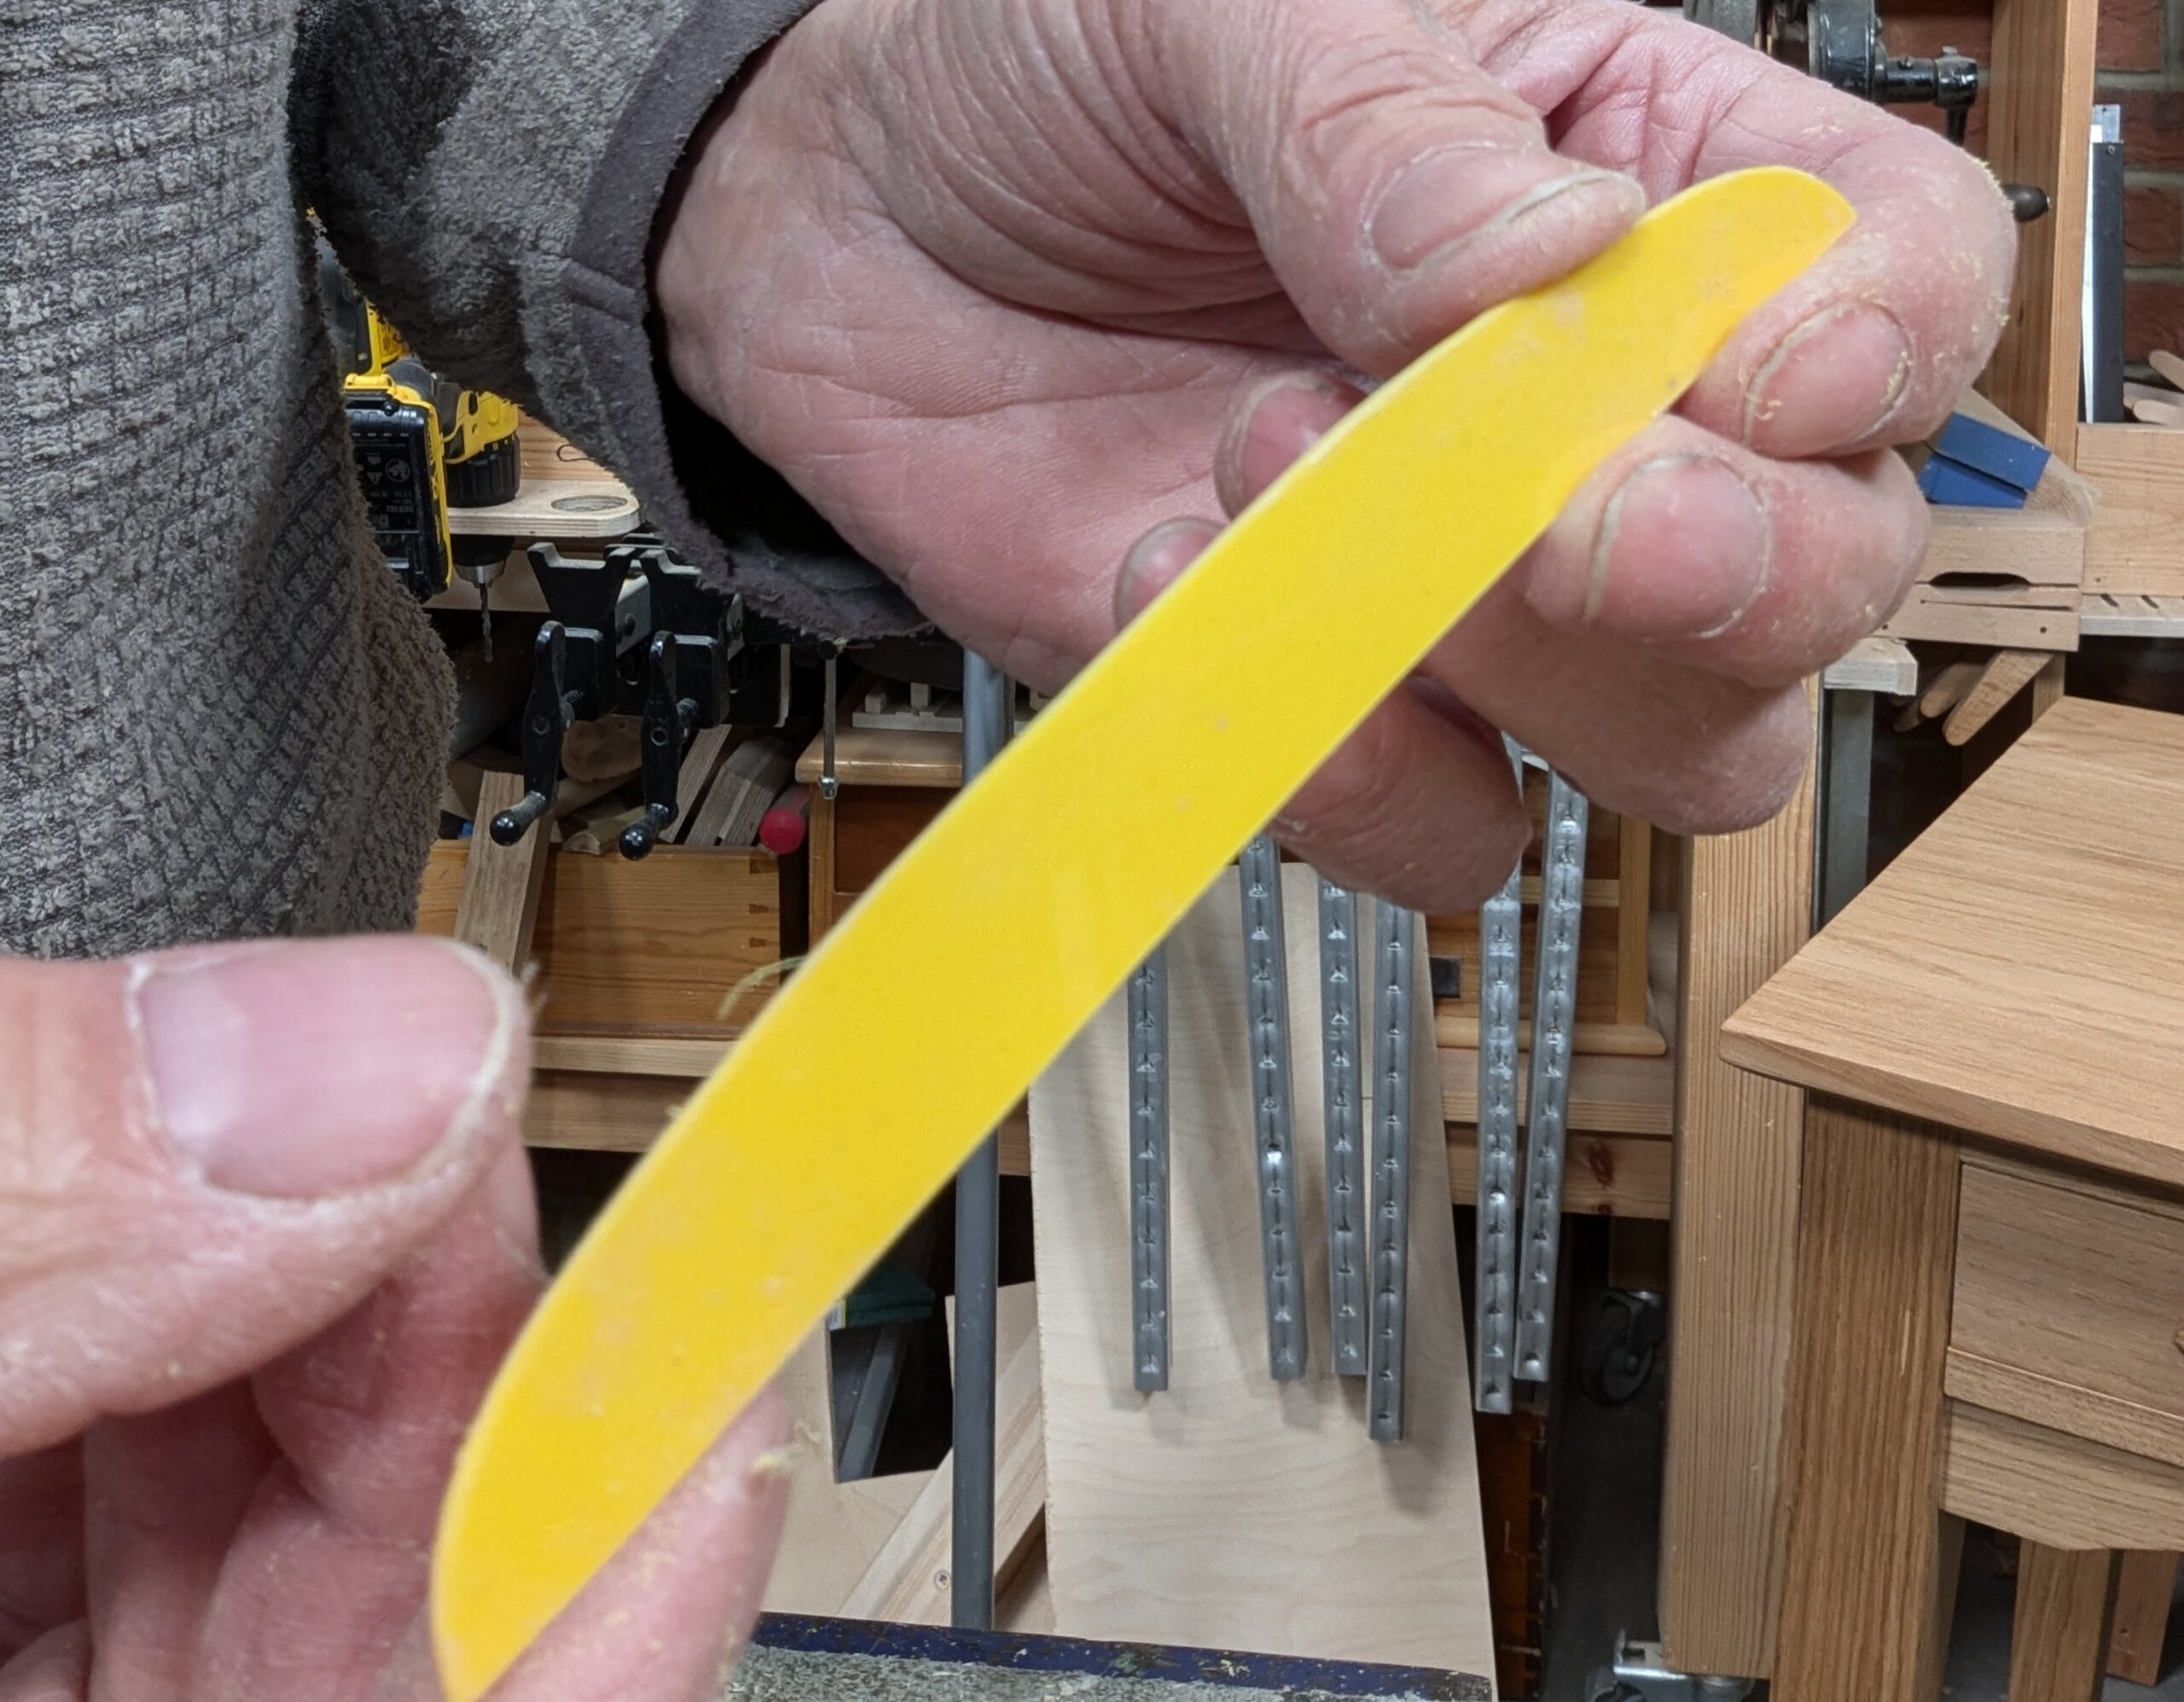
How your template will look. I usually write the project name onto the templates I make.
Now you can use the template as many times as you need on the handles you will make.

This is the new end of the handle.
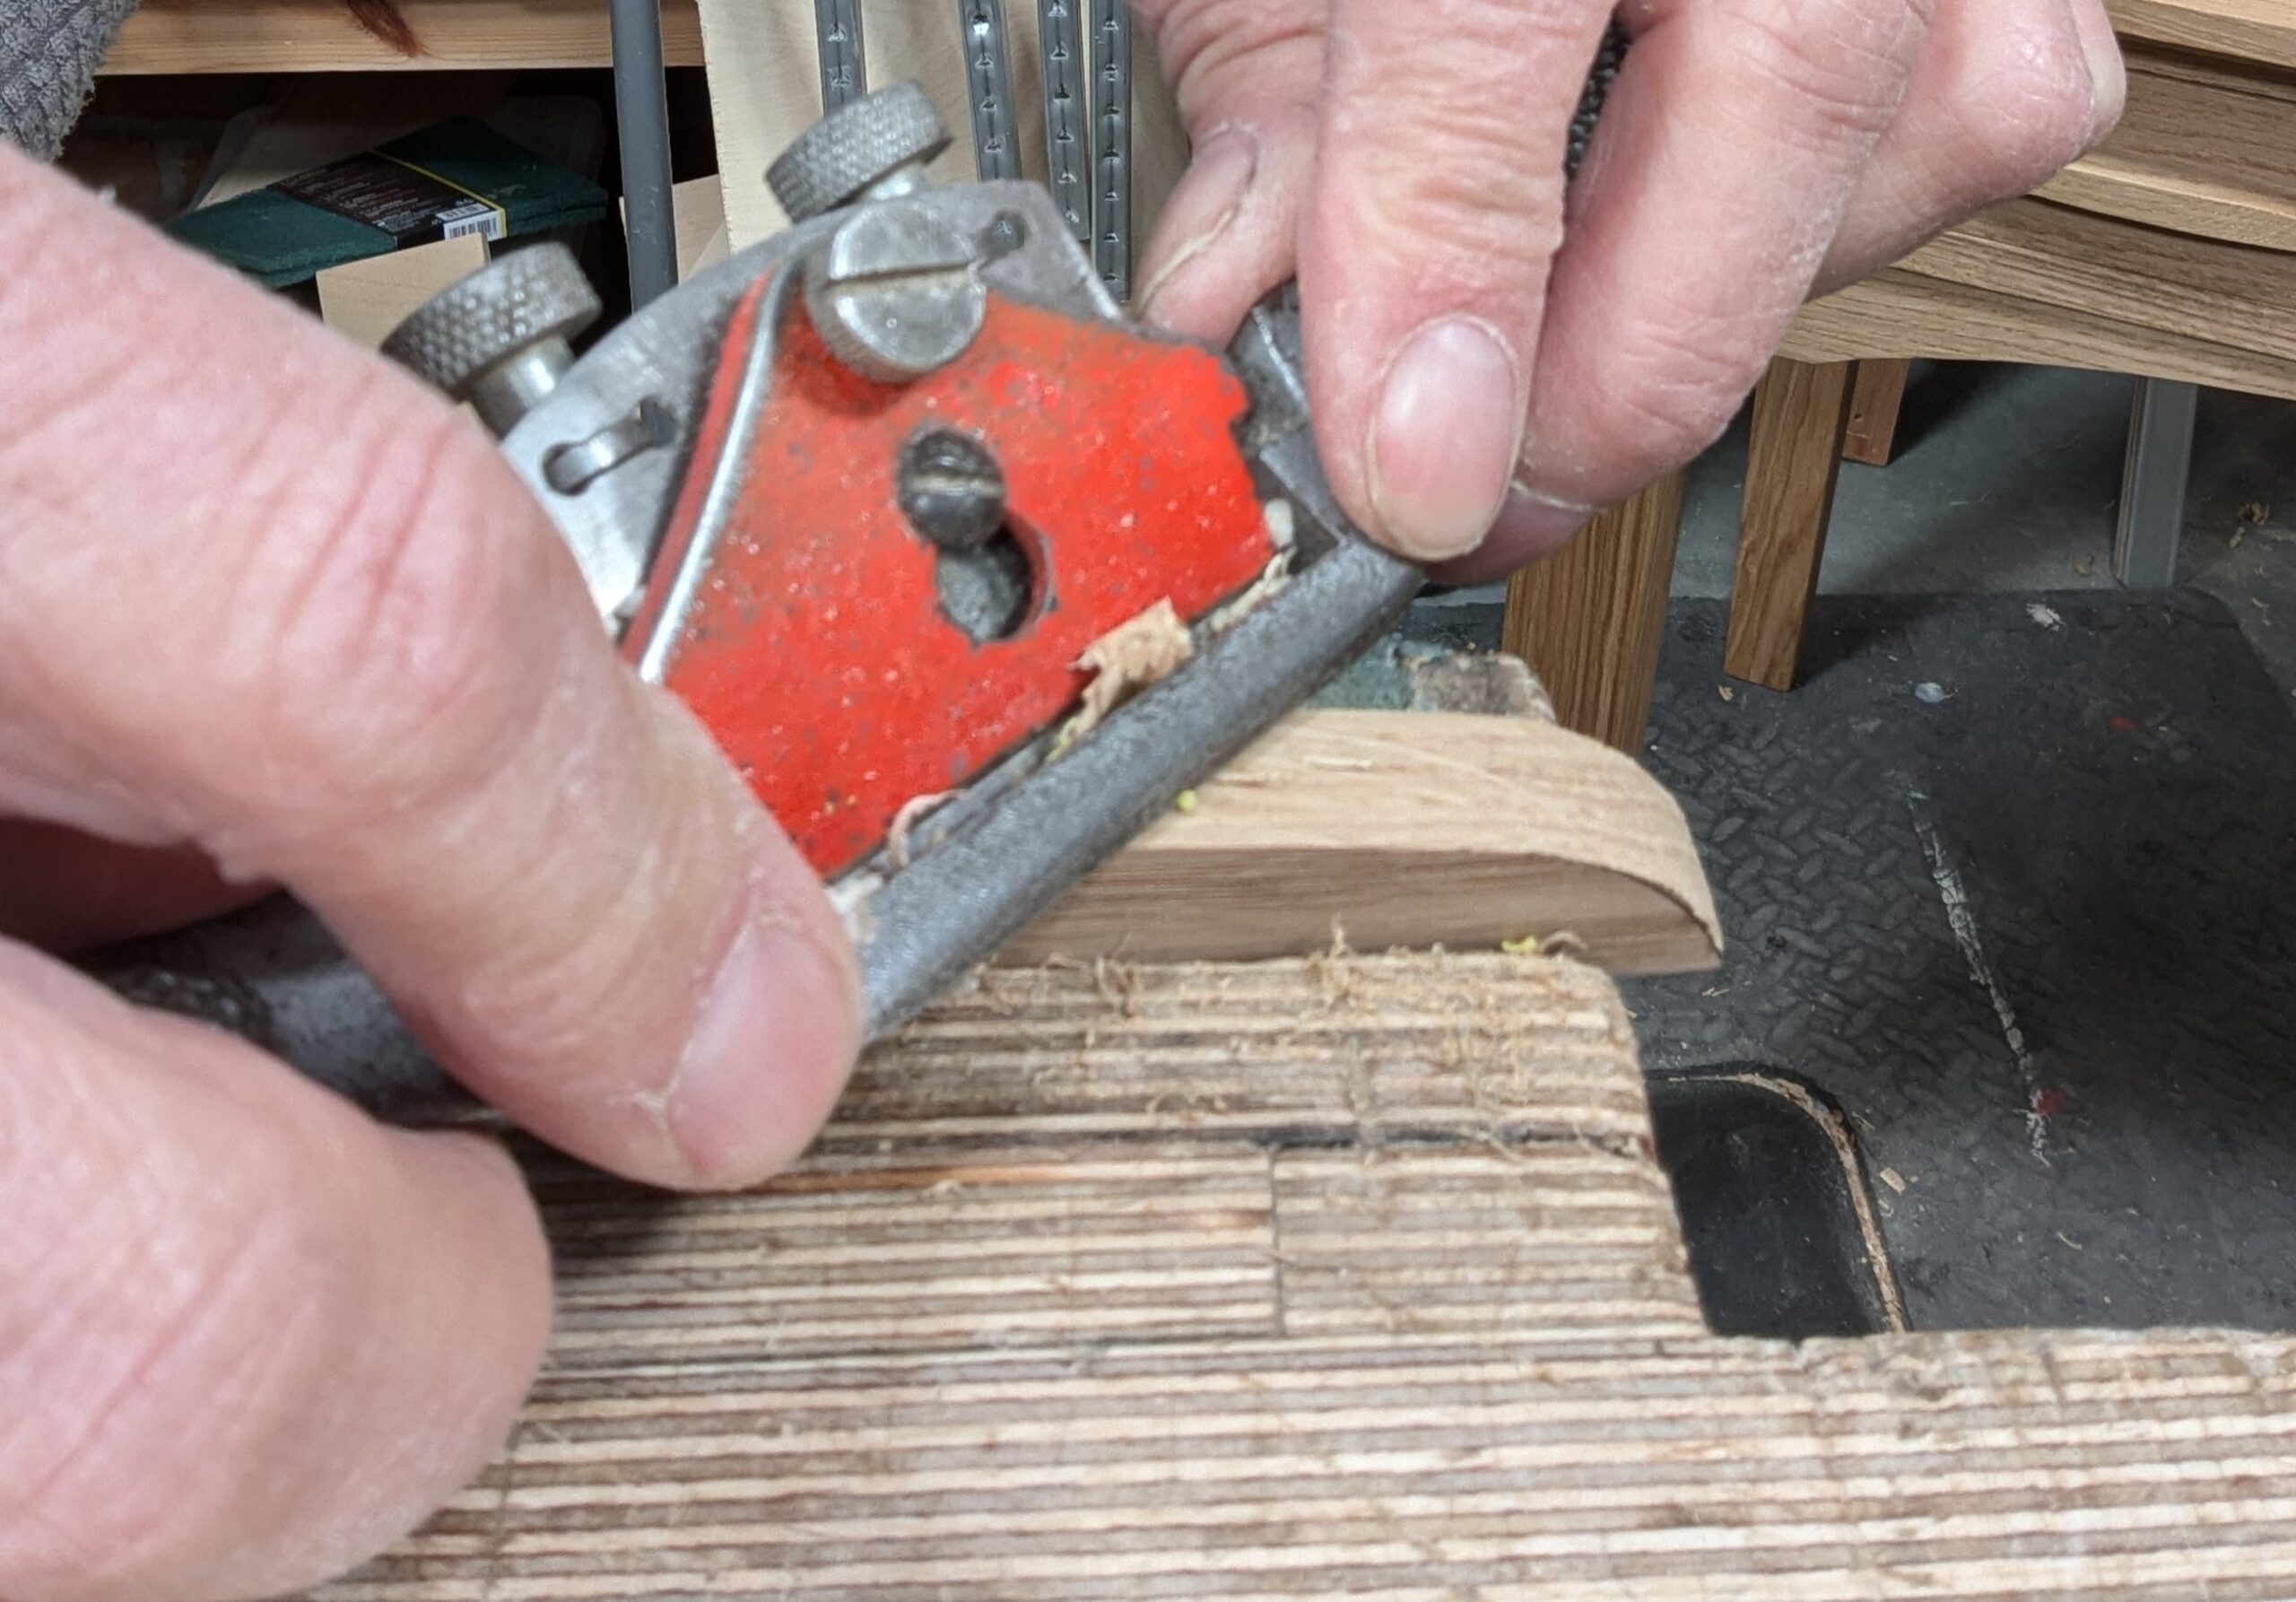
A flat-bottomed spokeshave is useful for refinement. Use a shallow setting for this.
Back to the 10" single-cut flat file for optimal refinement.
With the handle in the vise, you can now use the same template to mark the curve on the opposite face. The great thing about the thinner plastic is you can bend it onto the curved face to draw around.

Ready now for the chisel work.
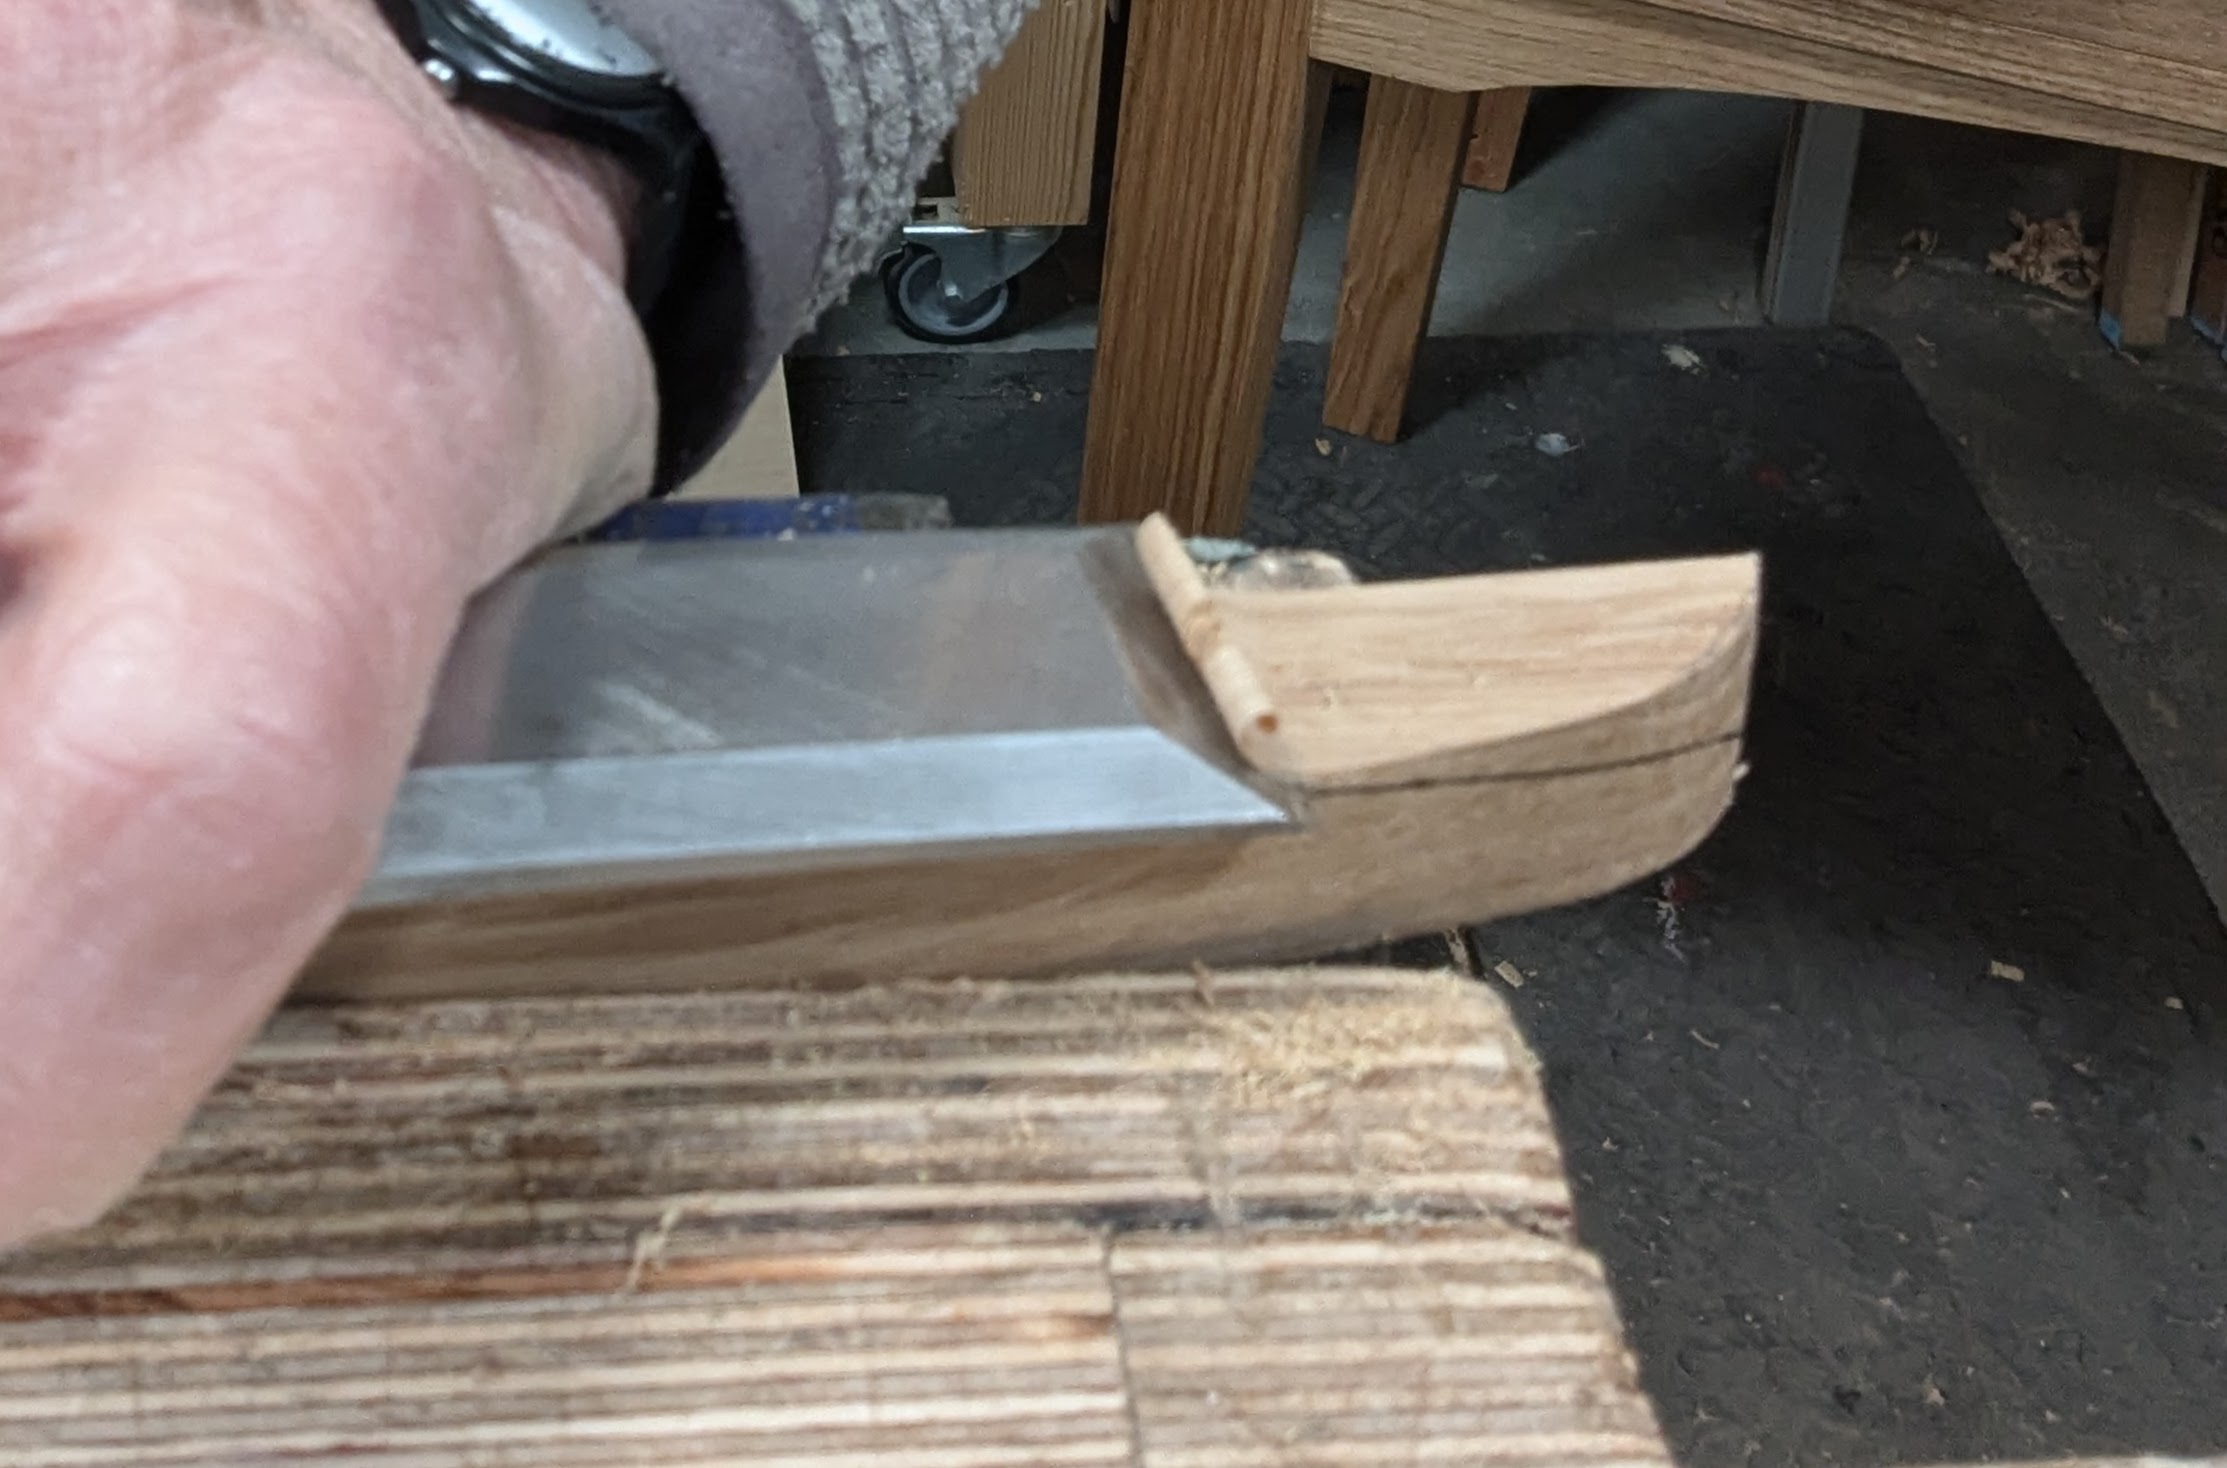
A one-inch chisel again works best for the initial shaping.
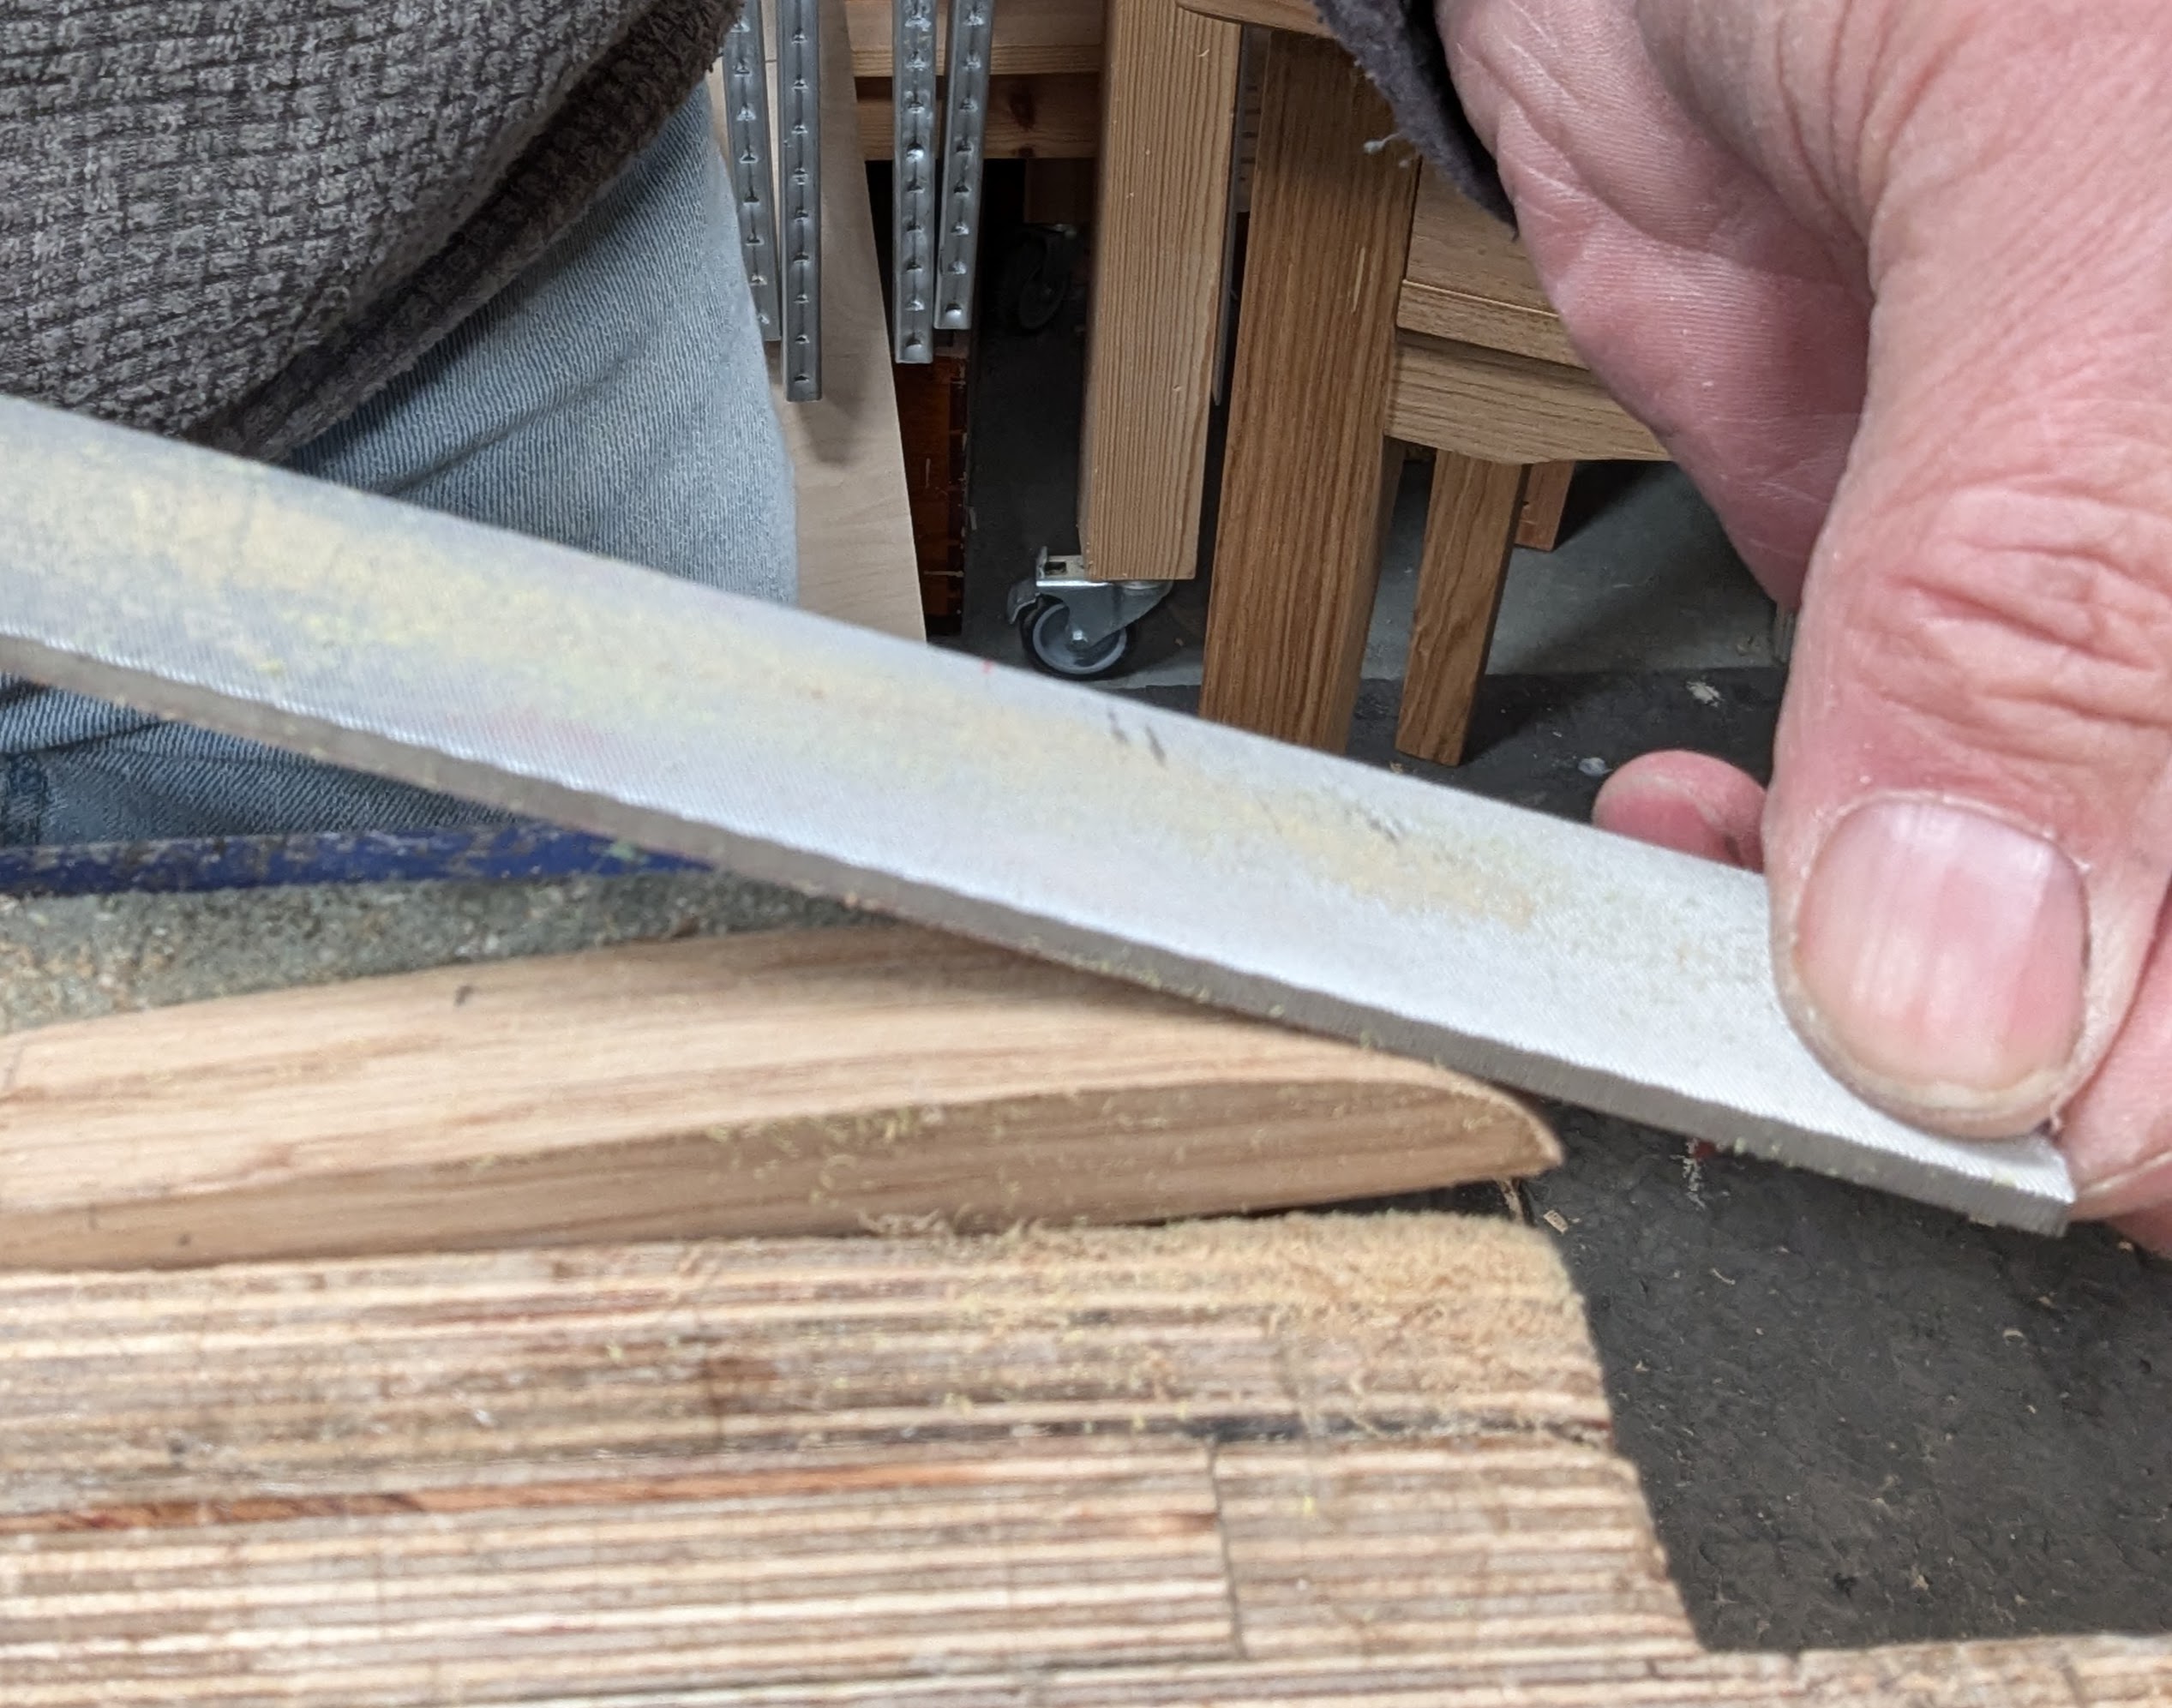
Followed by the file.
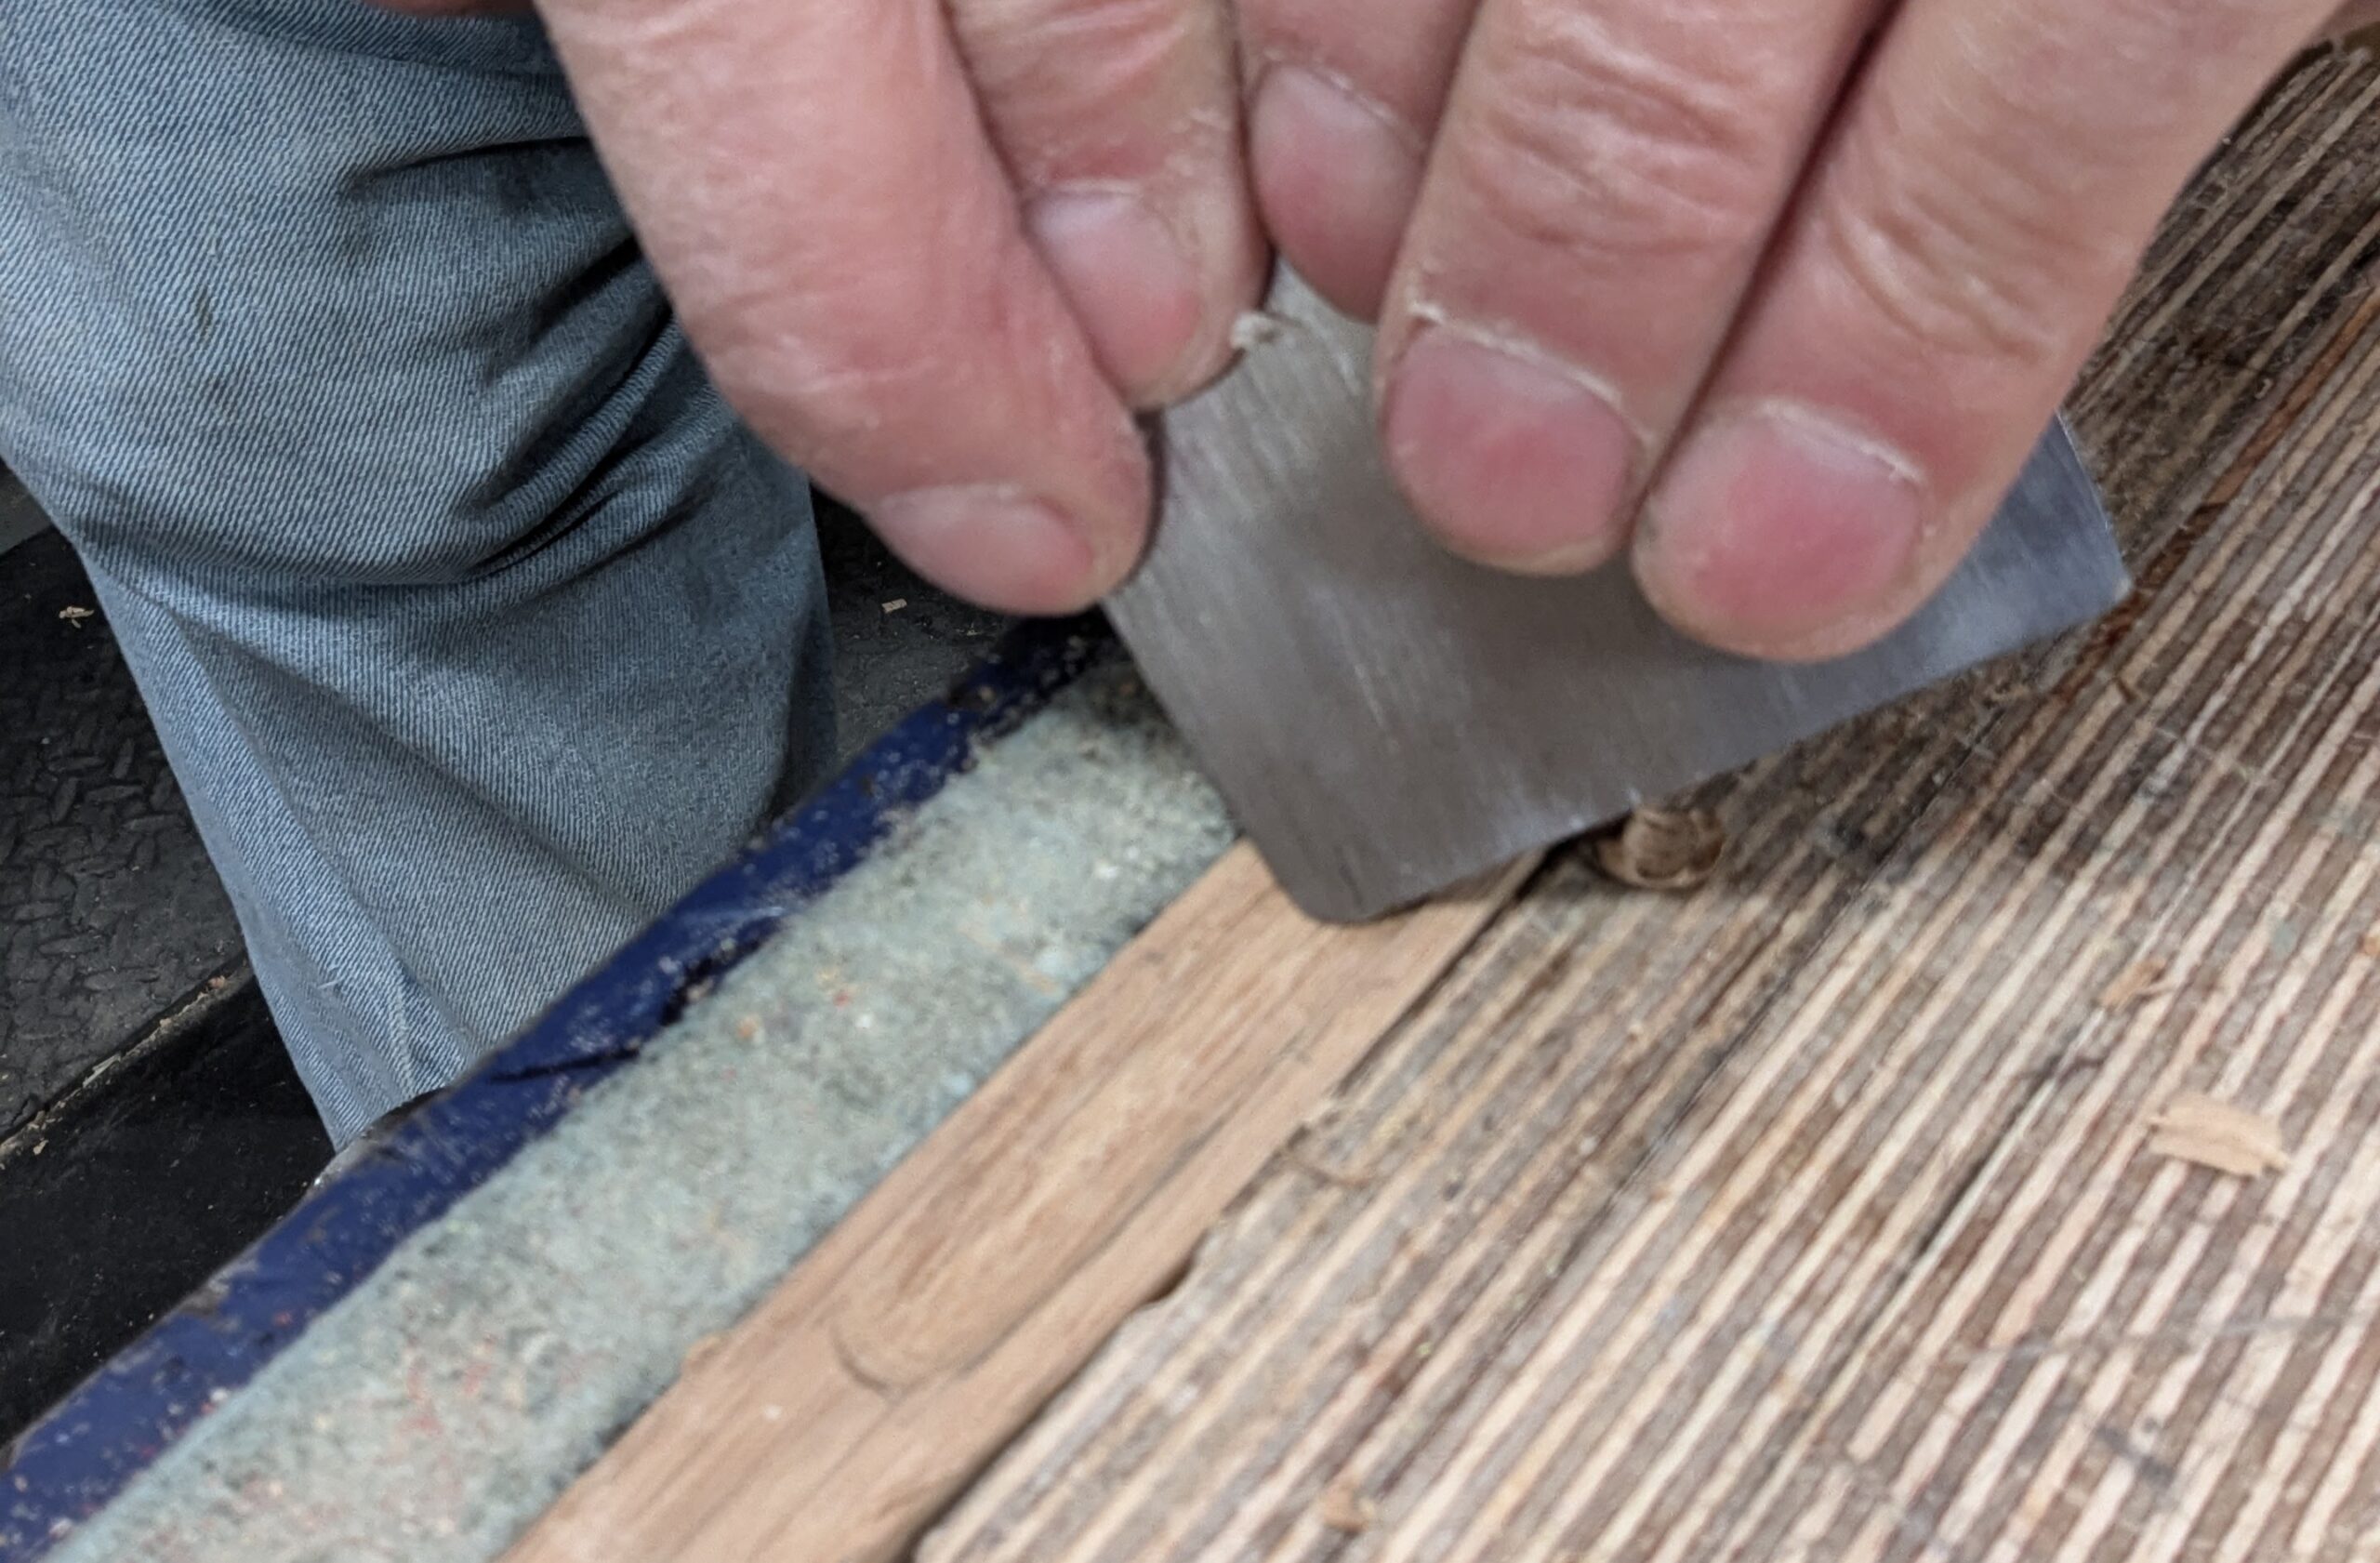
You can refine the surface with the file resting on the bench top and pulling the blank into the cutting teeth of the file.
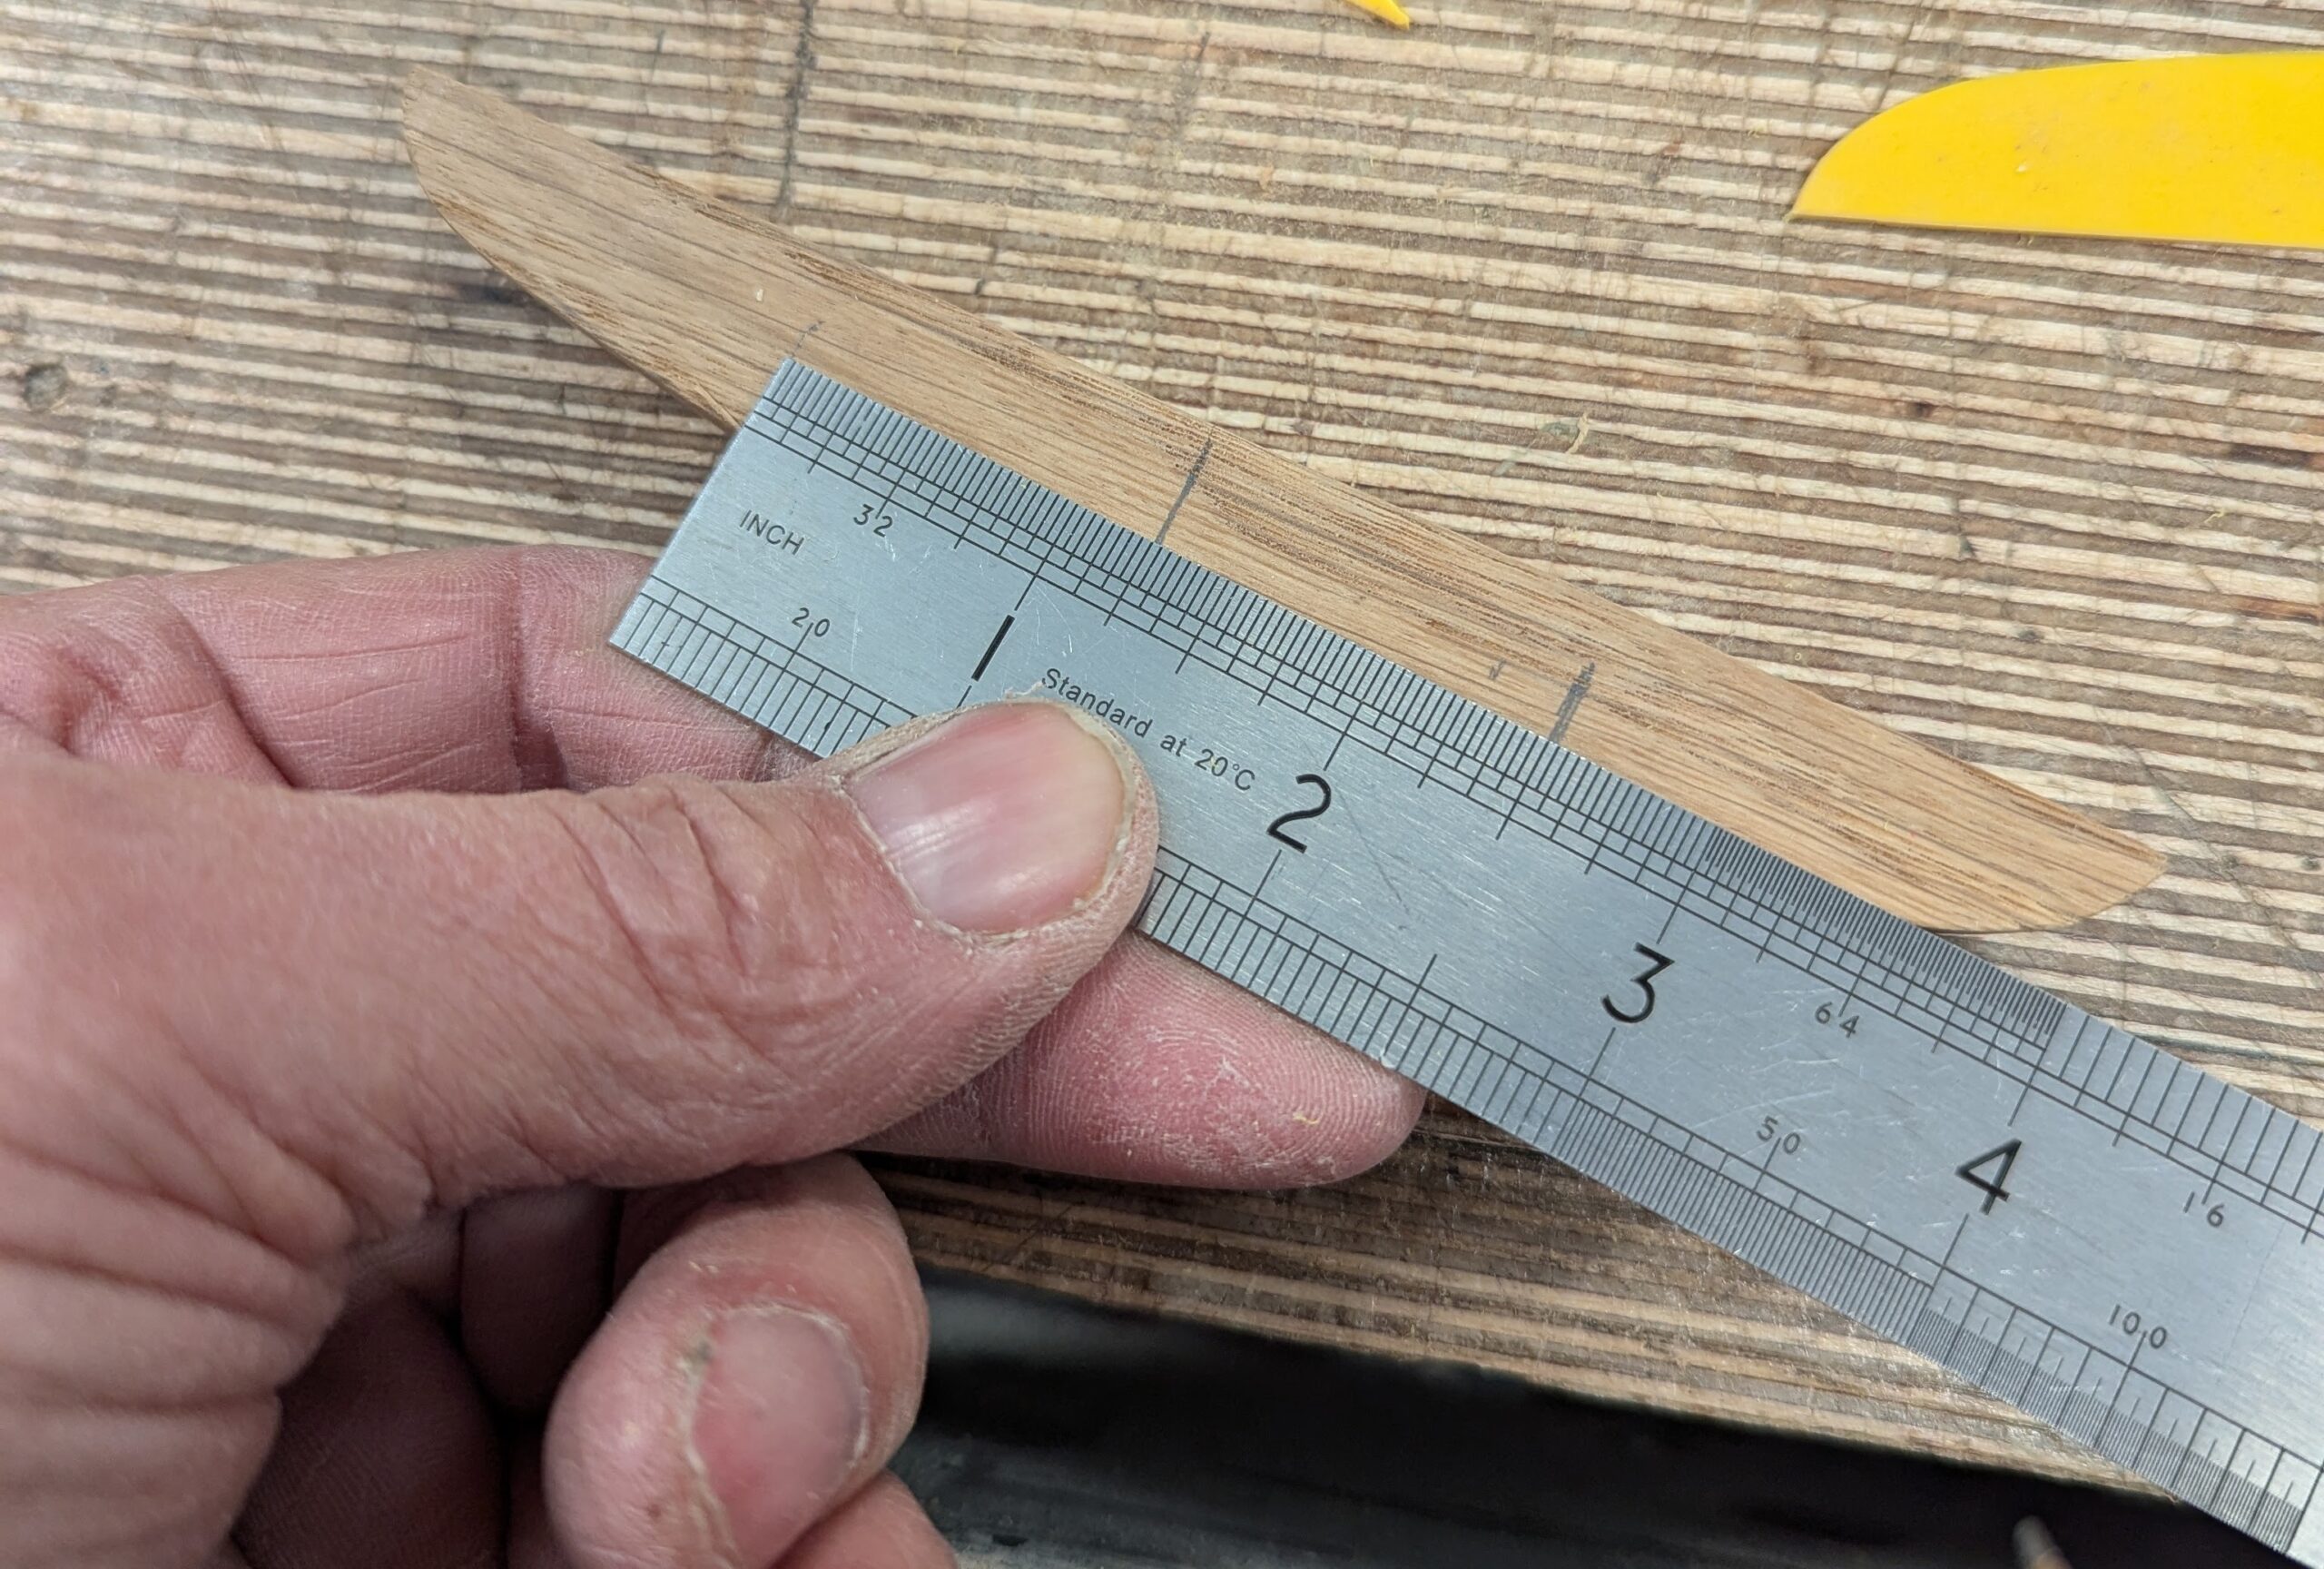
For carving a scallop on the underside of the handle, I went 32mm (1 1/4") either side of the centreline . . .
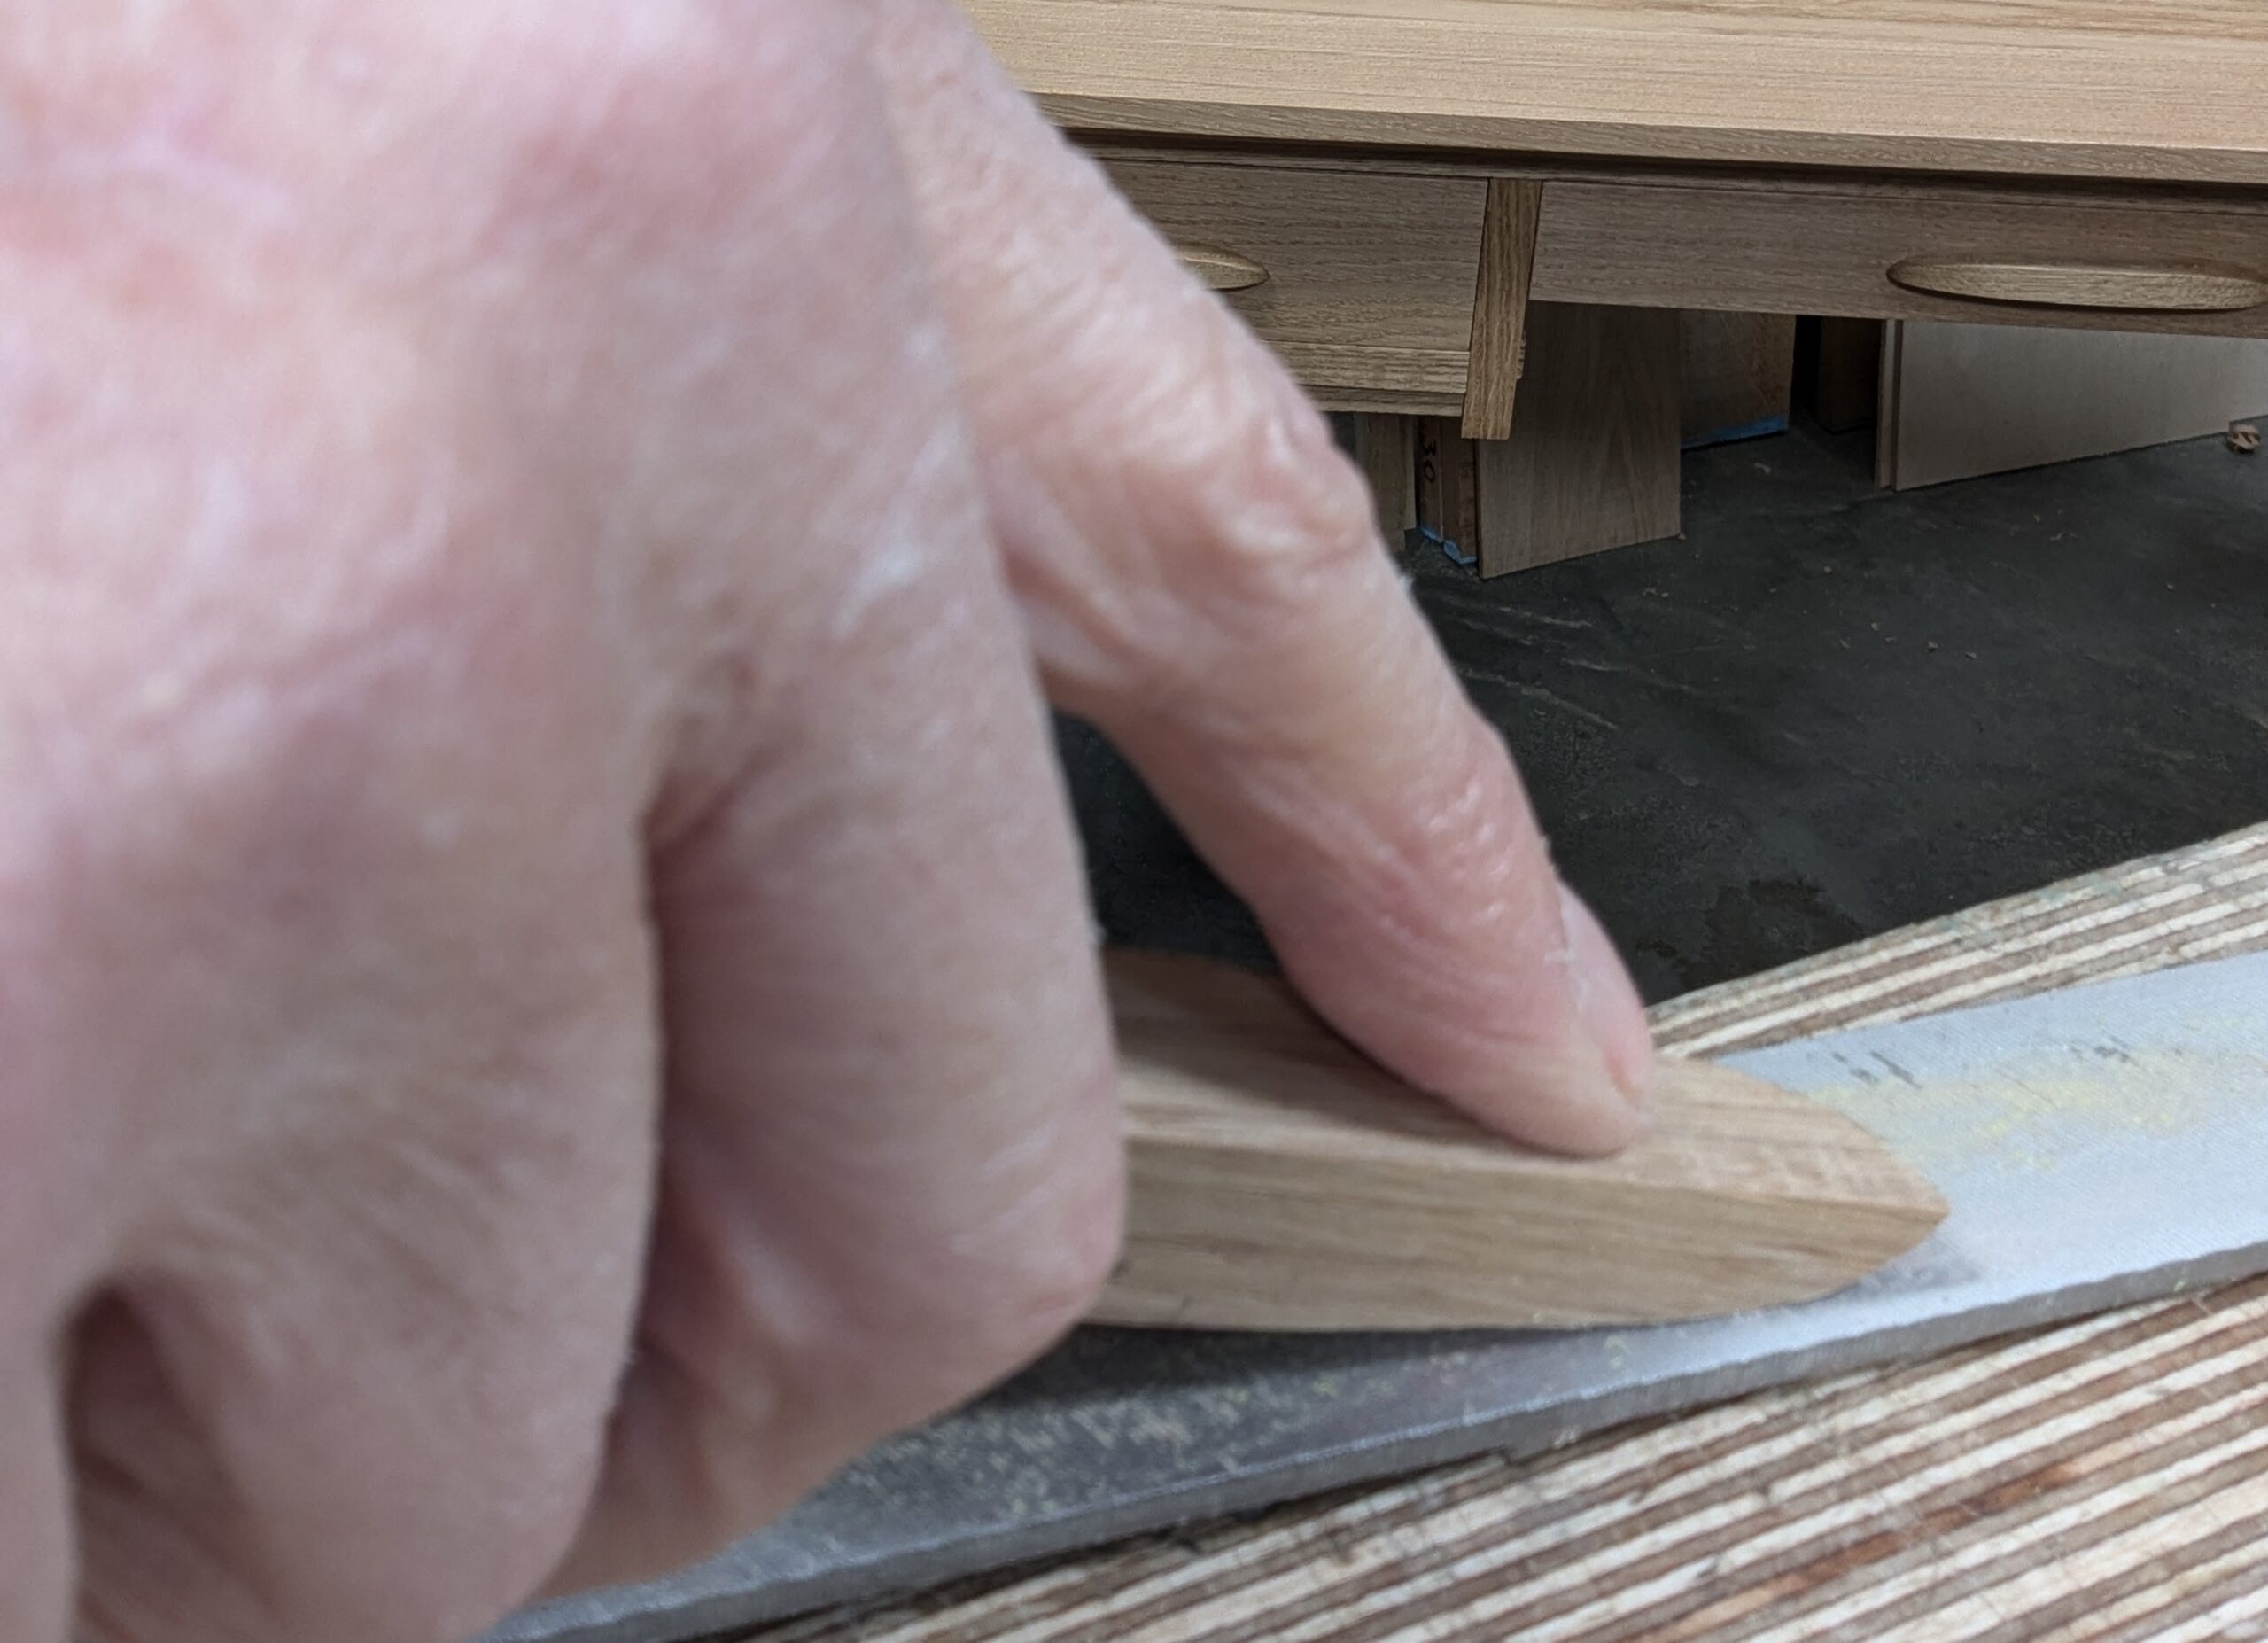
. . . I used my finger as a guide from the back edge to get a parallel line to work to. . .

. . . and did the same at the front underside.

A gouge took care of the scalloping cut throughout. Start at the middle and . . .


. . . work either side, working out towards the ends.
I filed the corner to a round on one of my cabinet scrapers and this, without making a burr, refined the inside of the cove.
Preparing the handle for installation
I used two screws to hold the handle, but one with glue would work too. I didn't want my handle permanently glued.
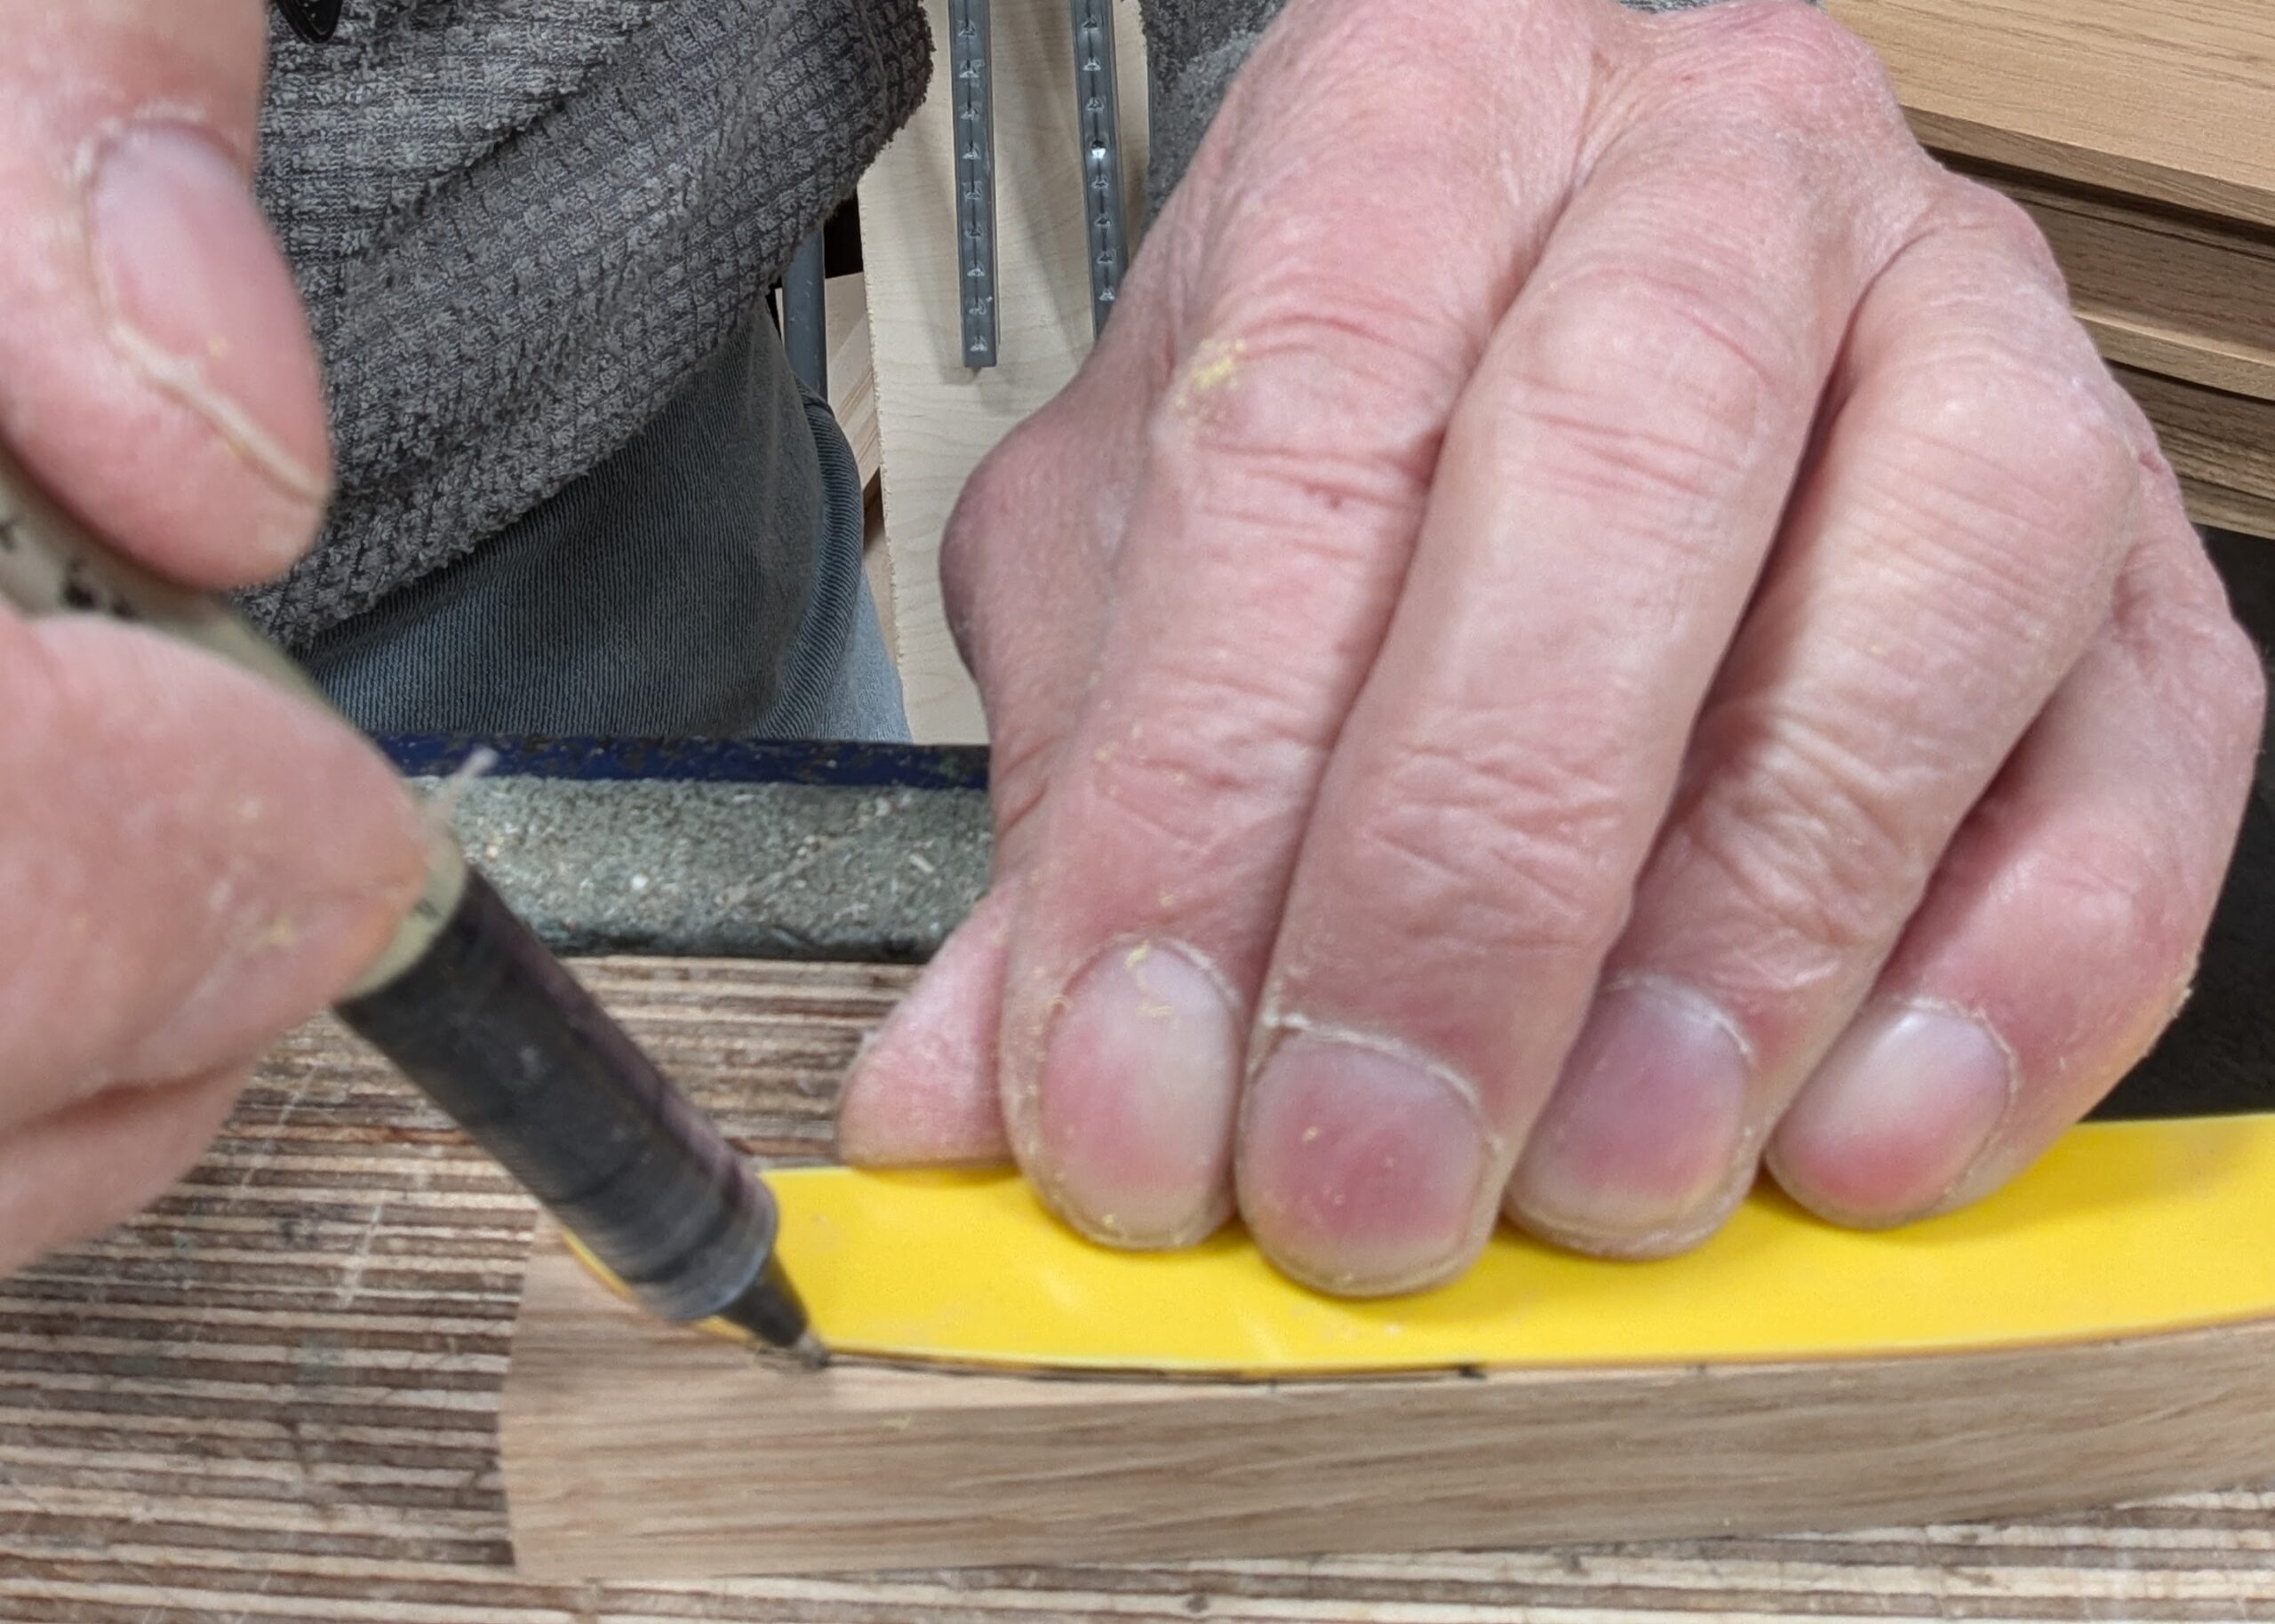
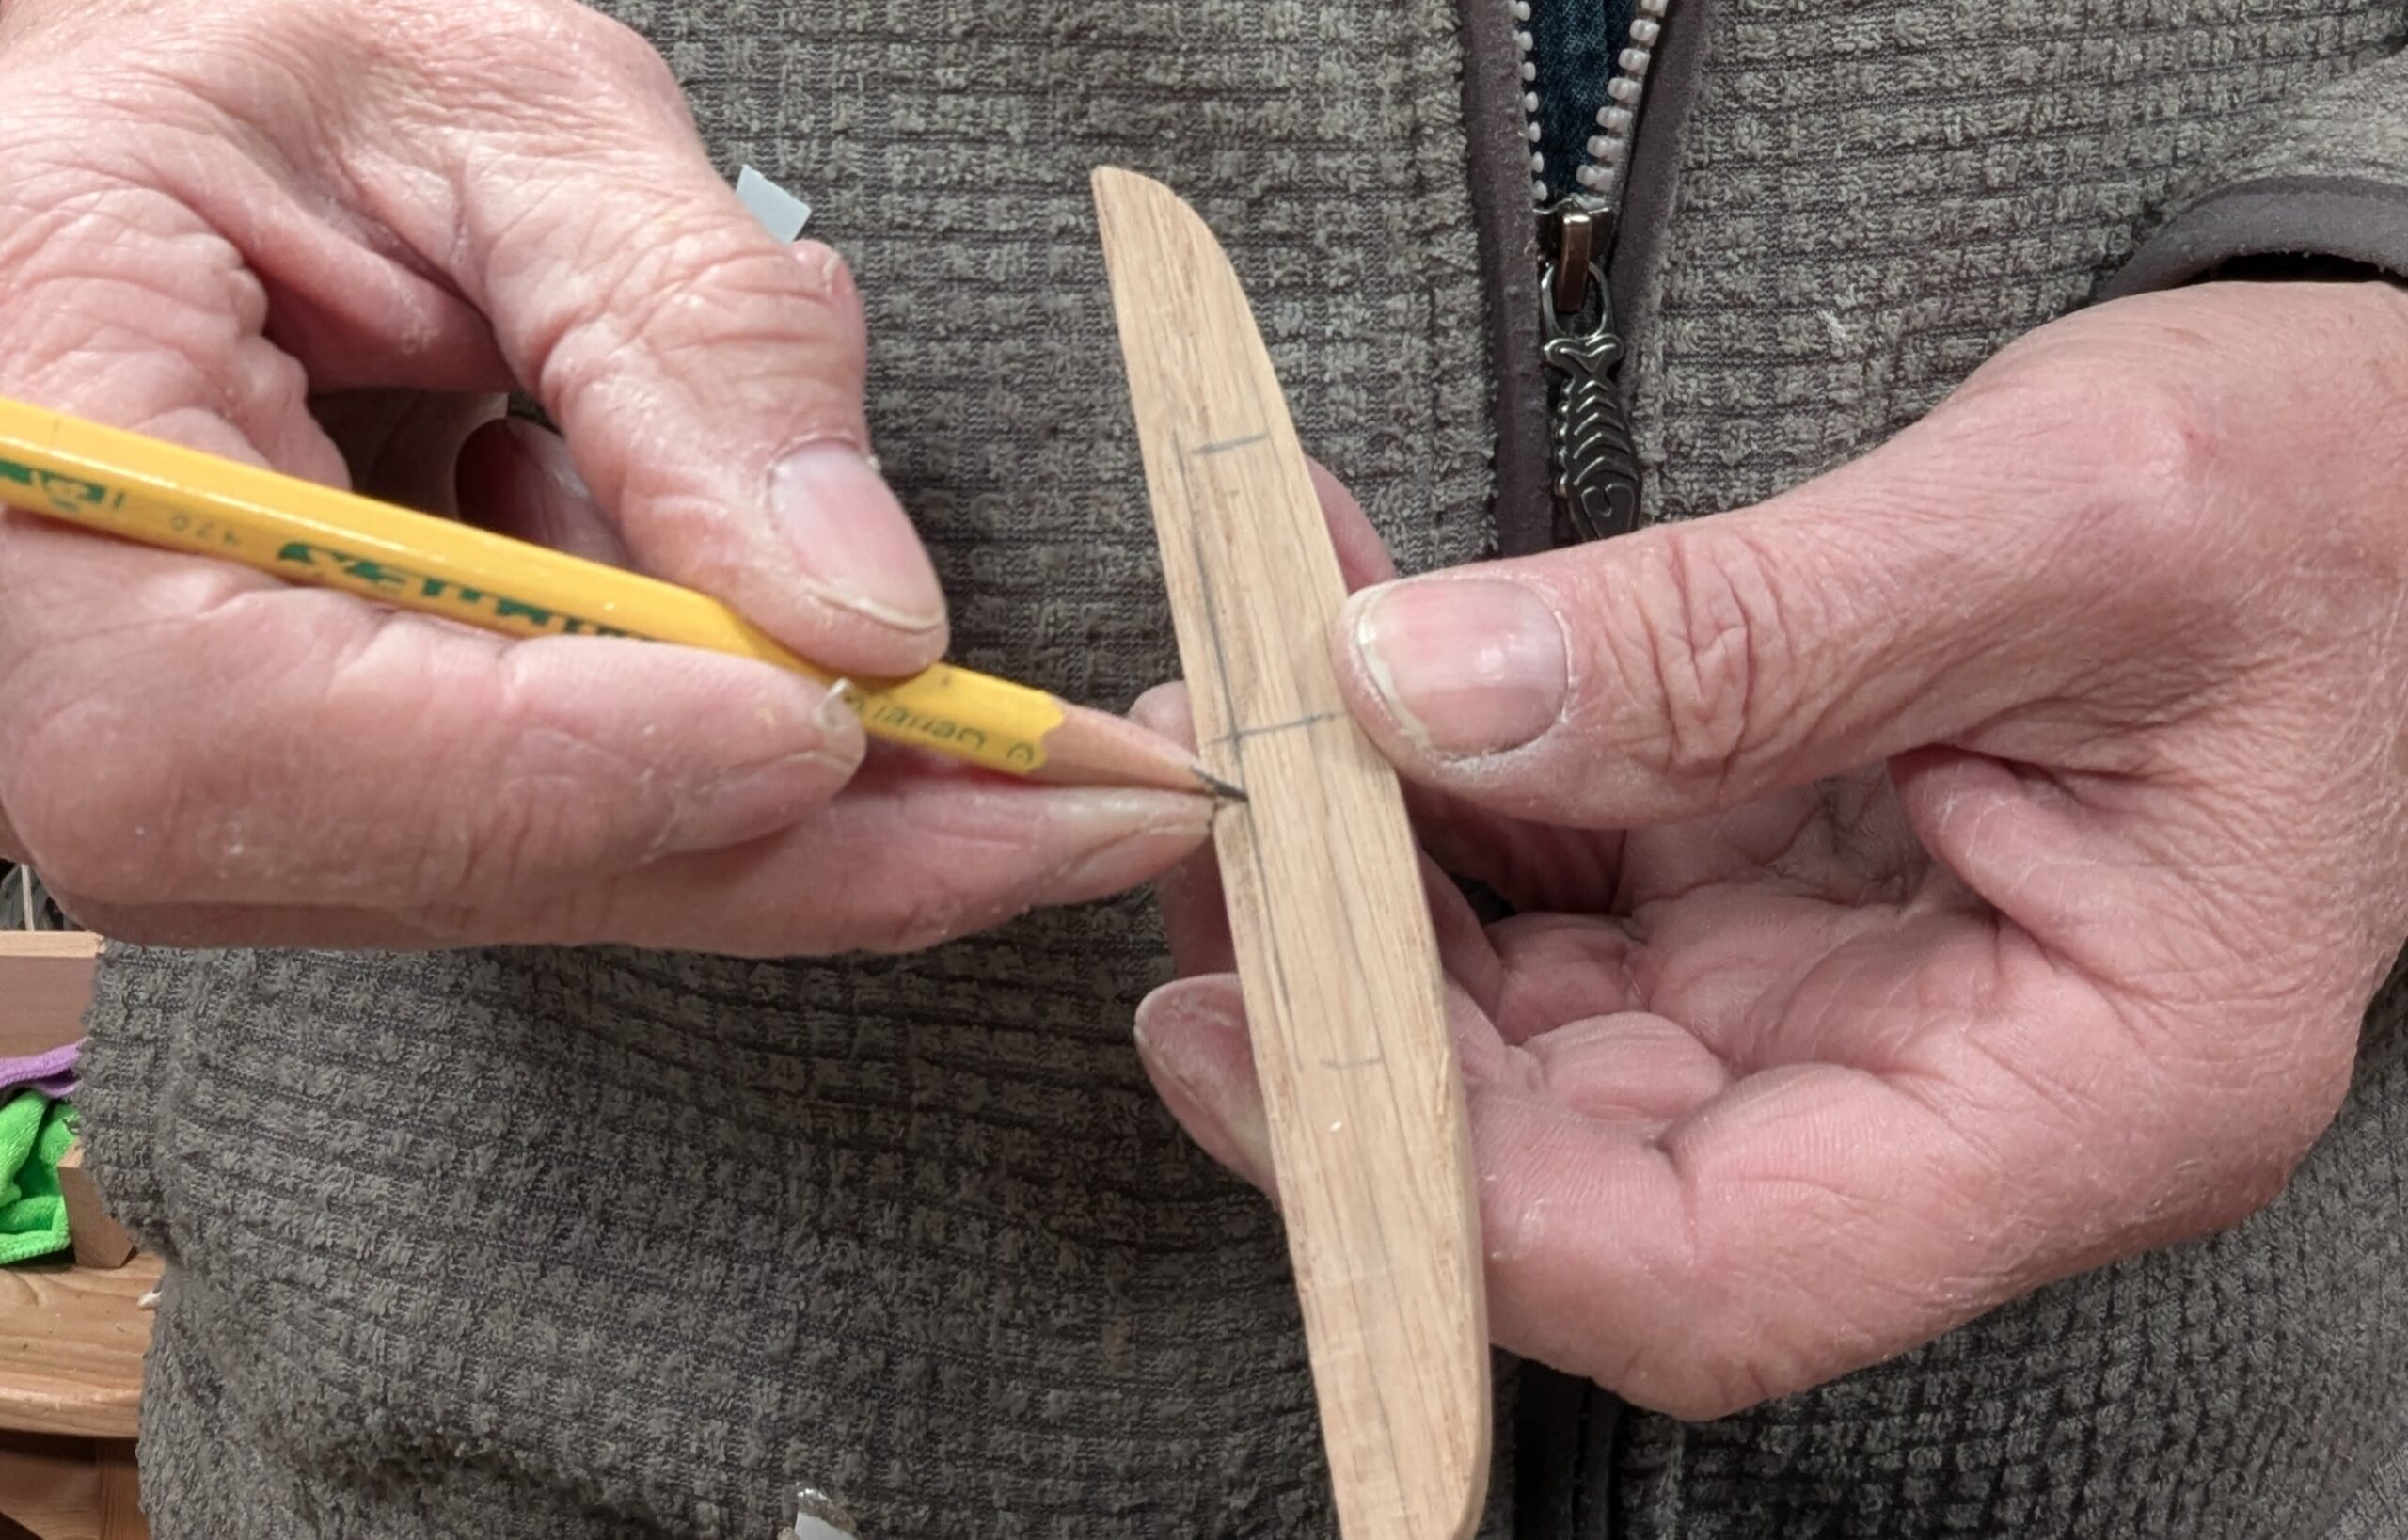
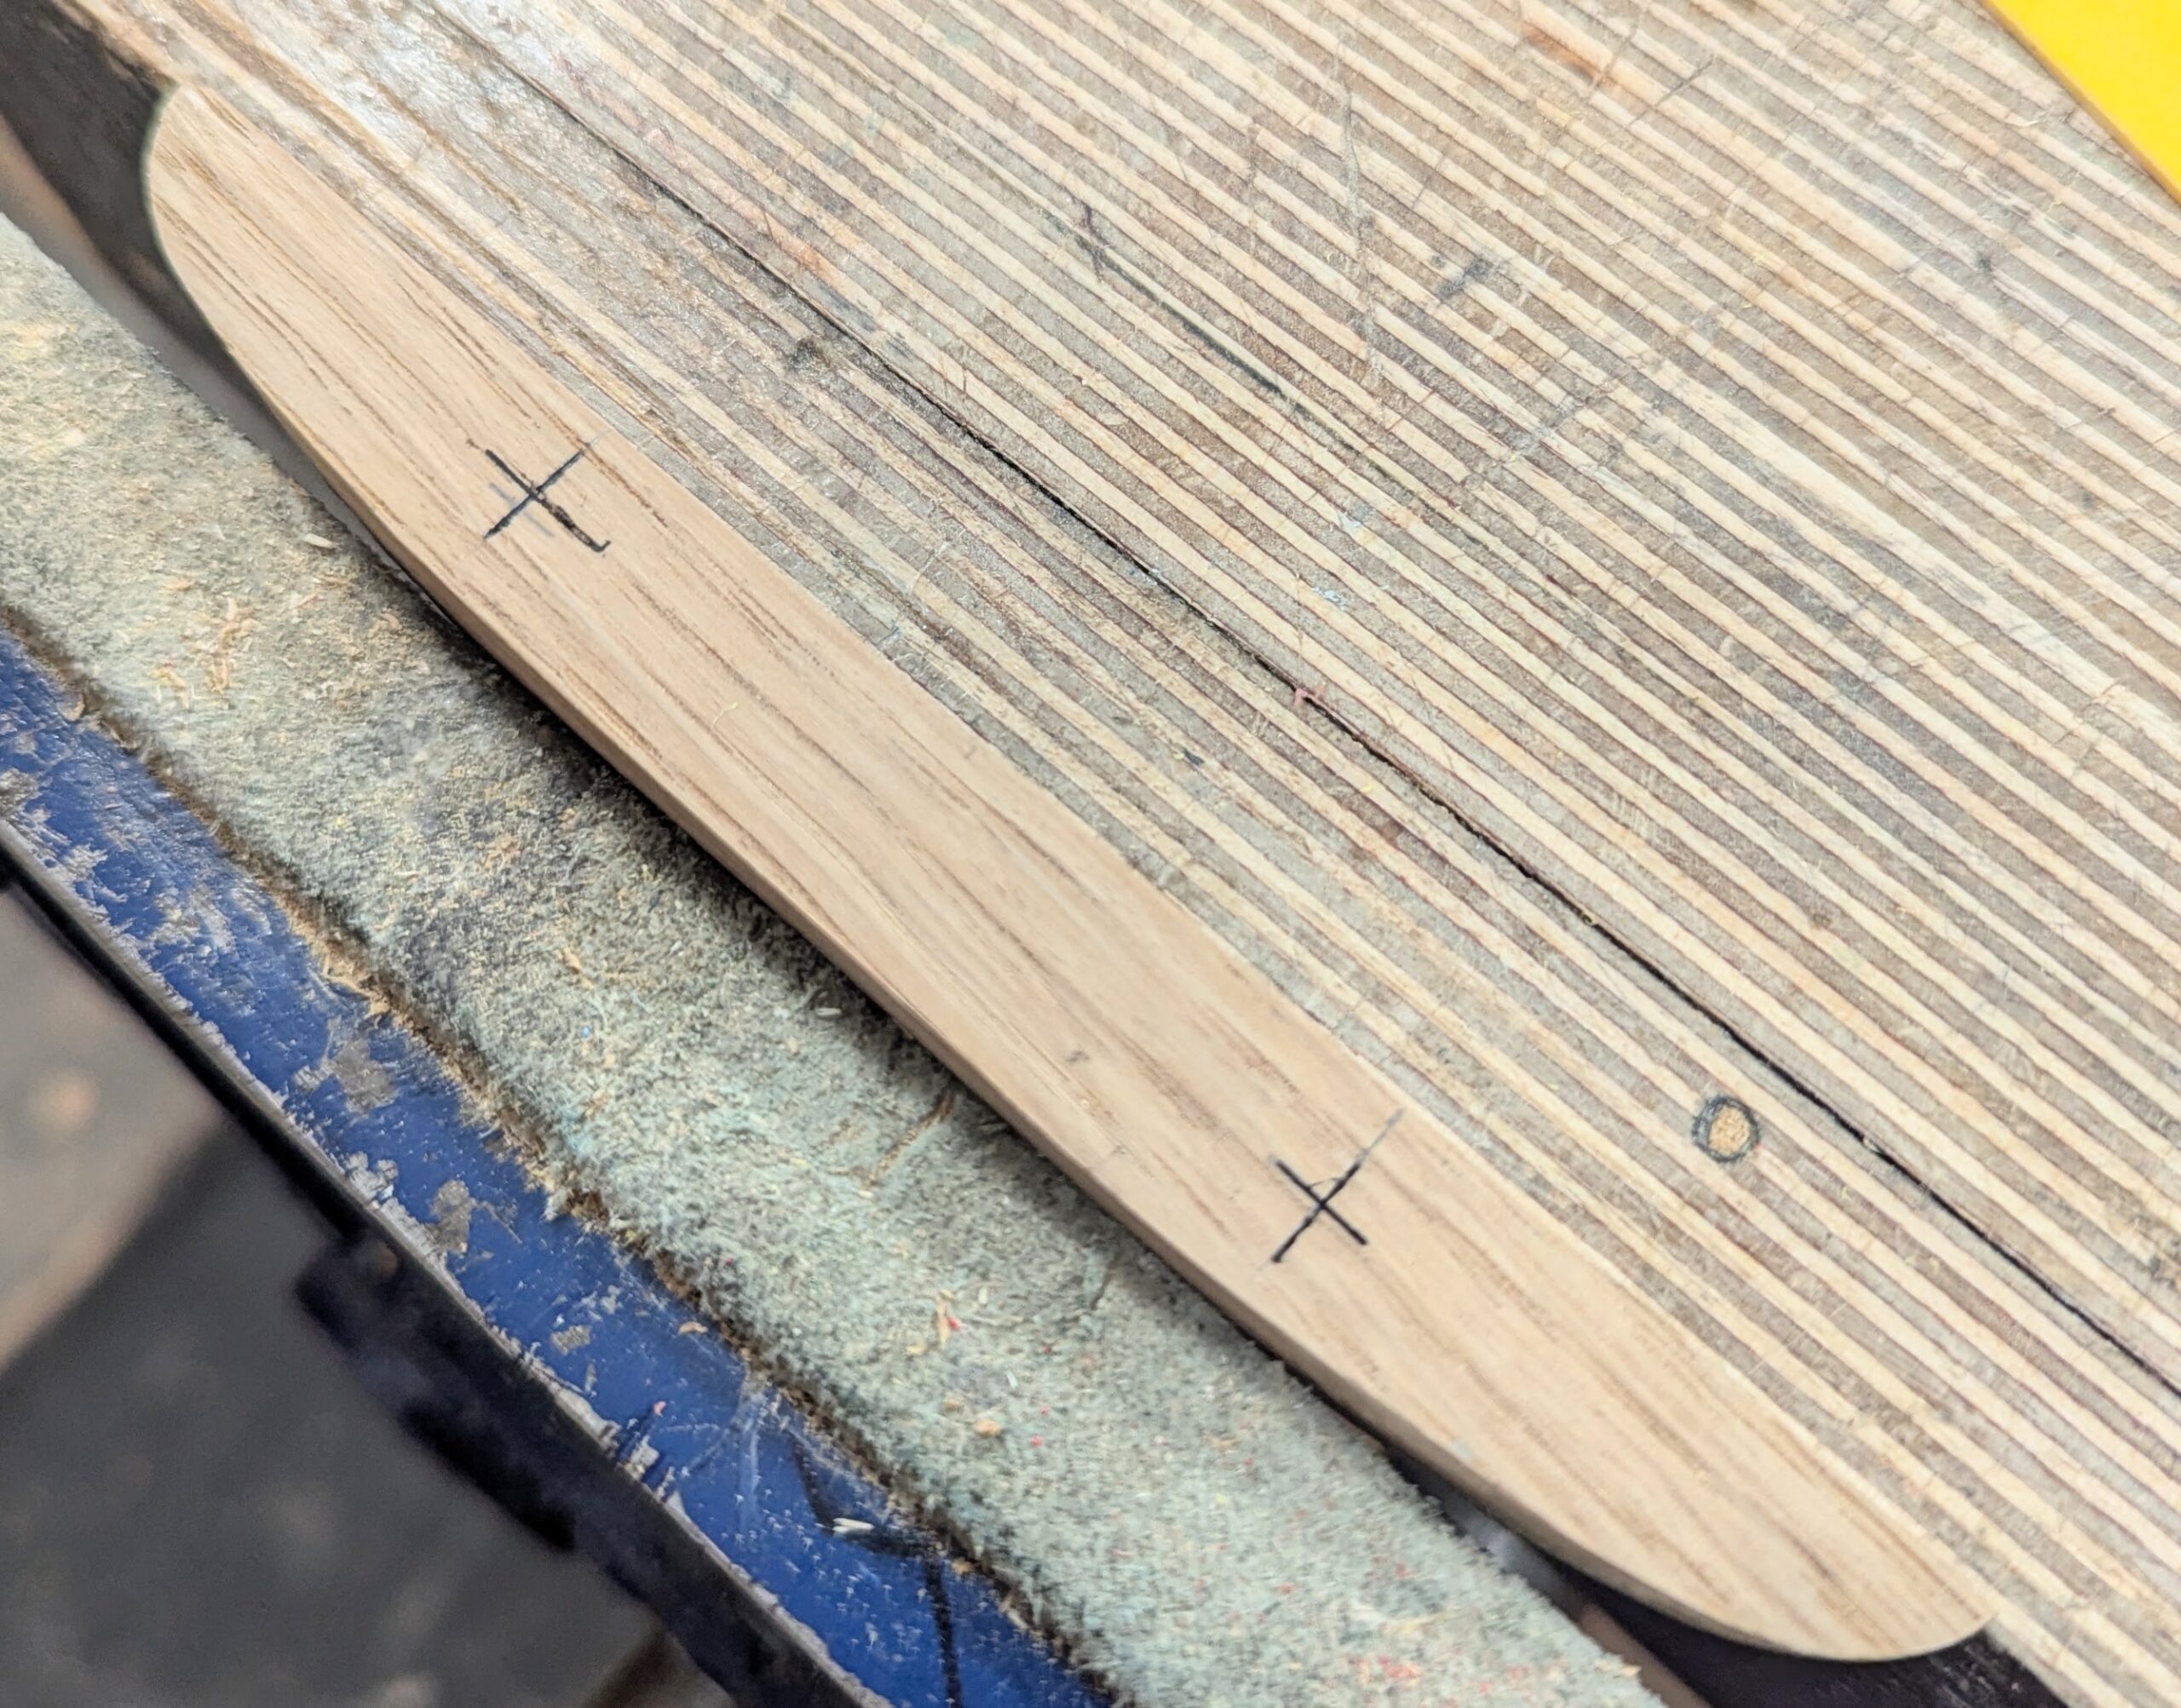
Working either side of the centre of the handle, measure 32mm (1 1/4") for the width position and then the centre of the thickness for the crosshairs.
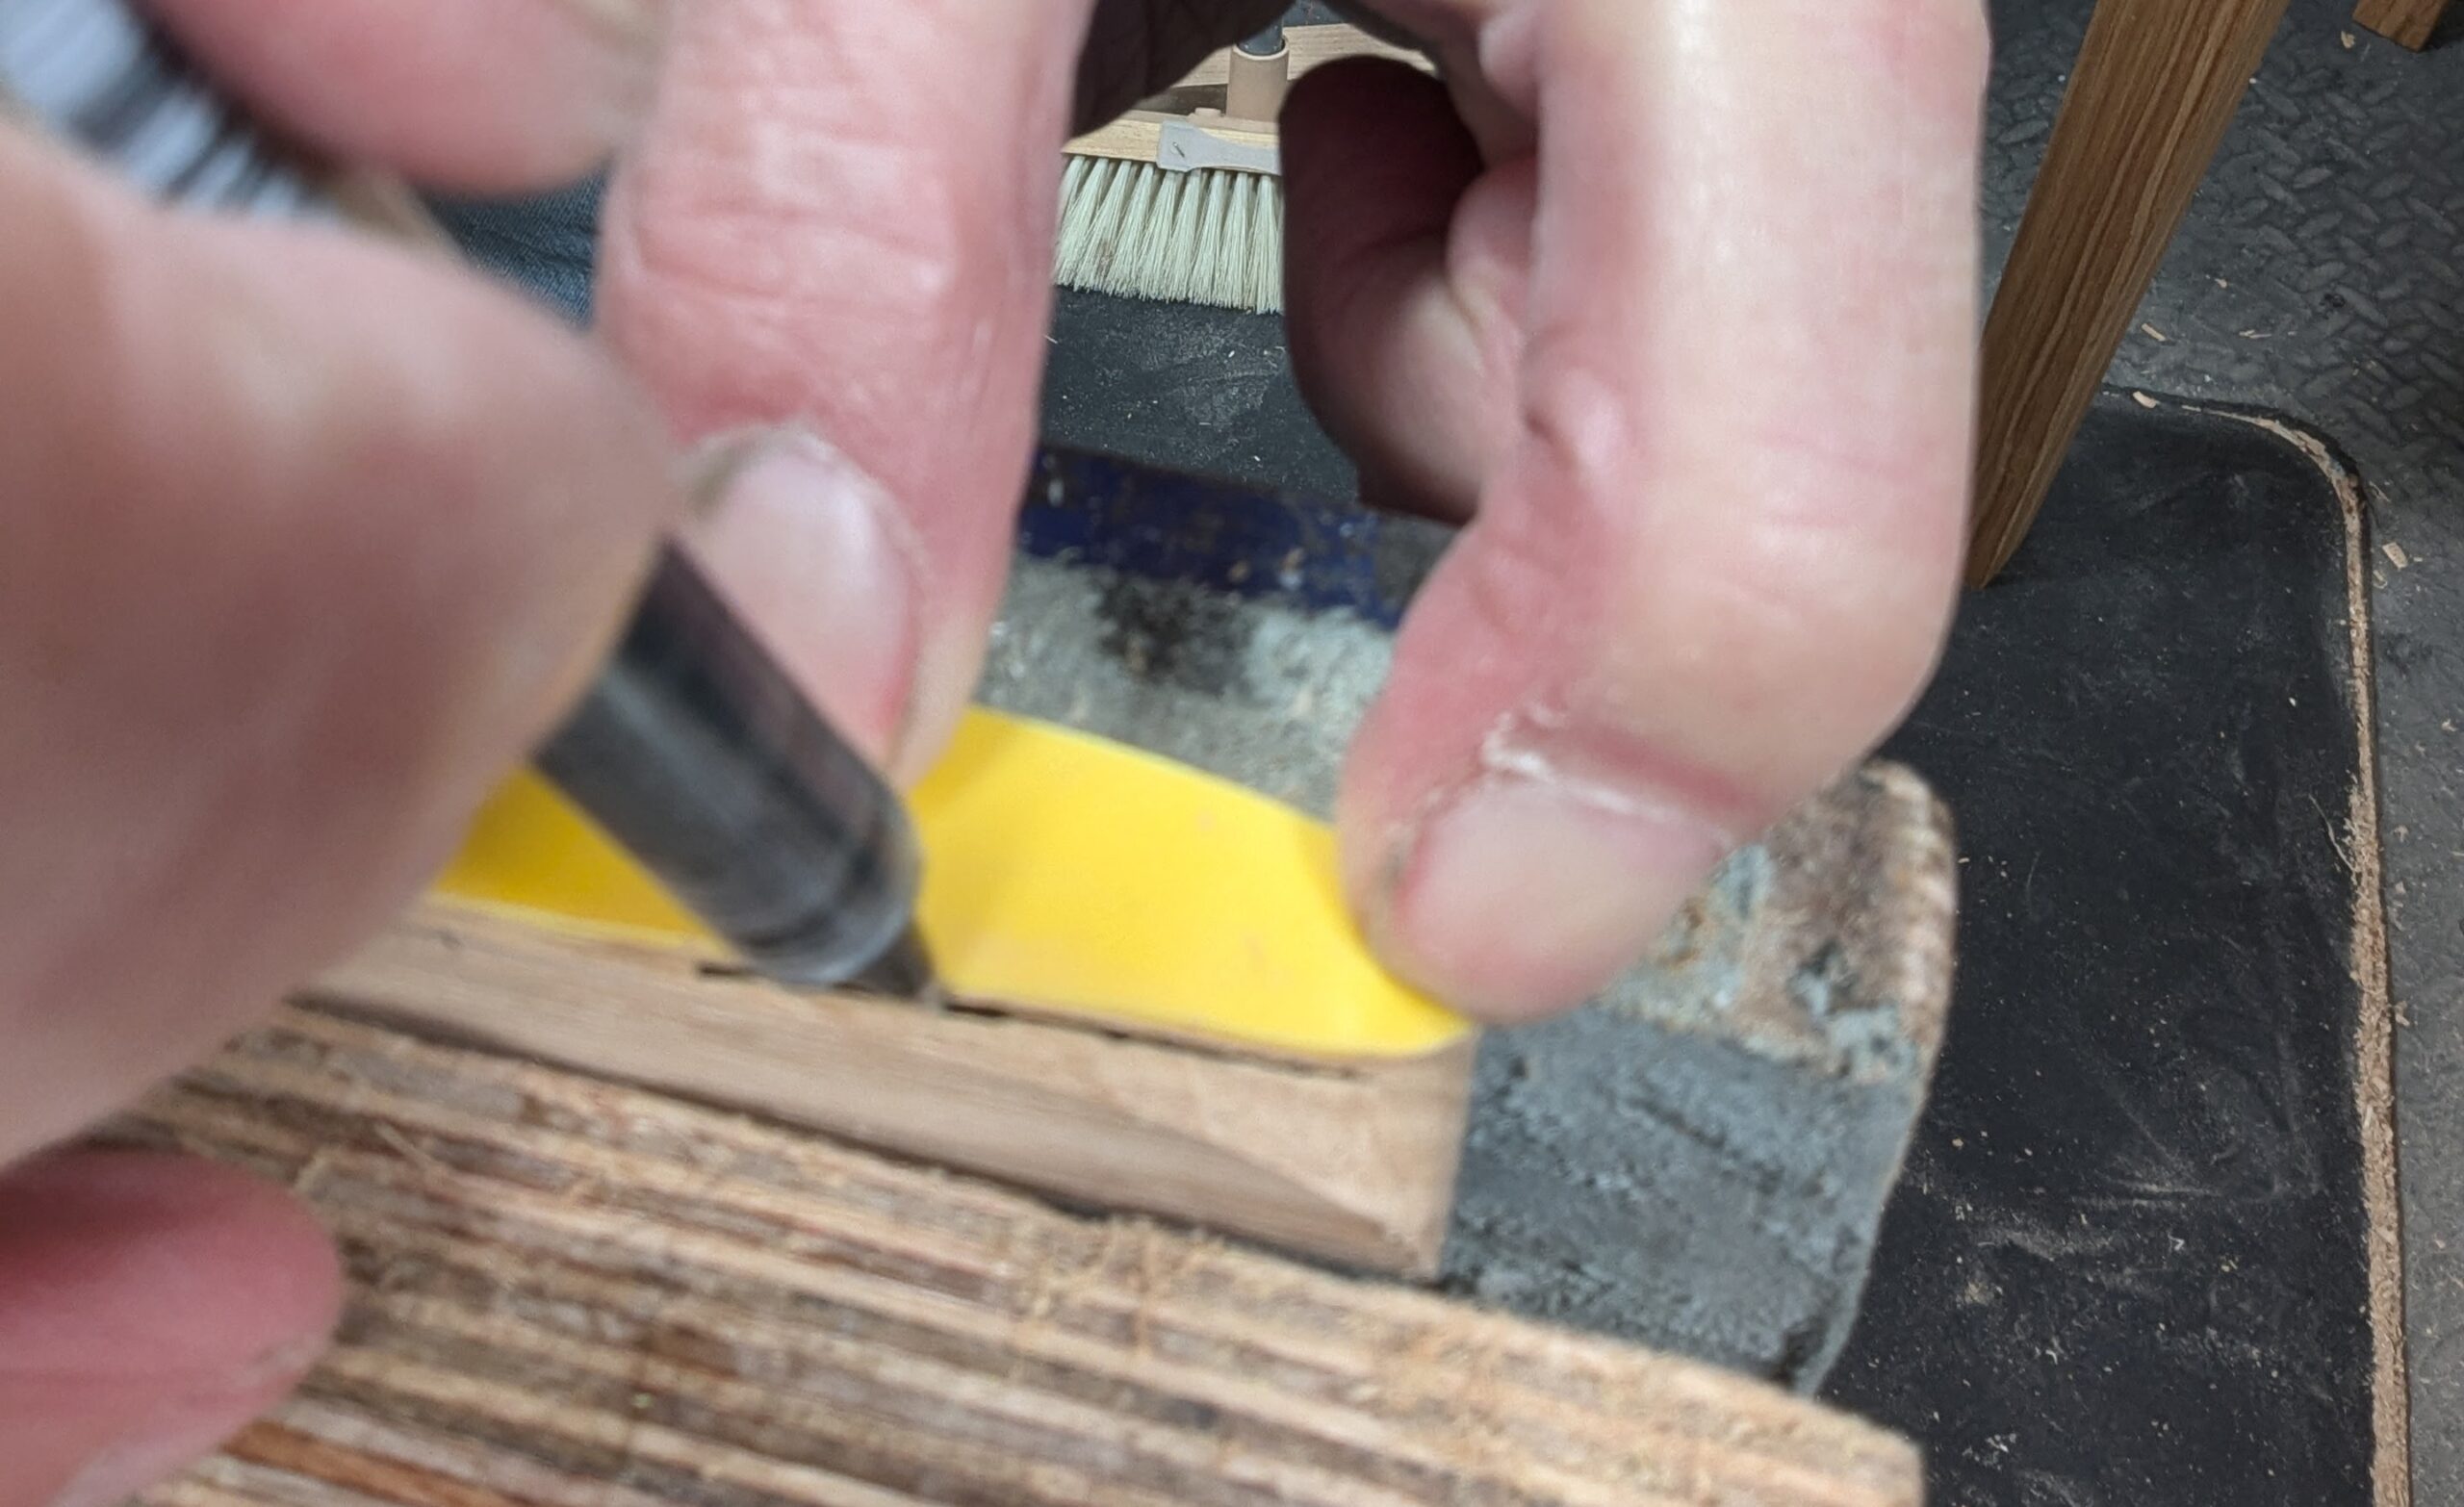
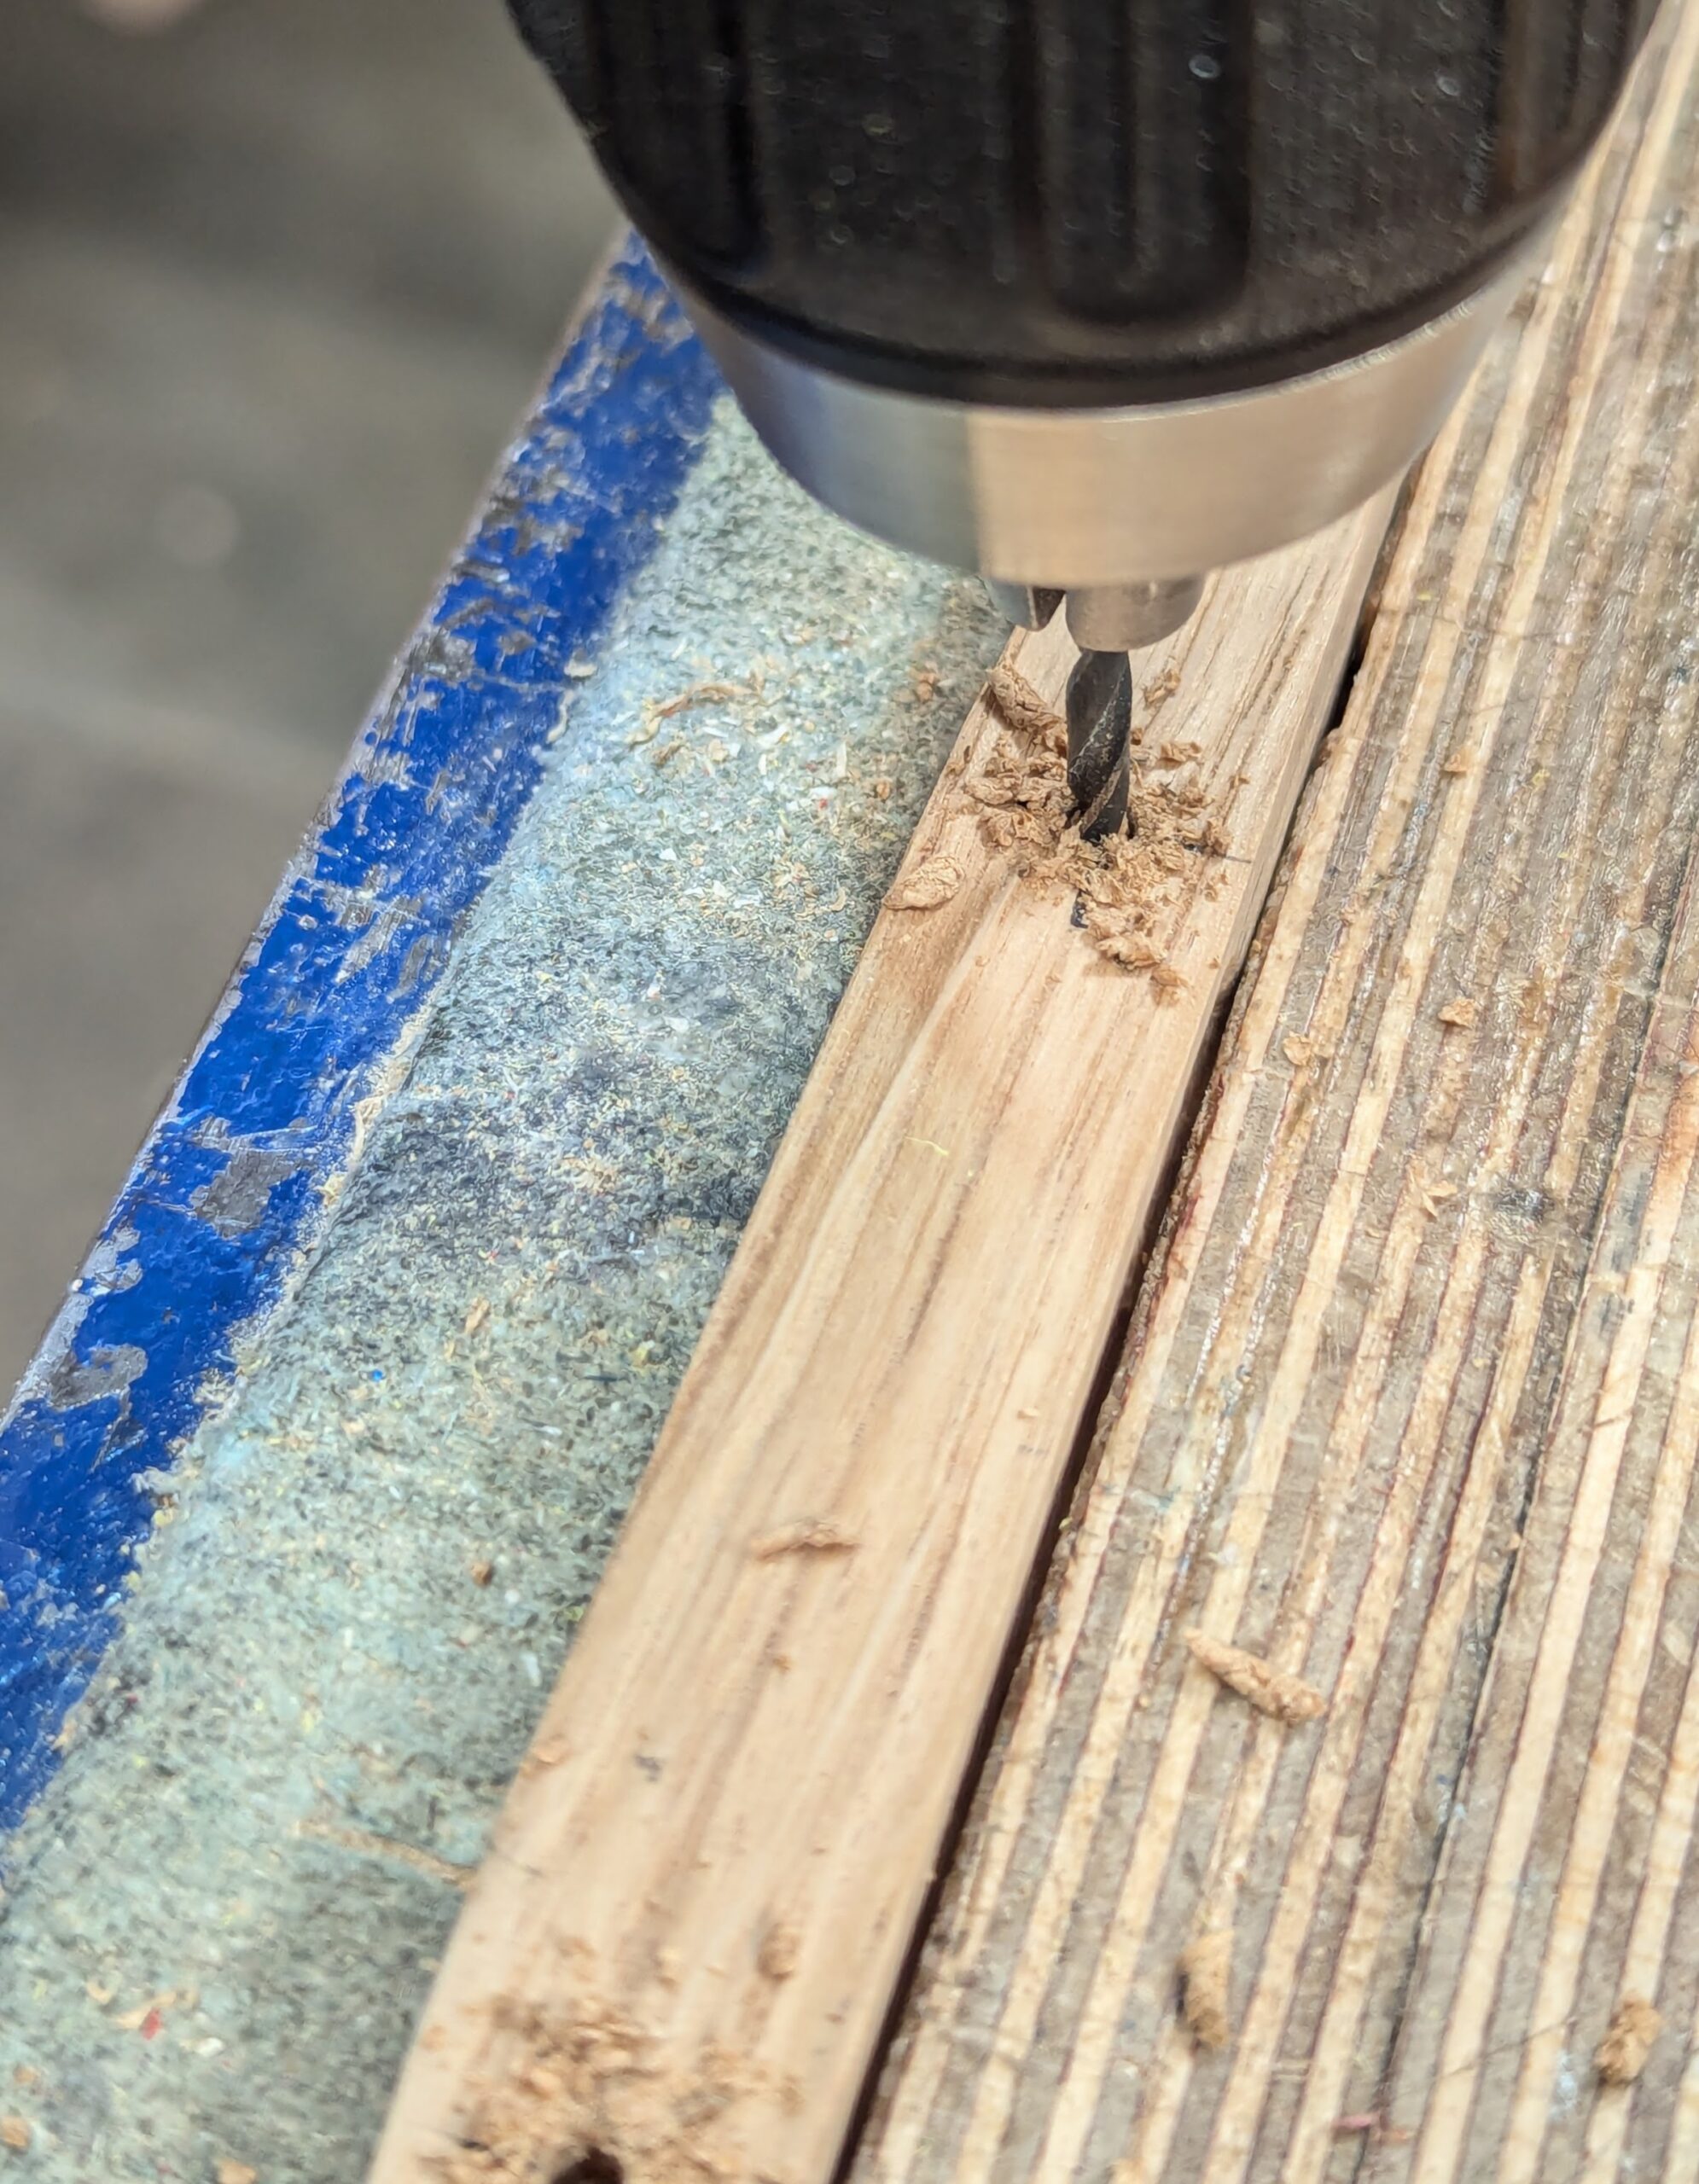
Use an awl to kick-start boring the two pilot holes and prevent slippage.

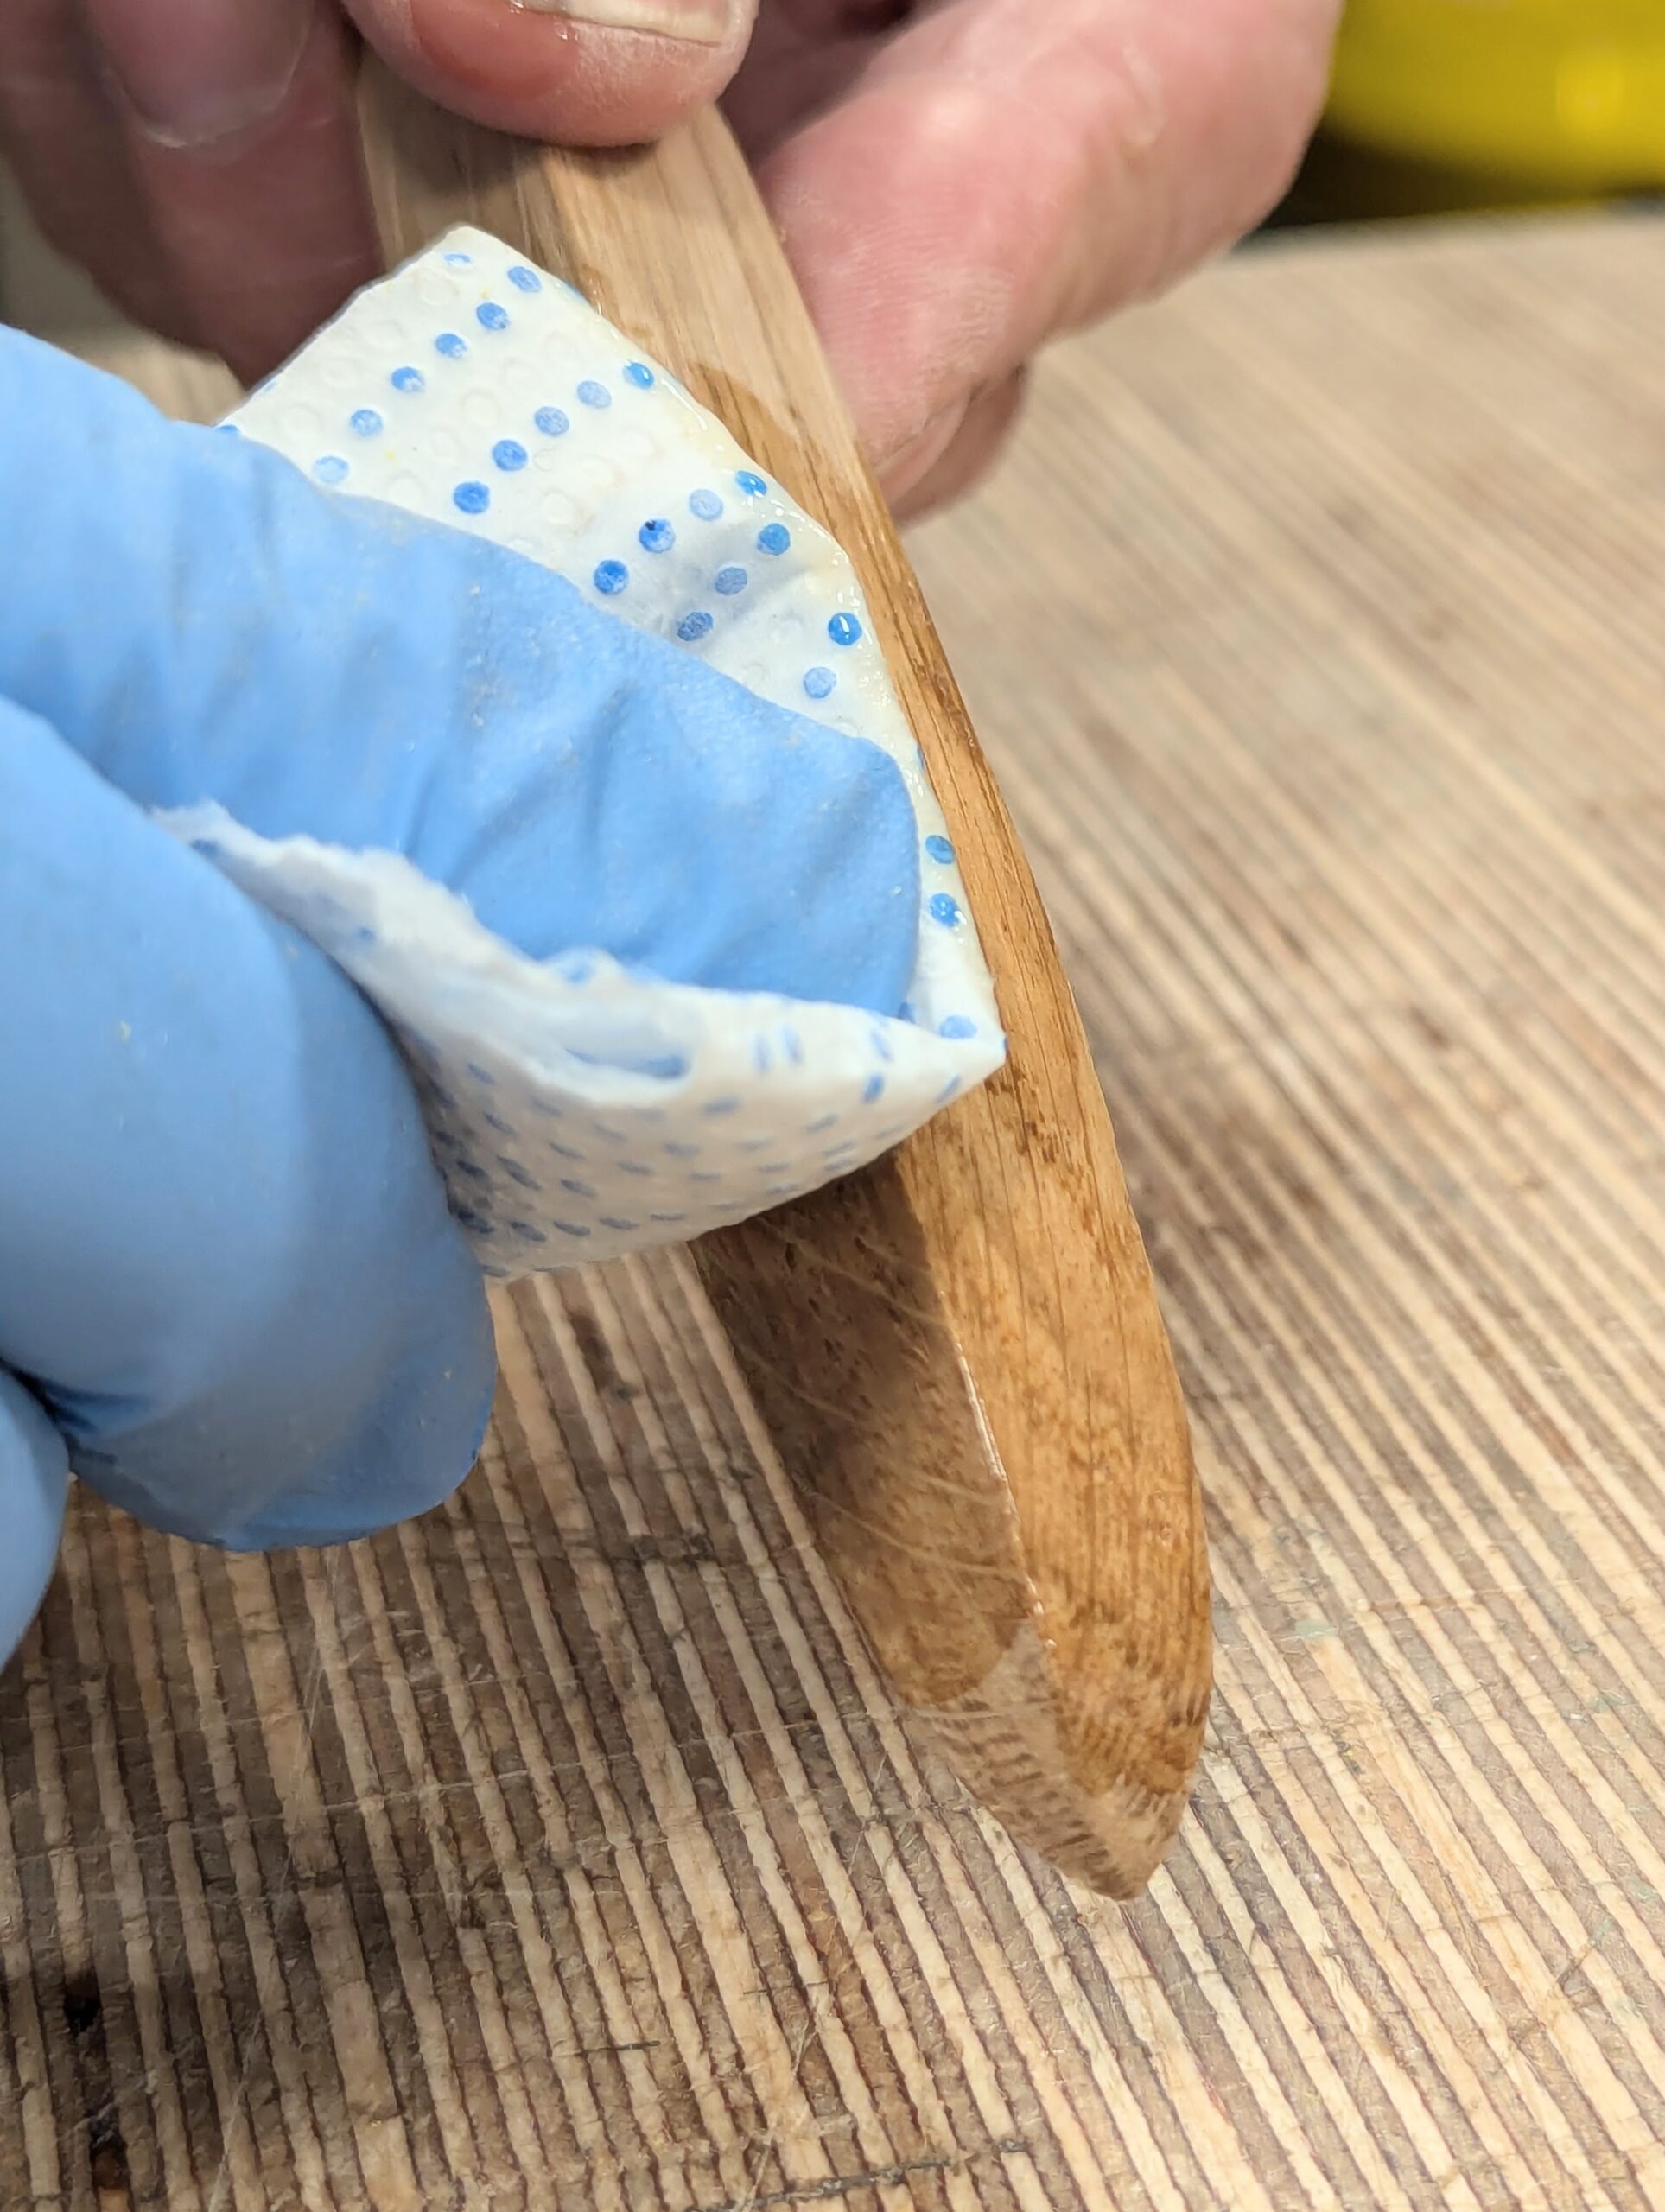
Apply the finish of your choice before installation.
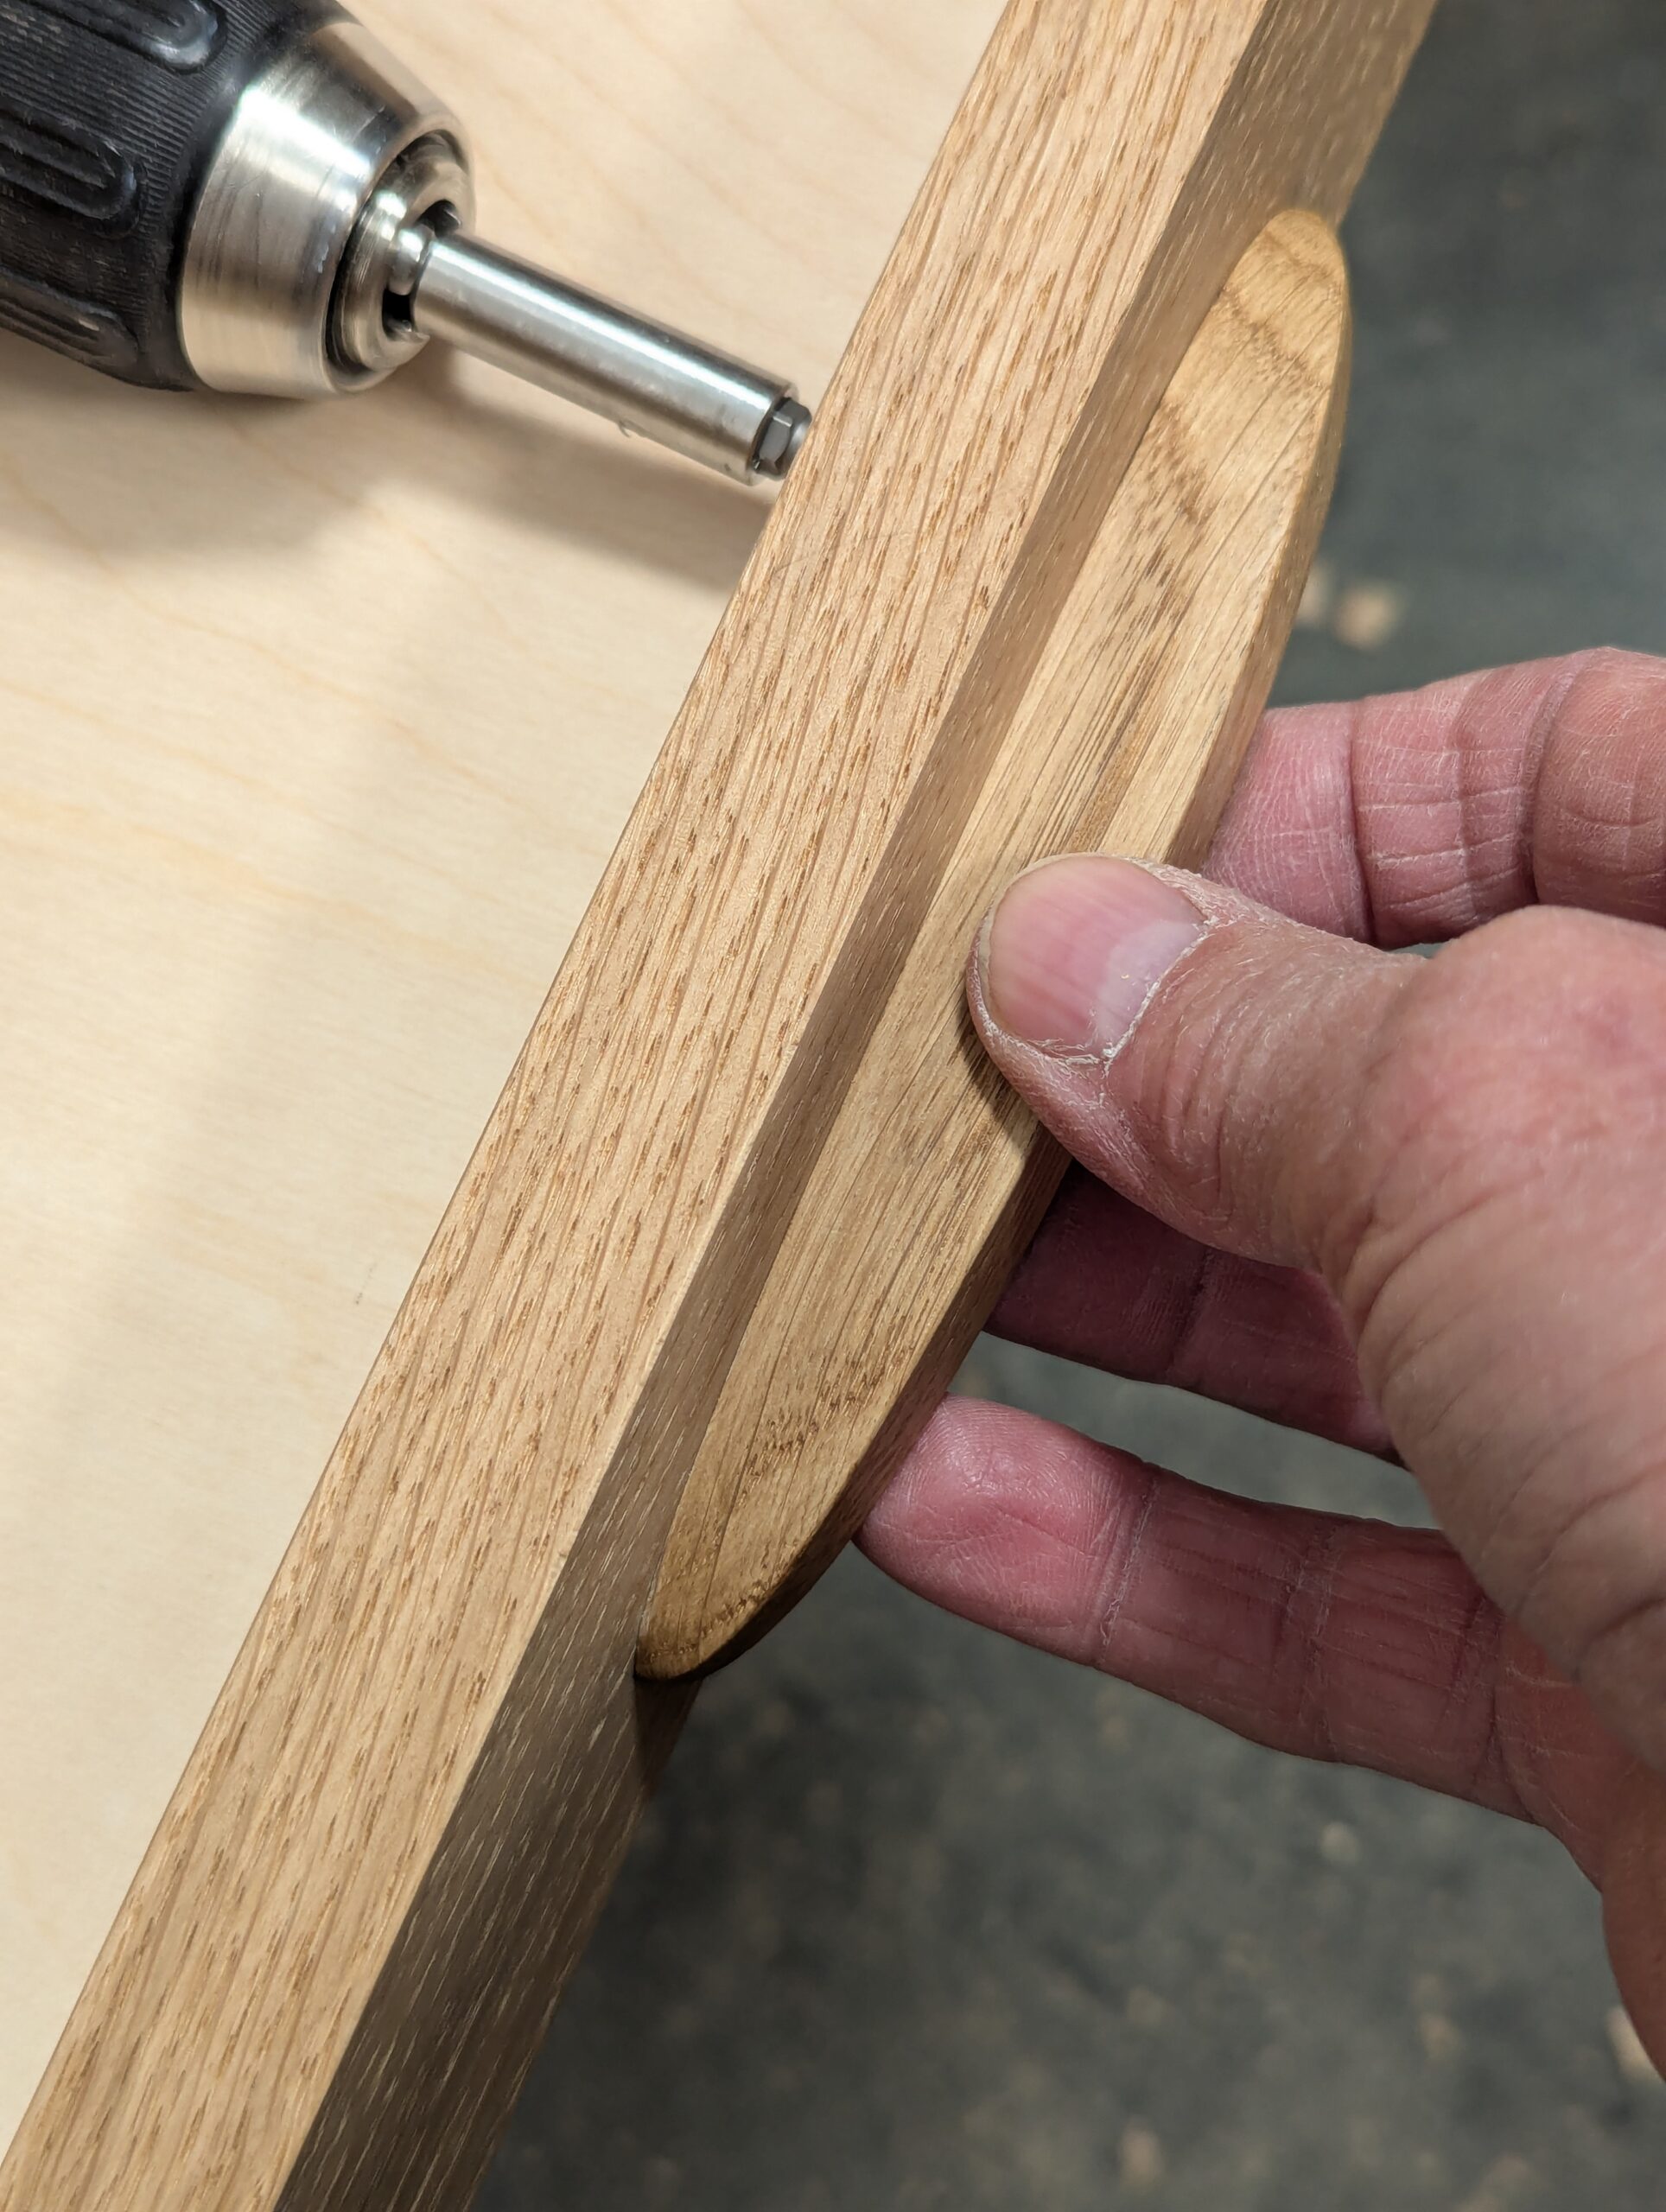
And secure to the project.
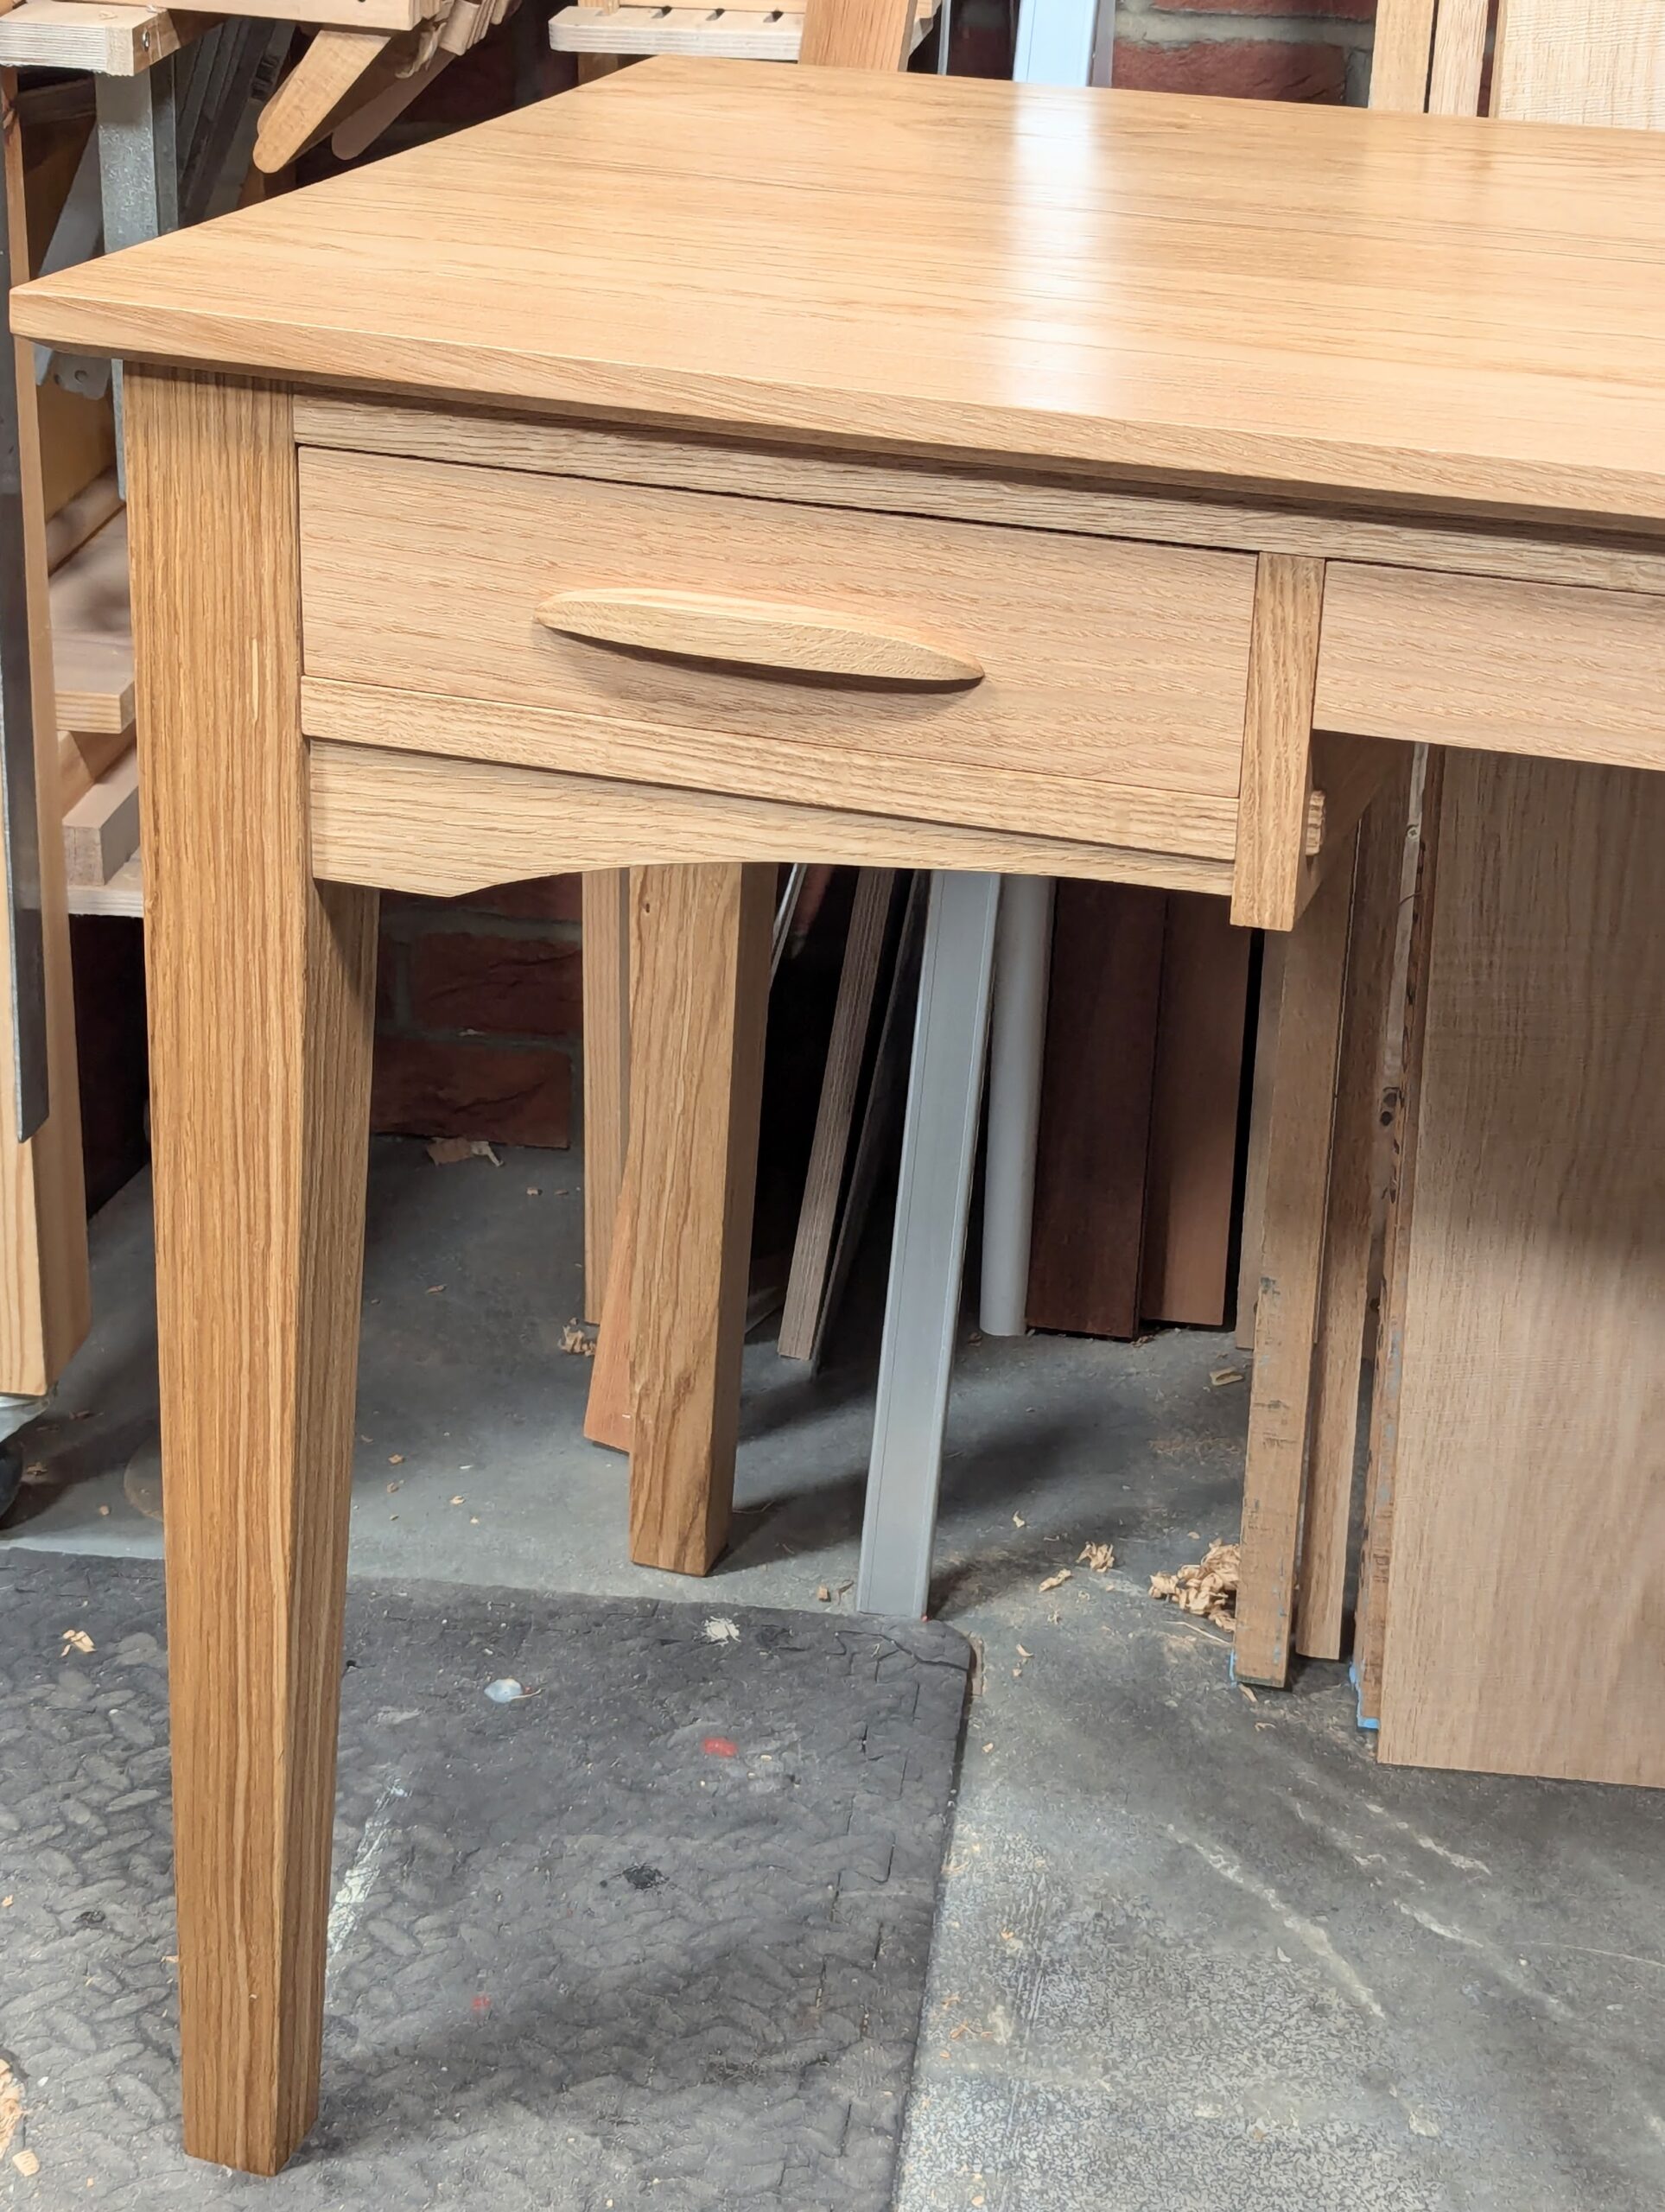
This is my latest project for Sellers' Home. You can join us here and make yours alongside ours. Whether it is your dressing table, computer desk, drawing or writing desk or a multipurpose one is up to you.
Comments ()