Cross-tie Combination Joints
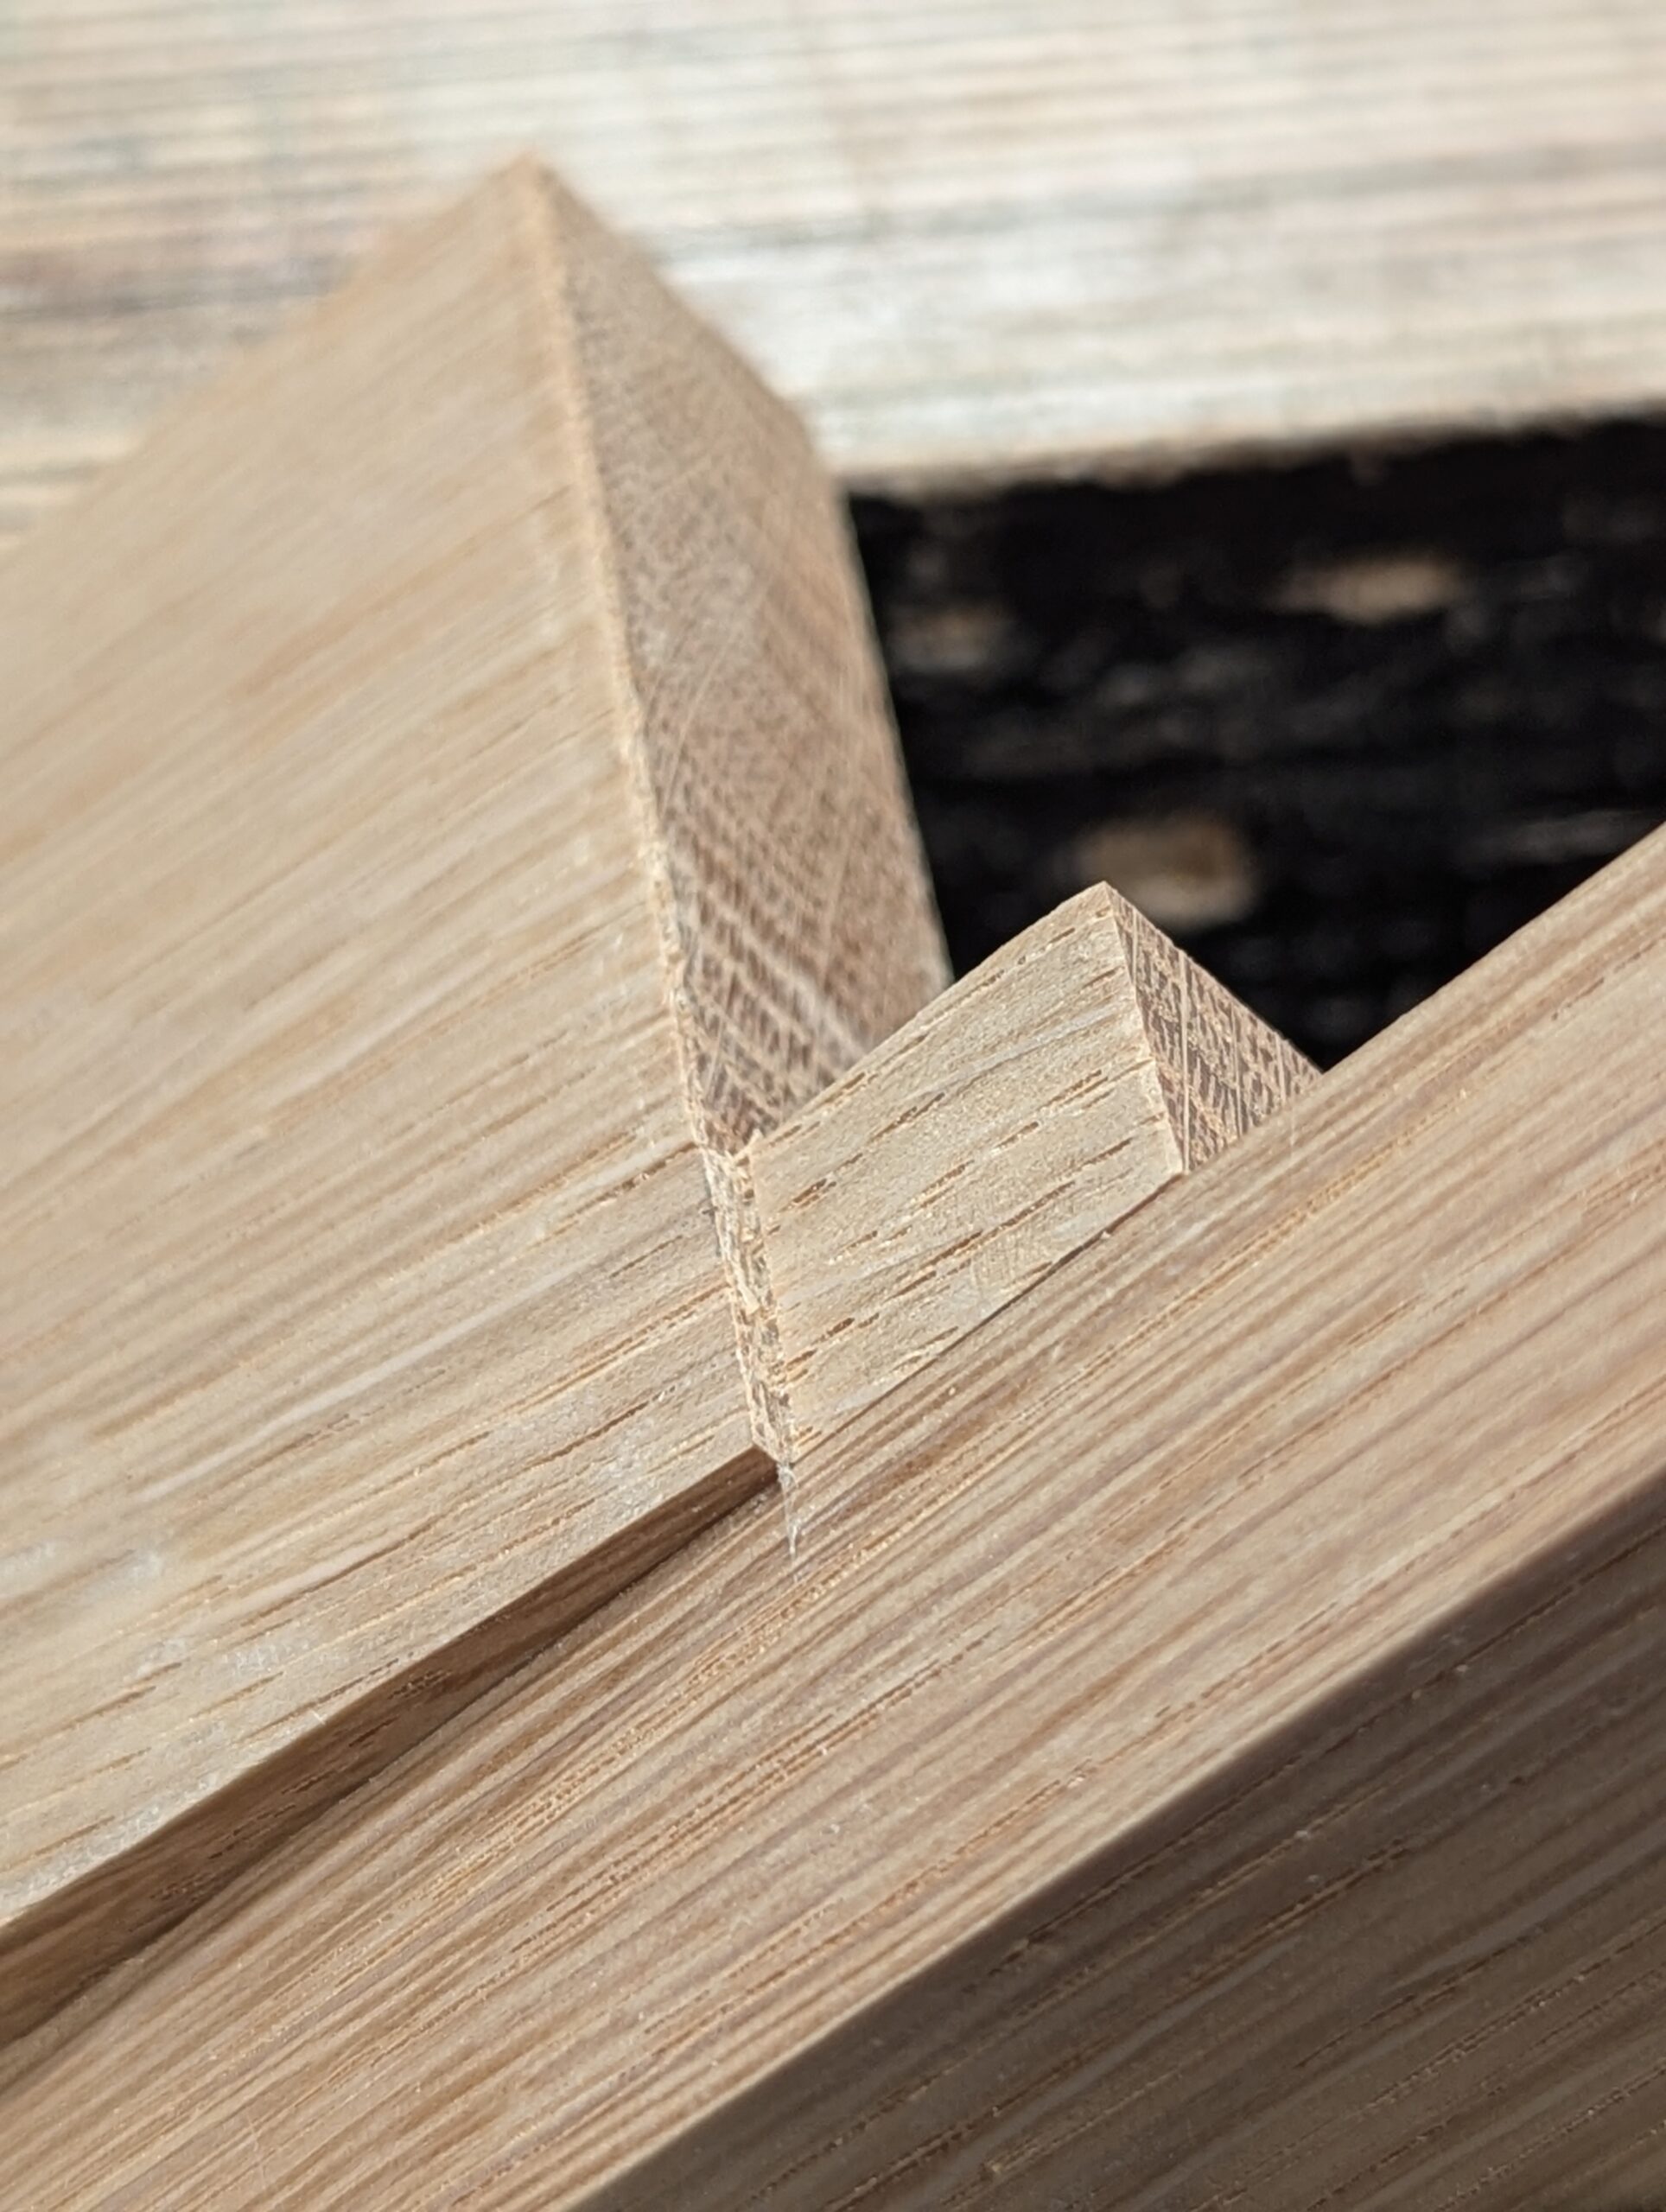
This is my dovetailed housing dado. I think you will like trying it out.
Another joint emerges from a maker who's conscious of loss in handwork to his craft. In the moment, he decides on a new-ish joint. It's an off-the-cuff decision made in seconds intended to last a lifetime, and takes a perhaps less adequate joint with little if any mechanical resistance to factor in the full pull power of dovetailed opposition. The stepped dovetail to each end cross-ties two legs where a mortise and tenon cannot adequately provide holding power because of the section size of the wood and the proximity they have to the ends of both legs and rail. It's a drawer housing, so guaranteed stability has to be a long-term must. It's a single dovetail in this case, but in some cases I might use two, or then even a hound's tooth version. This is the strongest of all dovetails. But I'll skip that one for a later version if I can get to it.
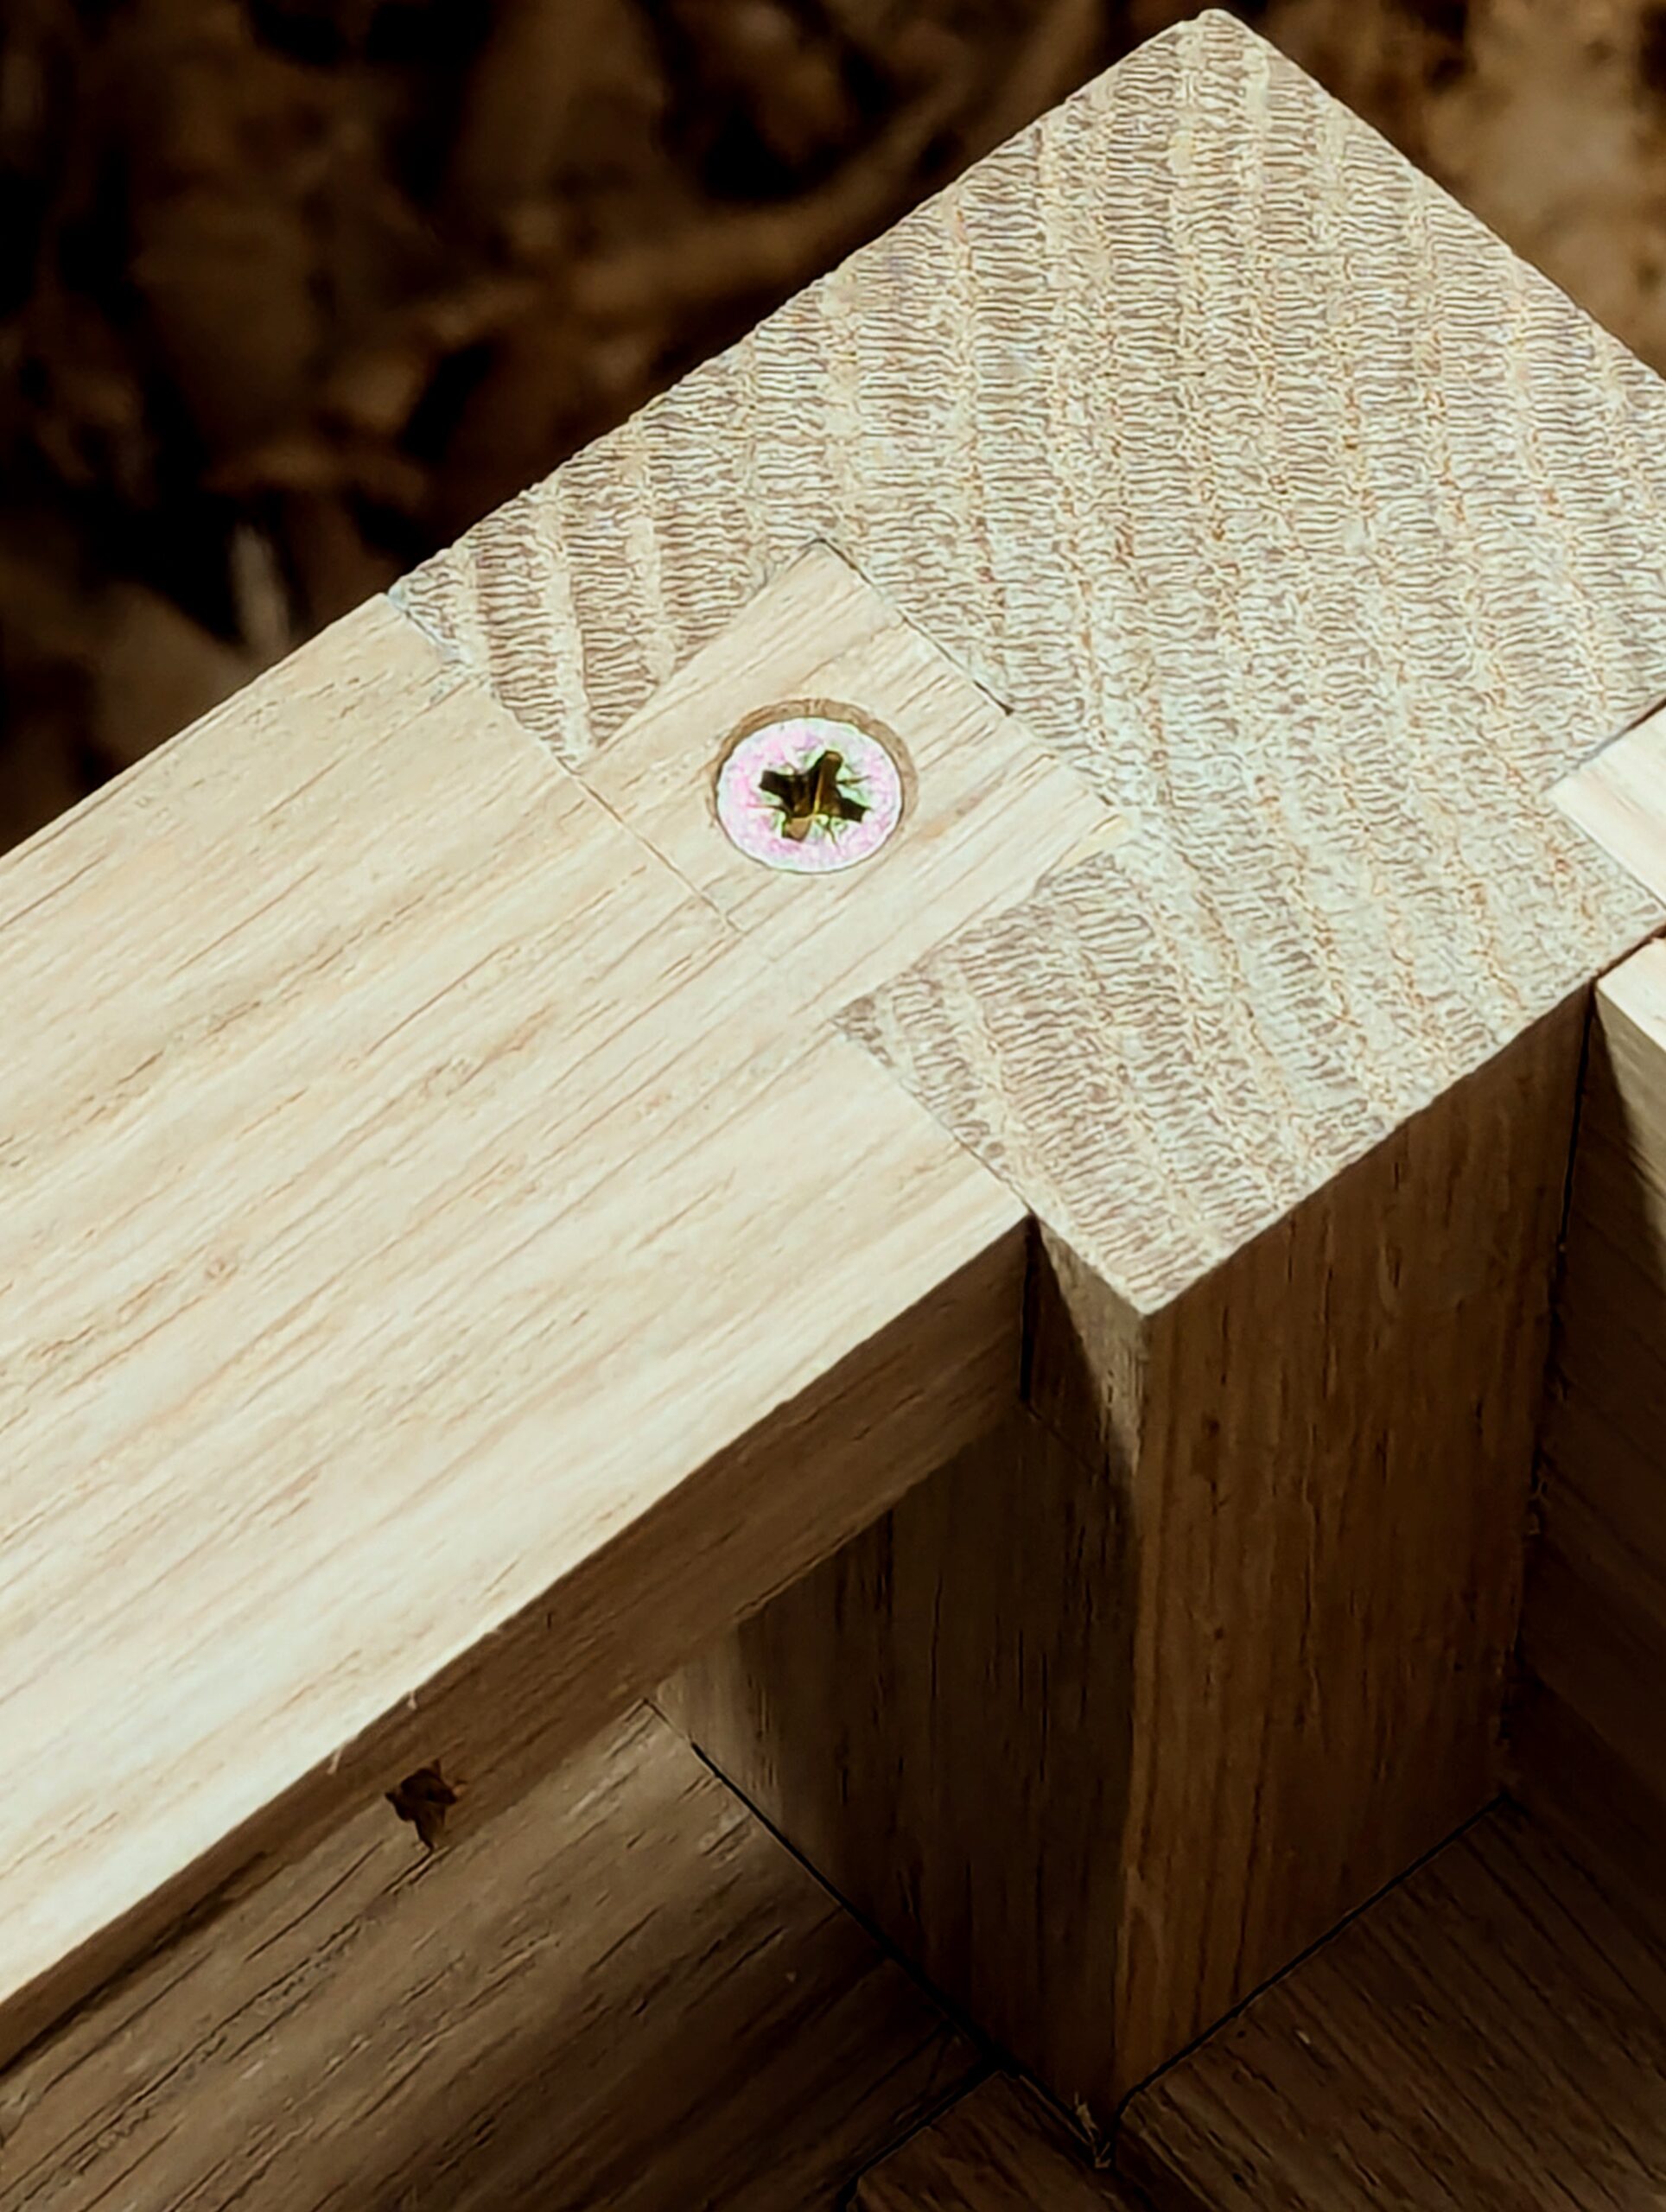
Dovetails acting as cross-ties are truly practical, though mostly missed by the uninitiated looker when you first finish the piece. I've used them in many of our projects through the years, especially chests of drawers. They work well on bookcases as a feature and then too on the back housing dadoes on drawers. I can think of a dozen places to use them and thought they might at first look complicated, they are not in the least bit difficult to do: a mild addition to a regular housing dado.

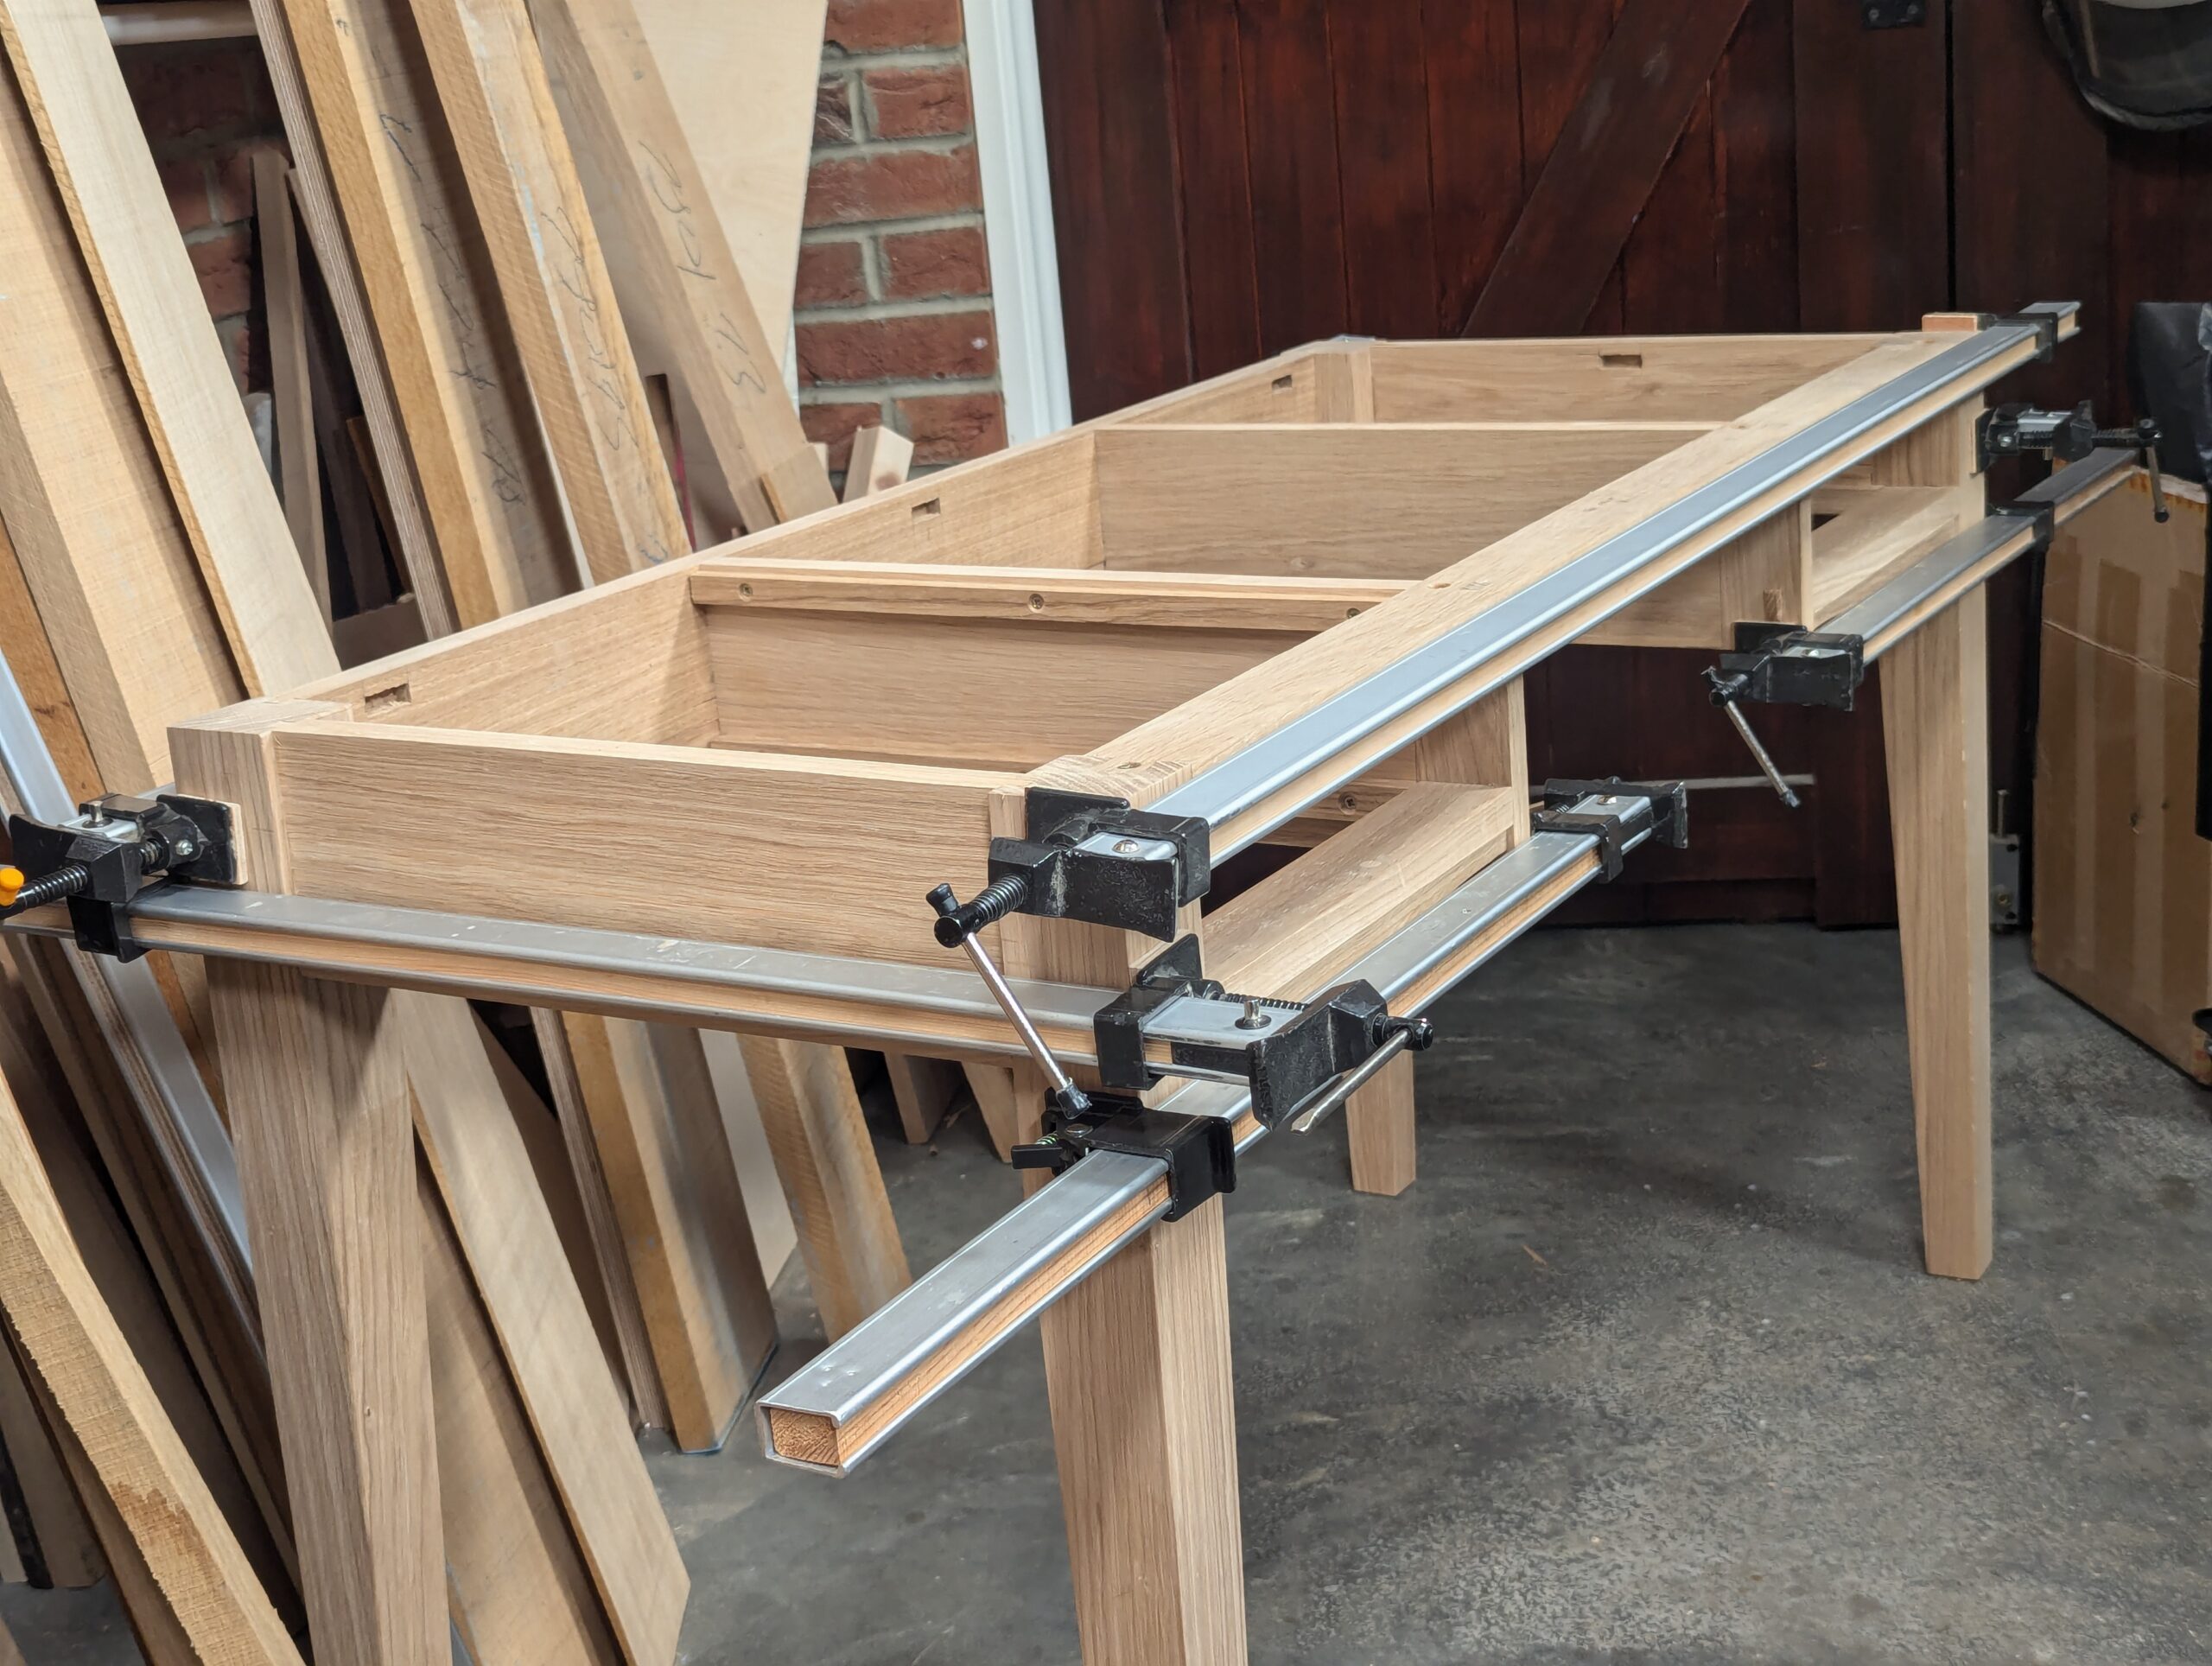
I used the joint to create a division in a compartment. It's an overkill as the glue and a regular housing would be more than adequate, but I liked the addition.
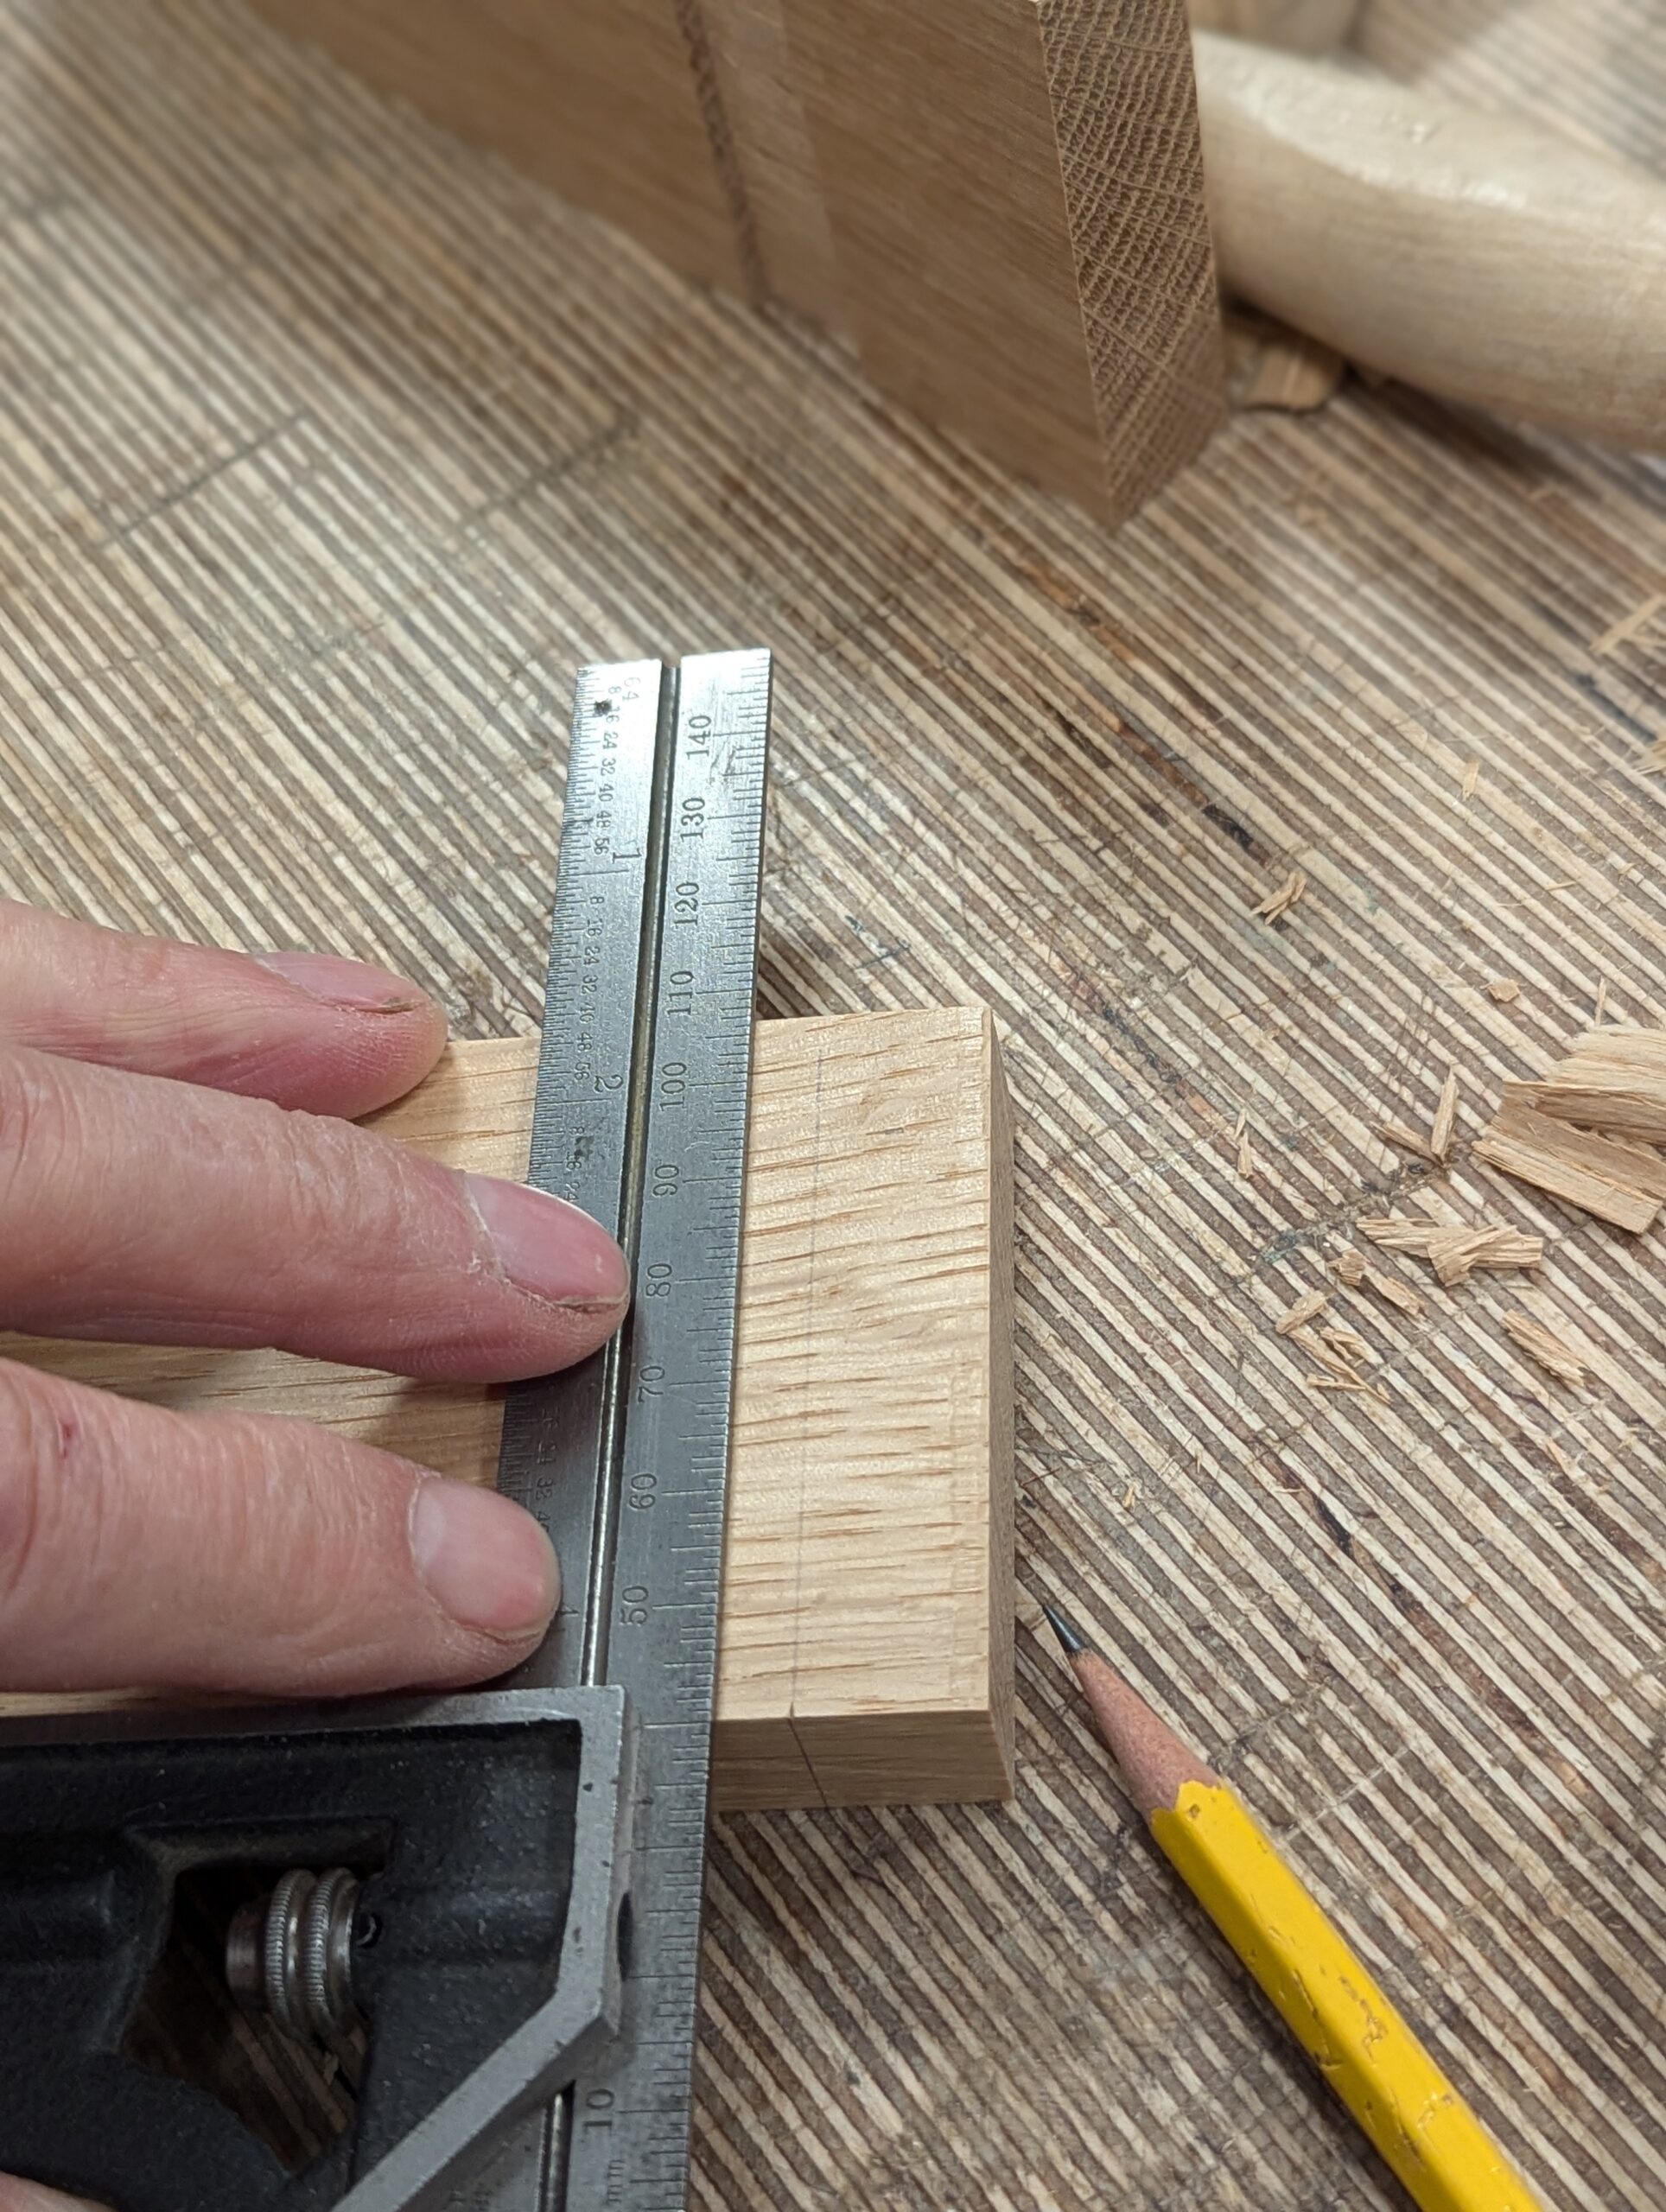
For practice, start with two pieces of equally sized wood approximately 180mm (7") long by 65mm ––76mm (2 1/2" ––3") wide and 20mm (3/4") thick. I'm using some oak offcuts, but any wood will do. Make certain that all the edges and ends are square and parallel to one another.

True up the end of the dovetailed stock square both ways. That way you can either work parallel to the ends or use a square or gauge or dovetail guide against any part when you lay out, etc.
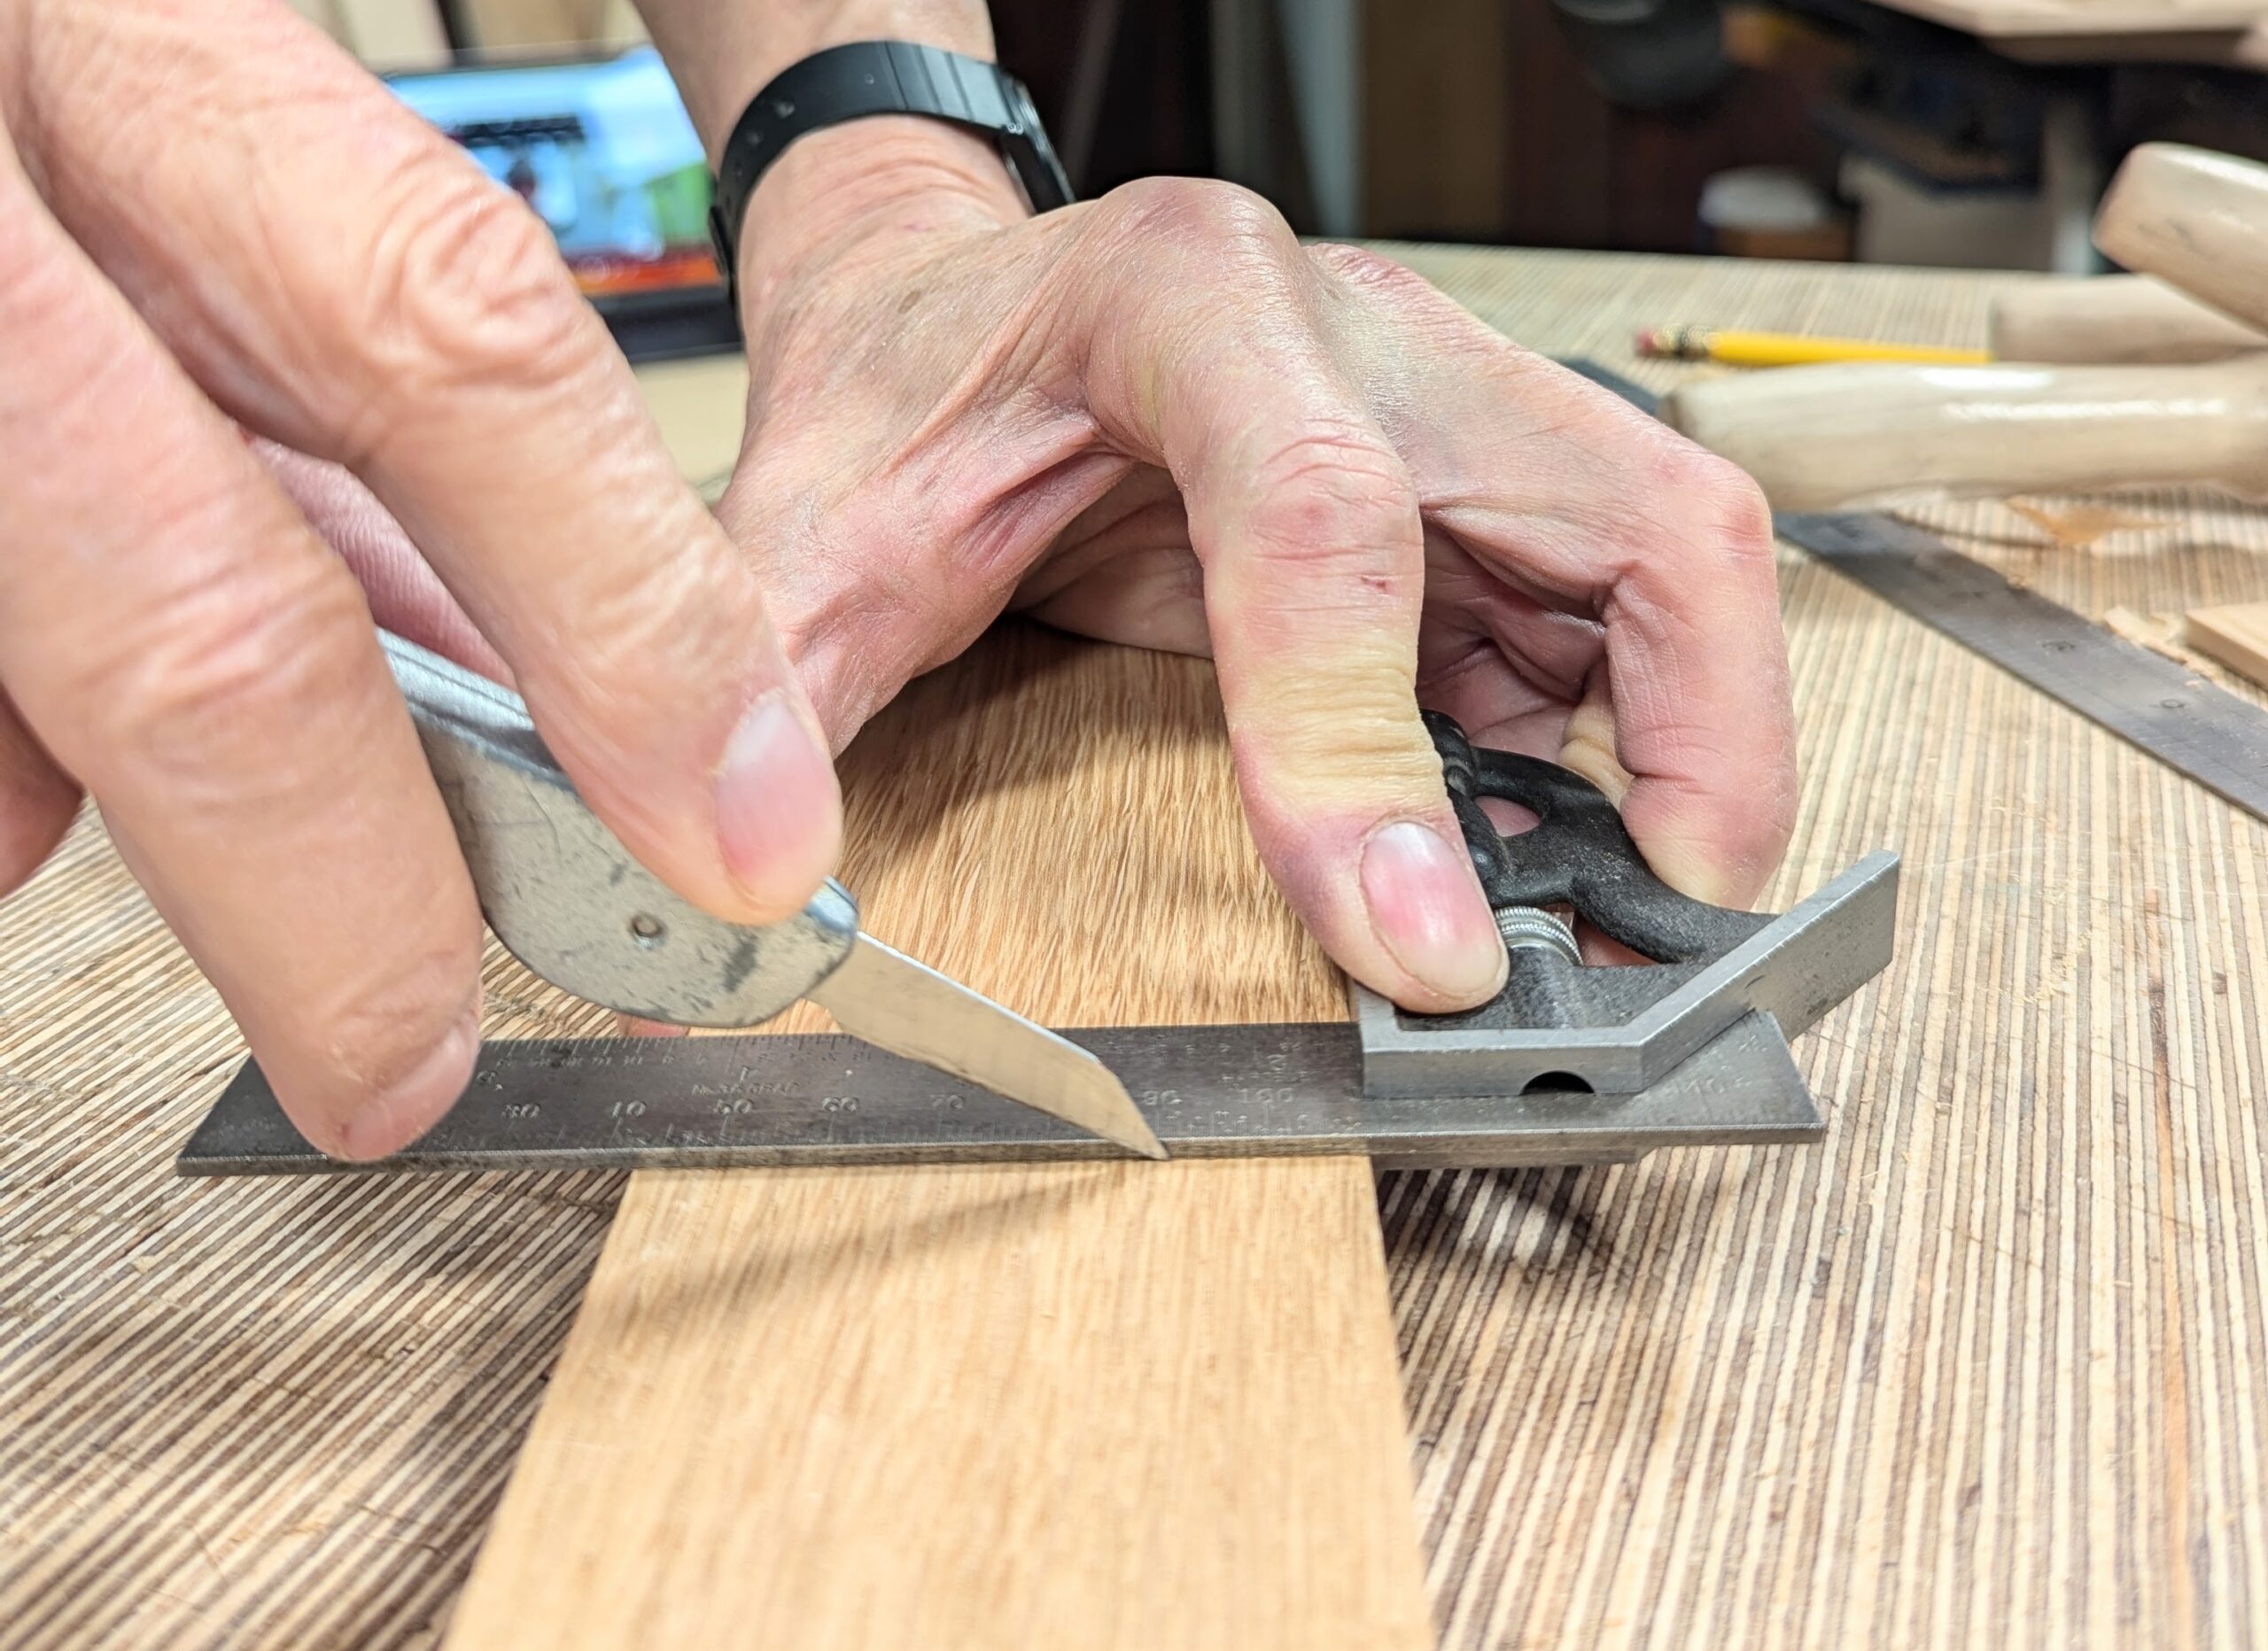
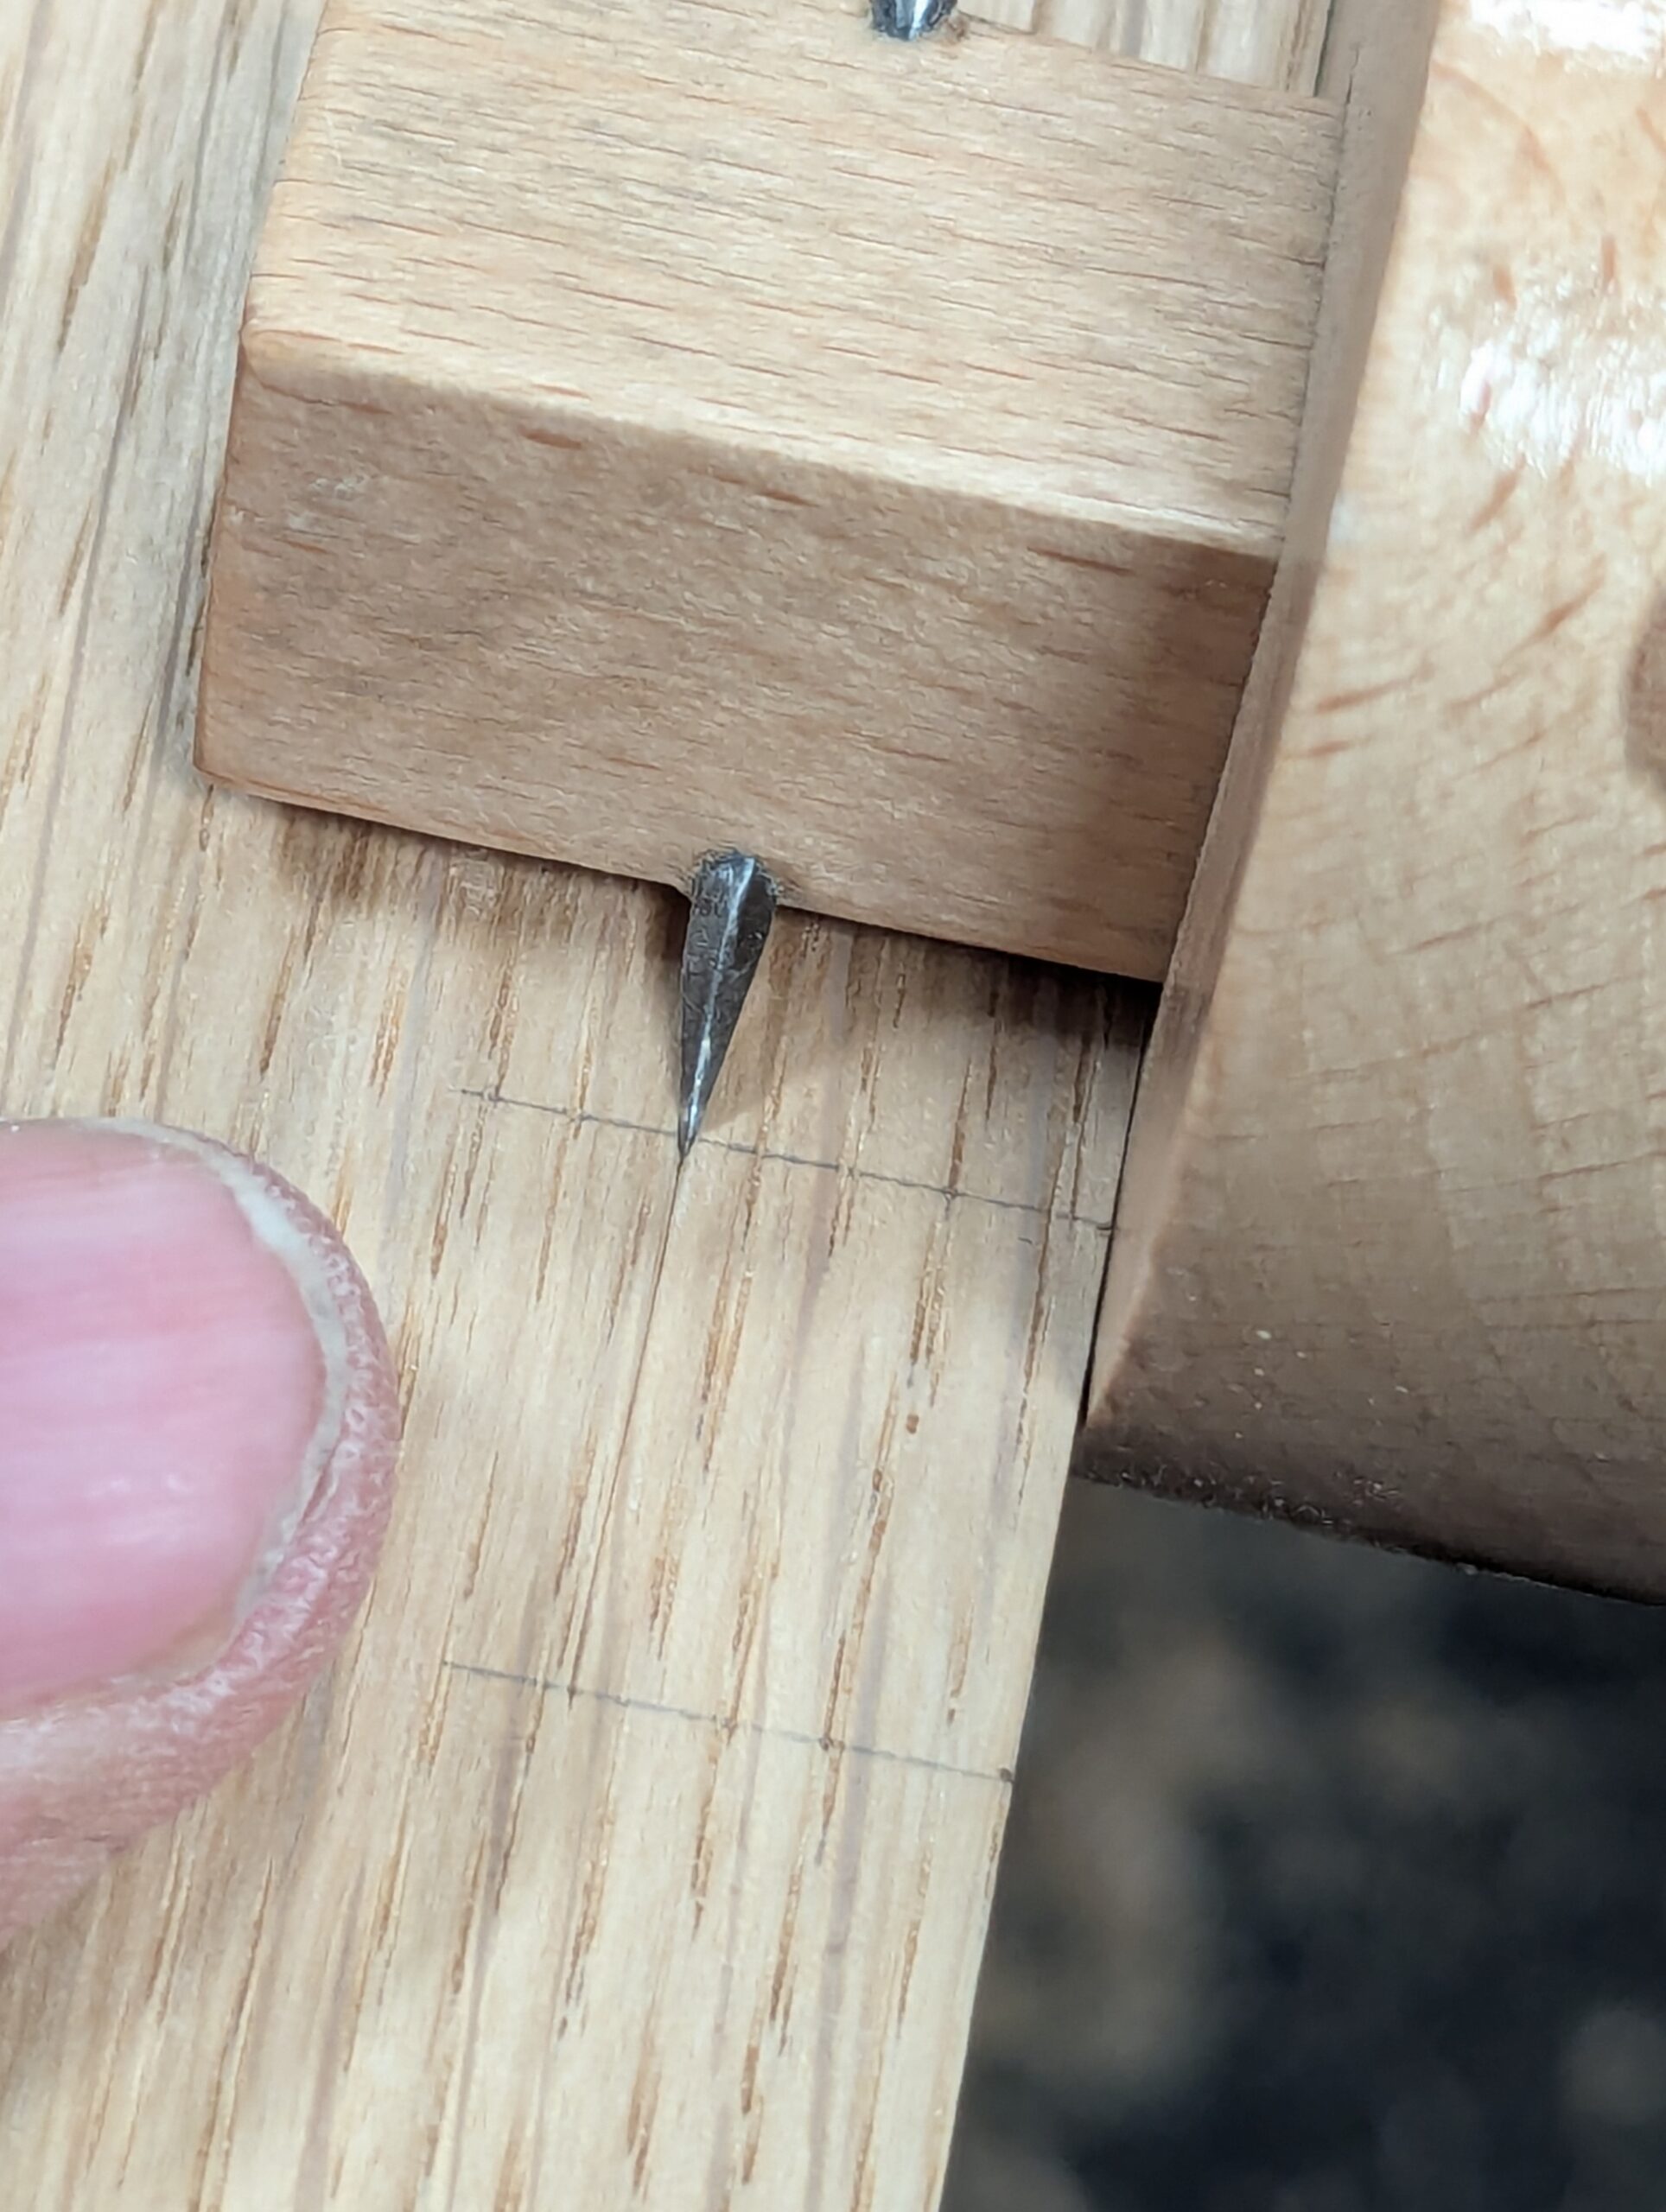
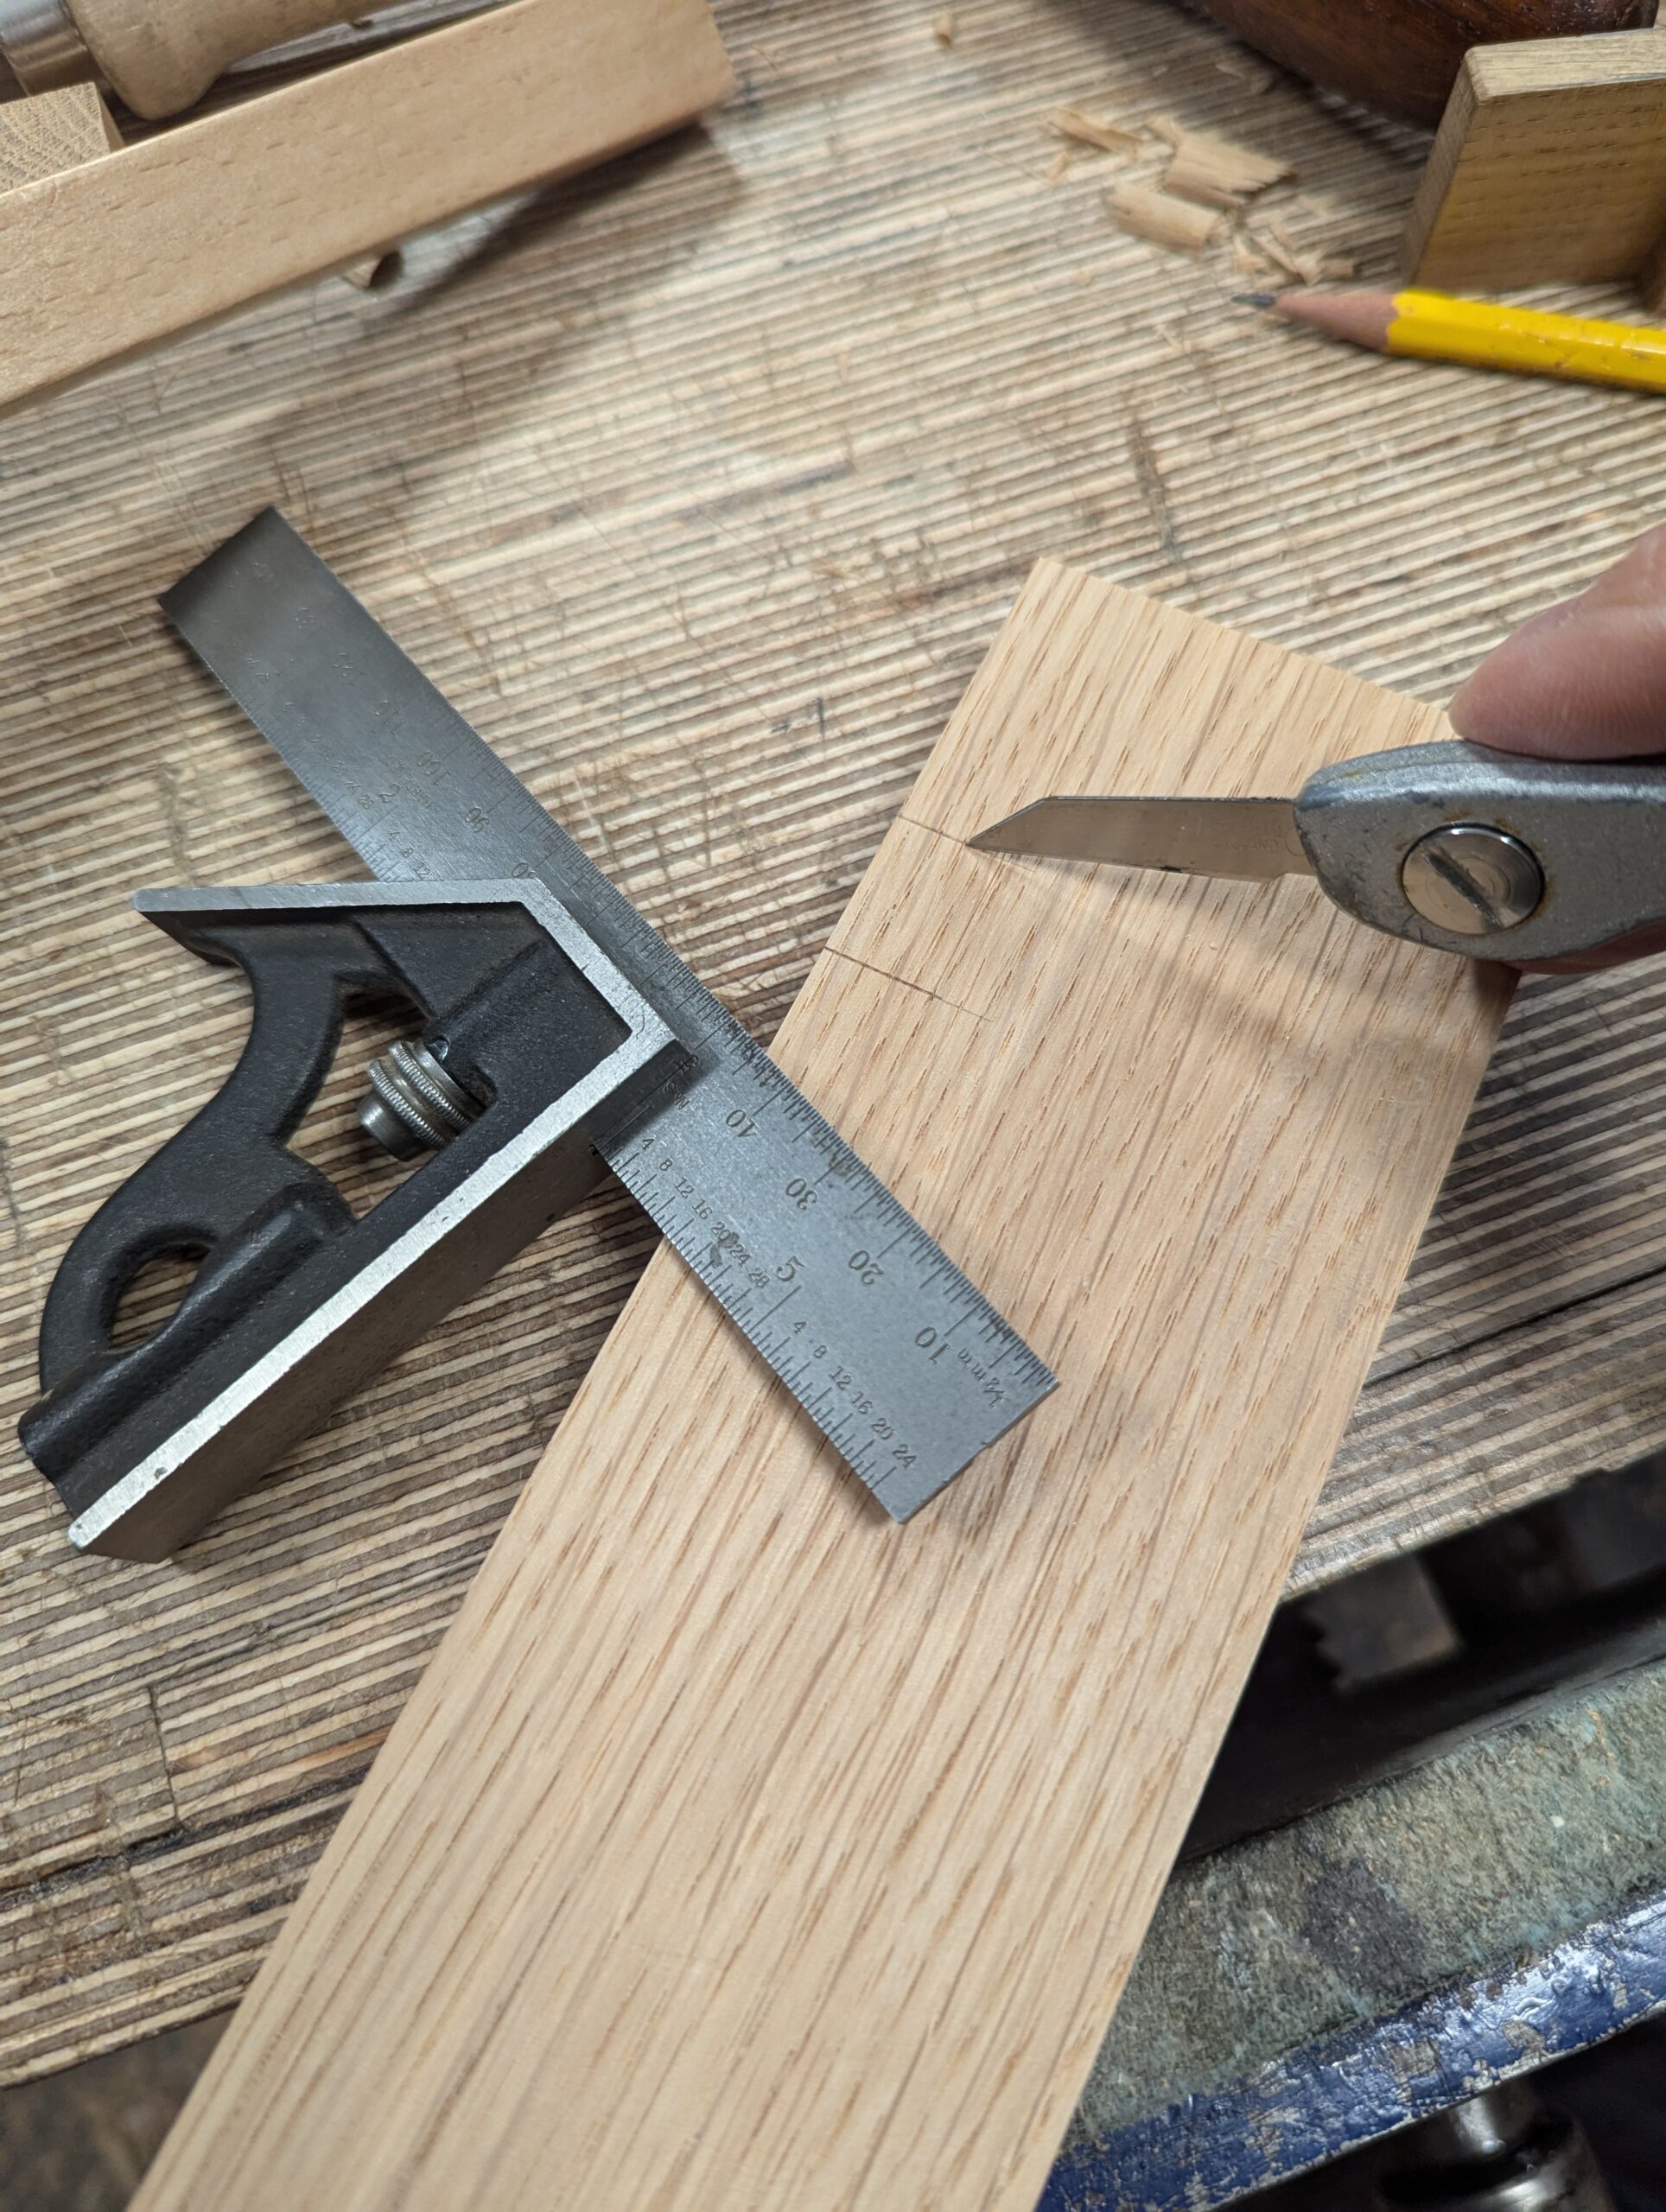
Anywhere on one of the pieces, make an initial knifewall all the way across.

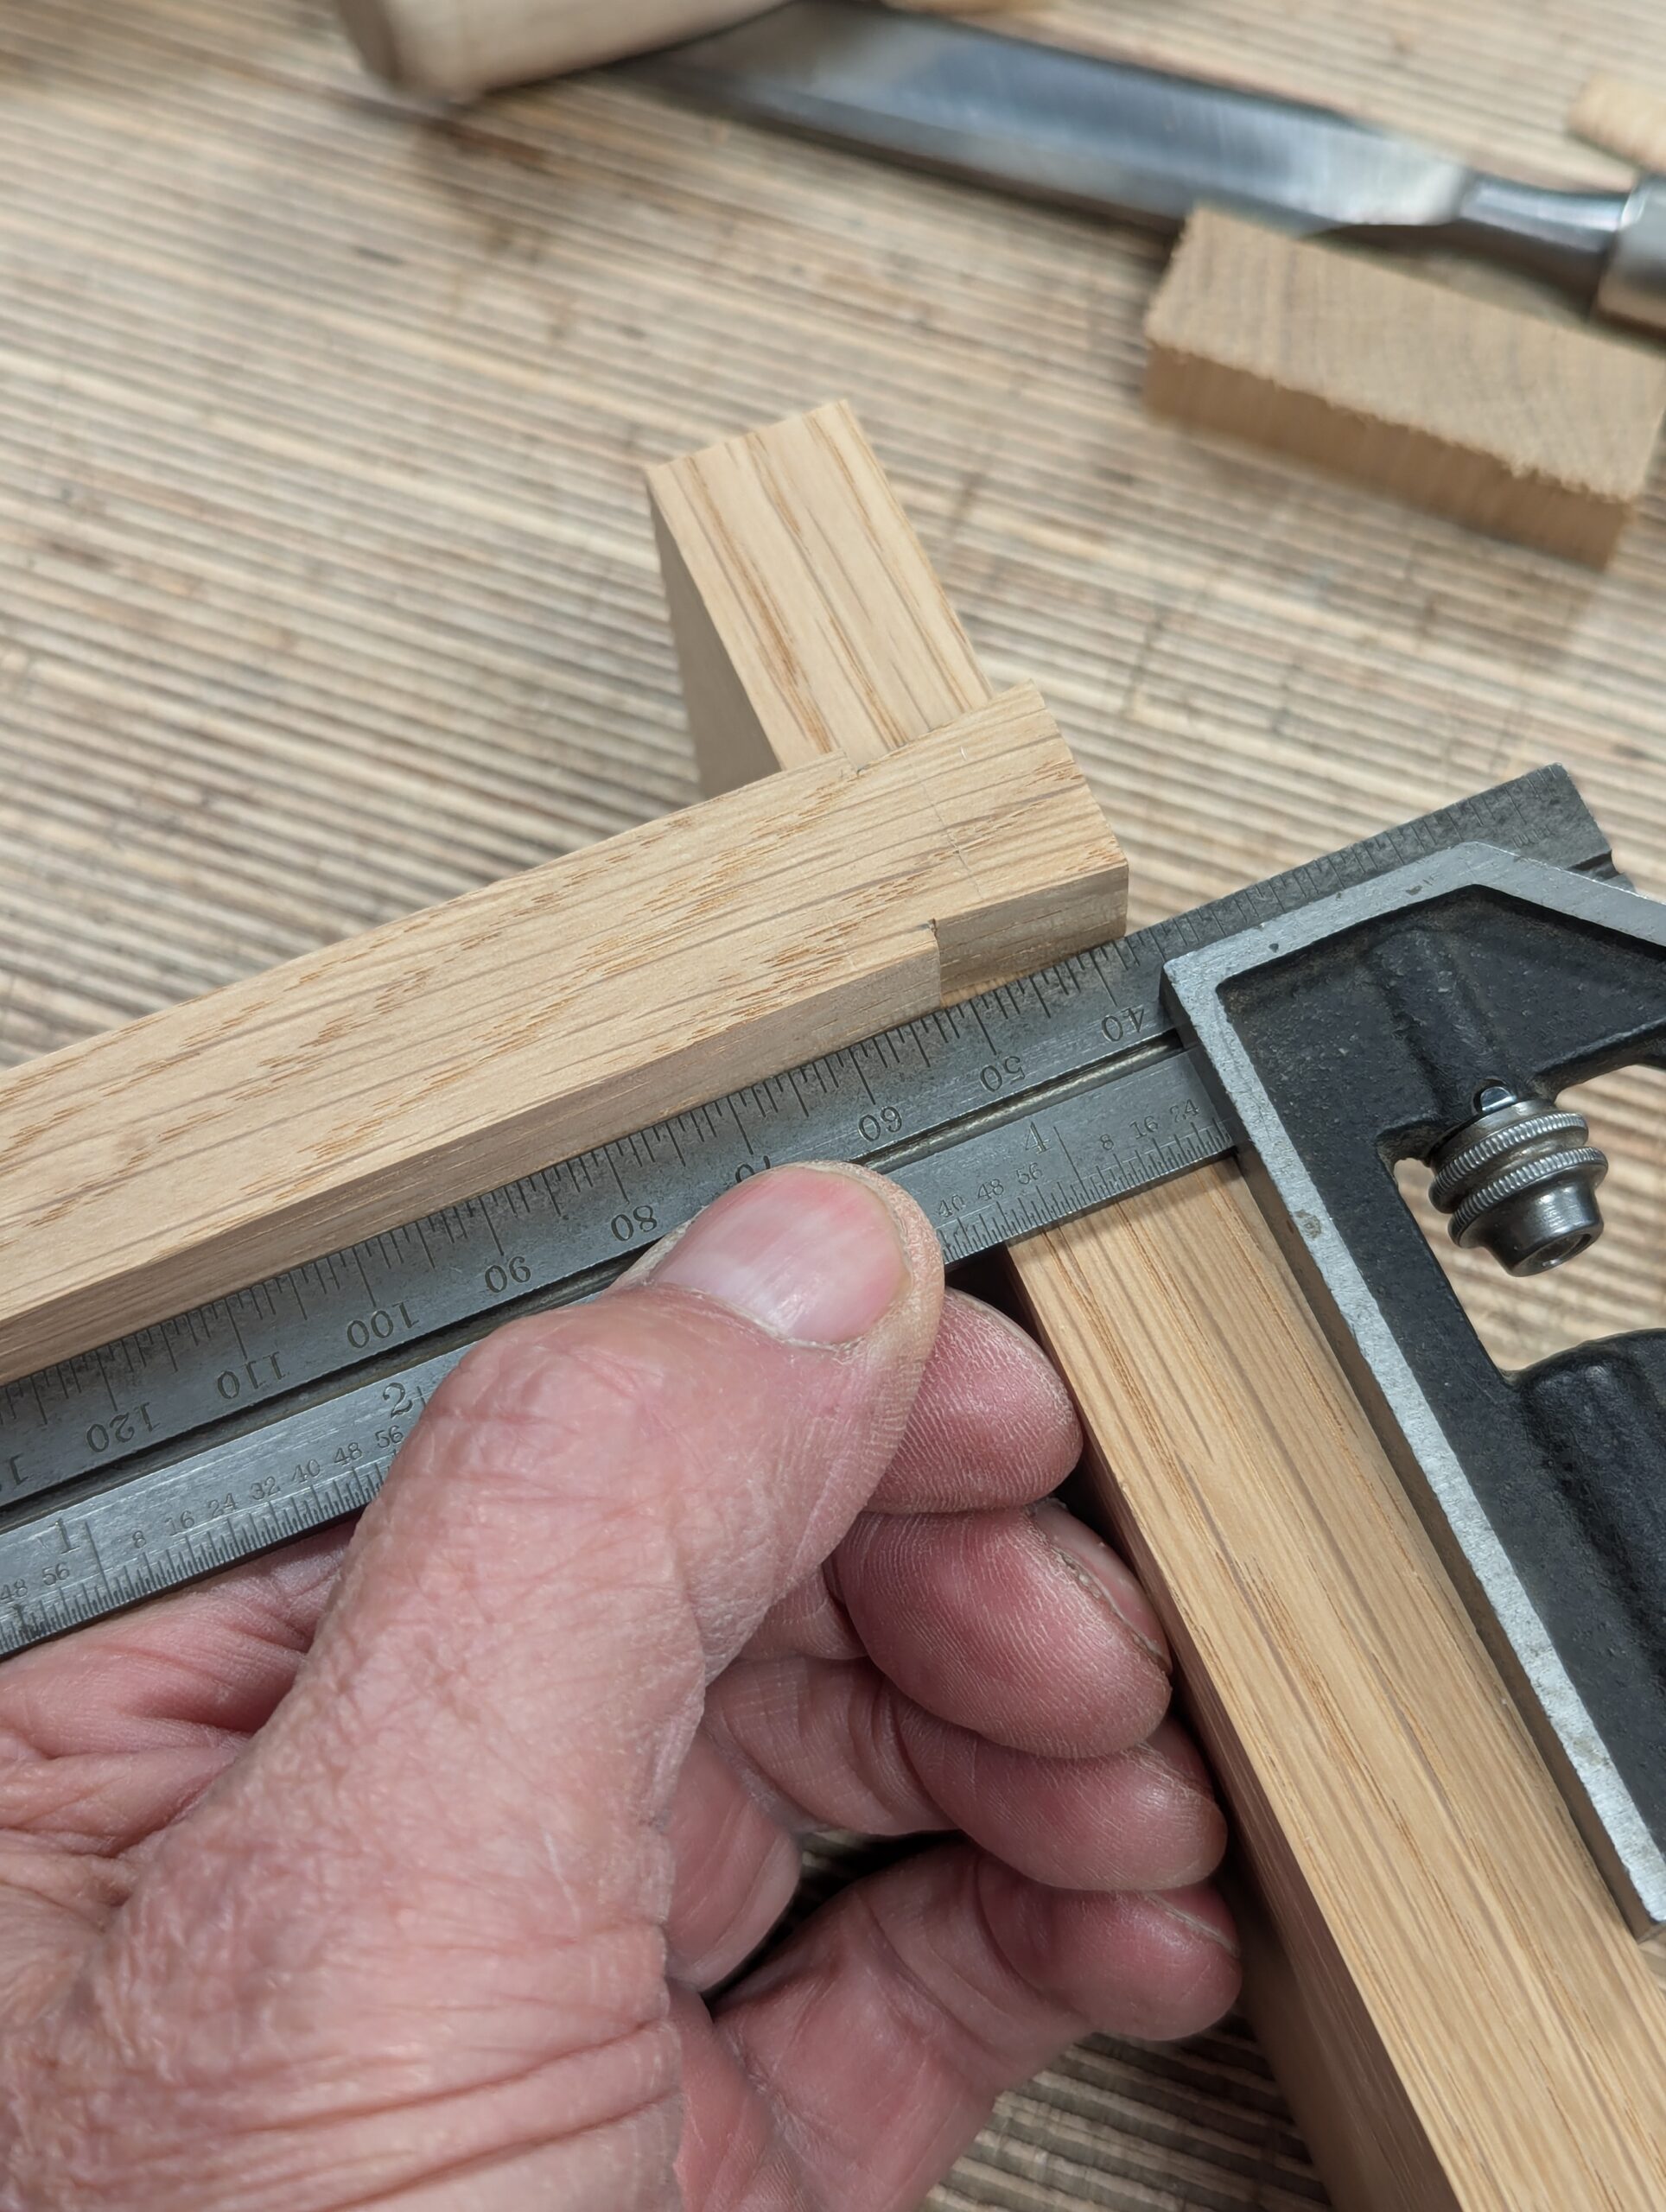
With the square on the first knifewall, place the second piece of wood up against the square and lightly mark the position of the second knifewall.
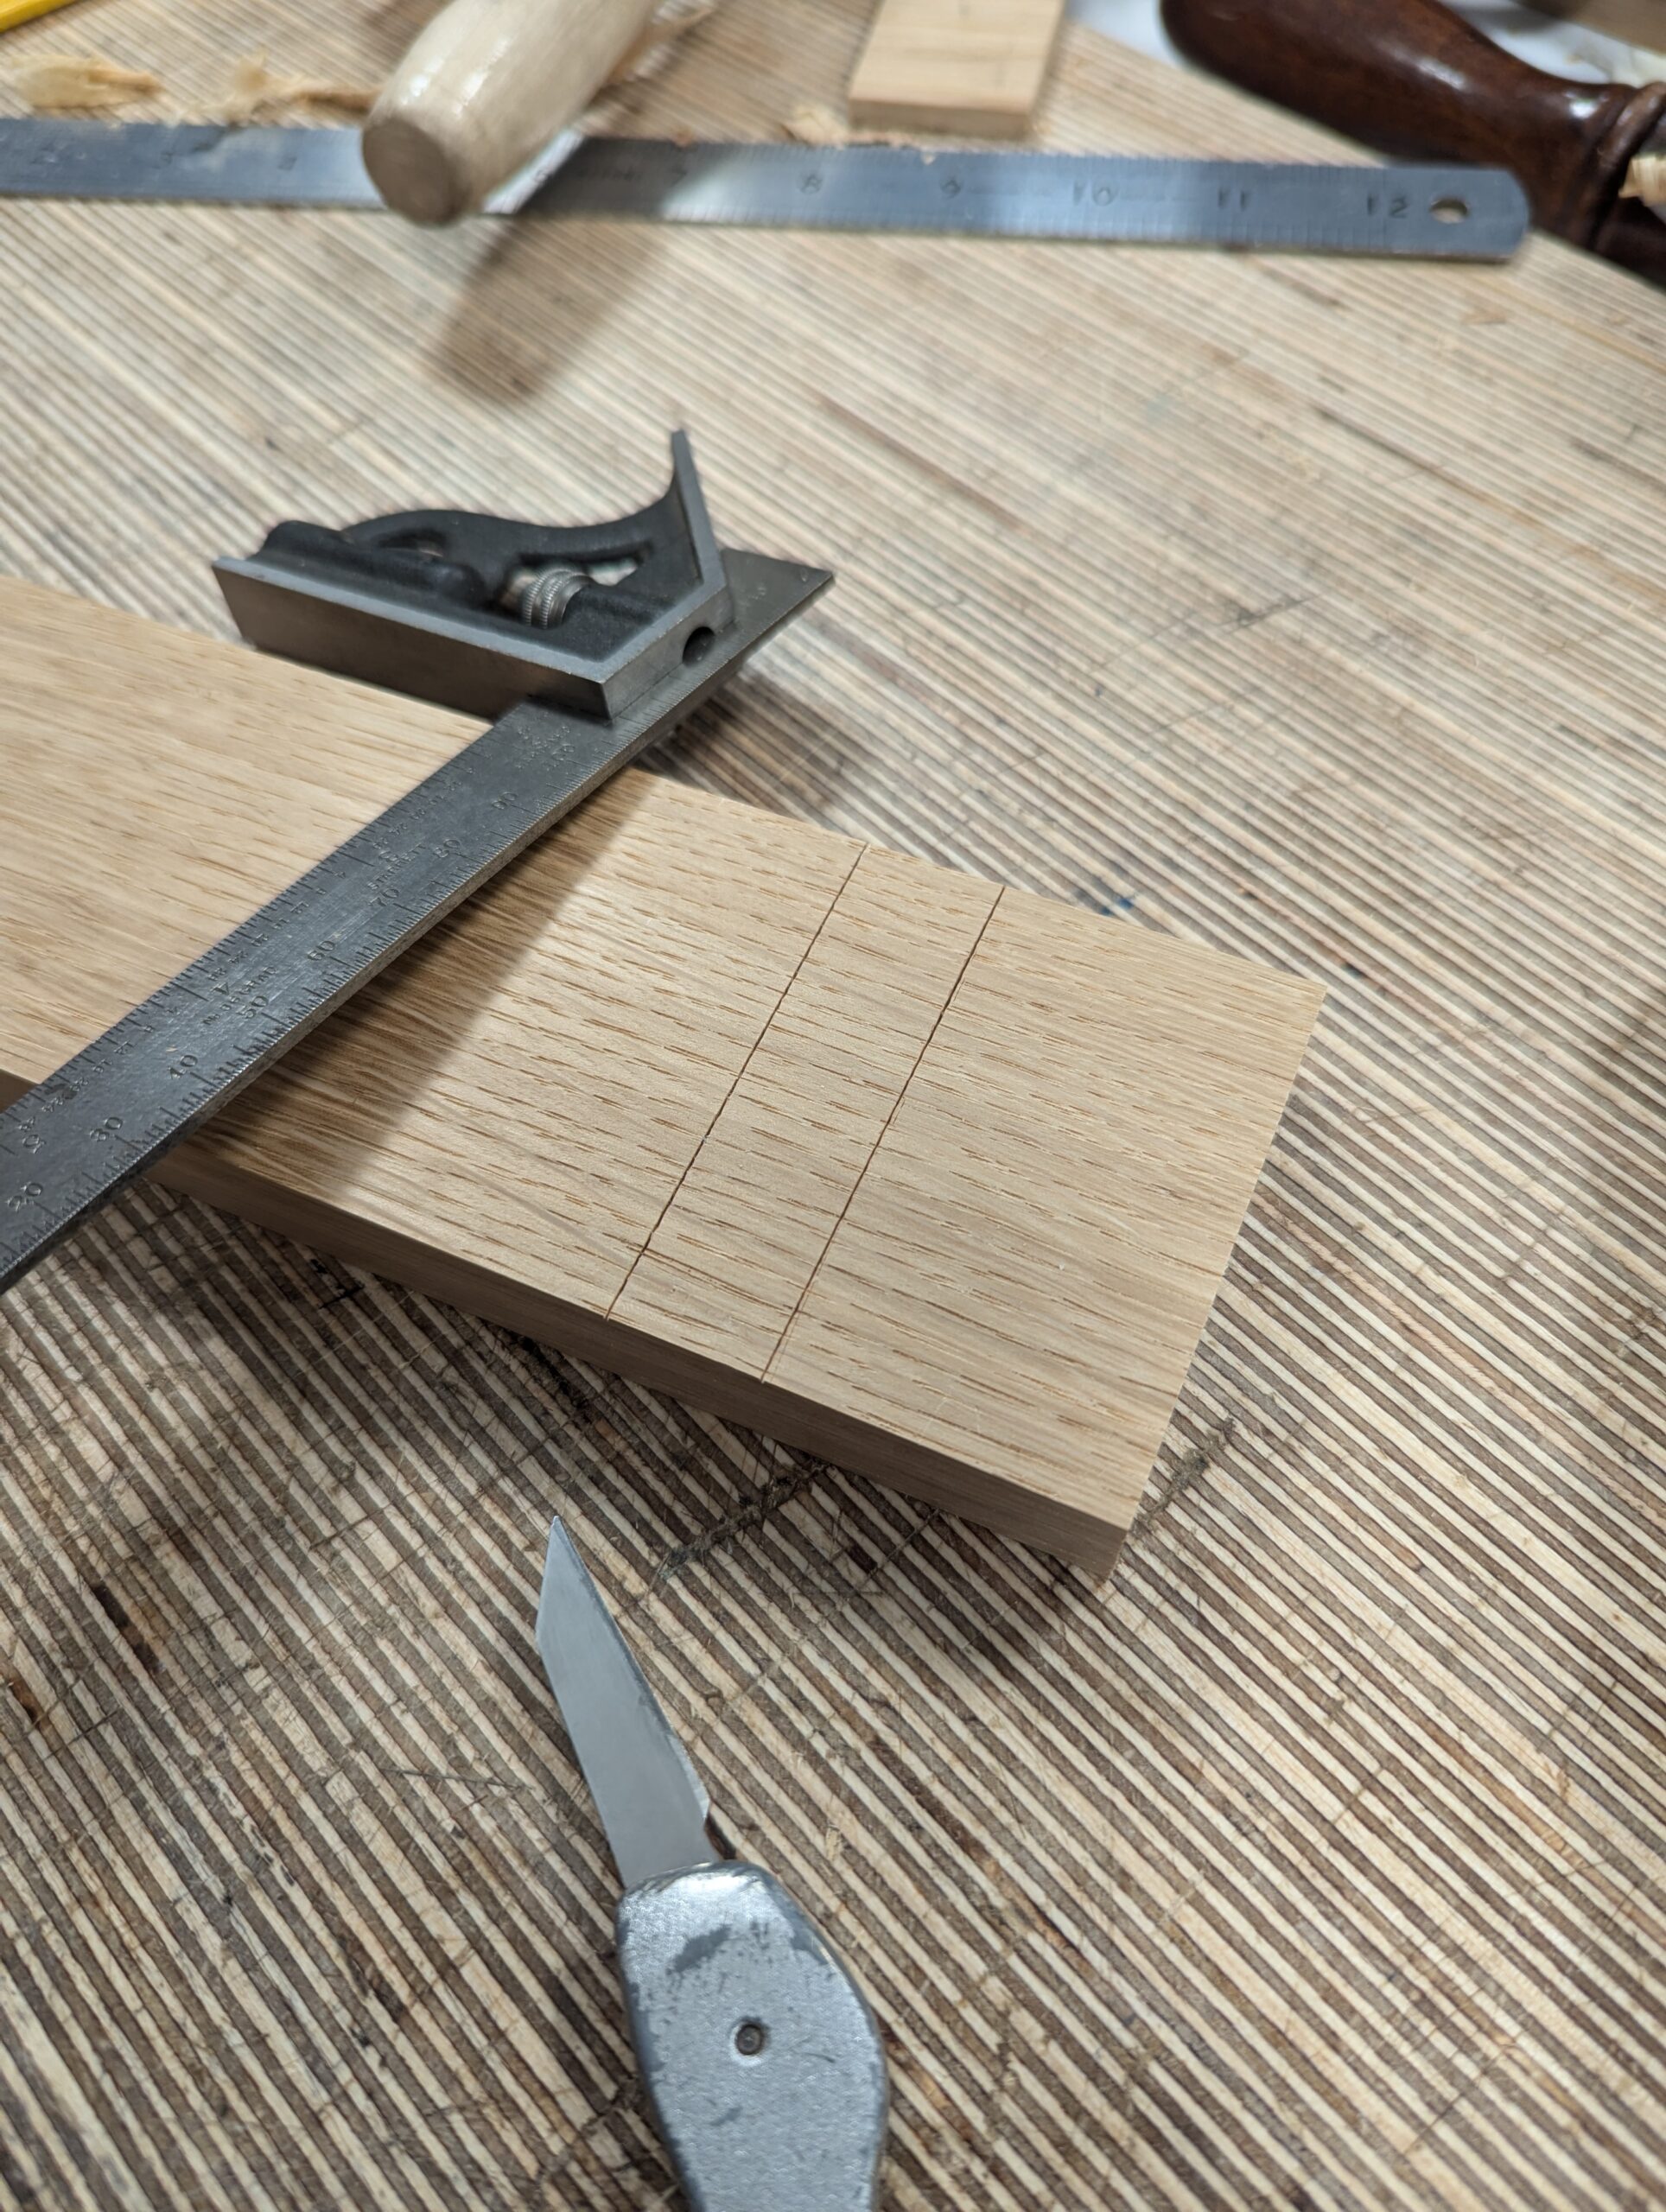
Square the second knifewall across.

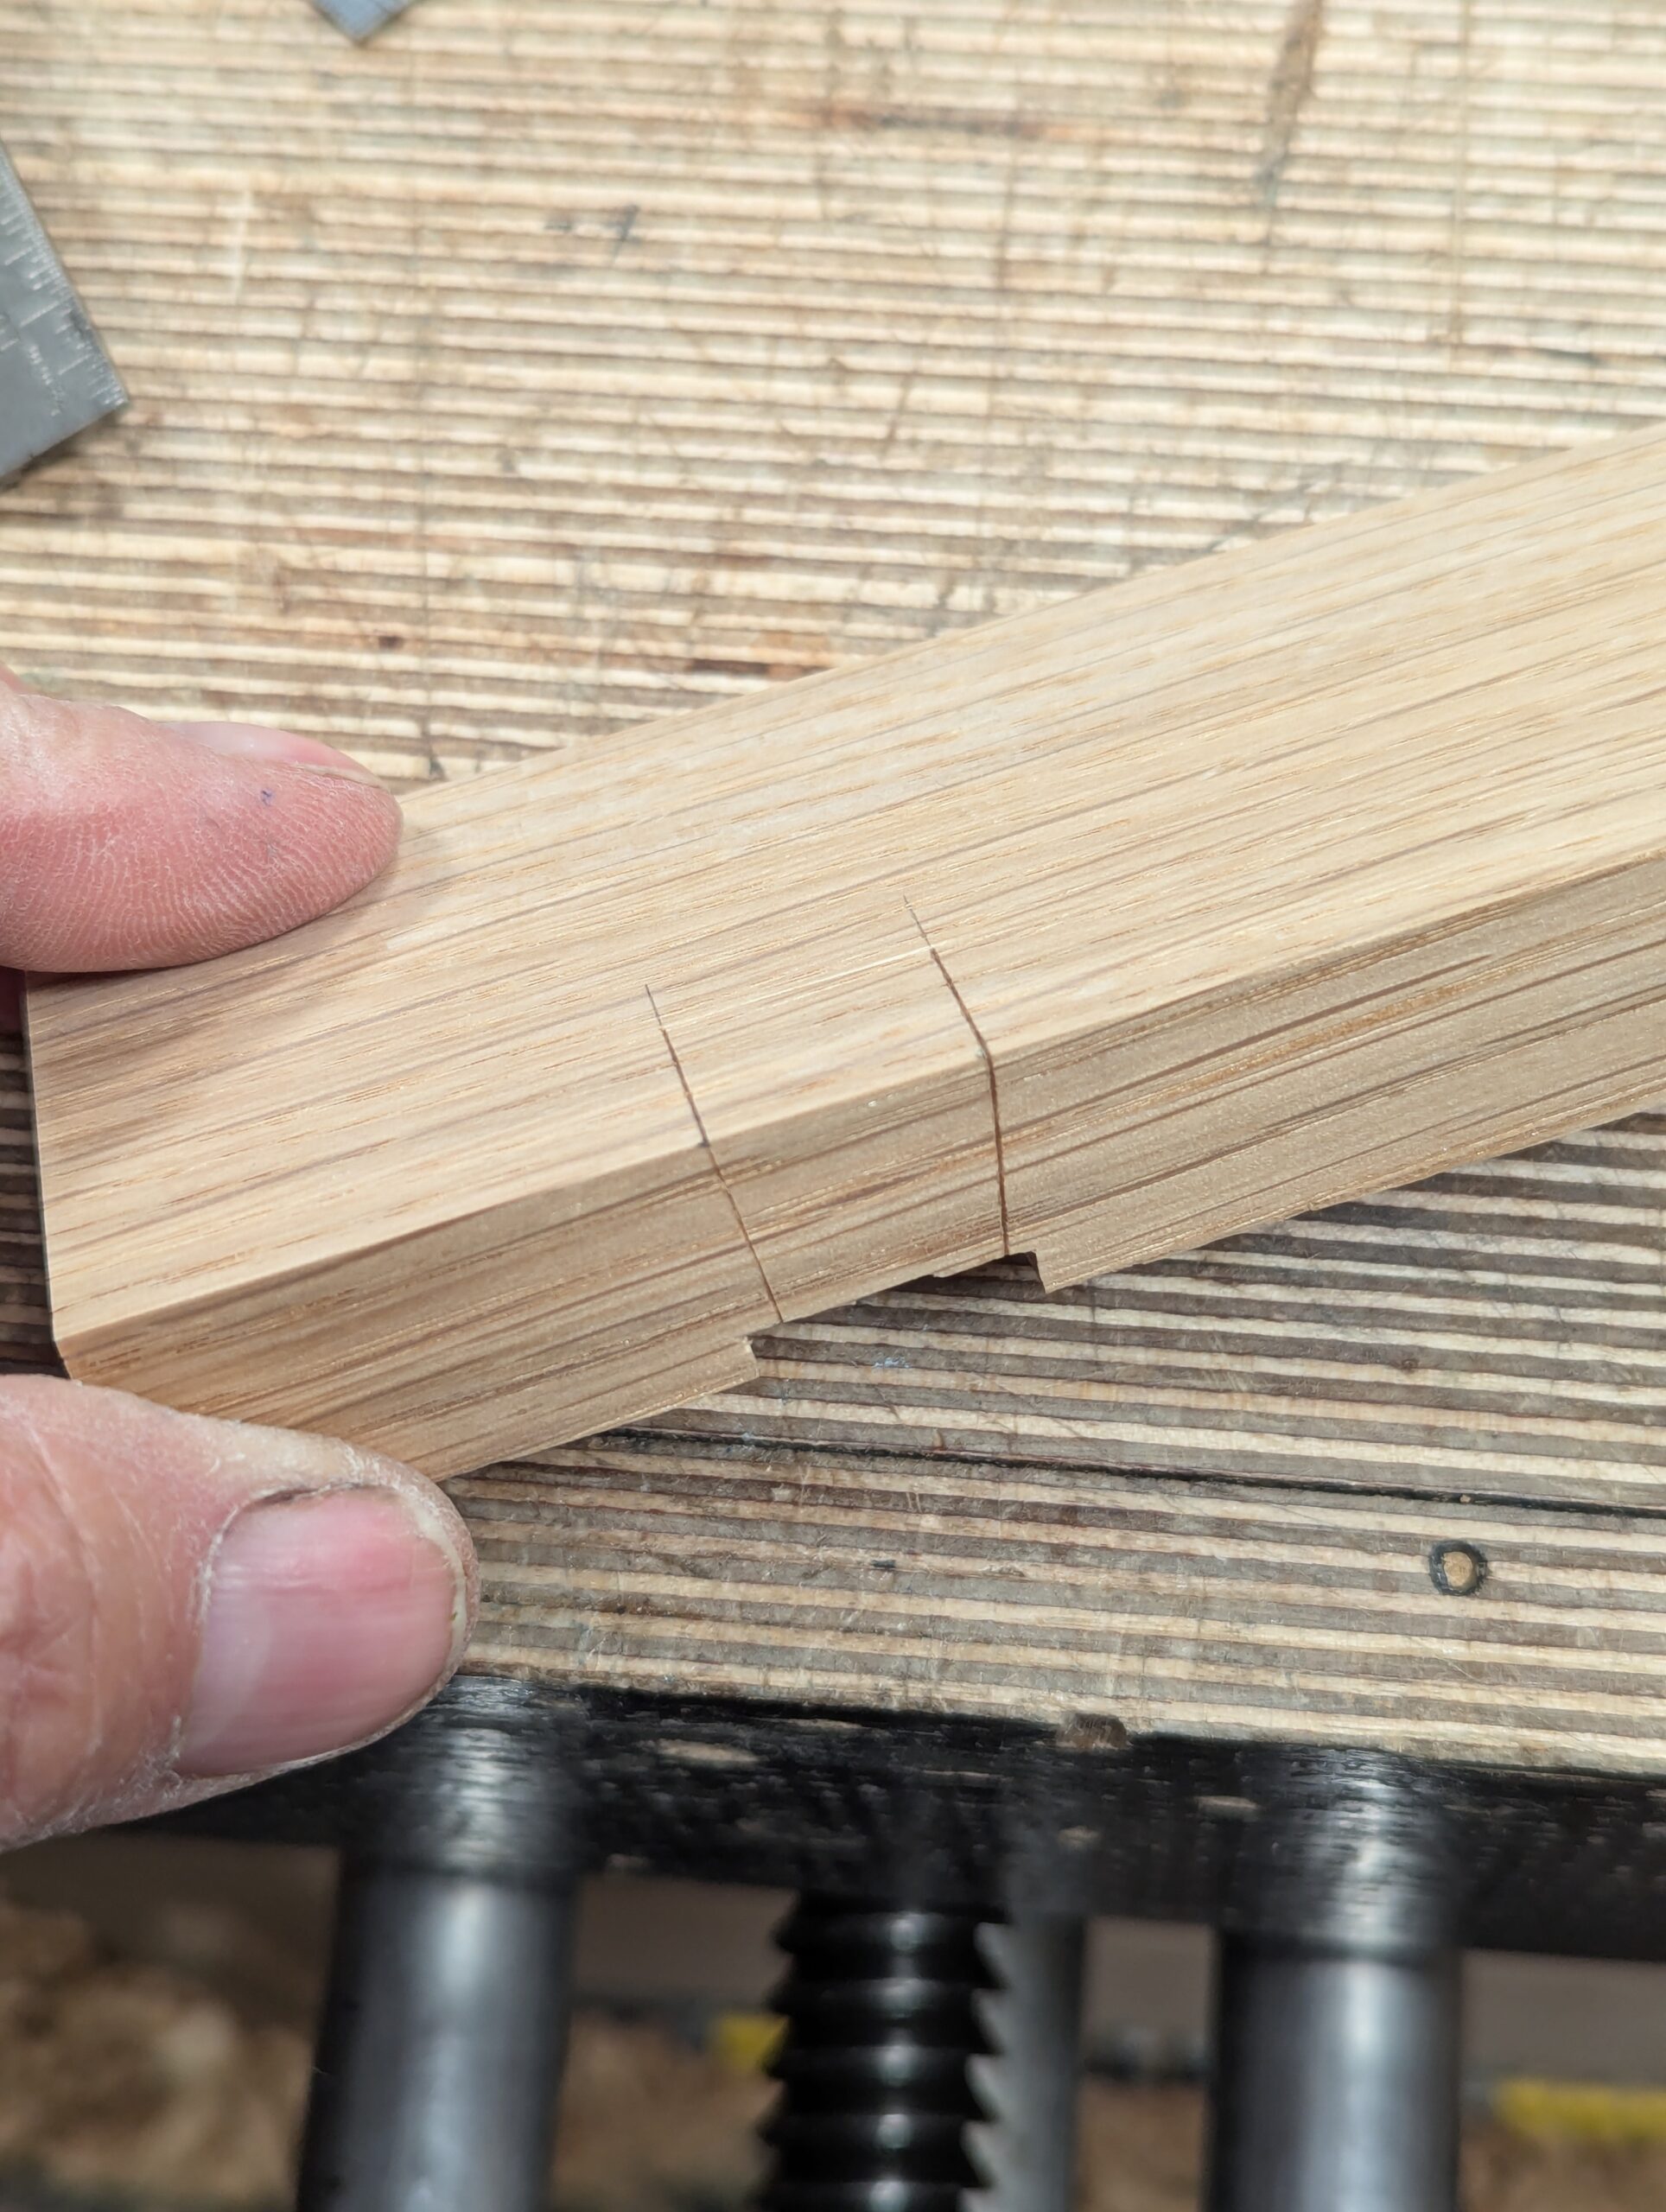
Use pencil to mark onto the edges. These lines will guide your start and stop for the depth of cut––the bottom of the housing dado.

I use the router plane as a gauge to mark the depth of the housing dado between the two lines.

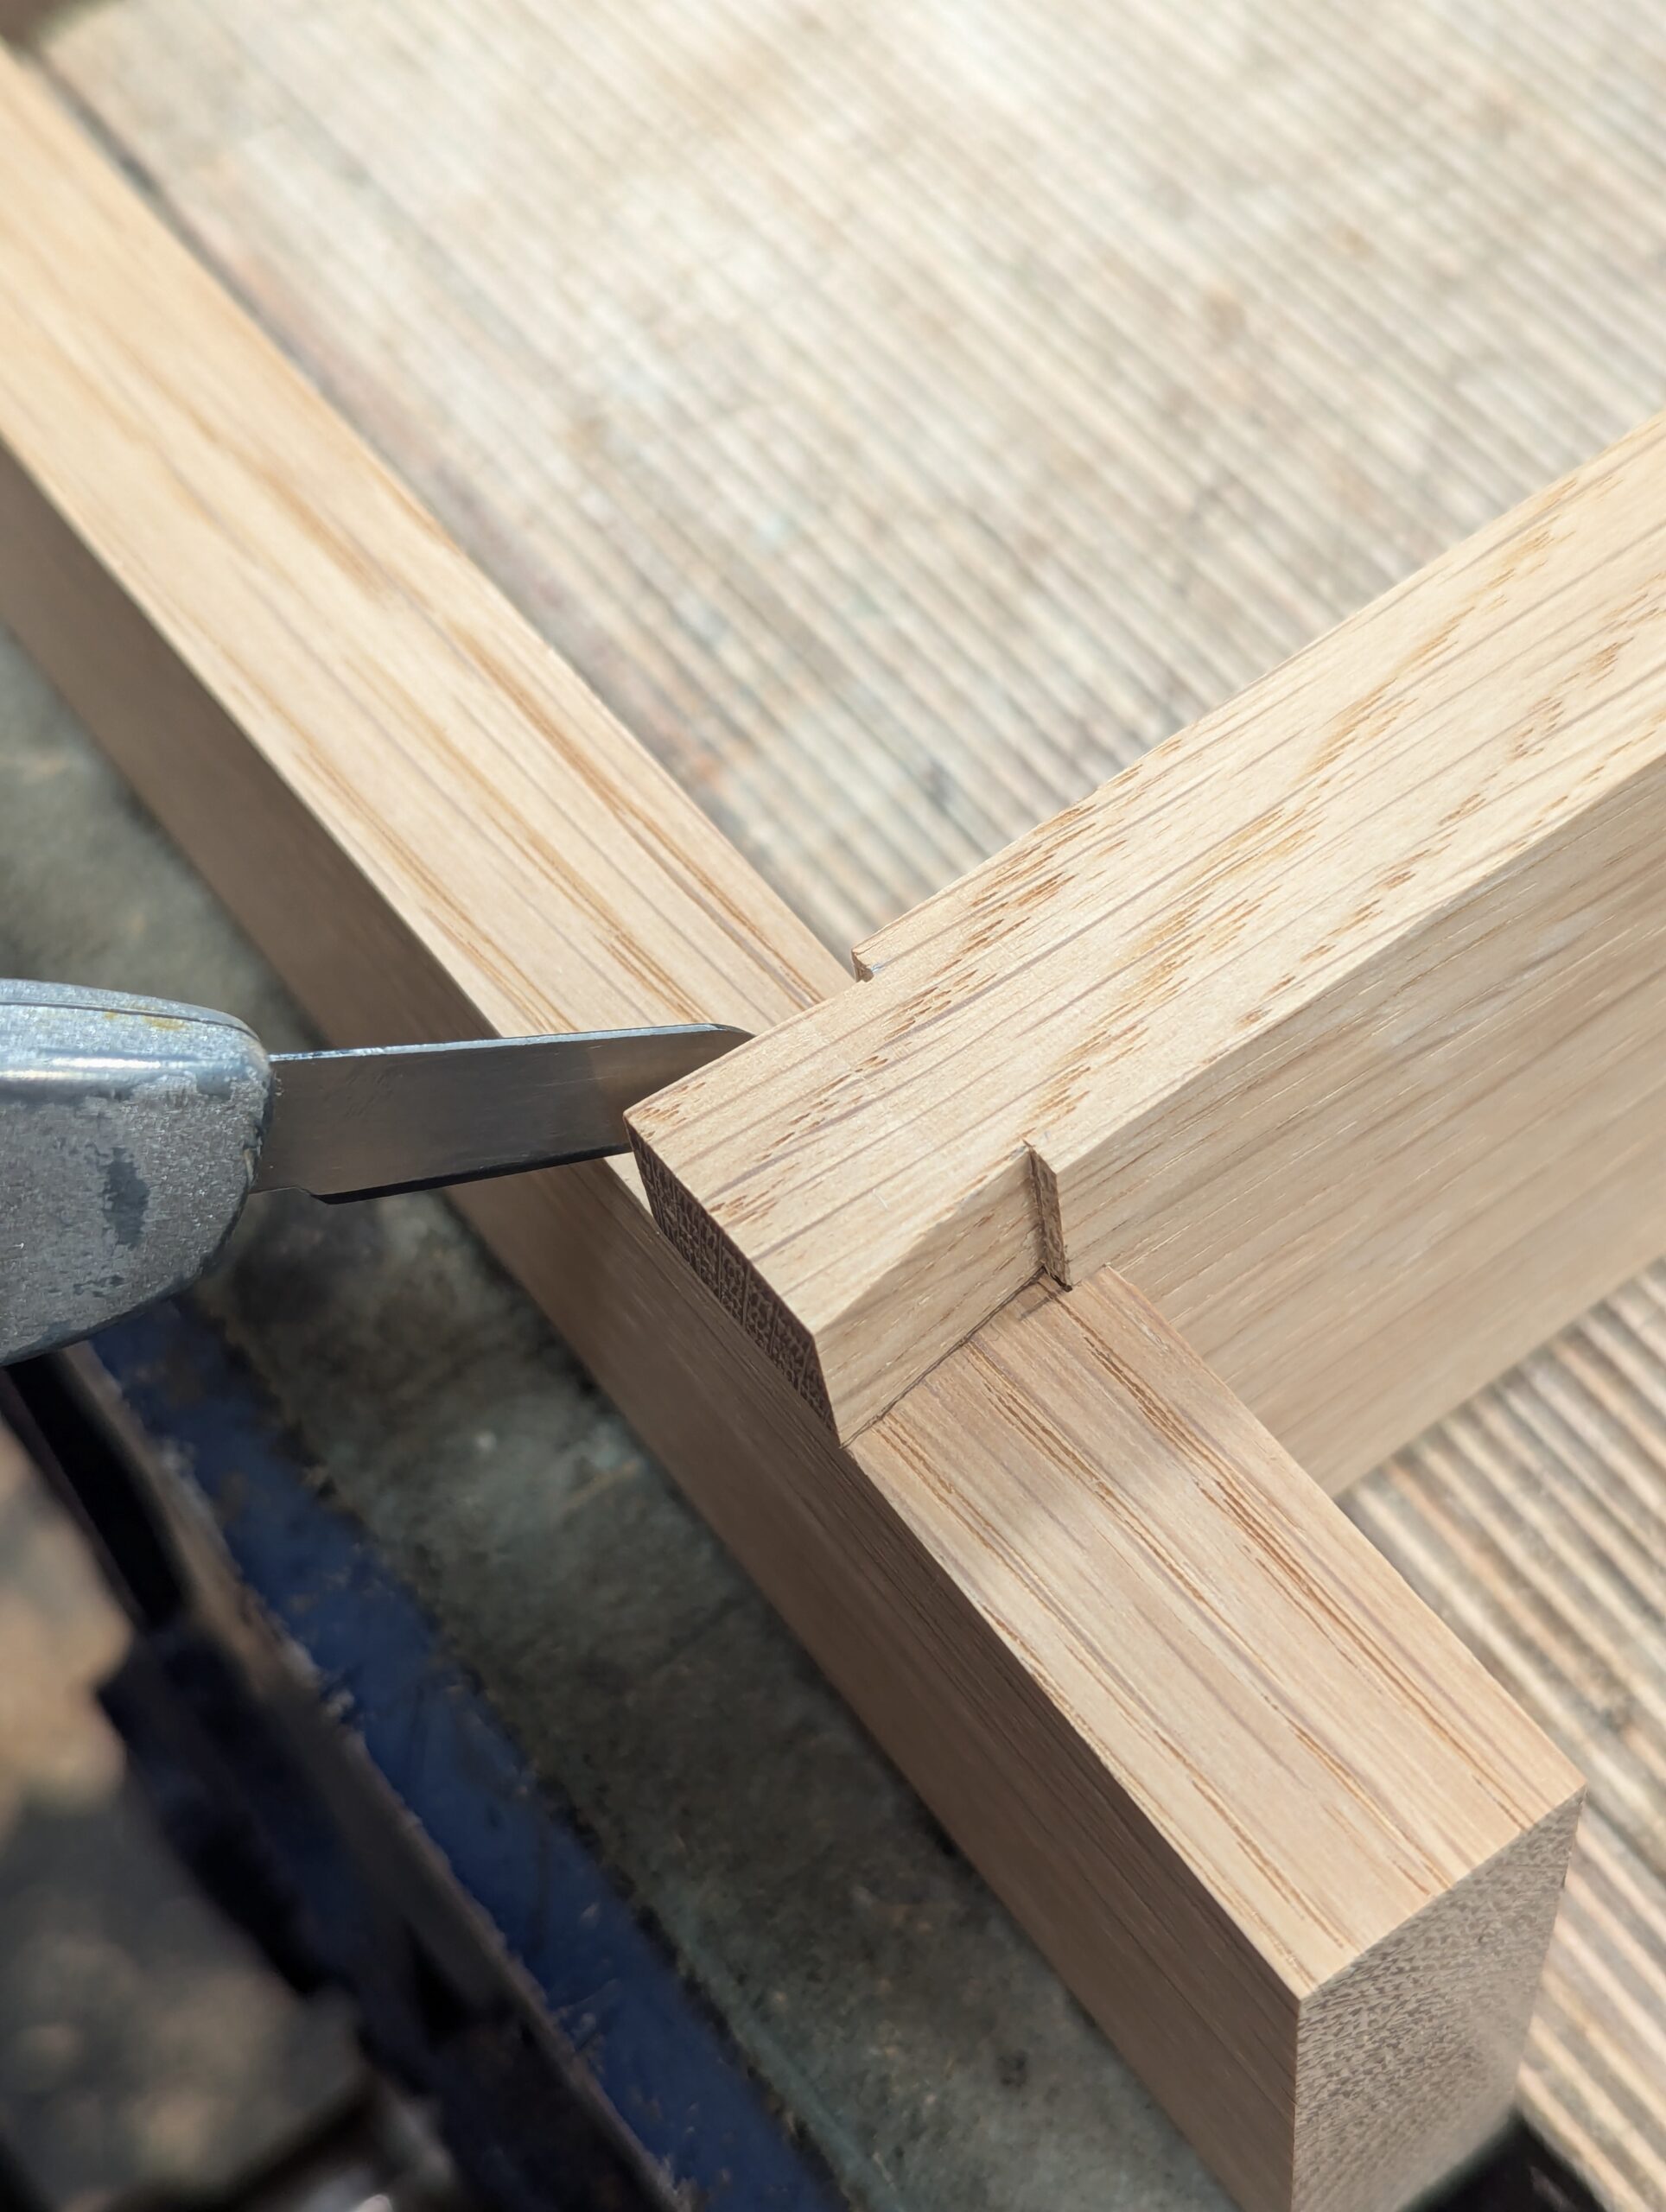
Strengthen the knife wall by chiselling at a low angle into it.
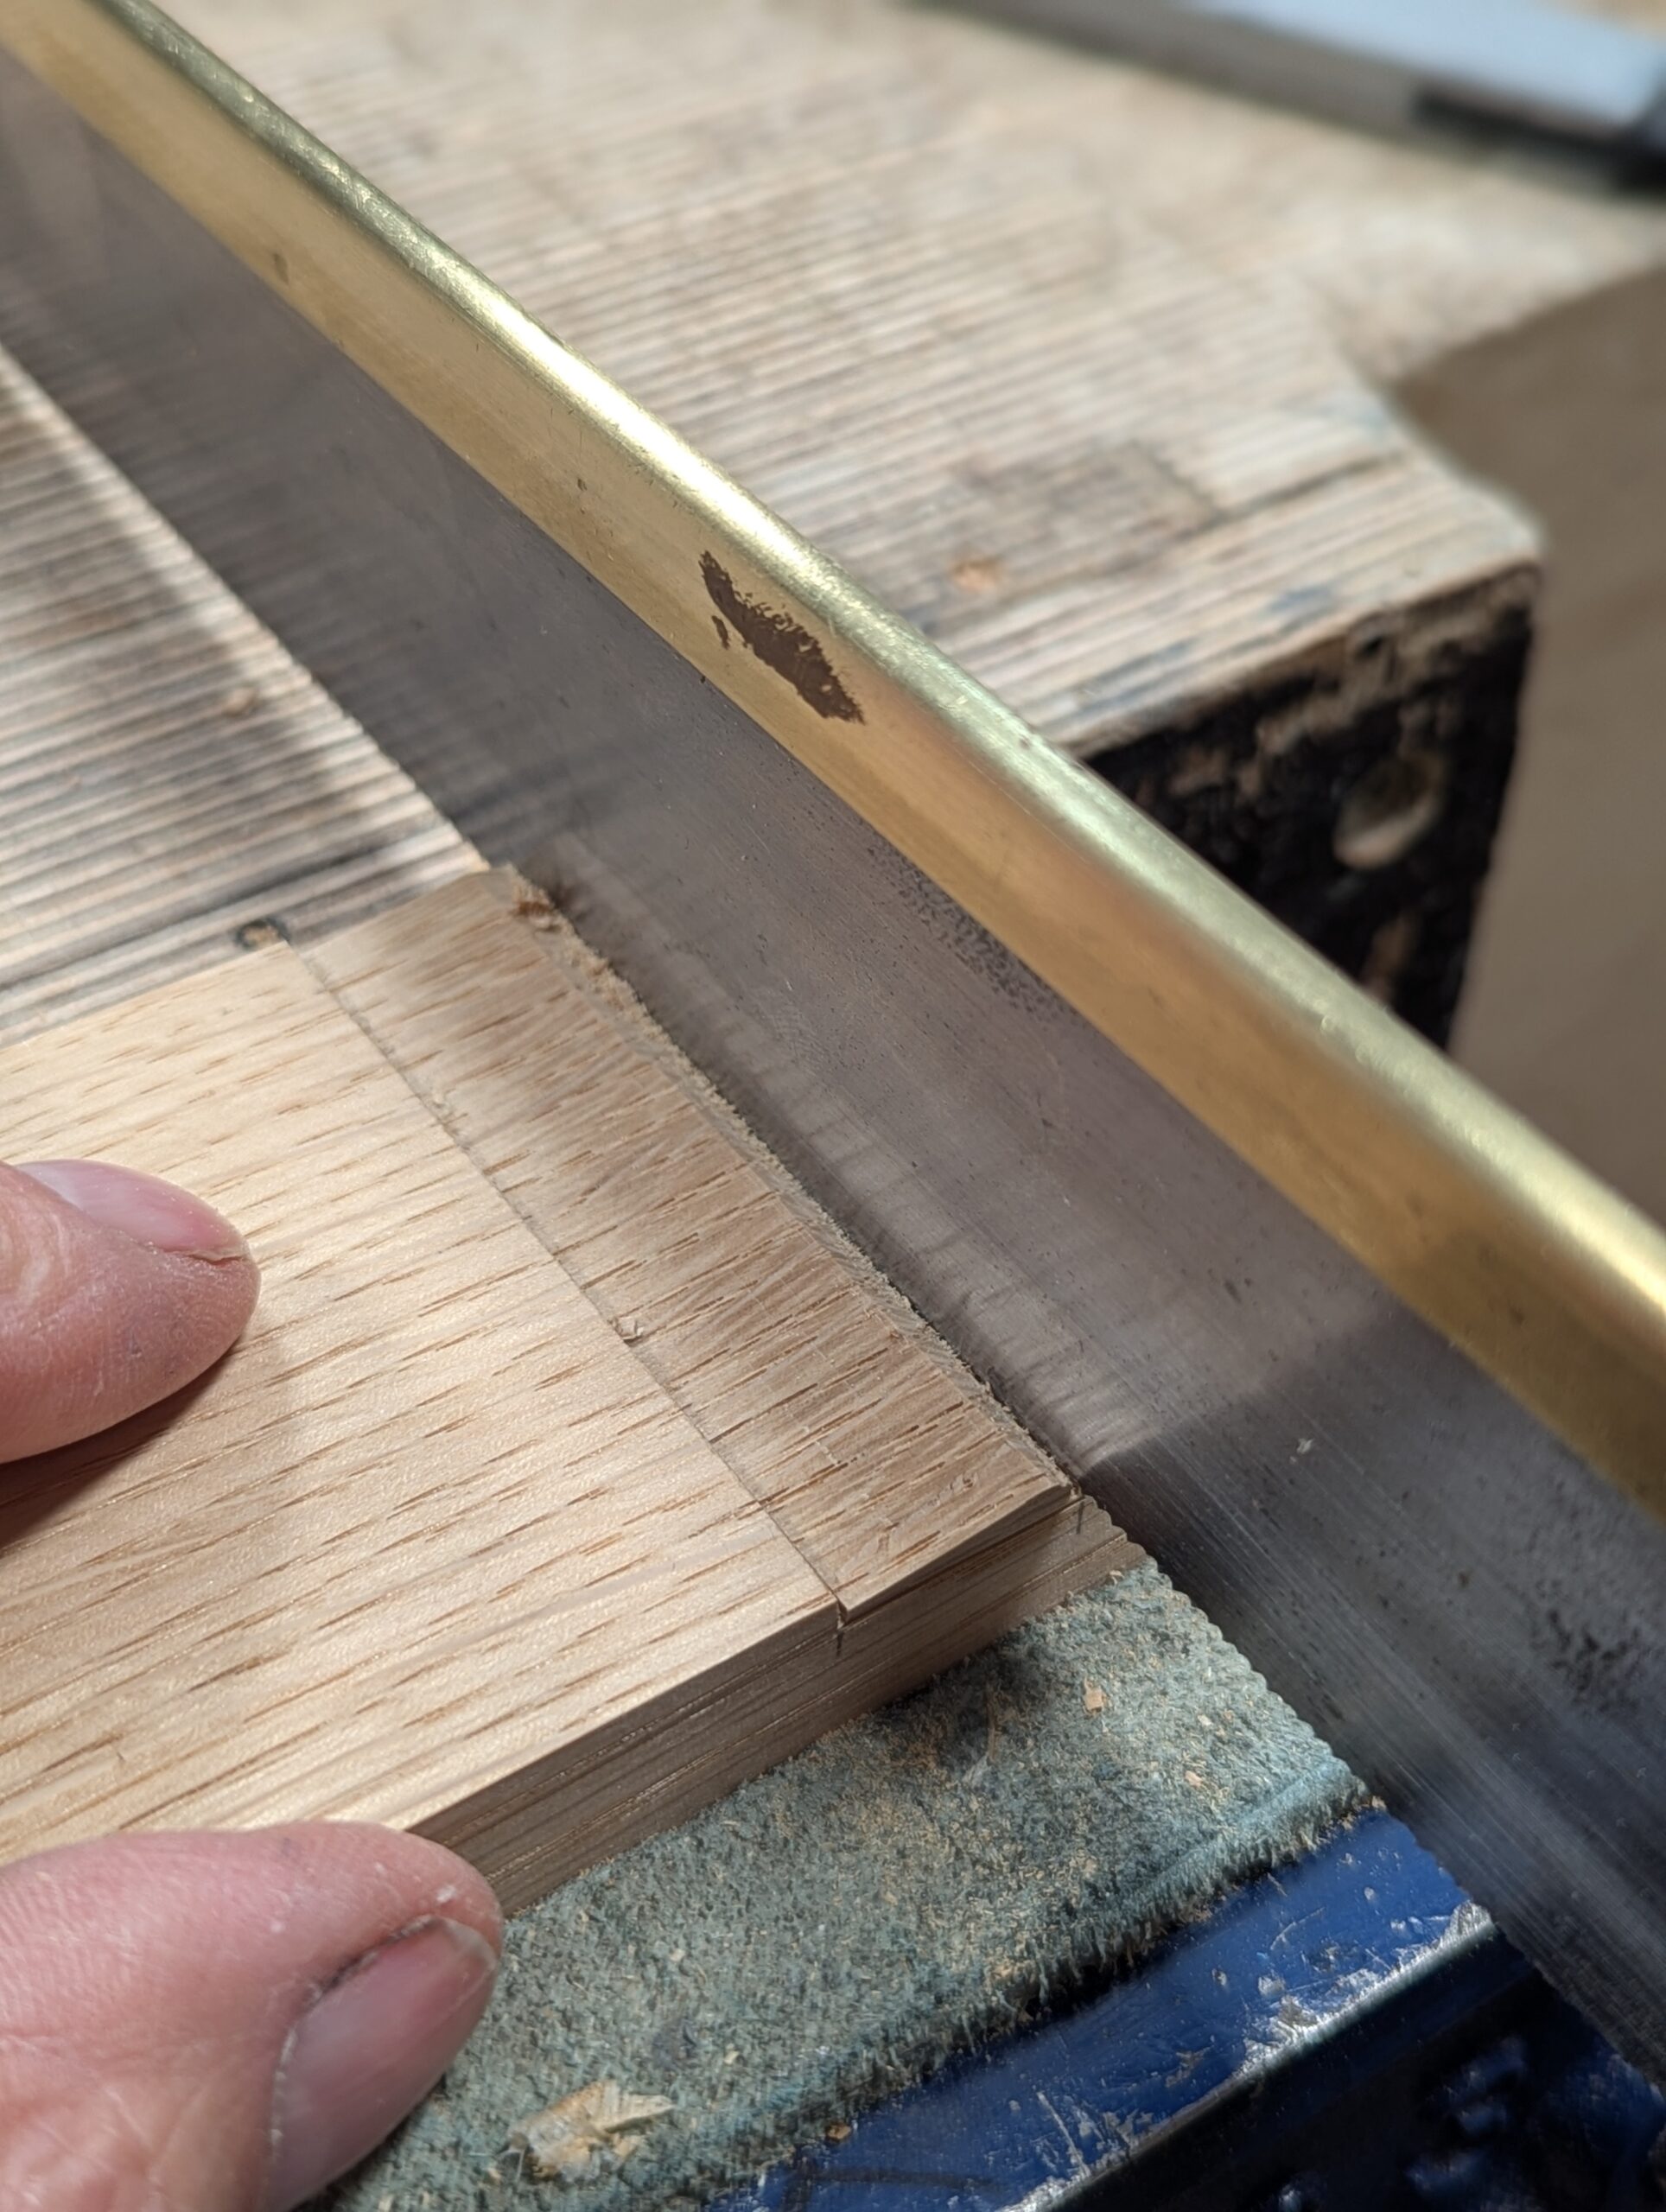
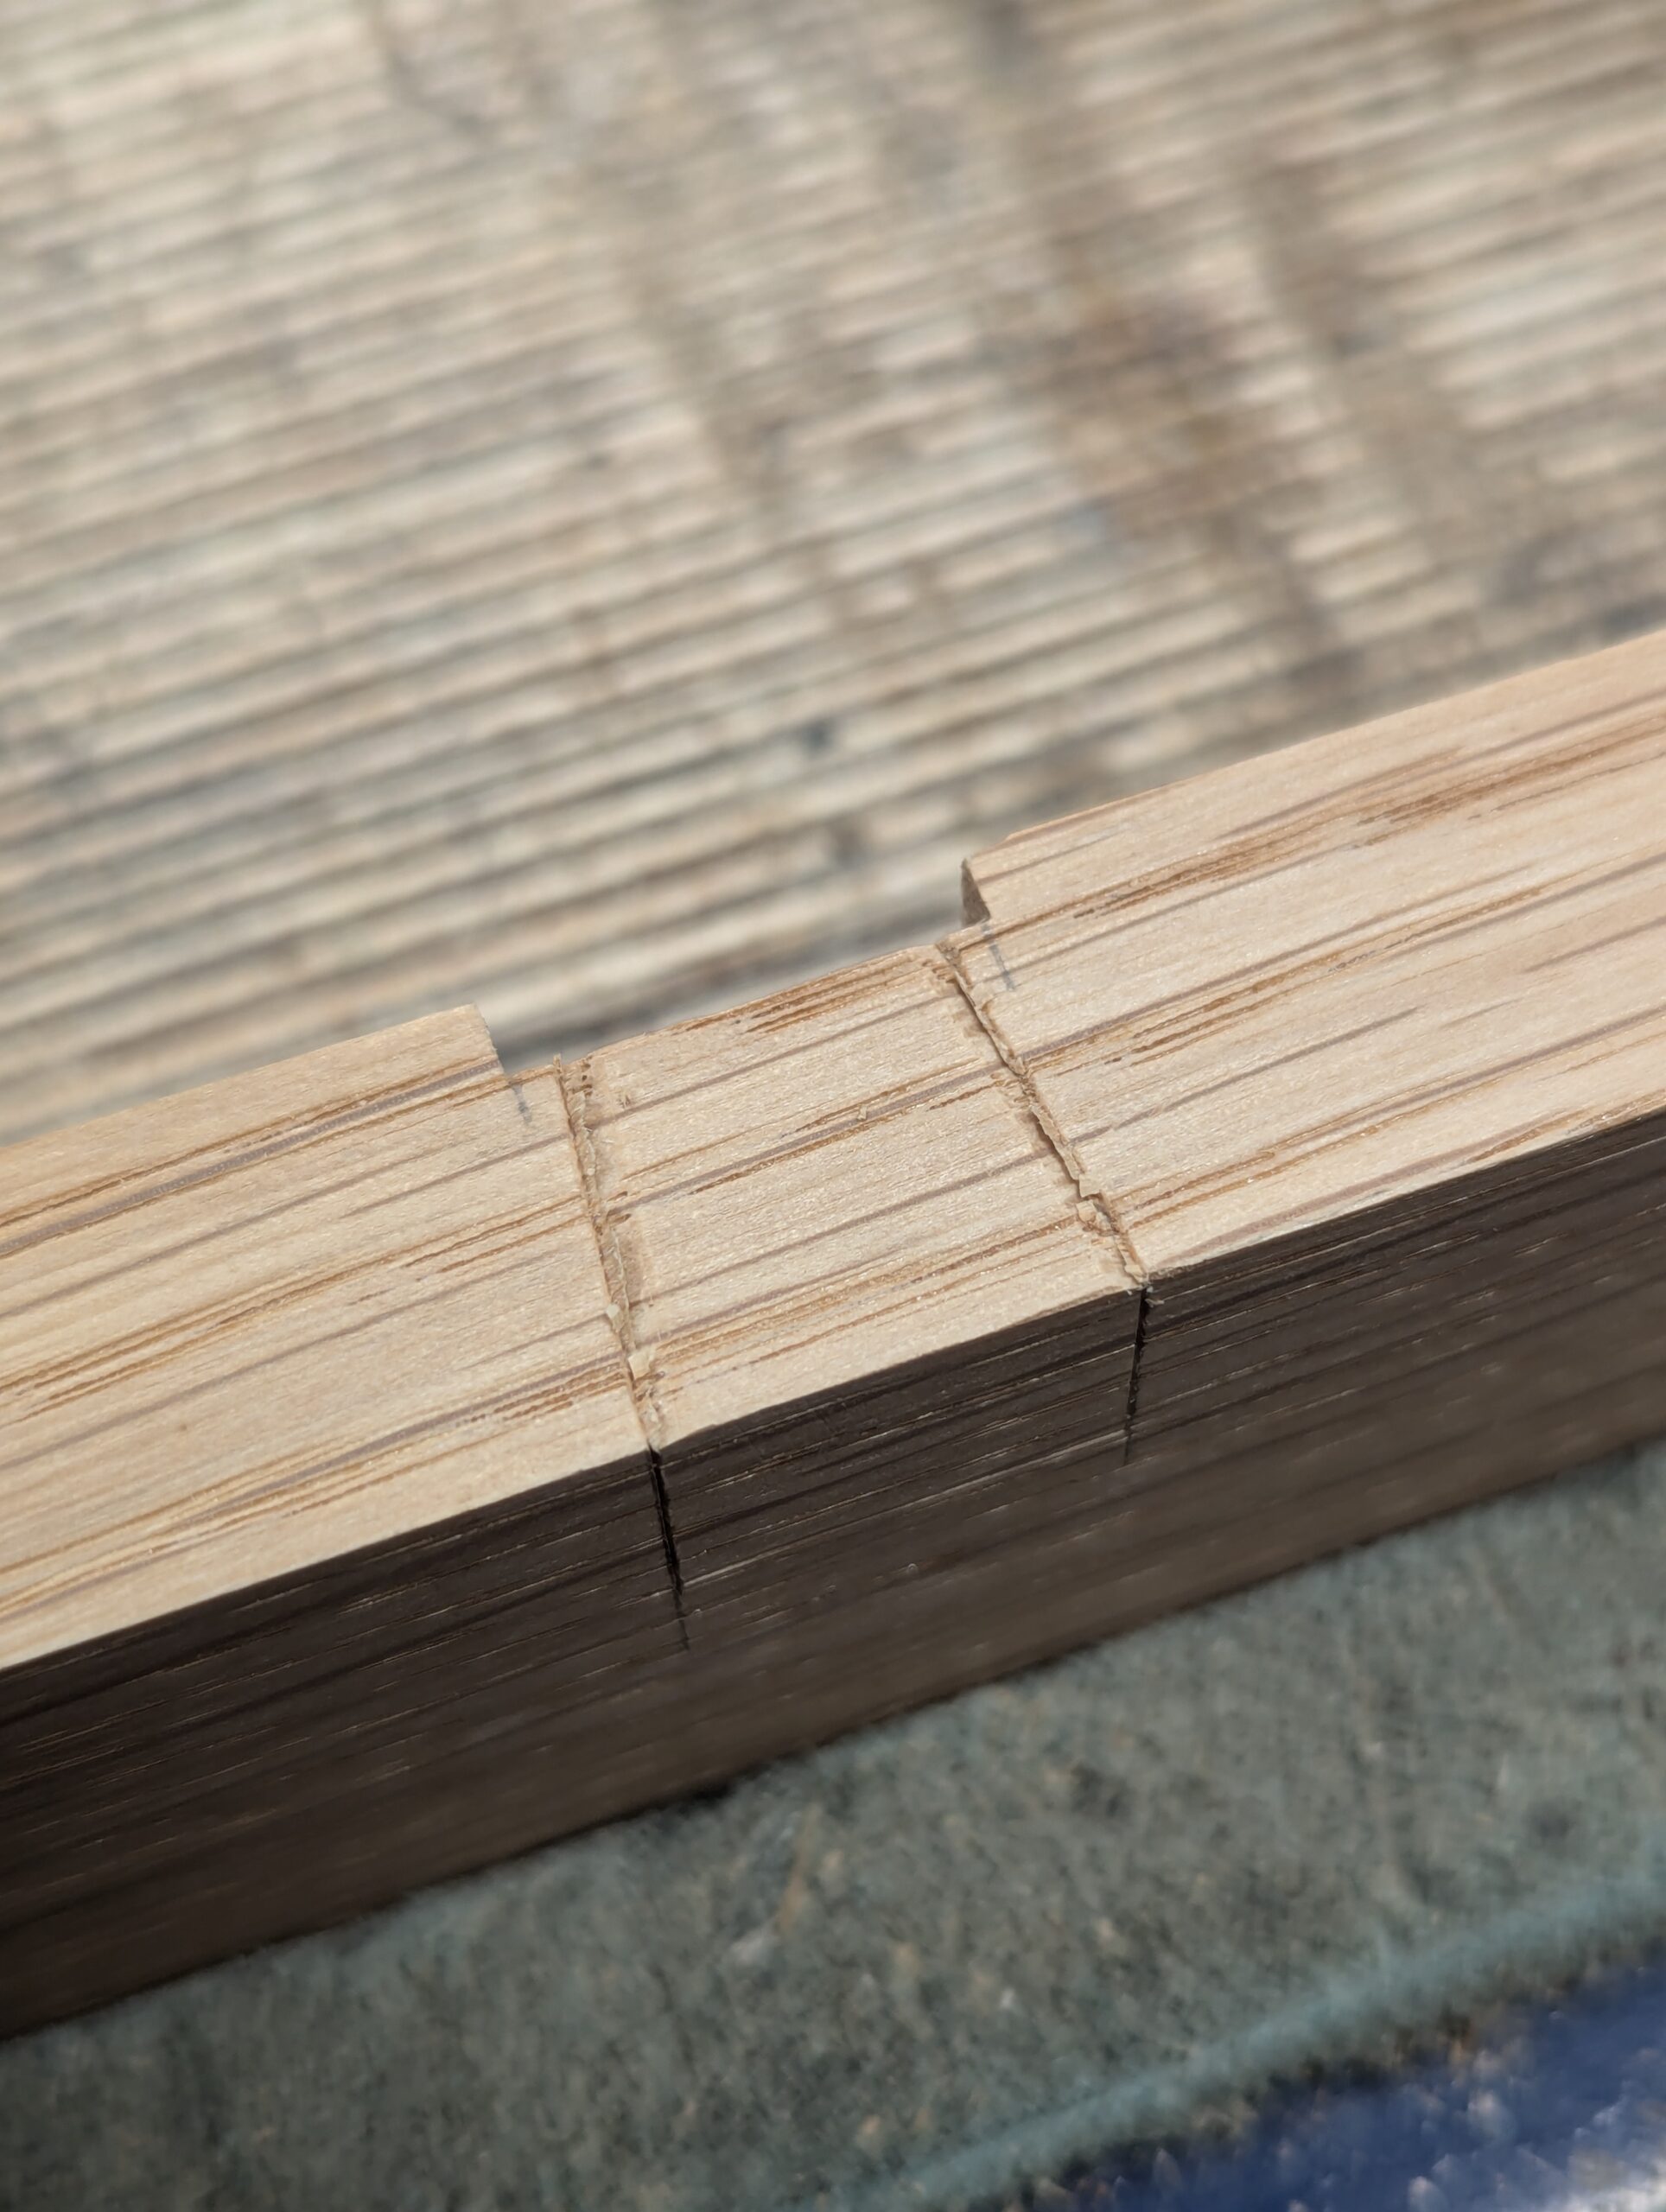
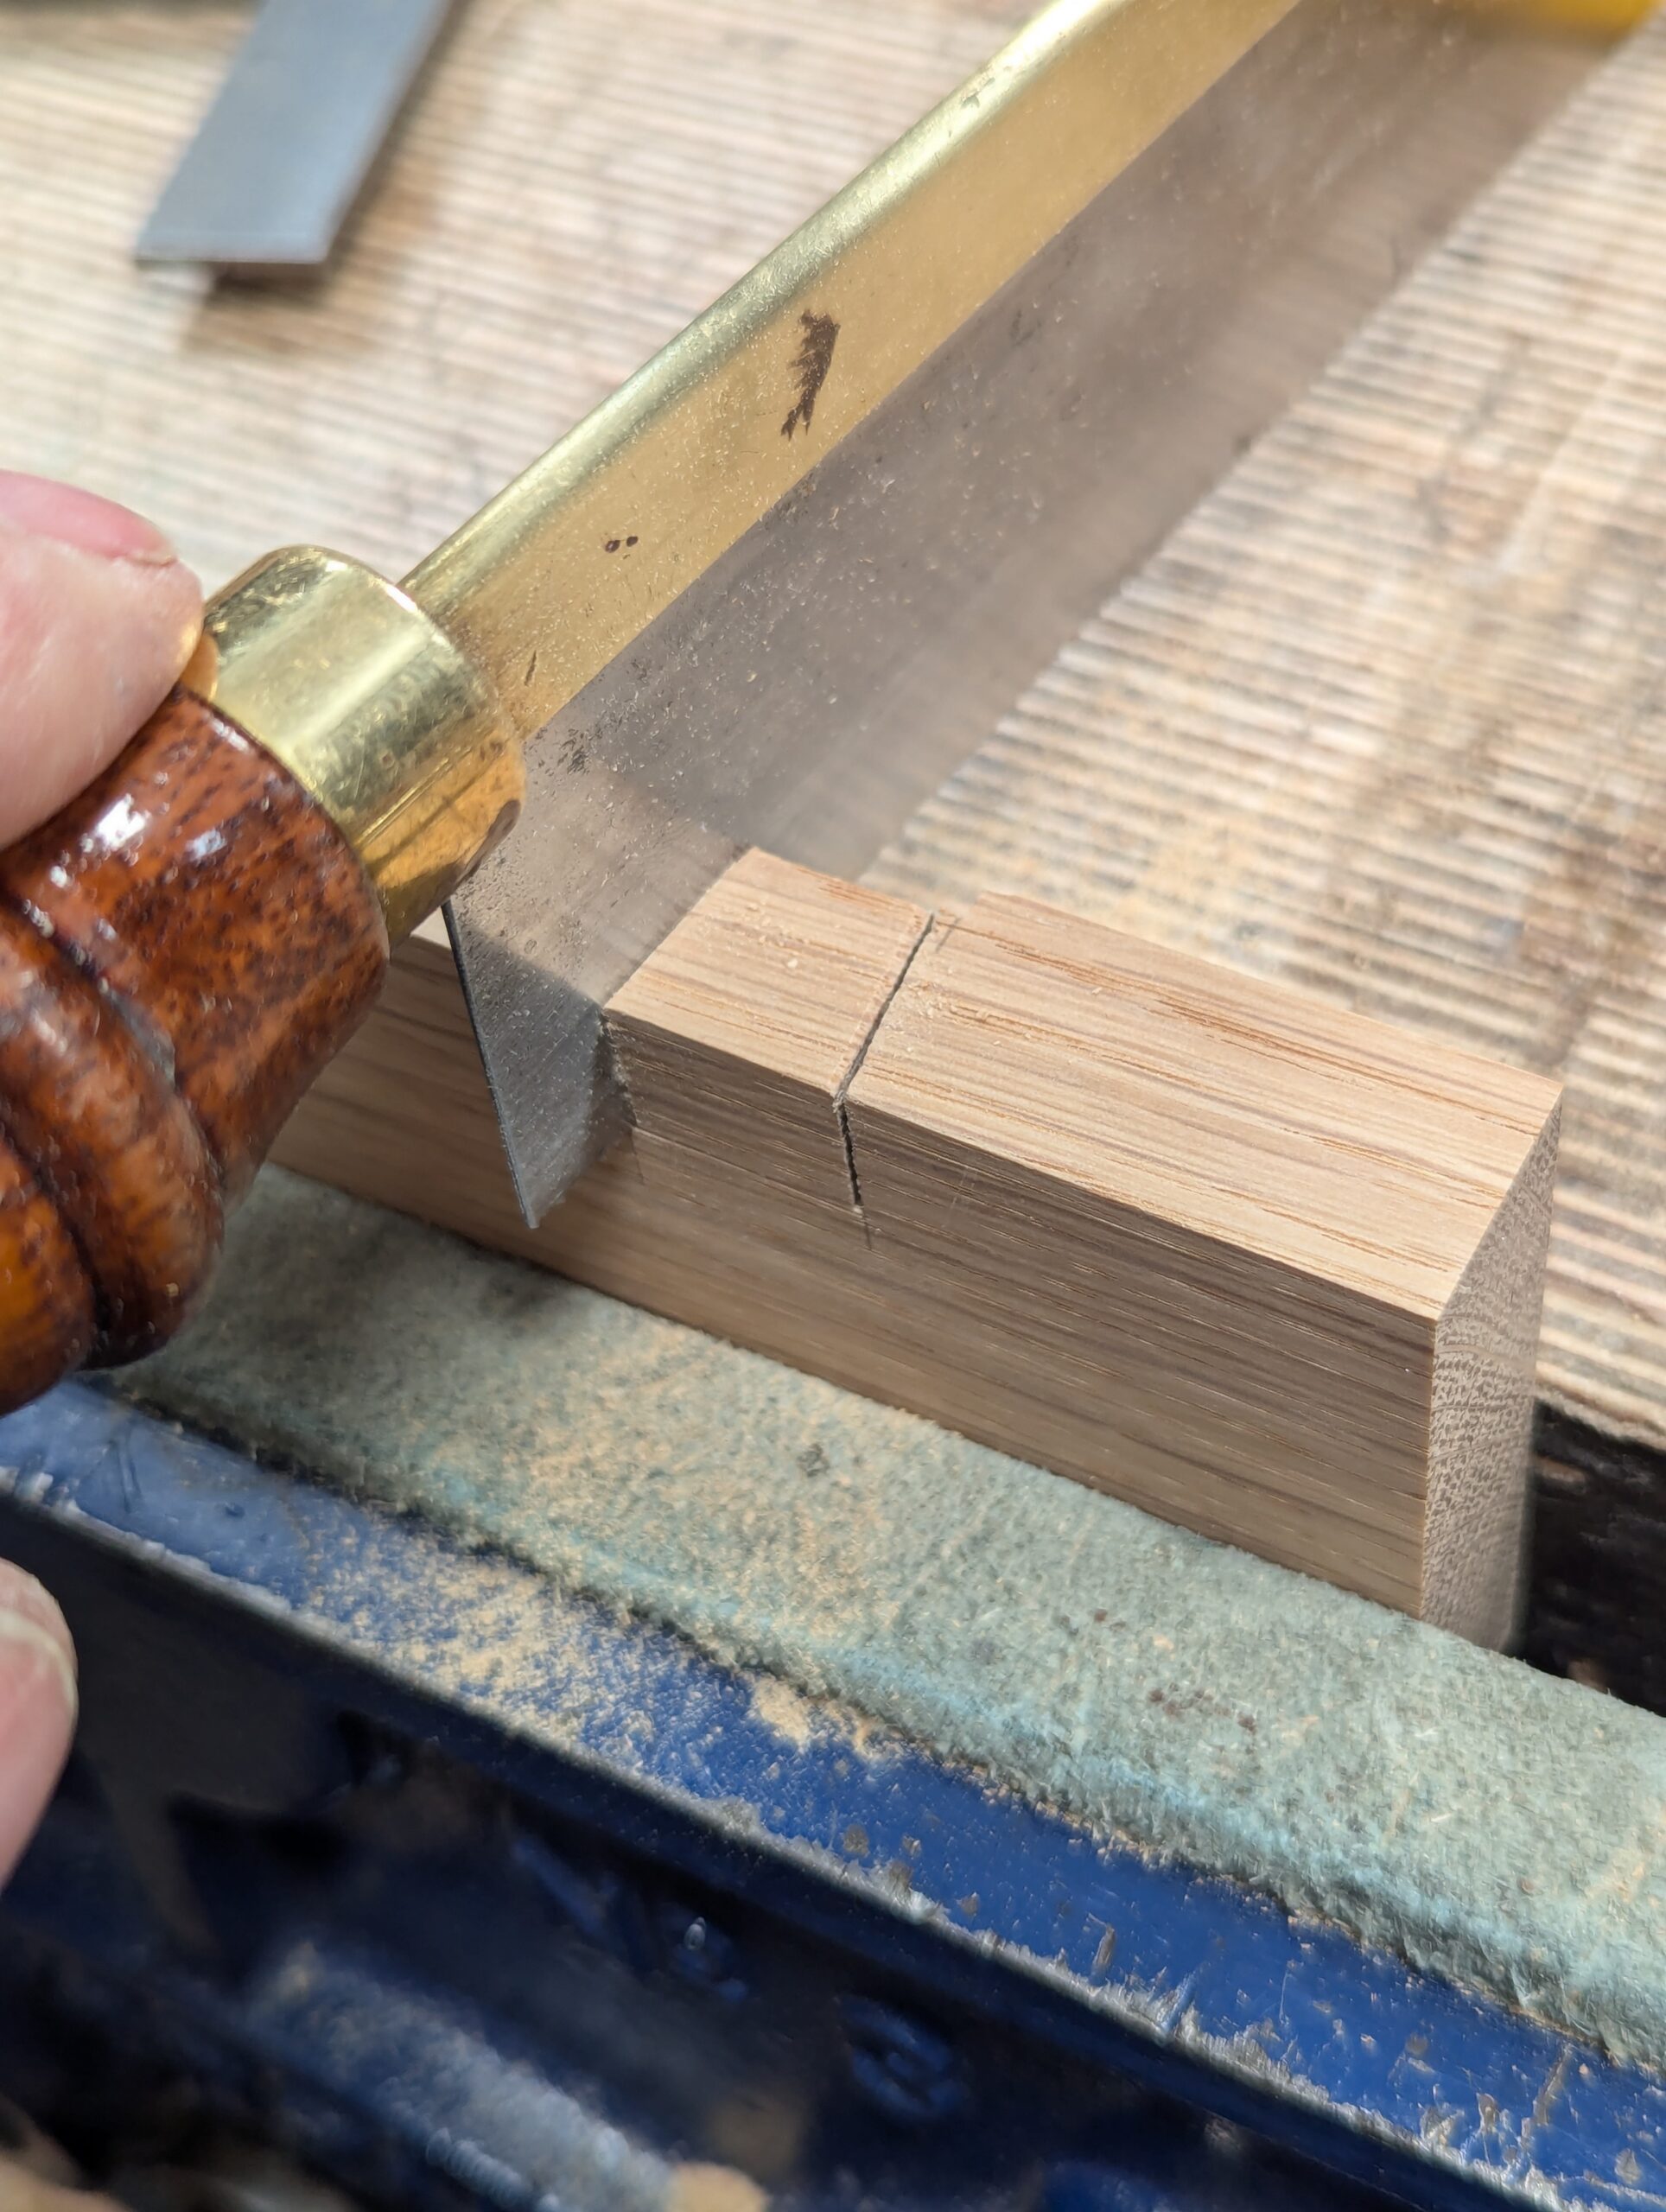
Cut down to the gauge line with a small saw and chisel deeper into the knifewall with long, sloping cuts
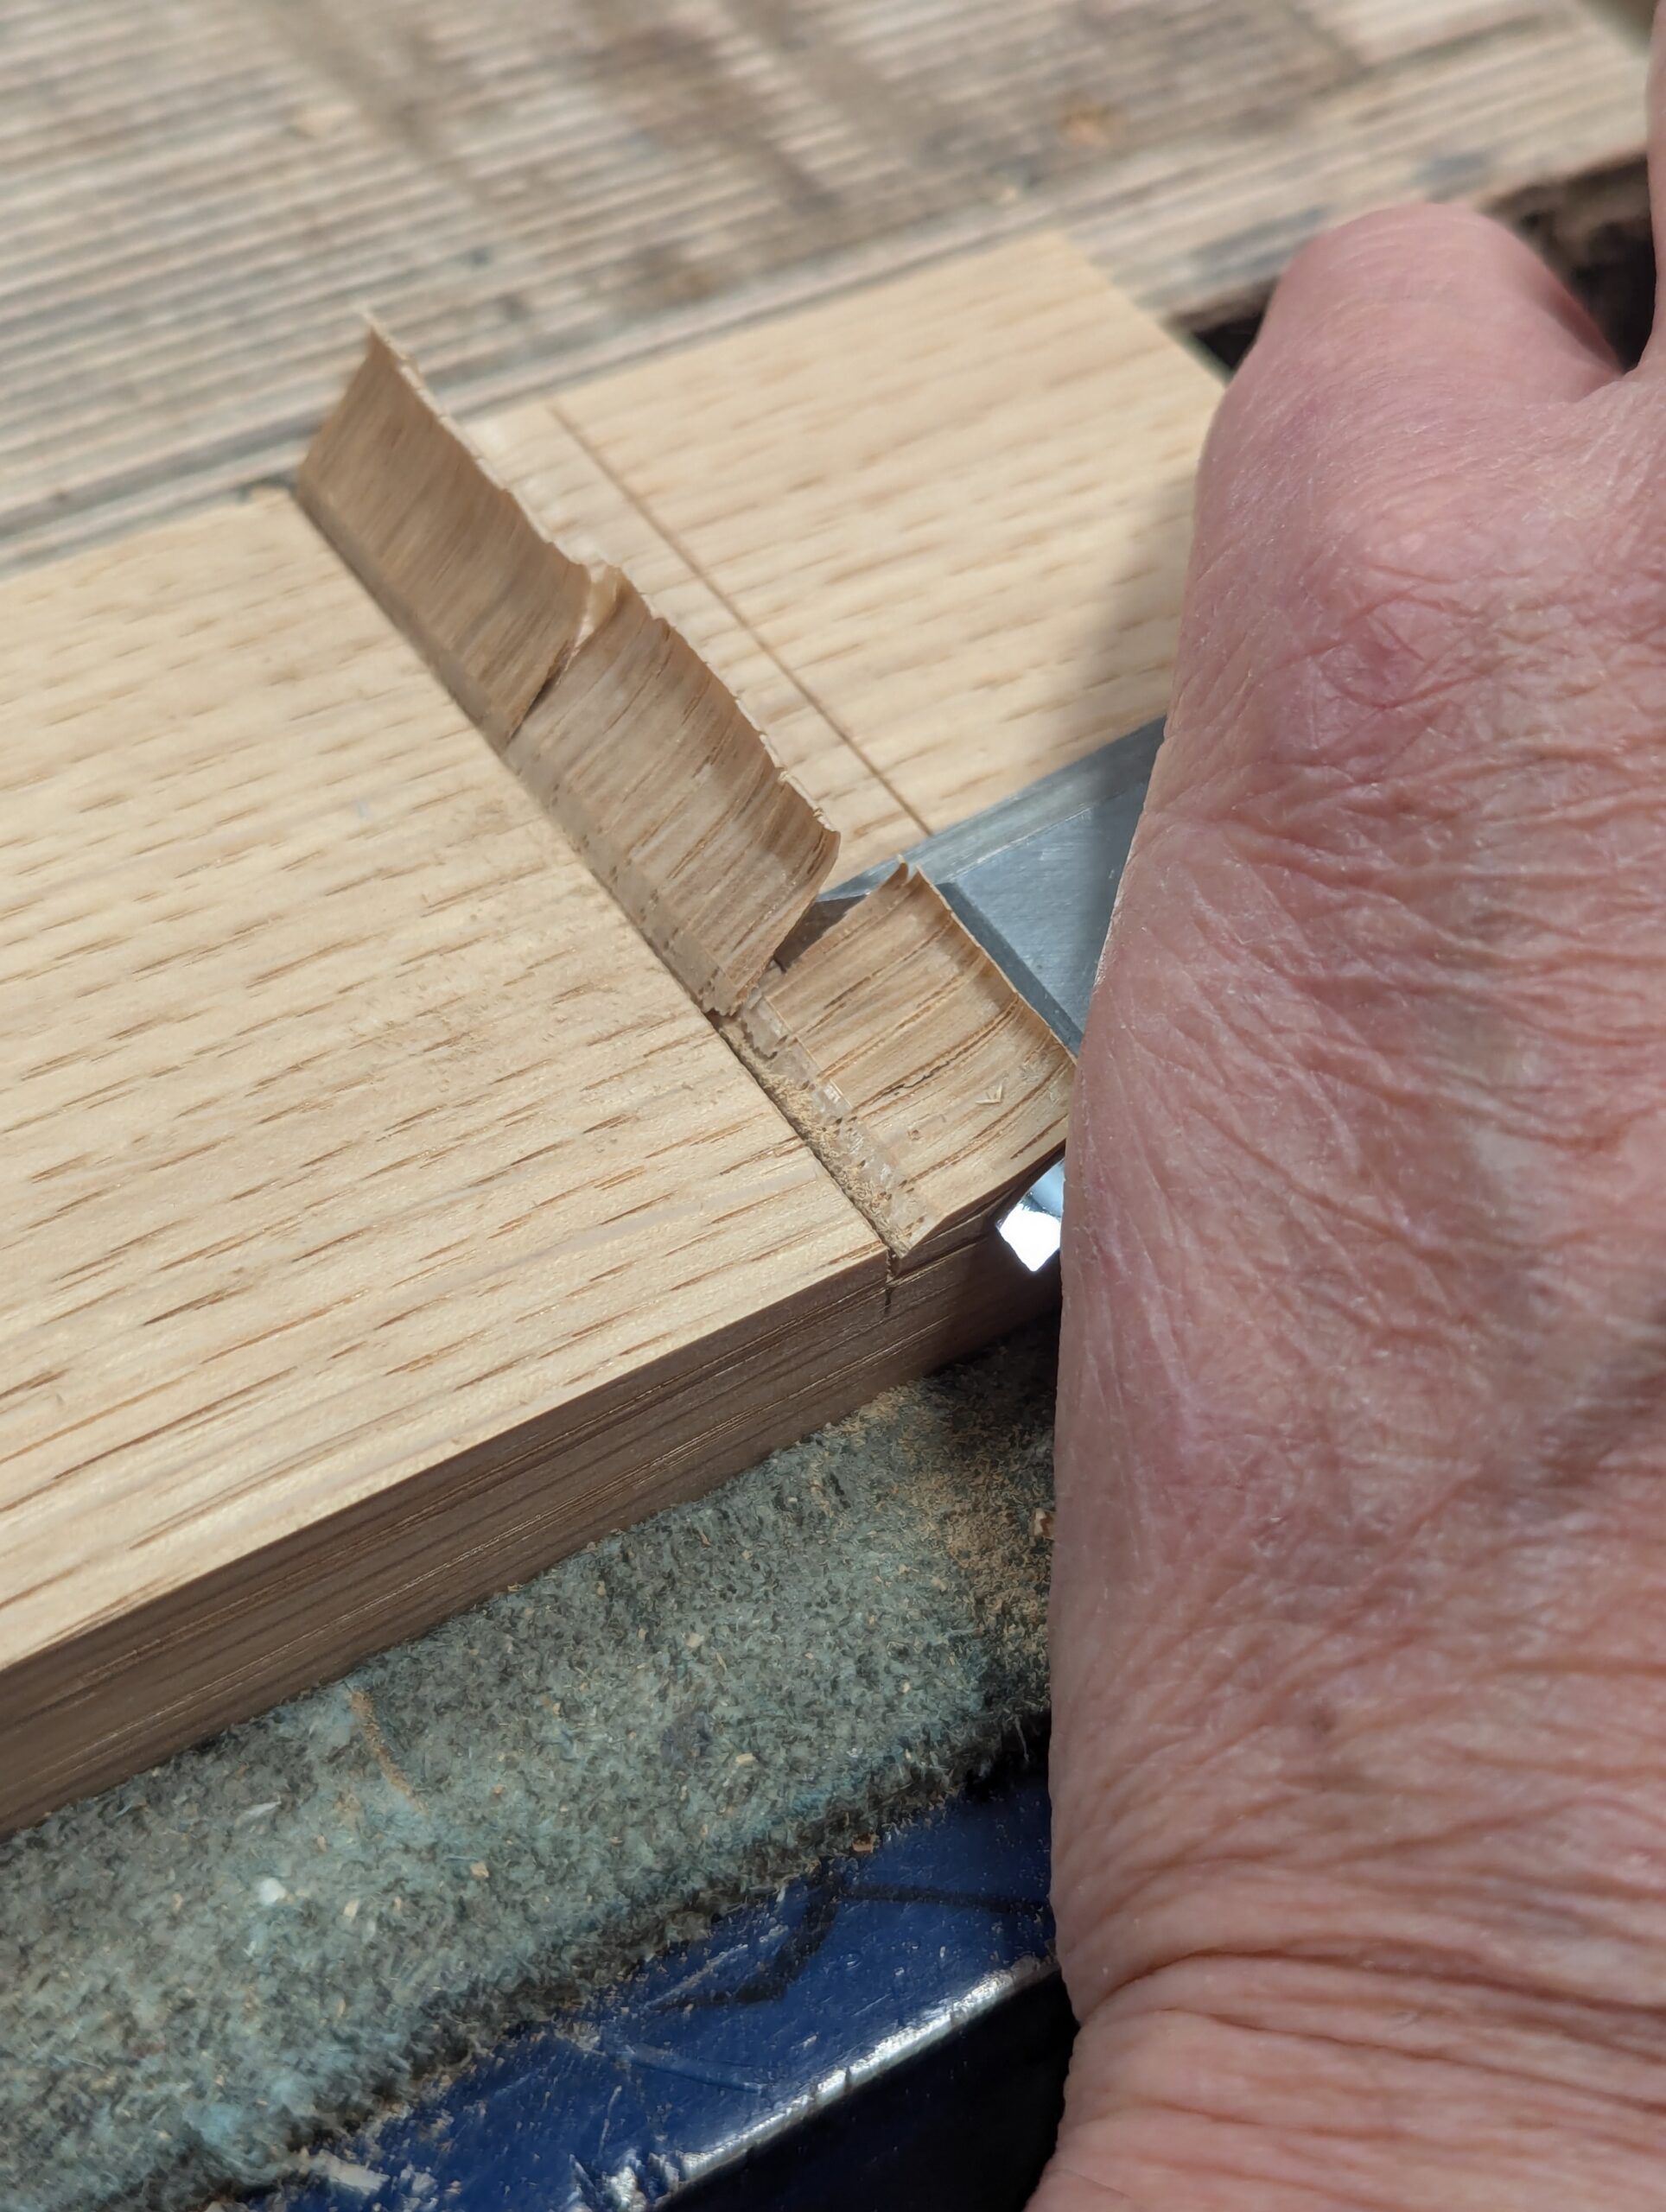
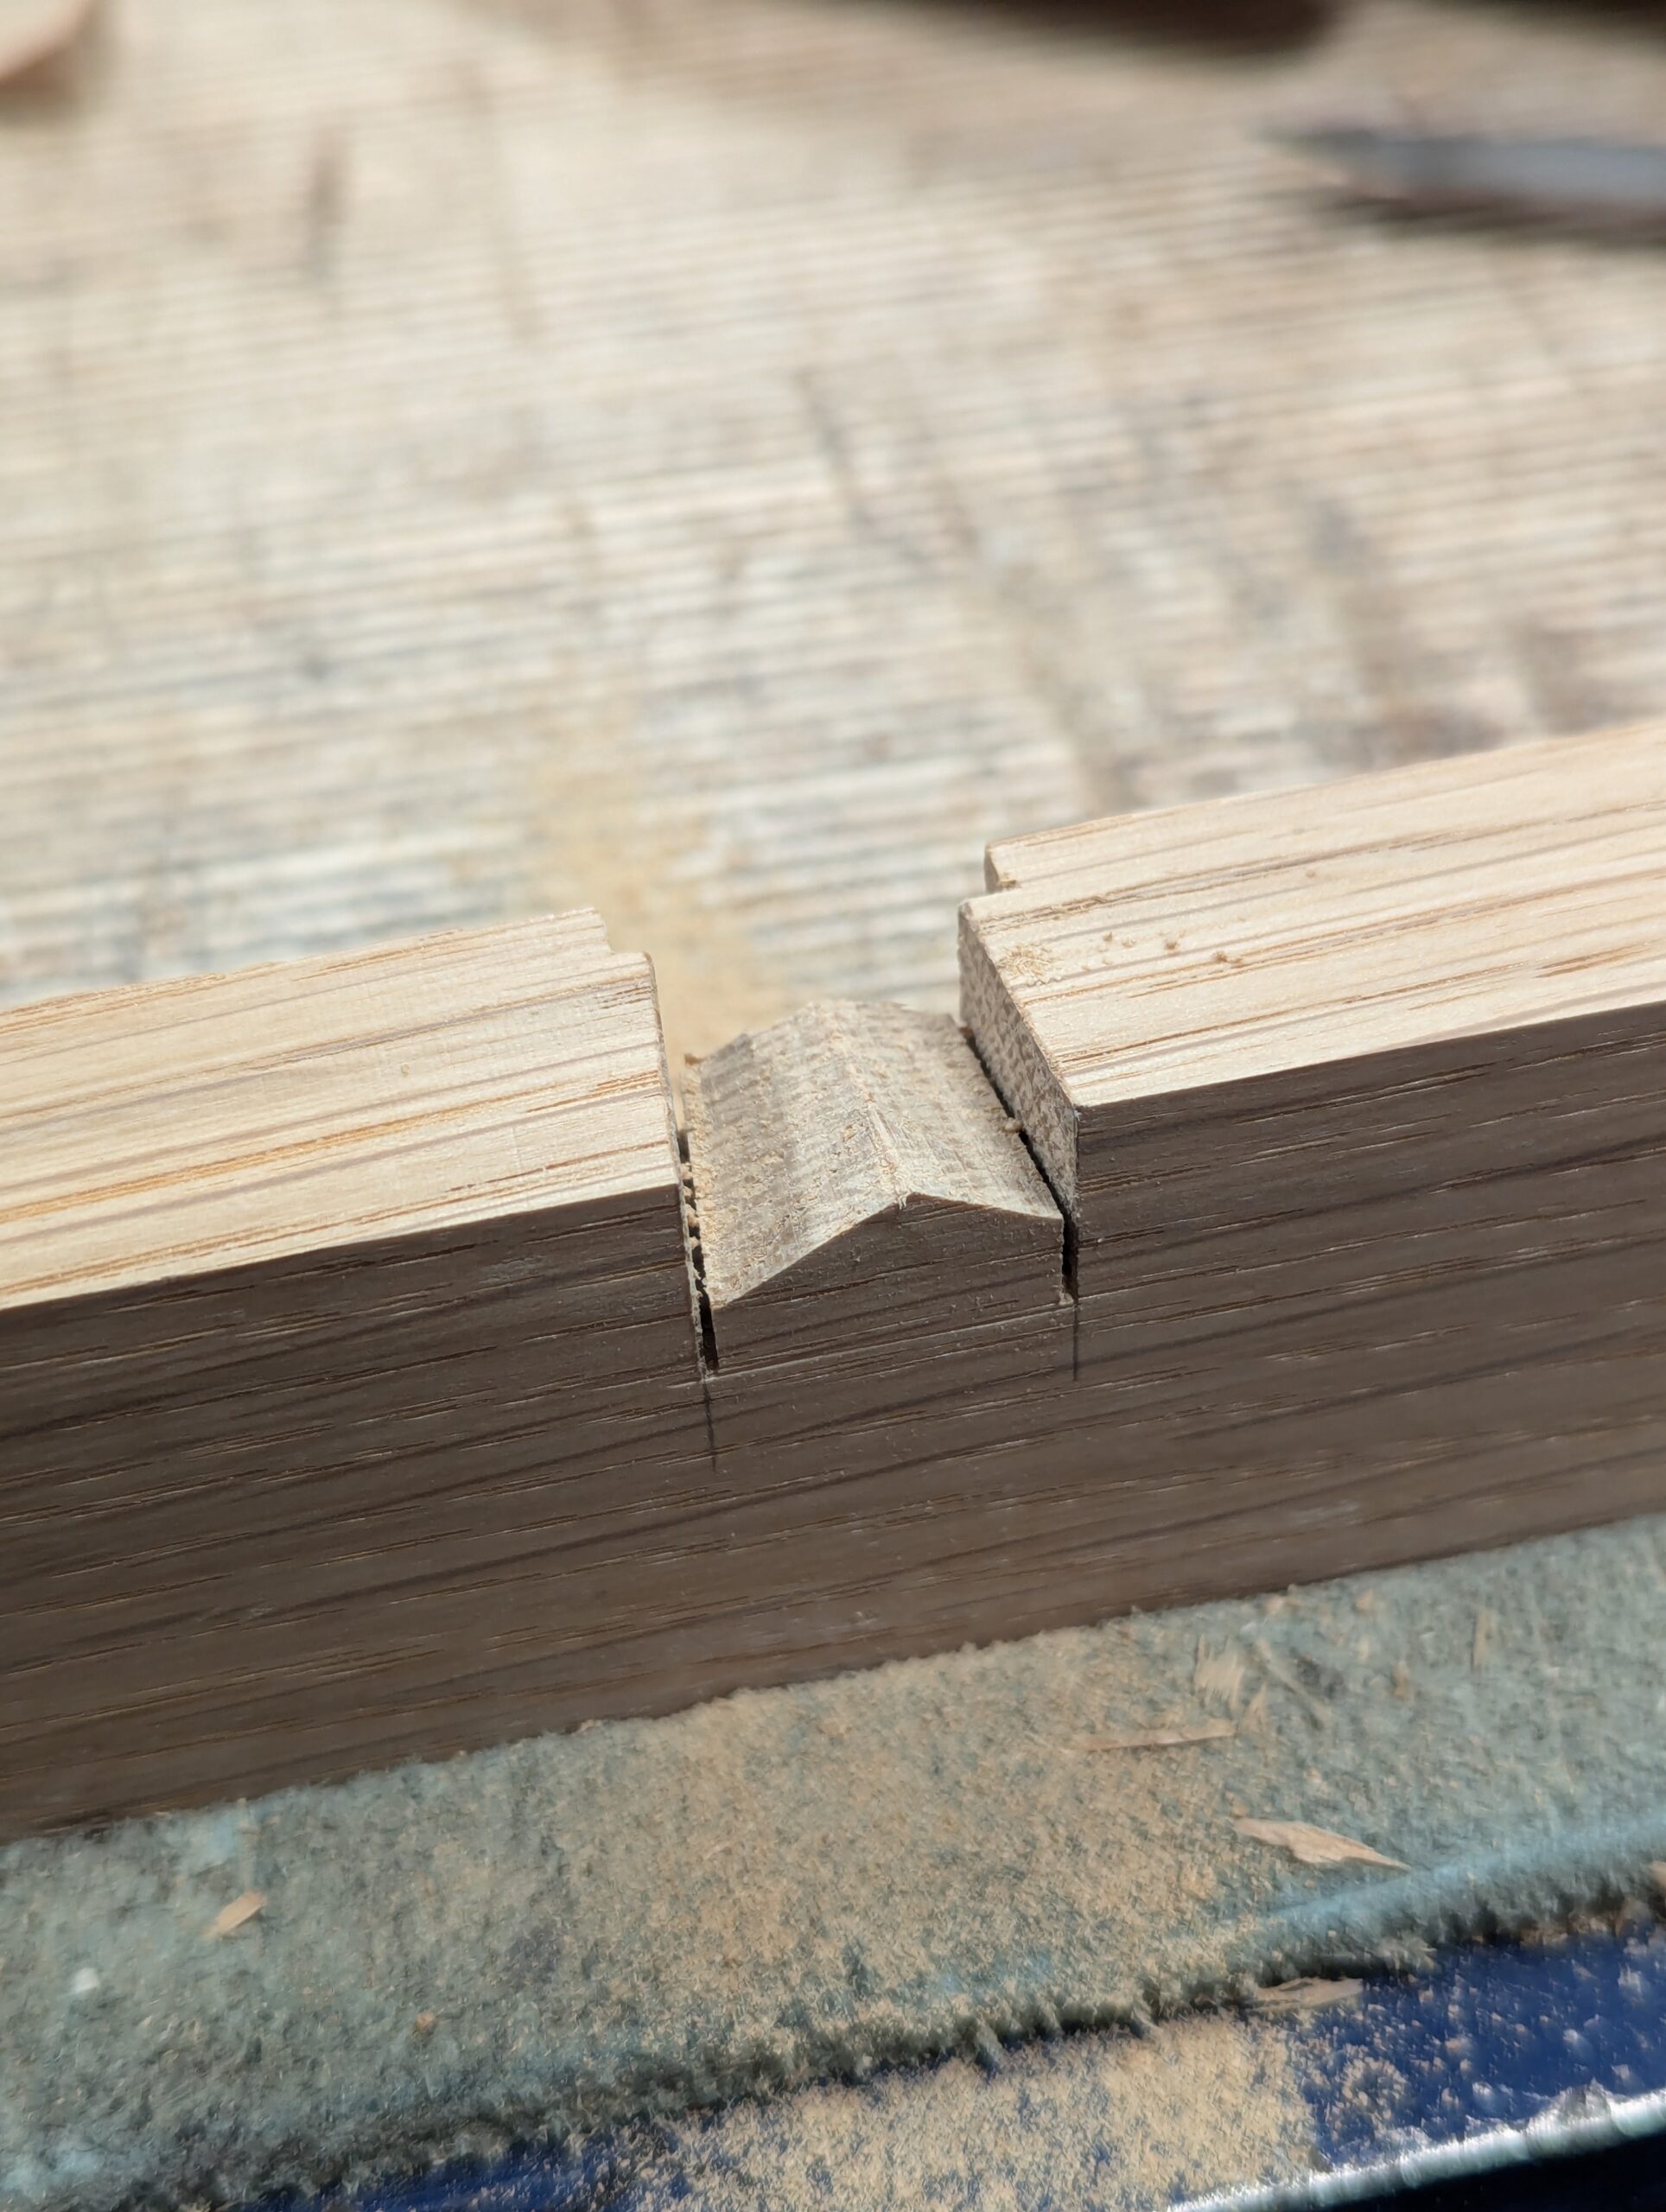
The slope should look like this below.
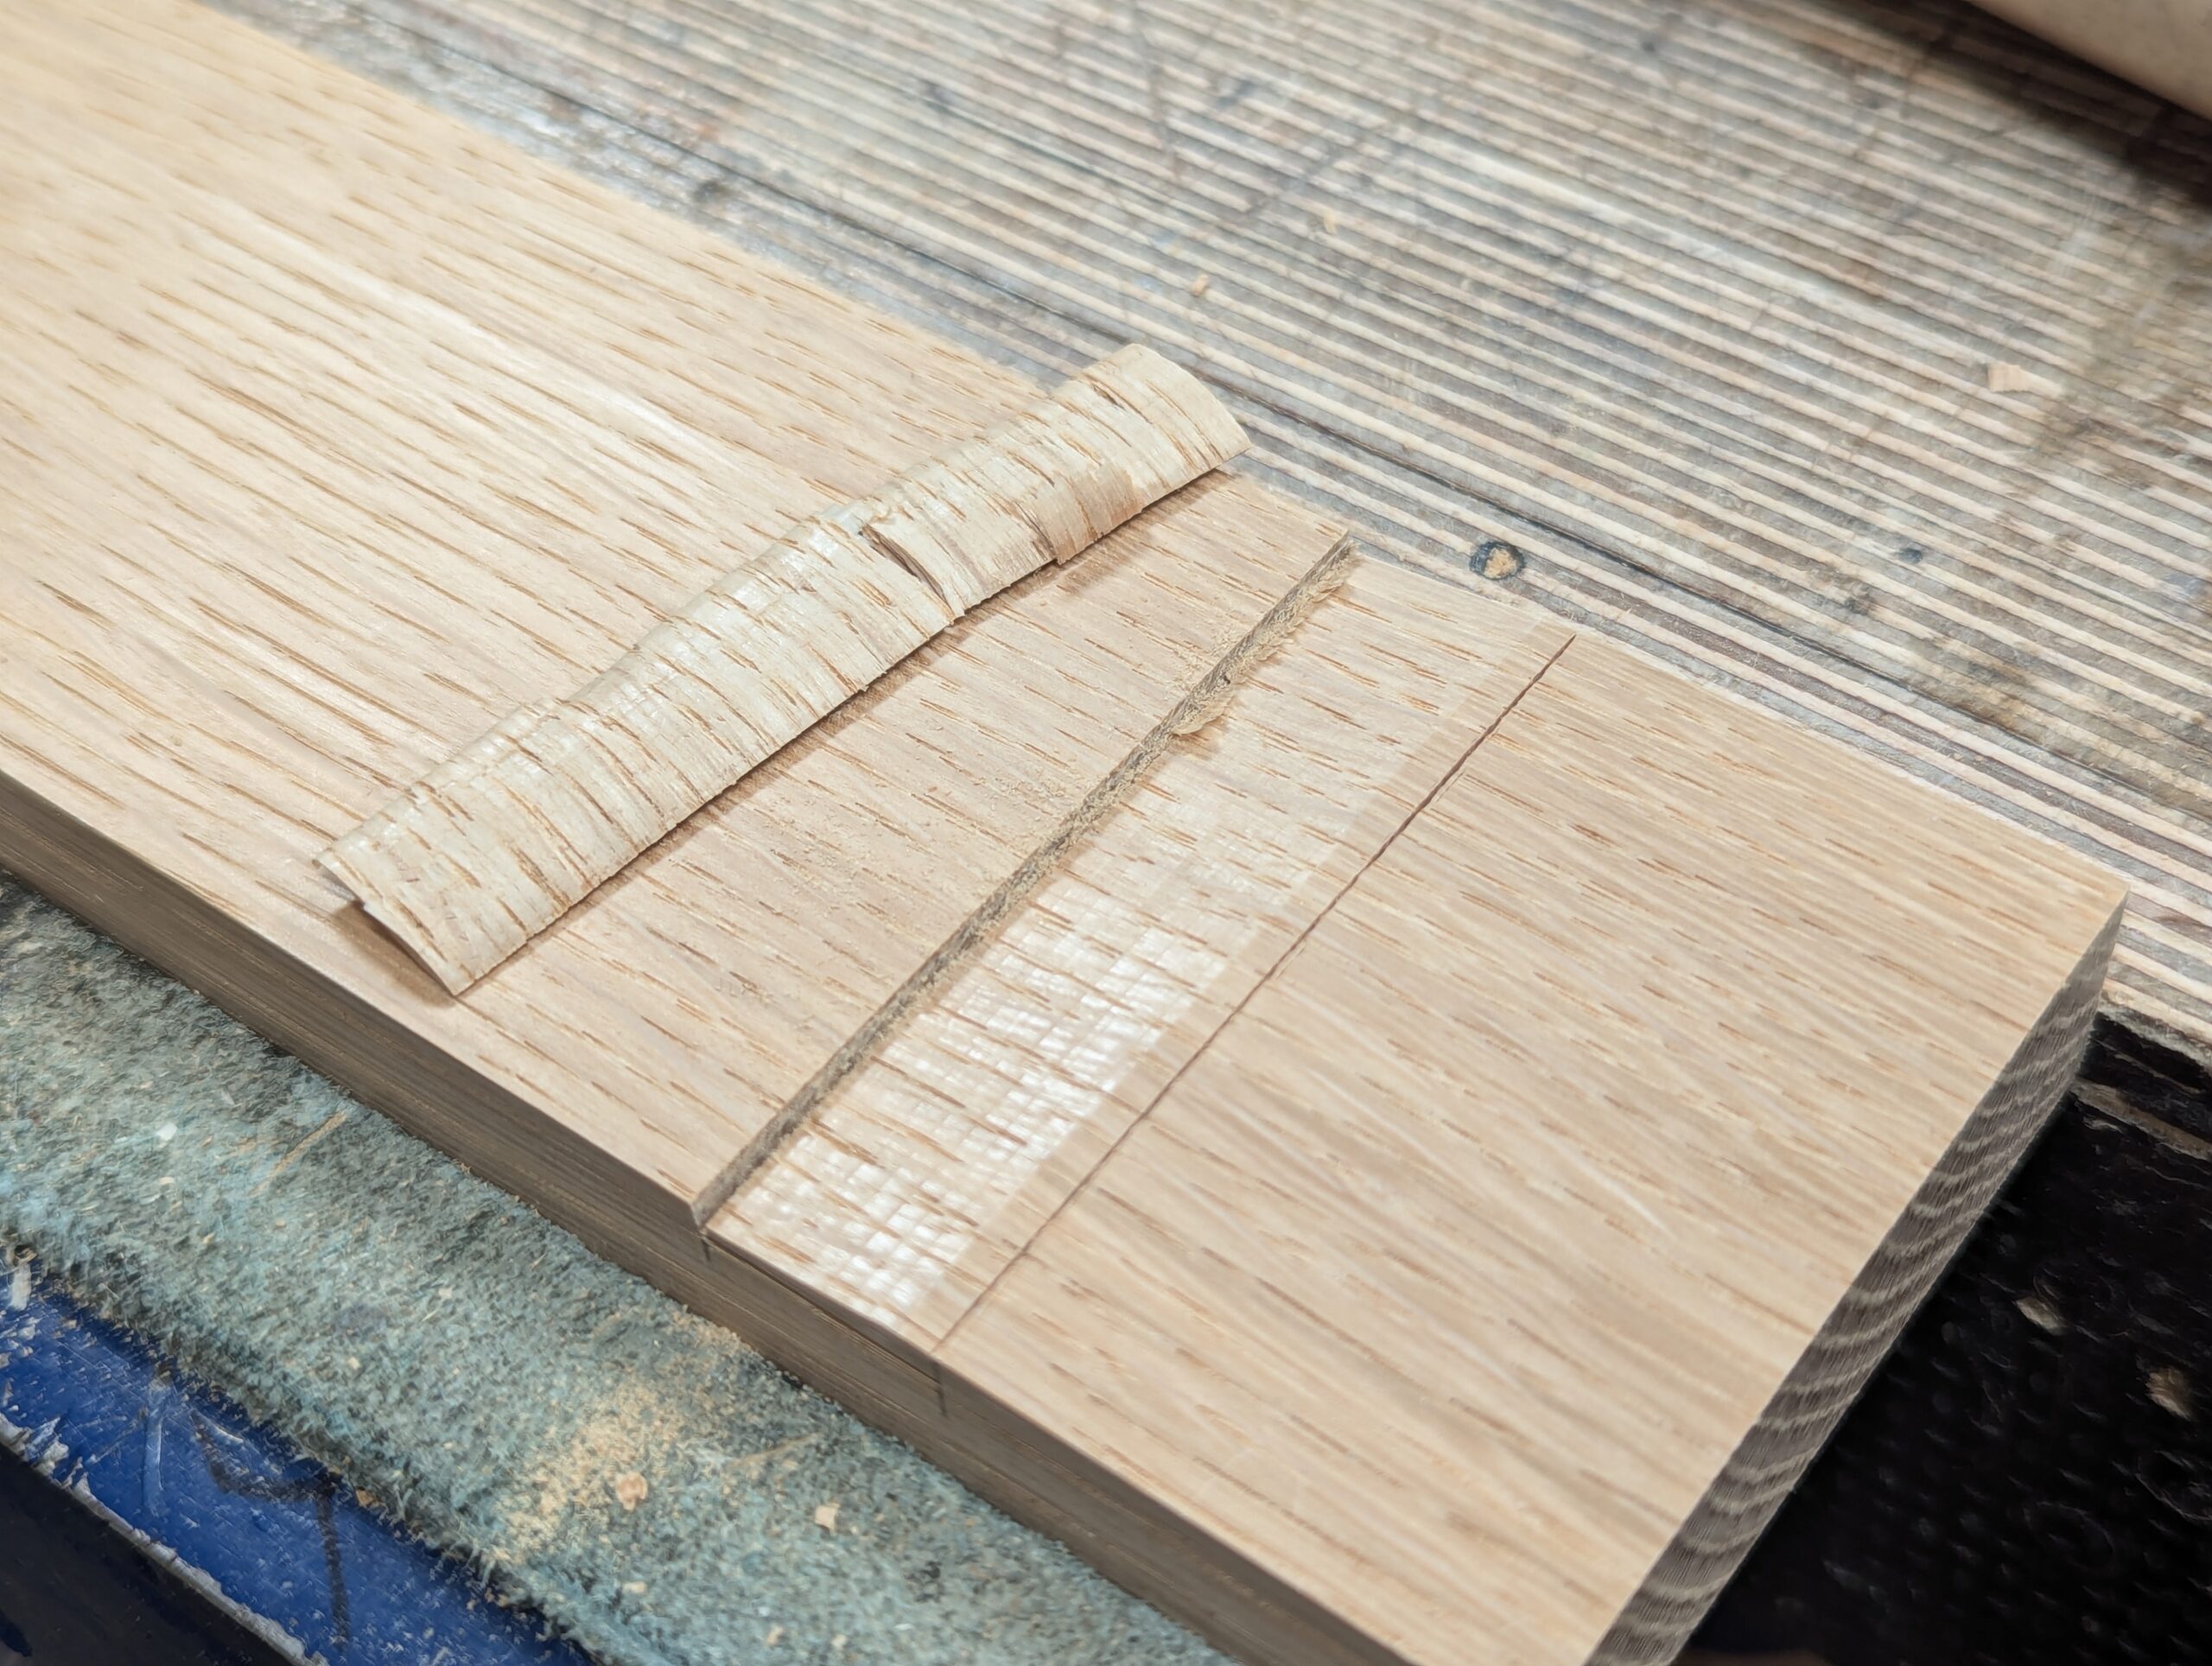
Place the next piece of wood up against the wall you have cut and check the second line for accuracy.

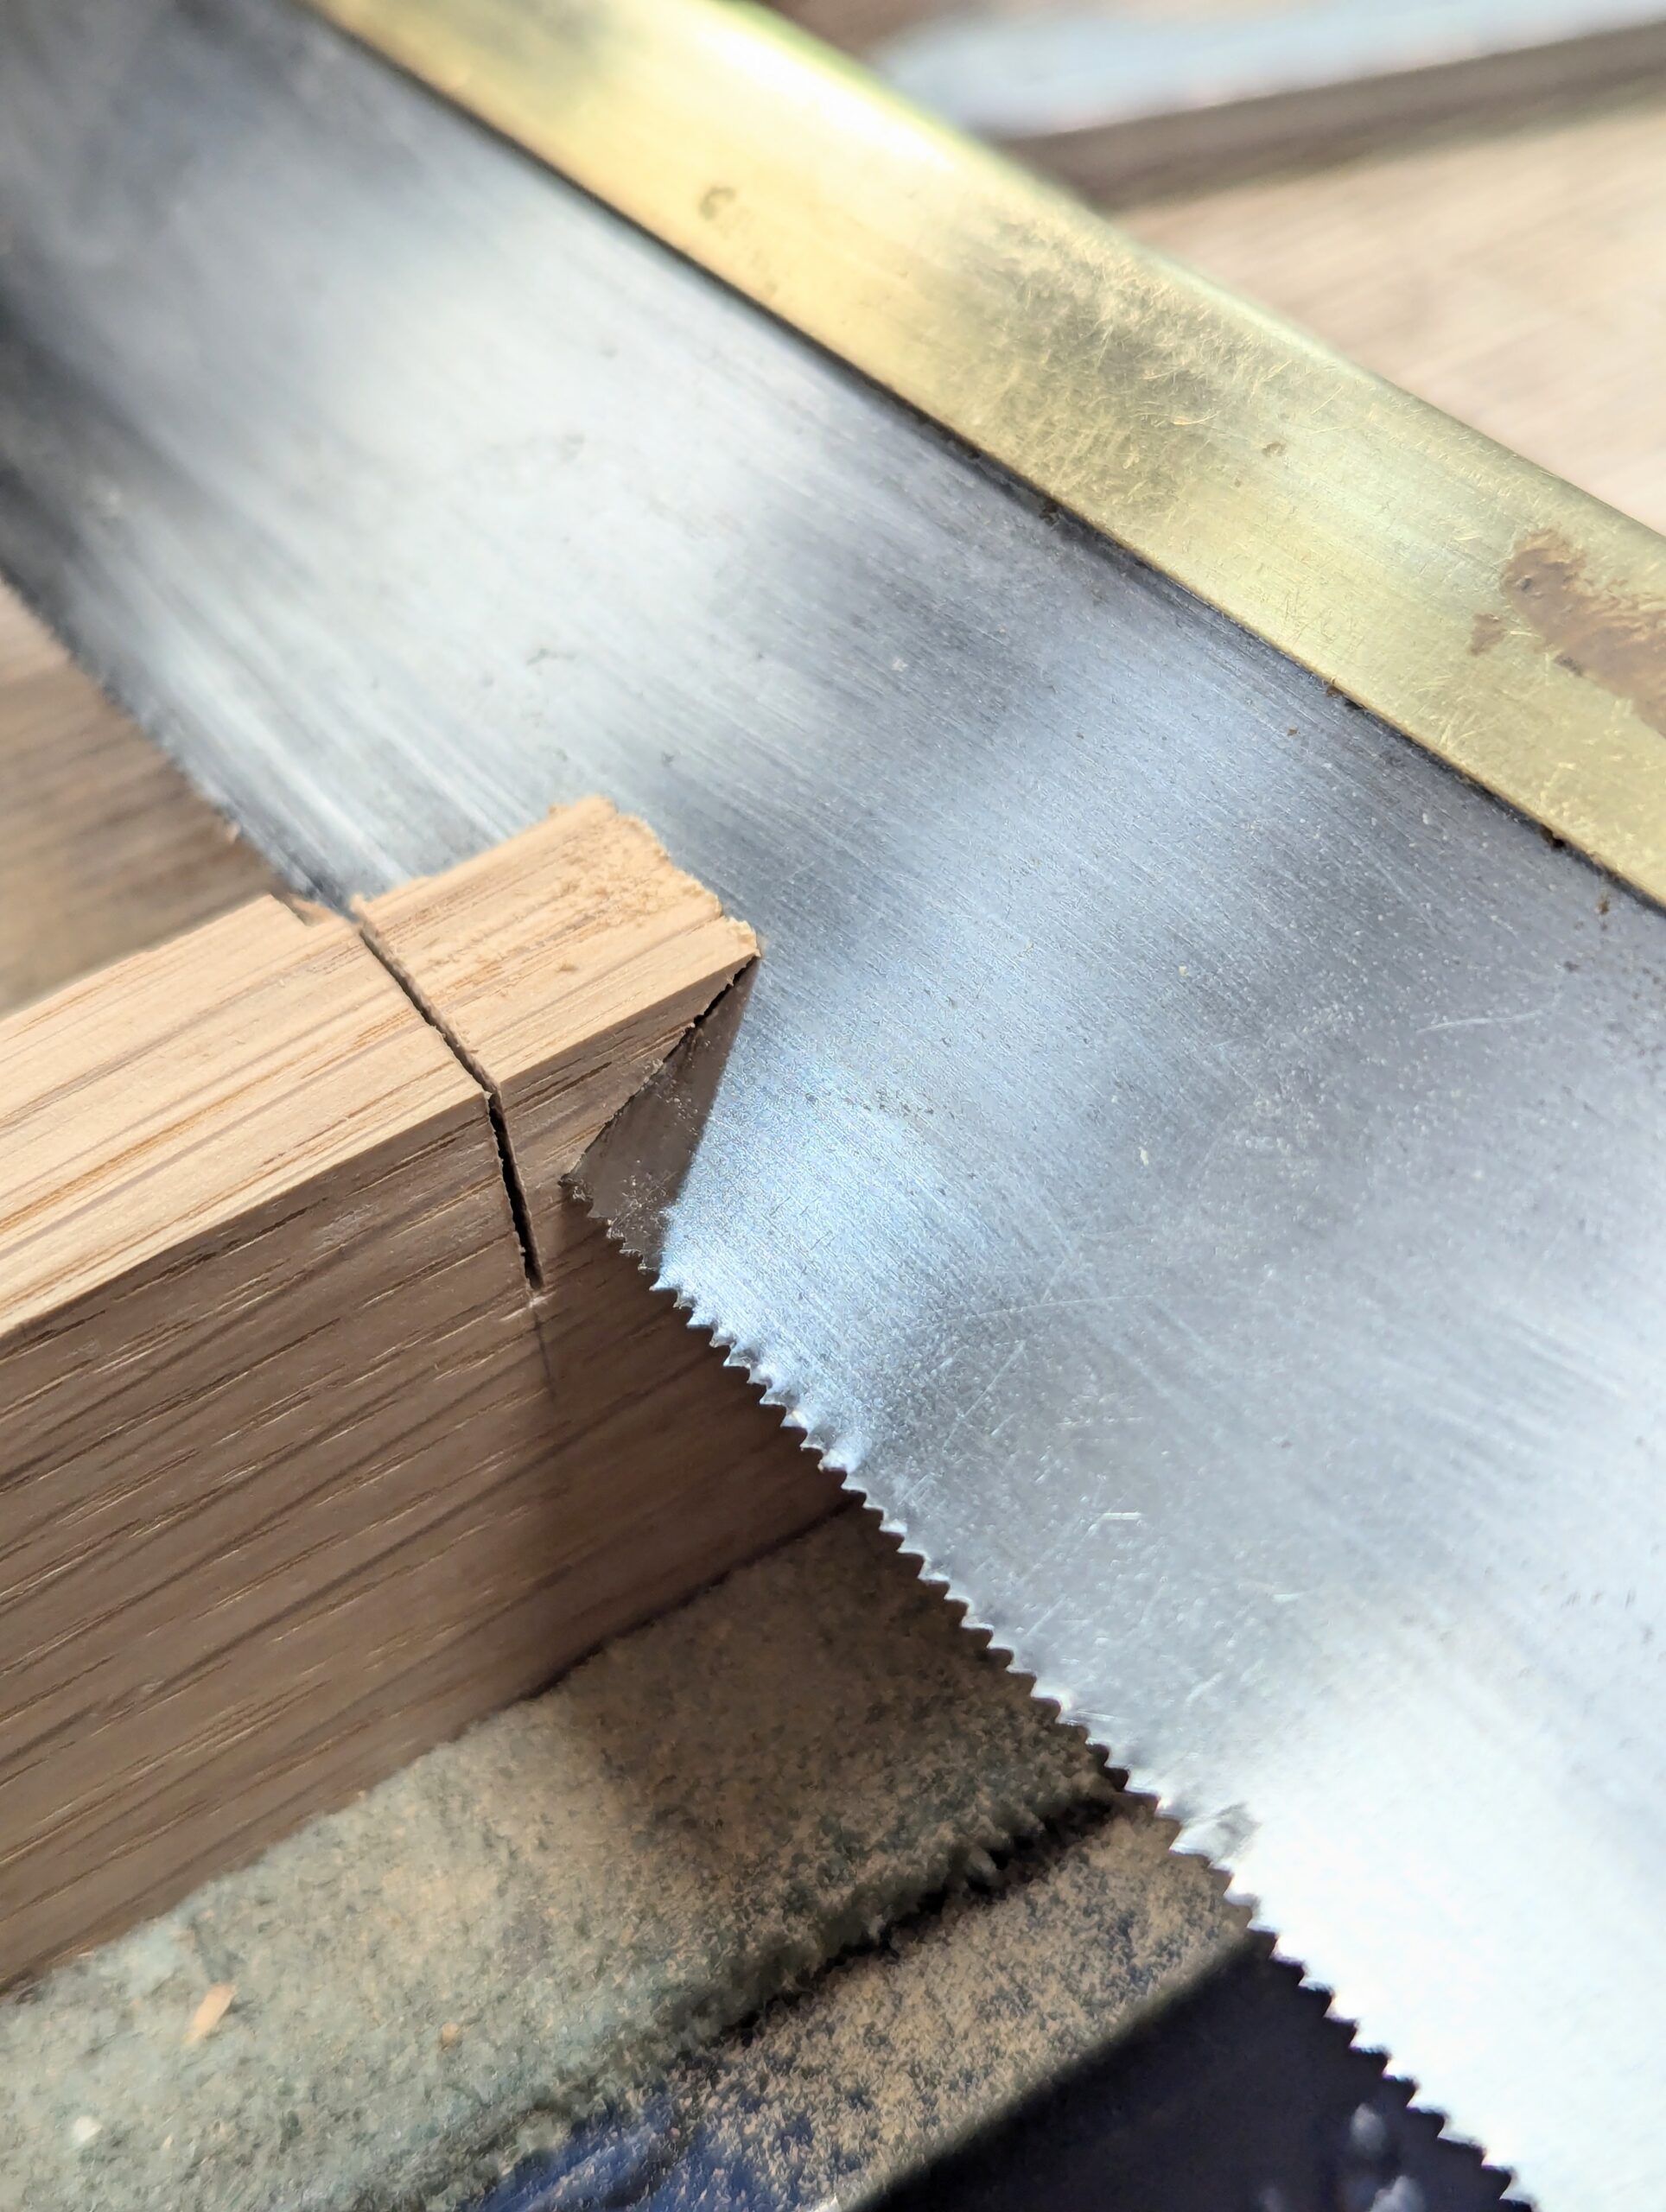
Chisel into the knifewall to create a step-down.
Saw down the knifewall to the gauge line.
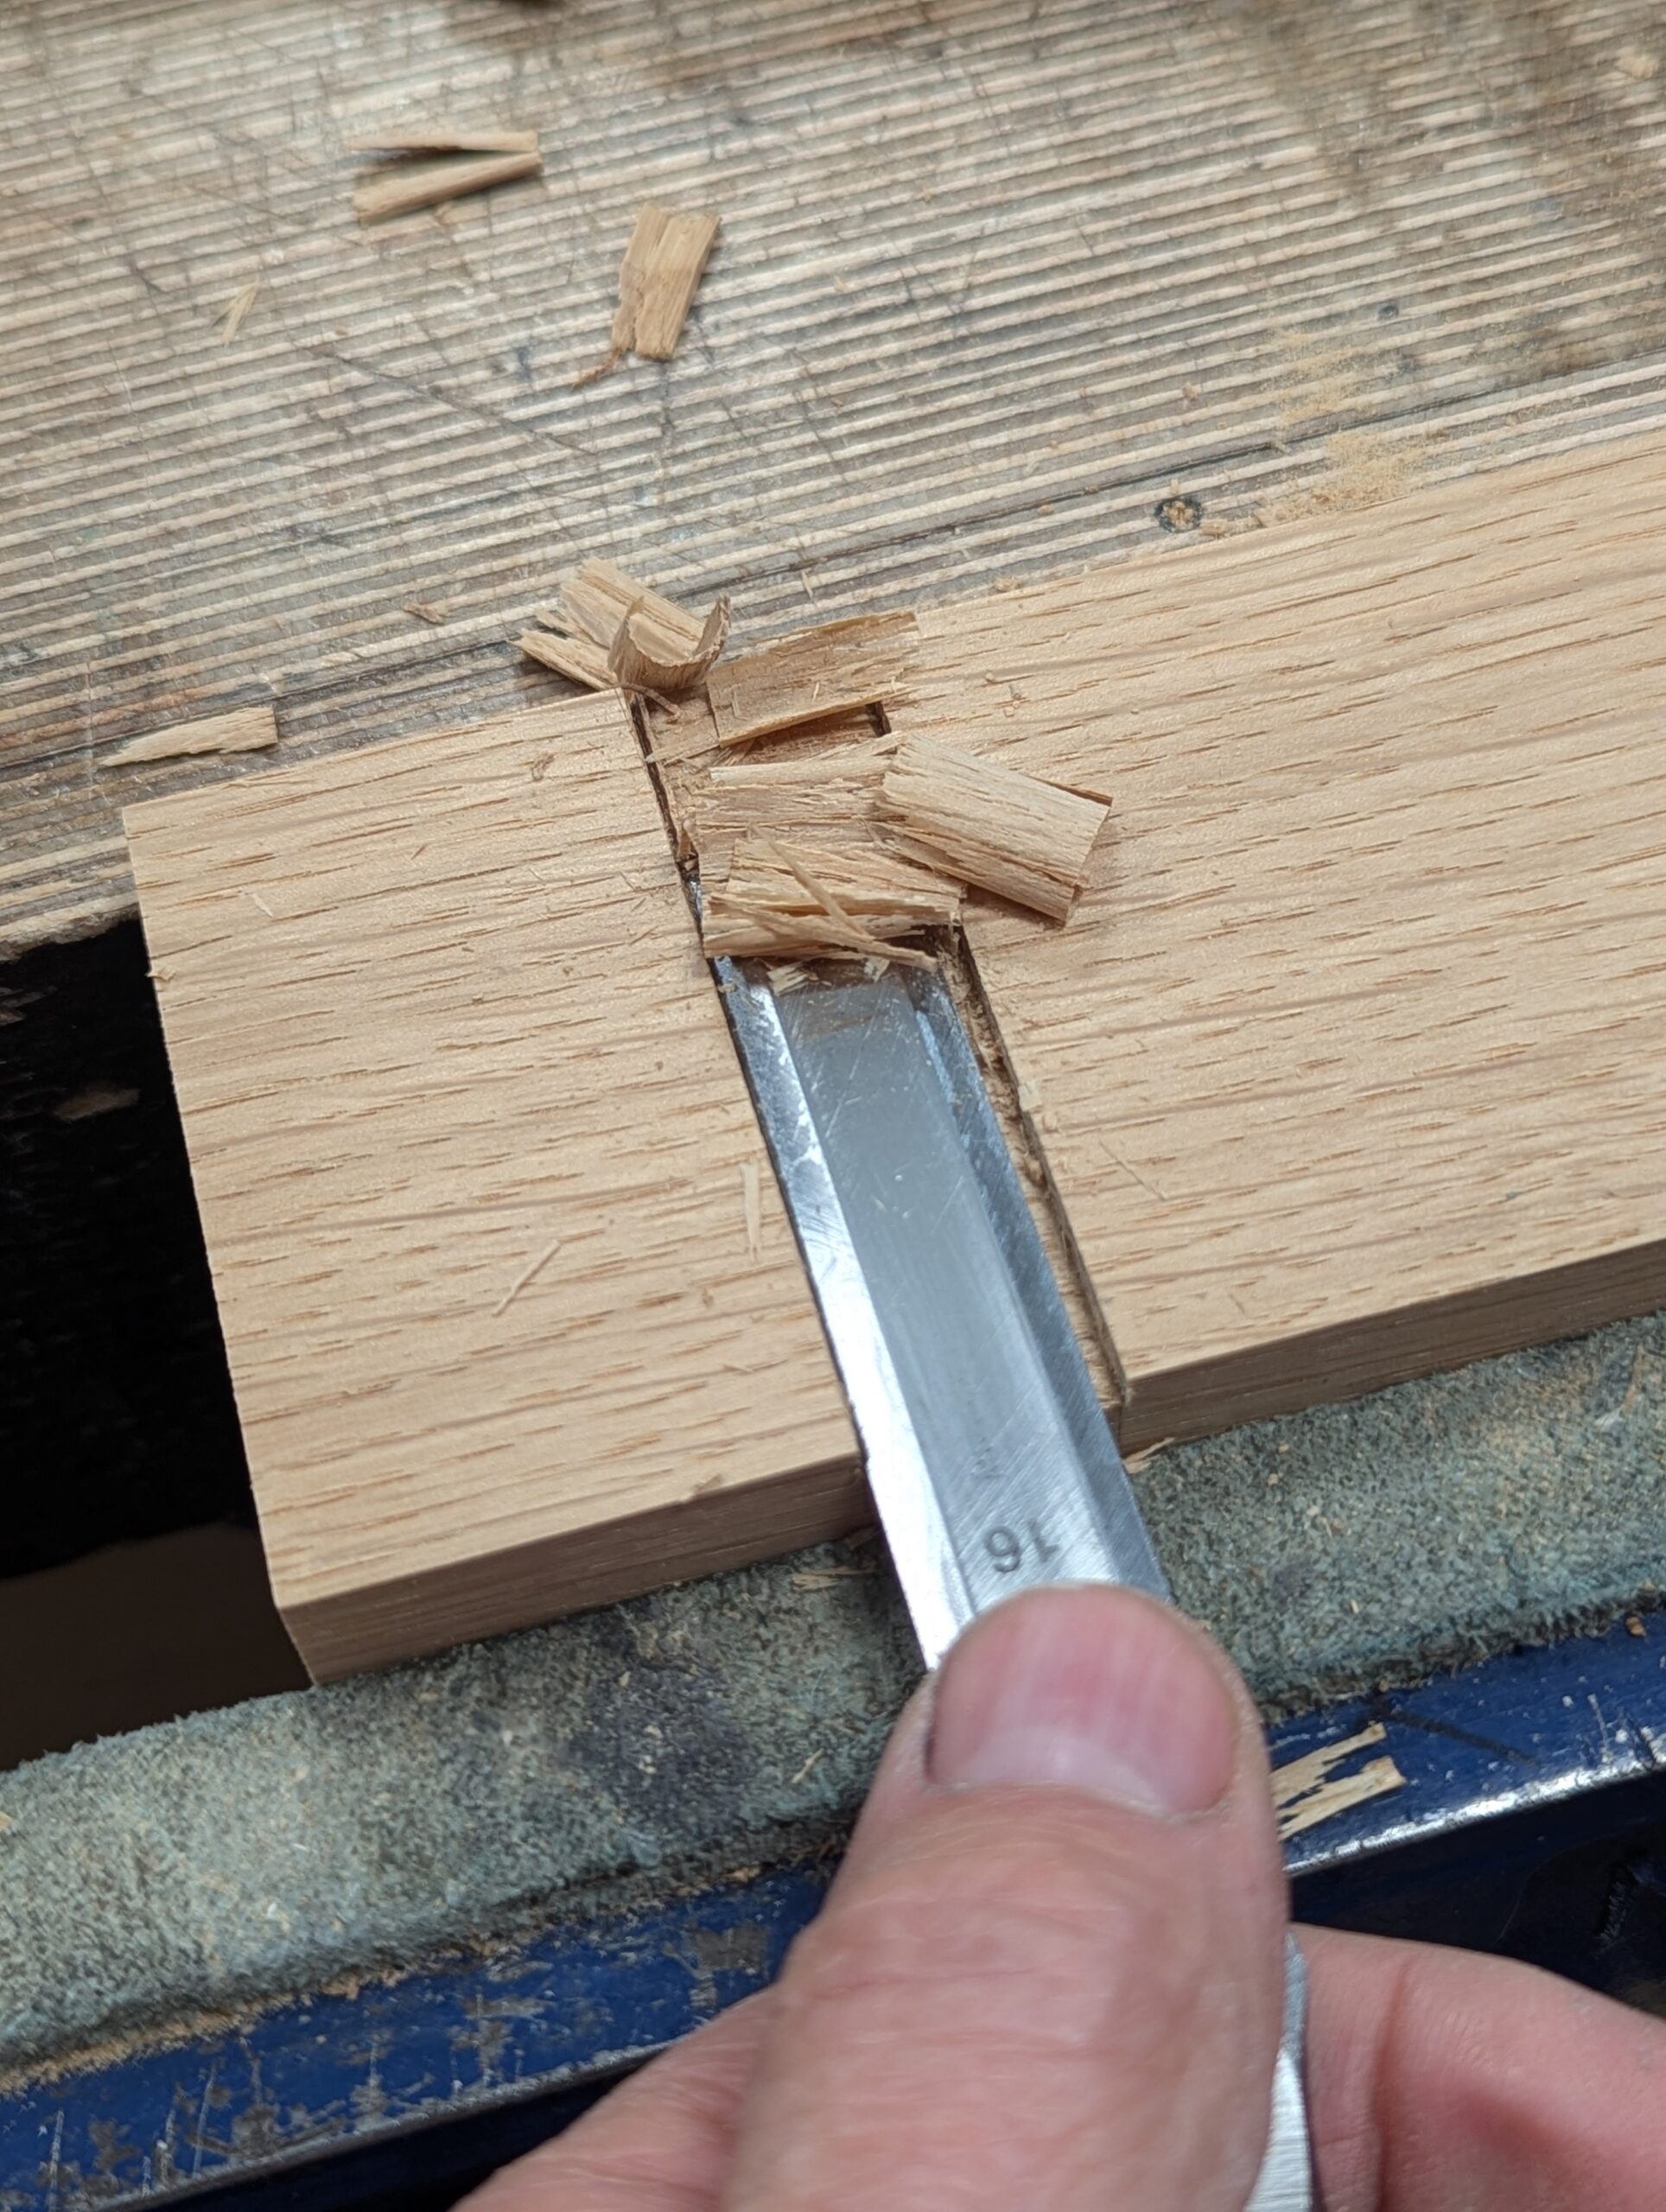
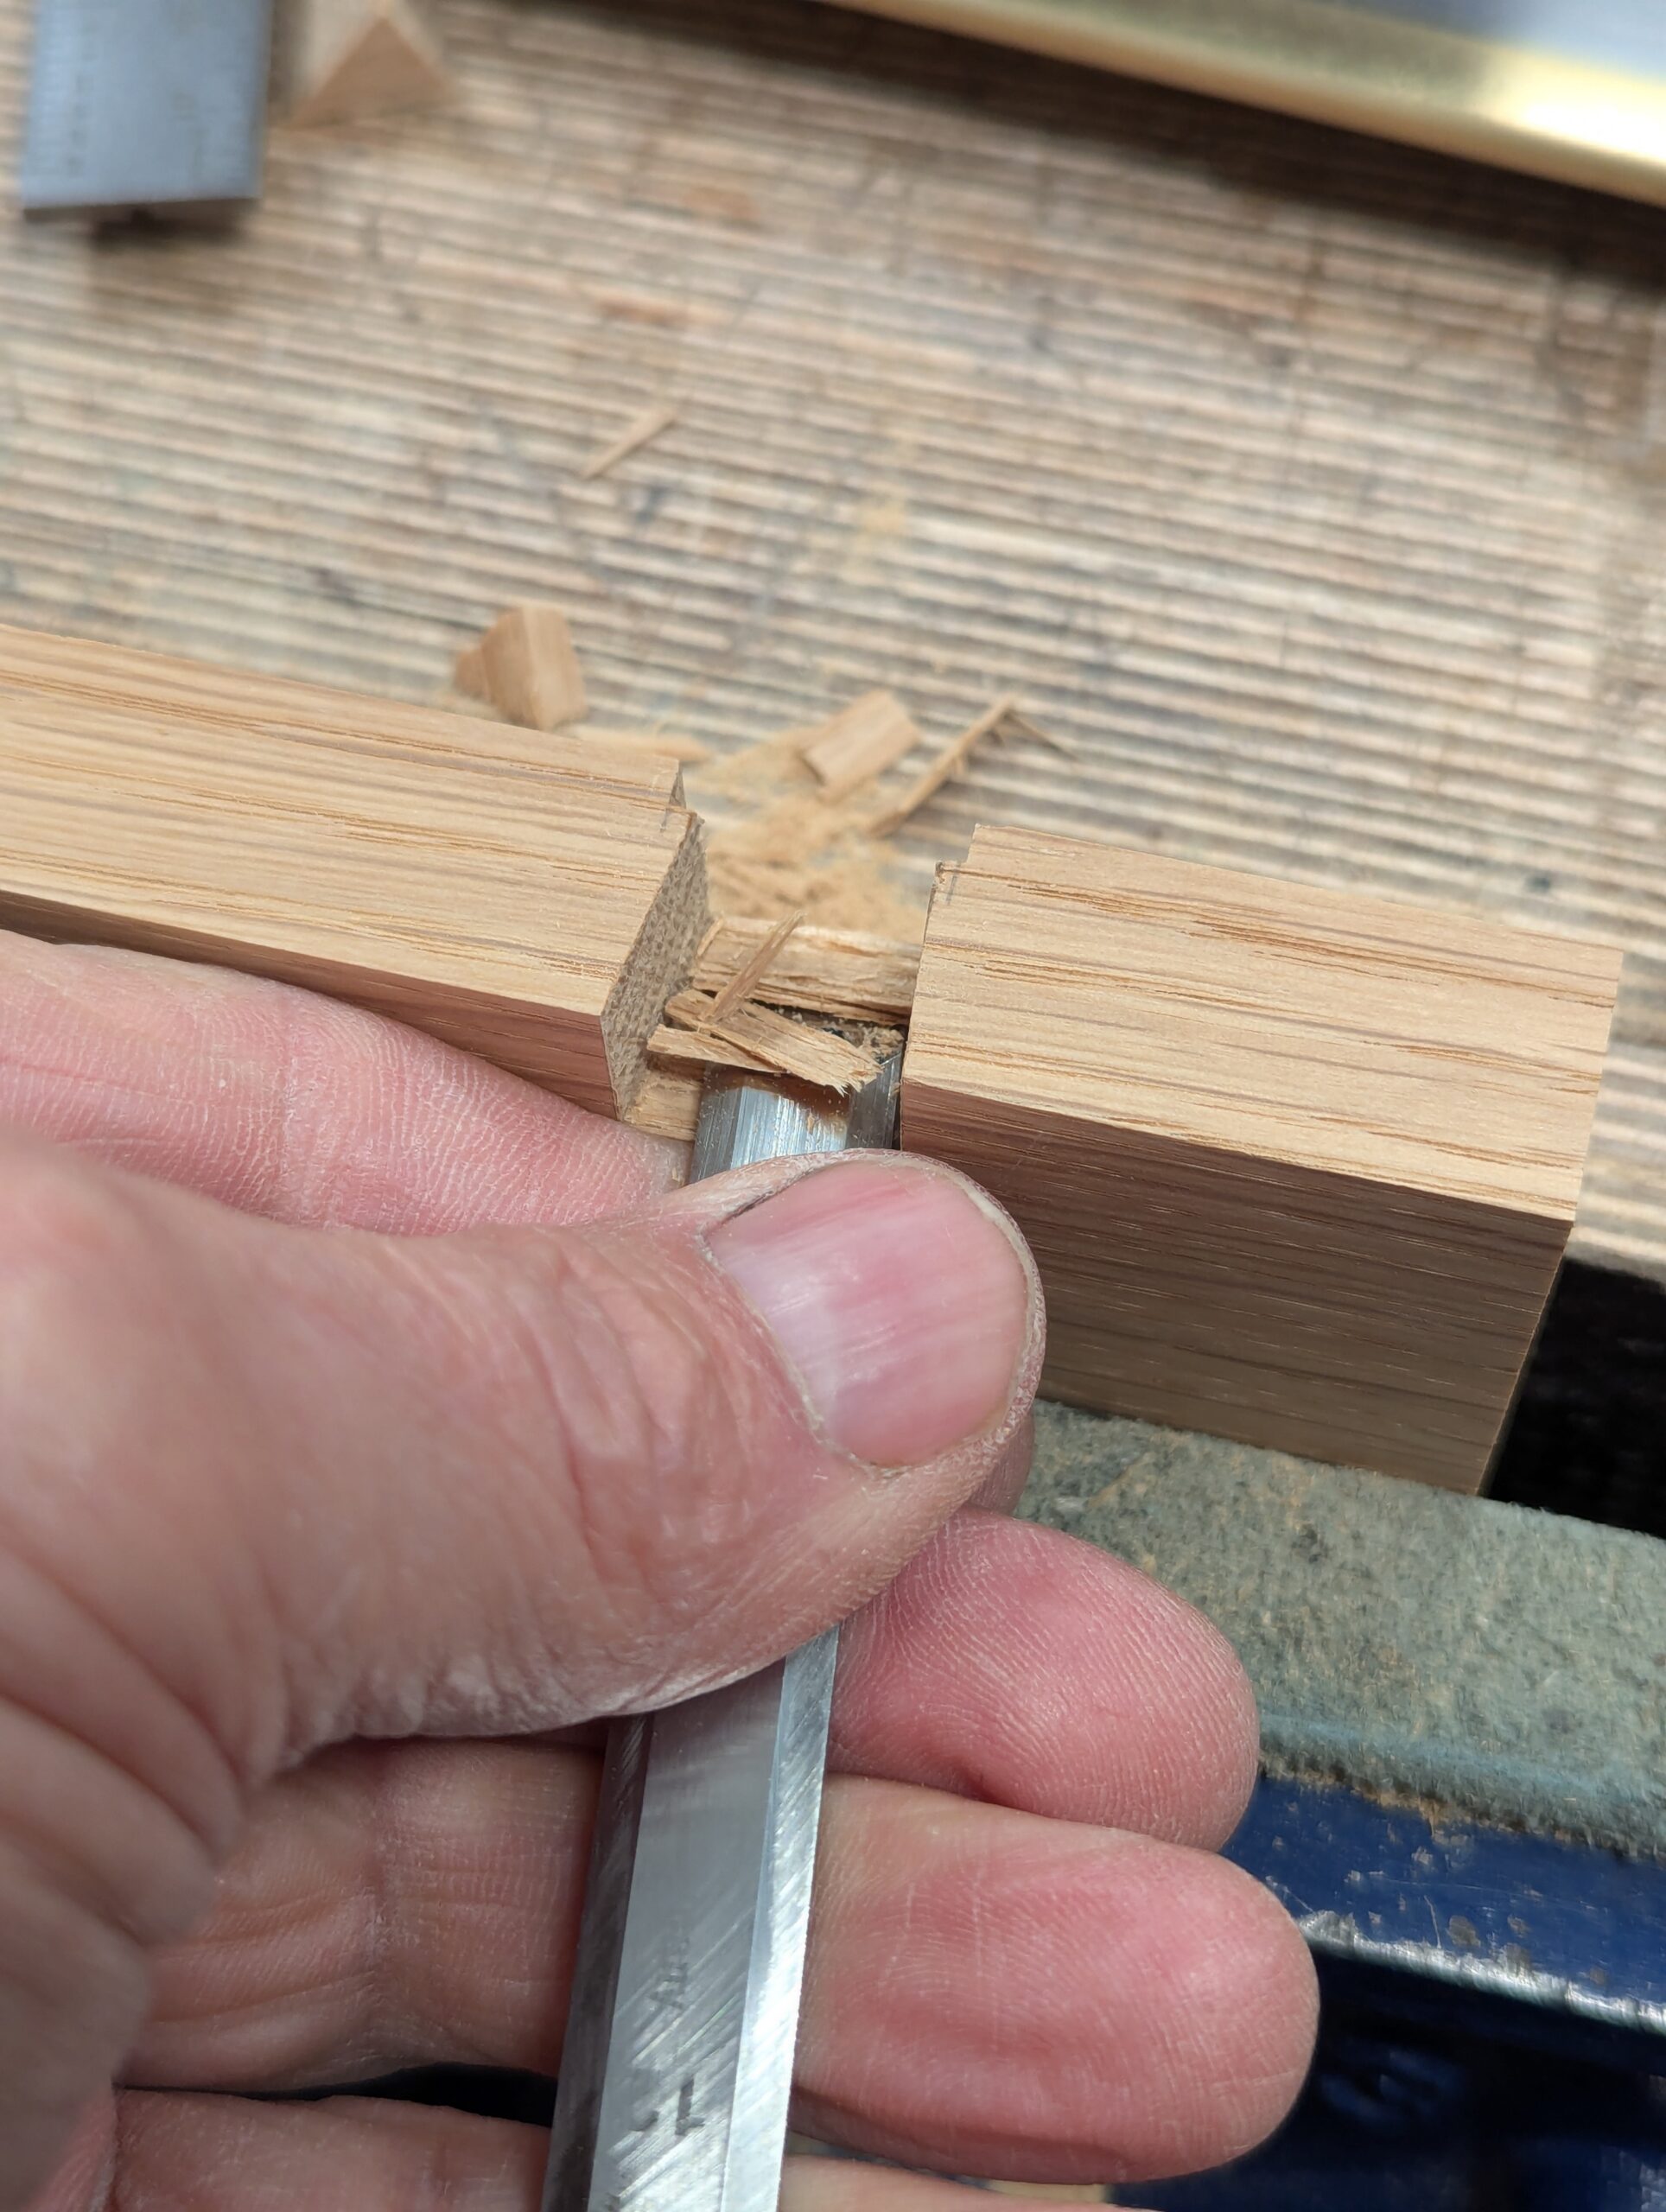
Remove the waste wood between near to depth.
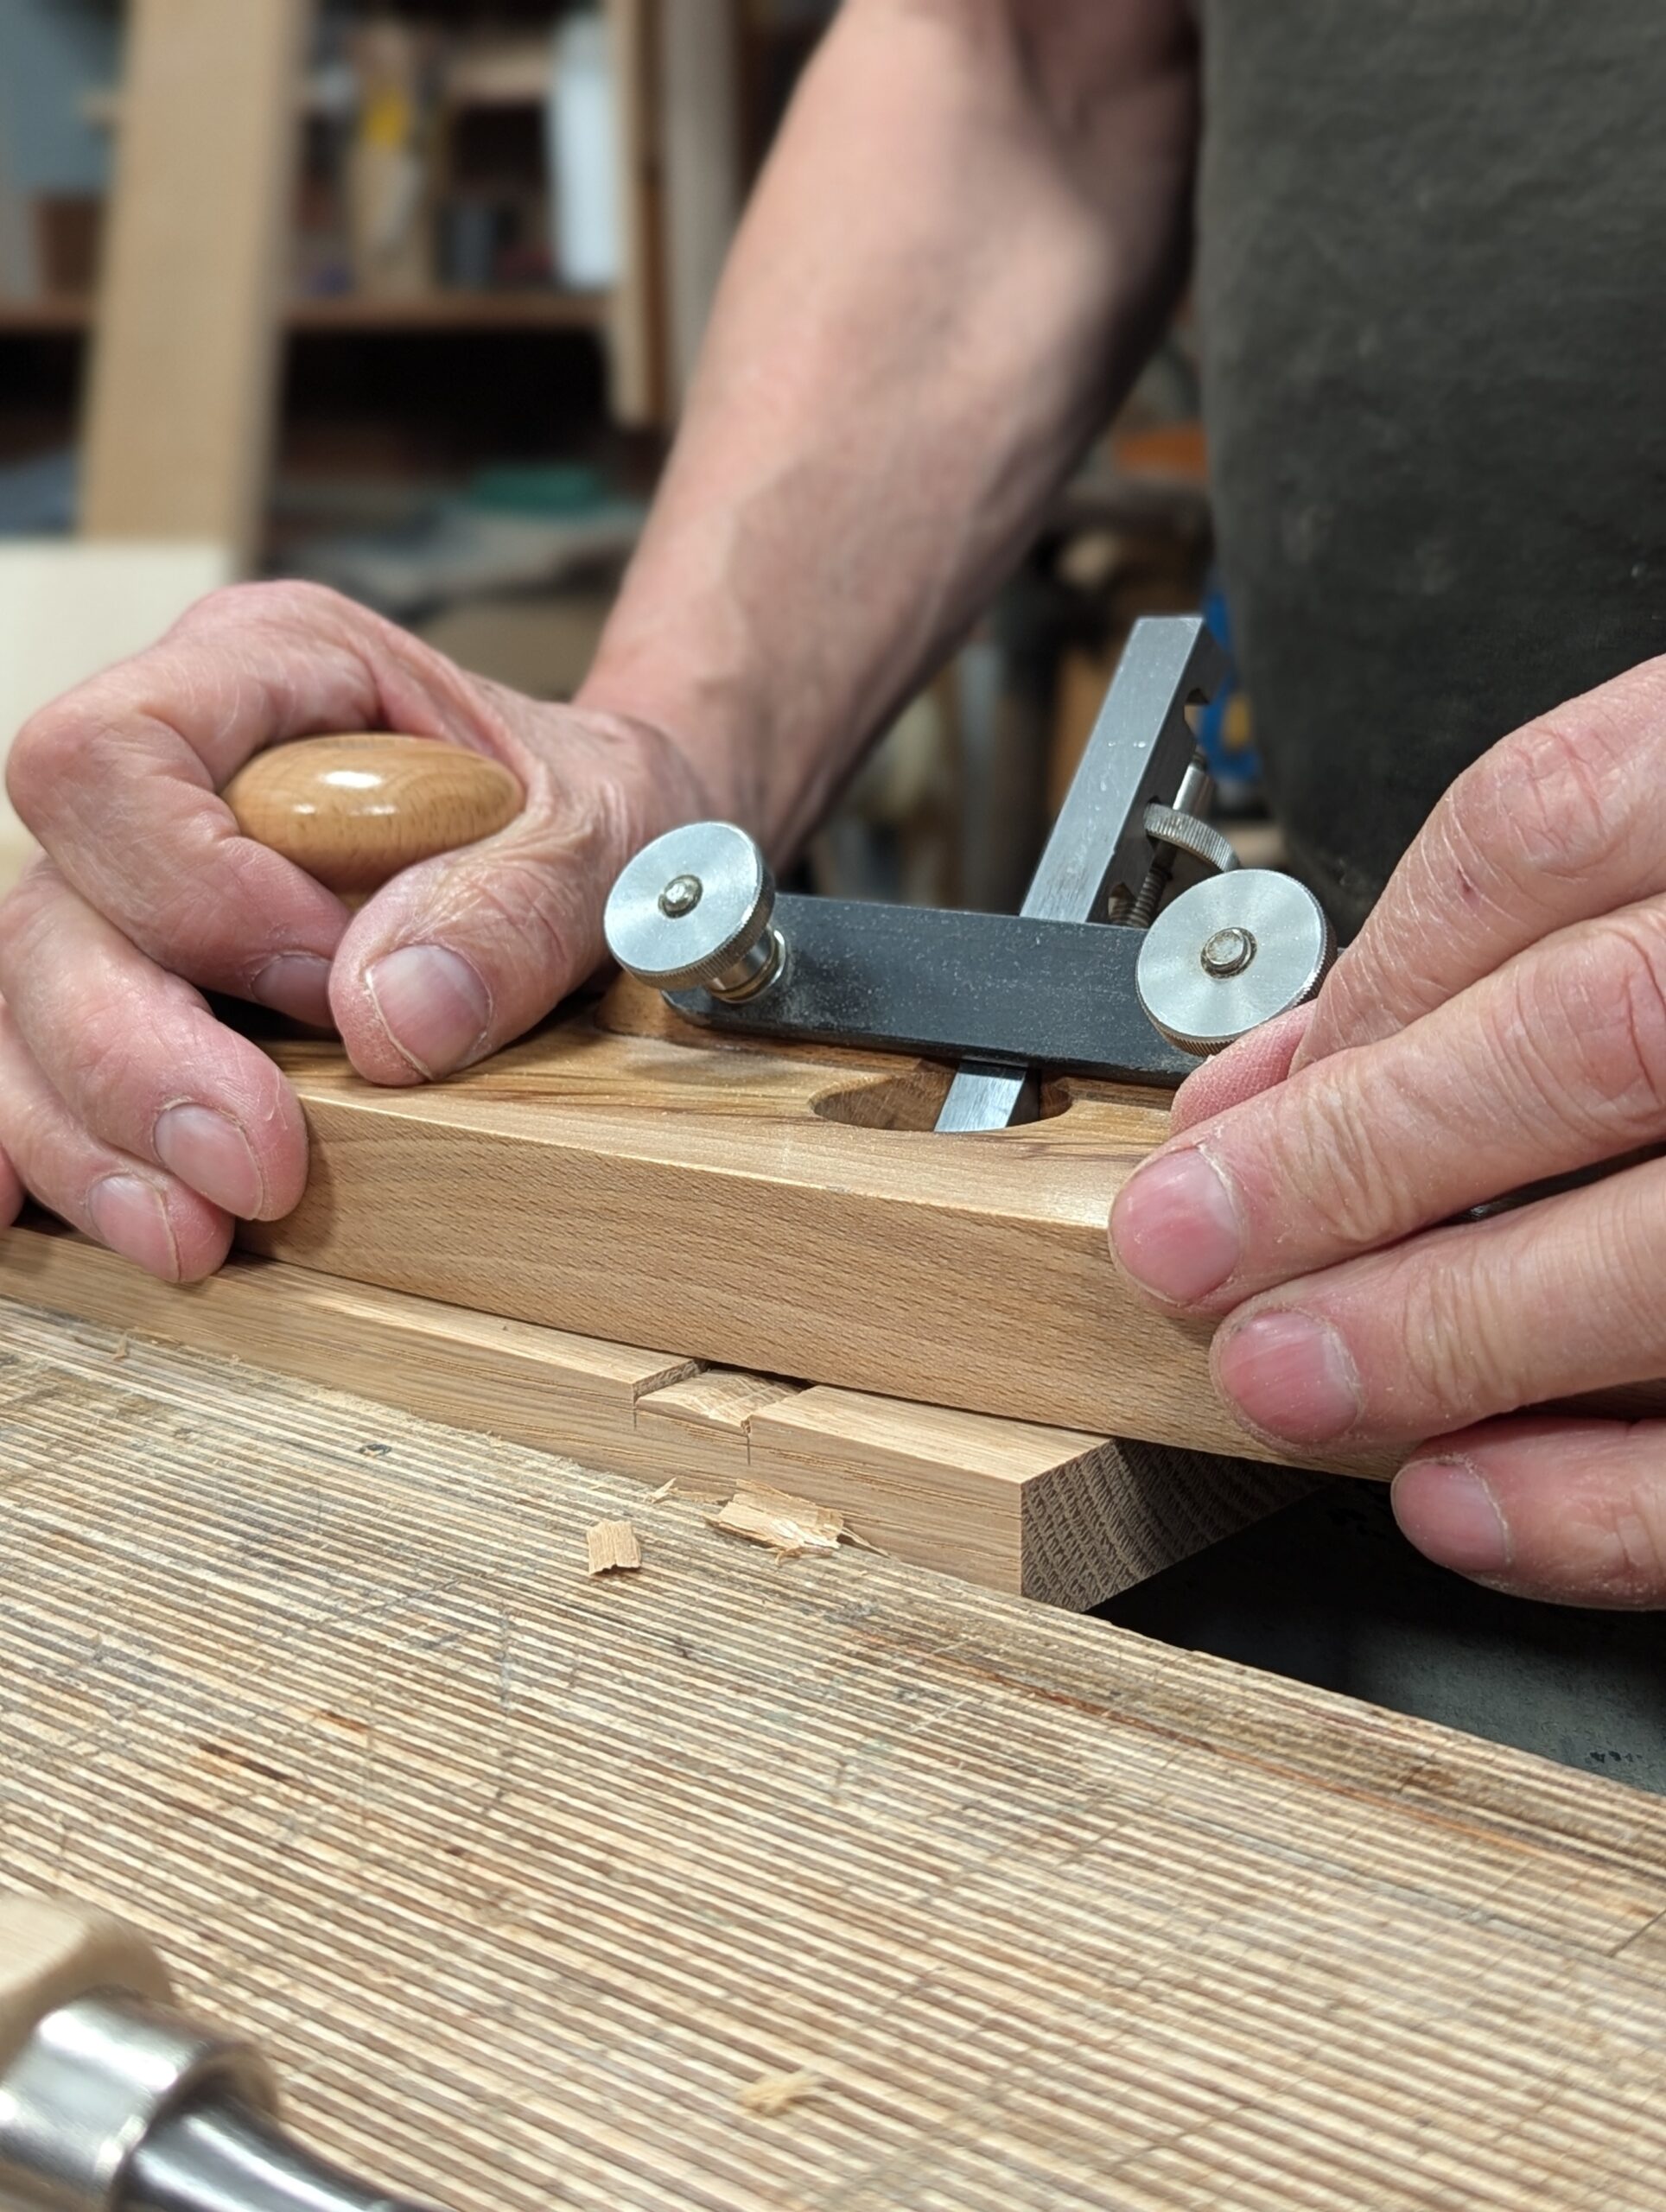
Finalise the depth with the router plane, if you have one. If not, just use the chisel.
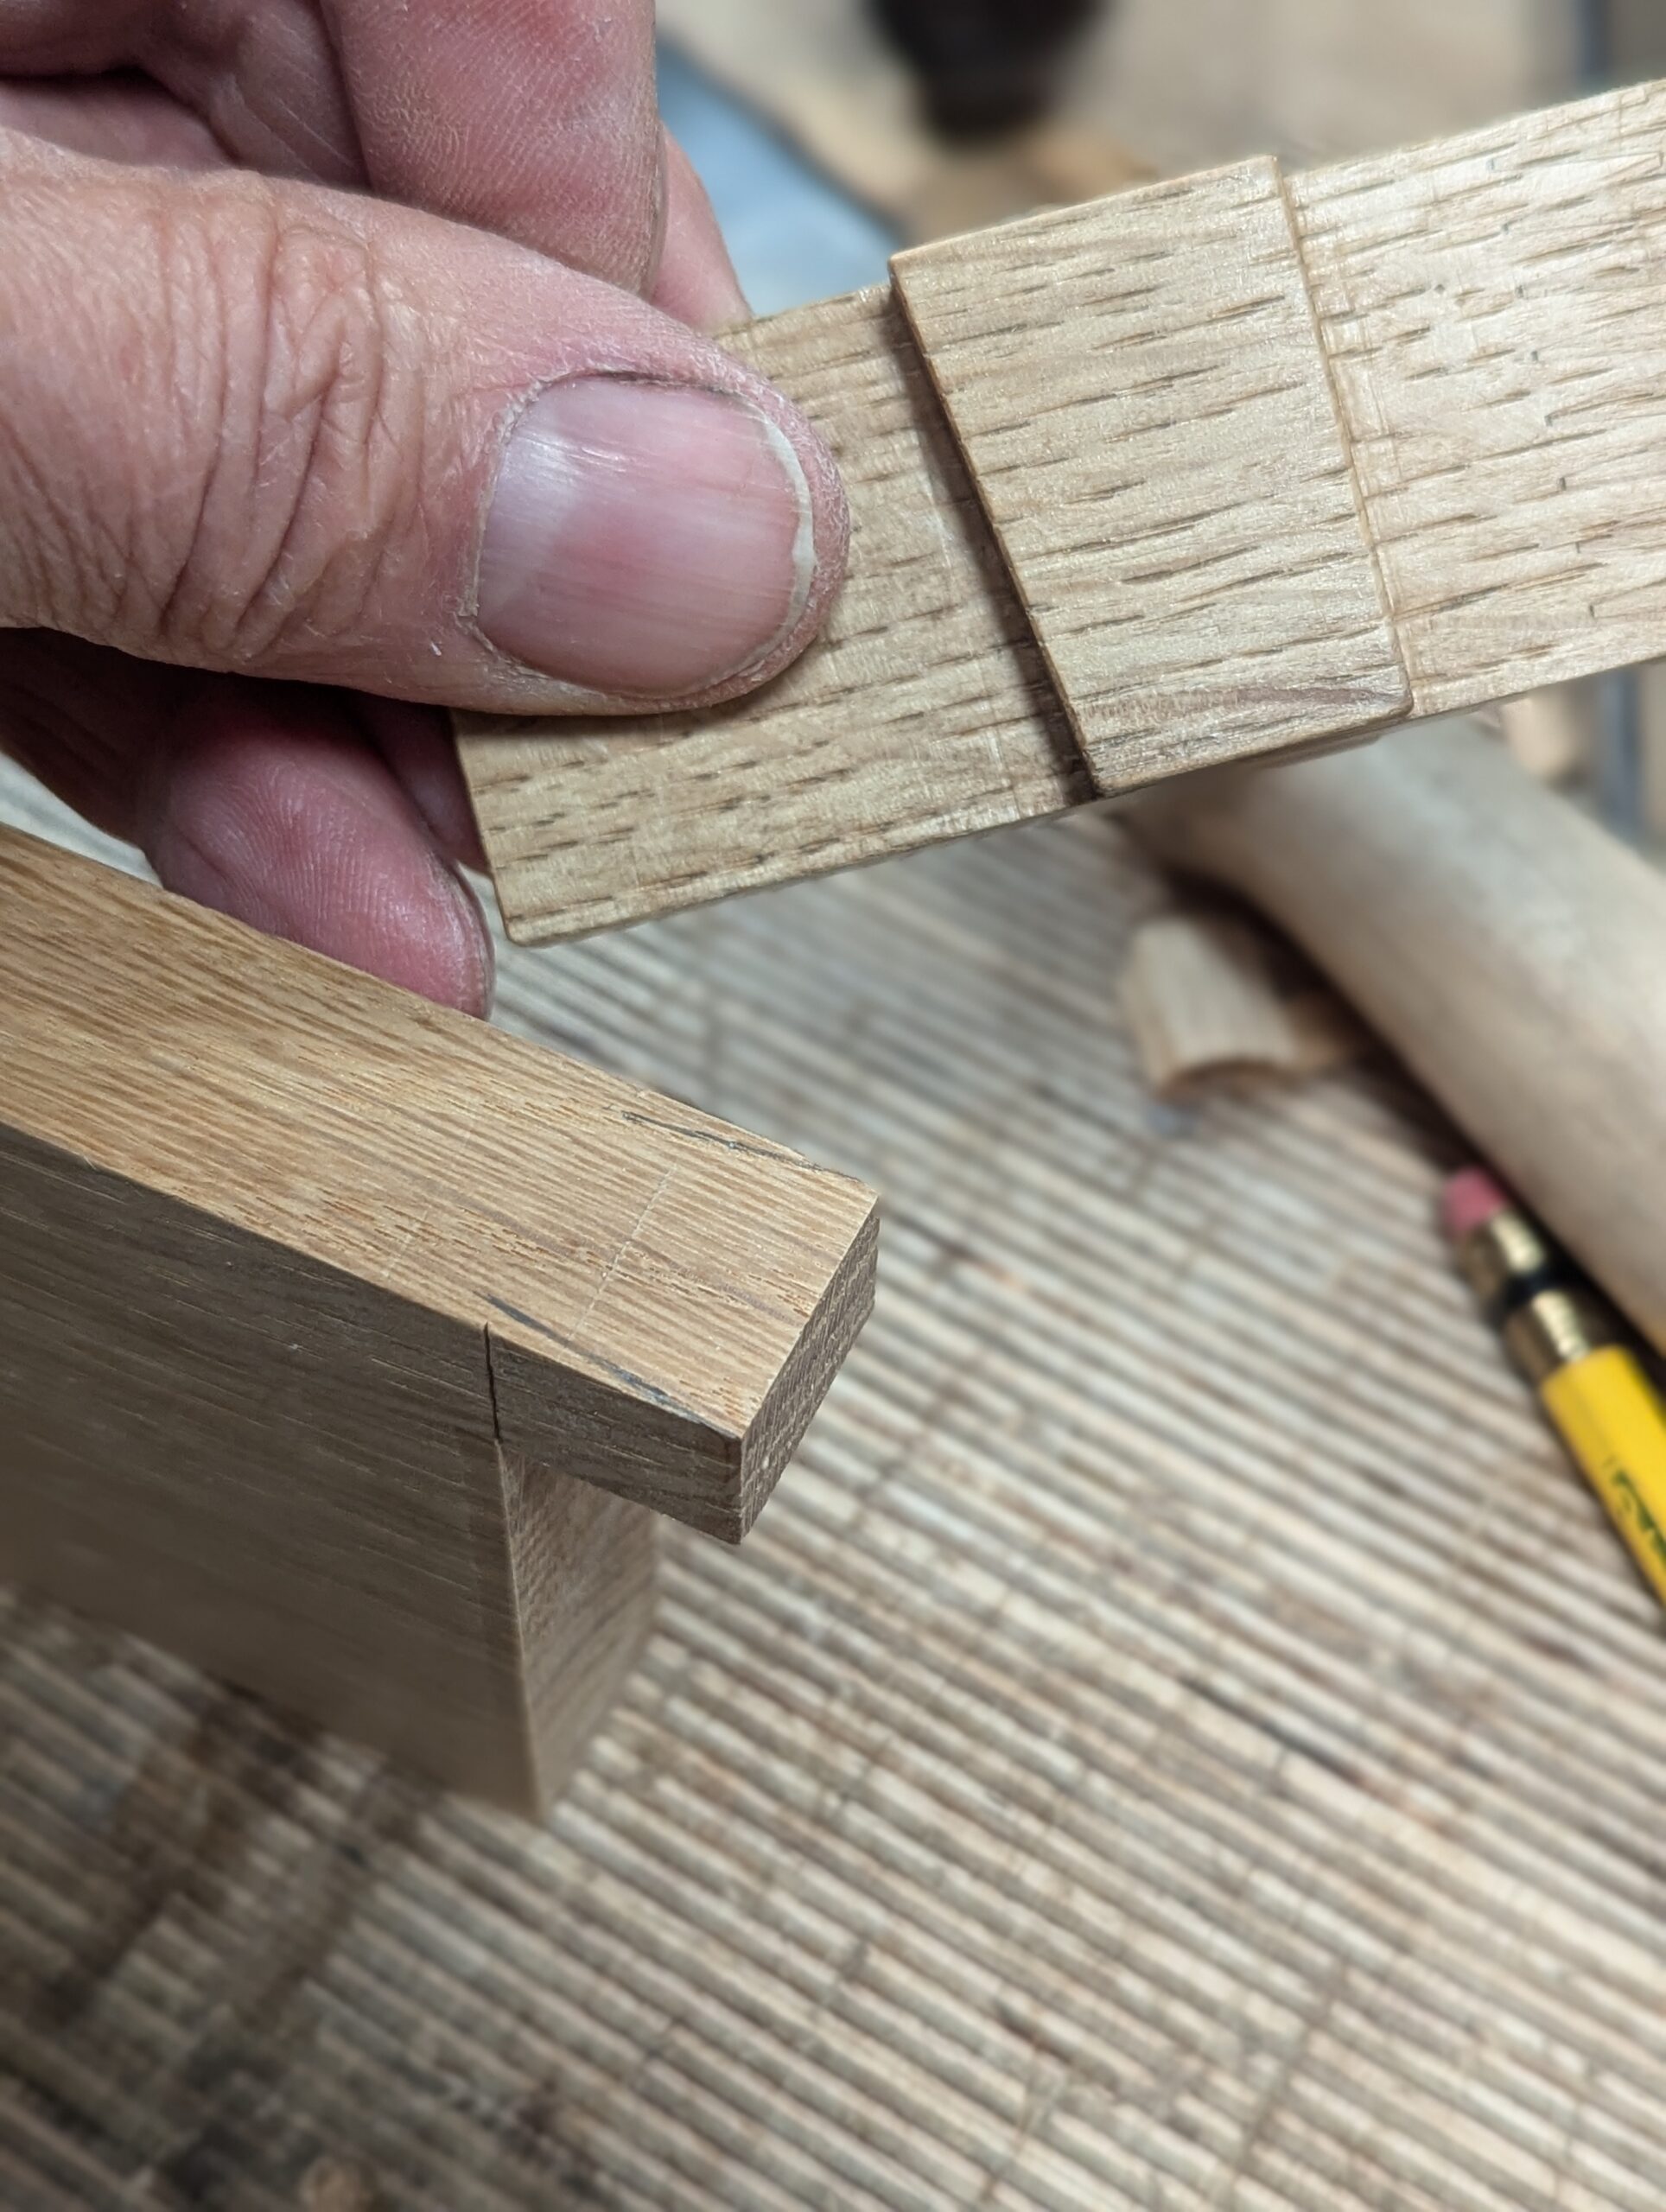
Flush the end of the next piece with the bottom of the housing dado to get the distance for your cut line.
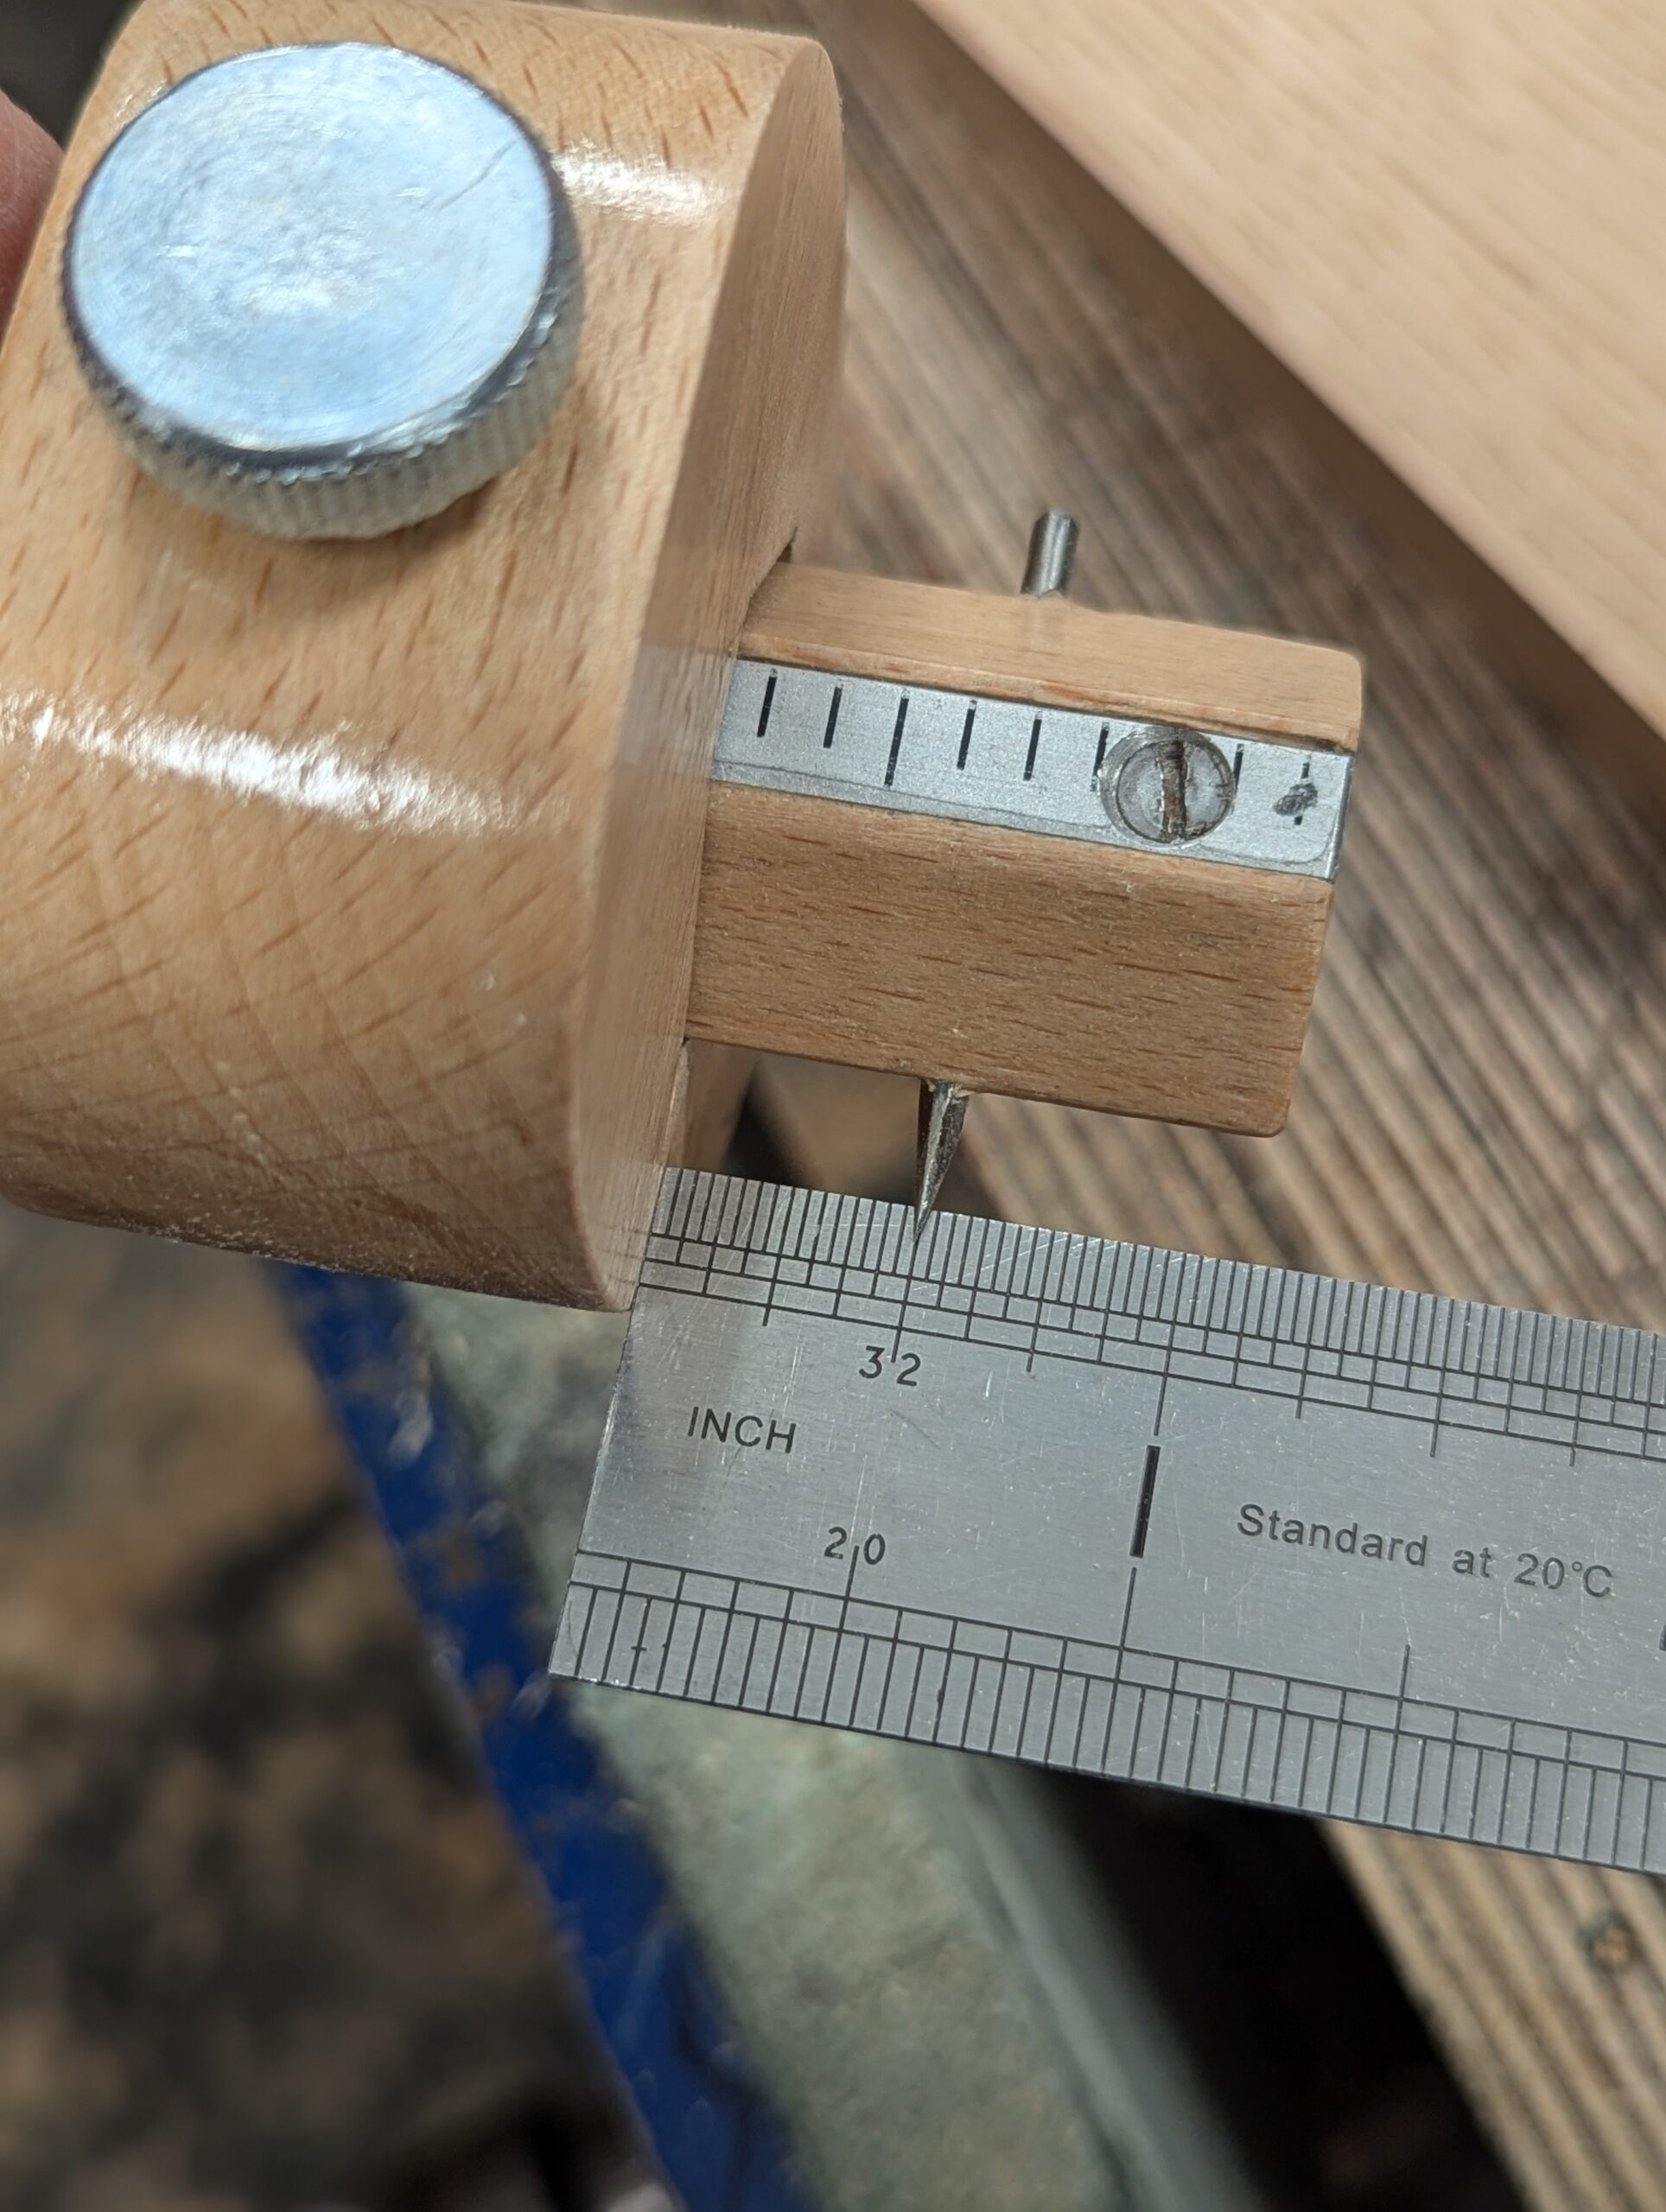
Set a gauge to 12mm (1/2").
Square a pencil line across the face of the wood as a guide to show you where to stop with a gauge line.
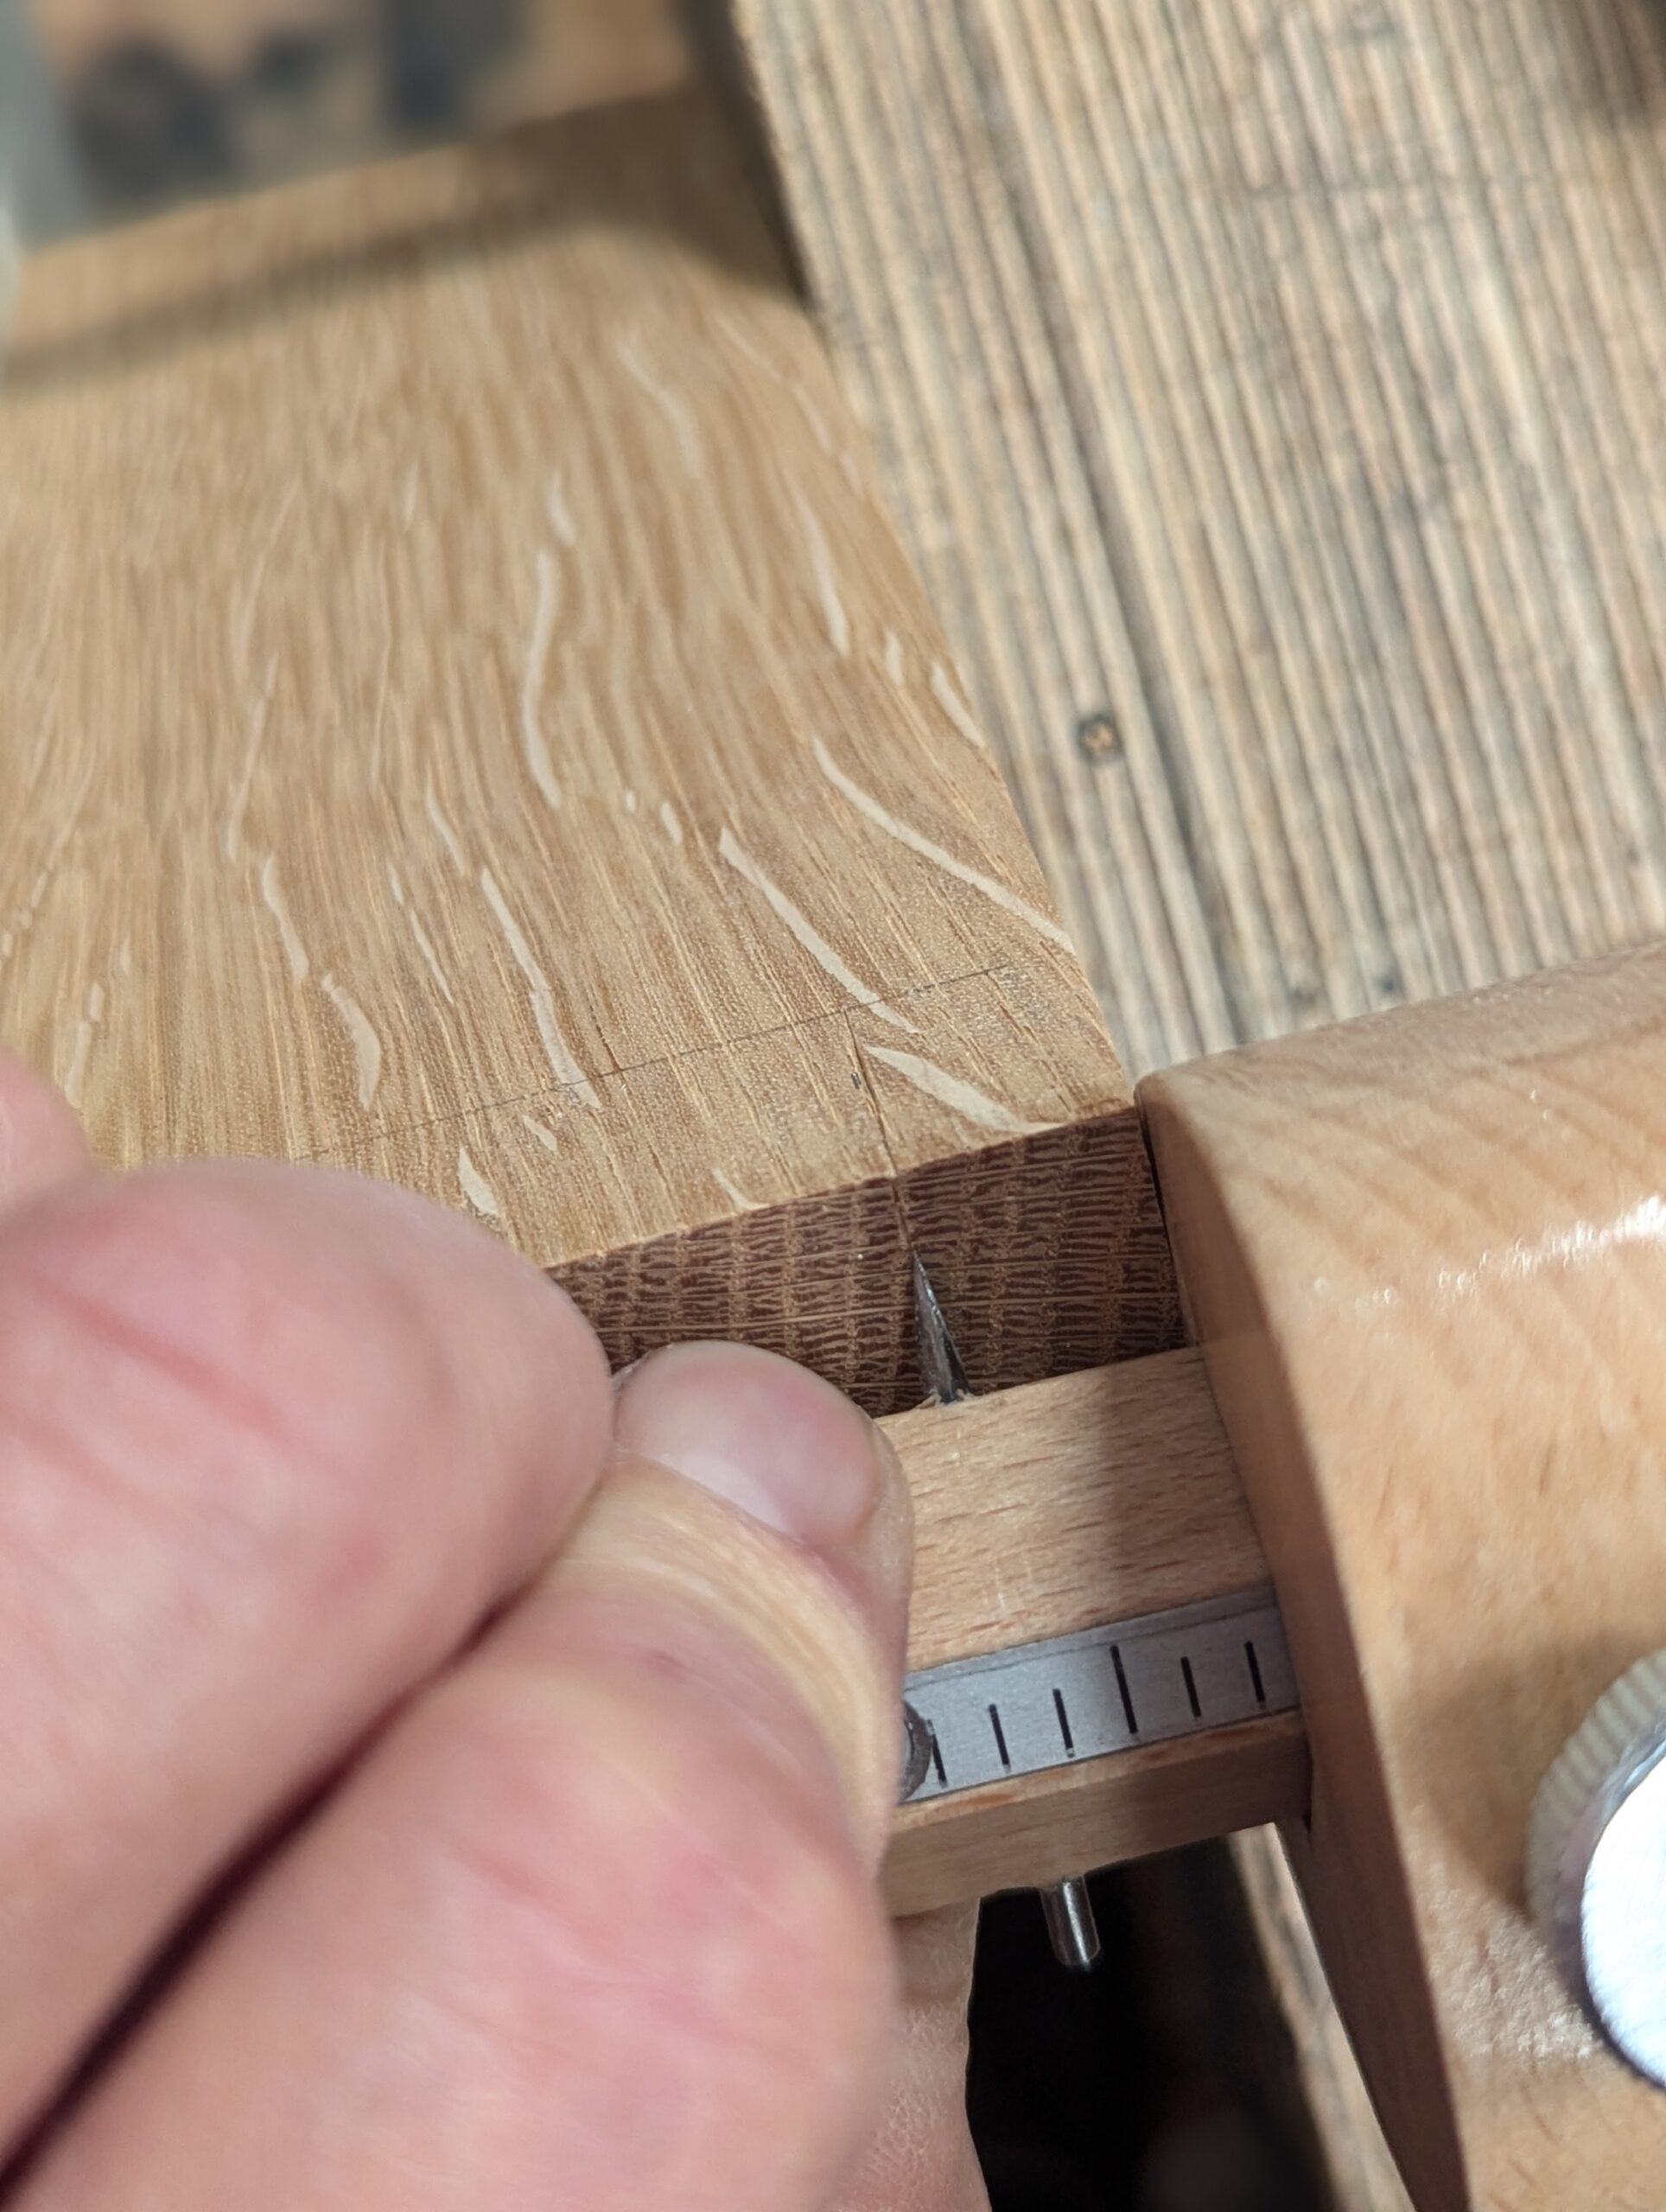
Run the gauge line delineating the dovetail distance from the face edge of the wood onto the three faces.
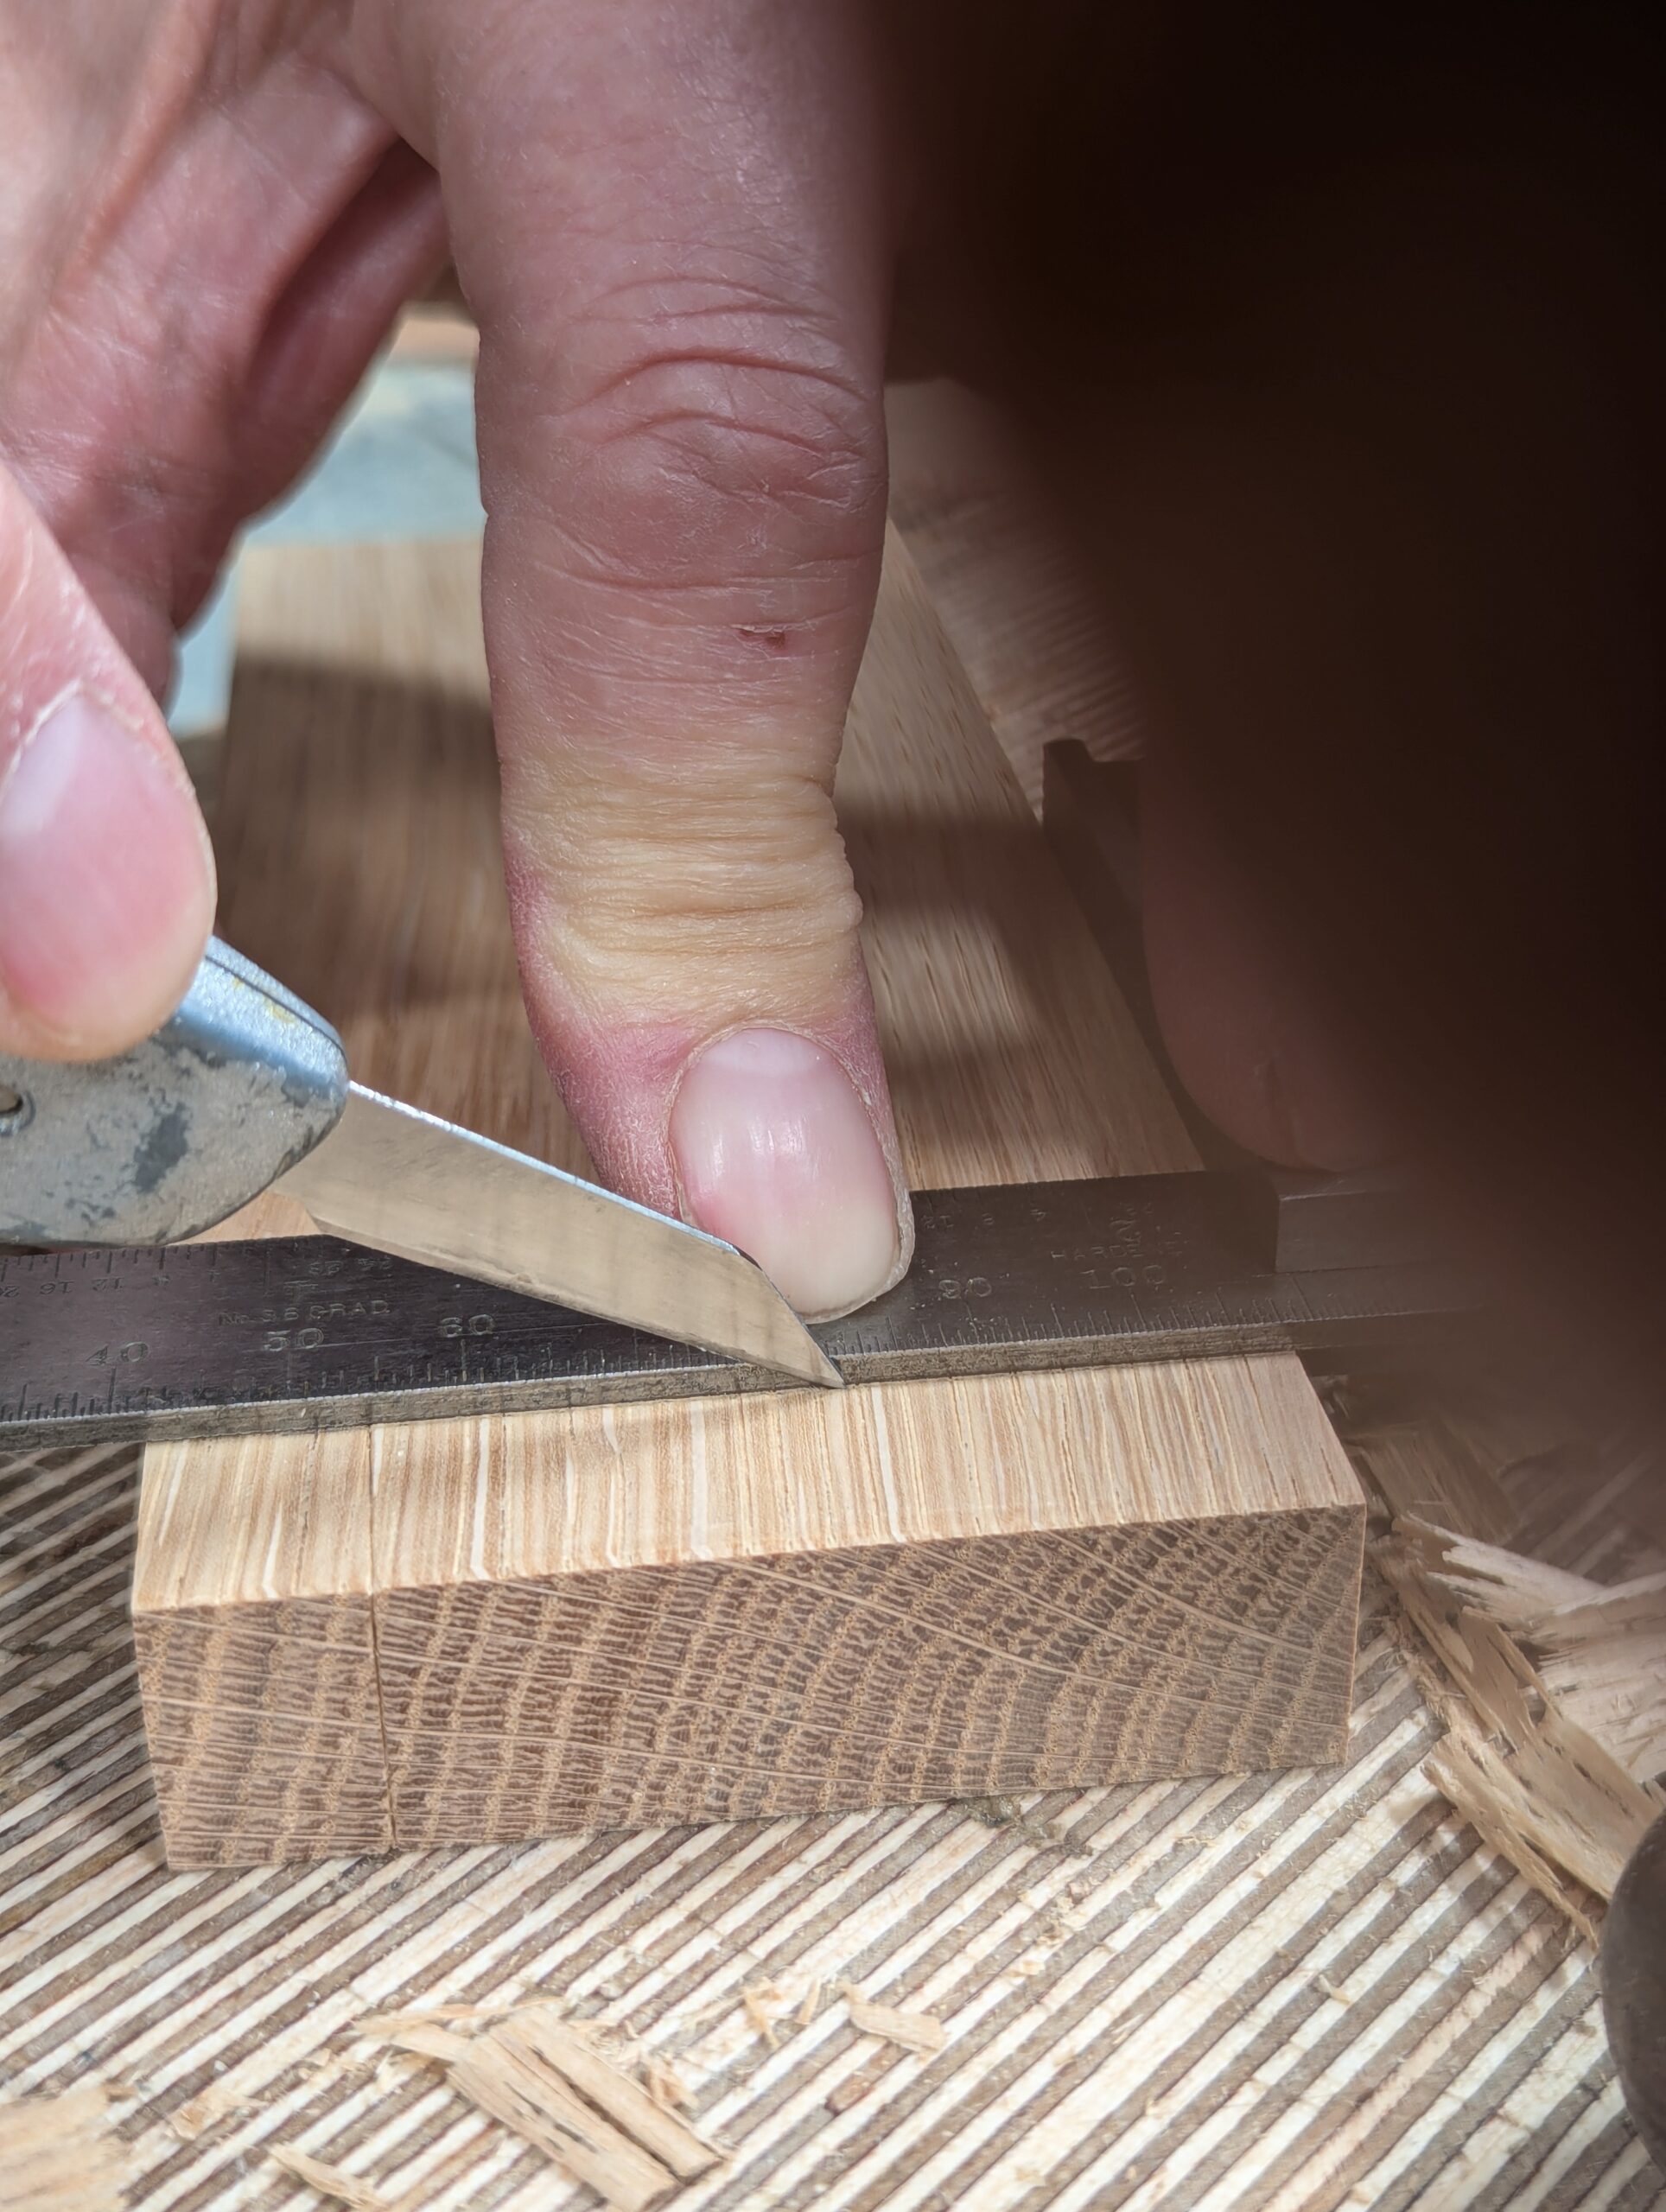
Use the knife and square to create a knife wall to the two large faces and the underside edge of the piece.

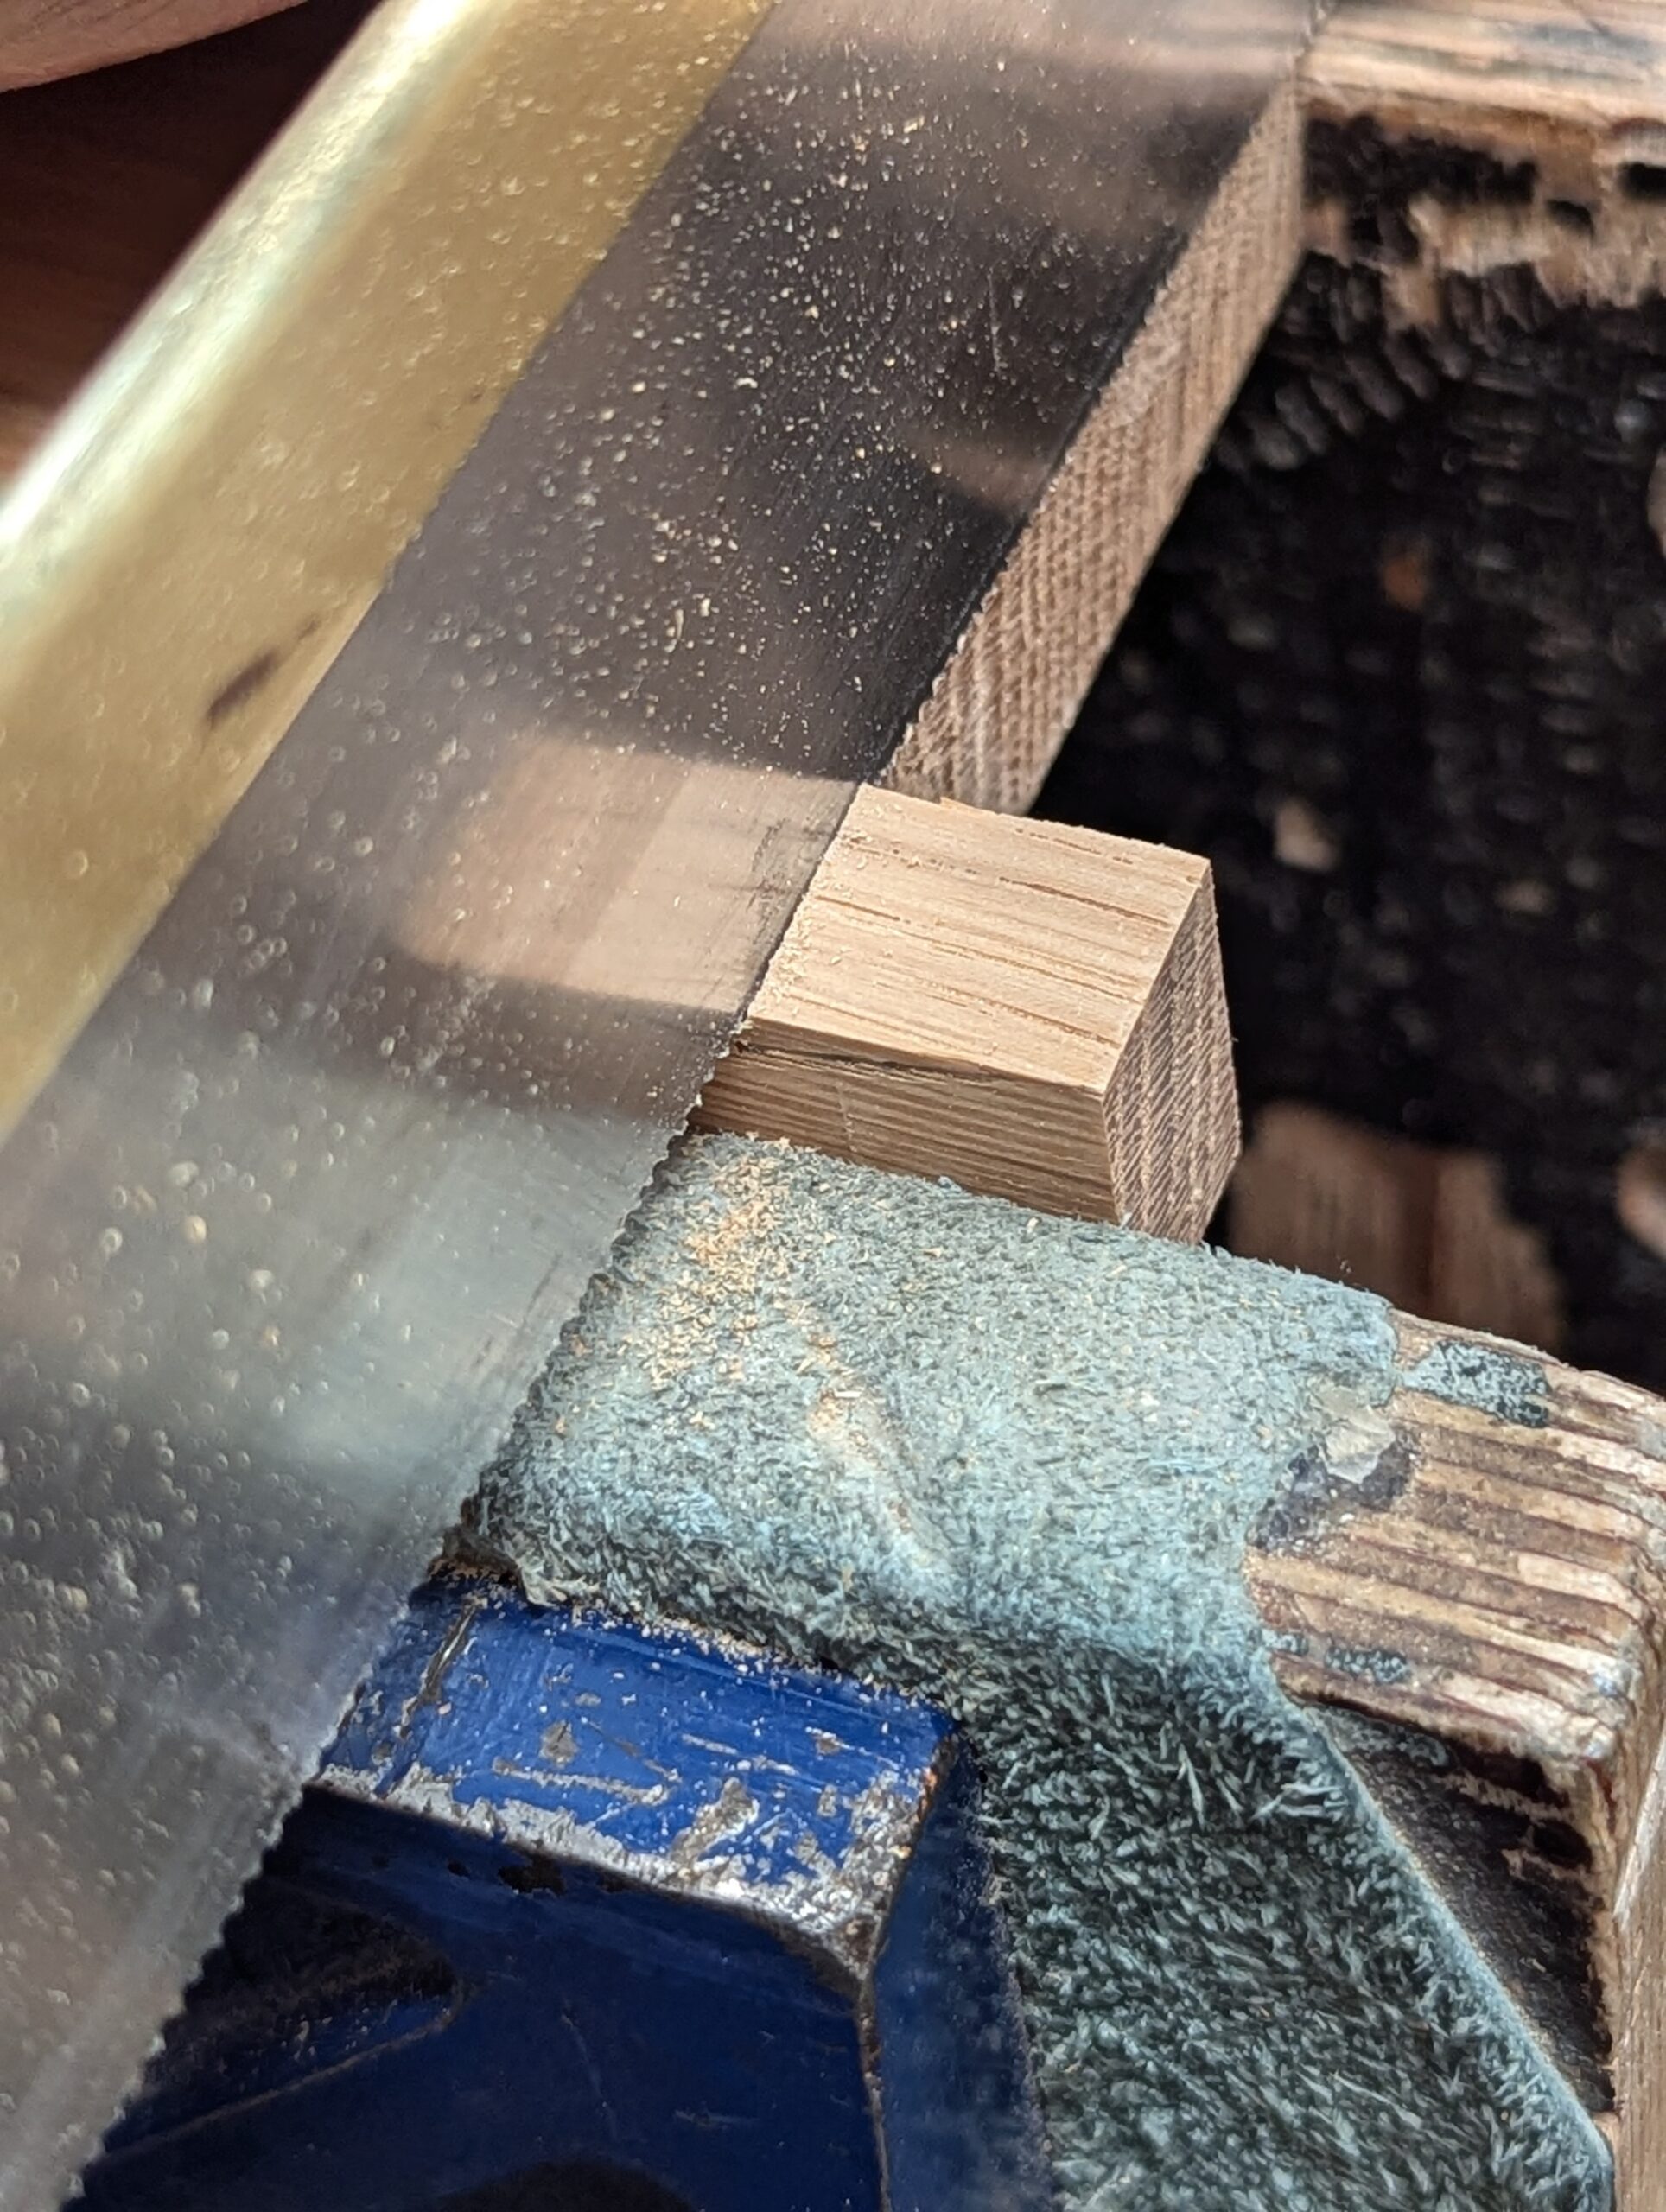
Saw down the wide section to the gauge line, working tight to the knifewall as possible.
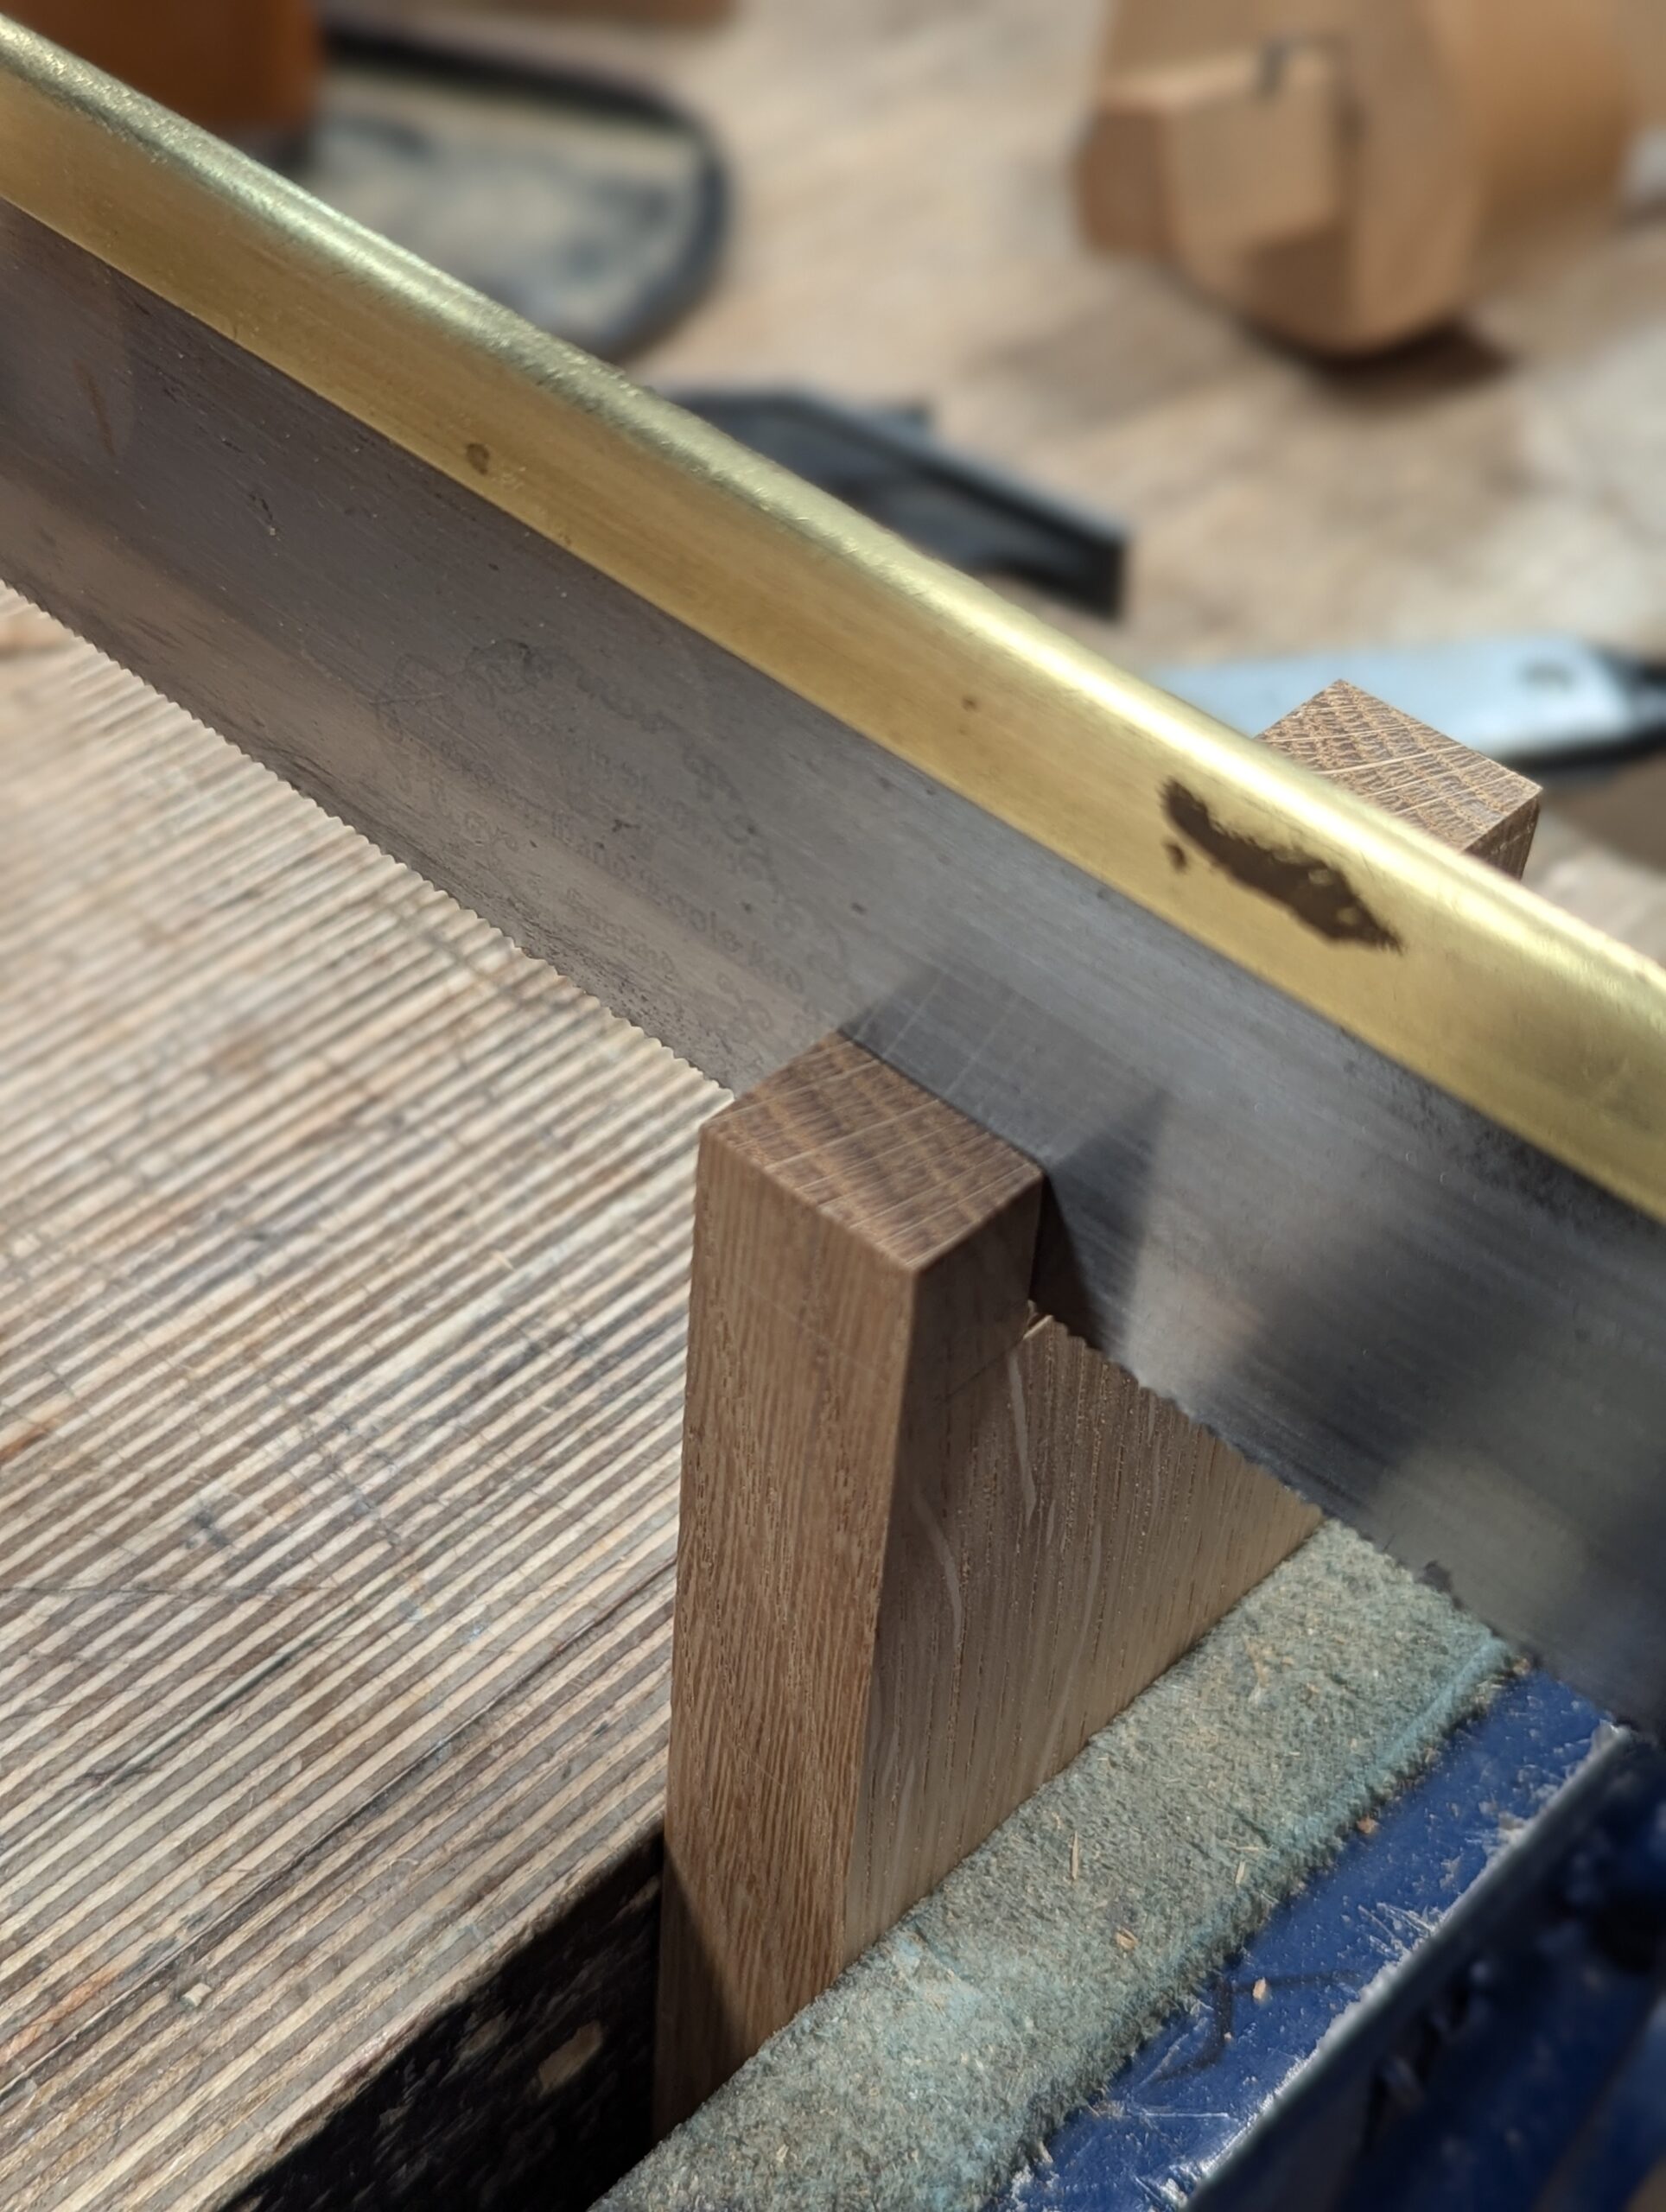
Cut down the underside of the dovetail section to the gauge line.

Us a wide chisel to pare cut the surfaces to the knifewall to remove any fuzziness from the surface.
Extend the knifewall to each side of the dovetail extension read for the saw cut.
Use the dovetail guide to establish pencil lines for the dovetail layout.

Use the knife and square to each side of the neck of the dovetail to prevent any tea rout with the saw.
Saw down the shoulder lines on both sides.
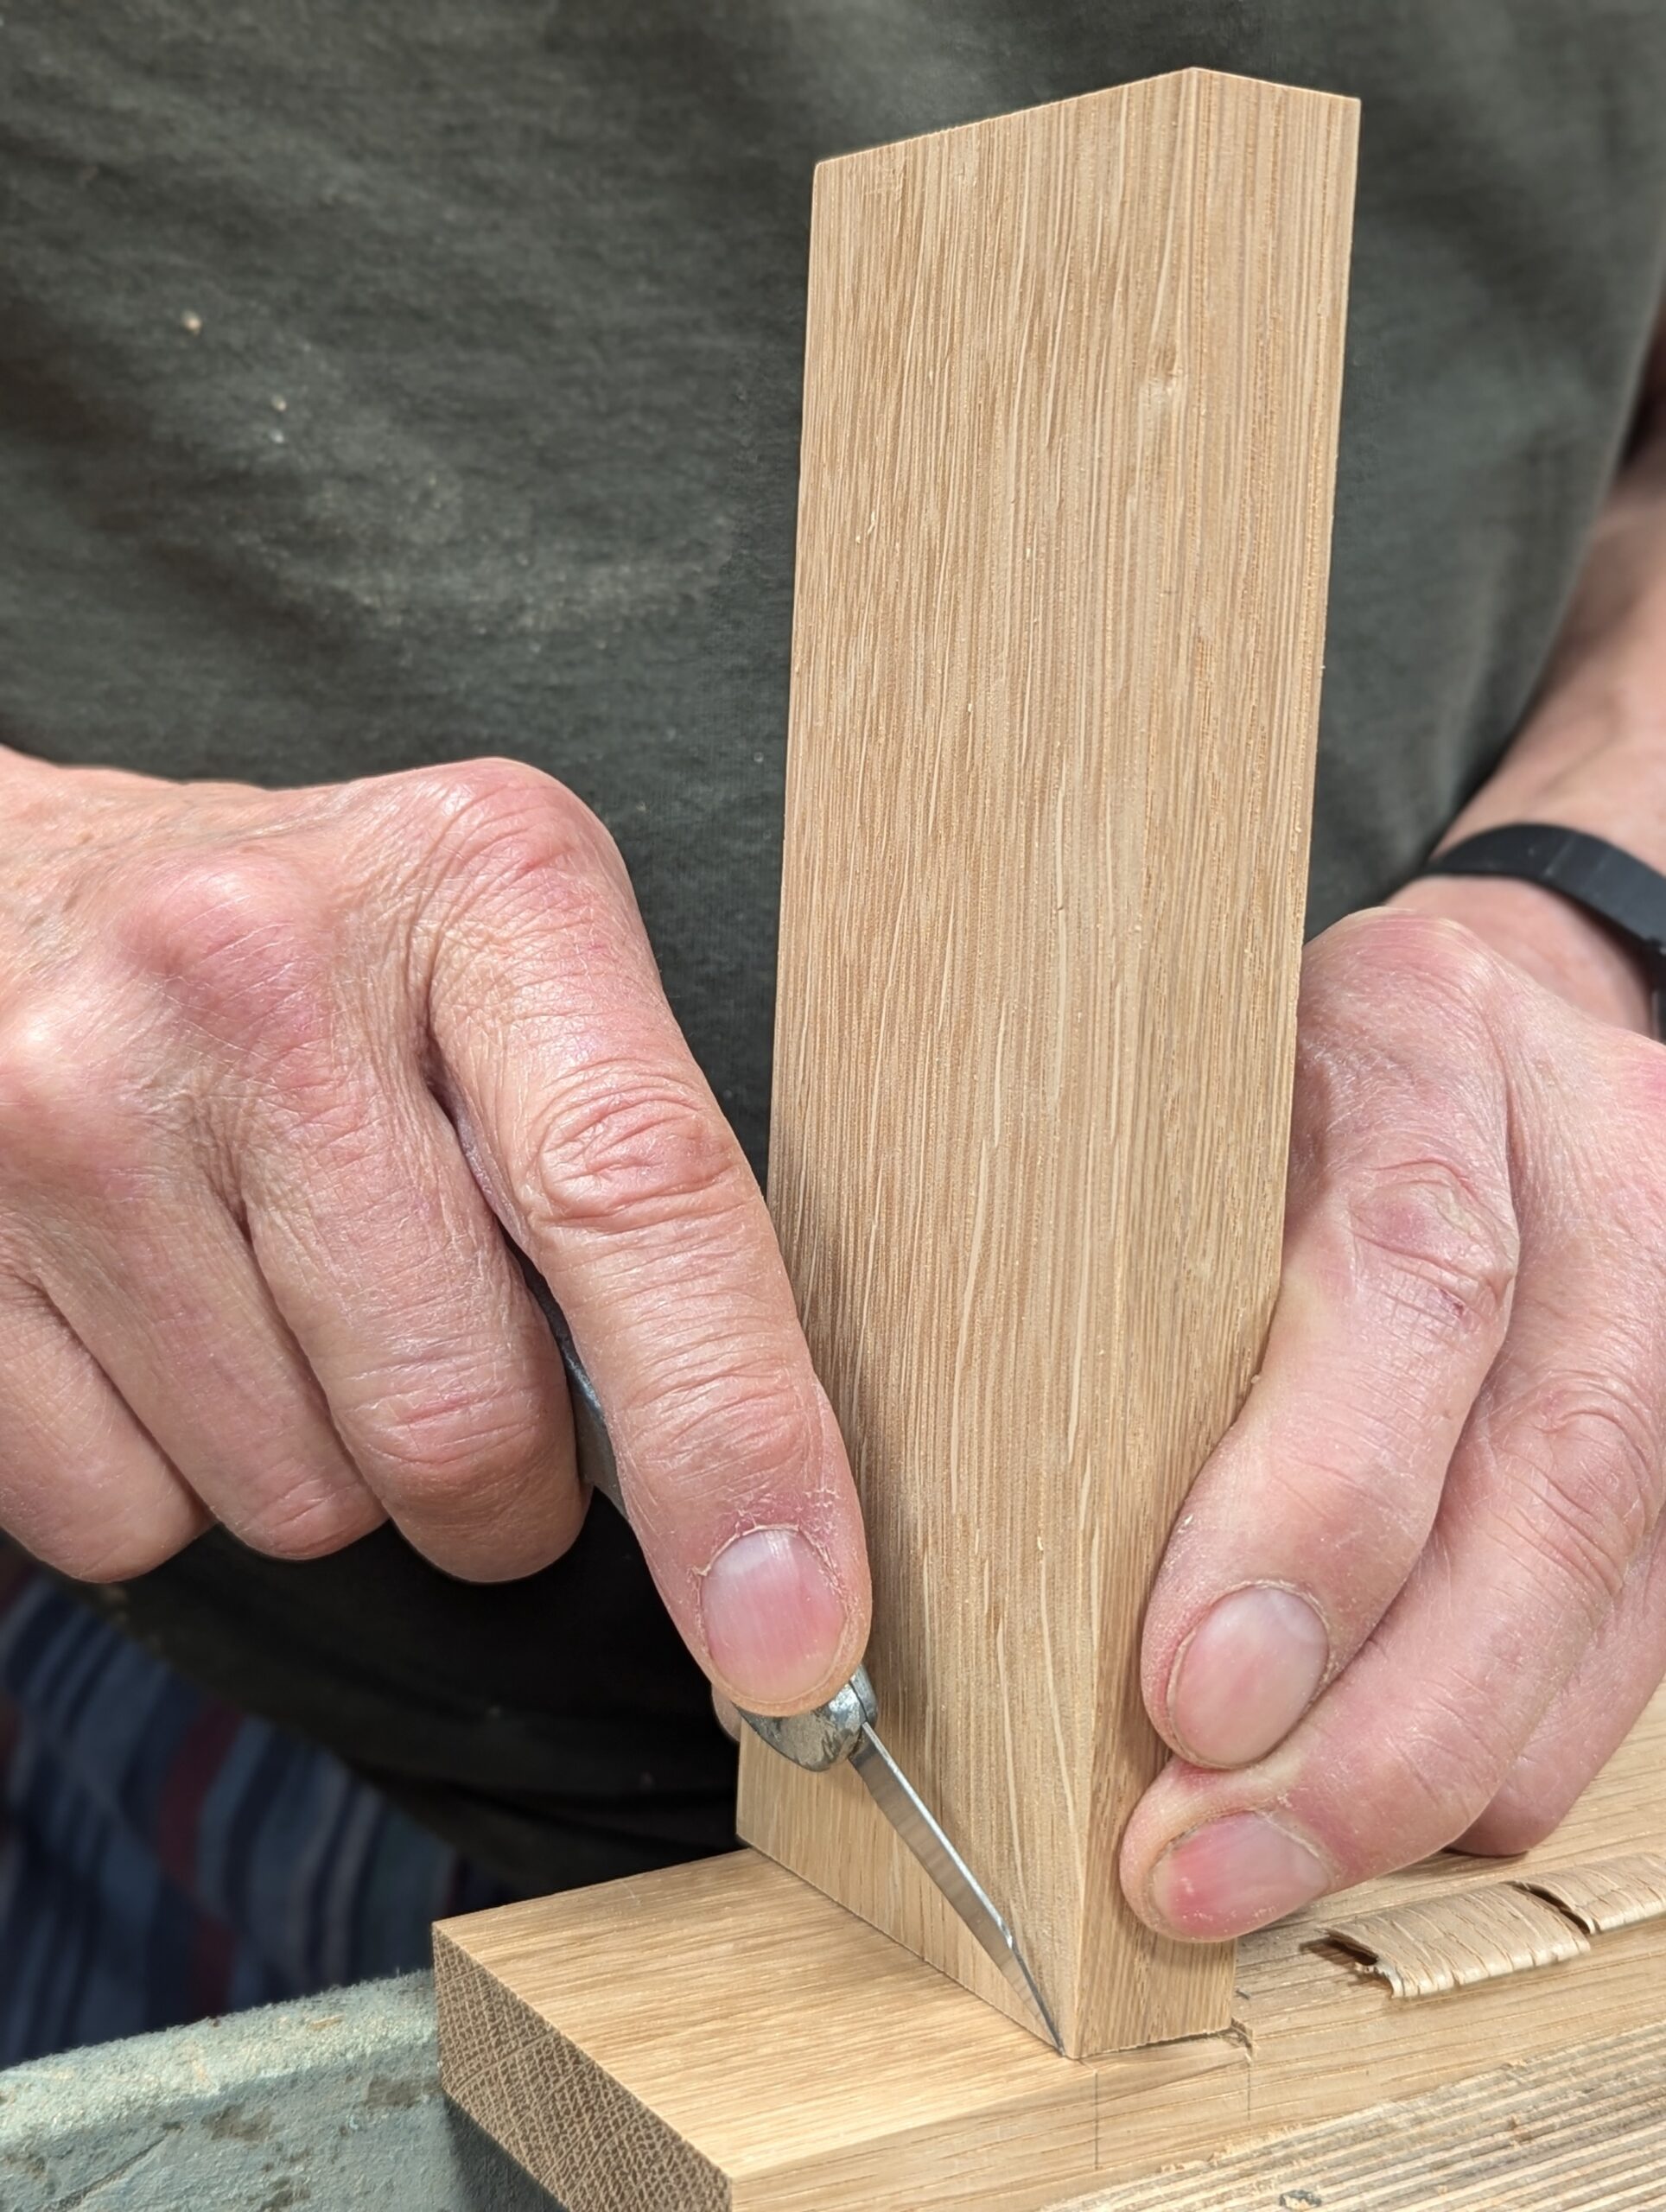
Use a square edged piece of wood as a guide to match the angle of the dovetail, and clamp them side by side in the vise. I emphasize that the edge of the guide wood must be dead square.
Pair cut following the angle of the support guide to fully register the flat face of the chisel against. This should guarantee to precision you are striving for.
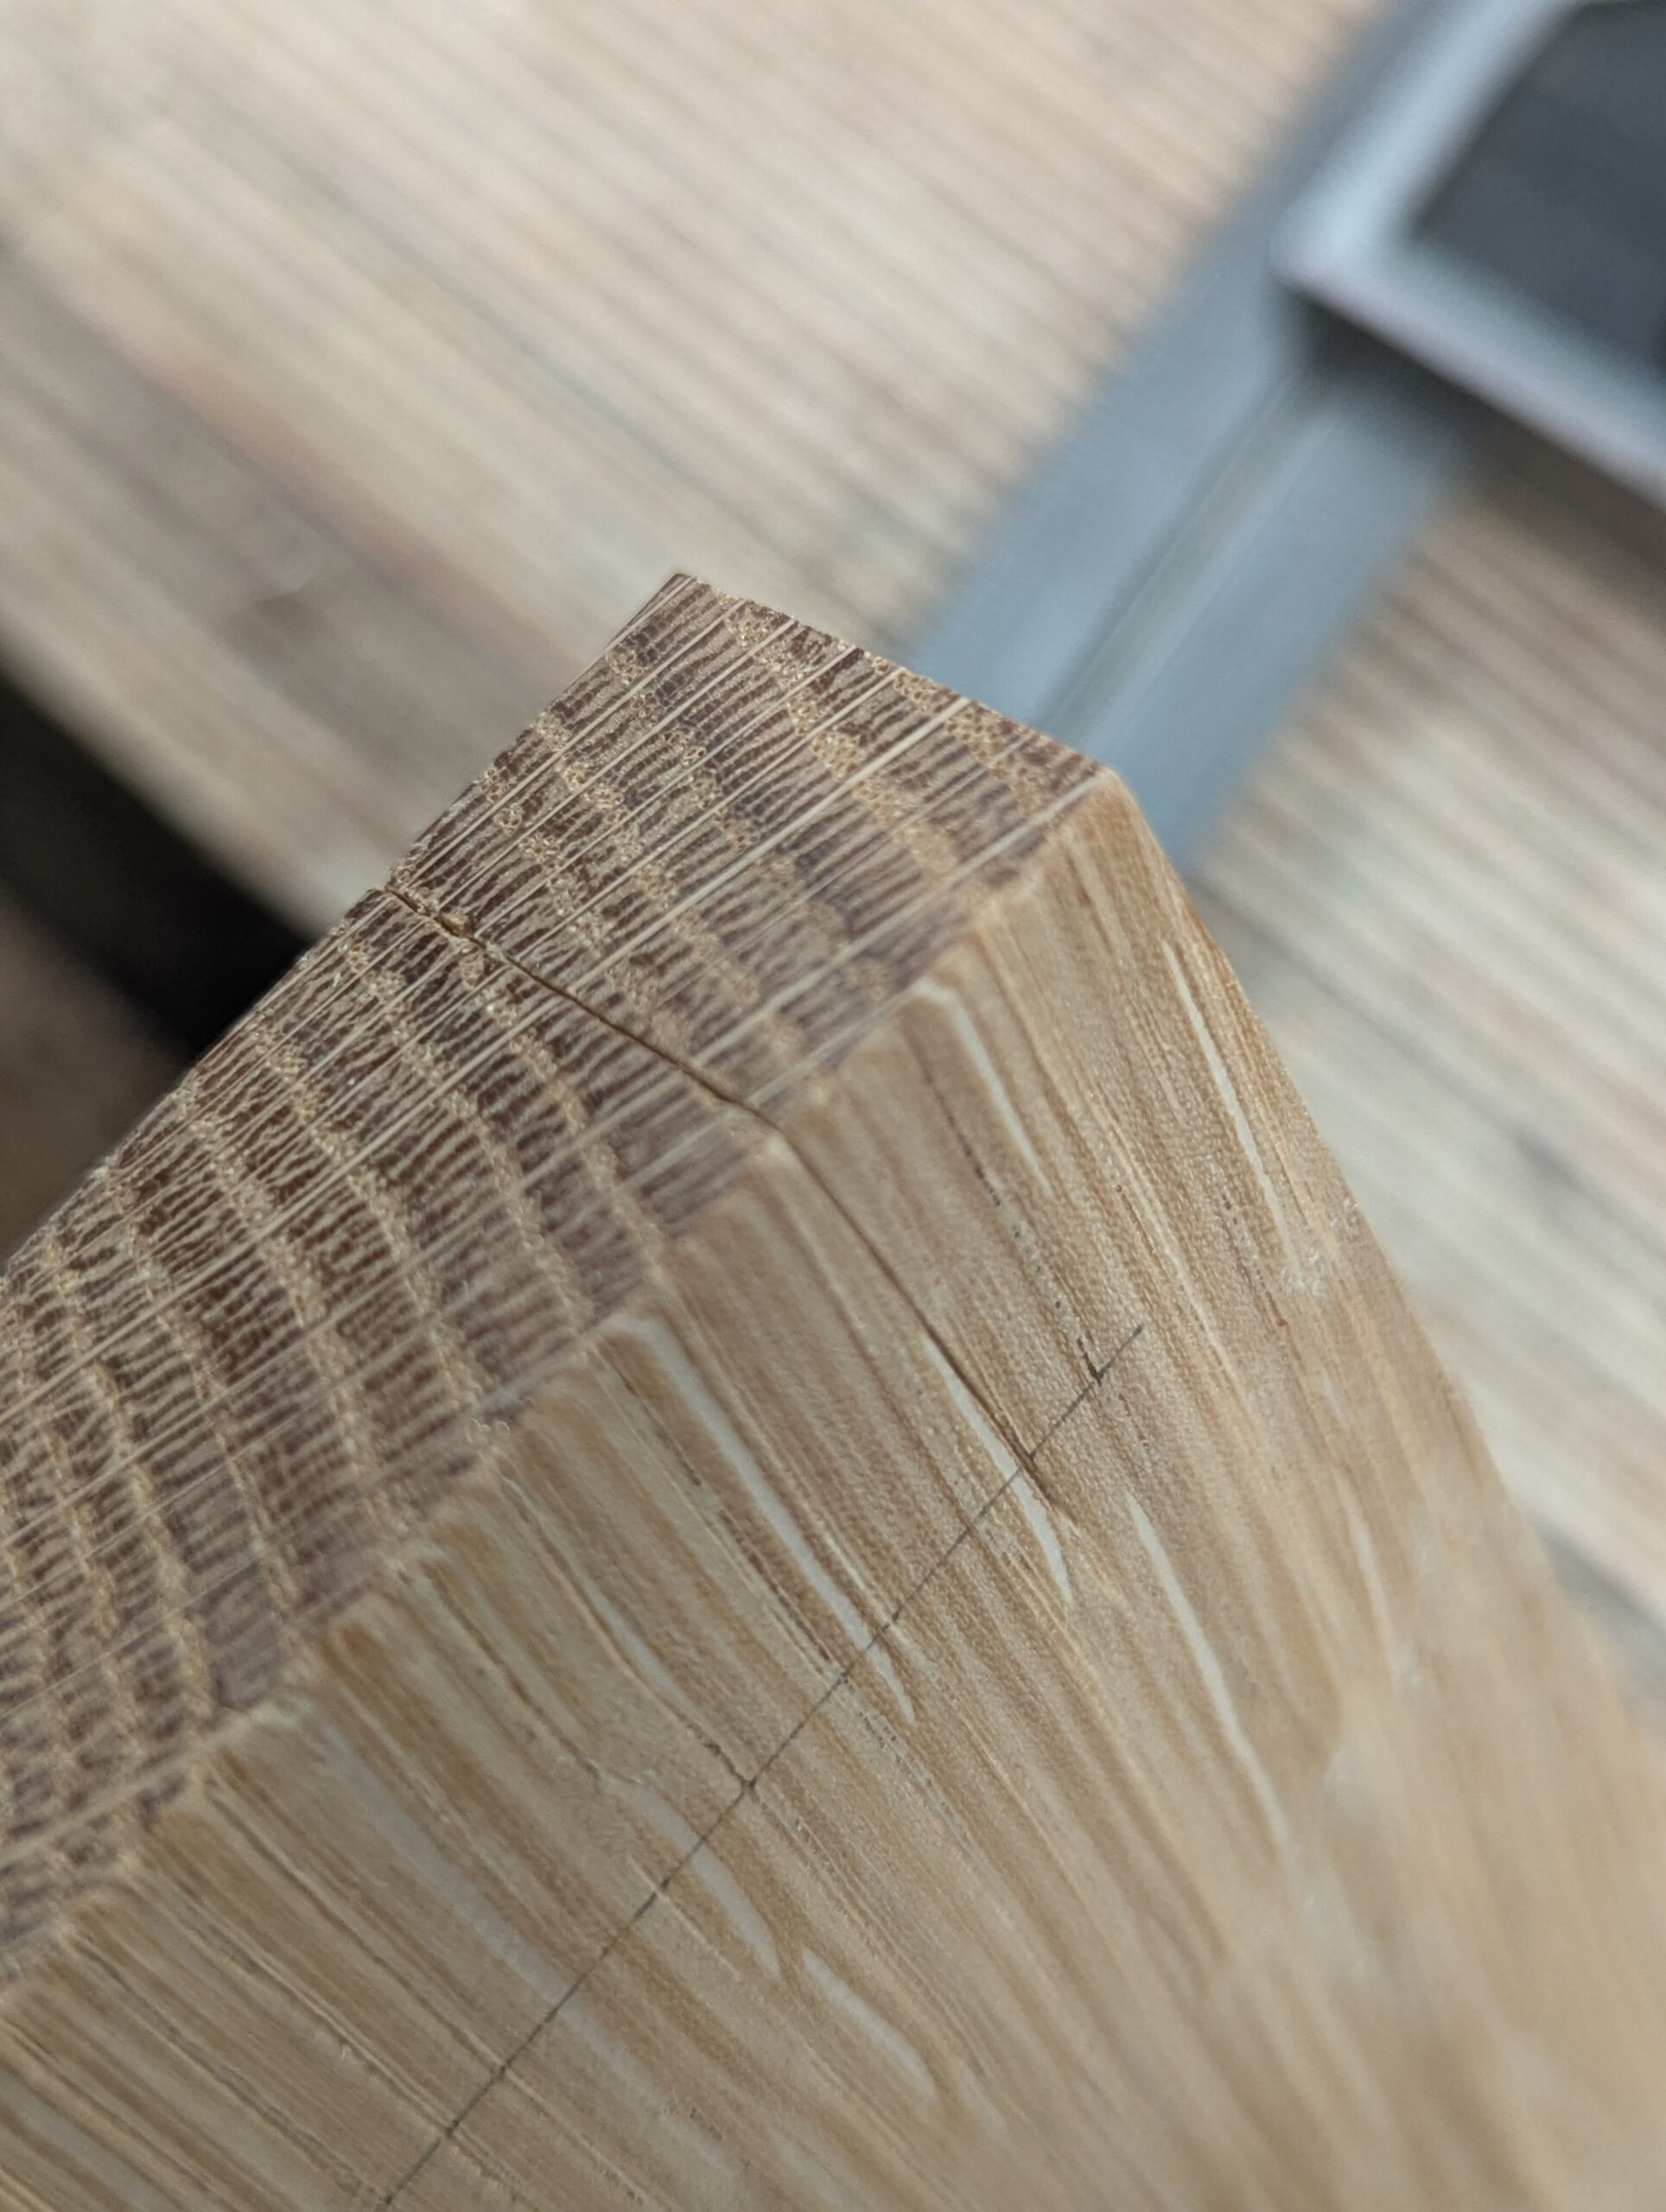
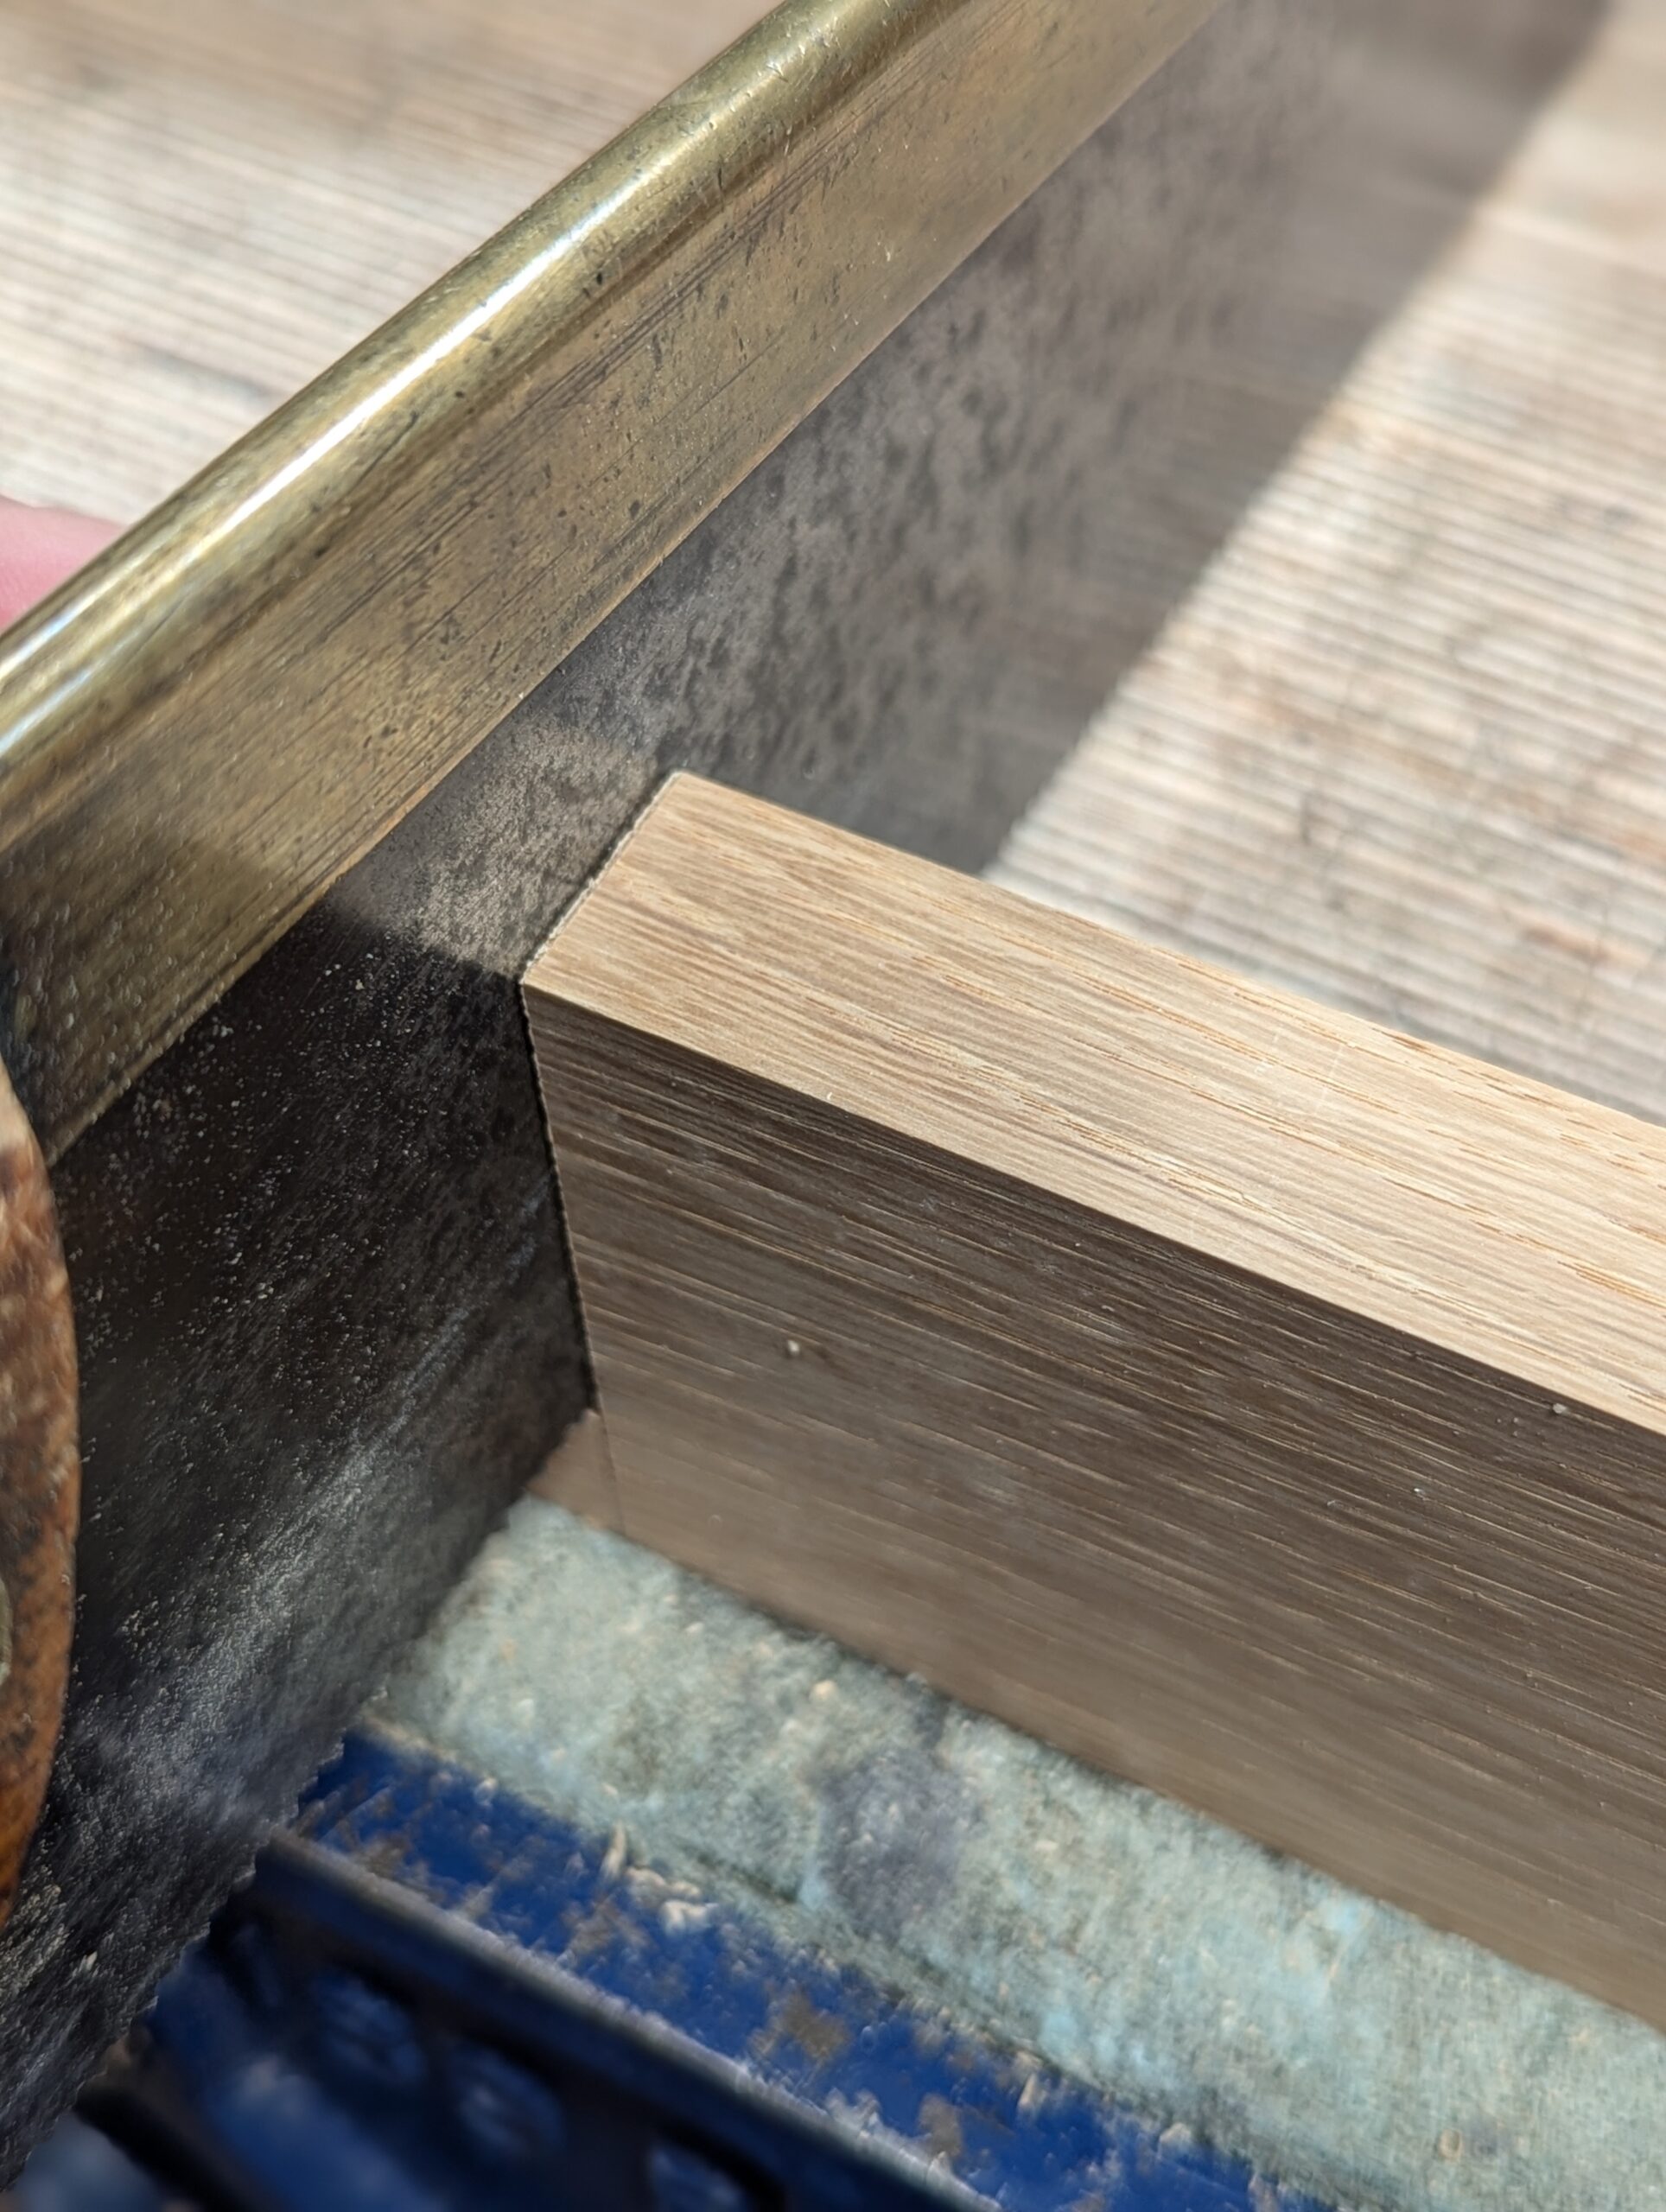
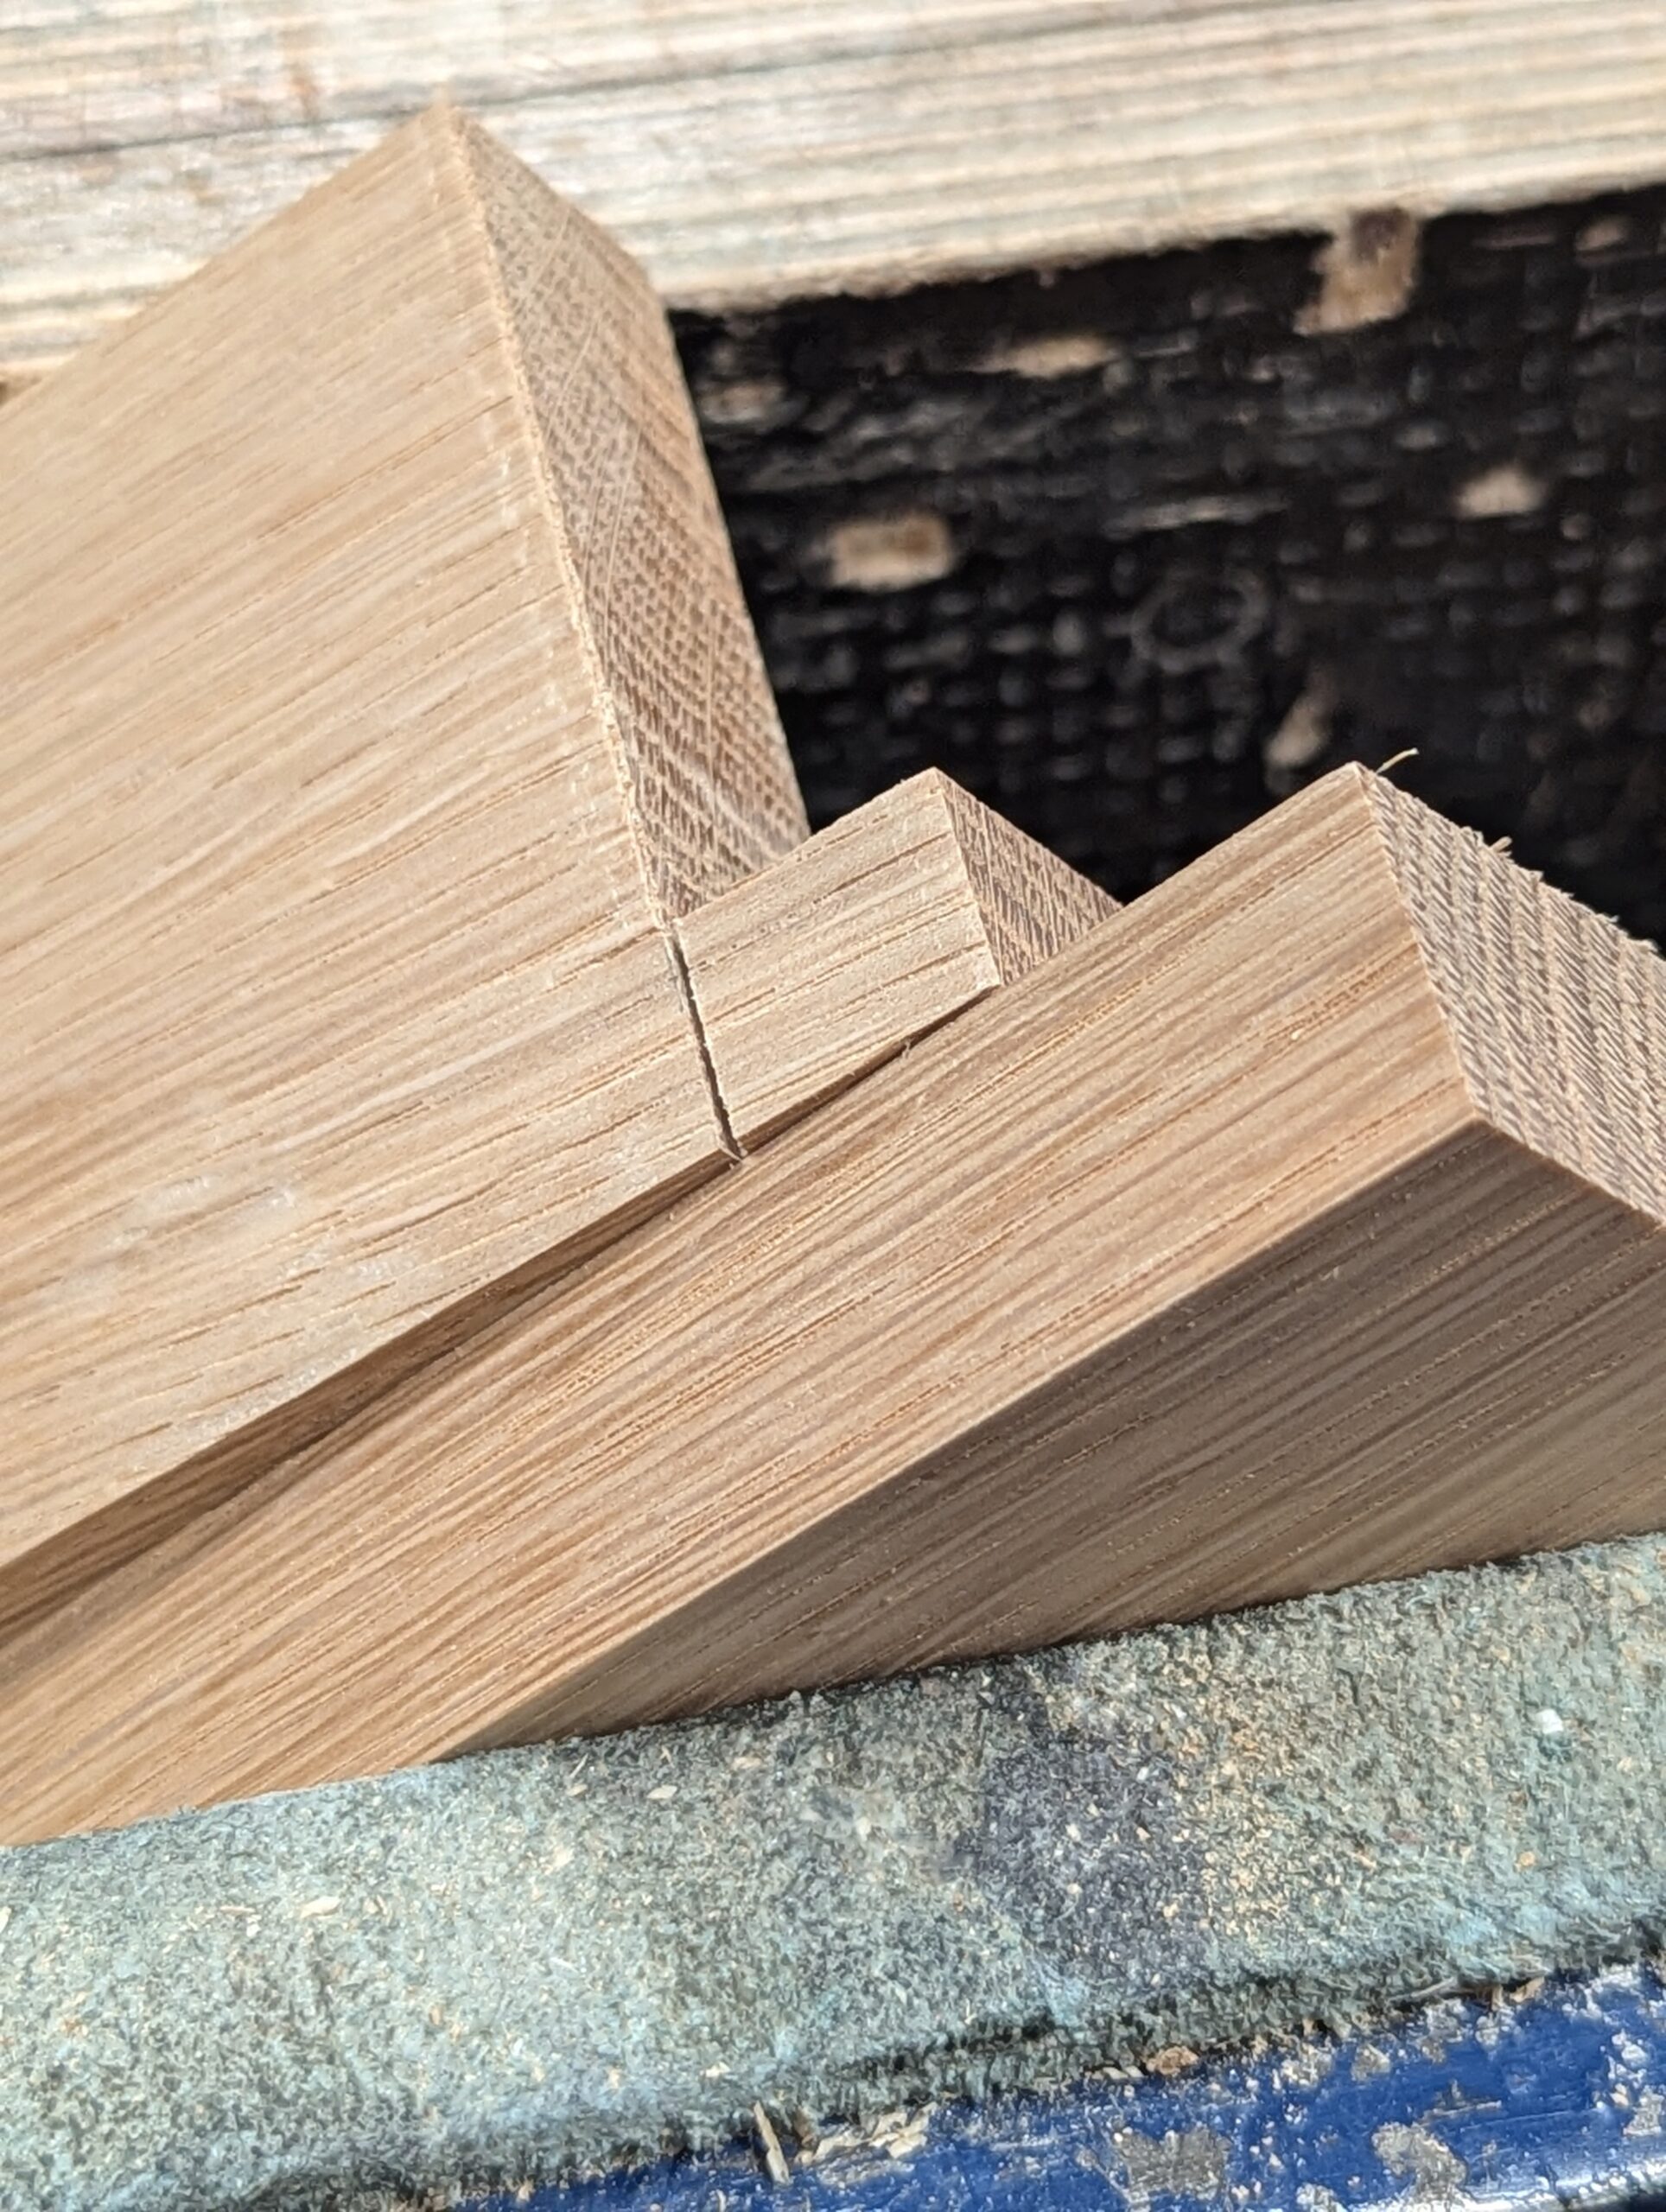
How your dovetail should look when complete.
And here you see both angles cut to form the dovetail.
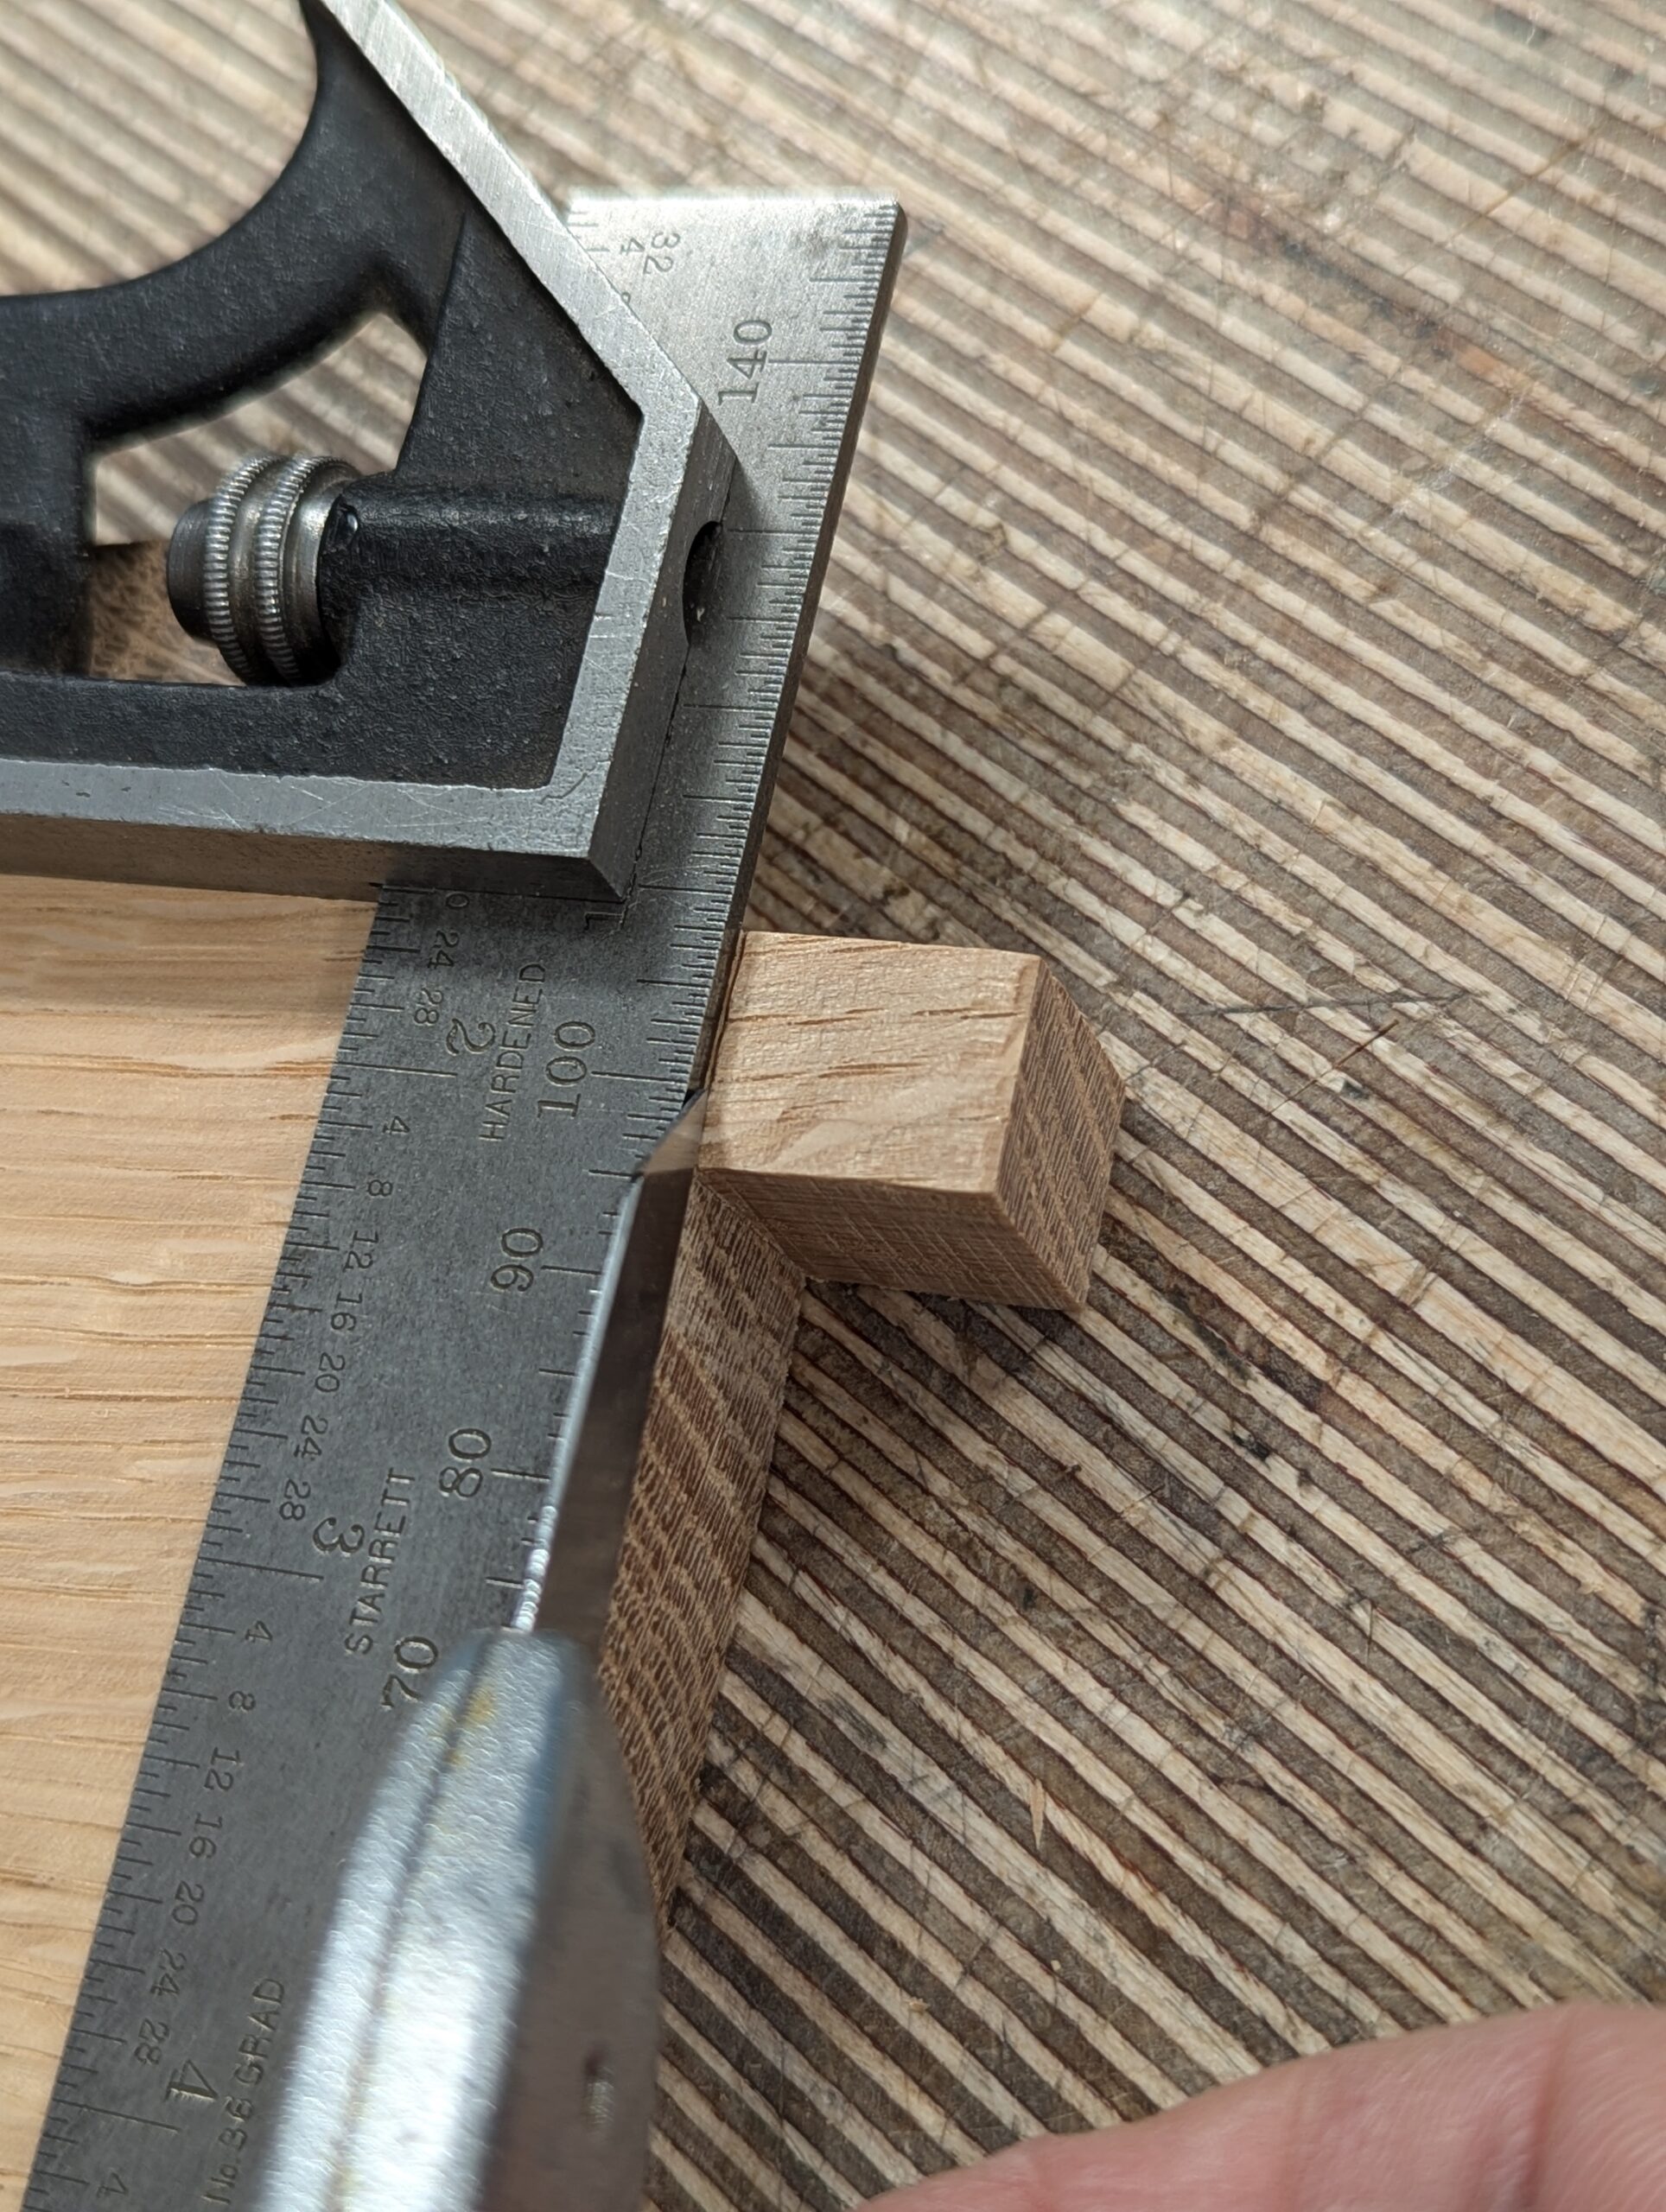
Fit the wood into the housing recess, with the extension onto the topside of the adjacent piece. Check it for square before marking out with the knife.
Use the knife to establish the exact cut lines on each side of the dovetail.

Extend pencil lines from the knifewalls down the outside face. These will help start and stop points with the marking gauge.
Run the gauge line to the outside of the dovetail recess and between the knifewalls.
Replace the pencil lines with knifewalls.
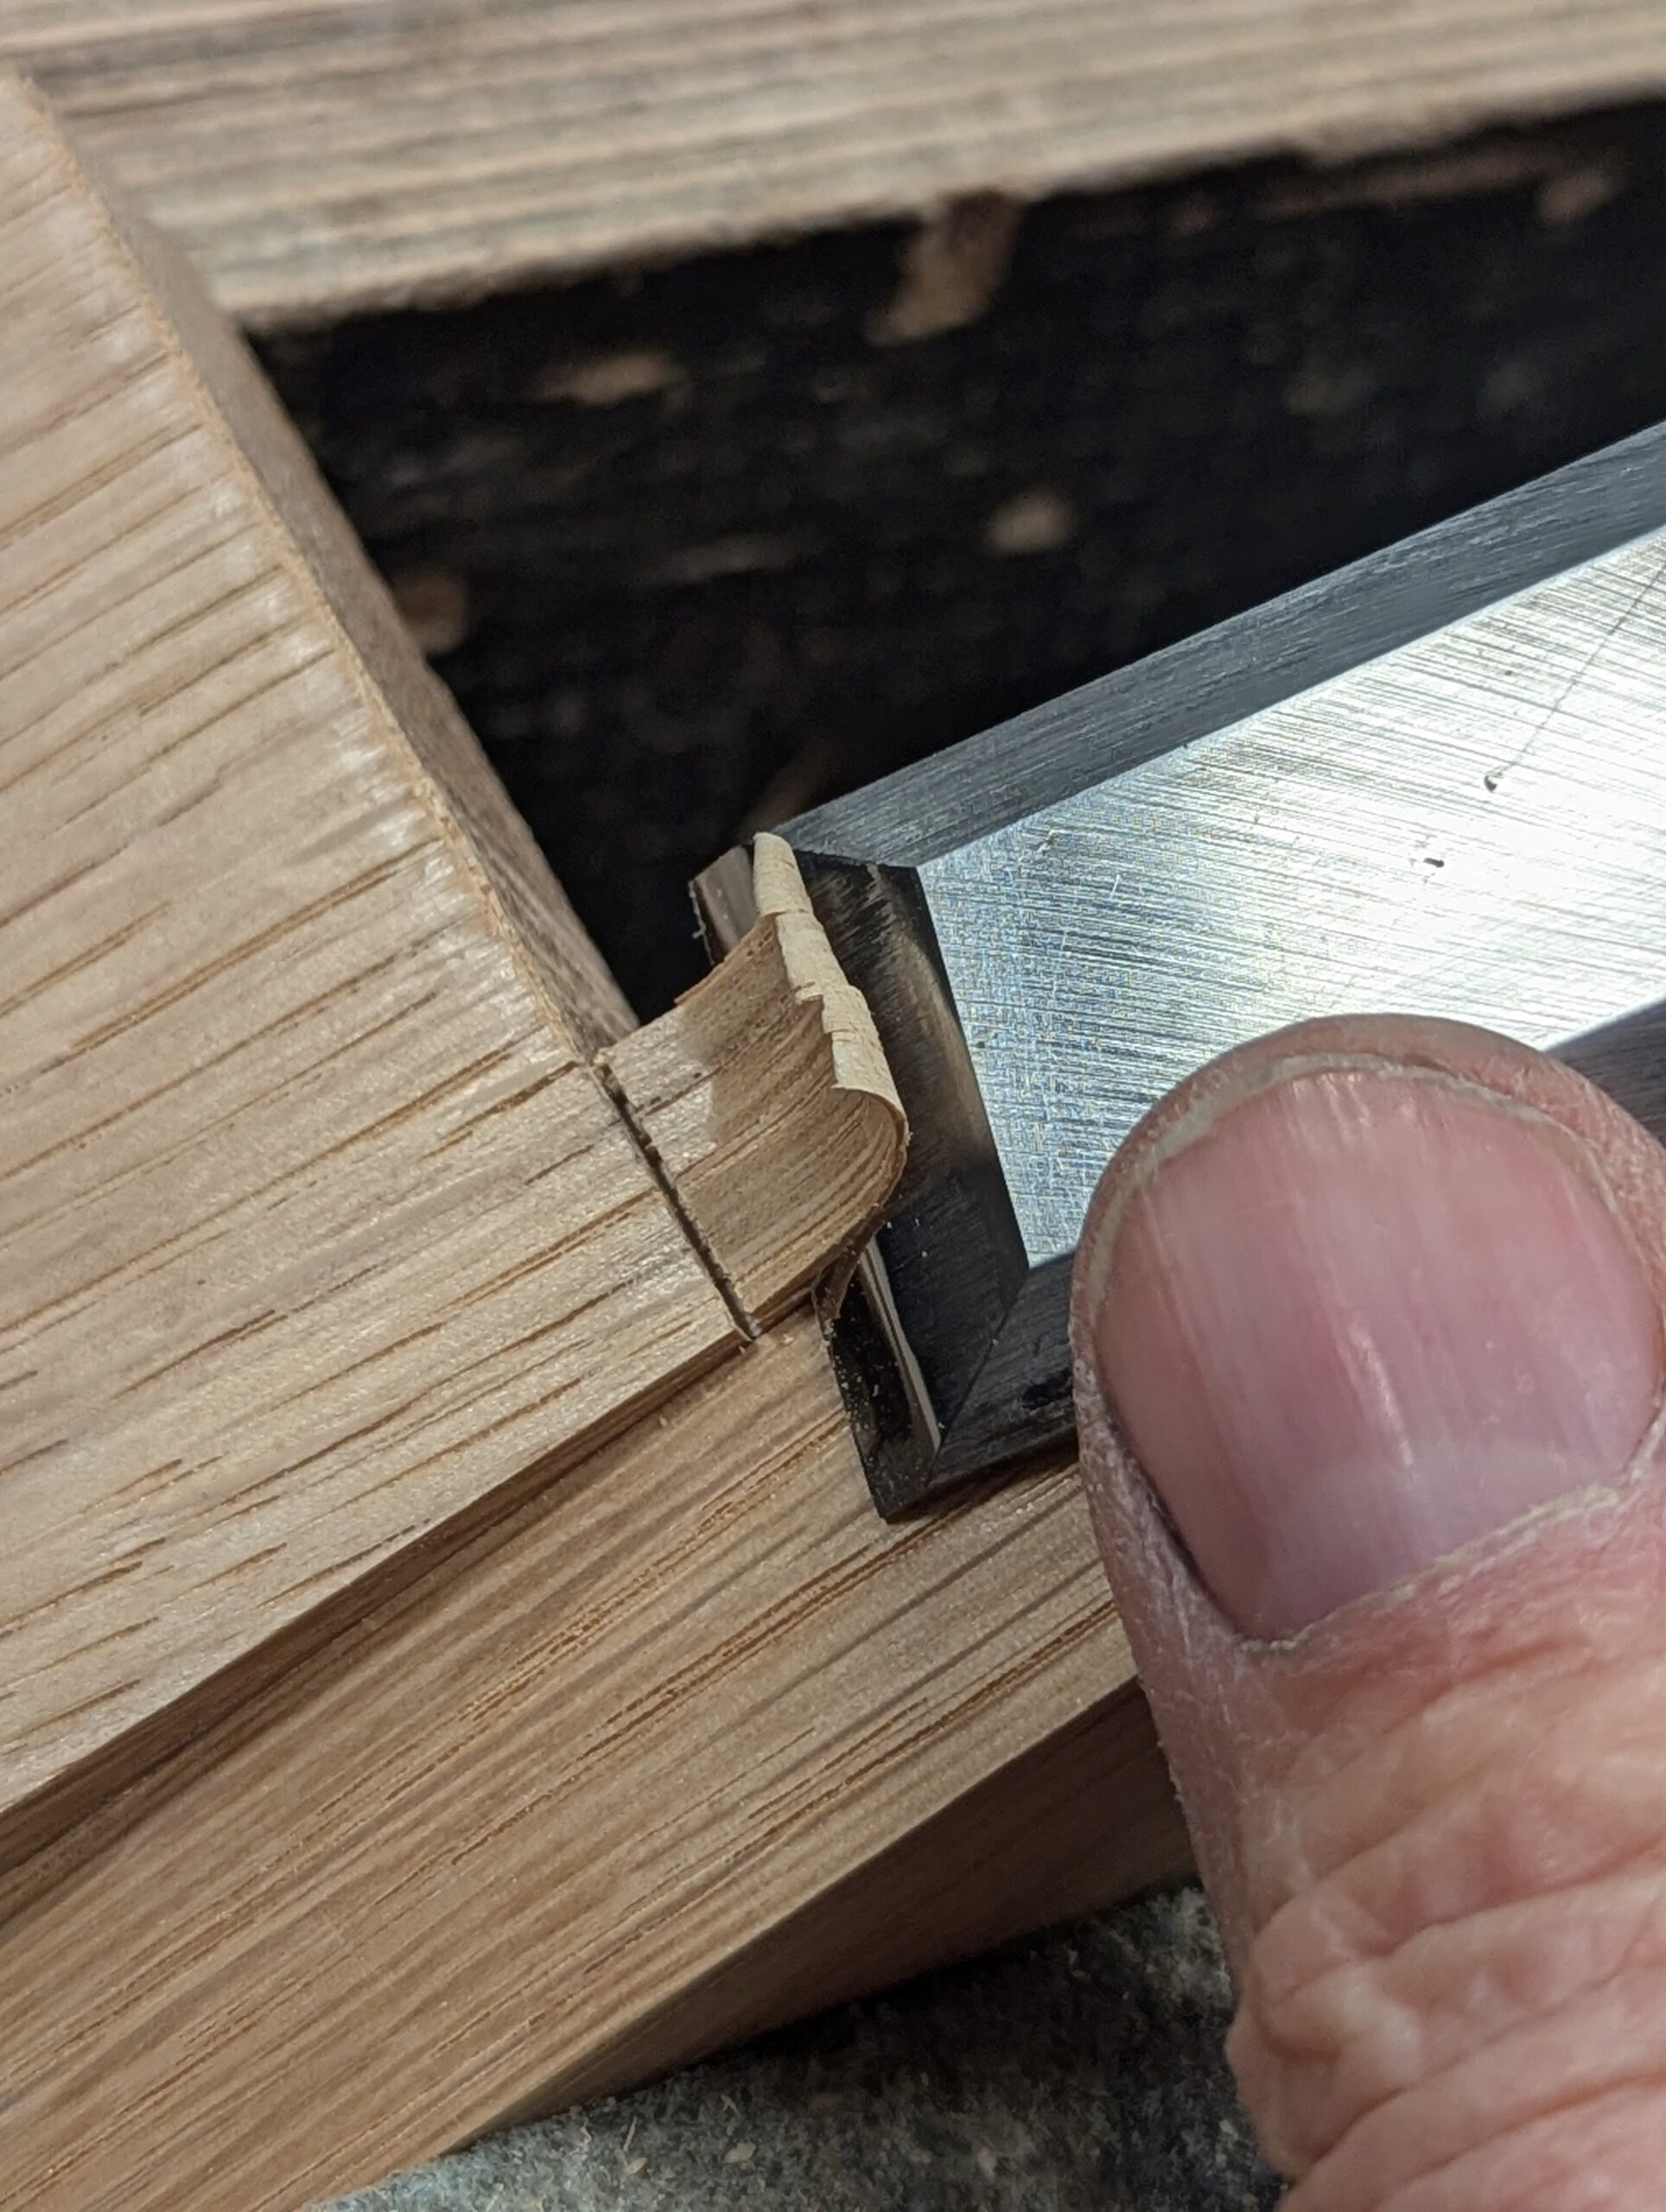
Chisel in to develop the step-down for the saw to cut to.
Cut down the dovetail angles to the depth line.
Angling two cuts into the corners reduces the leverage against you when you pare cut the waste out.
Remove the mid waste wood.
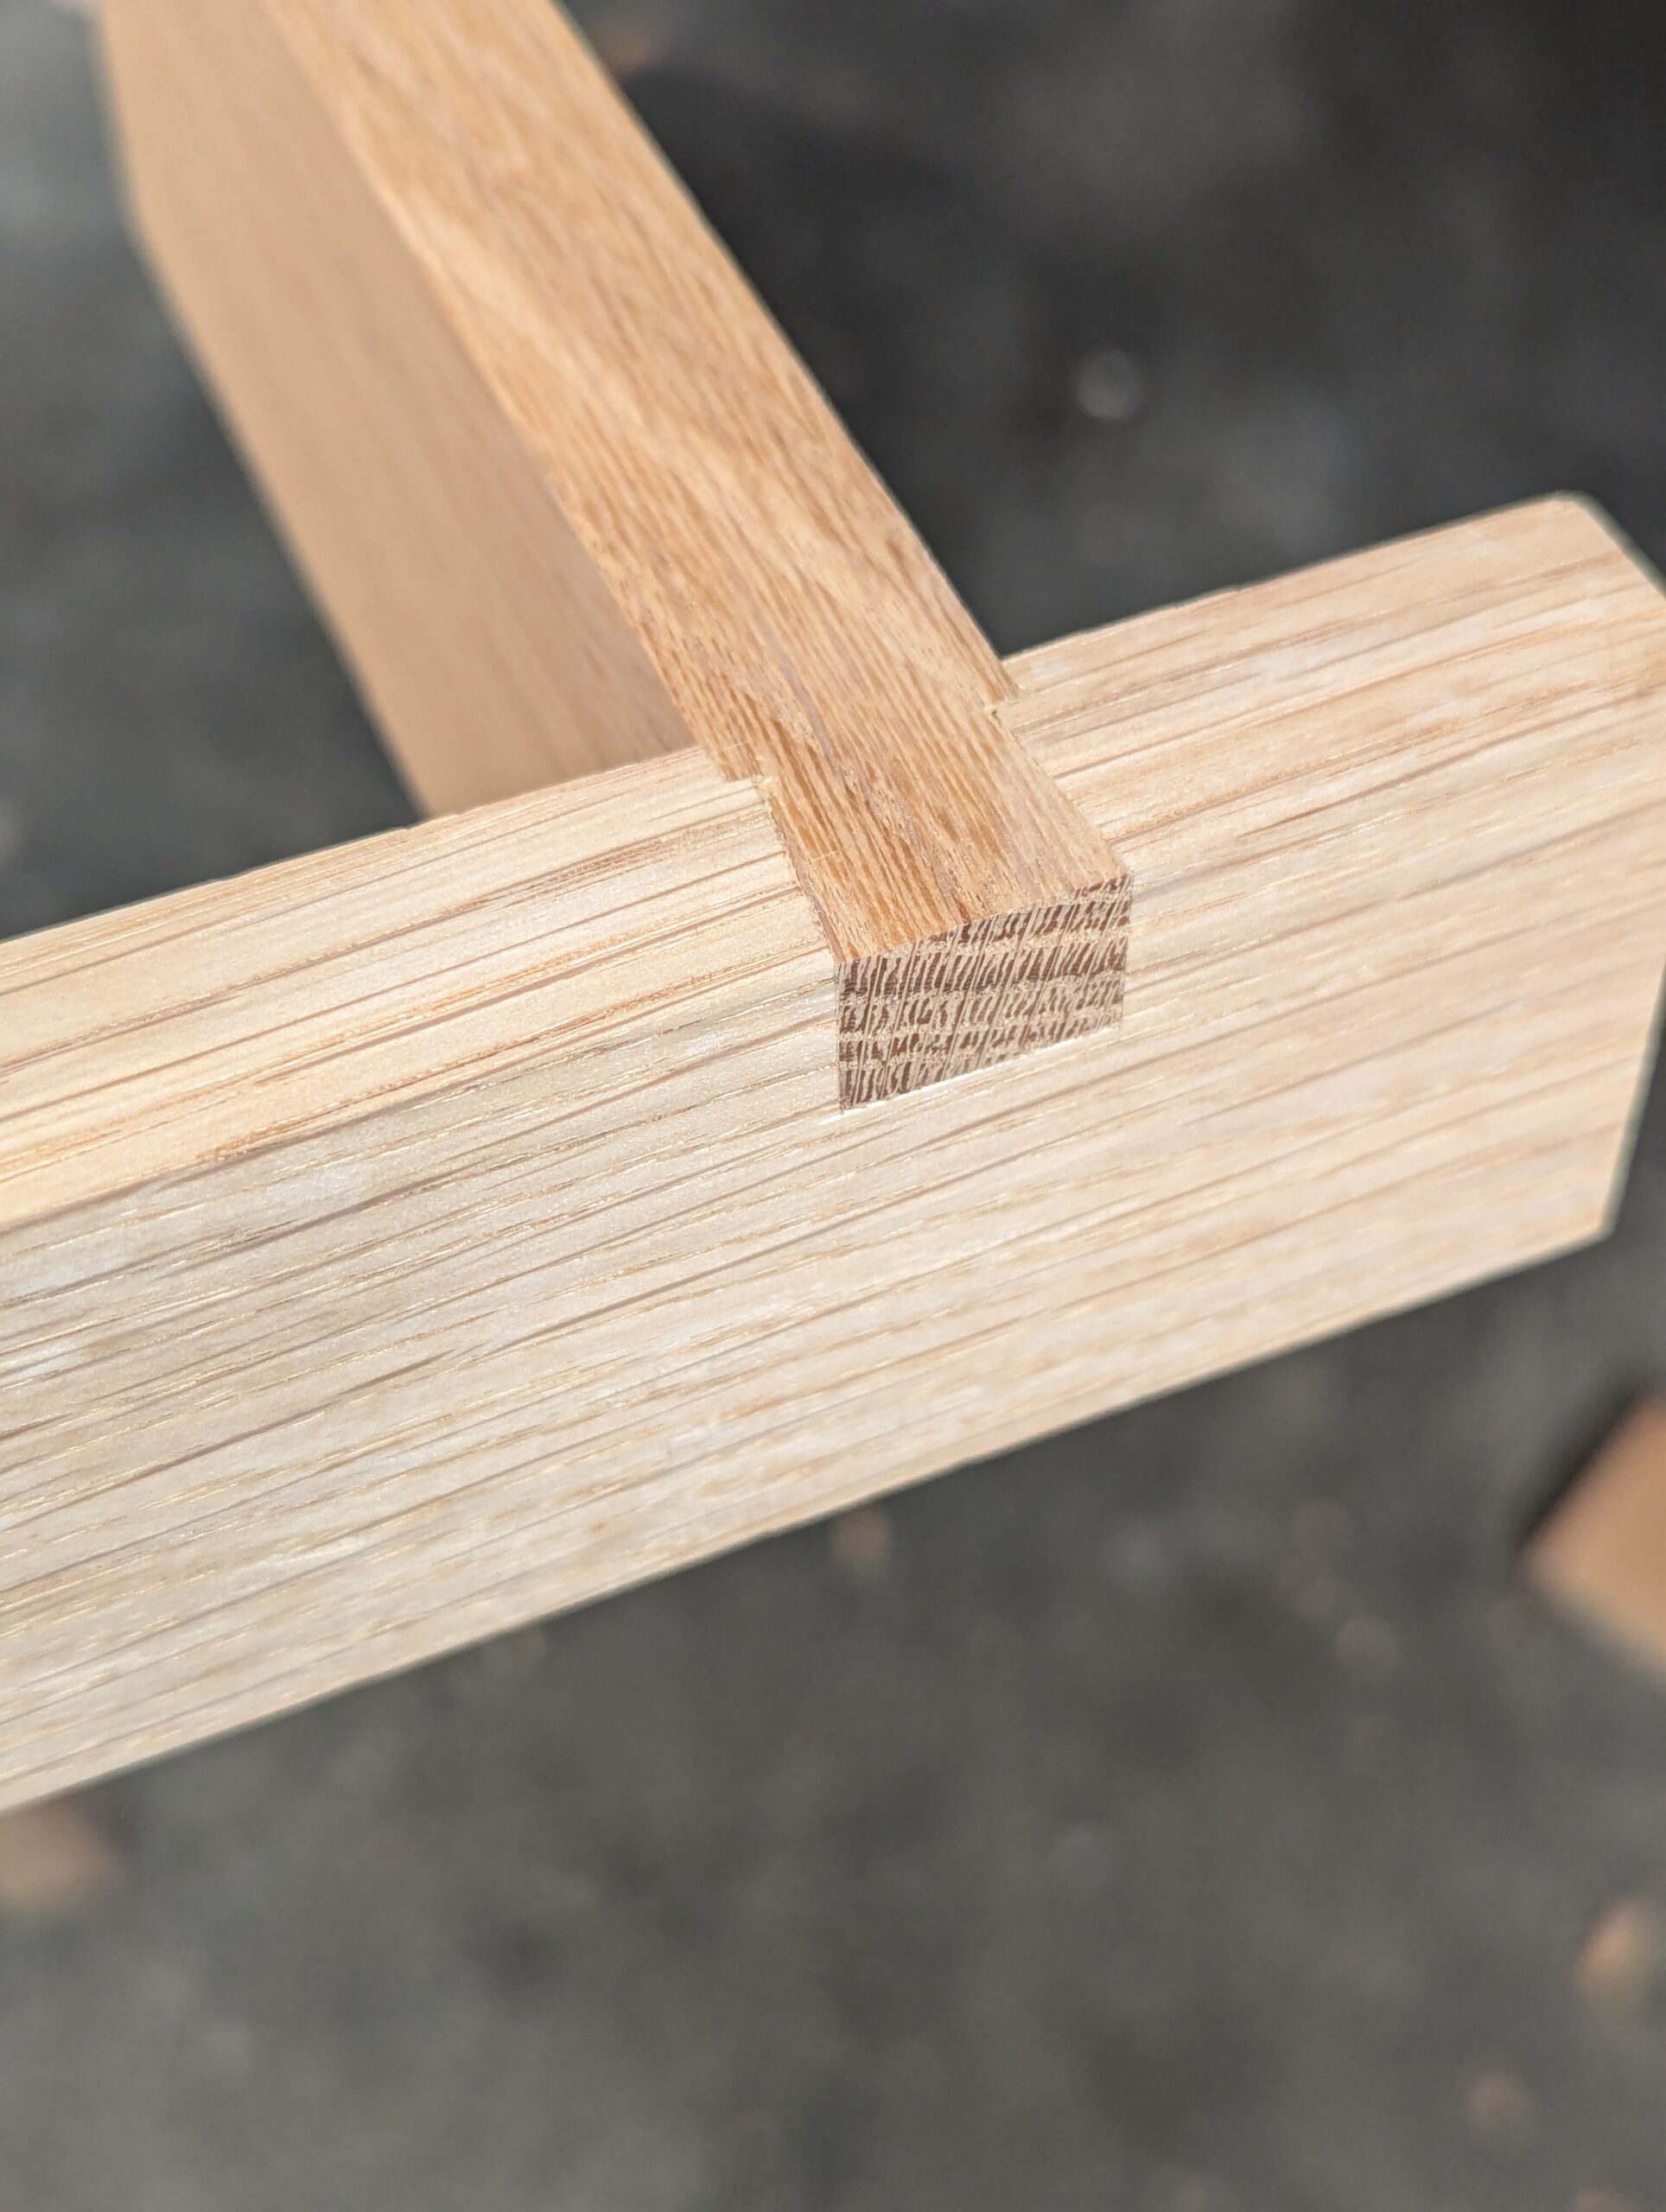
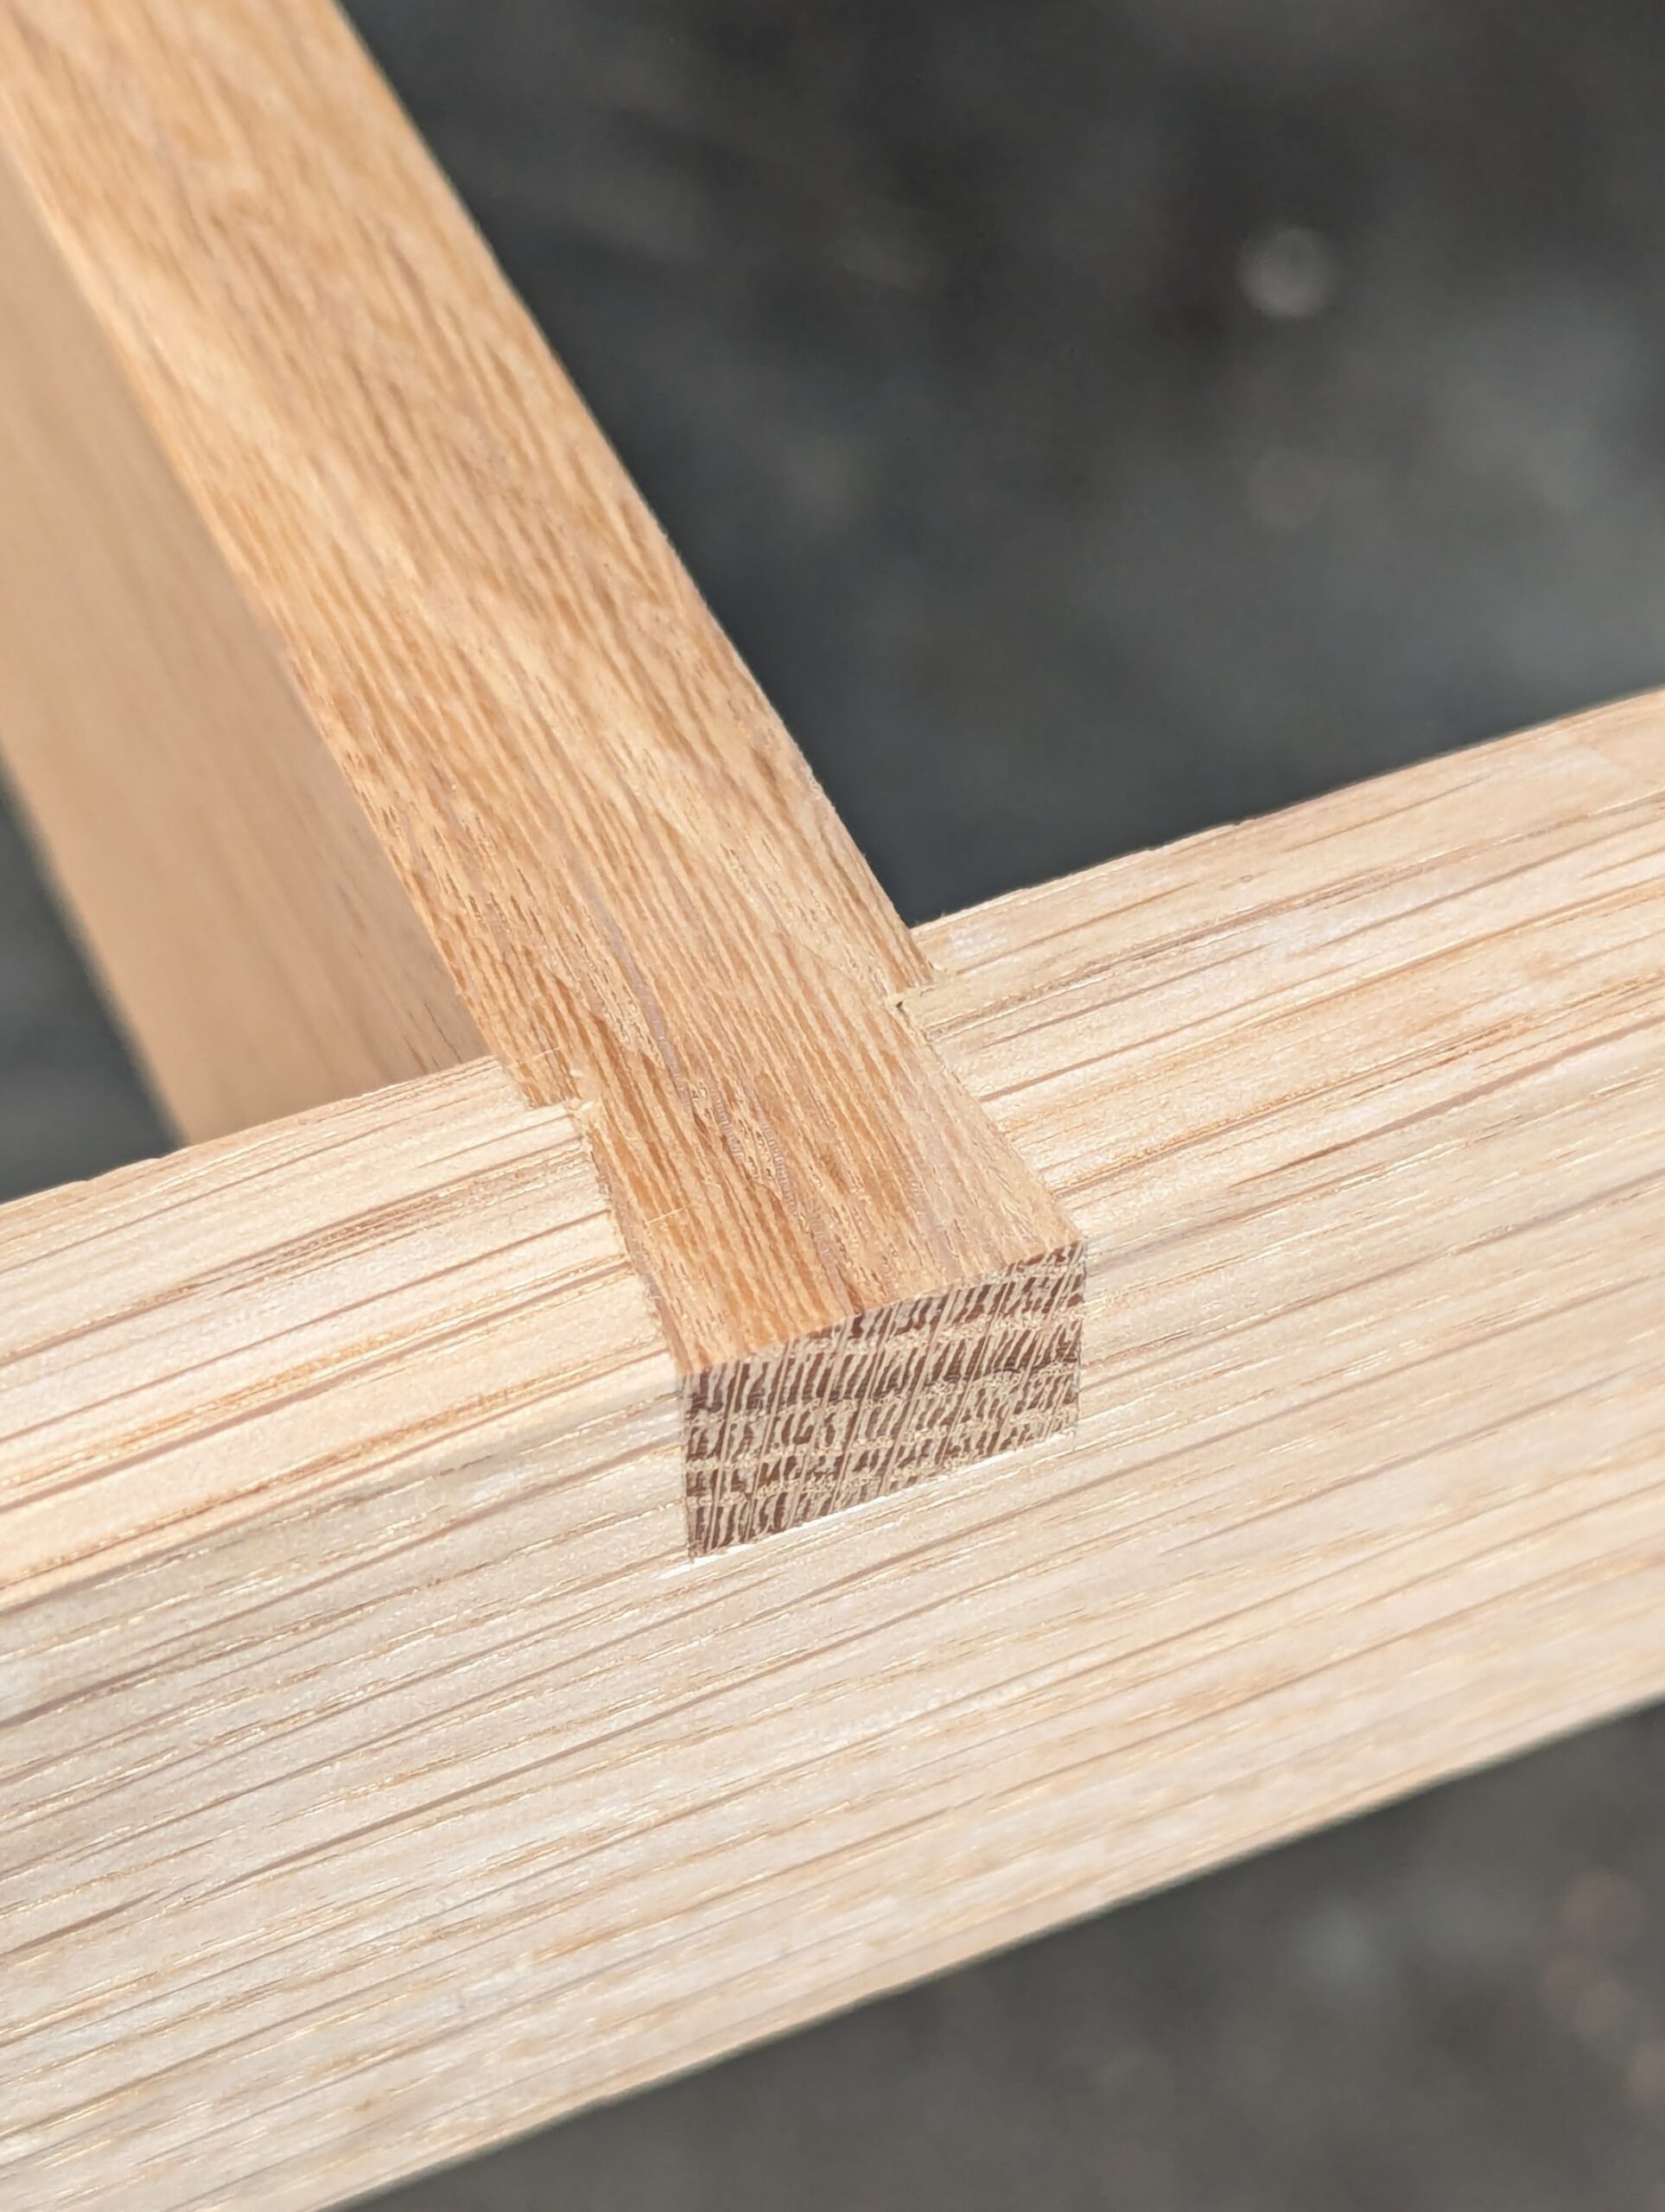
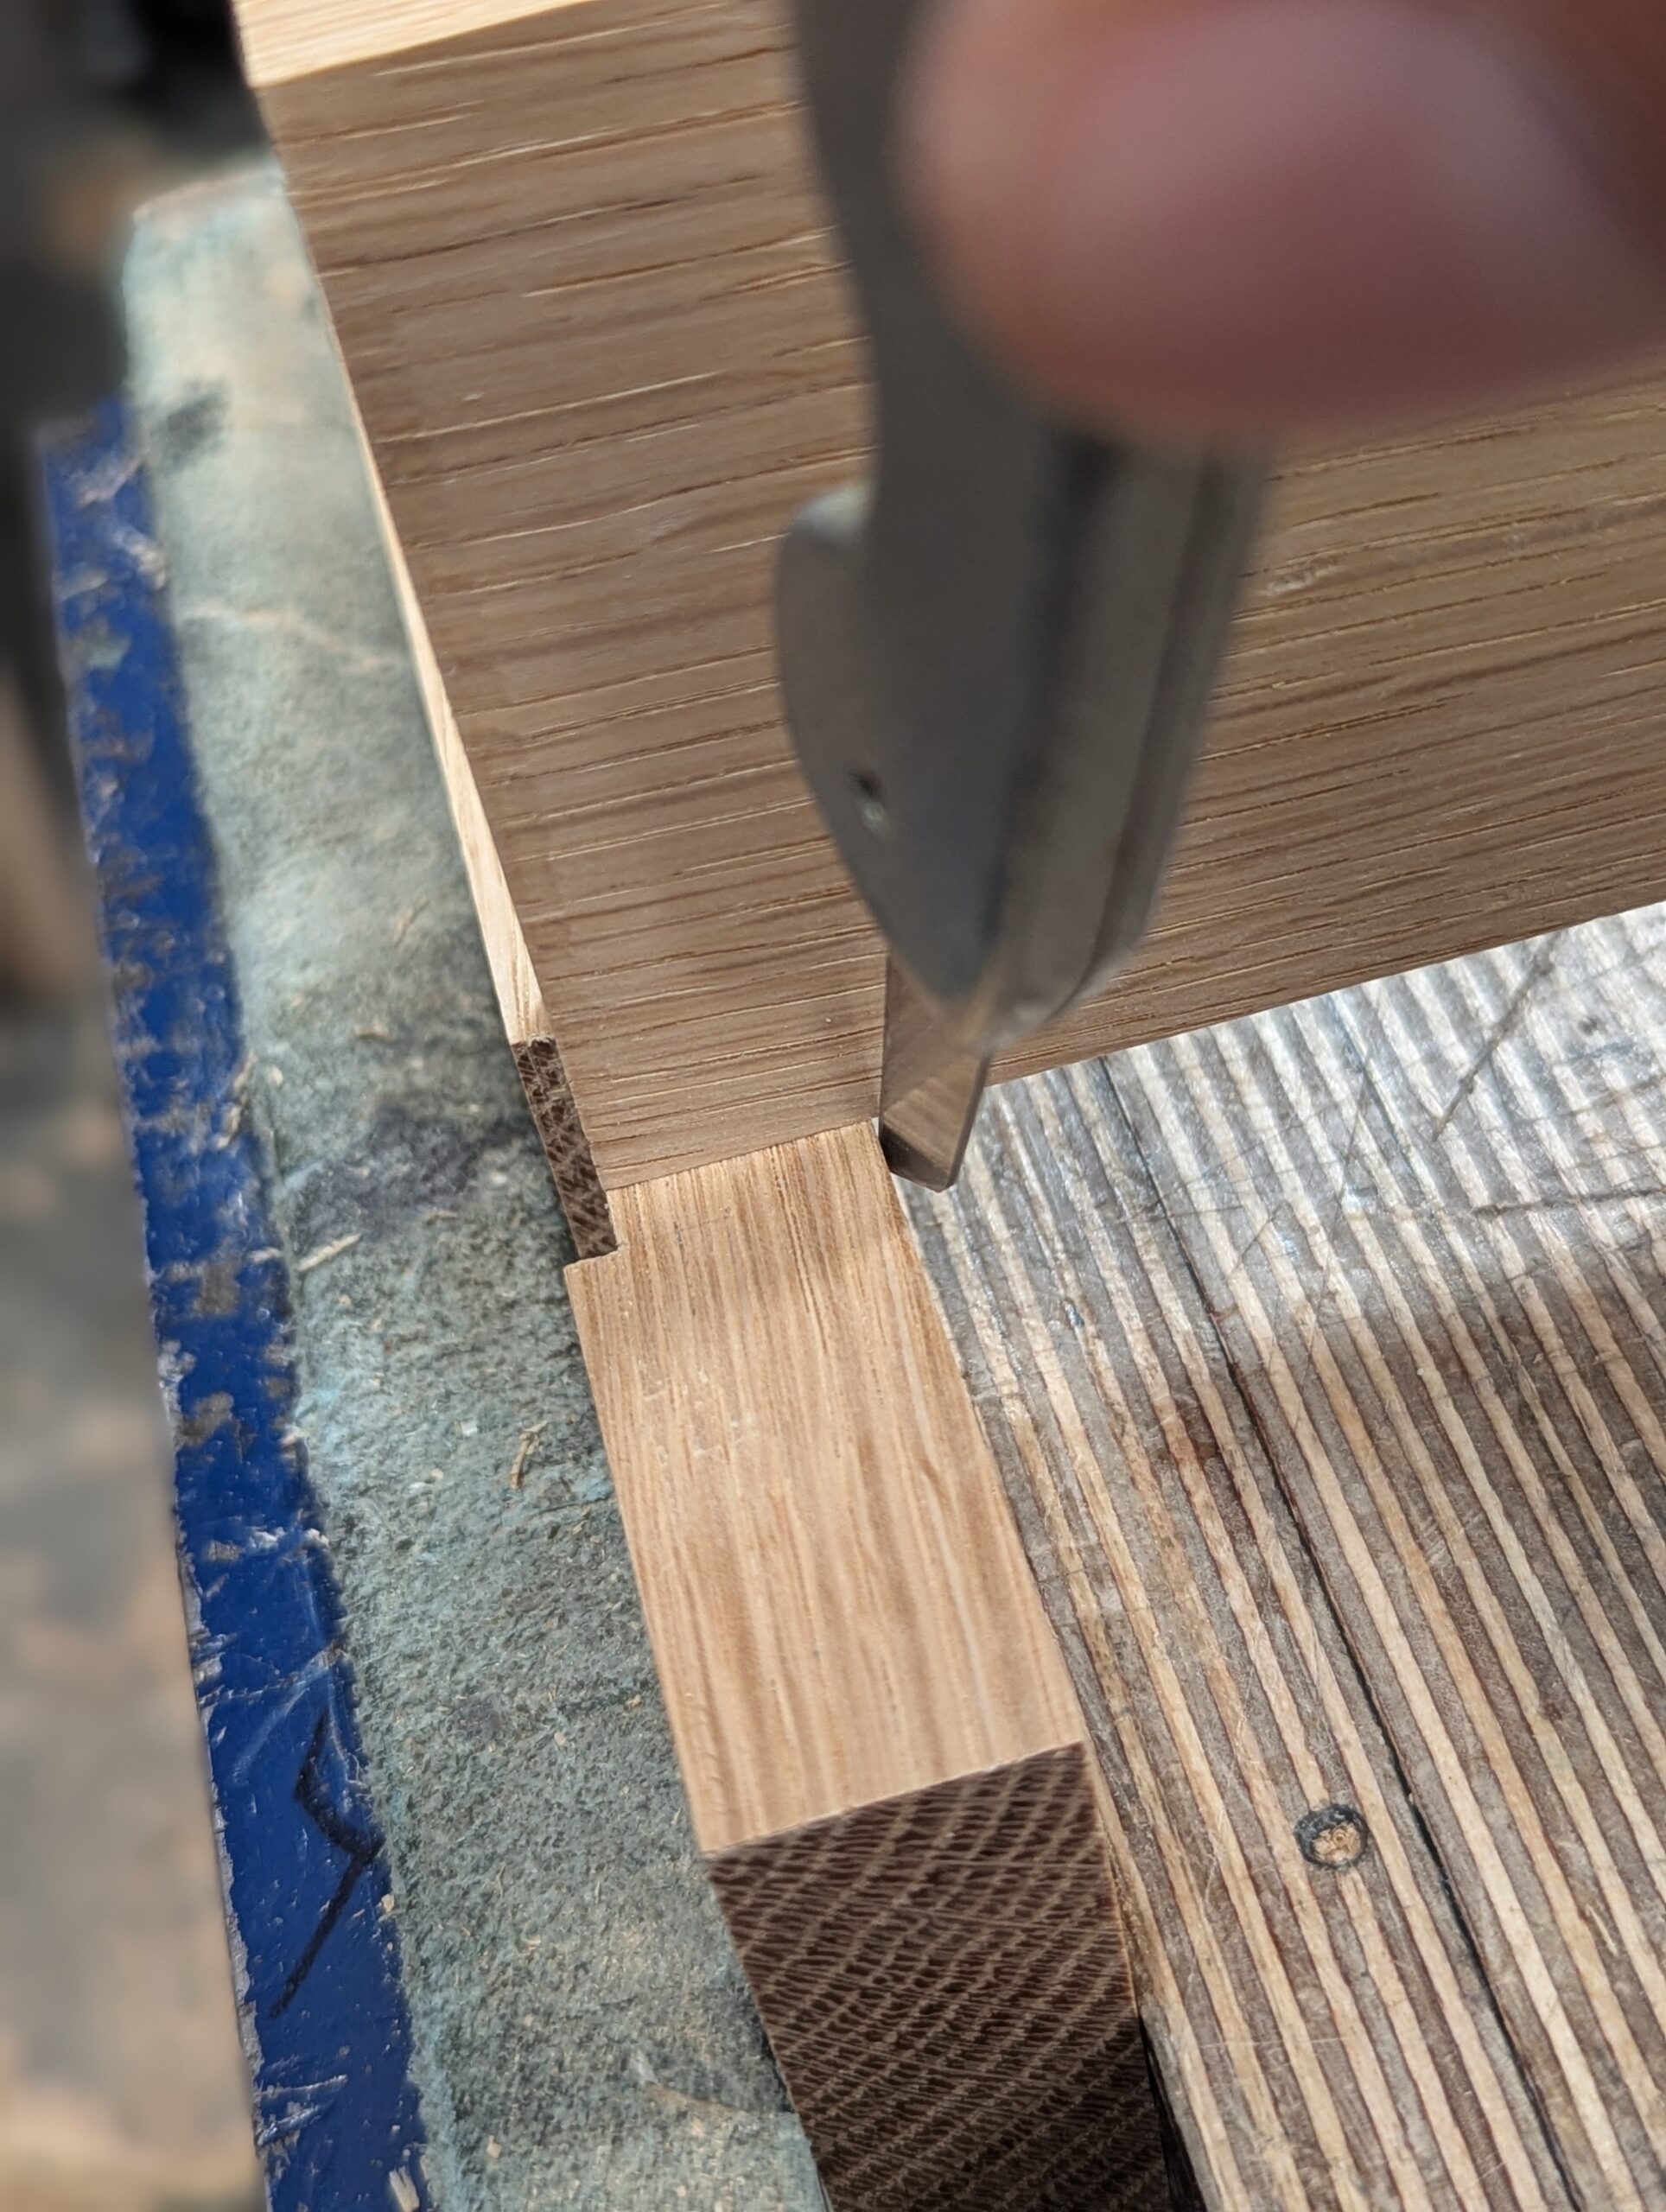
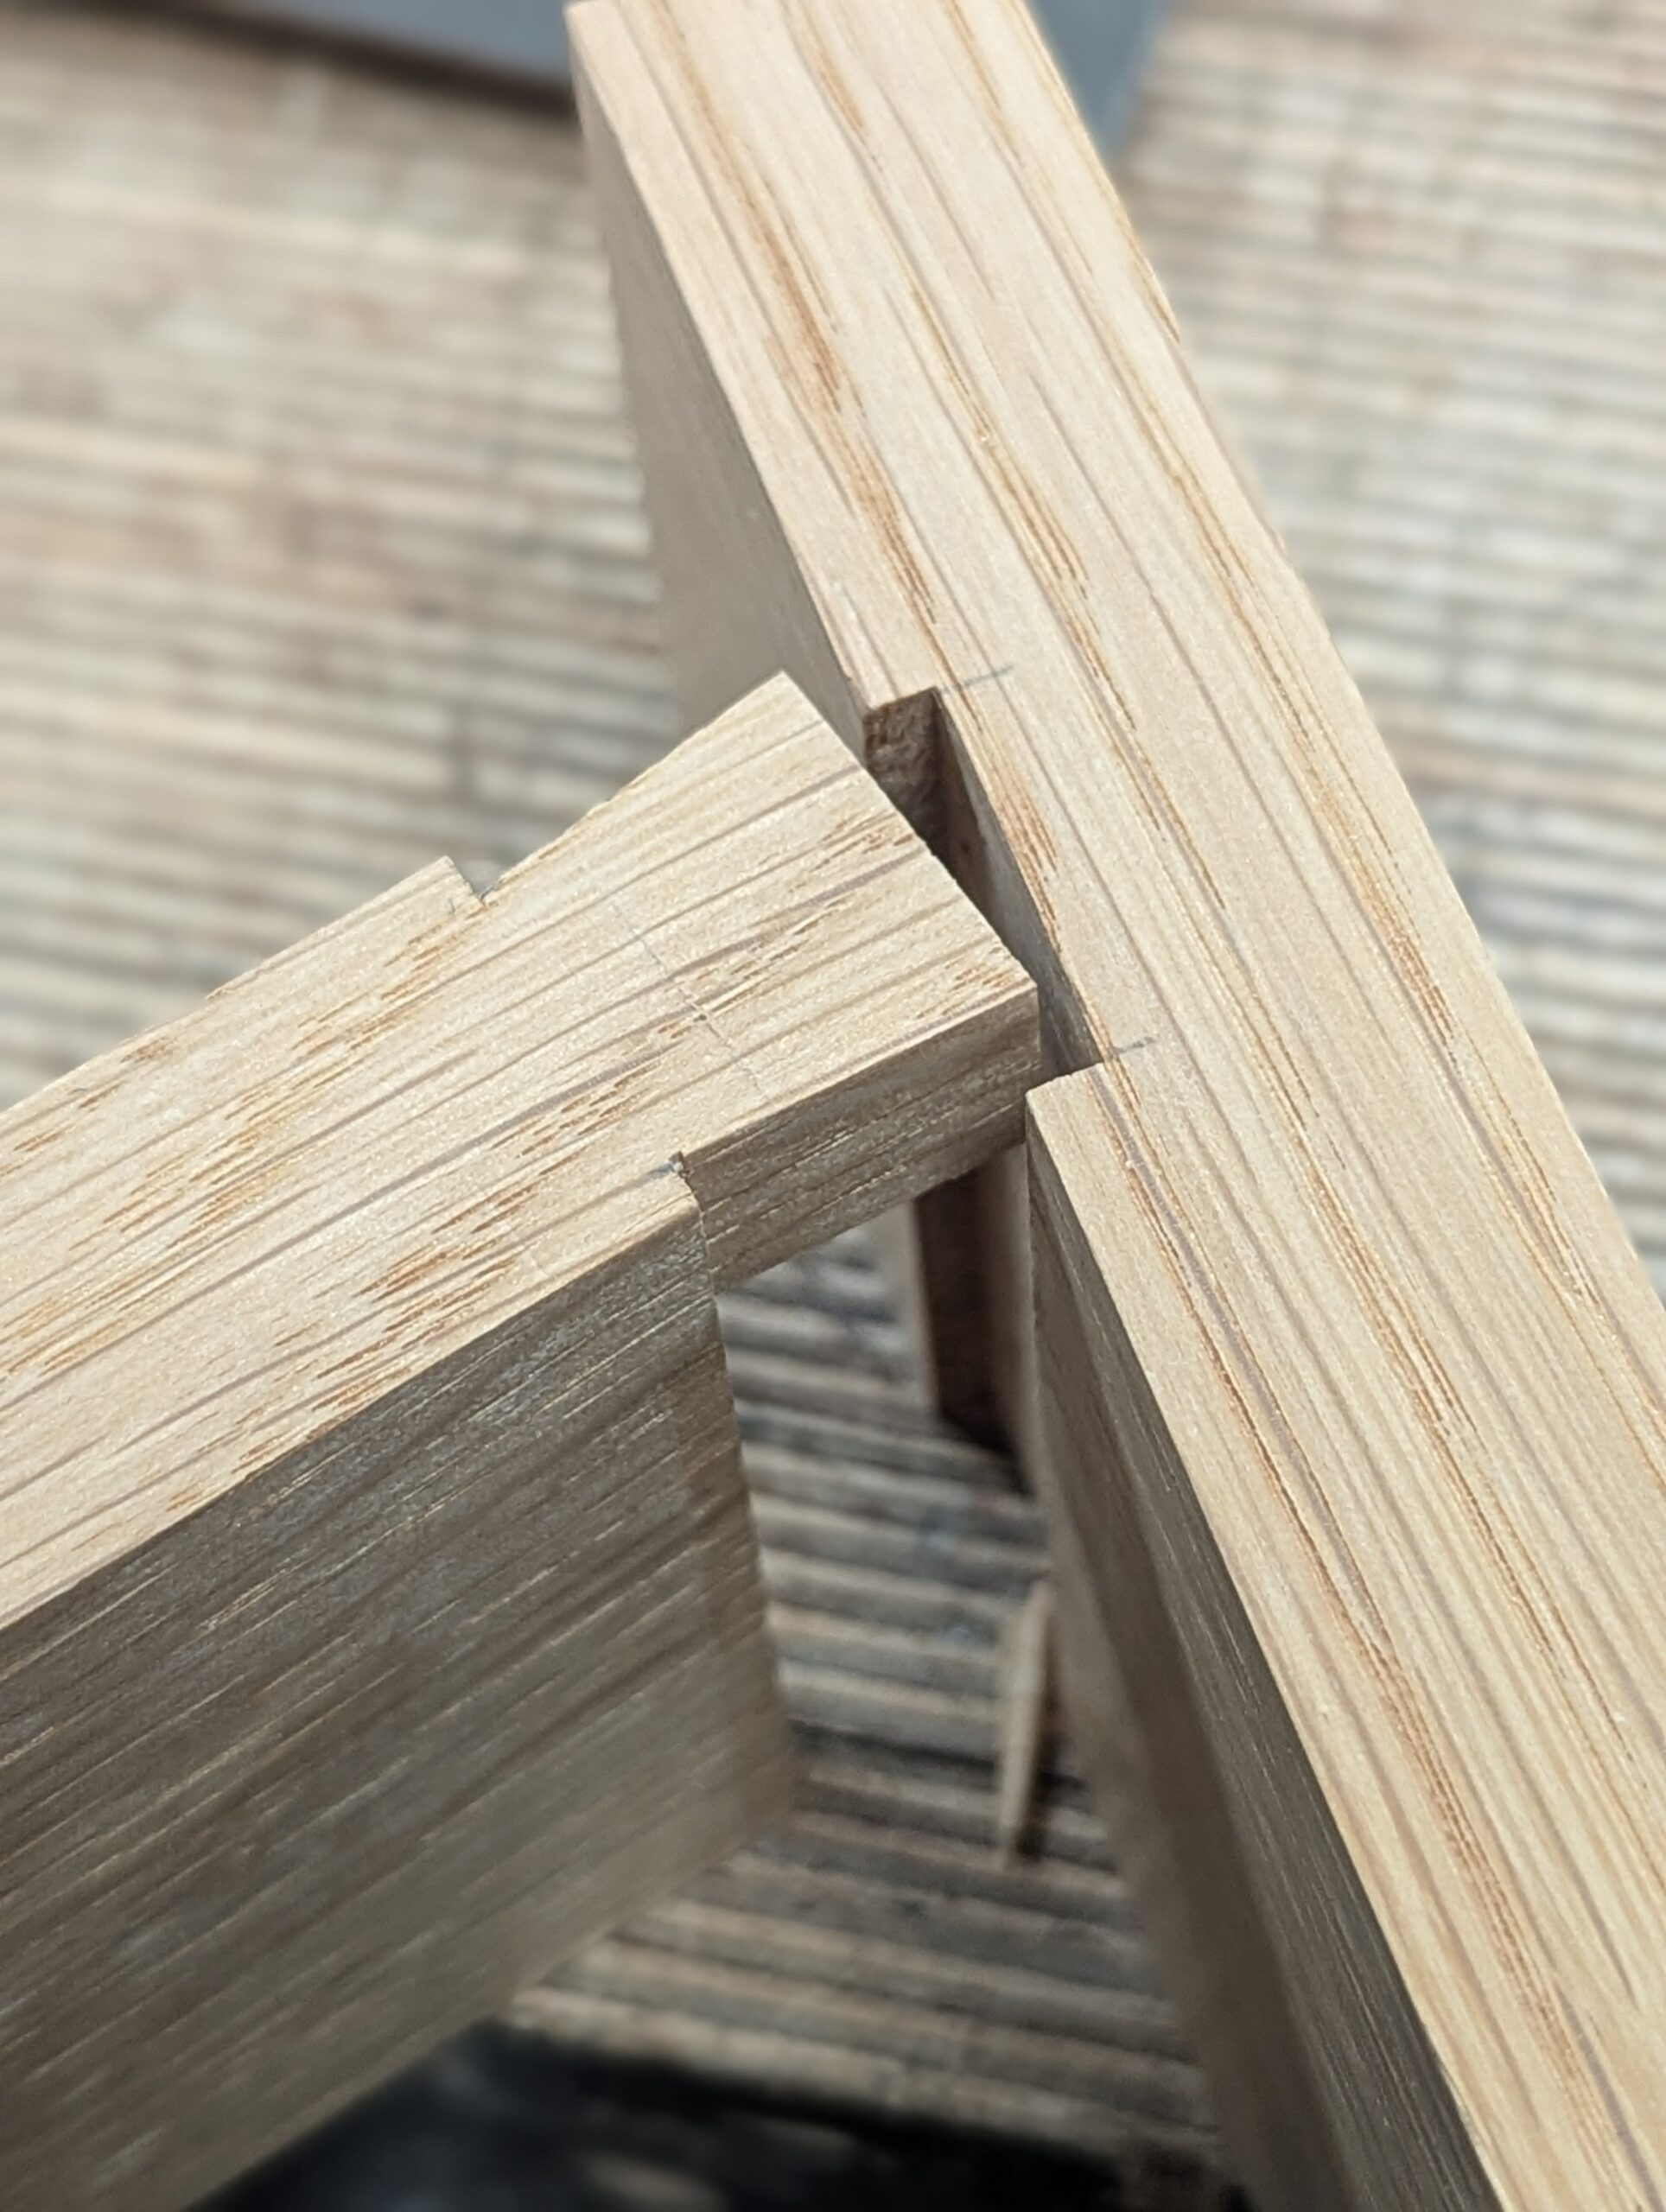
And set the dovetailed piece in place.

The underside will look like this.
Comments ()