One System Fits All
I've said it before, and I'll repeat myself here: sharpening woodworking edge tools is and always will be an abrasive issue. I have used every type of stone and grinder through my 60 years of woodworking. The choice of abrasives may well be a matter of preference, which one you choose depends on how much mess you want, how much you want to or are willing to spend and how much fuss you want in the process. Using my system, you never need to grind an edge again, and yet the system will get you from a well-worn and fully dulled edge to a pristine sharp edge in less than a minute. A dropped-on-concrete or nail-nicked one will take a little longer, but that should be once every five years if you're just making furniture and joinery from new wood and not making a habit of dropping tools and hitting screws and nails.
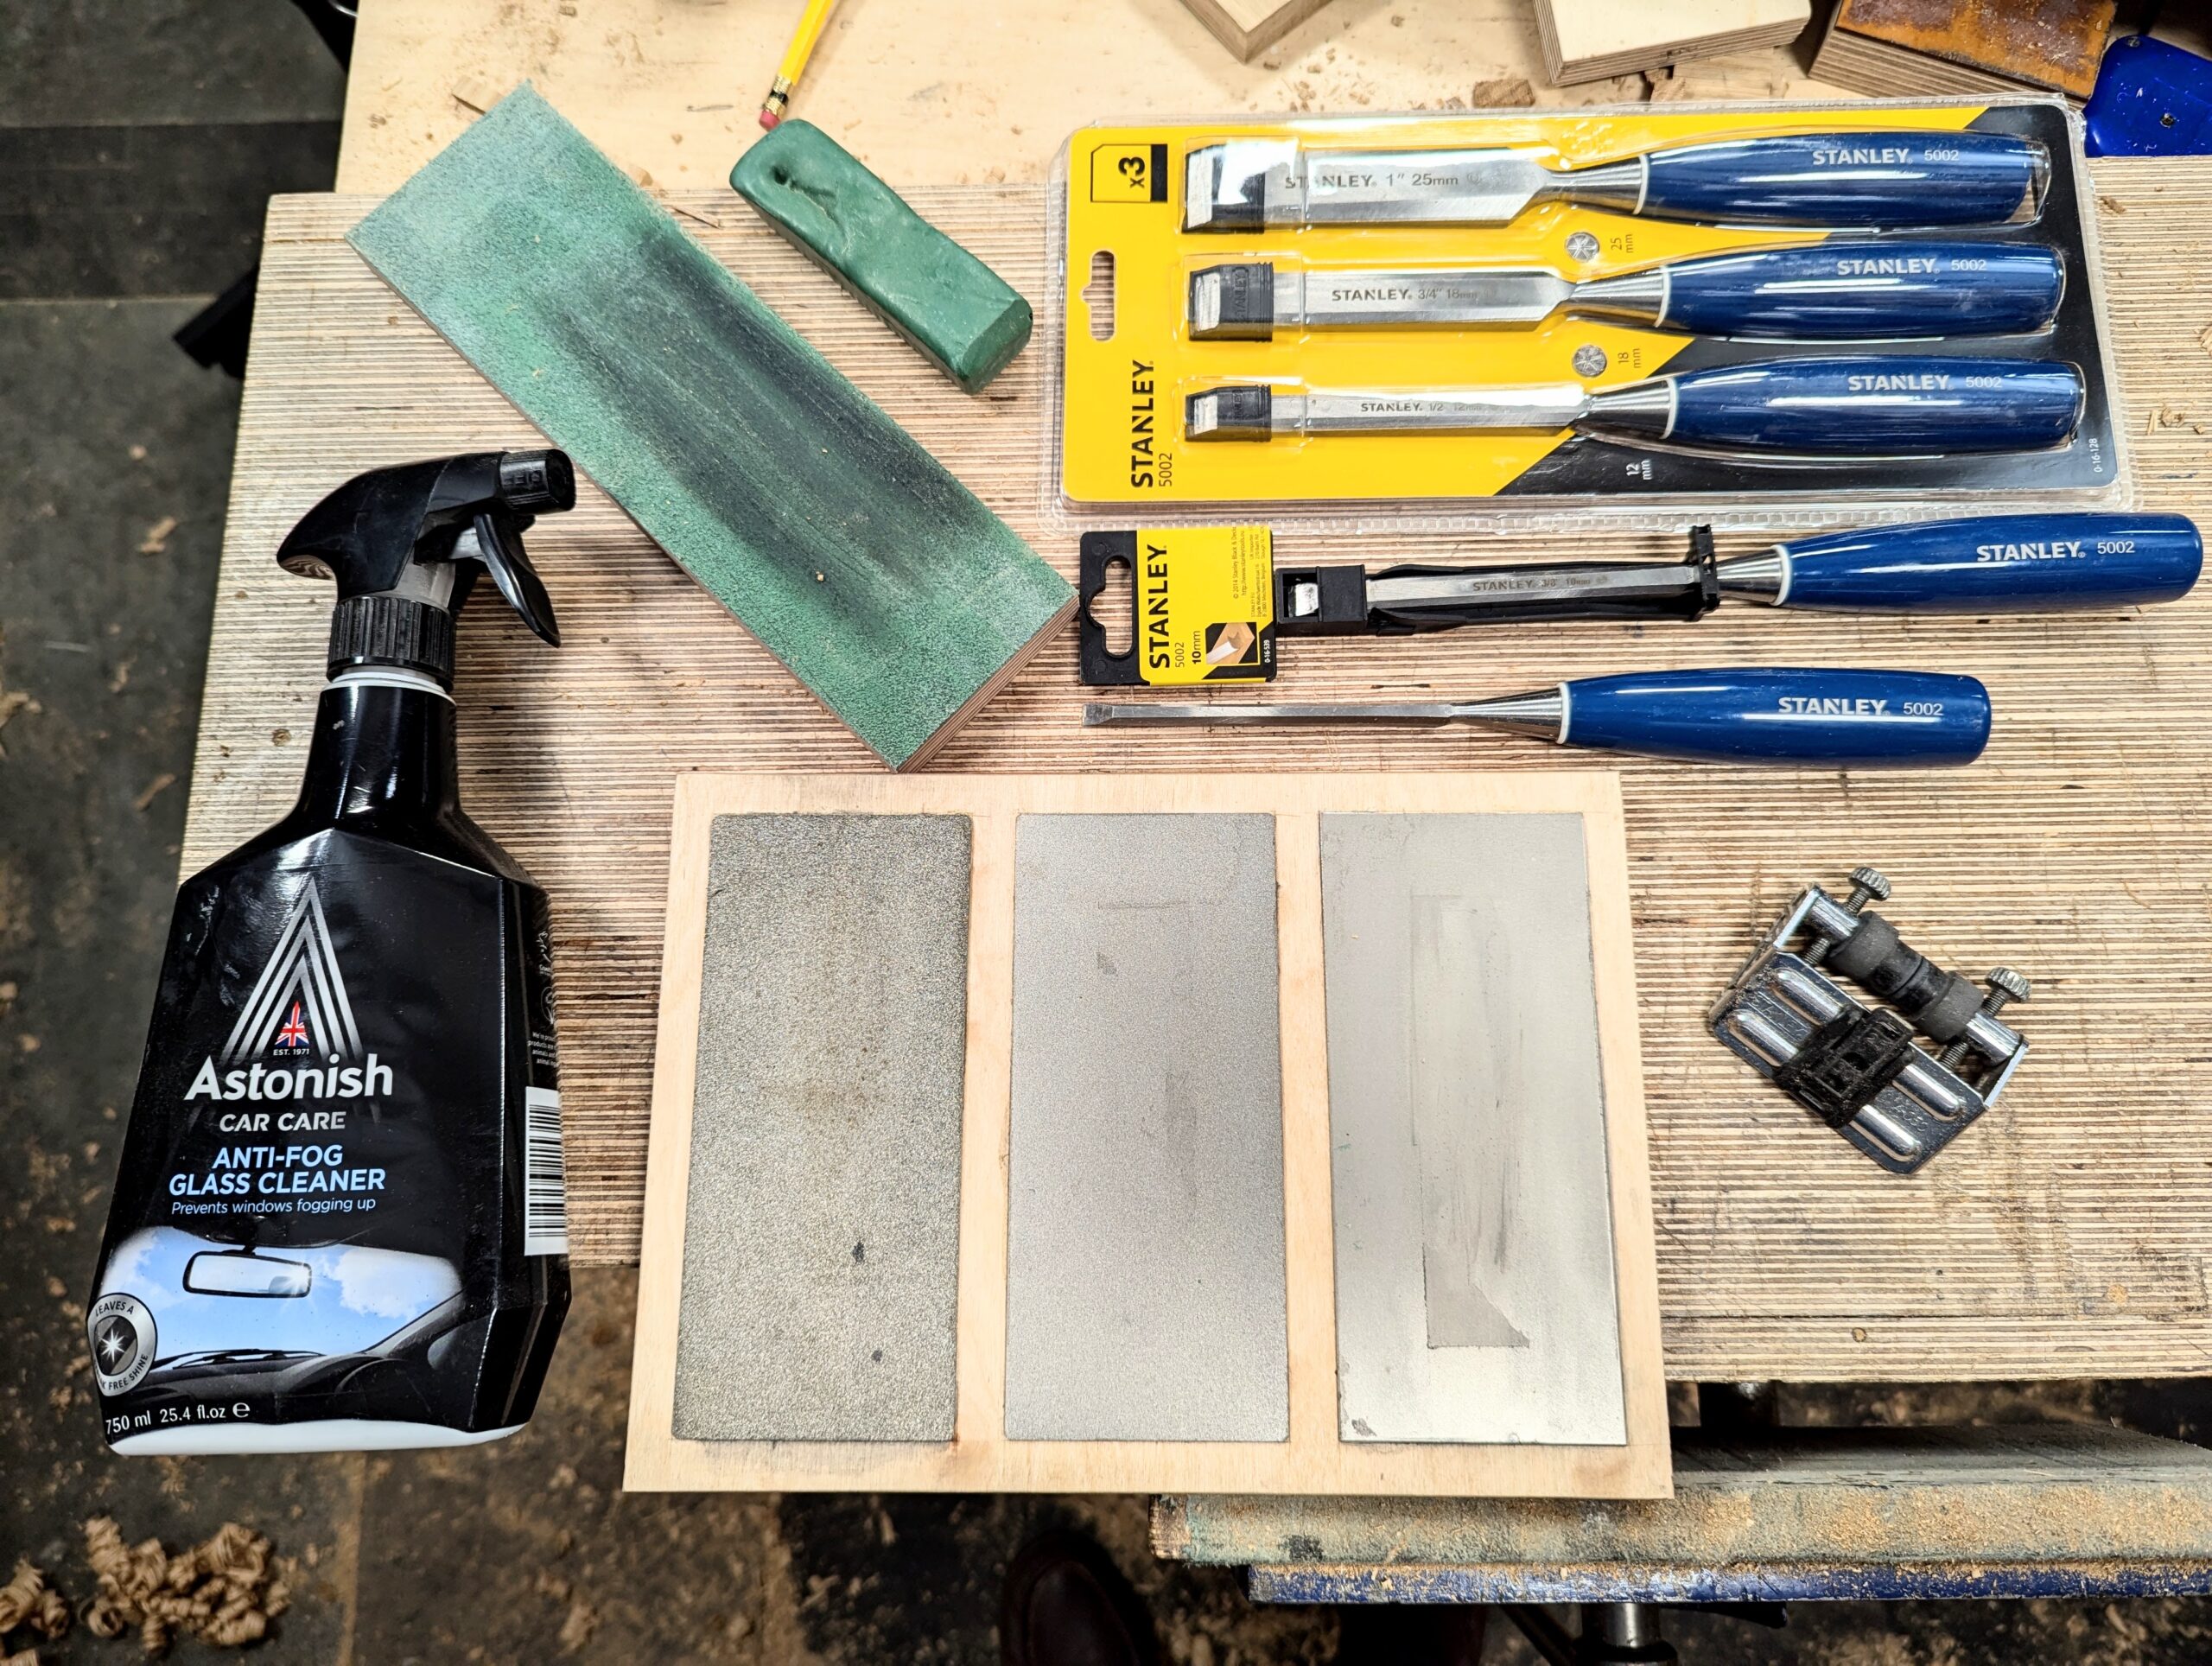
This set up really works for all straightedged cutting edges as in chisels, plane irons, spokeshaves, and a couple of others. I put it together around 30 years ago, and it replaced my double-sided carborundum stones altogether. I originally used more heavy-duty steel plates, but the cost is really quite prohibitive. Five years ago, I started using some thin-plated models on decent quality plywood, and I am still using them. My five-year span of sharpening would likely be around 30–40 years for most woodworkers following me here today. What's especially good is that the diamond plates, previously costing £300, now cost under £20-30, dollars or Euros. ``Everyone can have an efficient system.
The chisels are a heavy-duty set that would last you for a lifetime of chopping mortises but still well-balanced in the hand. Thankfully, they don't have the ergonomic, rubberised grips. I bought my first Stanley 5002s, Marples and Record plastic handled chisel versions in and around 1965 and still have them, though the steel parts are shorter now.
Let me first dispel the myth that you must grind the bevel on a grinding wheel of one kind or another. That is far from true. Patience is not an issue either. If you are impatient, the system I advocate here is likely one of the fastest out there, and it is ultra-mess free.

Considering the micro or secondary bevel; you will come across this as you grow. When the cheaper Black and Decker, electric grinding wheels came in back in the 1940s, woodworkers grinding their chisels and irons end up with a tight radius on their edges and therefore had no option but to add the second bevel because grinding on a wheel leaves a cutting edge that is not viable for cutting with. As a result, a stronger bevel was needed. Unfortunately, the process of not using your own energy usually leads to you inadvertently grinding off much more steel than is actually needed. Additionally, the risk of burning the steel and thereby detempering or misgrinding the cutting edge also reduces the longevity of what should be a lifetime tool.

The important thing about sharpening is to make it as smooth and convenient an operation as possible. In my day to day, I am likely to sharpen several tools several times in a given day. In my work, I have always worked five to six days a week all day at the bench using hand tools. Chisels and planes need sharpening several times a day, especially if you are like me, and you don't use machines for the bulk of your work. 99%nof my work is hand tool woodworking. This week I spent a full day planing oak true and square S4S. I use four planes to do that, and they all were sharpened around four times each. You will see that this operation needs to be as seamless as possible. To sharpen four plane irons actually takes under four me minutes, but with a distraction here and there it's likely to be six.
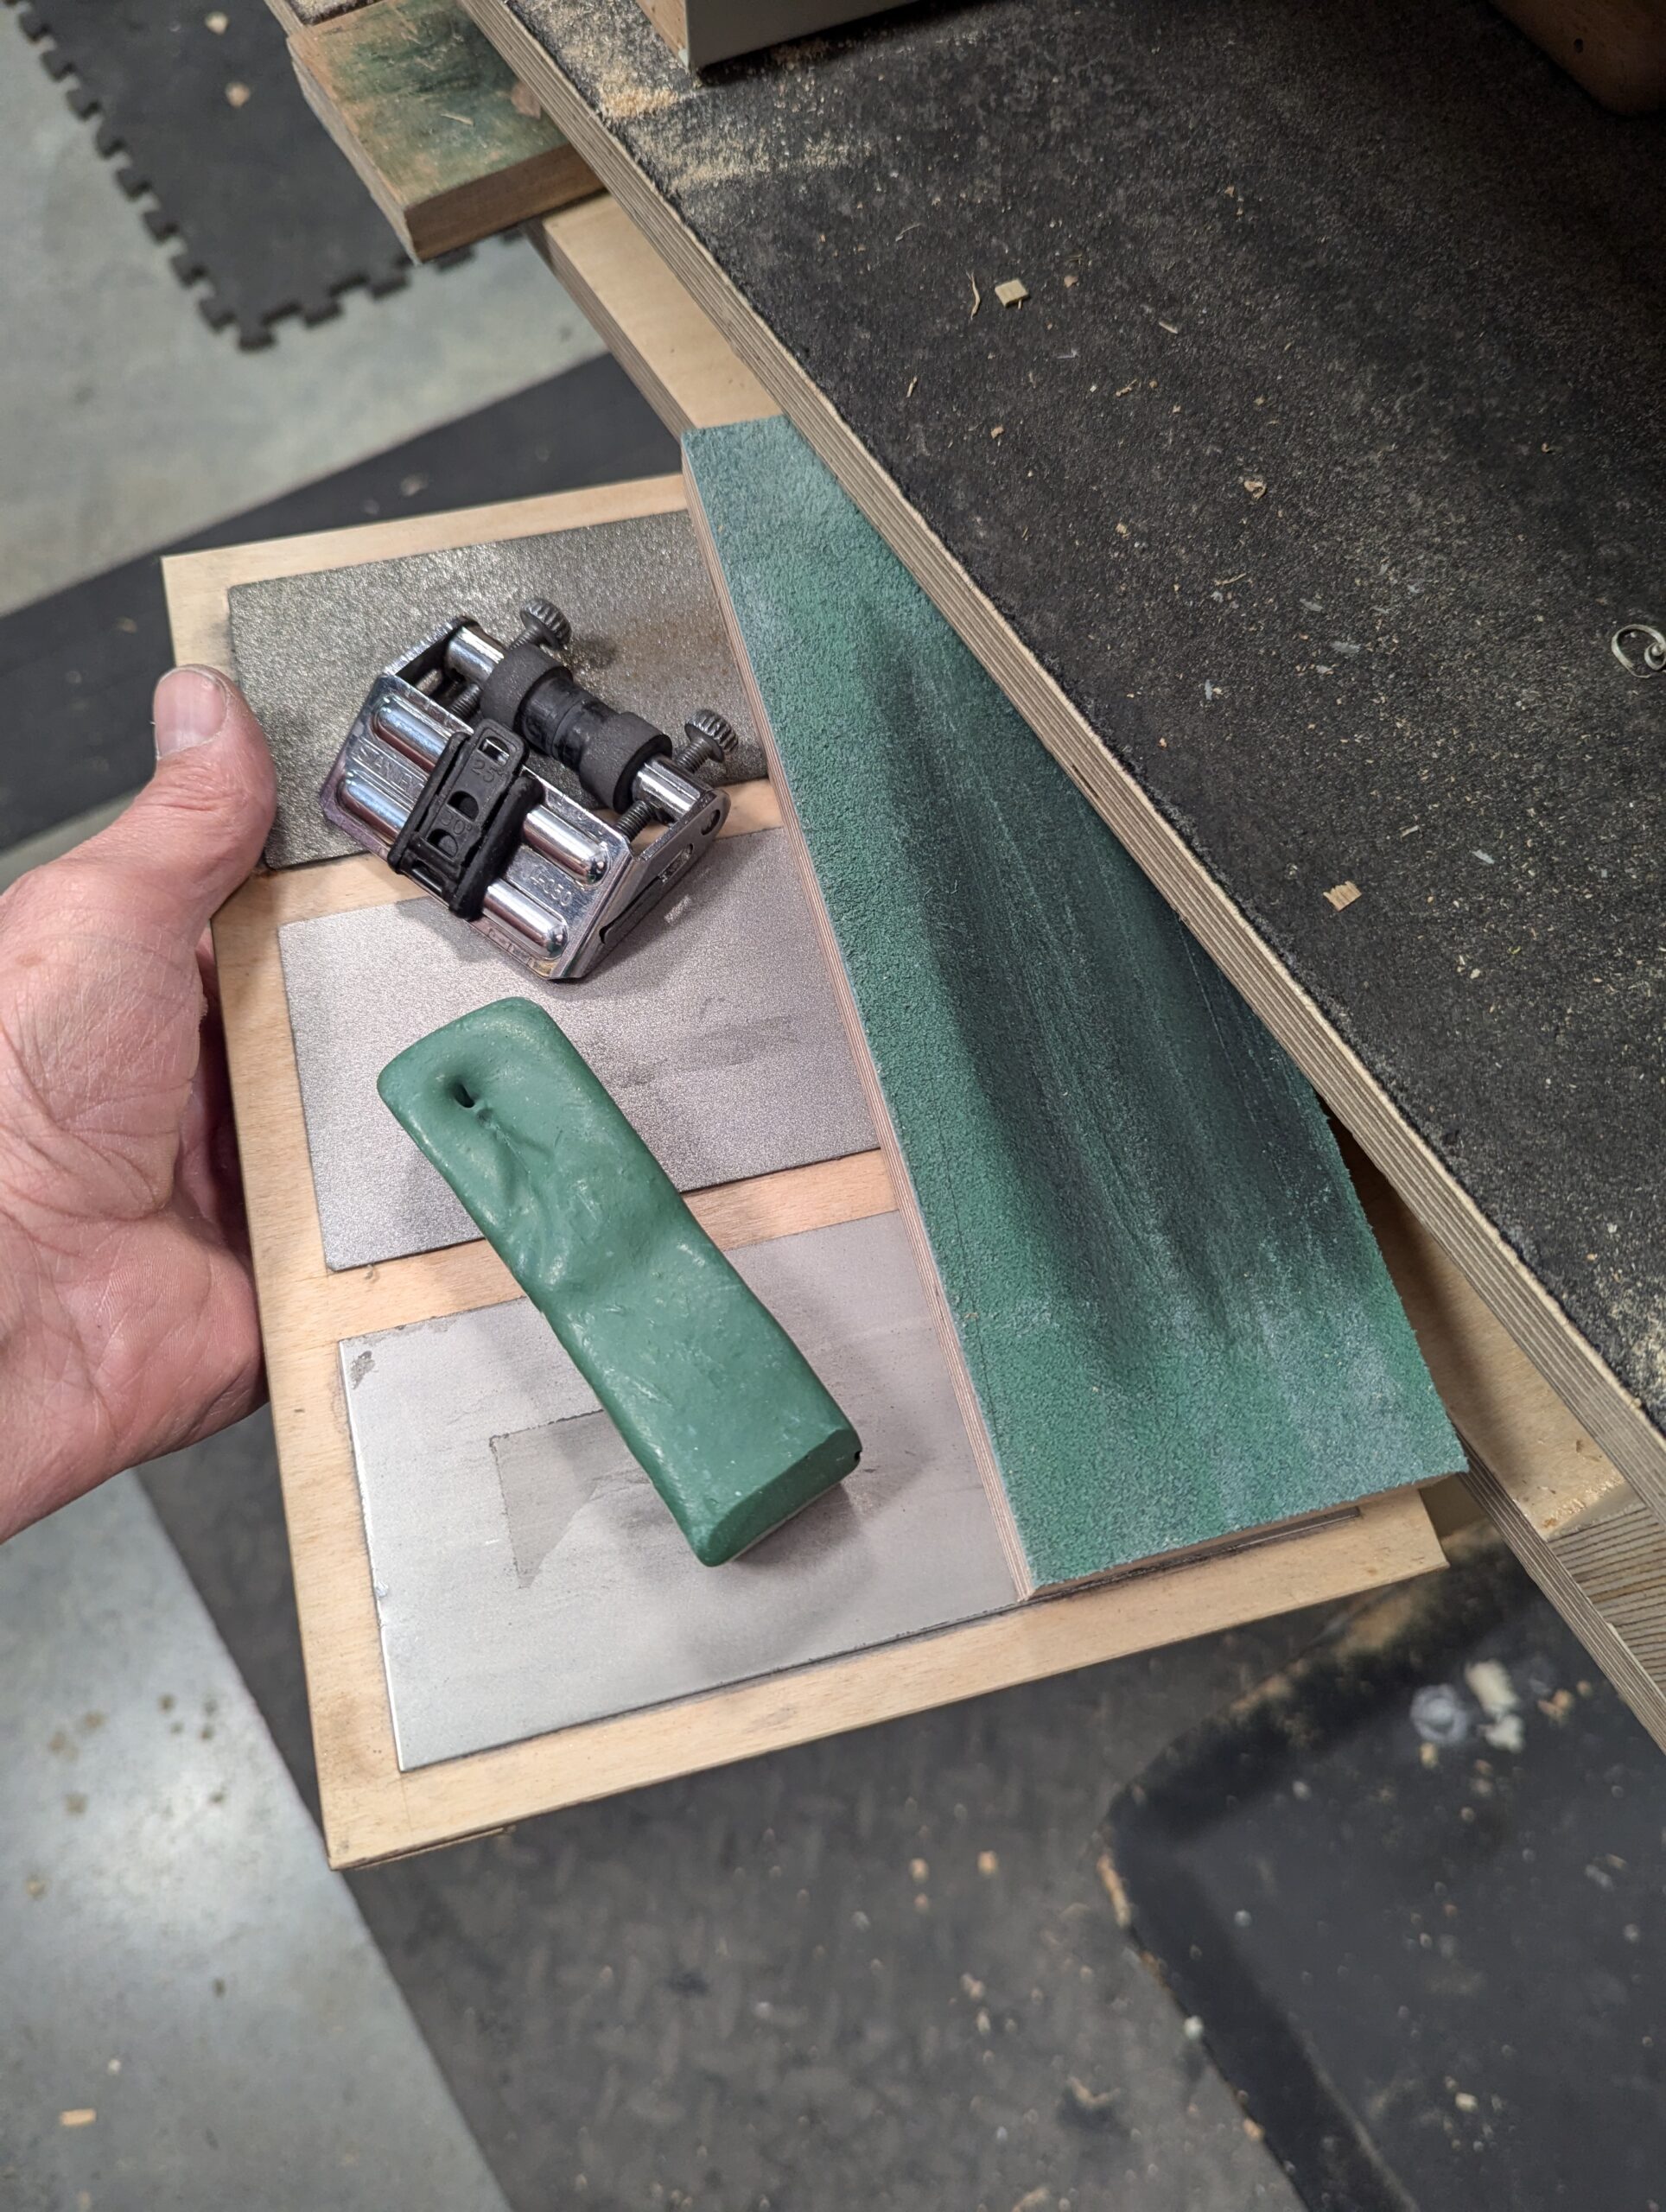
Seamless sharpening means the three-plate board is stowed on its own shelf to the left side of my workbench. Literally 18" from my bench vise and my left hand. The strop hides there alongside too. I have revised my sharpening board to accommodate the thinner plates from my original, which needed the plates to be housed into recesses in the board. These thin plates work much better if they are just glued down with contact (impact) cement. They will not turn loose.
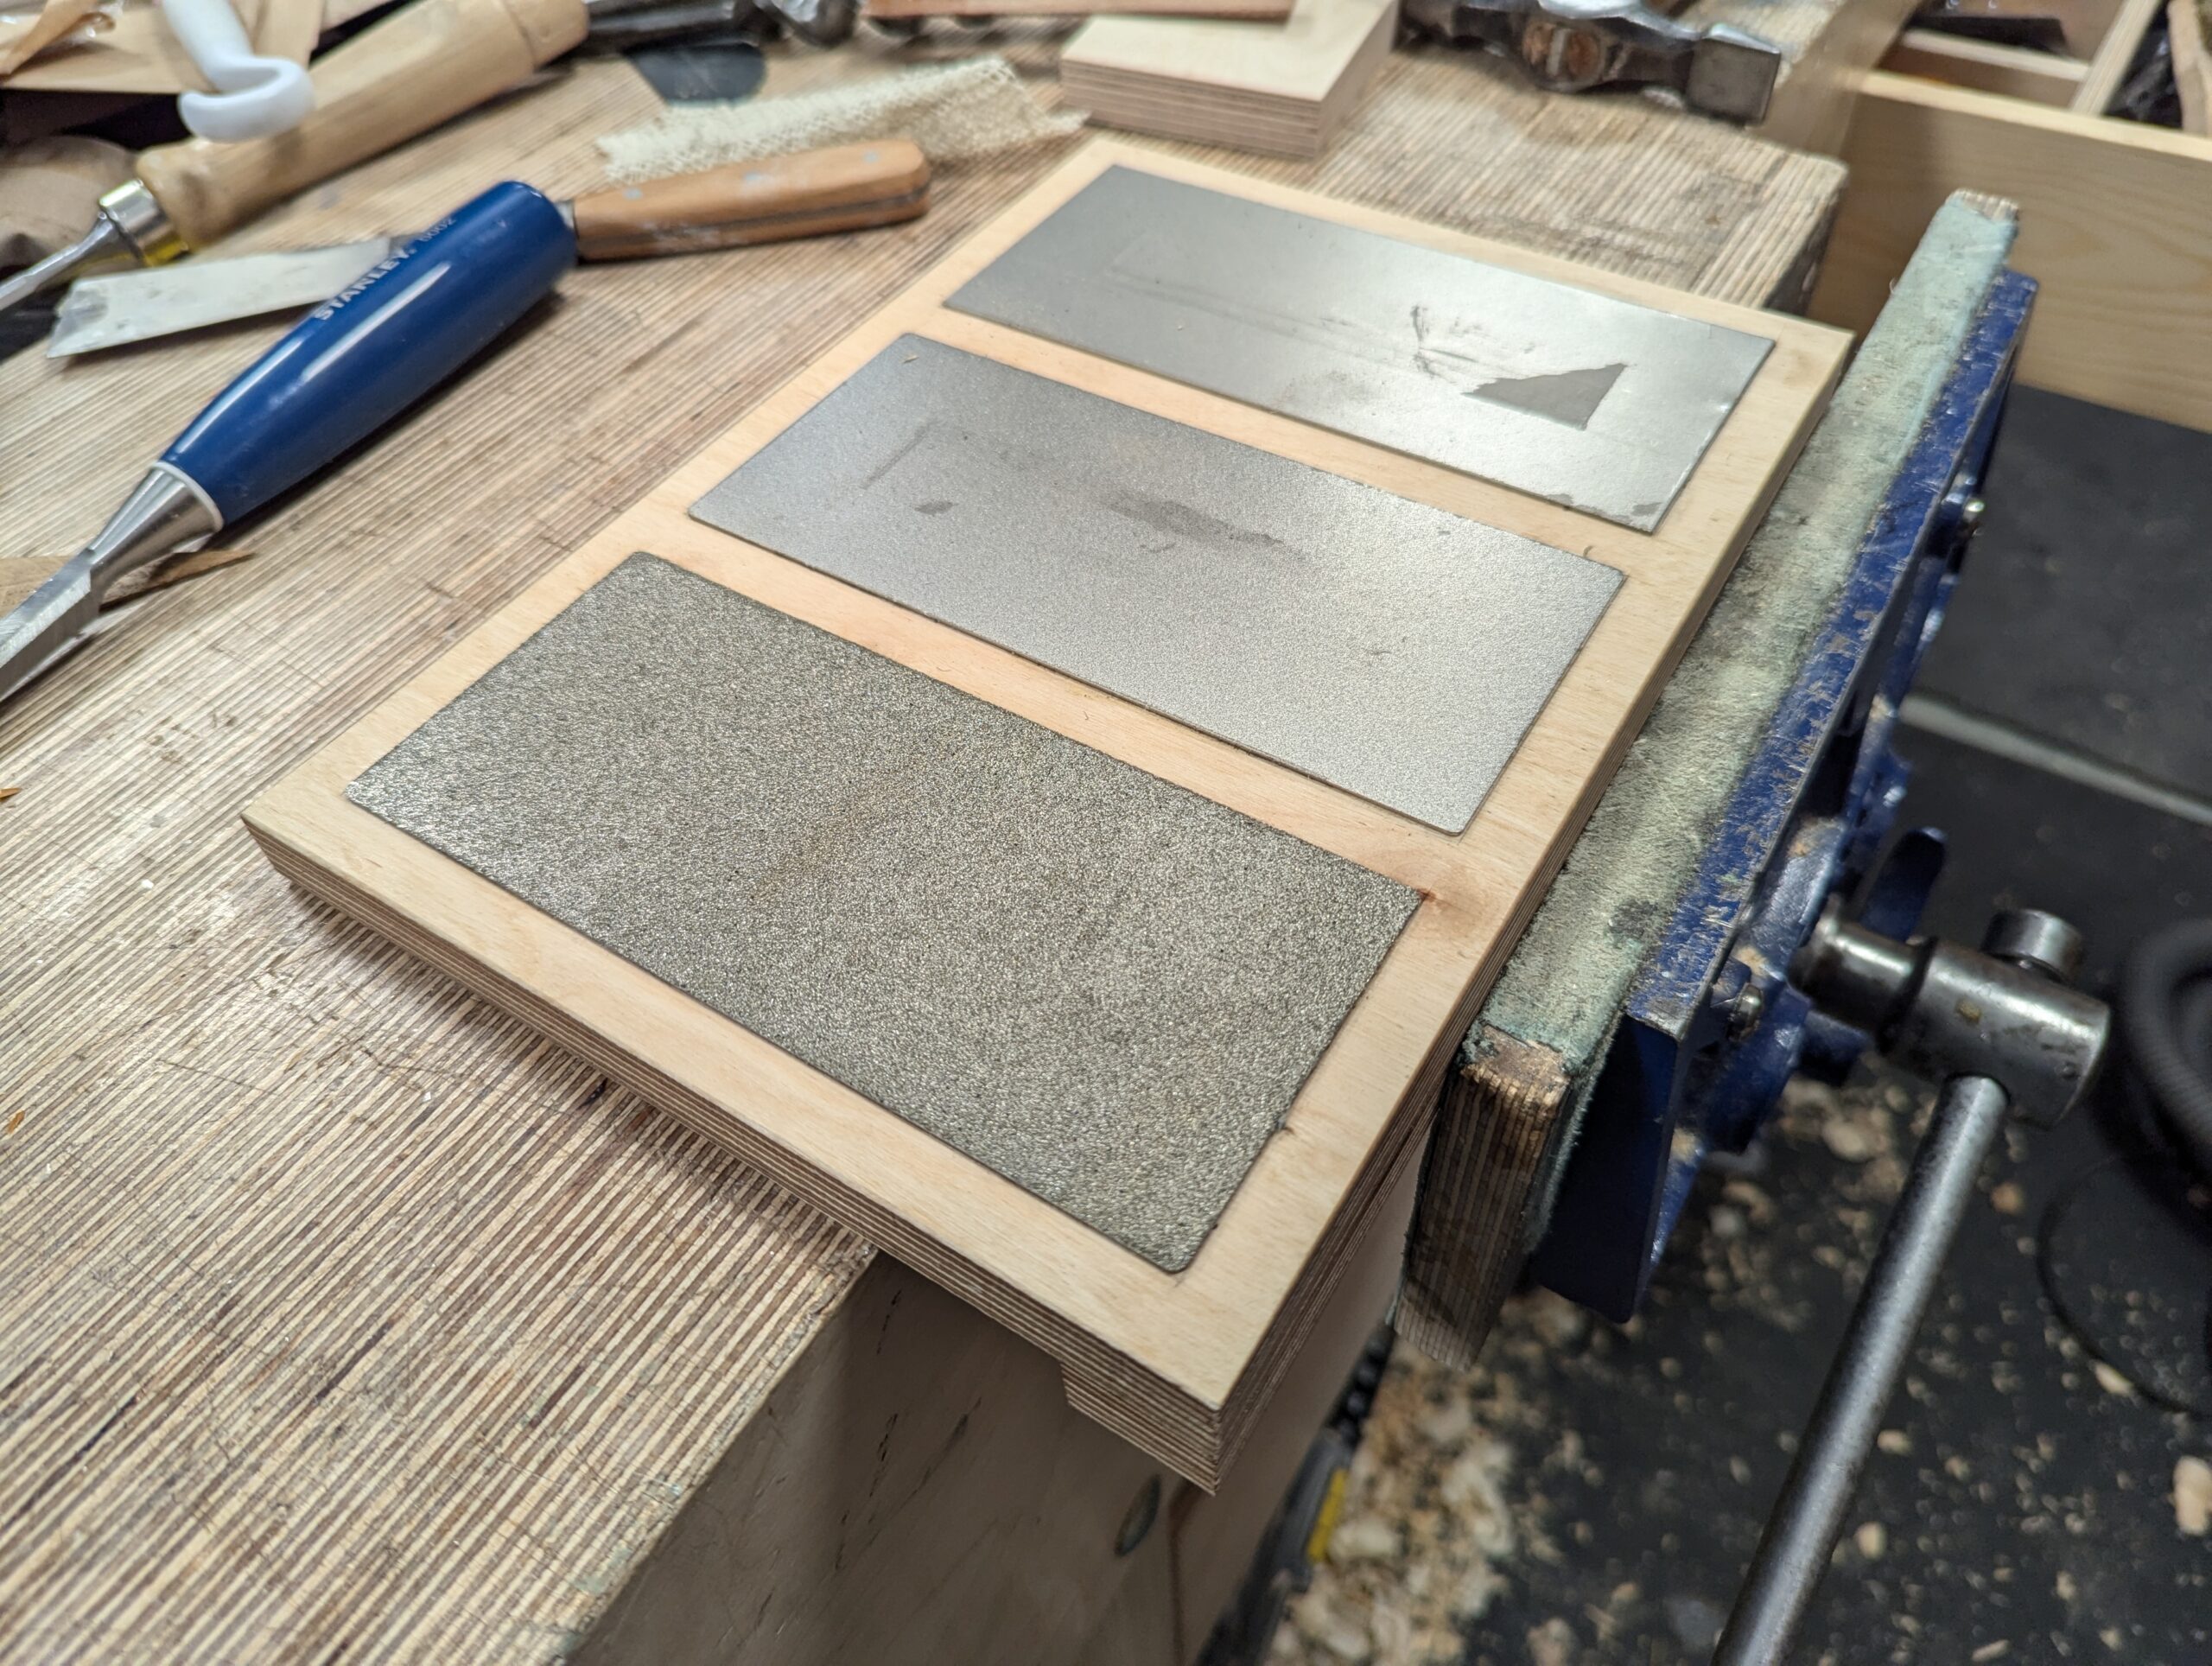
As you can see from the construction, the baseboard is made up of two, 3/4" birch plywood pieces screwed and glued together. The key element for security is the ability to lock the base in the vise so that there is no movement as you hone. We apply maximum pressure to the tool and the plates when we sharpen and hone.
This honing guide gives you the option of adjustment, requiring not tools to set the cutting iron at an angle of choice. I tend not to use a honing guide, but I recommend new and seasoned woodworkers unused to working with hand tools to use the guide to control the angle. Eventually, you will want to freehand sharpen. That is what I have done for 60 years so far, and I can hone a bevel at the desired angle between 25 and 30º, depending on whether I am chopping mortises or pare-cutting. I recommend that you do the same. As most chisel work with chisels a half-inch wide or less will be chopping work, consider these chisels best sharpened with a consistent bevel of 30º. This will be a strong edge and bevel that will chop mortises for many hours. Of course, new chisels will already be ground to 25º, so there is no need to hone the whole bevel, just start sharpening at 30º and that will start you off with the double bevel until eventually the whole bevel will end up at 30º. The wider chisels can be honed to anywhere between 25º and 30º.
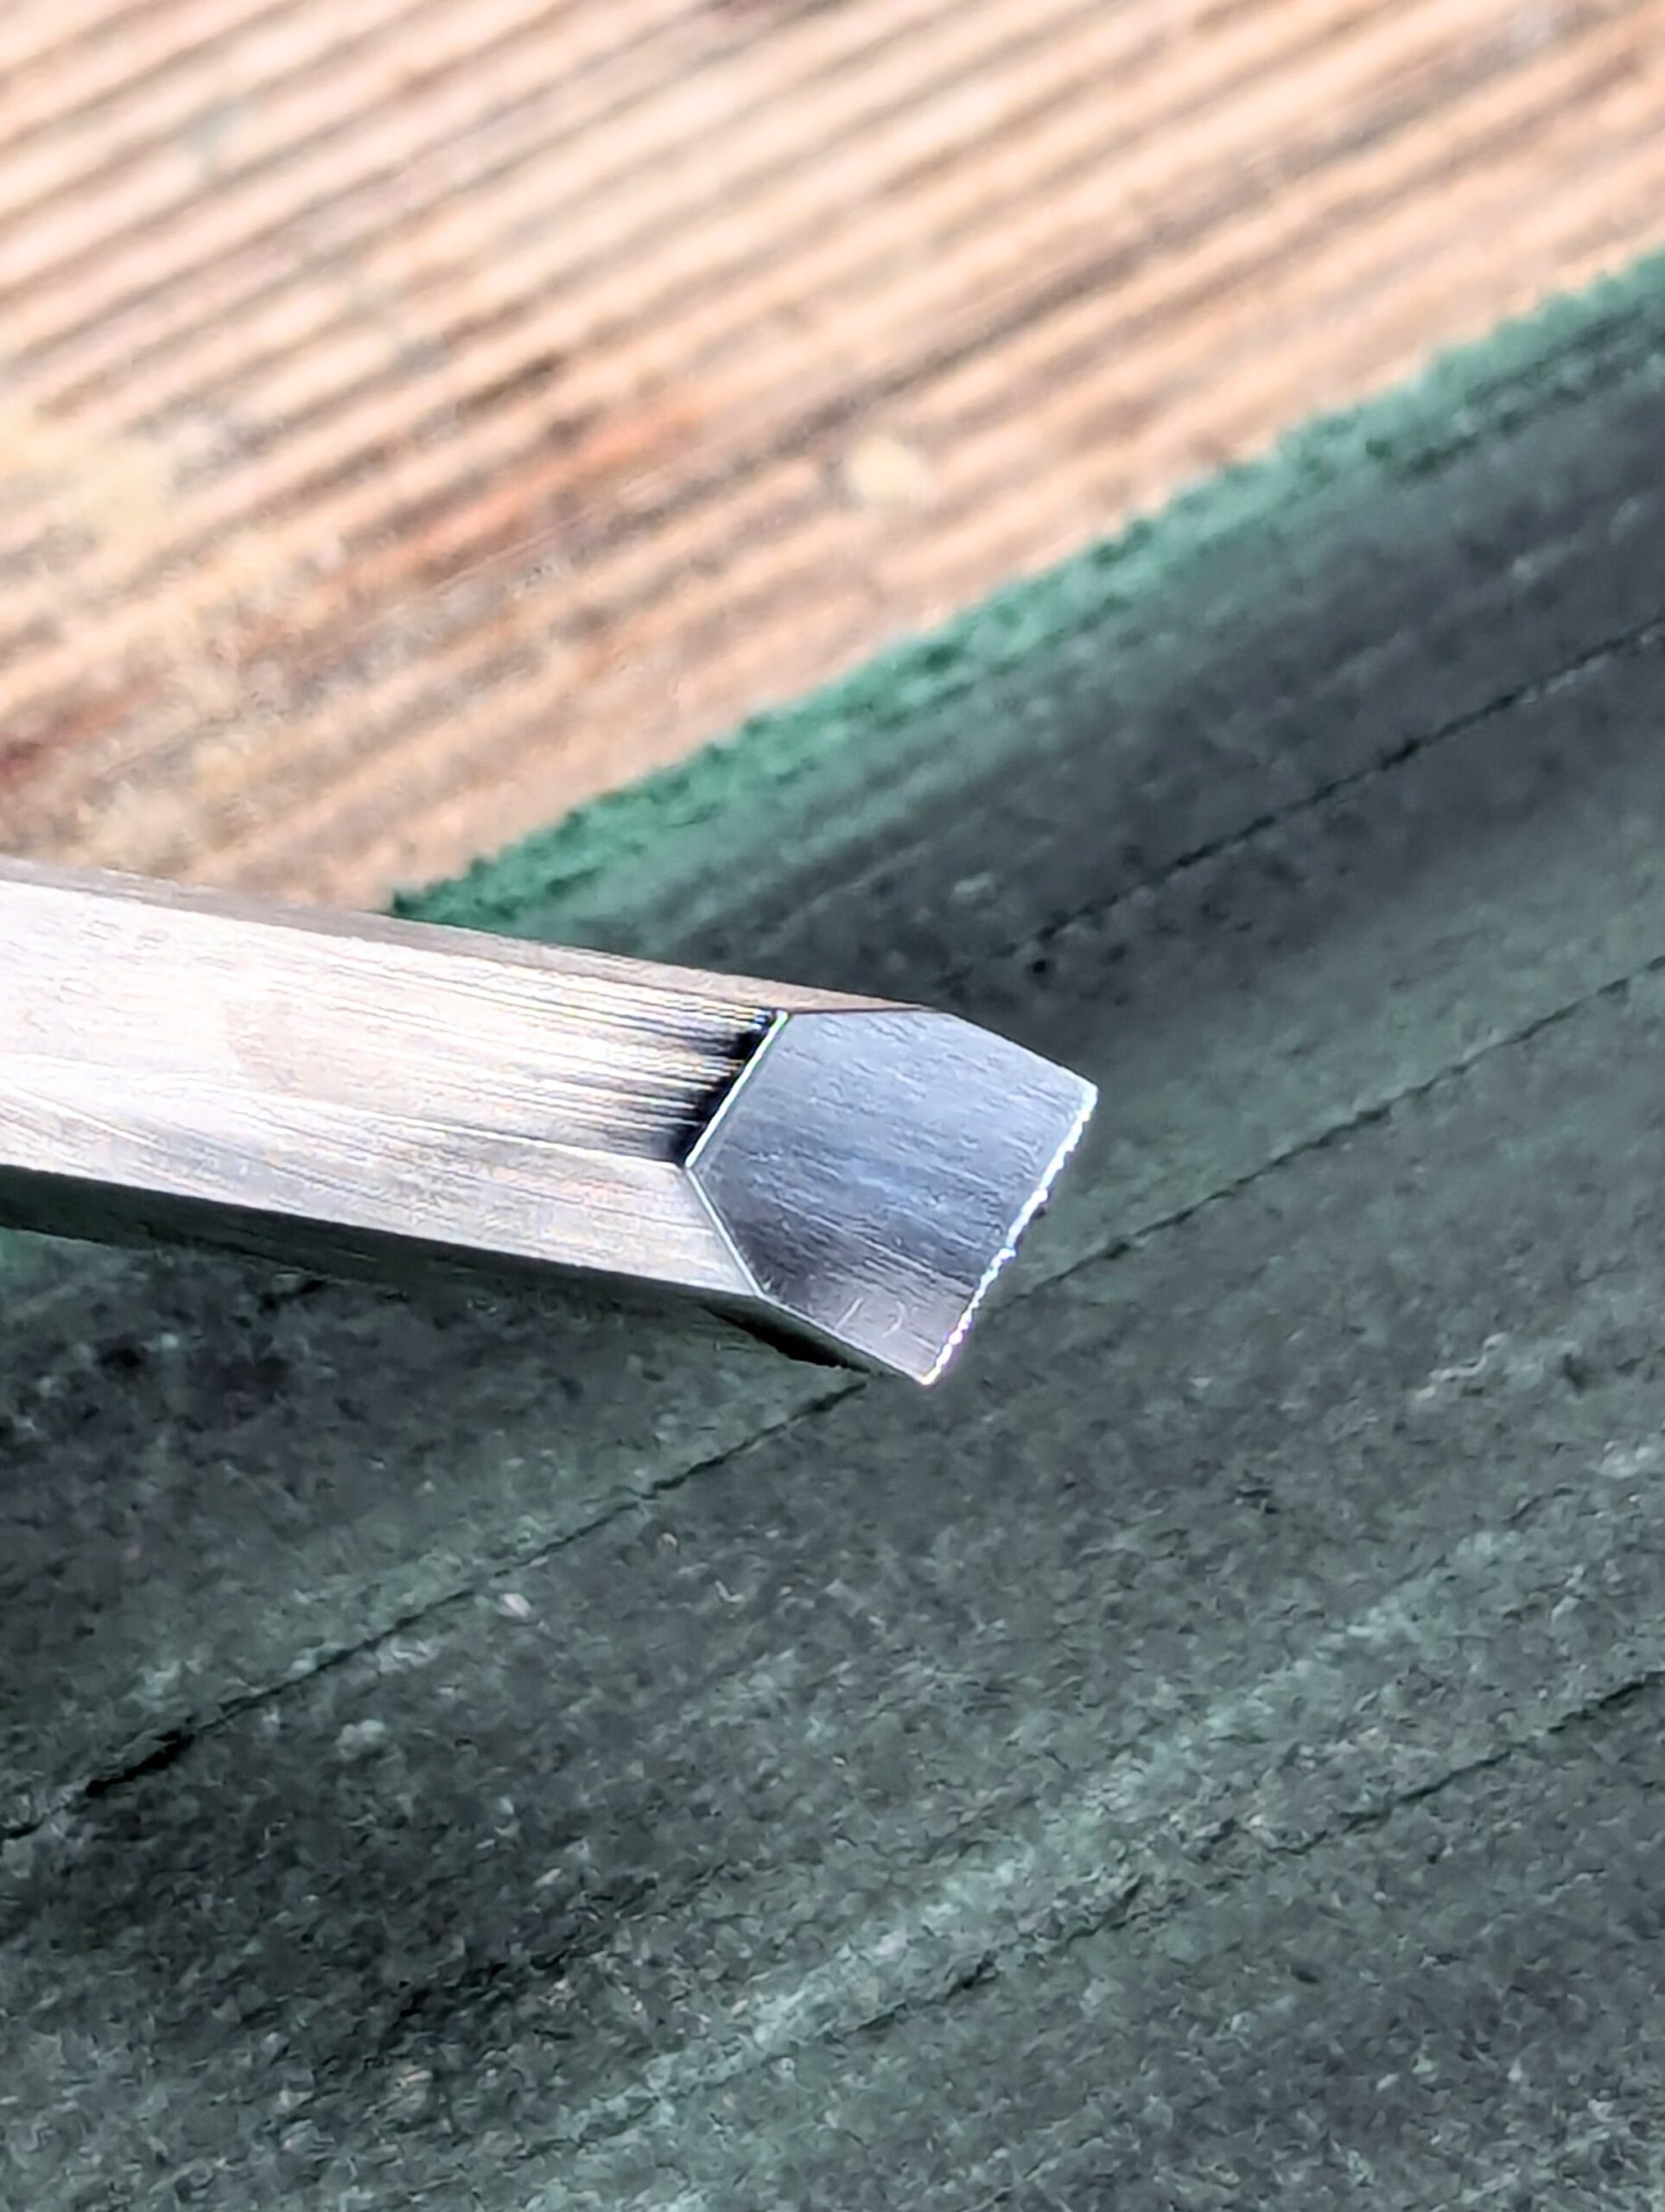
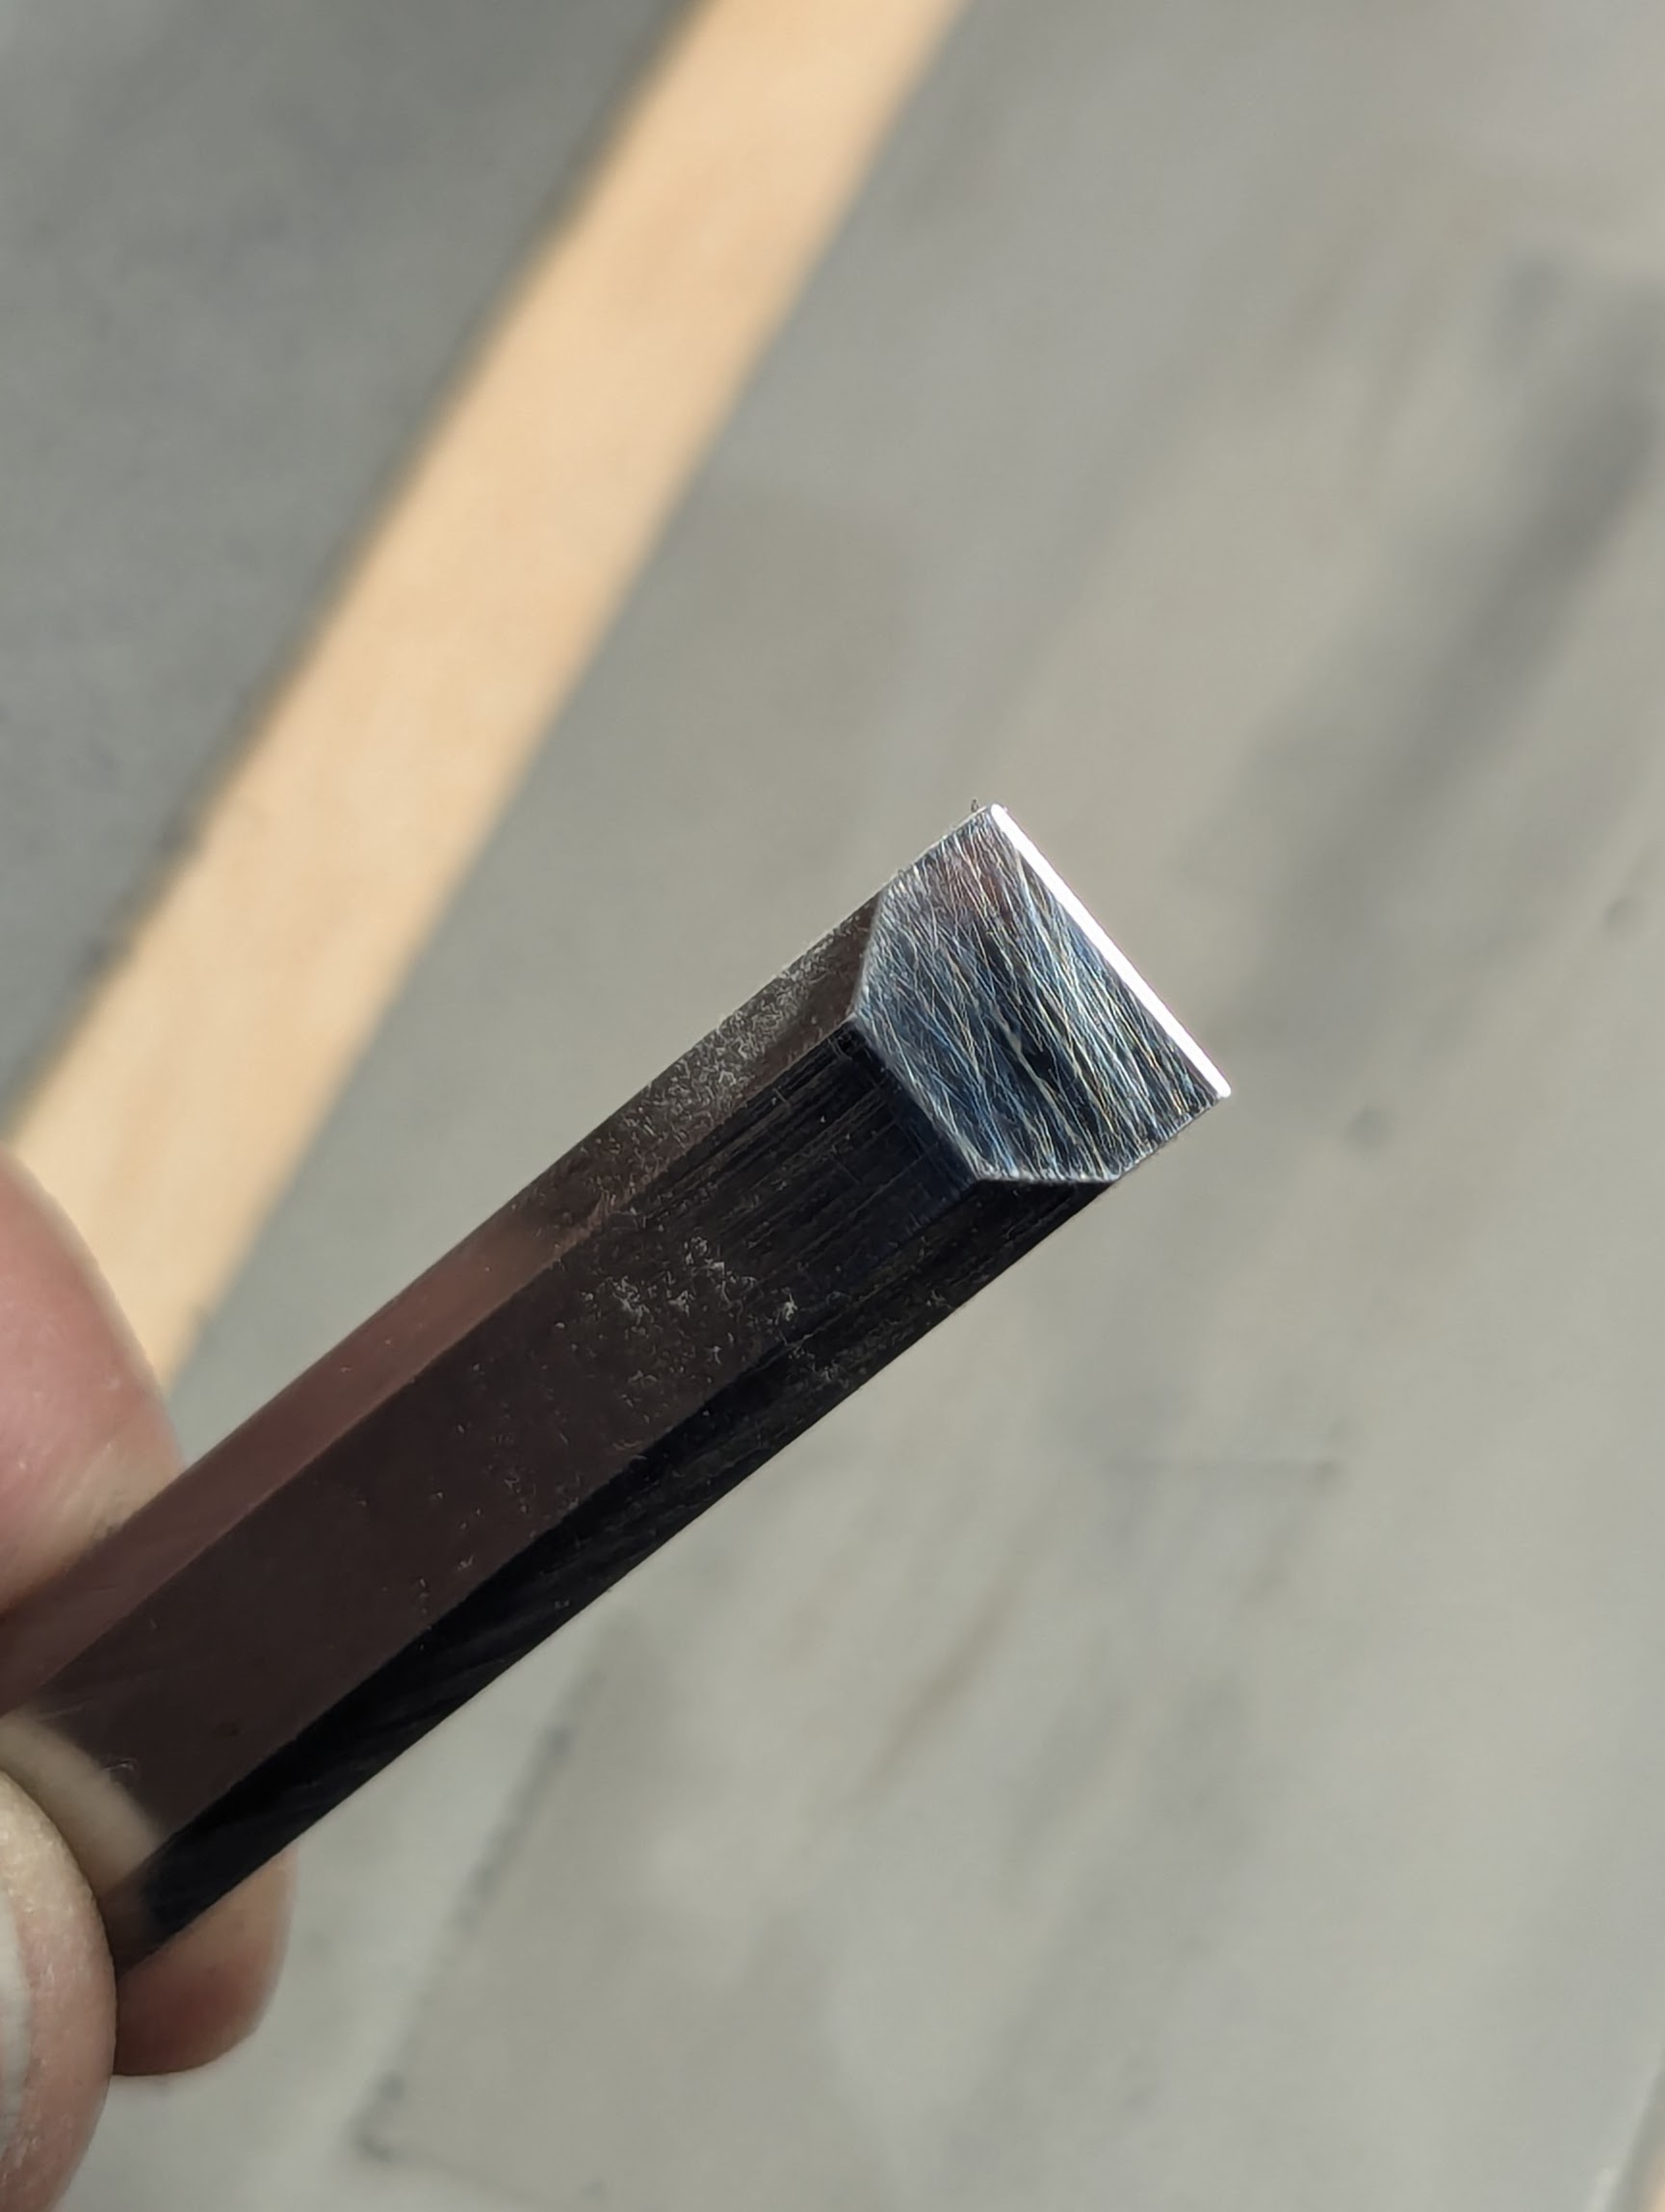
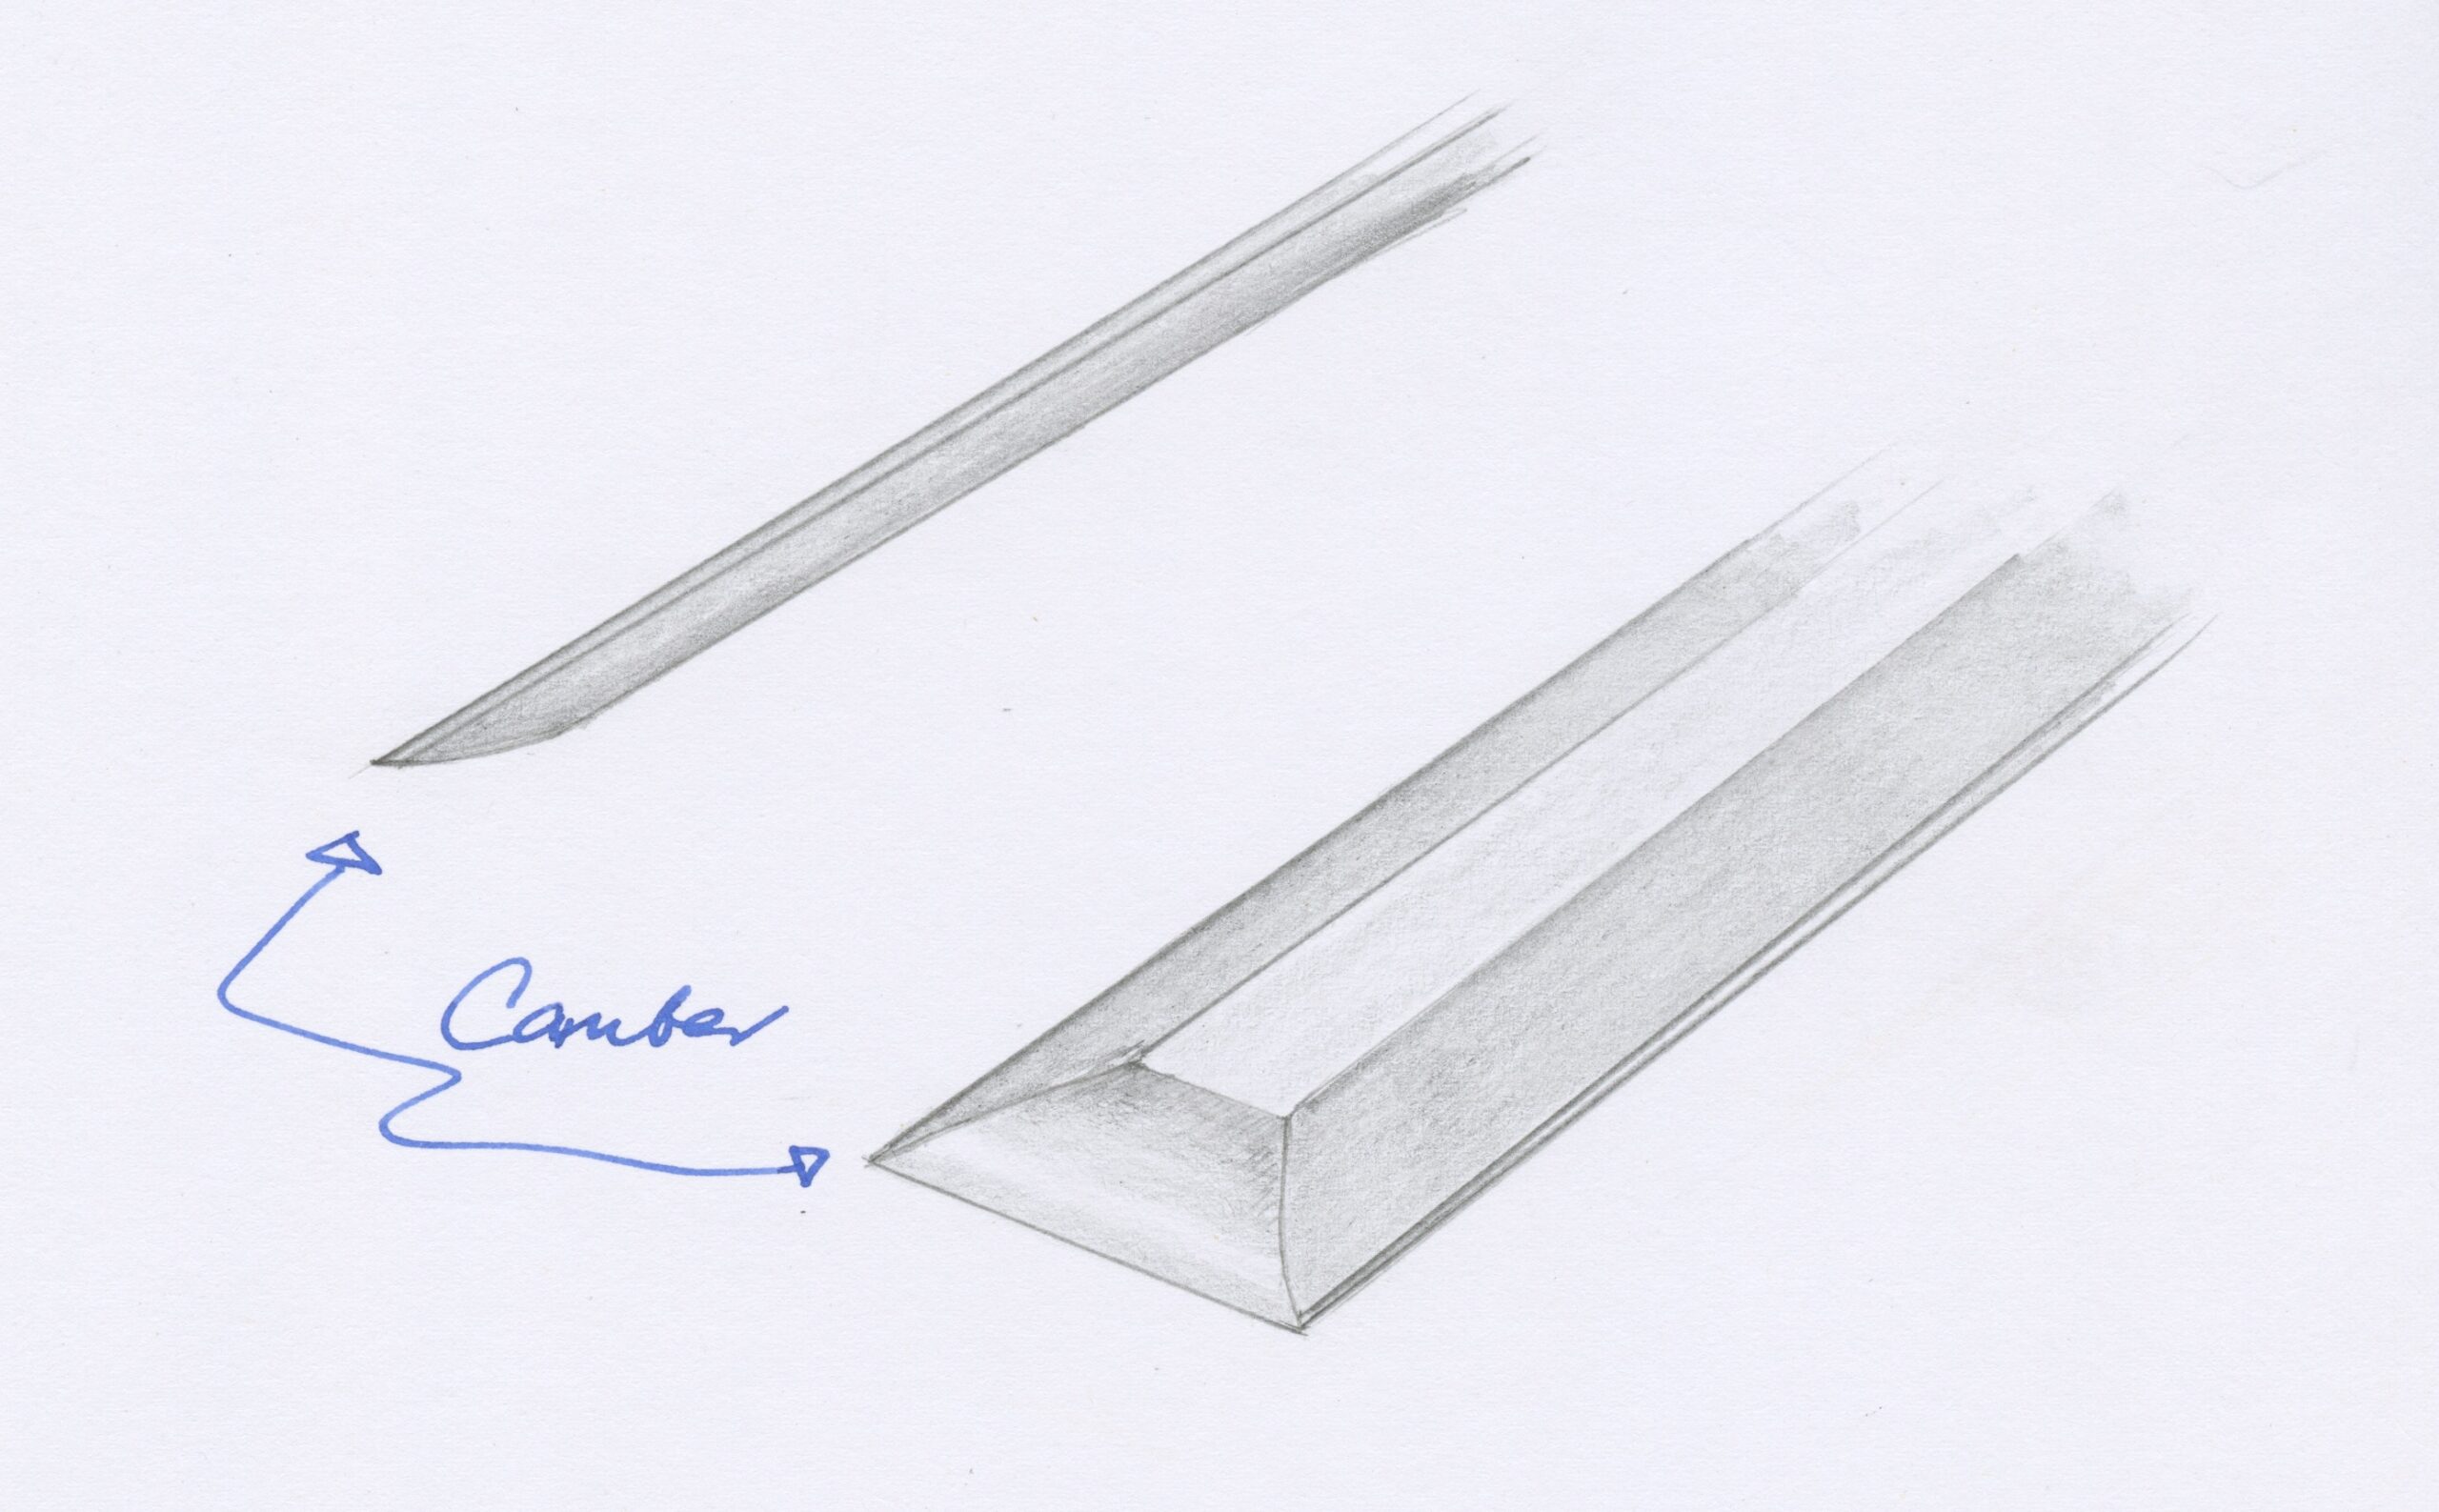
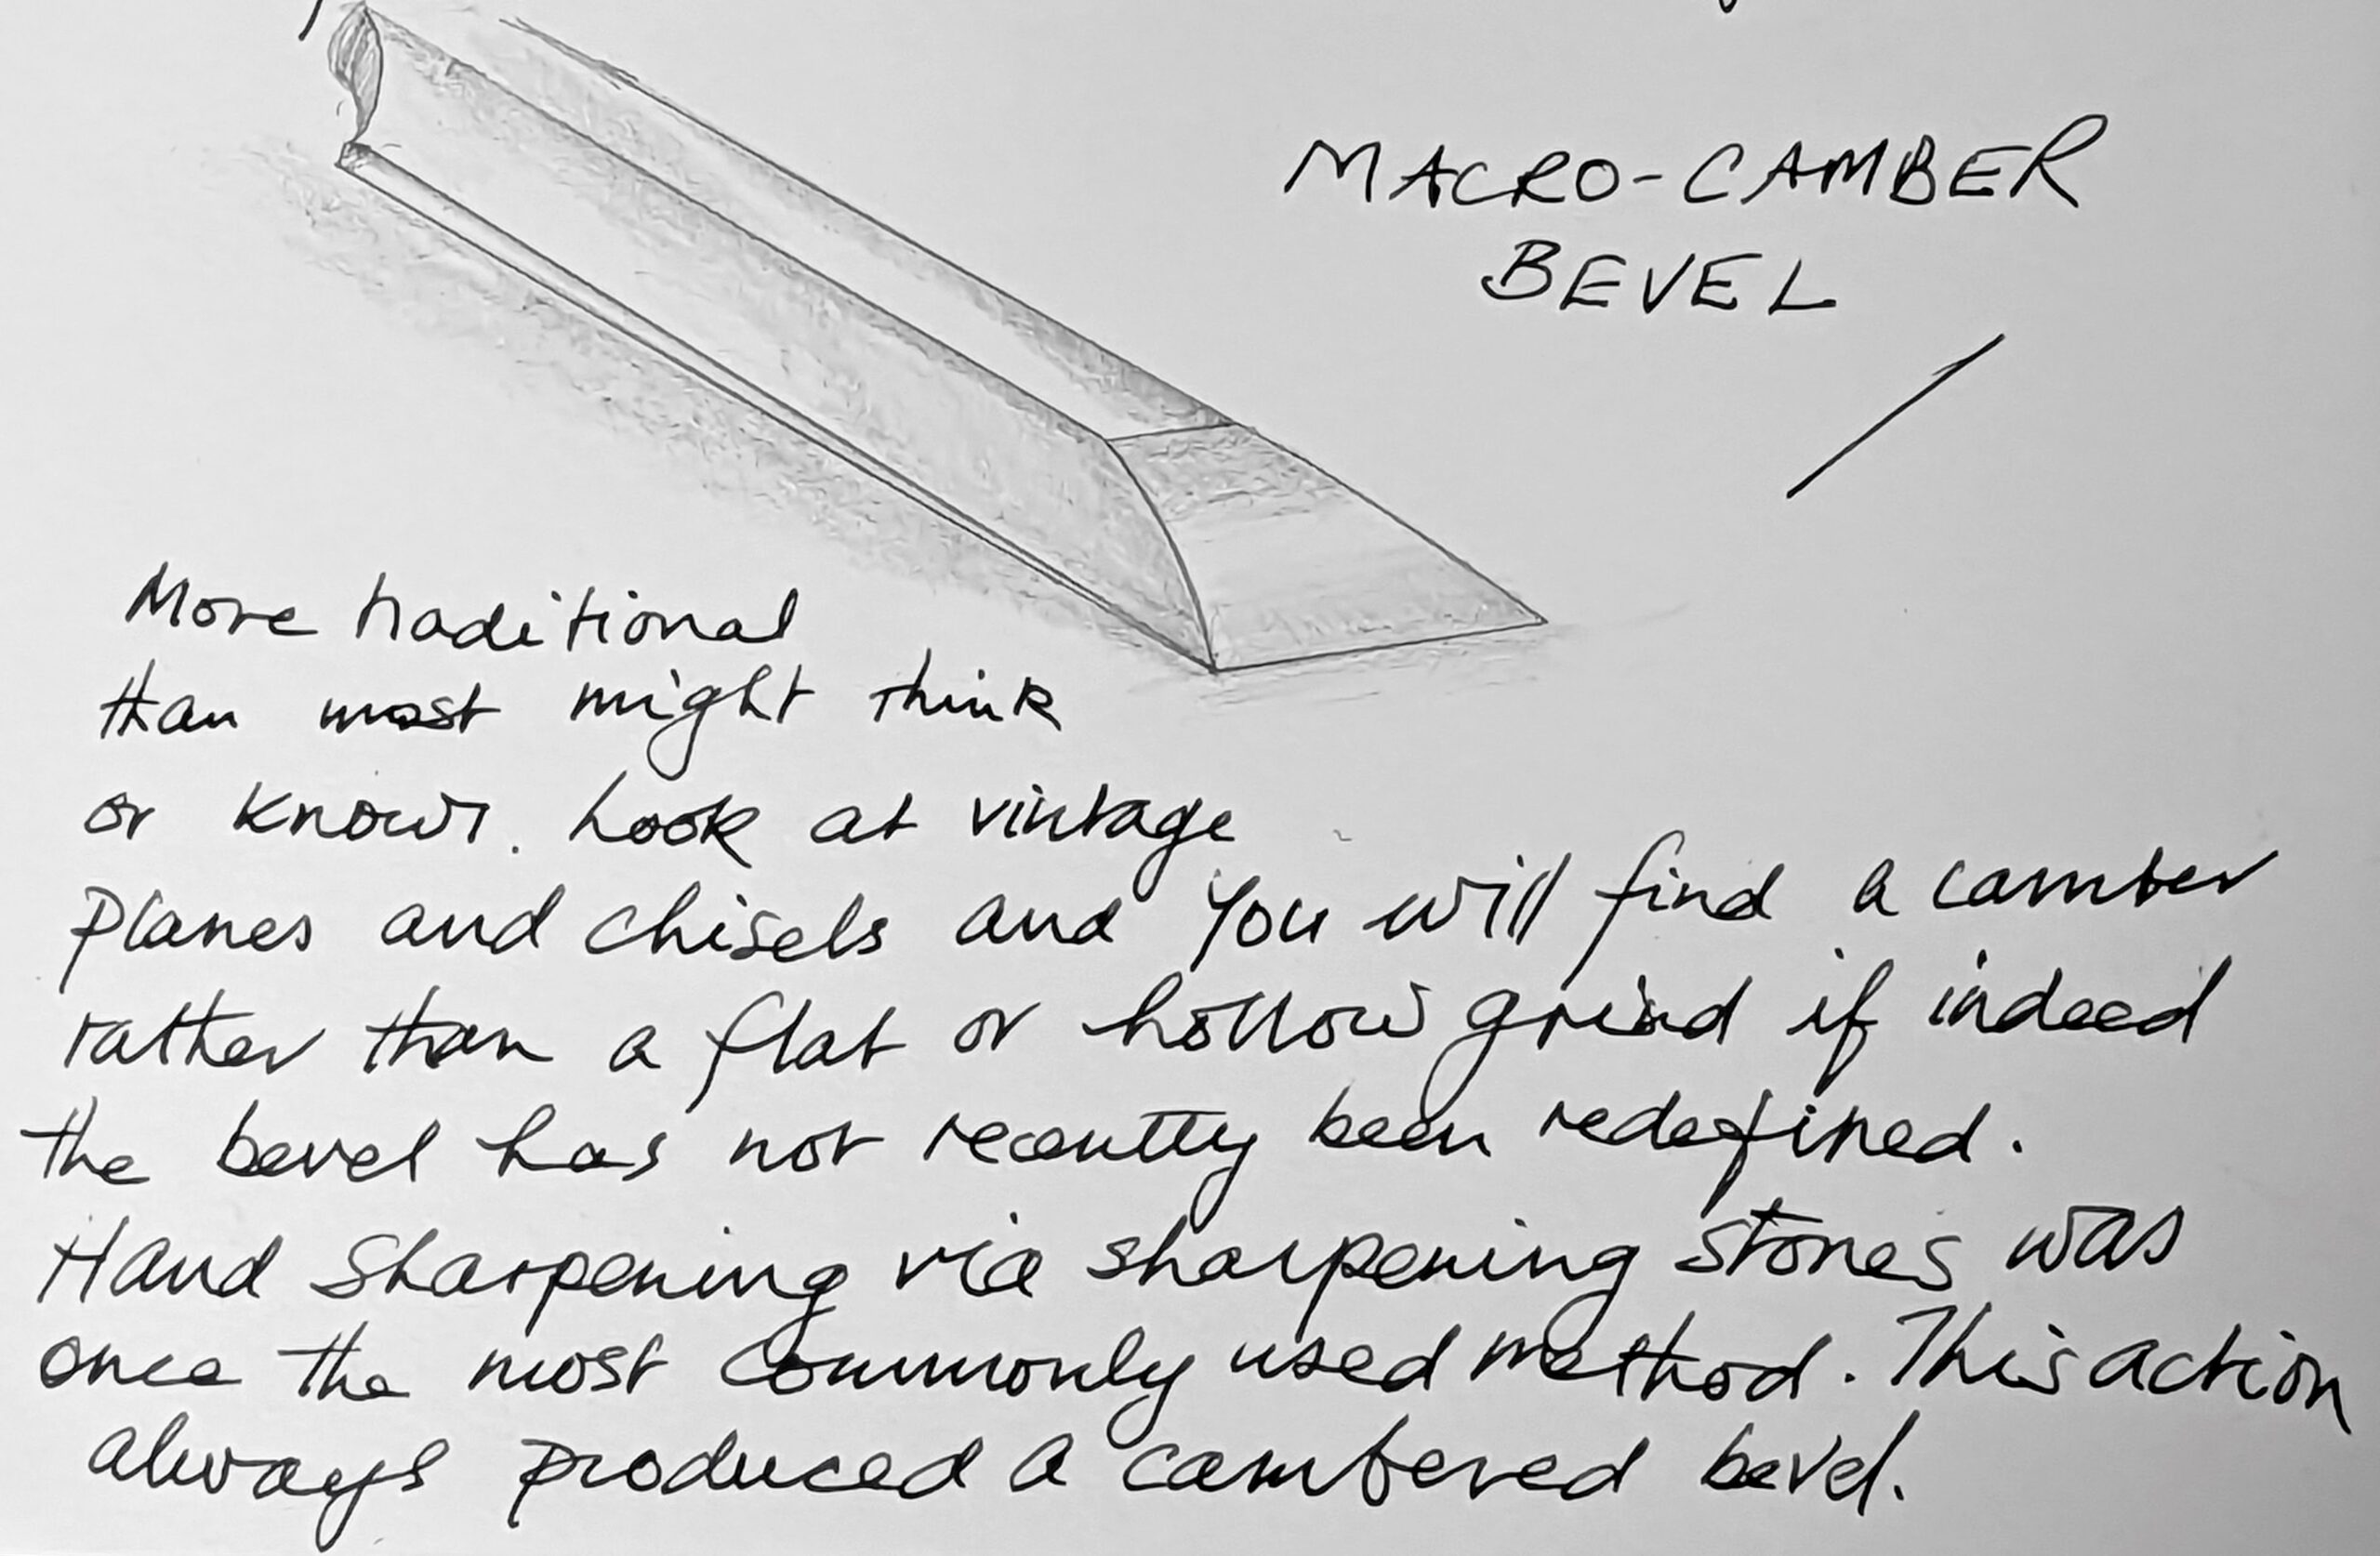
You may or may not have read or seen that I rely on a macro cambered bevel. This can only be established and maintained through freehand sharpening, and you will need to work on this technique as you grow in your sharpening skills. The guide is a good way to establish muscle memory and the feel for angles, etc. A macro-camber makes a strong bevel with backup right from the cutting edge, so the chisel works well for both paring work and chopping without any noticeable compromise. This cambered bevel-type (established centuries ago and maintained for hundreds of years, BTW) counters the advocates for something now called micro-bevel sharpening. It's all said to be a matter of preference, but for me, it is about efficiency and economy of motion.
You will ultimately get to where you want to be and find what you like best by discovering for yourself what you prefer. Try the different methods but do it in the context of serious making as I have. I had no choice but to make my living from making throughout my 60 years. I had to be efficient and with this in mind I rest my case.
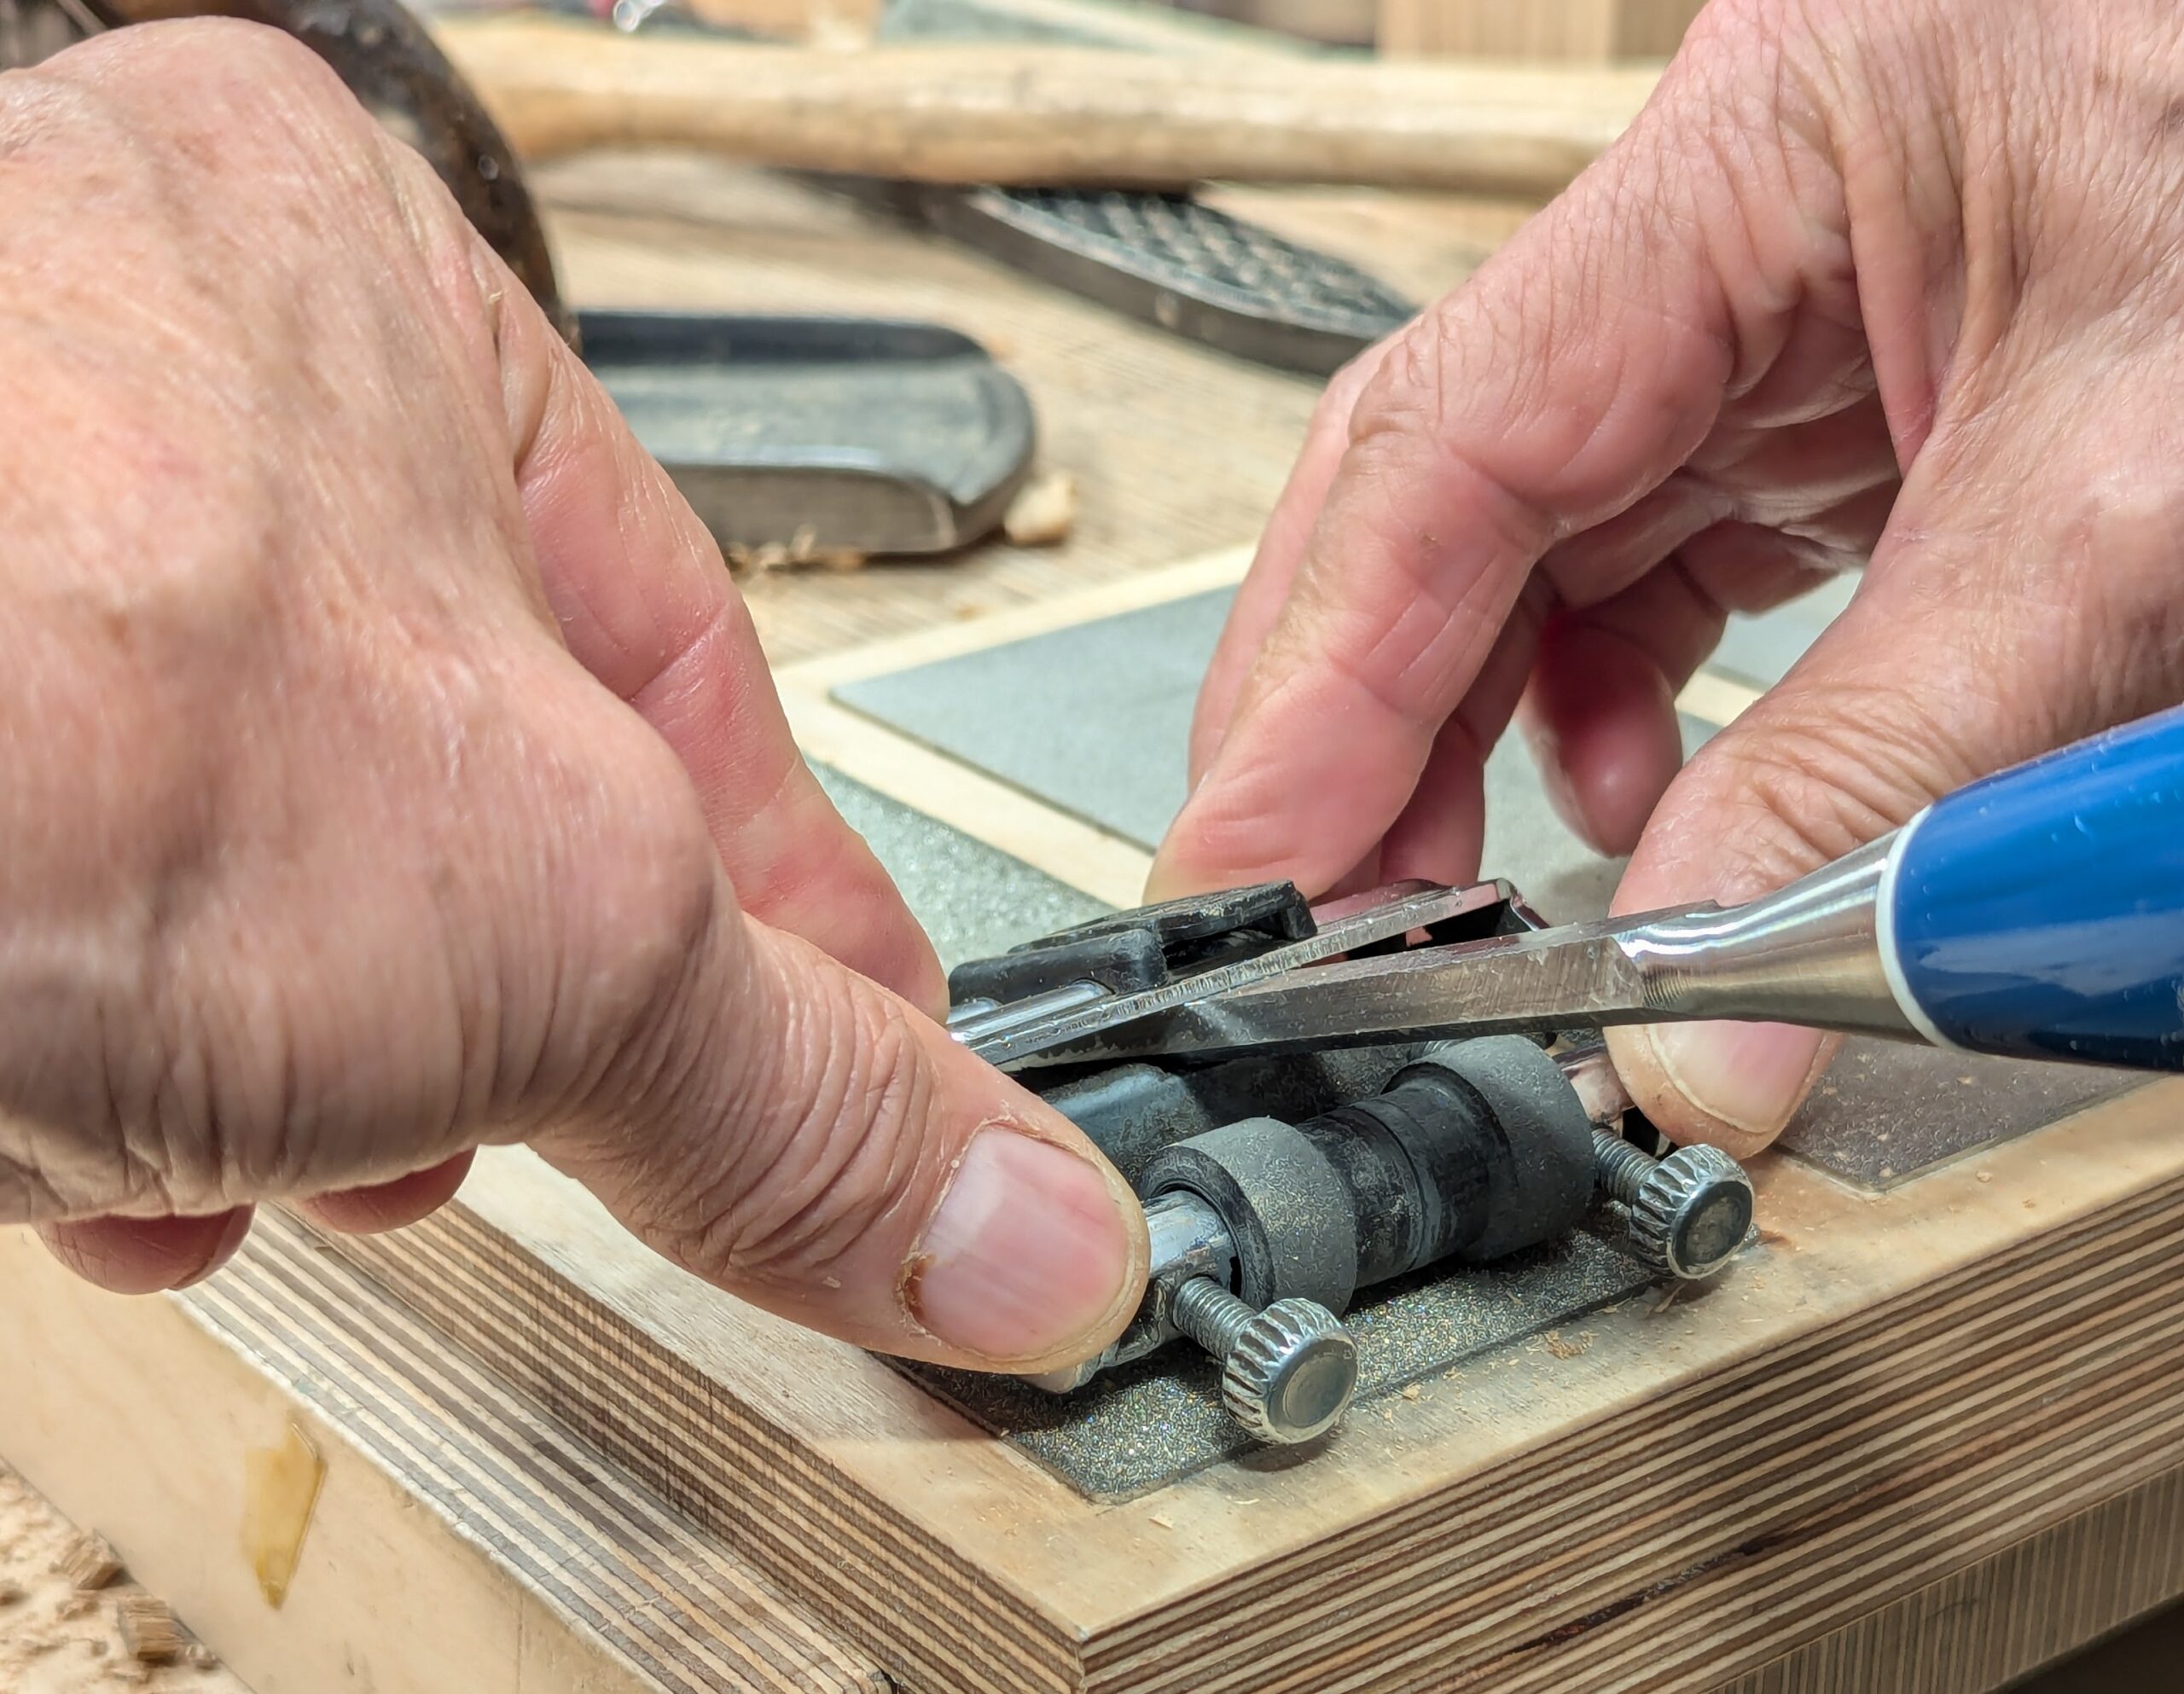
Loading the chisel in the guide may not be too obvious at first. Follow the instructions on the packet if there are some, but here are my steps:
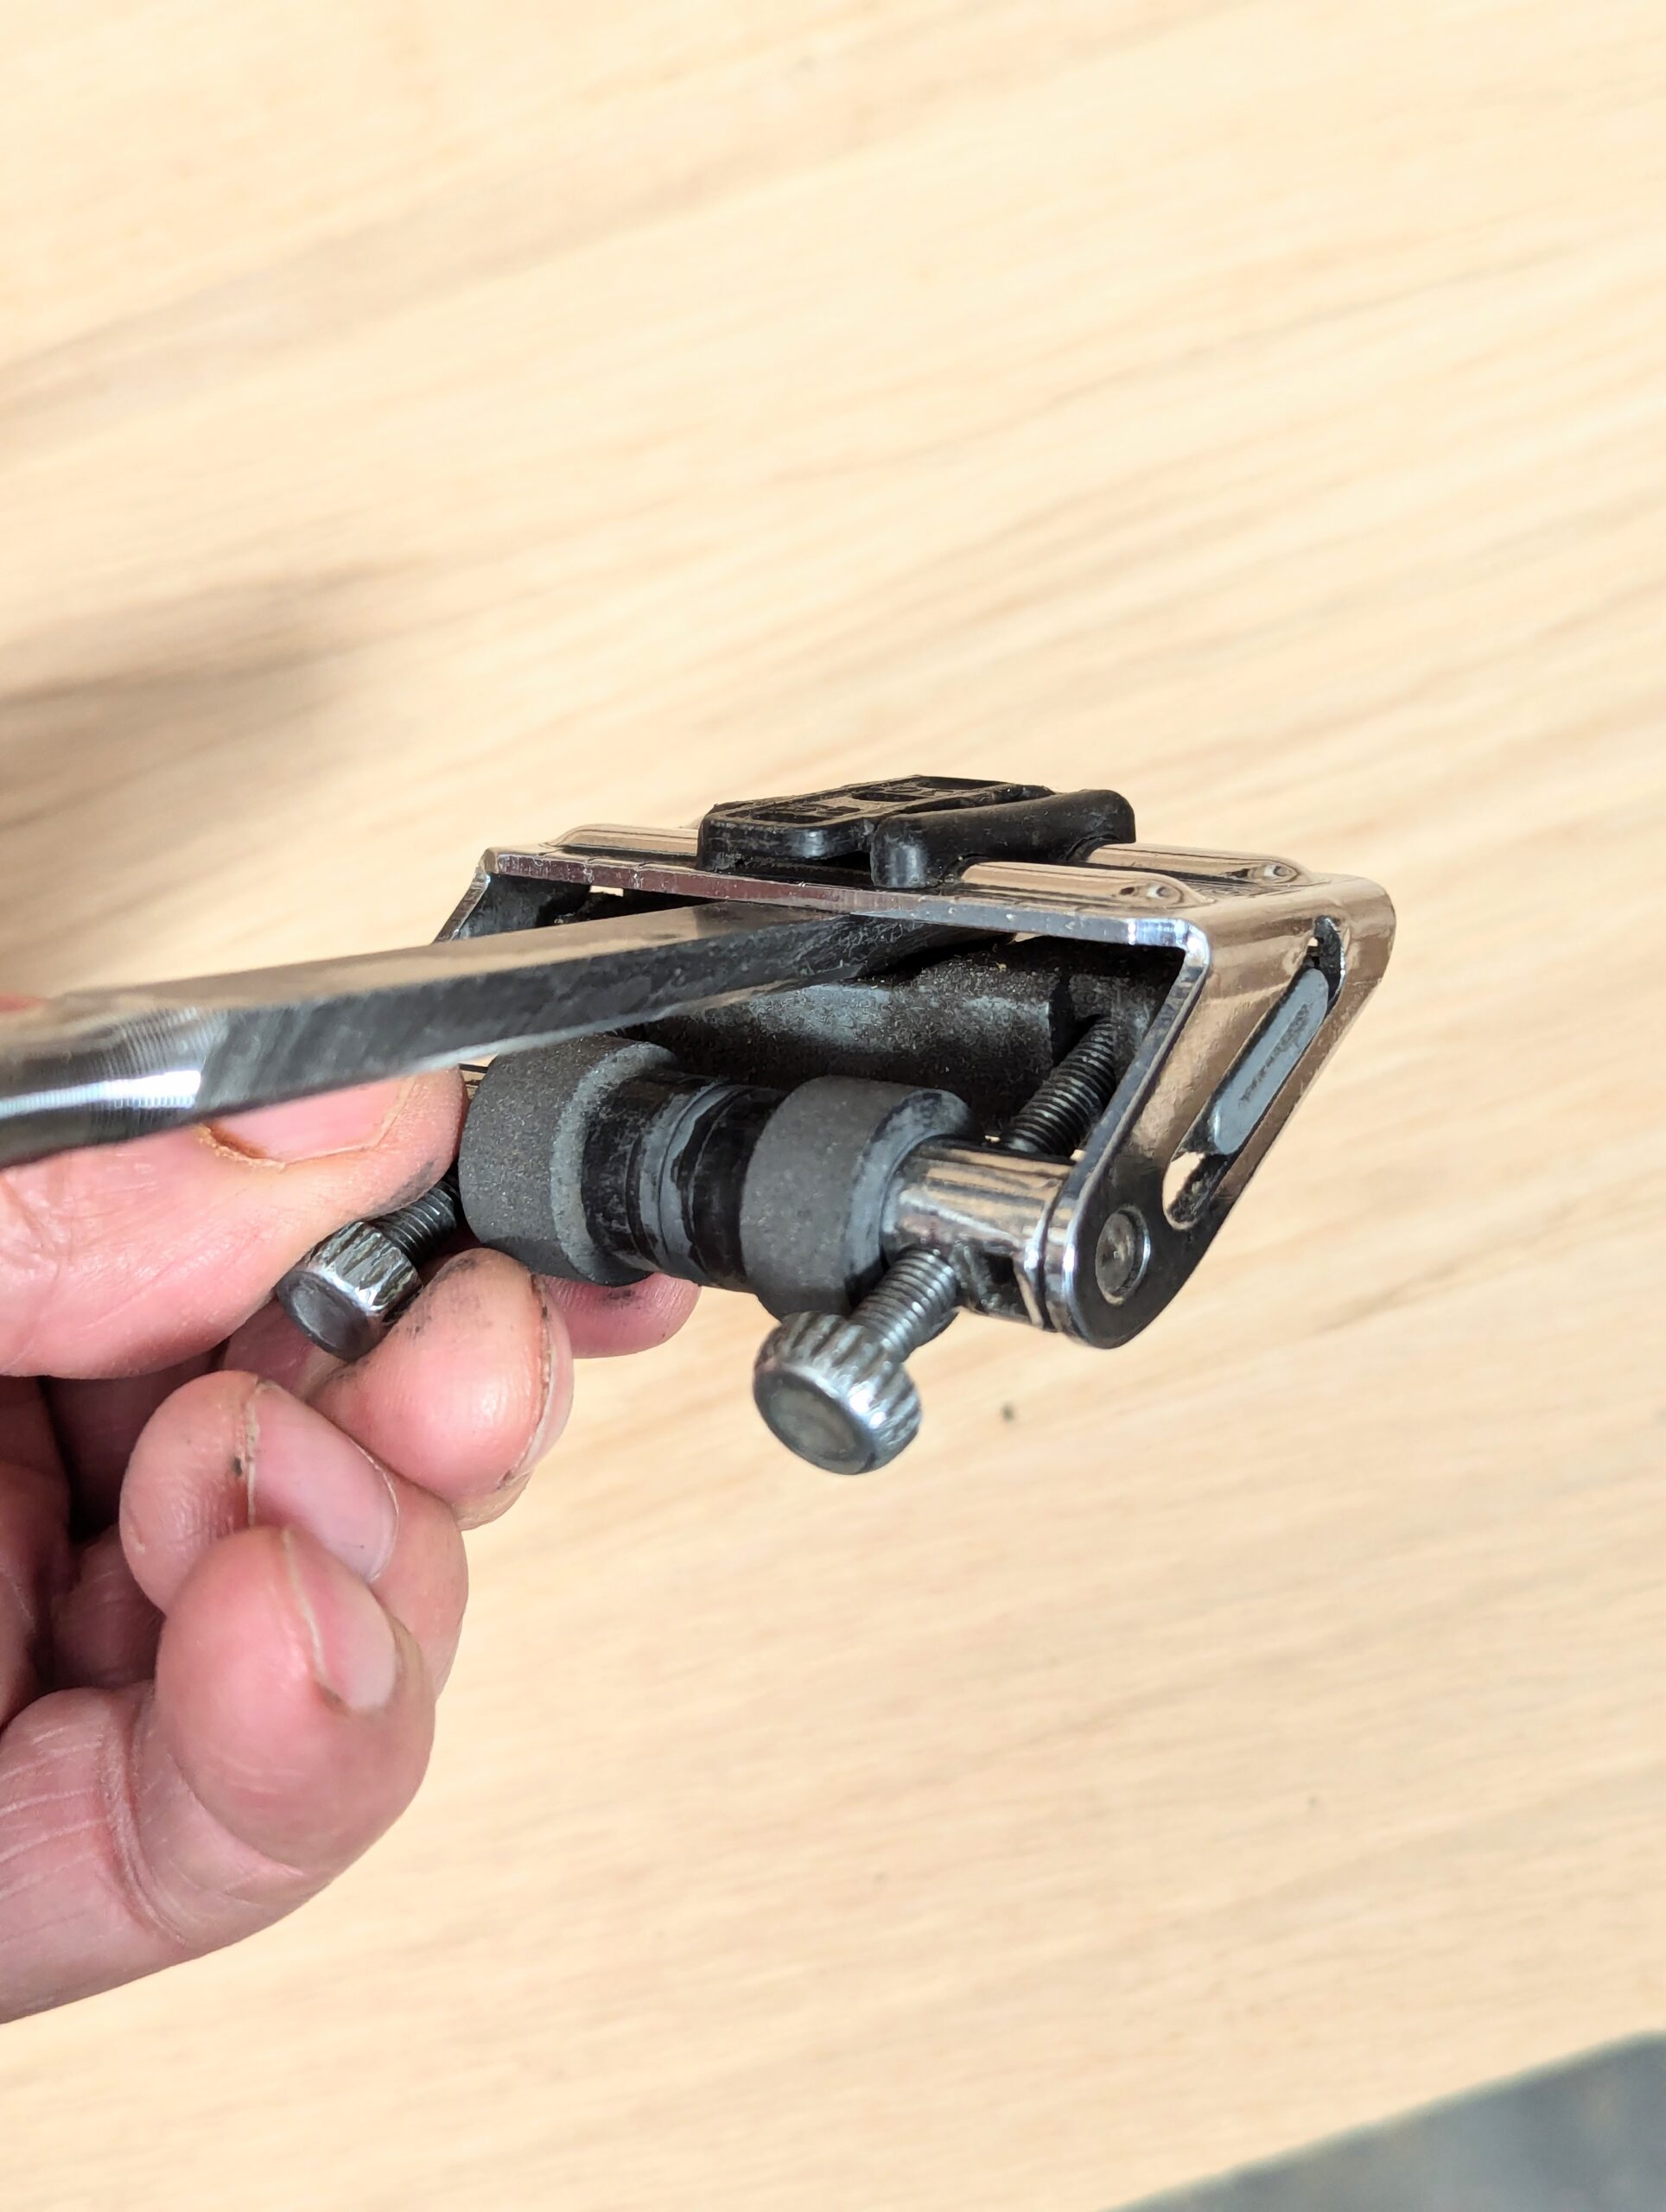
Loosen the two threaded screws so that the securing plate opens up enough to take the chisel.
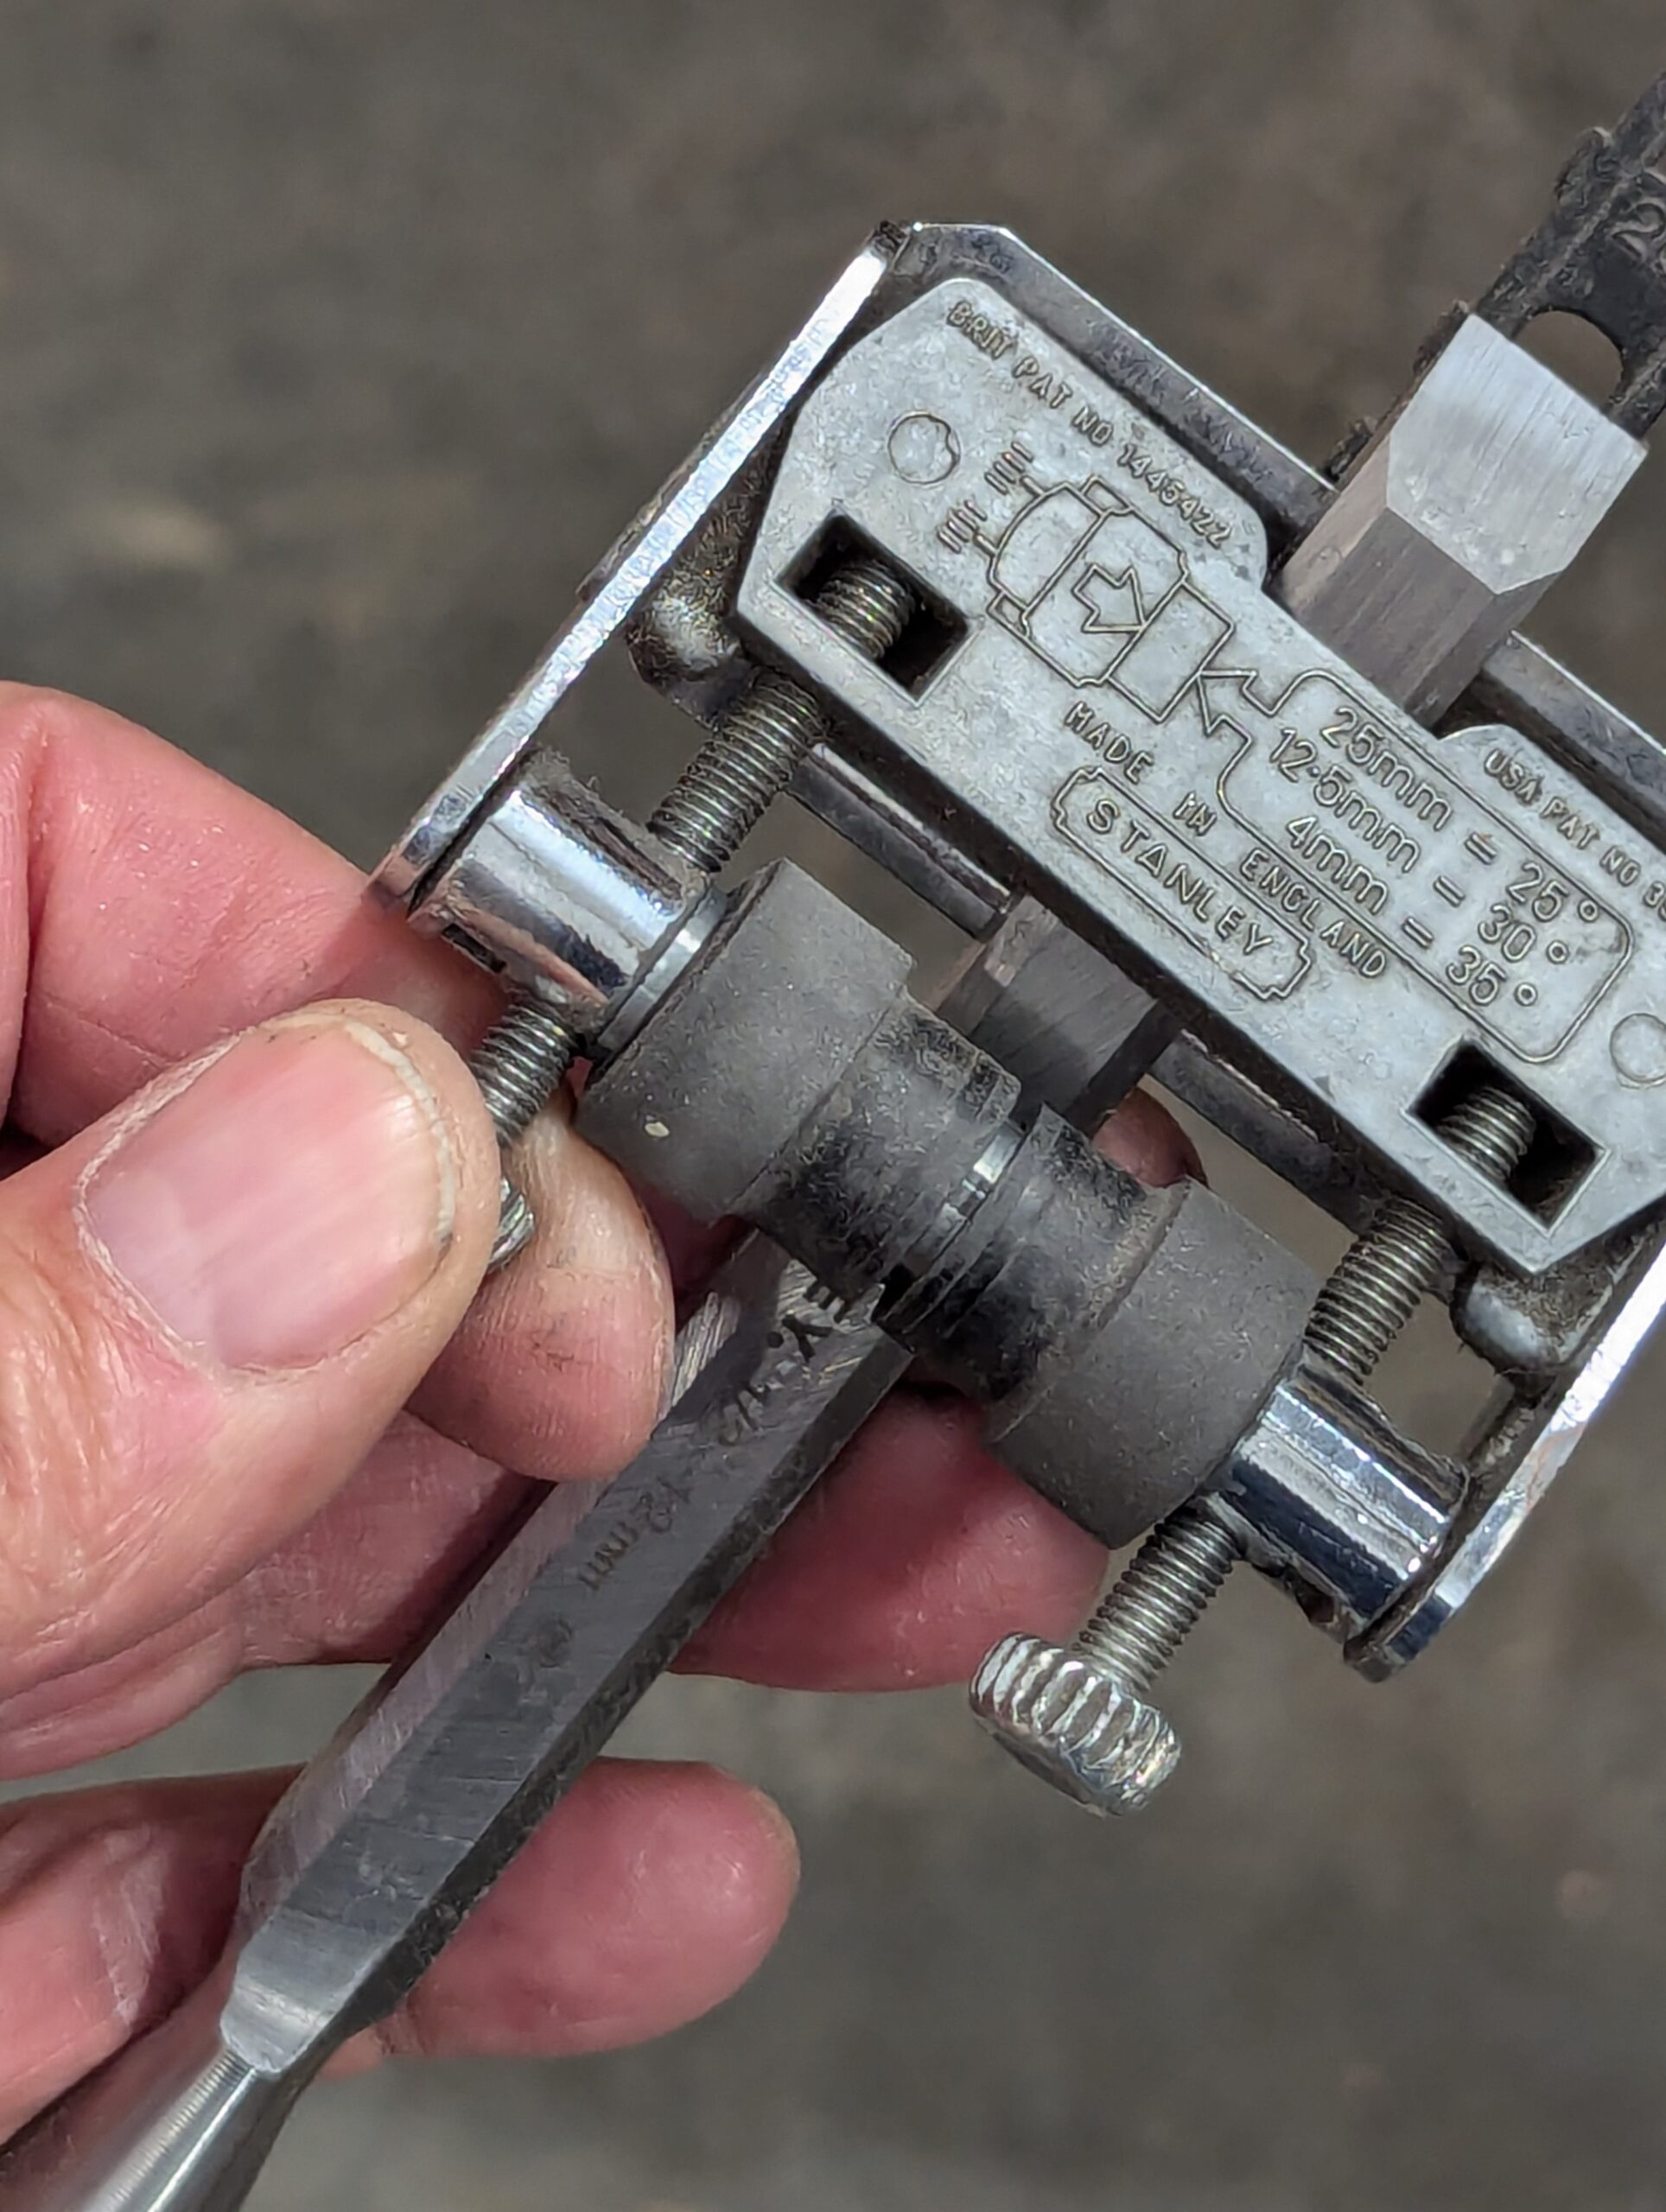
Slide the chisel flat-face uppermost into the opening, and drop the black plastic distance guide down onto the flat face of the chisel. Adjust the chisel to the 25º or 30º alignment mark and tighten the two set screws but not too tight.
Use a square to align the long axis of the chisel blade to the chrome-plated securing plate and once square cinch the two setscrews nice and tight, working them evenly from each side so that the plate tightens across the full width of the chisel.

Now cinch the two setscrews tight, taking care to keep the chisel square to the guide. It's worth noting that there are convenient small indents in the chrome plate to guide you for squareness but using the square is really effective and accurate.
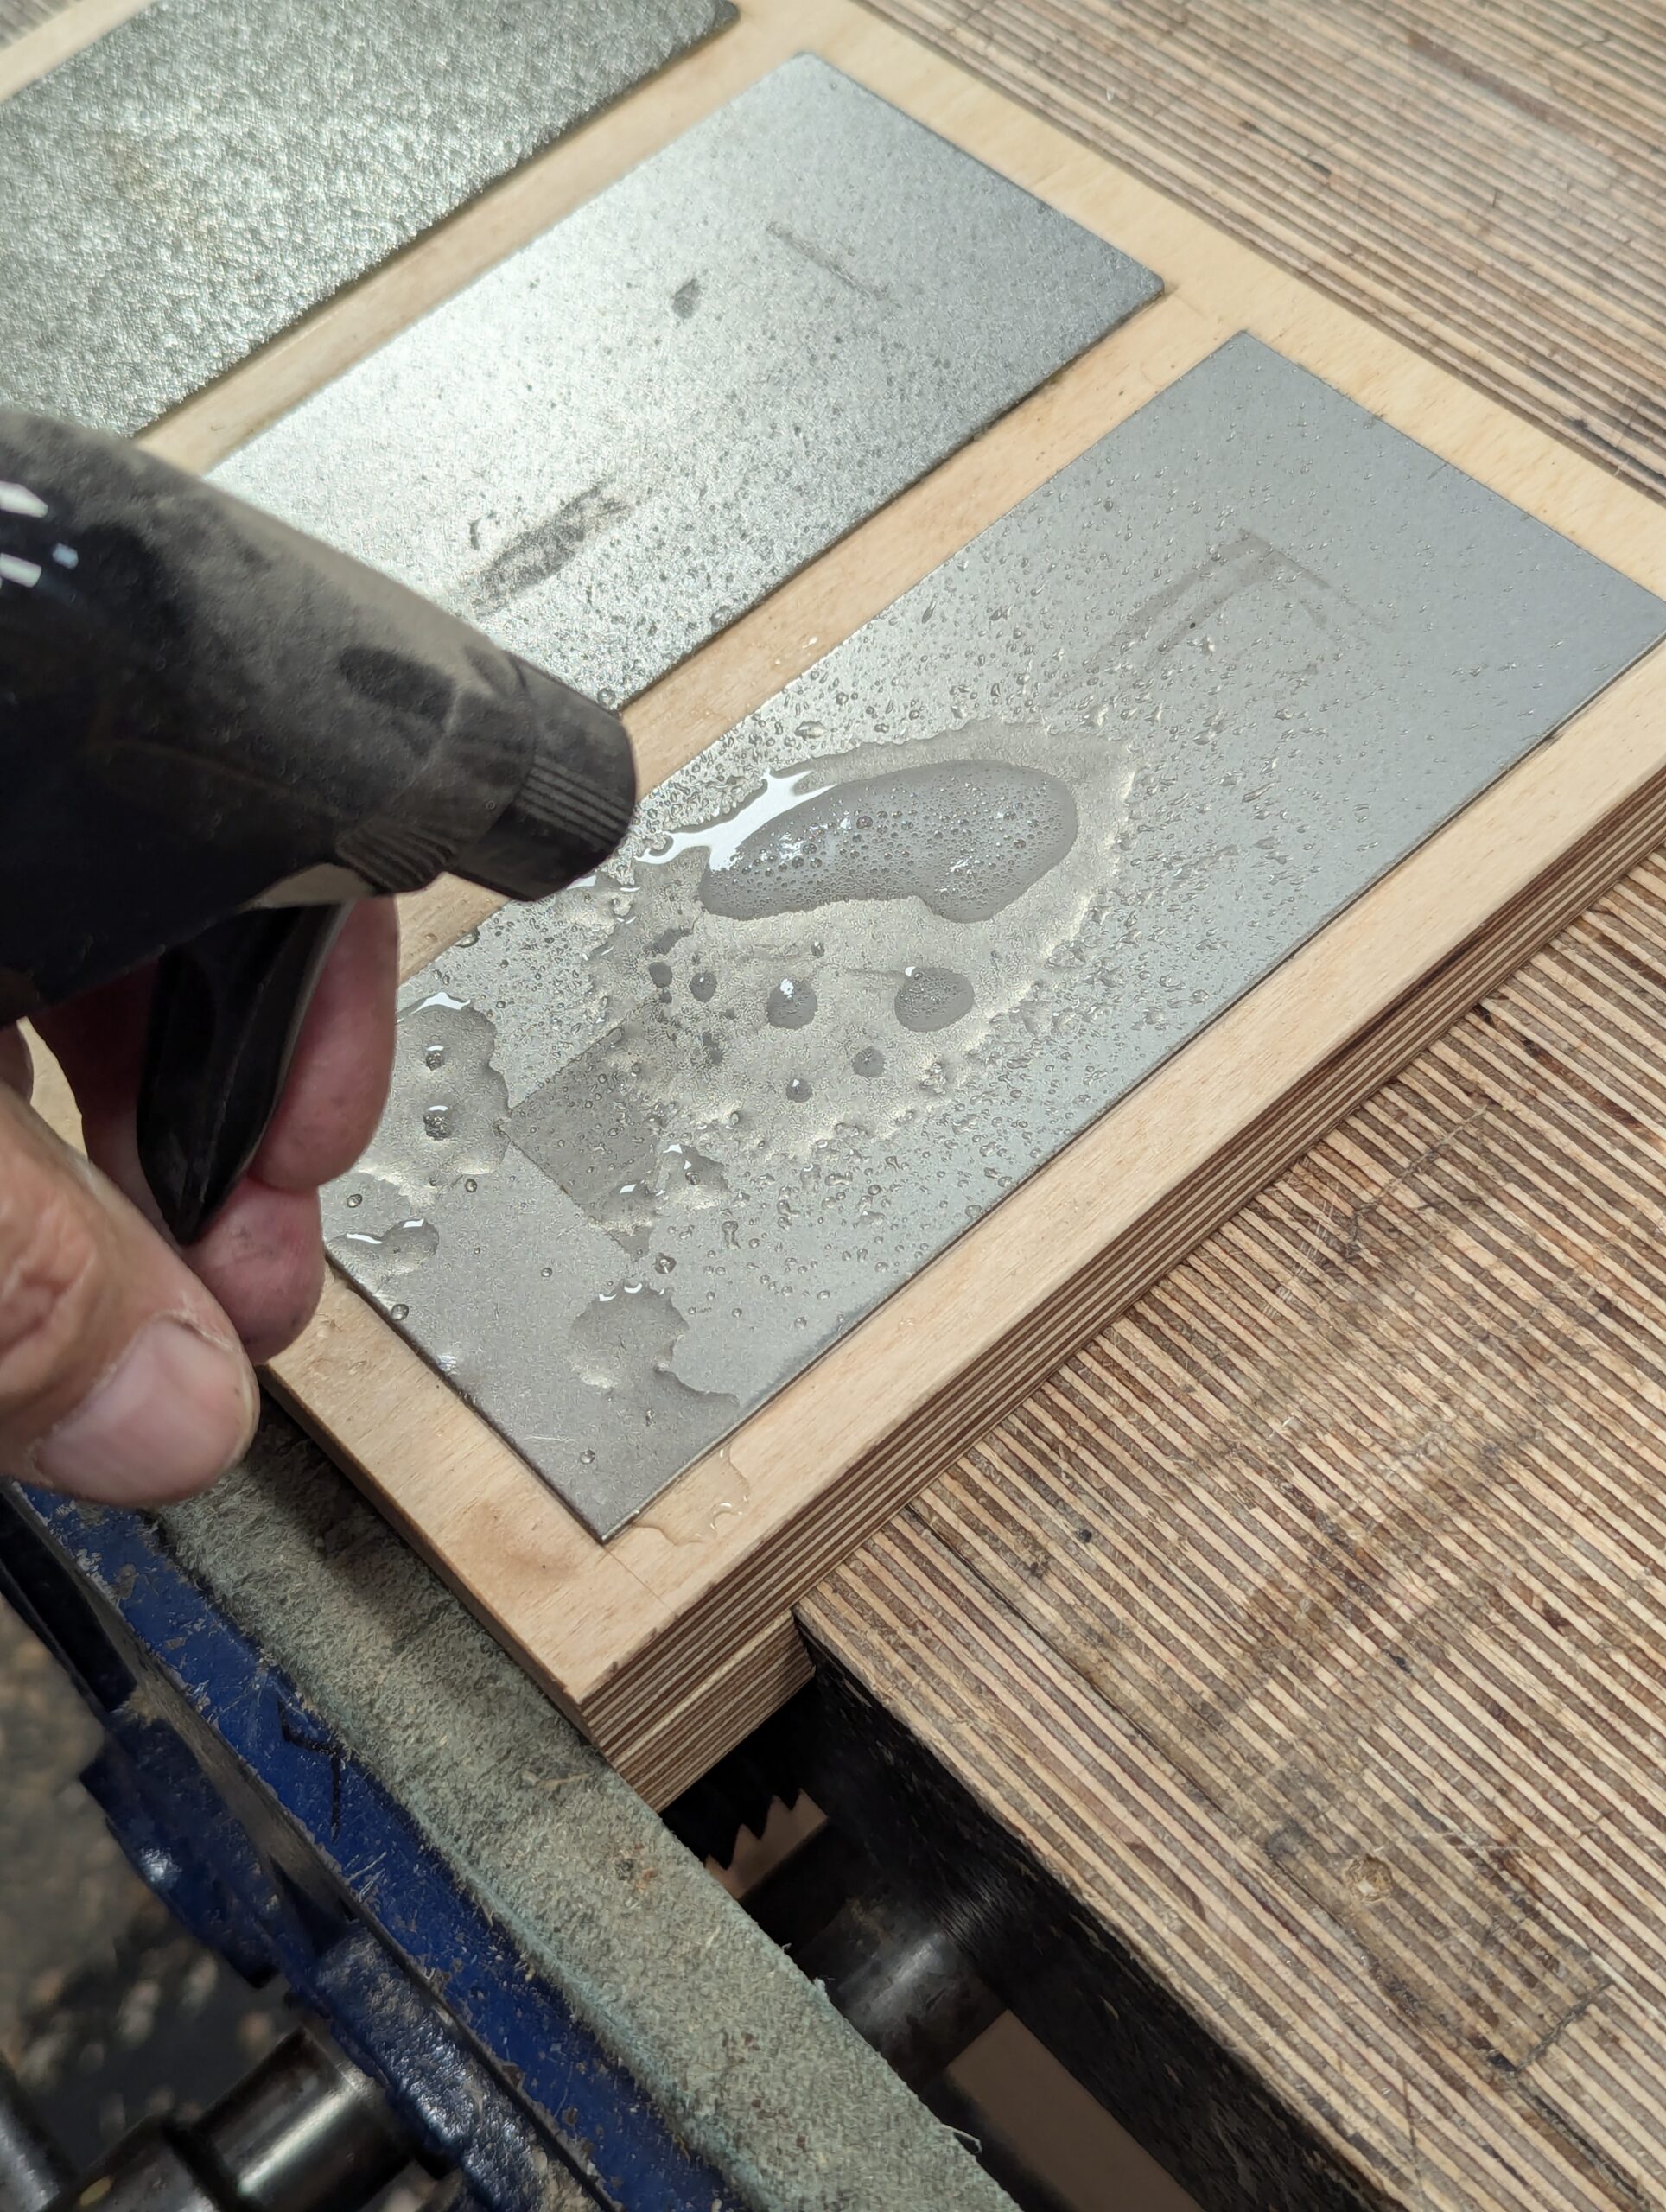
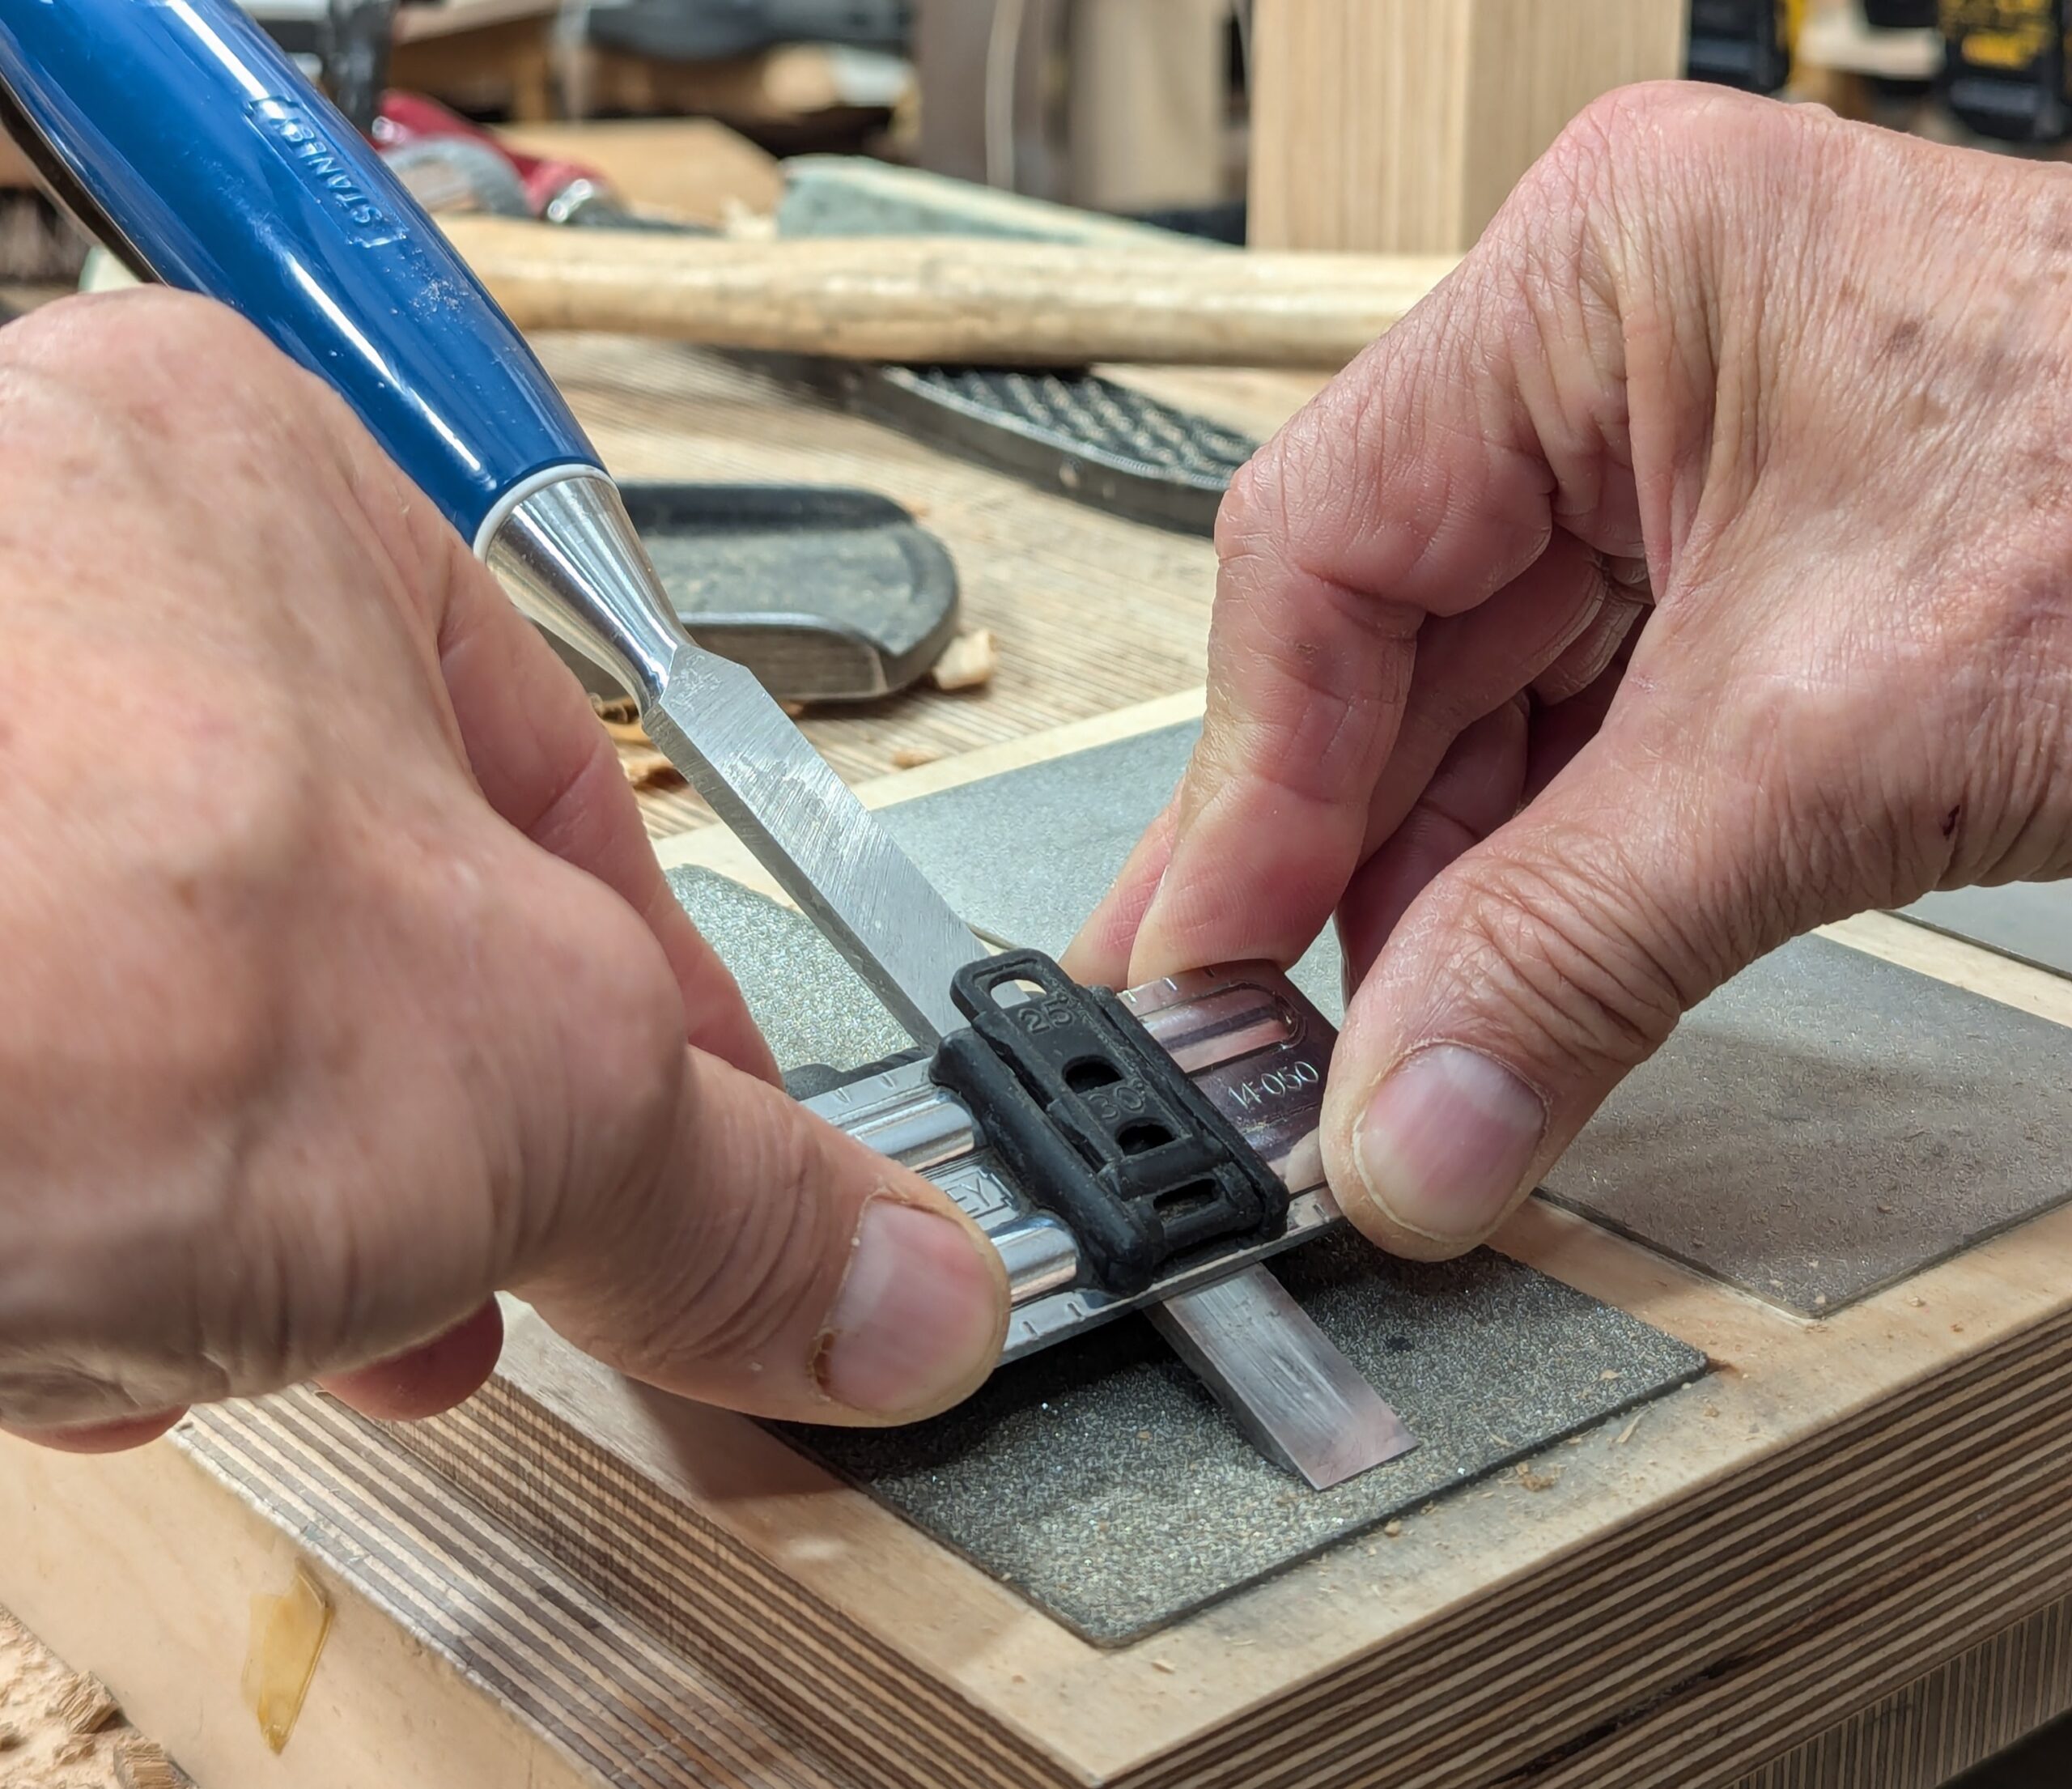
Spray each of the diamond plates with the window cleaning fluid. One or two squirts will be enough.
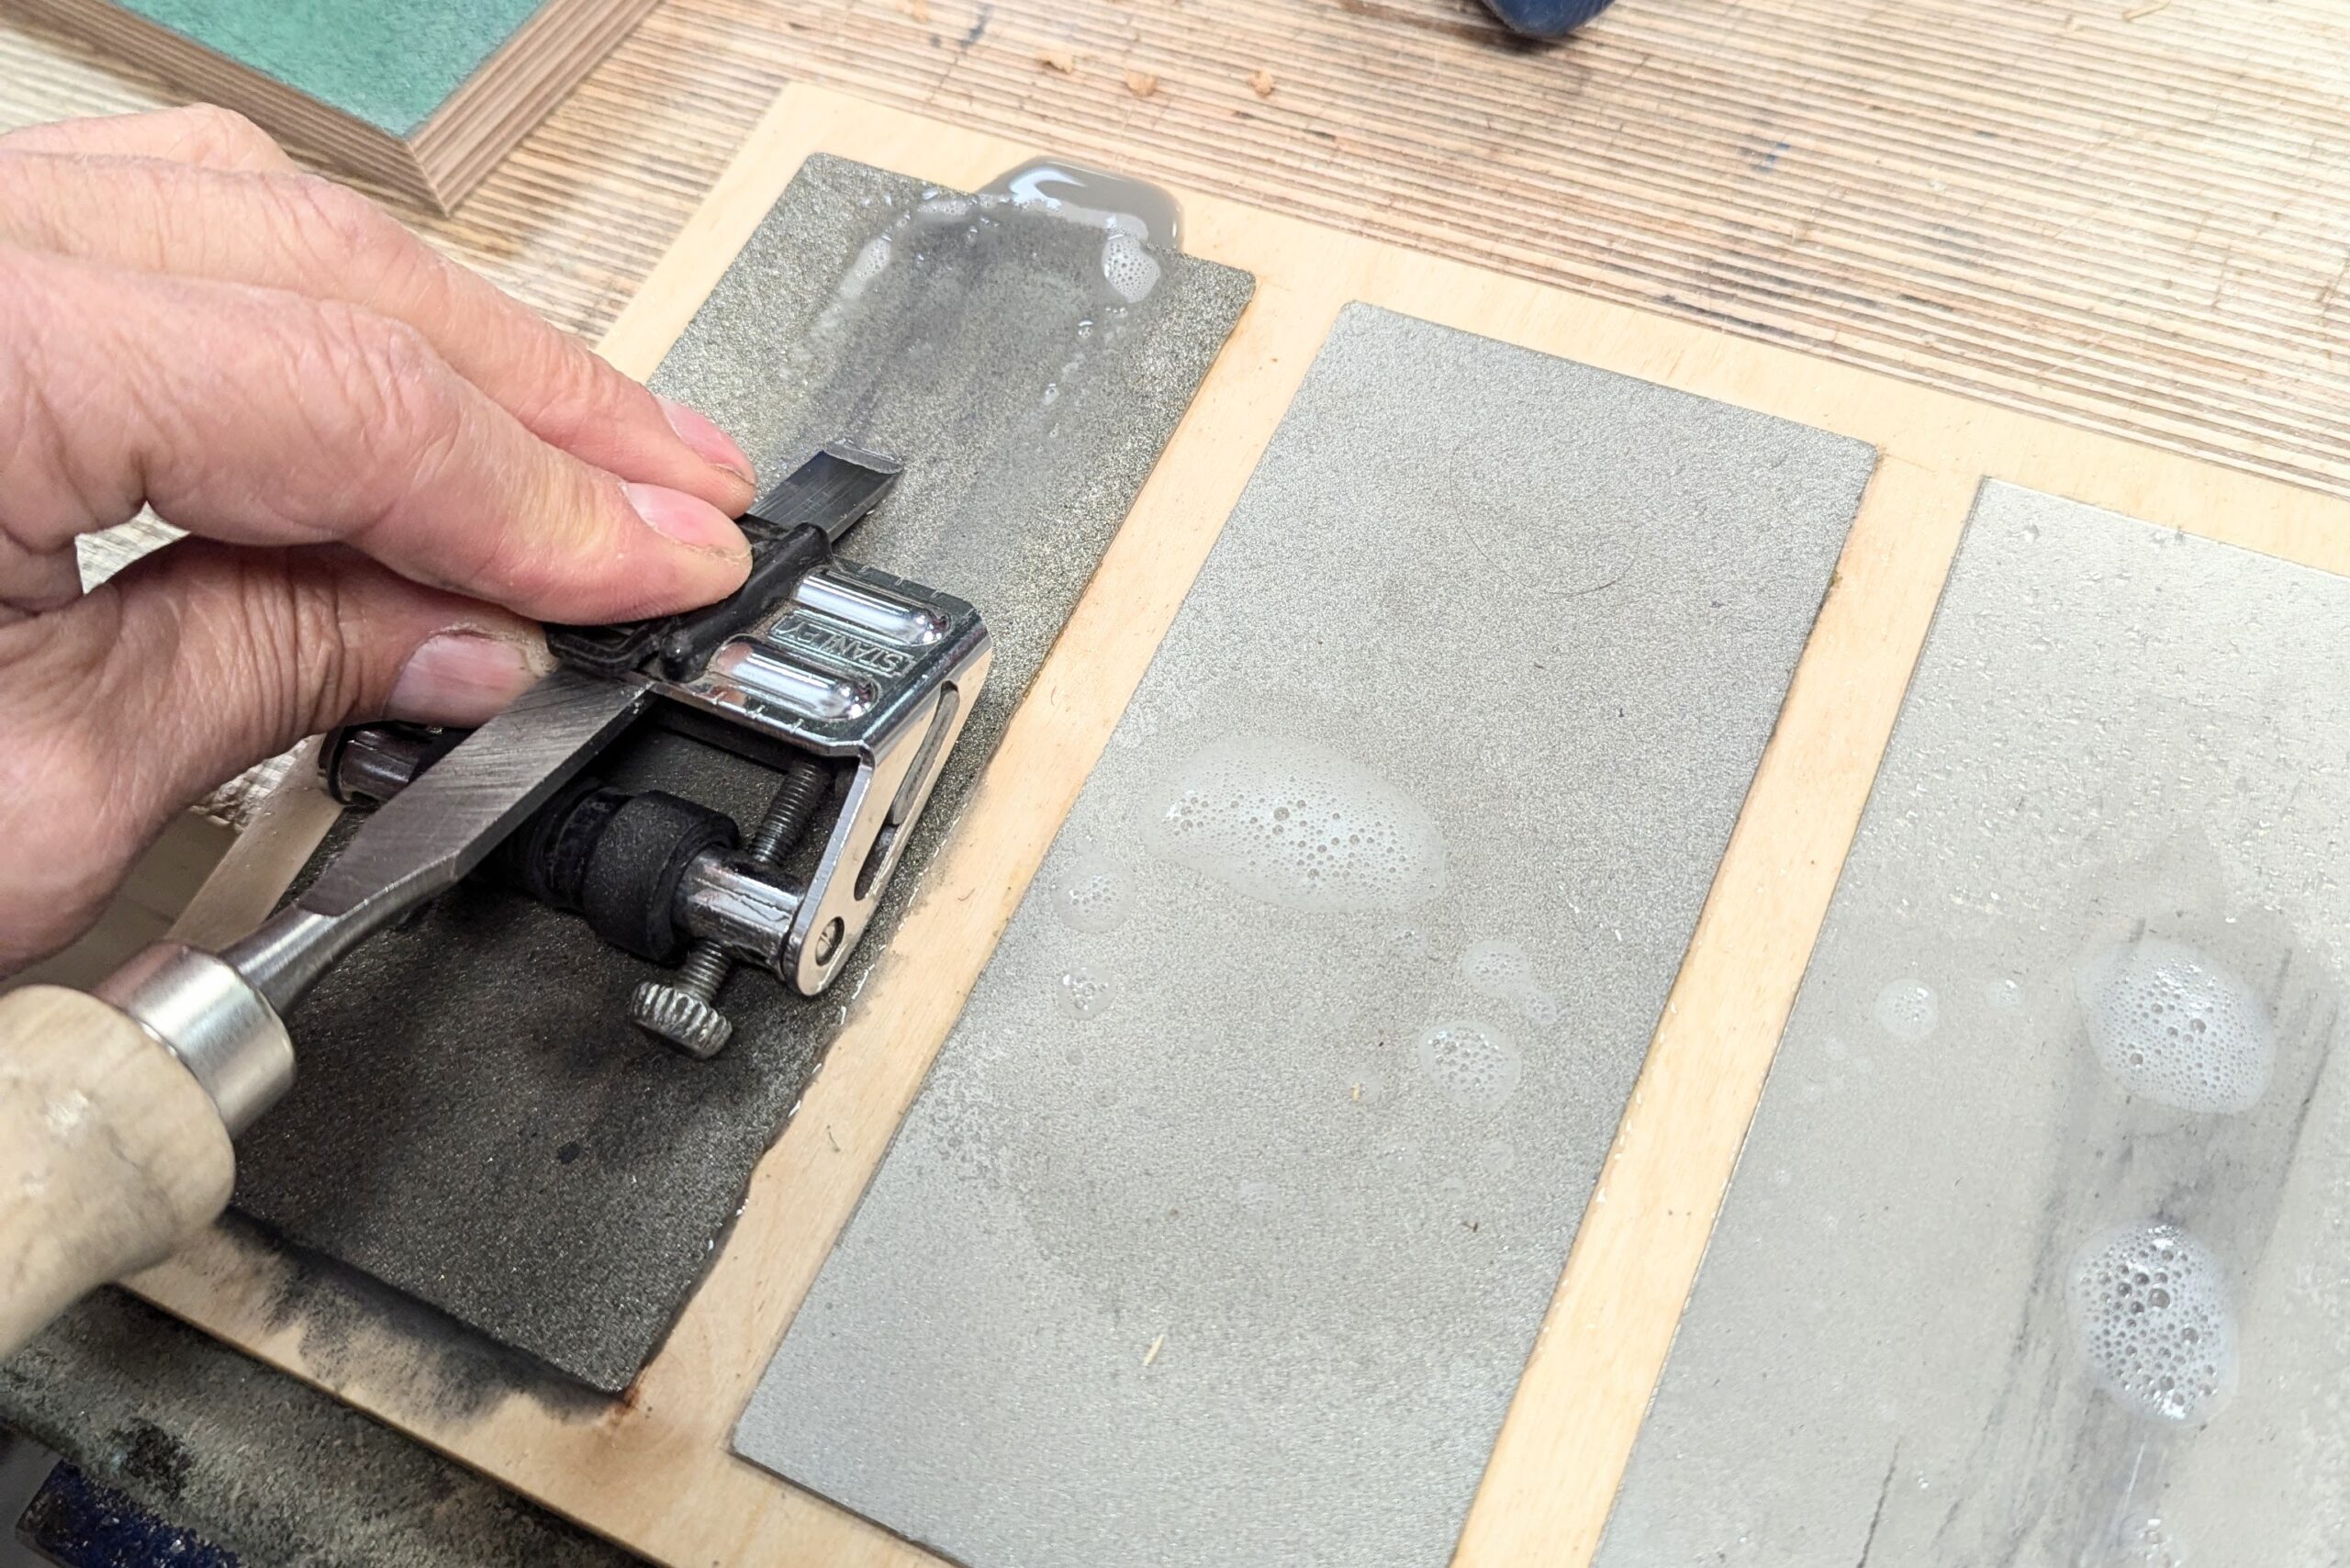
With the chisel secured, offer it to the coarse plate and work the assembly backwards and forwards. A new chisel will not need the coarse start, as the bevel is already established.

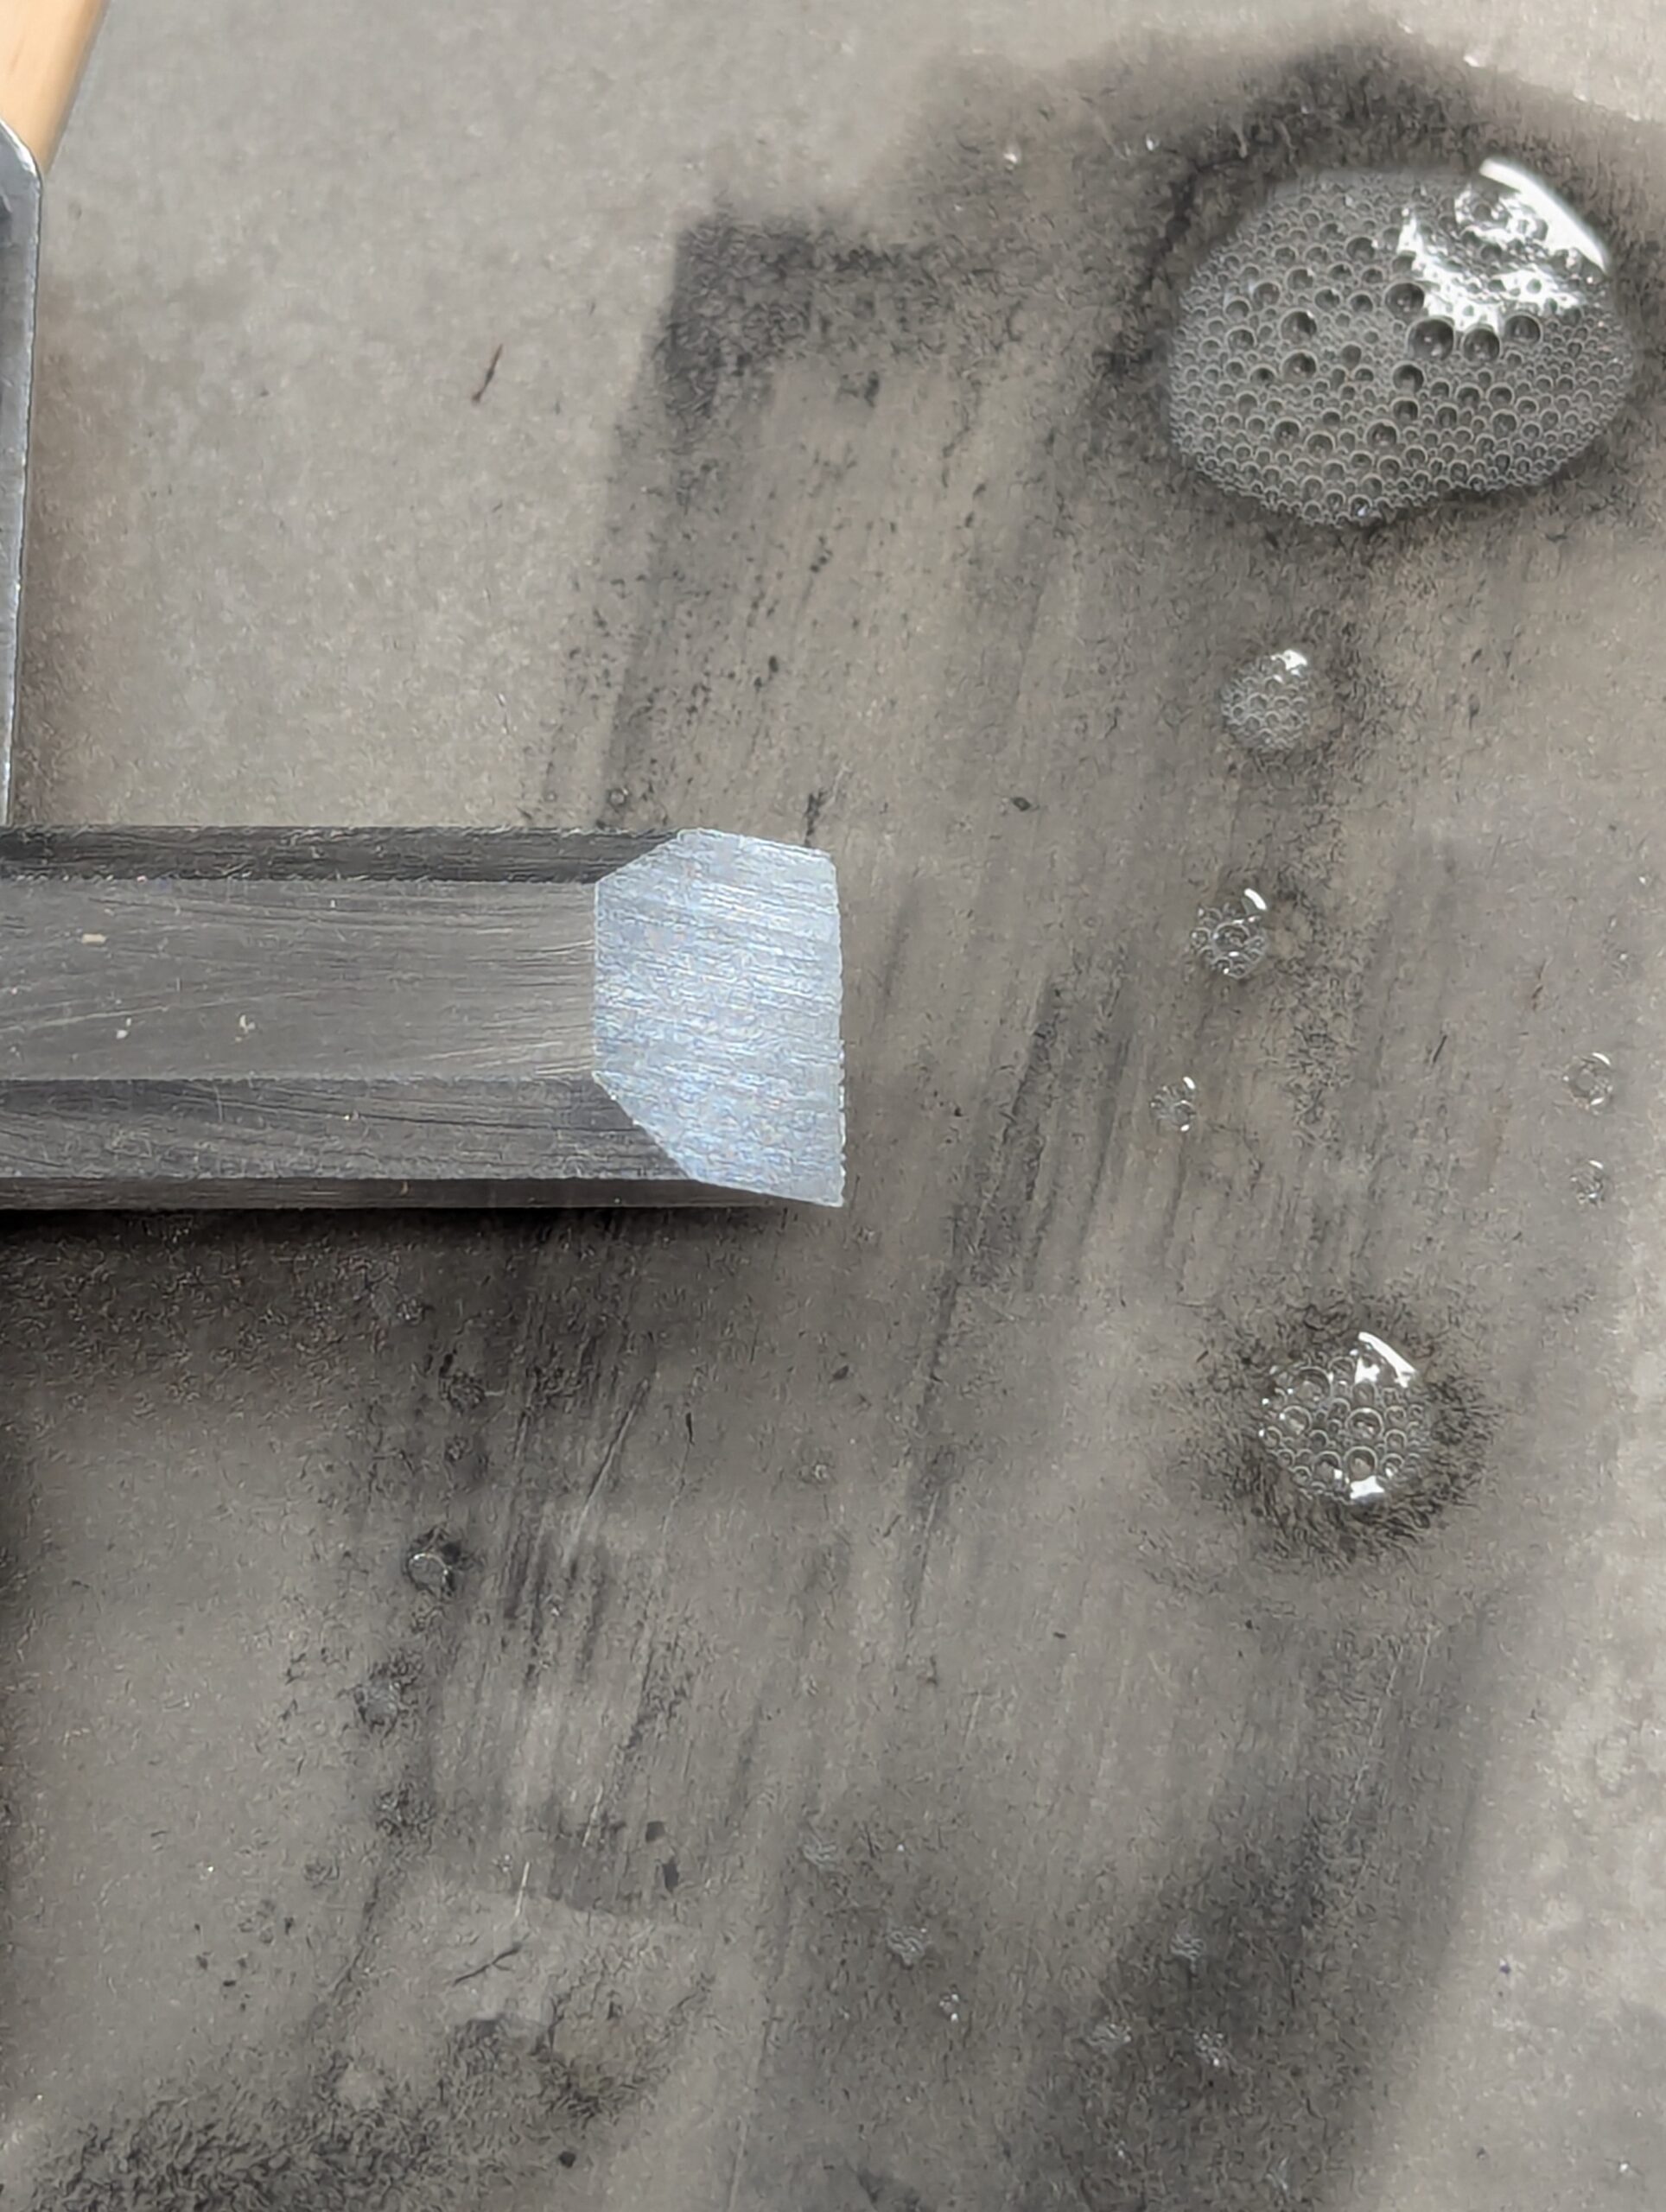
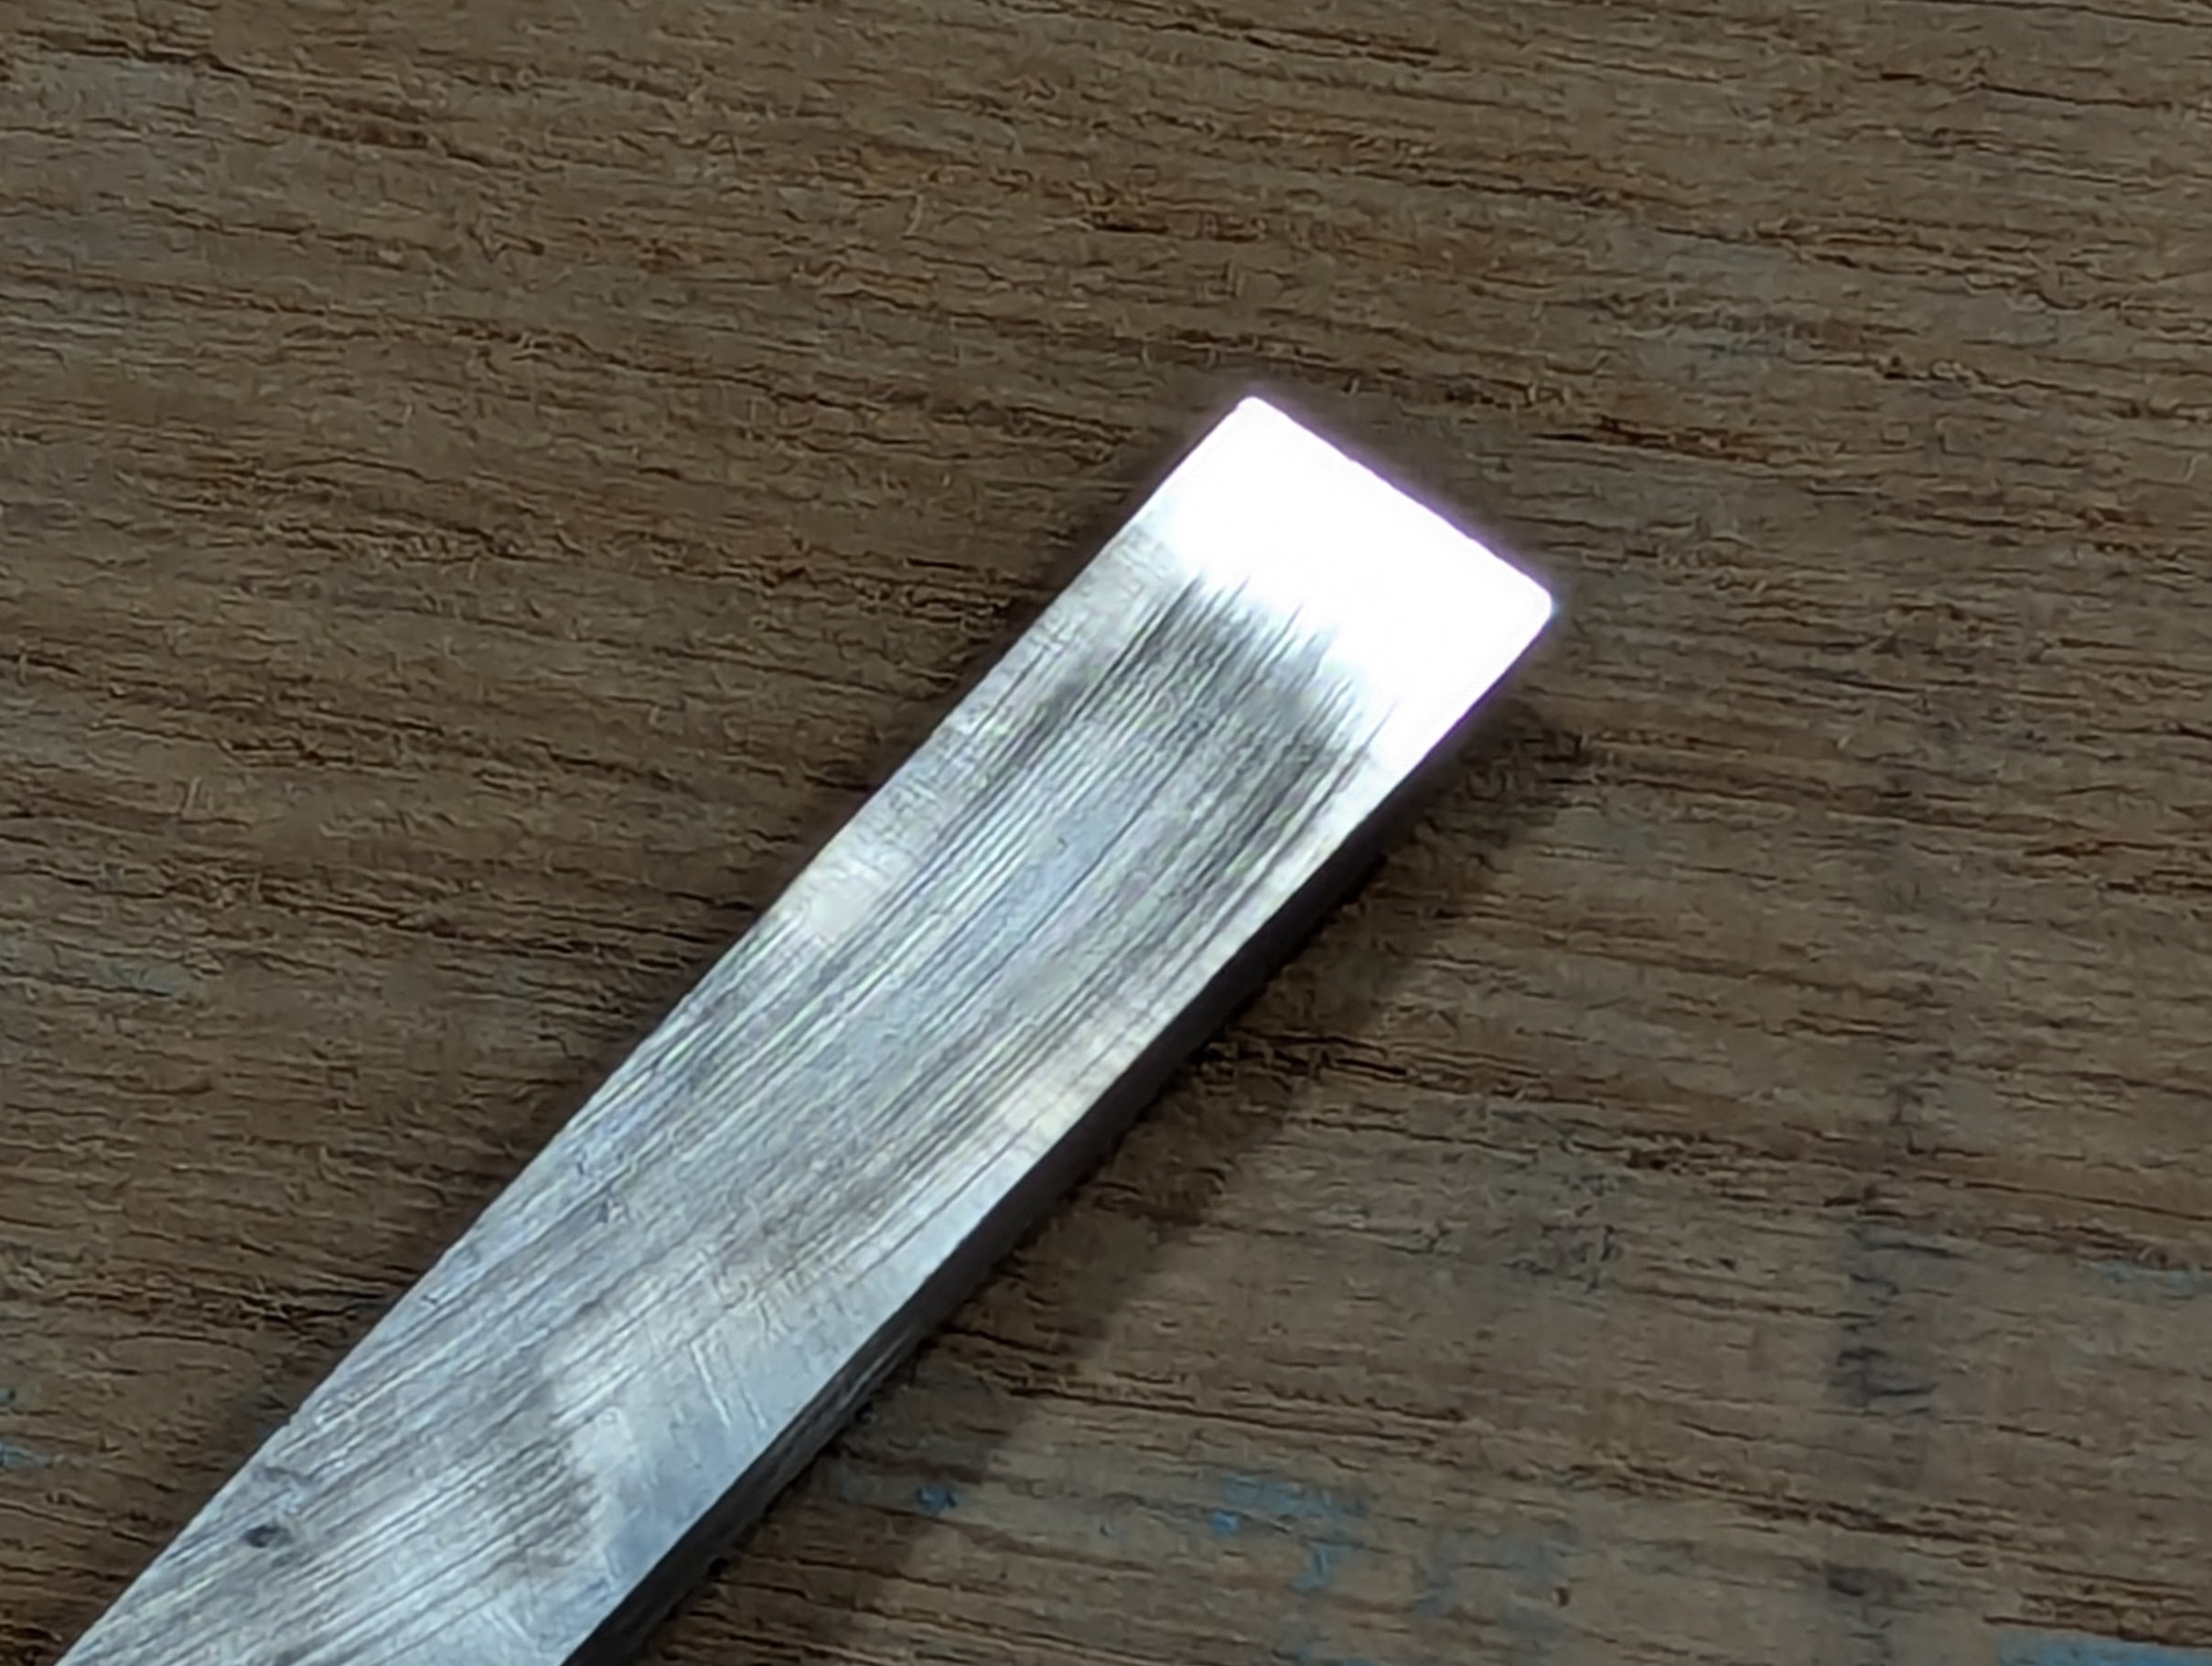
Rub backwards and forwards until the whole of the bevel is abraded, making sure it goes all the way up to the very edge of the bevel.
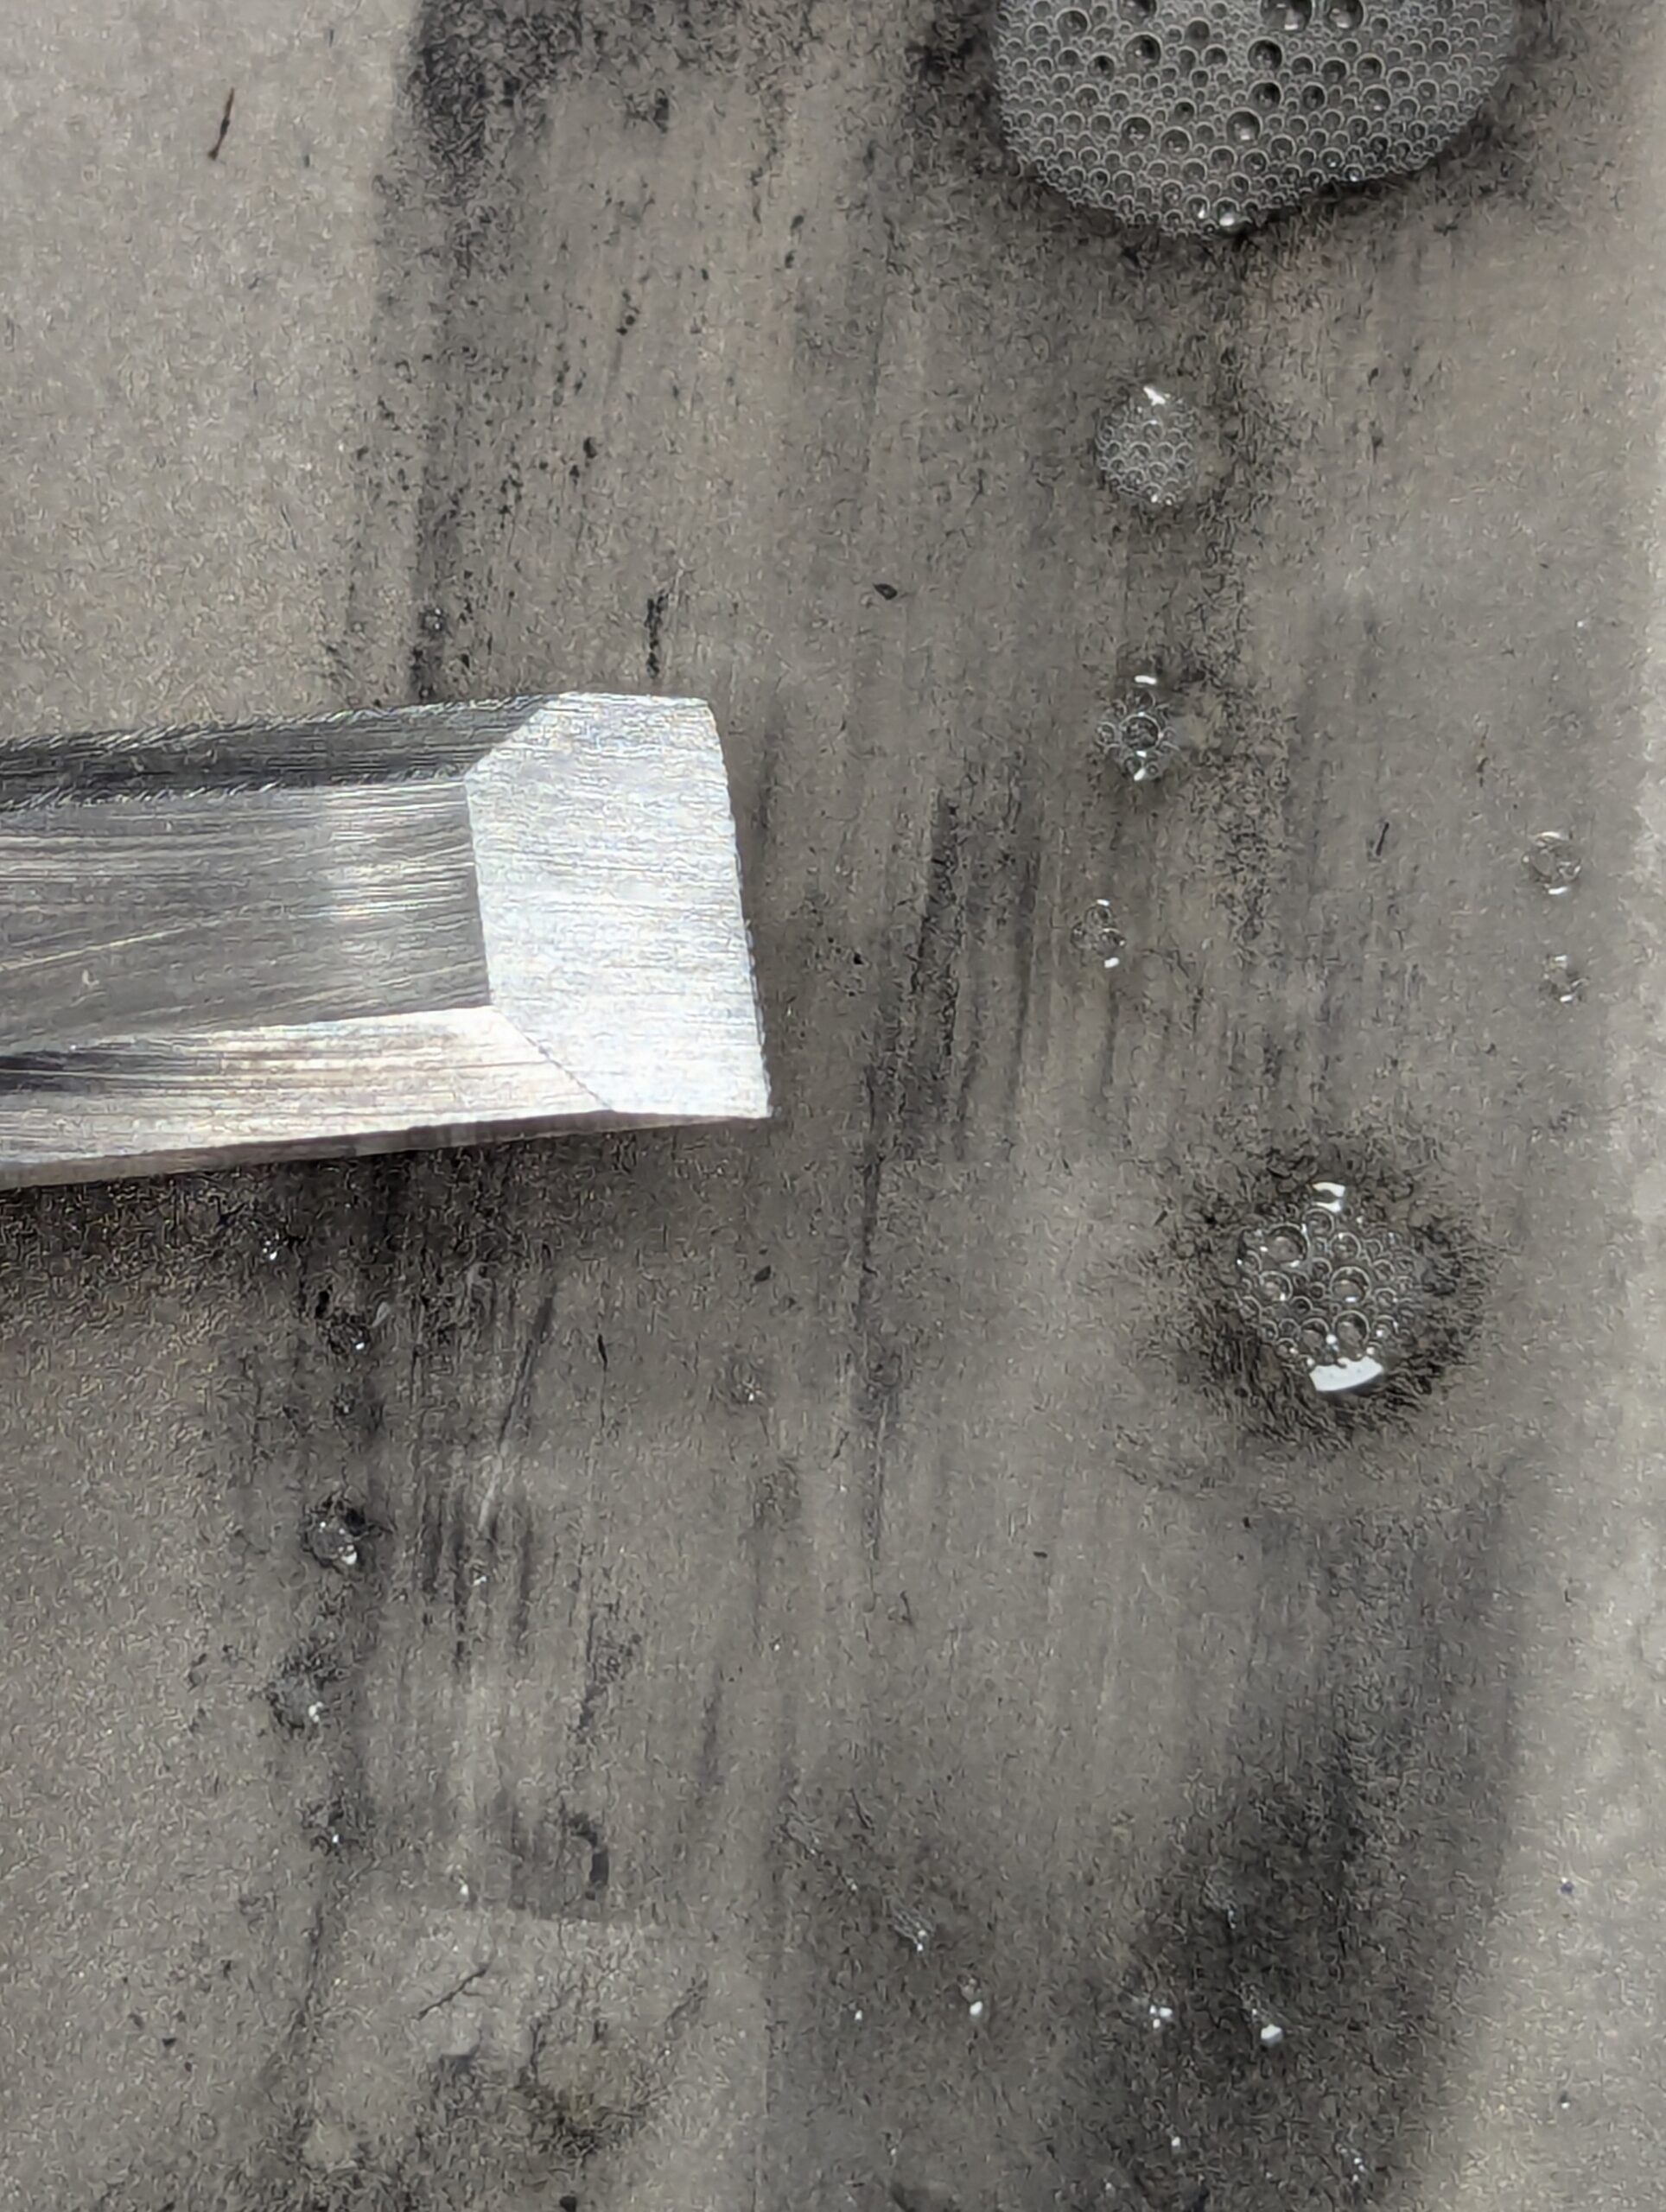
Now do the same on the mid-plate, looking at the bevel to make sure the previous striations from the coarse plate have been fully removed.
The last plate will take out all striations down to a much finer and tighter level, and the bevel will begin to take on a more mirror finish.
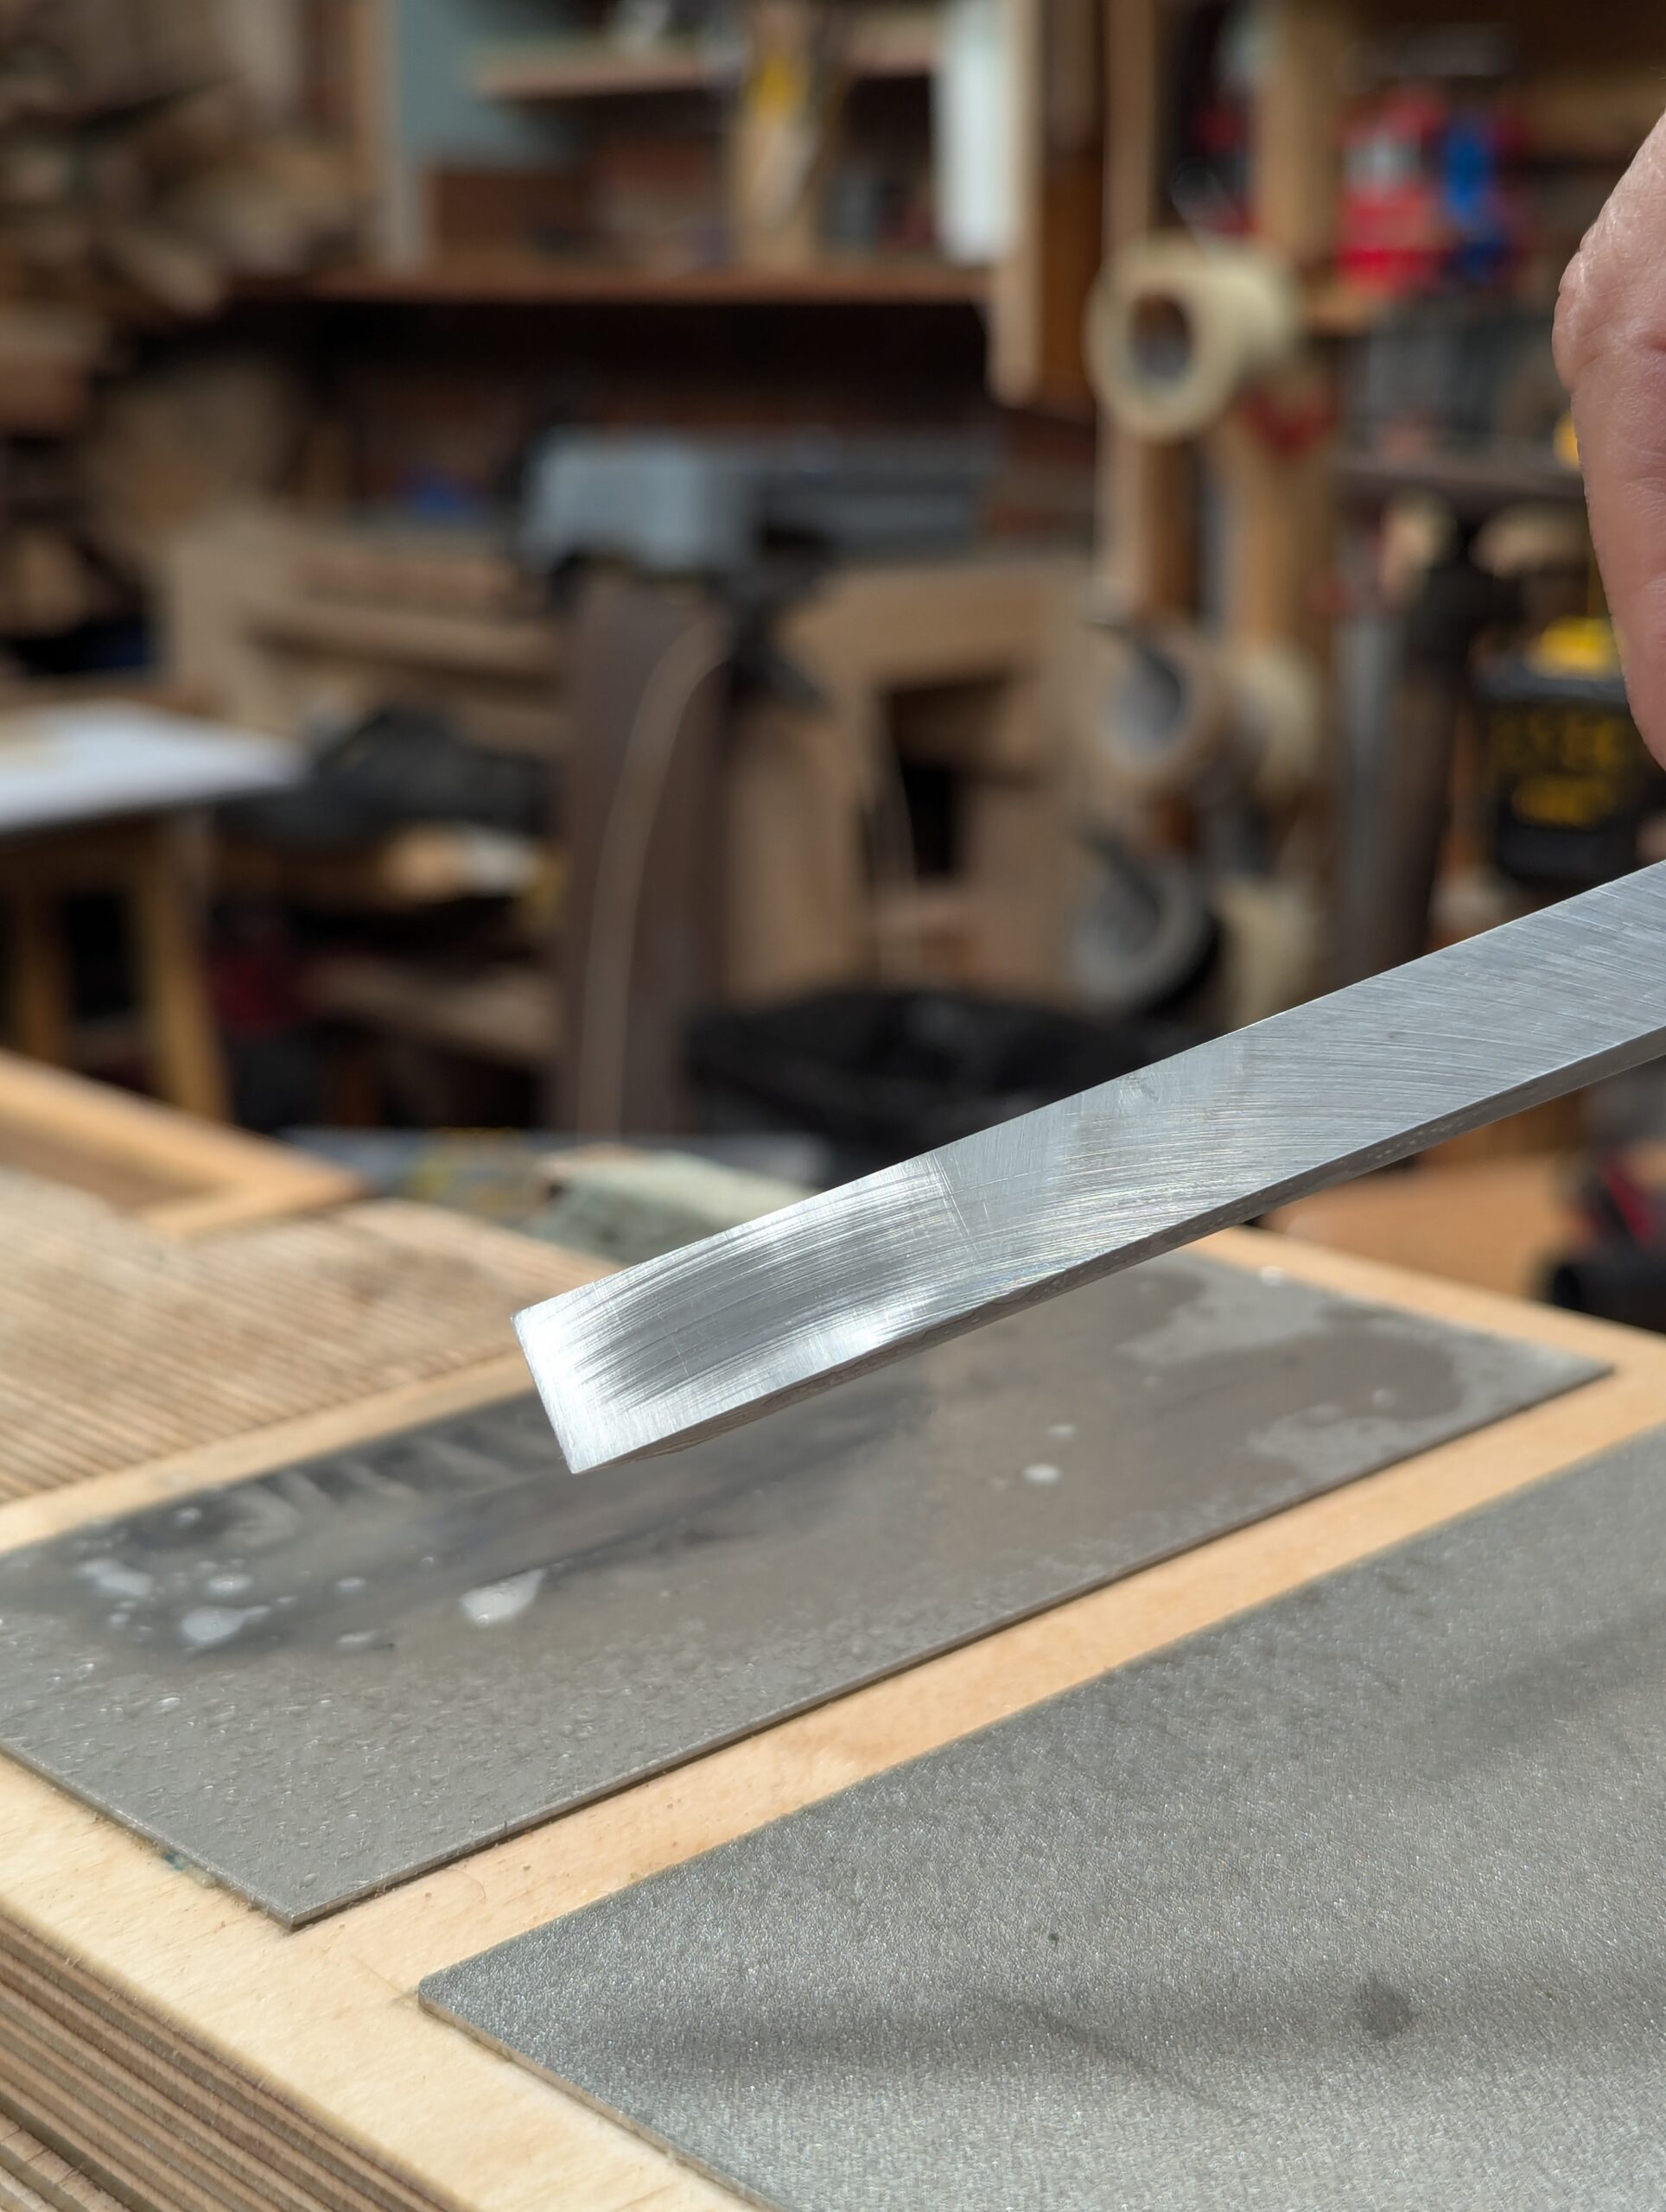
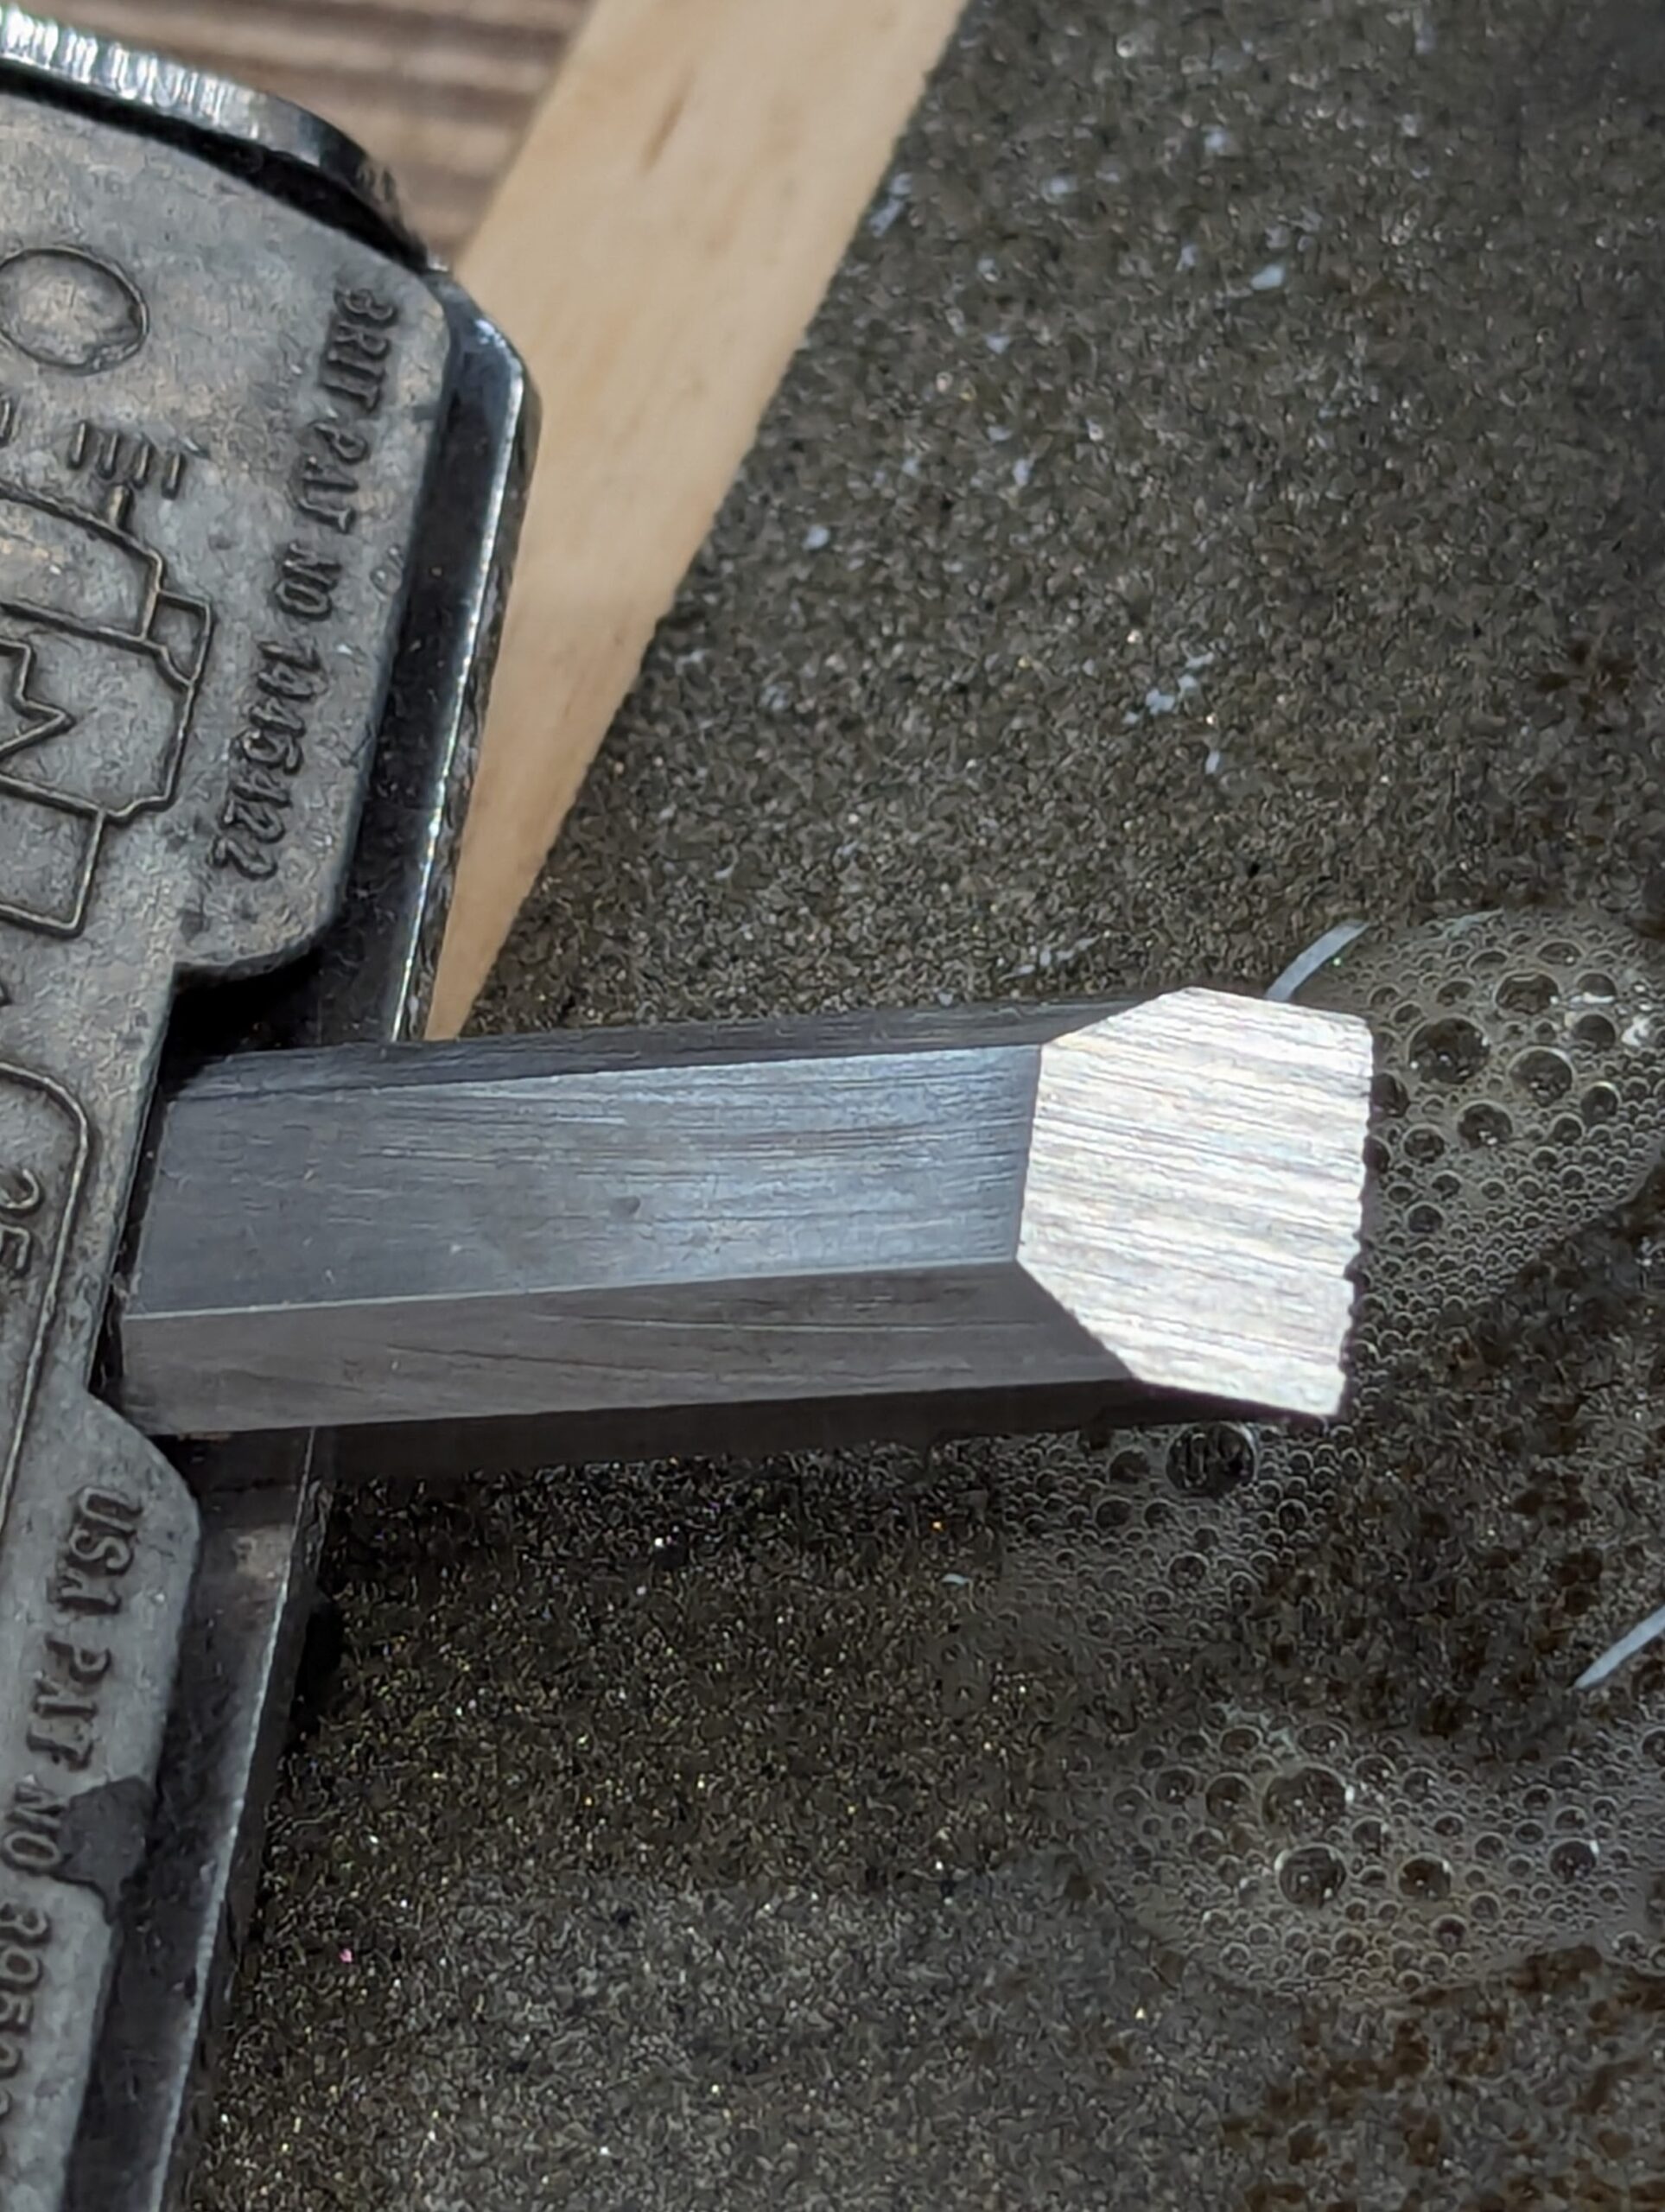
The last stage of diamond abrading is to flip the chisel on the last plate and initiate the face by flattening and polishing it on the 1200 plate. This should take only a few rubs. Having a dead-flat face is a preference rather than an essential for 98% of chisel work.

After this level of abrading, we focus on polishing the bevel which is still abrading, but the abrasive shifts markedly to a level somewhere, anywhere, between around 10,000 and 15,000 using what we call buffing compound.
We use a strop to hold the buffing compound. By charging the flesh side of the hide, the compound is held for us to pull the trailing edge of a chisel or plane iron against the compound in the leather. I established thirty full-length pulls under the heel of my hand as a minimum number of pulls, but count to that number each time I sharpen. Securing the strop in the vise is essential, as we use as much upper body shoulder and arm weight to add the most direct pressure we can apply safely.
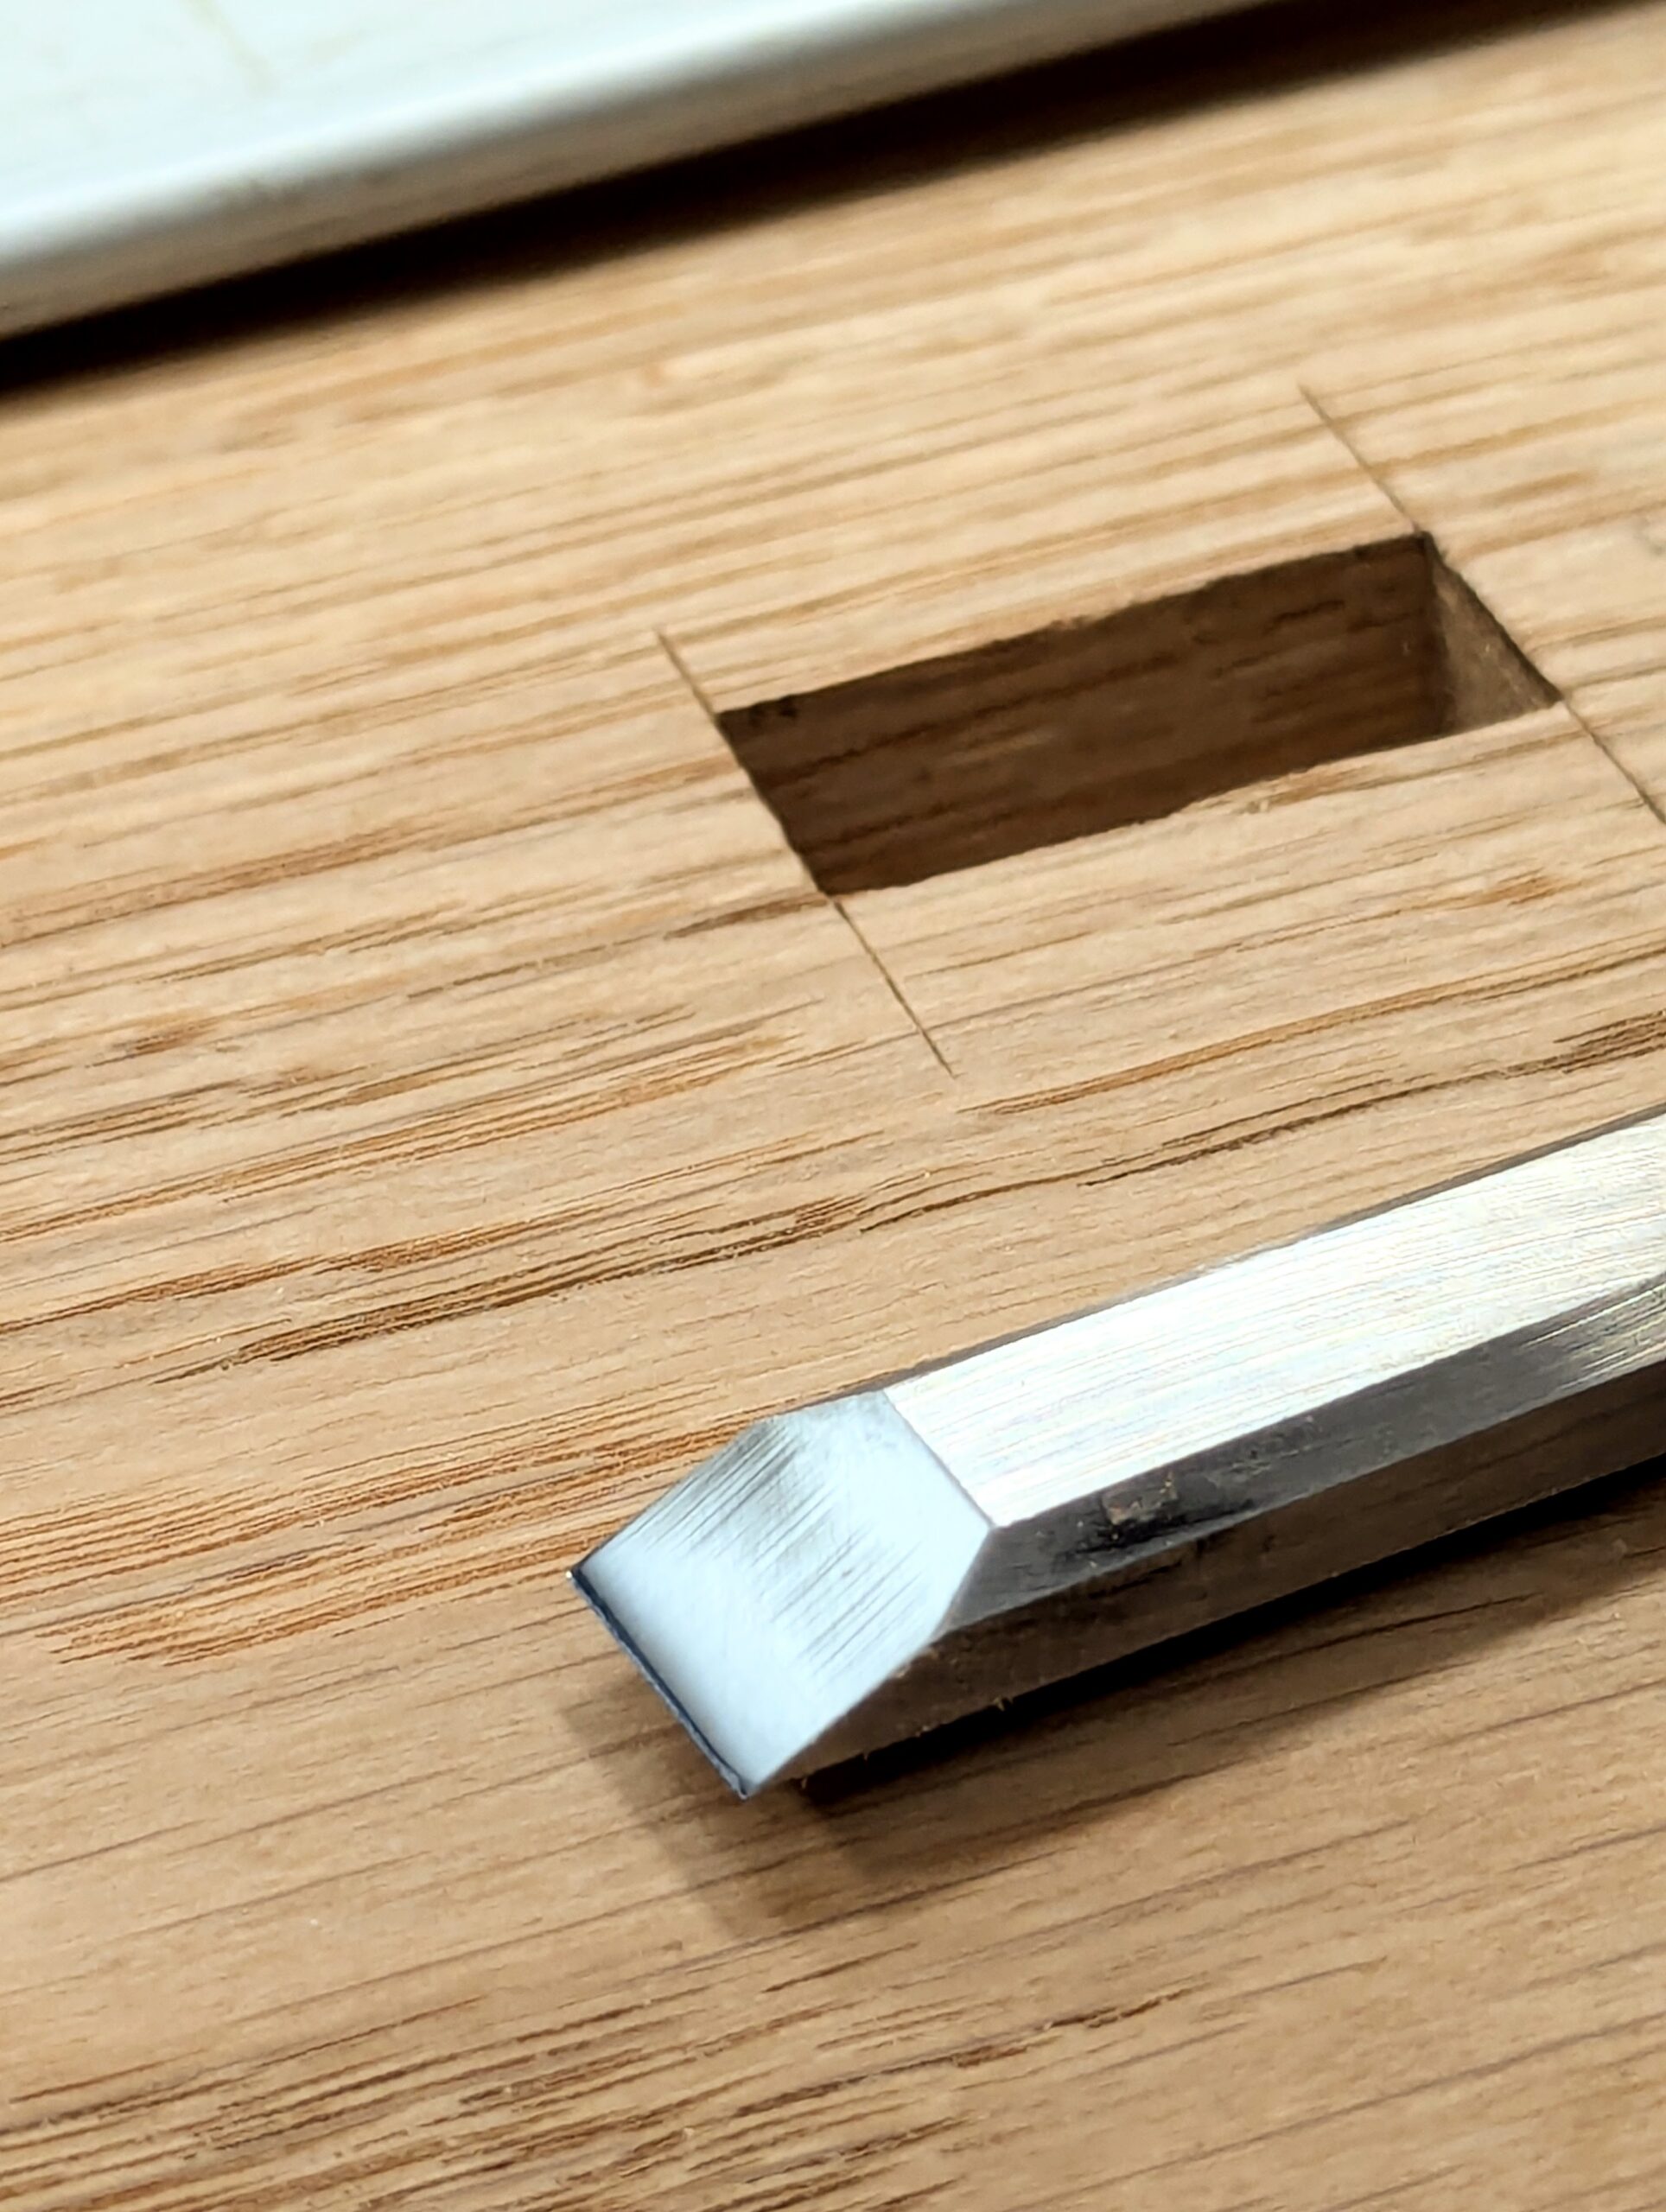
This cutting edge lasts well in use and takes less than a minute to restore and look like this. Now it will chop half-inch mortise holes for an hour before I need to restore it.
The above is the same for all chisel sizes and almost all chisel types, as well as all smoothing plane types, and includes most other planes and spokeshaves.
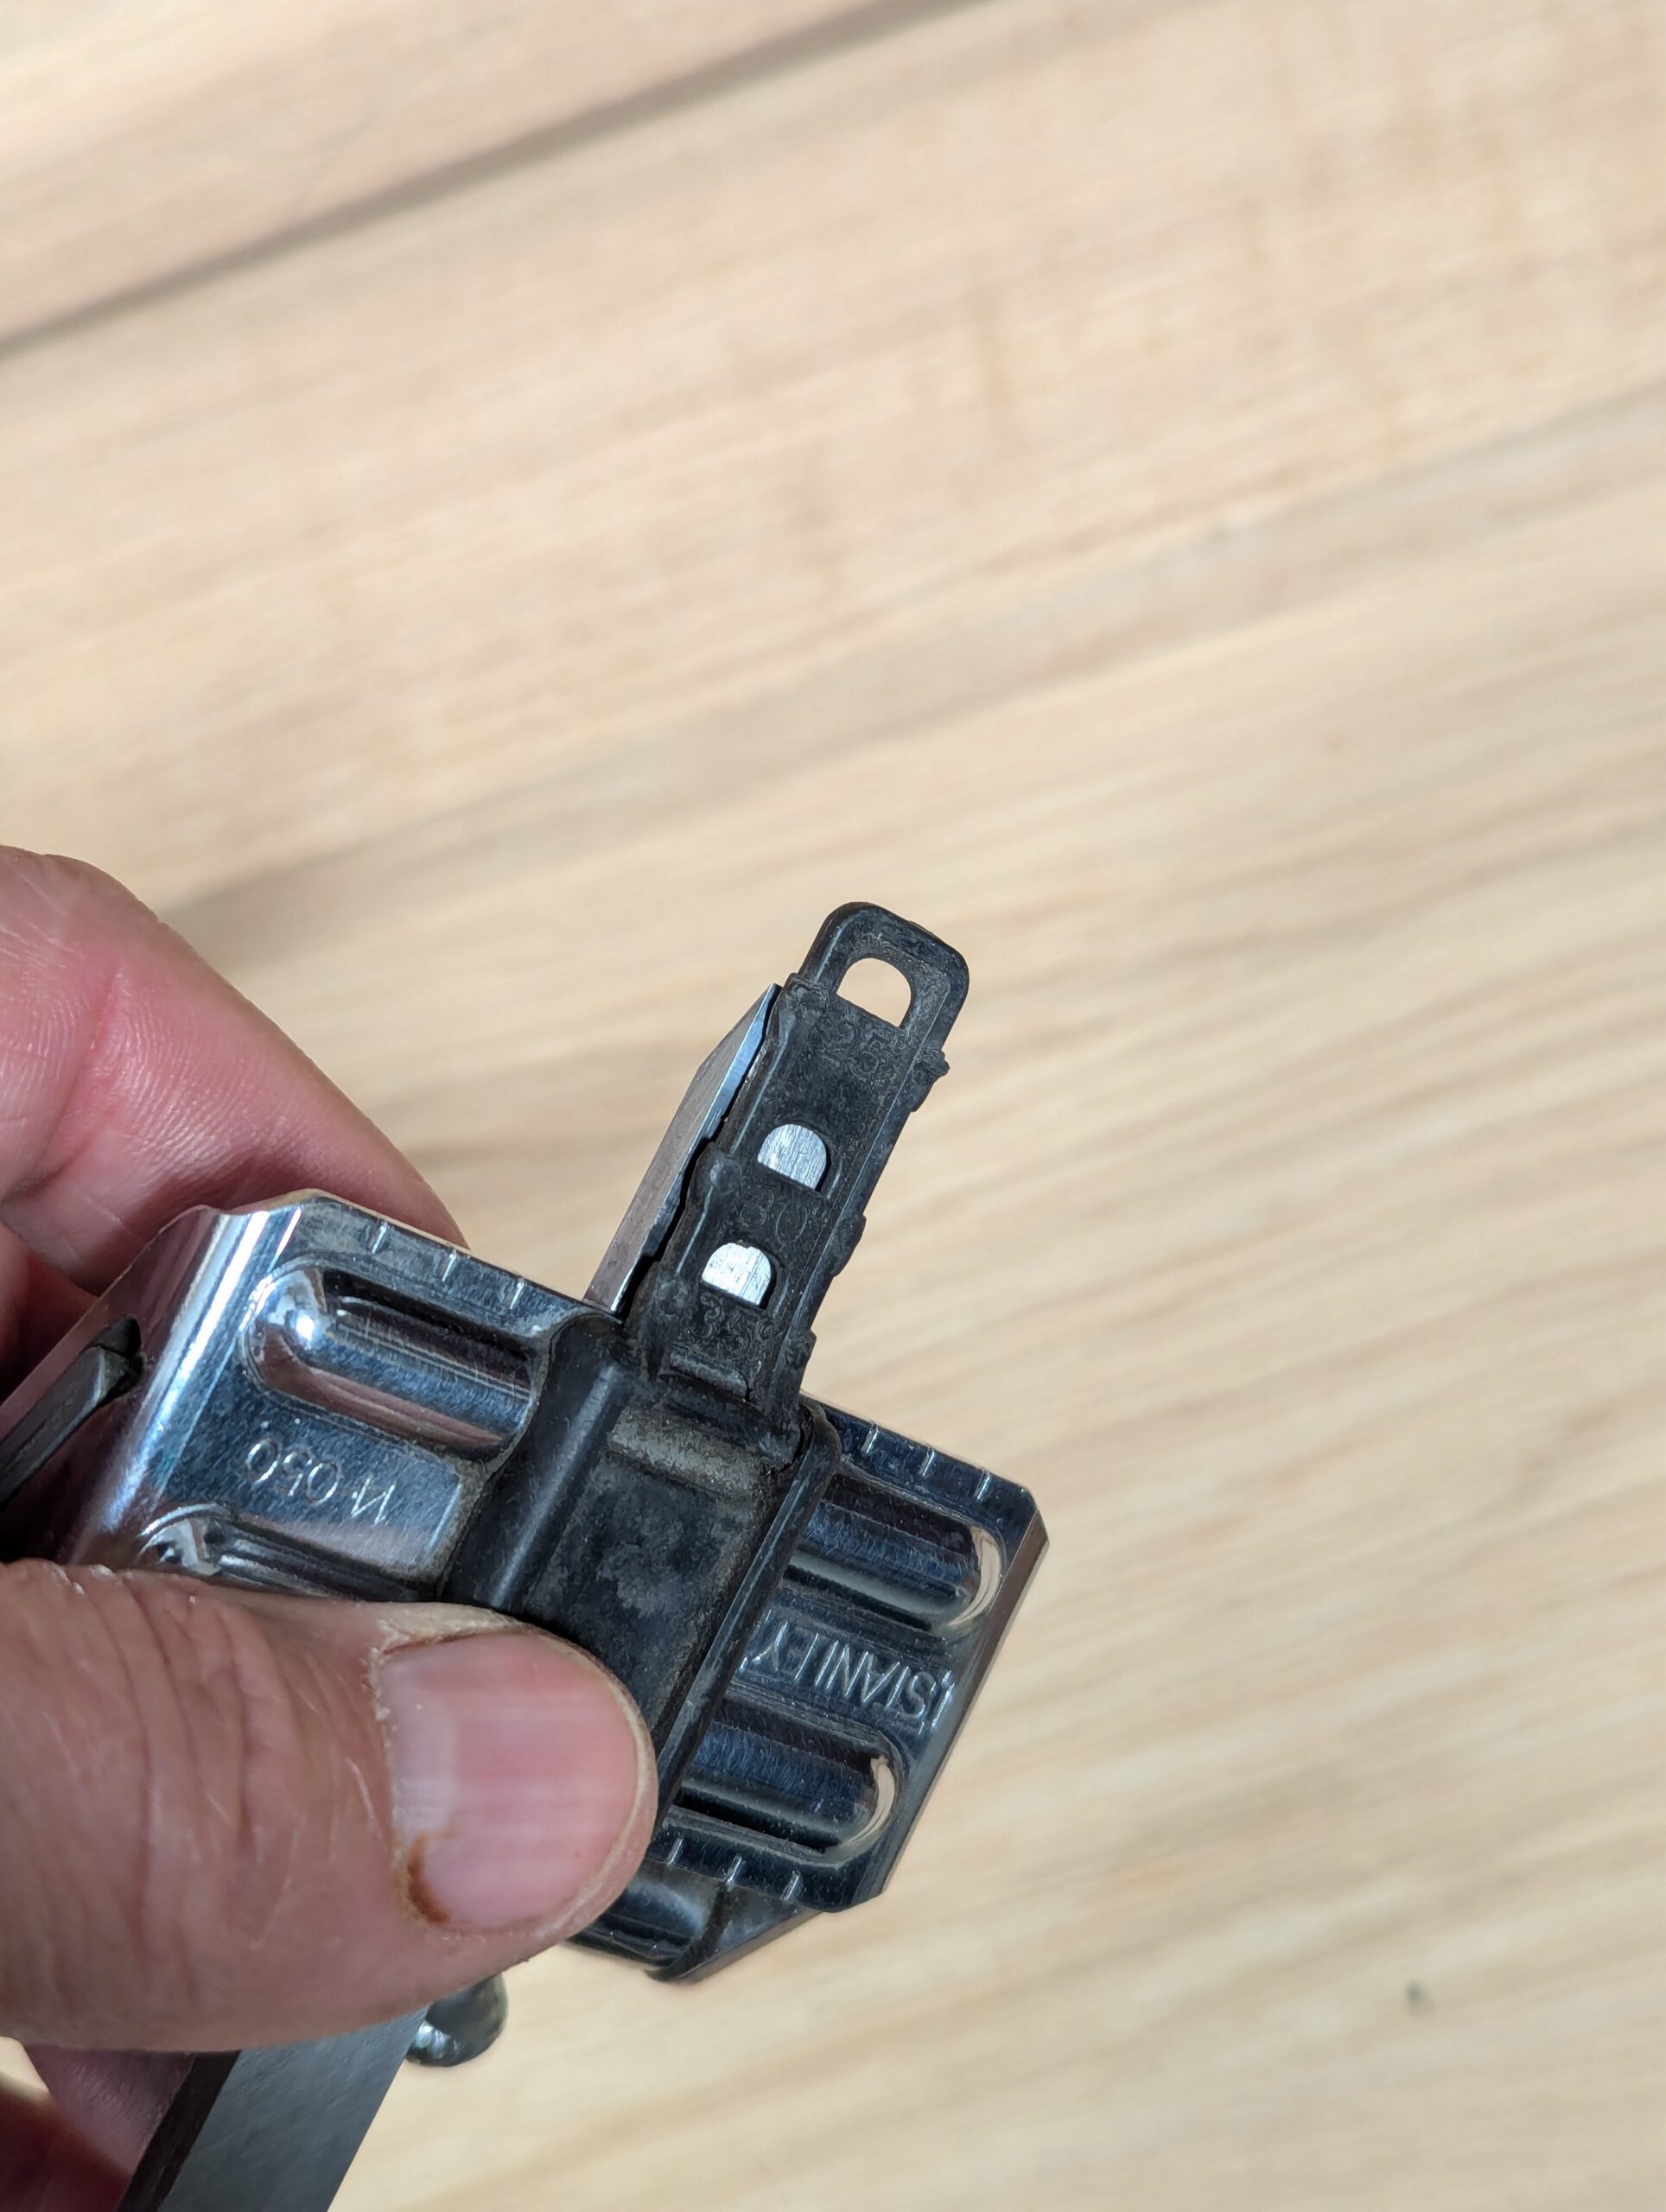
As a final note: Using a honing guide in the usual manner means that the guide travelling beneath and behind the cutting edge only allows abrasion for half the length of the plate. . .
. . . By turning the assembly around to ride backwards, you get to use the full length of the plate and thereby get even wear on the plates' surface. You soon get used to skateboarding backwards and after a short time, it doesn't feel awkward at all.
Comments ()