Just Another Trade Secret
Things come to us in the moment and then we leave it alone for decades and just use it ourselves. I've got so many it's hard to keep up with myself sometimes. Sometimes deep and flawed surfaces in our wood end up on the inside, underside and back of a cabinet and we never touch them. In vintage pieces, especially from the pre-machine age, we can often progress a forensic investigation ourselves to discover the types of tools ancients used to part off their panel wood to bring the thickness down be that by pit saw, handsaw, axe splitting, wedge driving, circular saw, bandsaw and so on. The coarser surface, often barely planed and trued, gets allocated to the unseen places: it made sense to that pre-machine age no matter the continent not to waste energies or material.
I'm making a new video series and had some walnut in my wood rack; it's some really fine and prime stuff a good inch full in thickness so I planed everything as usual and just enjoyed the full day's workout. Walnut is one of the finest woods to work with hand tools. It hand planes beautifully, rarely tears out, chops crisply and always seems to split to the line you want it to. What more can you ask of it?
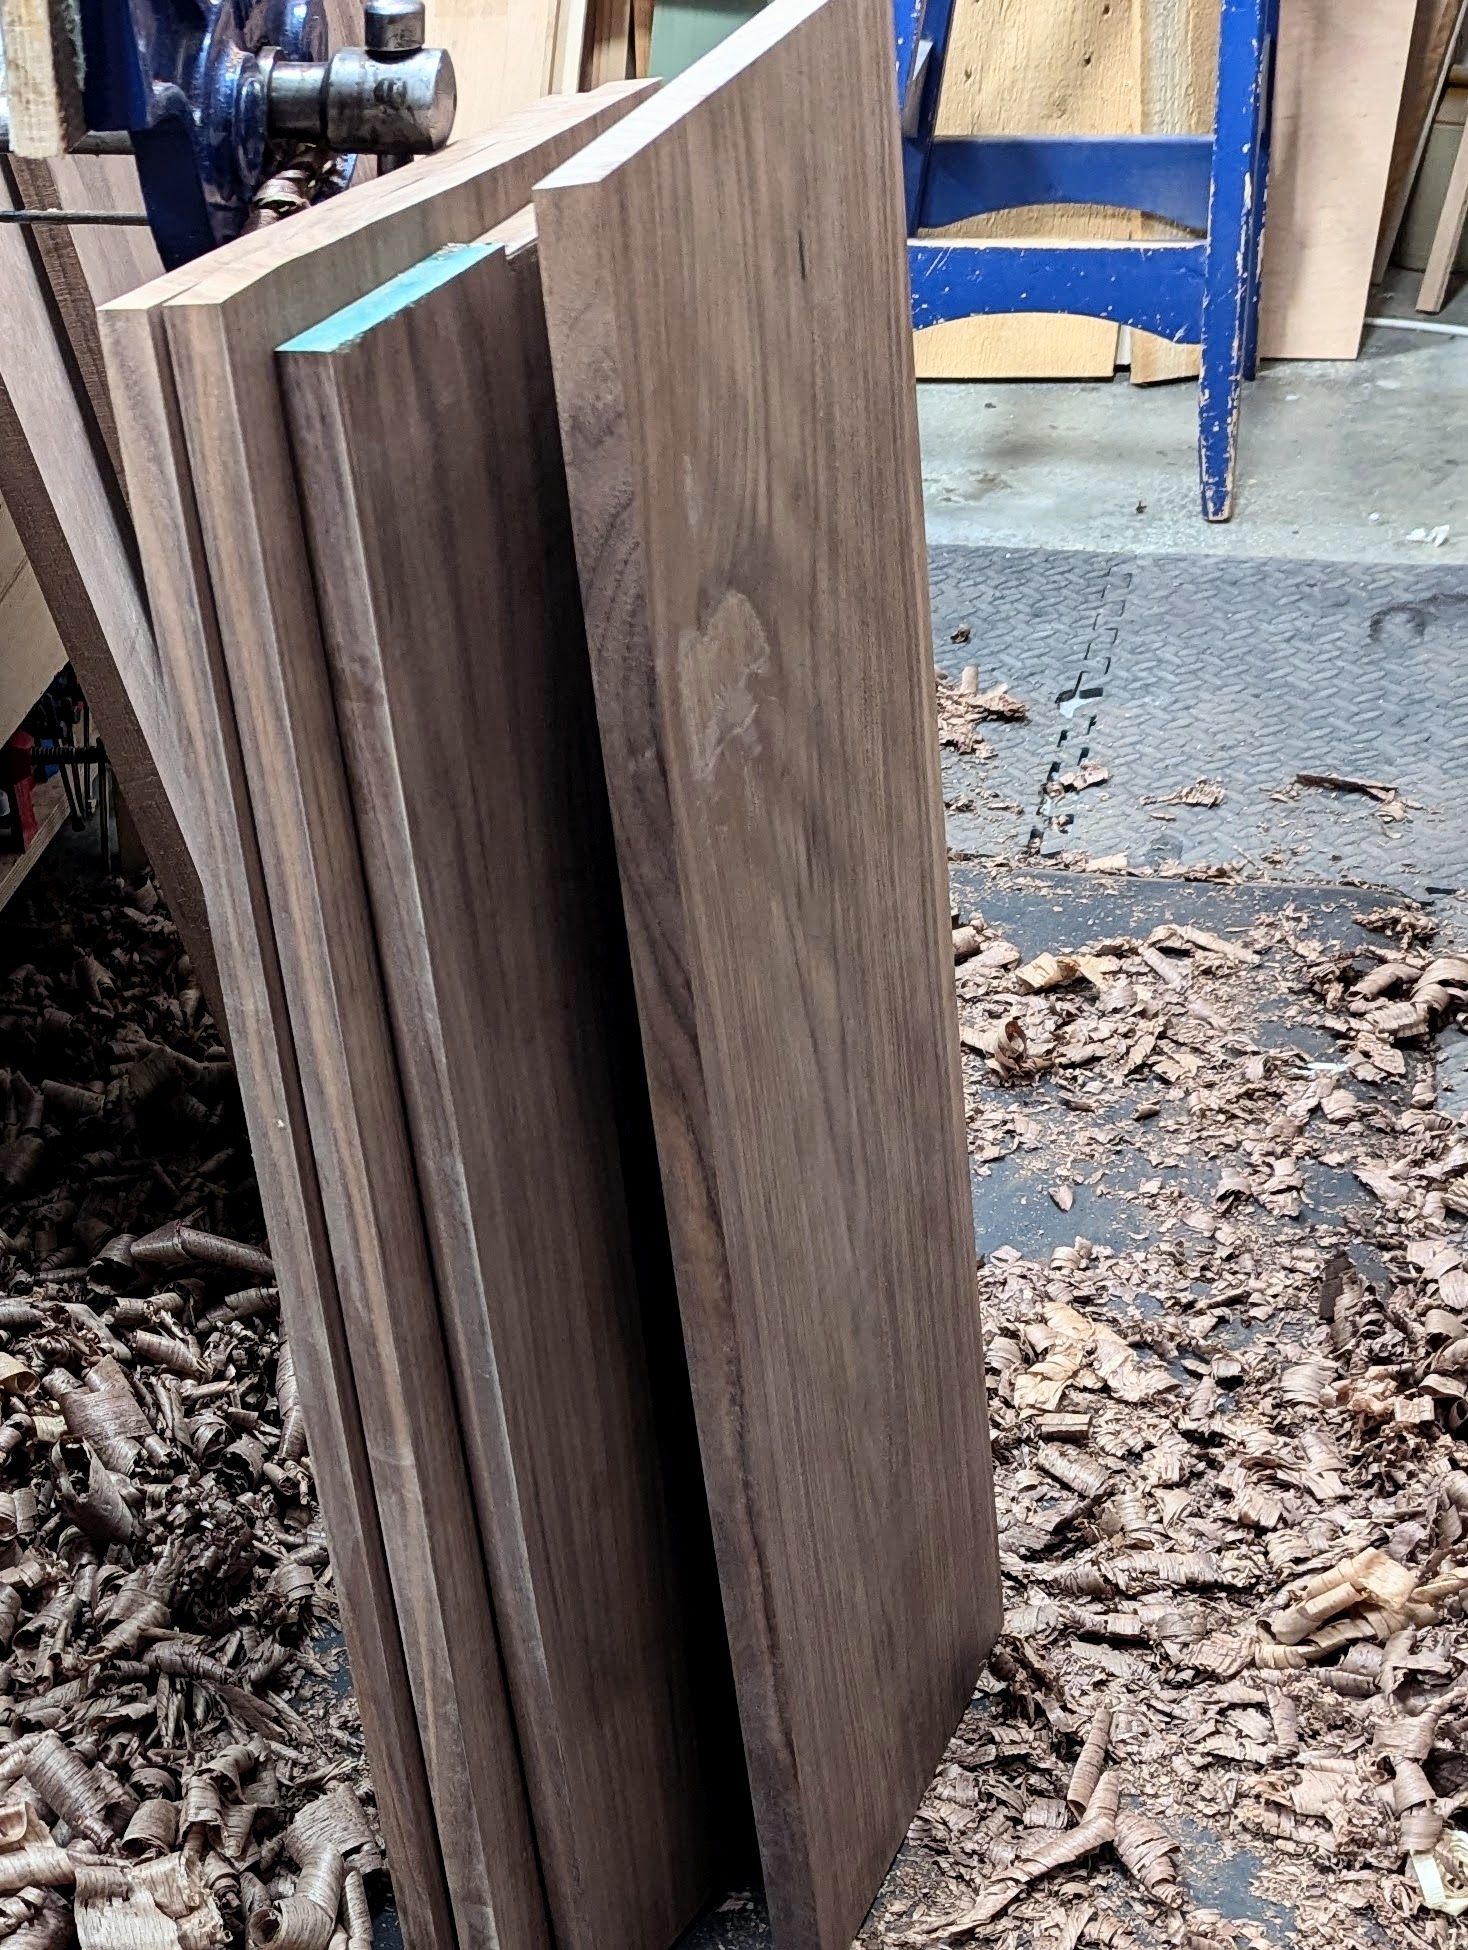
This walnut has some decent colour and even marking to its grain without being flamboyant––probably a US import of Juglans nigra. Cutting the sections to length and roughly ripping to an over-width width size cuts down on the waste and the energy I need to dimension everything. Surprisingly, my material all came out very close to my goal of an even 1" in thickness but one piece had a deeper scallop that would have made my one remaining board too thin.

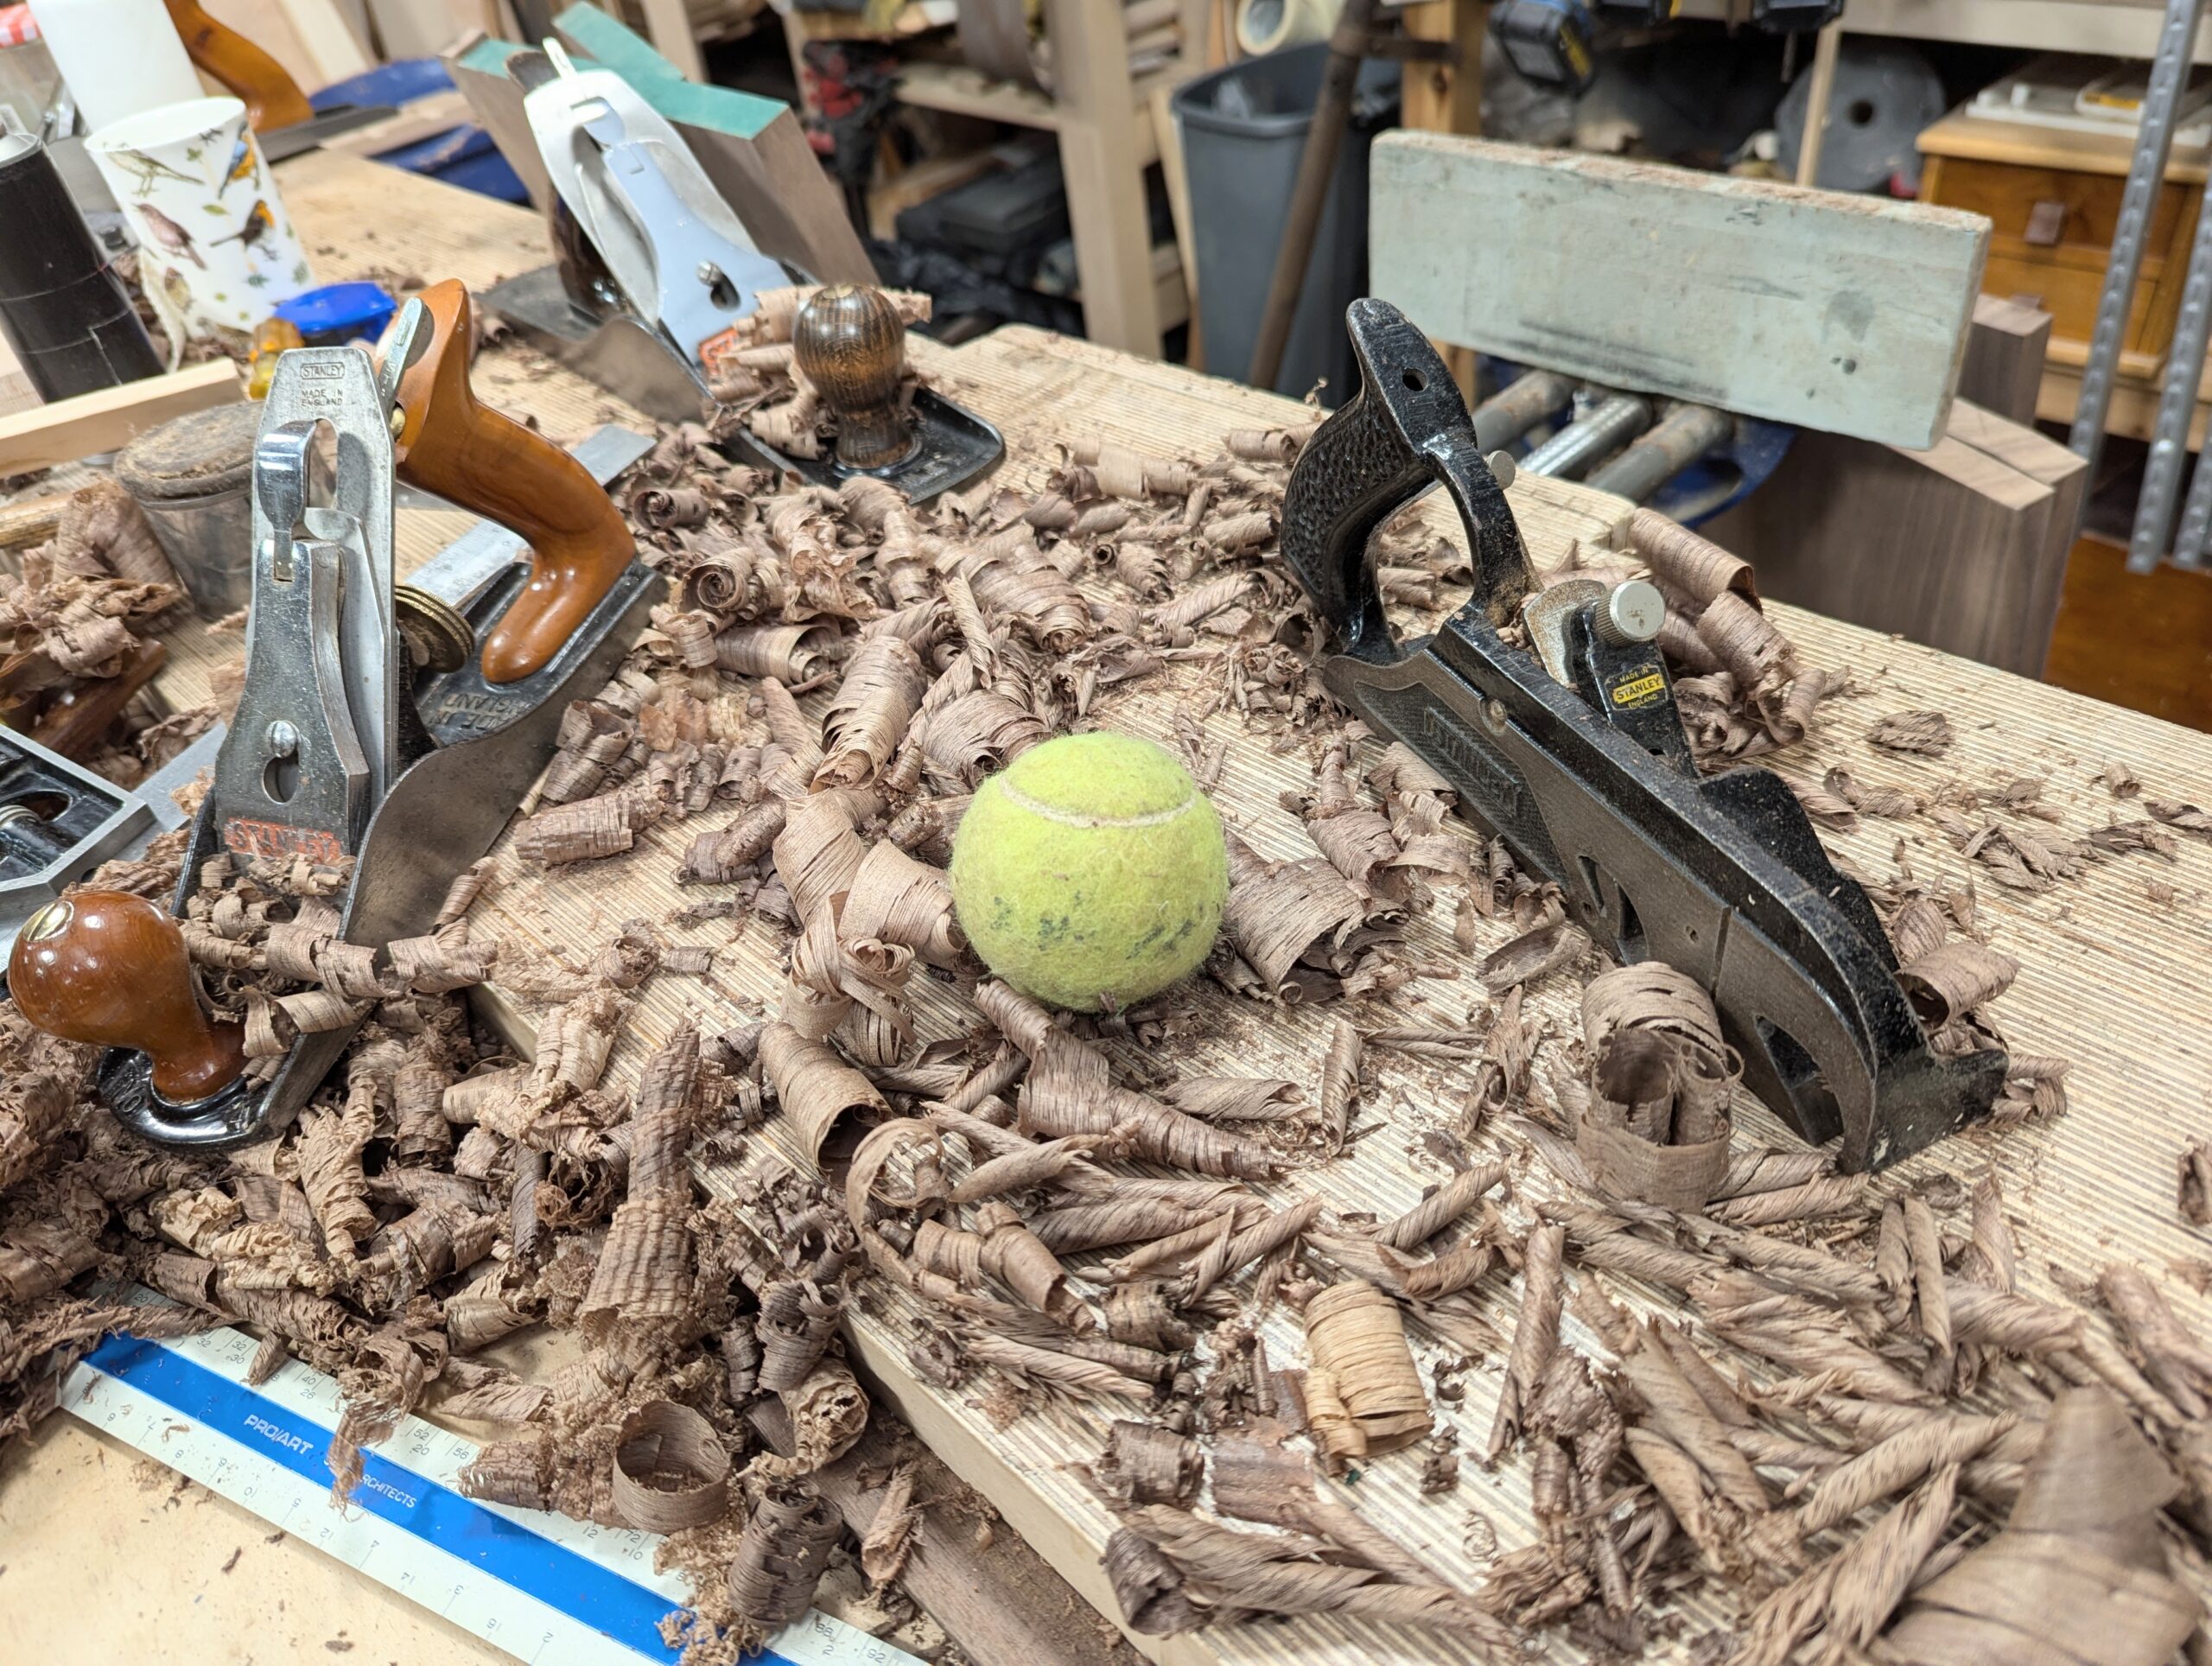
Defects like this, make the rest of the board a fault that needs taking down to the bottom of the lowest point in the hollow. That would mean that the board would be too thin. This trick can save the board and I only did this in this case to give you a trick for down the road. This hollow is on the underside of the top of my cabinet and so would never be seen in the finished piece. Let's call it 'Paul's tennis ball trick.'
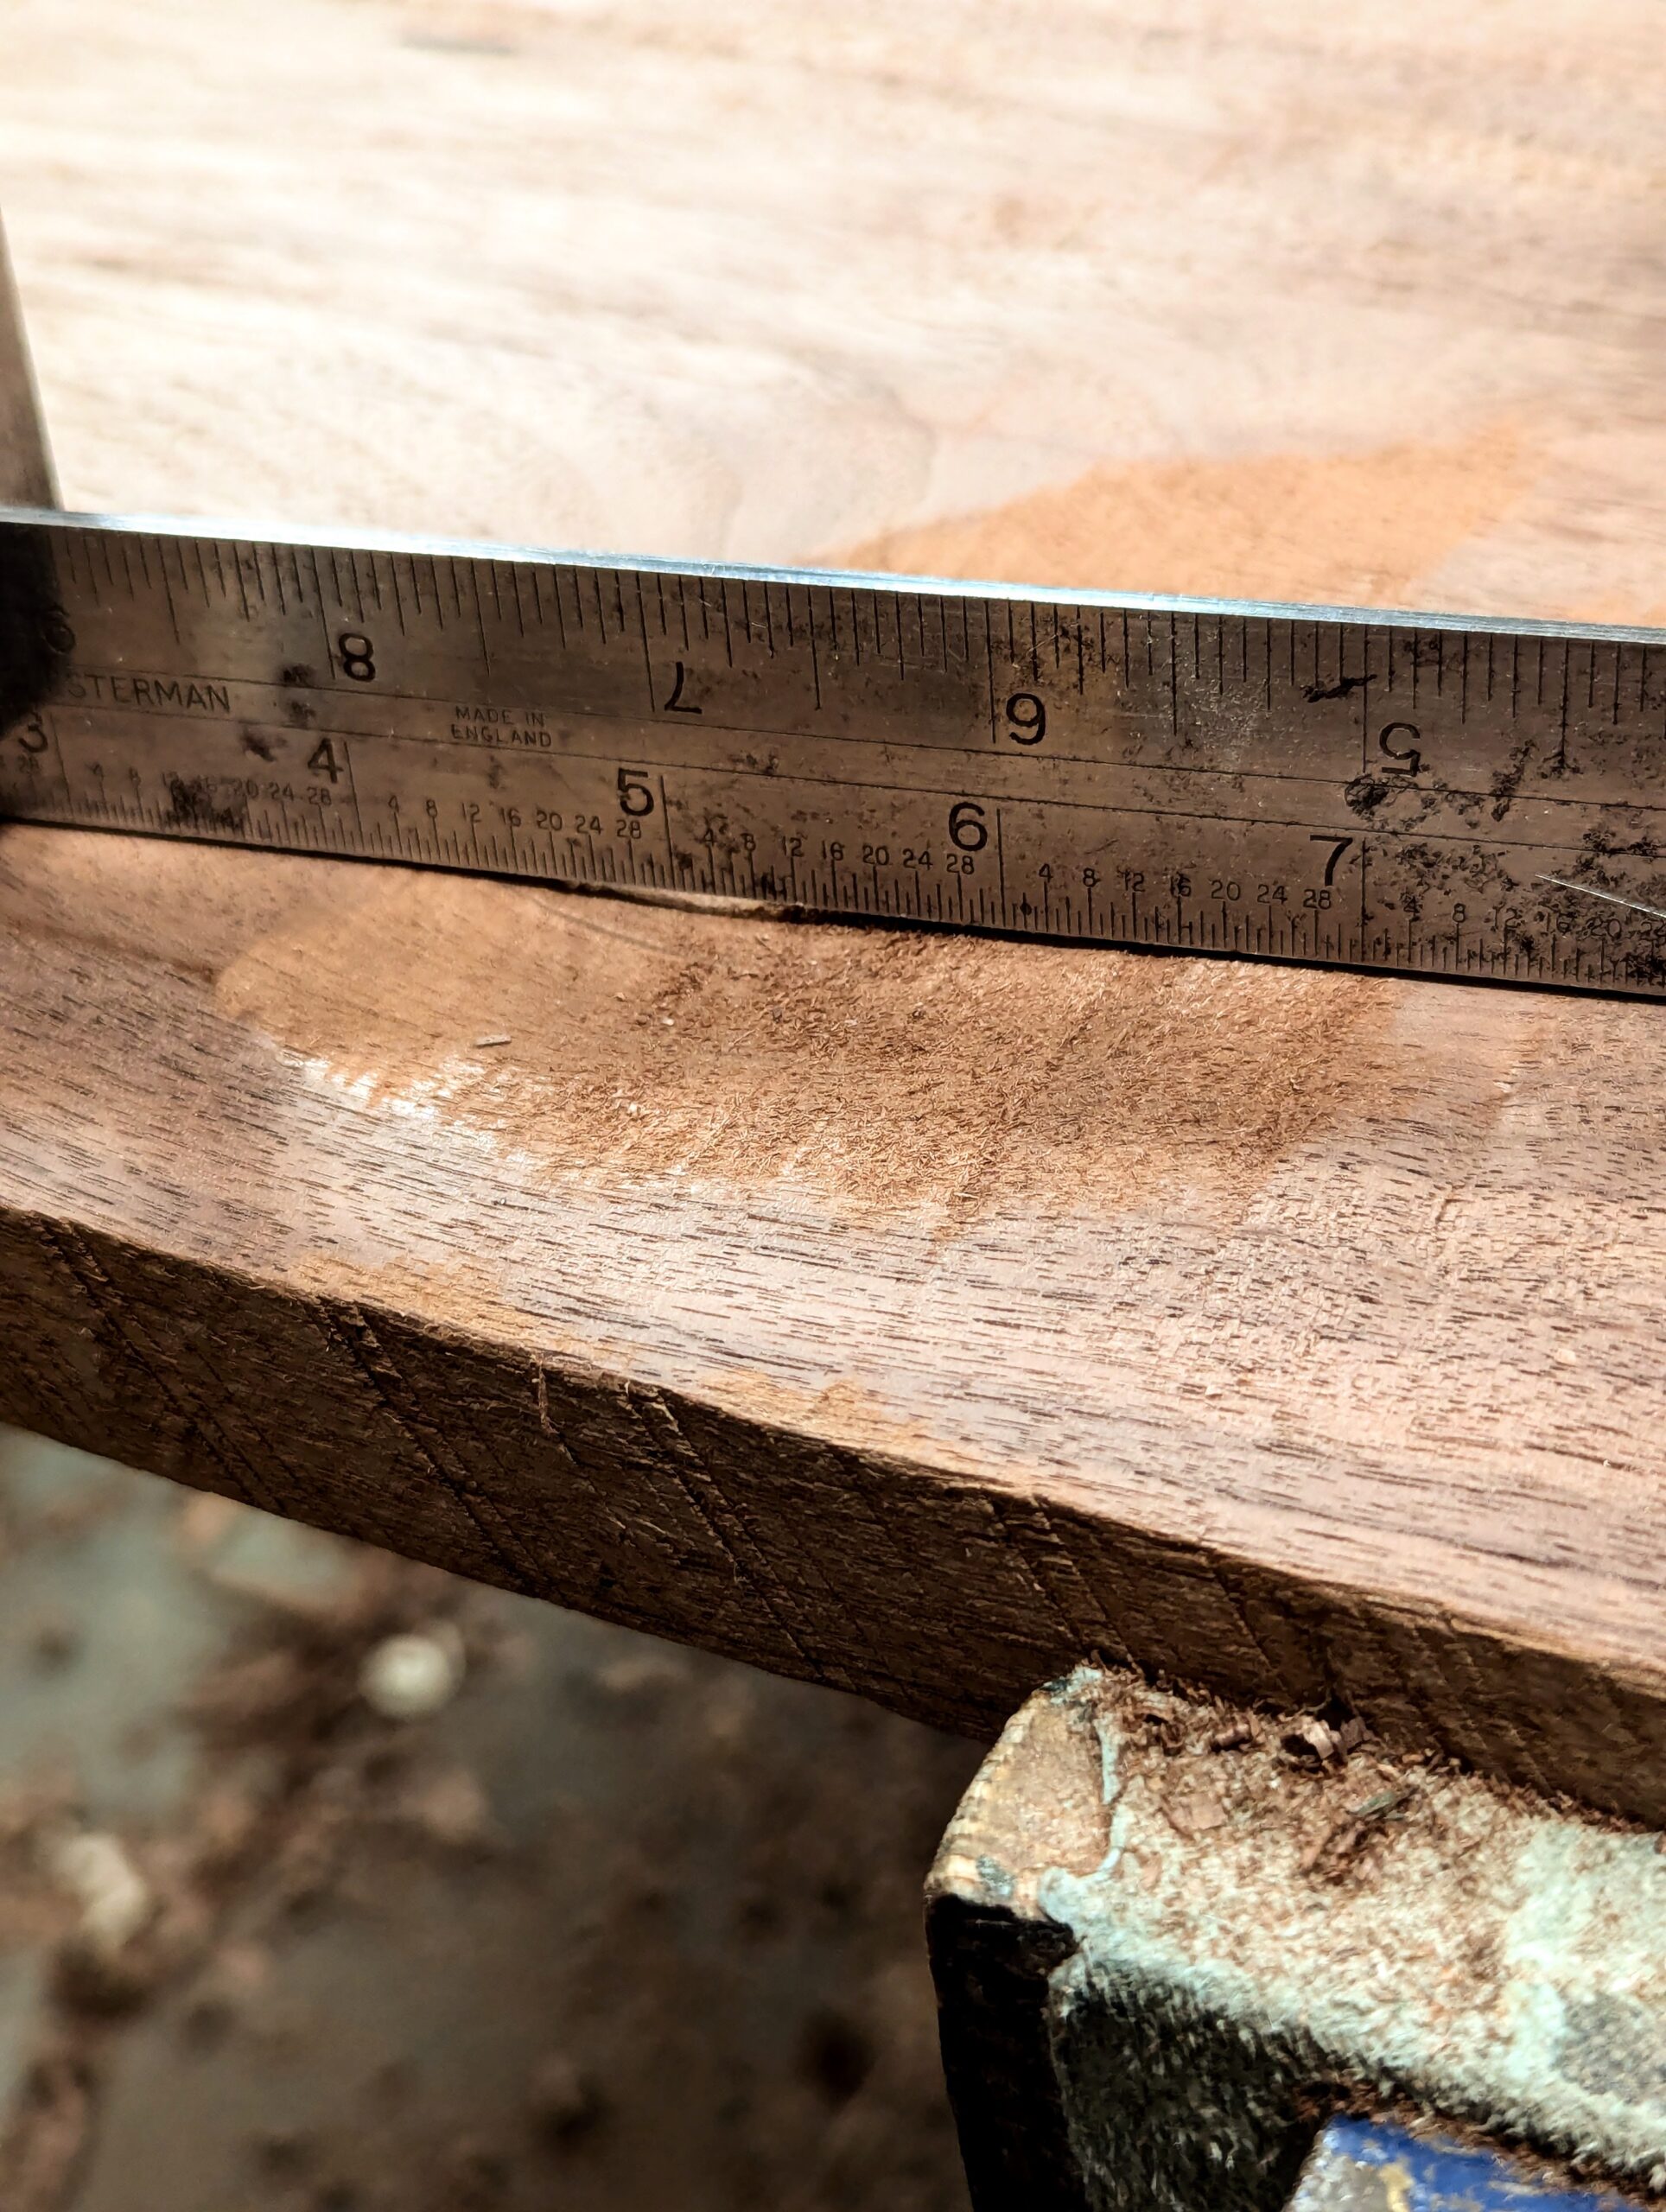
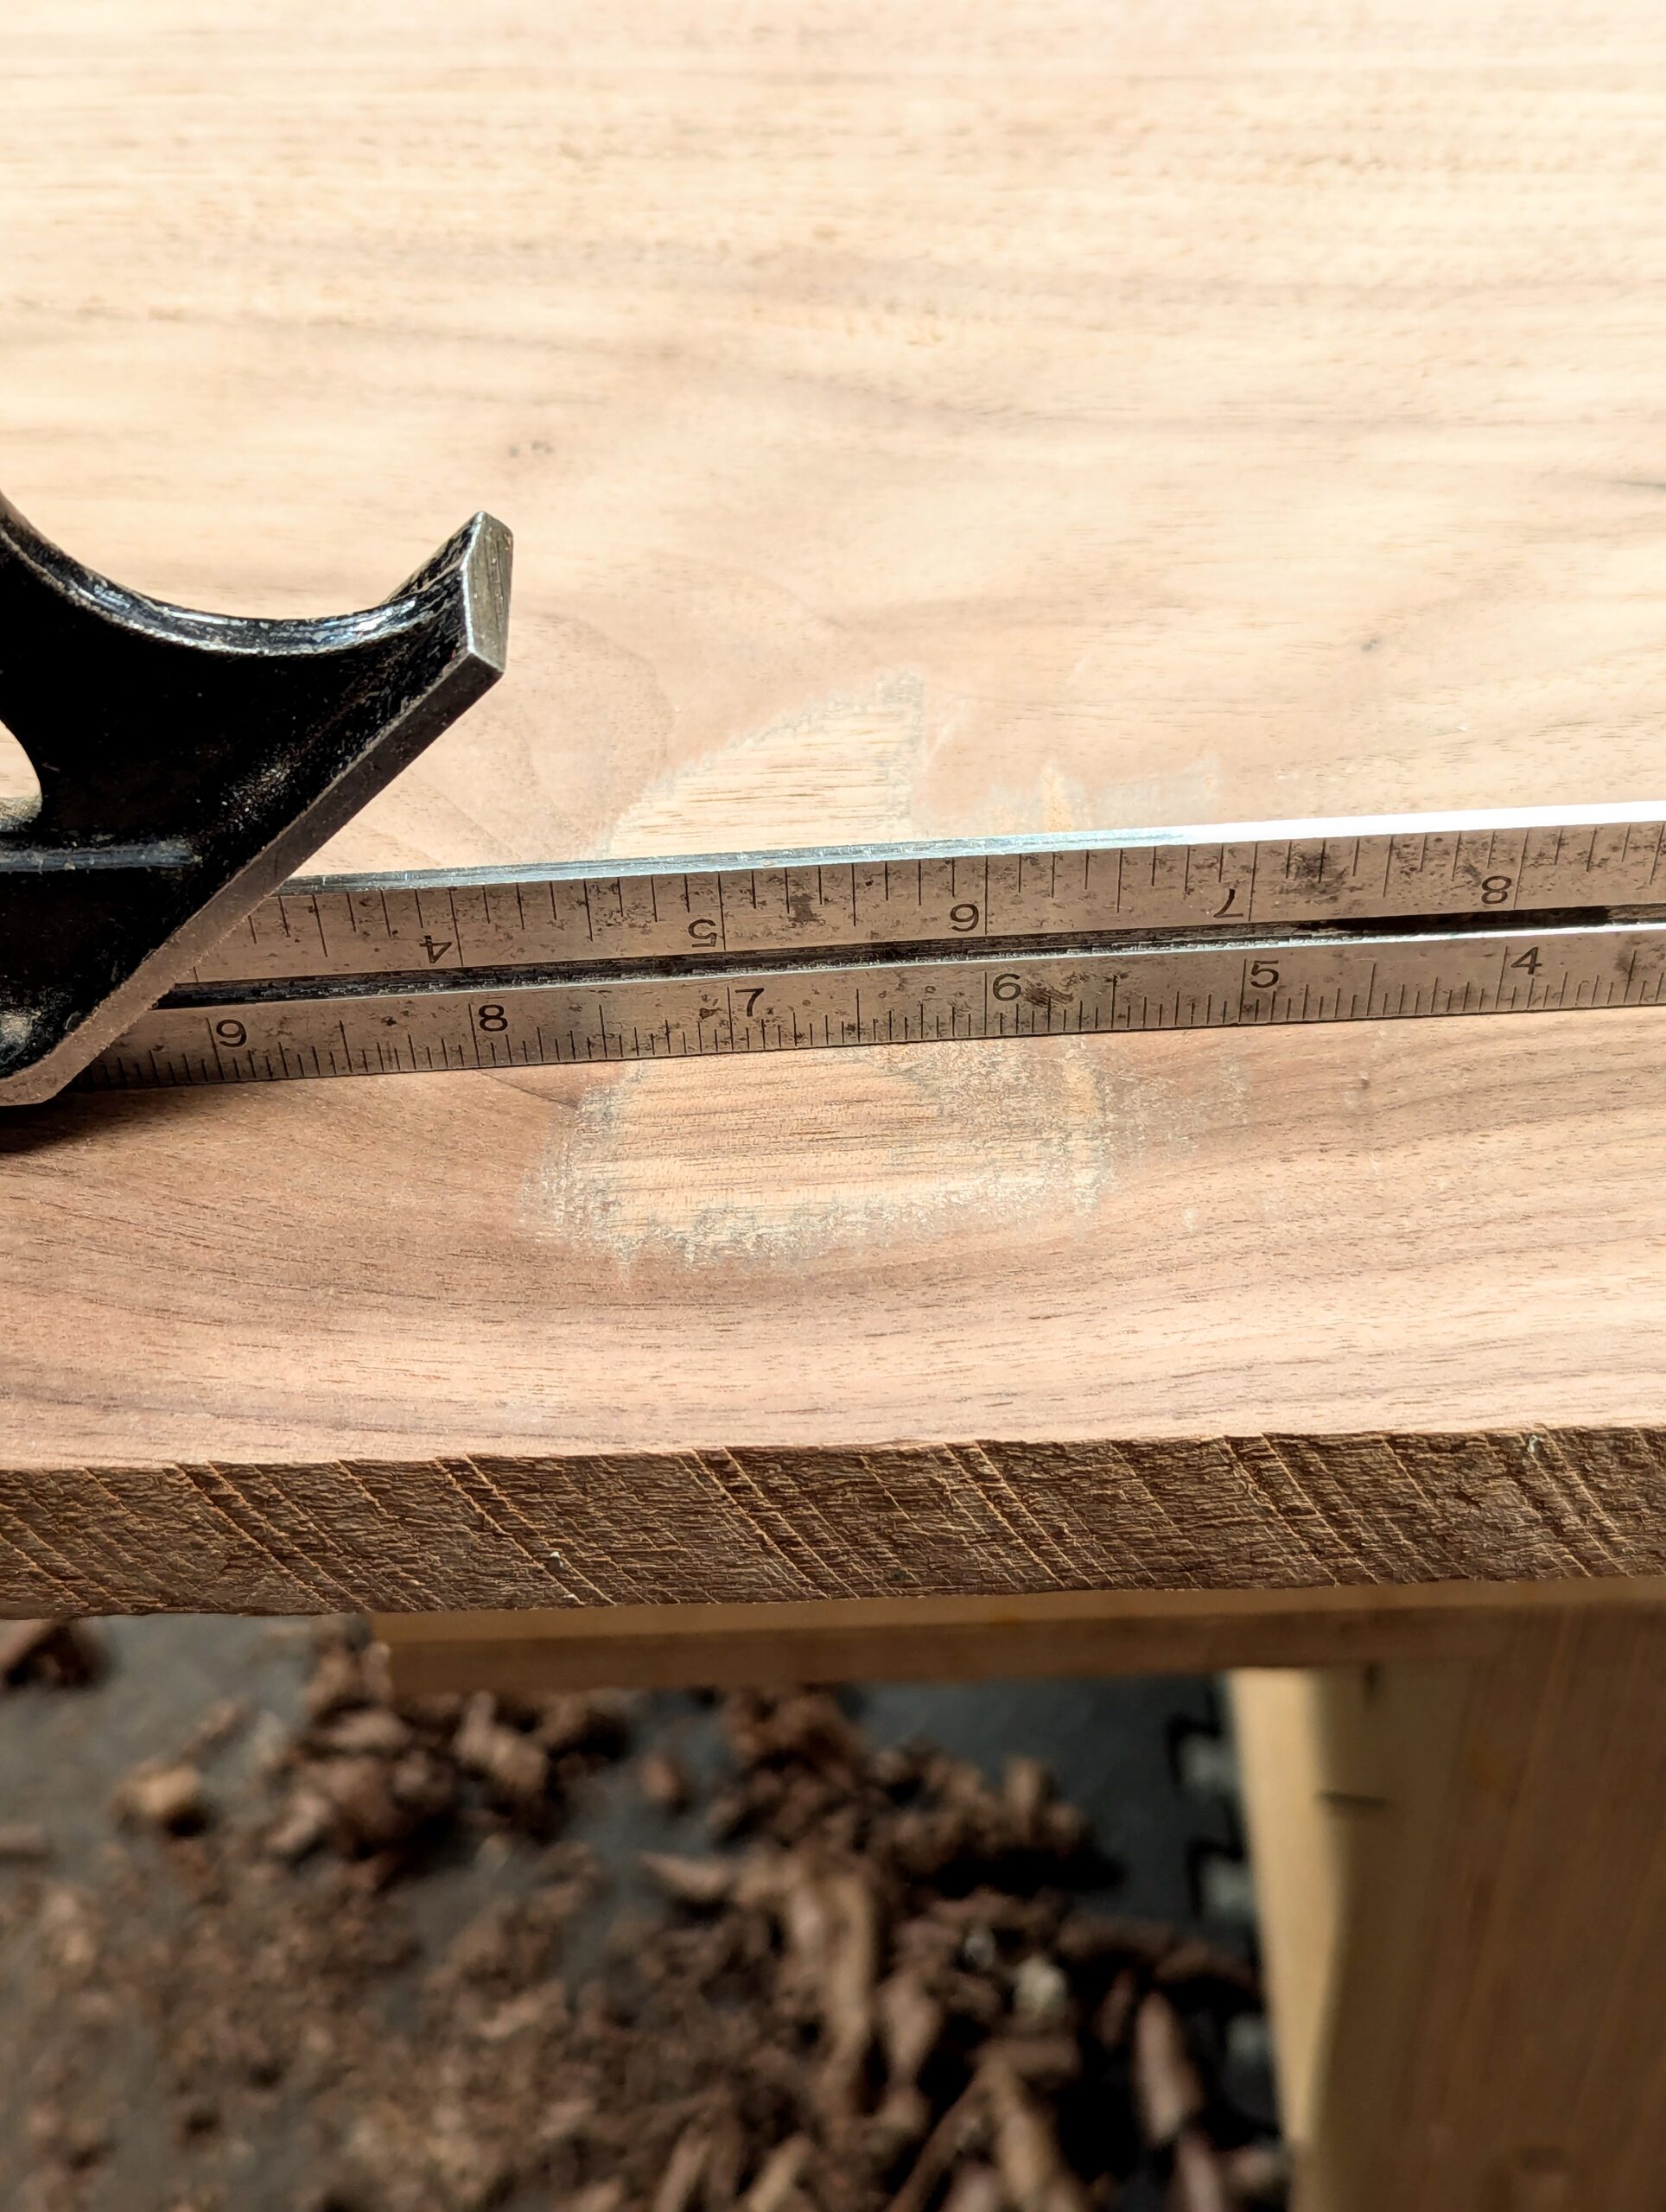
As you can see, the hollow is a good 1/8" deep but to get through to even grain I would likely need to go another 1/16" and that means losing 3/16" in thickness.
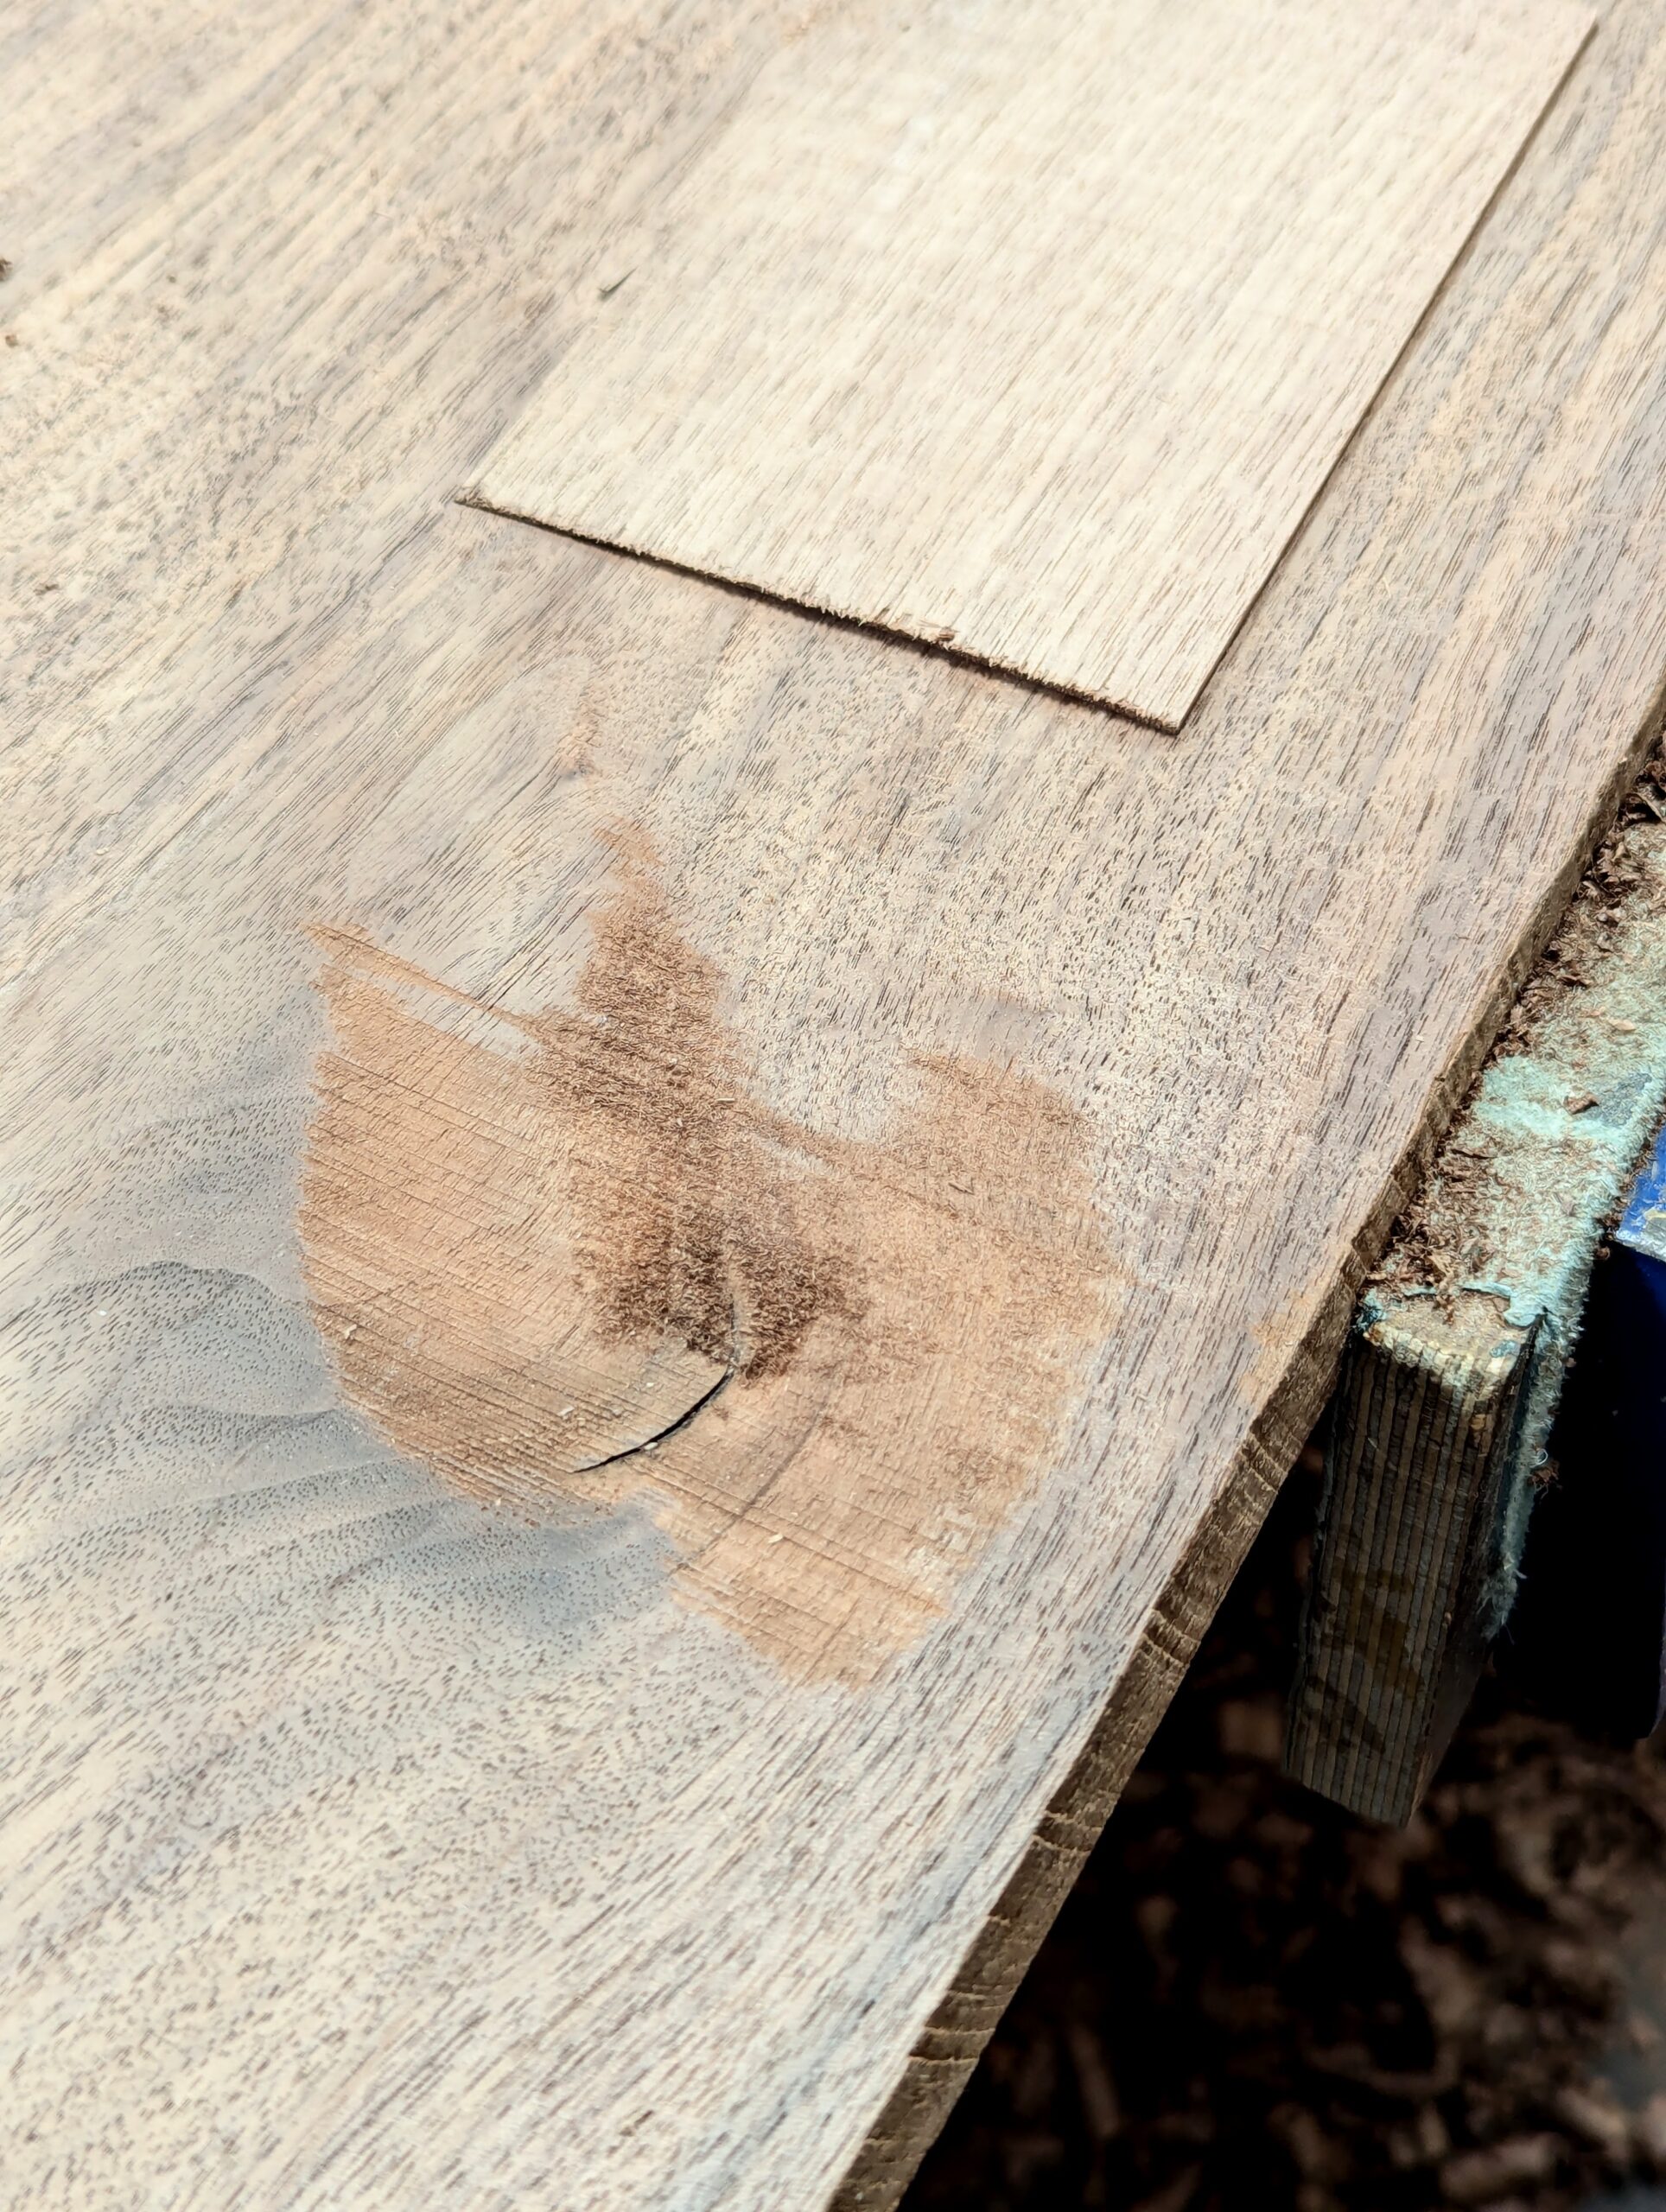
I cut my veneer slightly thicker than the 1/8" I needed.
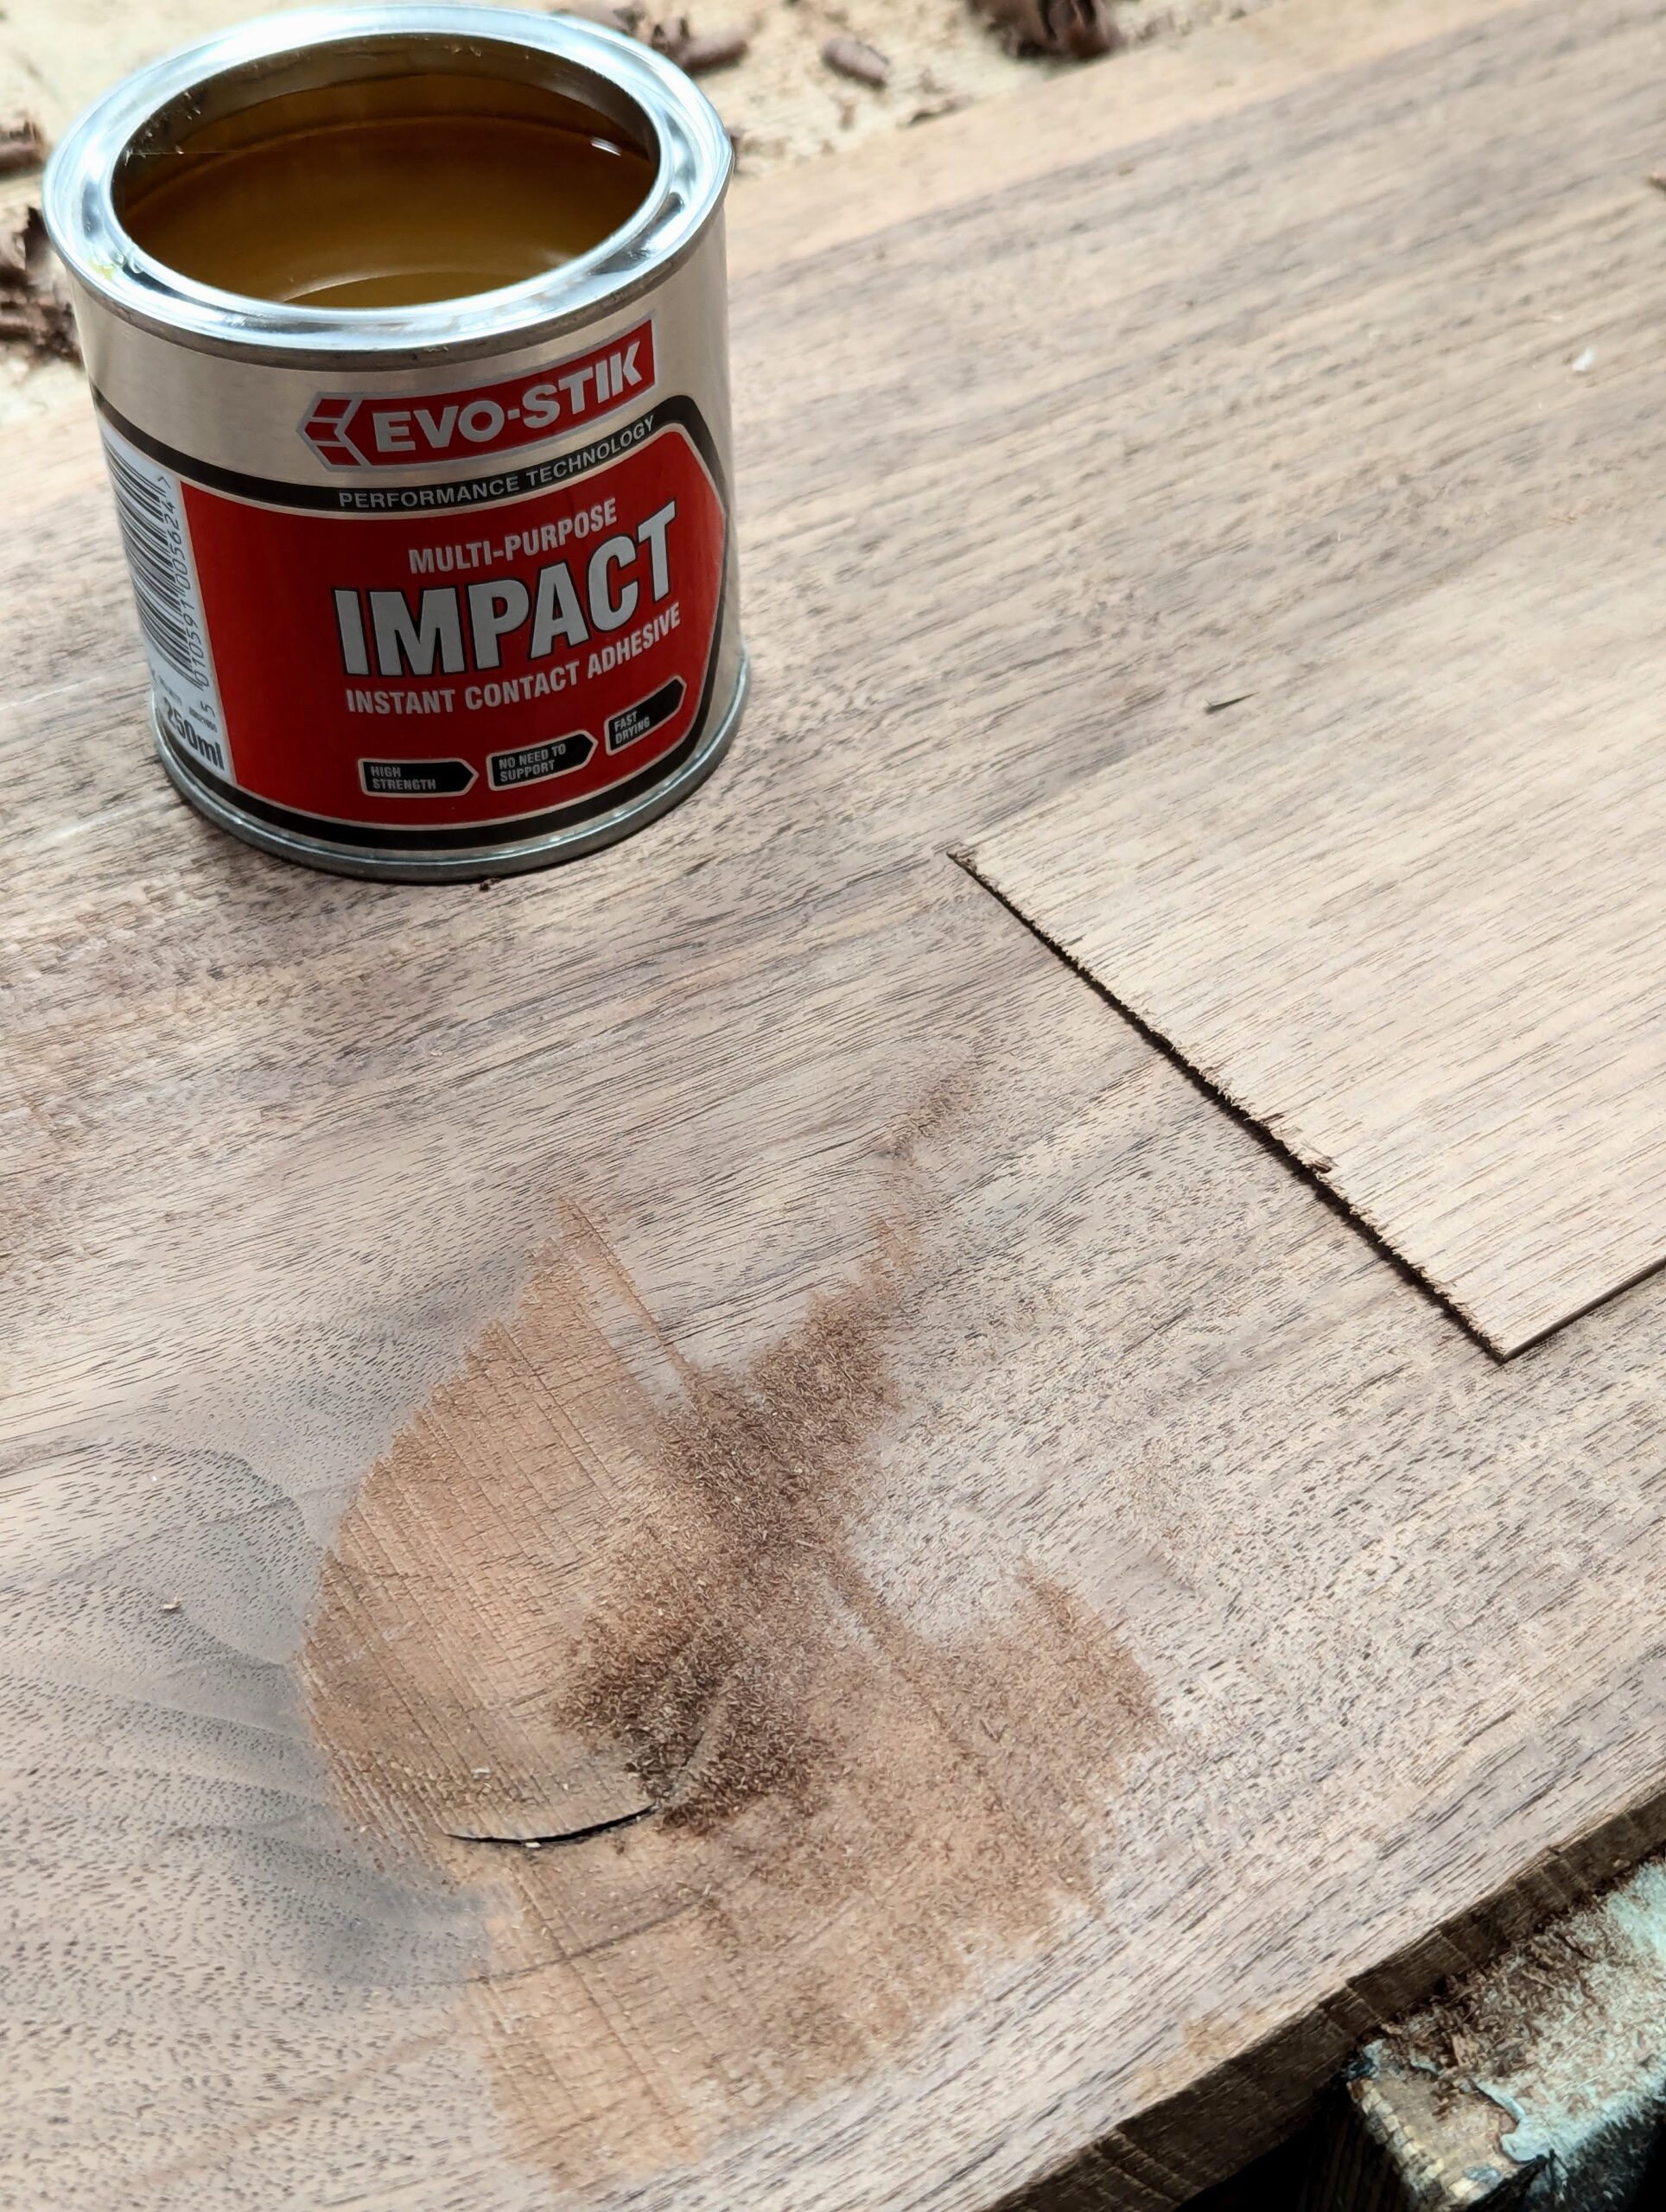
Using impact glue gives me the instancy I need.
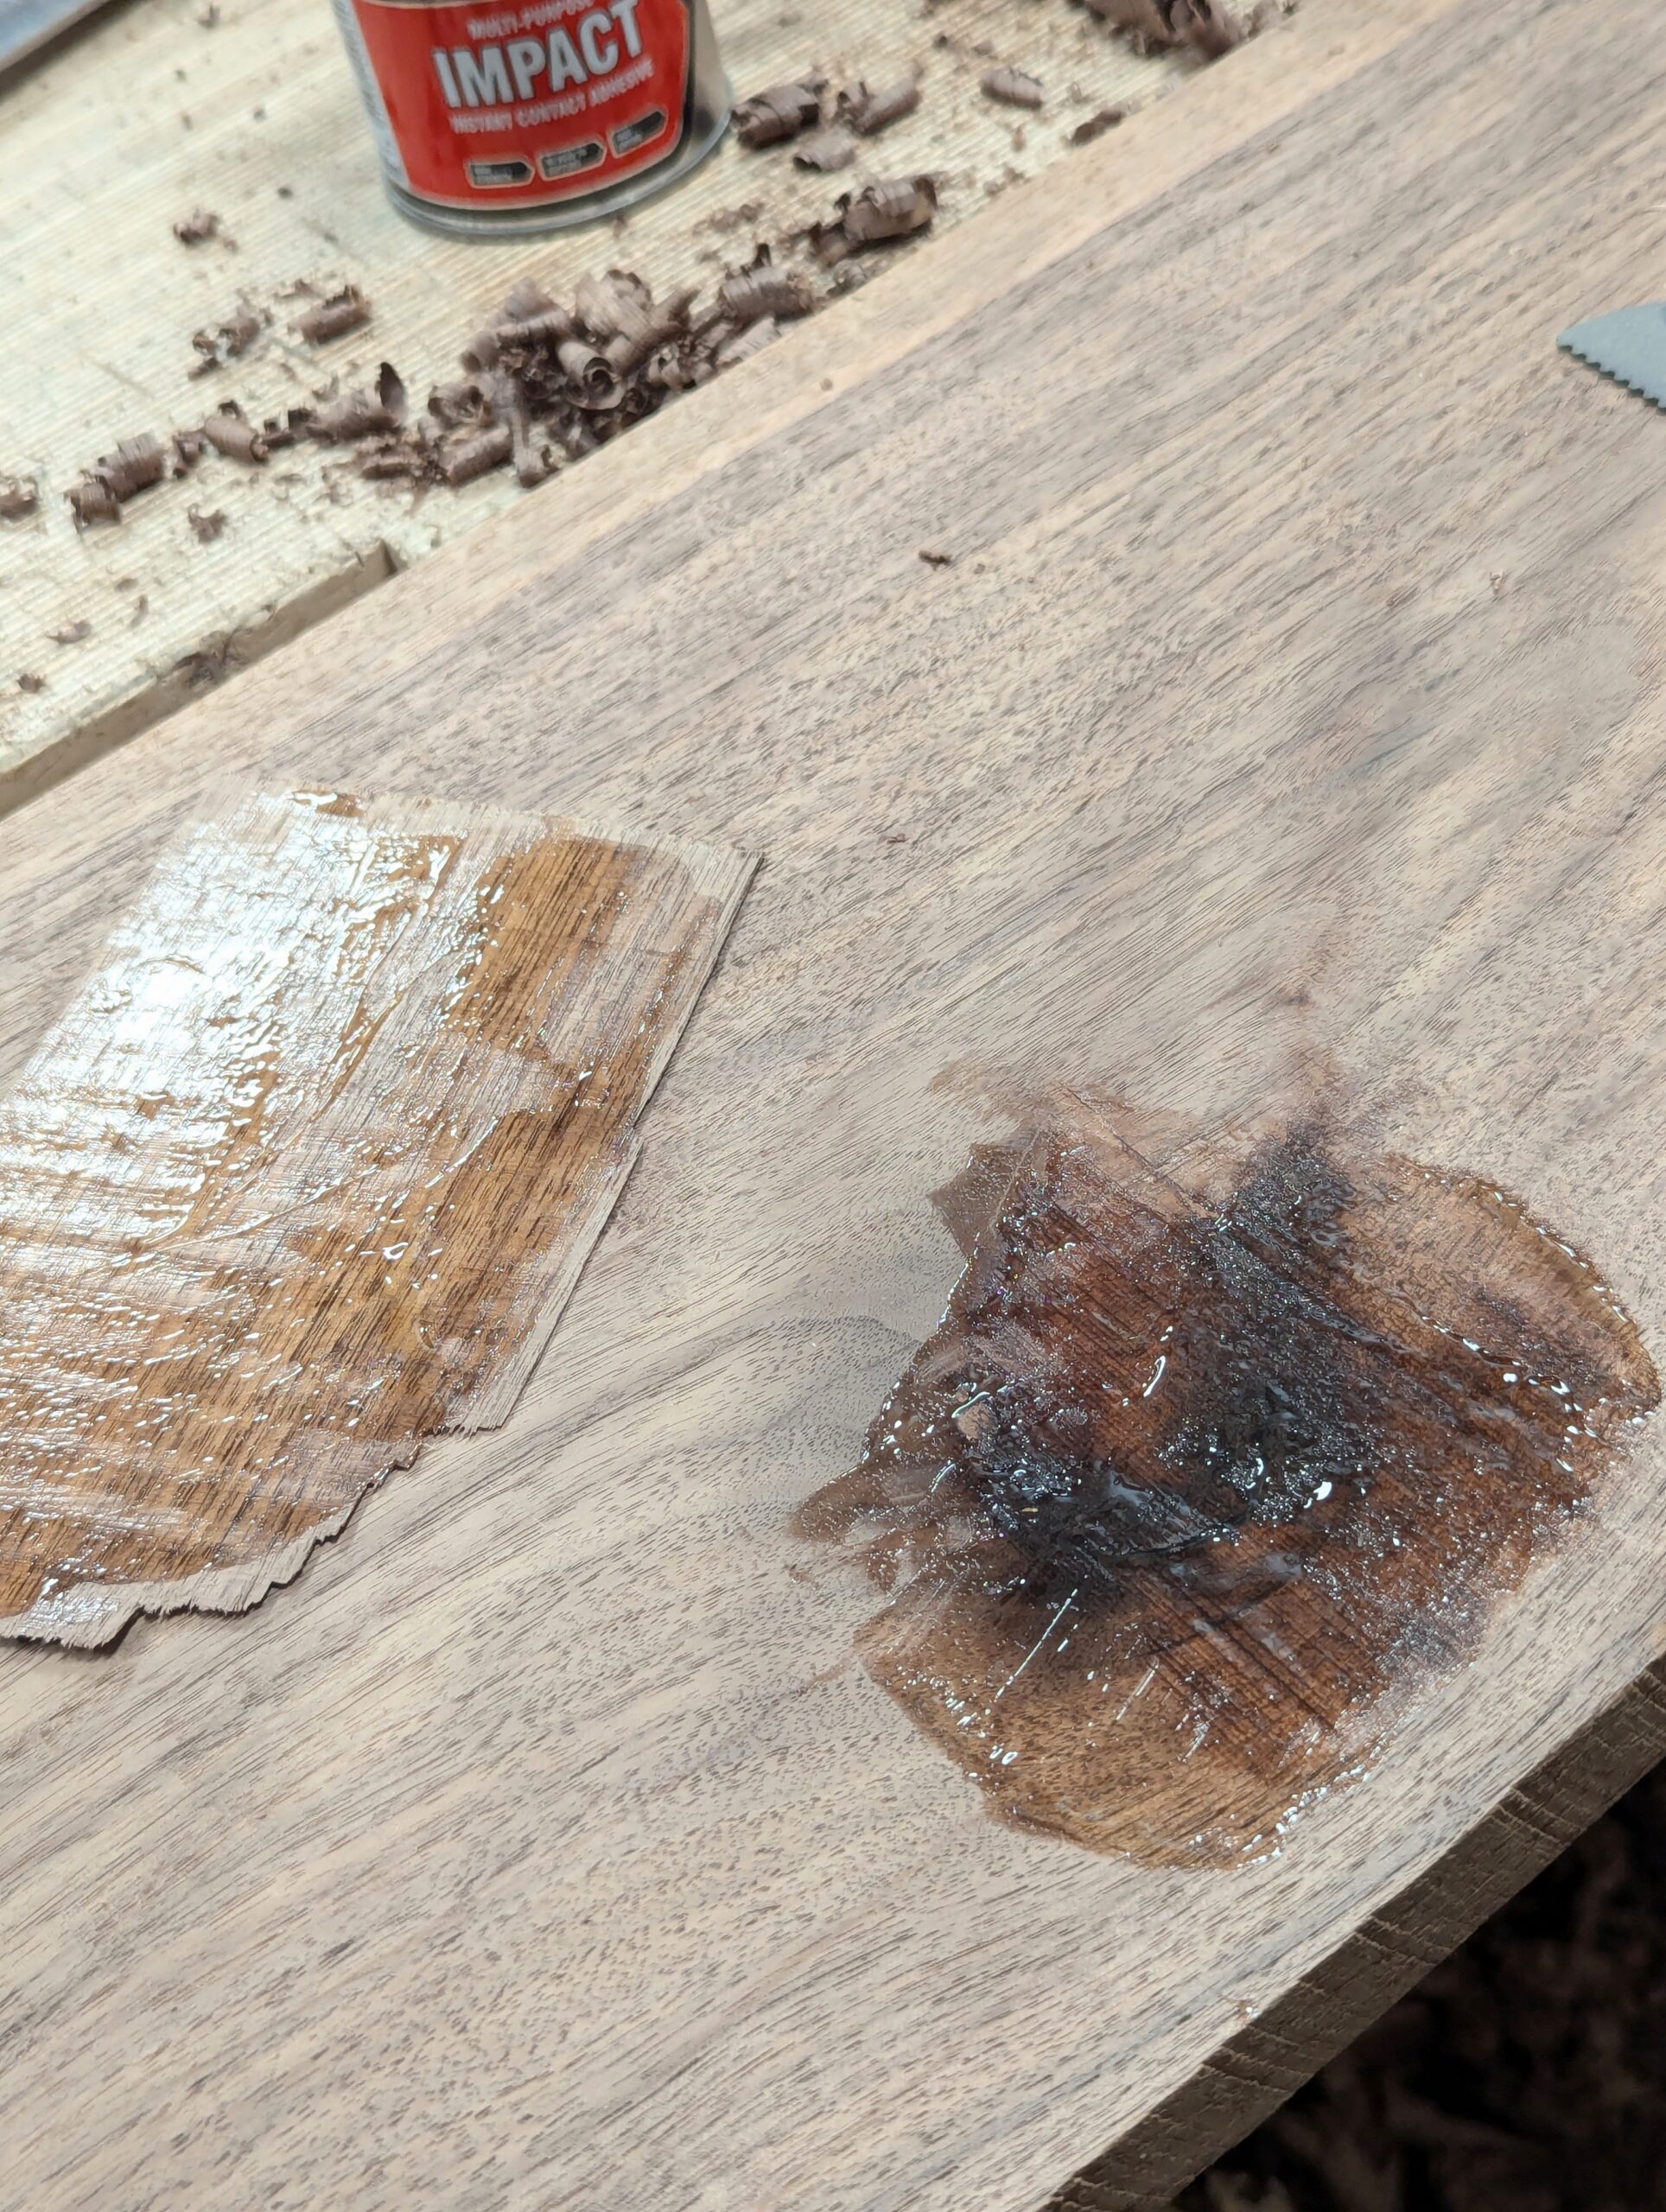
Apply a thin coat to both surfaces and I stress a thin, even coat.
Leave the surfaces exposed for a few minutes until touch dry.
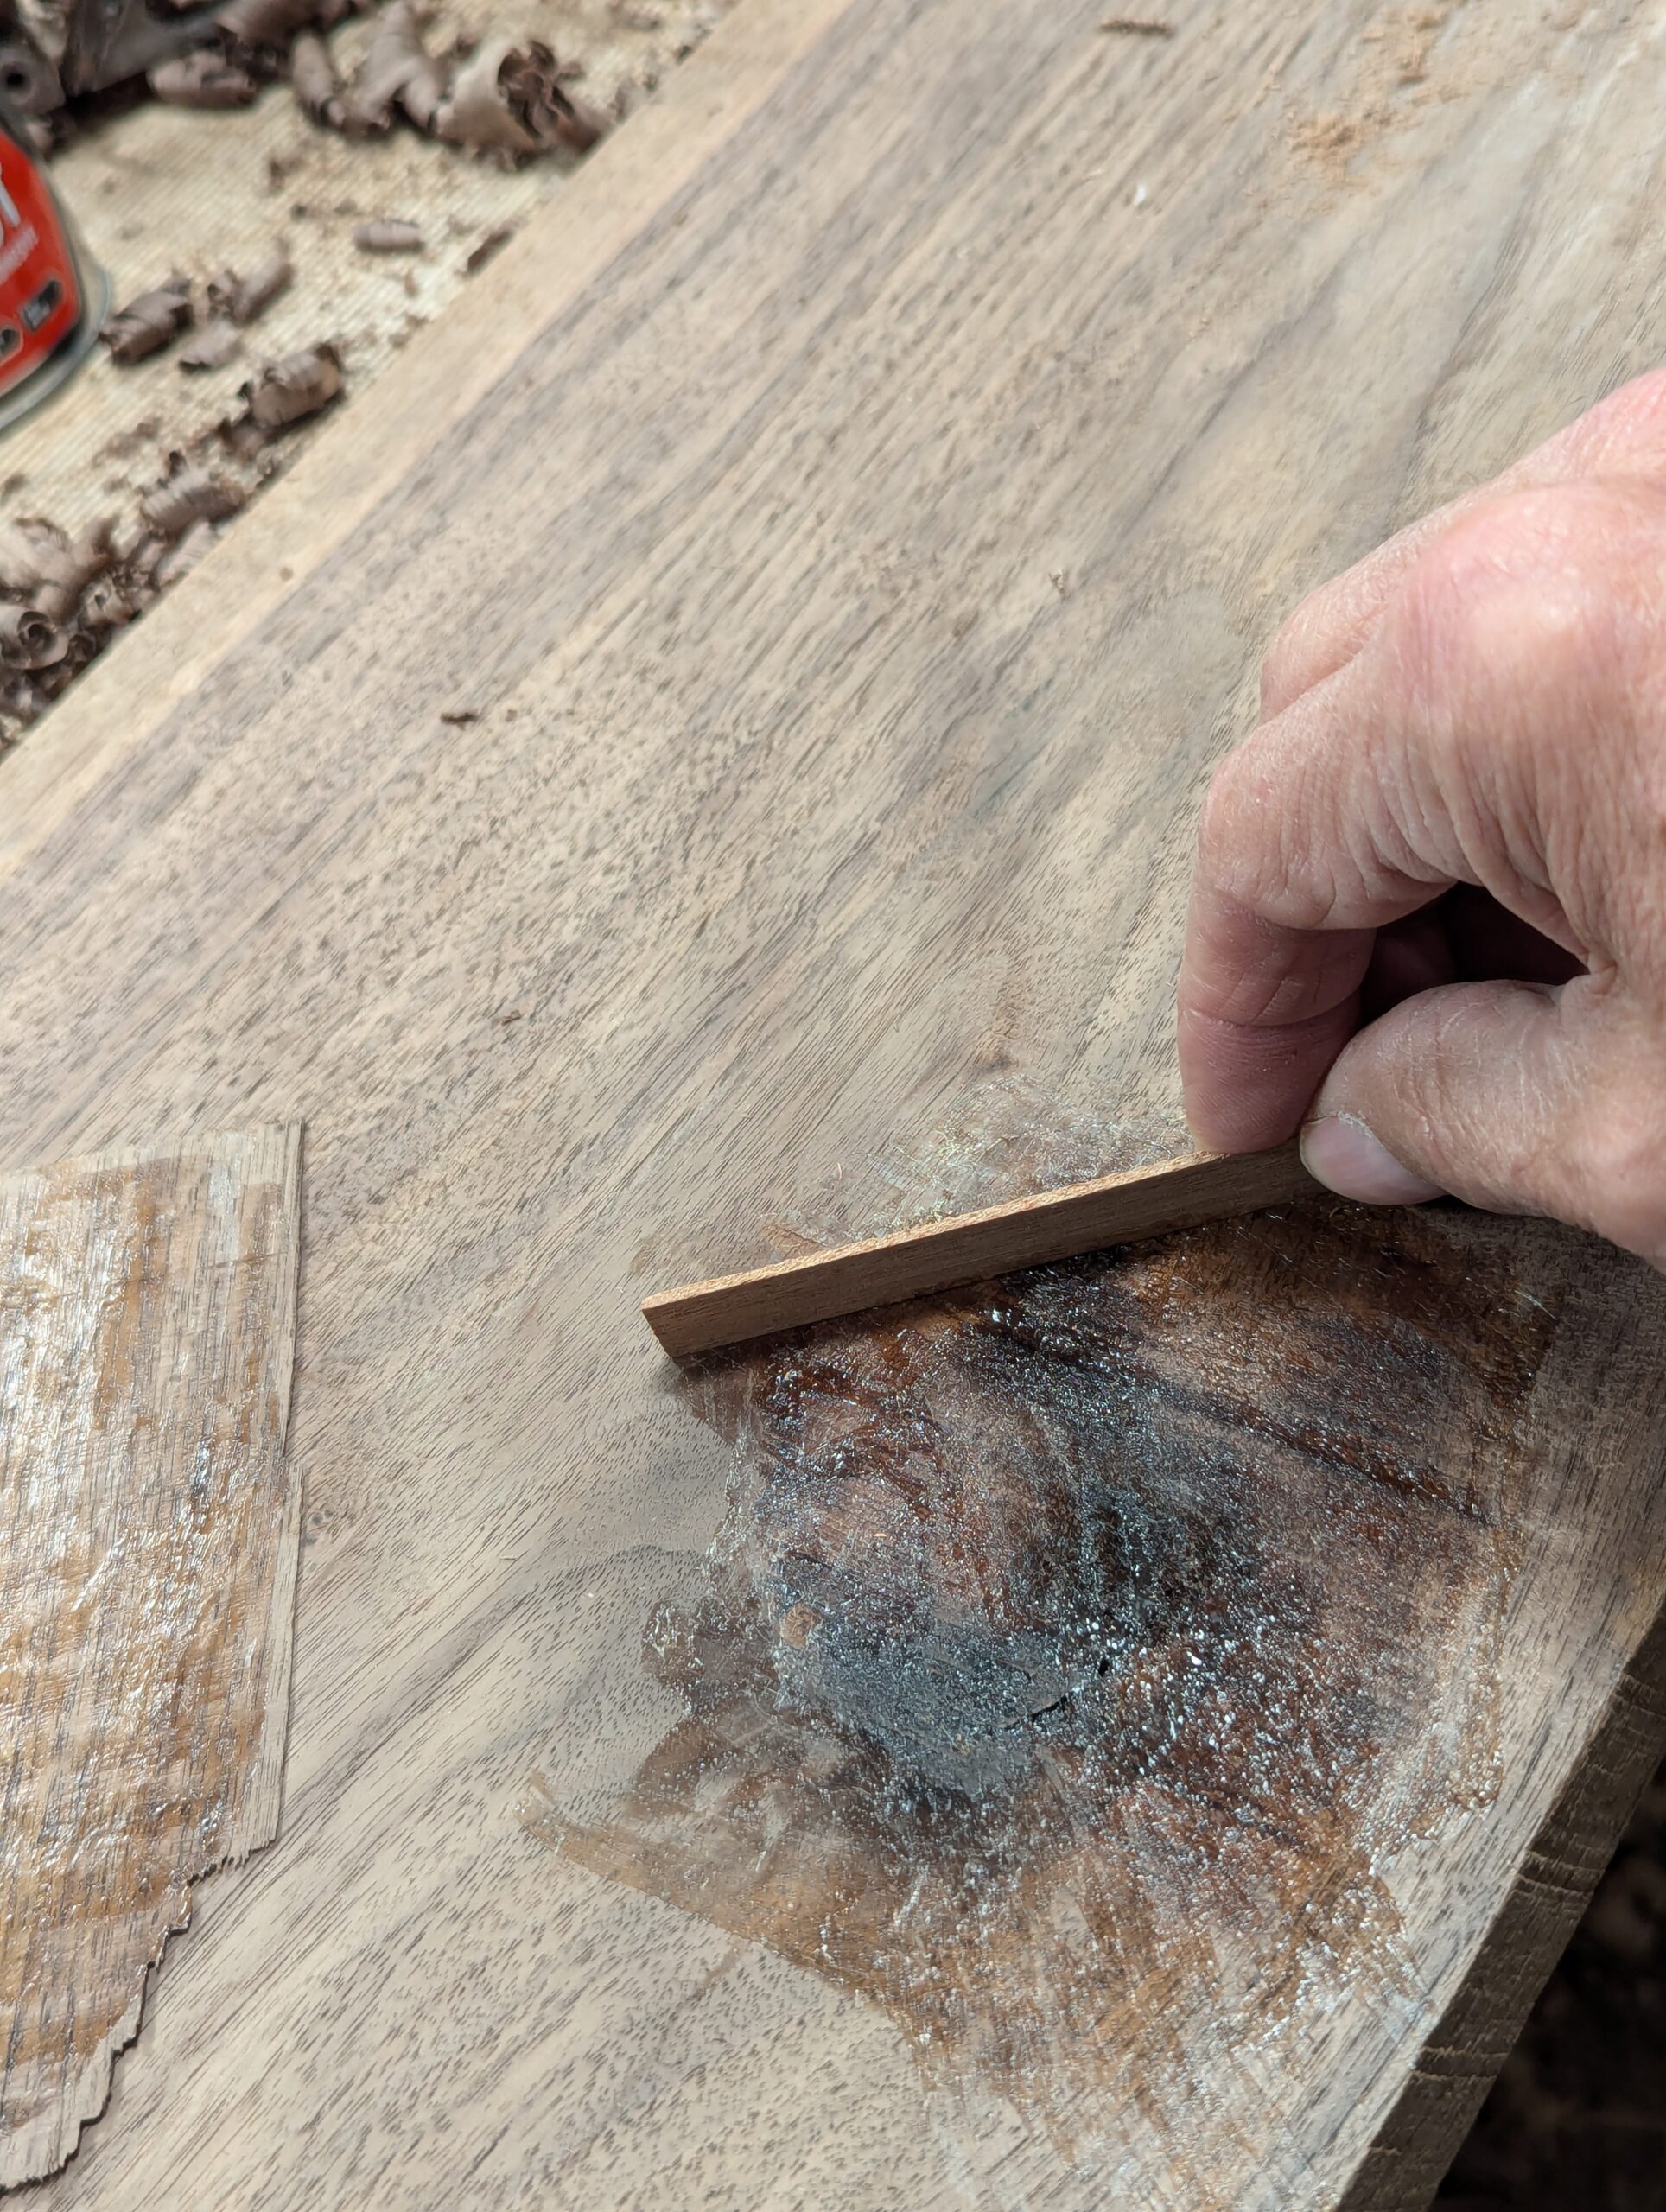
Place the two faces together and press home using the tennis ball which will conform the 'patch' to the whole surface of the indent.
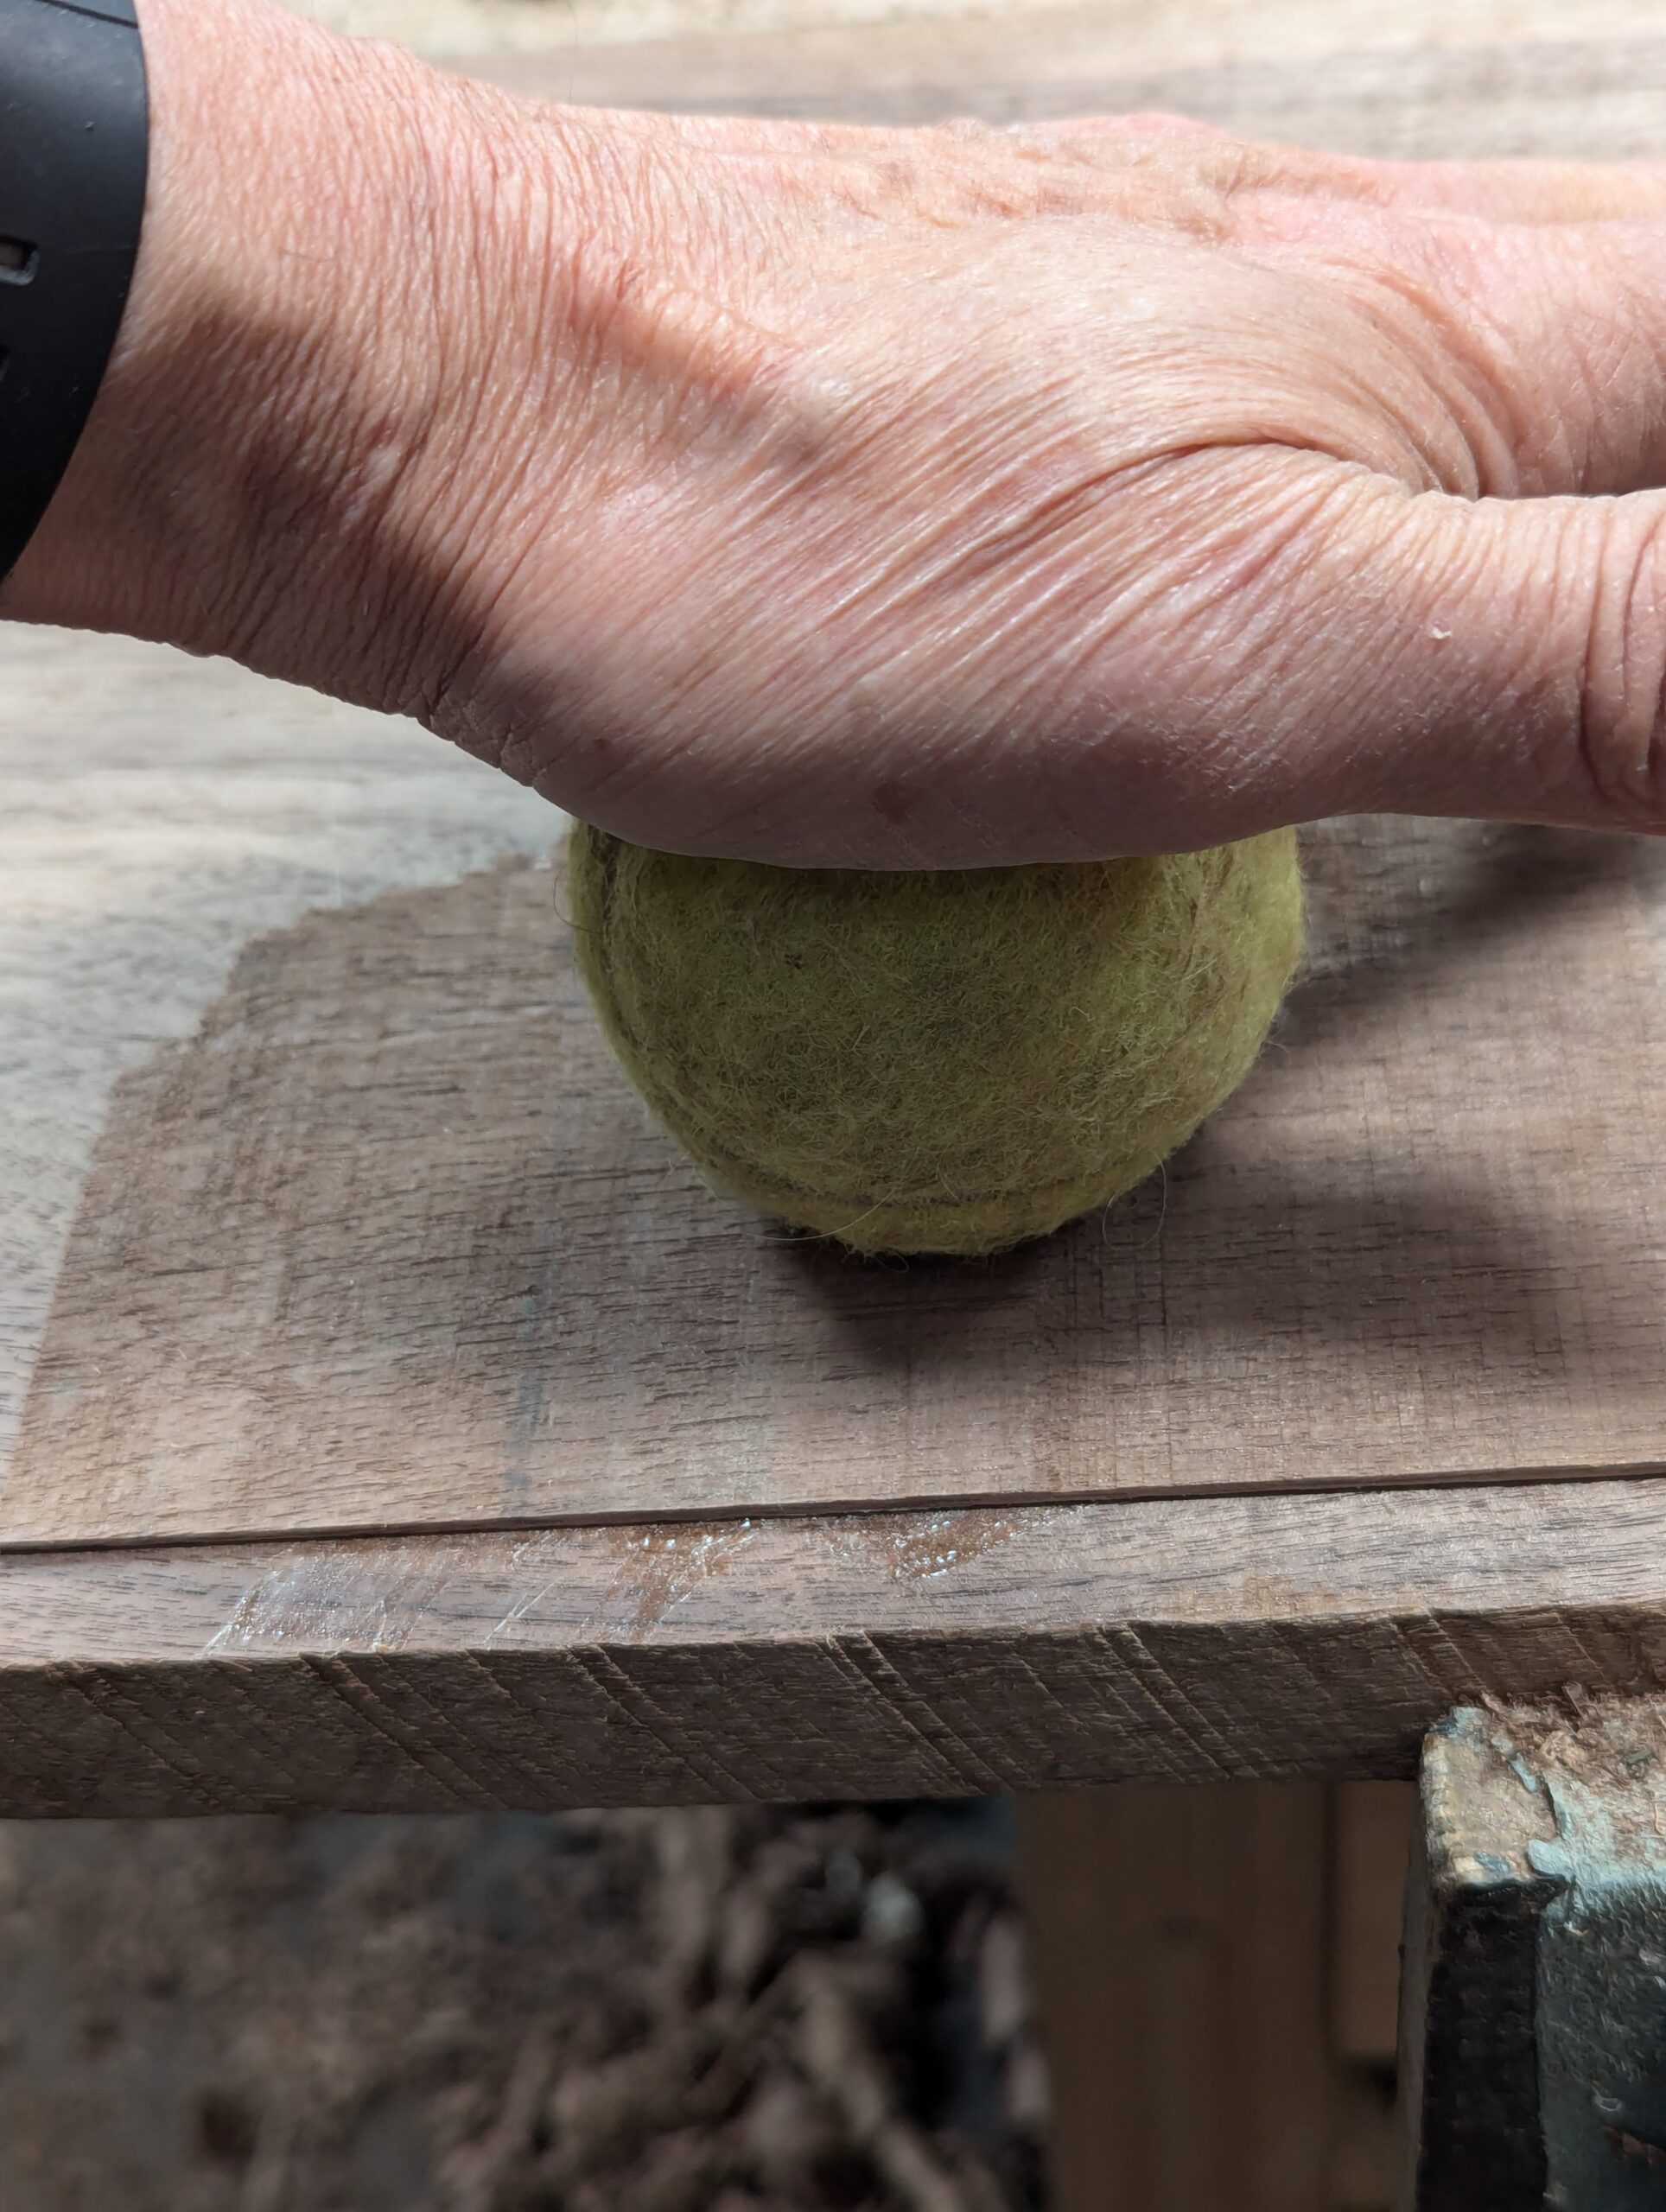
I like to apply as much pressure as possible on these small areas.
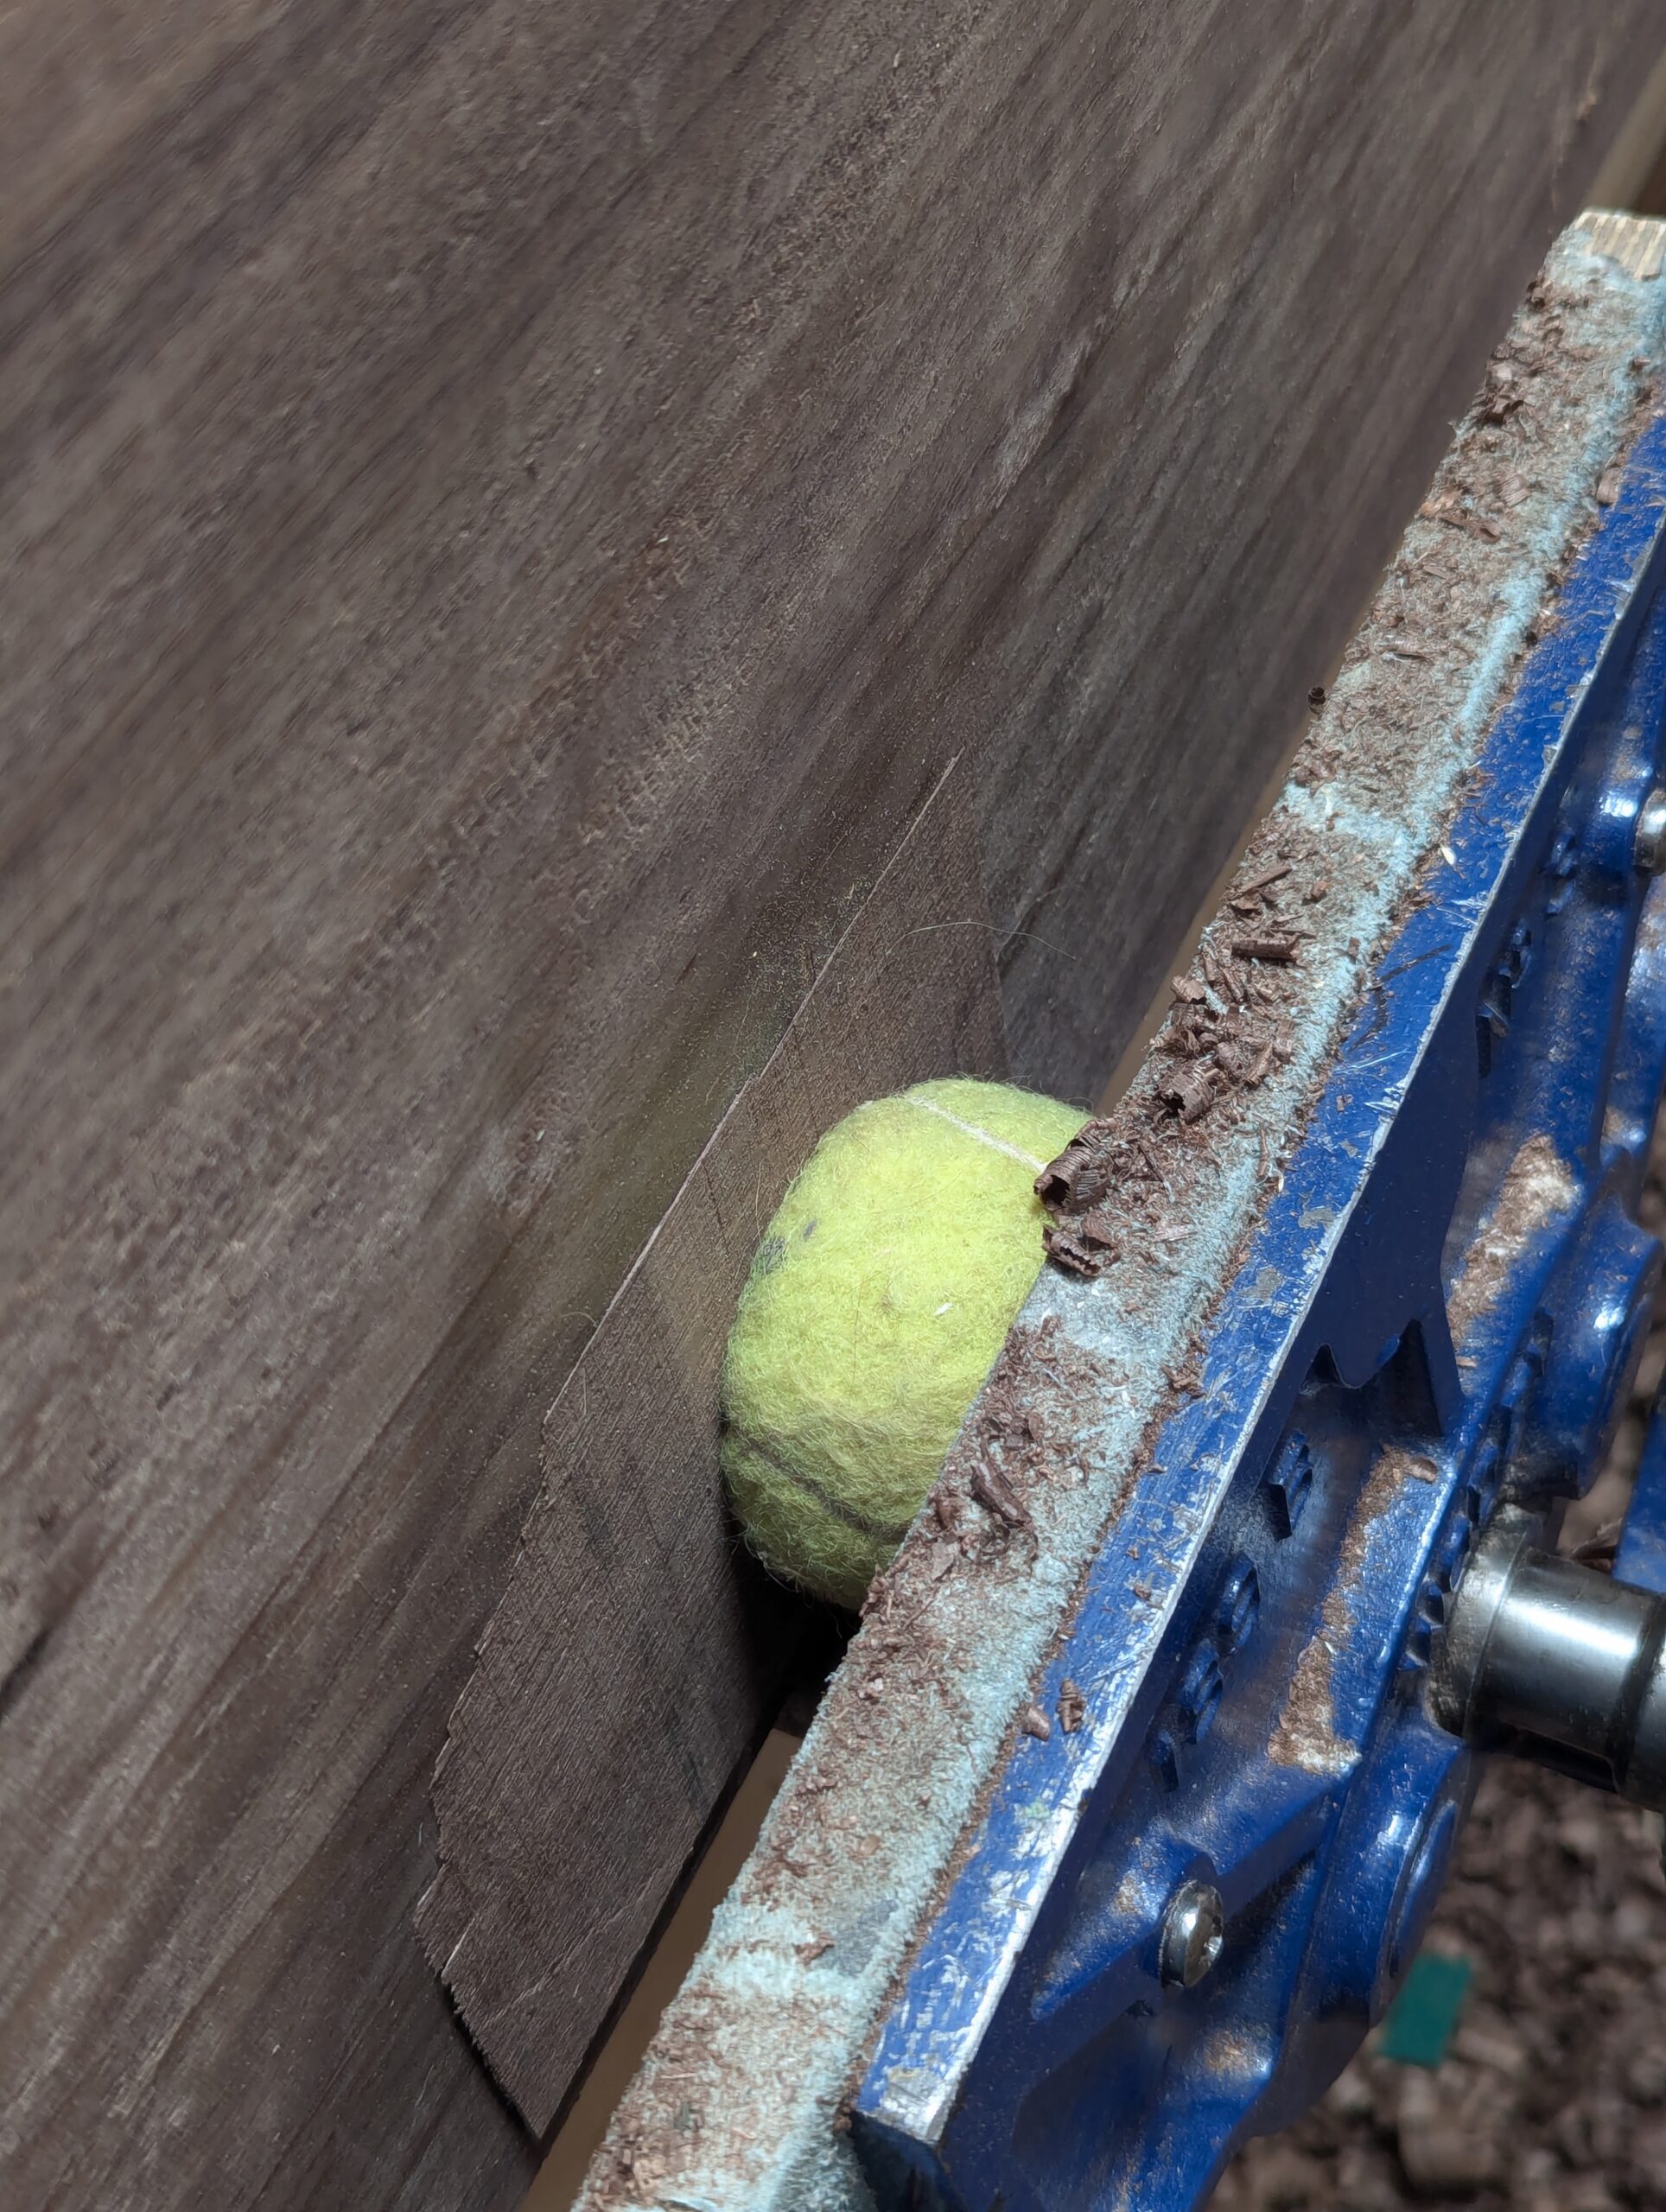
Putting it in the vise as shown delivers all the power you need but take care not to burst the tennis ball.
Go to my Instagram here to see what the video does!
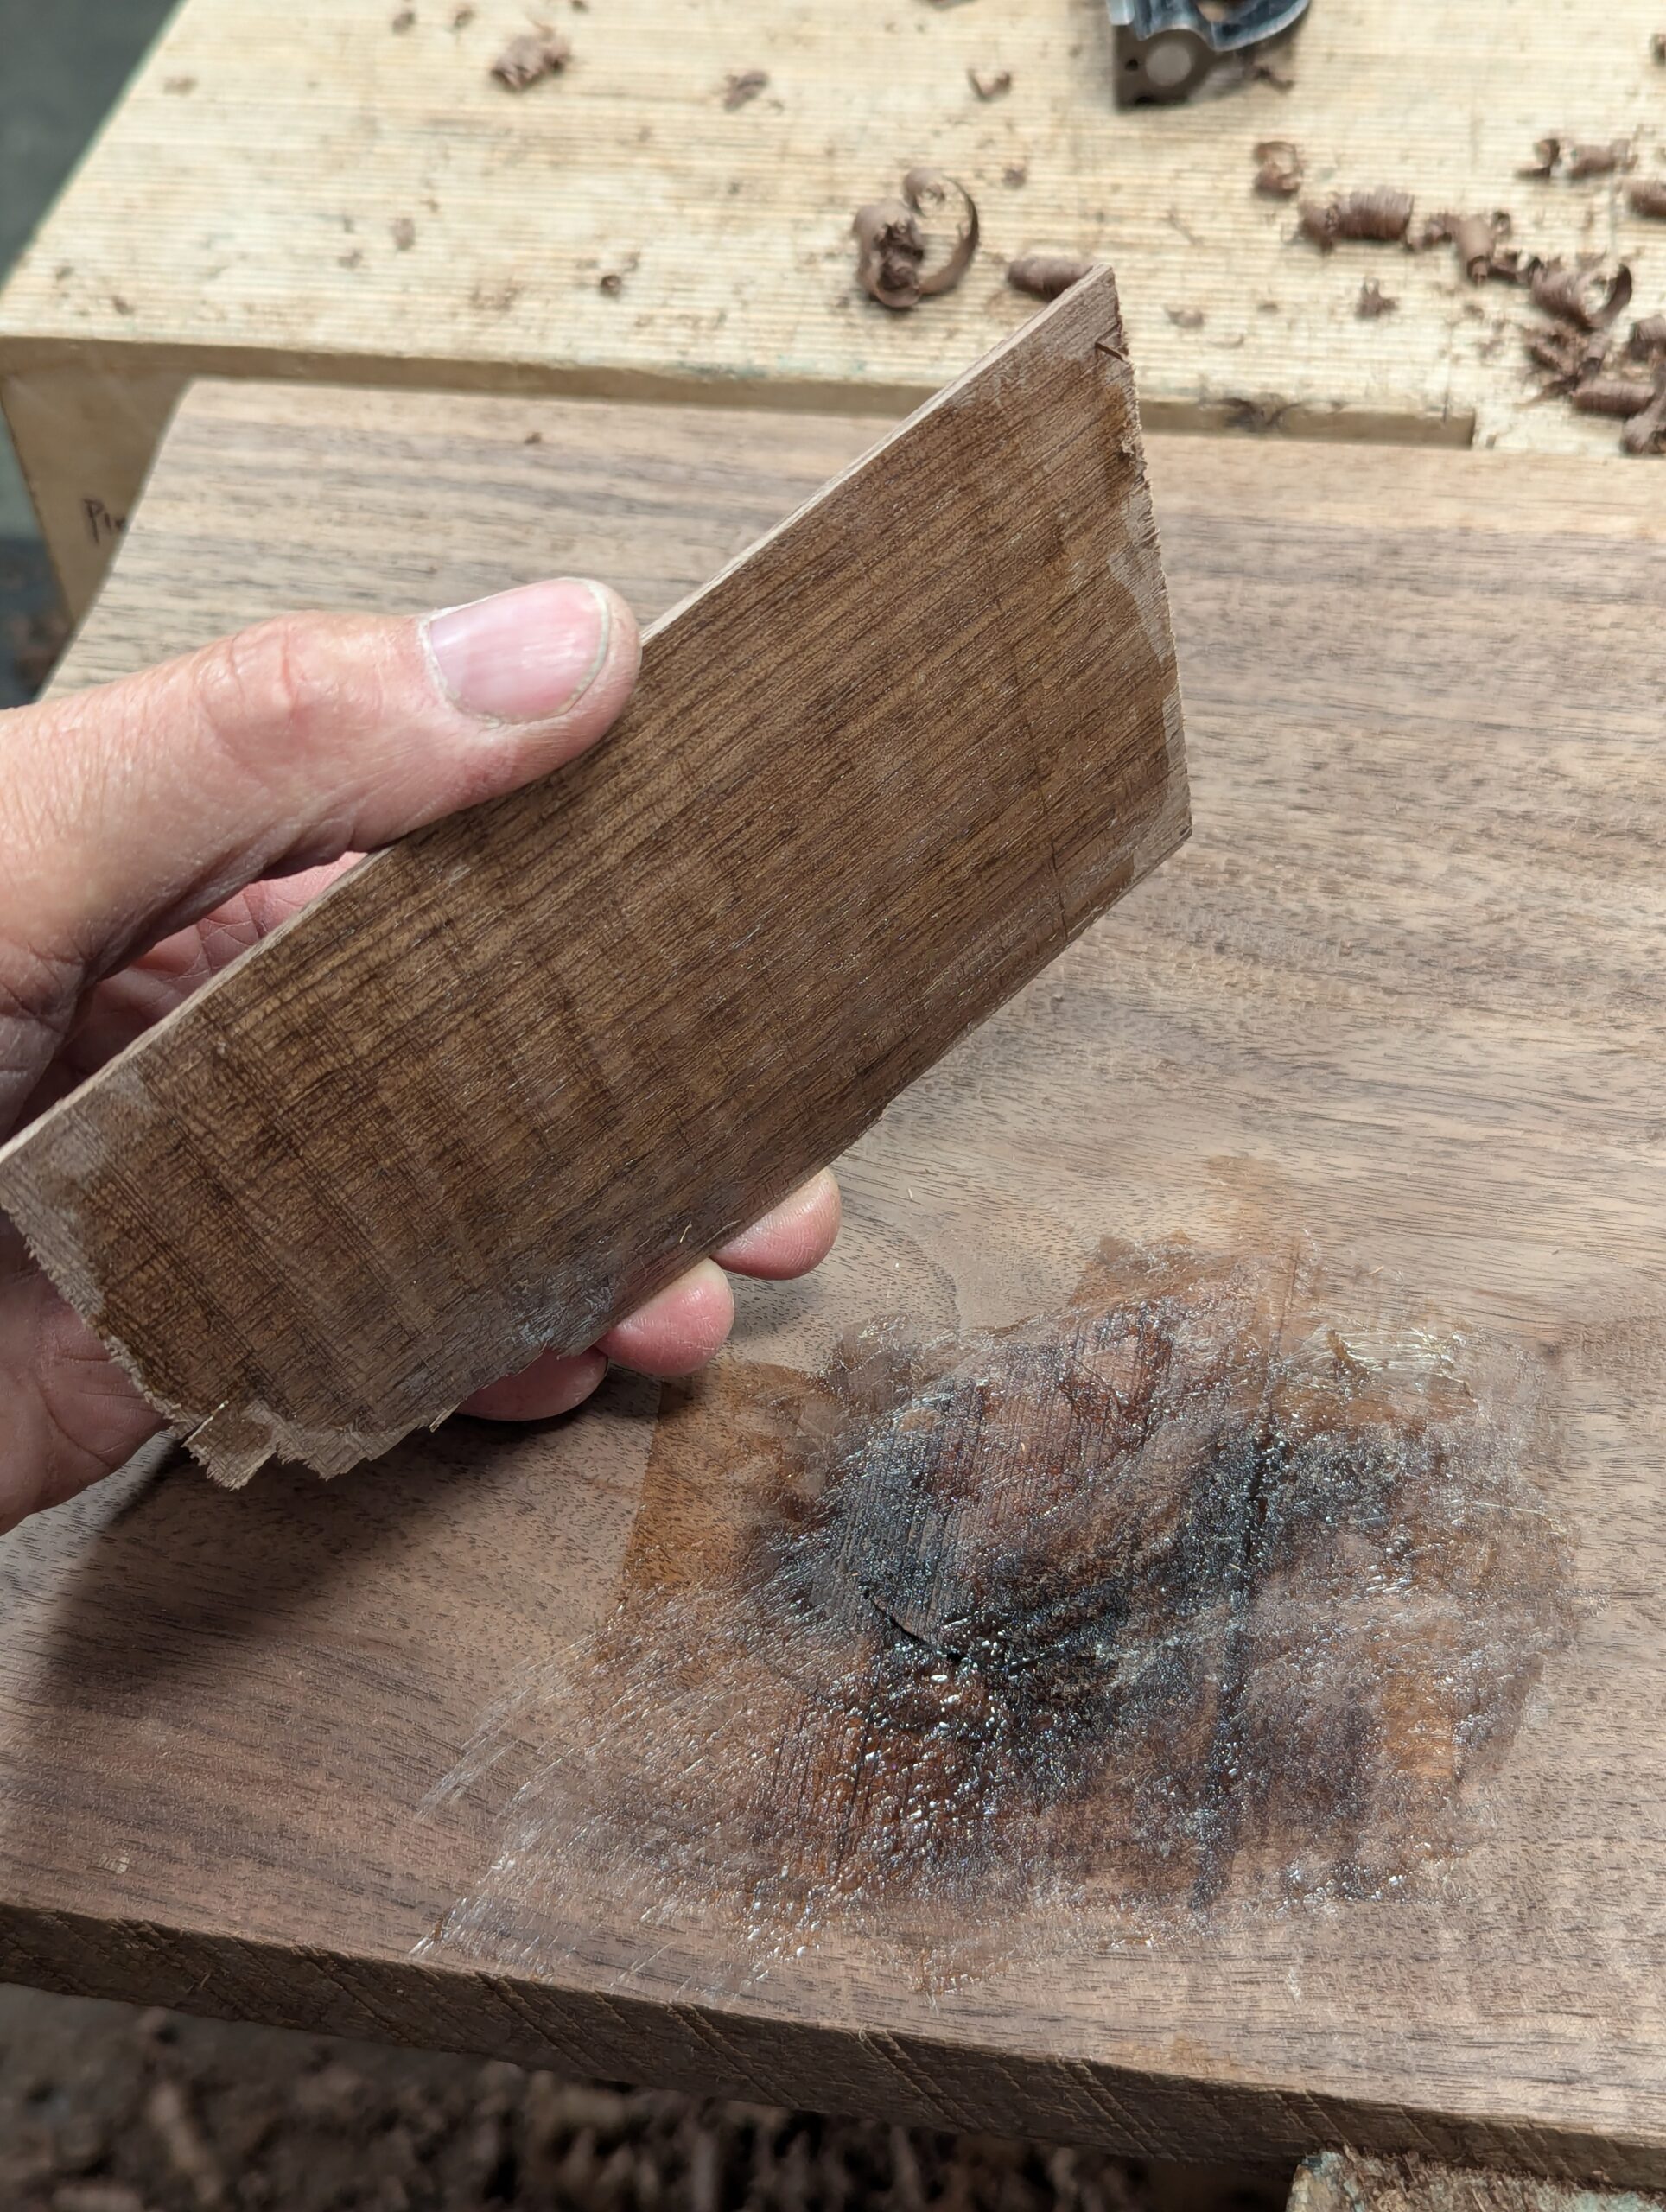
Now you see the impact of moving the wood from side to side to cover the whole patch.
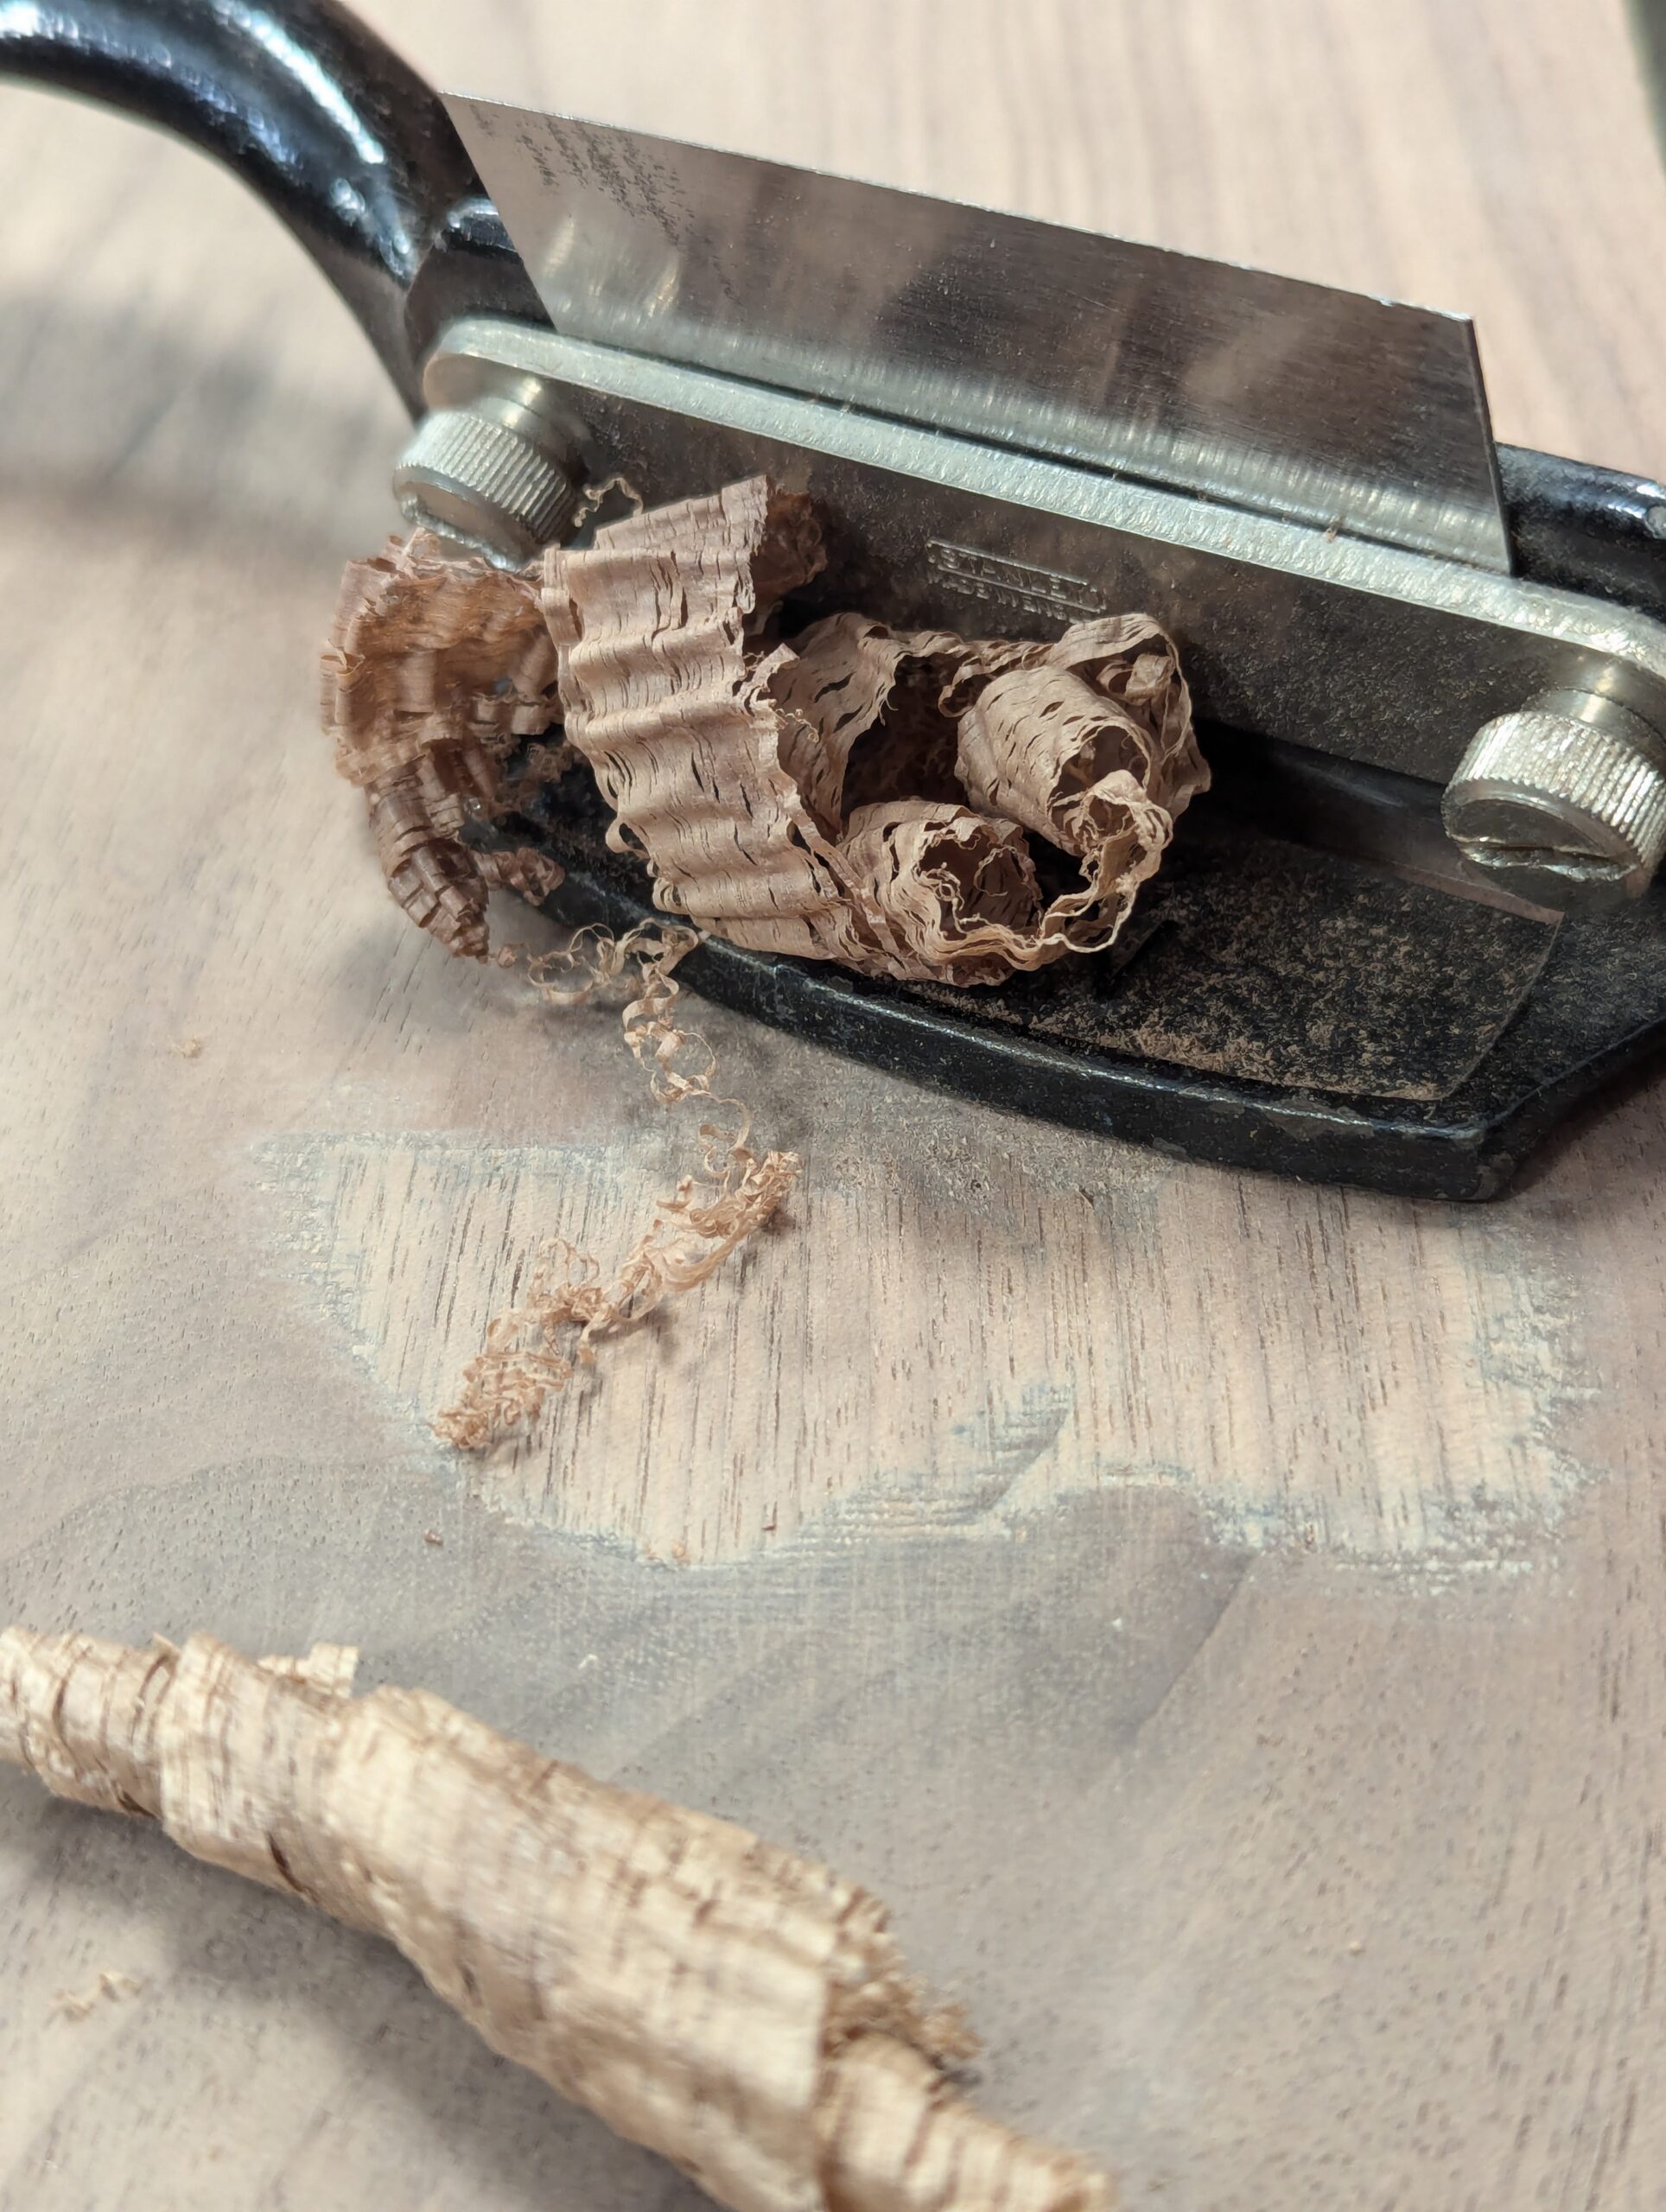
Remove the board and the patch is already permanent. Scraping is usually best but you can also belt sand if you prefer.
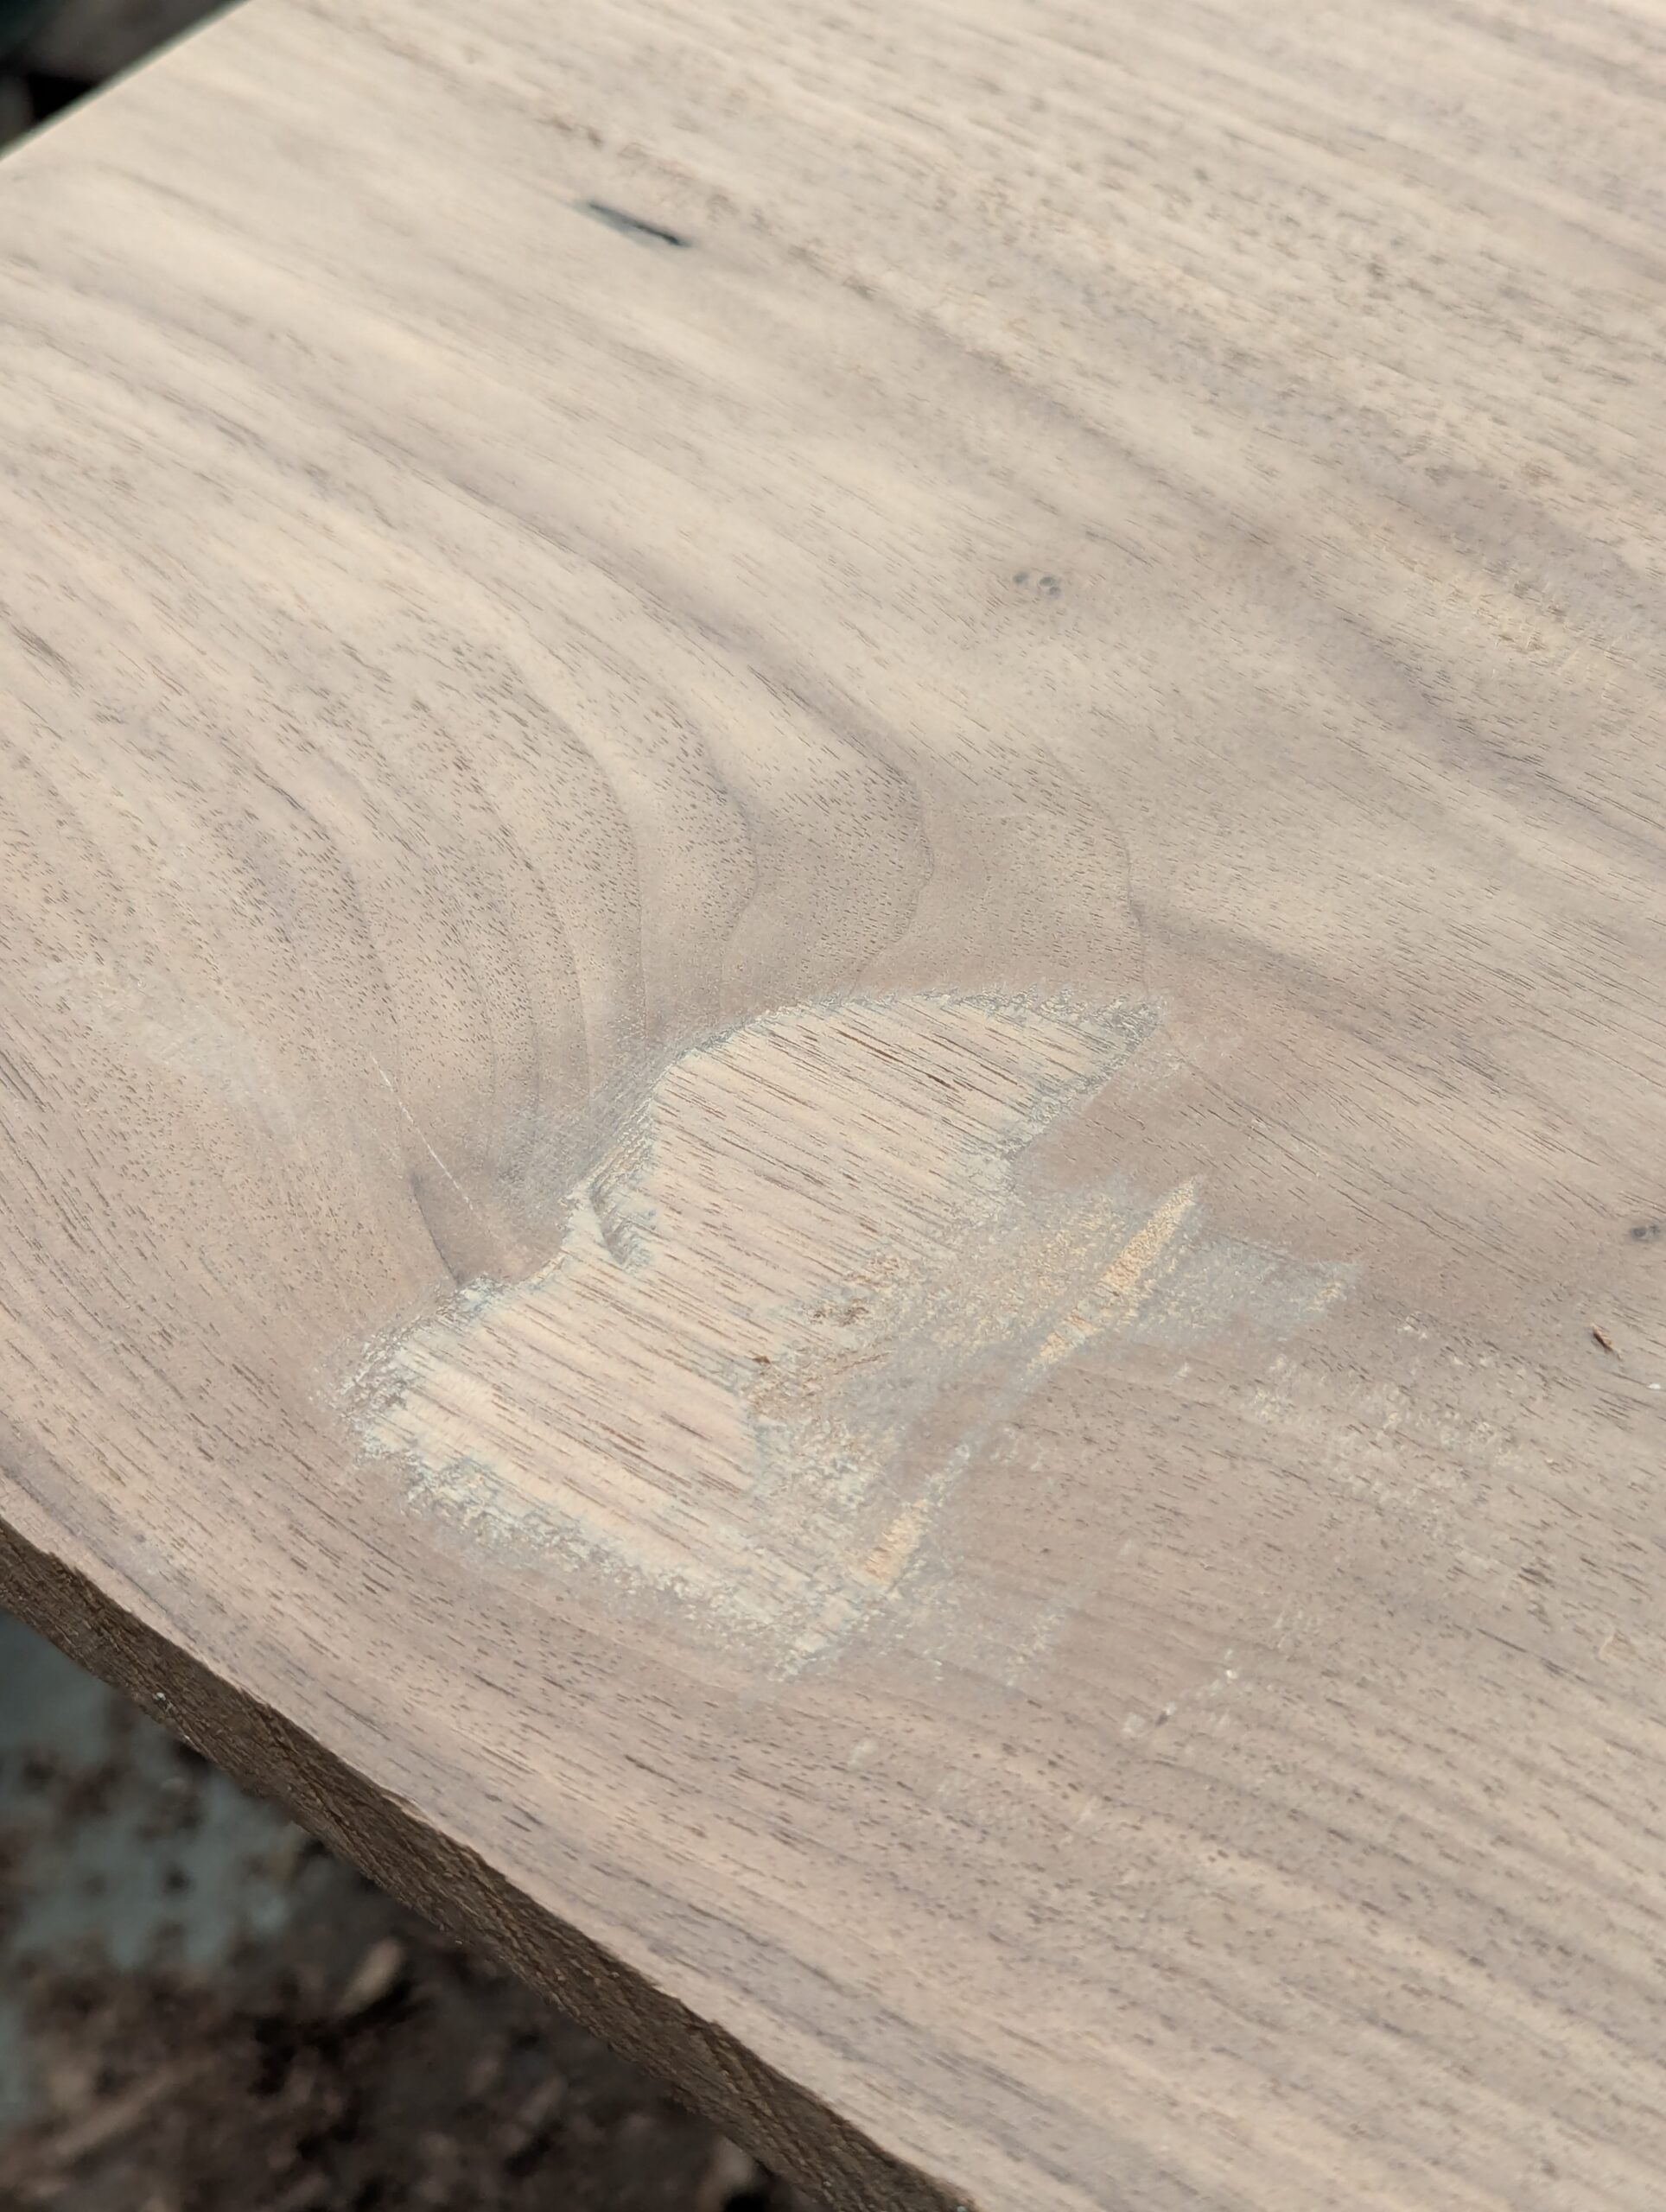
In my case, my patch was not intended to grain match but with the right wood, the patch of this kind makes the repair simply disappear.
As you can see, the depression is now brought level with the rest of the wood. You may never need this but you can also use the method for inlays and small veneering areas too.
Comments ()