The Evolving Toolbox
Toolboxes as actual boxes would once have been more tool chests. The portability of tools from workshop to customer was essential to most makers and indeed to the old men I worked with who spoke of handcarts loaded with wood and their tool chests, stepladders and sawhorses to go to work on a house or in business premises and be there for a month or even three. Where the craftsman went, so too did his tools. The box contained handsaws and planes aplenty in different sizes and types. Tills held chisels and other paraphernalia with bent shanks and awkward shapes to cut and fit components and then bobbins for string chalk lines and so forth. Once the tools were rested in the workplace, added equipment would be parked around to support the work, mainly saw horses and planks, but even a bench might arrive for the larger jobs where construction took place for work in situ.
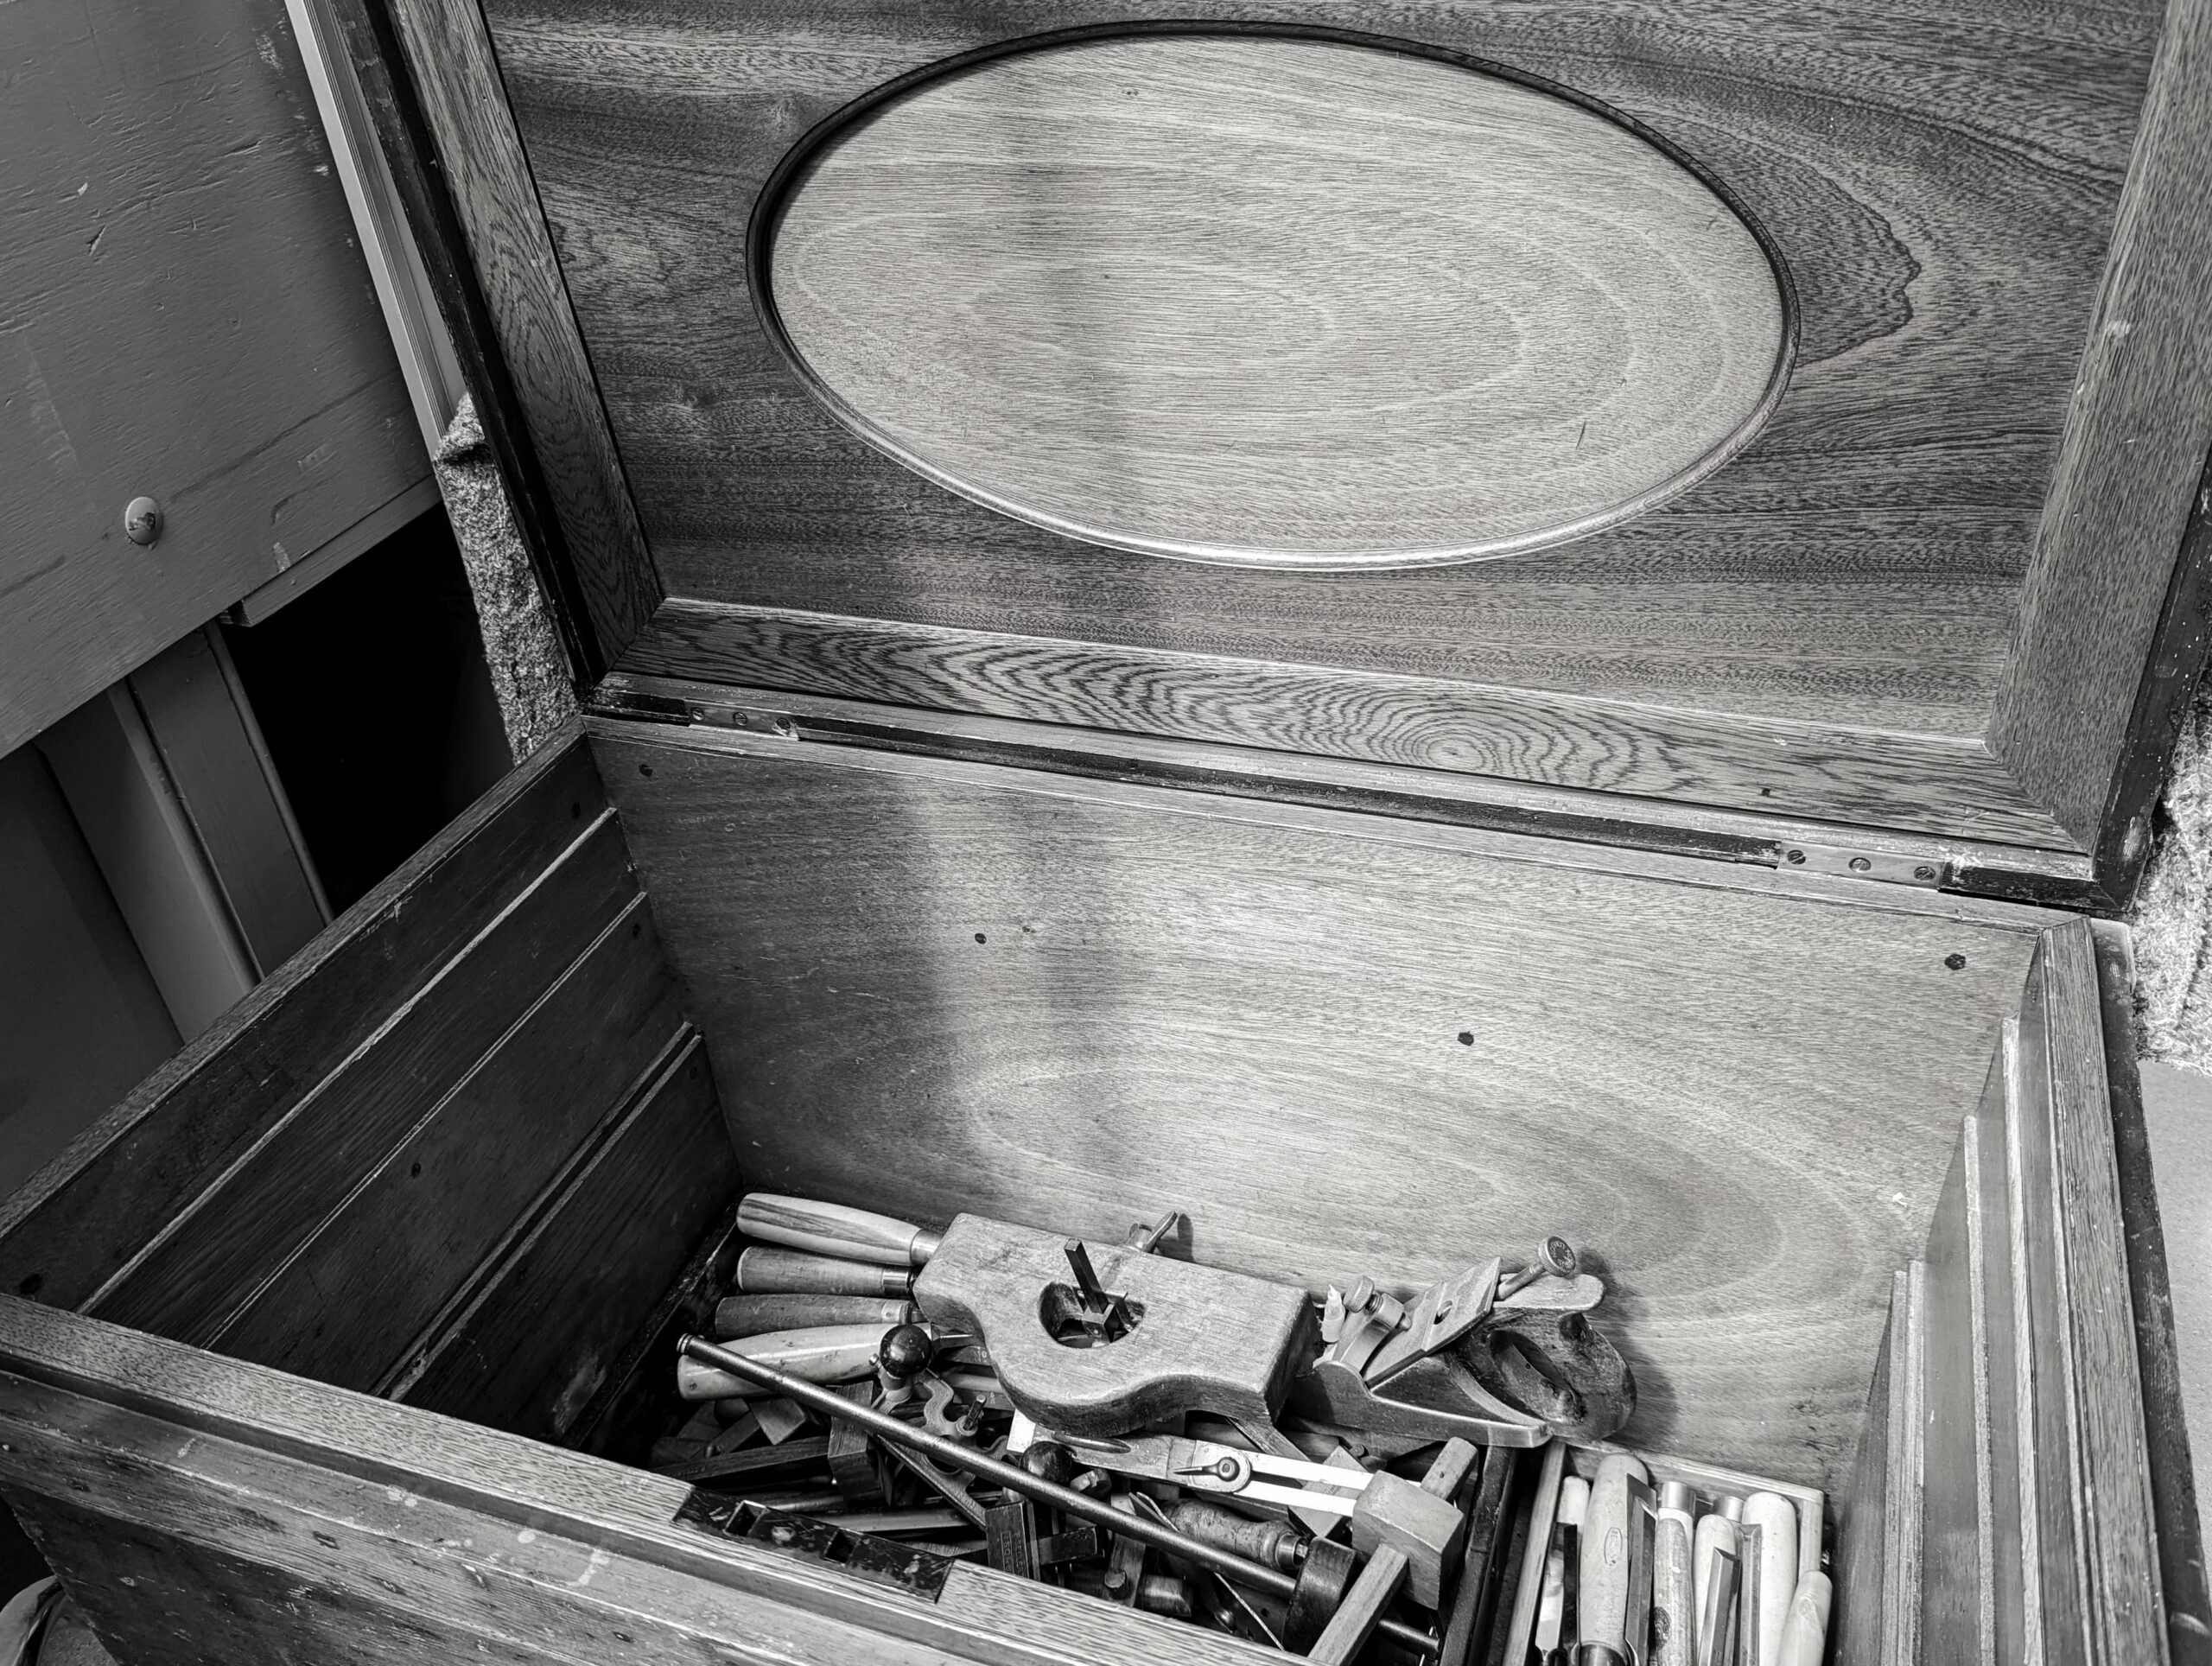
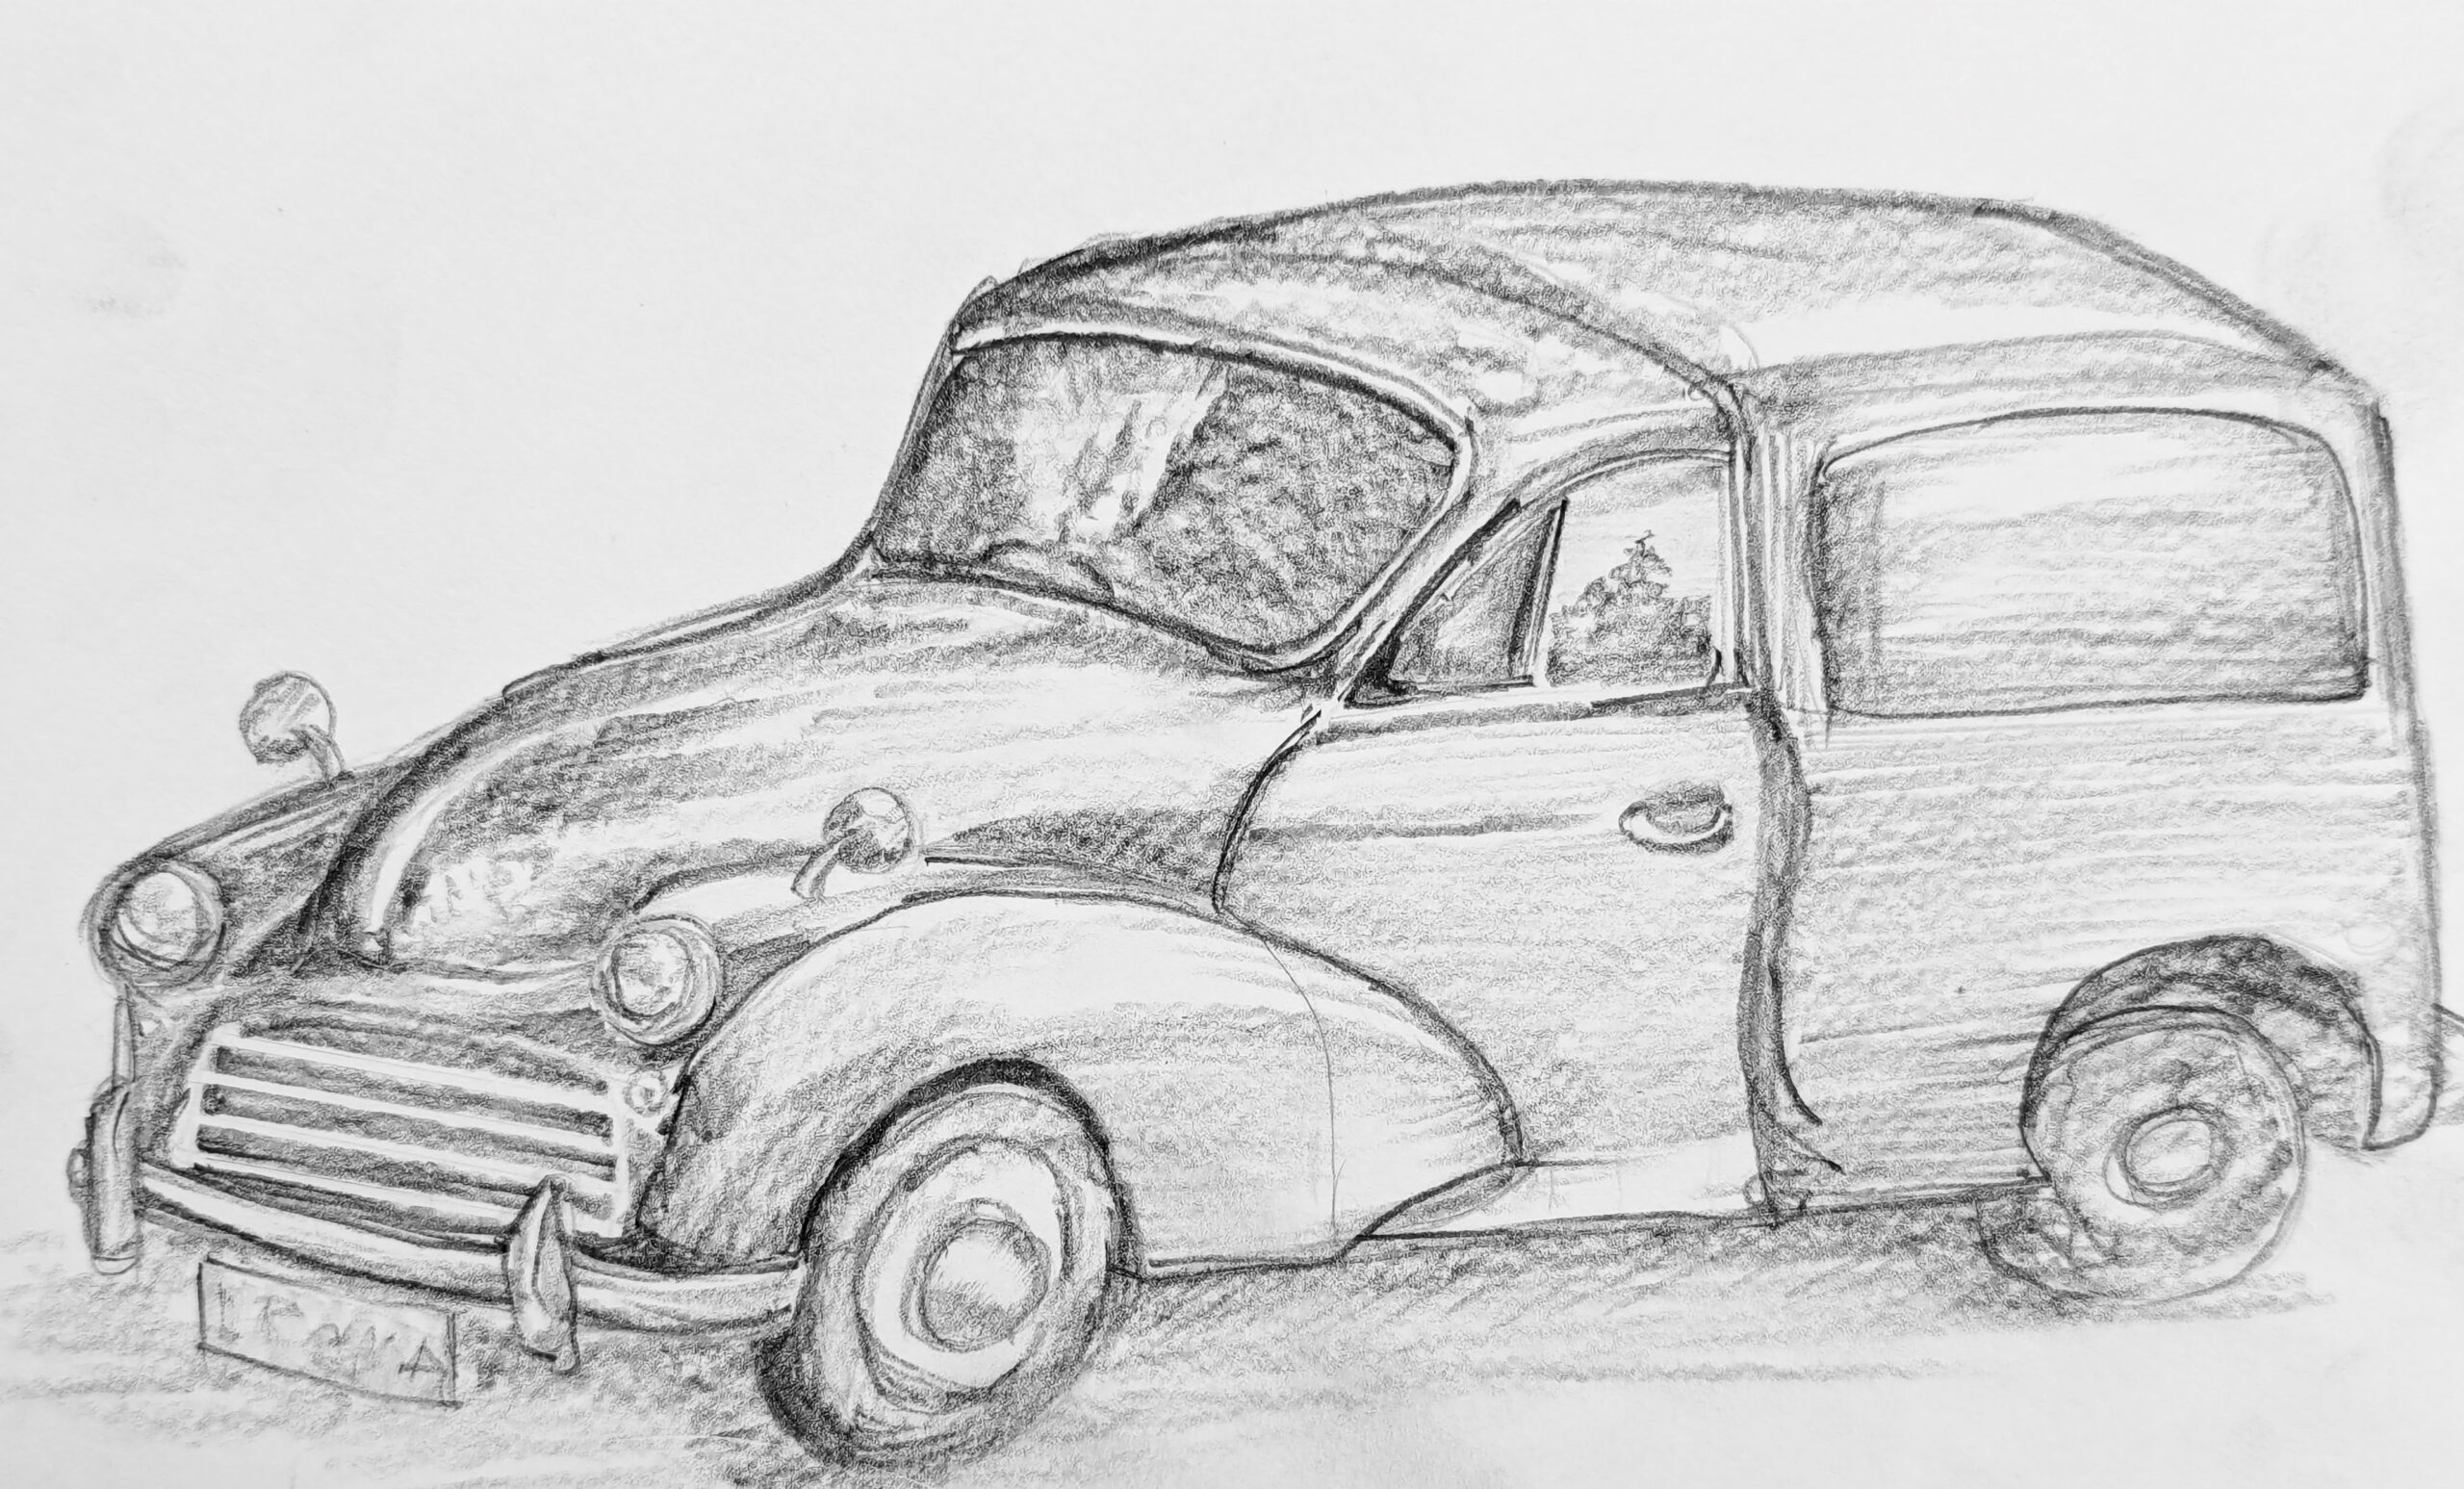
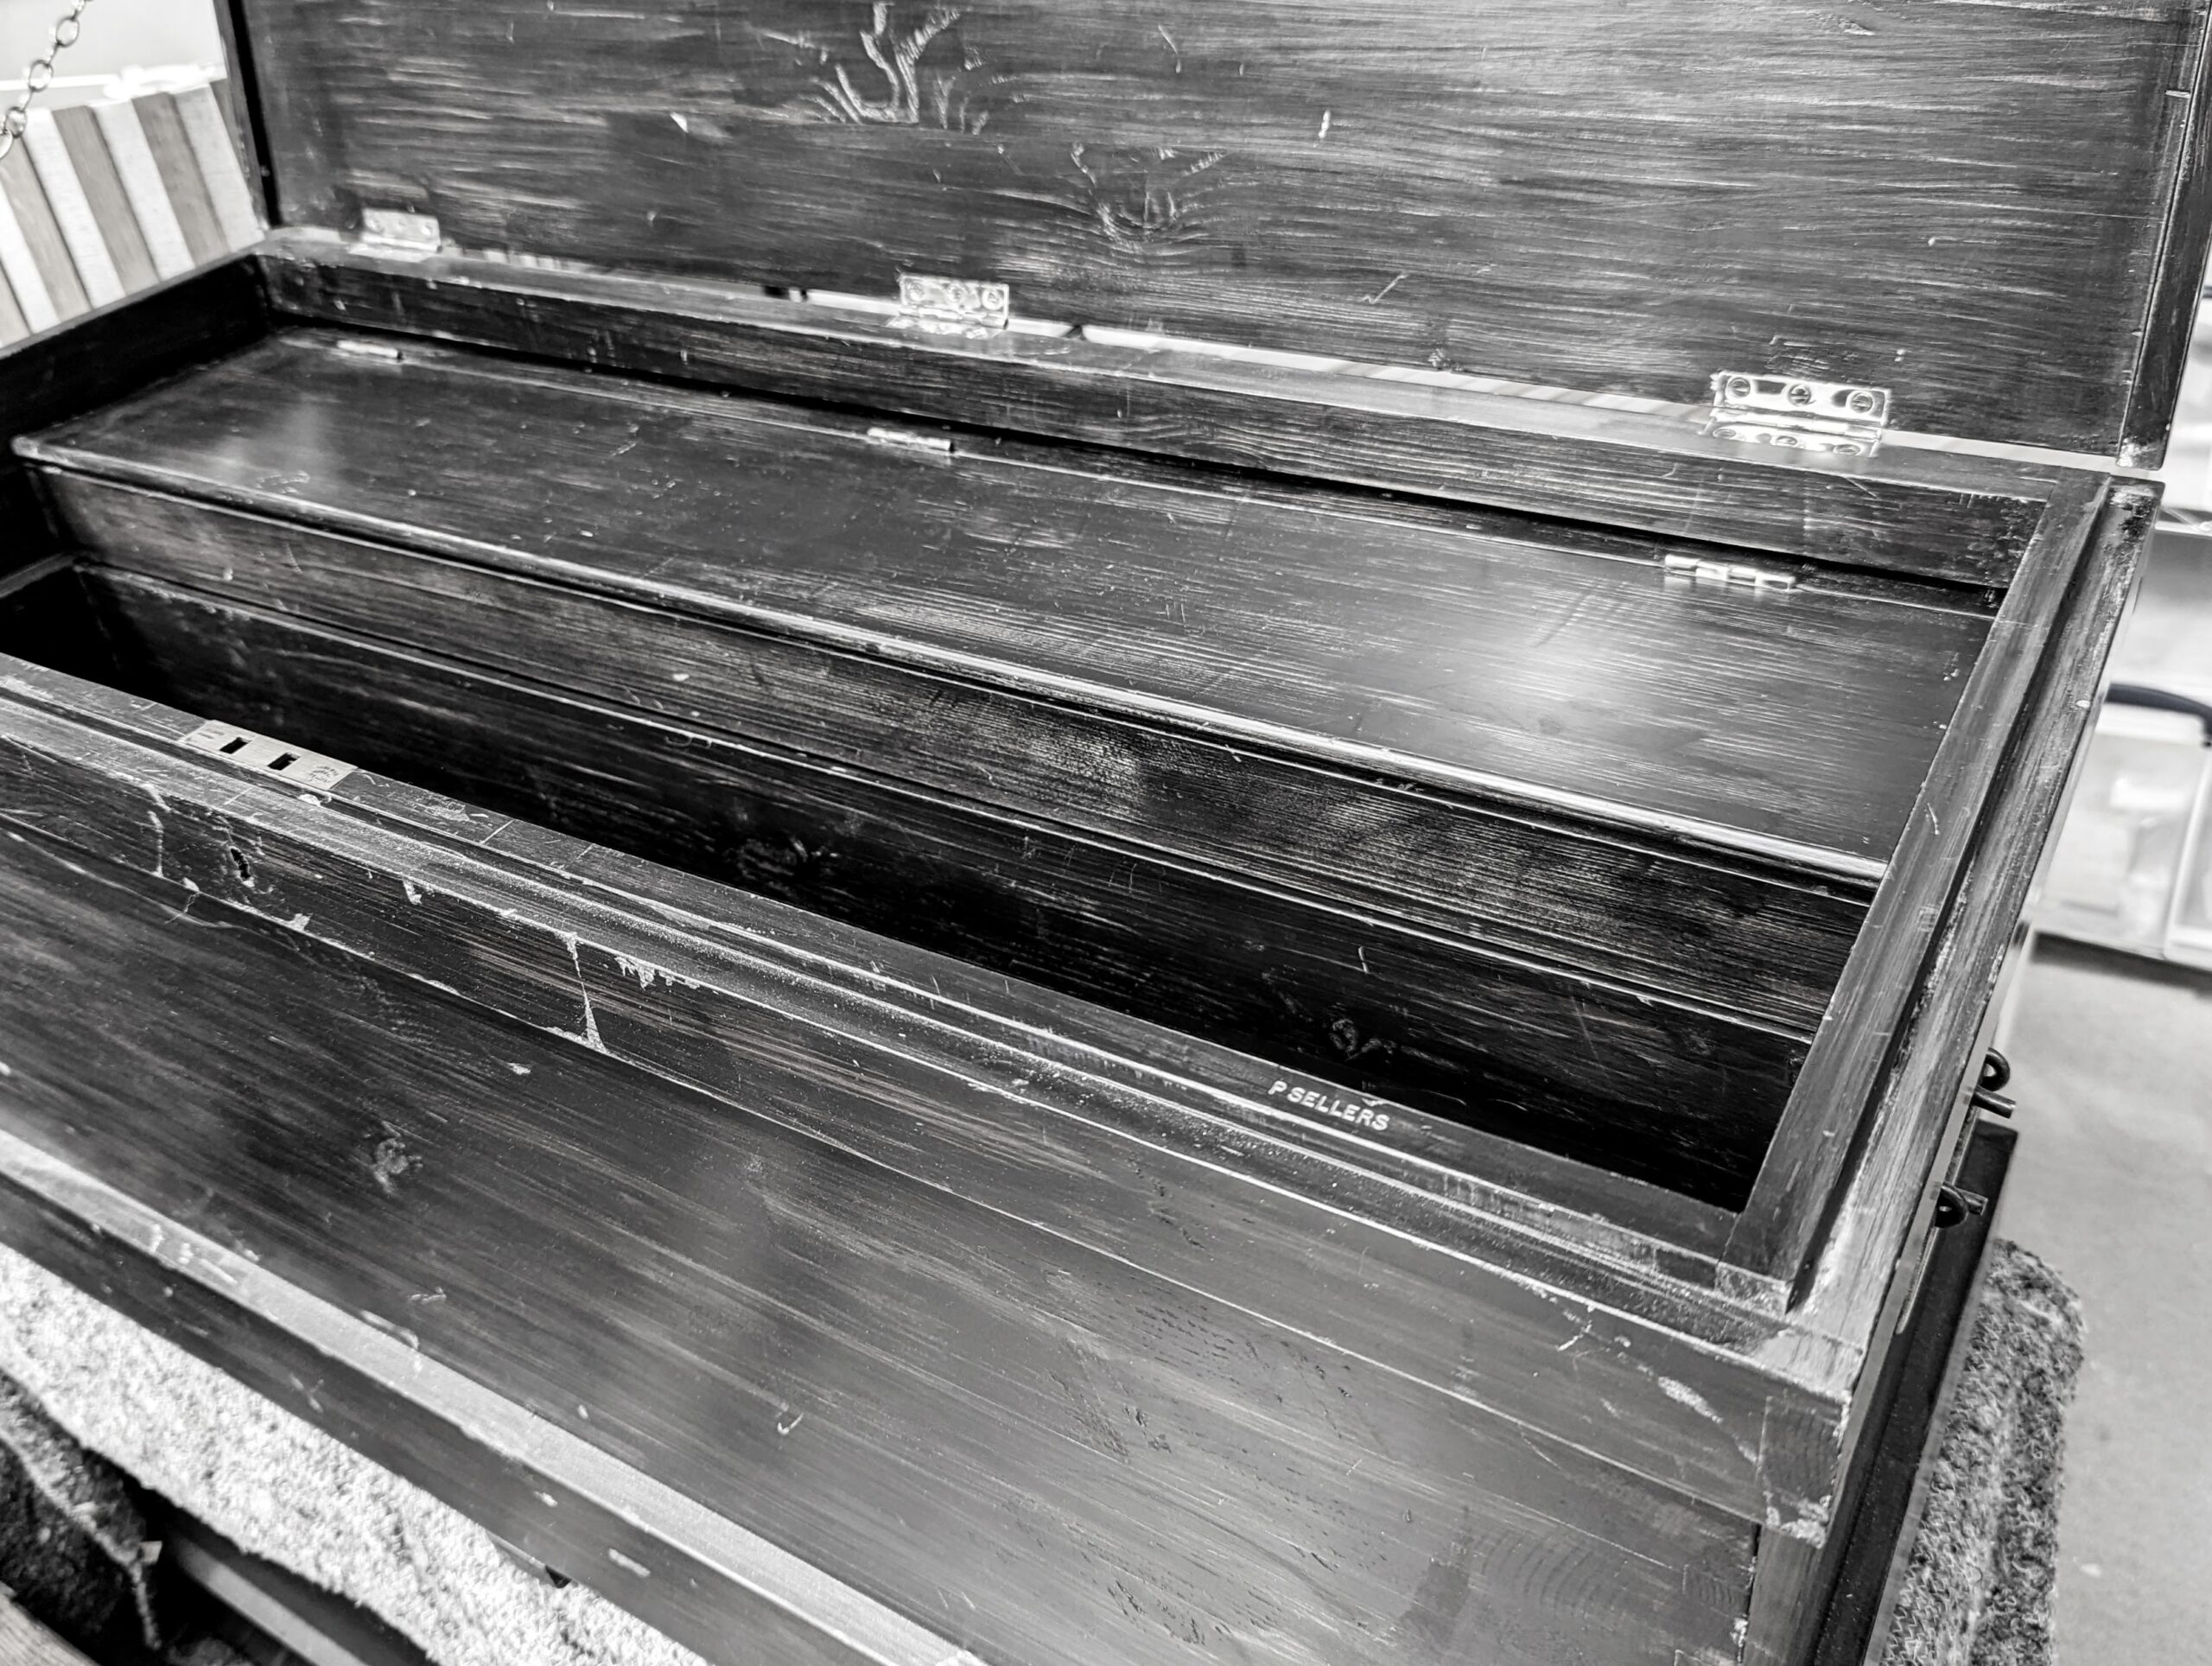
Lift-lid tool chests old and new are far from favourites. I replicated a vintage version for a series of videos and that was a remarkable project for those wanting to learn the classics of traditional hand tooling a work box. Toolboxes with lift-up lids are really not the best to store tools in day-to-day. Once closed, the lid quickly gets covered with wood and equipment. Placed under a workbench means no access at all without pulling an awkward and heavy box out for a plane. Internally, you inevitably find tools piled on tools because many just did not allow a good fit. On site in the heyday of woodworking the chests, maybe two or three of them, would hold the awkward-shaped plough planes and filletsters with stems that took up a mass of space alongside wooden bench planes in various lengths. And then what shall I say about matched pairs of tongue and groove planes alongside a dozen moulding planes for matching up what exists in the house you were working on? Those days are now gone. But they are not so long gone I didn't experience the boxes and the travels with them when I was young. As a joiner coming out of my apprenticeship, I spent the next five years in my journeymanship travelling to different counties to do work. No handcarts any more though, a small green Morris 1000 van did it for me.
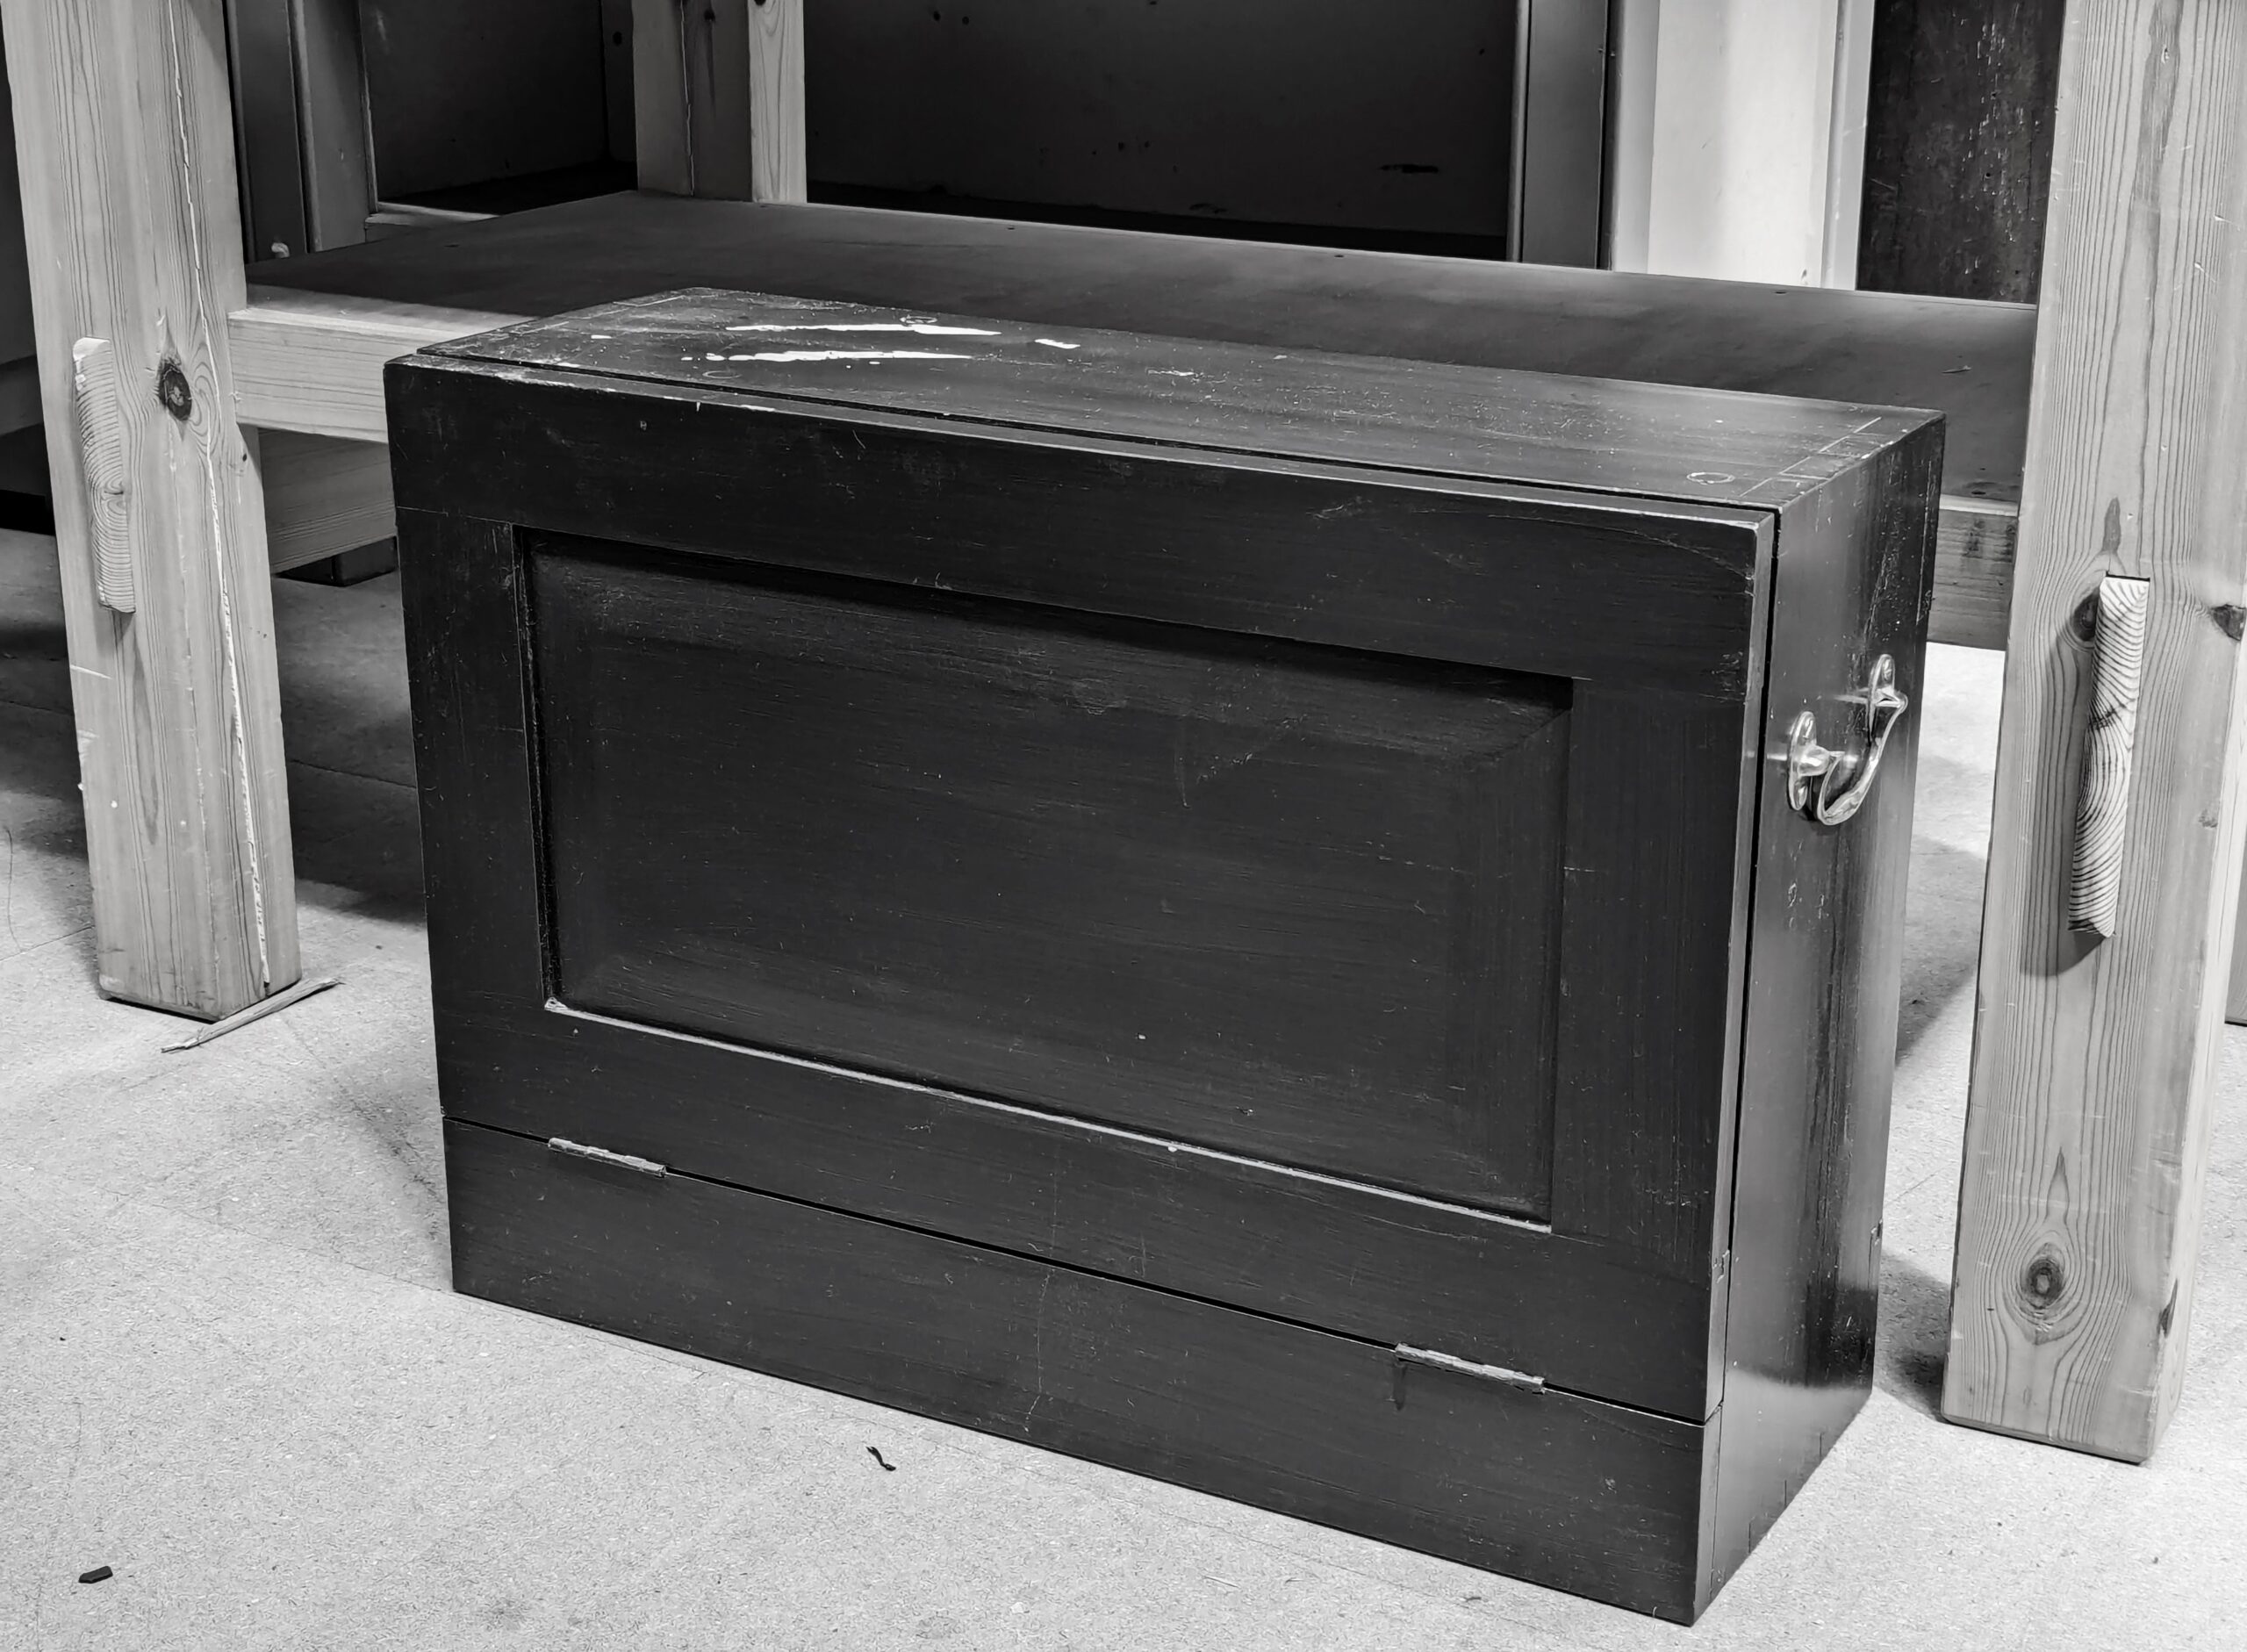
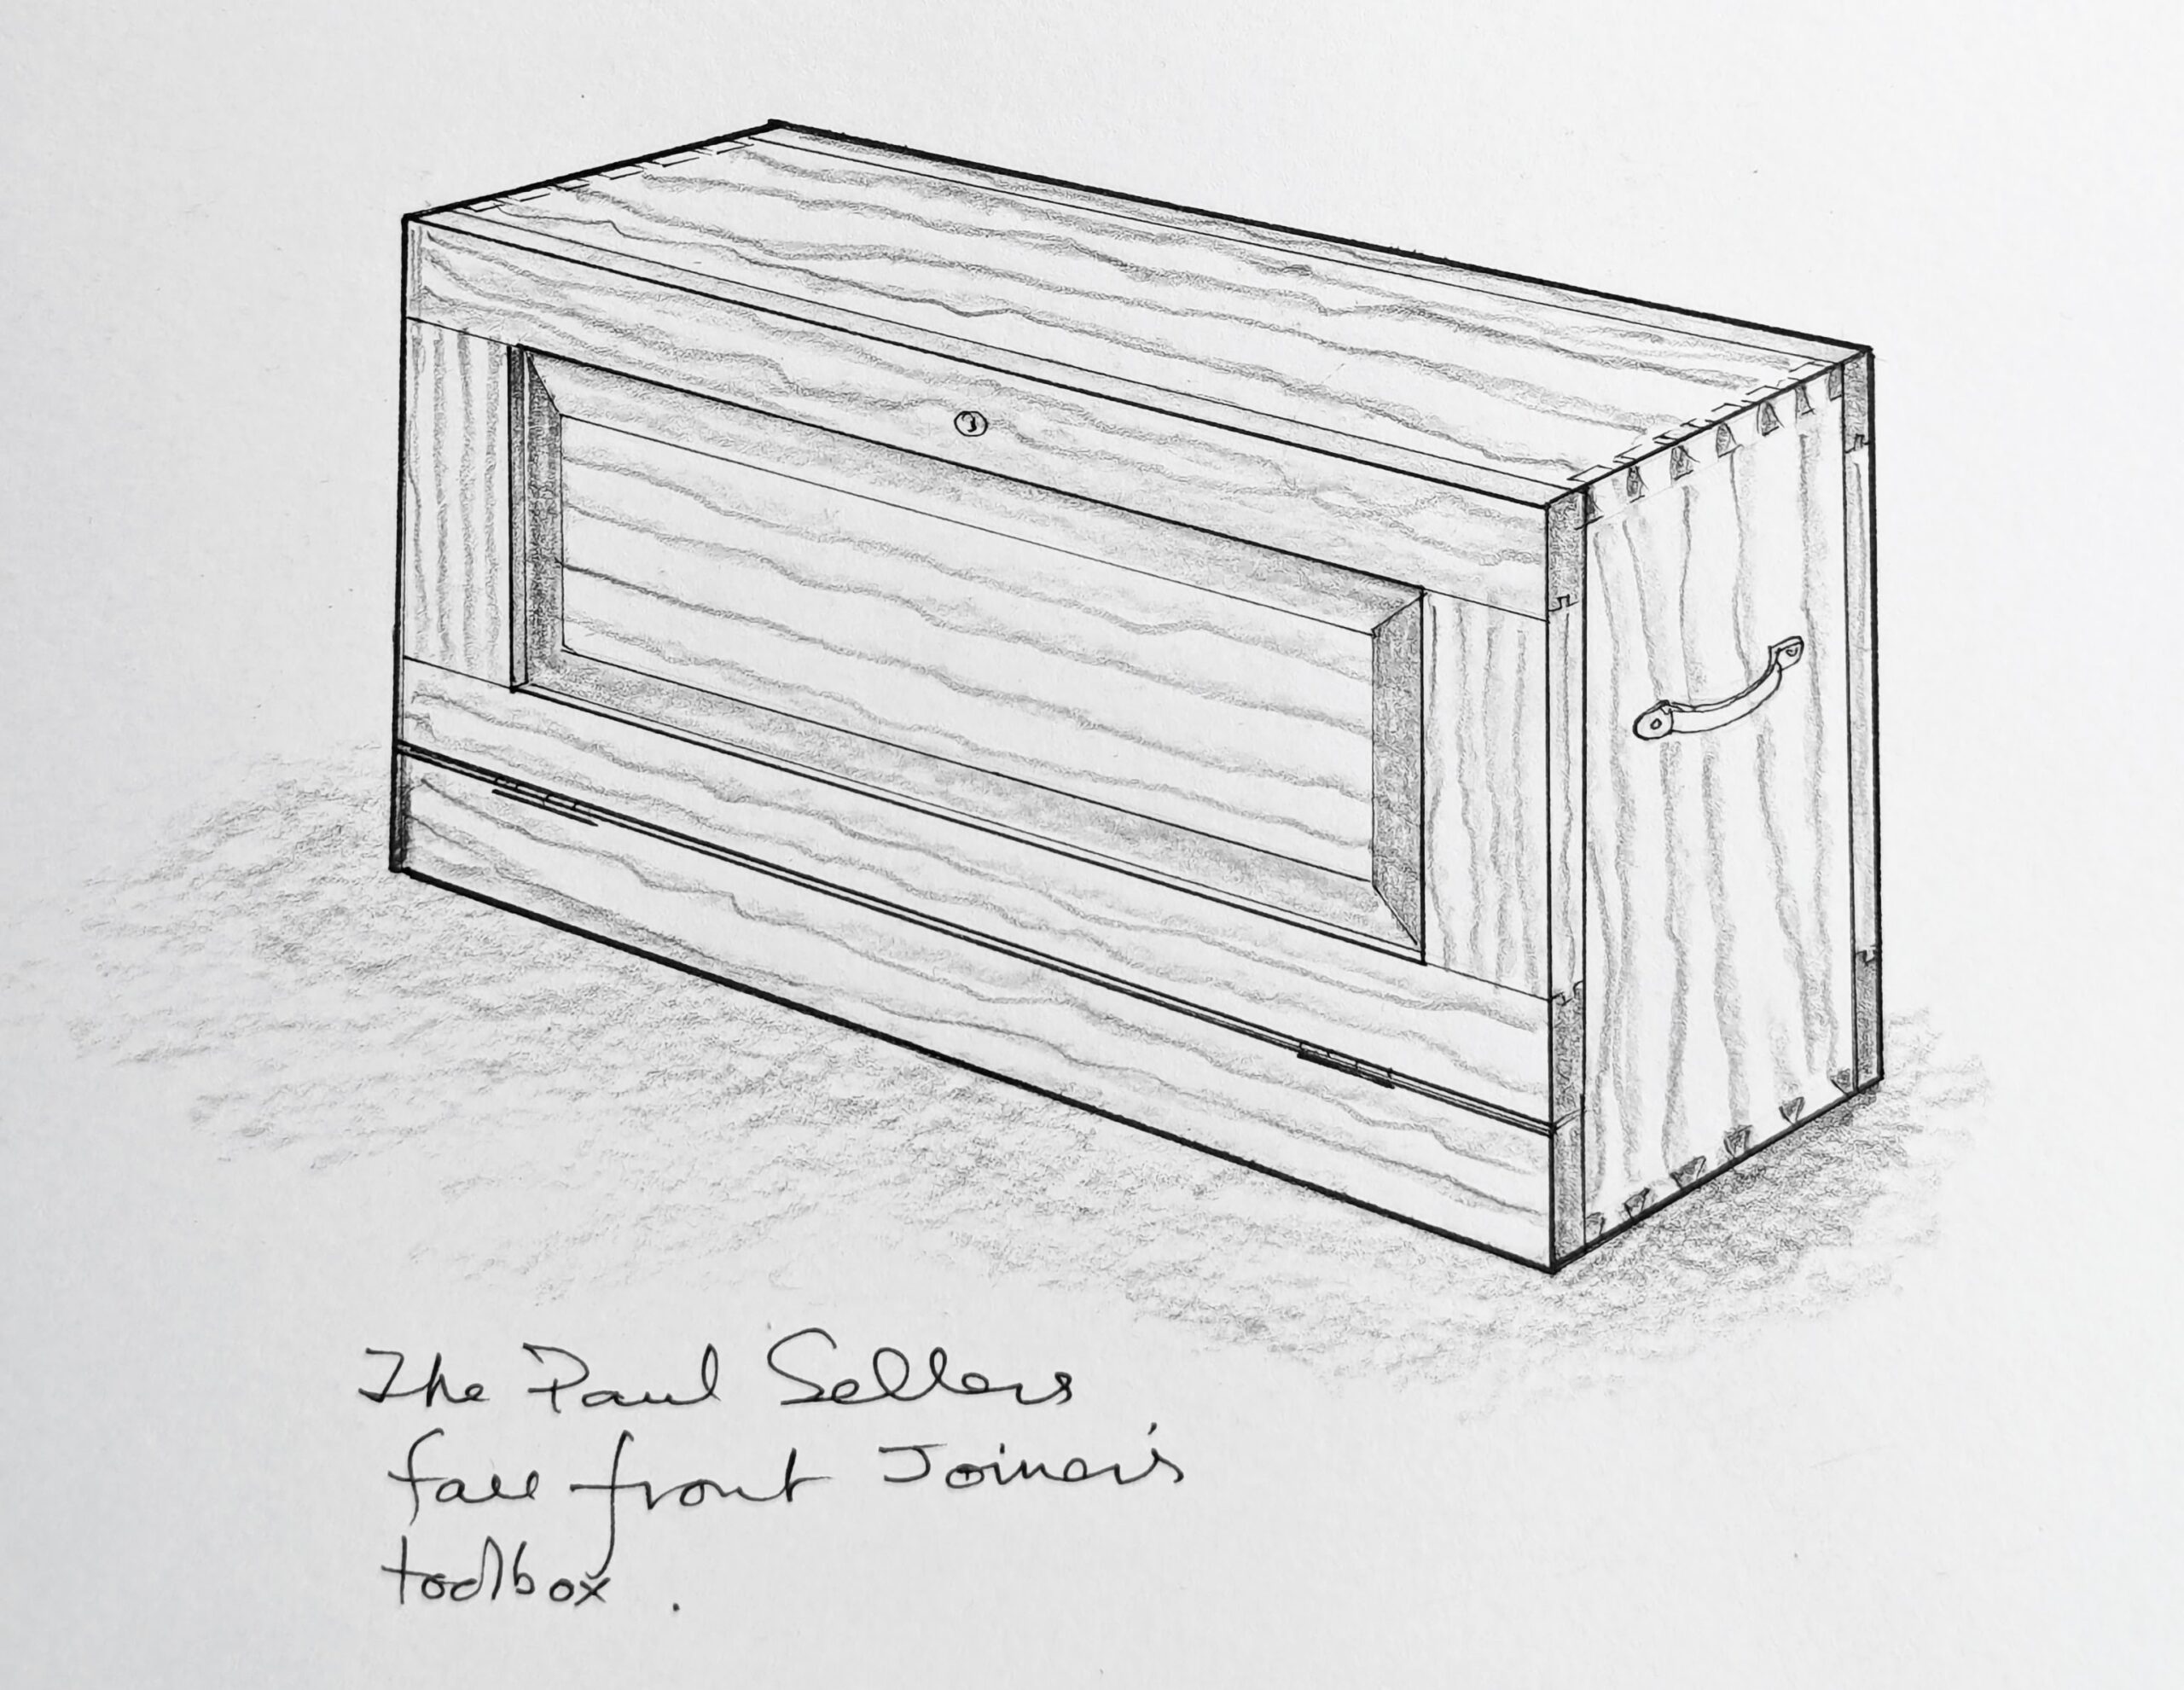
I have no idea what happened to my first toolbox but I vividly remember each minute of its making. George was teaching me well and in the middle of my second year working with him he told me it was time to make my own. I was accumulating tools that were now cluttering the bench top. Ultimately I designed my own version of the tool chest and of course, hundreds of you have followed on to make a small version of it in something I called the Traveling Joiner's Toolbox, which is a scaled-down version of my fullsize one.
Every time George and I worked on flat boards to make different things we set some of the more choice pieces aside. This was European redwood (nothing related to the North American Redwood––Sequoiadendron giganteum). It was Russian redwood, not quite knot-free but the batch we were working with had the tightest growth rings. It’s hard to imagine that that is now almost sixty years ago but the reality of my having to hide my making of it somehow added an essential intrigue to the whole dynamic of it in a shared experience.
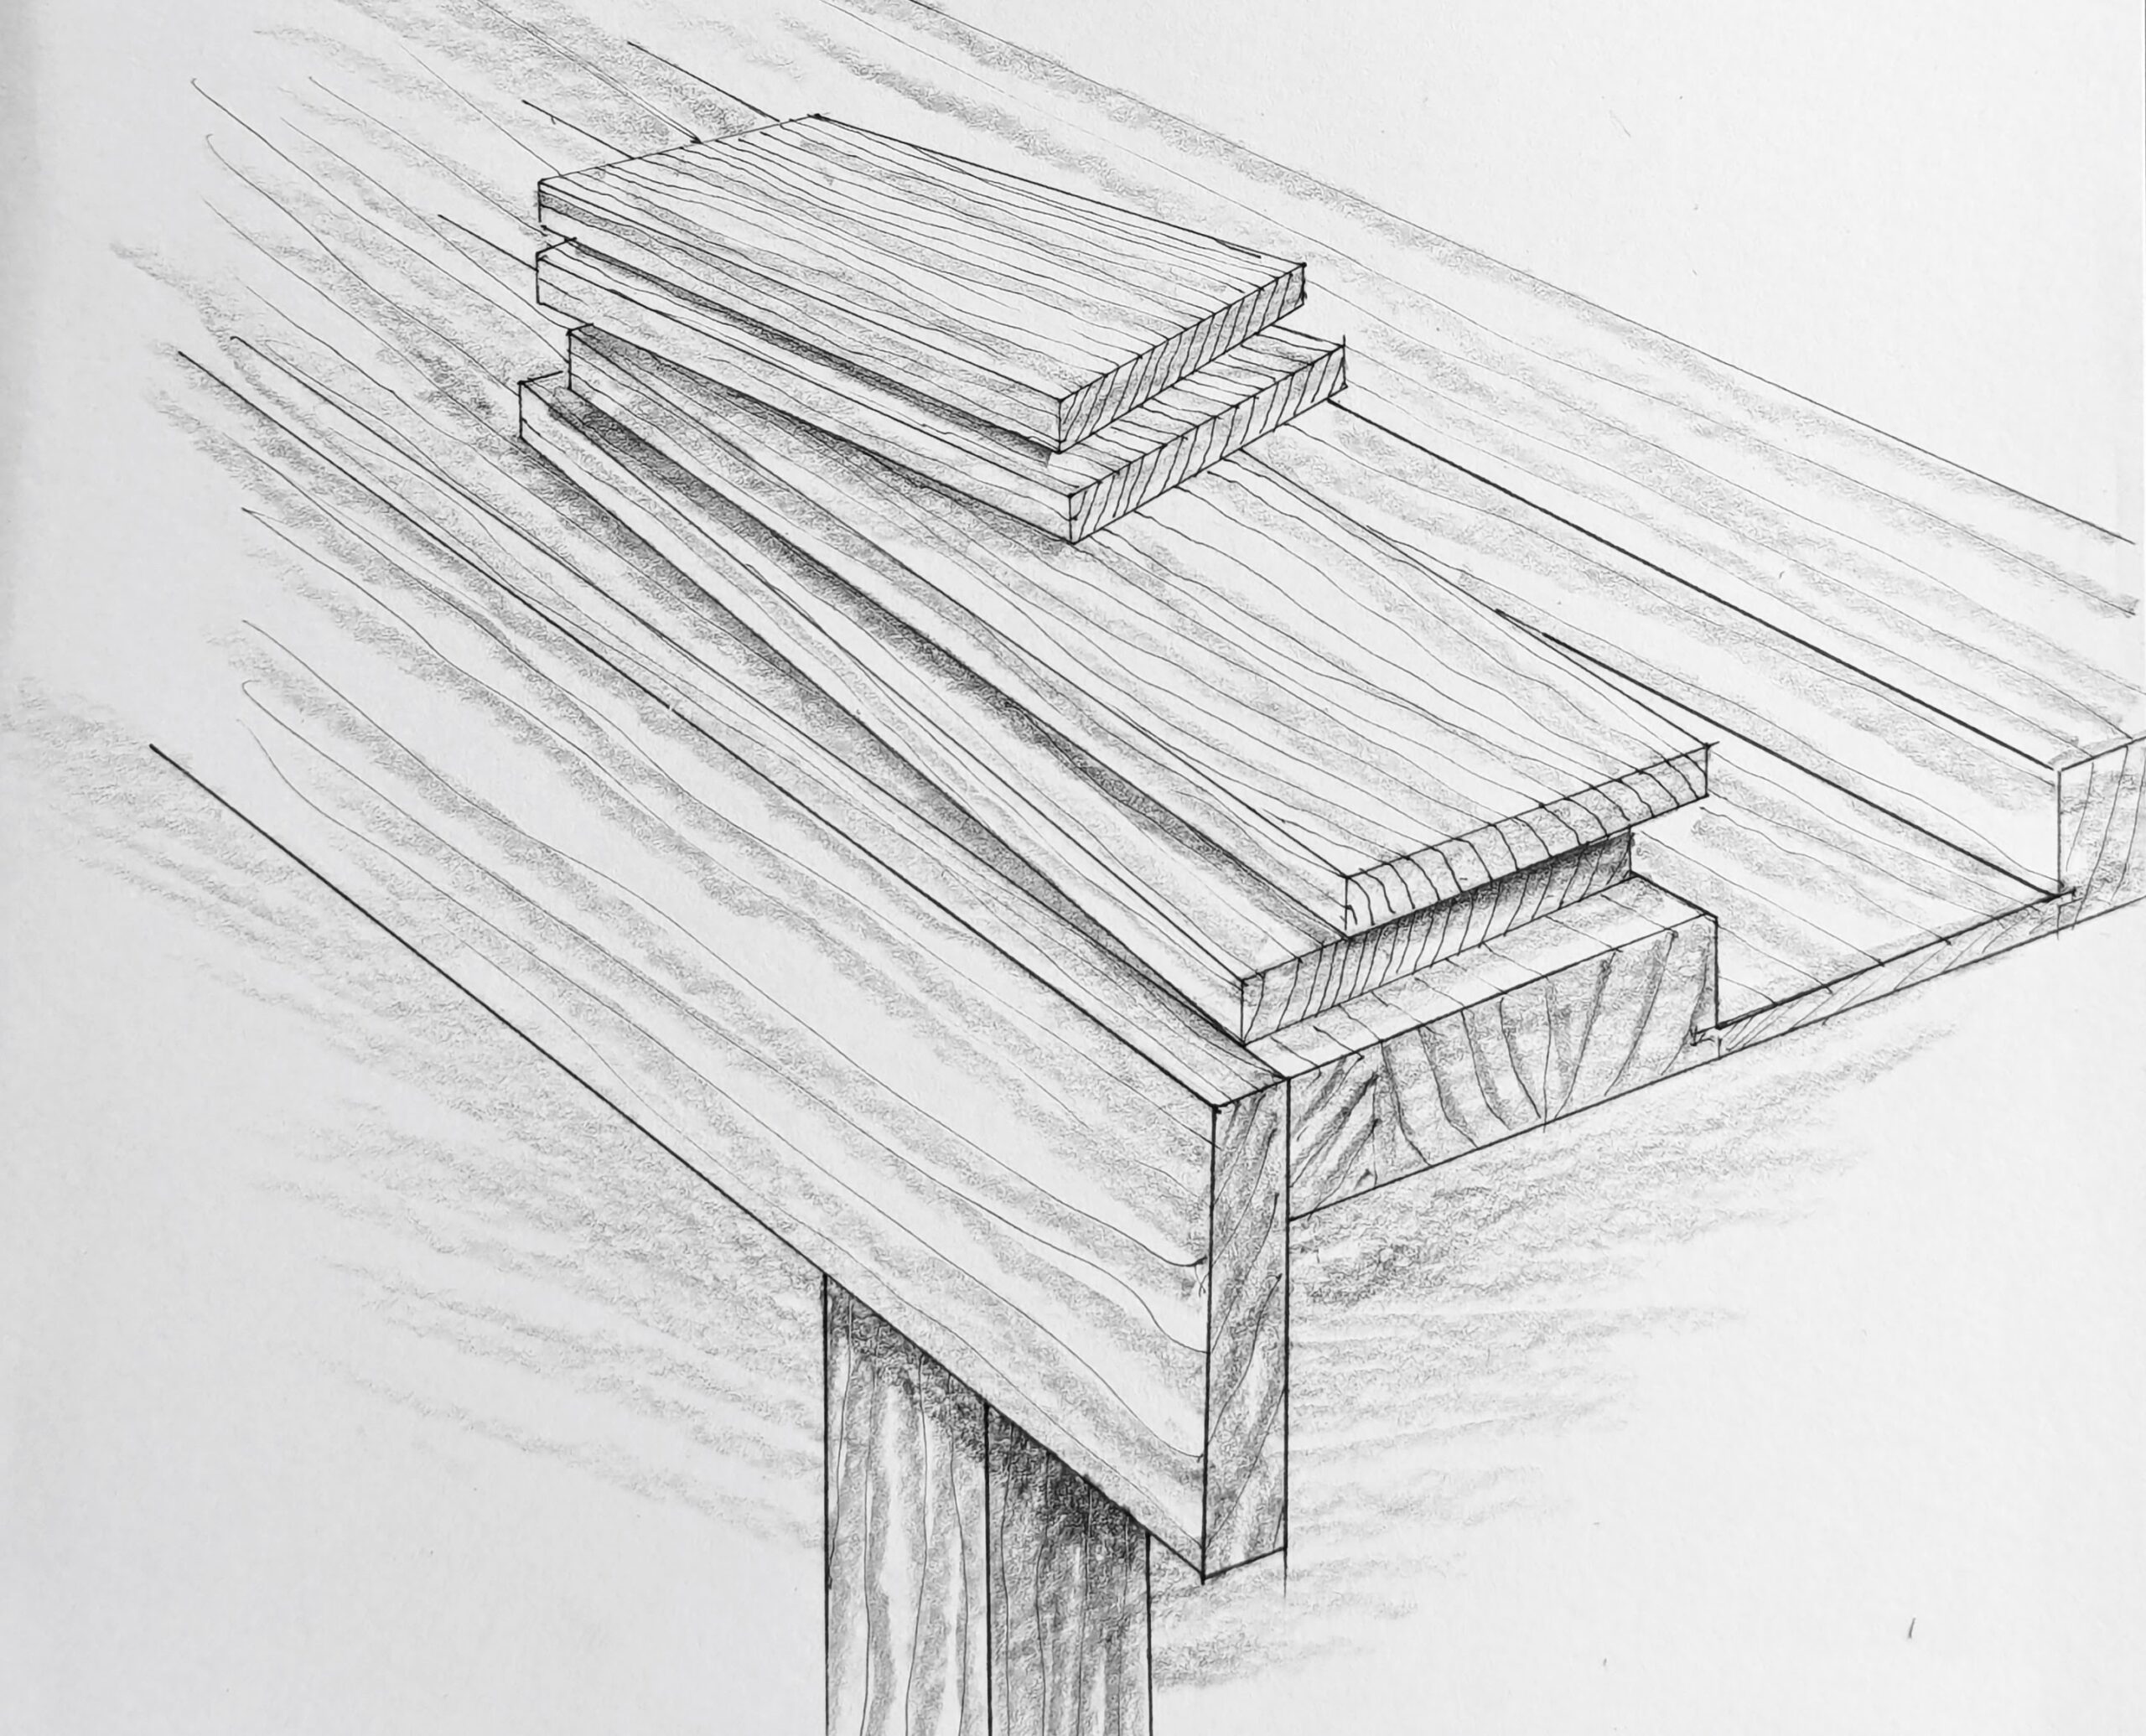
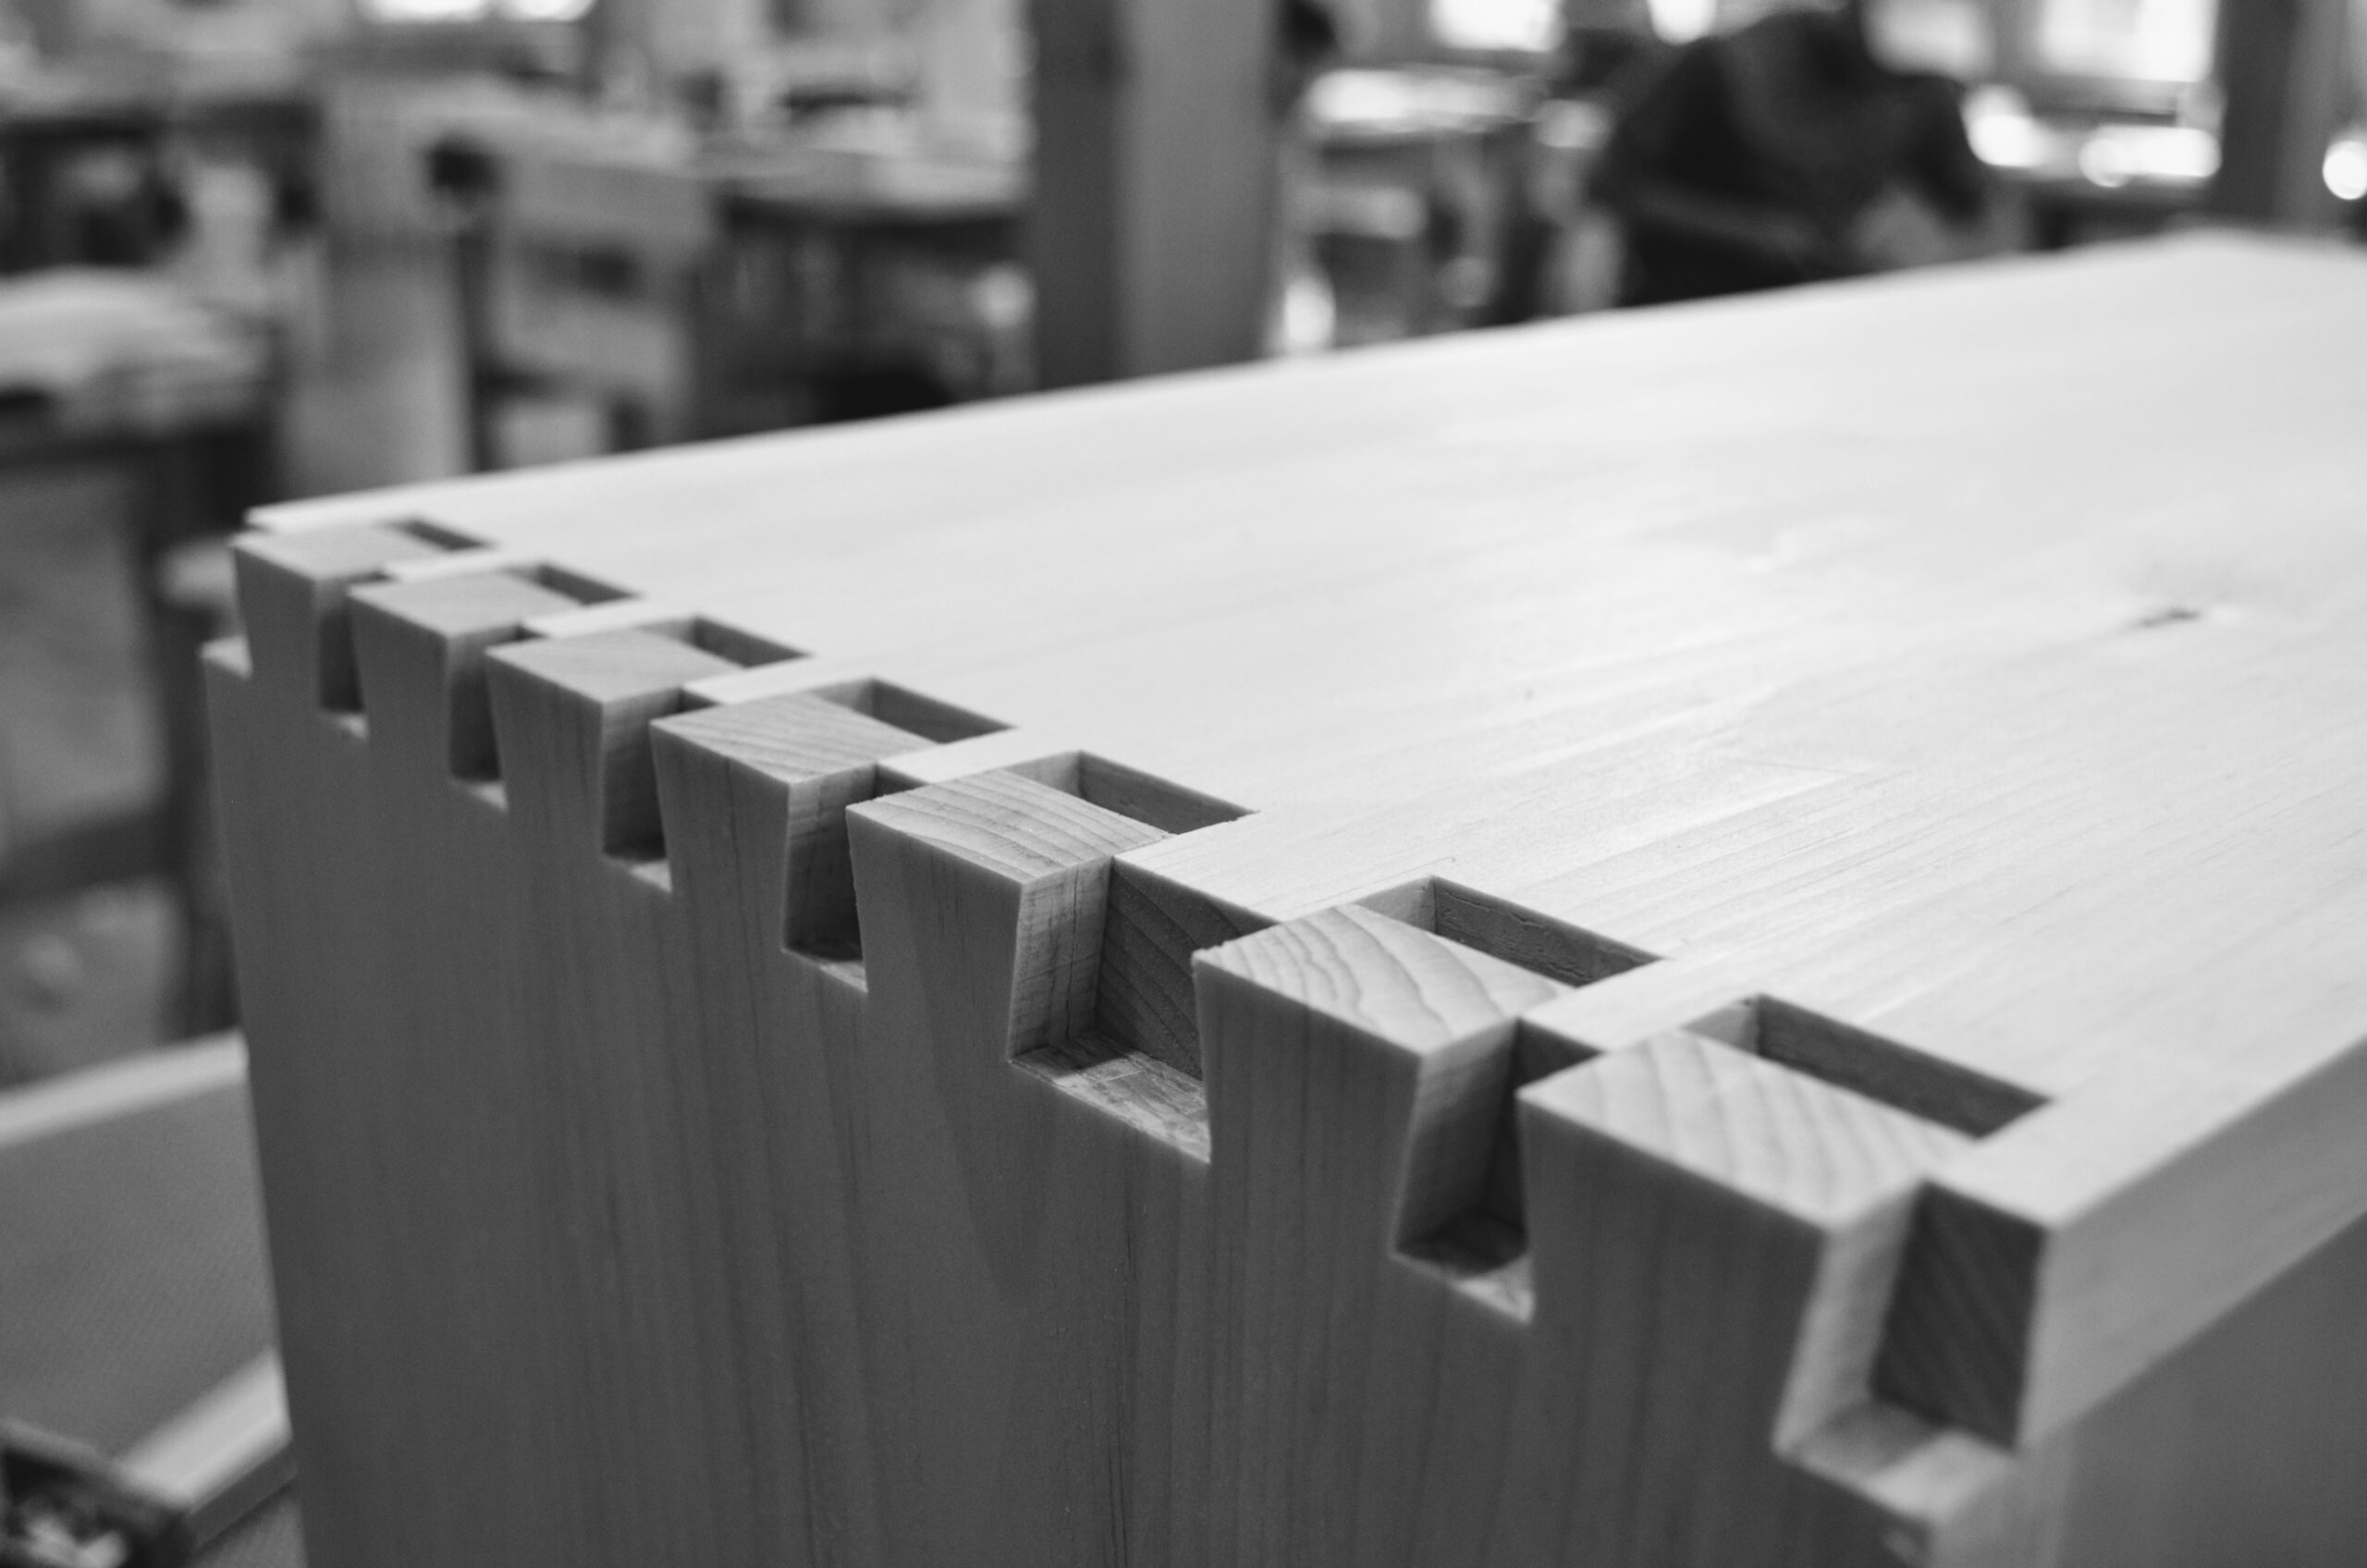
George had arranged with Jack for me to have the wood without buying it but I had to put in a little overtime without pay so I really did pay something for it. But the extra sweeping and stacking wood was worth it. Jack was the foreman. Whenever George and I were making drawers or window cills and a piece of wood came up I would show it to George. He most of the time shook his head. “Nah! Too much resin.” he’d say, mostly. It took only a week to get the main carcass wood together. These were 8” wide and ¾” thick with two pieces cut to 30”, the length of the box and two 16”, the height. George cut two short offcuts to size for me to practice on and it was here that he taught me to lay out the dovetails with the angled line across the width of the box and then the stepping off to establish the centres of the pins. George found a place in the ends of the wood racks to store the wood and subsequent box as it came together when not in the process of being made. At that time I didn’t know I would be making two such boxes but it’s this one that gave me the strongest account of mixed memories.
My practice dovetails were okay but, “Not good enough yet!” George said. He'd cut them off each time until I only had a few inches left. I think I cut five sets before he decided to turn me loose on the real thing.
We'd planed up the surfaces by hand before the joinery began. He insisted on me sharpening my #4 Stanley first and as the ripples of pine lifted from the plane throat so too the magical redwood scent of that wonderful virgin Russian pine. It filled the atmosphere and I am sure I can still smell it here and now, so vivid is the memory of it. But it wasn’t just the rich scent that was mesmerising, it was the visceral feeling I took with me at making something so intrinsic to my future being. I was making the first thing I ever really made for myself with my own tools, and something made specifically to keep my precious tools in.
The thing I have learned about making dovetails is you just cannot stop until the whole corner is together. It’s a compelling task that we just keep going on until all of the parts fit and fully seat. That interlocking seems to keep everything frozen in time until the glue-up. You need to arrest the joint once it's made if the glue-up is to be postponed. It's just a good habit. Often, especially in some regions, woods swell at different rates and a joint that fits together well can have one part expand or shrink over its counterpart by some small degree. When together they will expand and contract together more evenly. In other words, when the joint is complete, keep the joint assembled, otherwise one piece of would might well expand at a different rate to the intended adjacent one and the joint not fit.
George felt that for a toolbox like this, the joiner's toolbox, the dovetails are better if smaller and thereby more in quantity. I still don't know if he was right but we made them according to his thought and put 1/4" pins, this made the dovetails a fraction over 1" apiece. My dovetail saw was sharp and quite new. George had taught me to sharpen saws and I'd sharpened this ready for dovetailing. There was the box and there'd be tills to do to.
More to come in another blog. I want to explain how I feel about toolboxes, chests and such.
Comments ()