My Thicknessing Guide
A friend nudged me for this post. Reminding me of making my tool chest back in 2013 or so, that was in upstate New York, he spoke of my card scraper setup for thicknessing cockbeading, inlay and such. I thought it would help others so here it is:
You might want to make the inlay piece first so that it is drying while you then make the guide
Having cut the size of inlay wood to the size you want you can add as much or as little or no contrasting wood as you want or don't want. My main wood is 4mm by 10mm oak with the secondary wood of walnut ending up being 2mm square but rough cut to 3mm sq.

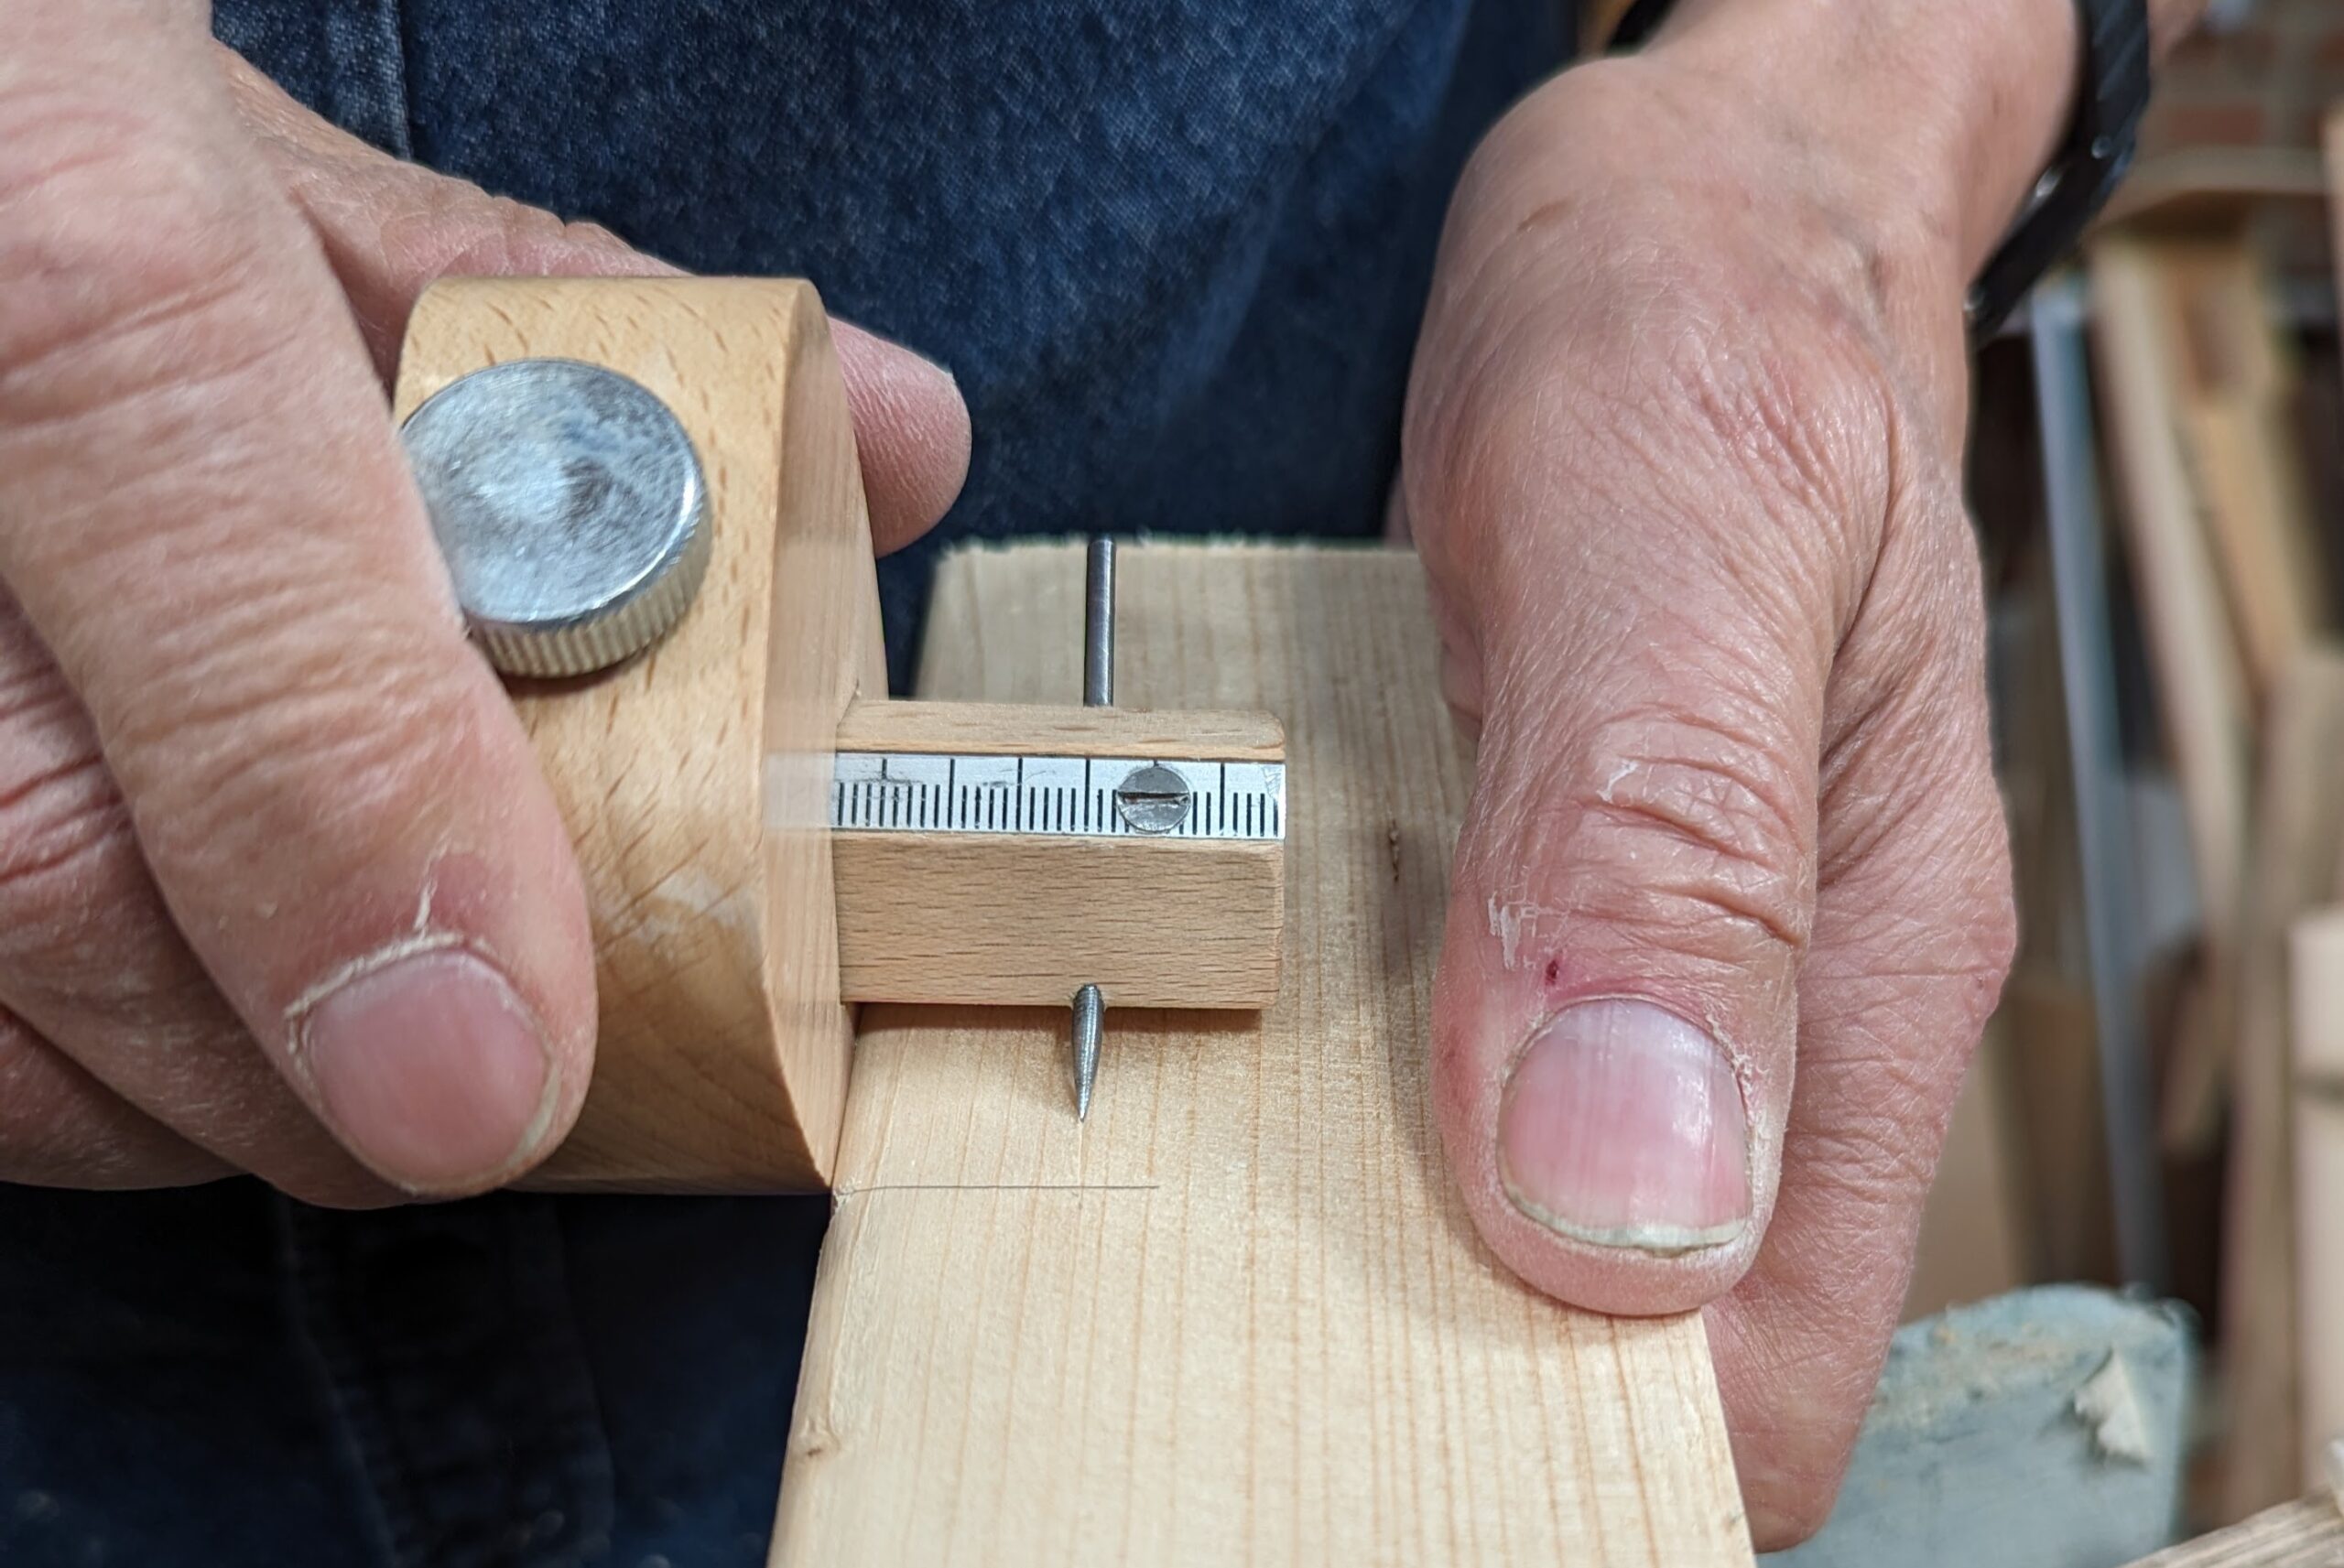
Notice my technique for using the gauge by clamping the stem in the vise and pulling the wood to the gauge point and against the stock of the gauge.
Use any marking gauge you have to indent the shallow line in the surface slightly less a distance than the thickness of your inset piece is. My lines are 2mm from the corner on the flat and edge faces.
Do the same on the adjacent face.
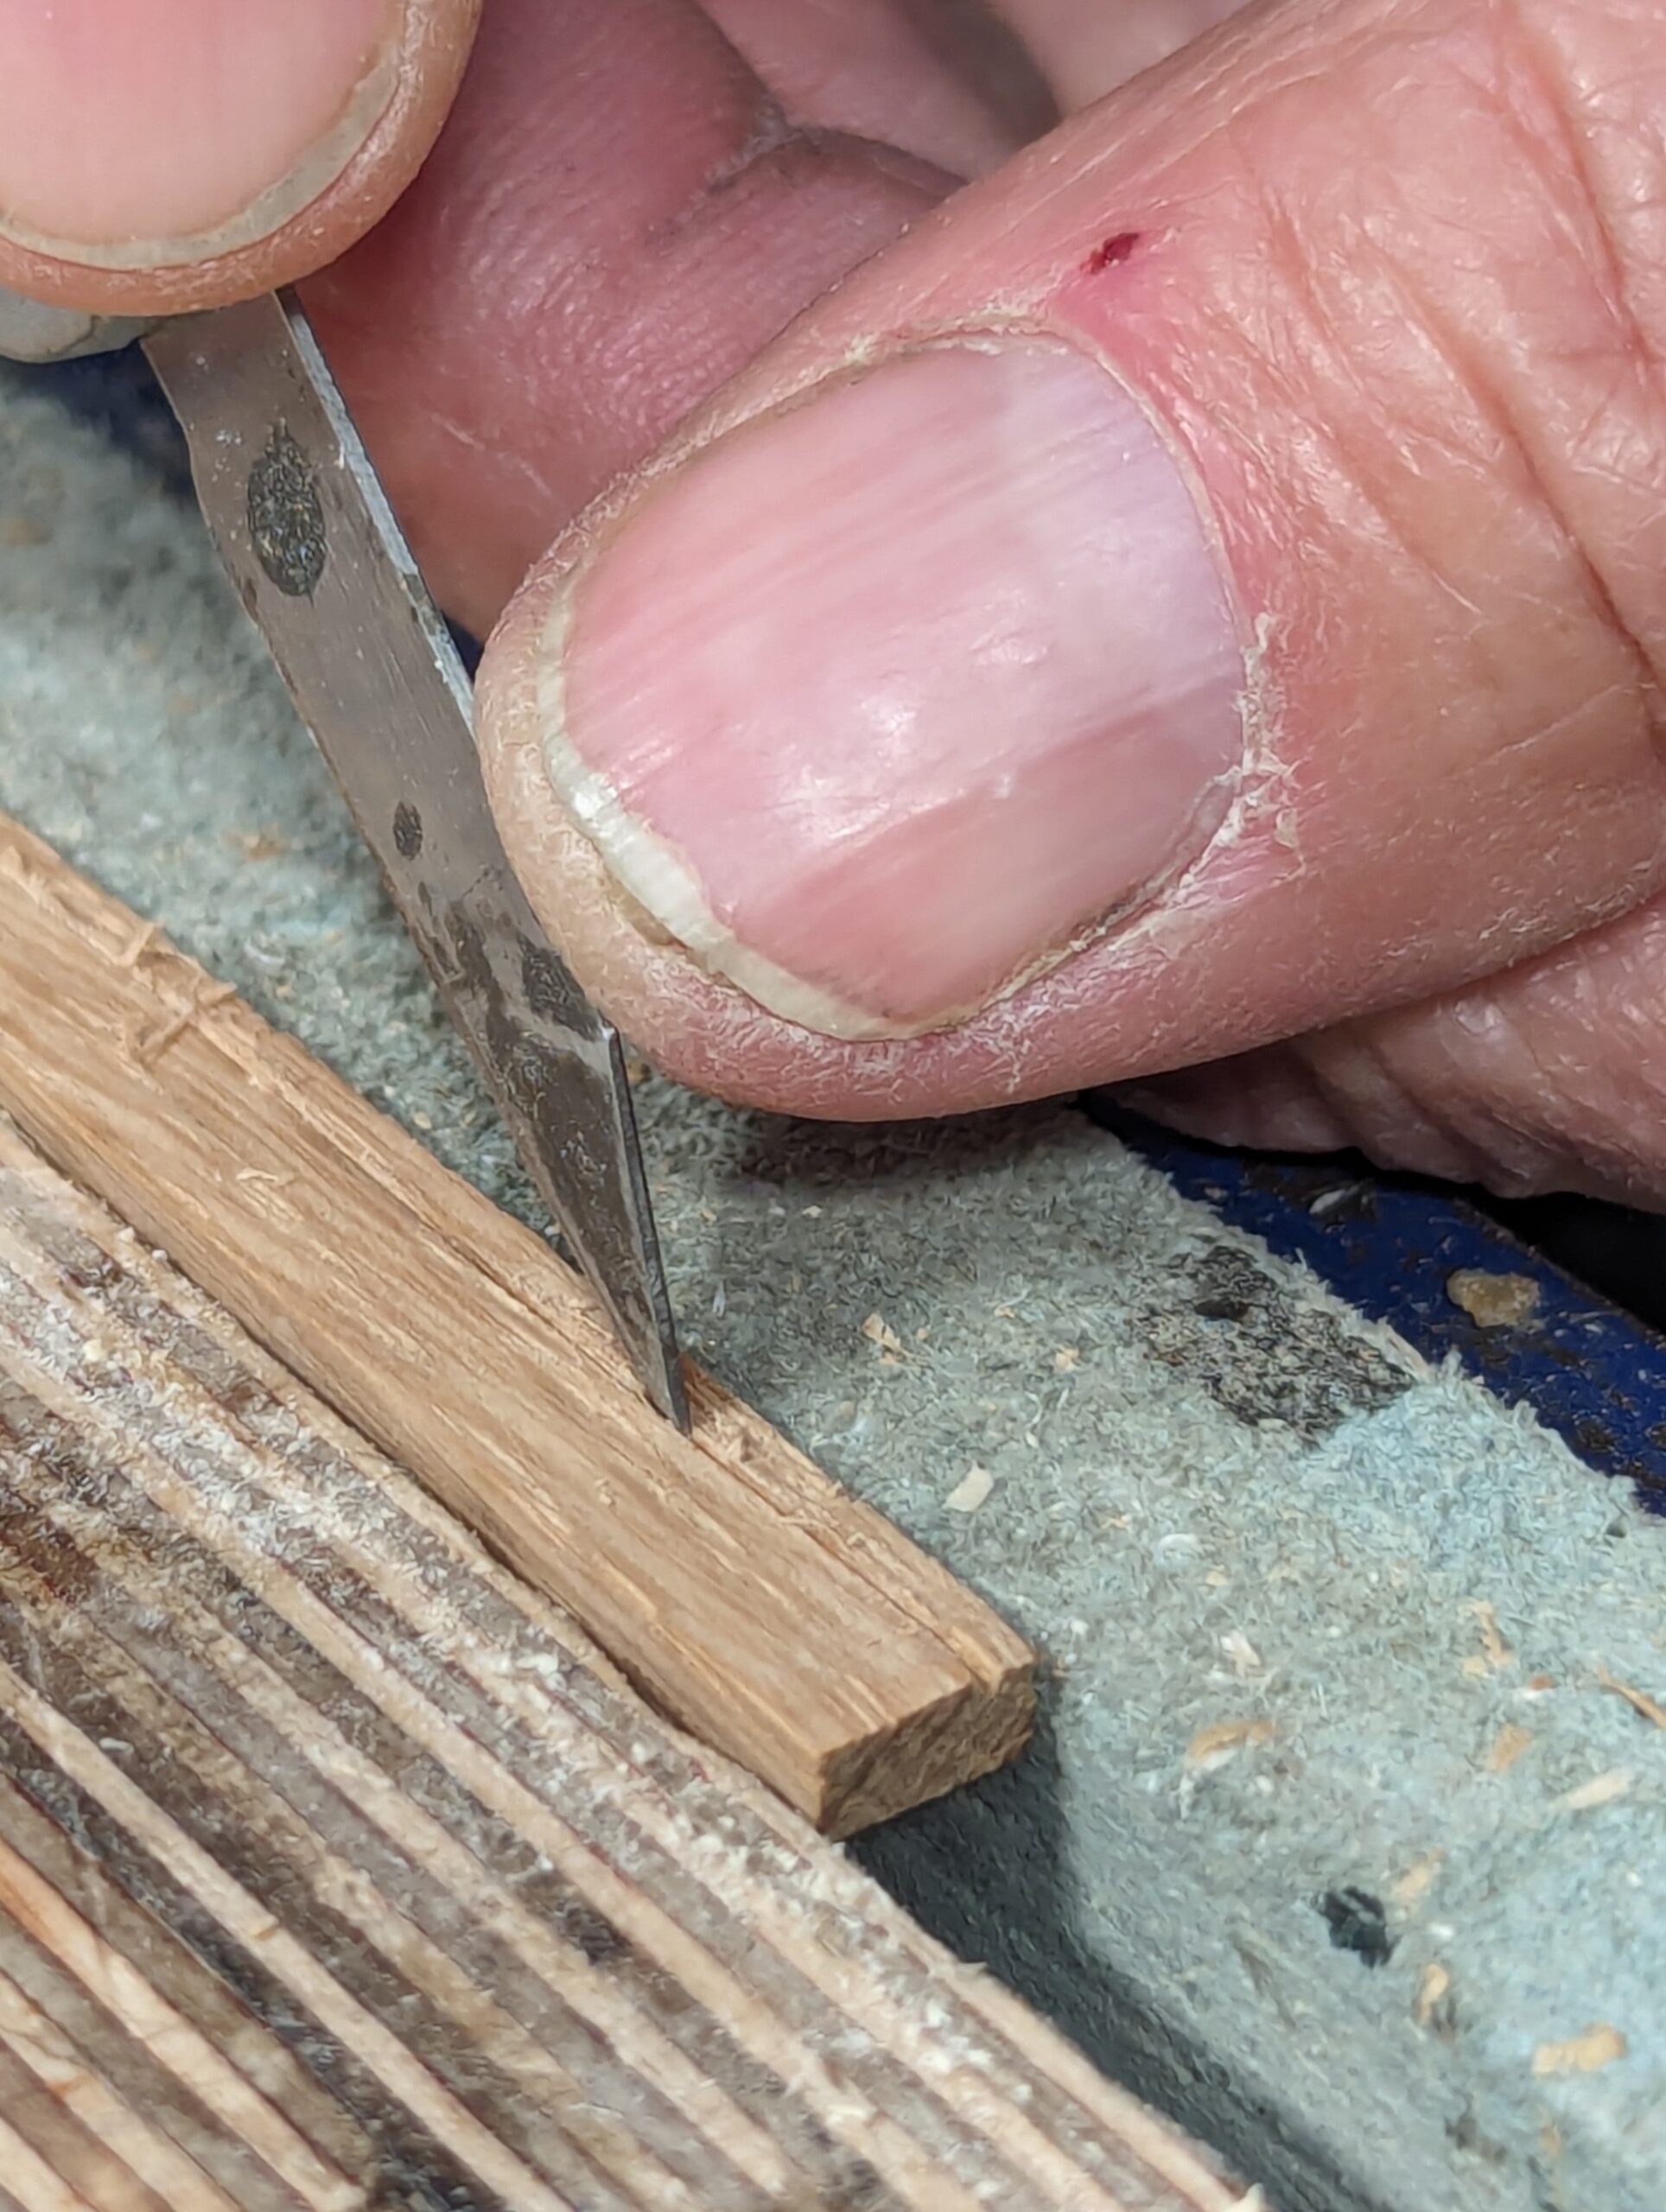
Use a sharp knife to part the fibres down into the gauge lines but not too deep in the first pass as this is likely to split the main body of wood.
Do the same to the adjacent gauge mark on the edge face.
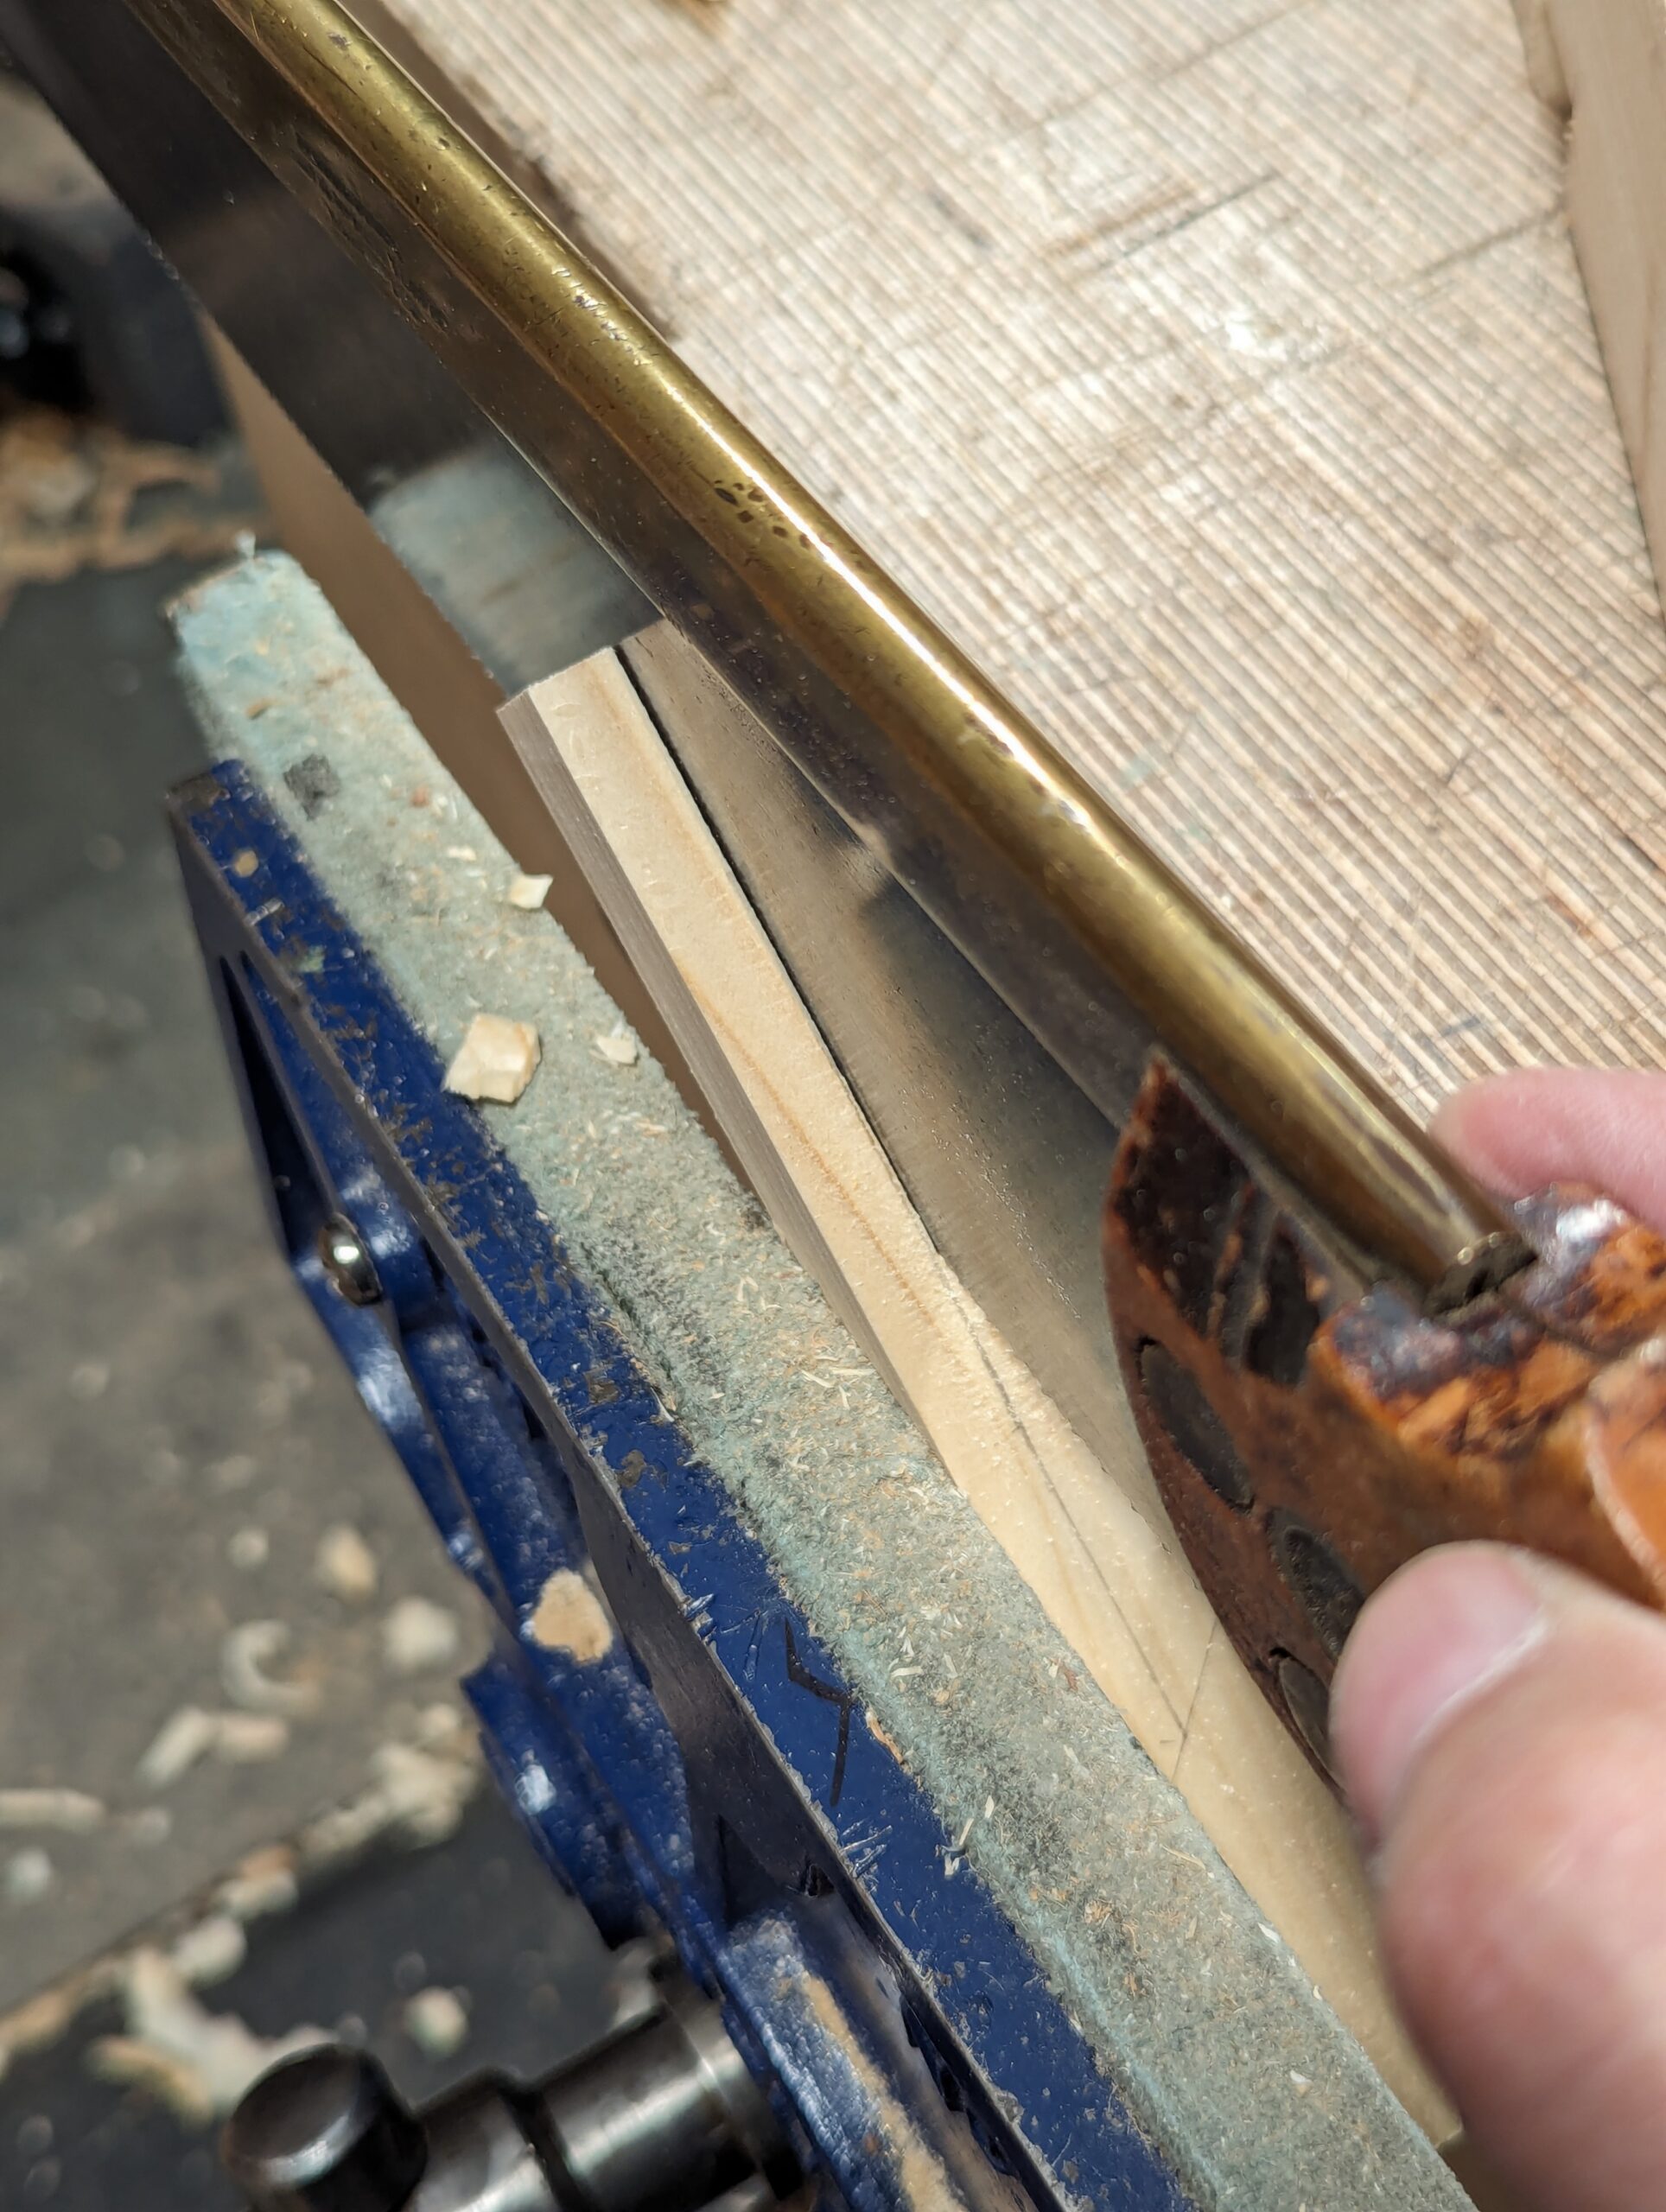
Clean up the cuts with a bullnose plane. . .
. . . lay the bullnose on its side for the narrow edge as it might be hard to clamp in the vise.
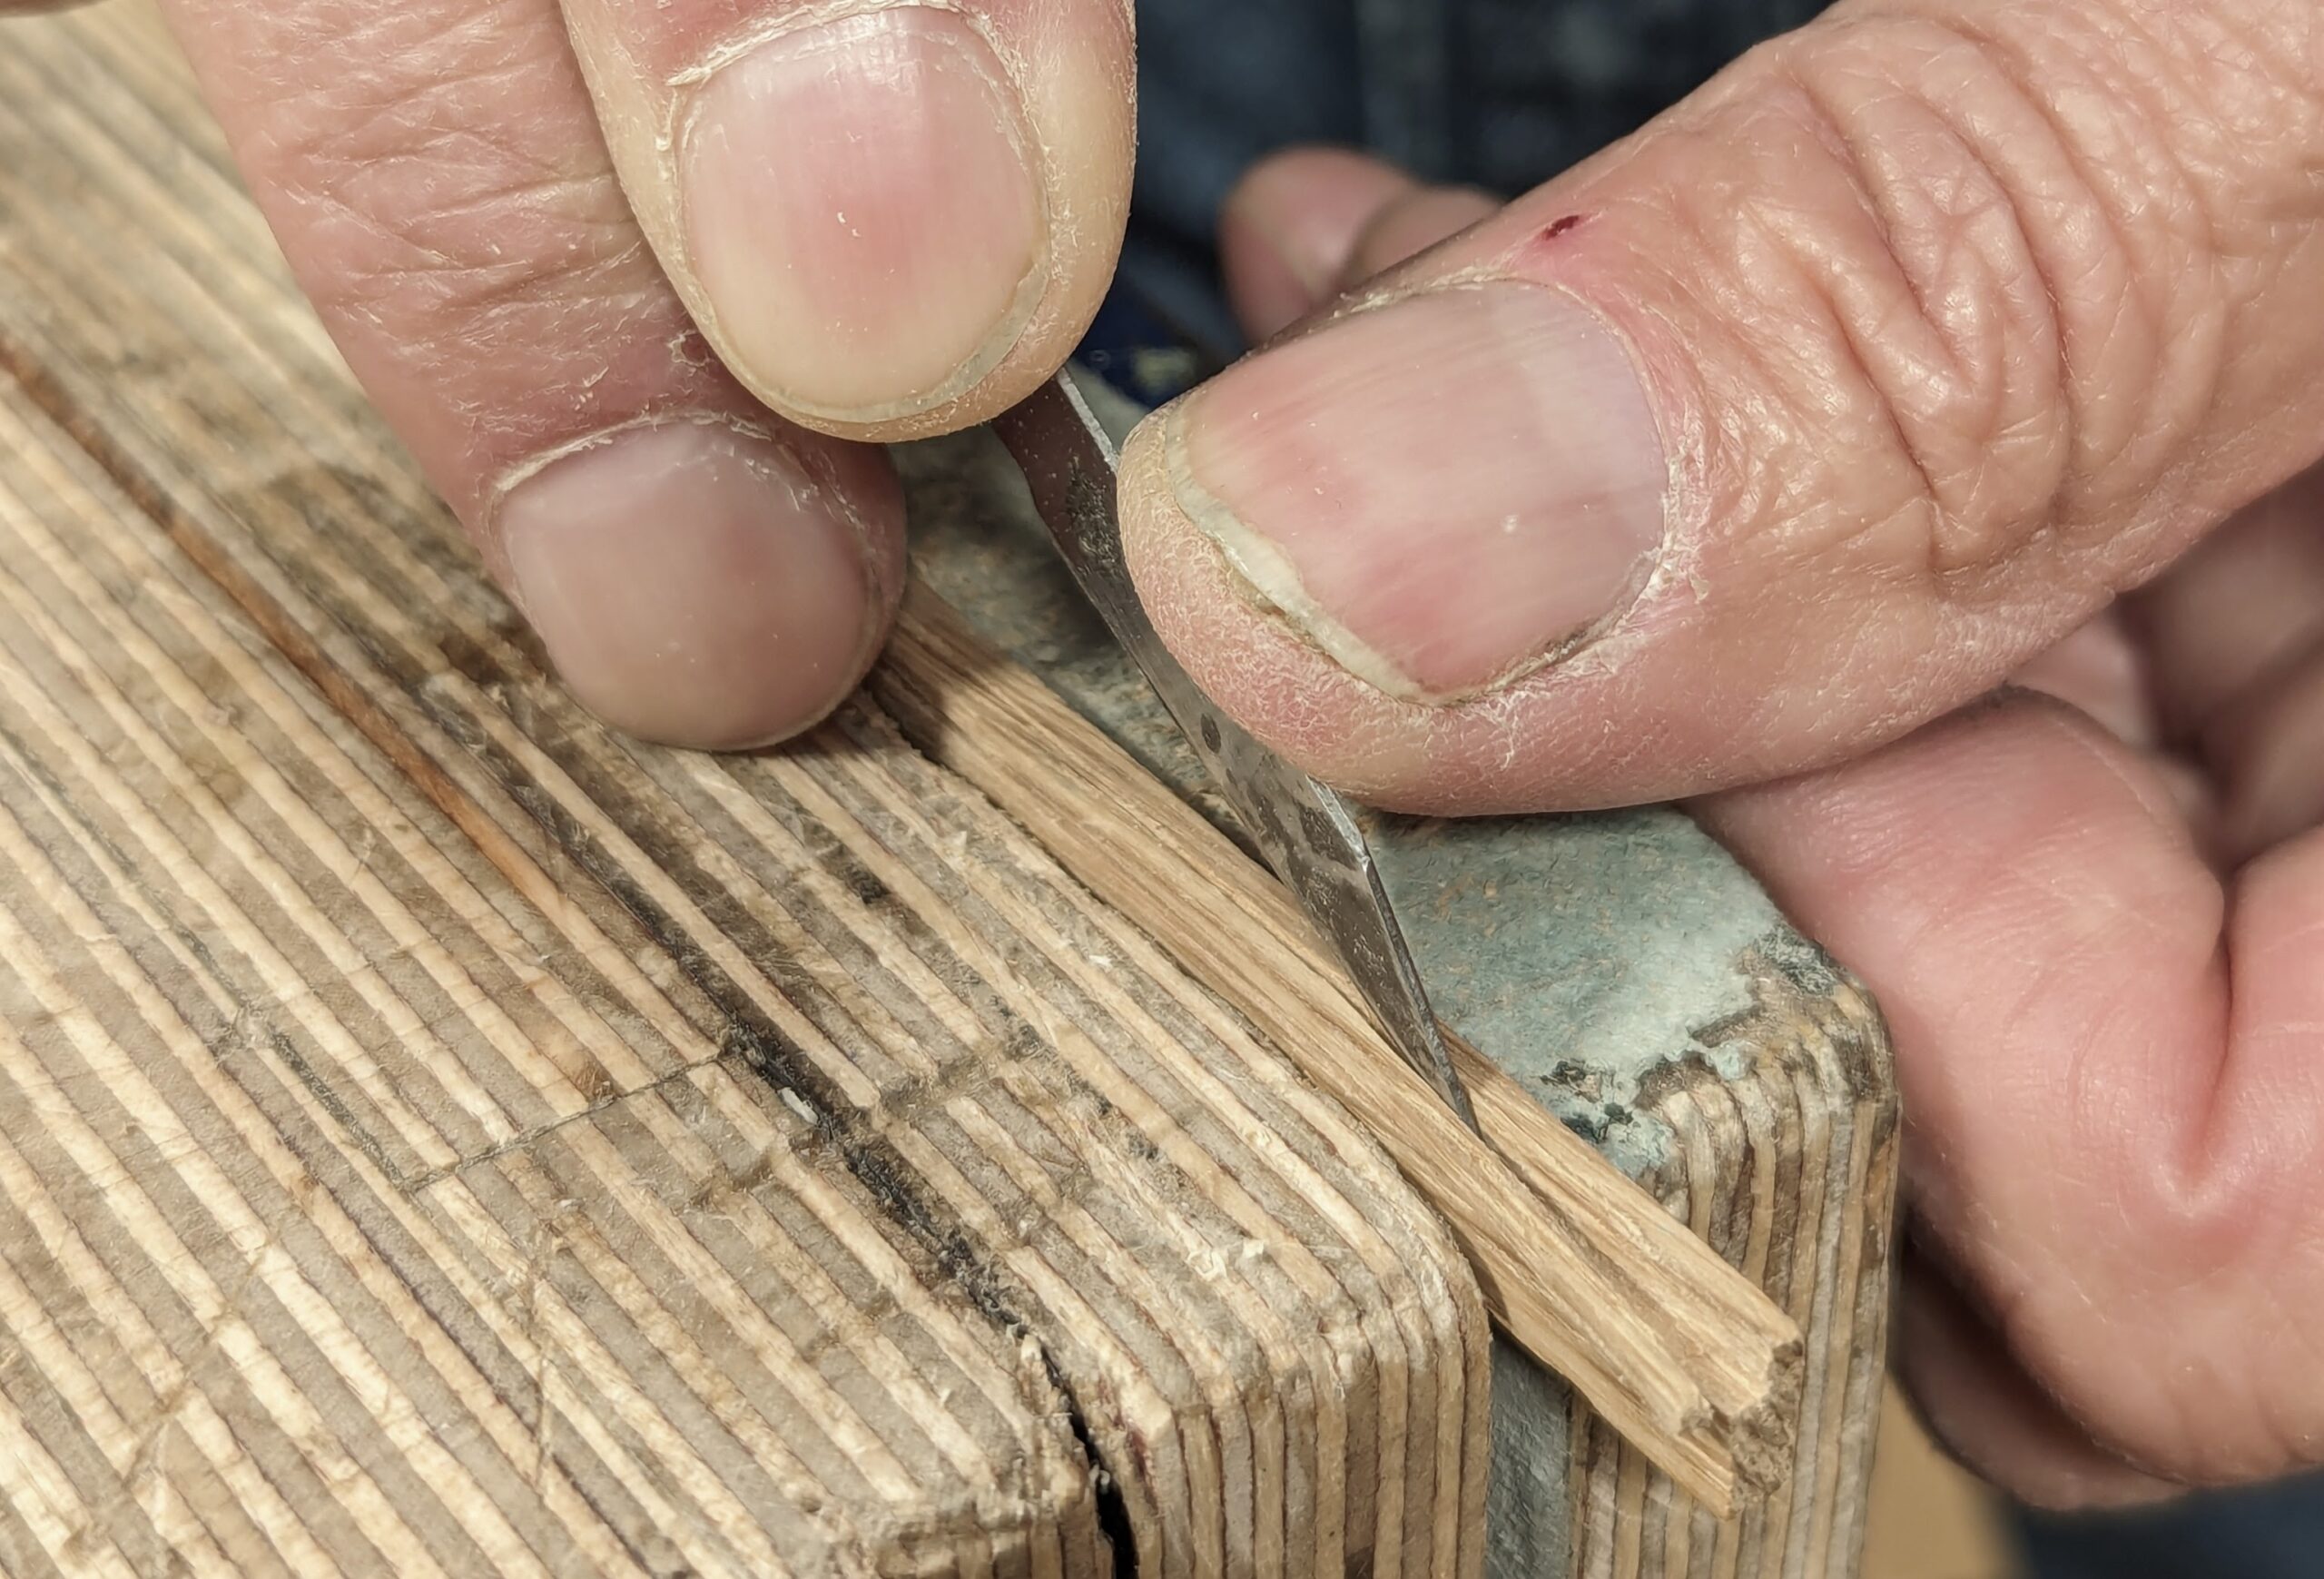
Rip a 3mm by 3mm contrasting wood if indeed this is what you want.

Apply a bead of glue along the internal corner and . . .
. . . use masking tape stretched to apply pressure to the inlay corner piece. Leave it to dry for at least an hour or so.

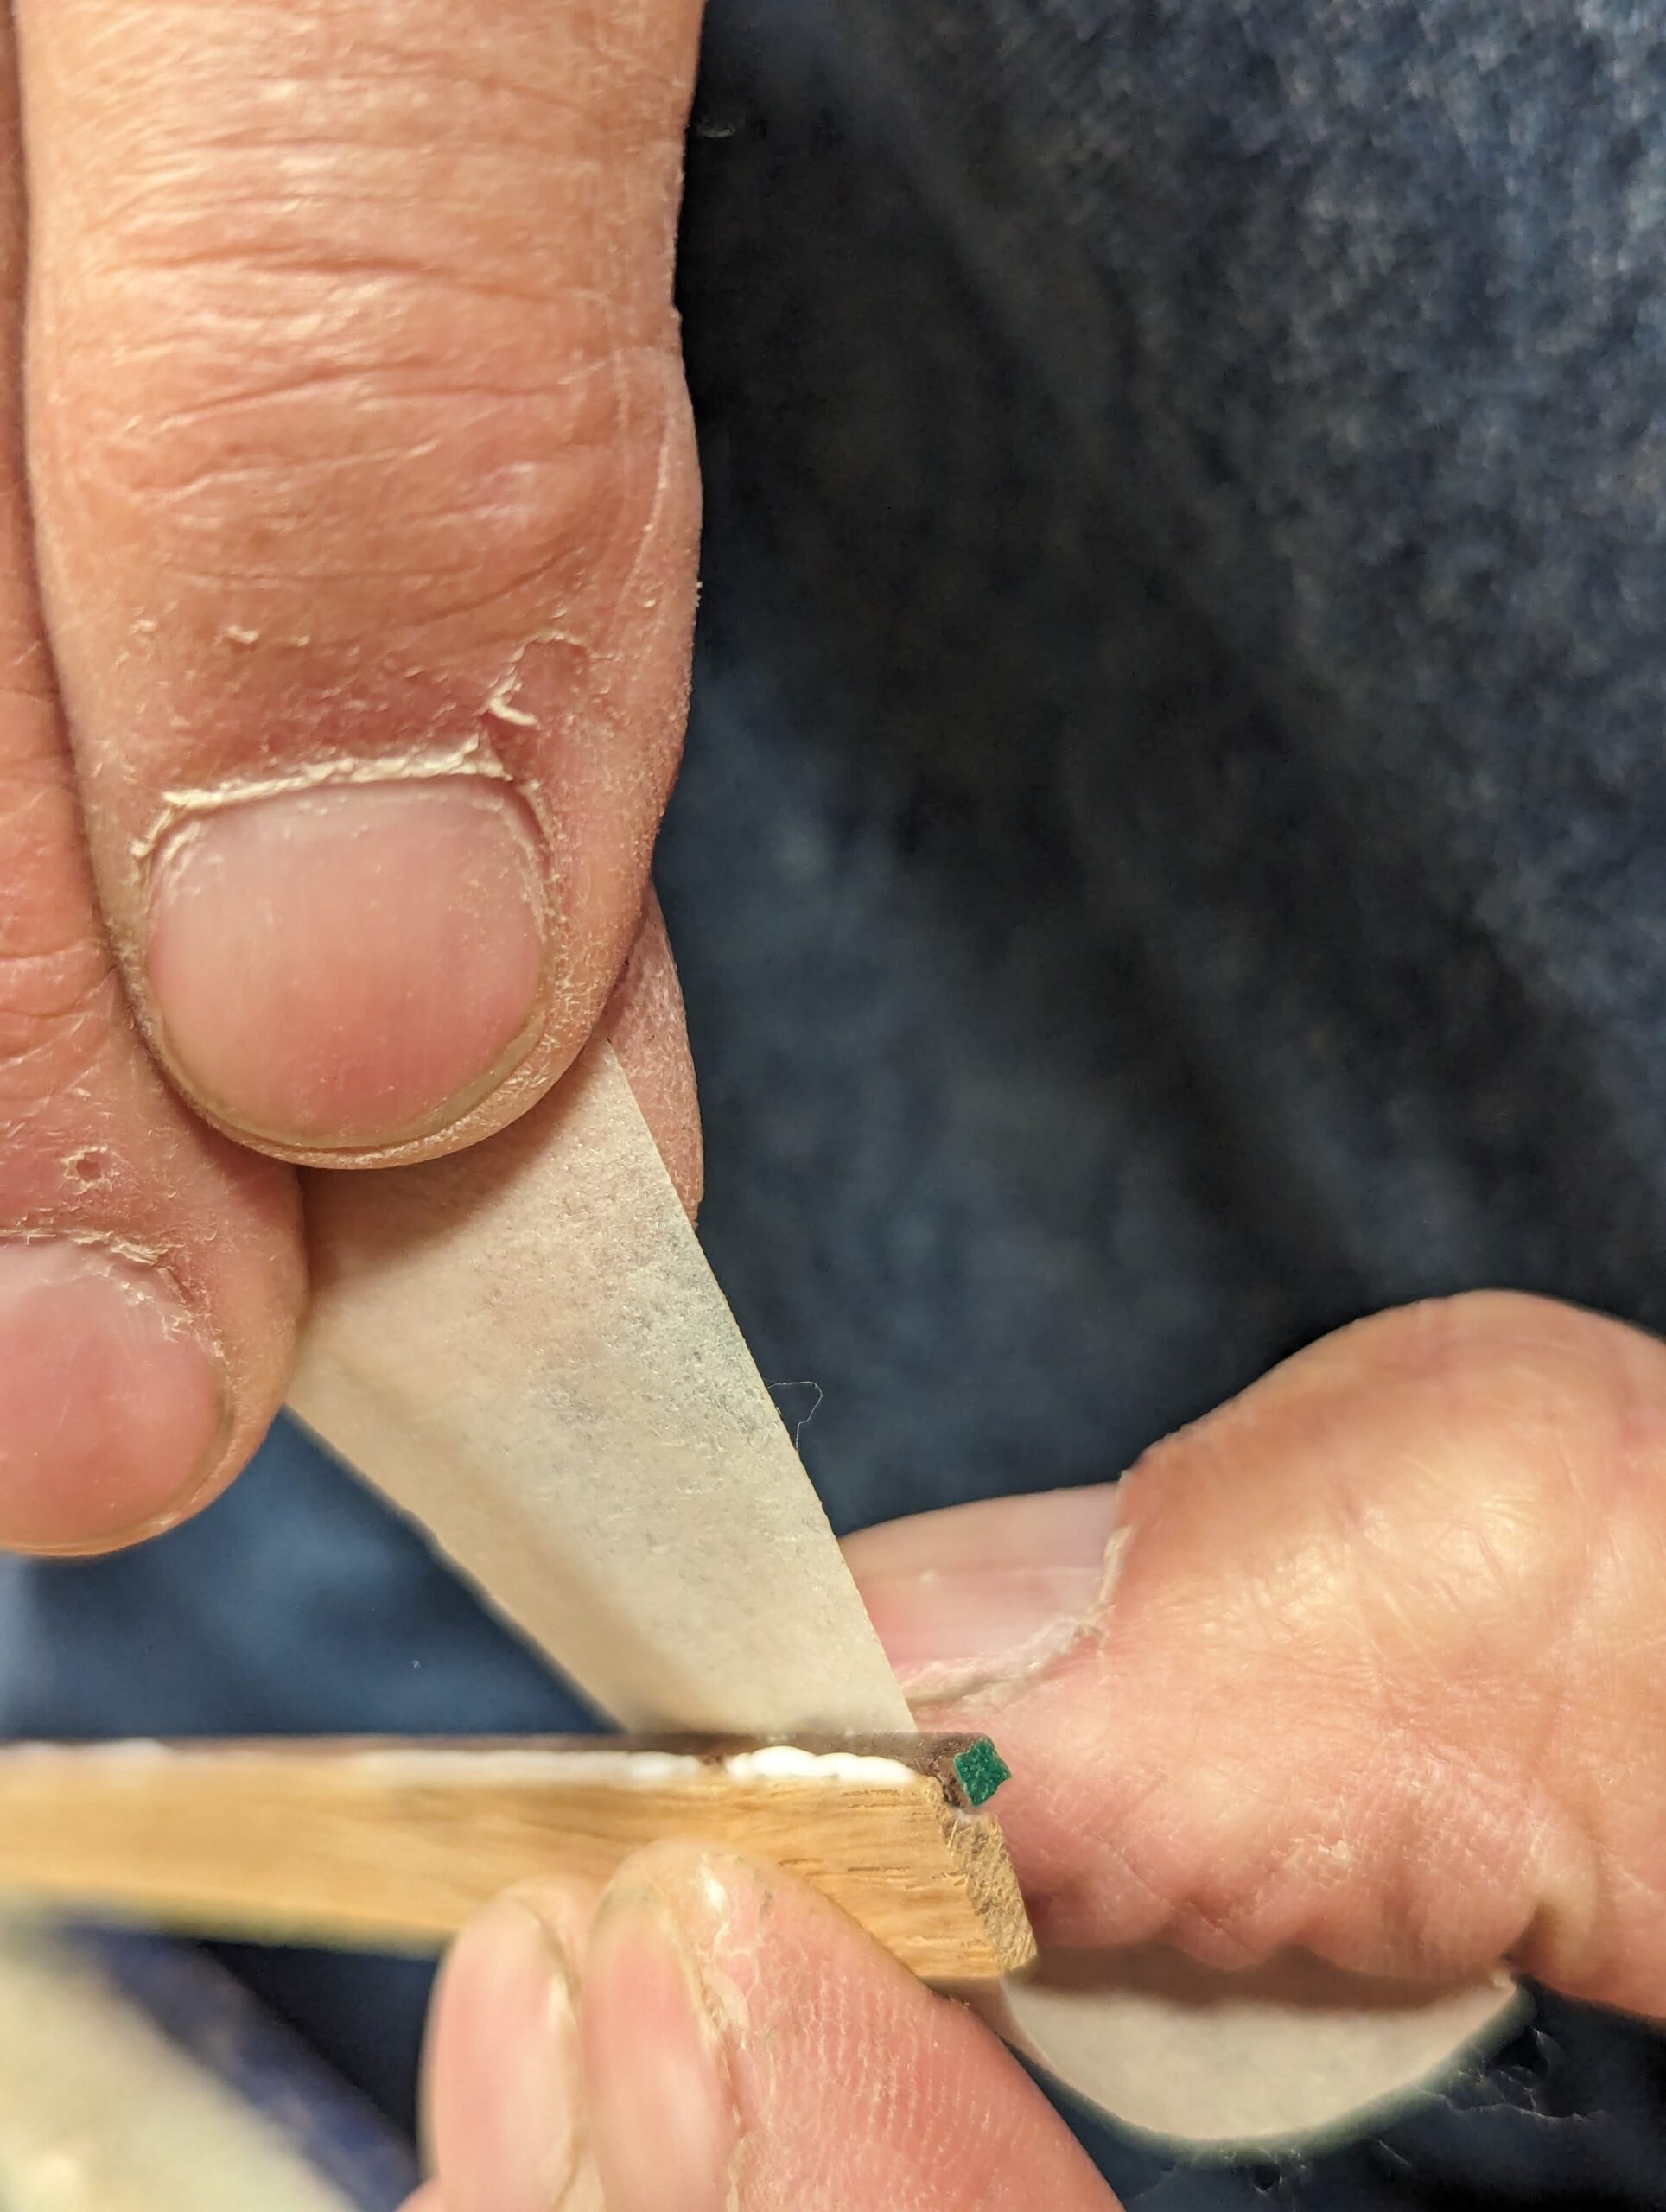
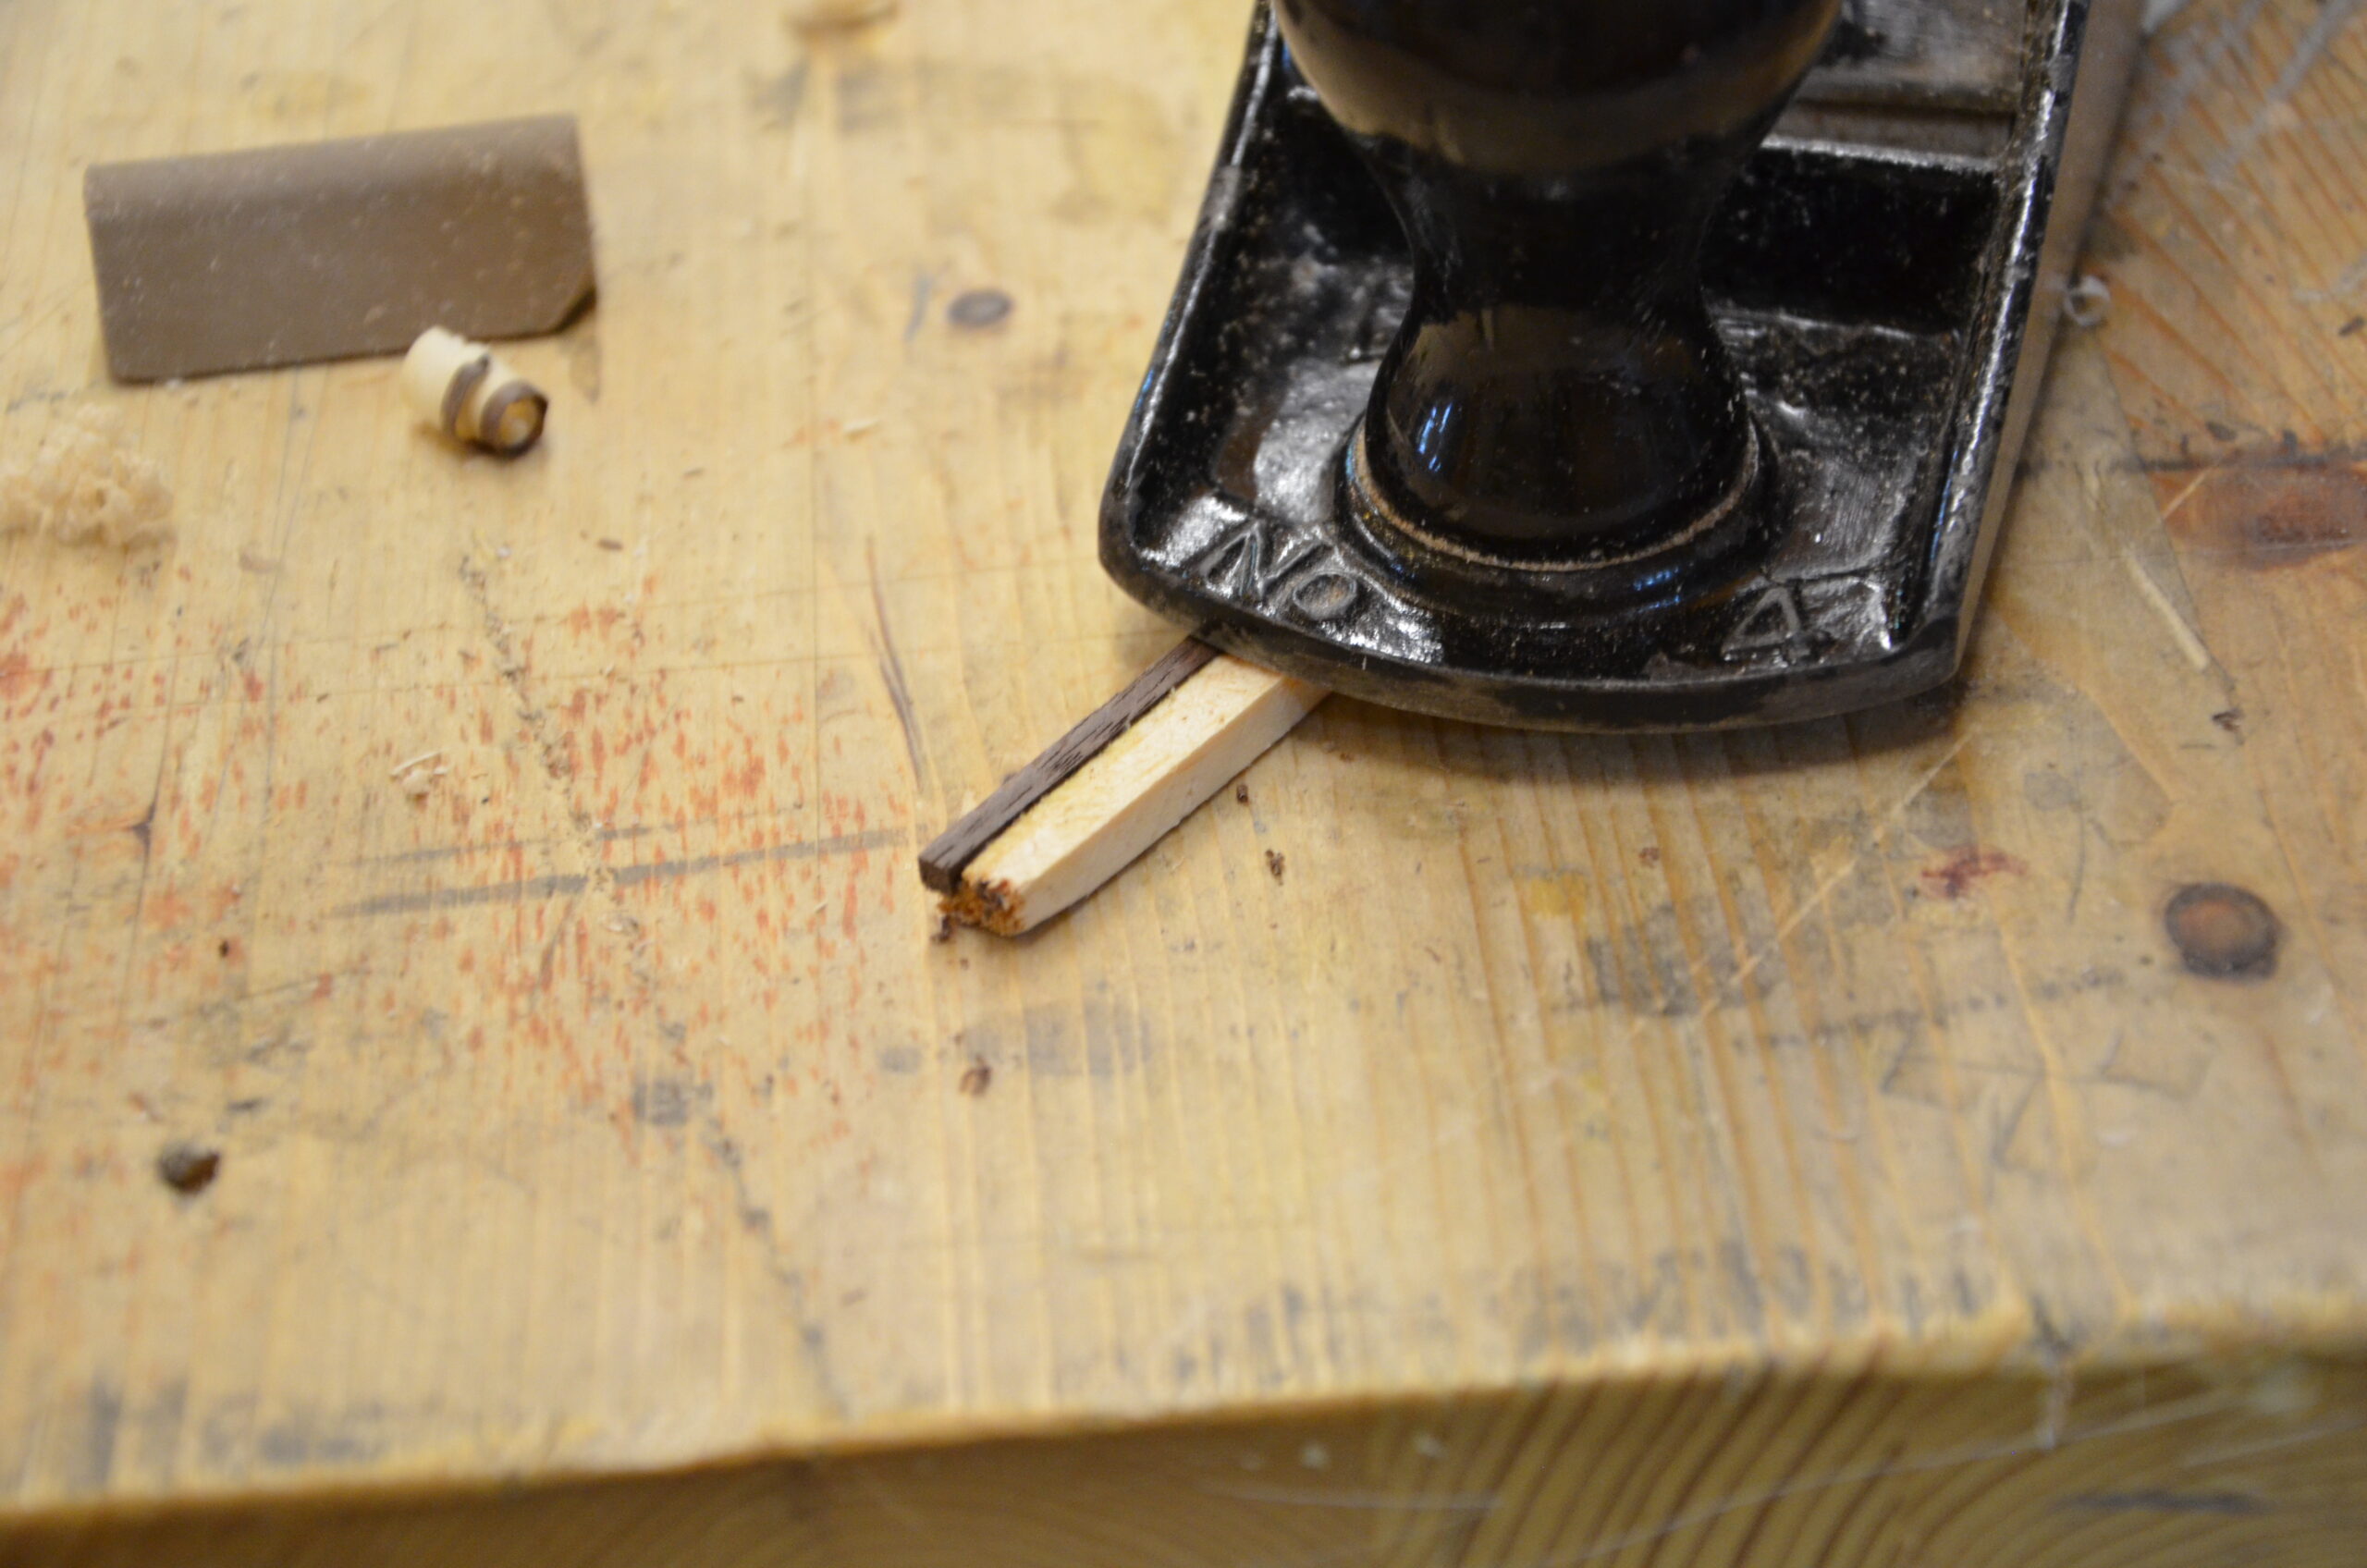
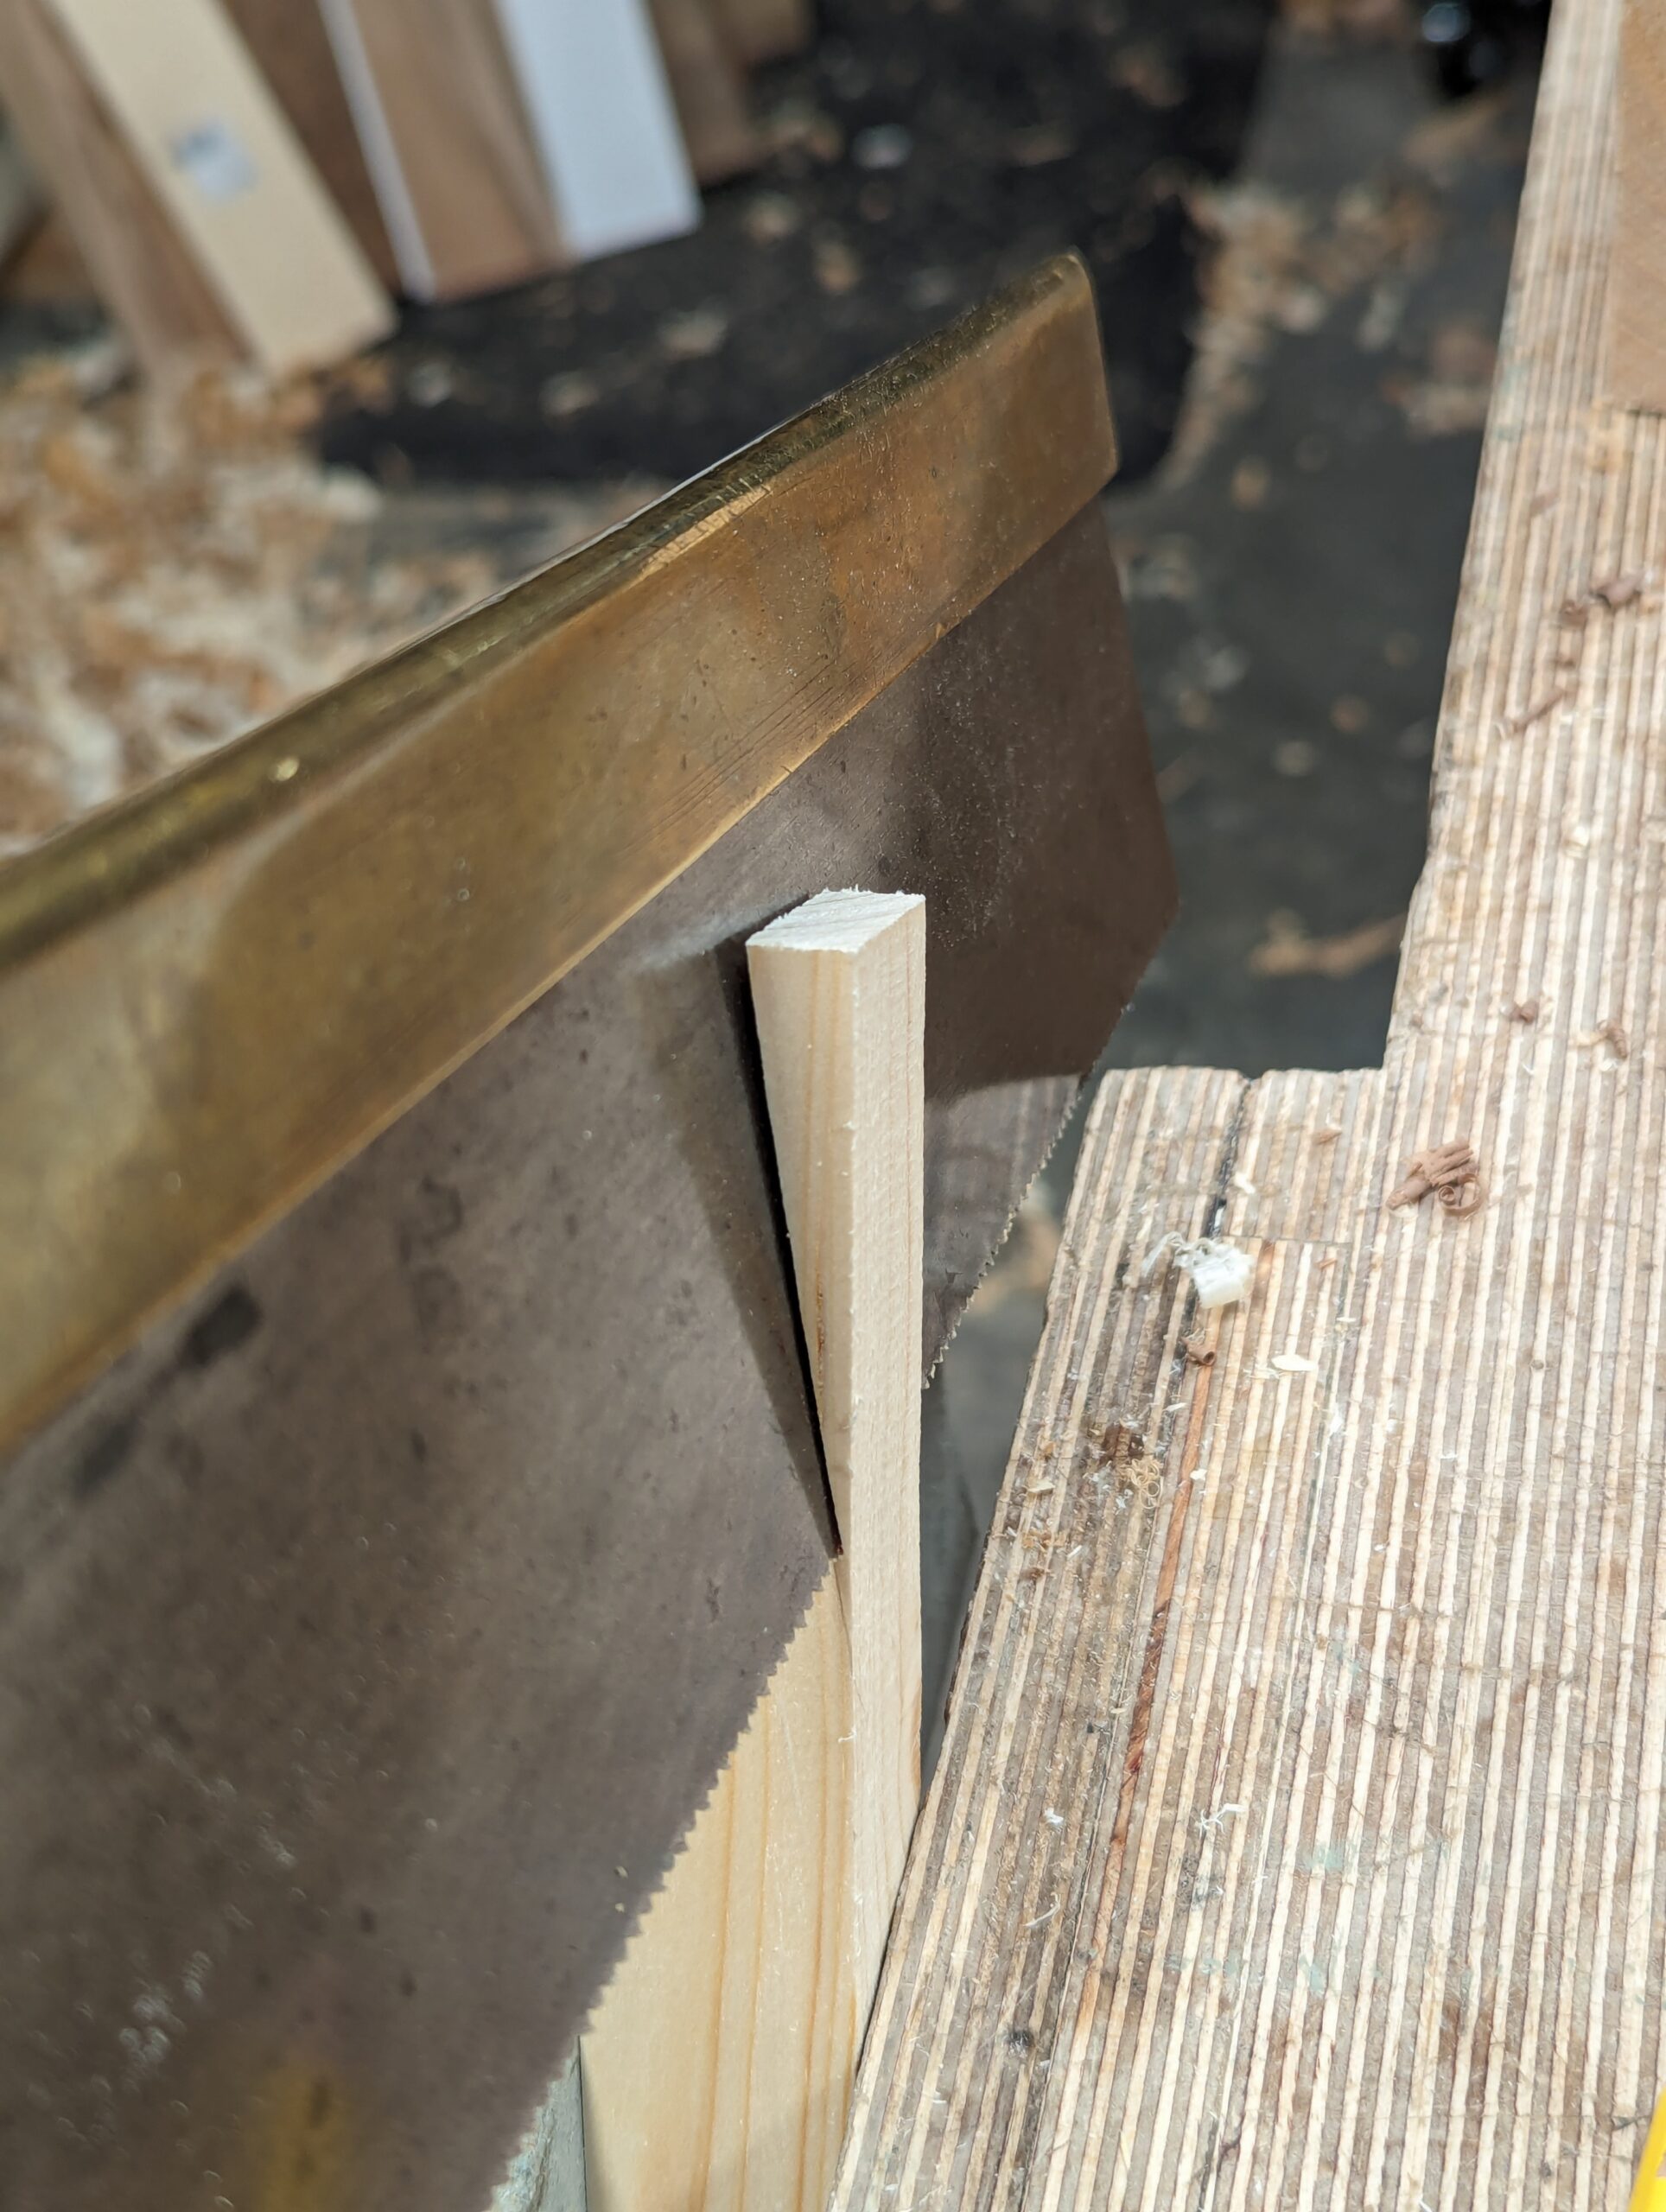
This is how your inlay piece will look when set within the thicknessing jig.
It's best to plane any discrepancy out first.
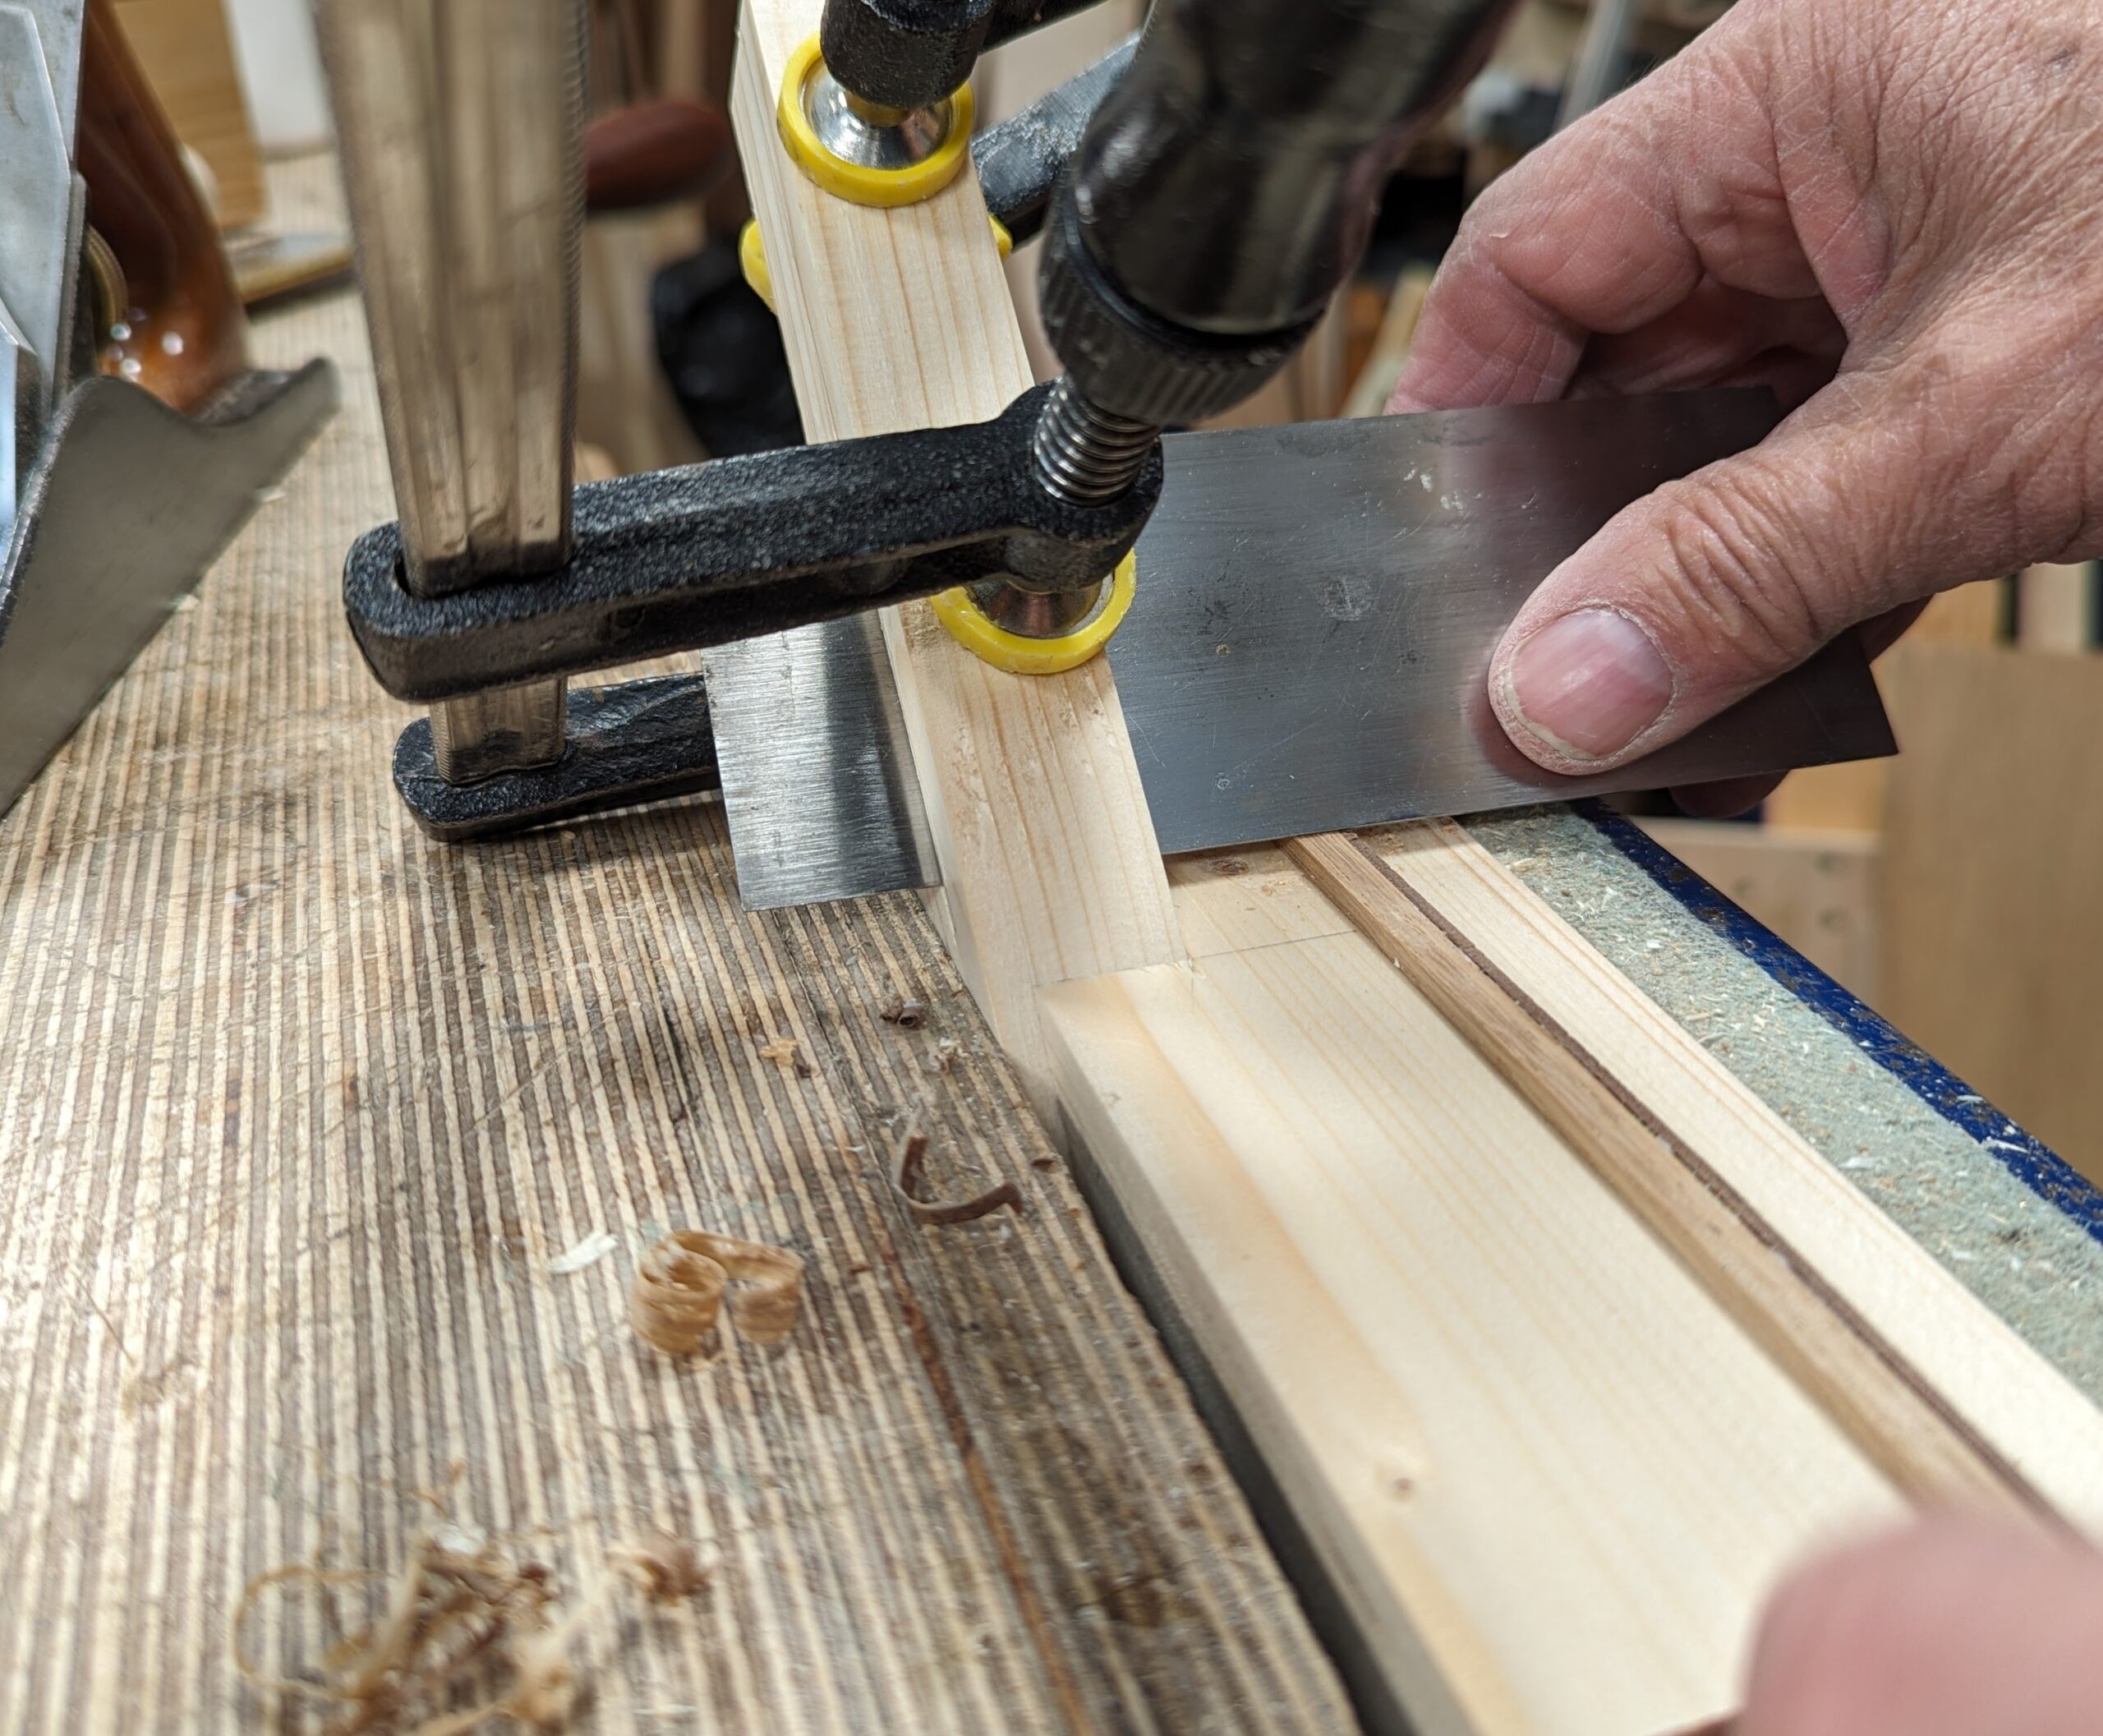
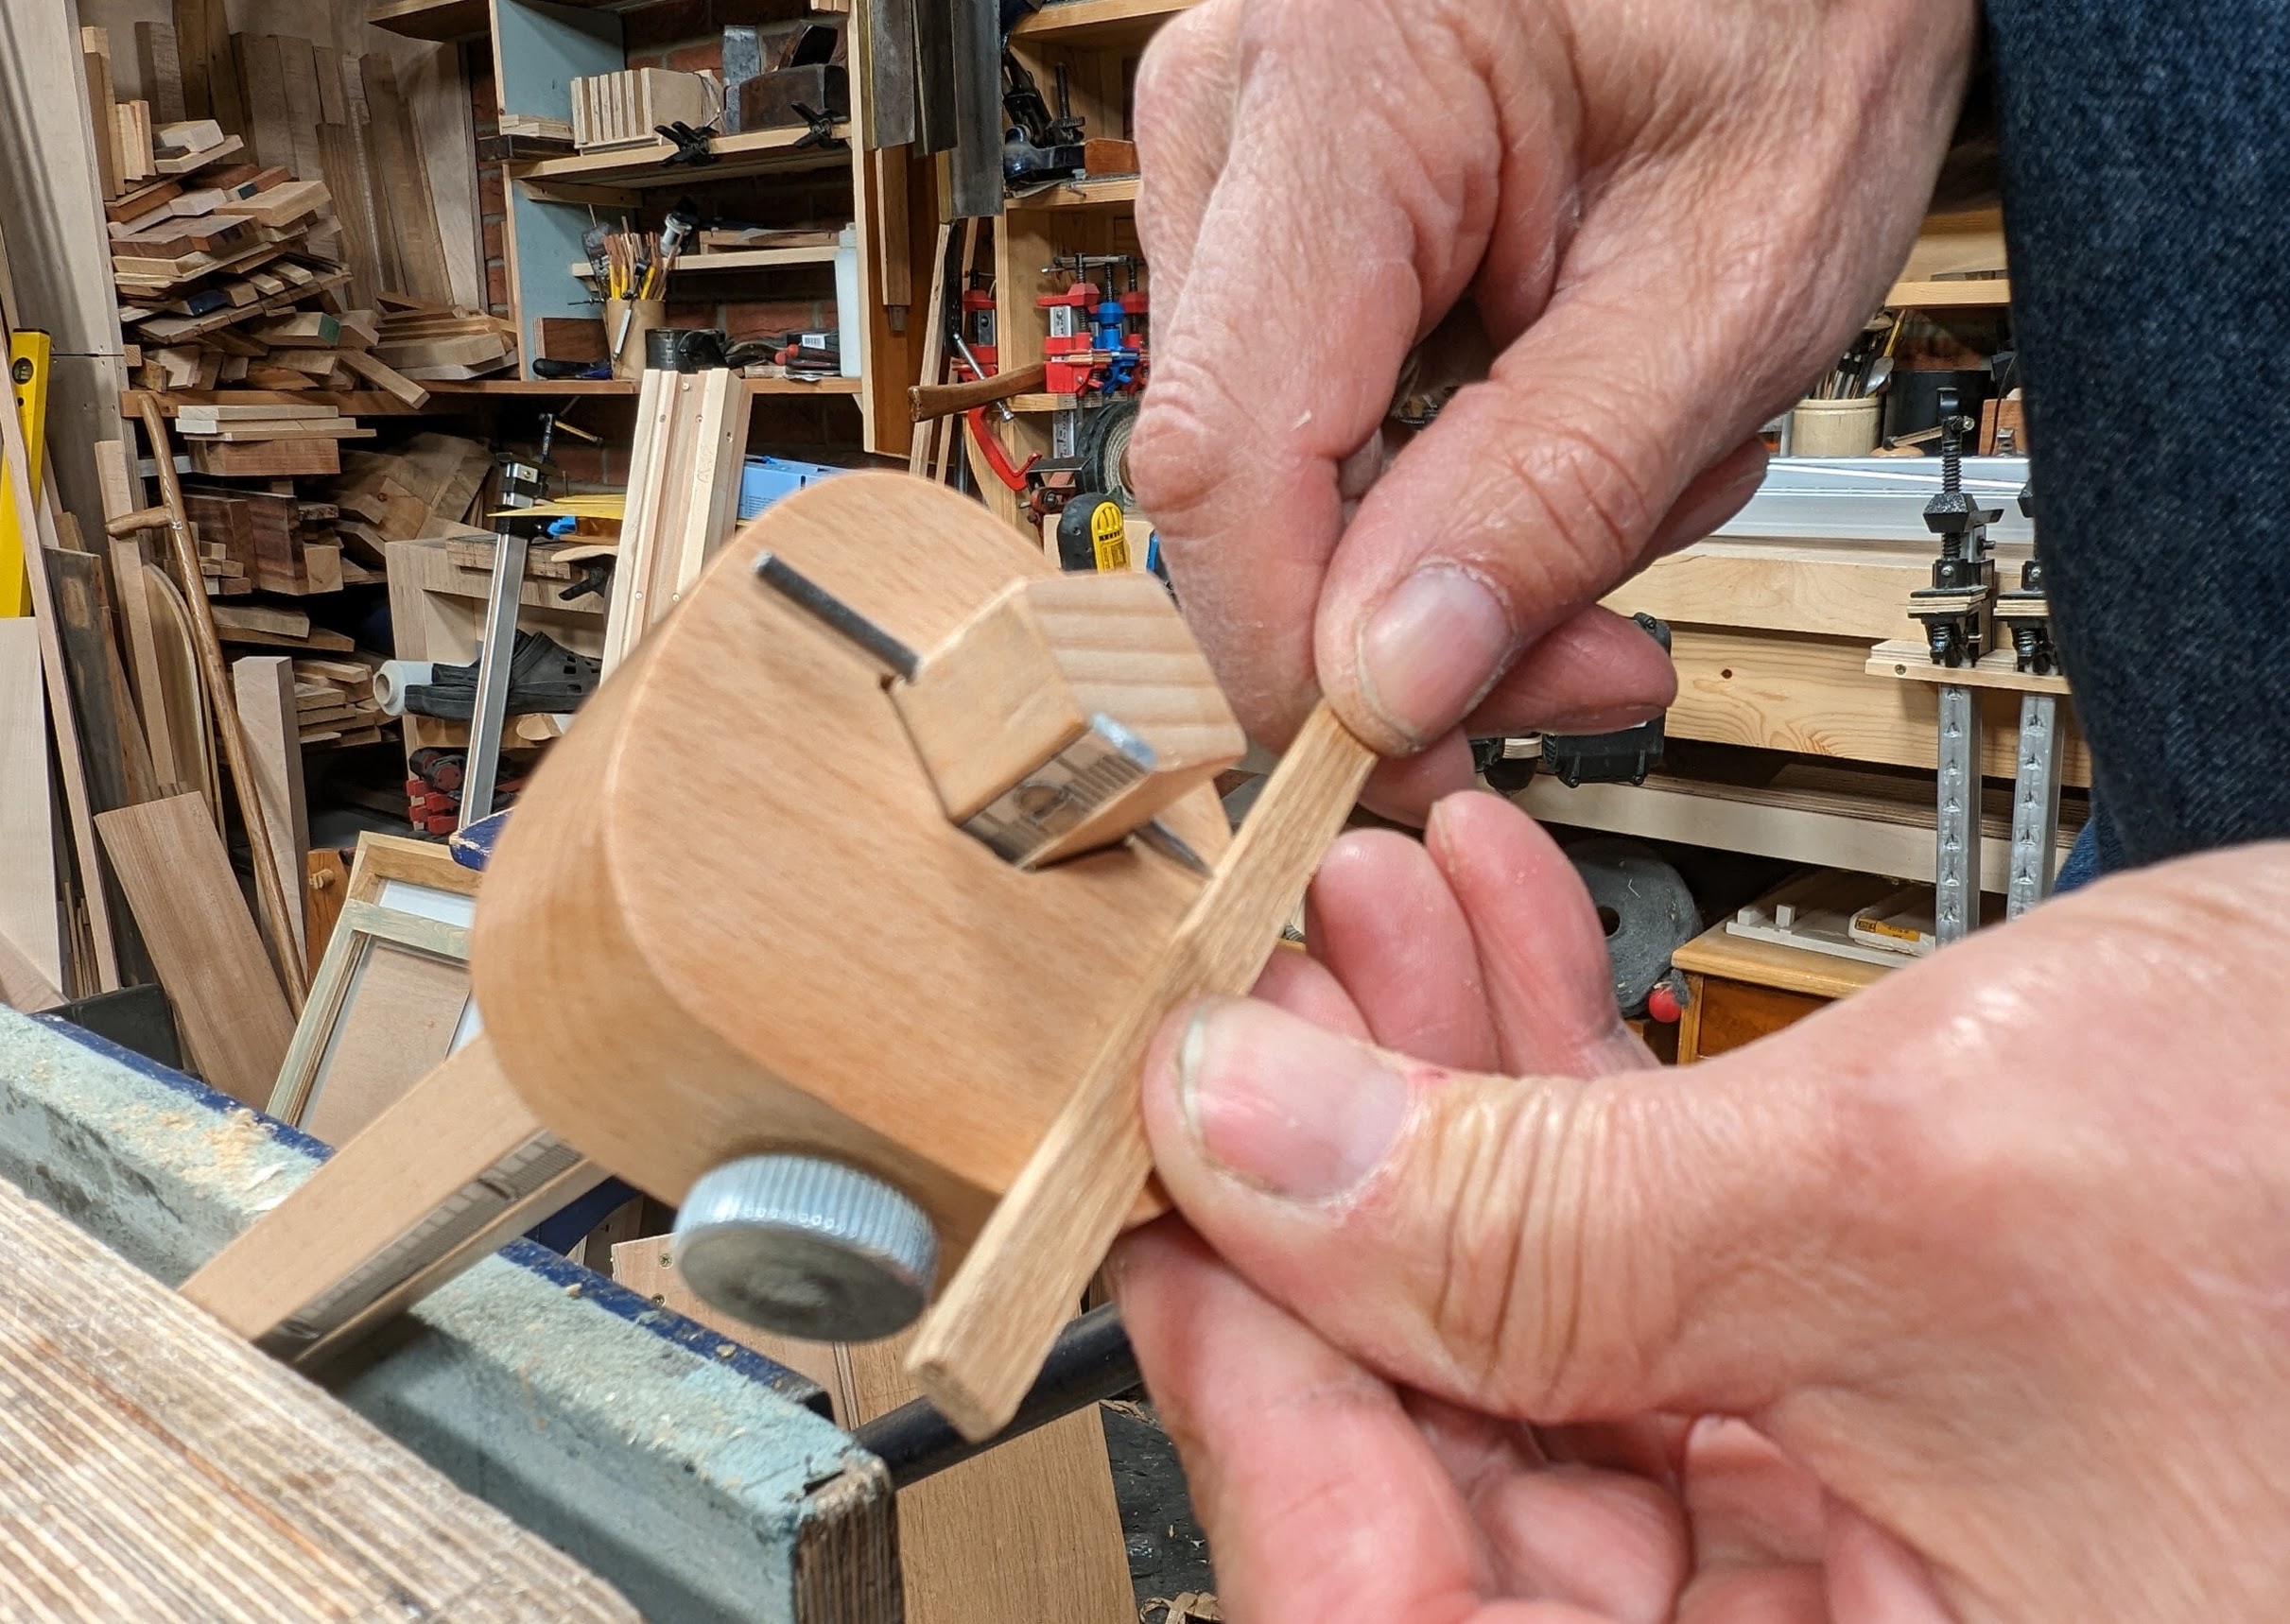
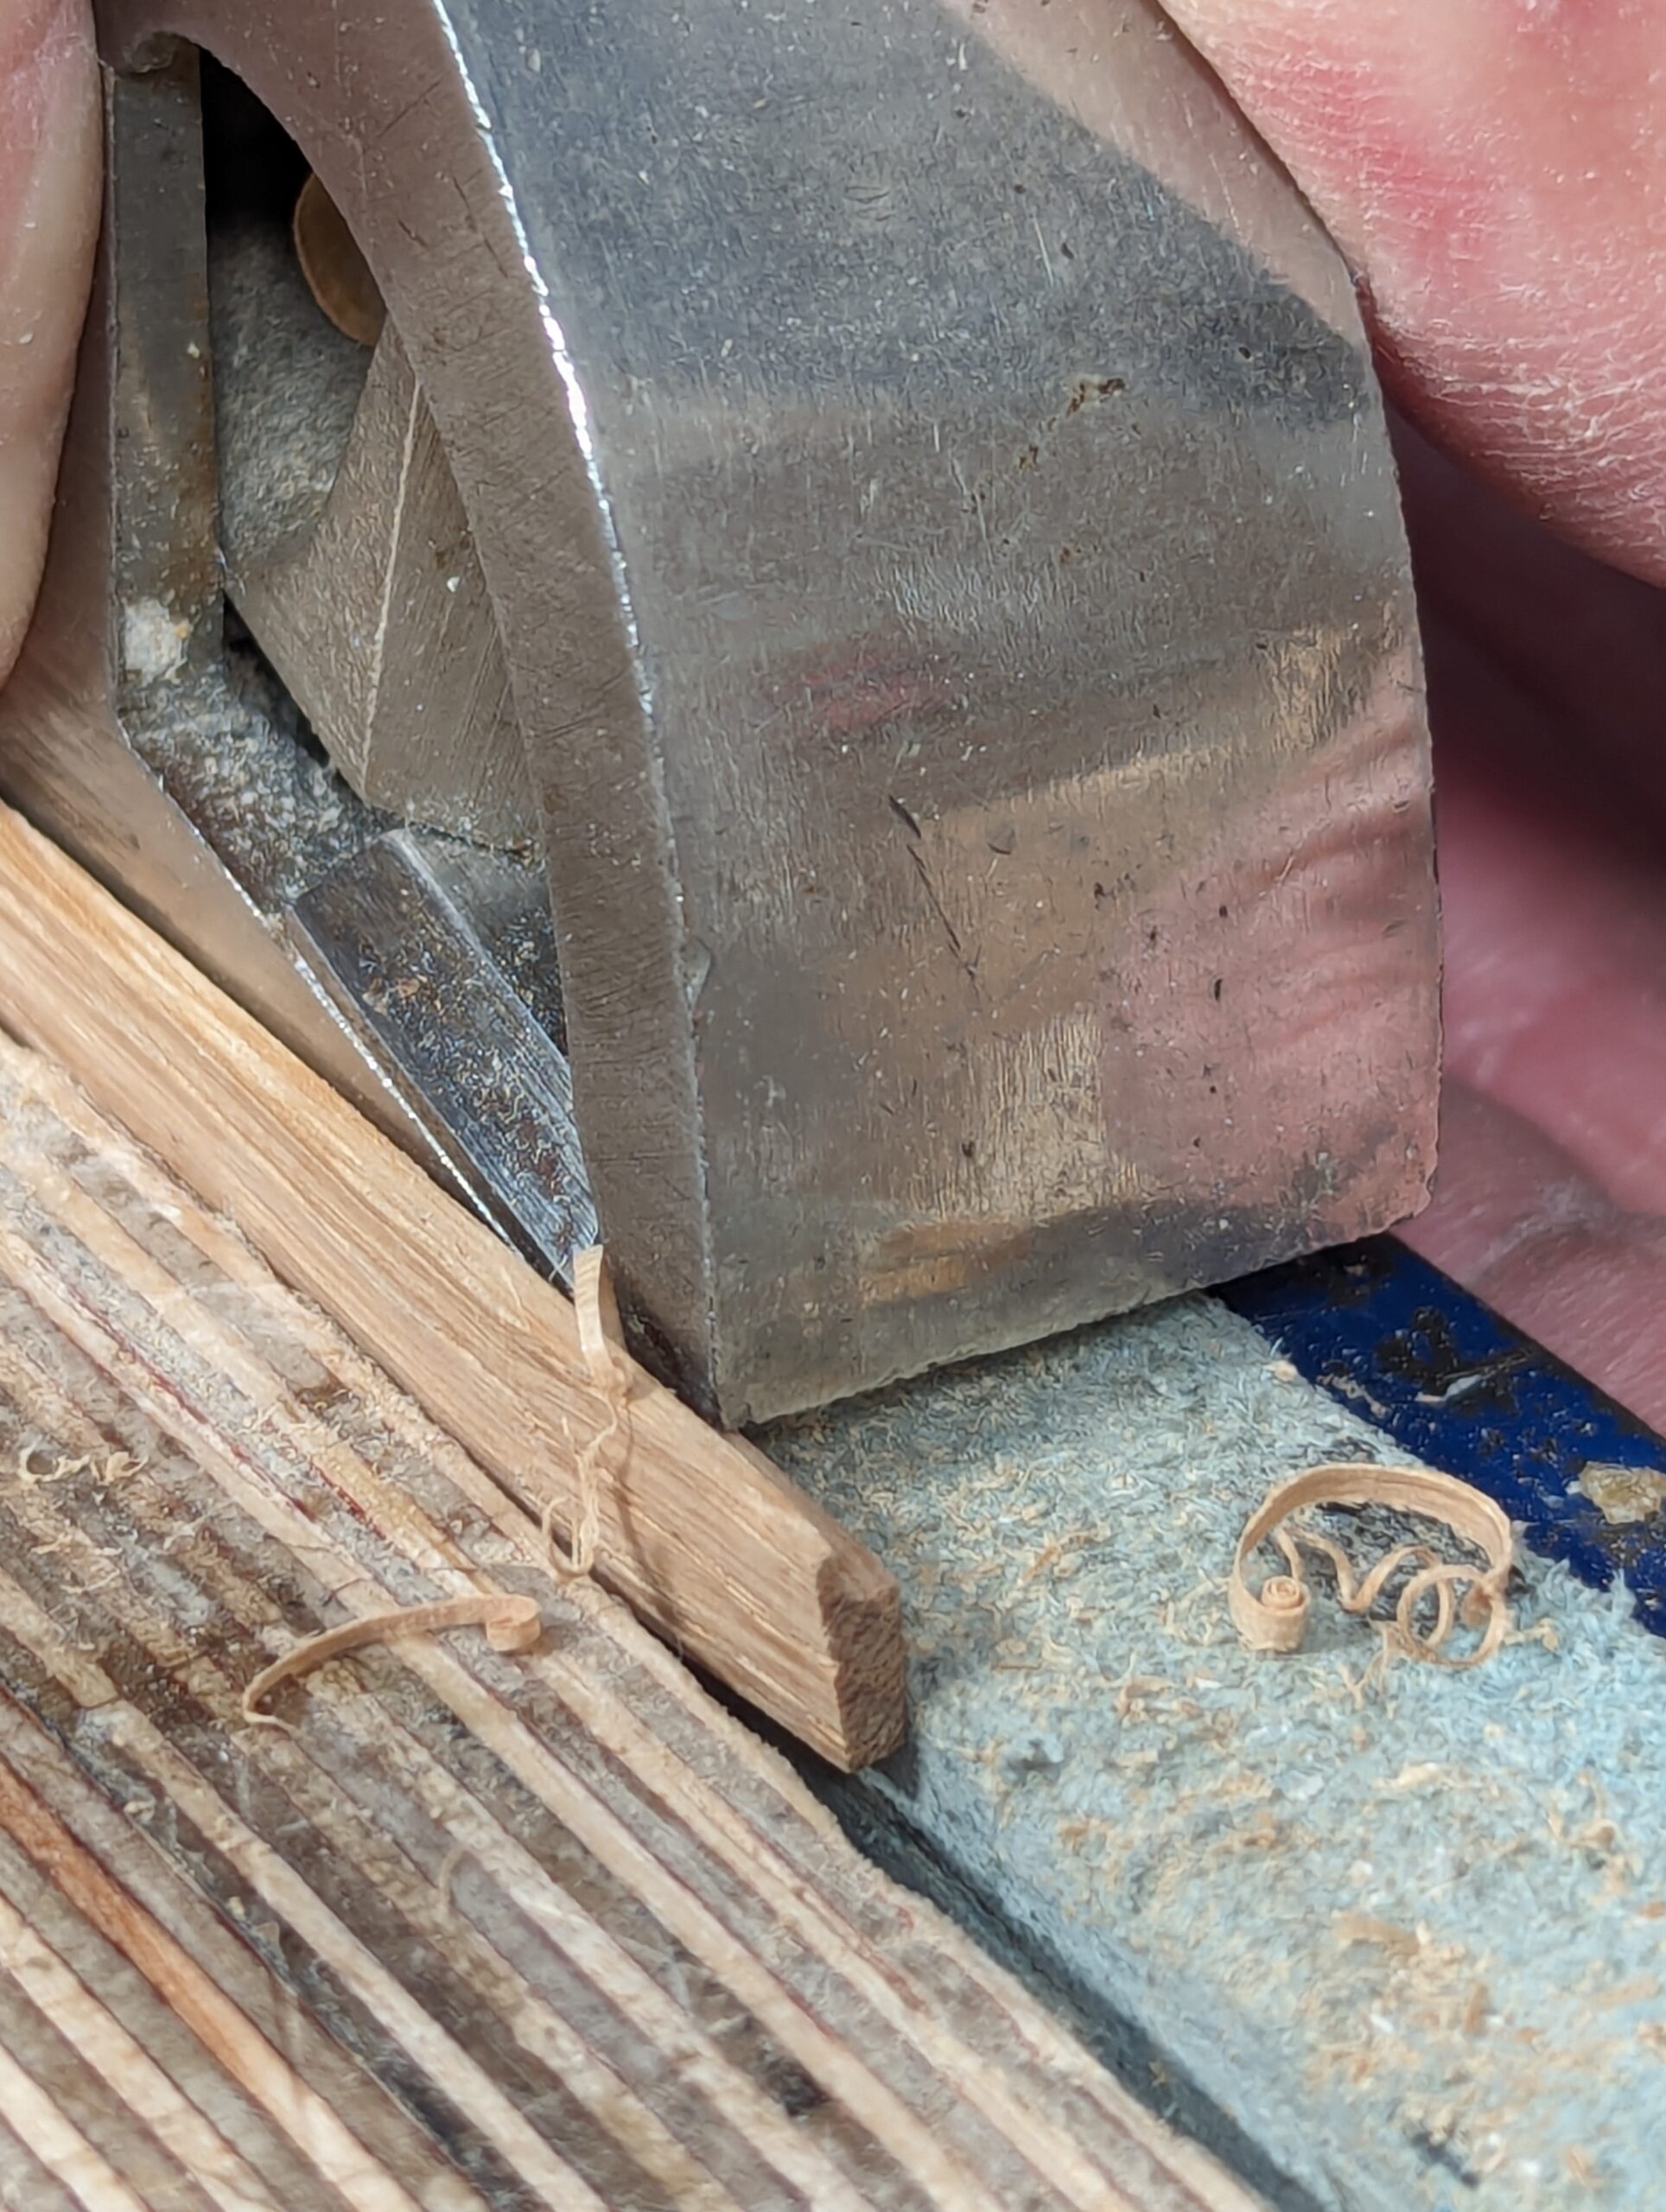
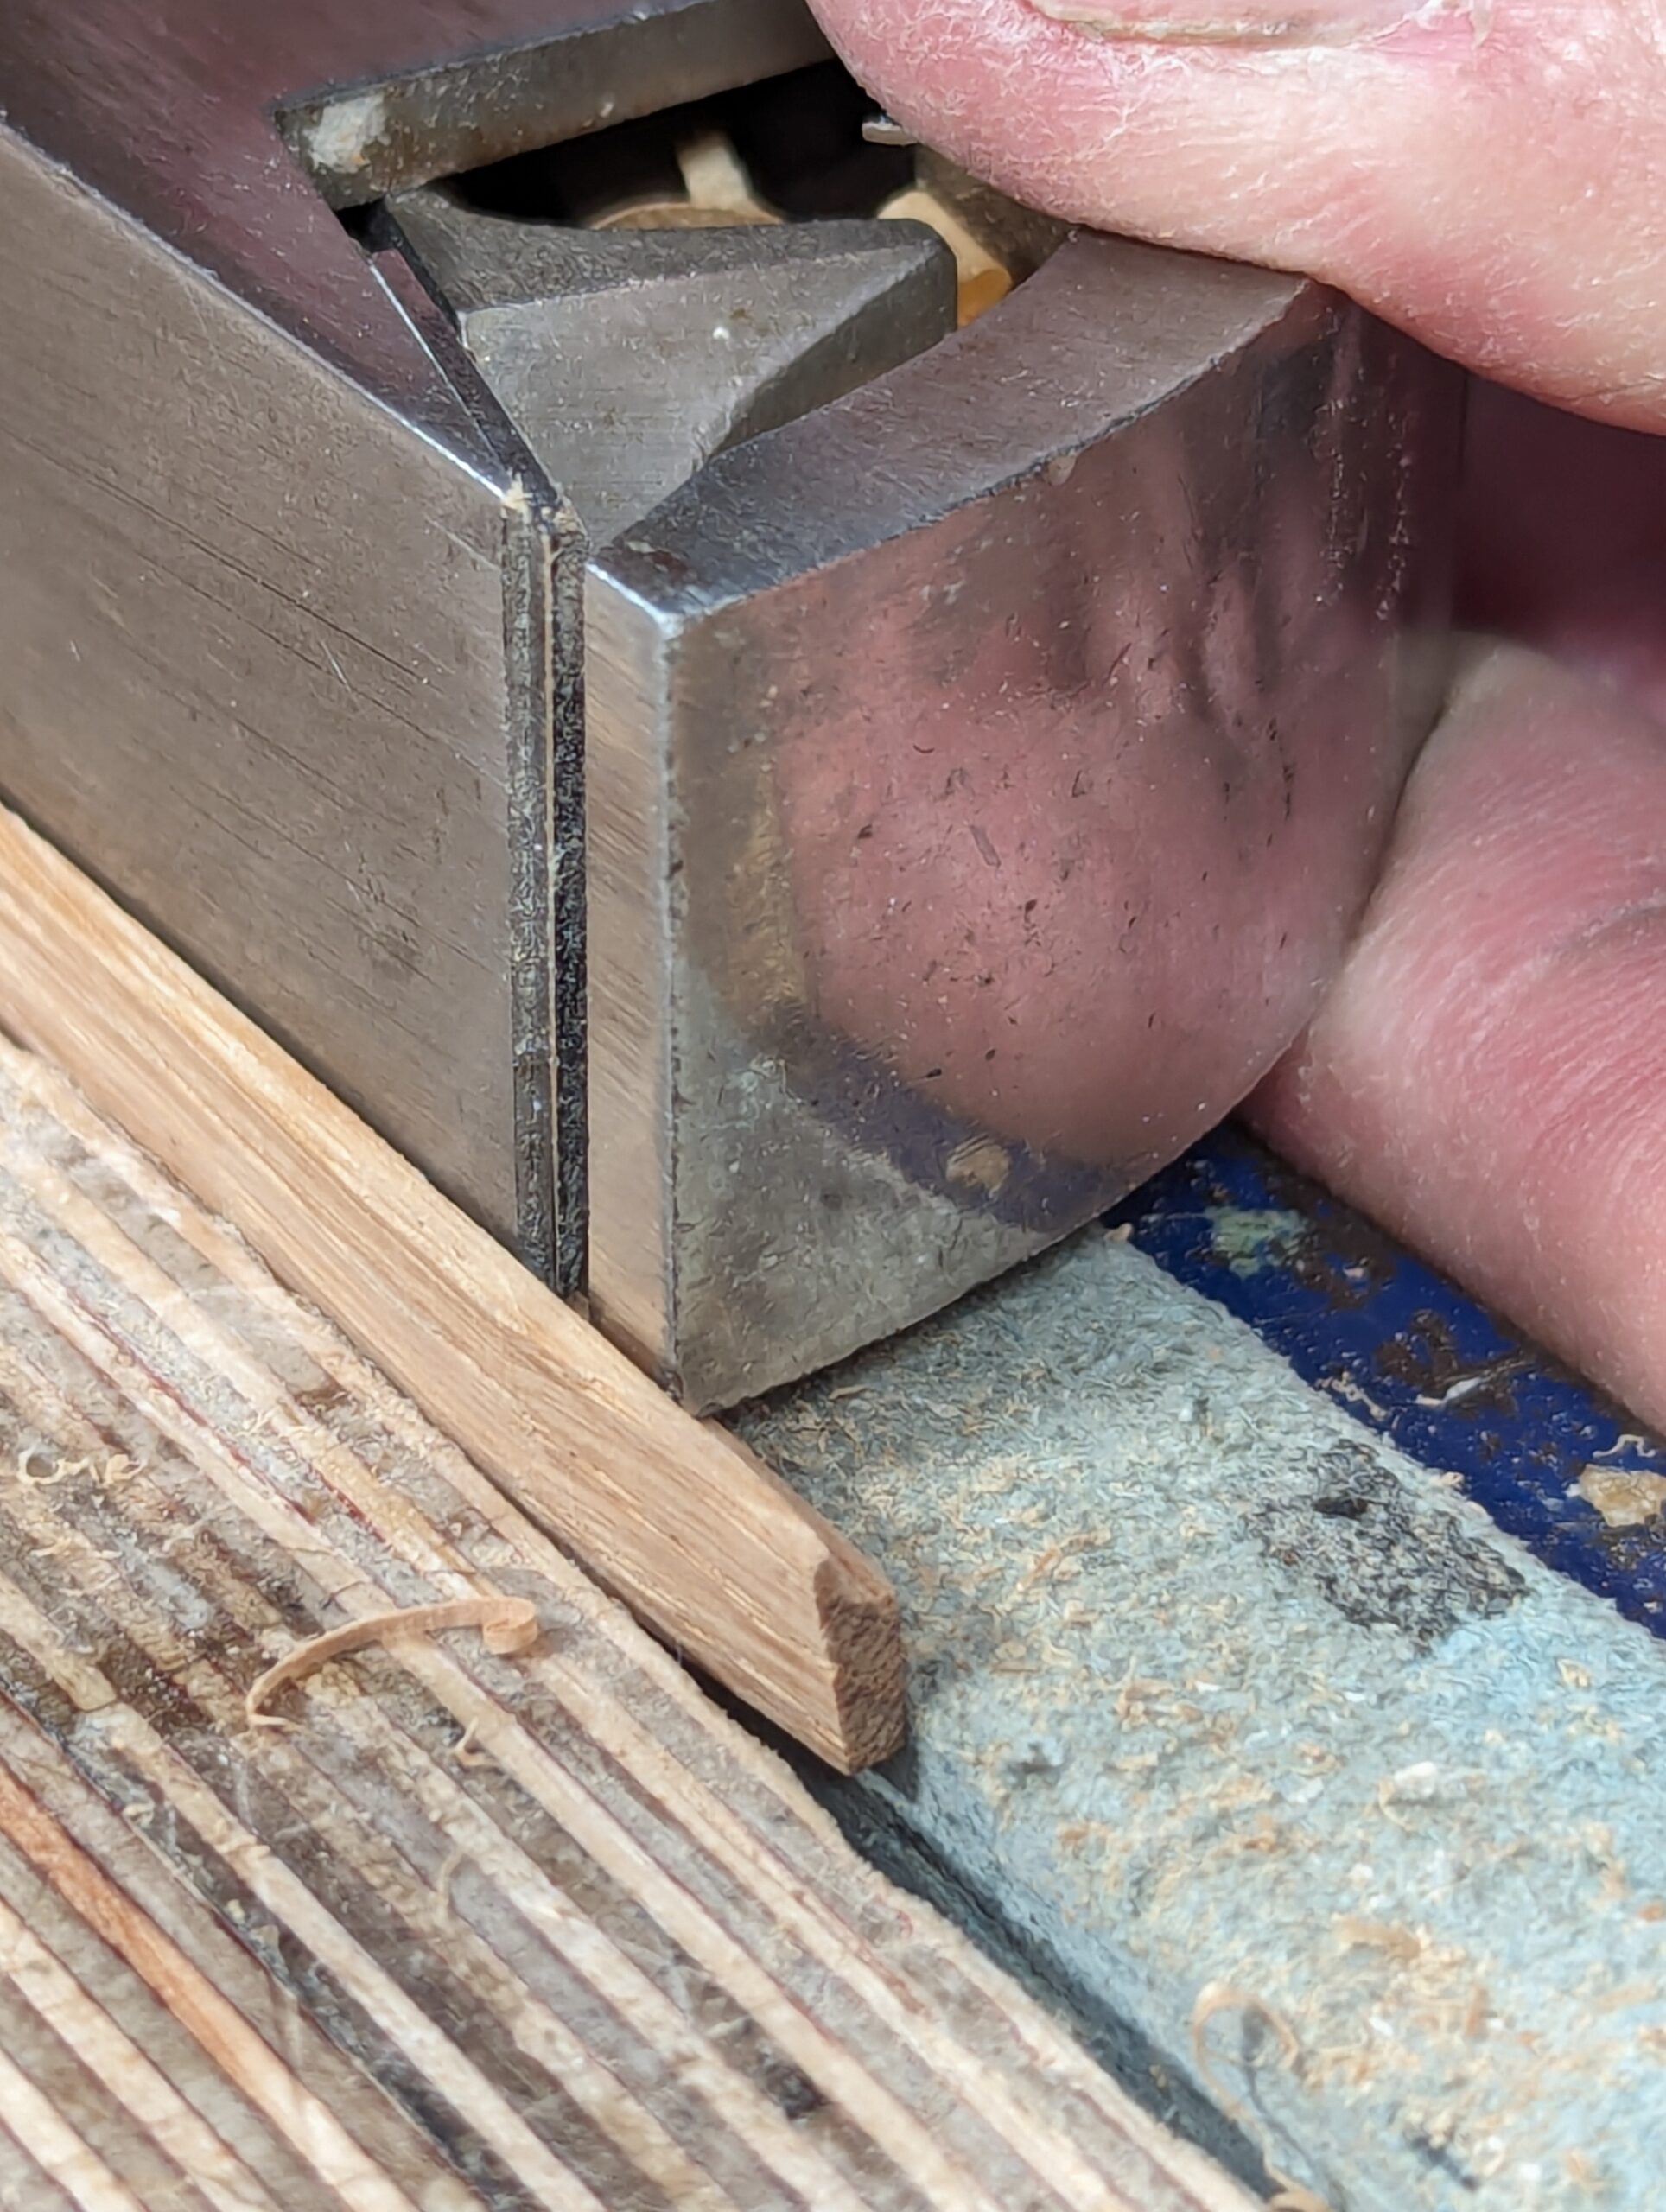
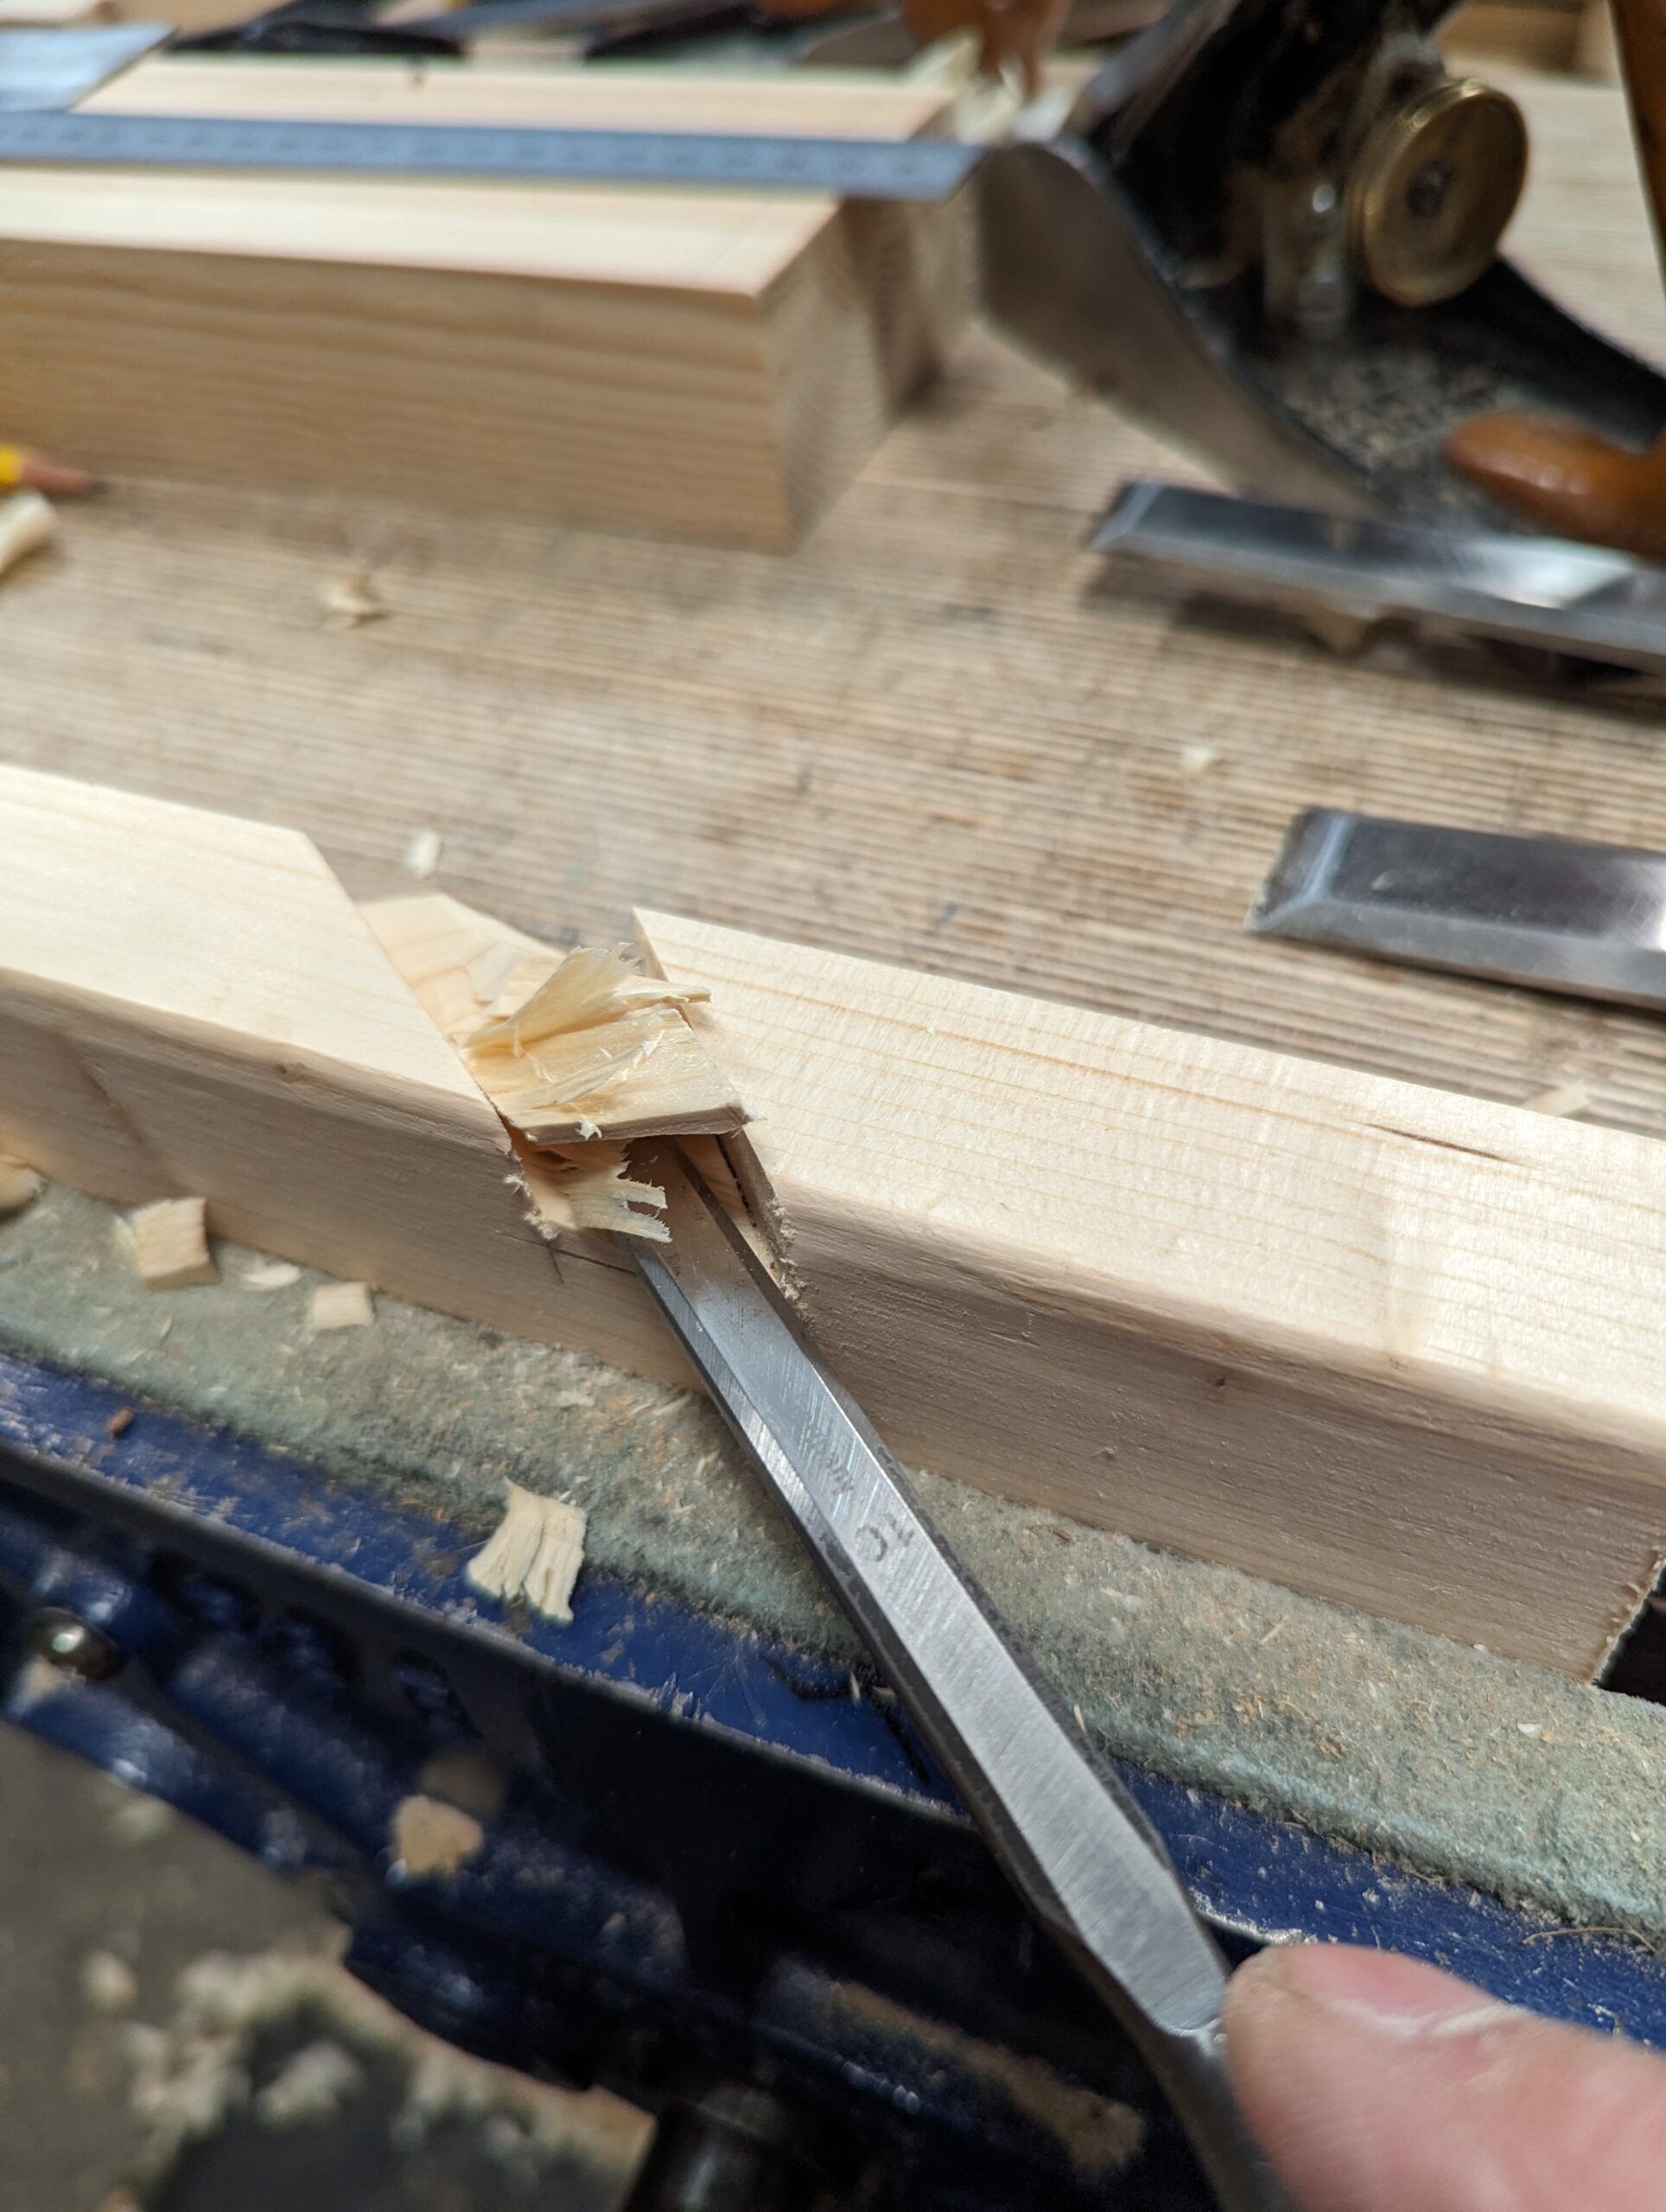
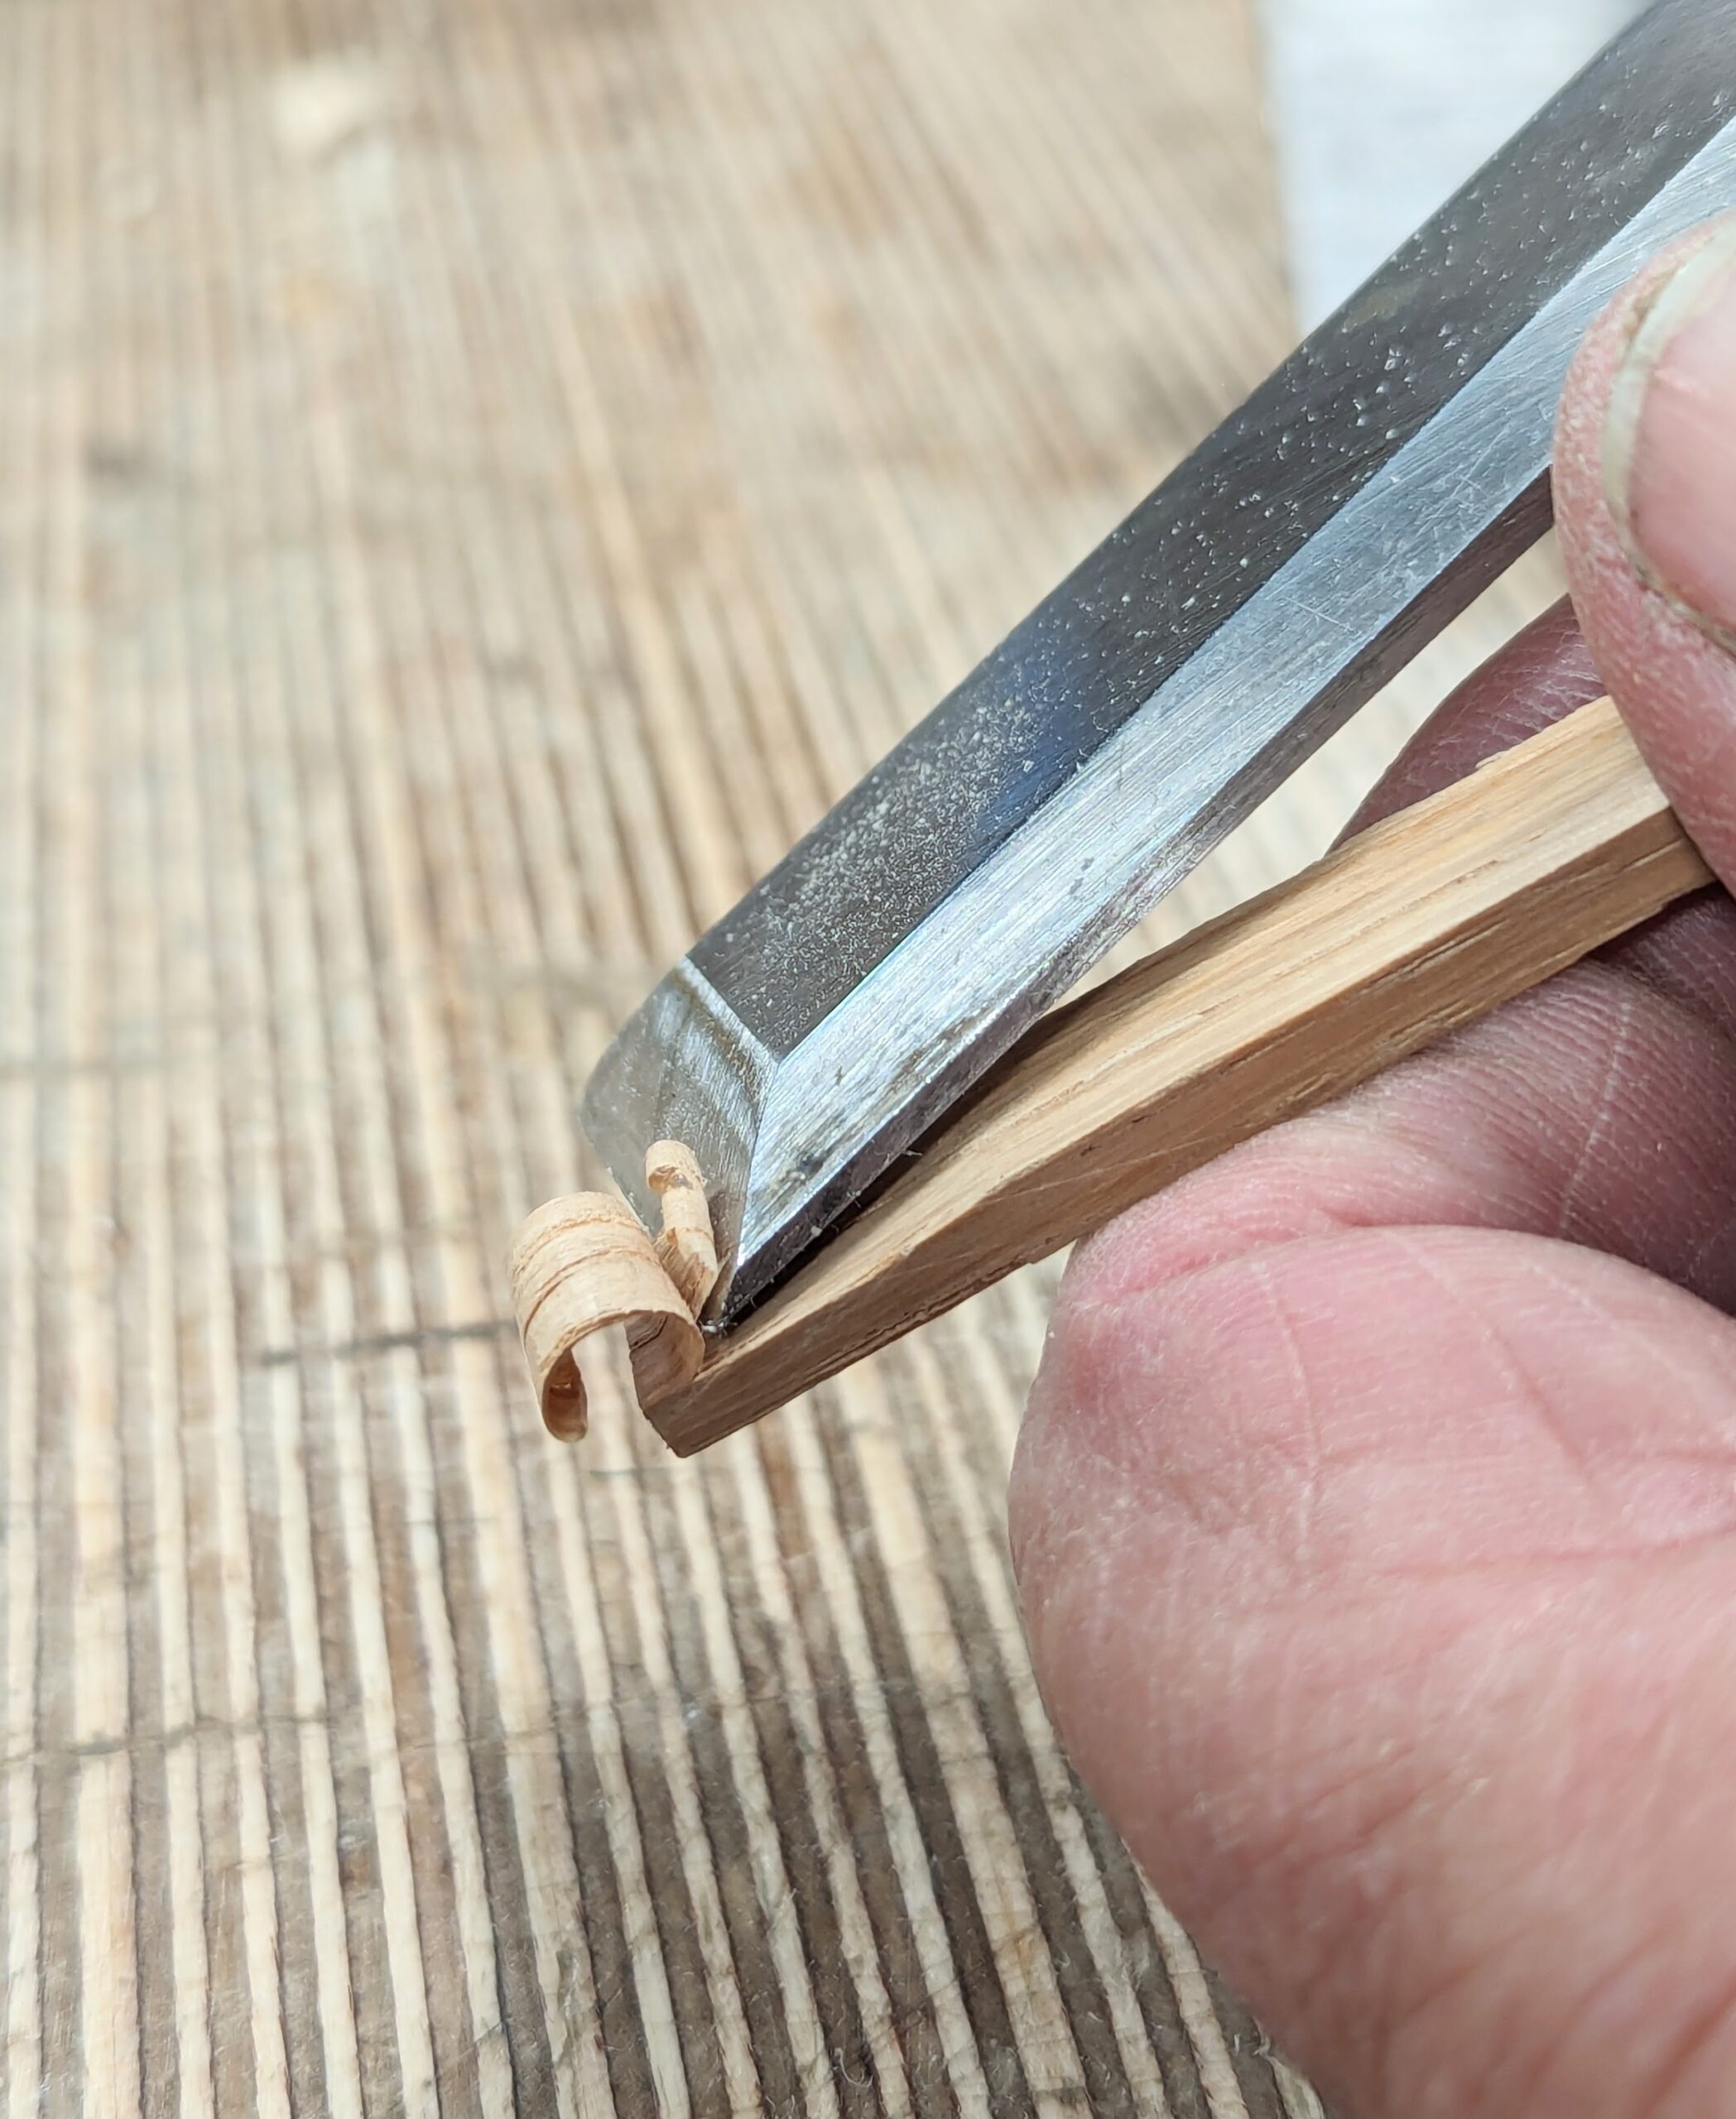
We pull the strip under the cutting corner of the scraper. Here I am pulling with my left hand and supporting the plate with the thumb and fingers of my right. By working the strip towards the outer edge first and where the plate flexes more I can take several successive passes and with each one it will remove shavings.
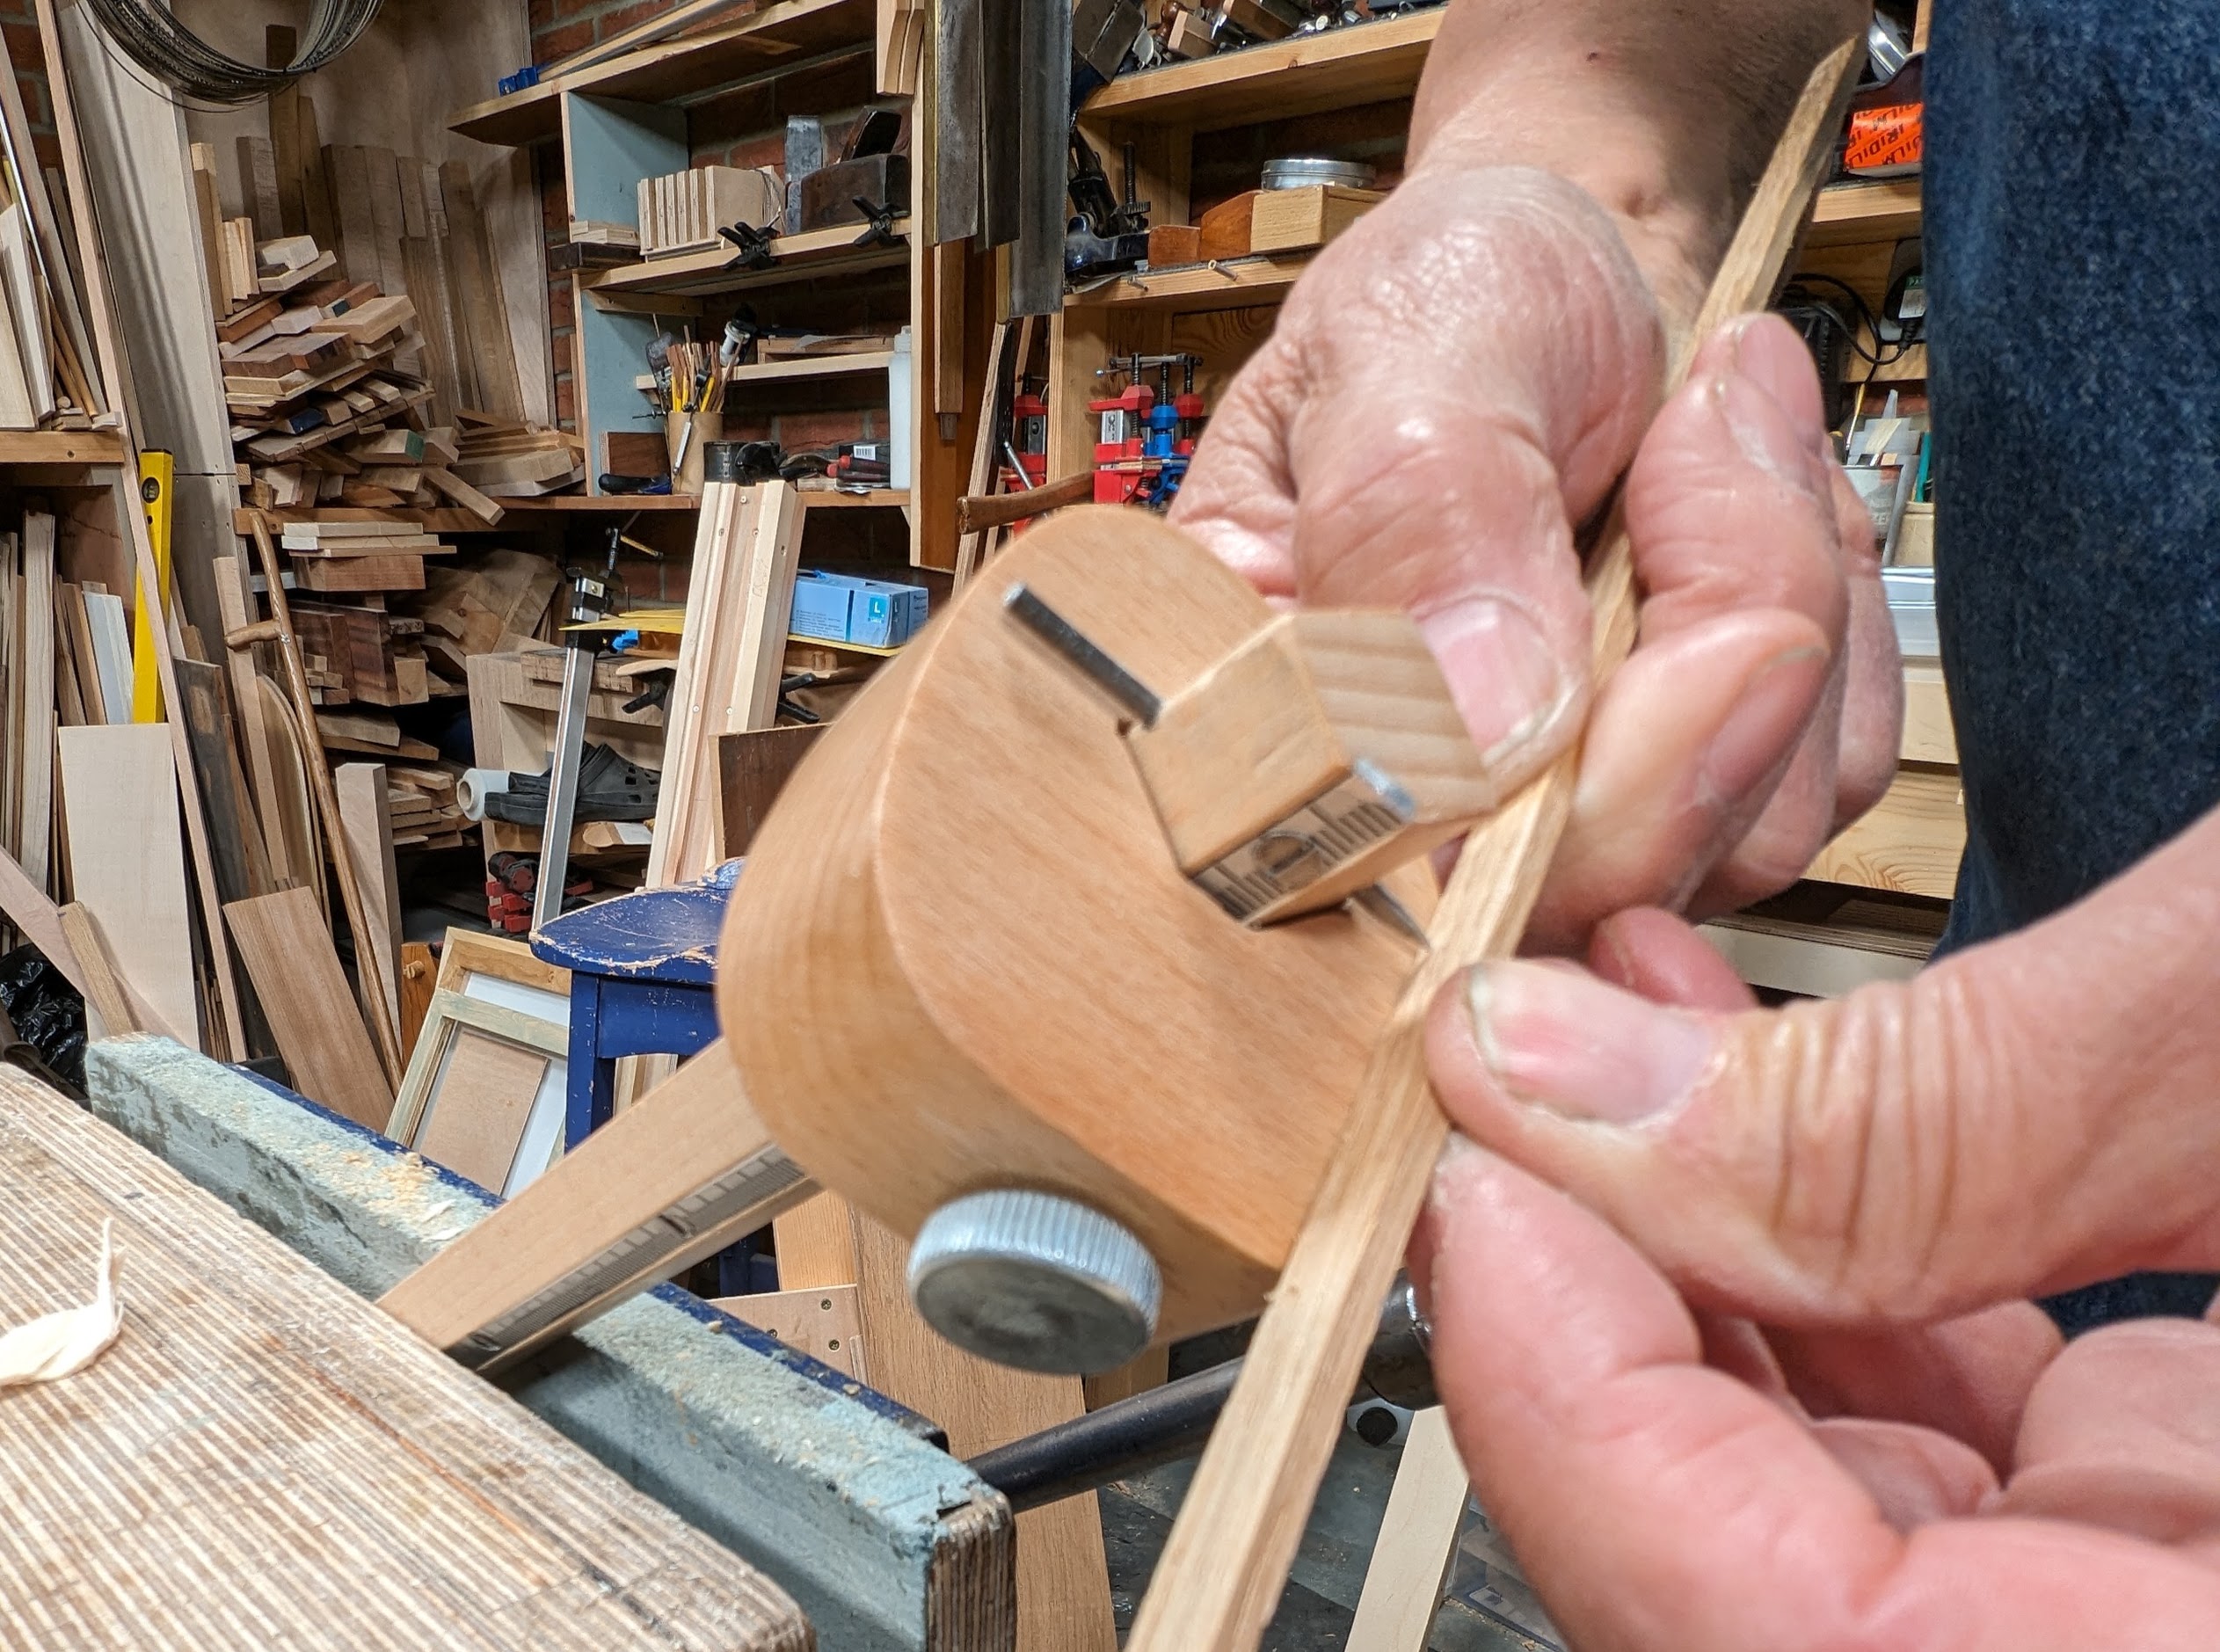
Then I pass the inlay piece into the opening directly adjacent to the wedge where there is zero flex. Previous pulls through the gap were less rigid and the scraper bent just a little under the pulls. Pulling the inlay piece through but tight to the wedge will be the last pull and this will give you a perfectly thicknessed size.
Now for the jig.
I just cobbled this quick one together from a section of spruce stud and it works just fine. If you want a long term version then use something like beech or maple but any hardwood will do. That said, the stud woiod will do it perfectly well too.
The wedge best used for retention is a 1:7 ratio but it can be any angle you like because retention is not reliant on the wedging action but the vise you install the assembled unit into. The wedge shape is more used as a stop-and-secure element to help as you install the unit in the vise rather than a friction fit hold. Also. the parallel saw kerf to house the card scraper in can go past the support surface. That way you can adjust to anythinness you want and you can incrementally change the settings simply by loosening the clamps. That said, once the scraper is installed, and when you have used it to thickness your strip, you can either tap the end of the wedge for an extra shaving or two or you can move the strip you are thicknessing to the outer edge and press the scraper plate lightly with your fingers and pull the strip at the same time. Press the plate more or less or repeatedely for thinning further.
My base platform is around 28mm (1 1/8") thick, 20cm (8") long and 64 (2 1/2") wide. The wedge is 17cm (7") long . The start width is 25mm (1") and thickness is 22mm (7/8").
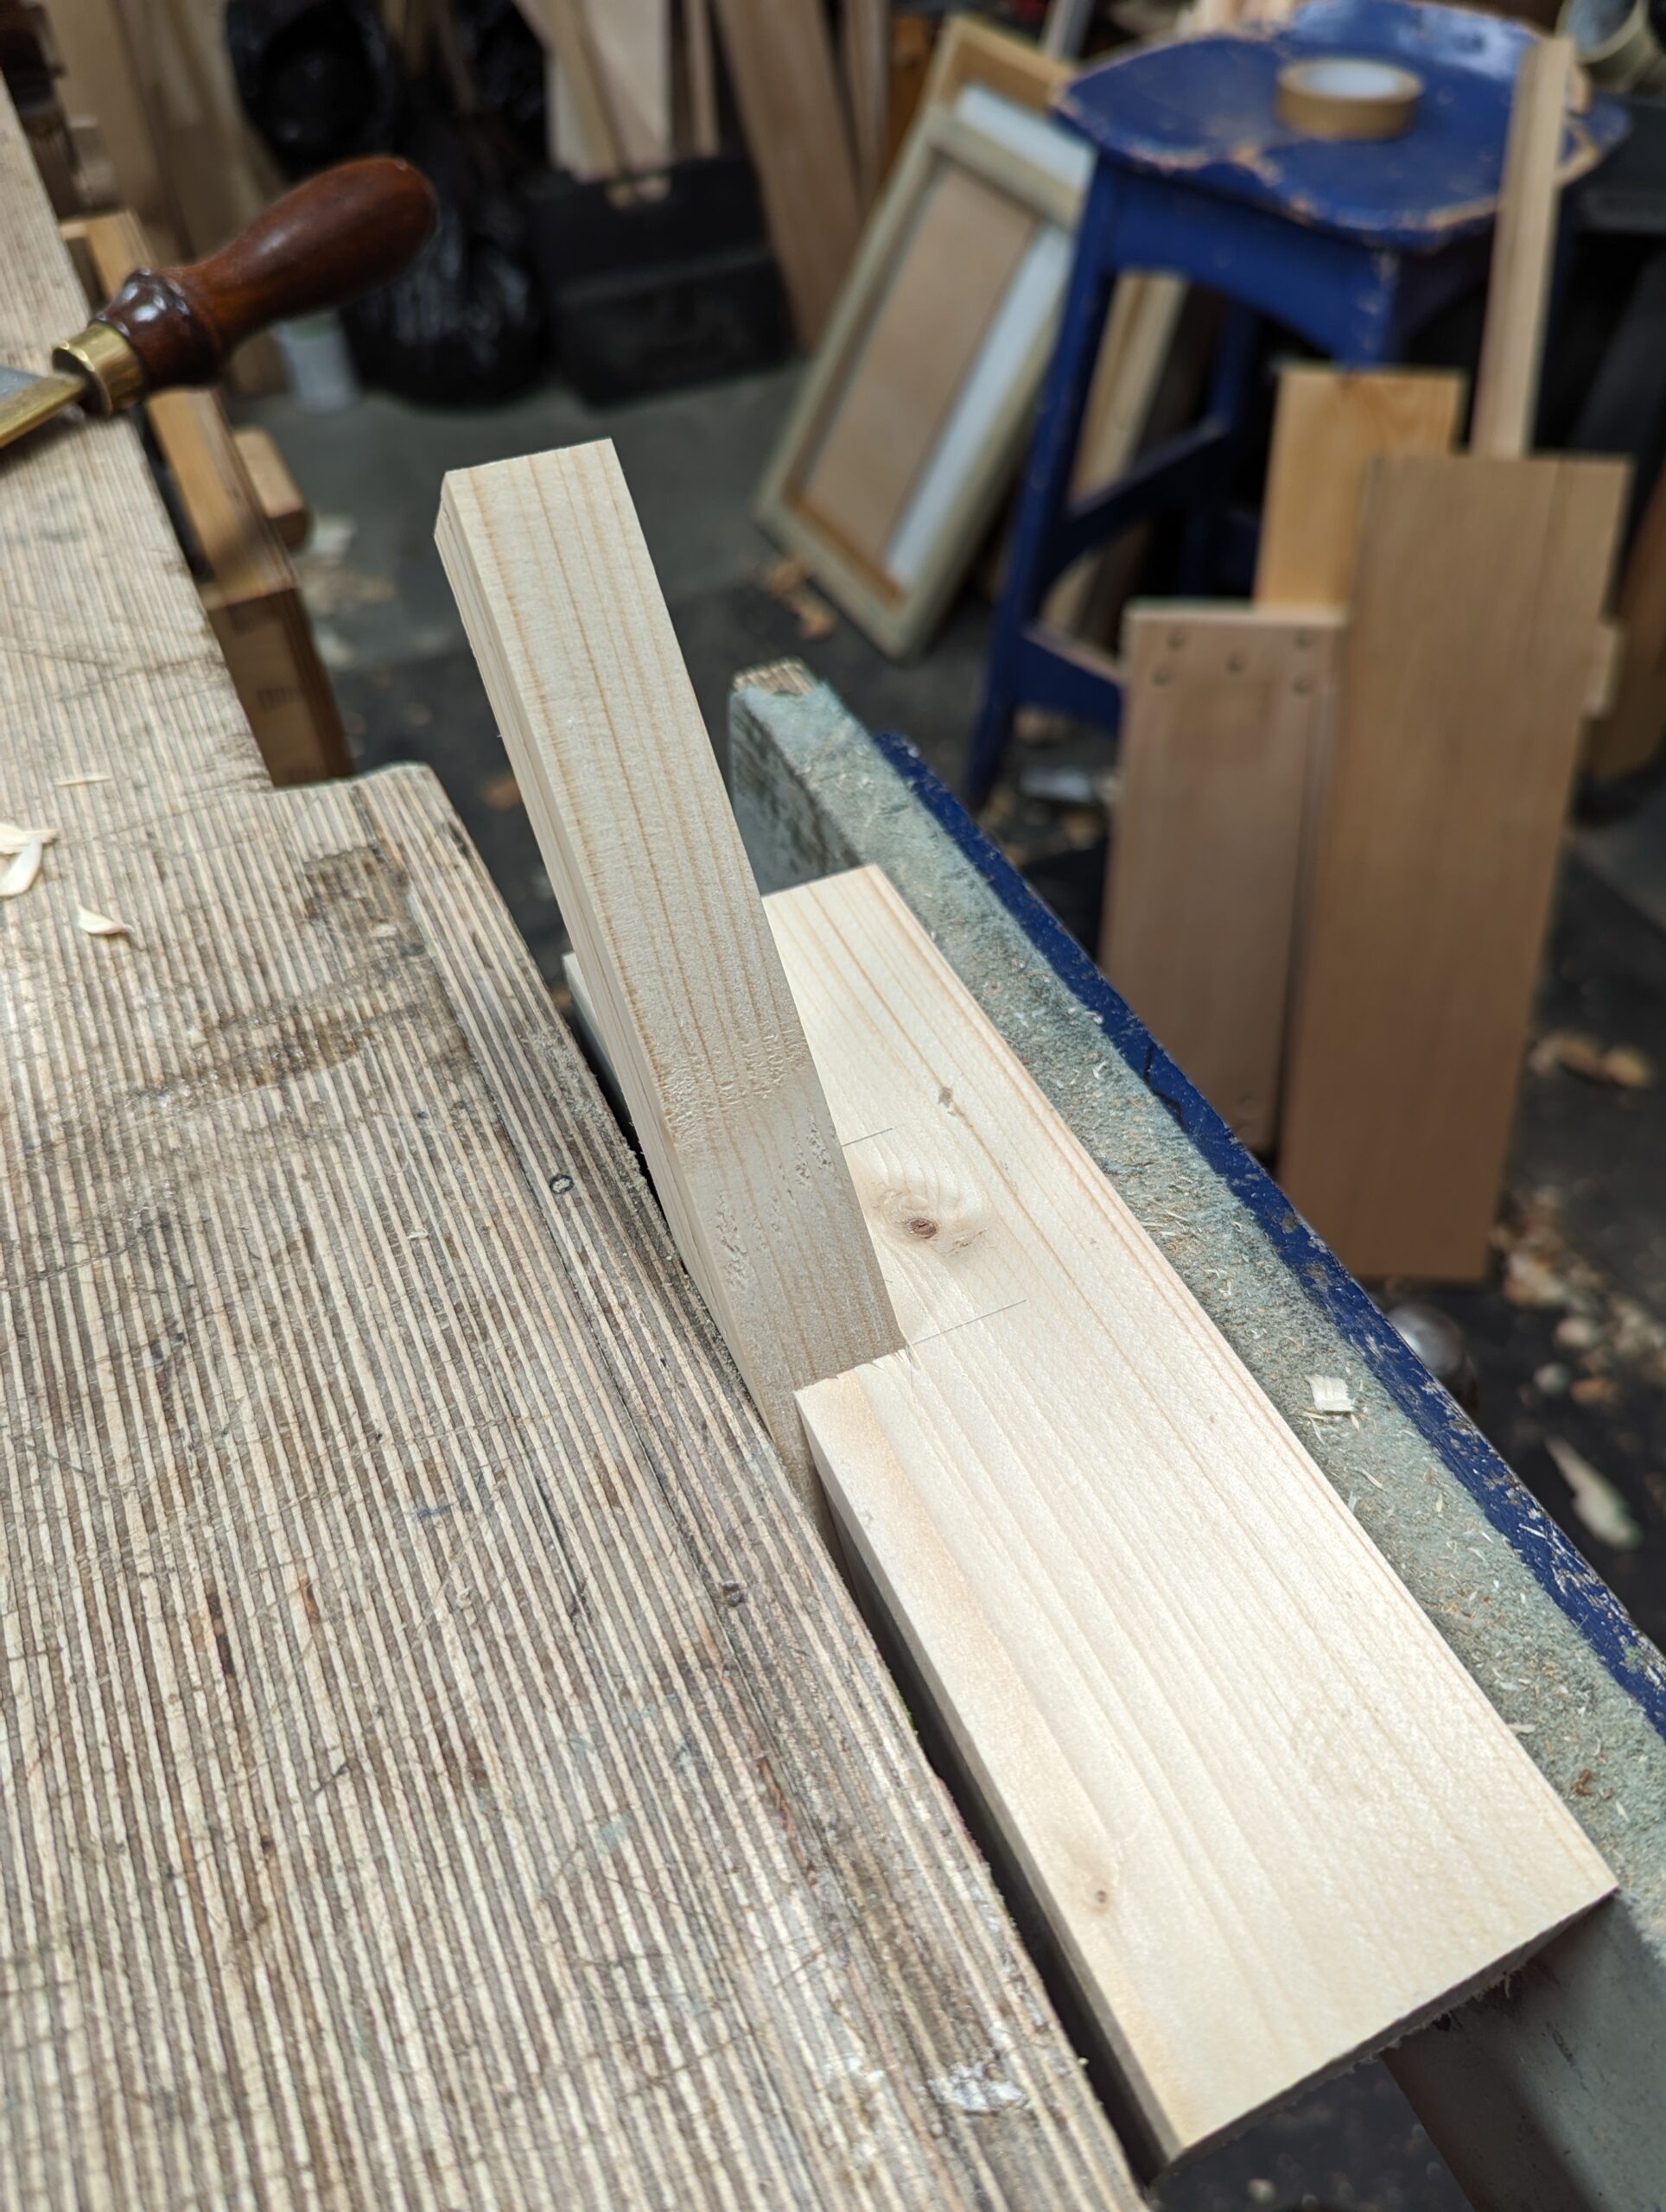
First make the wedge according to the pictures. It takes two minutes and no more.
`This face is 25mm (1") wide.
Saw and then plane true aftewards.
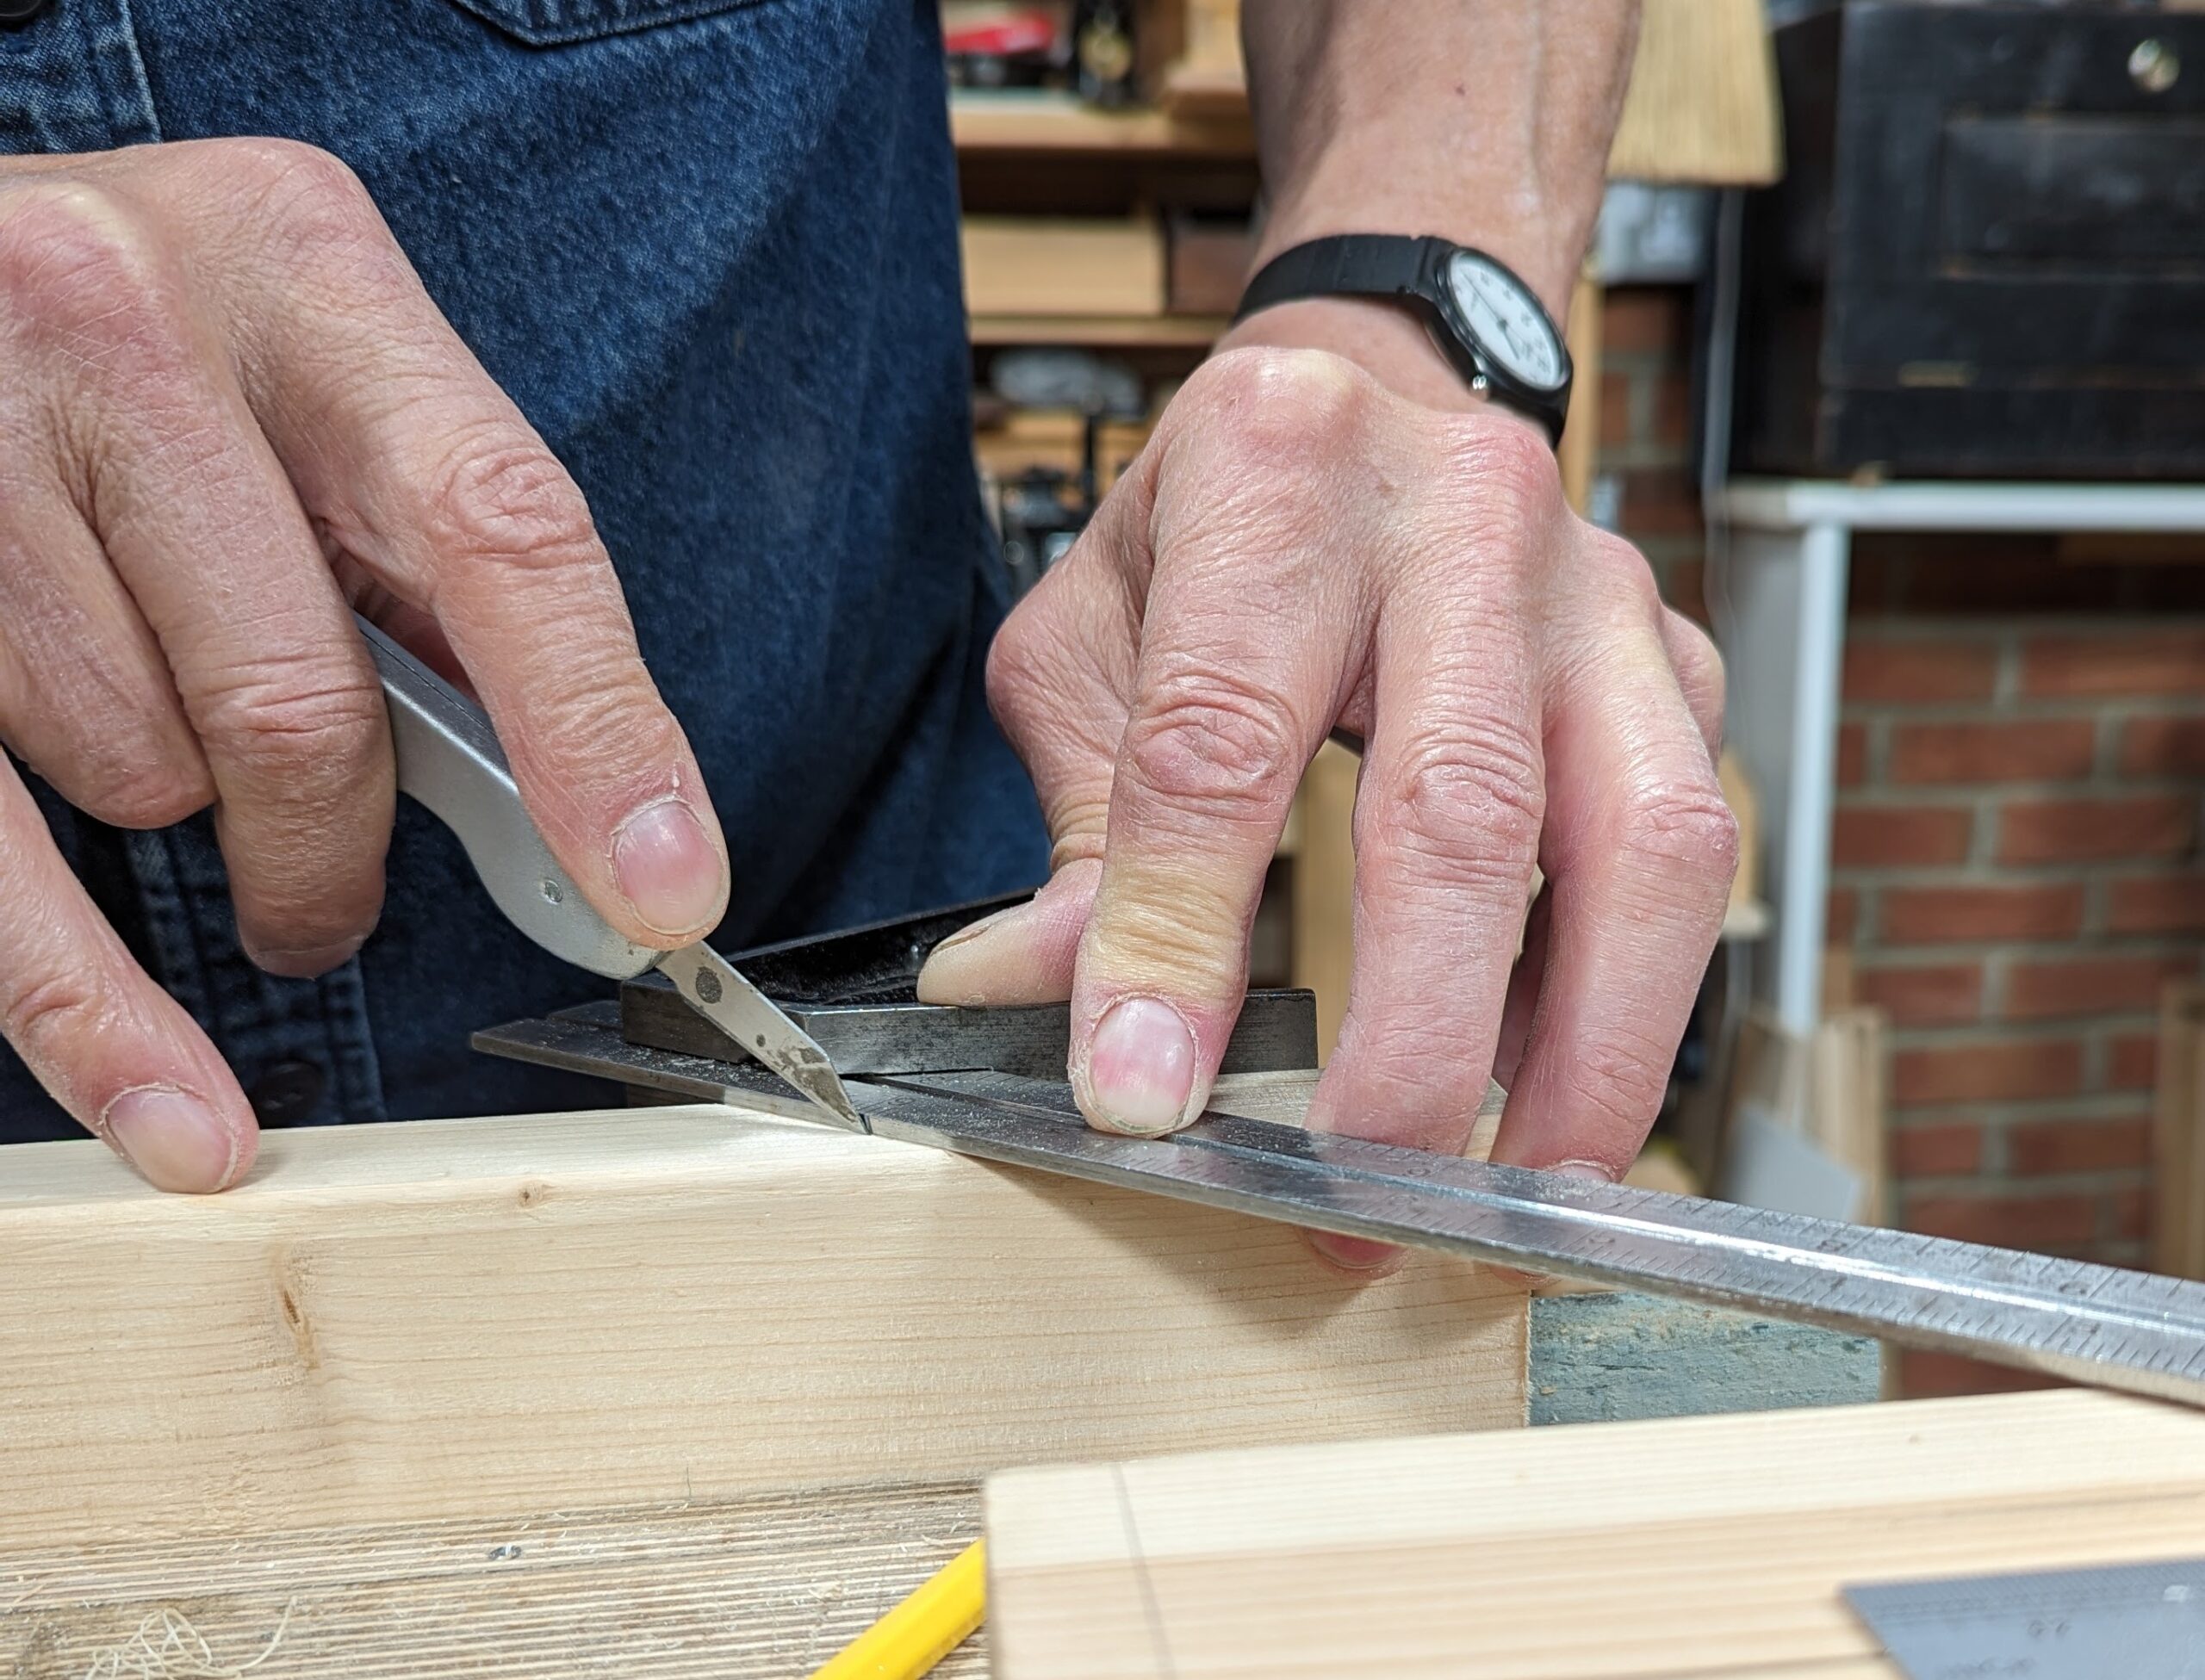
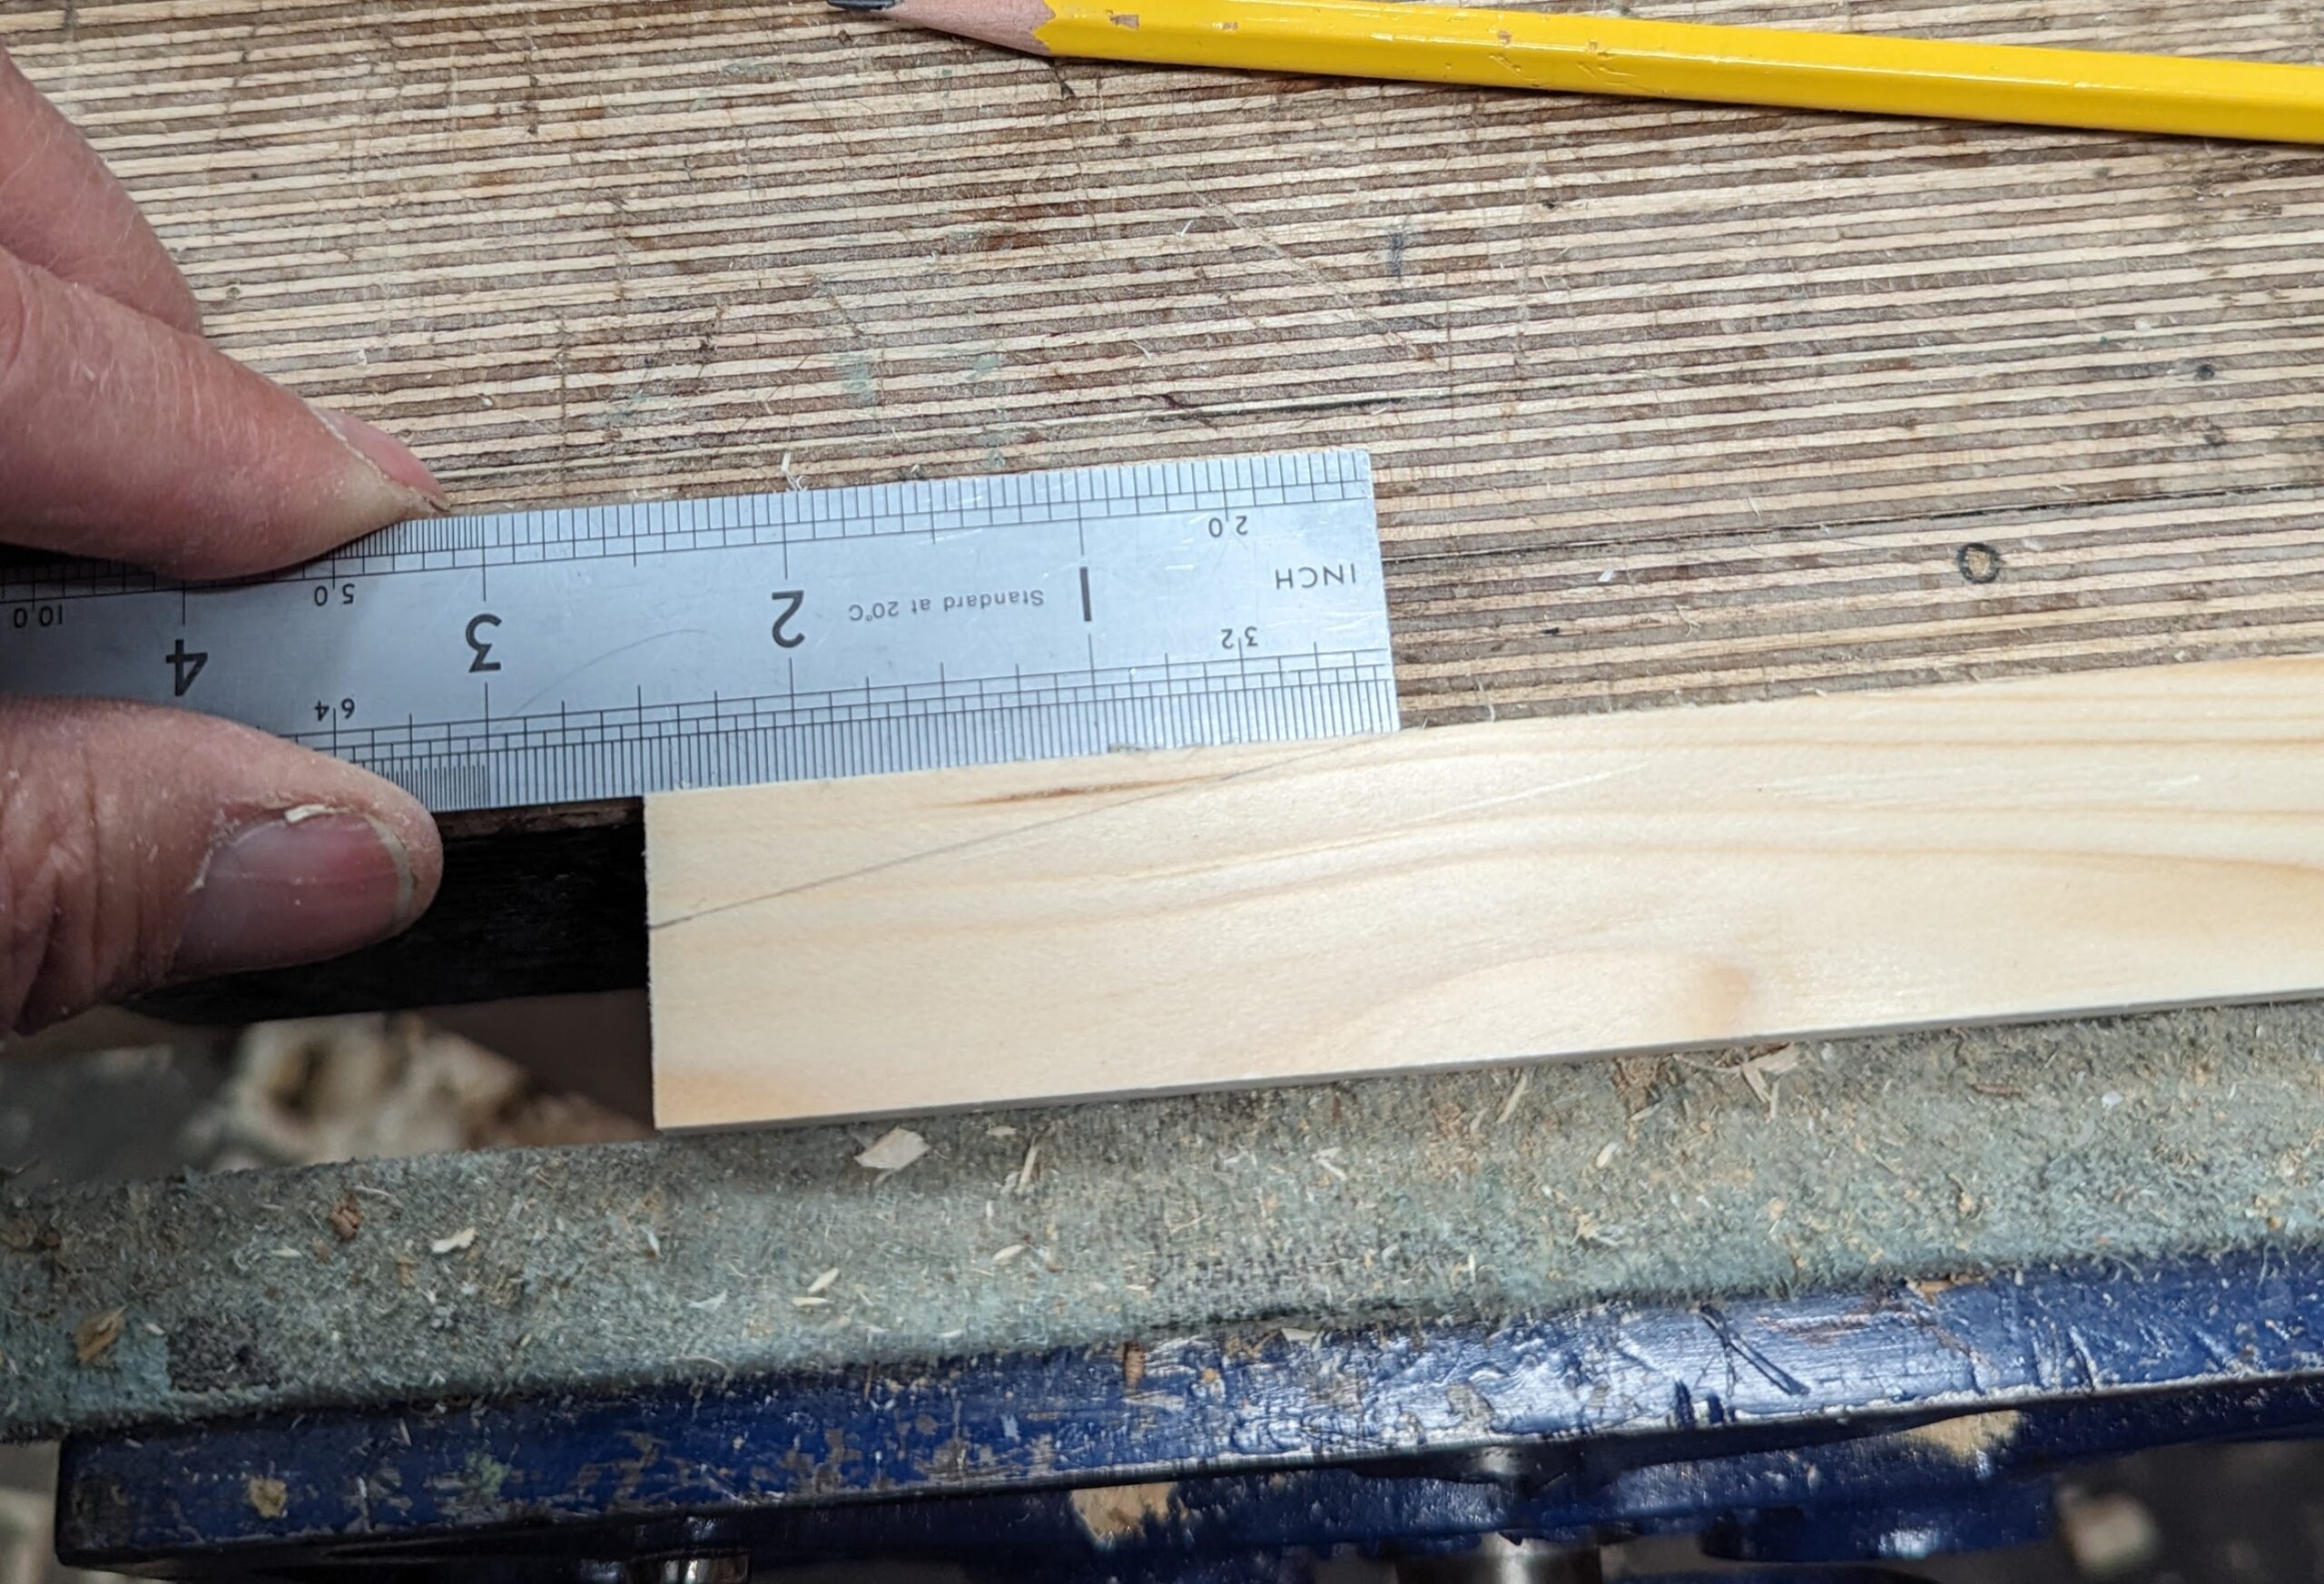
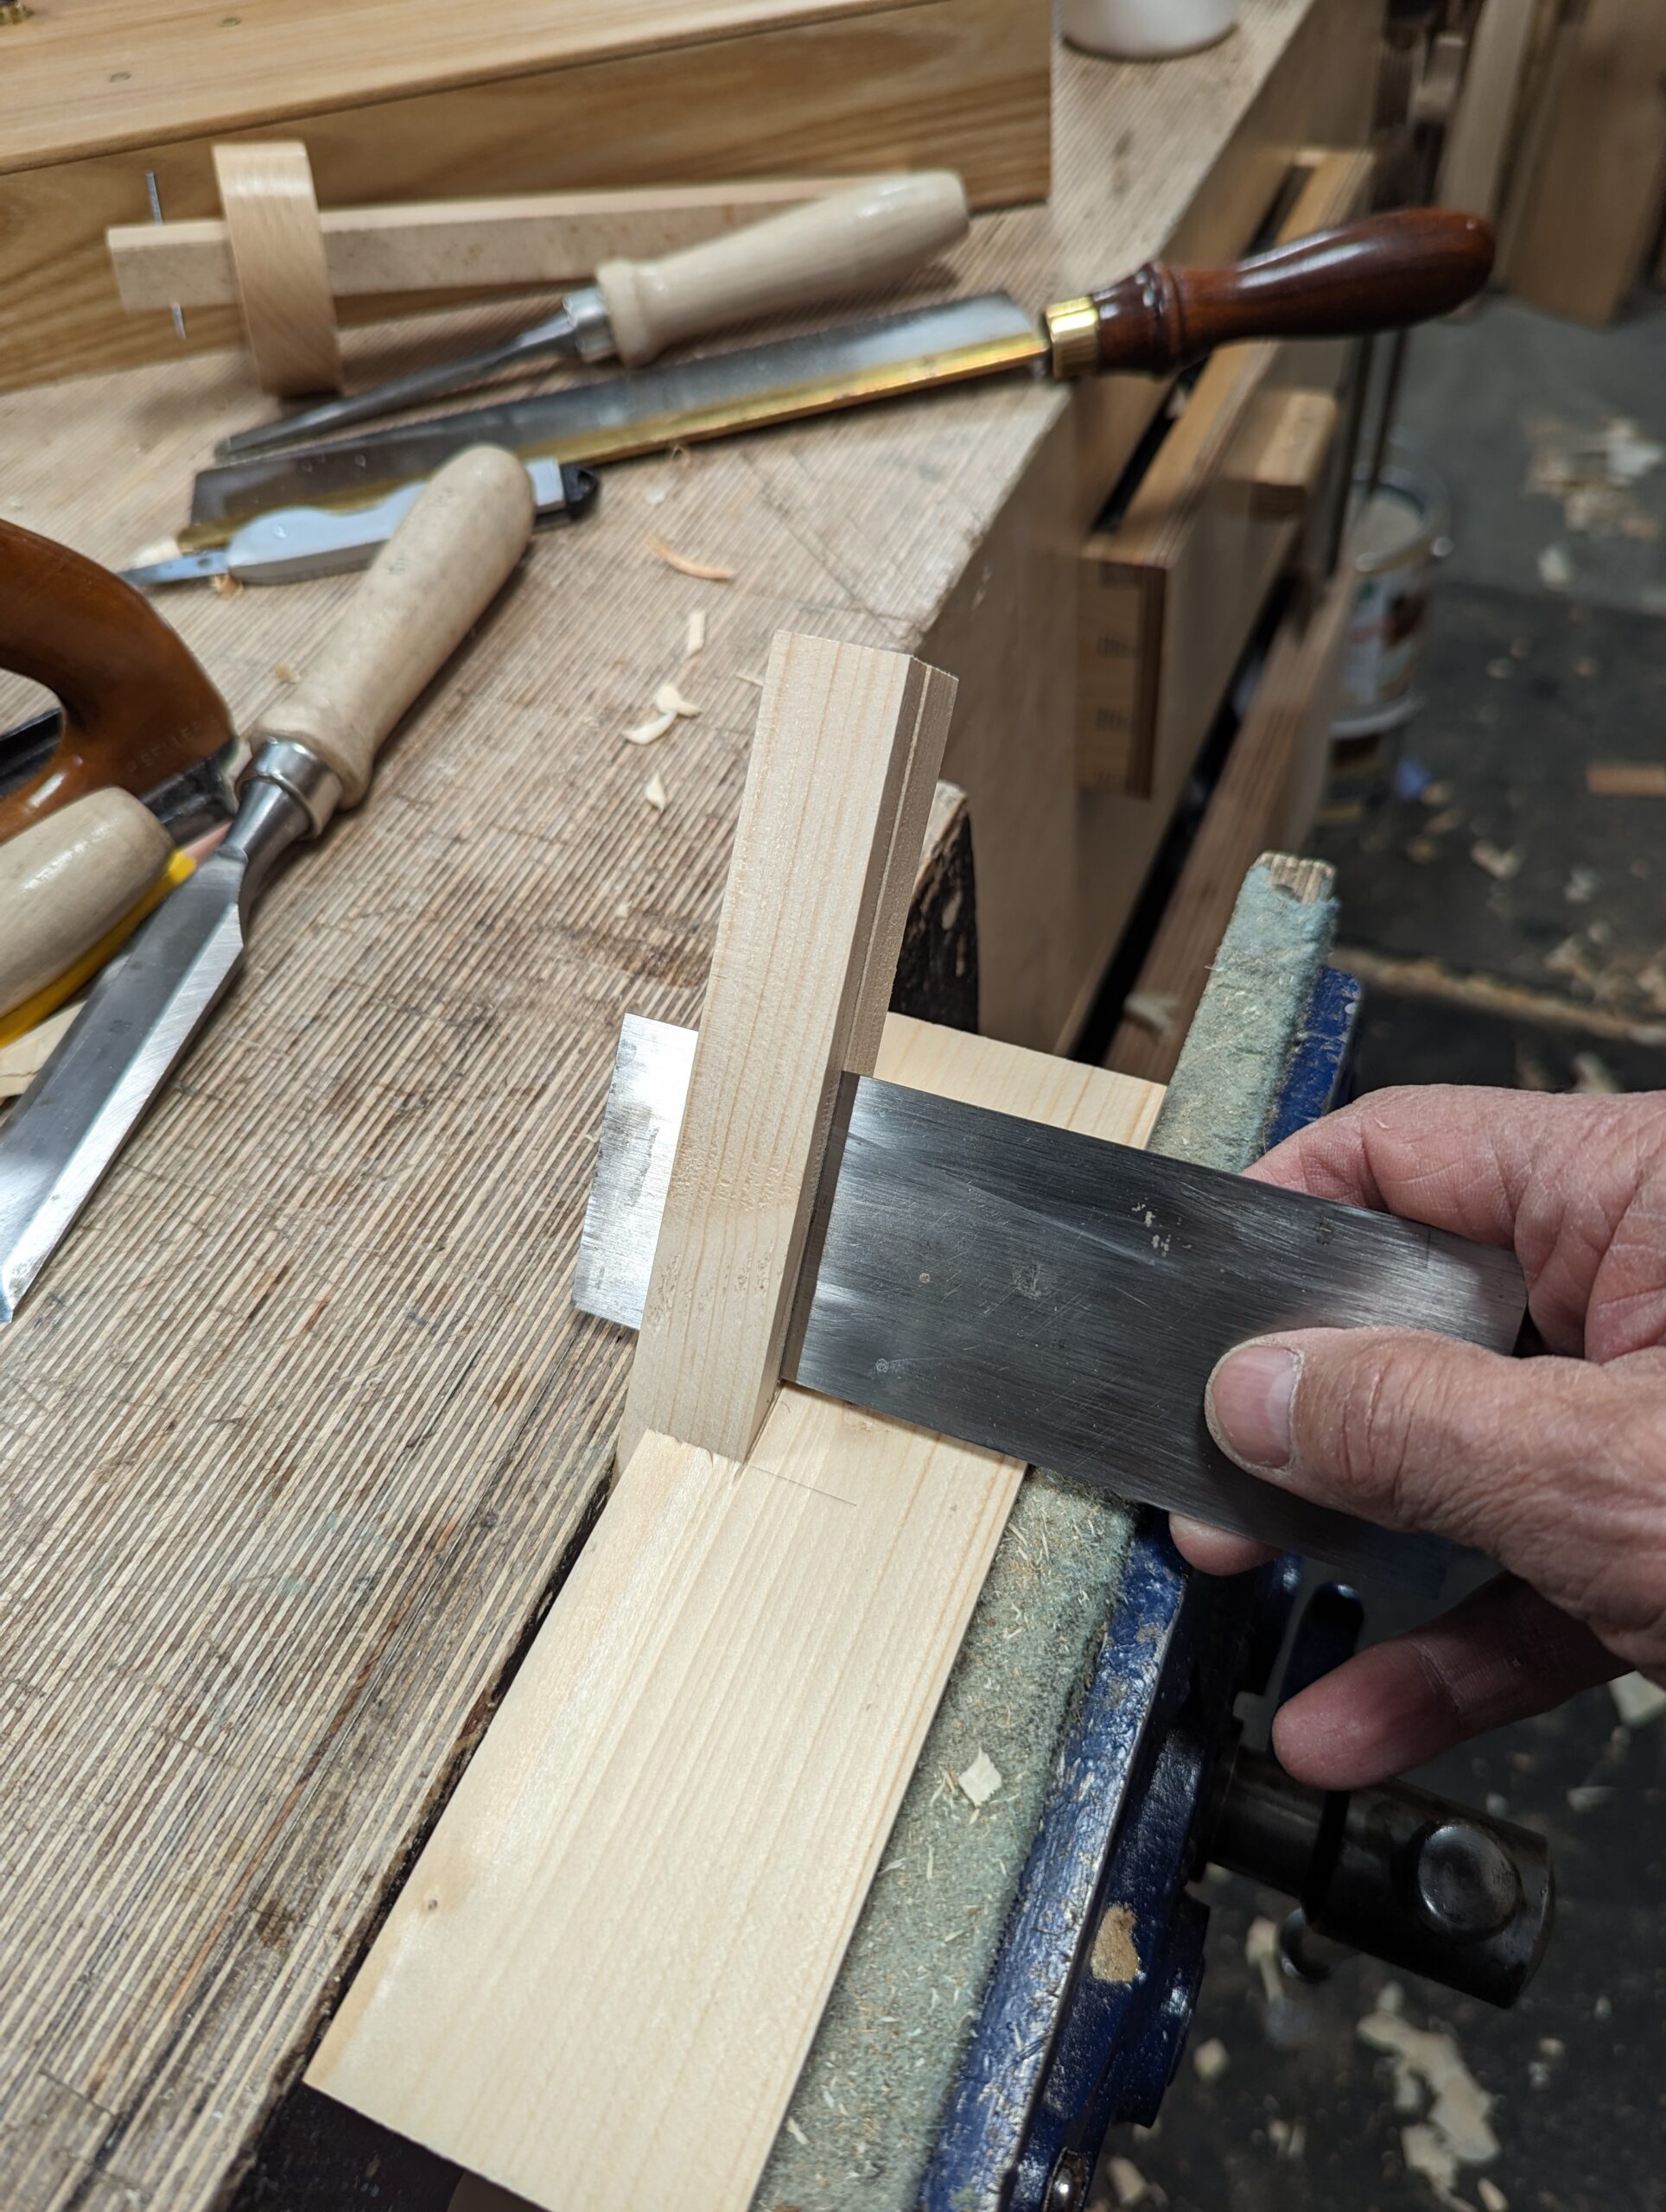
Make a knifewall at 45º in the side edge of the base platform piece somewhere near the middle.
Place the wedge against the knifewall and mark the second, angled line onto the edge of the base platform piece.
Square a guideline to saw to on either side of the edge onto both the large flat faces, top and underside.
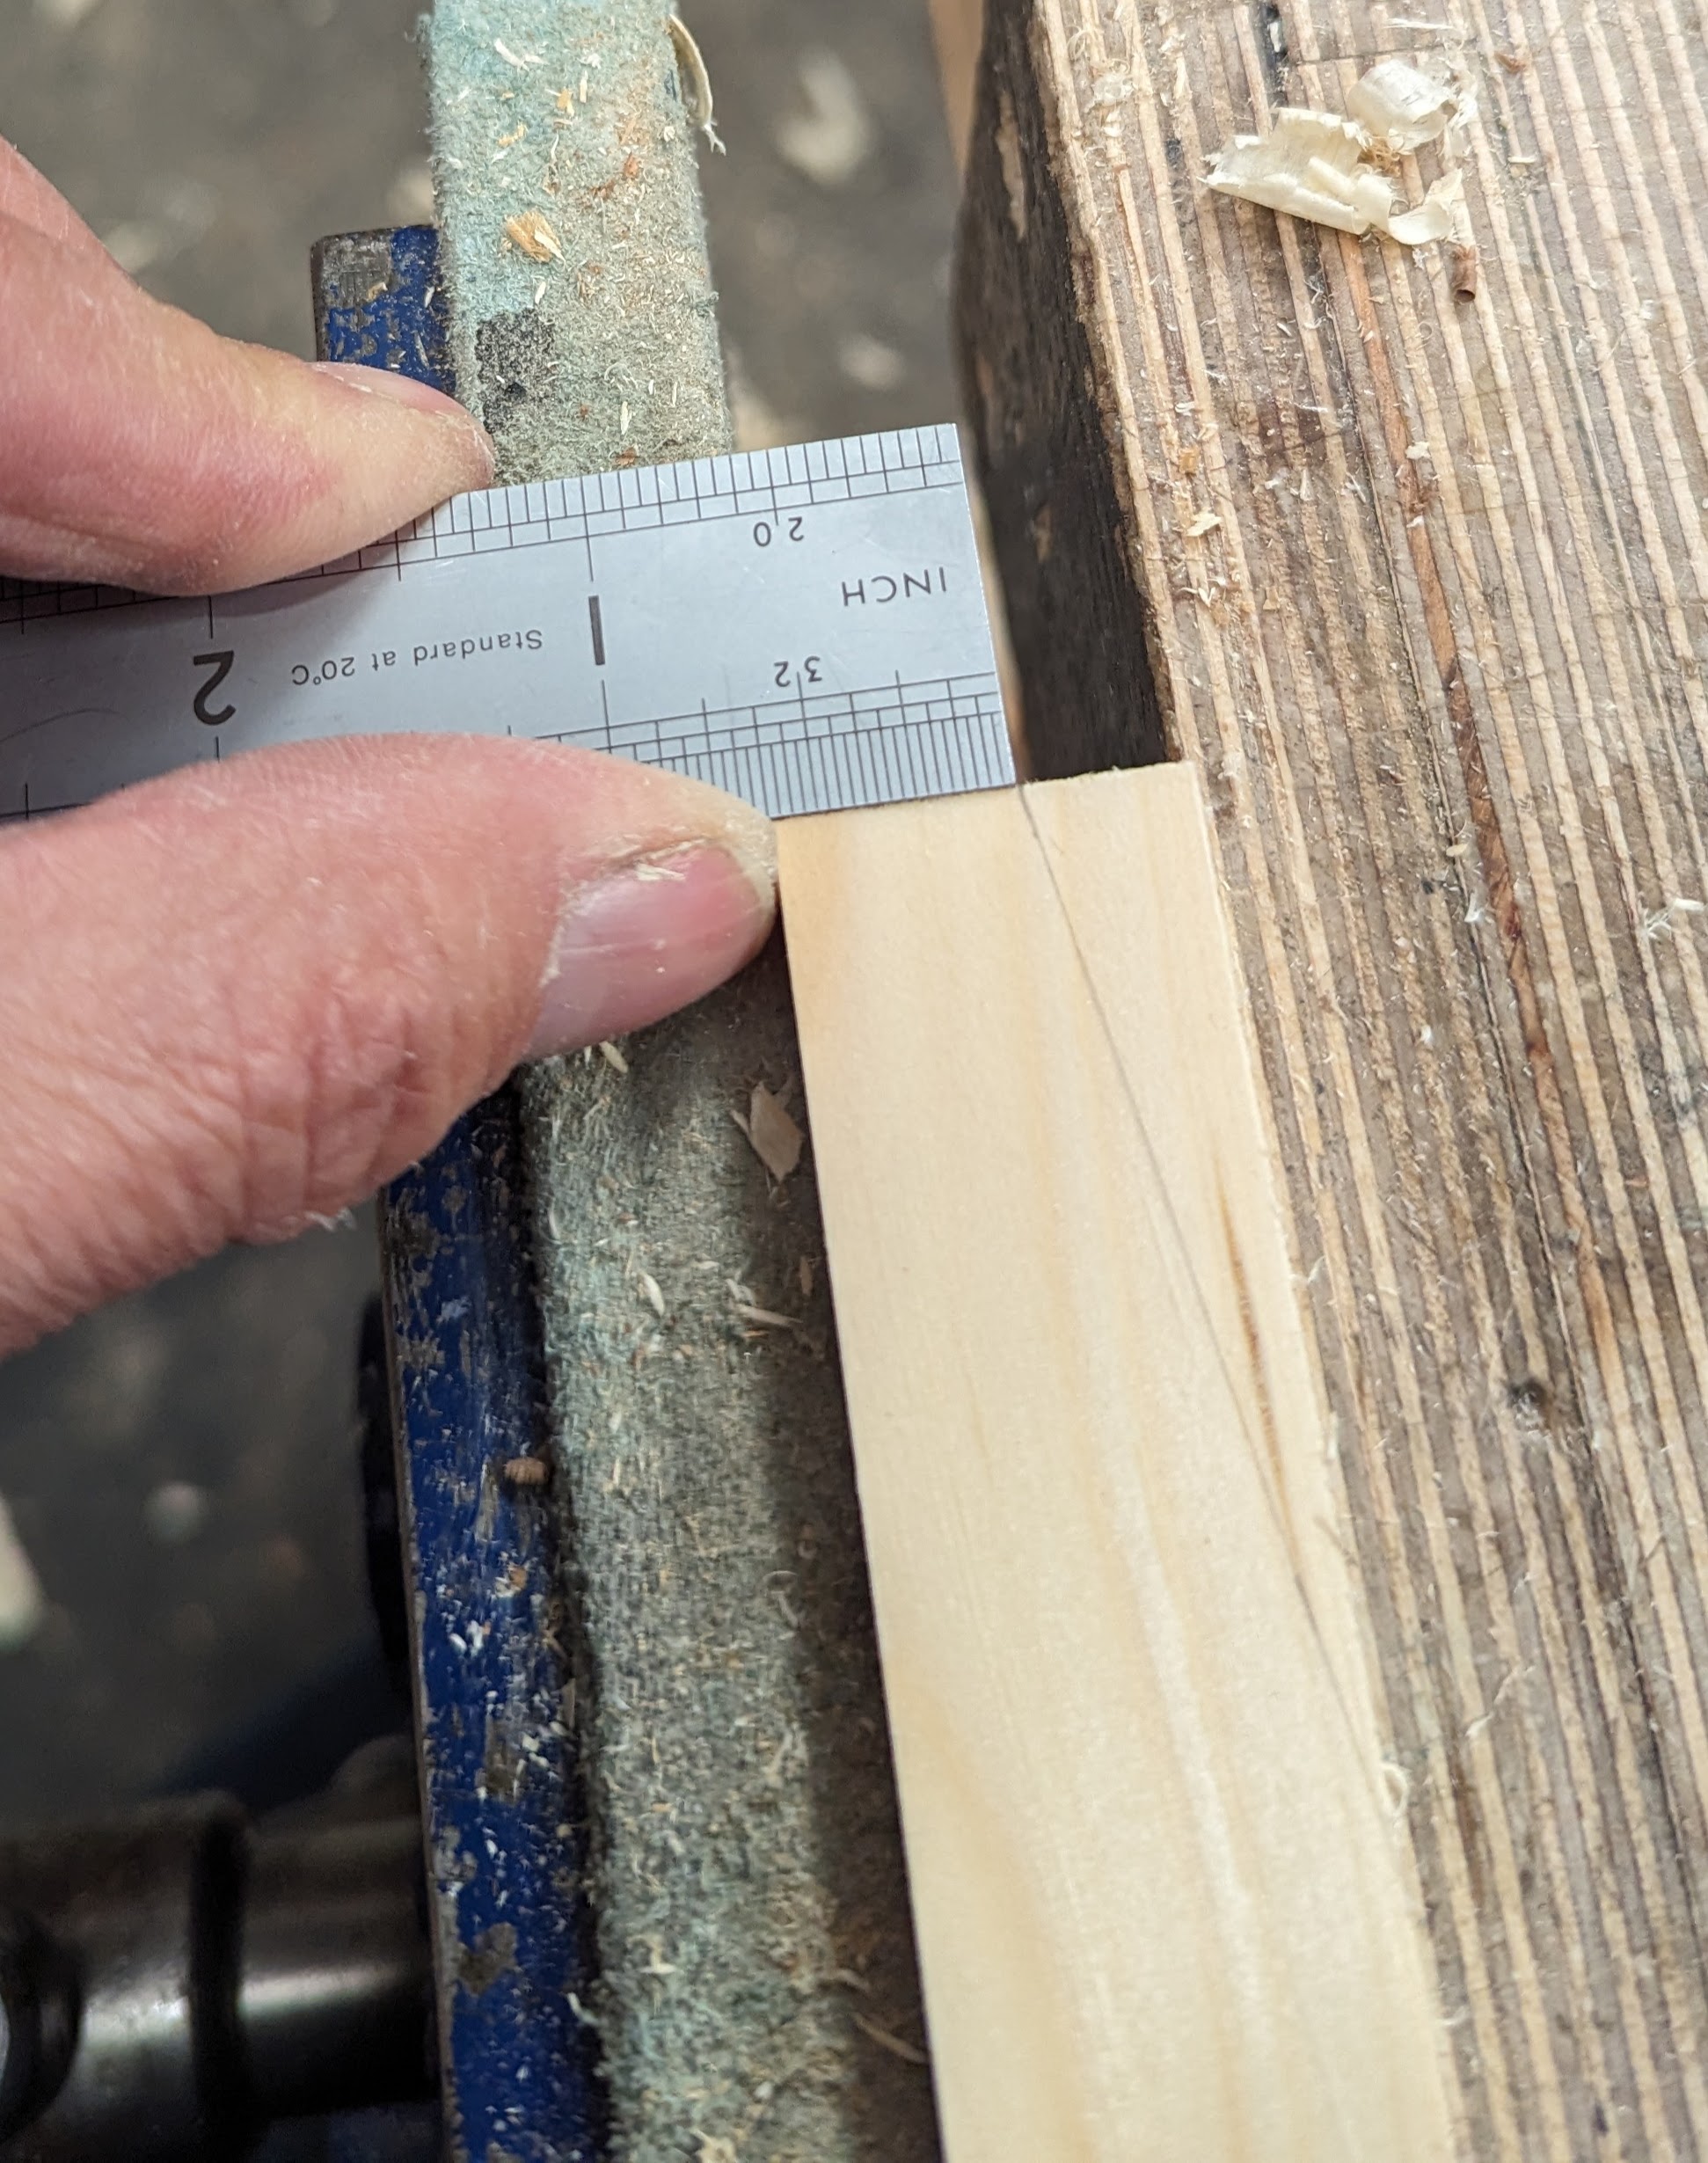
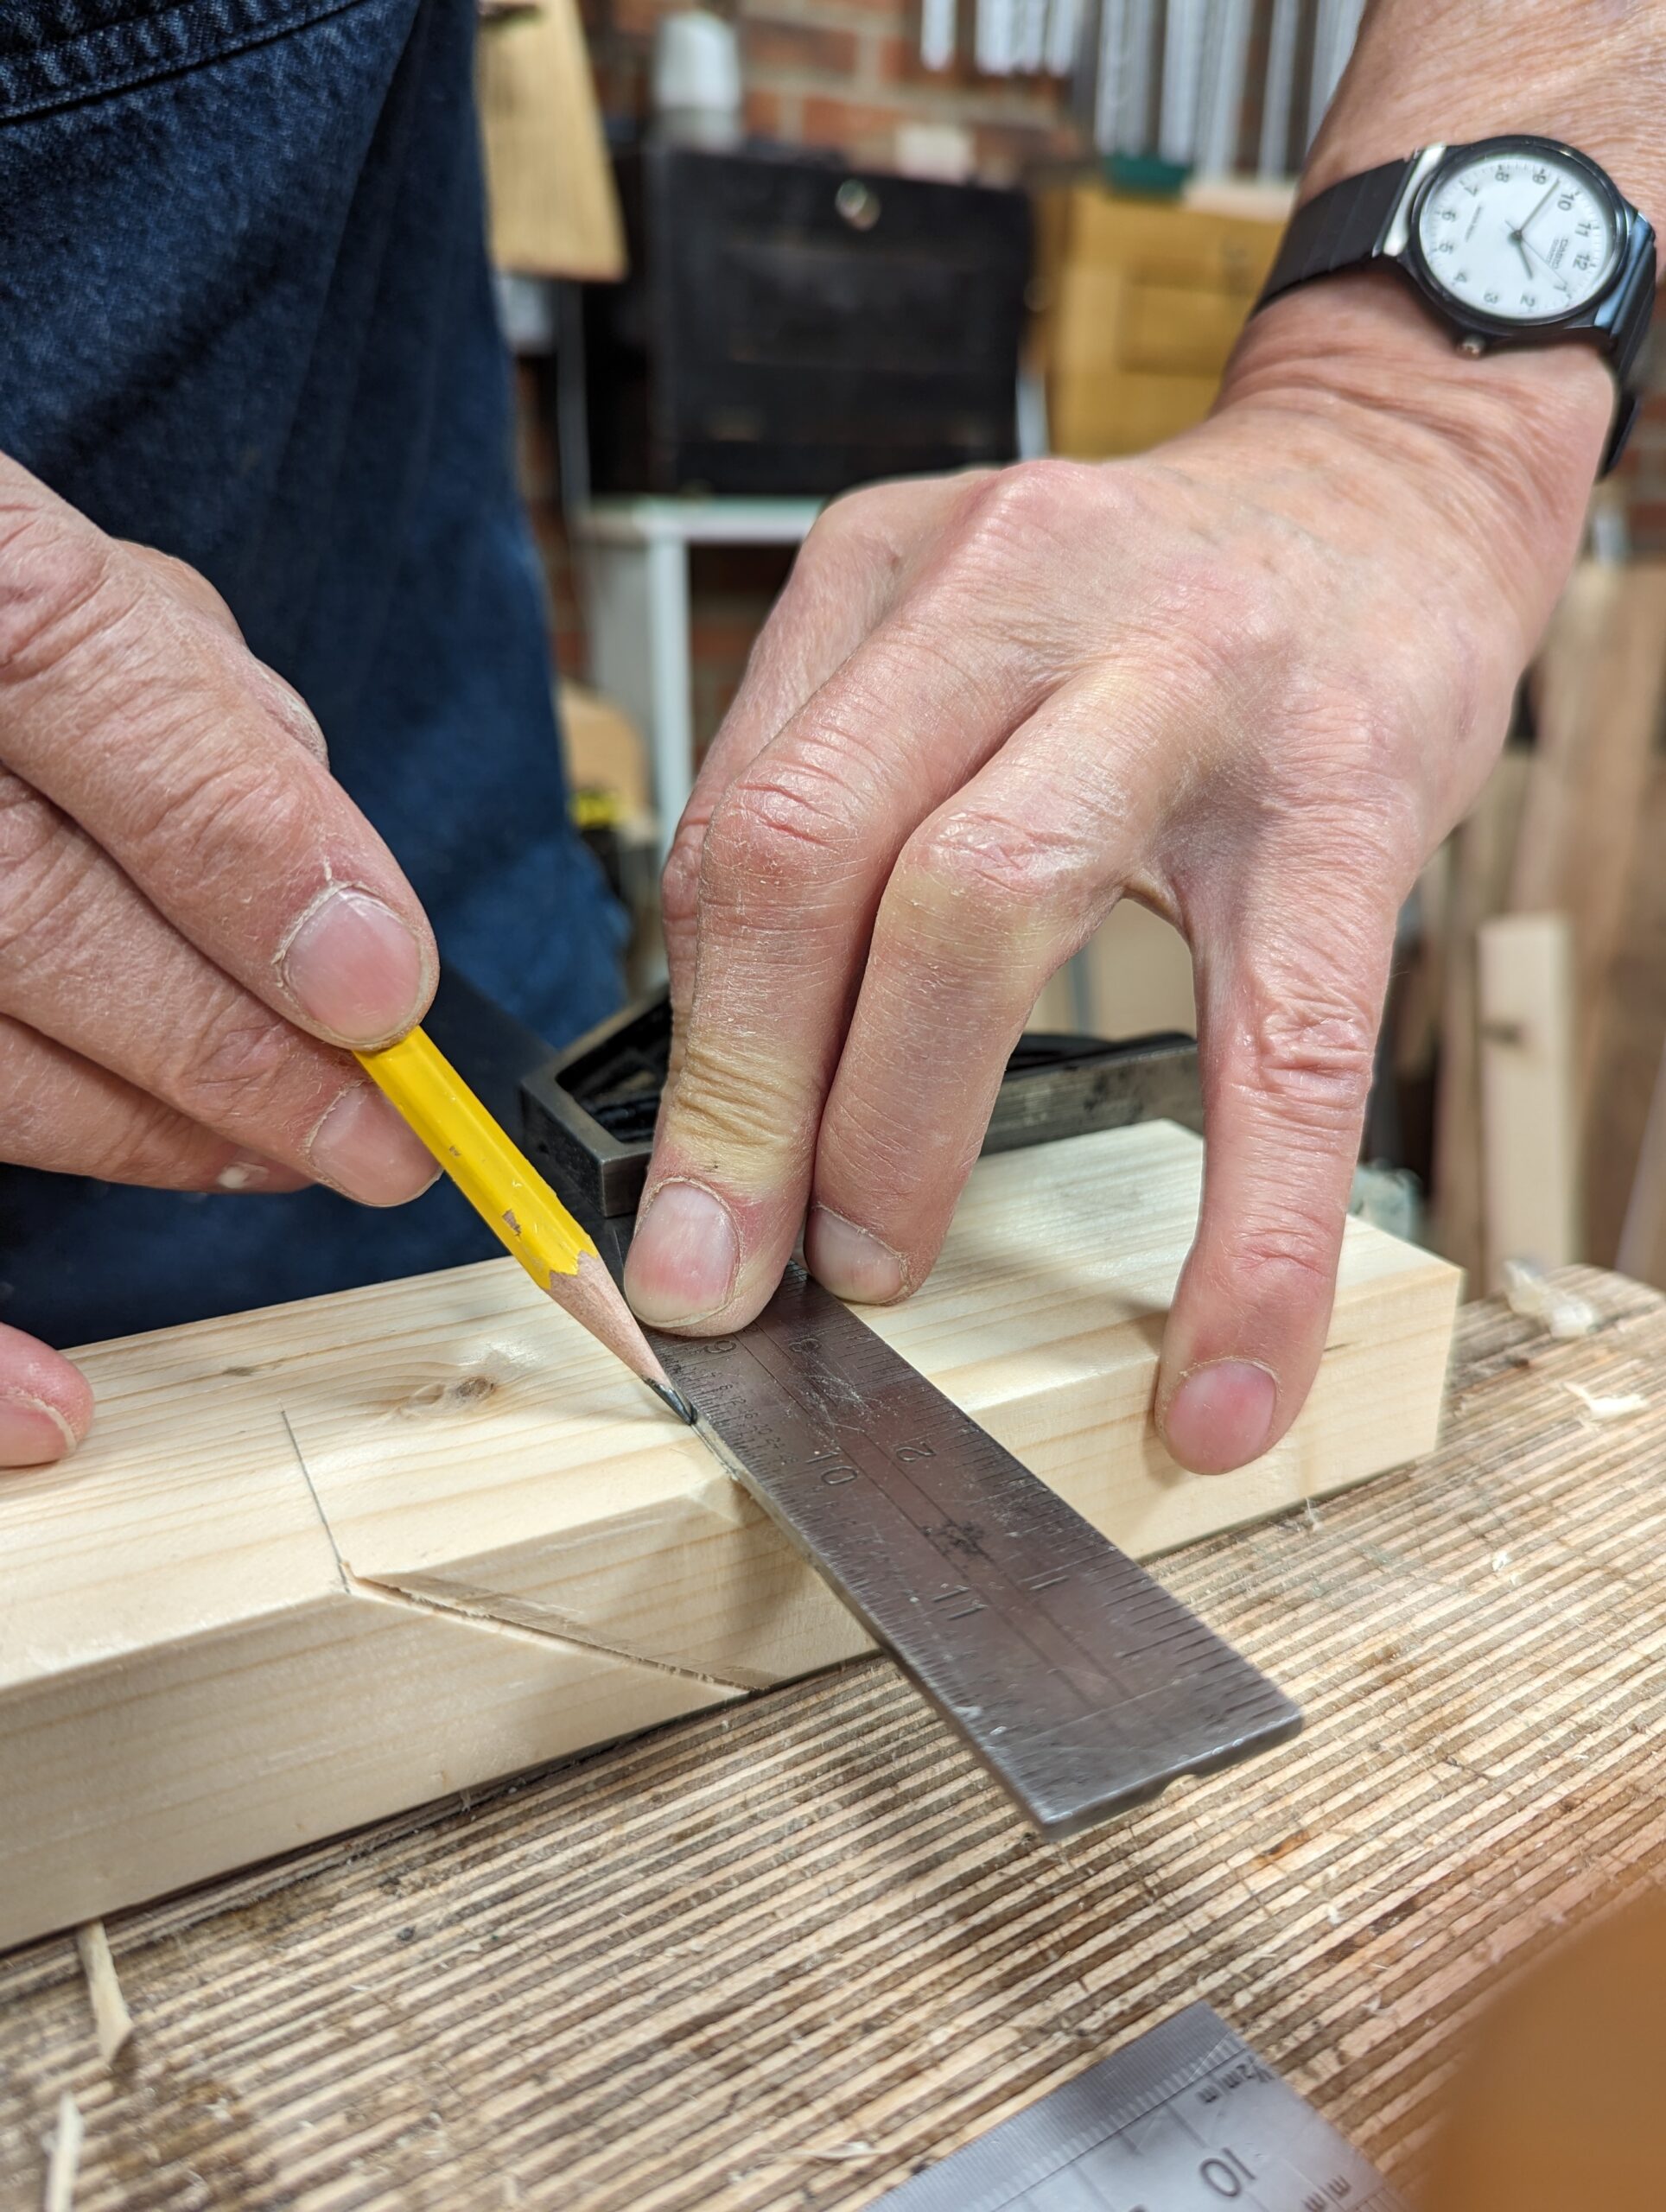
Set a gauge or a combination square to a depth of 22mm (7/8") and mark both wide faces for depth of cut

Deepen the knifewalls with a wide chisel to set the saw down into.
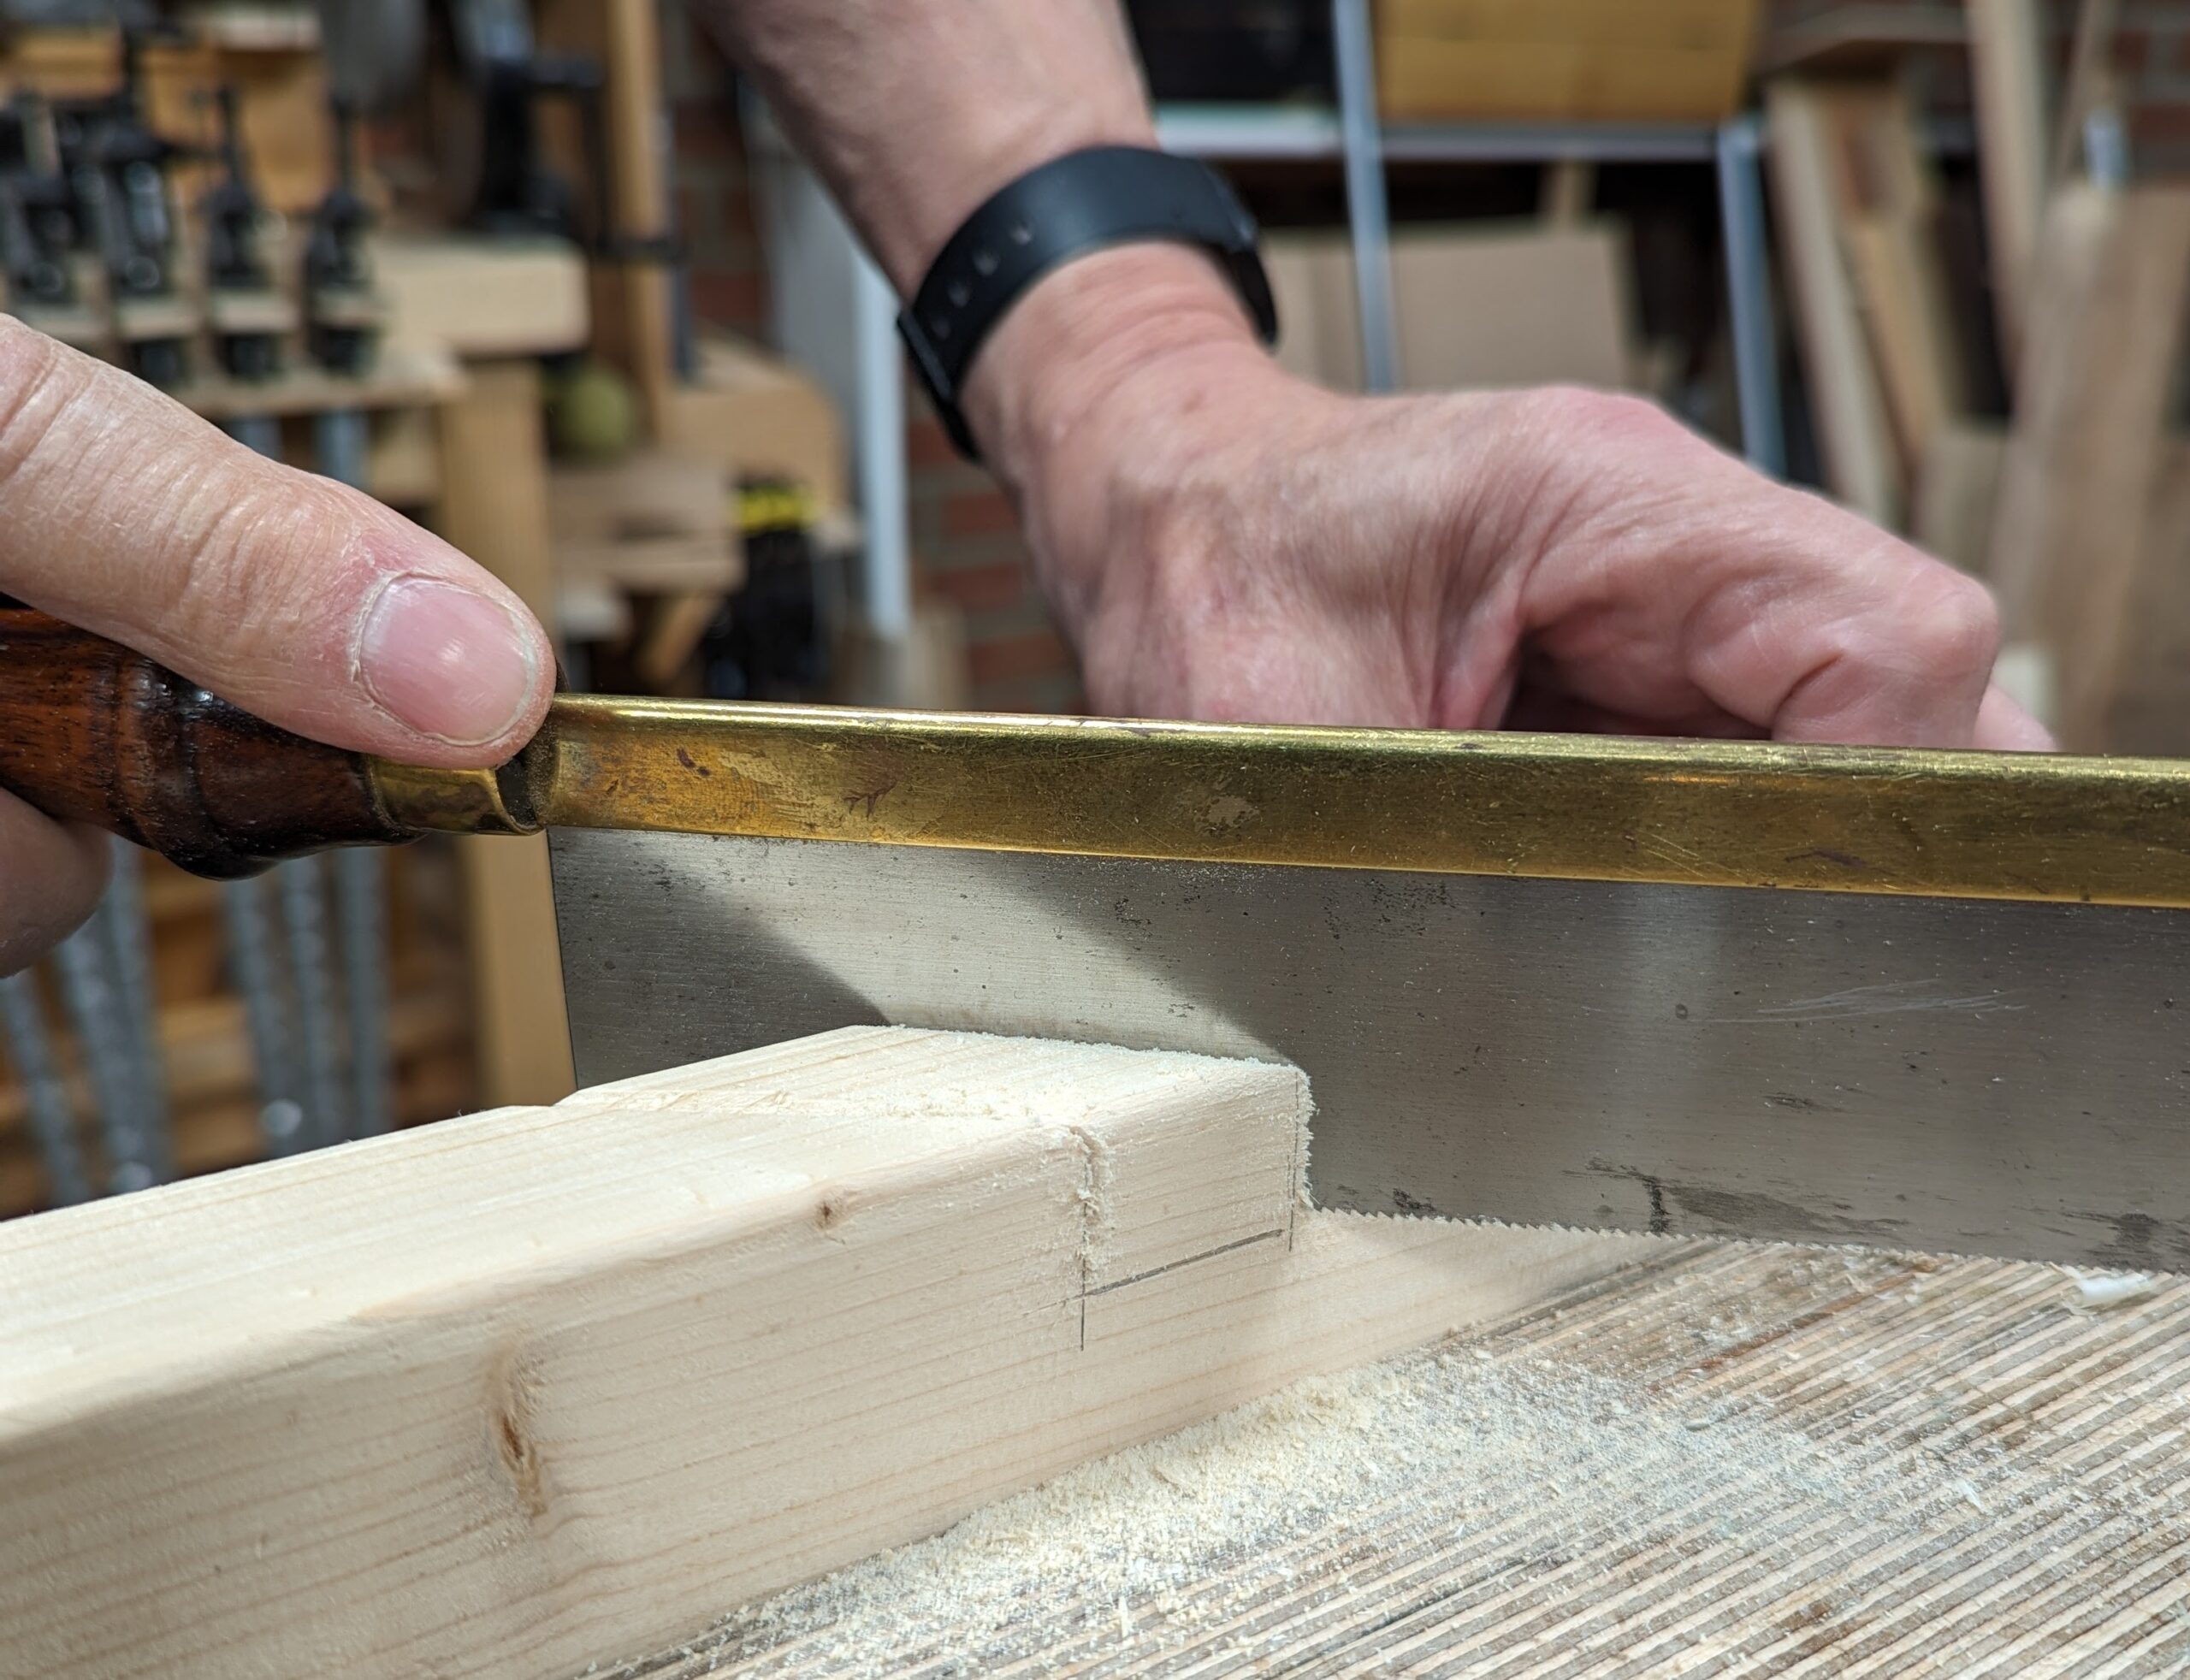
Saw down the knifewall to the depth line.
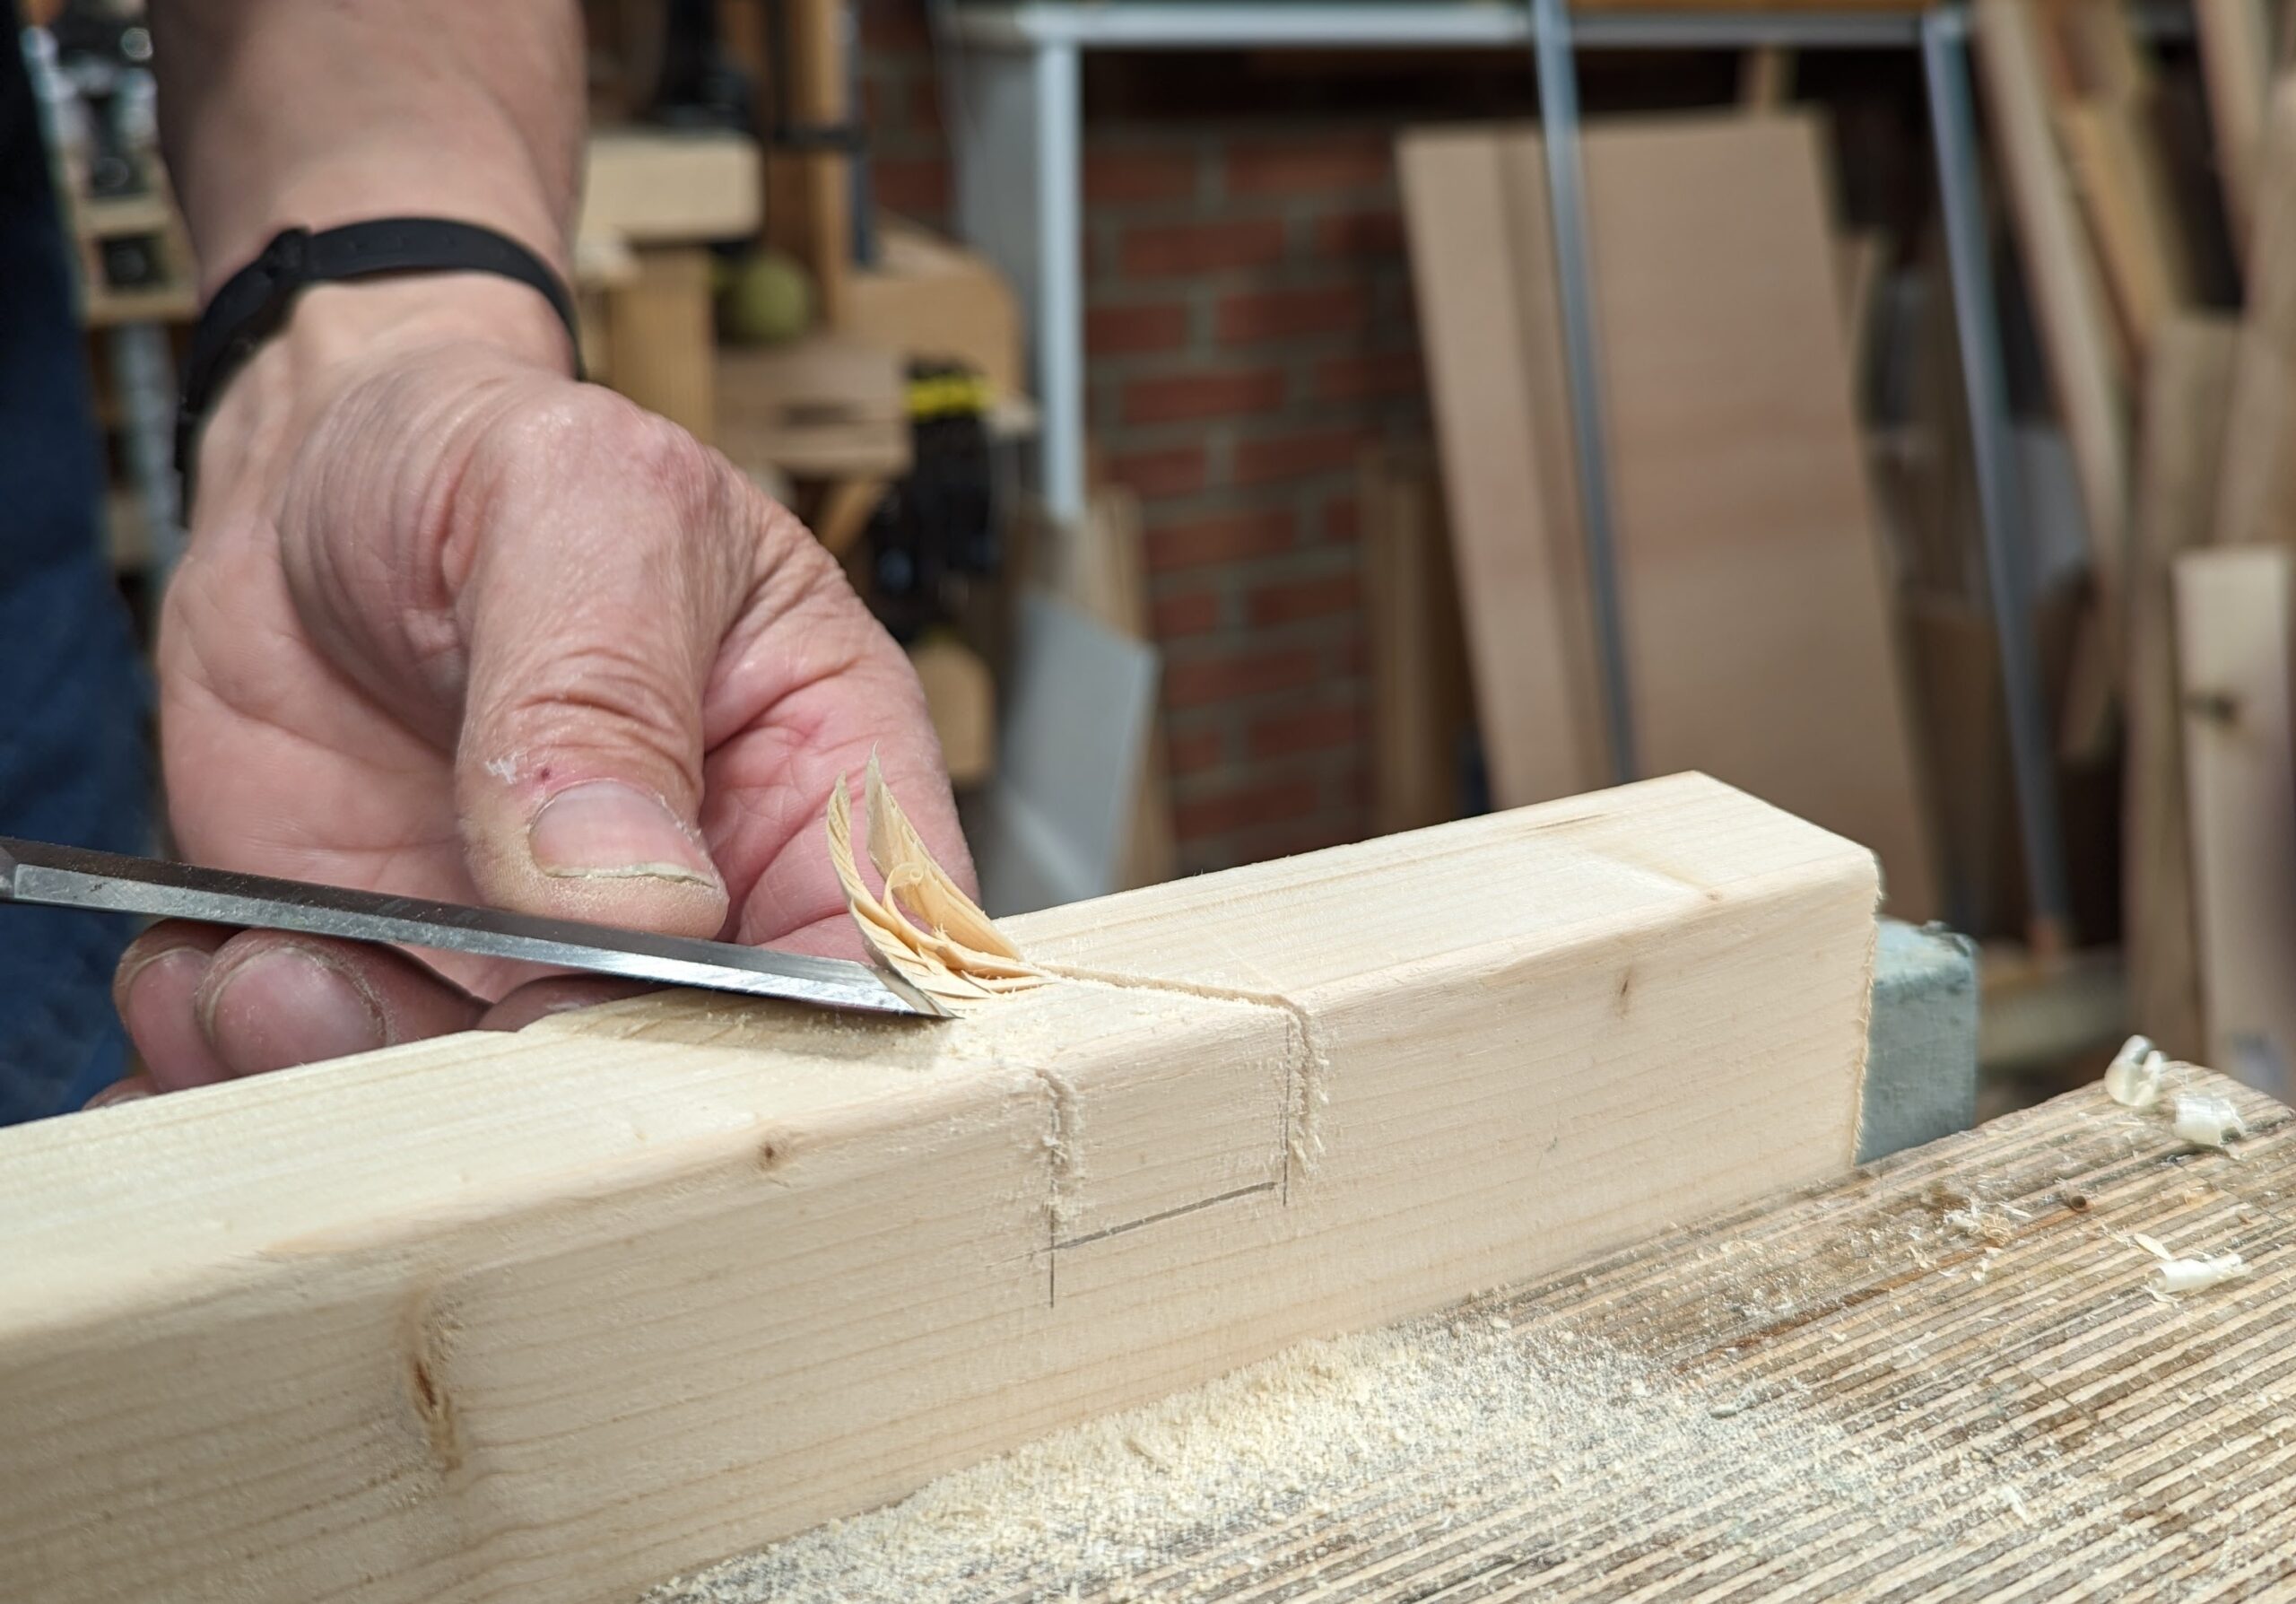
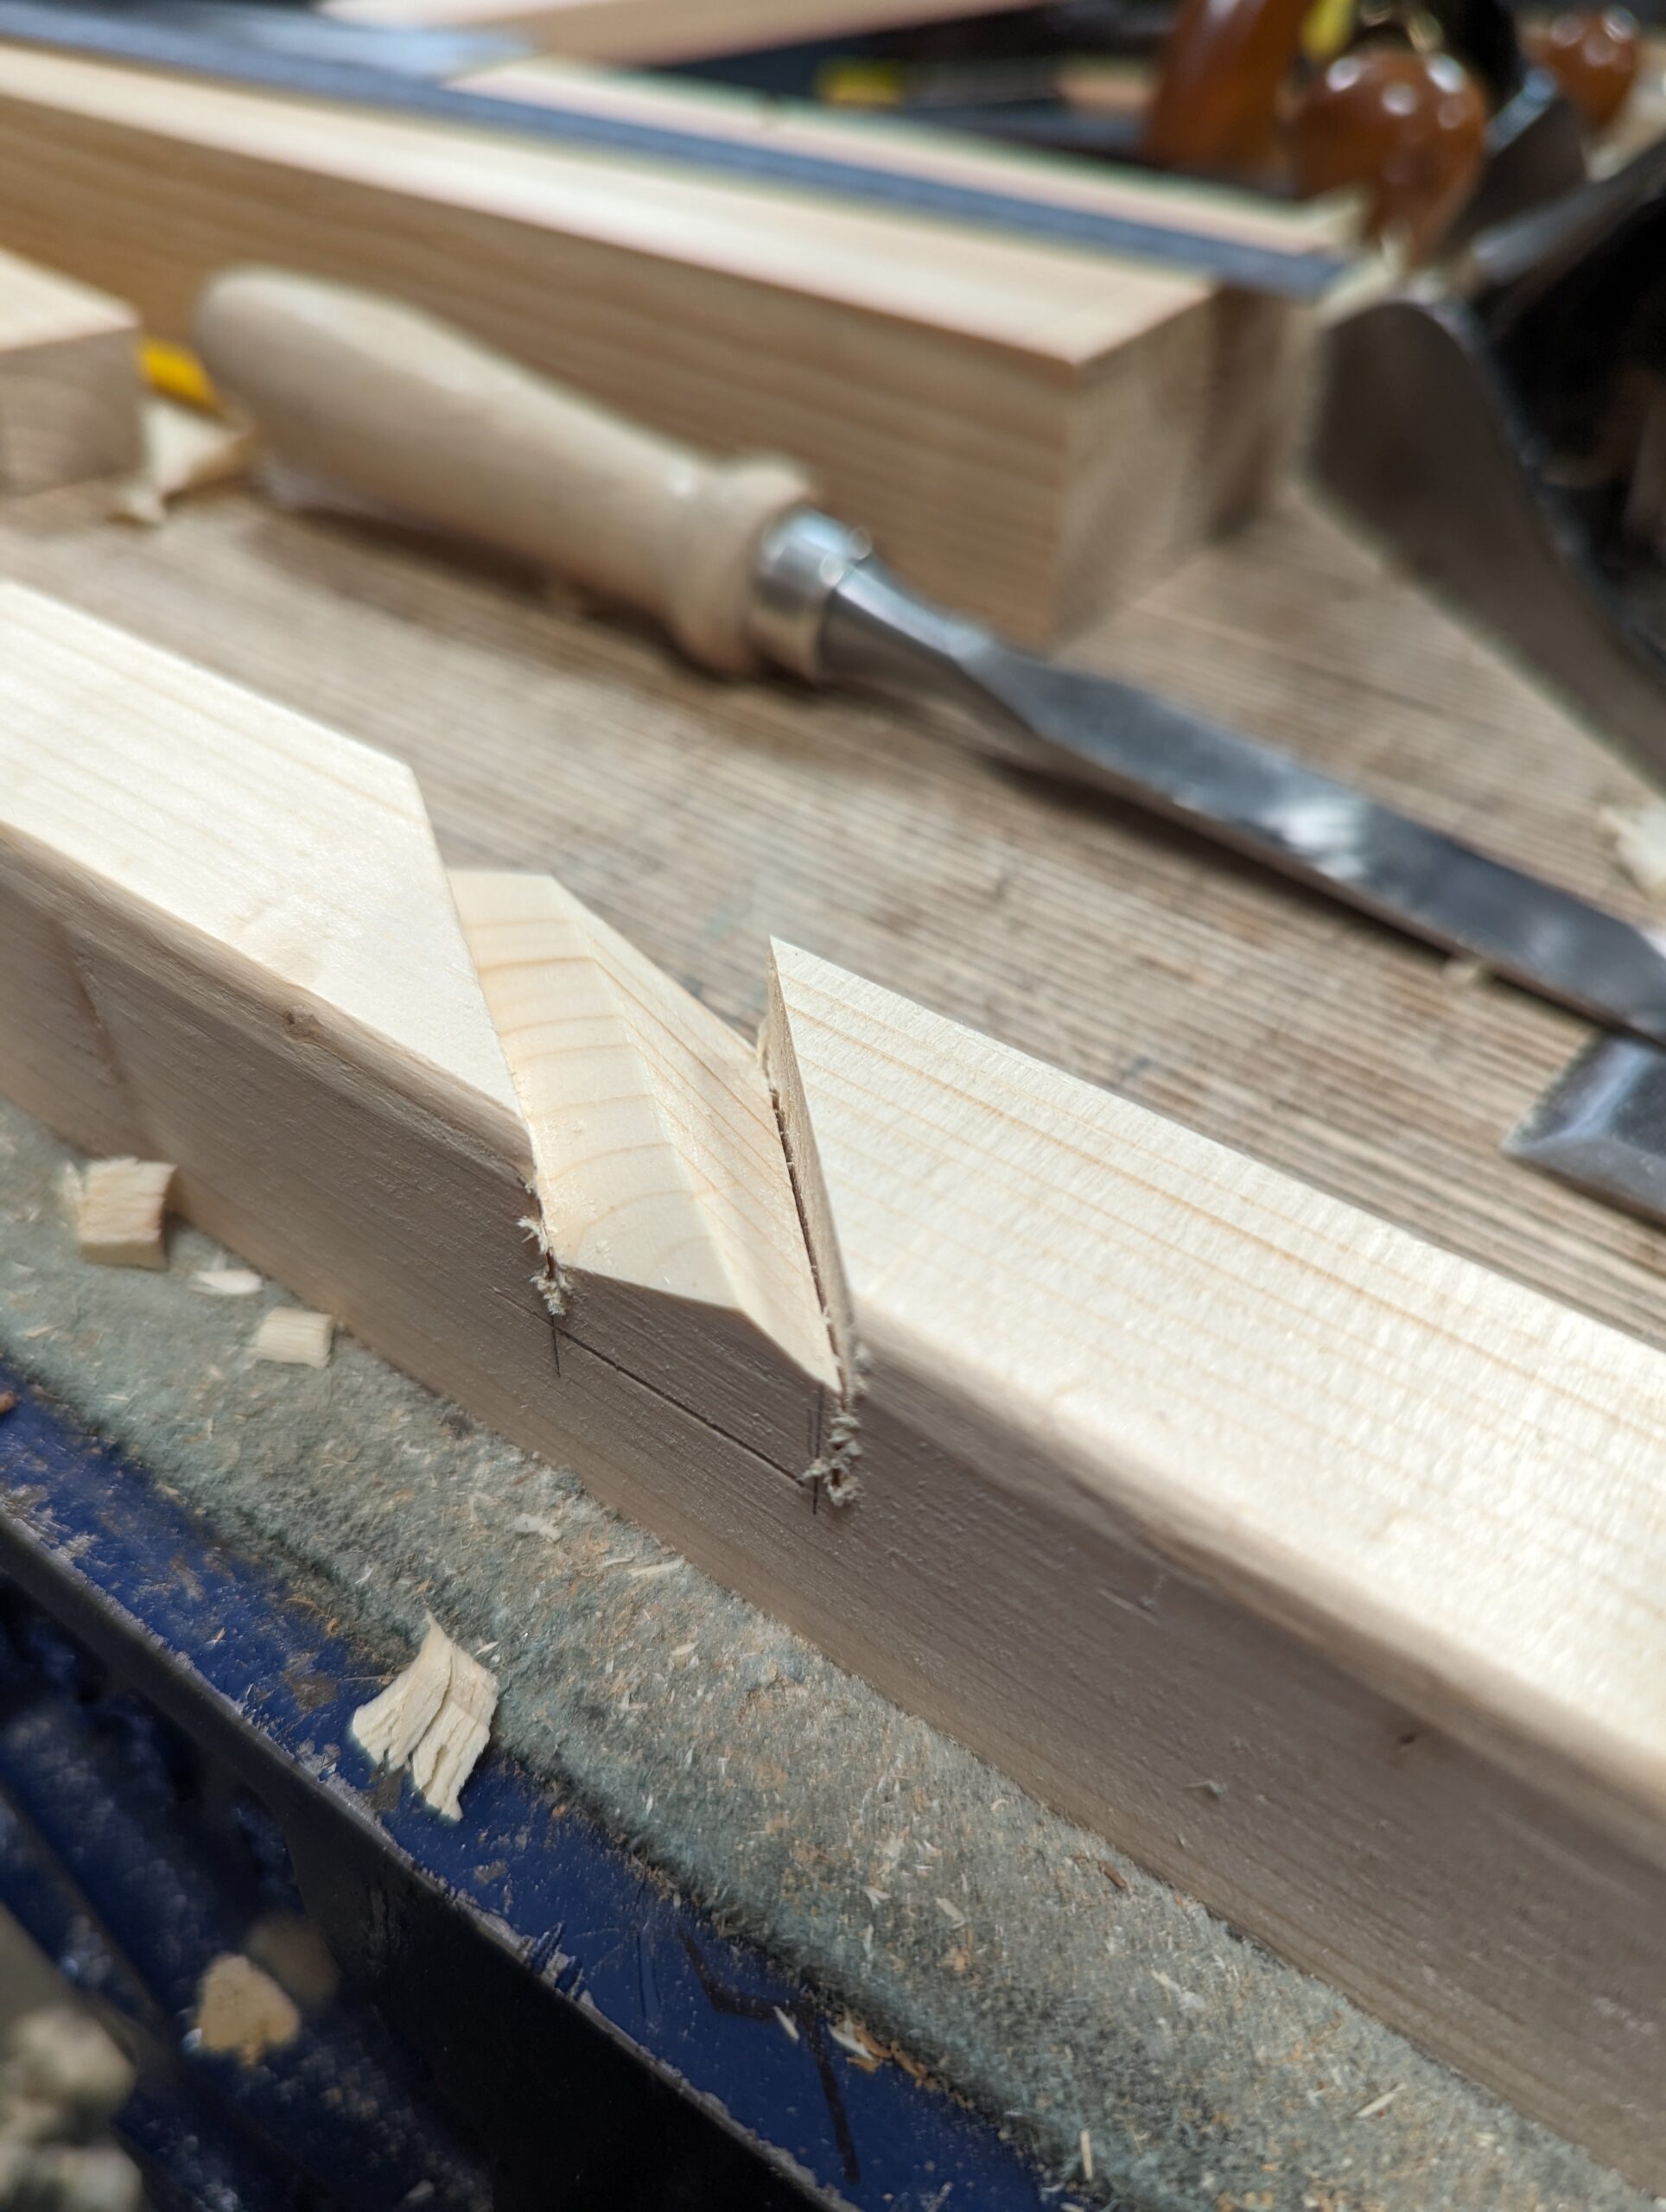
Remove the waste in between with a chisel and route out the final fibres level with a hand router plane or work to the two gauge lines from both sides with a chisel.
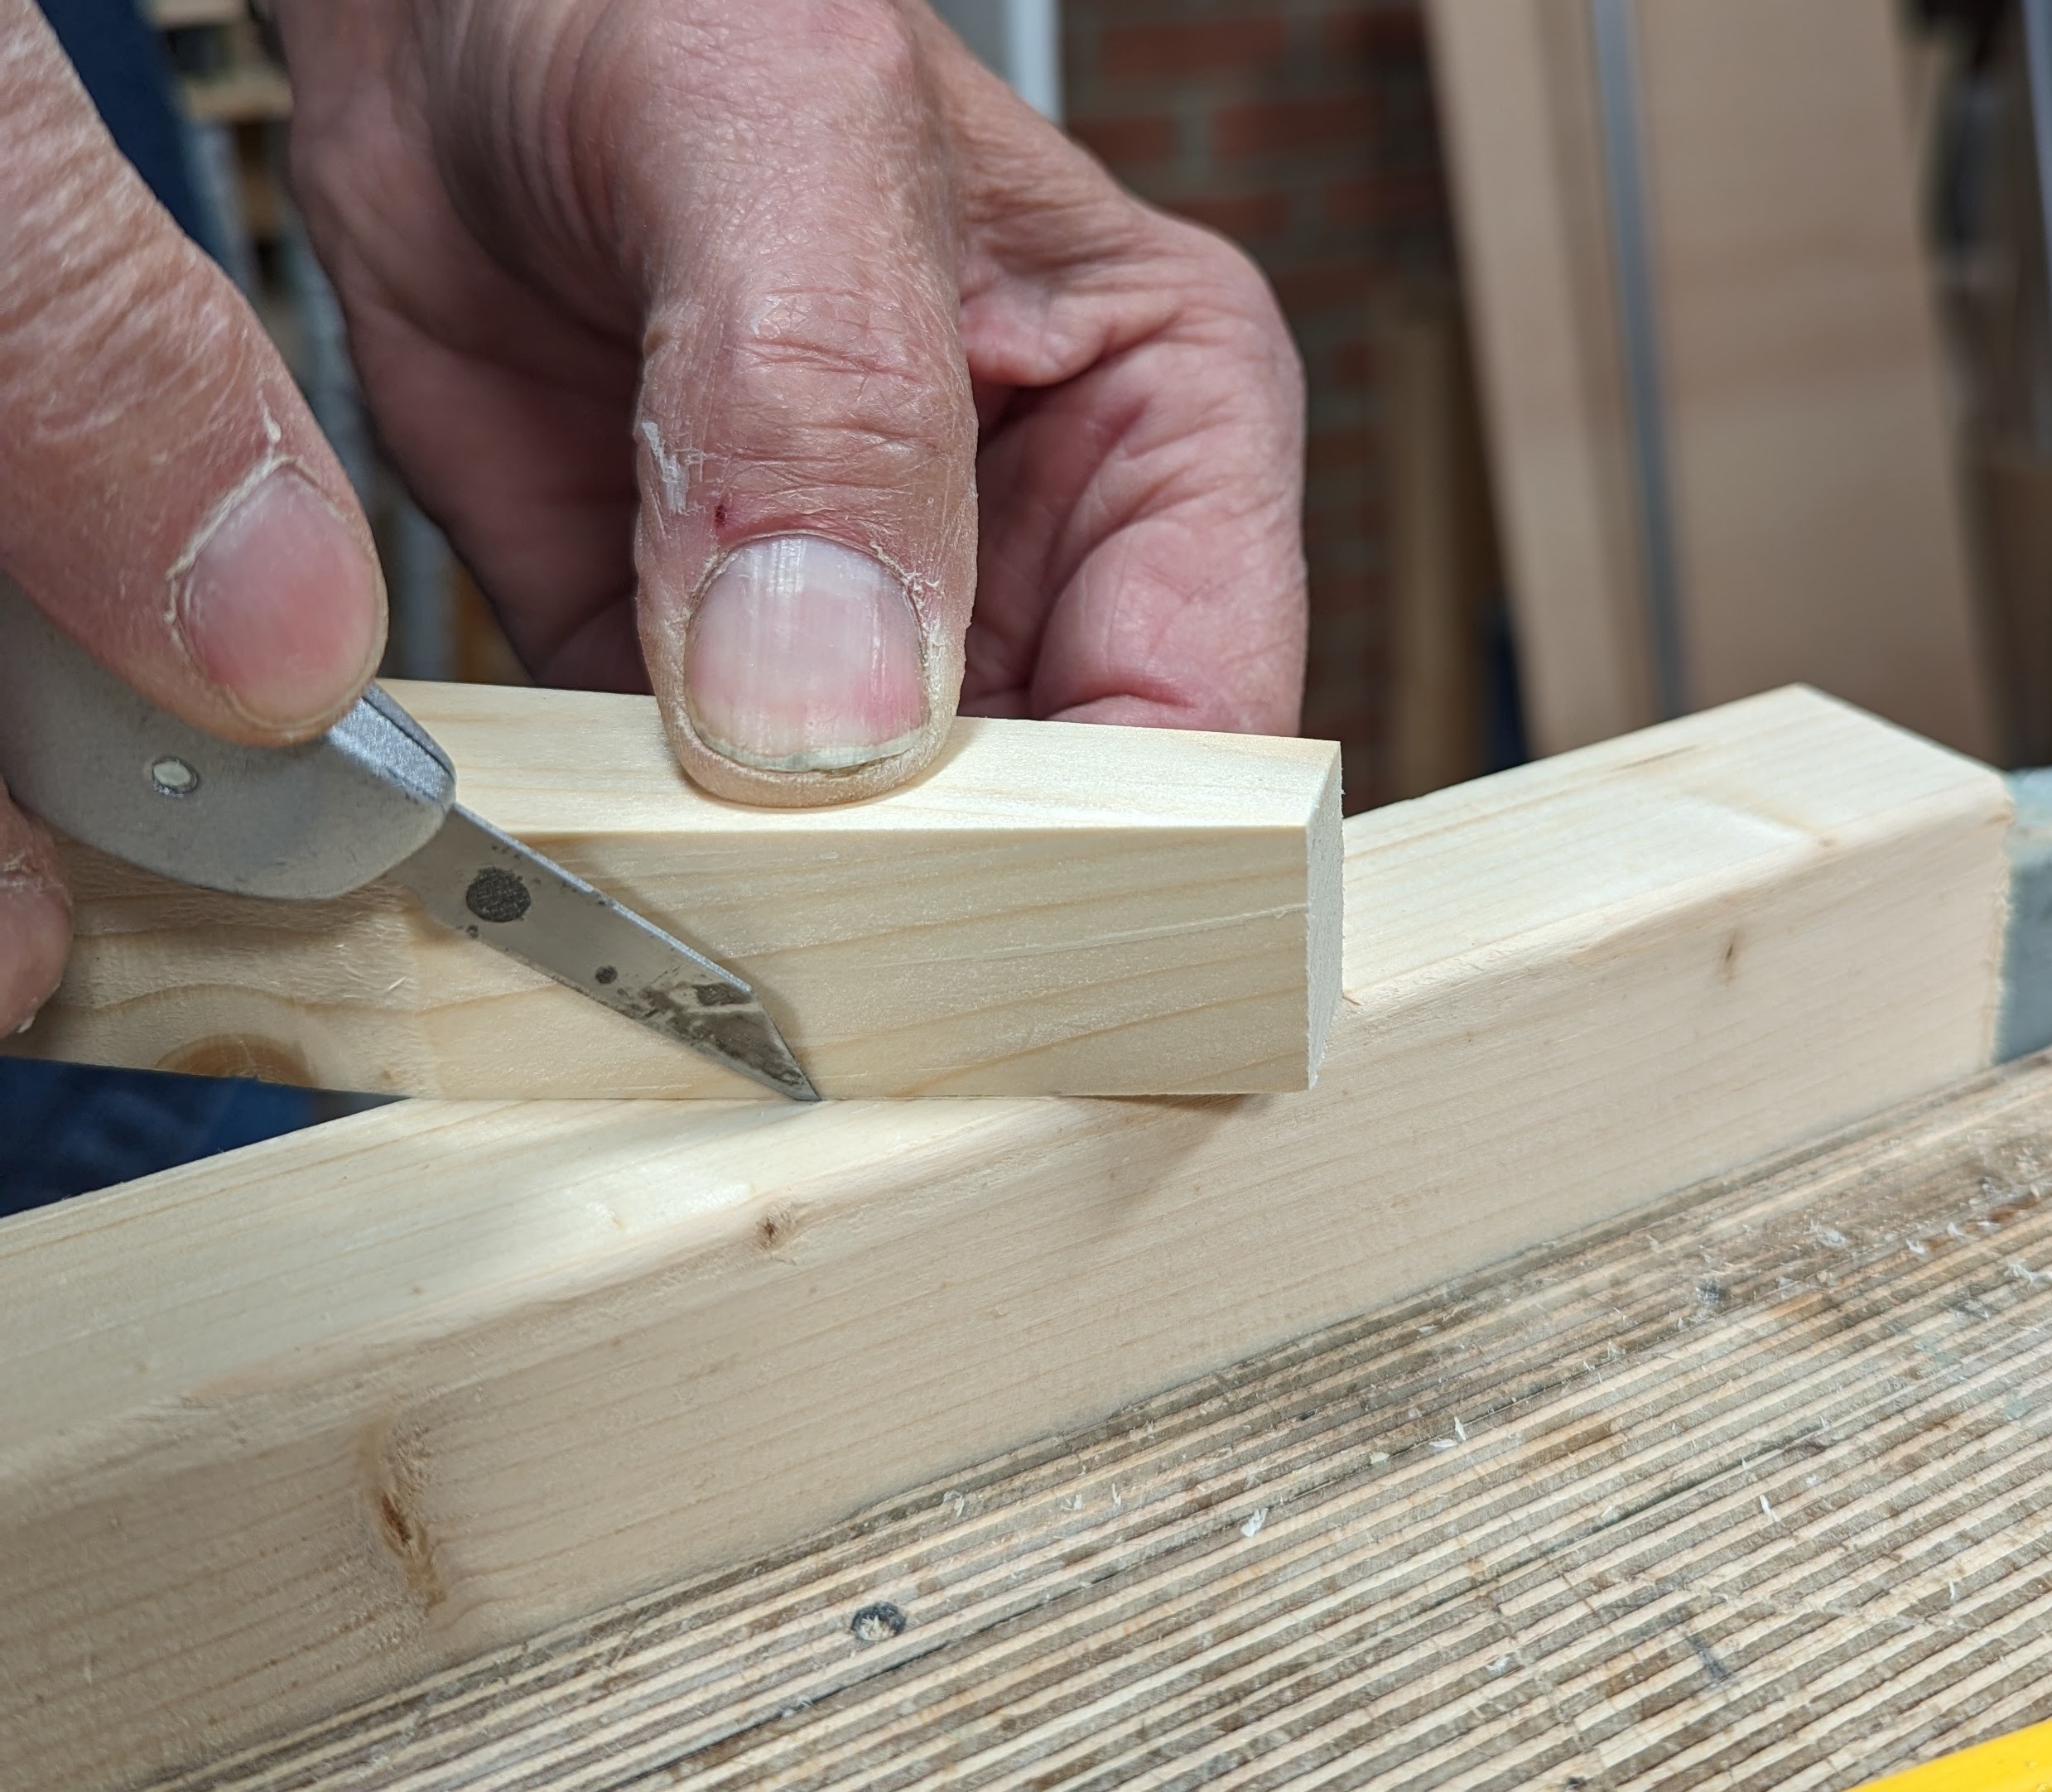
Drive the wedge into the recess and mark the position of the platform onto the wedge (as below) . . .
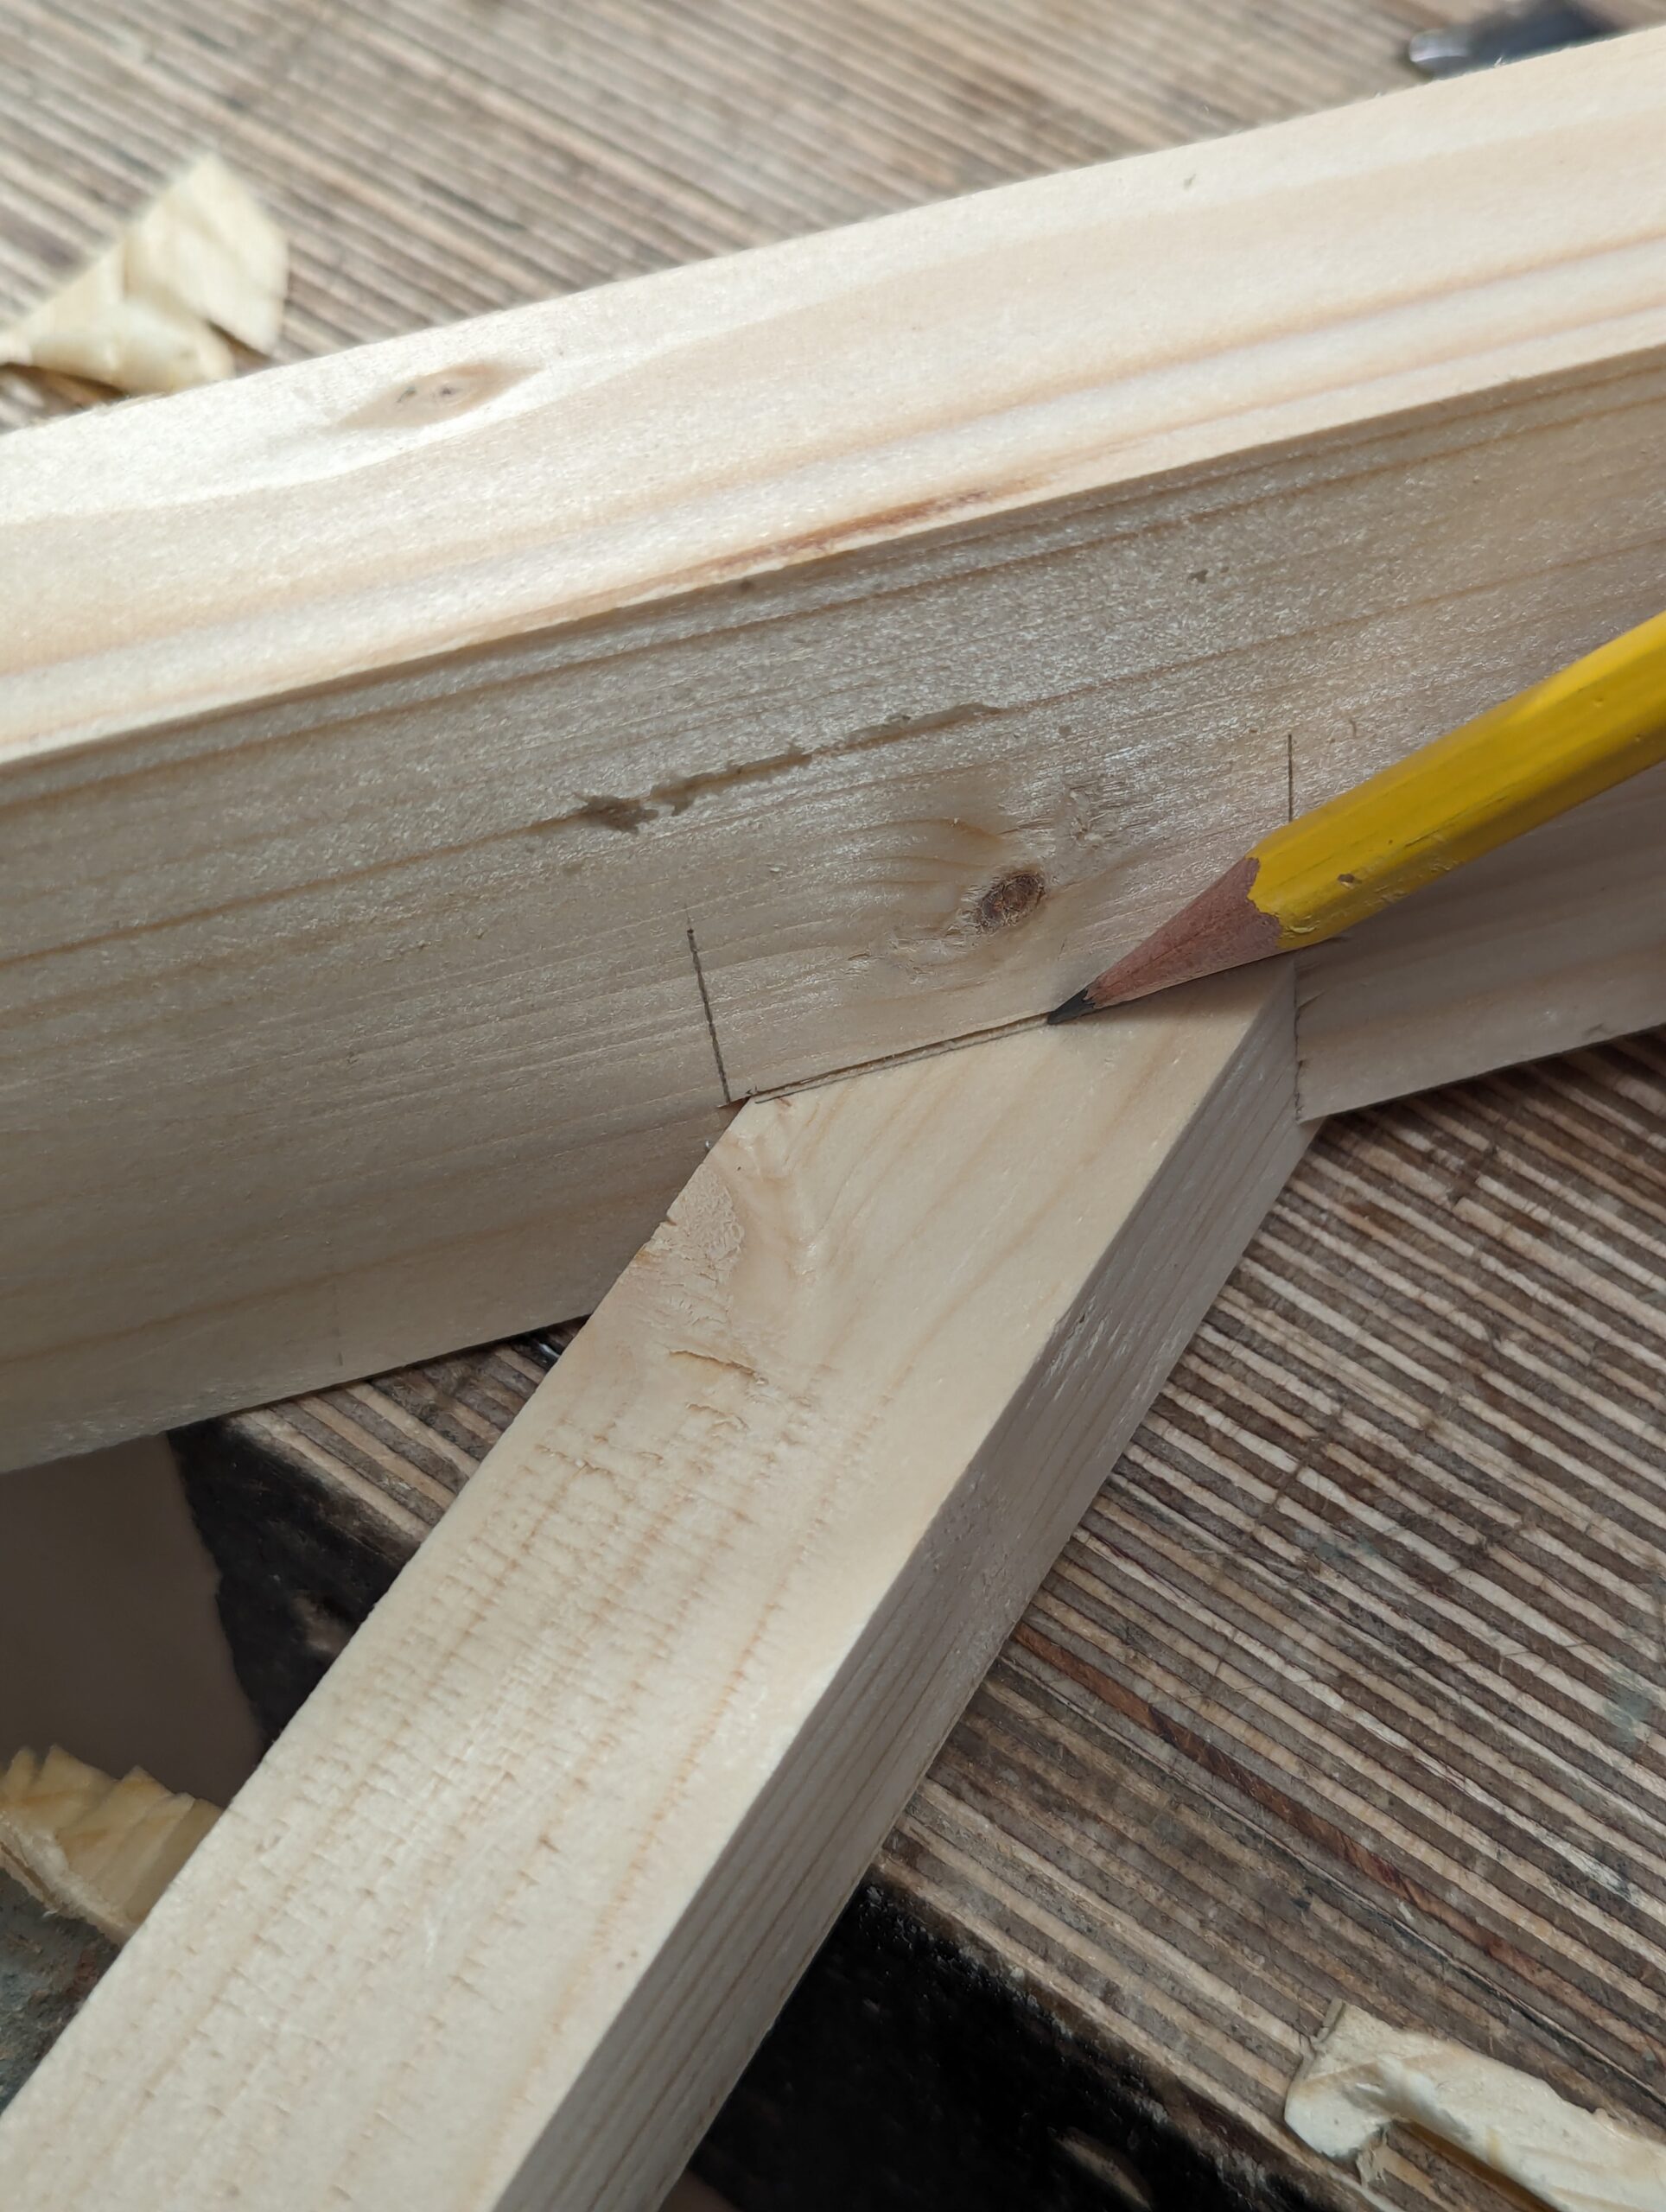
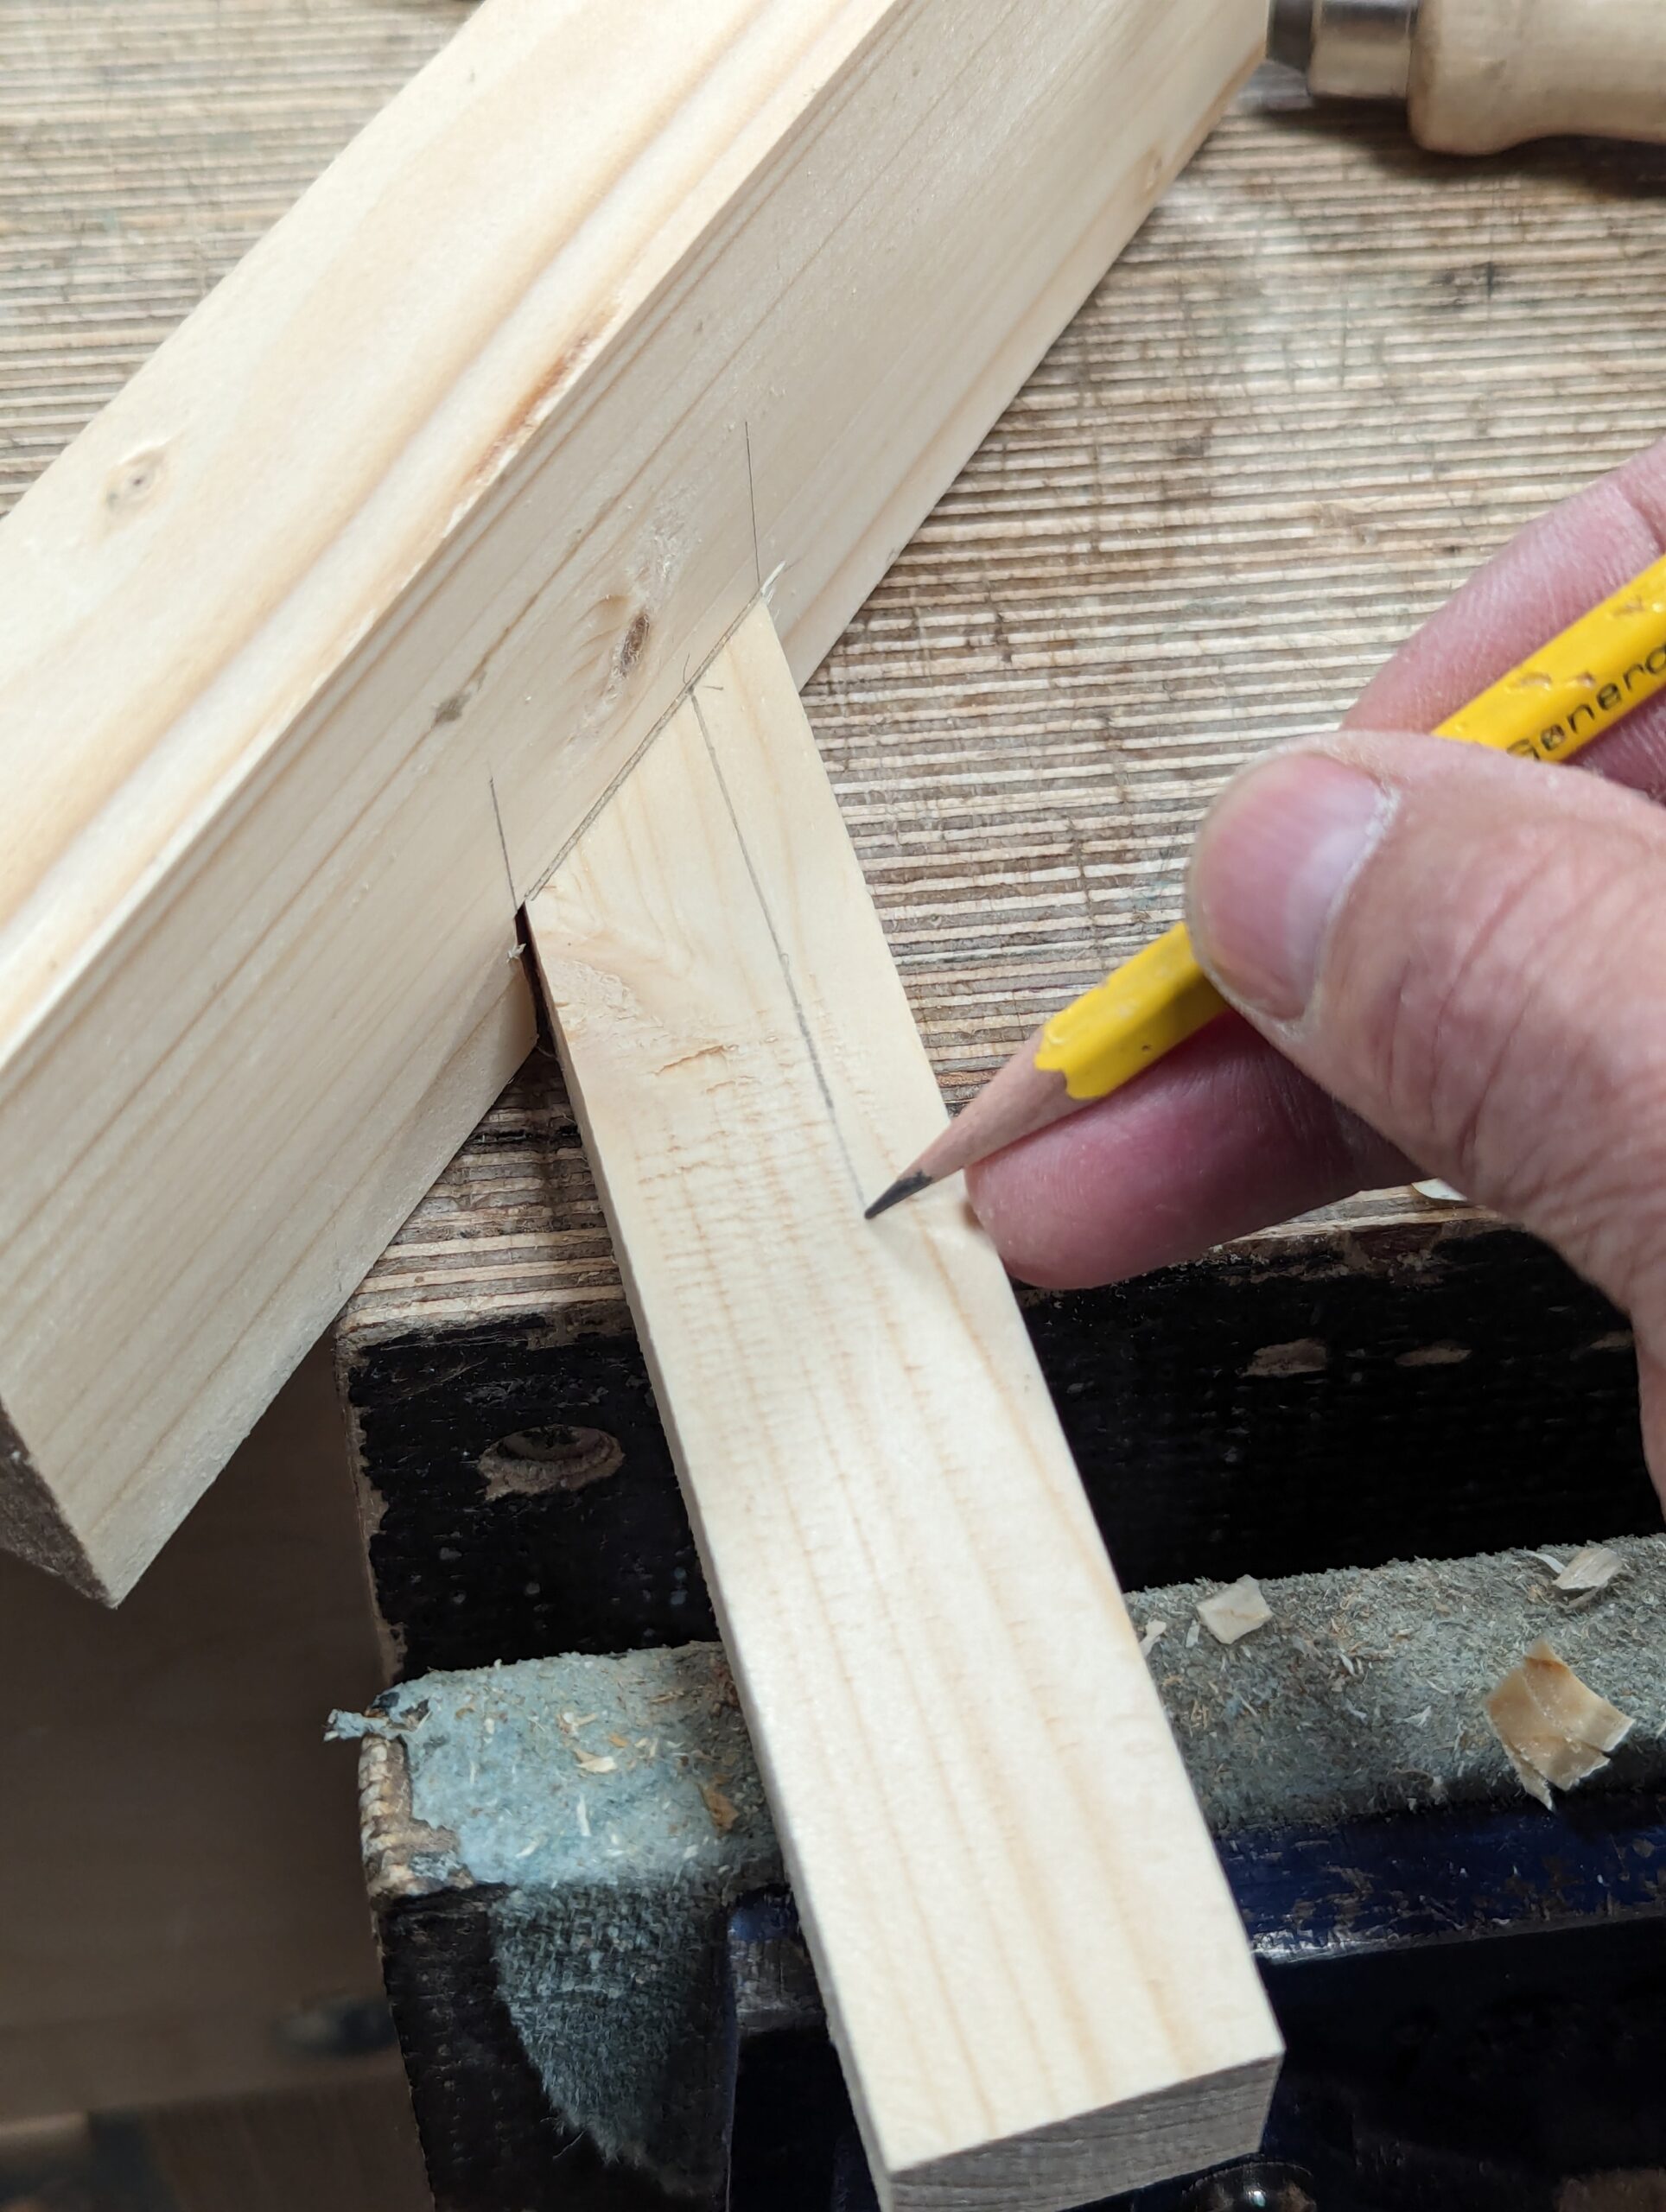
. . . and run a pencil line along the primary edge, the long, main straight one, about 10mm (3/8") in from the edge.
Saw along the line to the angle line.

Drive the wedge into the channel but not too tightly––just one extra tap's worth.
Clamp in the vise securely. Here you can see how the vise will compress the wedge sideways into the channel and lock it immoveably in situ.
To Set Up and Use

Having driven the wedge into the recess enough to seat it, clamp it in the vise so that the wedge is held and compressed into the recess.
Insert a newly sharpened card scraper to the near height you want for thicknessing.
Create a leading edge to the start of the piece for ease of start.
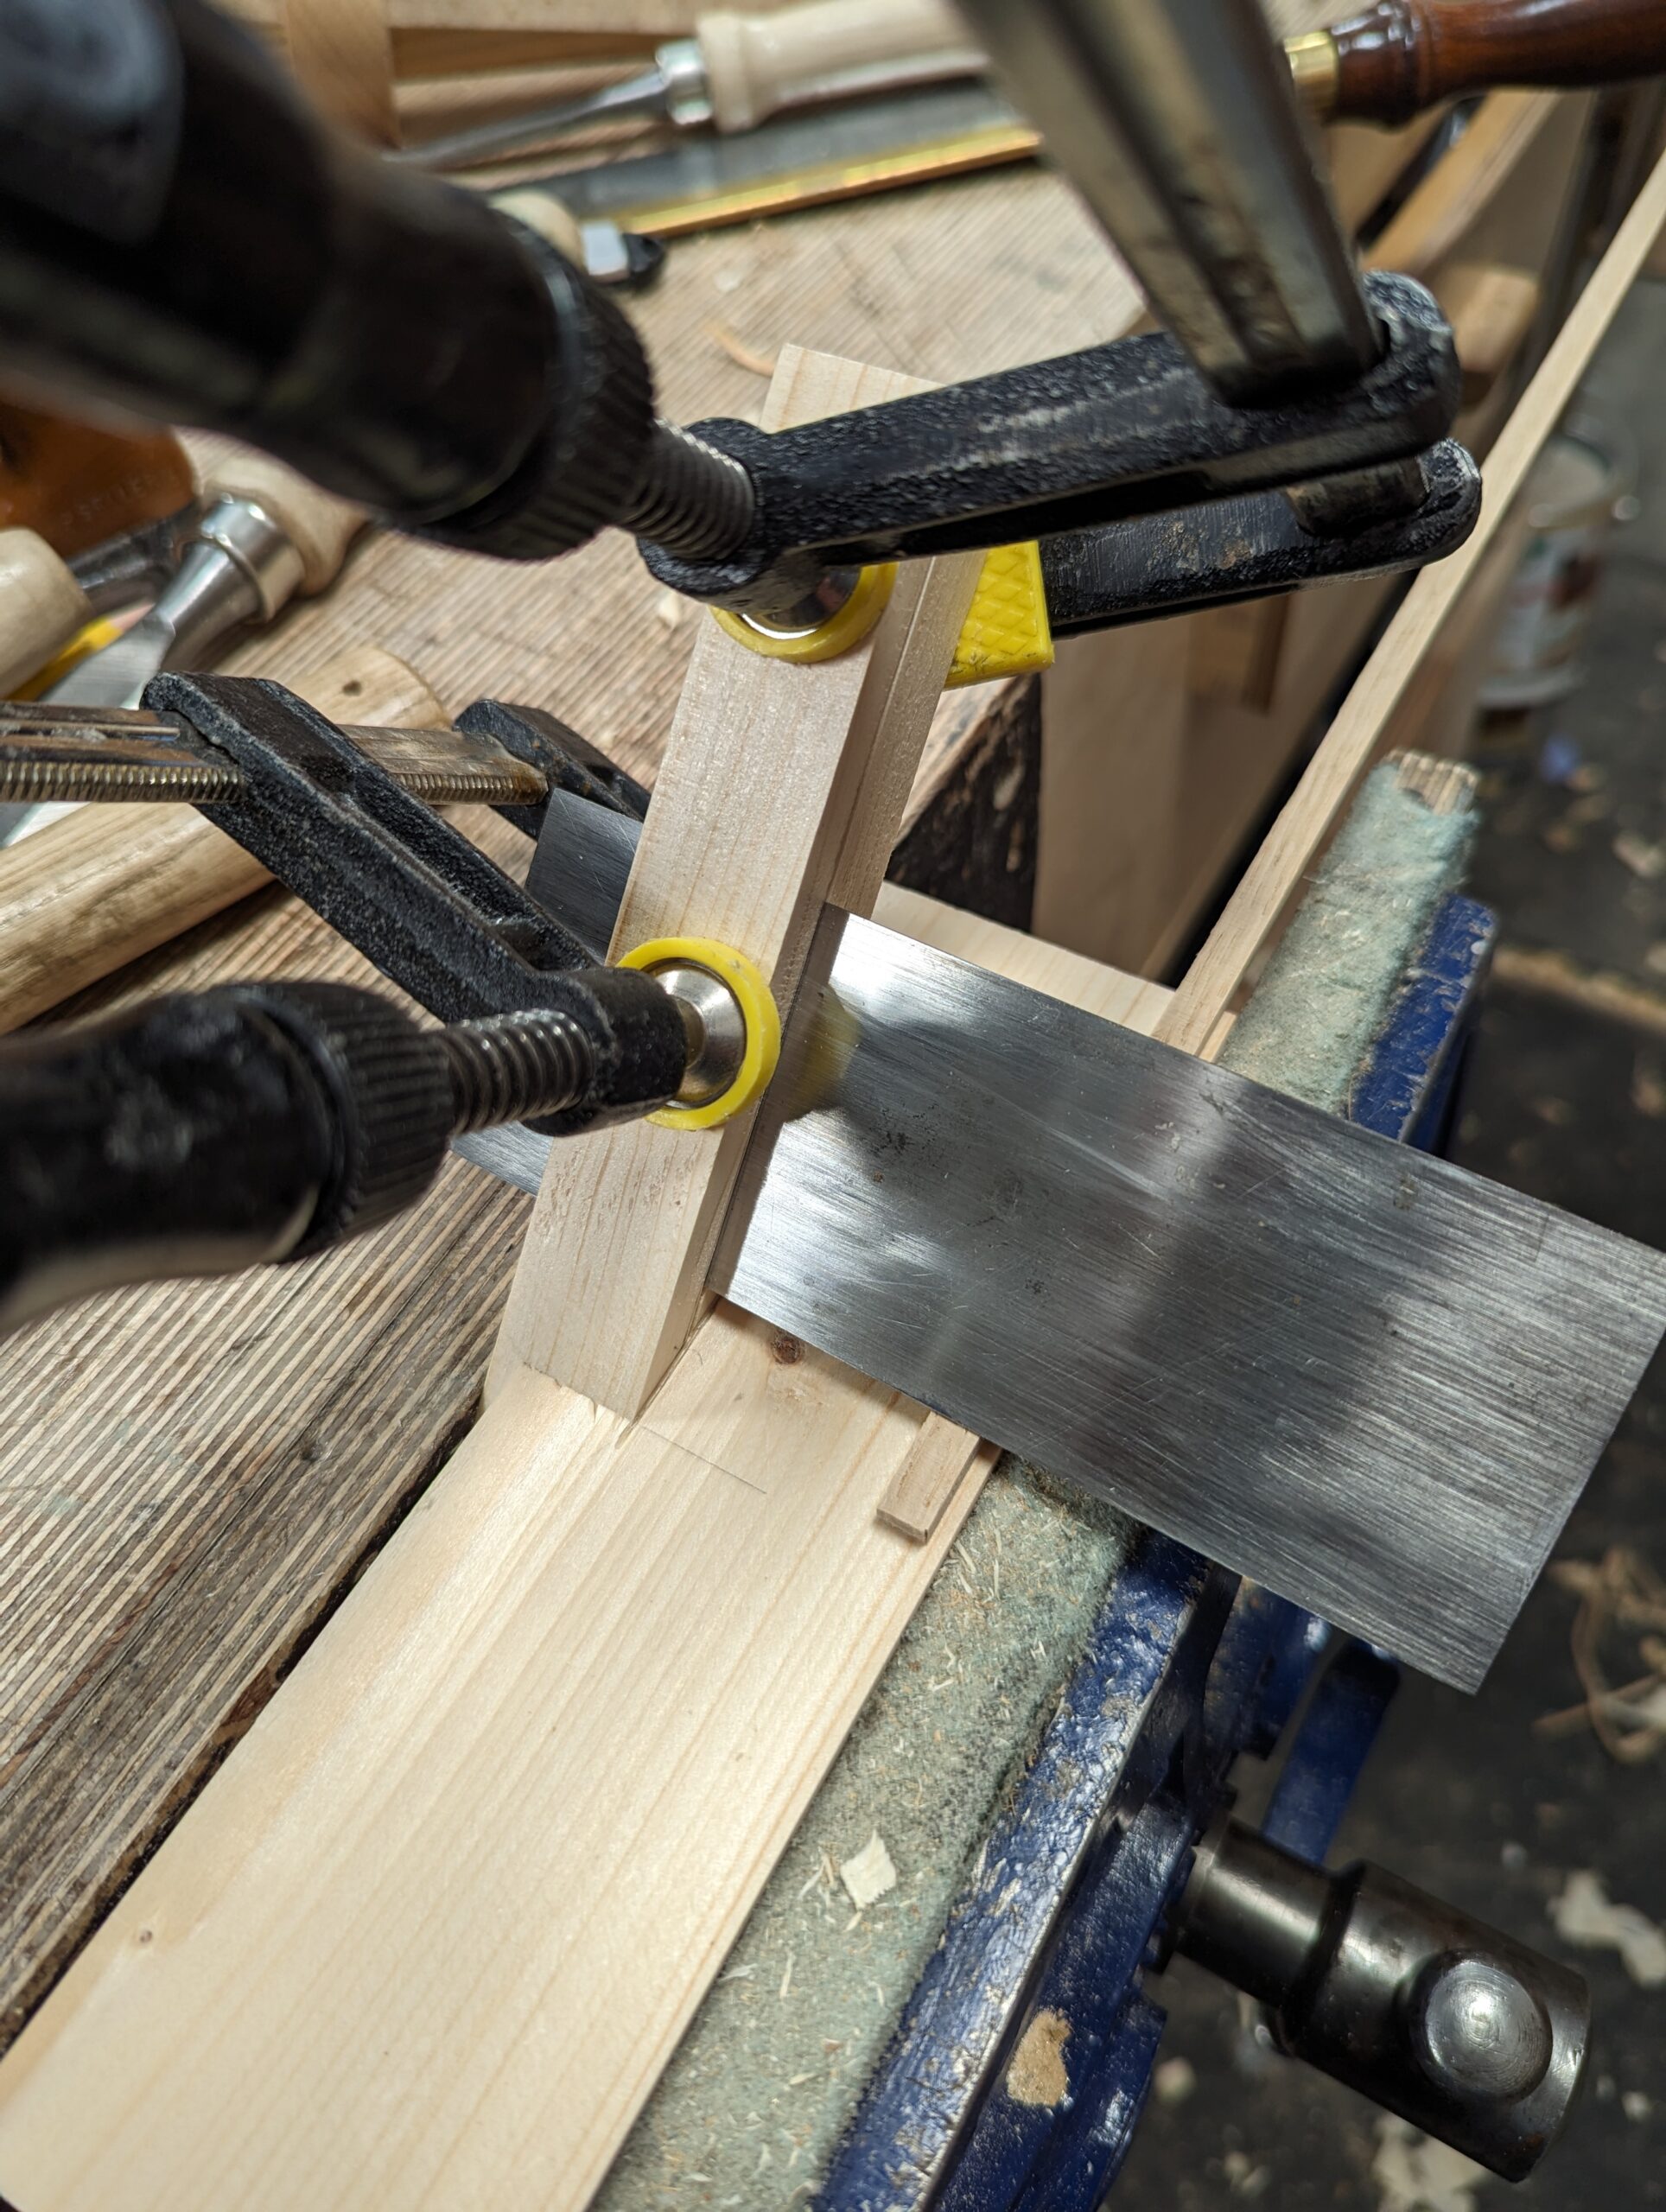
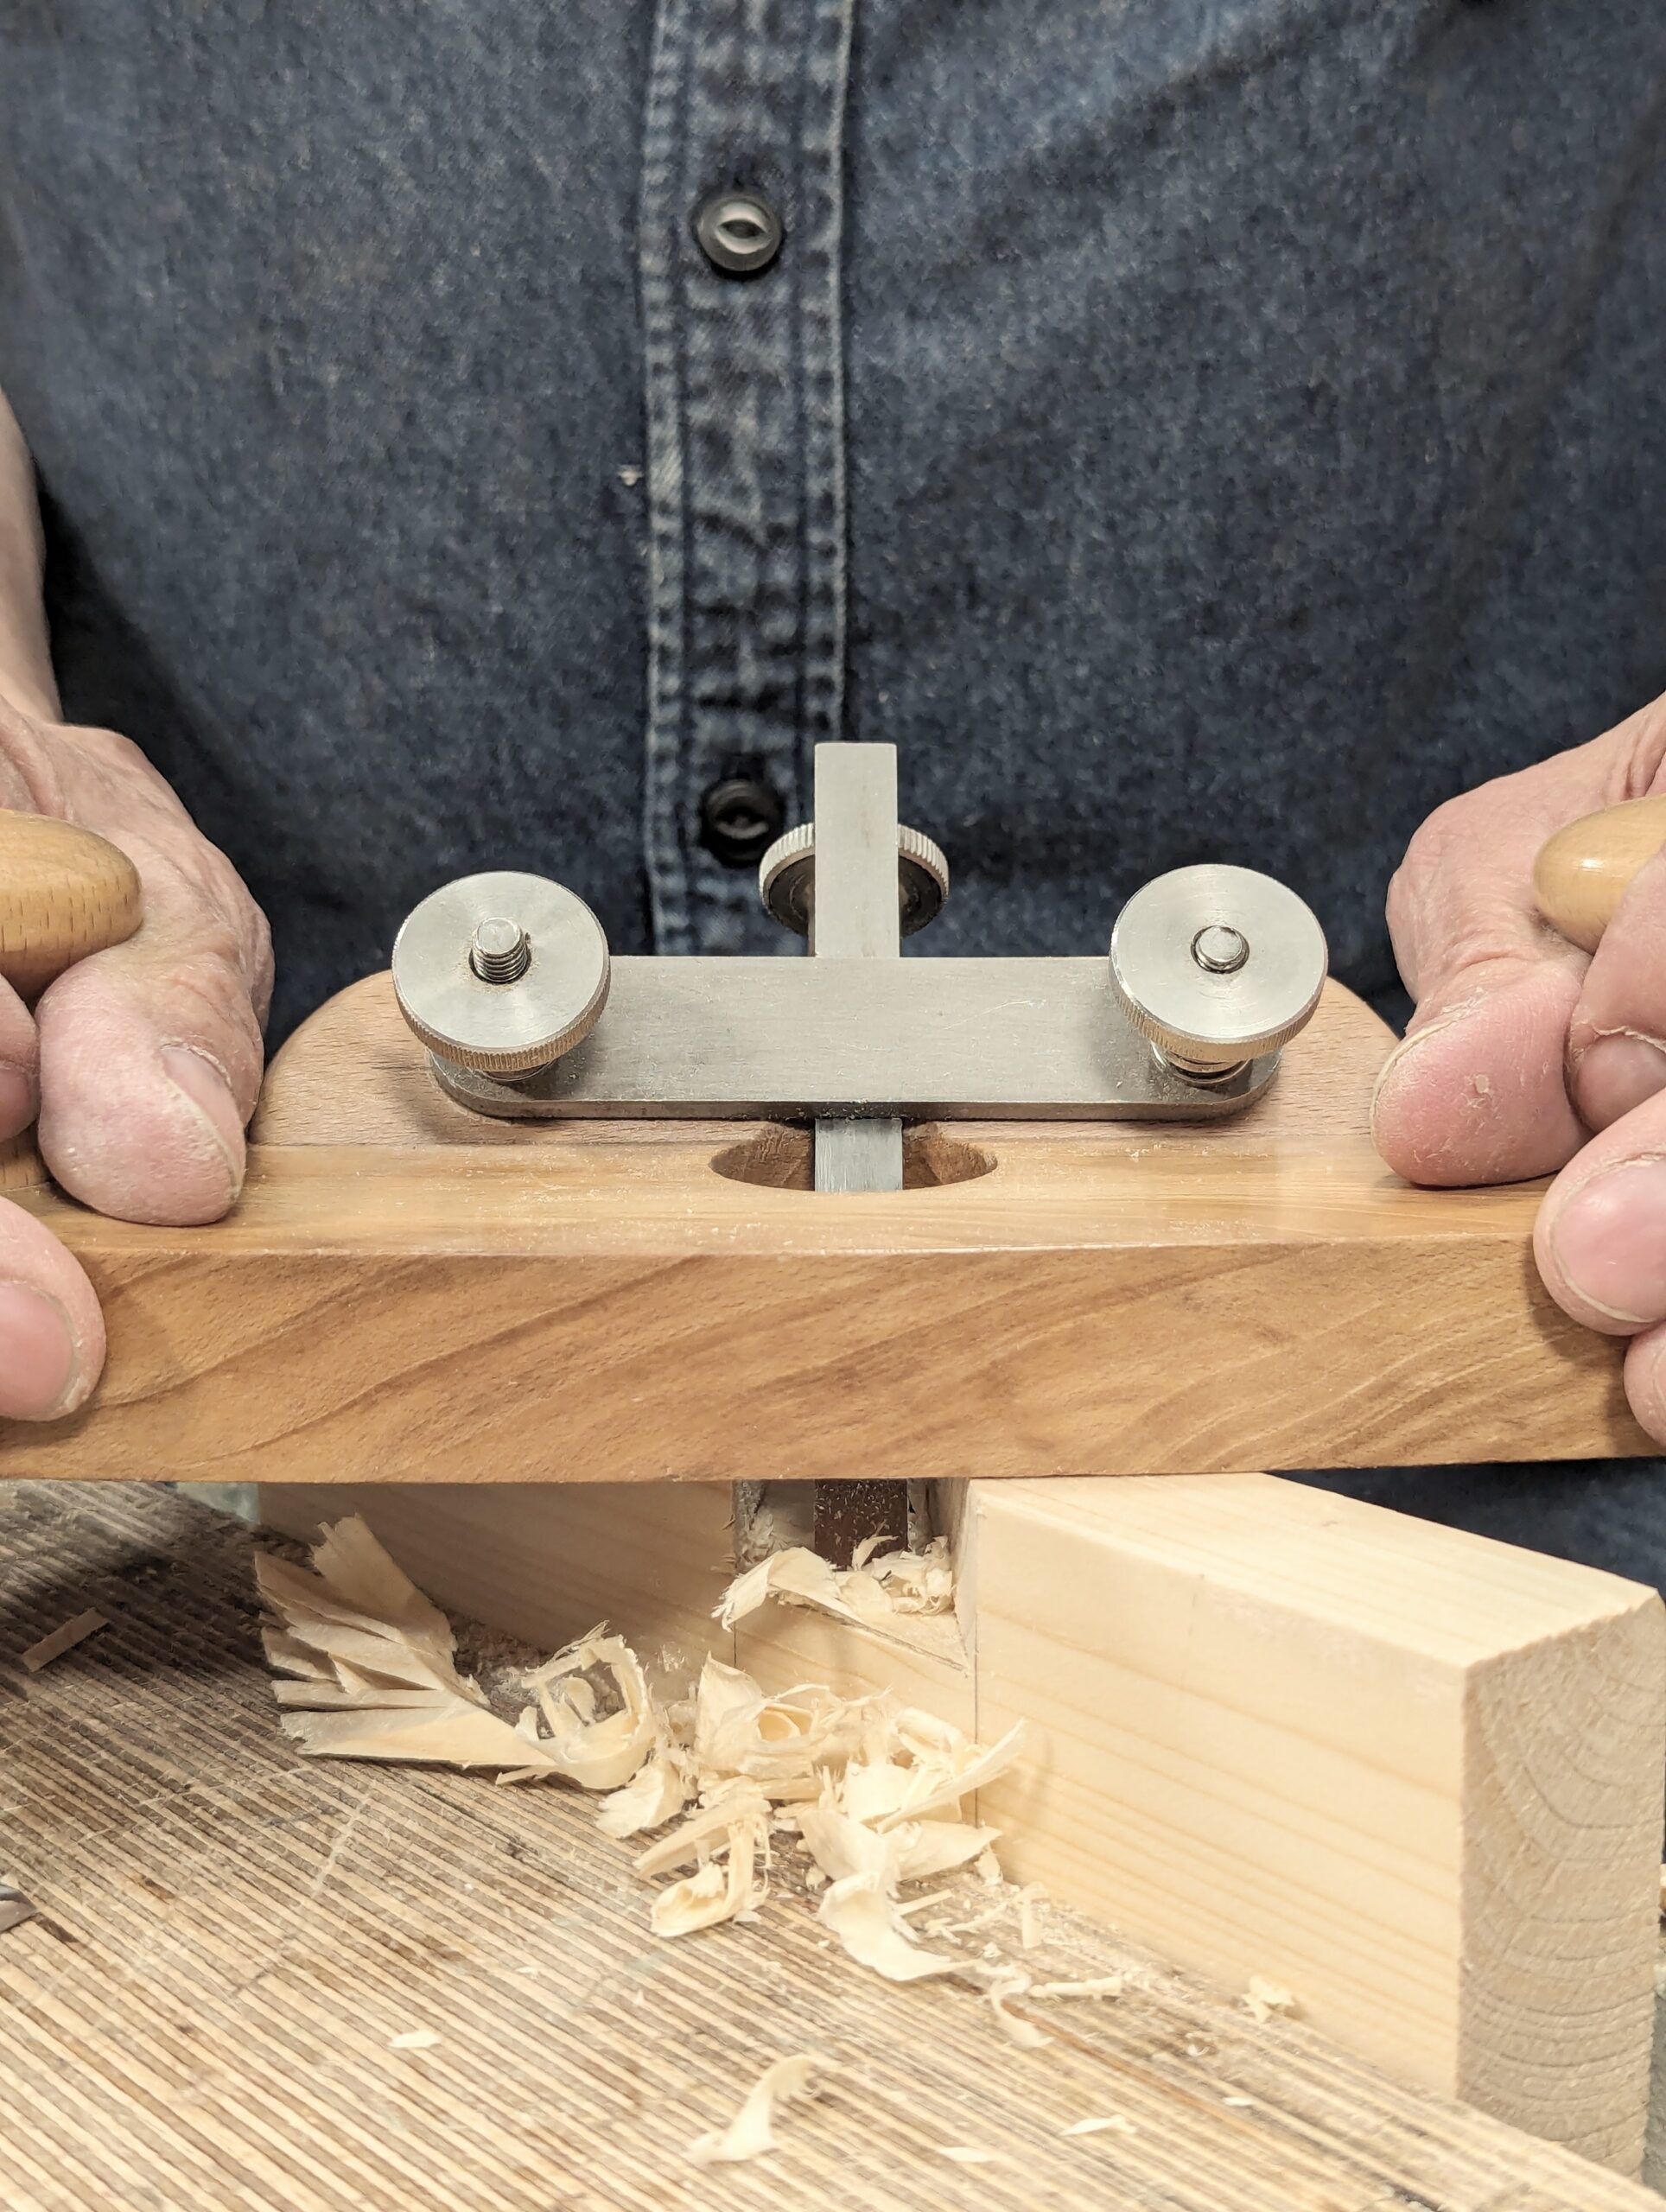
Now apply the two clamps as shown. Notice the piece of wood to be thicknessed inserted there as a guide.
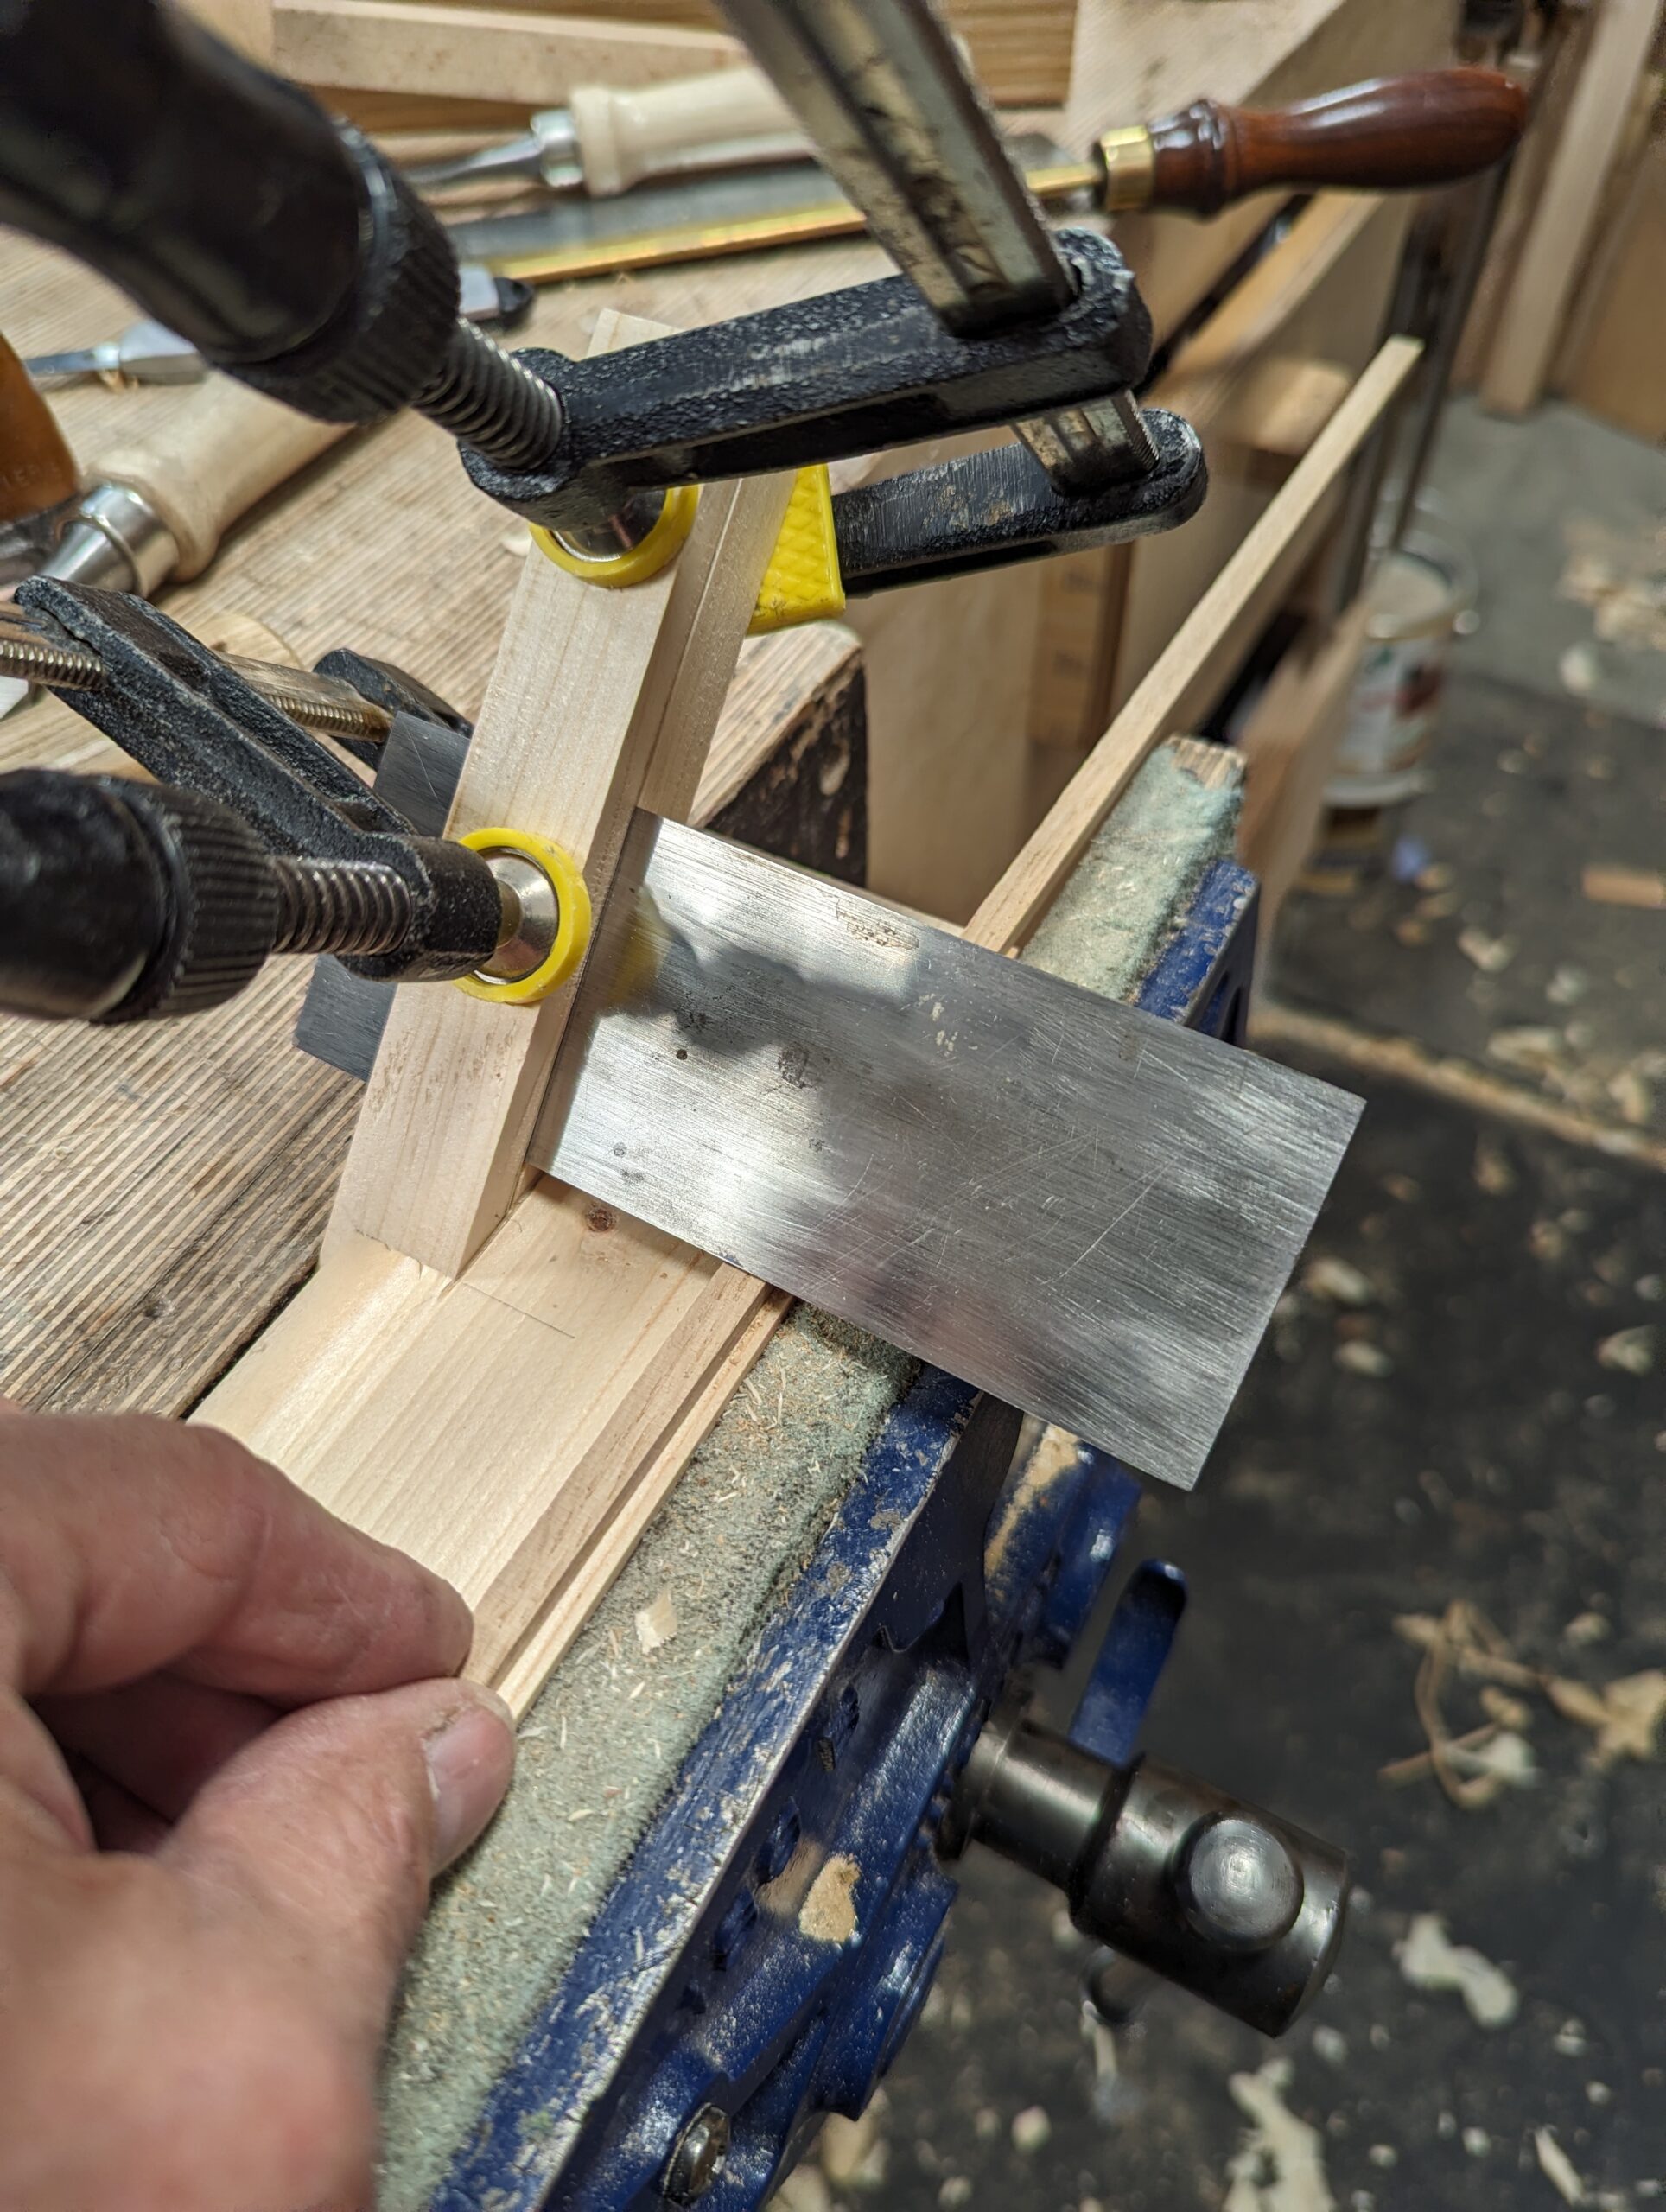
Adjust the depth of cut according the thickness of the stock before you cinch the clamps tight. This will be set according a piece of wood you have thicknessed just for setting the scraper plate. You will set the edge of the plate as parallel as you can to the base platform.
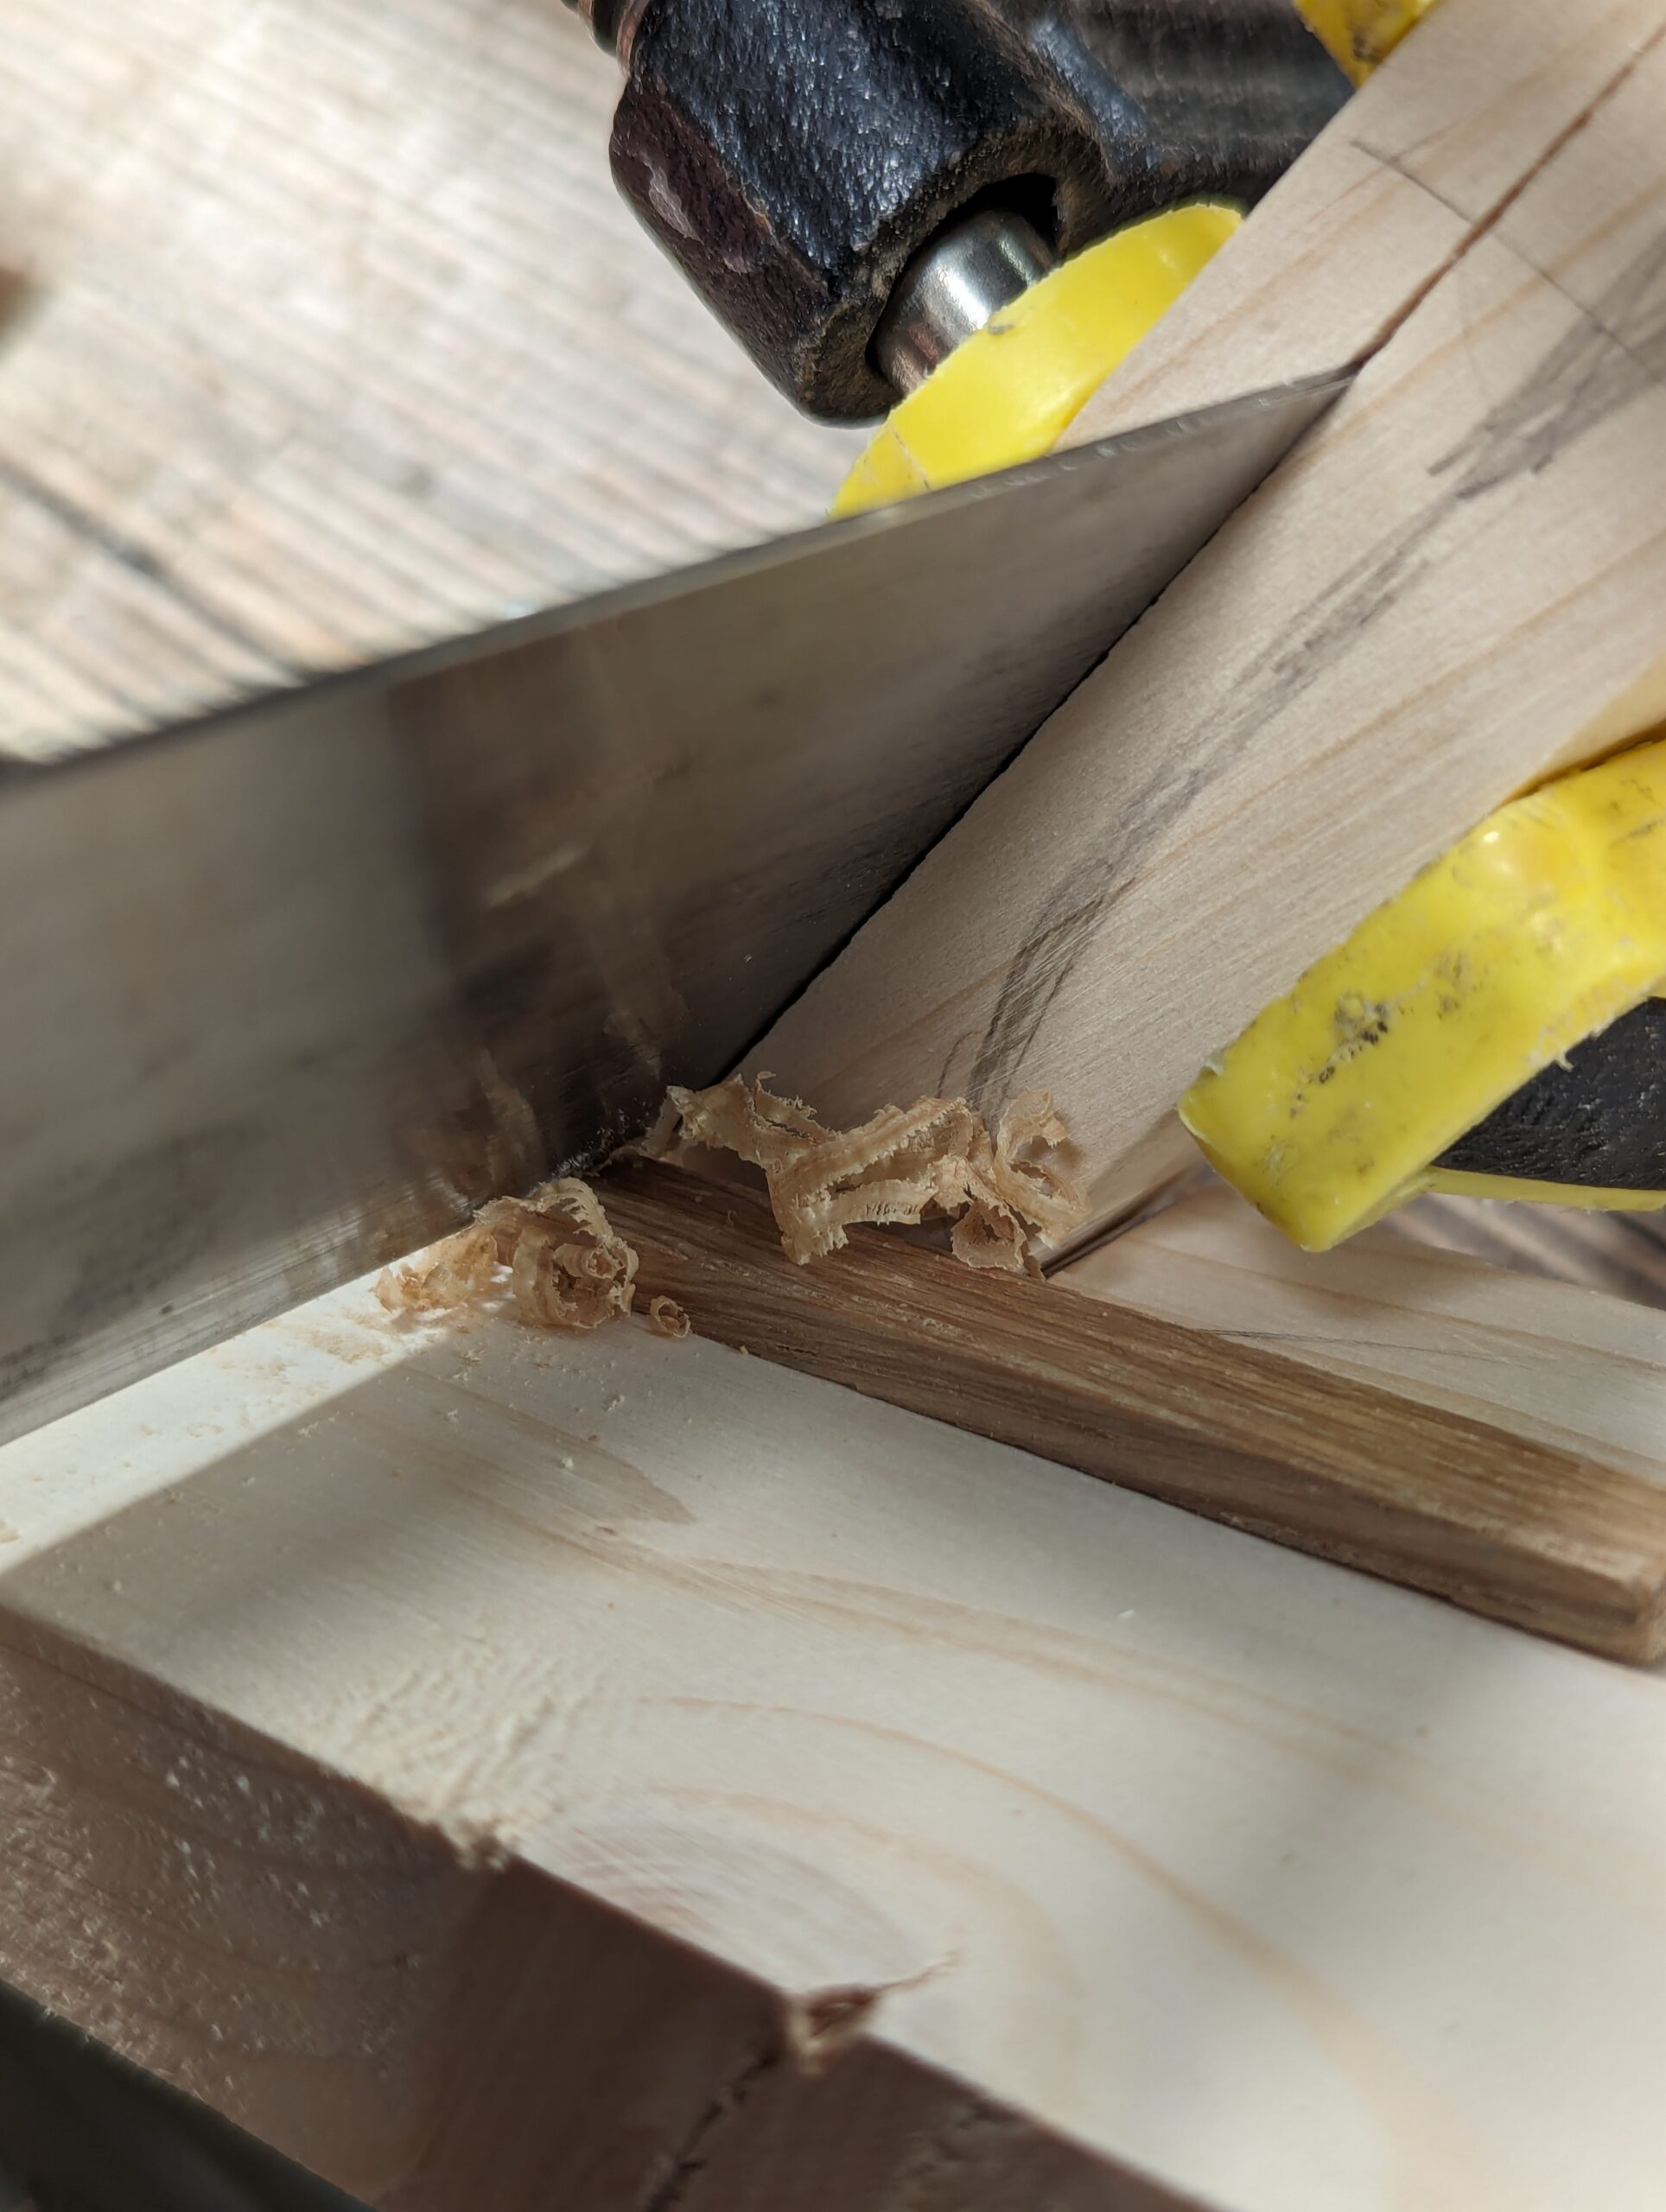
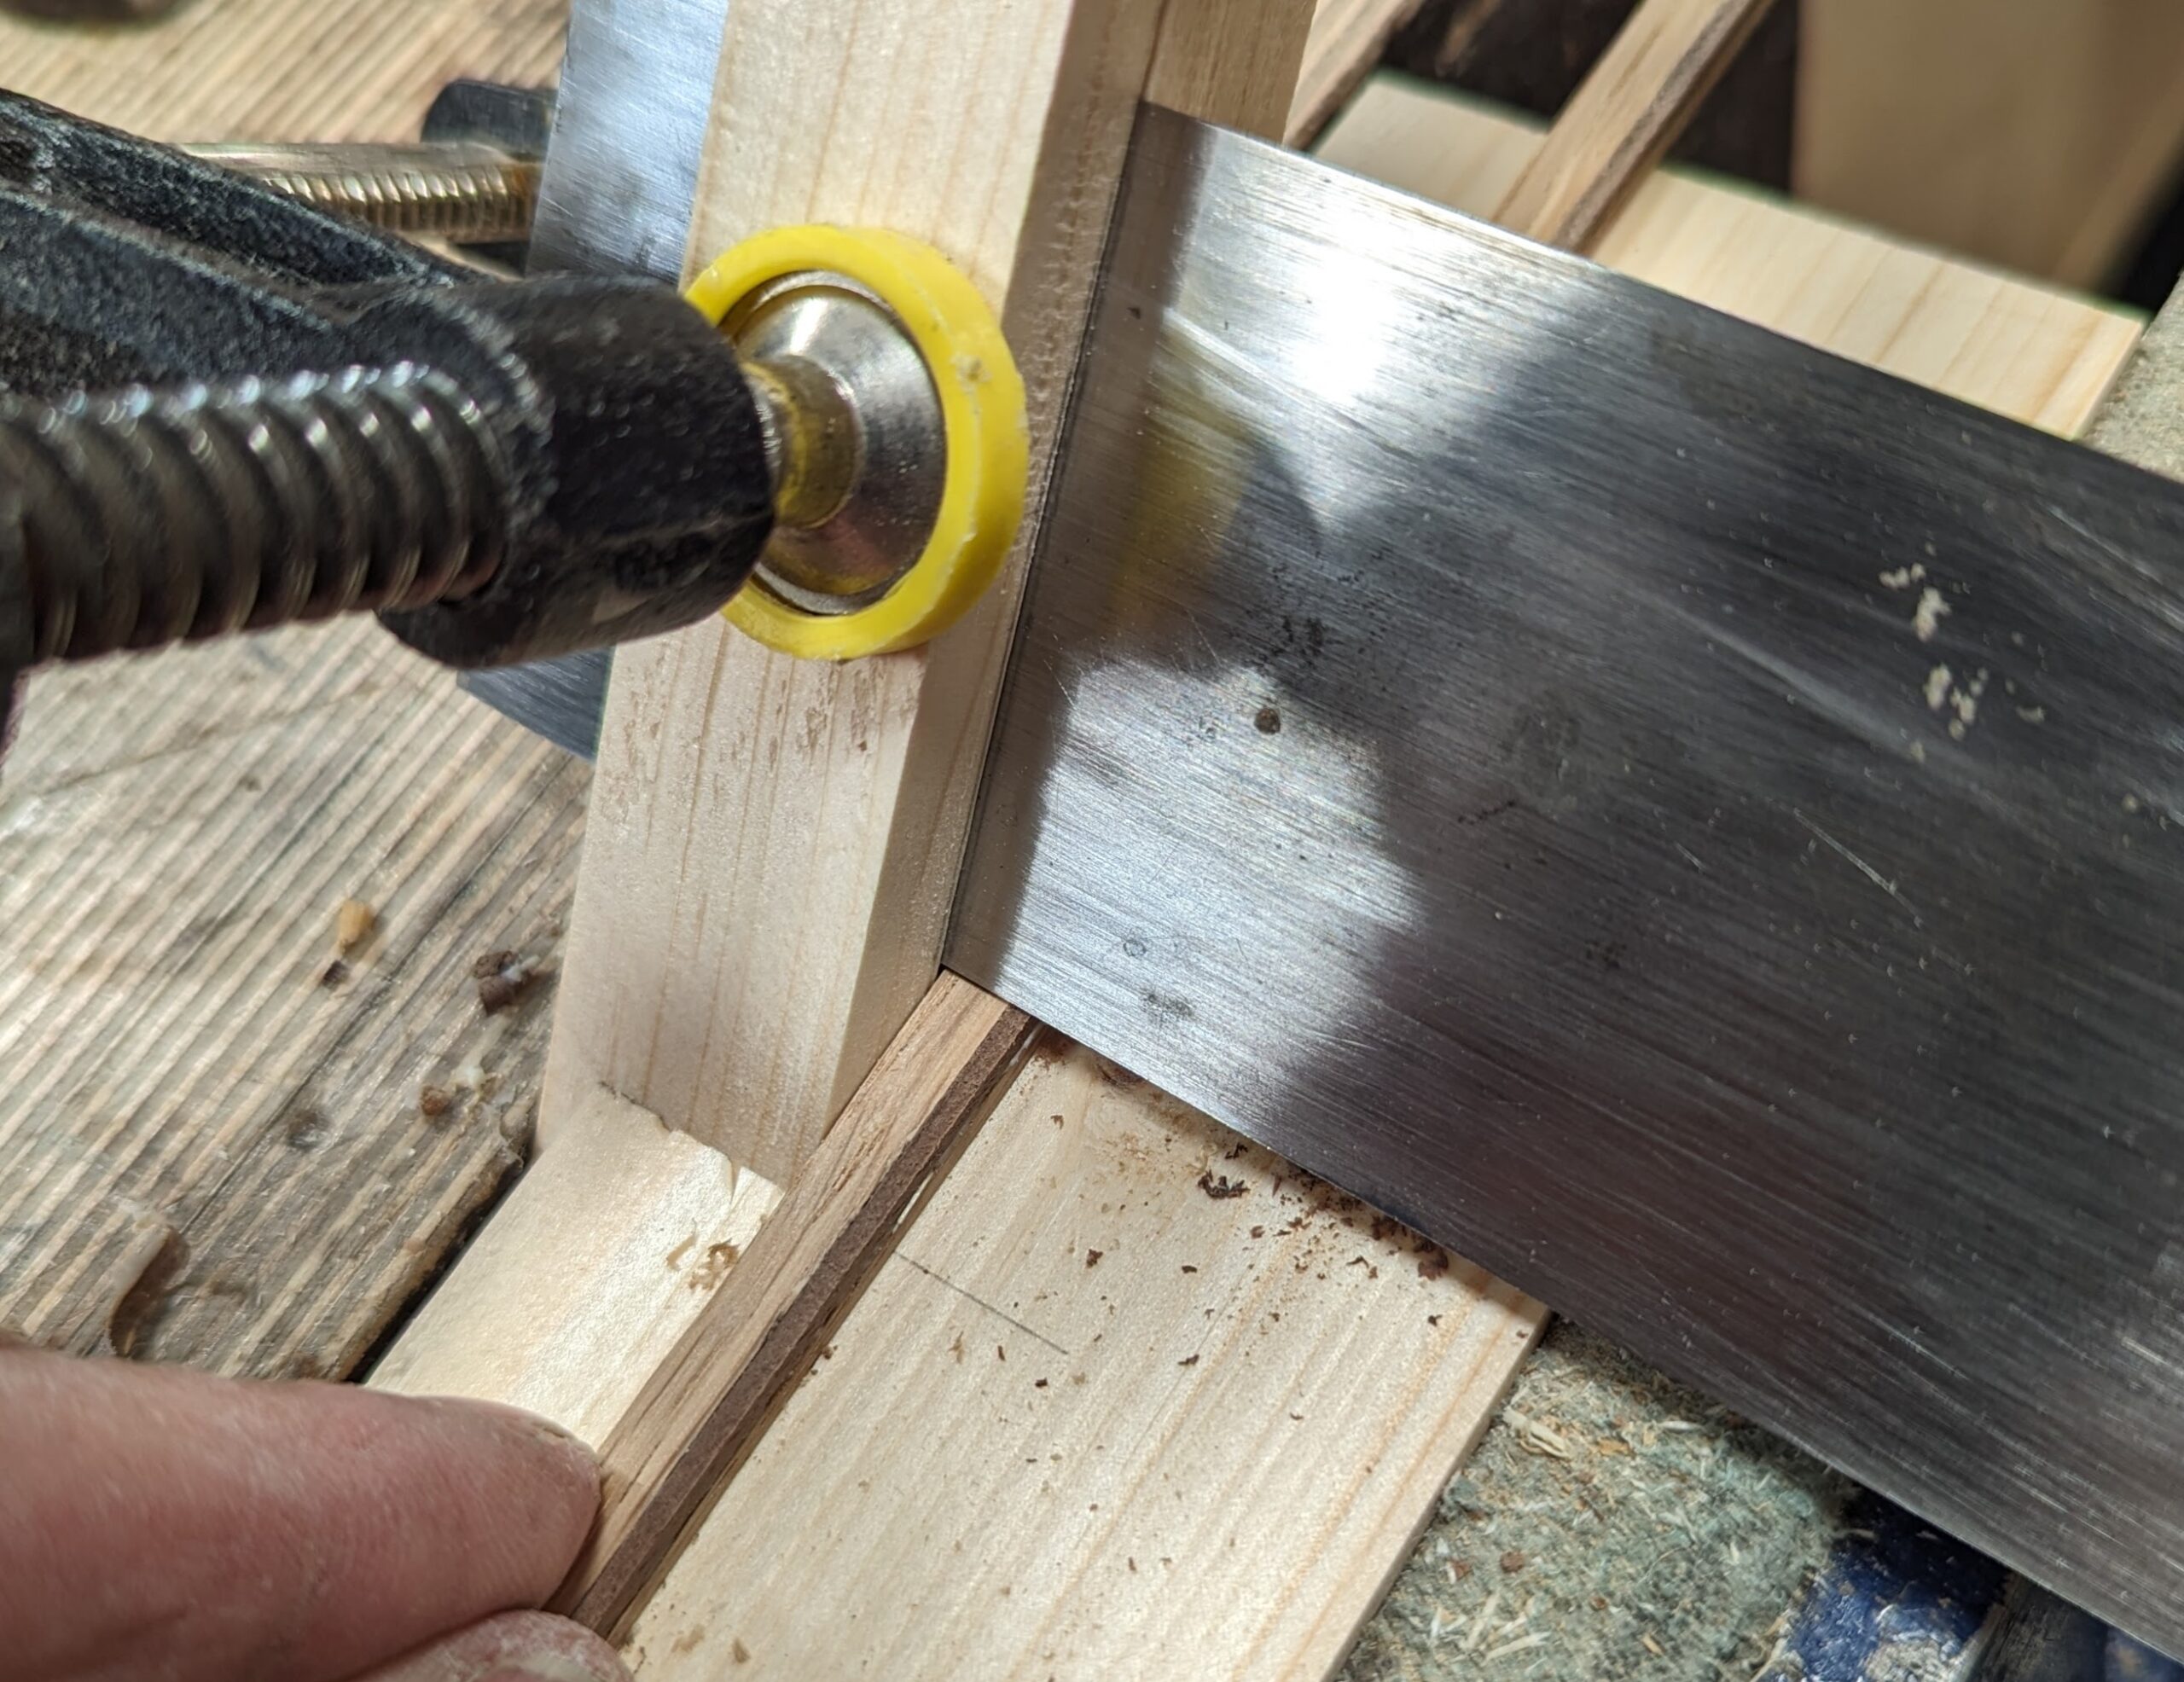
Here you see the shavings peeling off that finalise when the last pulls takes no shavings.
Follow the above first part instructions for making the two-tone inlay piece.
Comments ()