The Choice You Finish With
There can be no doubt that finishing is an art form and gaining mastery in the application of the different types takes time. That said, manufacturers have gone to great lengths to give us products that ease the process. No one should be afraid of ruining their great and labour-intensive project by the finish any more. The finishes given below are the simplest of all to apply and give professional results. I use them all the time.
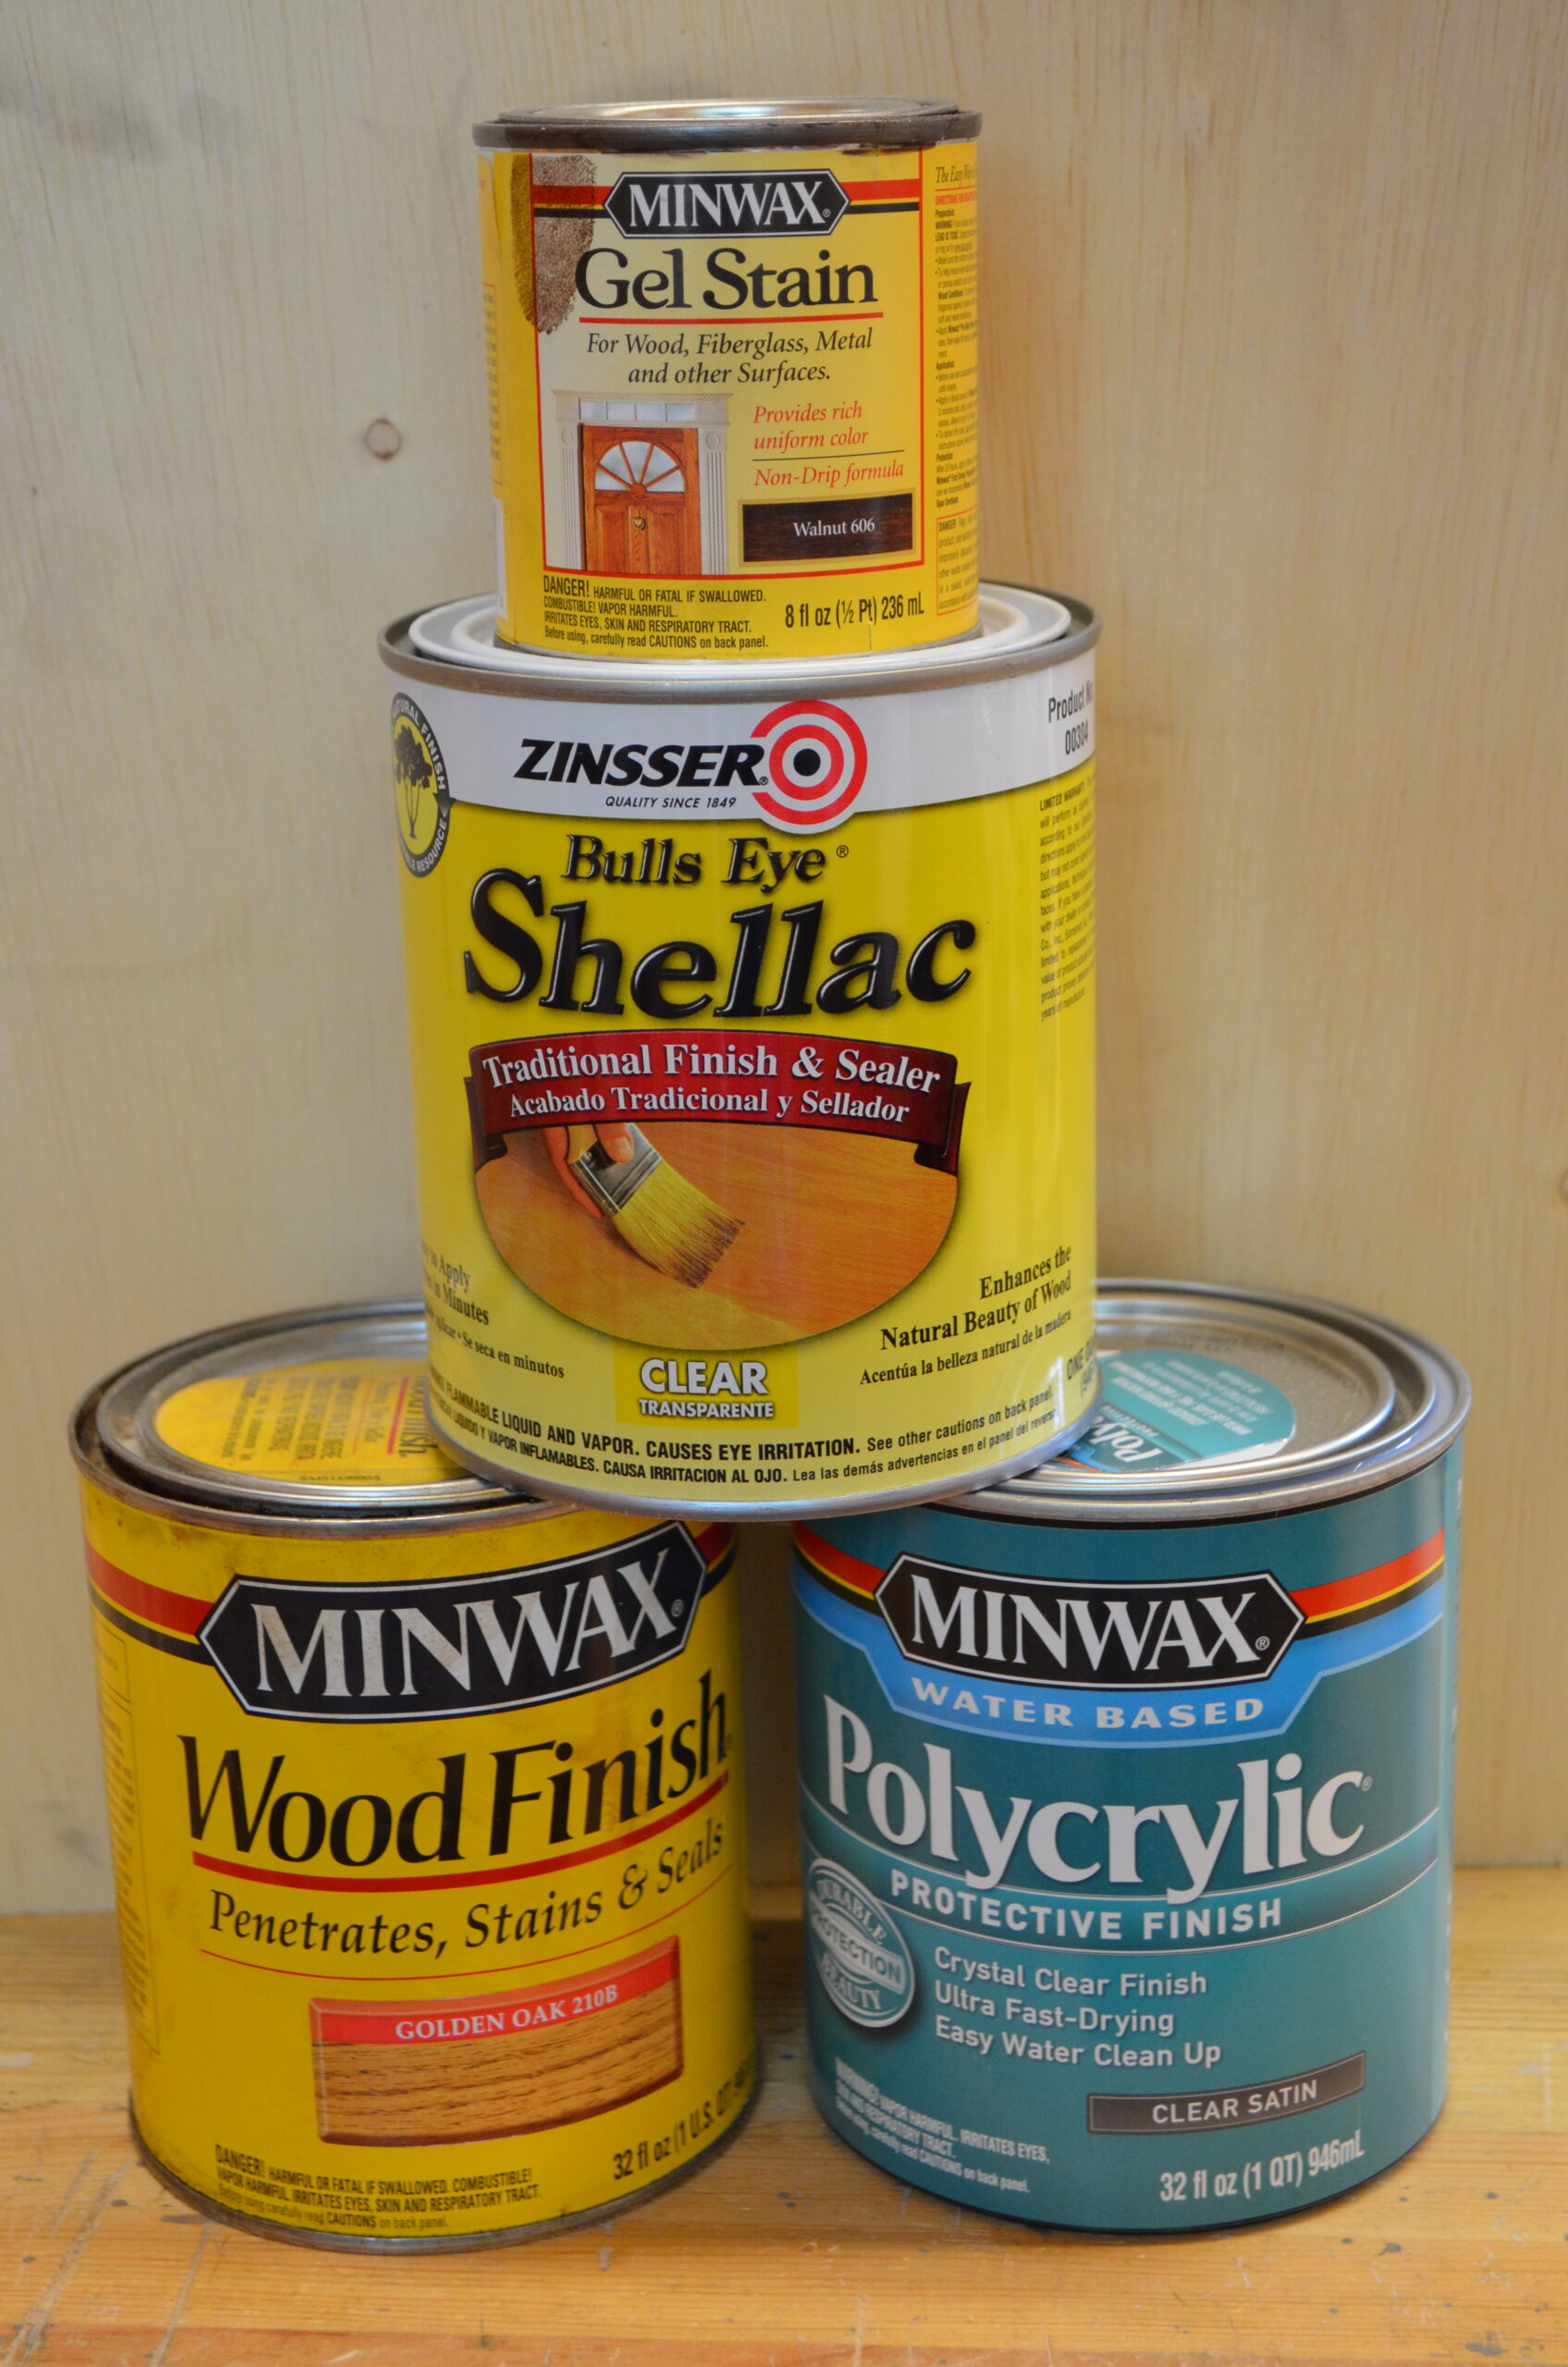
I doubt that I have used every finish on the market these days as there are so many to choose from but I have narrowed down my preferences to three I like and for good reason. Through the decades I have relied mainly on the all-natural finish known as shellac because of its universal safety as a product, its ease of application and its durability for indoor furniture use. Take some secretion from the lac bug, soften and dilute the excrecia down with denatured alcohol, and you can give depth and shine to everything from furniture to fingernails and, yes, even candies almost always get their shine from shellac. Denatured alcohol will remove it, restore it, thin it and repair it. You can colour it, apply it with a cloth, brush it on and spray it to a flawless finish too. What is there not to like about it? Well, not everyone wants a high-gloss finish and some want a finish that does not dissolve when they spill the spirit alcoholic drink on it. Even so, it will always remain a faithful favourite for some of my work. For ease, simplicity, quickness and low cost, I usually brush on shellac to encourage others and show how easy it is to work with. I have also found it to be one of the best ways to learn and master brushing on all types of brush-applied finishes too, to work out how best to load the brush, how to direct the brush strokes in any given work and project and things like that that only really come by doing.
Cross-brushing and feathering out the brush strokes along the grain is quick and effective and you can 'feel' the finish as you apply it. By 'feel' I mean to sense the drag on the brush as the denatured alcohol in the finish evaporates. It takes only a few seconds to get to this stage and you will feel the surface 'pull' as you pull the brush along the surface and this is the point where you lift off and leave the finish alone. You don't get that with other finishes. Each level of application with shellac melds into and with the previous coats so applying five coats or whatever ends up as a single thick coat. You must work more quickly with shellac than any other brush- or rag-applied finish. This is a good thing as it demands quick thinking and action. You apply along the grain first, stretch out the finish, cross-brush to even out the application, and then pull long strokes with the grain to feather out the finish as even in thickness as possible. We do this with all solvent-based brush-applied finishes but this finish gives you the feedback other finishes do not because of their extended open or curing time which is usually hours and not seconds and in some circumstances split seconds.
Shellac is also very sprayable and especially so with an HVLP (high-velocity low pressure) sprayer. This type of spray rig delivers precise amounts in tight bands to the material you are spraying. The width of spray can be easily and readily controlled by the twist of the nozzle as can the amount being sprayed with a similar twist action directly behind the spray head and trigger mechanism of the gun. Spraying several coats is possible with just seconds or minutes between coats. Allowing time to dry between them reduces any risk of softening and sagging surfaces. On any given project you can usually spray several thin coats in say fifteen minutes. Thin coats dry quickly because the denatured alcohol evaporates so quickly. It's seconds to a touch-dry readiness so in that time you have a finished surface that needs no more work. You must practice using an HVLP sprayer, learning to switch from vertical to horizontal mode between actions that need the change. A great way to practice is on fence painting or low-grade jobs. HVLP spray rigs are quite expensive, hence my general showing of brush applying it.
Another finish I have used and still do is waterbourne acrylic lacquer but I use it less now than before because it is plastic and I believe the ease of washing the brushes and other applicators sends millions of particles of plastic into our water systems, rivers and oceans. Anything ending in 'crylic' means it is plastic in a form that allows for painting and spraying and that can mean pollutant. A good waterbourne finish is generally spirit alcohol-proof and waterproof but it is usually not oils-from-the-skin proof and many of them break down quite quickly to leave tabletops sticky or gummy to the touch after a period of use. I hasten to add here that not all of them do. You have to find one that doesn't. Also, many pieces and parts to pieces have rare contact with human skin. I am not talking about brief touches like lifting and moving a chair or even sitting on one for hours. I am talking about resting arms and hands mostly. The majority of furniture has only minimal interaction with human skin and that being so I might suggest that there are a couple of main items such as dining tables and the arms of dining chairs with arms on them. A rocking chair is another good example.
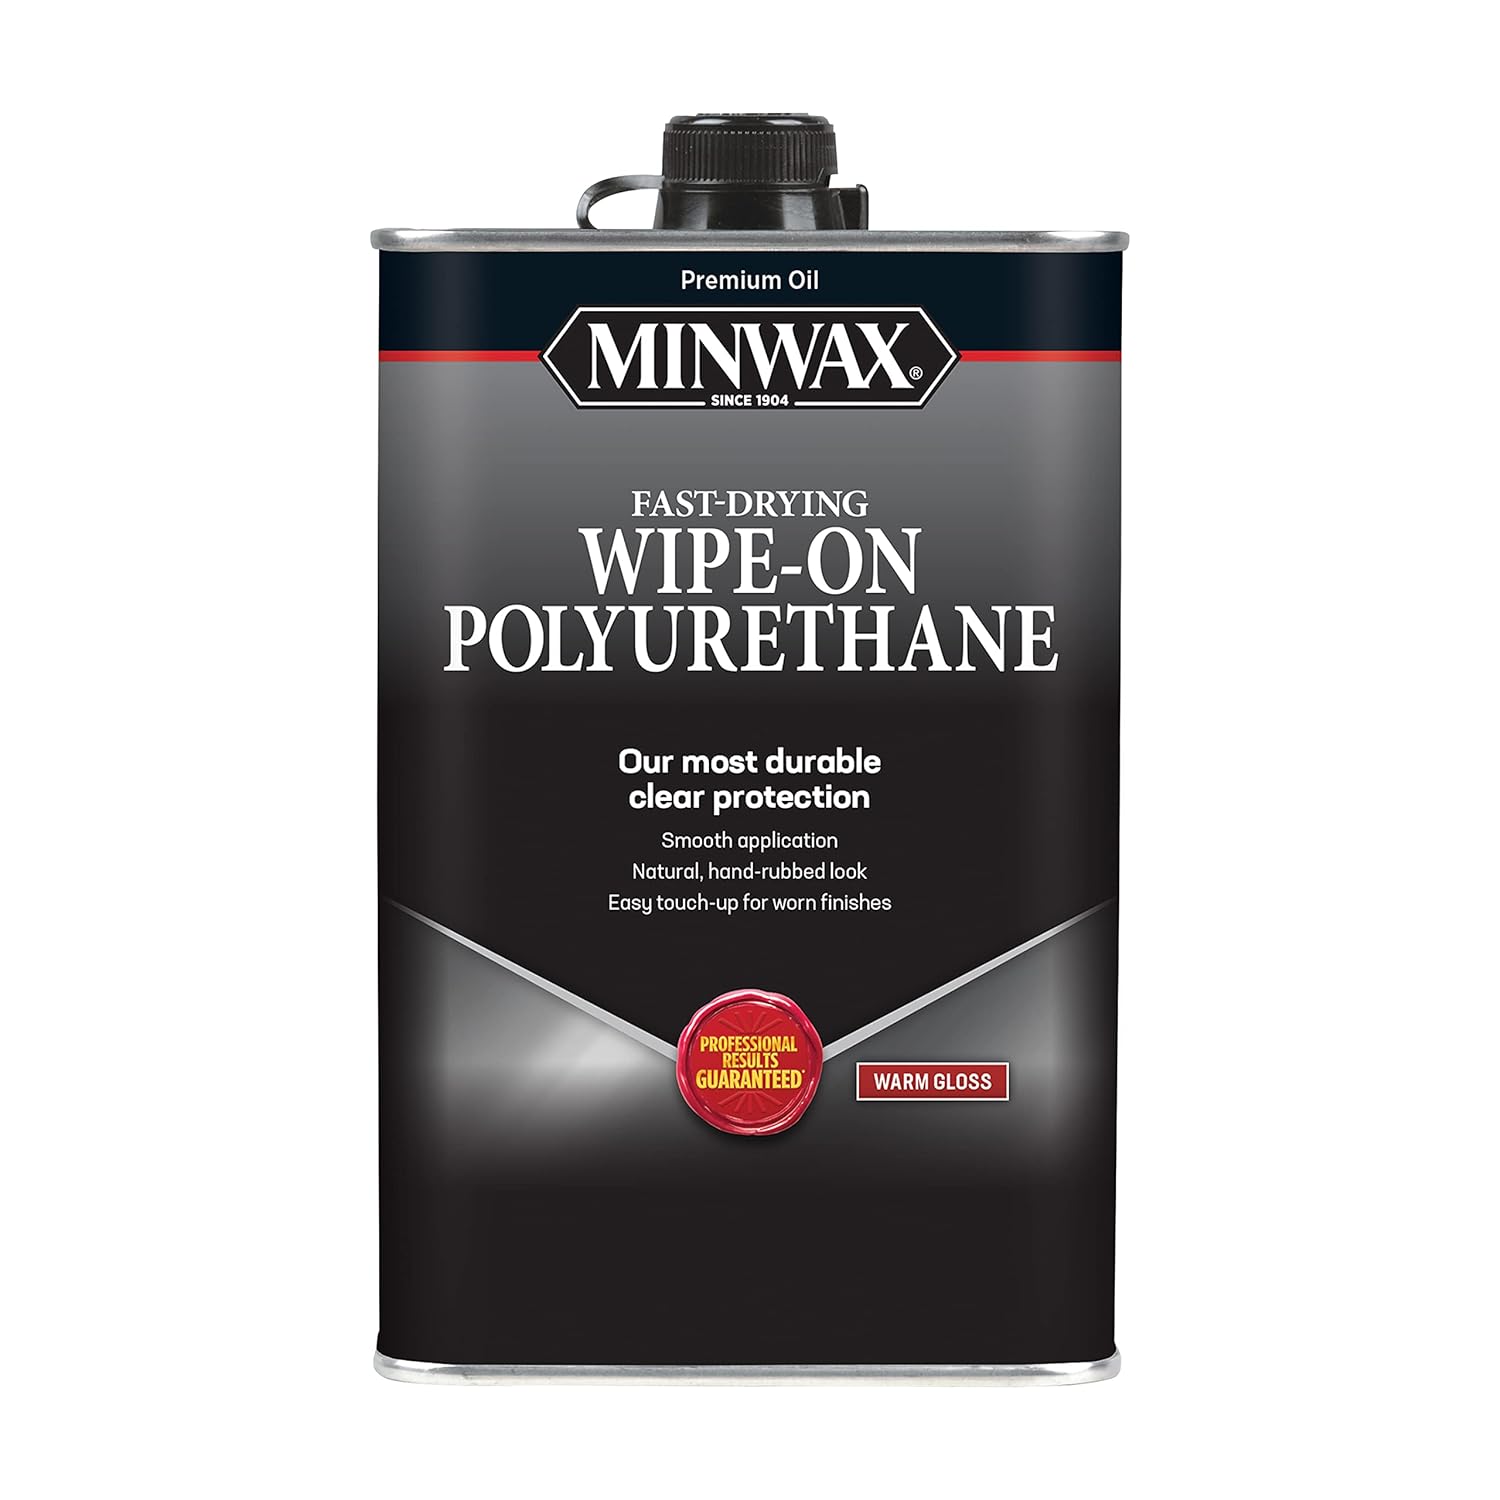
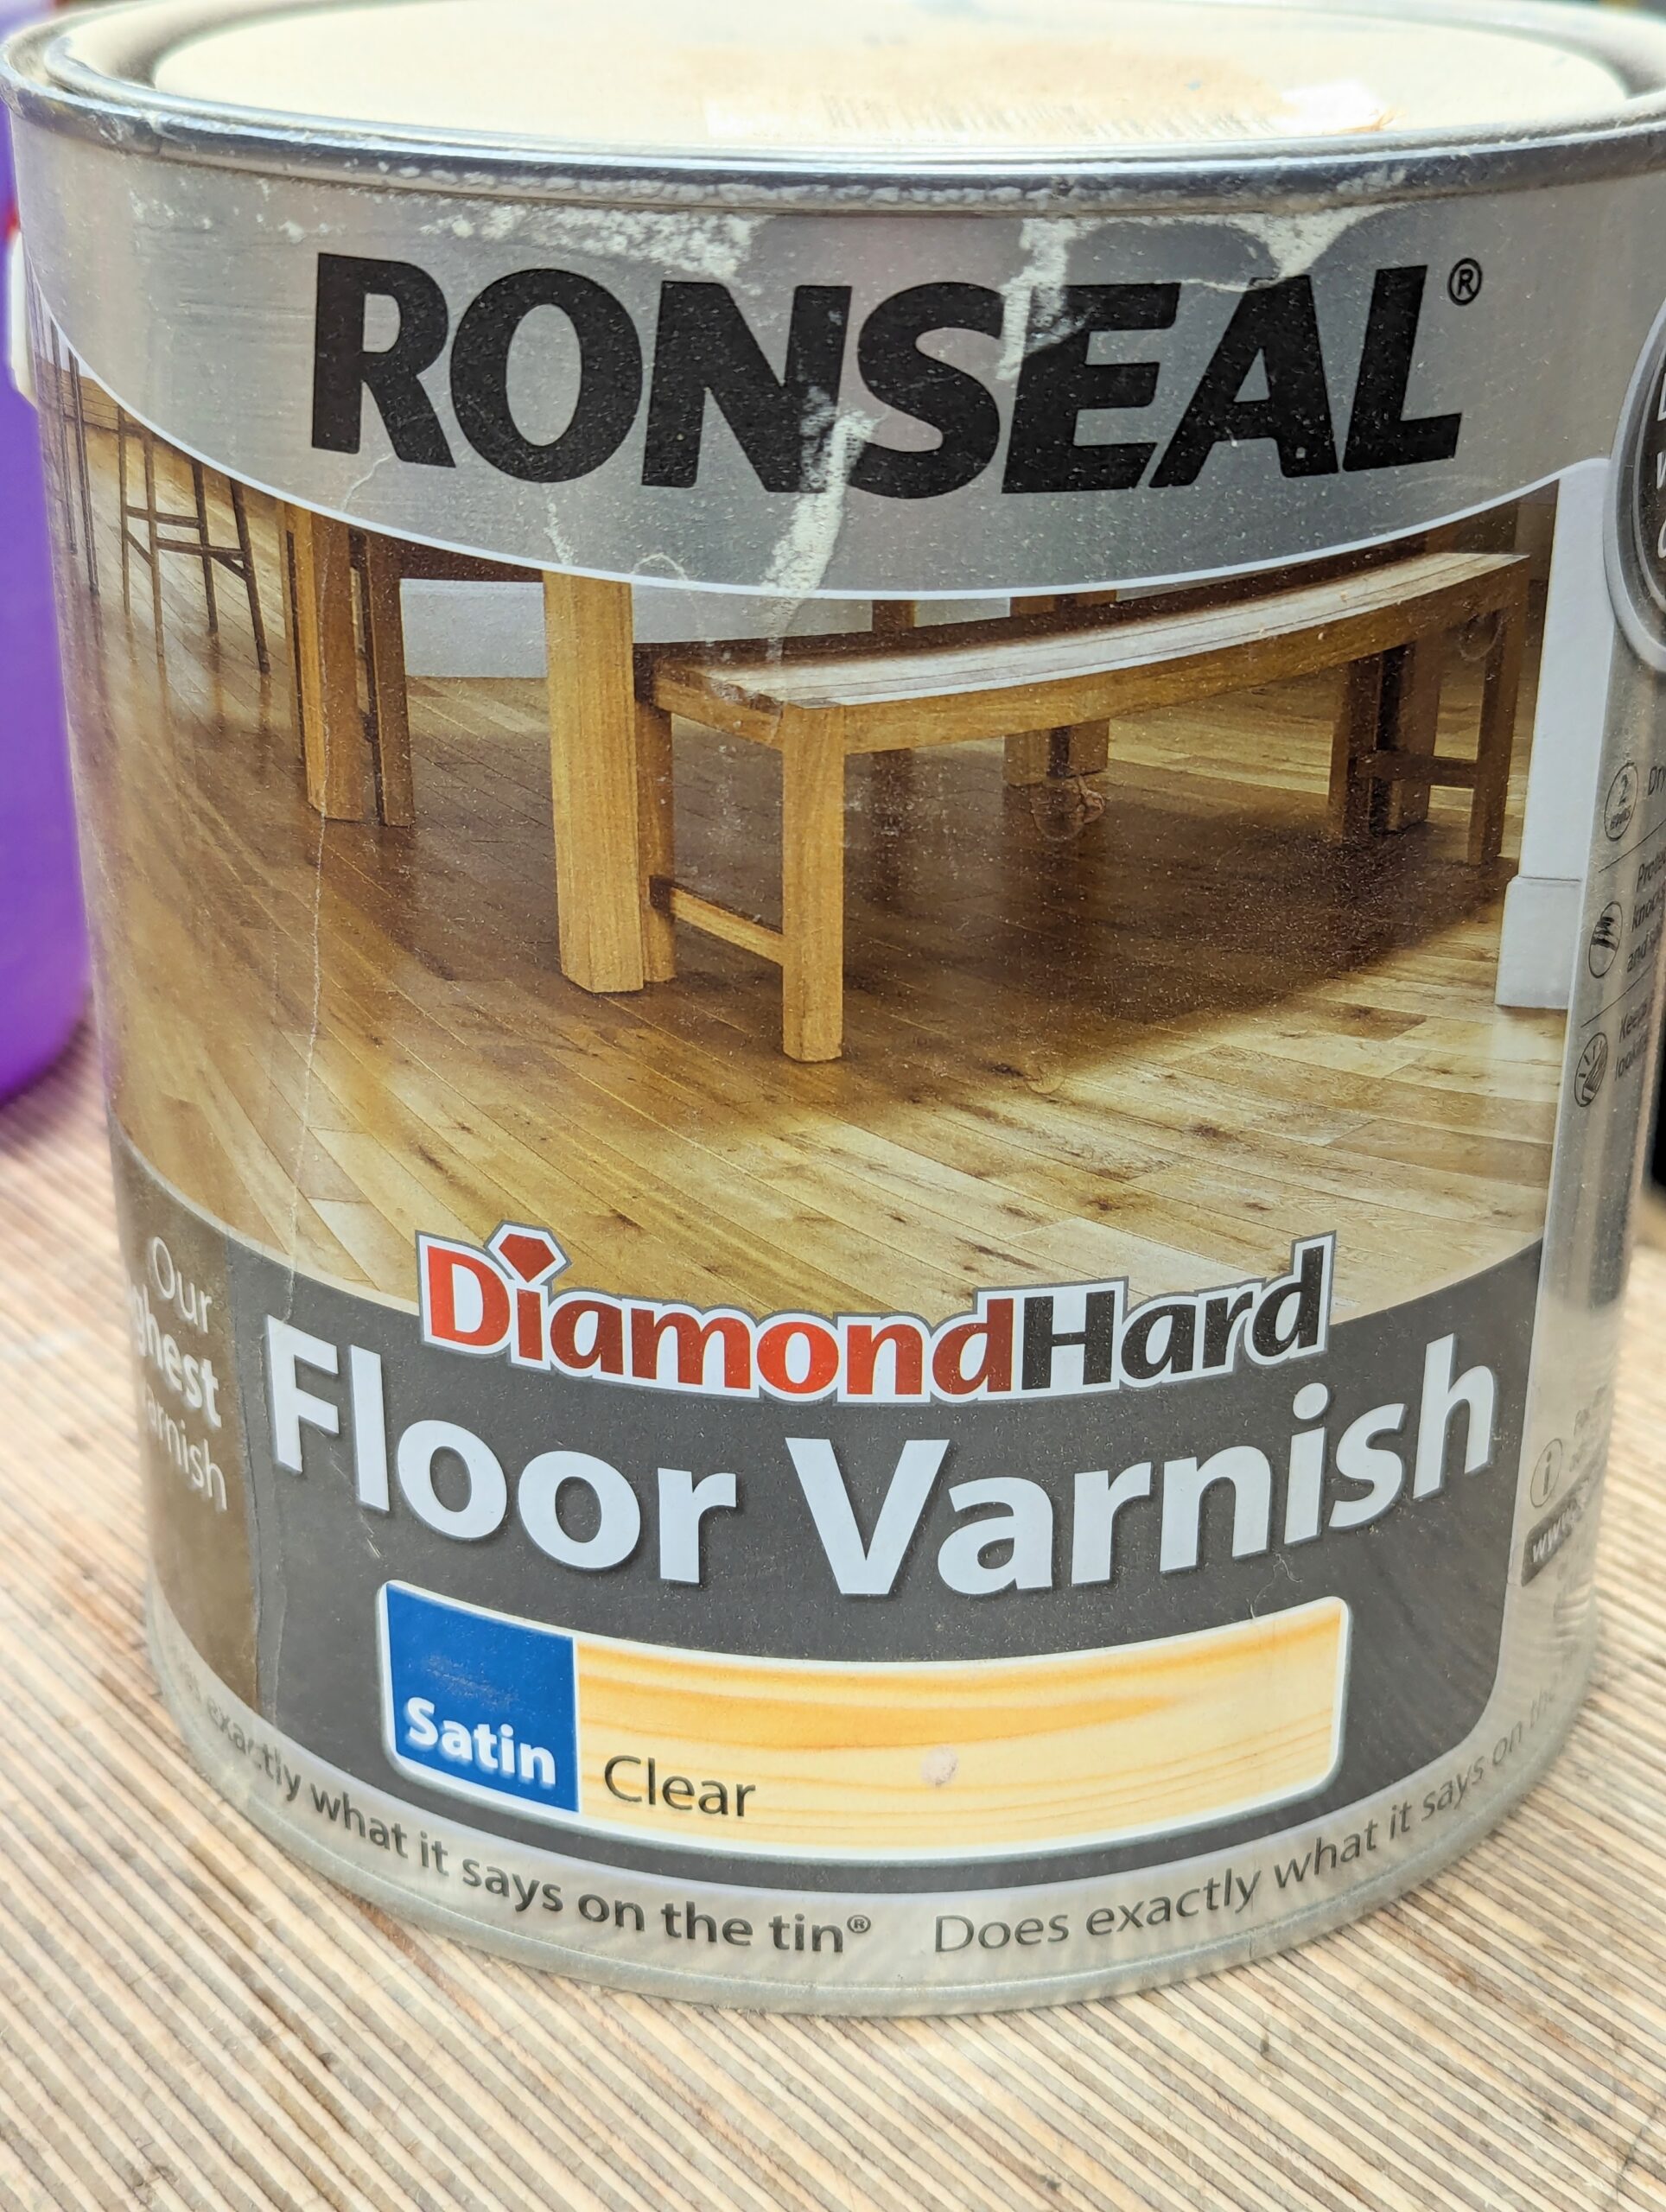
There isn't much point in me going through oil-based finishes like Polyurethane. As solvent-based products they do have their place and especially so for use in generally wet environments and those exposed to regular spillage, hence terms like 'yacht varnish', which literally means that the finish is designed for but not limited to outdoor use. 'Yacht' is one of those words that says it all up front and, well, "does what it says on the can." Depicted on just about every can you will see a deep lustrous finish in some dark hardwood and almost always in the shape of a front door where the rails meet mullions and stiles with a big shiny smile. Not too many of us like brushing on brushed-on oil-based finishes like these. They are easy enough to apply provided you have mastery. Gaining the experience in using them does take time through regular and repeated practice to get the mastery you need. Even then, things can and do go wrong. This finish takes hours to dry and needs a protective environment until it is indeed dry and cured through. I don't want to get into something I don't use any more though I might just be tempted to use them for a dining table they are extremely durable. The downside of using them is the clean-up of the brush. The solvent dilutes the varnish through repeated immersions until the solvent is clear. You can use a half-litre in no time at all. Now the question comes: where are you pouring the waste solvent now so polluted with both solvent and oil? This is where the US version favours what they refer to as 'wipe-on poly'. With this version, no brushes are used. You literally rag on the finish and wipe down the excess. Apply the recommended number of coats using the same rag bagged in plastic or shrink wrap and then allow the rag to dry on the rag after the last coat and dispose of it according to the advice given by your local council. Here in the UK, you might want to make your own wipe-on poly. Simply mix mineral spirits with an equal amount of oil-based polyurethane (PU). Apply with a rag as a wipe-on wipe-off and reapply many coats until you have the build-up and look you are looking for. This will be much less costly than buying wipe-on finishes and a single rag will squeeze out as needed and can be bagged between coats. Applying the finish thinned like this also reflects in the drying time as the solvent evaporates quickly and means coat contamination from air-borne dust is greatly reduced. The main advantage of wipe-on finishes is the reduction of waste and then contamination elsewhere. That is also why I like this next finish.
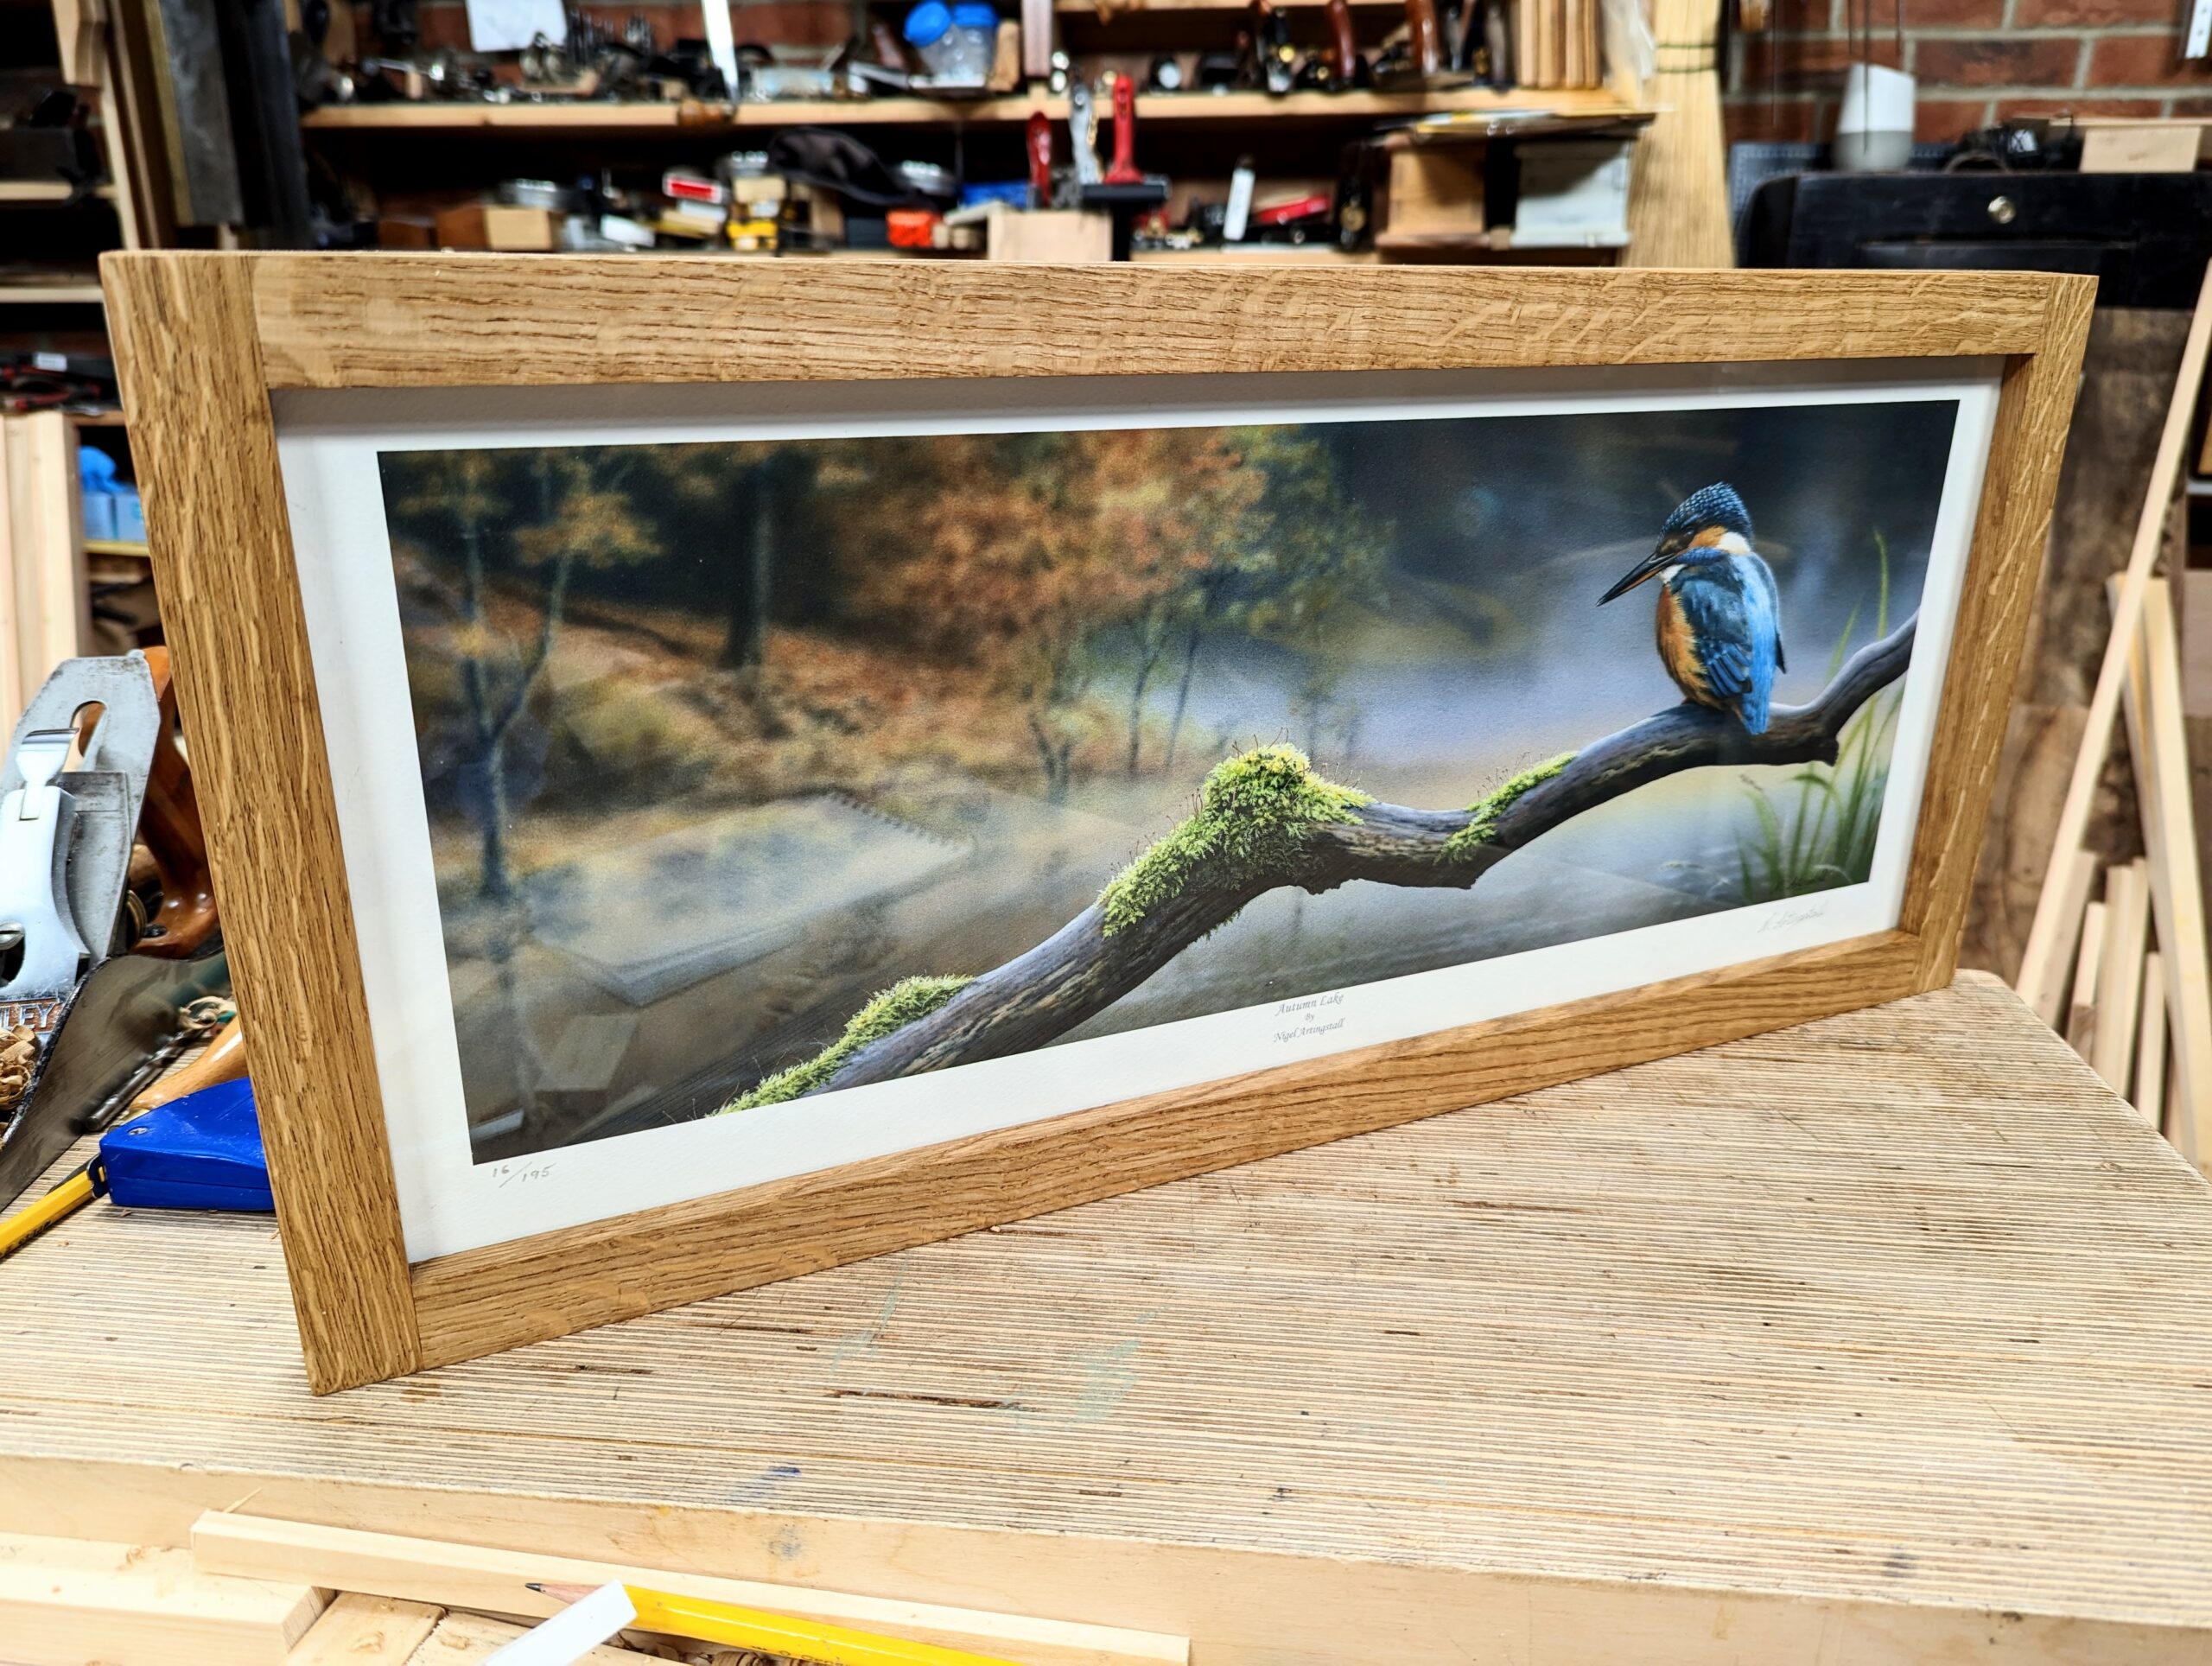
I just finished yet another picture frame this morning. By finished I mean I applied the last coat of something called oil. It is a solvent-based finish with a difference. I have to say I love everything about but I especially love the final feel and then the feel in between coats too. It's one of those rare finishes you might consider stopping at just one coat. Even at this level, you will get the depth of colour oil finishes give you but without any oiliness. The finish I used is manufactured by the German-based company Osmo. 2.5 litres (just over half a gallon) cost just over £100 and that seems expensive but when you consider its economy of application you might want to reconsider this. Coverage is 24 m²/L. I understand that to be 24 m2 per litre so in essence, in the description, one litre of the finish will cover approximately 24 square meters with 2 coats and that is a massive area of wood whether a floor area or in picture frames. Additionally, wastage is incredibly low because you apply the finish and then wipe it down to a super thin level. You can squeeze out the residue or apply it elsewhere on your project as needed.
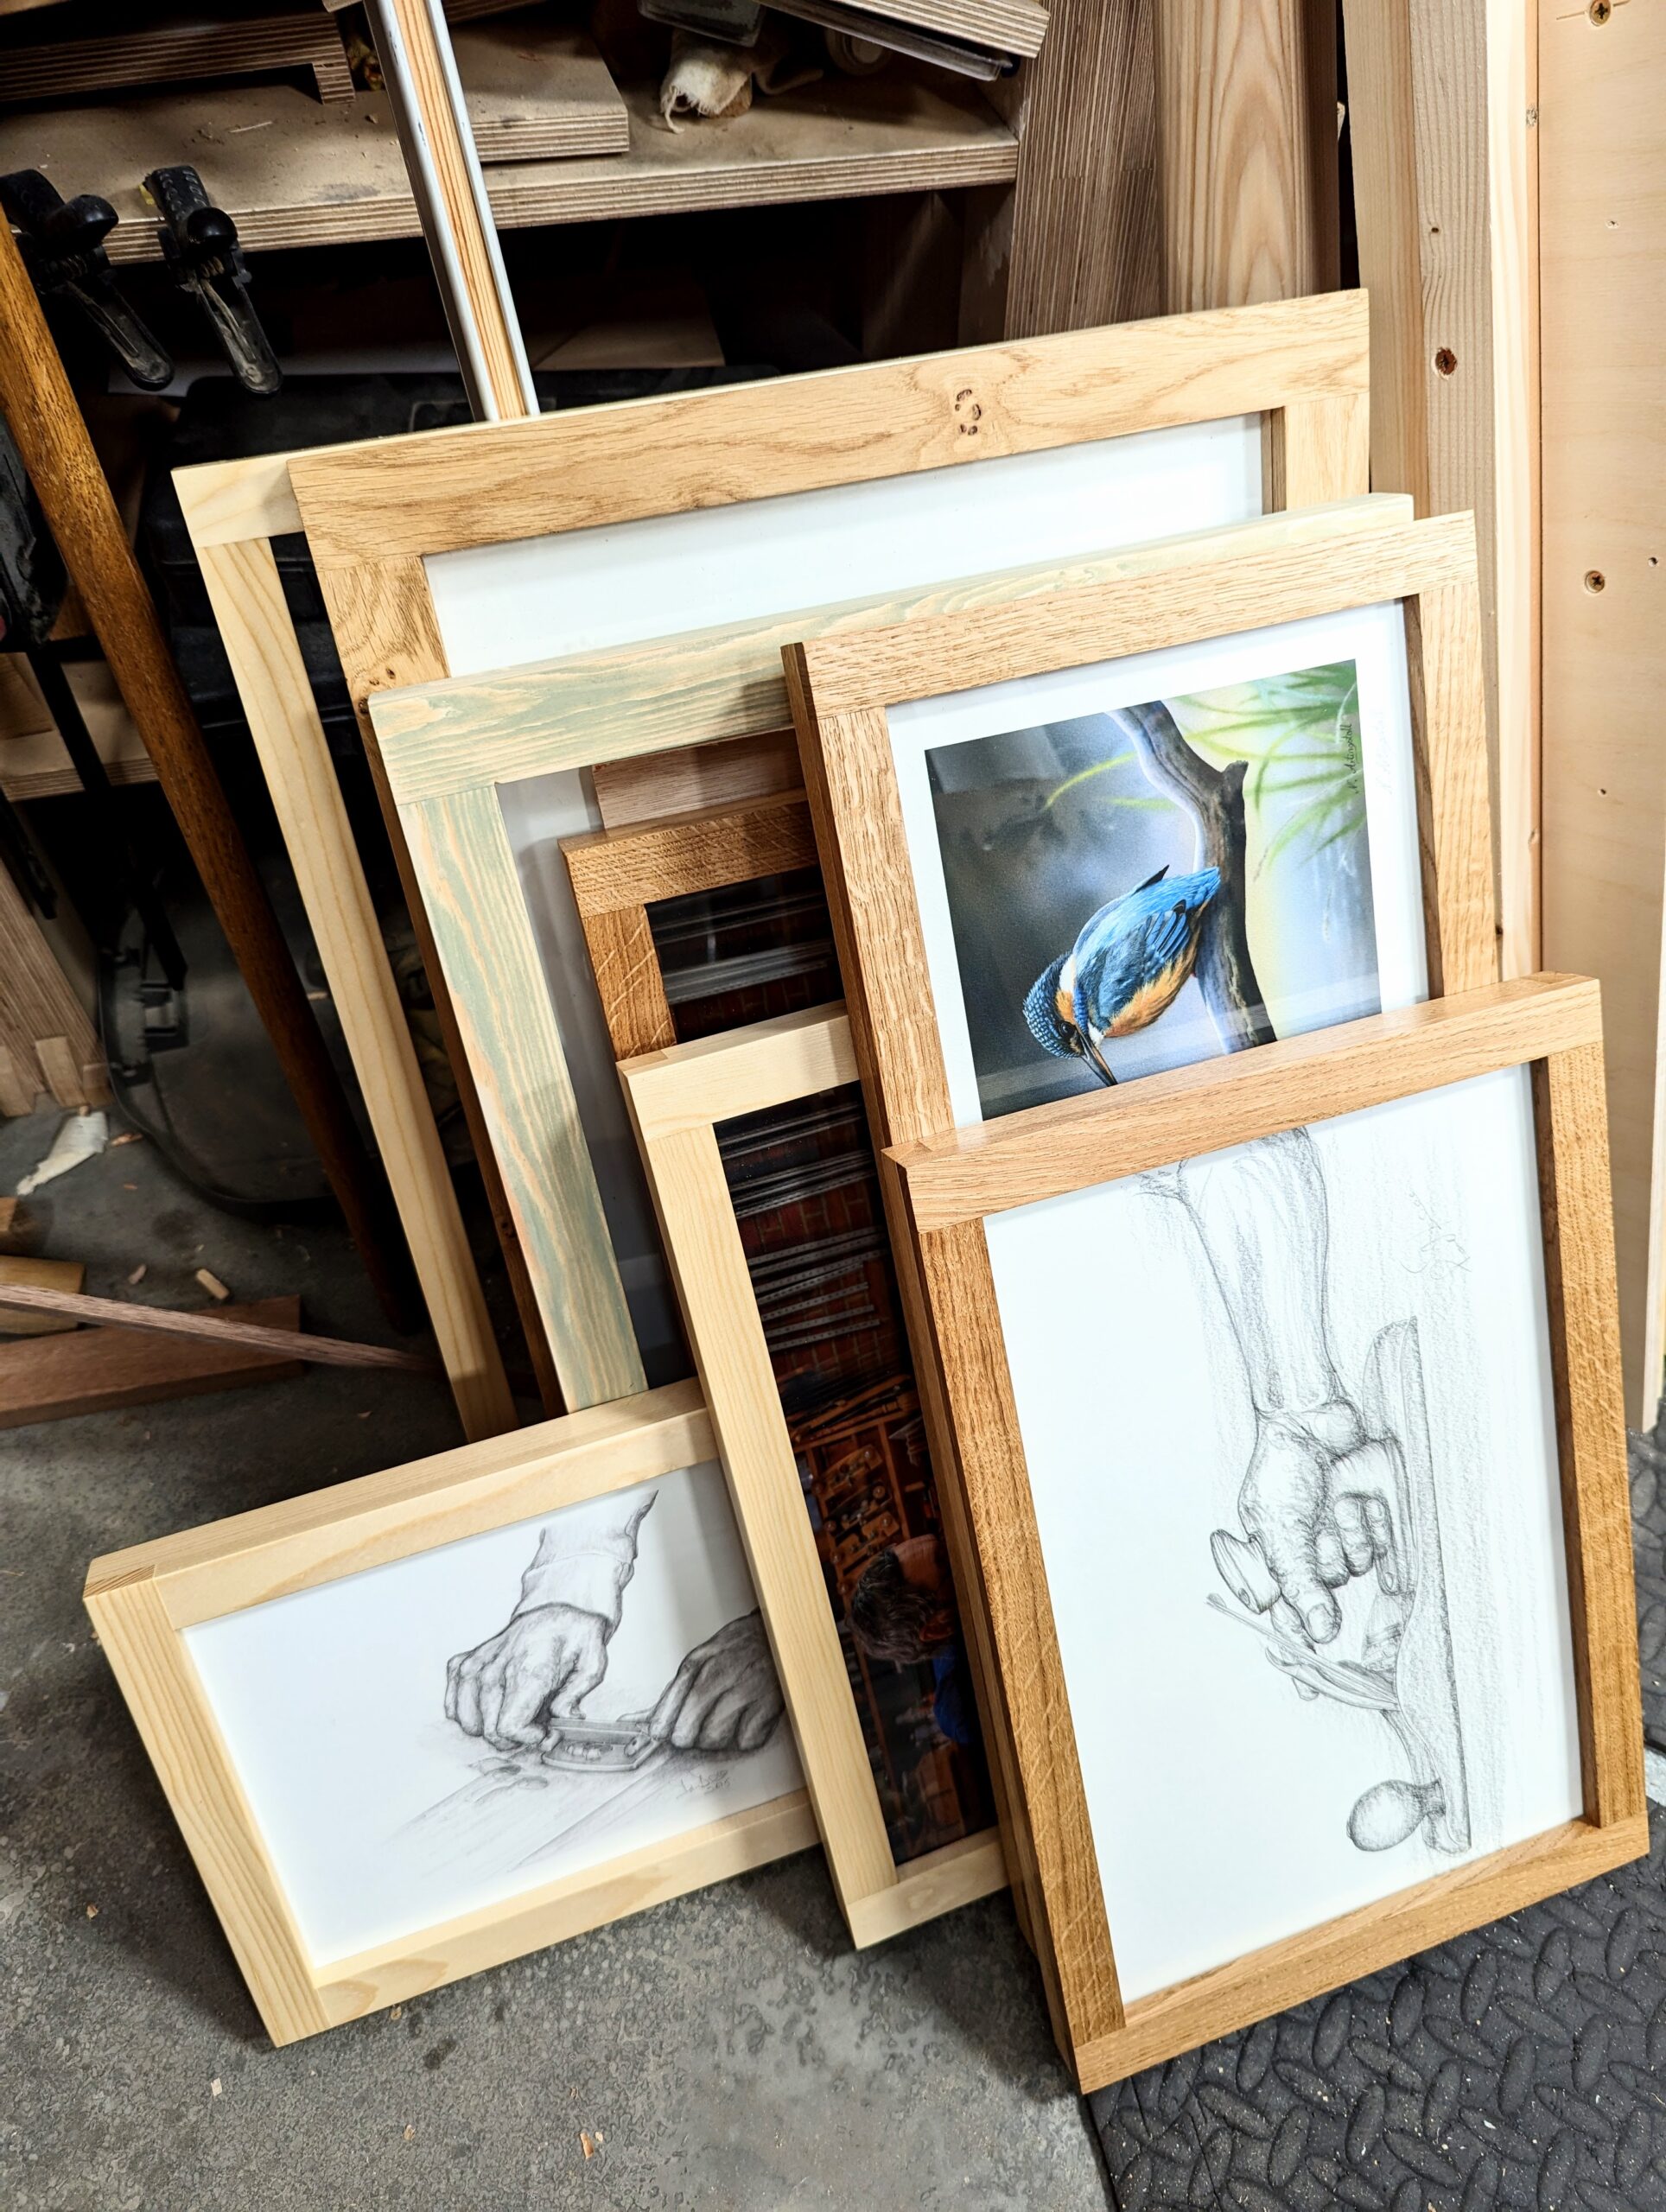
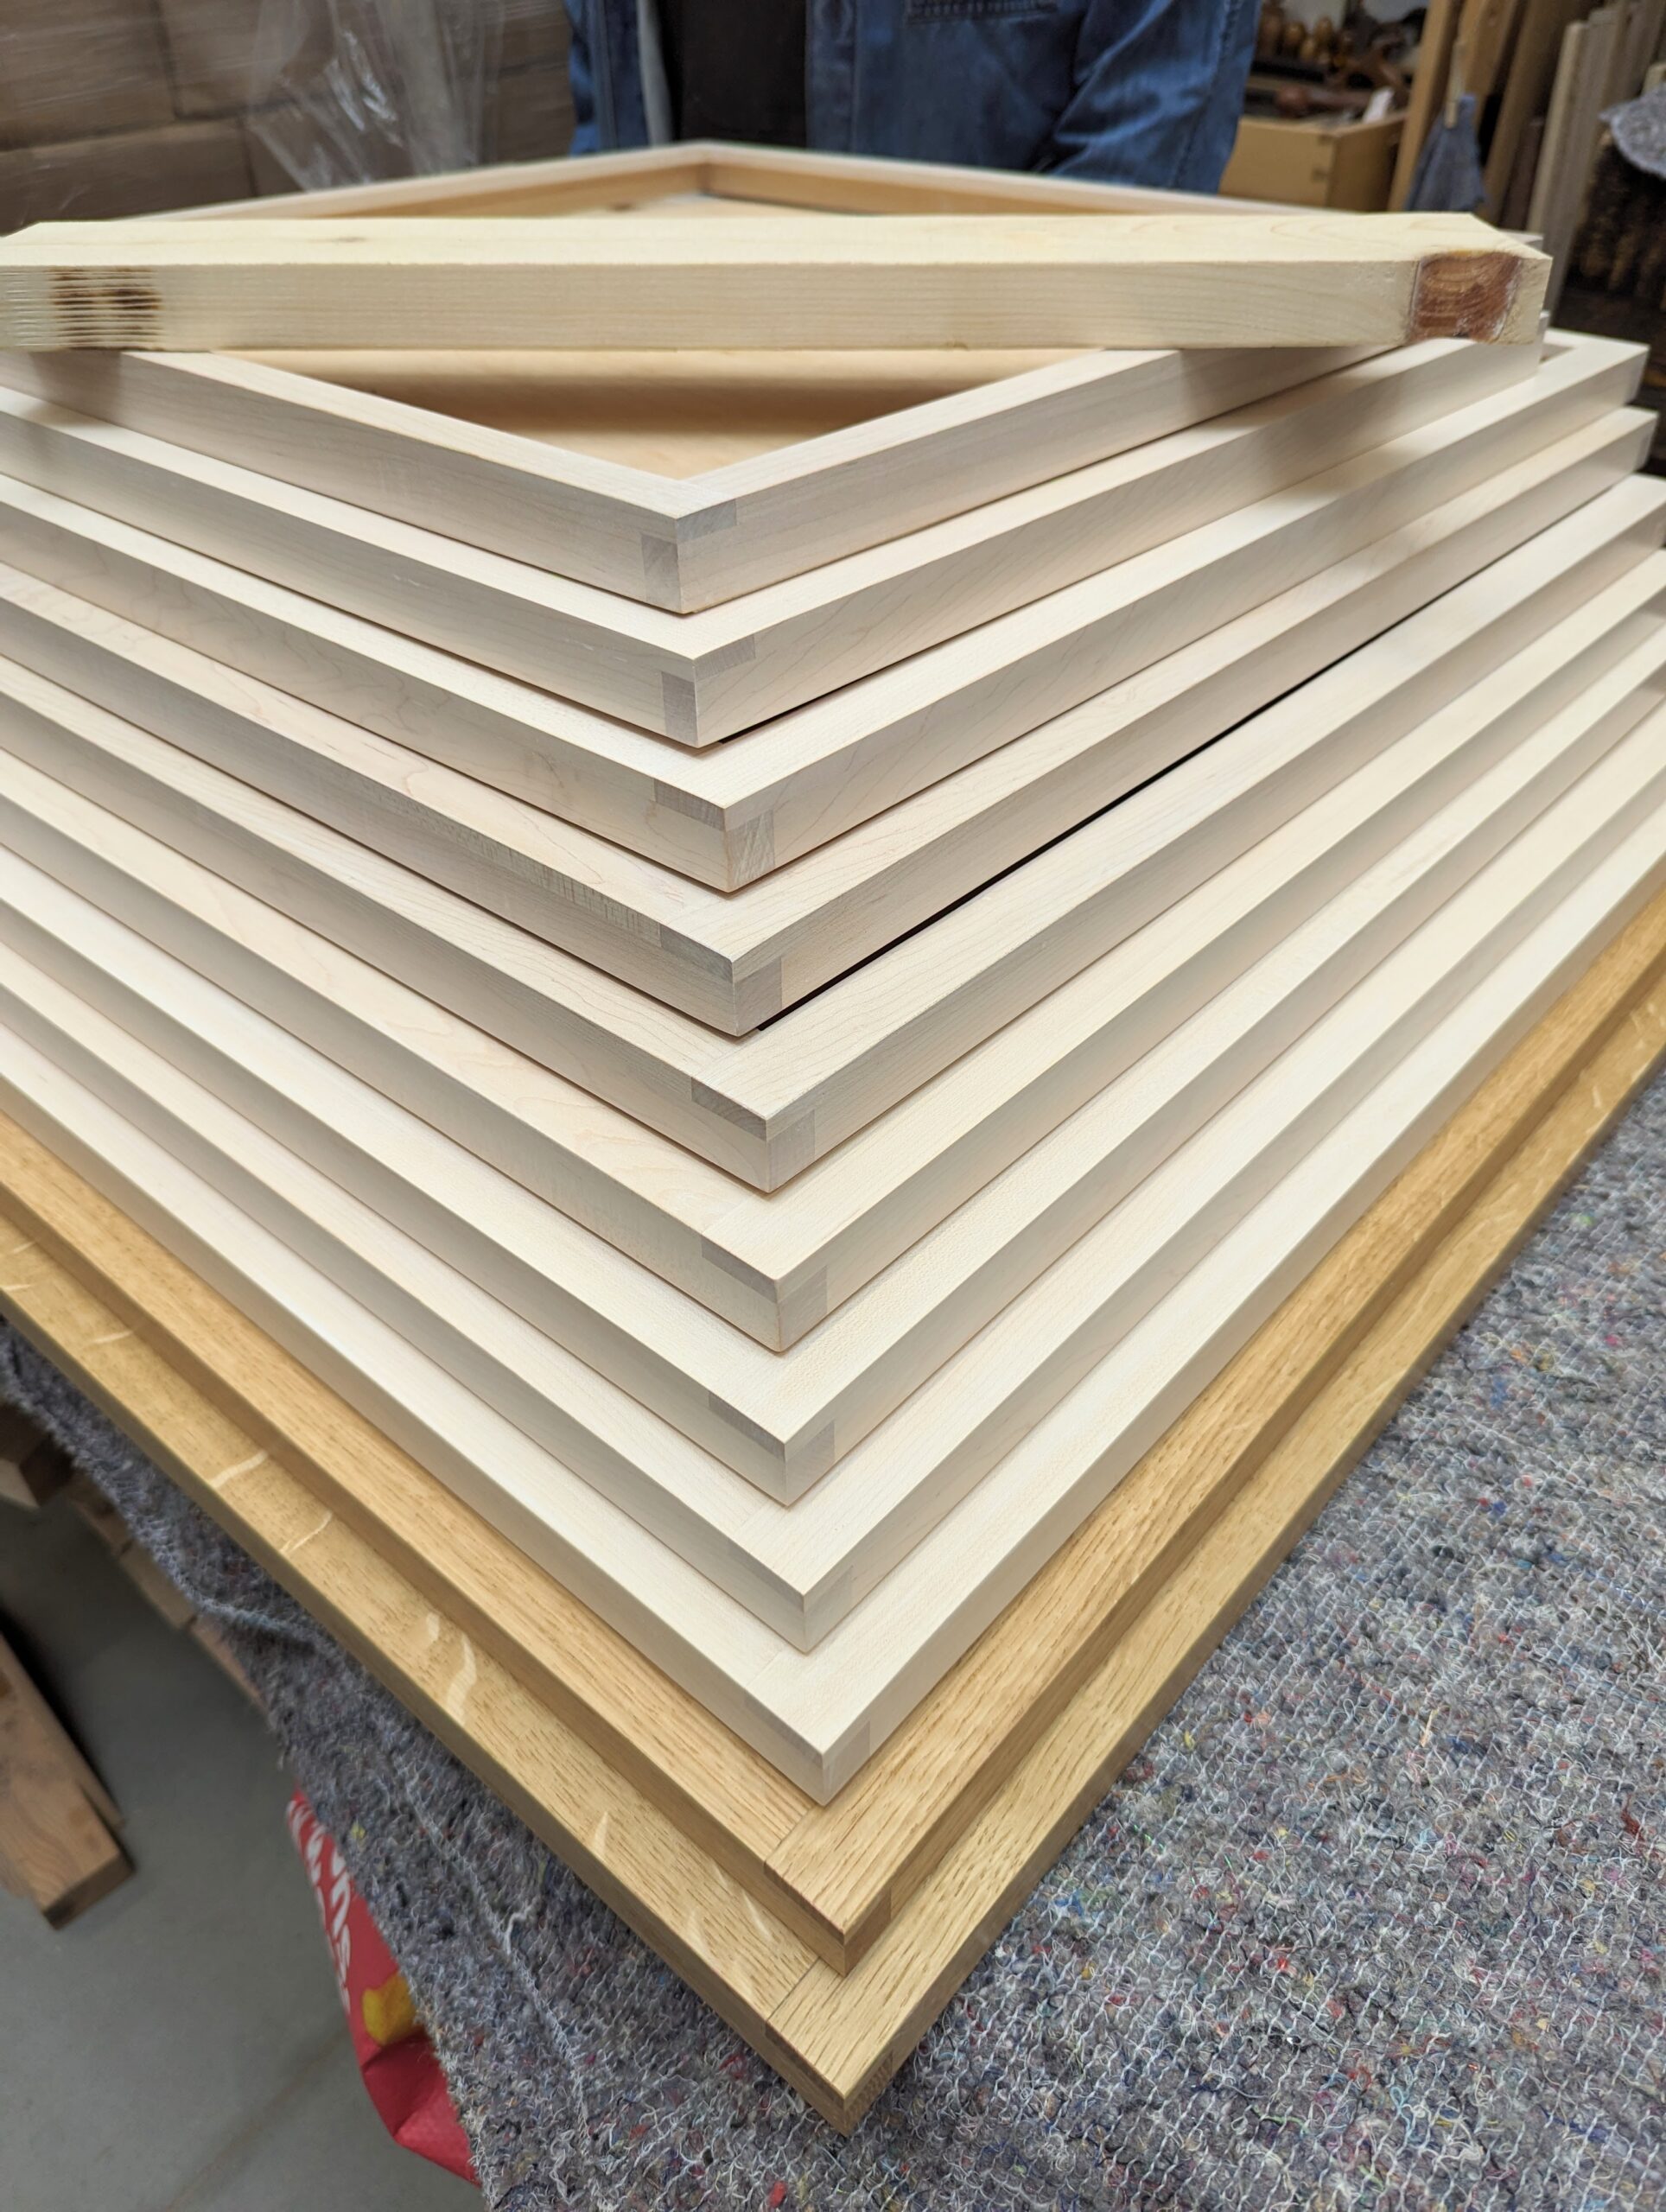
I have made a dozen or so picture frames of this design from scratch to date and then helped Hannah with her order for 21 of them. I designed the frames to cater to hand toolists. It eliminates the need for any machine work if that is what some want. The ones `i just made are for my most recent video and blog offerings. I will be going into the video and blog shortly but for now, I will focus on this particular finish.
With many things finish, you often have to see what is not said to see what is. If it doesn't say spirit-alcohol proof in the list of 'proof' positives then it will not be spirit-alcohol proof in the full measure of it. That does not particularly bother me but it might to your specific customer. It is important to add here that this is likely one of the easiest finishes to recoat and fix flaws in indiscernible.
Frames can be pernickety as can most small and multifaceted pieces with internal corners and six surfaces per stem. I did not particularly follow the maker's guidelines but I did adapt my choice of applicators according to project type and size. For my frames, I just used a folded paper towel as the applicator and then too for my wipe-off 'cloth'. This is a clean way of working as long as you use a better grade of paper towel and not a cheapo. On larger surfaces, I rely on a 4" sponge roller to apply the finish and then a squeegee (the type used for window cleaning) to remove the excess back into the jar I decanted into. Once done I wipe along or with the grain to give the even sheen it results in.
This finish is very surprising. I have yet to find it raise the grain as do many finishes. After that first coat I use a fine-grade mesh abrasive to skim the surfaces and this results in a super-smooth finish. that's the last time I do this. Subsequent coats need no such abrading and the outcome is a full and even surface coating. The drying and curing time is almost the same as other oil-based finishes but without the liquidity that so suffers with atmospheric pollutants like dust and with each coat applied. My shop is far from a dust free environment and yet I have had no issues with the surface showing any signs of nibbing caused by particles of dust and such.
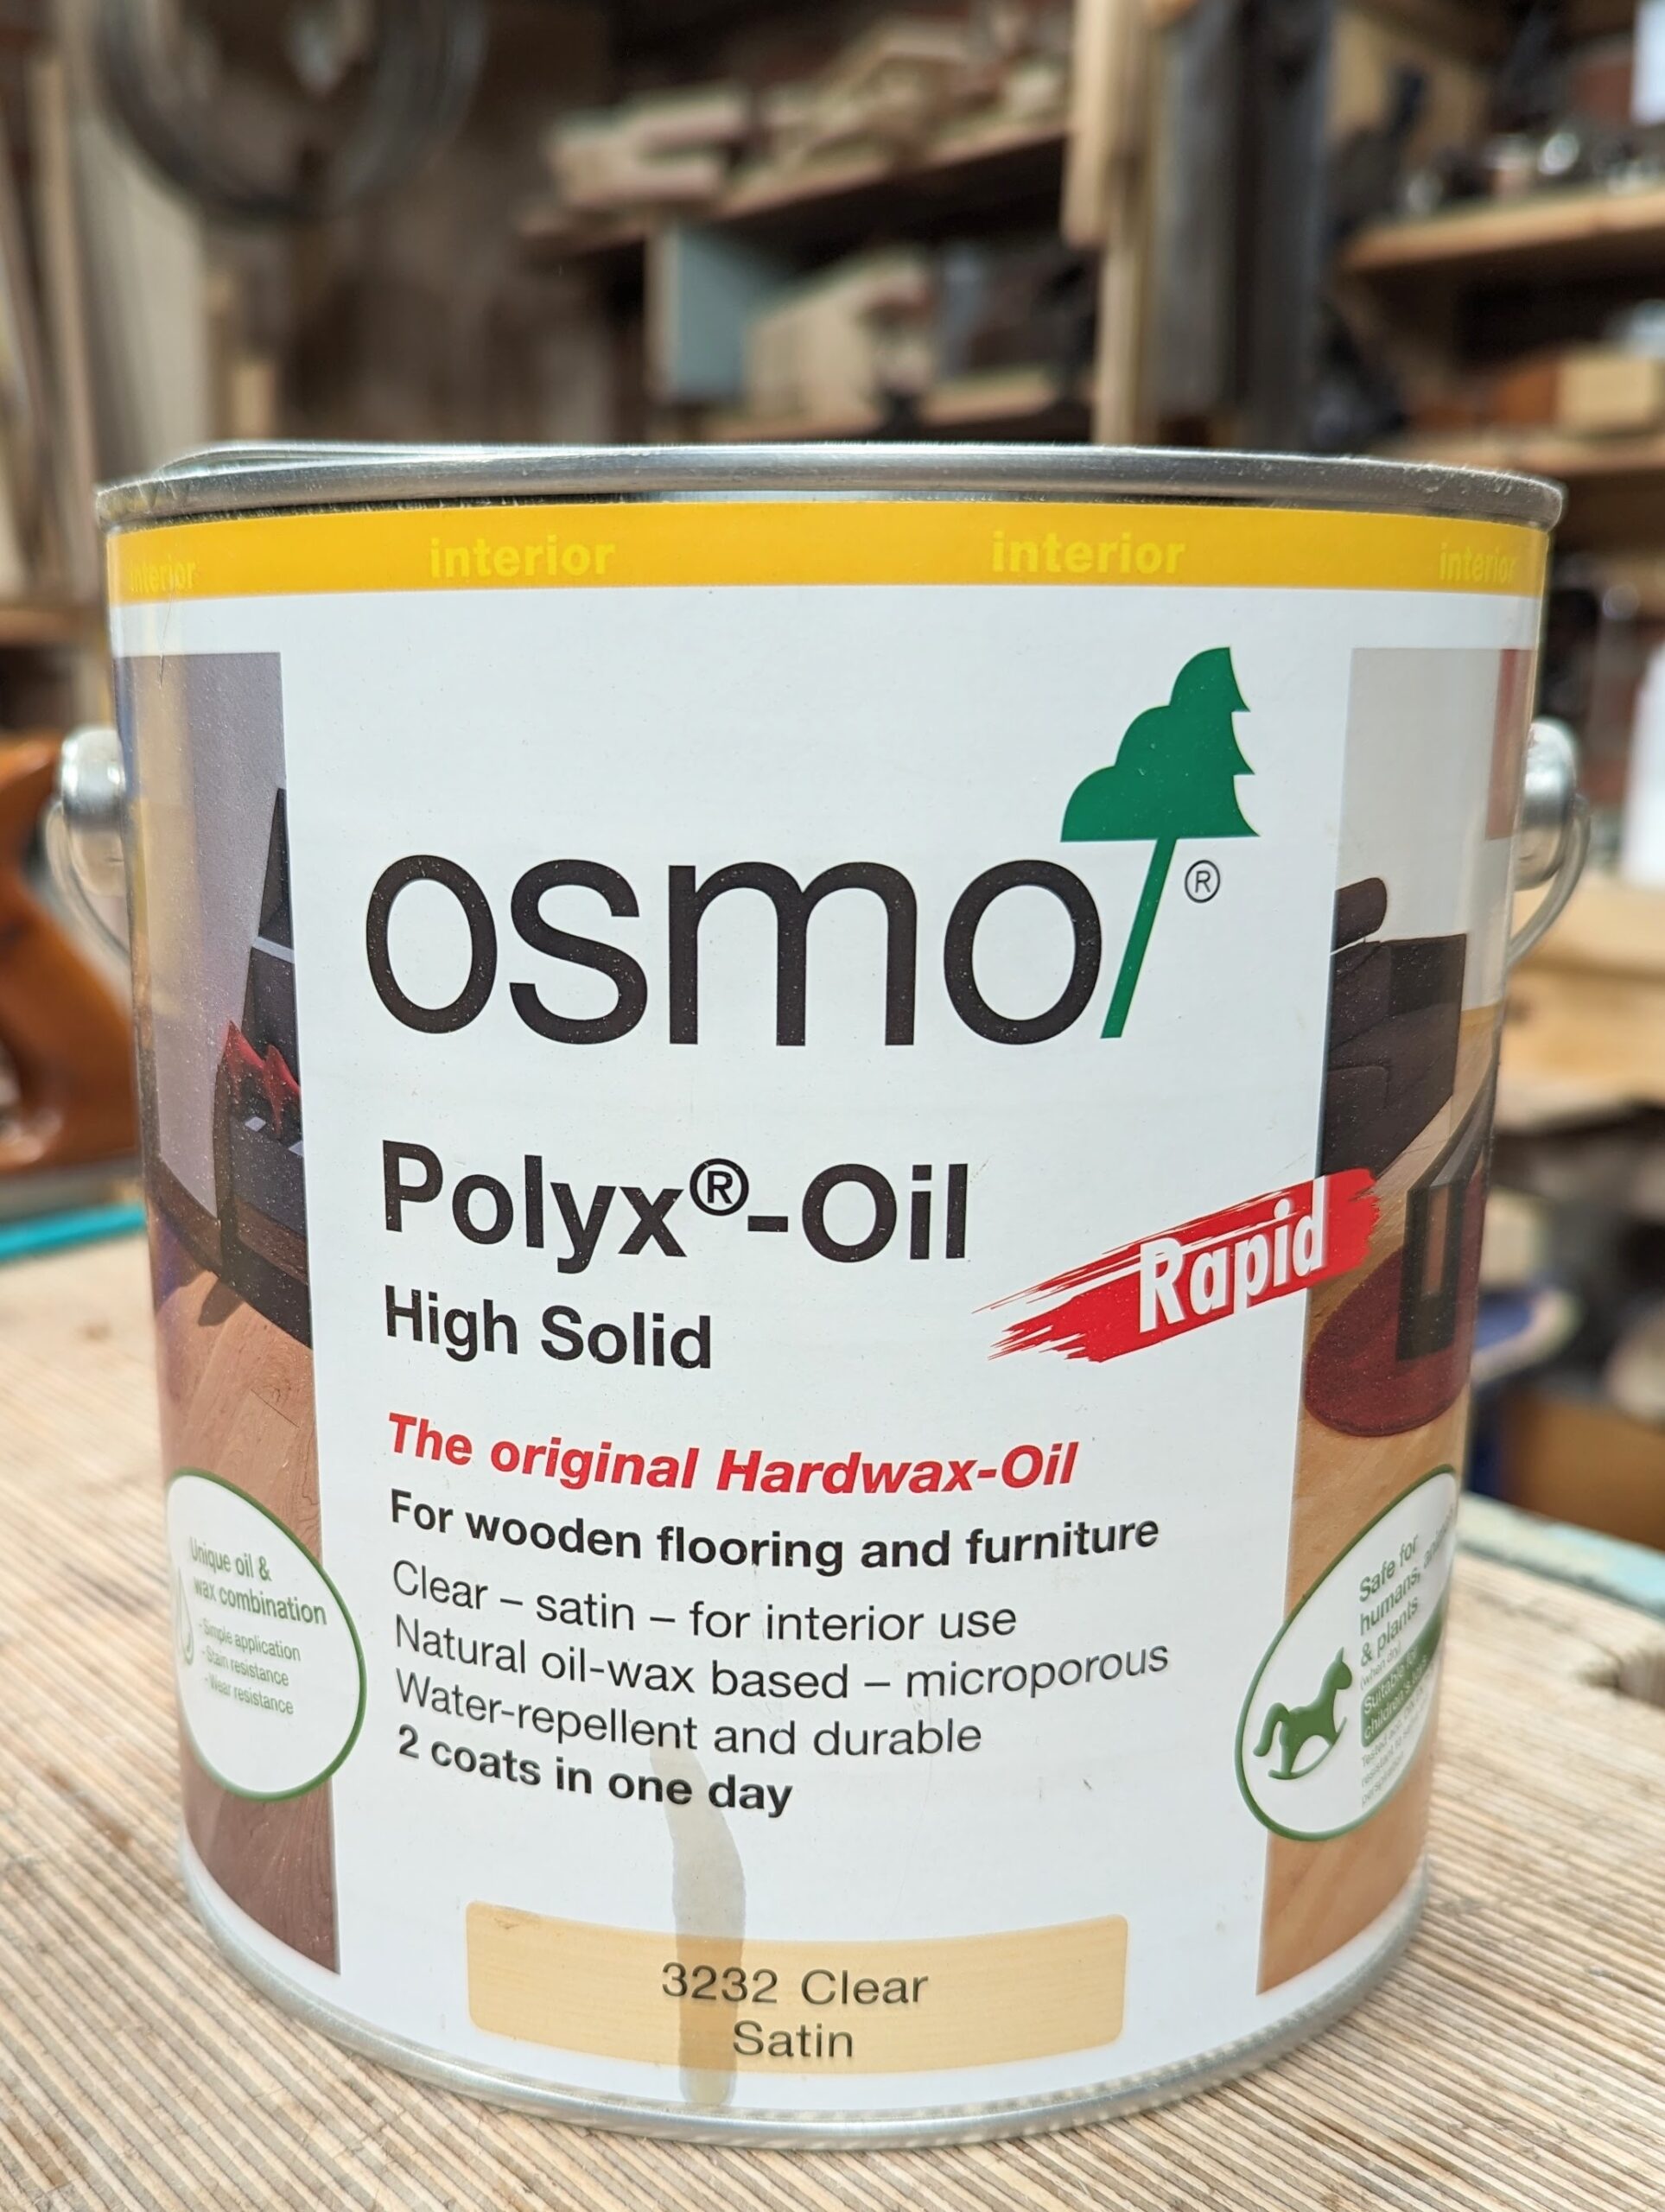
I generally do not advertise the product manufacturers I use. I want my site and my reputation to be clean and free from outside influences. So let me add my usual disclaimer here and that is that I do not take any sponsorship, product or kickbacks from anyone full stop. Osmo Polyx Oil High Solids in Satin is a really positive finish. Going off their list of product aims and claims, I took the following:
Osmo polyx hard wax-oil rapid satin is a clear, fast drying, finish suitable for everything from wooden floors and can also be used on Cork and for the treatment of furniture surfaces (i.e. Table tops). The finished surface is durably tough and hard-wearing and is water-repellent and dirt-resistant. The finish is resistant against wine, beer, cola, coffee, tea, fruit juices, milk and water etc. What the etc is I don't know. When dry according to DIN 68861 - 1C (German industrial Norm). dirt can easily be removed without trace. Renovating, even partially, is easy. Just clean and re-treat worn areas: no sanding, no repair marks, no removal of previous polyx-oil finish. The wear resistance of floors treated with Osmo polyx-oil even exceeds that of conventional parquet seals and varnishes.
With regard to special applicators. You really don't need much at all. Polyester microfibre cleaning cloths work well for larger areas for both wiping on and wiping off, regular paint brushes for inner corners and fiddly moulds work well followed up with the microfibre cloth for wiping off and then paper towel on small projects do well too.
Comments ()