Making My Box
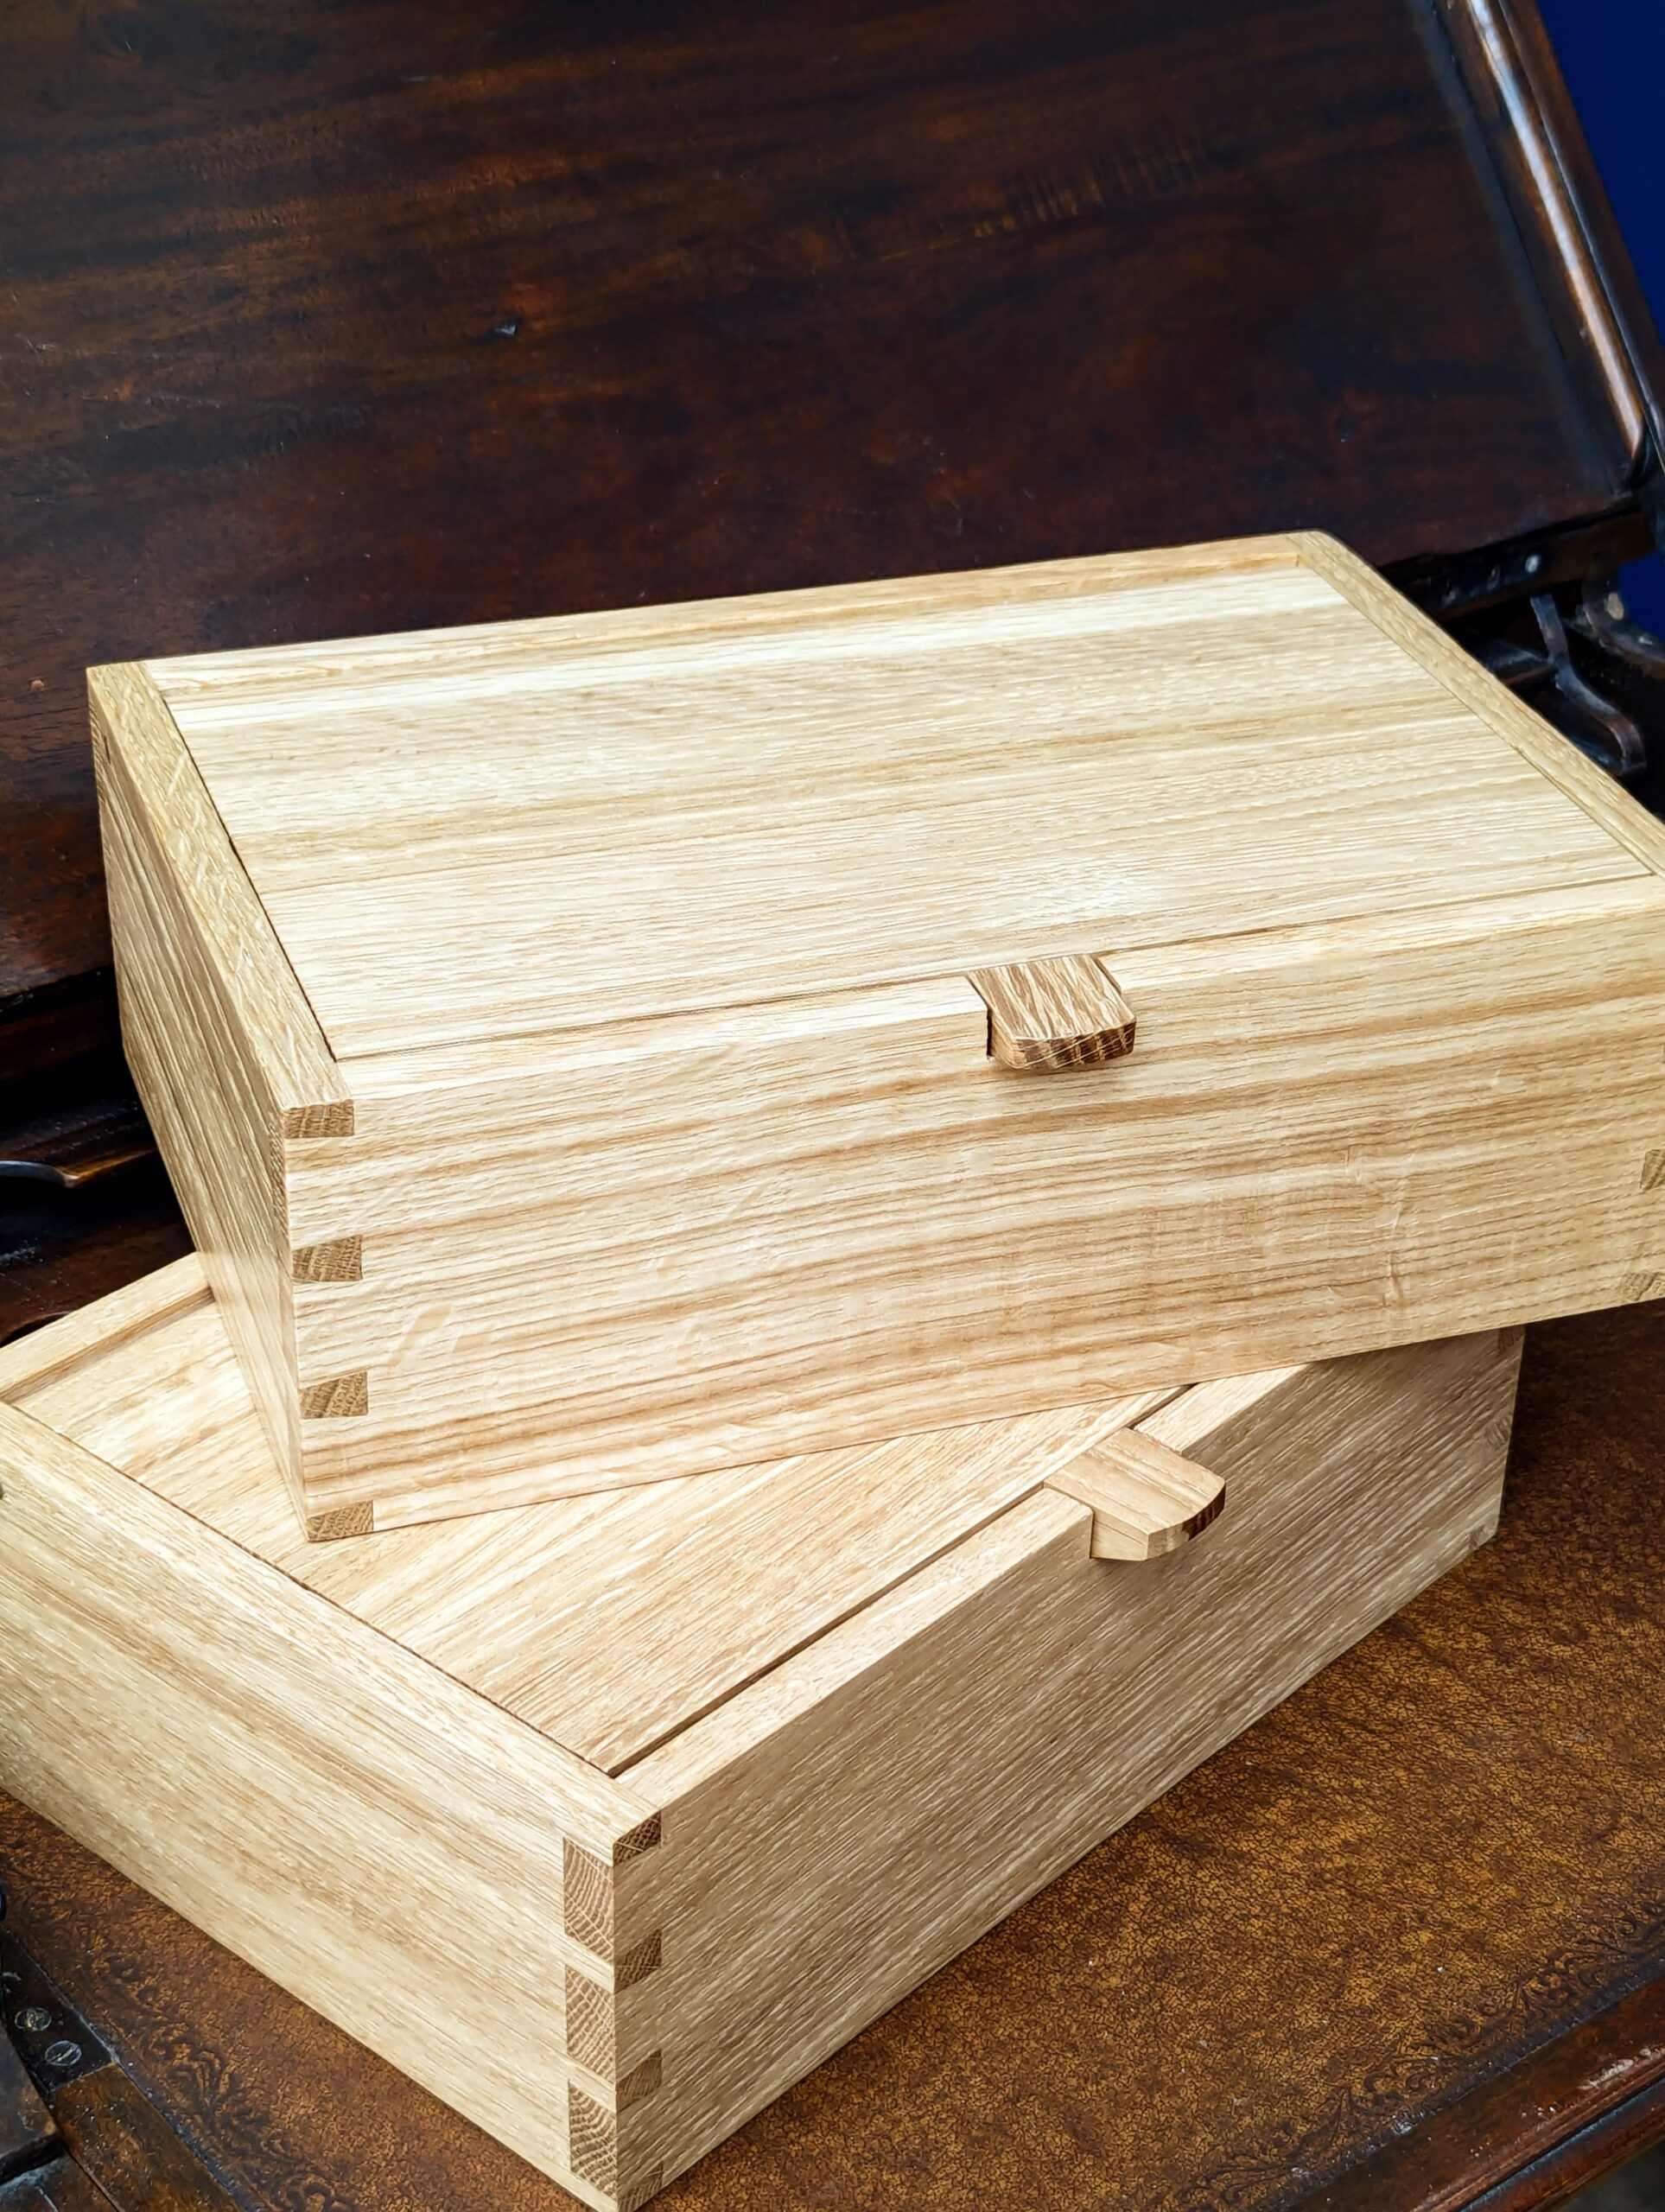
It was the thought of Christmas that did it—that and the fact that I love my box design for several reasons. I have made half a dozen of the designs without the idea of personally making money from them or future ones. I'm thinking this to be a benevolent piece. I want to give them away or if they are sold then it must be for me to give the box to organisations to make money and support their work. But I don't mind any individual making one or two for their own personal use or a gift for another. It shouldn't be for someone to make it as a production piece. The design remains mine. I own it and it is my copyright and my intellectual property.
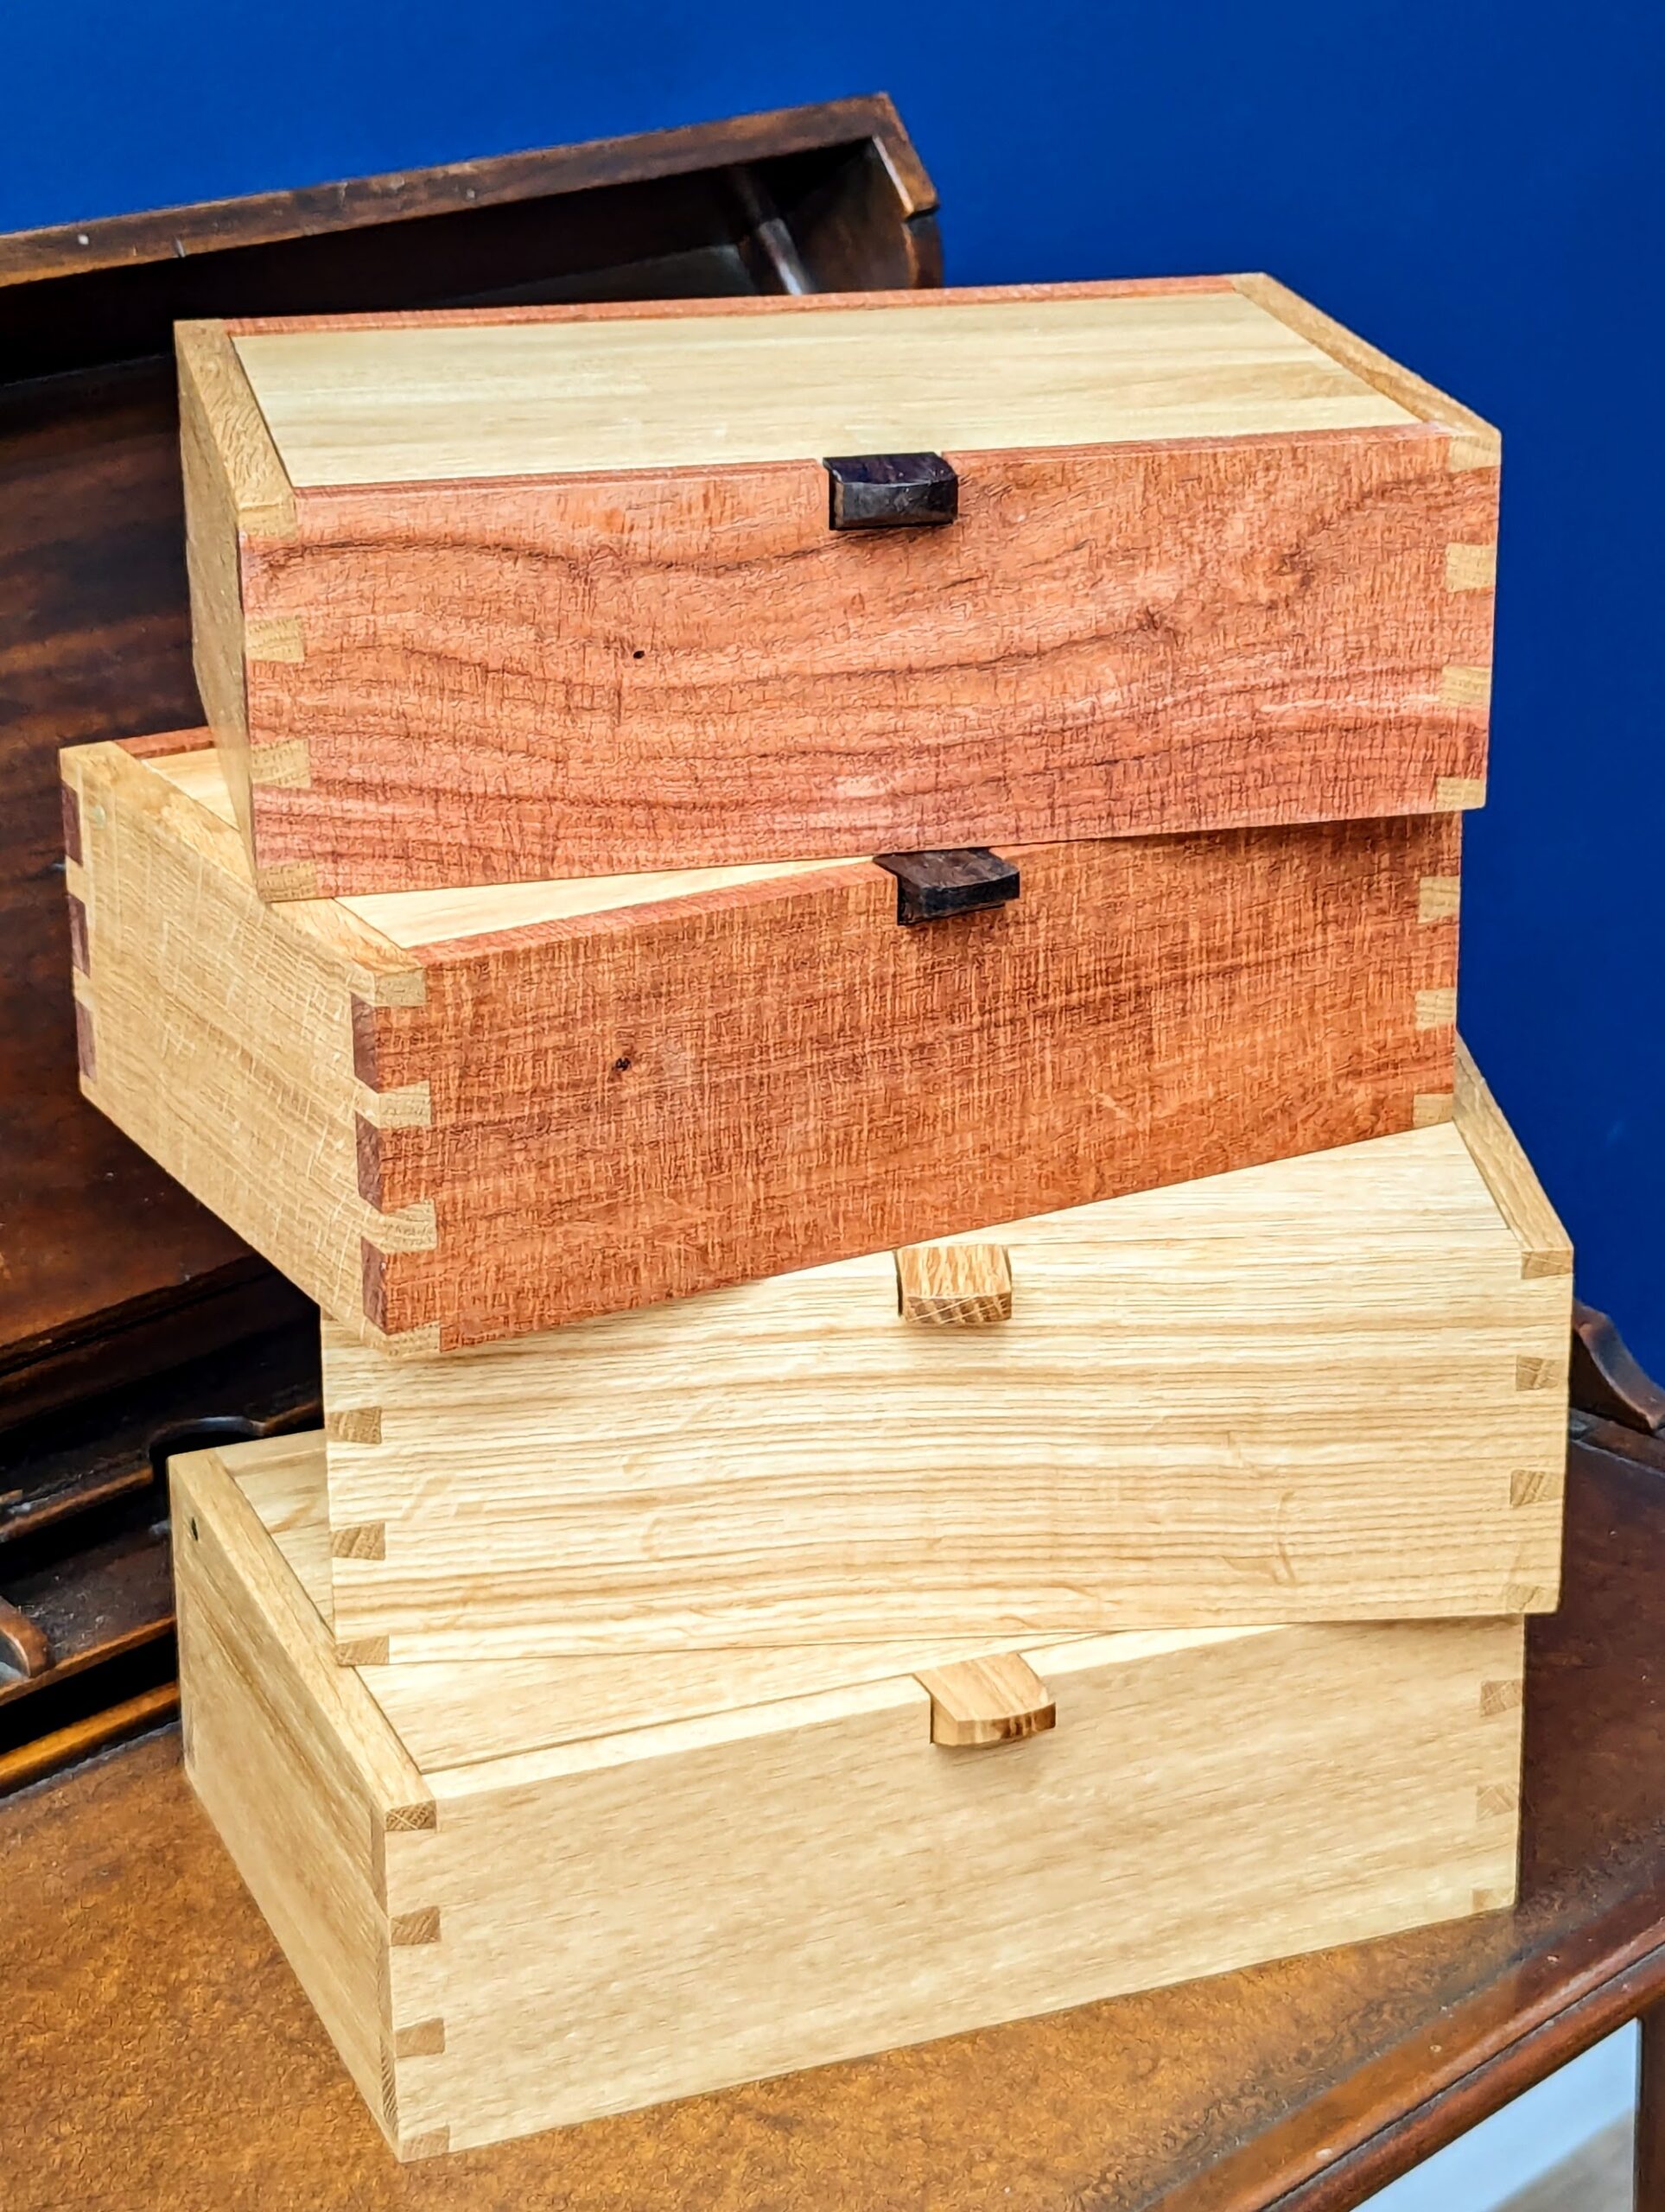
The wood choices can be just about any. I tend to not combine softwoods with hardwoods and then too I consider the density of the different woods because different woods expand at different rates and super absorbers will super shrink too. Maple is for instance one of the worst. That covers the gamut of acres, a range of medium-density hardwoods, mostly relatively characterless with minor grain contrast ranging from white to cream with some brownish tint. In my boxes, I used just oak as well as oak and mesquite.
Your cutting list will be as follows:
Long sides 11 1/2" X 4 1/8"" X 1/2"
Short sides 7 3/4" X 4 1/8" X 1/2"
Lid 10 1/2" X 6 3/4" X 3/4"
Bottom 10 1/2" X 6 3/4" X 1/4"
Handle 2" X 1" X 3/4"
Seven linear feet of 1/4" X 3/16"
With the four sides planed, trued and squared, I focus on making a template guide to run the saw through. Any scrap will usually do but I chose poplar because of its relative softness and even texture. Growth rings in some woods can divert the saw cut and as this will be a guide used over a number of pieces or boxes I want a wood suitable for both accuracy and quality in precise cuts in continued future use.
I lay out the position of the start points fro my dovetails on the clear scrap of poplar. I should say that to make the box as a one-off you do not have to do this, but it saves time and increases accuracy if it is done right and indeed you want to make more than one box either all at once or over the coming future.
The dovetail details are simple enough if you use something like 3/8" pins (no half pins) then your tails can be equisized at 7/8" according to how your eye feels in the look of it before the cuts become permanent. look at what you have laid out in pencil. take your time. A nice balance without fussiness and fancyier distractions suits most of us as makers. Of course, you must remember that taking the cuts on the outsides of the dovetail lines will make the pins smaller than the 3/8" because you have reduction-extra by the thickness of the saw kerf. The tails will be smallerif you take the other side of the line. Some say split the lines. That's a silly idea. Not practical if you are losing your line with each stroke..
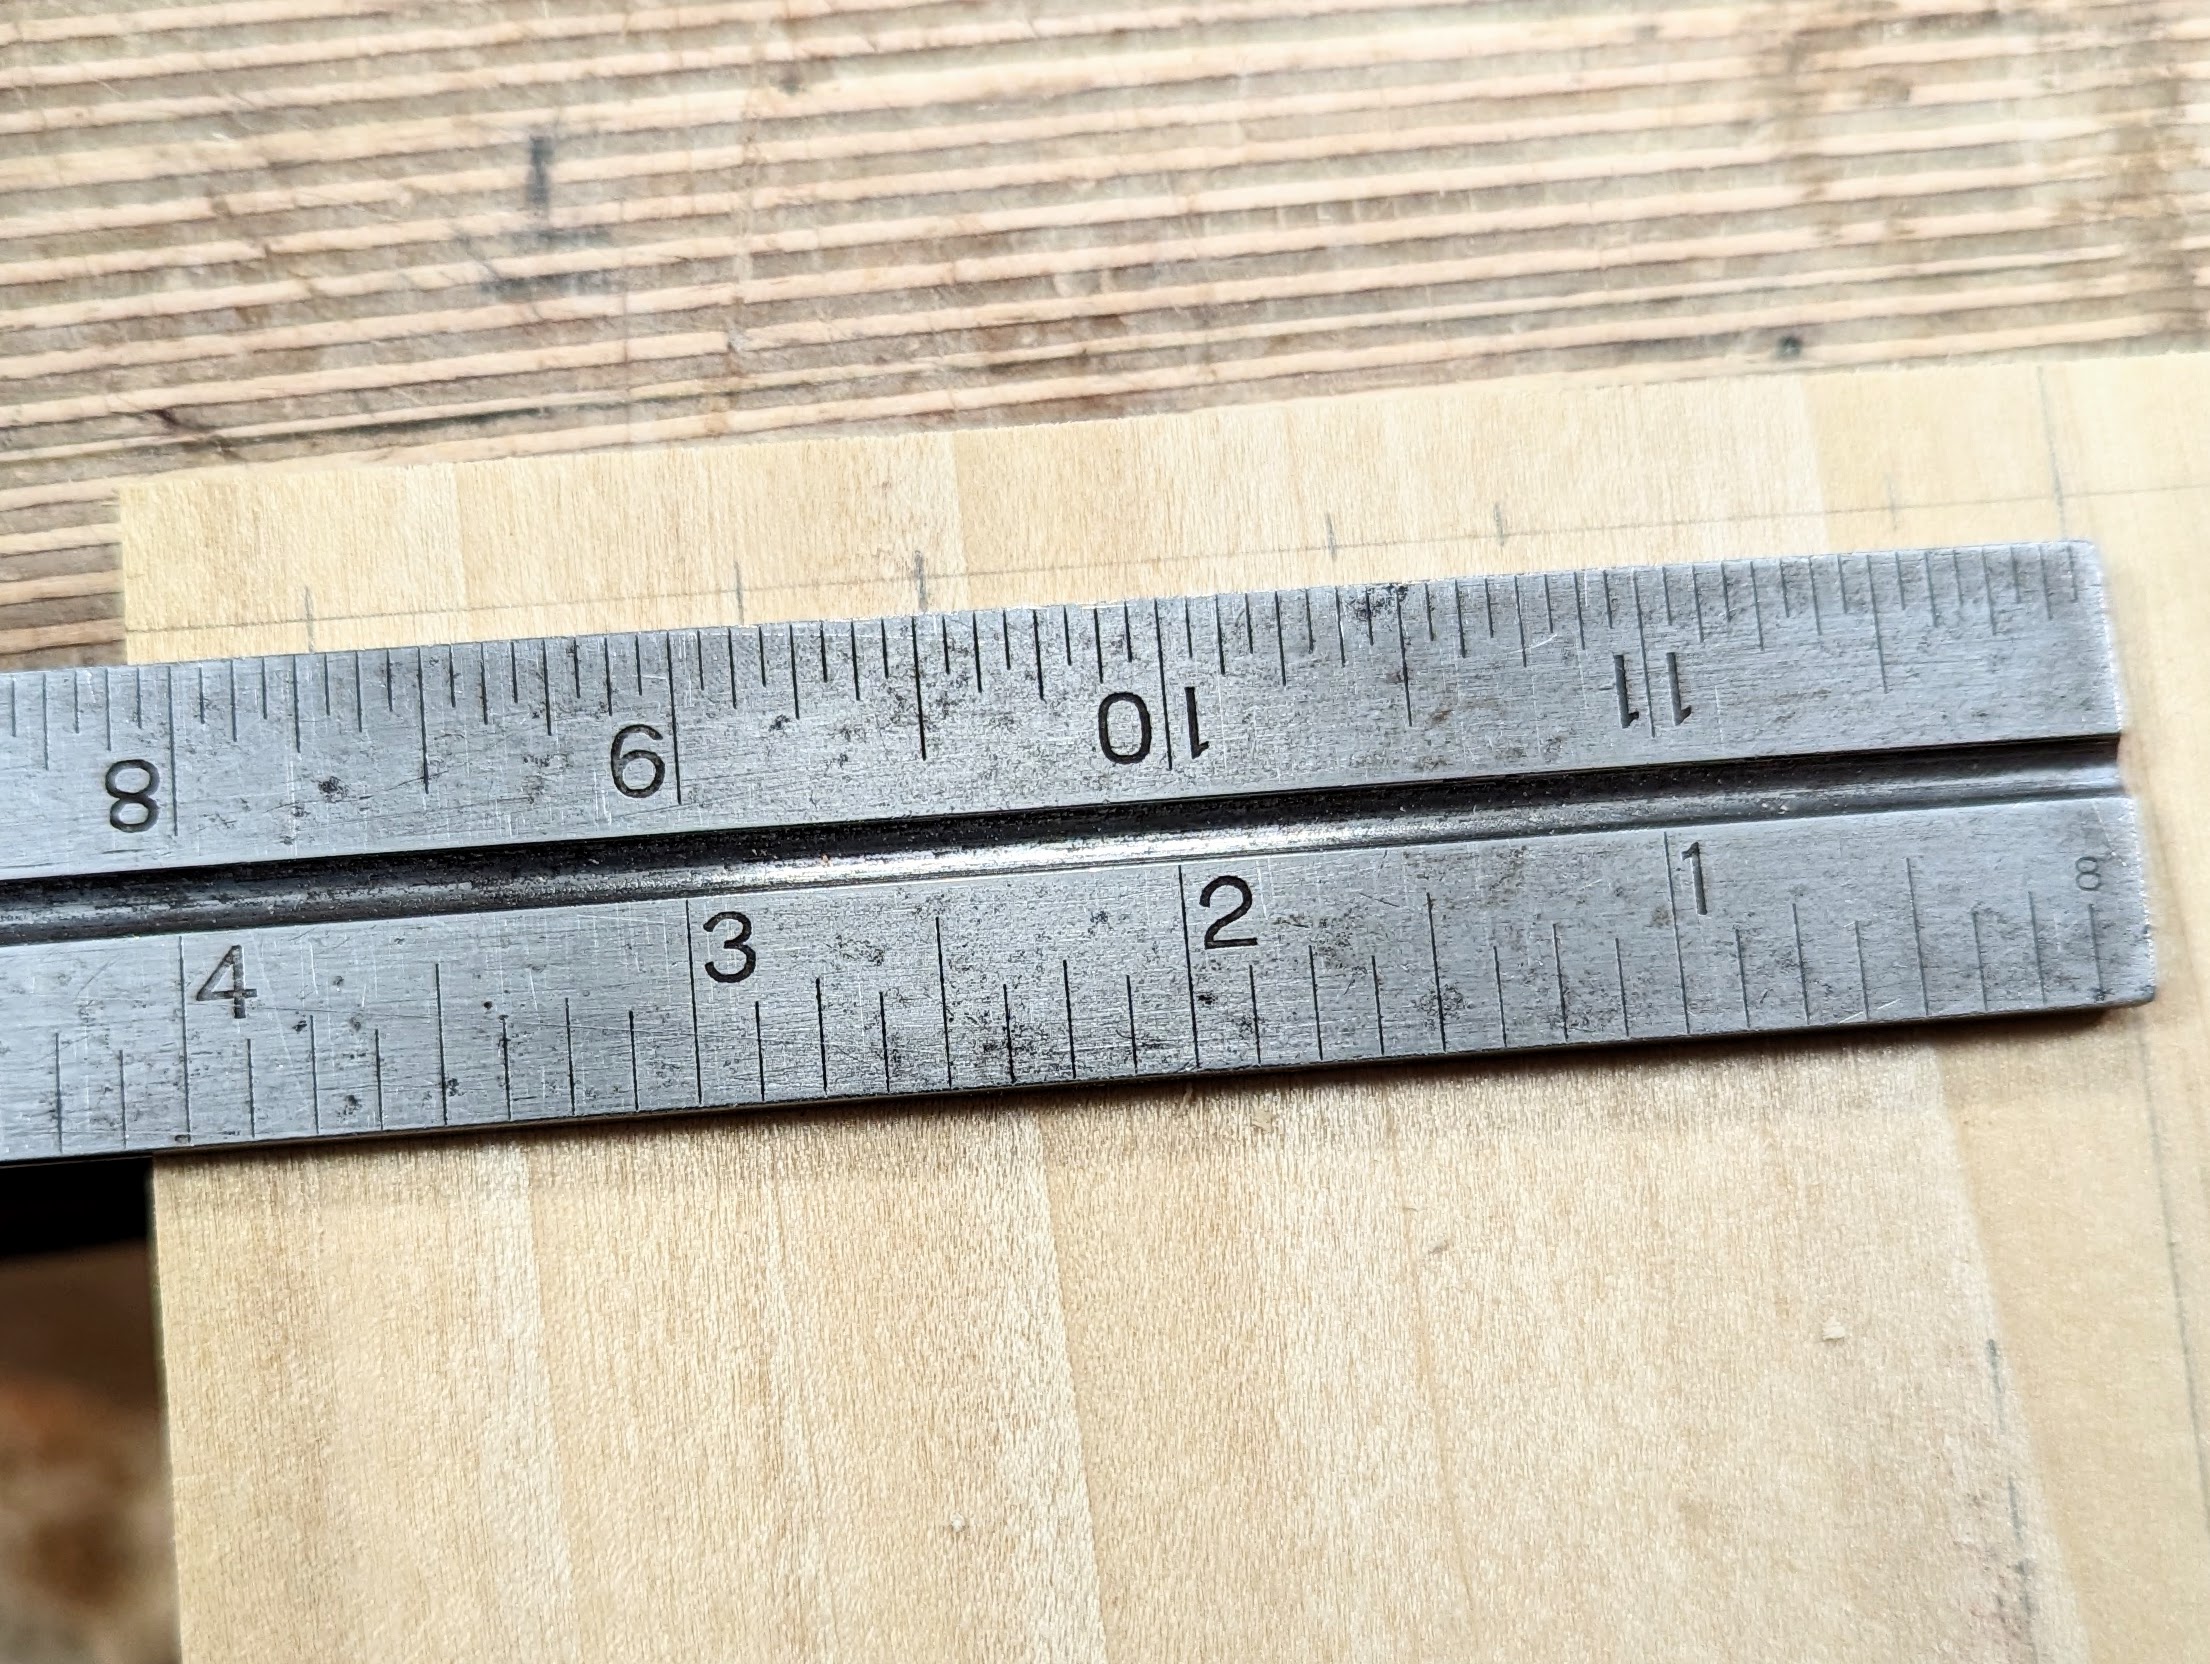
To create the guide, start any short distance from the end of the blank. In my case, I went 3/8" but half an inch or a little more is good if you have the length in your scrap.
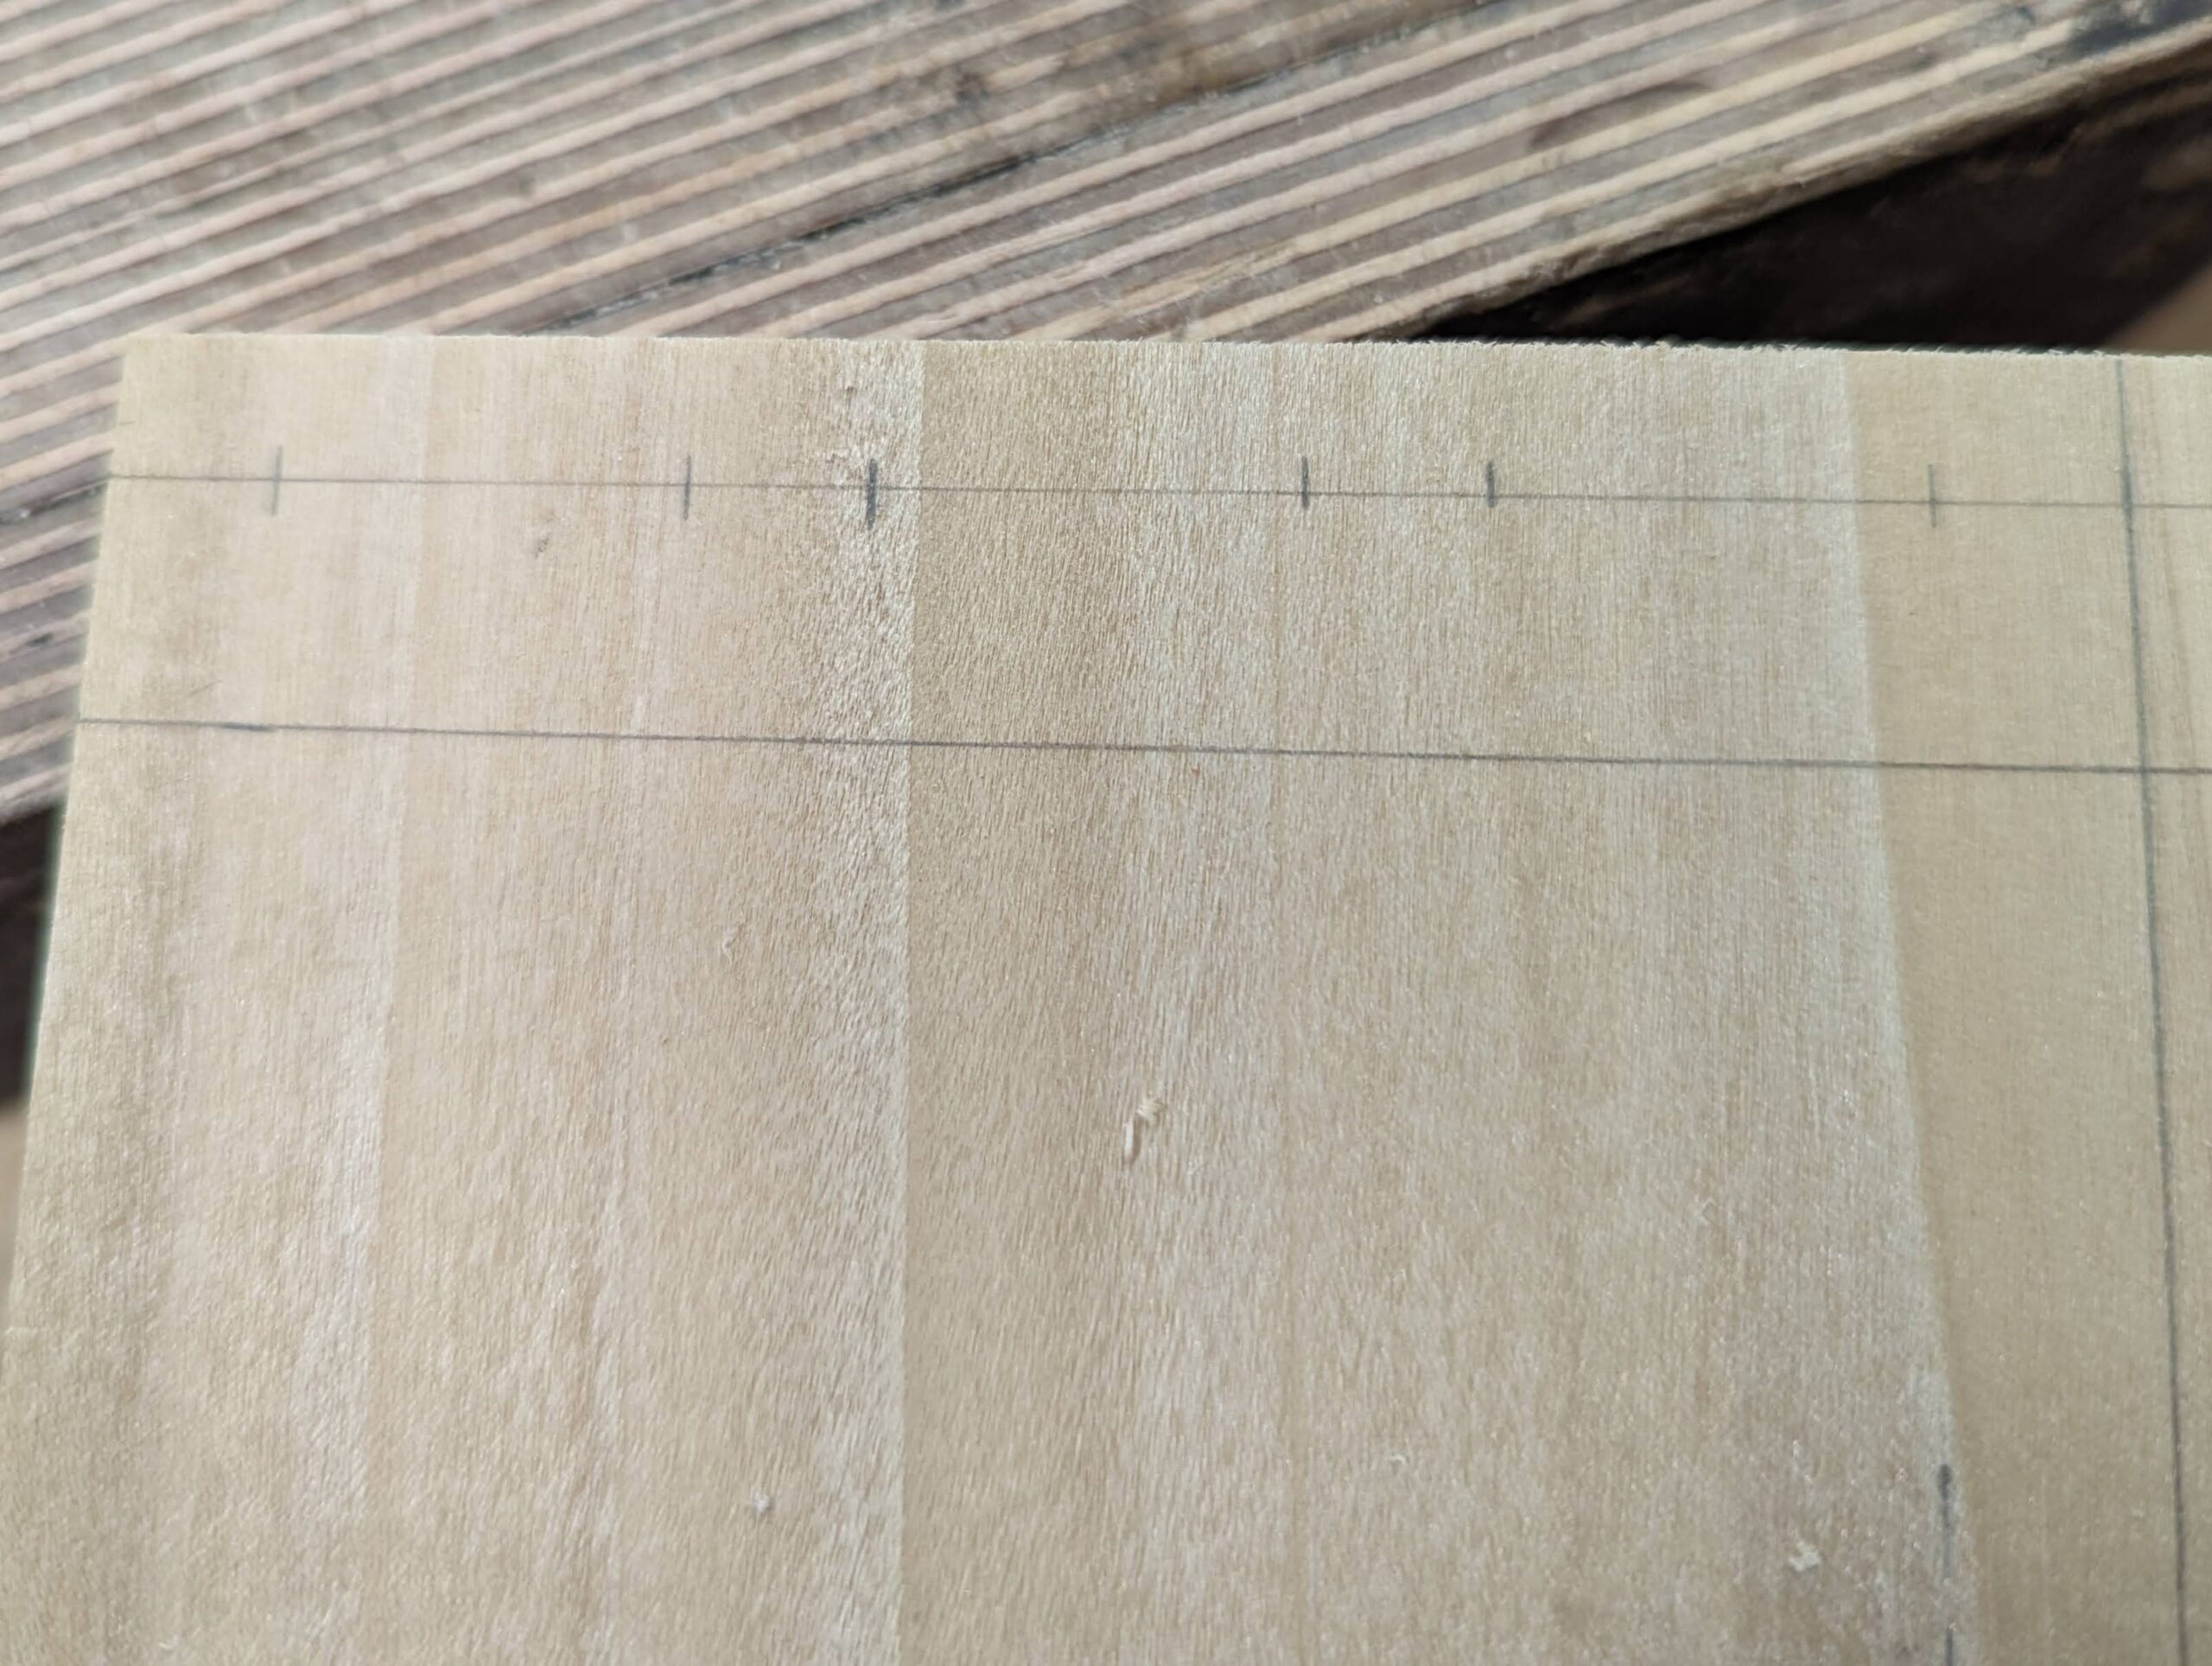
Square a first baseline across. This will be the actual point at which your dovetails will begin.
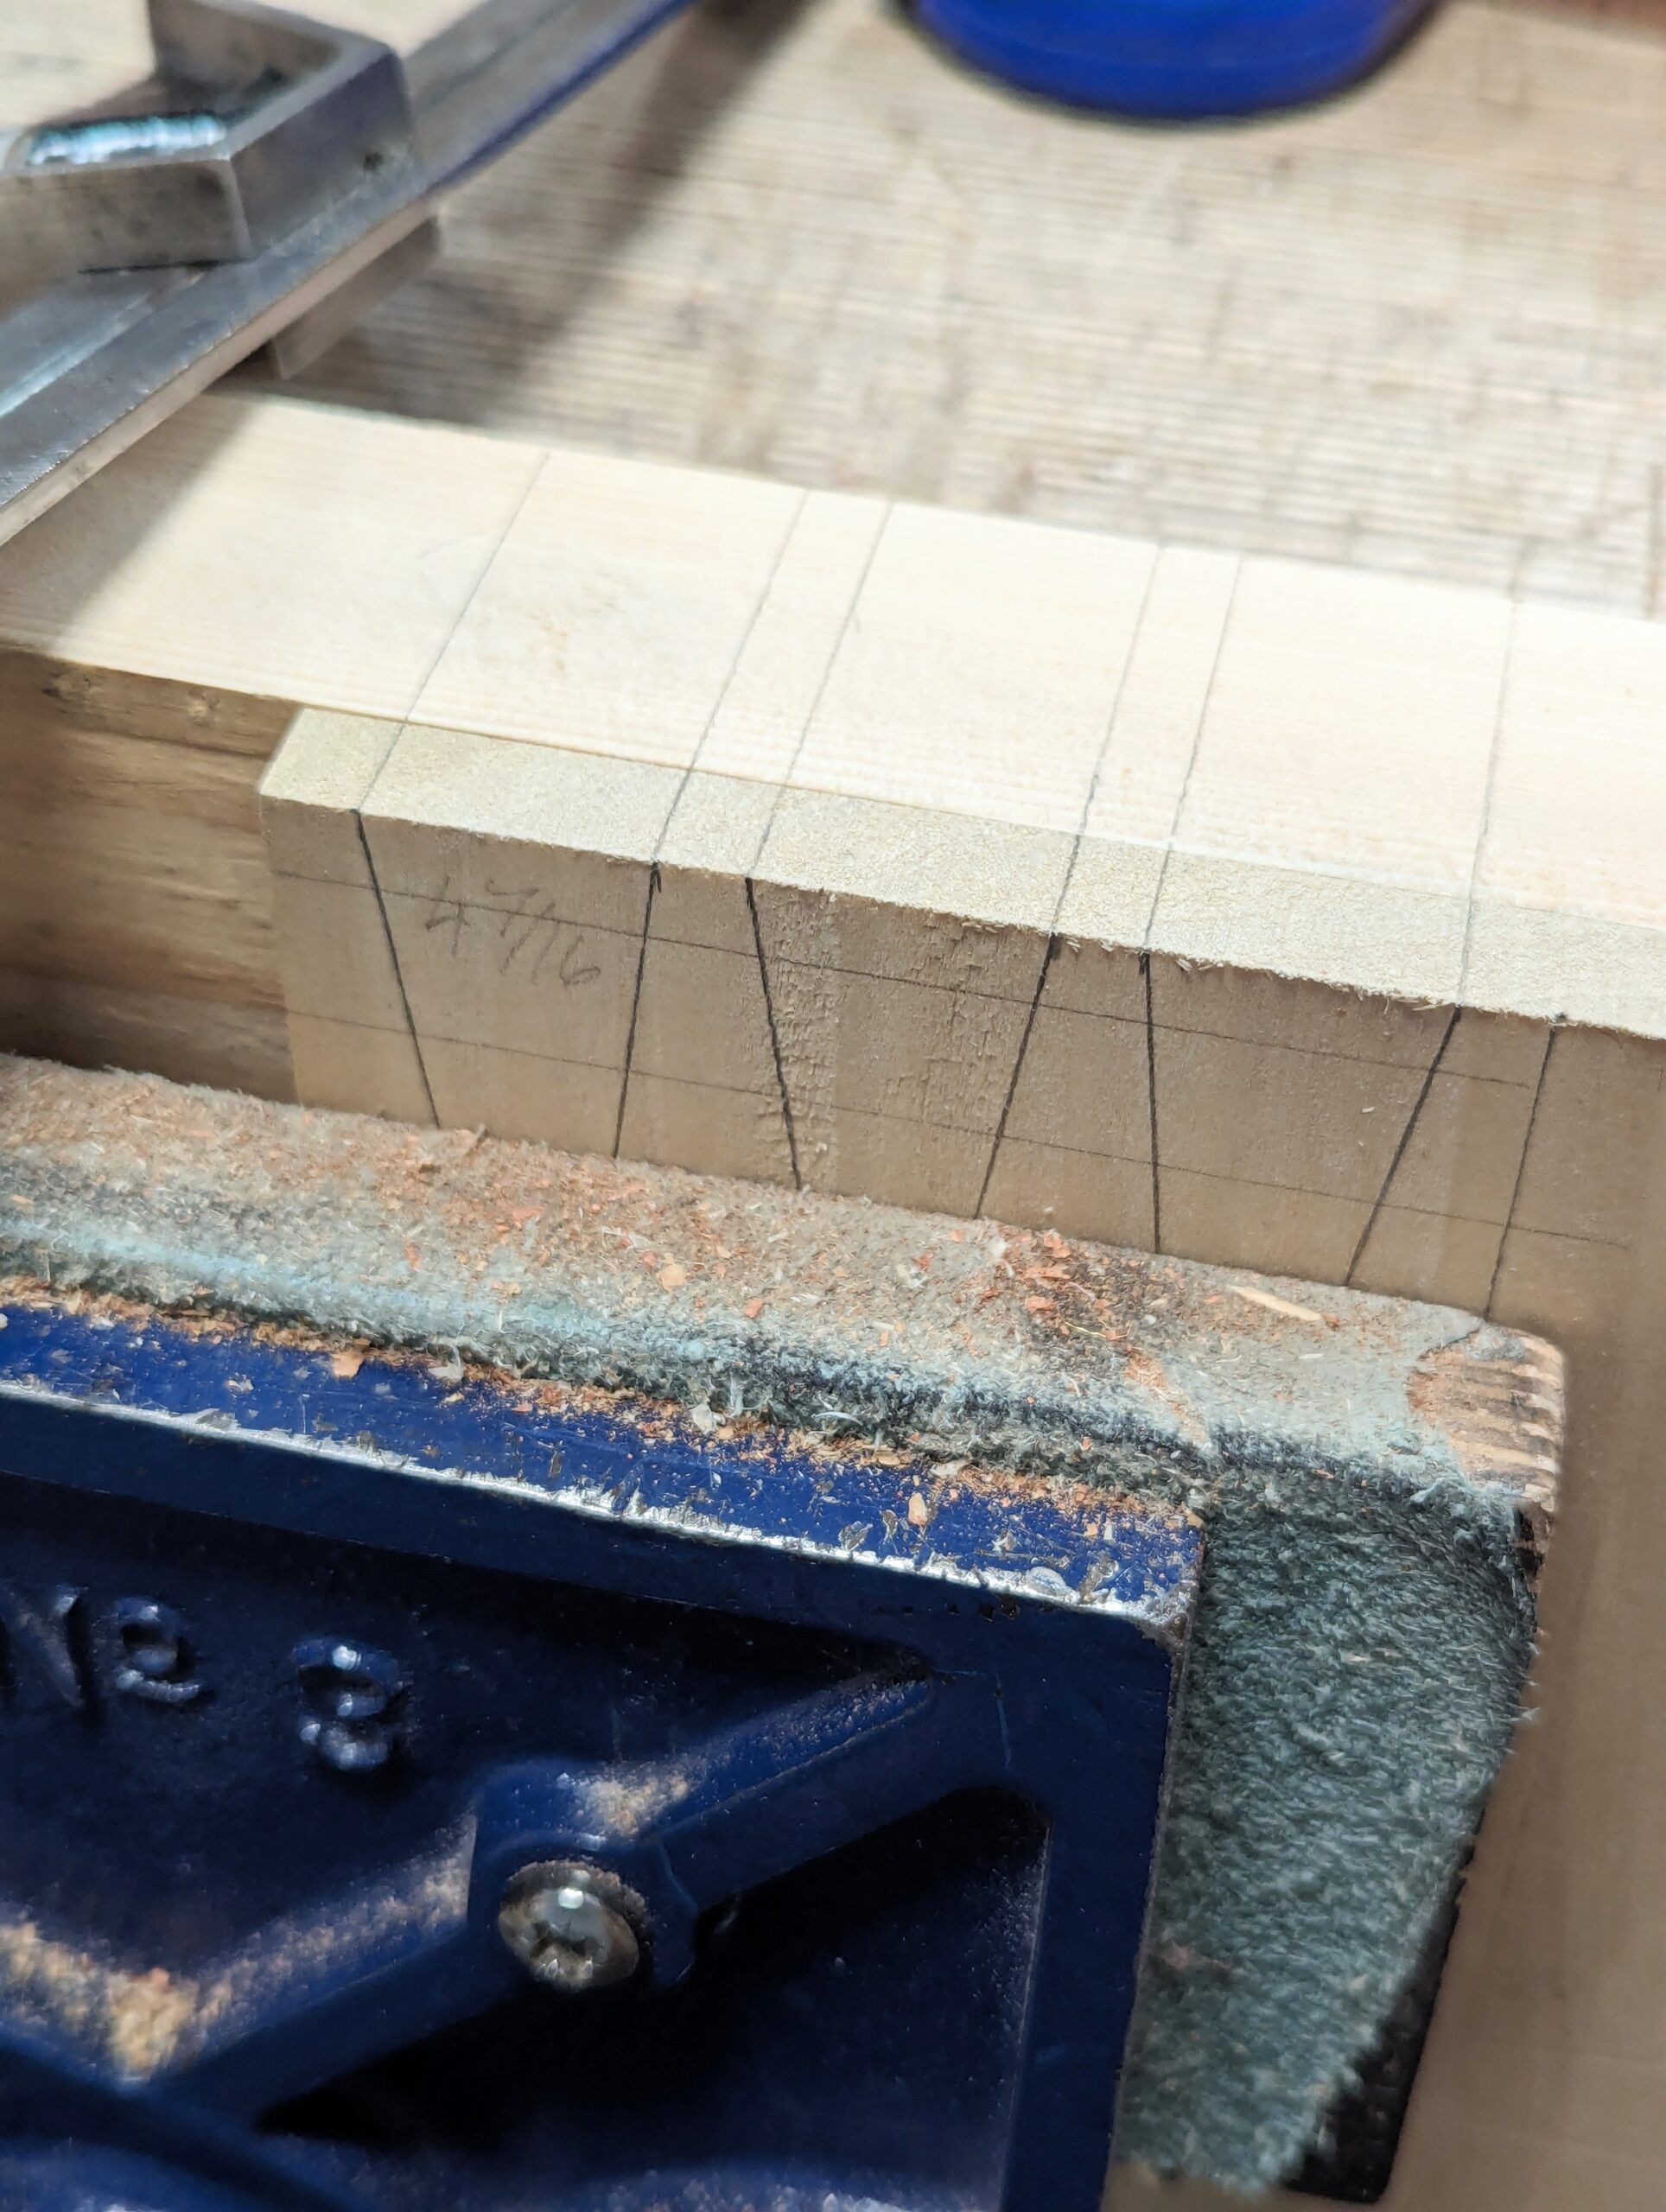
Now mark the crosshairs for the dovetails onto the line. By this, I mean from one edge measure in 3/8", then 7/8", 3/8", 7/8", 3/8", 7/8" and that will leave 3/8".
Now use either your dovetail template or a sliding bevel set to one-in-seven for the dovetail angles. The dovetails will intersect these crosshairs.
NOTE: Often we think that the angle is more important than the square-across lines on the end of the wood but in reality, any inaccuracy in the end-grain crosscutting will reflect in the quality of the final fir; out of square one way will leave gaps on the outer aspect of the joint, out of square the other way will mean the joint will tighten and something will have to give: end result, a split somewhere.
For square-across accuracy, add a backer section of wood from a scrap that will then extend the distance. An inch-thick piece should be enough.
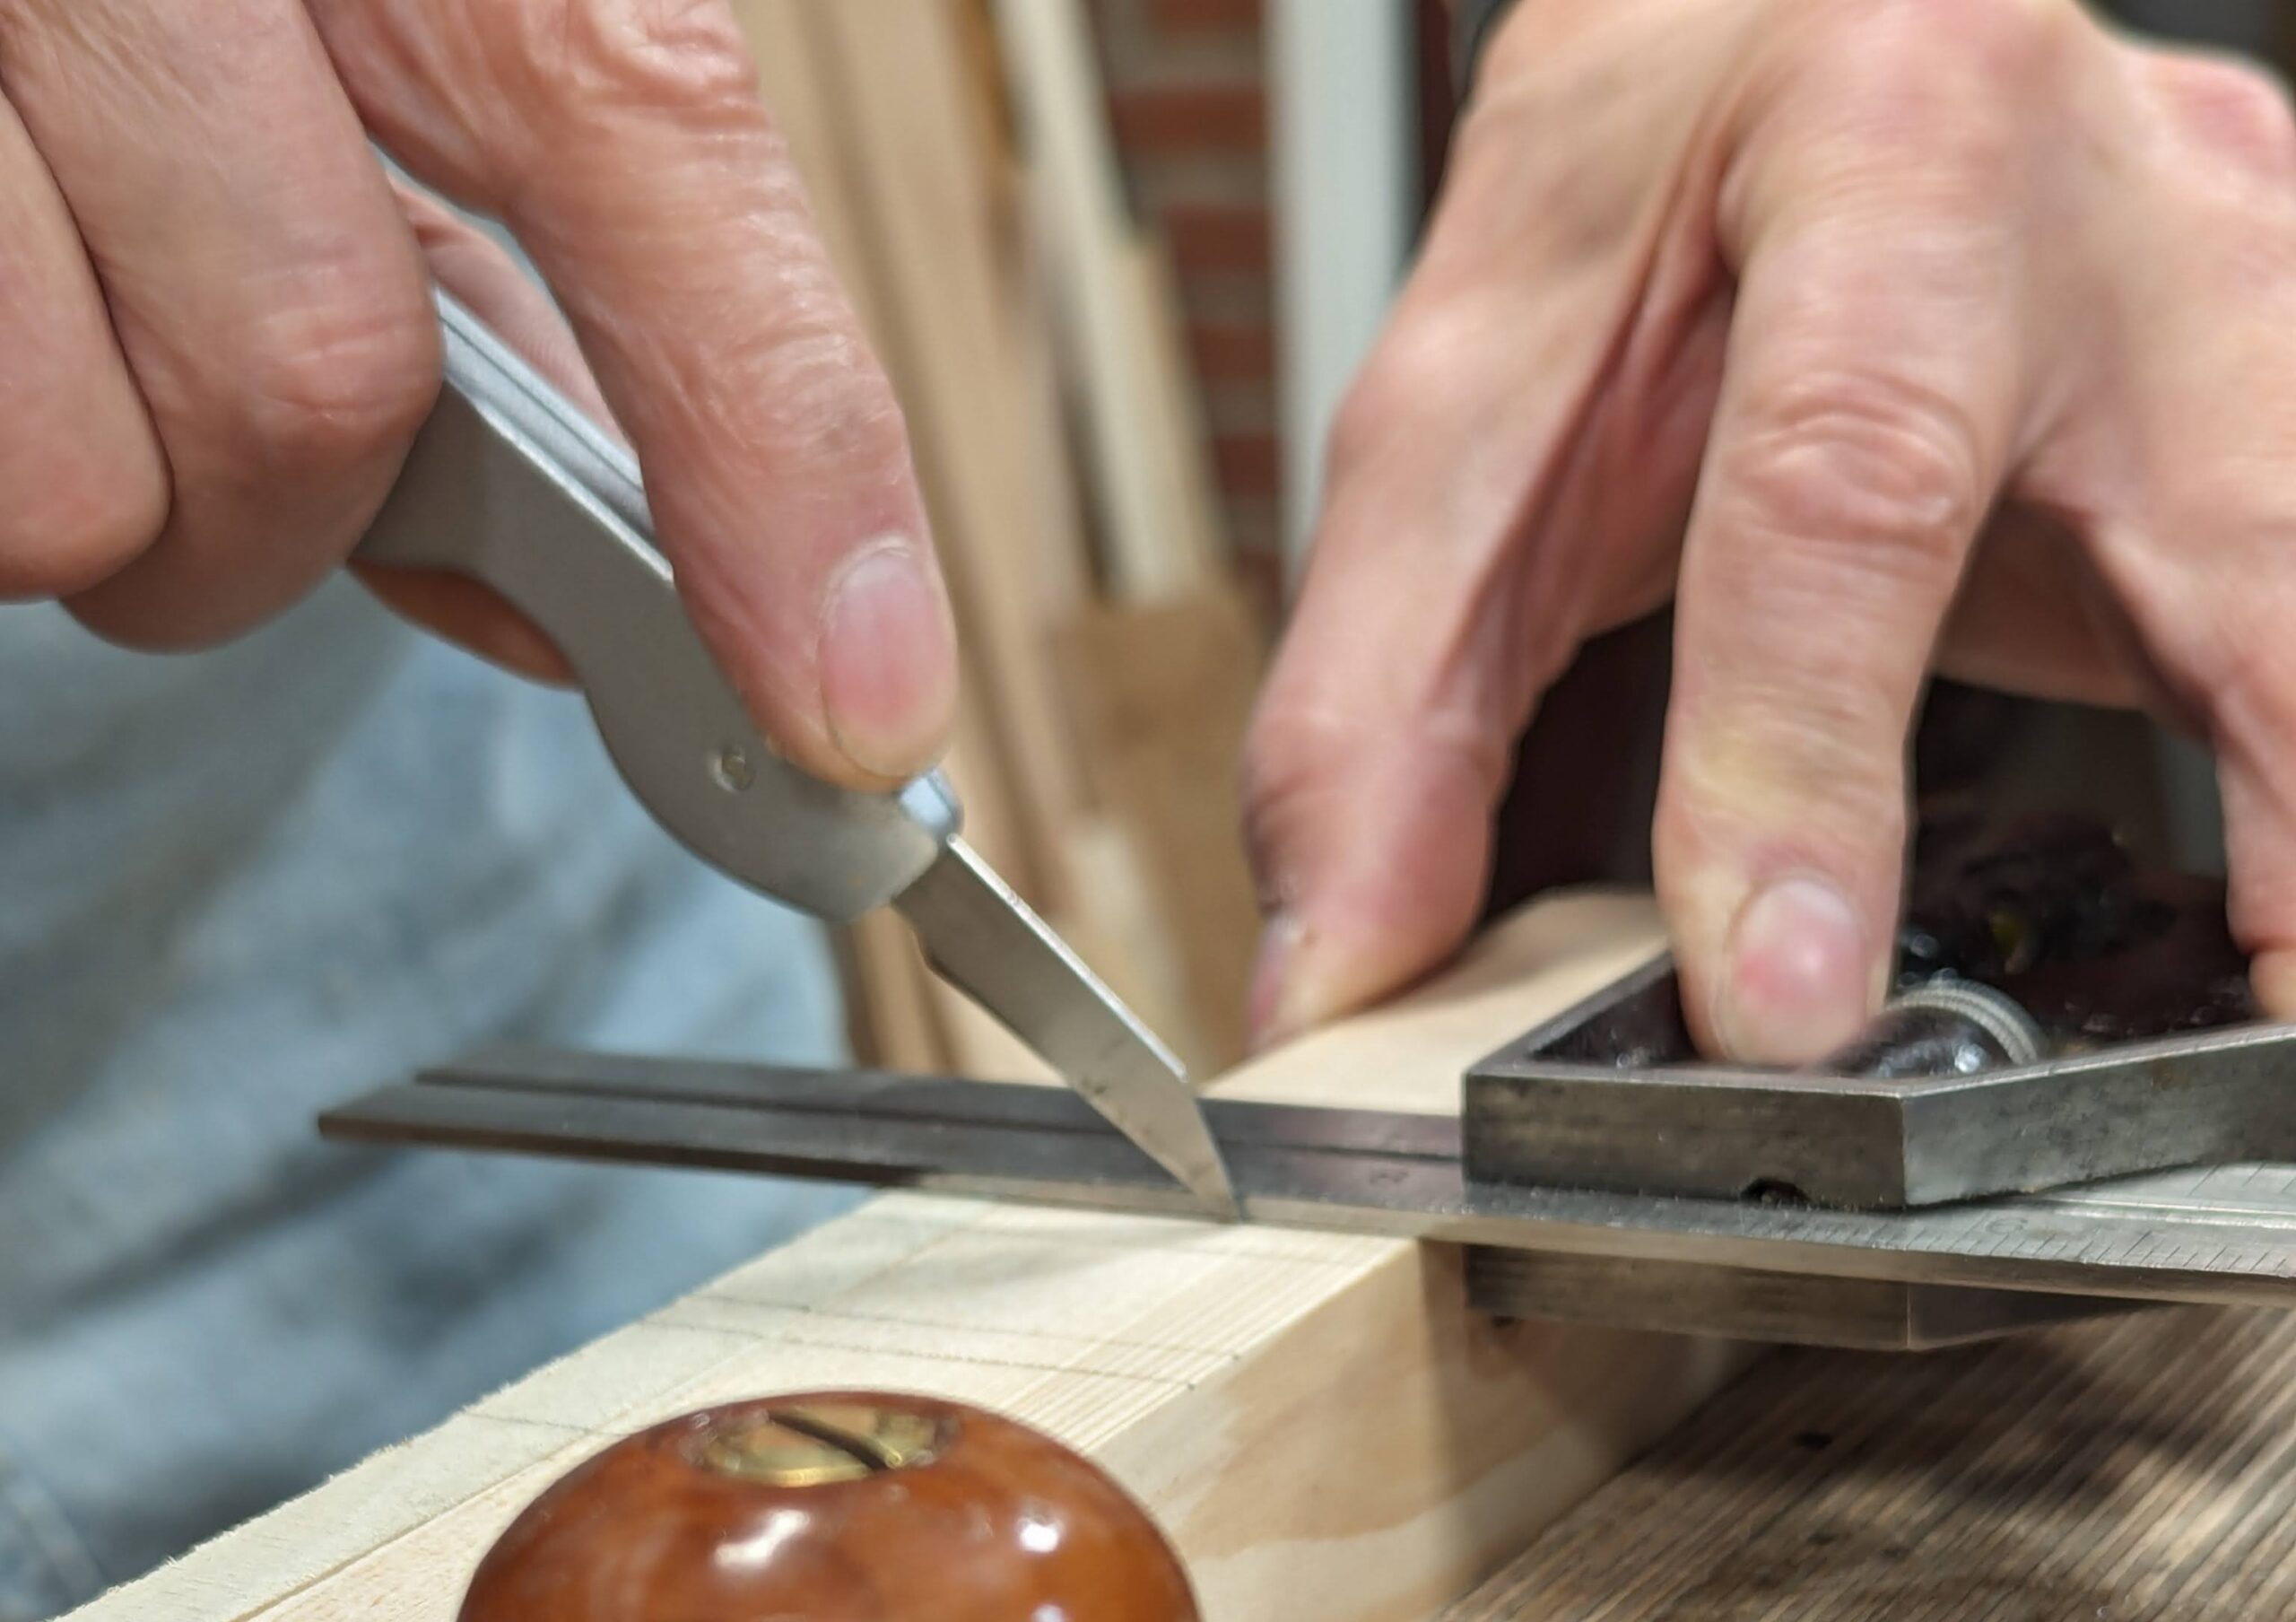
Use a knife to cross-cut the end as shown.
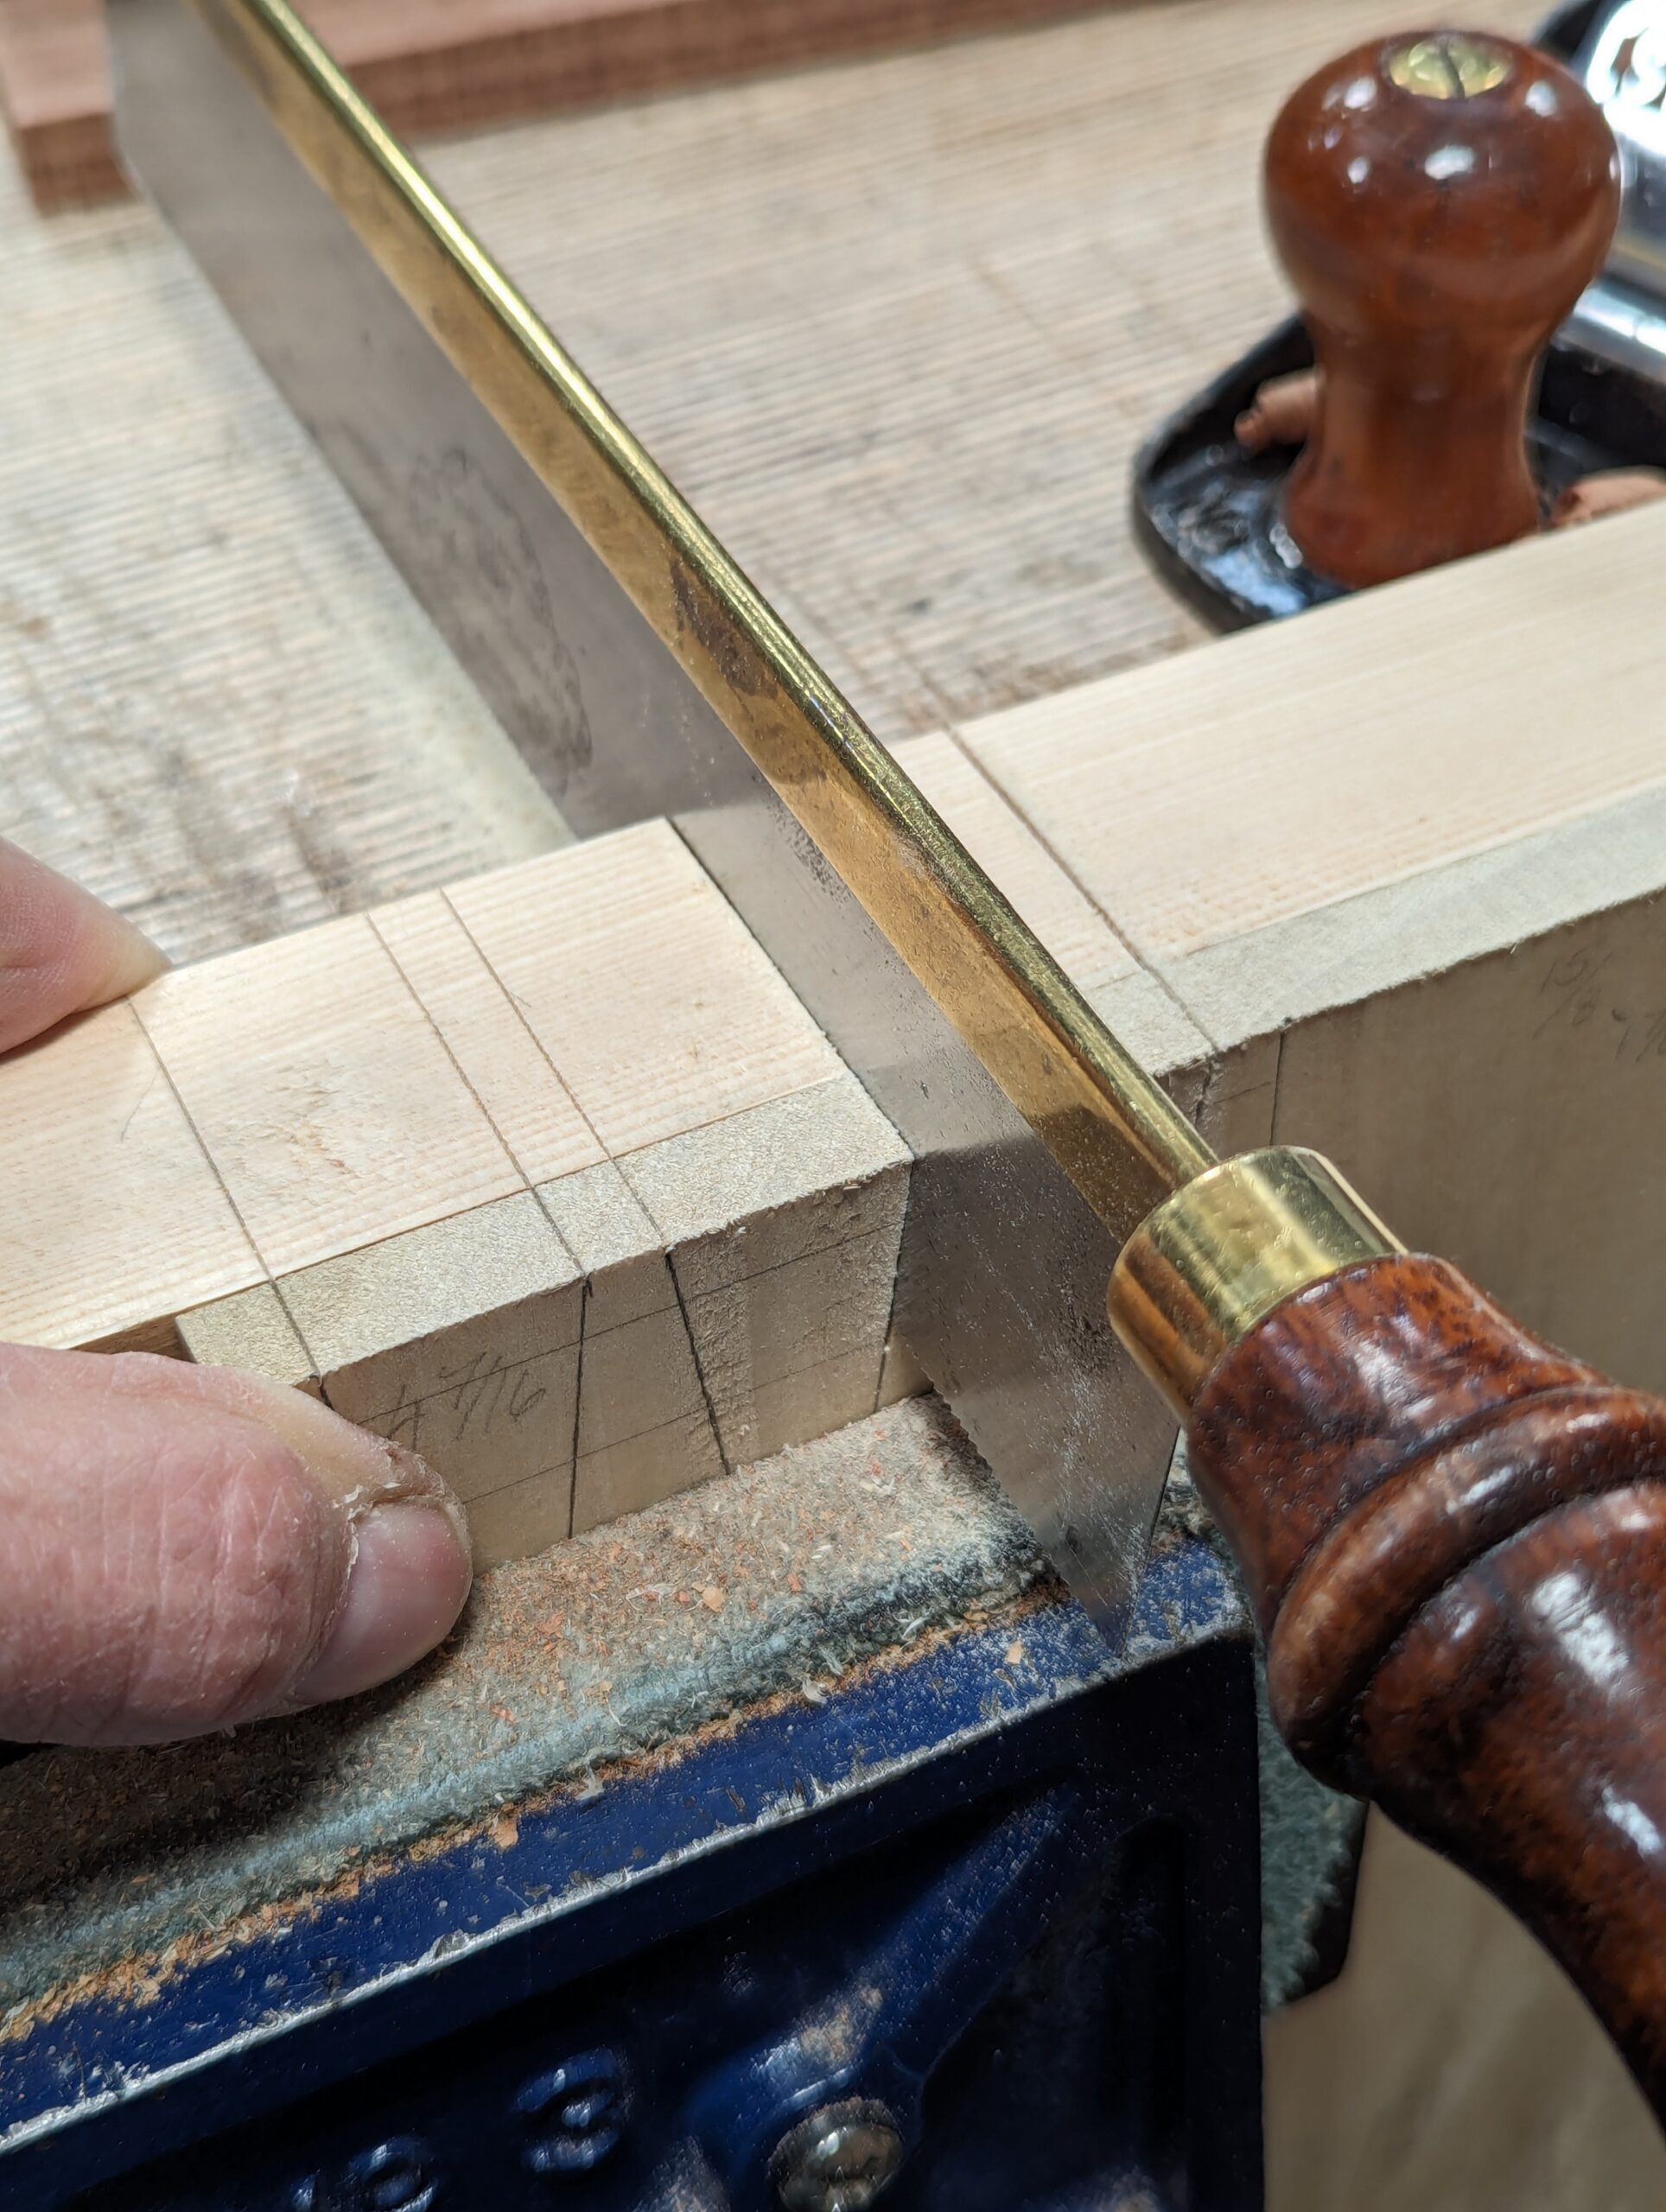
On the waste side of the knifewall make a square-across saw cut to establish the kerf on the waste side of the line and after a couple of strokes angle the saw to follow the angled pencil line.
The kerfs you are creating should be as close as possible to dead on, otherwise, any inaccuracy will telegraph into each subsequent dovetail set you create. You now have your final guide. As long as you are careful not to allow the saw to wallow the sides in the cuts, the guide will make many sets of dovetails.
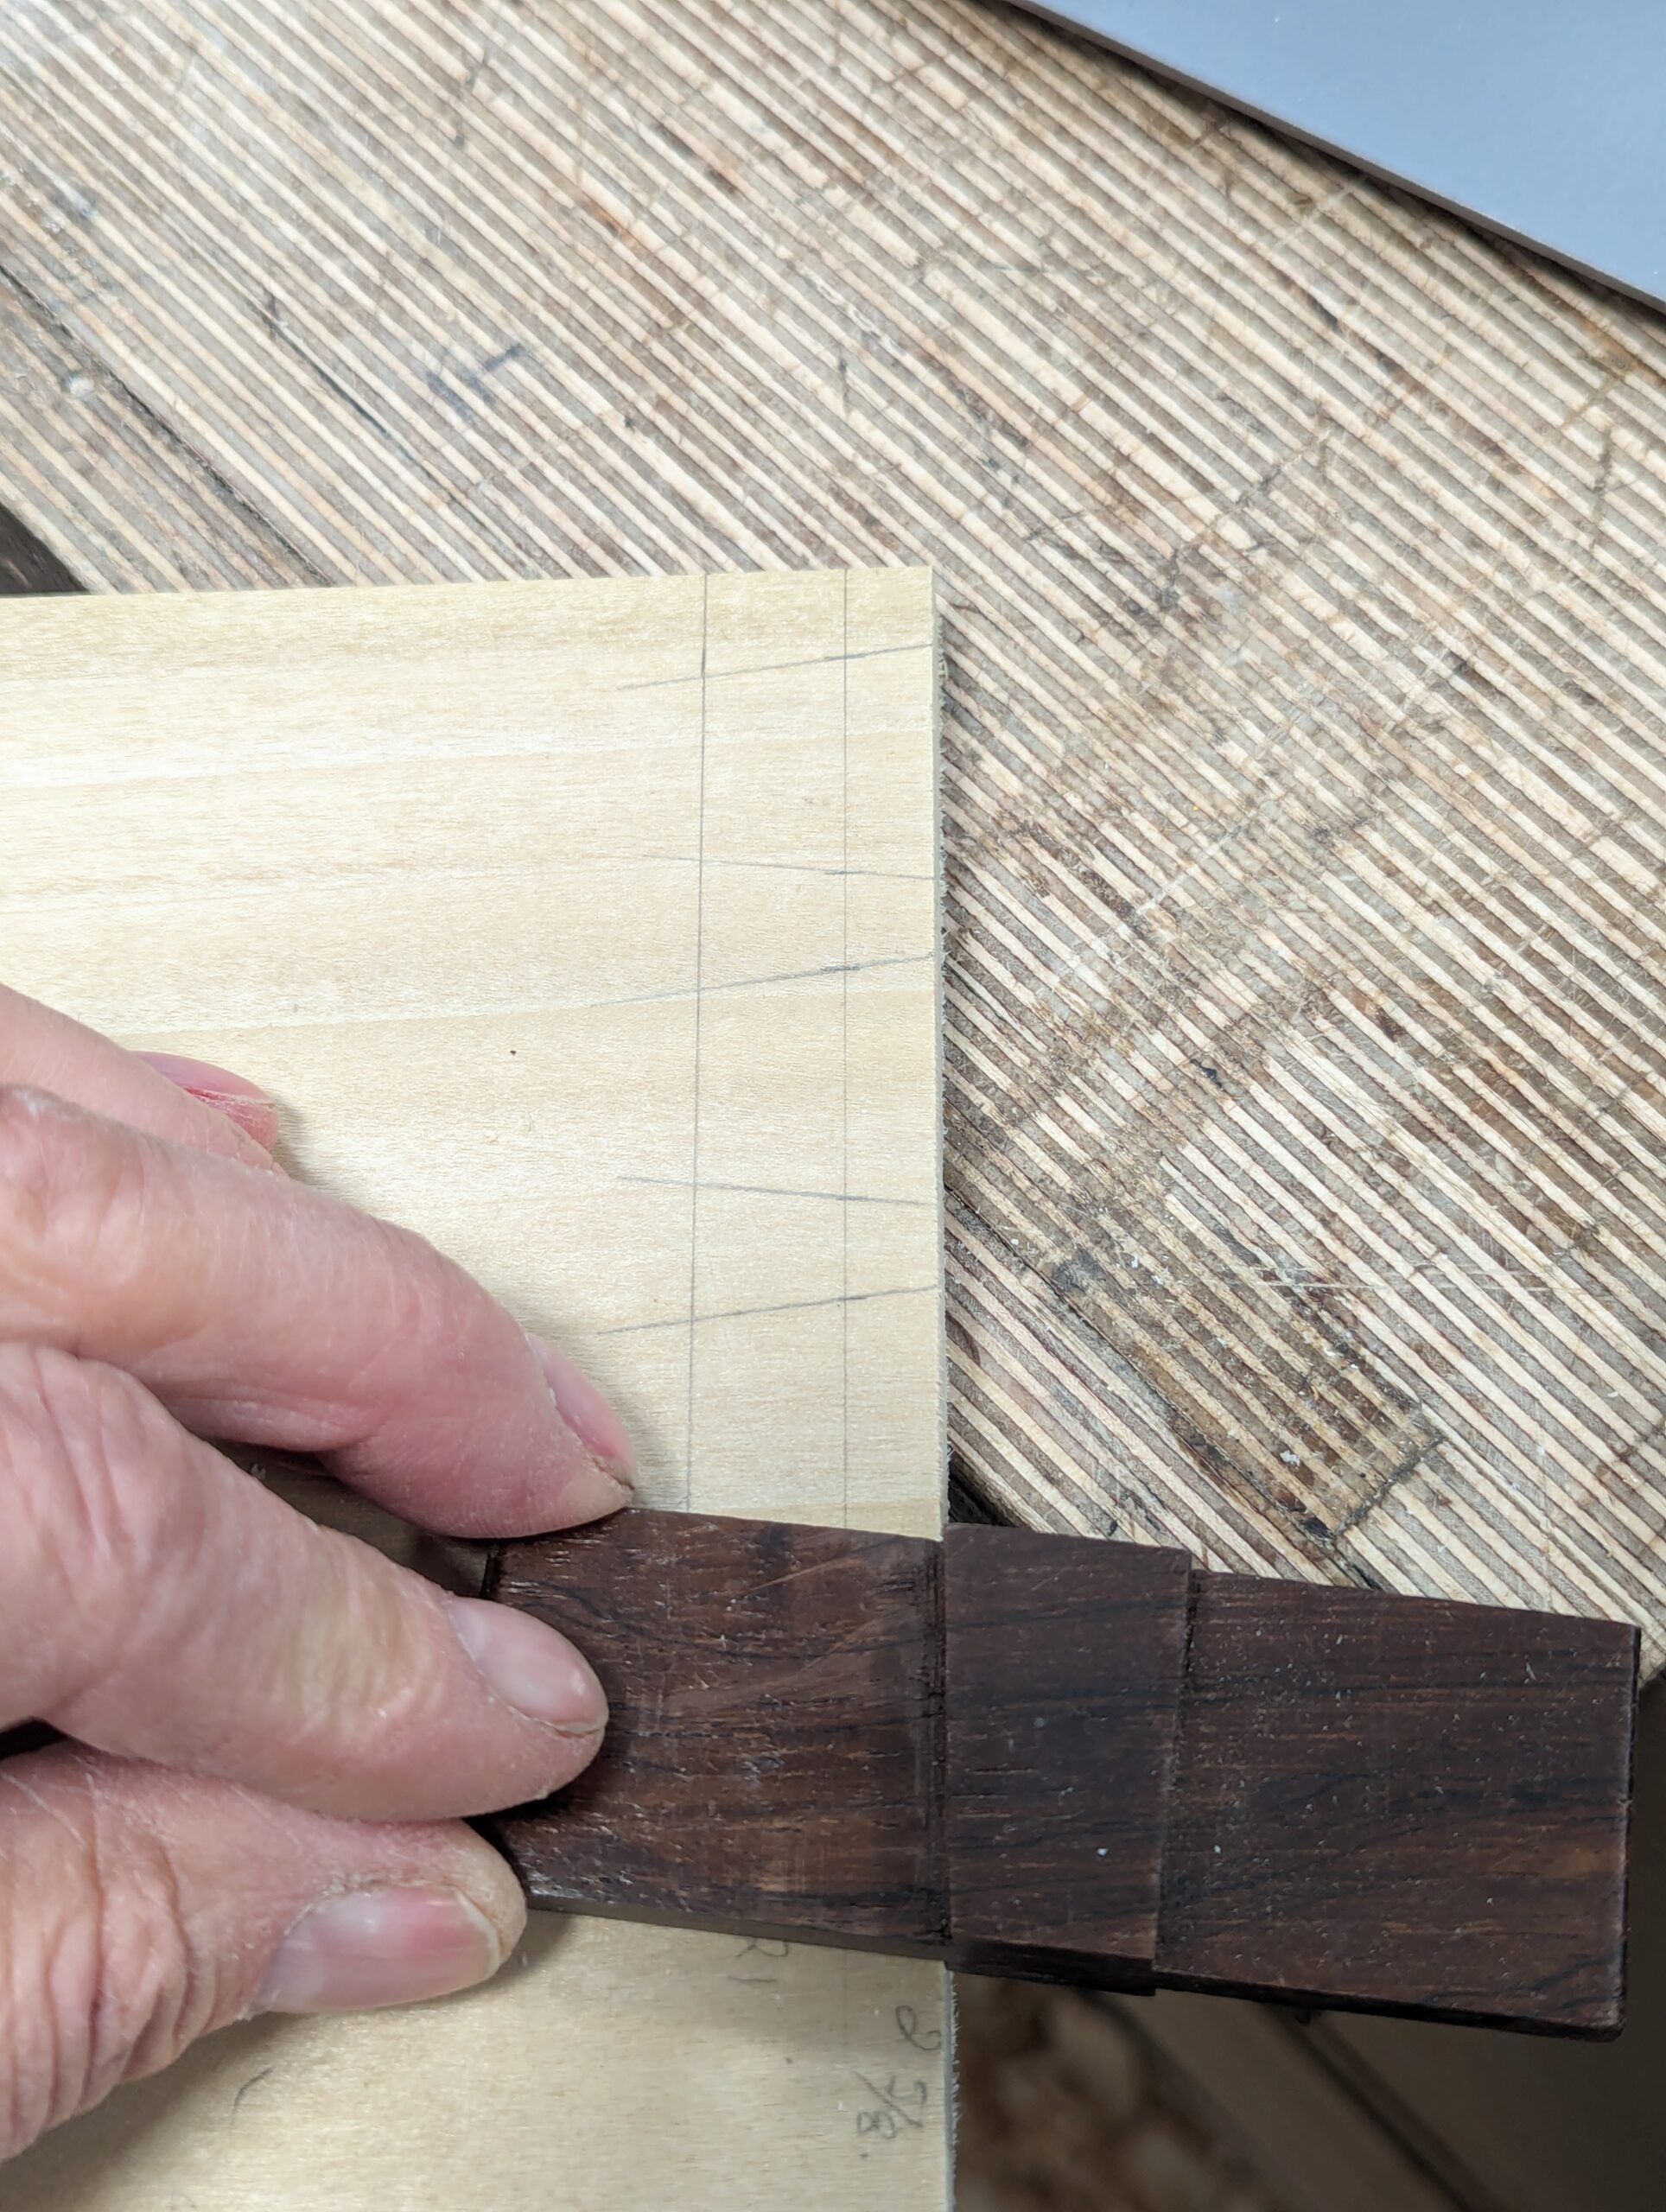
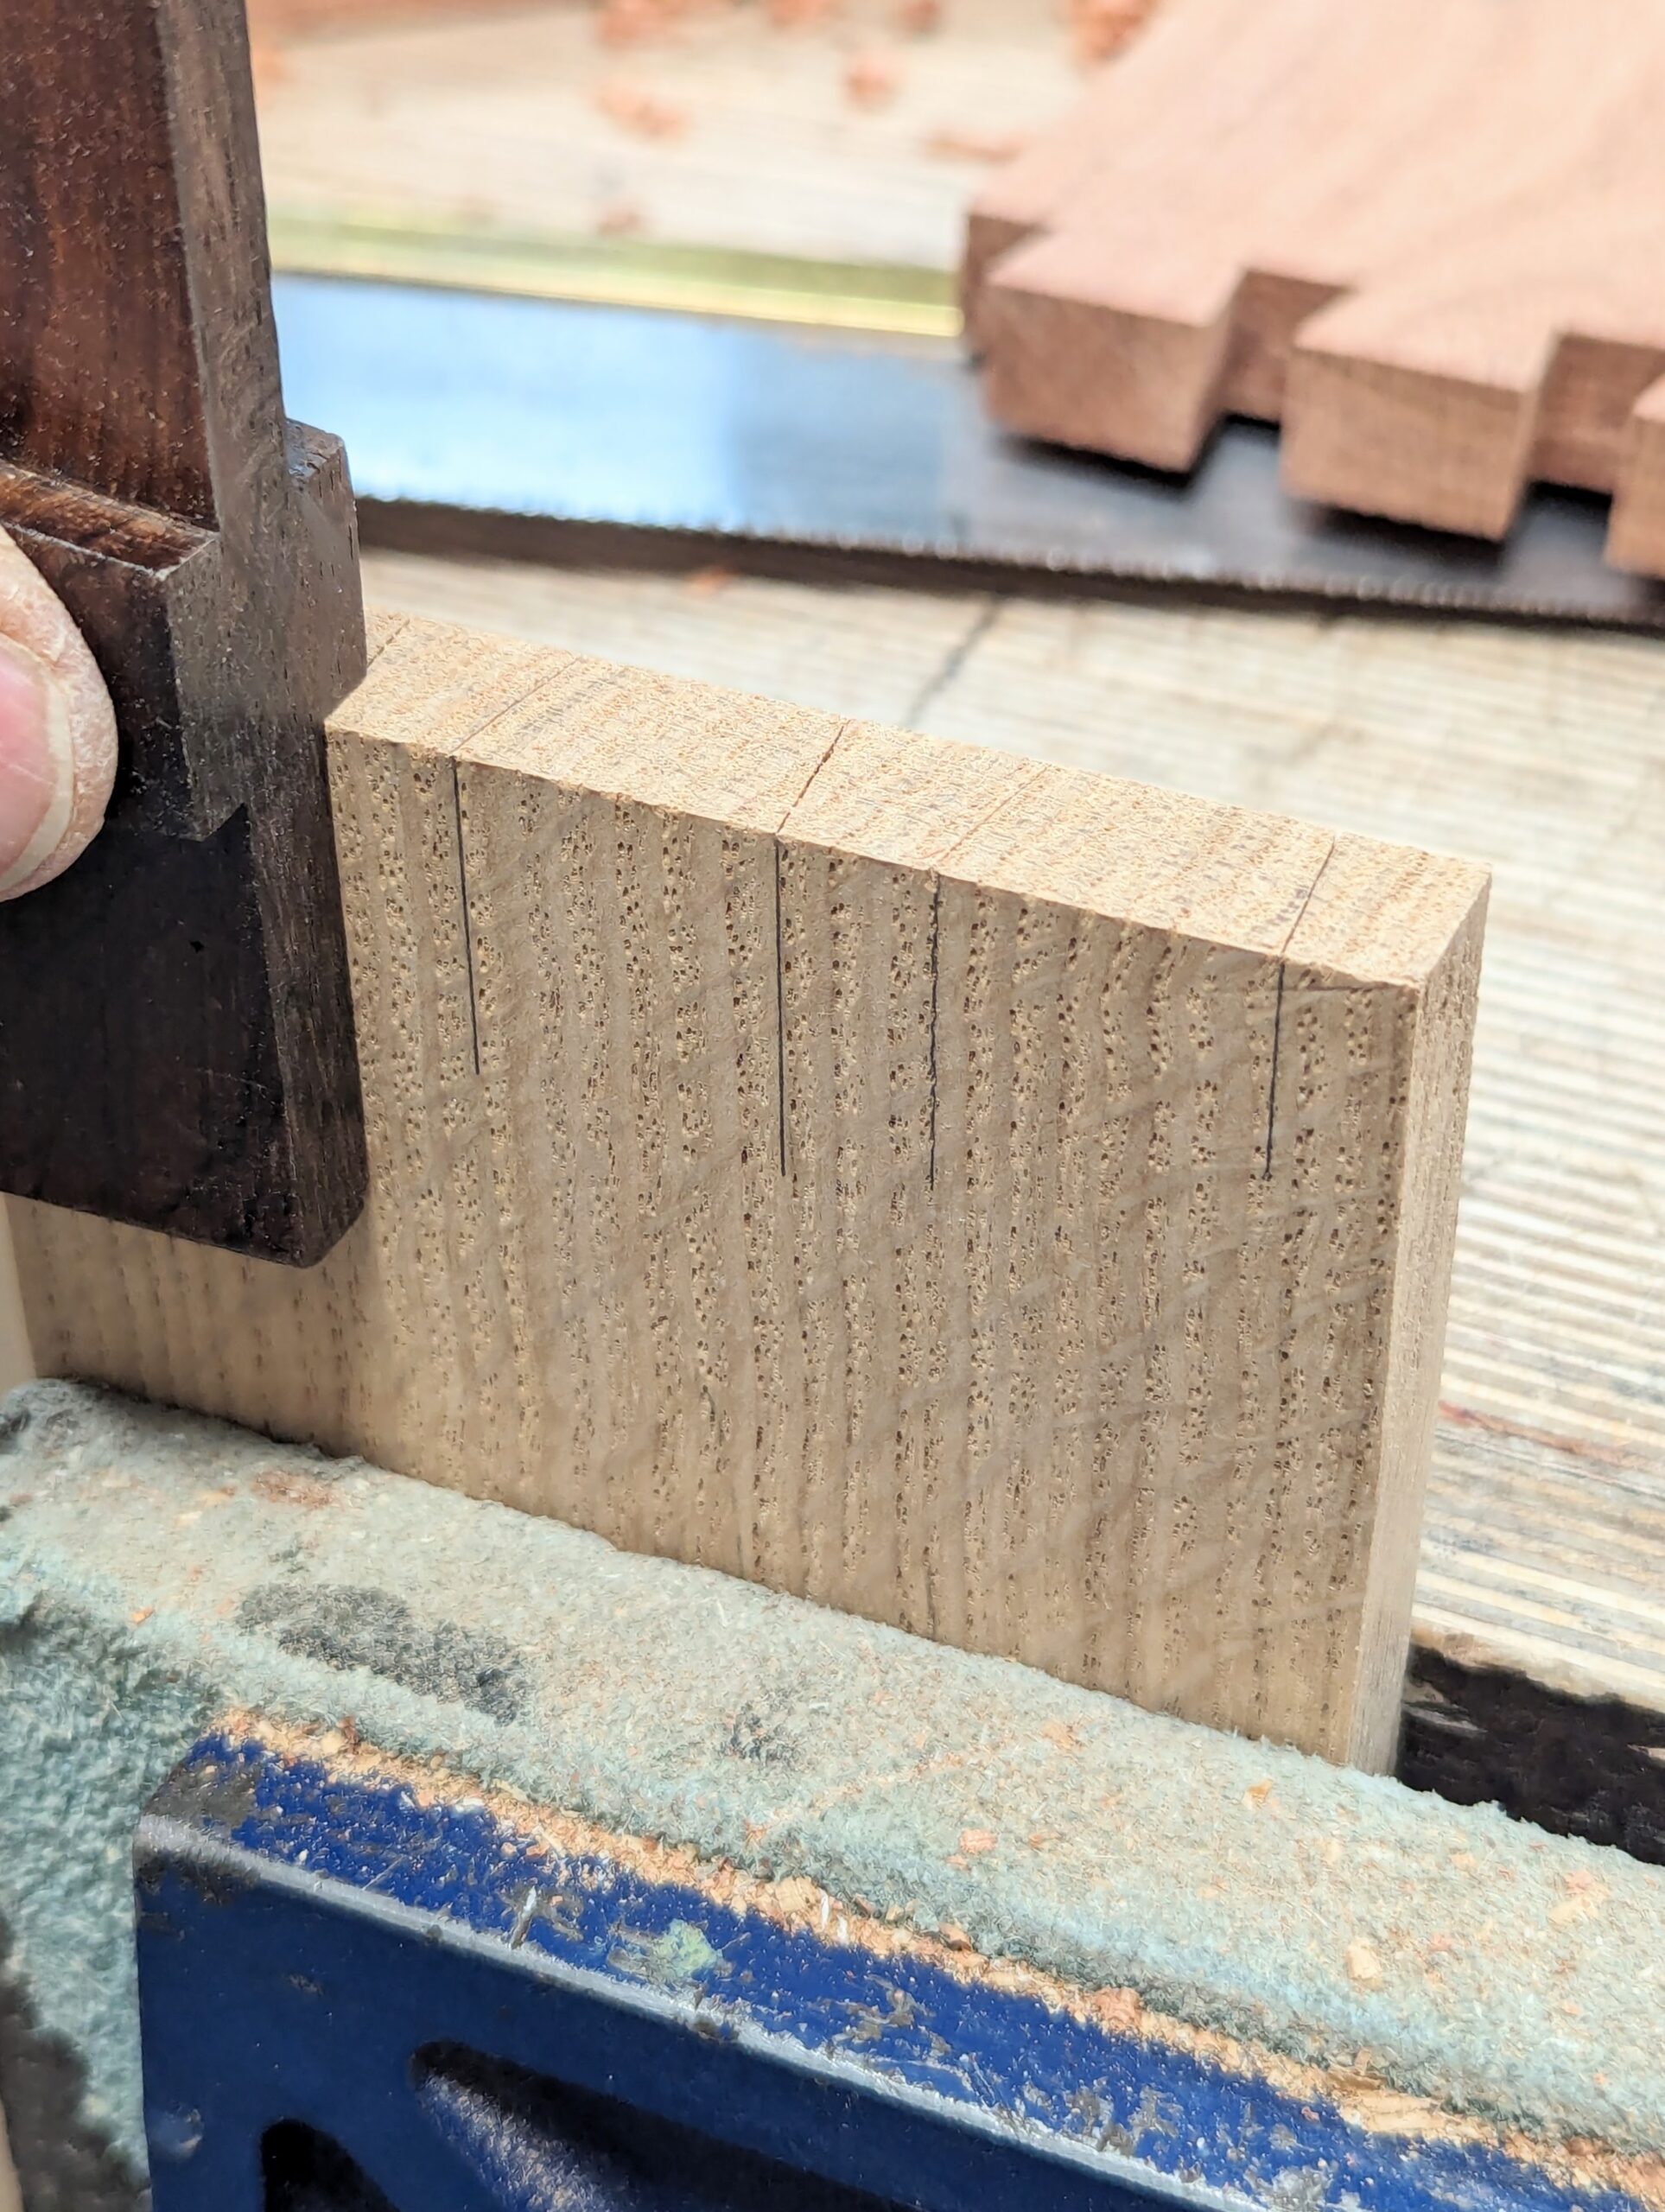
The line on the guide is the line you will place your dovetail piece to and you will clamp these vertically in the vise, lined up on that line. The depth you will cut to on the dovetail piece will be marked on the dovetail piece.
Cutting the dovetails
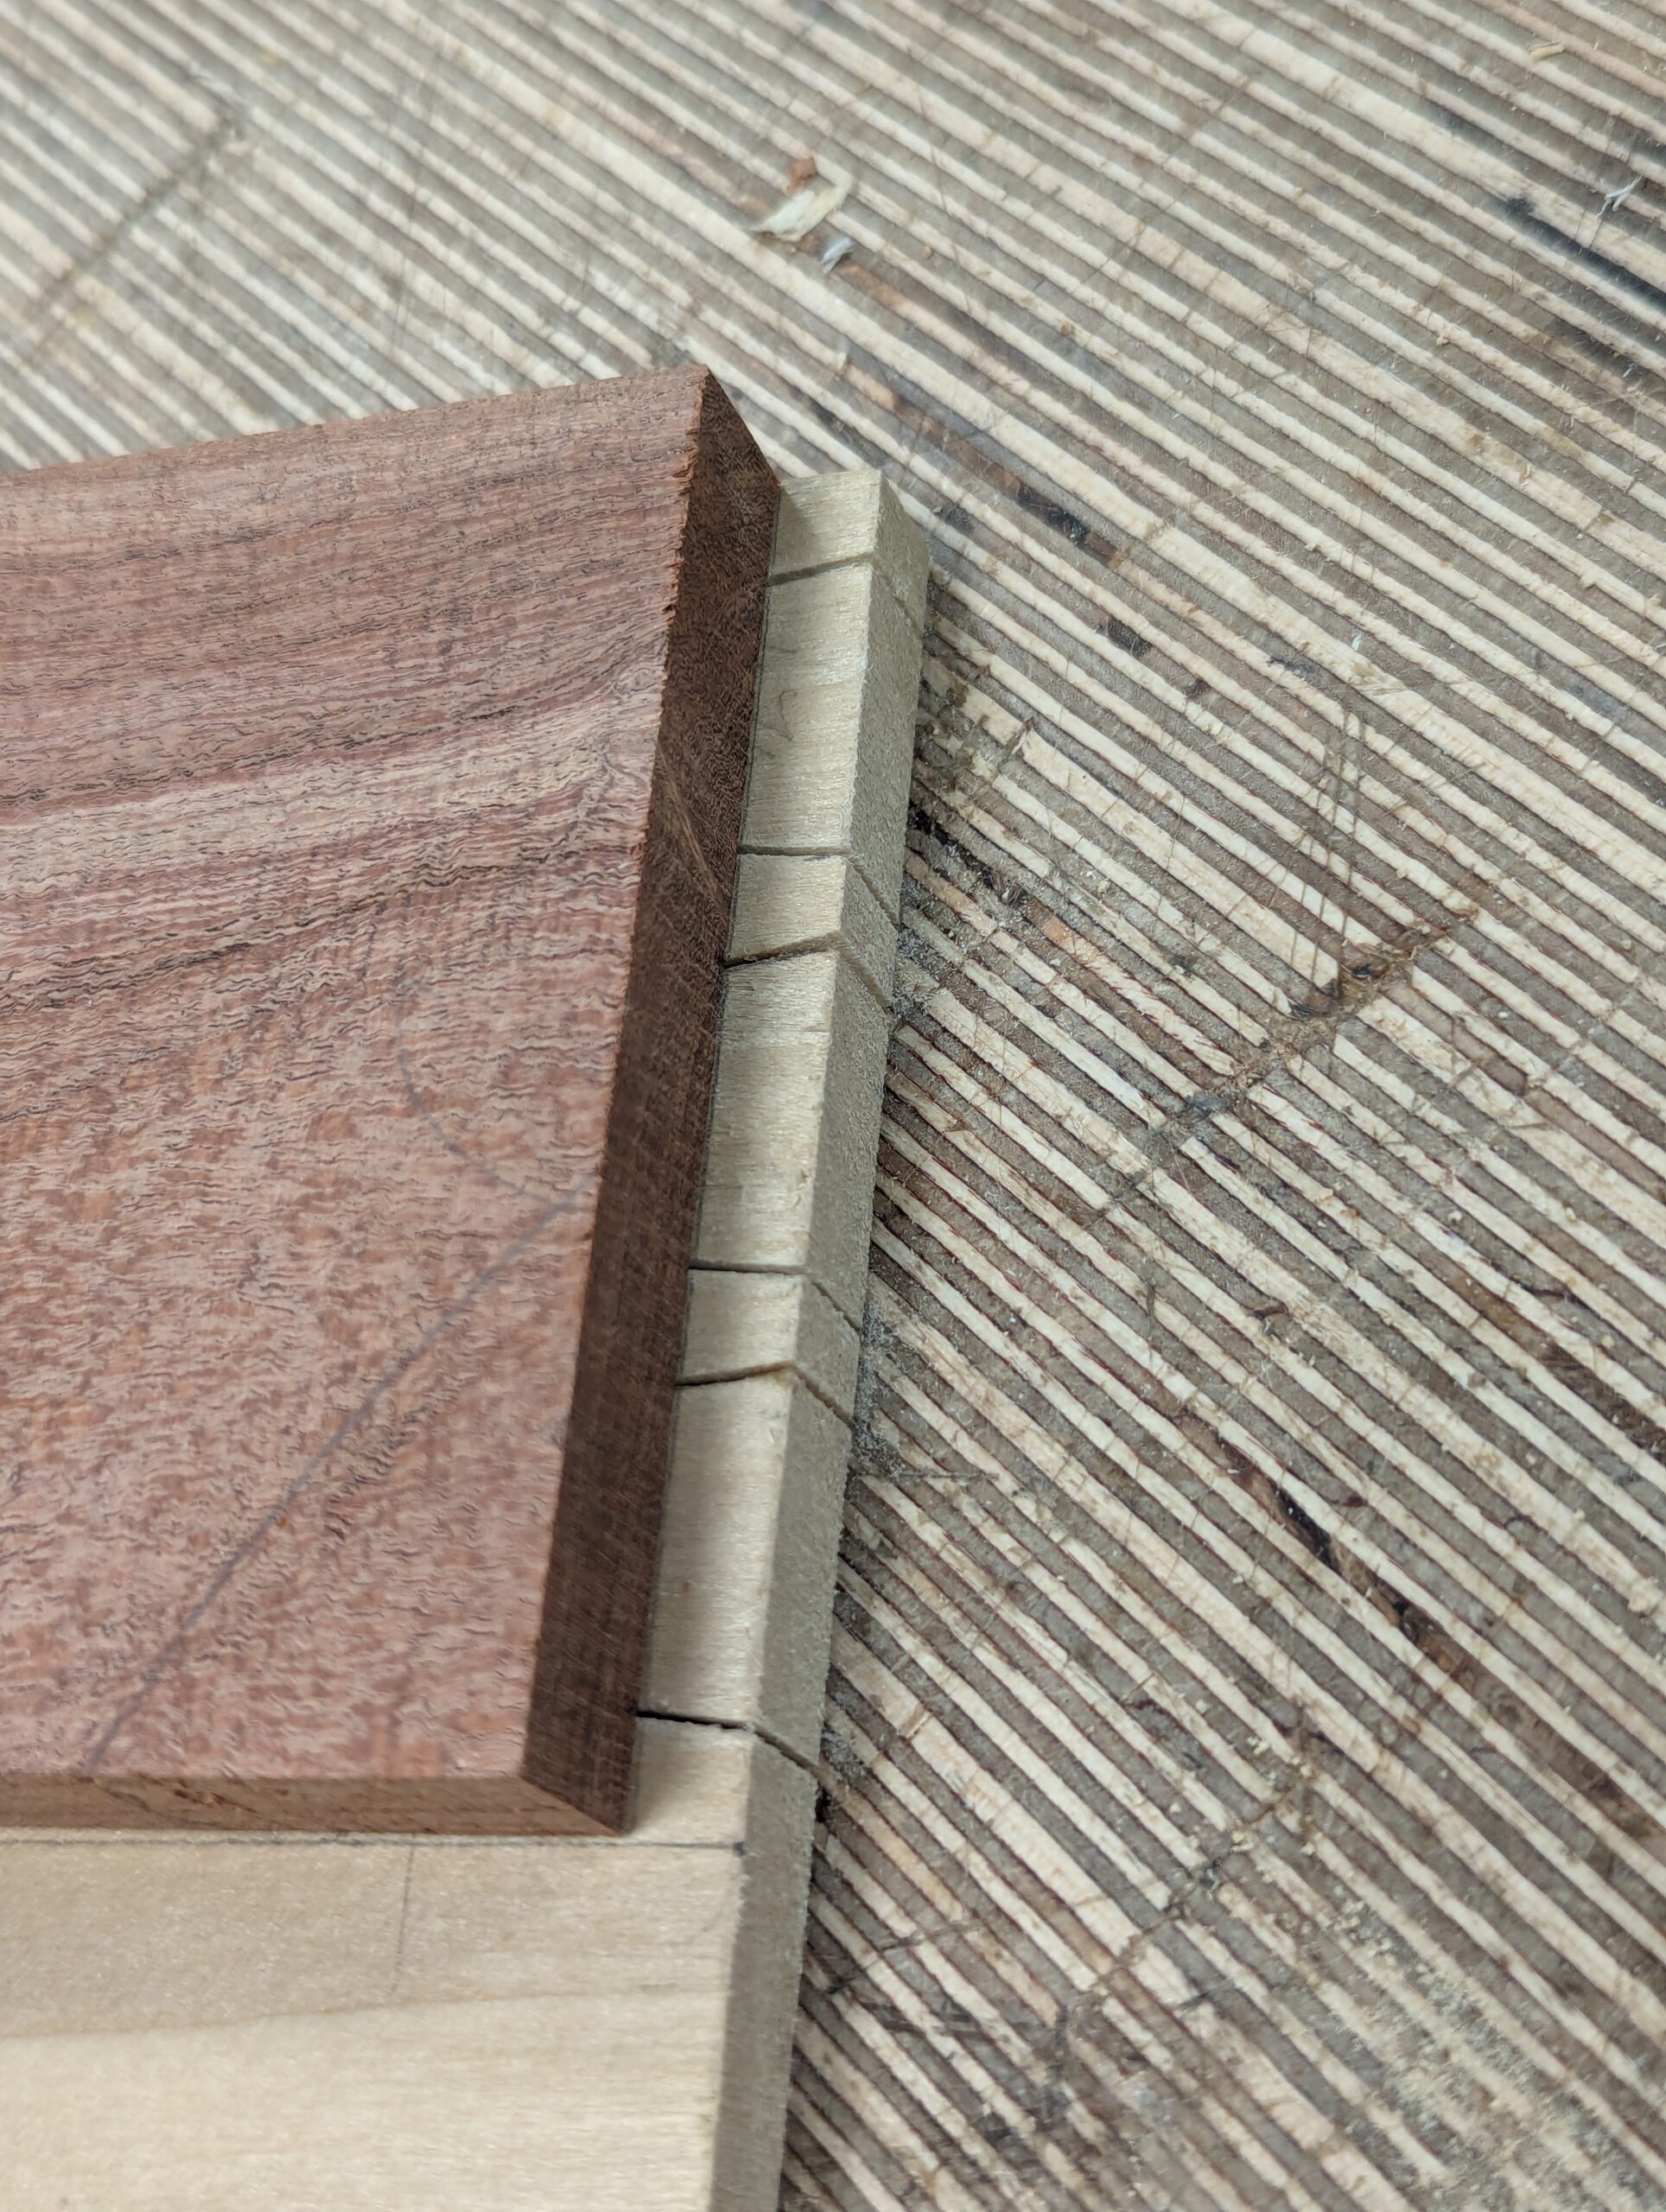
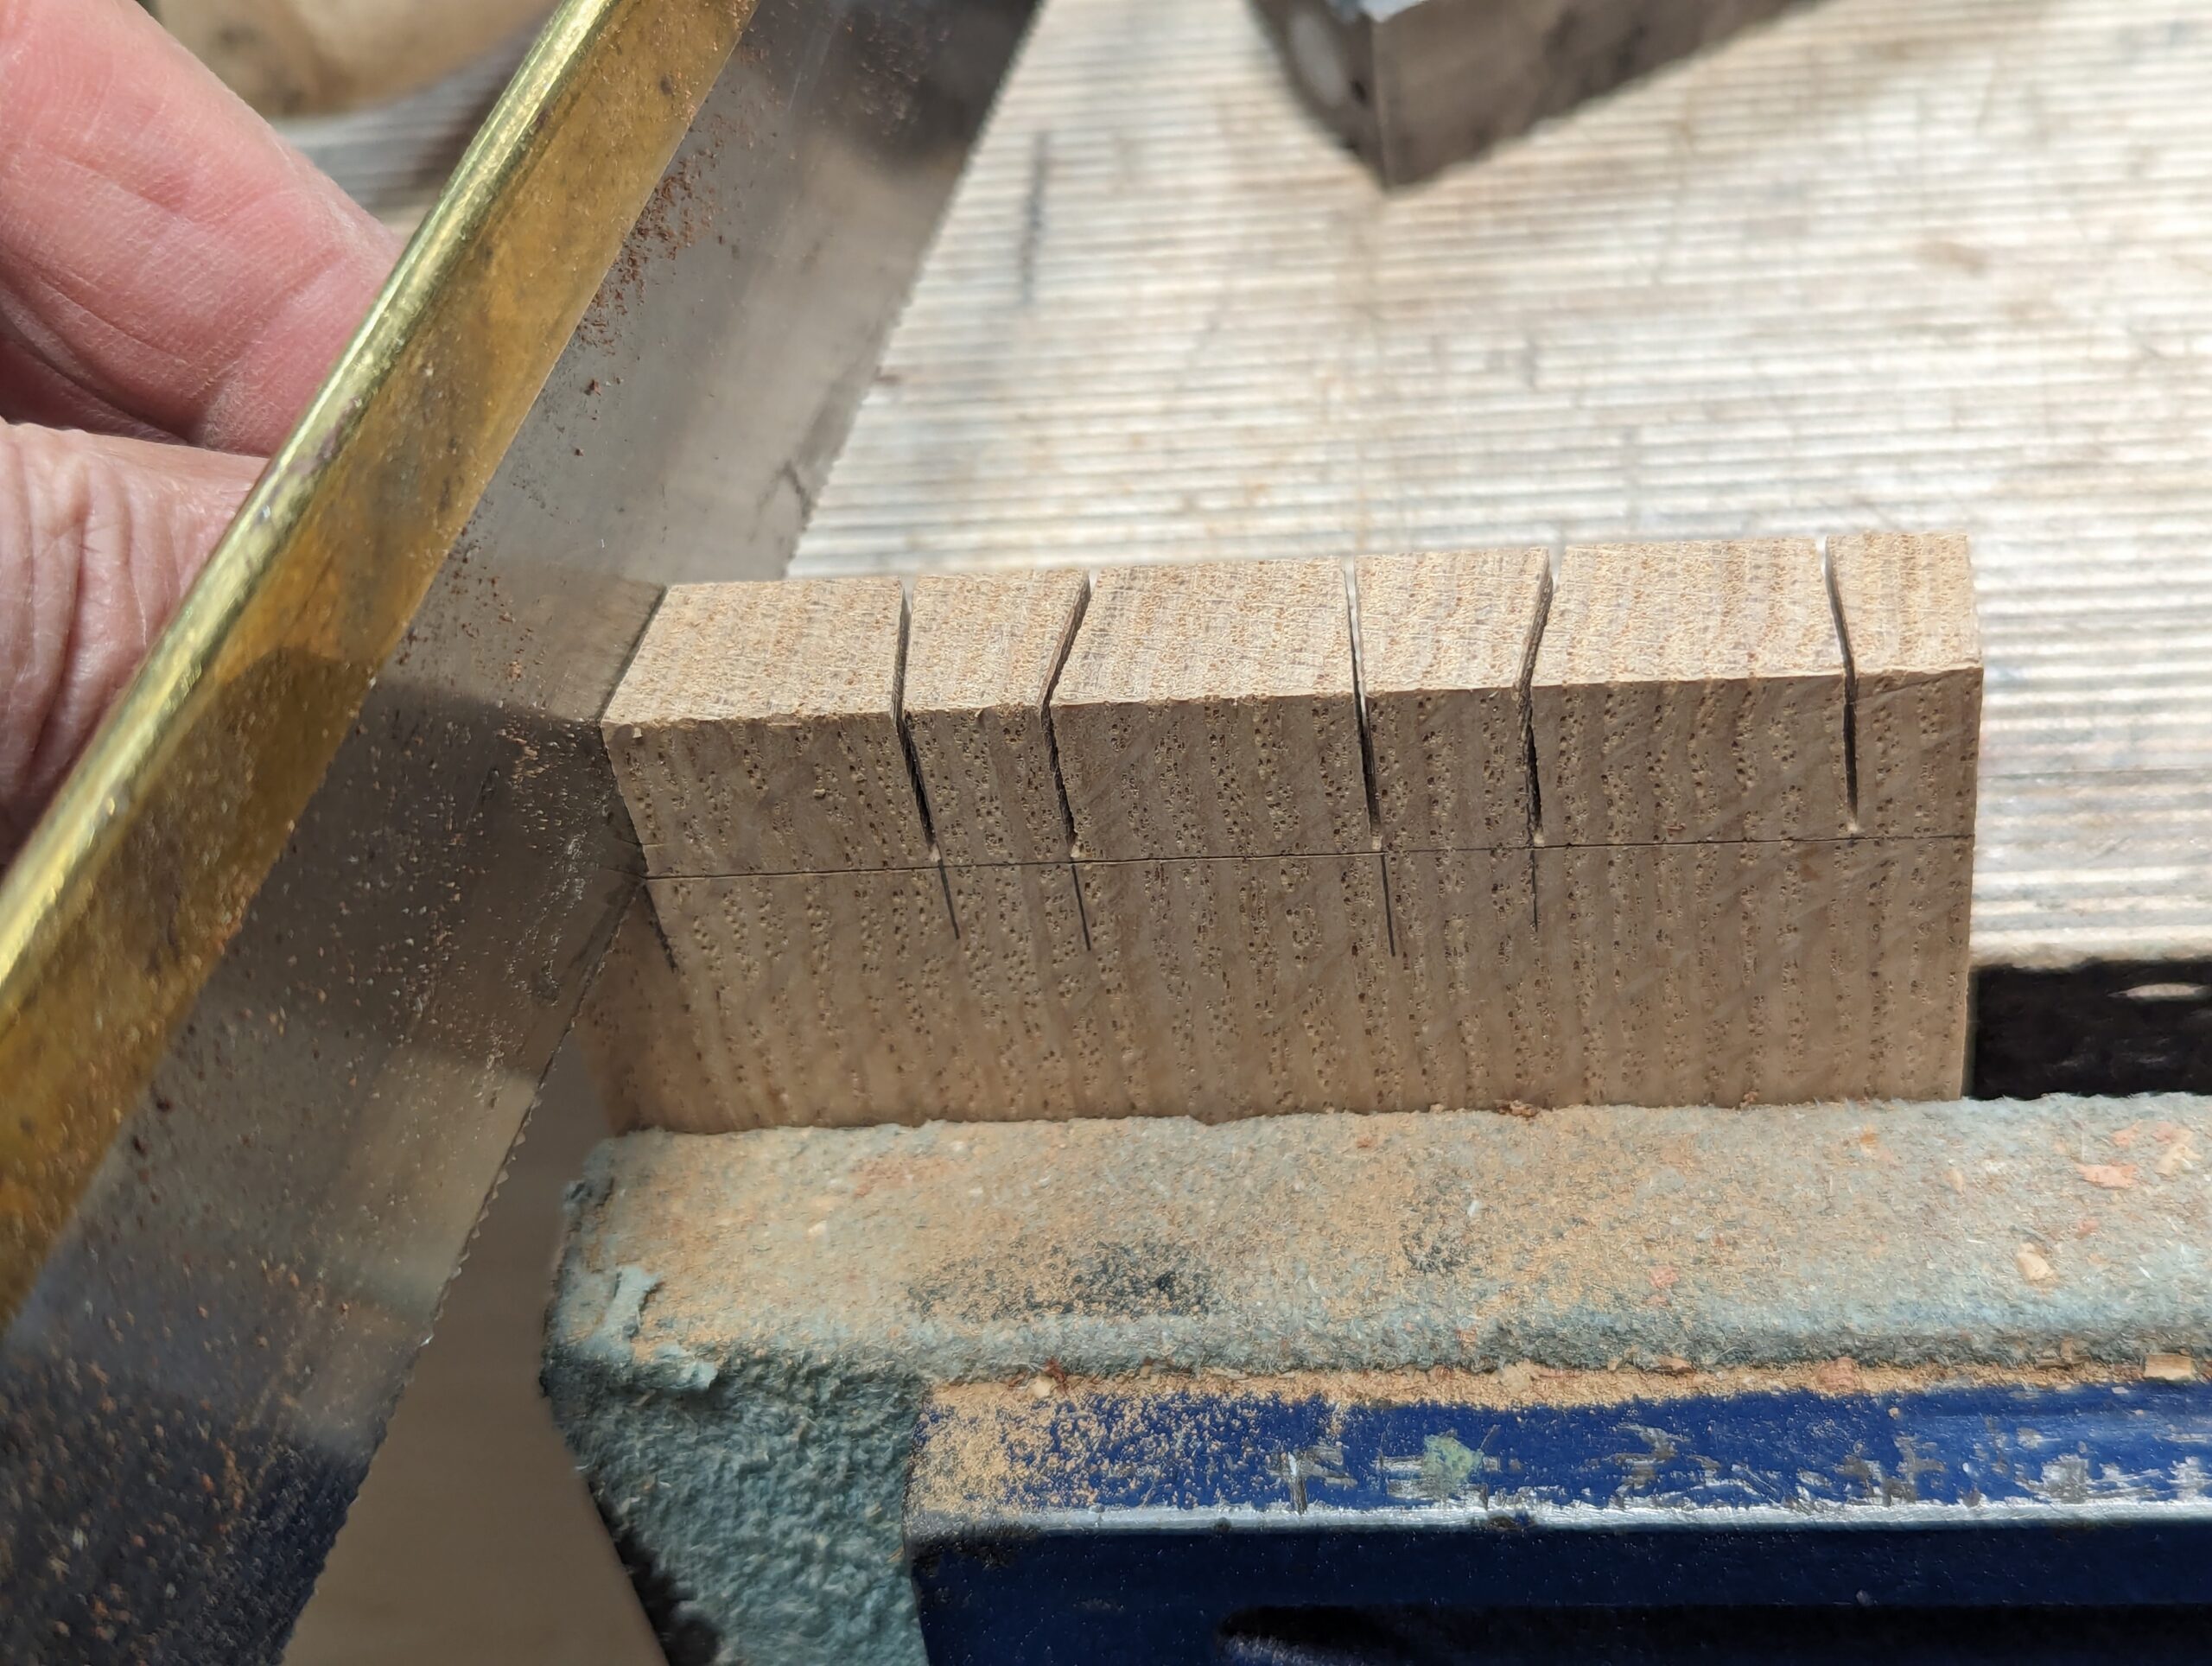
With the guide and the dovetail piece clamped firmly together in the vise, you can now follow the guide with your dovetail saw with confidence.
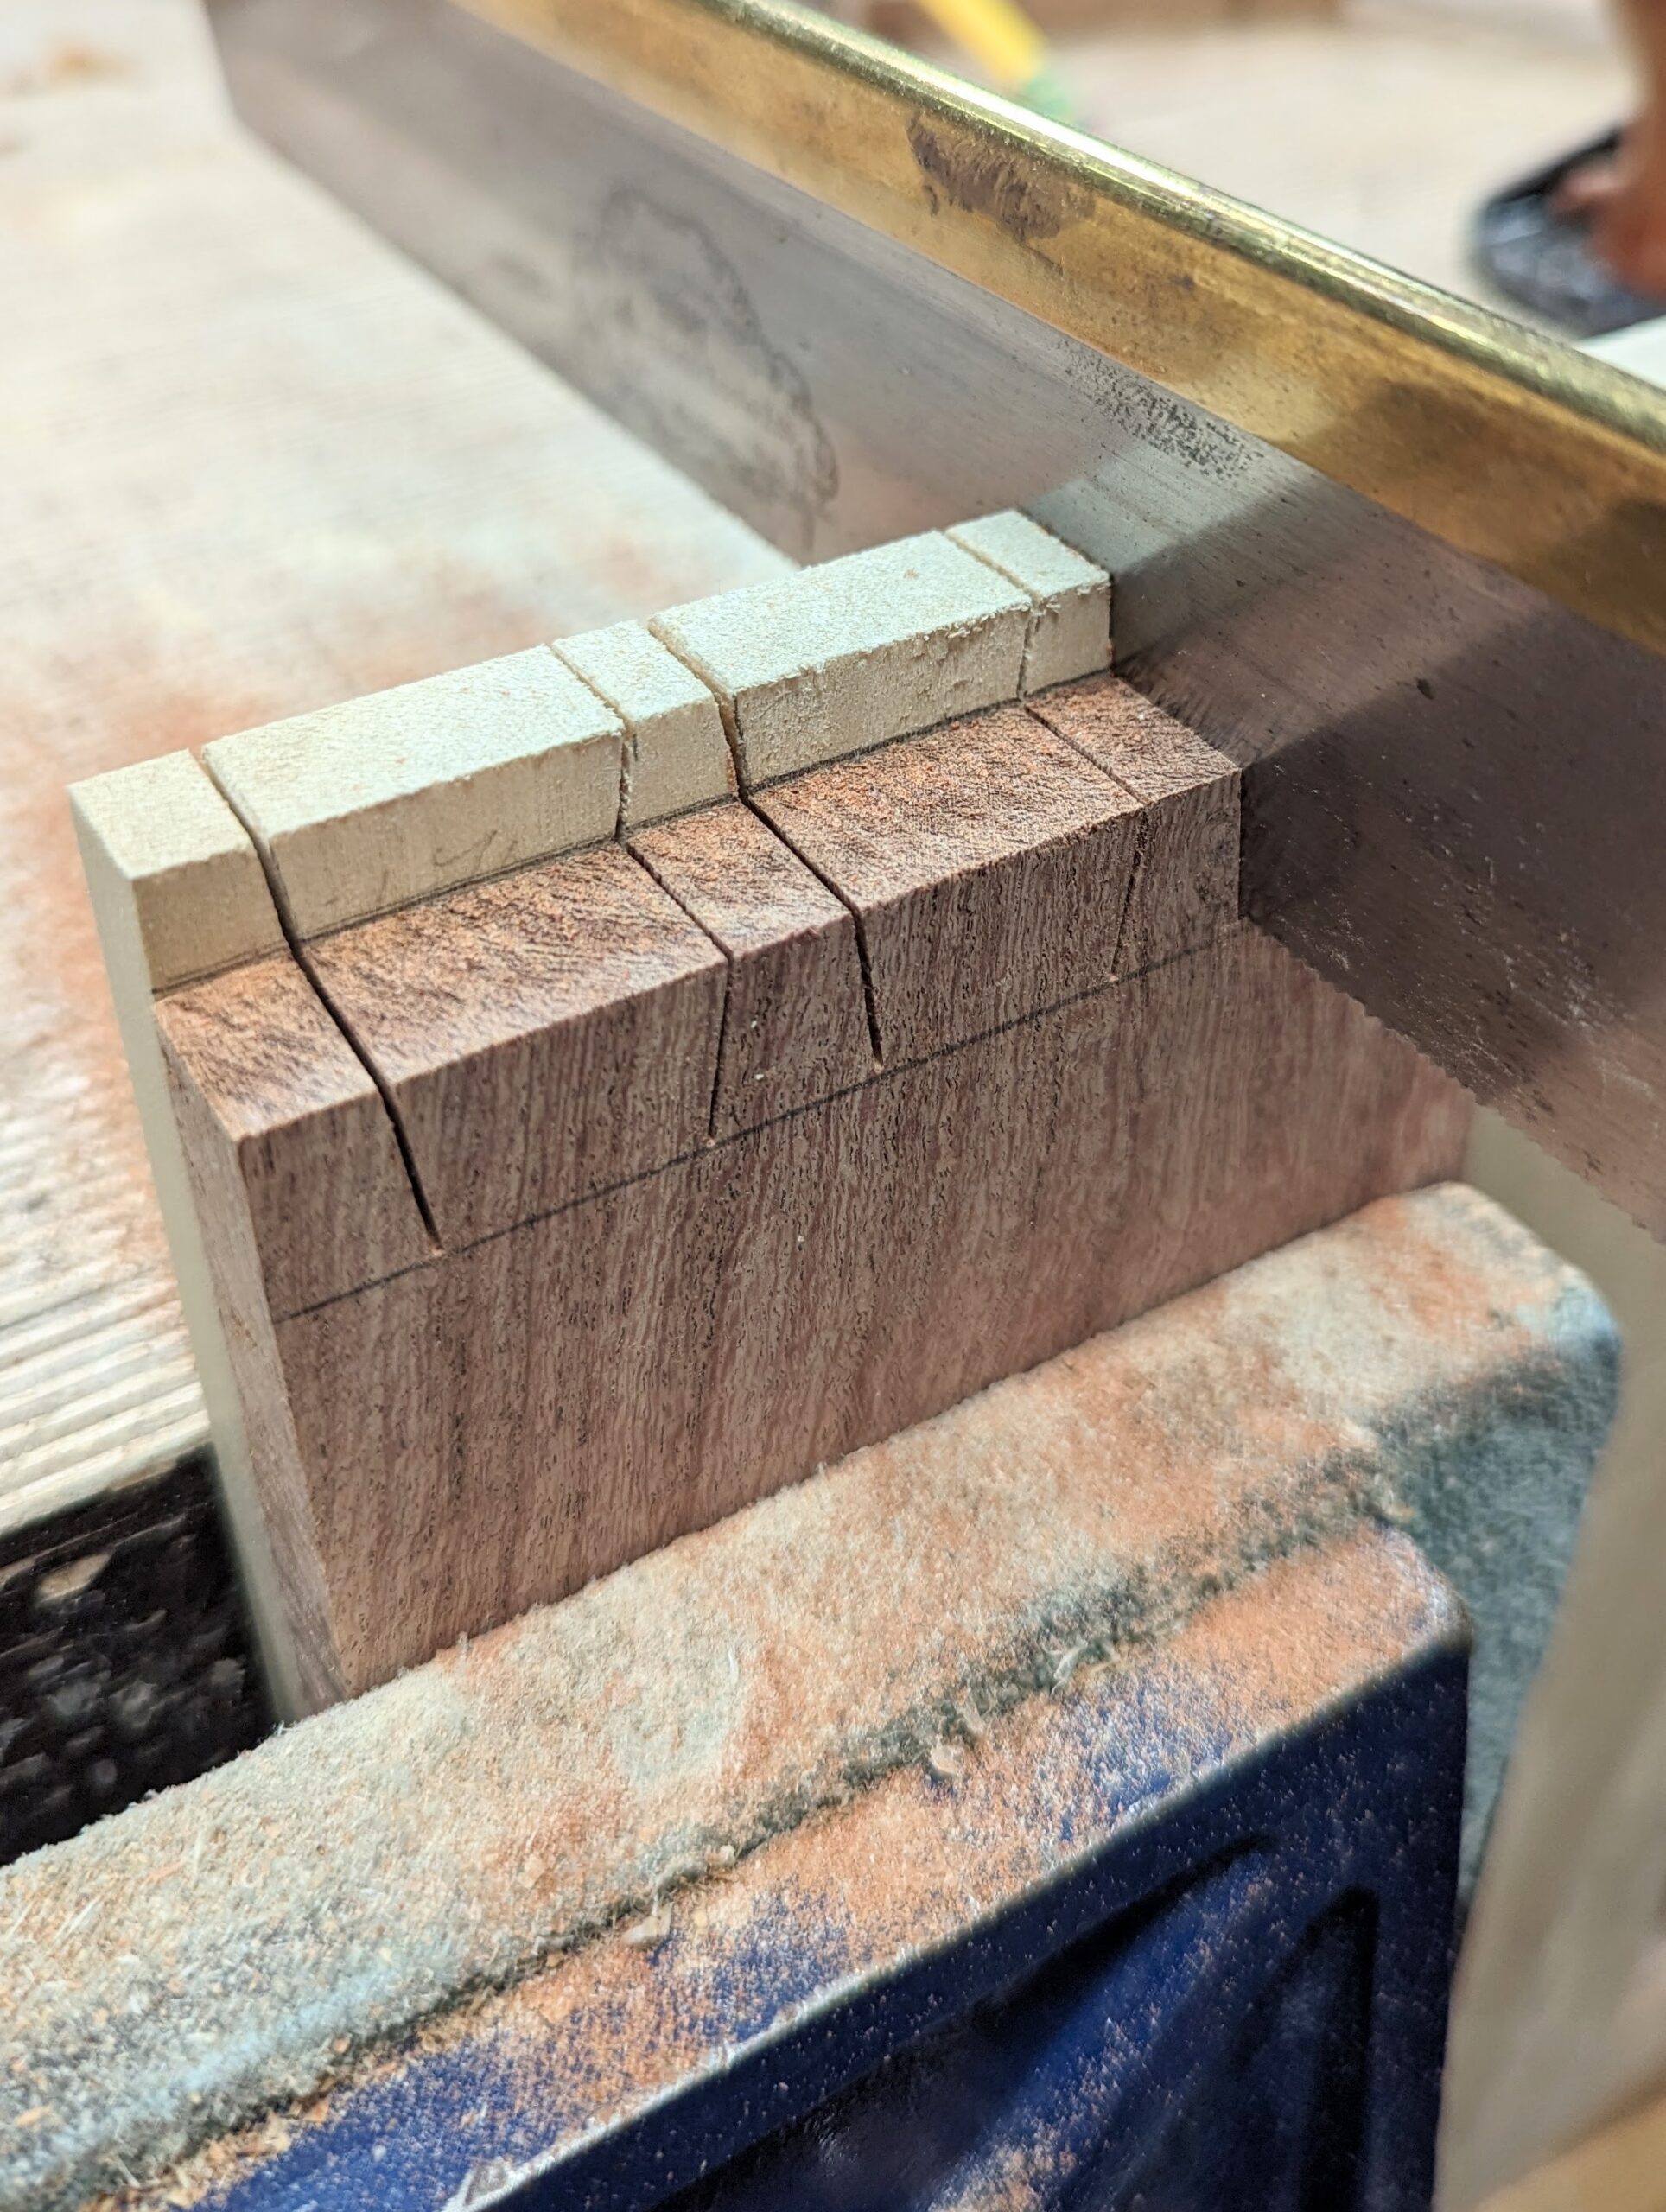
Stop just above the depth line.
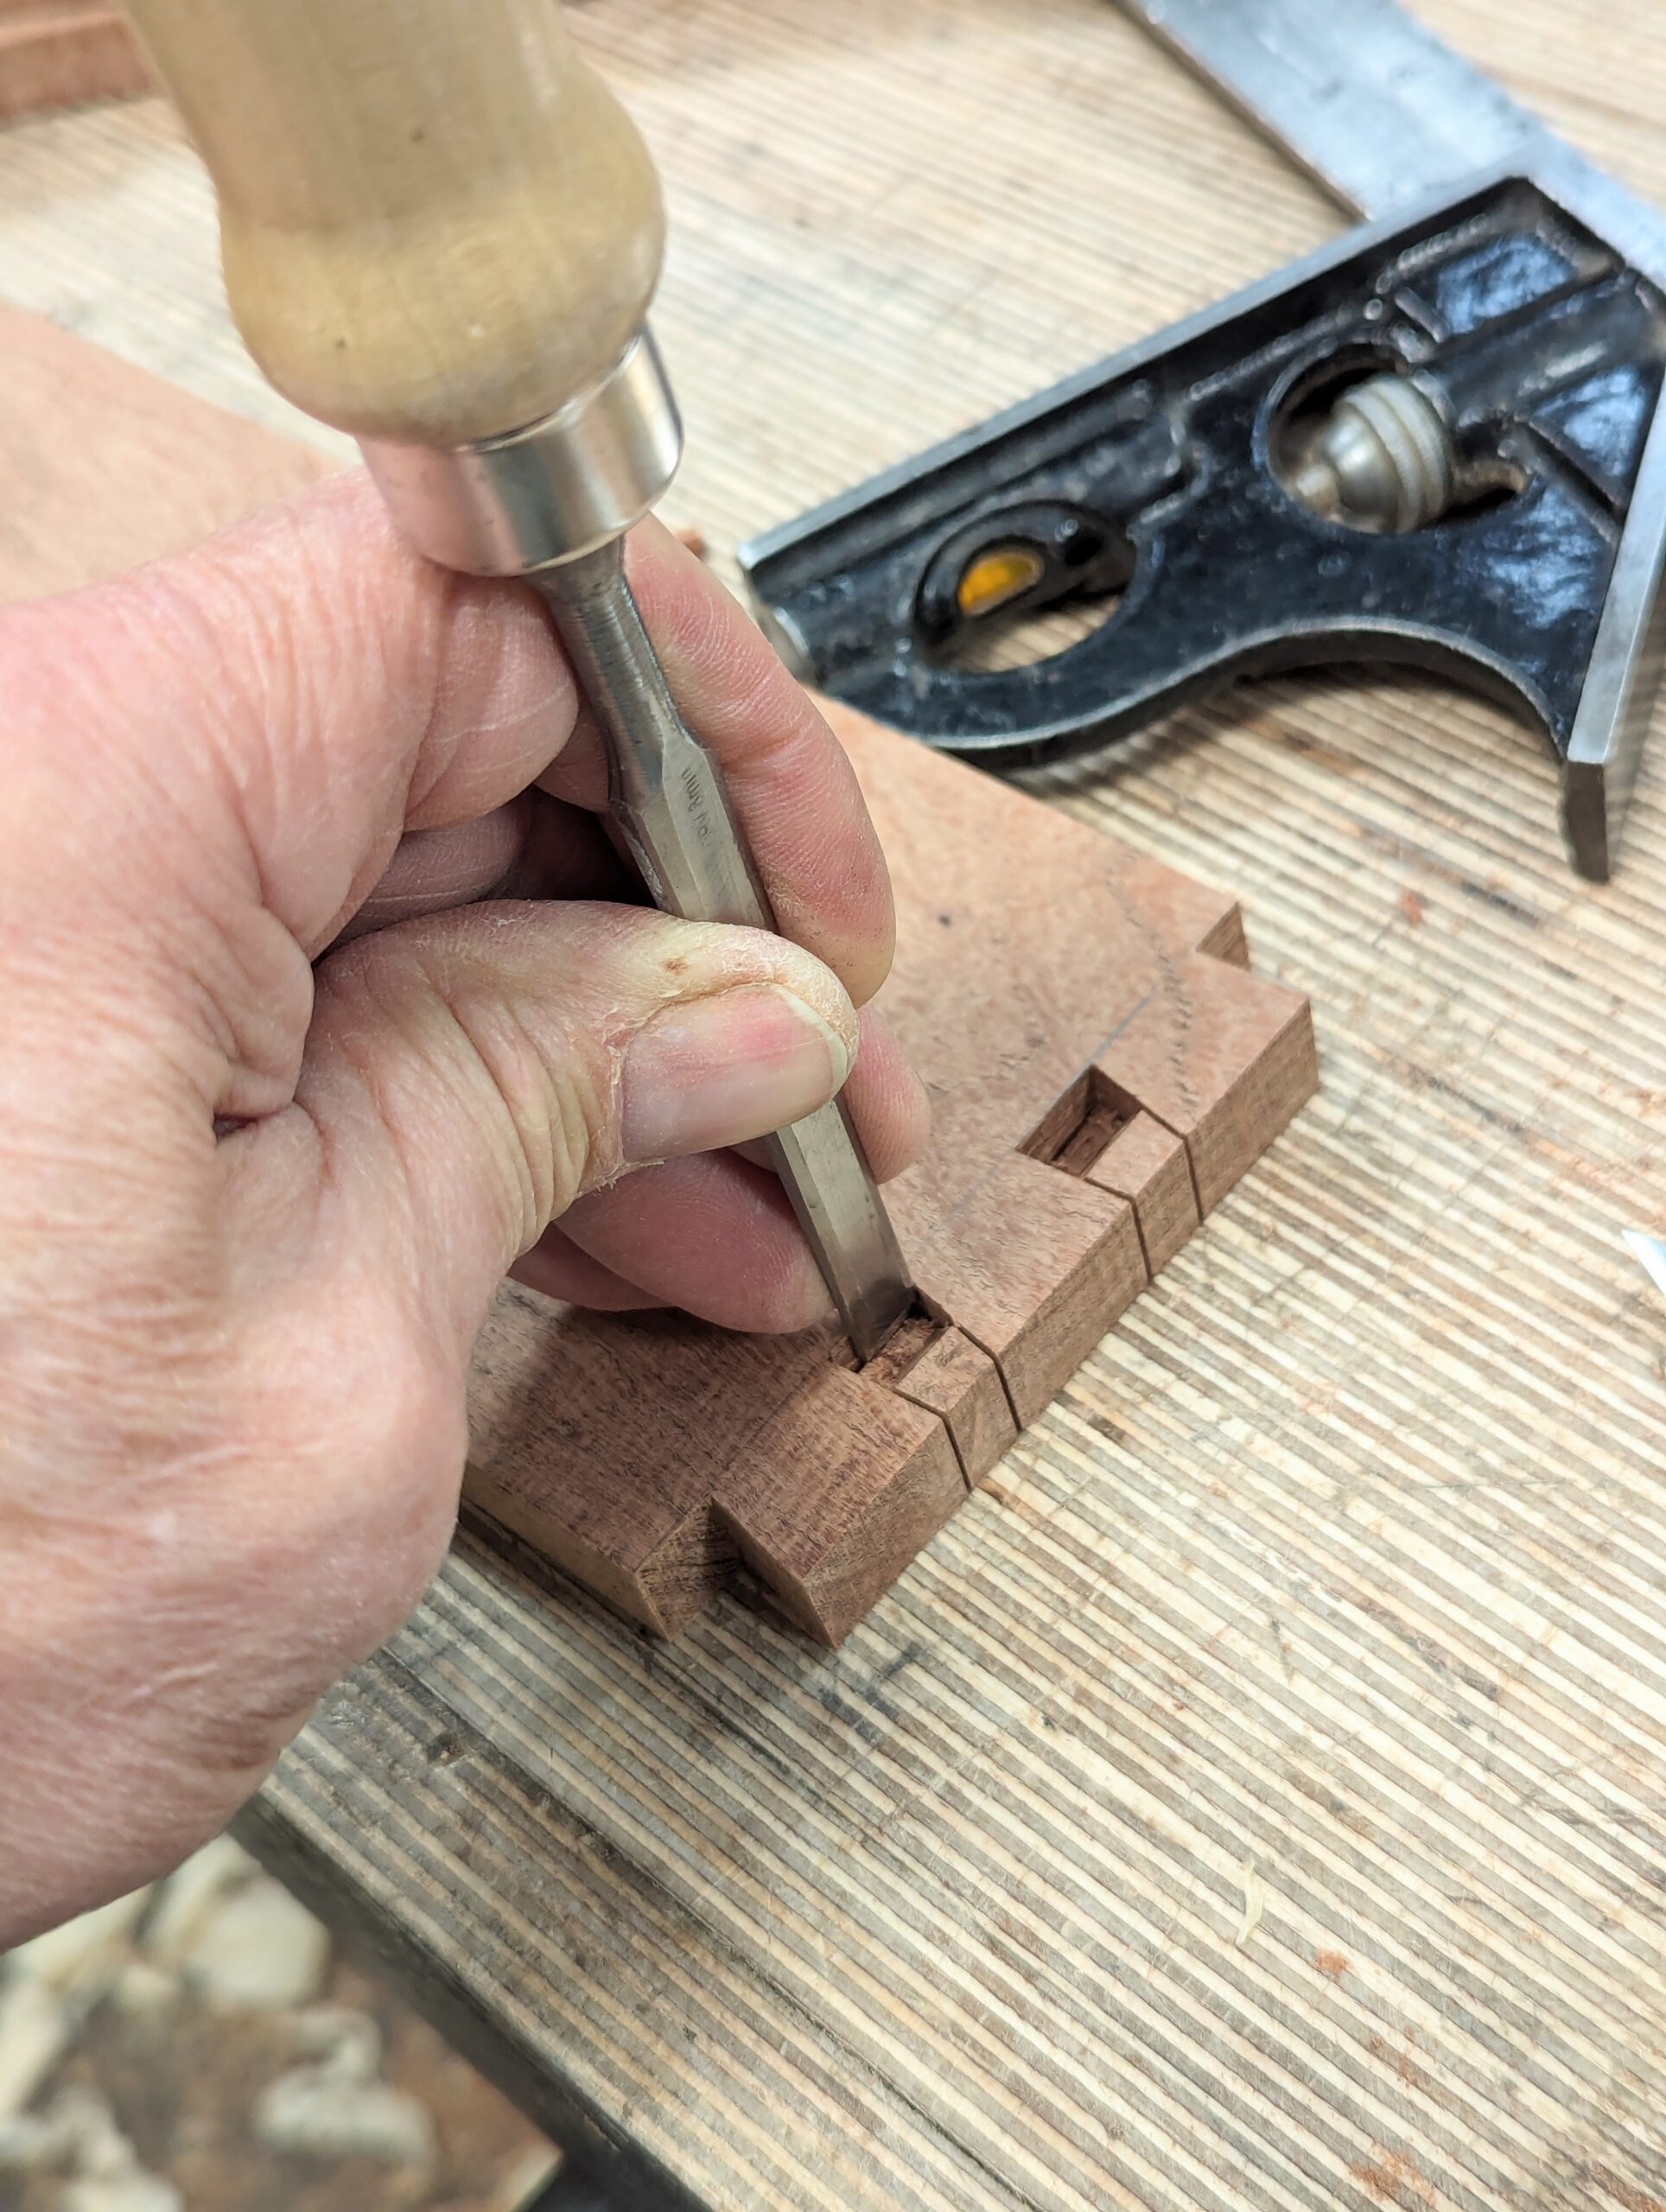
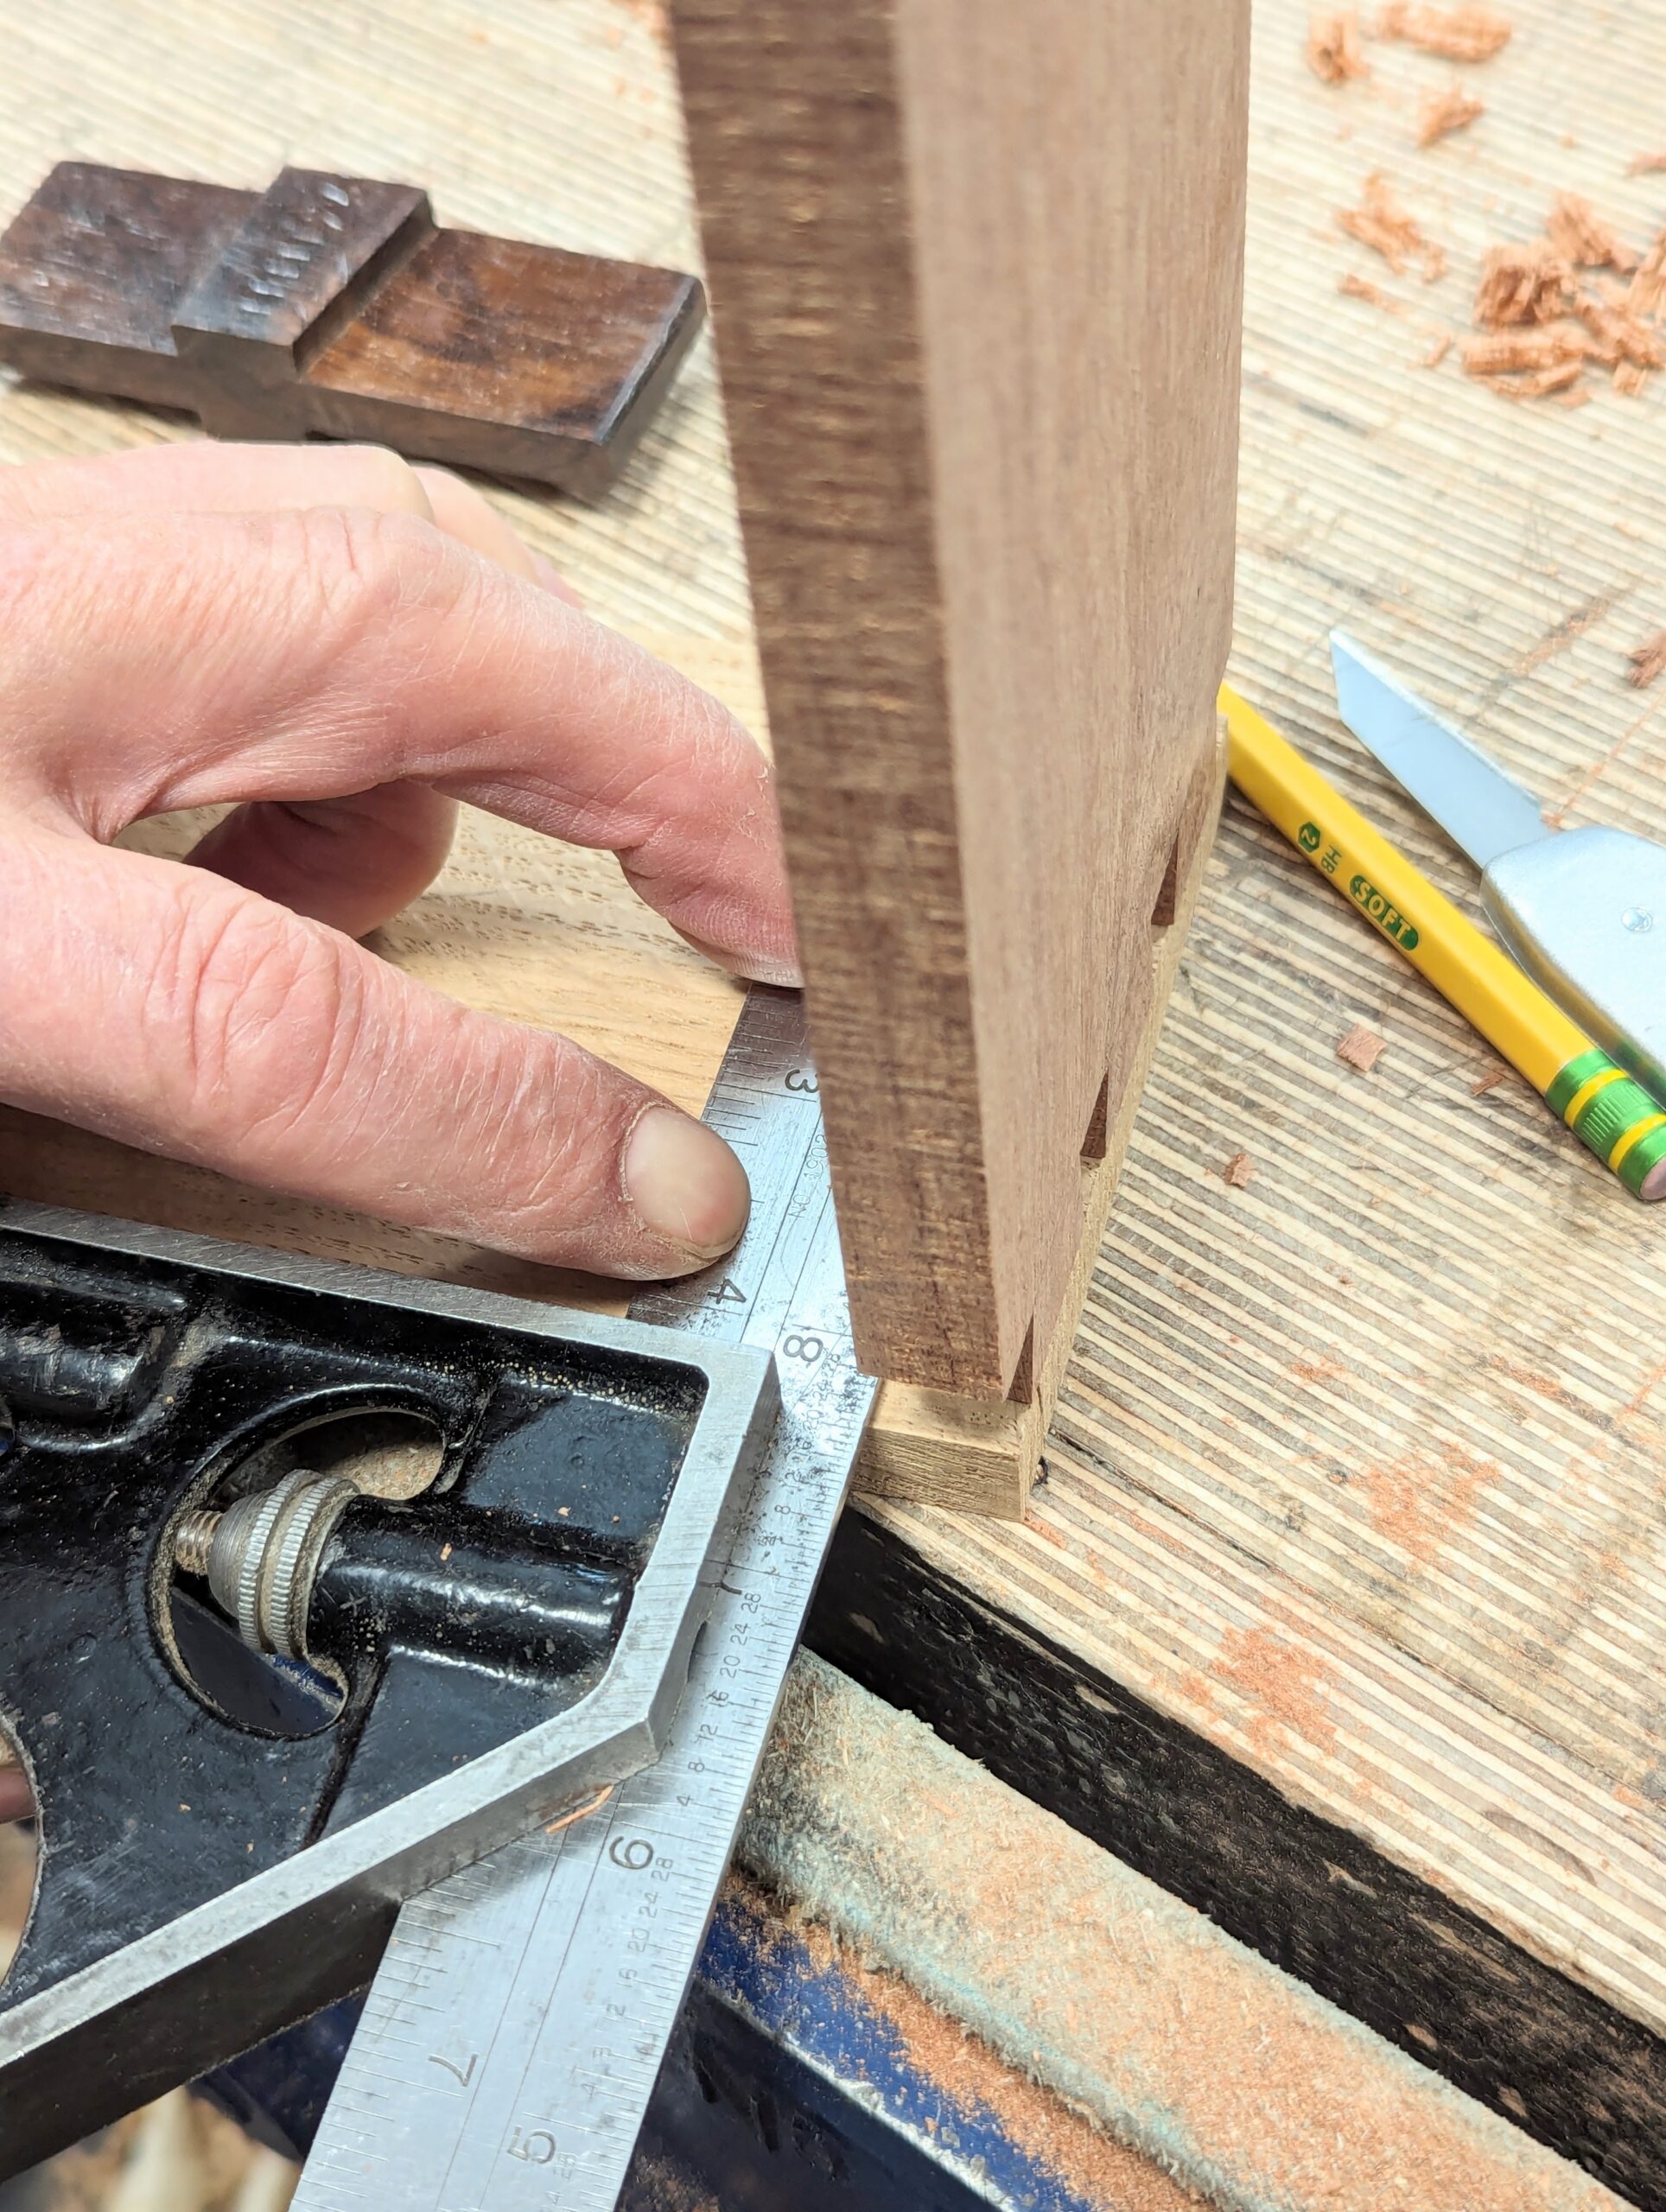
Removing the waste follows a distinct pattern. I prefer to remove my waste with chisel chop cutting from both sides of the workpiece so that the finished cut meets midway in the section. This then requires a knifewall transferring all the way around the end. Establish the distance by lining up the adjacent workpiece with the end of the dovetail piece and lining the square up to run your knifewall between and either side of the saw kerfs.
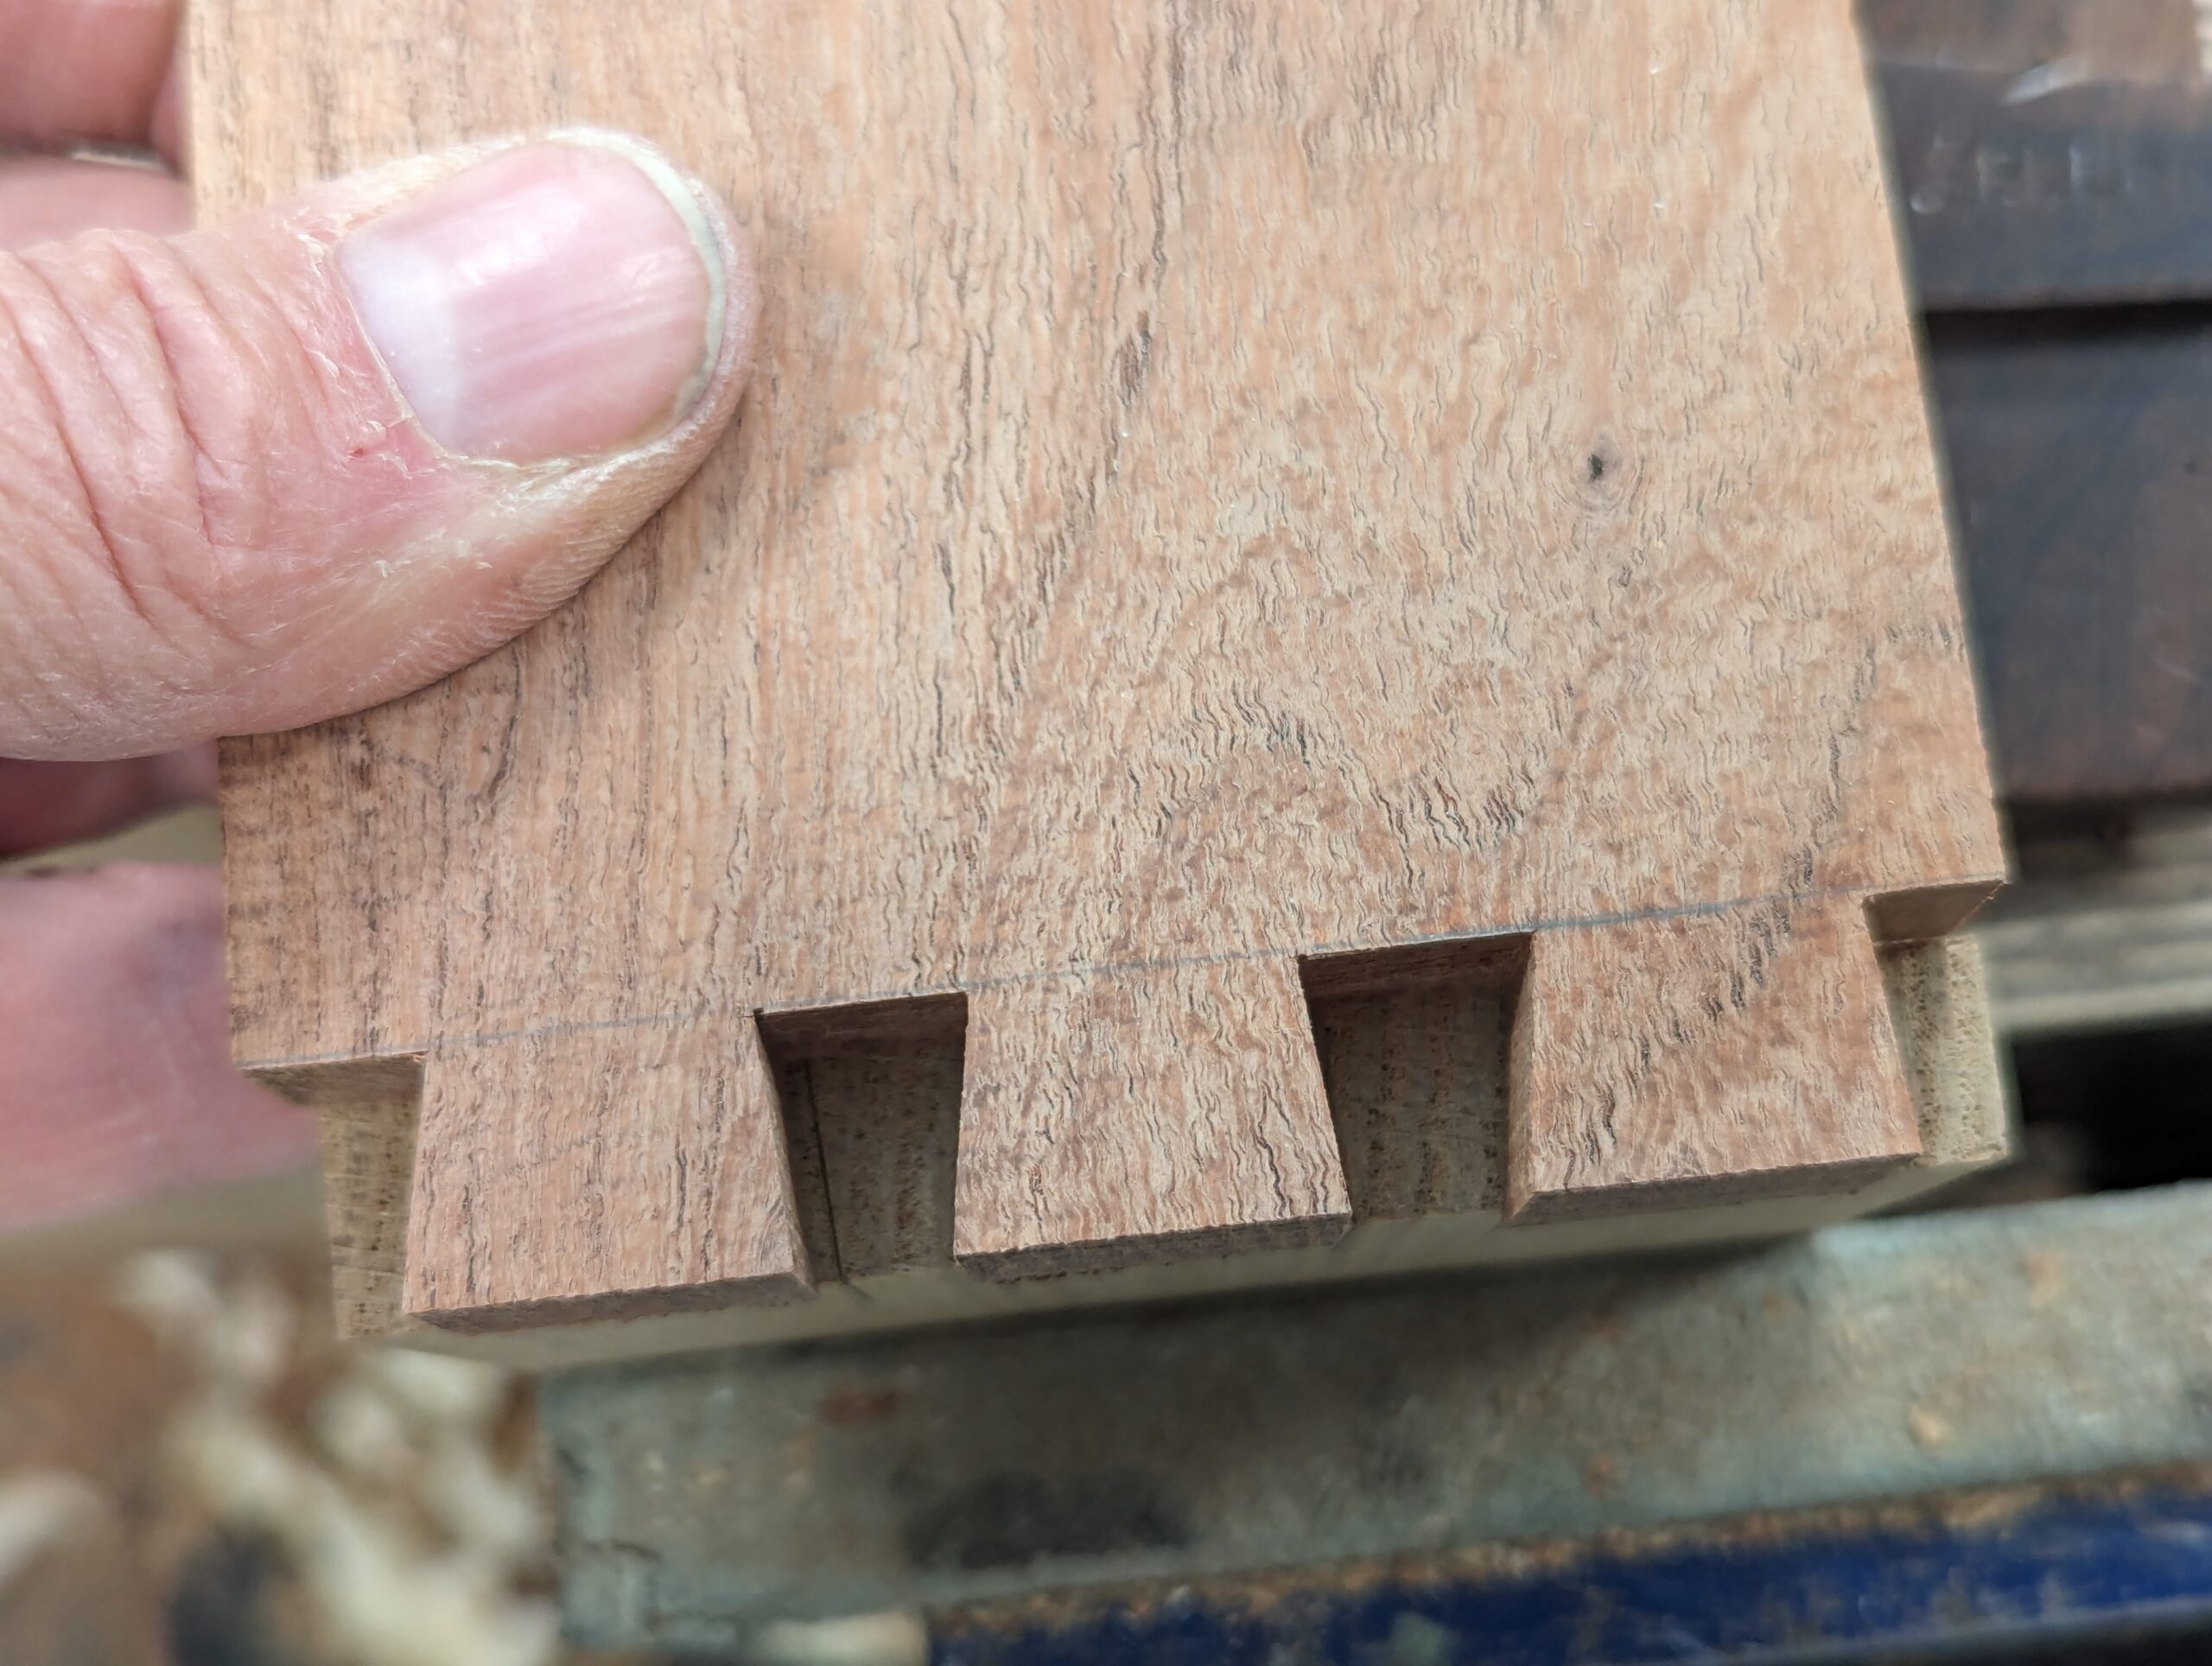
Alternate between vertical and angled horizontal cuts from each side until the big meet in the midsection.
It's up to you whether you complete all of the dovetail pieces or complete each individual as you go.
Mark the depth of the pin-piece cuts the thickness of the dovetail piece. Use pencil for this. the knifewall comes after the saw kerfs are made shortly.

With the tailpiece held securely in the vise, use the knife to trace around the dovetails for that specific joint taking care to reach tightly into the corners and align the edges with both pieces.
Use a pencil to square down from the end. There is no need for a knifewall as this is along the grain and the knifewall is usually, but not always, used for cross-grain and end-grain cuts only.
On the waste sides of the lines, saw down to just a fraction above the cut line.
With the tailpiece lined up with the end and the square situated to that piece, use the knife to establish the final cut line for chopping out the waste.
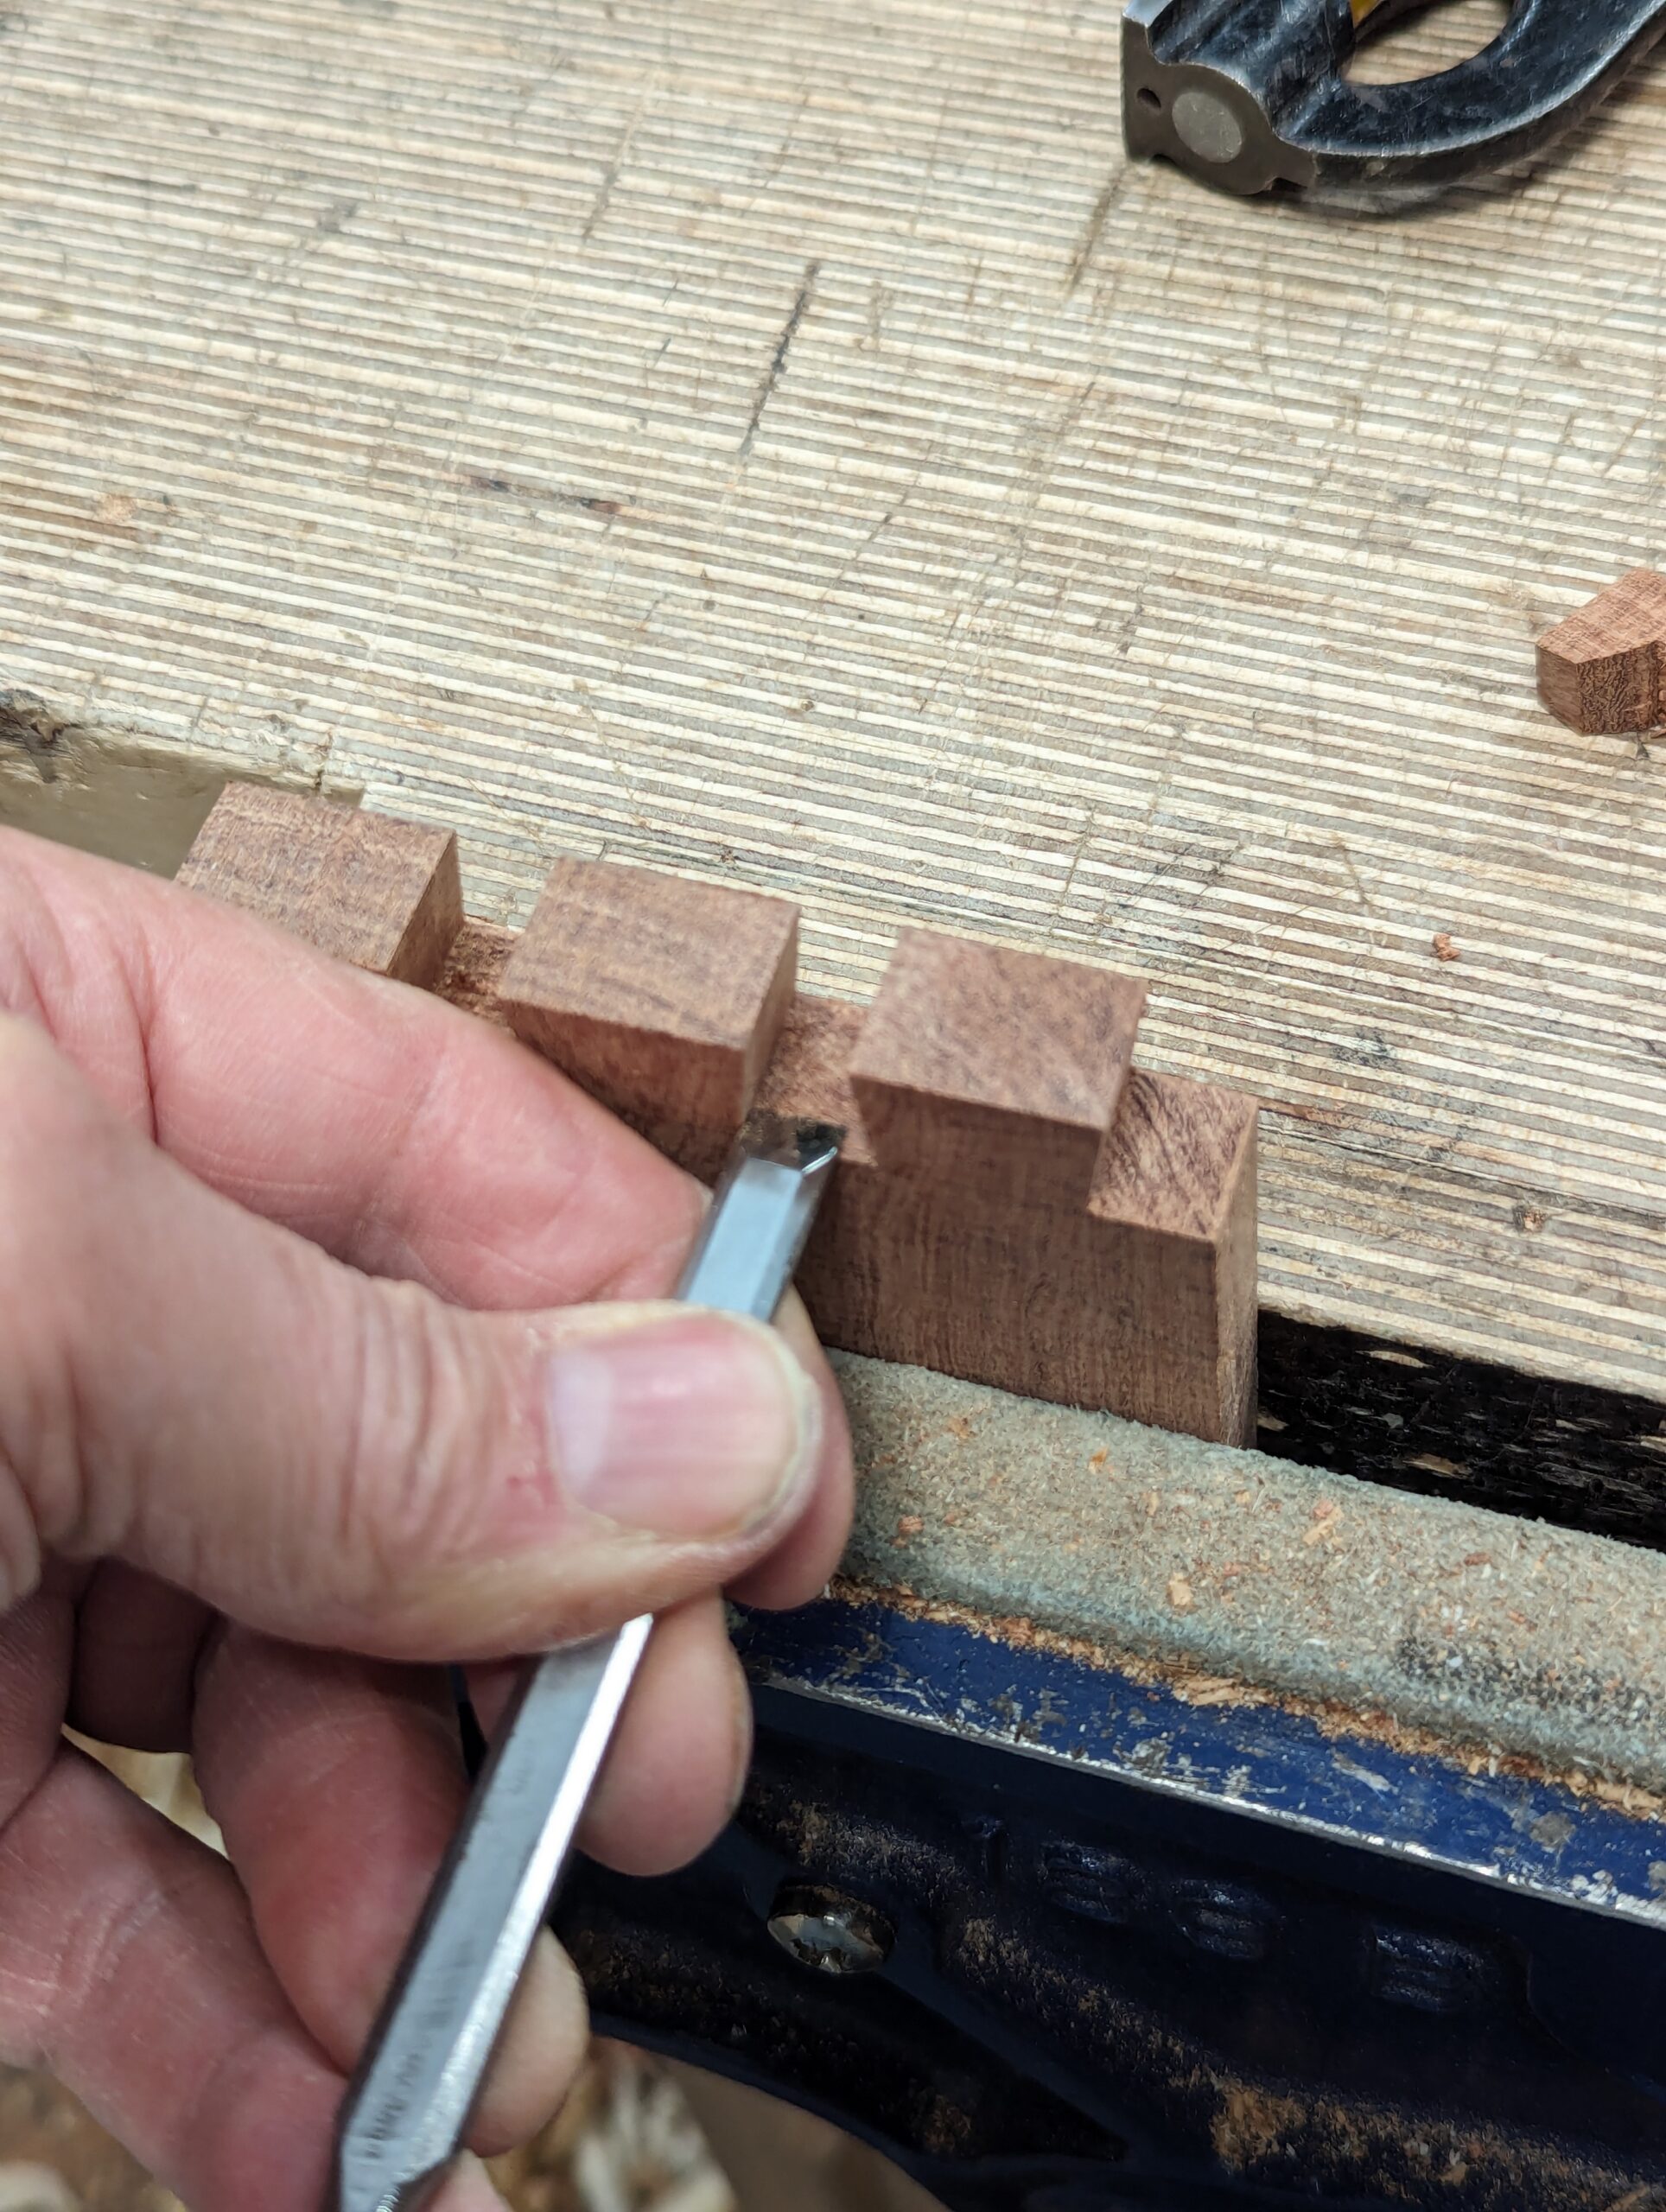
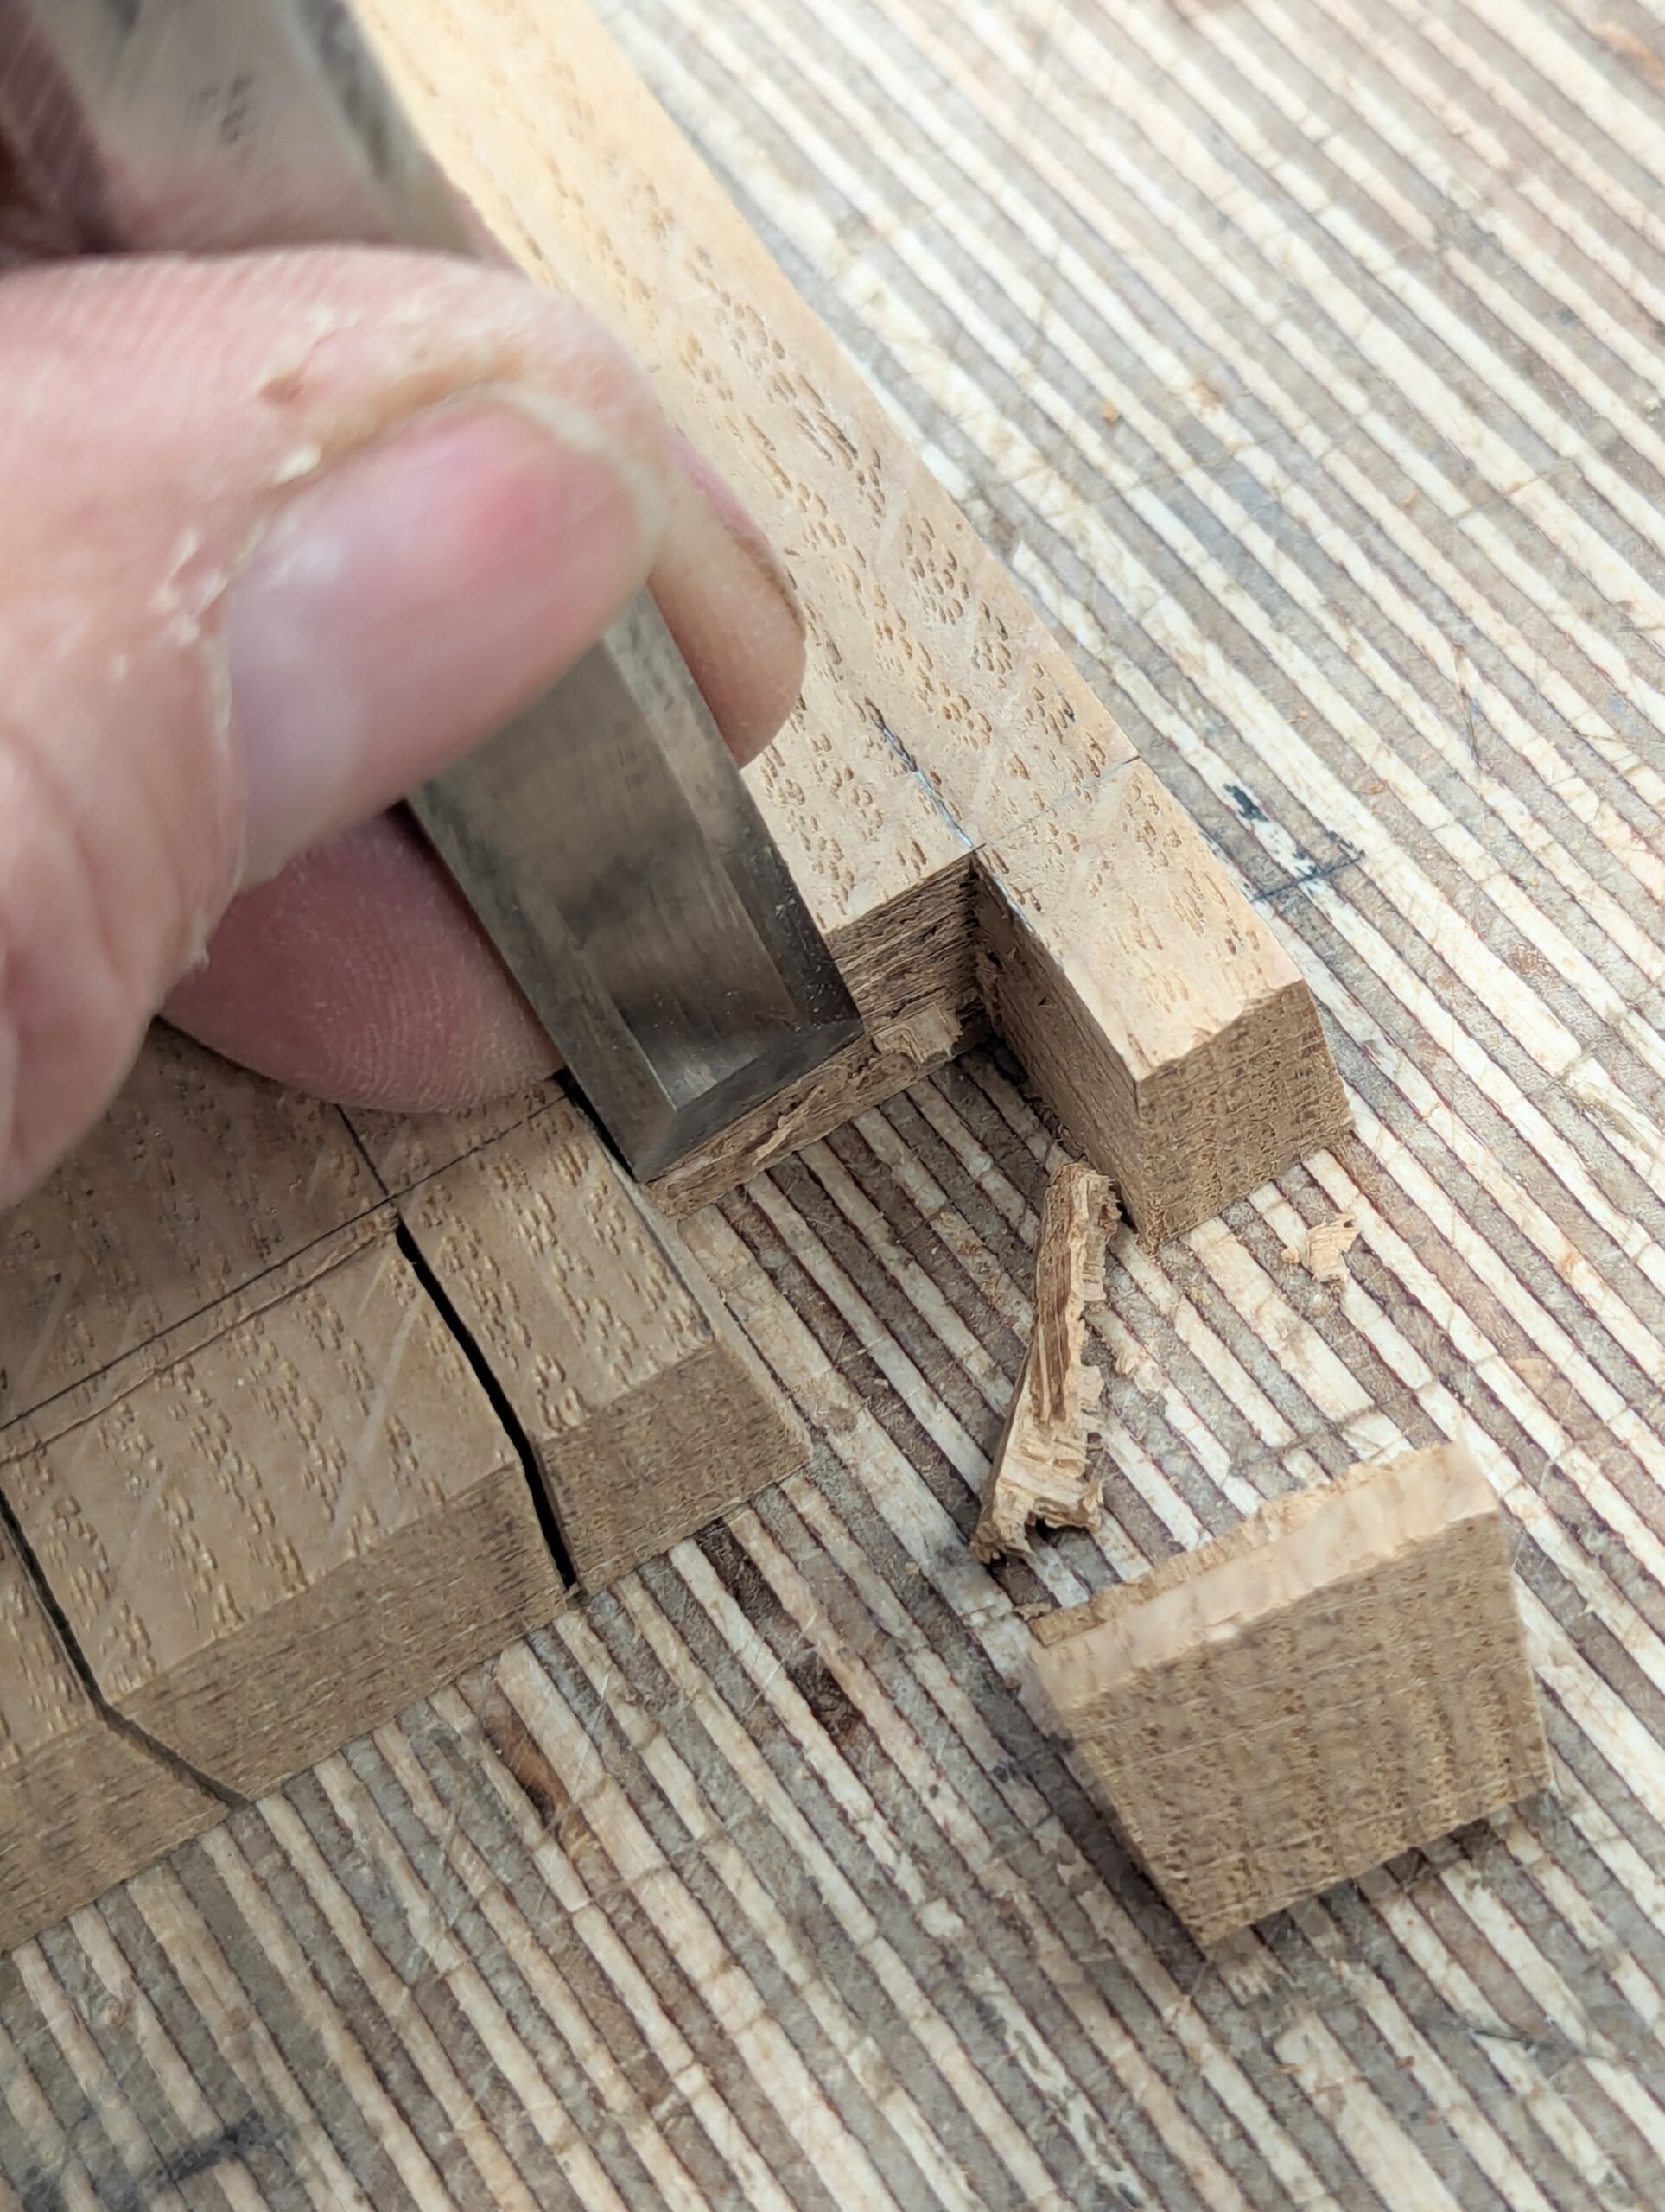
Now remove the waste as you did with the tailpiece, alternating between vertical chop and horizontal cuts working from both sides.
After a dry fit to ensure all of the joints seat well with no gapping, you are ready to glue up the box. Use clamps or, if your vise is big enough, clamp the box until the glue drys enough not to turn loose. Usually this will be a round an hour or so. I usually save gluing up until the end pf the day and then leave it in the vise overnight.
When the glue is full set, plane up the outside taking care not to plane through but from each end towards the centre, otherwise you unsupported fibres will splinter off. Taking shallow-set passes always works best for this.
Part two to follow
Comments ()