You'll Thank Me For This One
Let me get one thing out of the way first. Some will say why not just use a shooting board? I'm not interested in this argument but I outline my reasons a couple of paras down. This guide will knock your socks off, no messin'.
Most end-grain planing is square ended for me, and I'm sure that's the same for most. Usually, my mitres need one or two quick shavings freehand and it's as close to a 45º as it needs to be. If it's half a degree out at 44.5º I make the next one 45.5º. I work around the mitres and they always come out for a mirror or picture frame. I know. It doesn't seem right. Well, I can also get them to dead-on 45º in one plane and 90º in the other if I want to. It's just up to me. Oh, and usually that is with a regular #4 Stanley. I just set the guides to 45º and push––hand, eye and all of the upper body including breathing control. Dead simple.
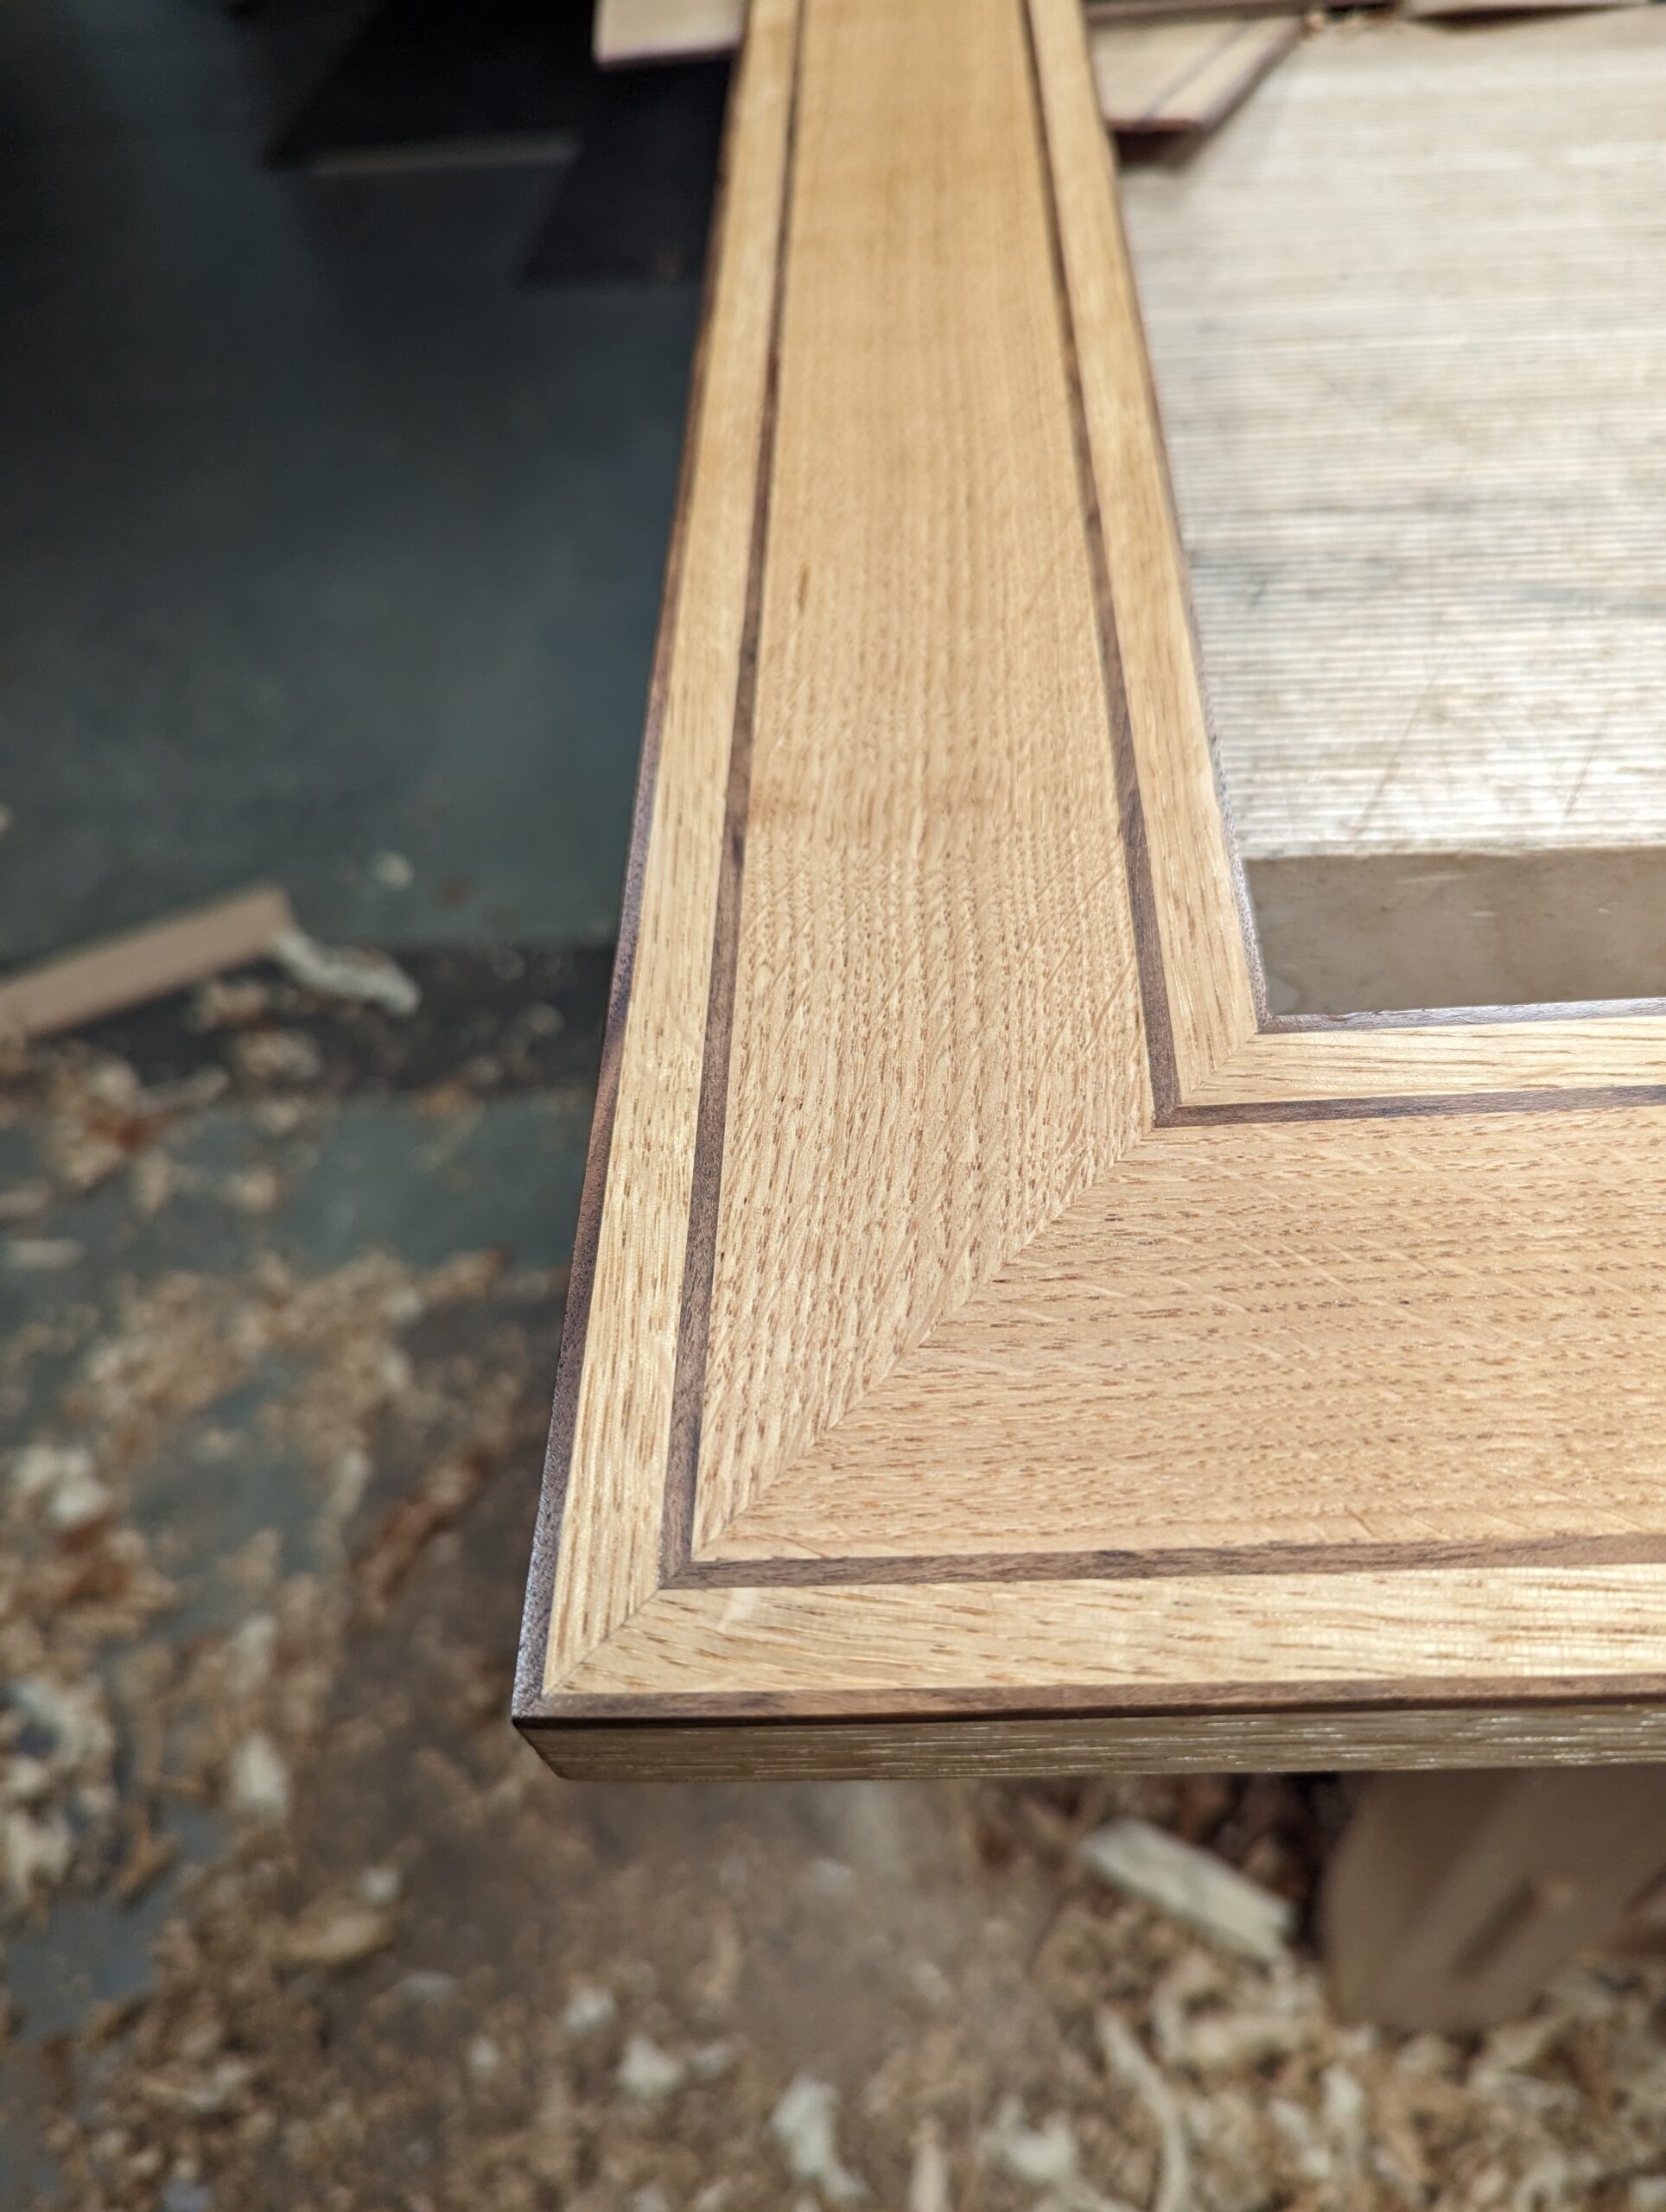
I just made a mirror frame and didn't once check the mitres for 45º. The last mitre slipped into place and was utterly gapless with all of the corners meeting dead on. I'm always micro-adjusting but could never explain in the doing of it what I flex to make it work. In my most recent frame, not the one above, none of the mitres were trimmed or planed at all from the saw. This is the reward of self-discipline and training your eyes to see angles for what they are. Square ends are often more critical to my work because everything I make corresponds to a vertical and horizontal. In any given piece I make there might be two hundred ends that need squaring. In a picture frame, there are just eight.
Because we hand-tool woodworkers tend to use chopsaws less, I haven't used one in years, our end grain usually needs additional work after crosscutting and that can set us back a little timewise. In all of my projects, whether I use the bandsaw or the handsaw, the ends must be trimmed a fraction more and all the more on some components more than others.
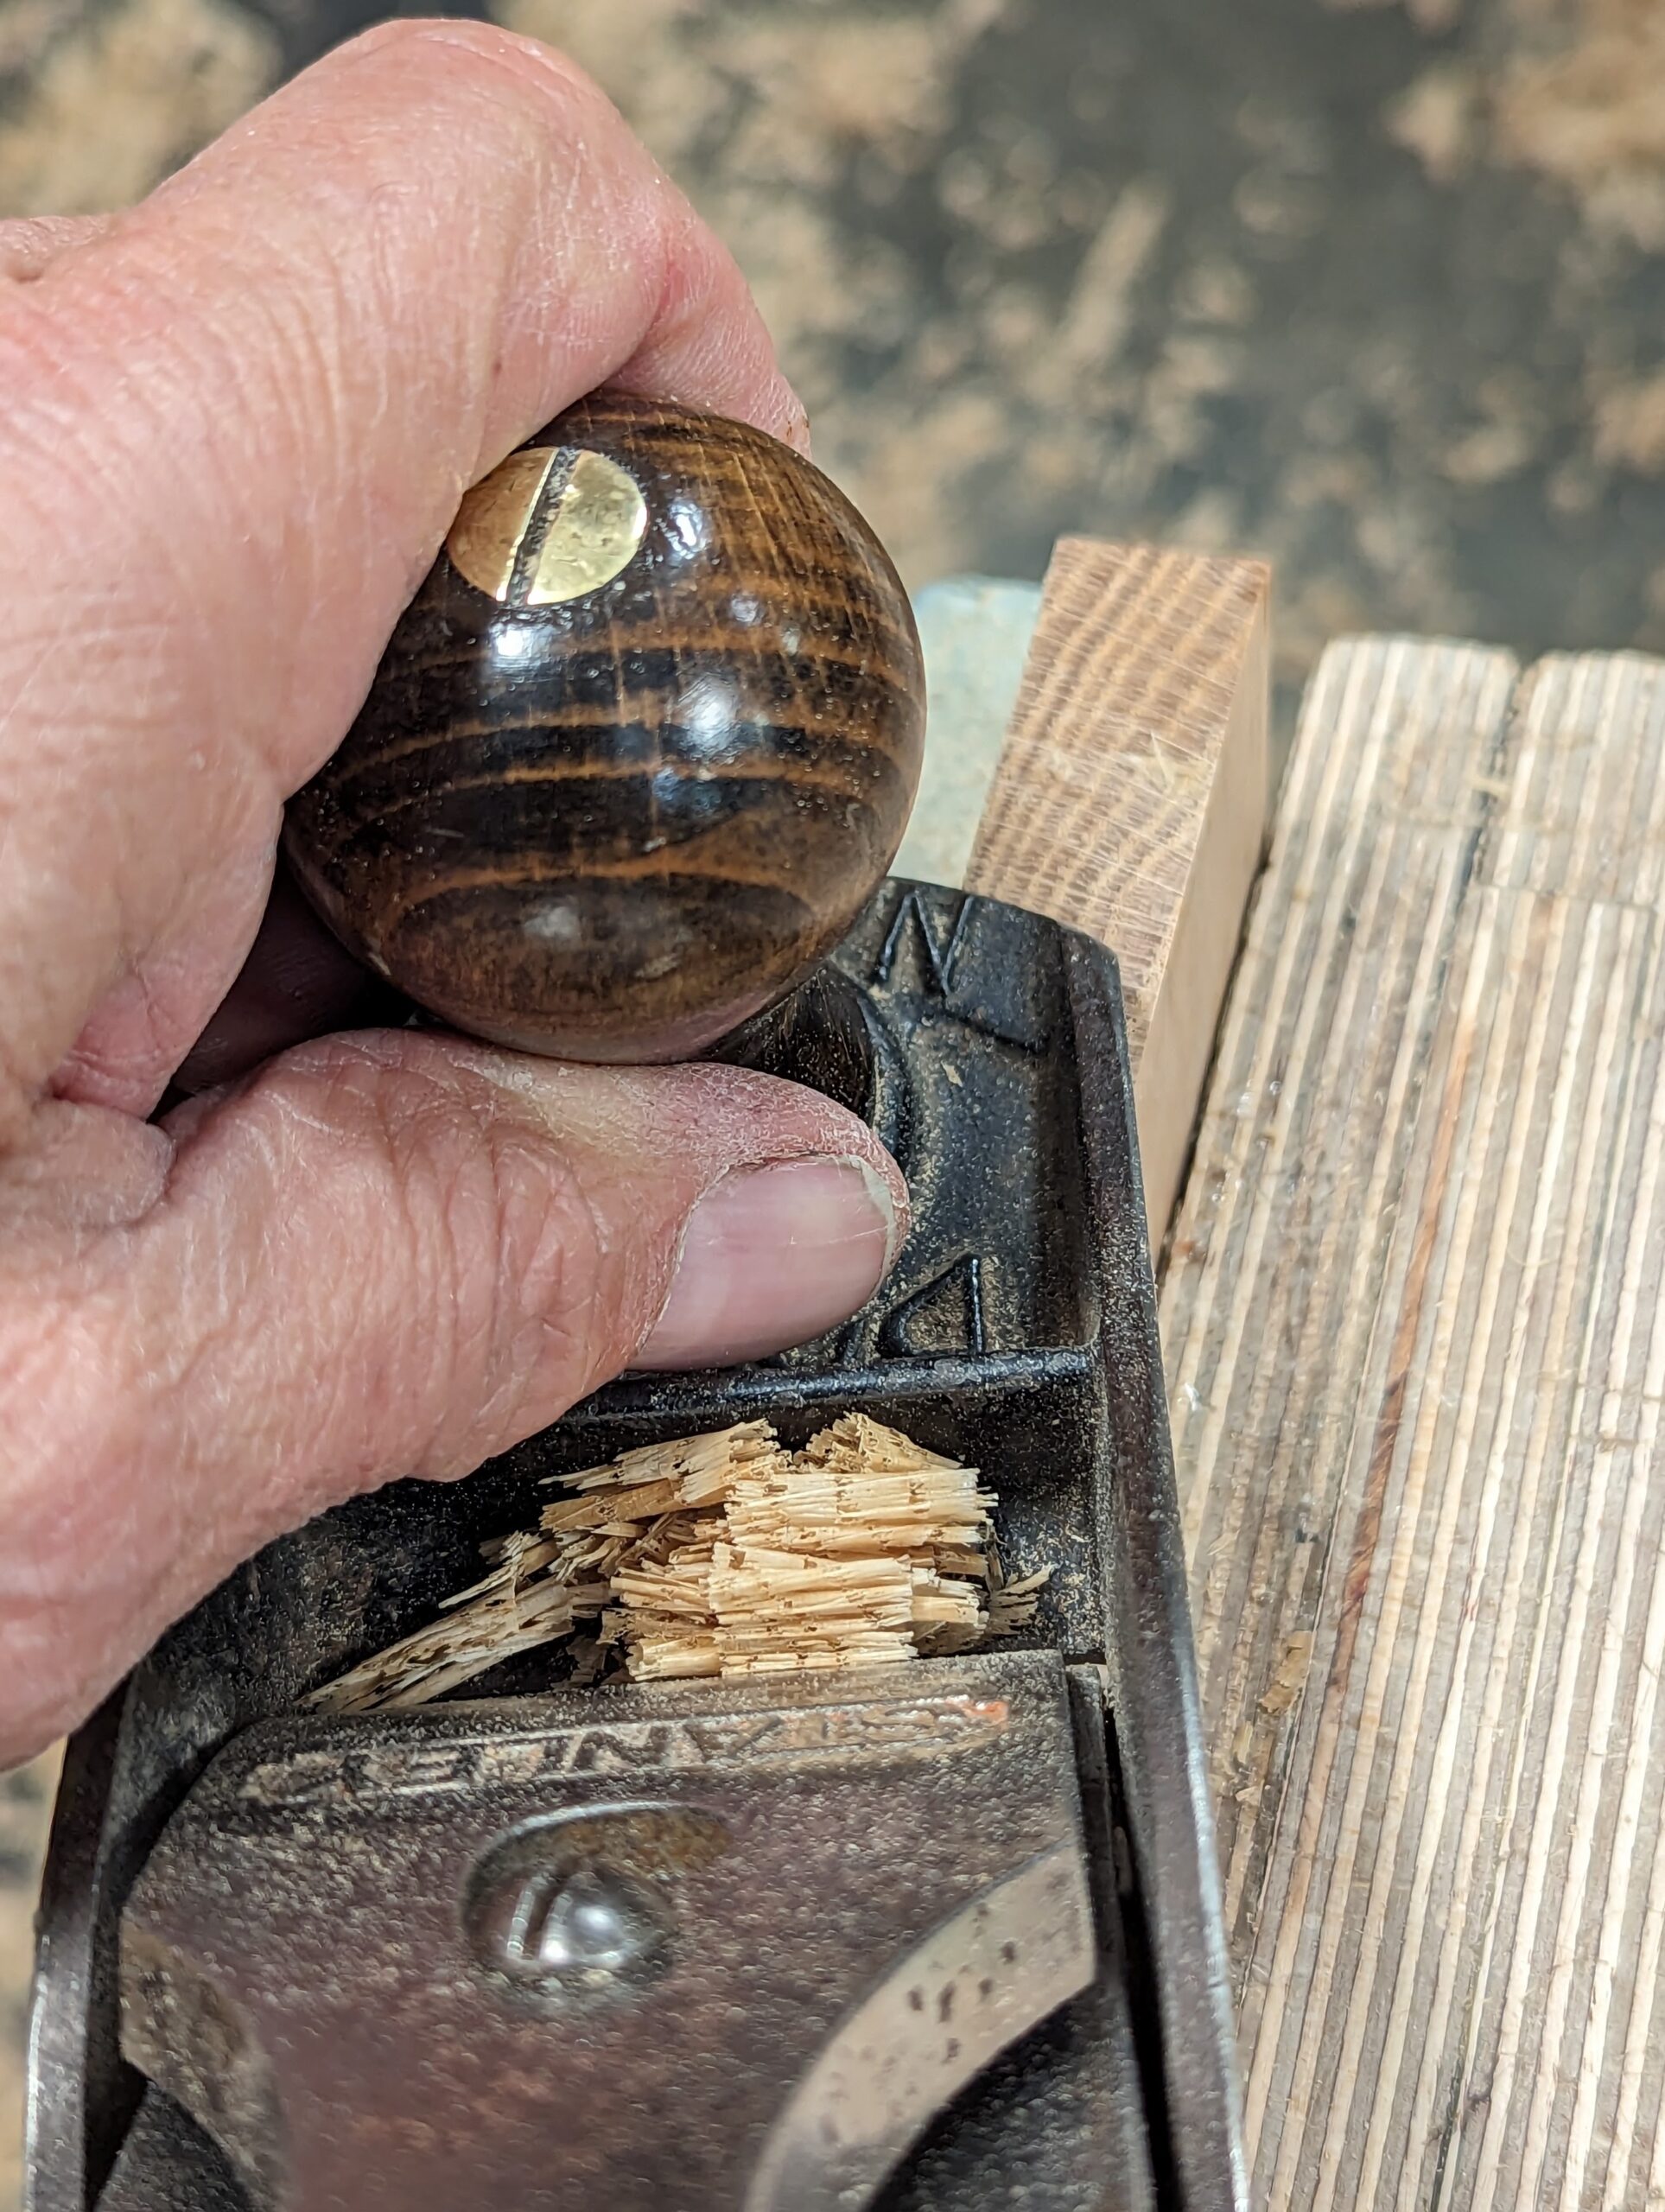
Now anyone watching me will watch me simply grab the plane and plane the end-grain square and smooth freehand and I was taught and had to do that as an apprentice when I started out at 15. Nothing got saved for a later date. Zero procrastination was the norm. Because of the amount of work we got through week on week the learning curve was fast, fast, fast. We planed mitres and squared ends throughout every day for different jobs. Chopsaws were not around yet and the crosscut was usually in some other process and was often tied up for days. I cannot expect my audience to master the techniques I use straight off the bat yet they must develop muscle memory as they go so that one day they can. Through the years we have used a couple of support aids in the shop––a common shooting board is a good example. But the issue with shooting boards is they take up valuable bench top space and always displace the in-use tools you need minute by minute and that means a lot of shuffling between tasks on a continuing basis. As it was with my mortise guide and other pieces, I developed a small vise system for planing end grain on boxes with small, short and narrow end grain surfaces that make it difficult to balance and align a plane sole to when squaring up, I have used it in some earlier videos occasionally and talked about it elsewhere.
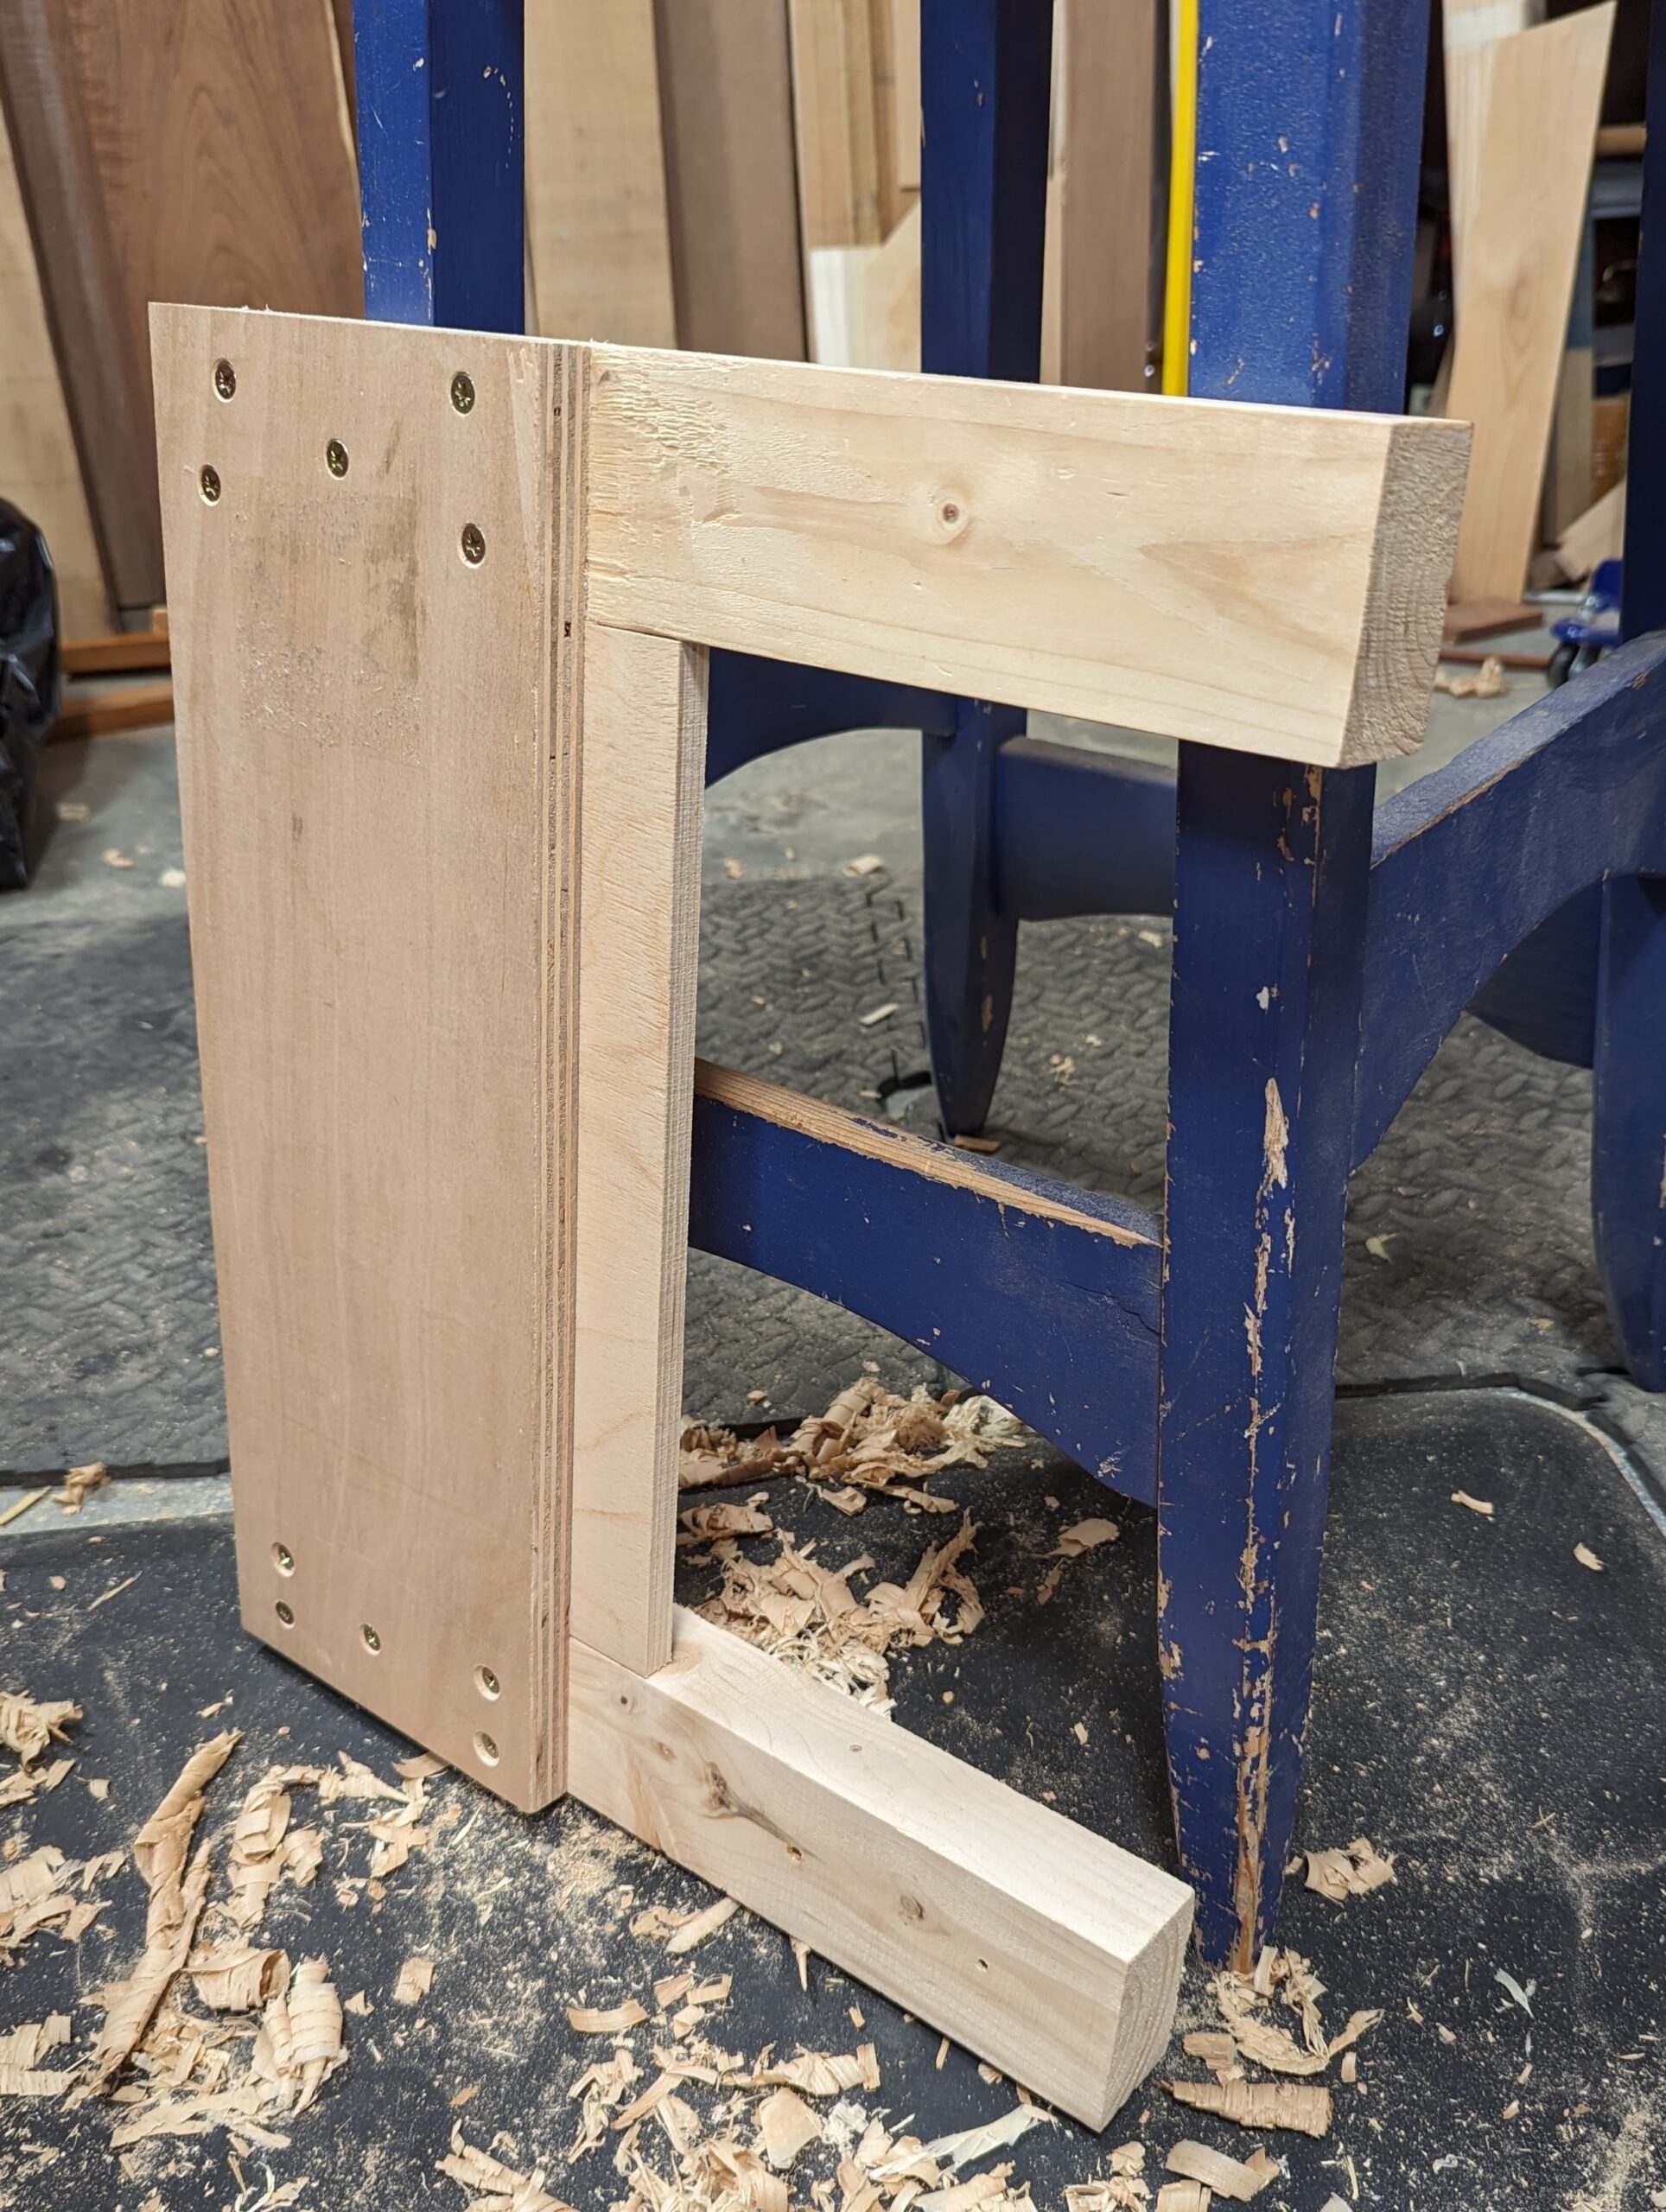
But I also have the end-grain guide and support above that I want to introduce to you. Whether it's a large end grain section or a small one, this works and works brilliantly. I used it on my last project where I had four large drawers with five pieces per drawer going up from 4" to 8" wide. It takes about 4-8 swipes with the plane to square each of the ends of my boards in stock 1/2" to 7/8" thick. It squares in both directions and though I did check each end as I went, it was a waste of time because every single time I used the guide the ends were dead on. That said, it does take a judicious cutting with the plane not to cut in a misaligned fashion and take material of your guide. I made about sixty square-end cuts using the guide and at the end of that work, it was still accurately cutting and trimming. But had it been out it would only take a few swipes with the plane to square everything up again. I calculate that this guide would likely last me for ten years of daily use with only mild occasional correction and it can be had from scraps of two-bys and scraps of 3/4" plywood or solid wood.
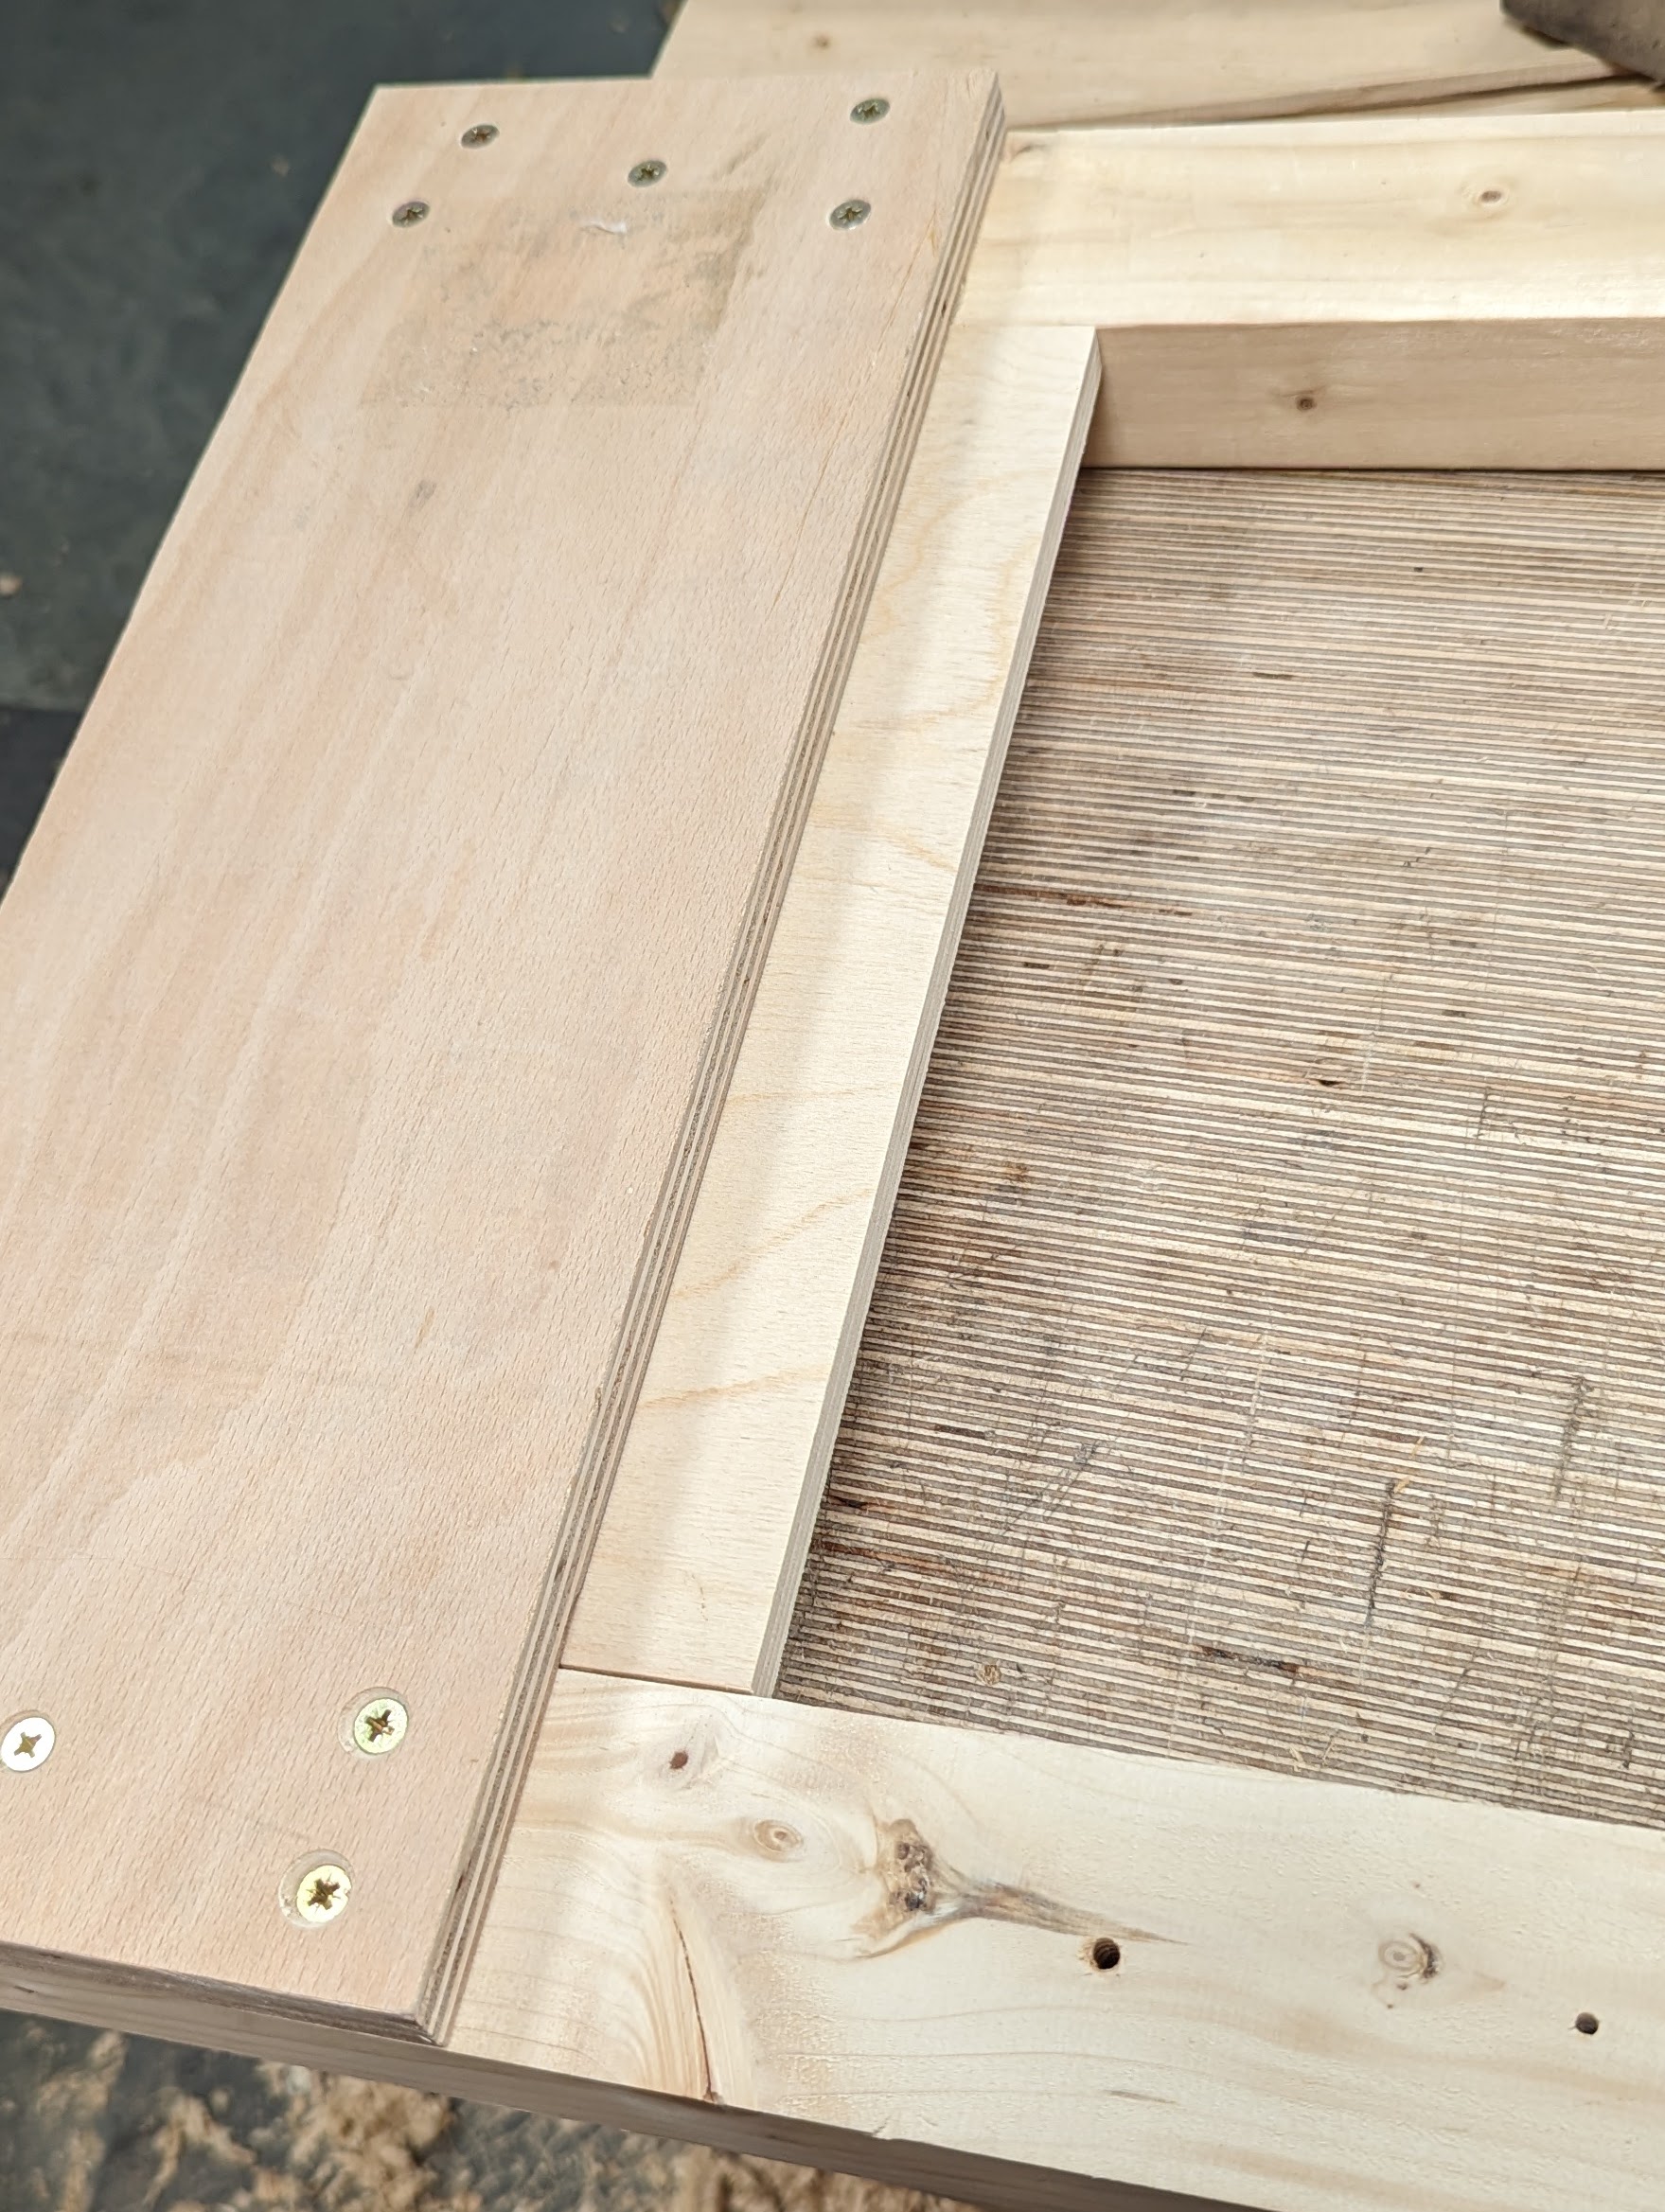
The important thing in making the guide and carrier is to work accurately. My carrier works at both opposite ends. A two-for-one for right- and left-handed use if you like. You need this for shaped stock like tapered or modest moulded or shaped wood even though that is not the intended use of this guide. Straighten and square the face and edge of the main carrier so that the main wide face going against the plywood is flat and straight. Use winding sticks as you would normally. The plane you use will ride on the straightedge which sits at the top of the guide.
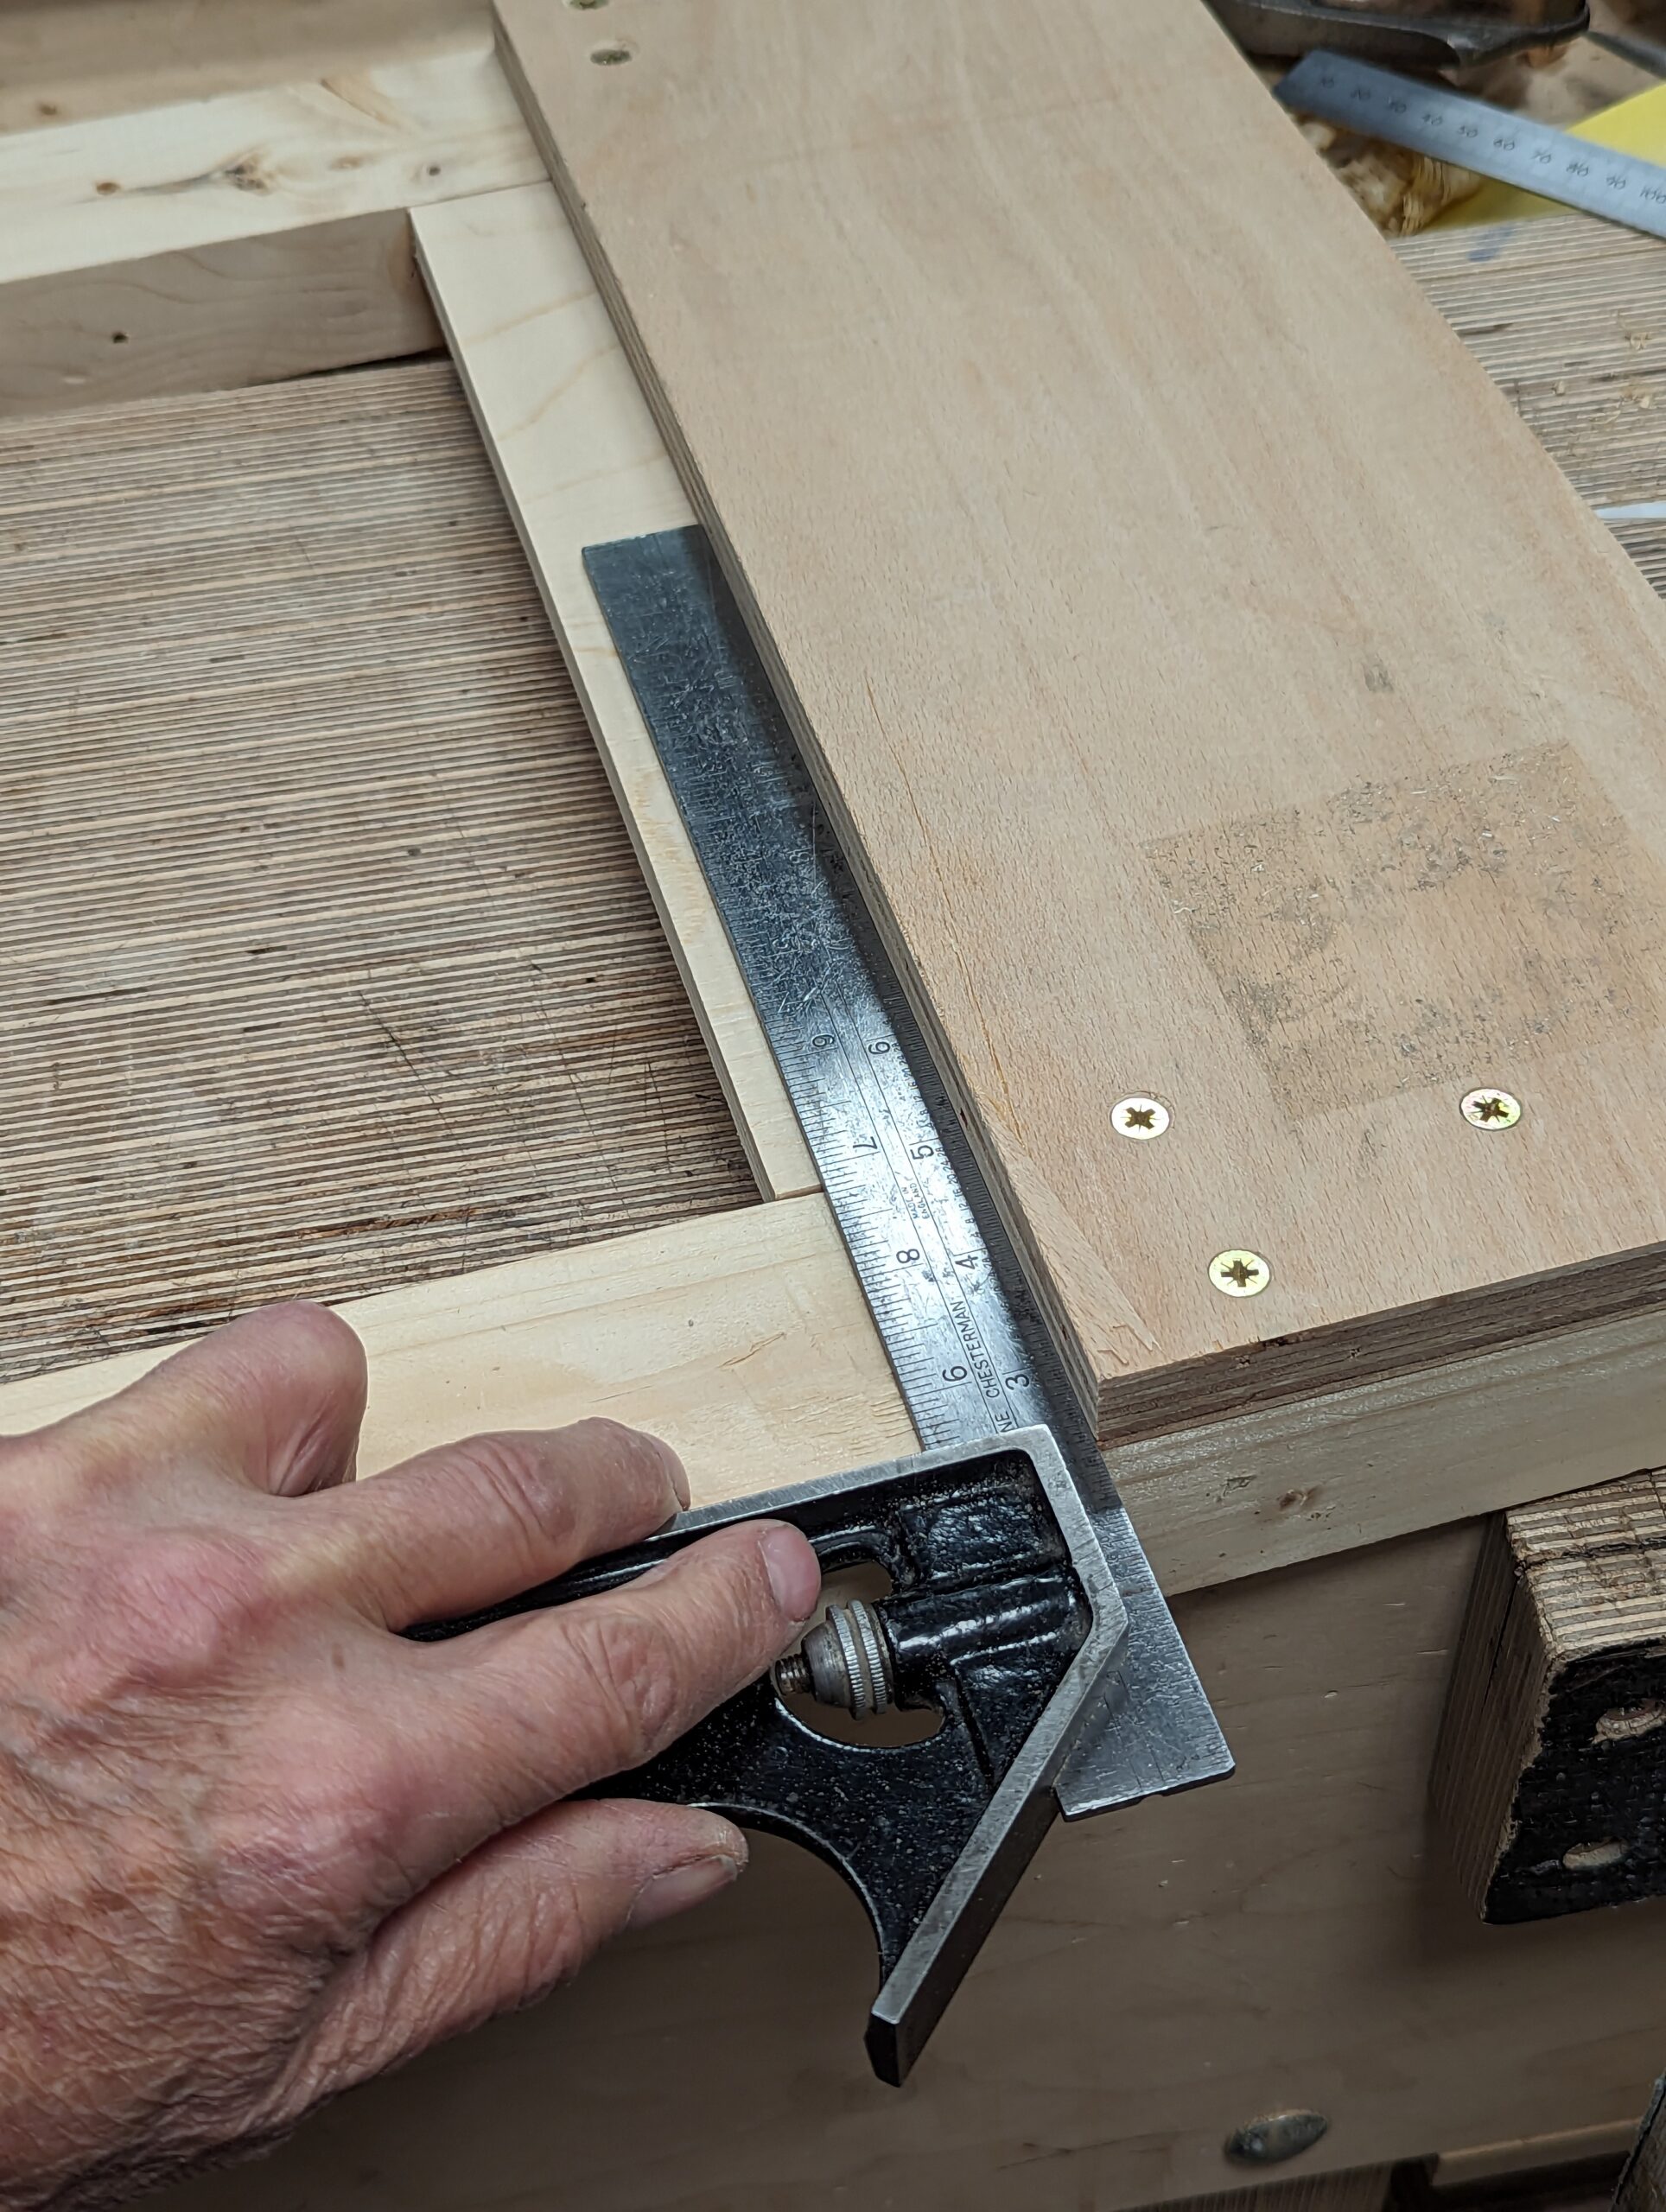
True the long edge of the plywood next. The edge must be dead straight along its whole length.
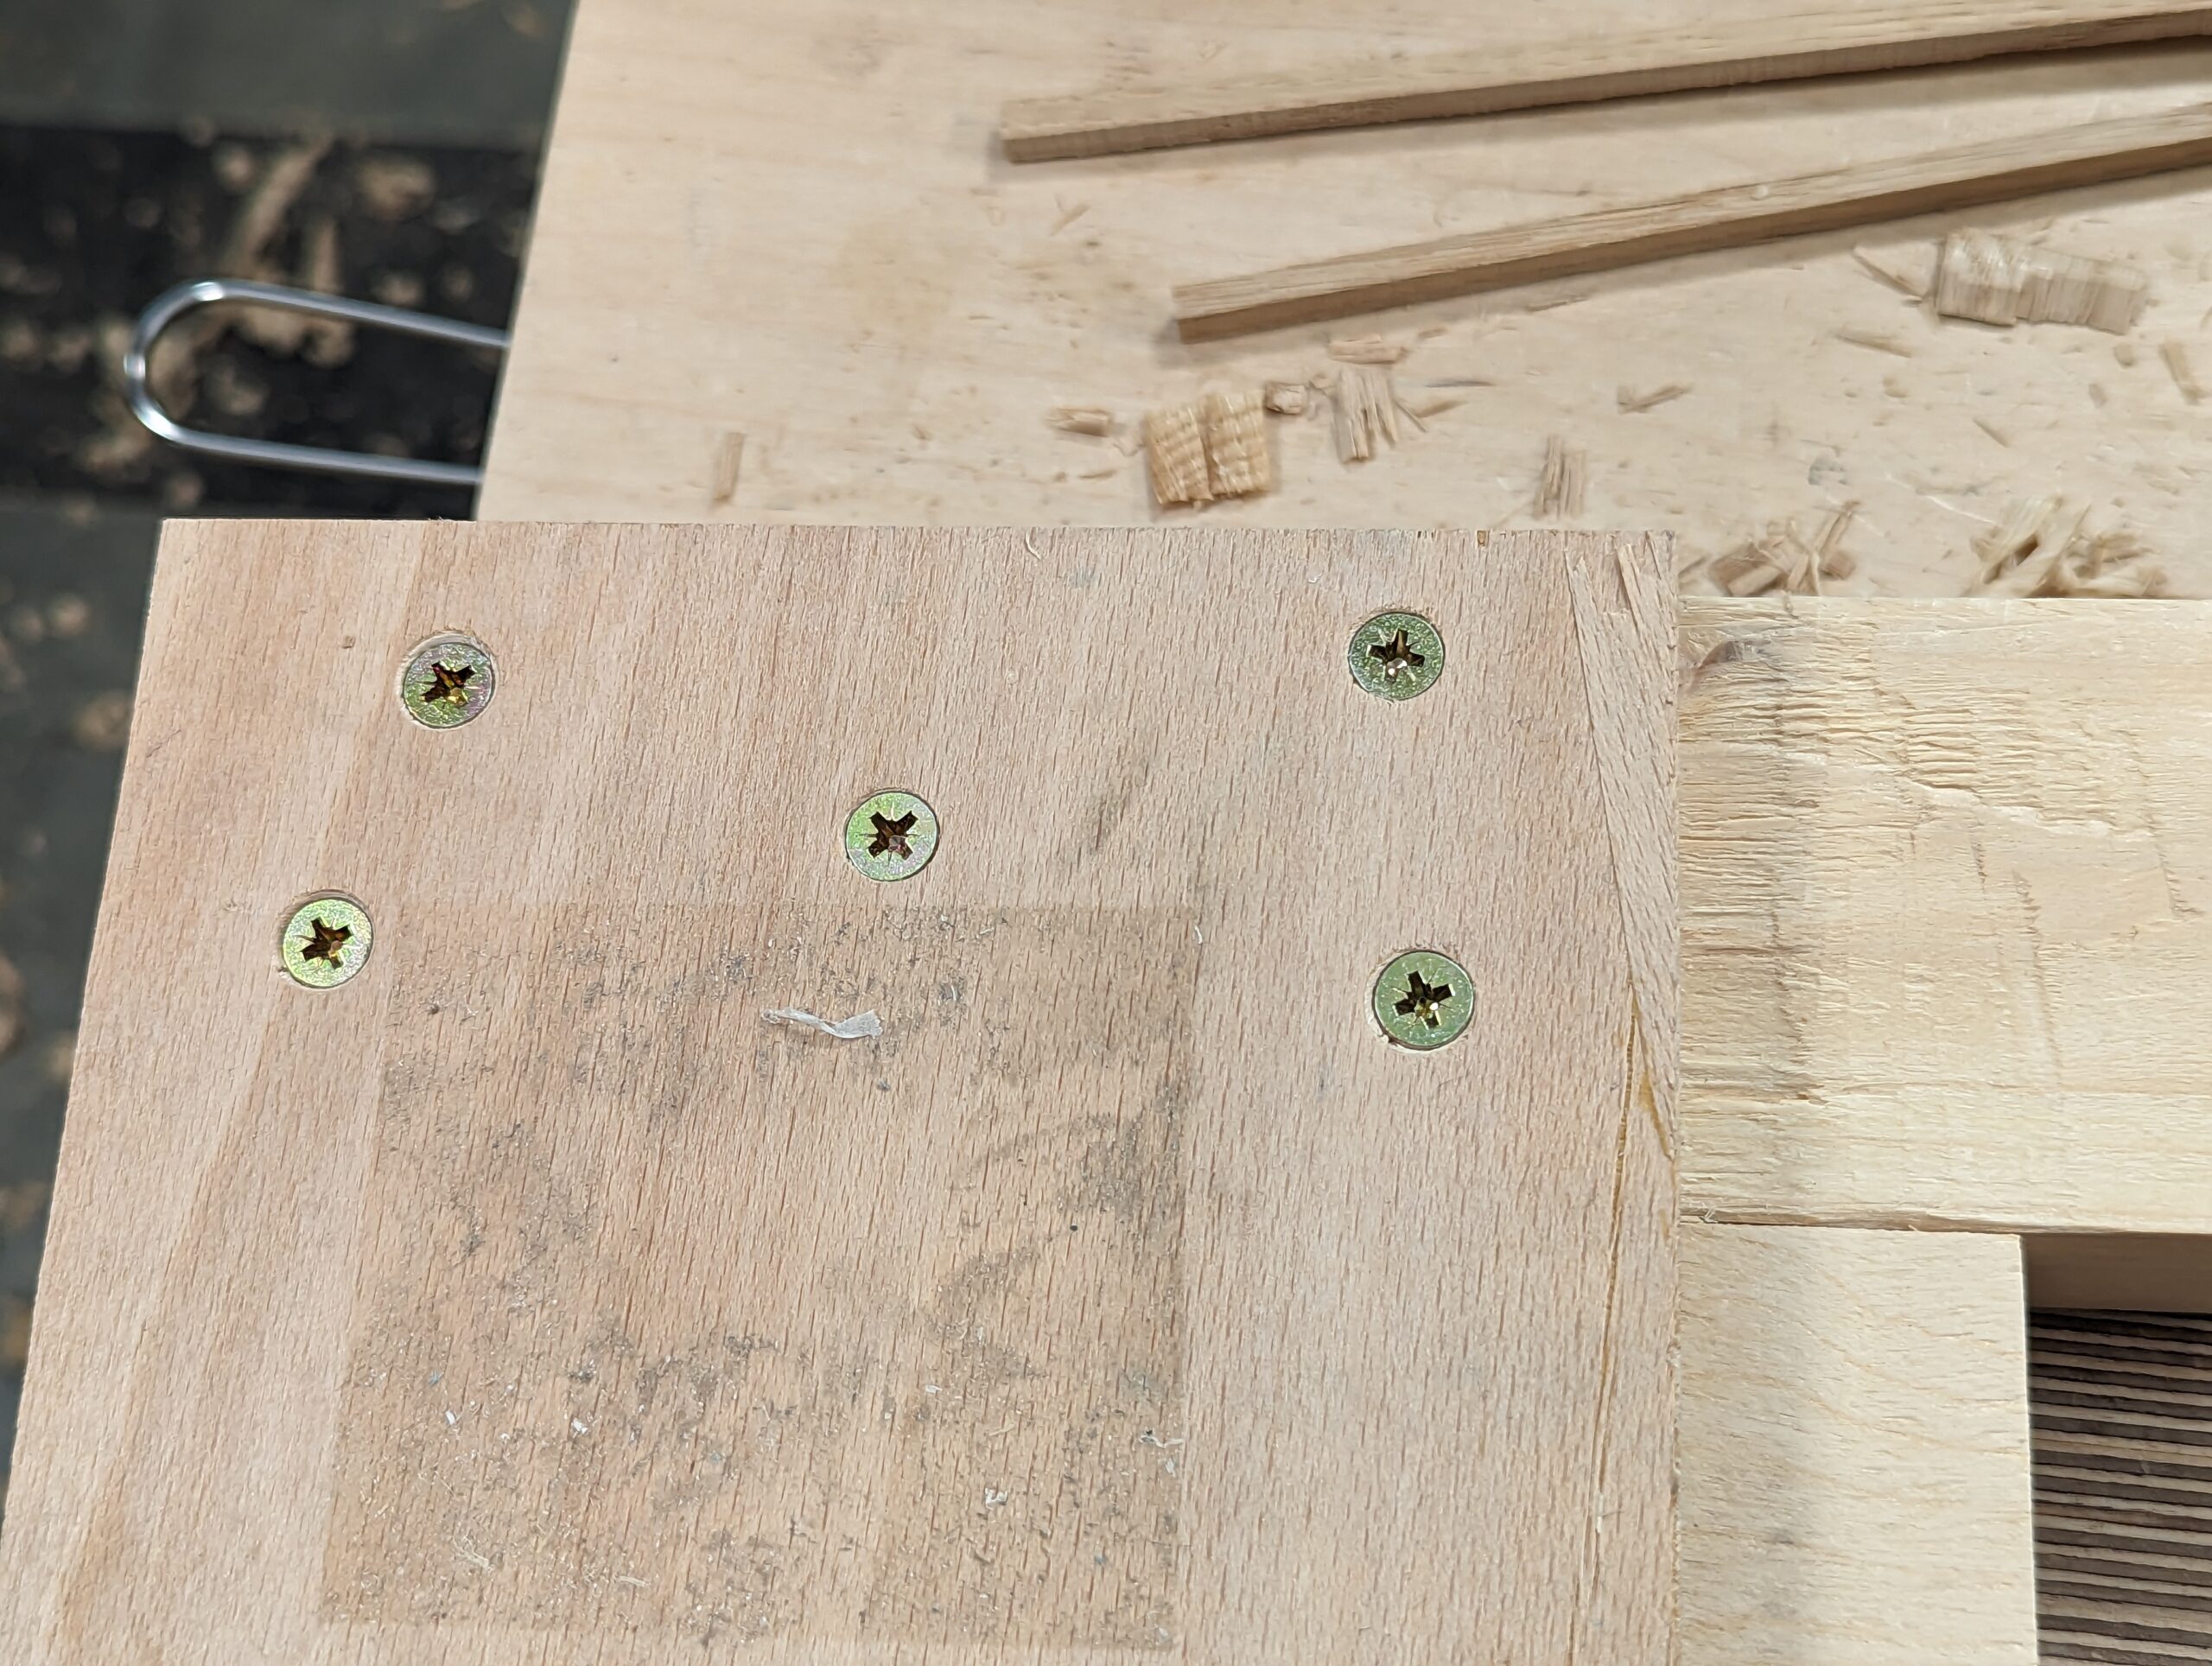
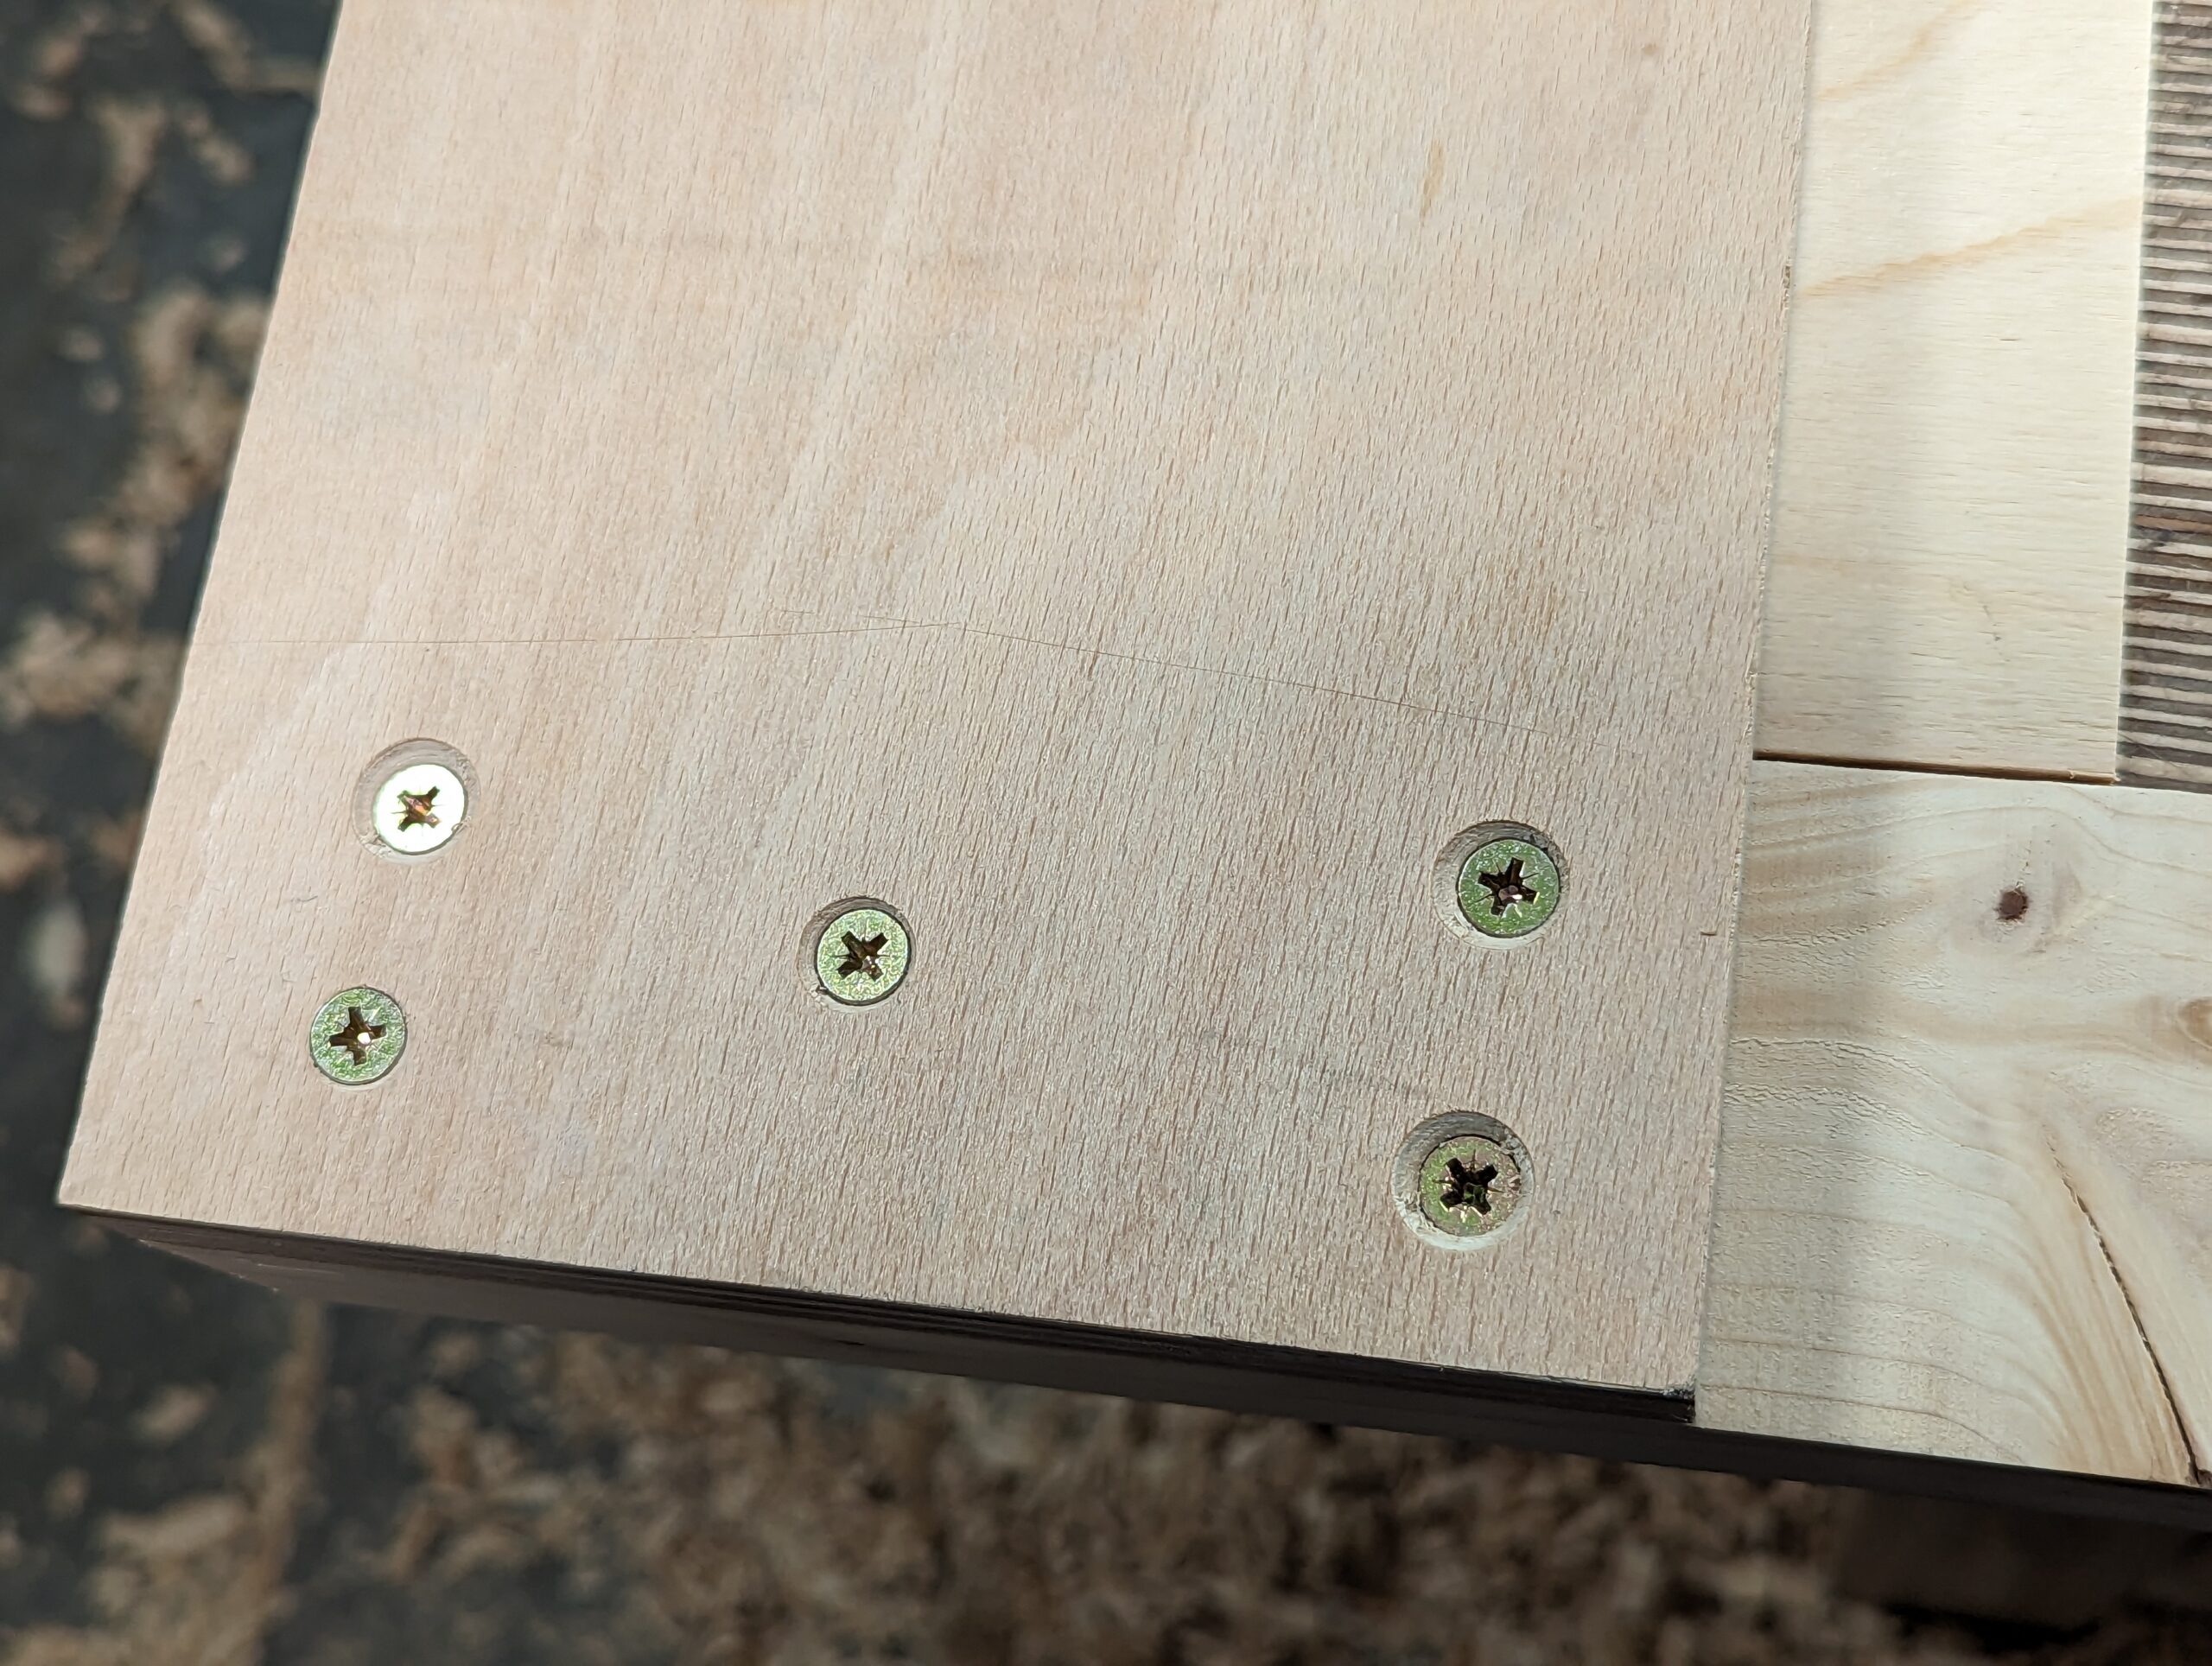
Now screw the plywood to the two-by as shown. Fix with one screw and then swivel to the square. I let my plywood stick past the end by a fraction and then, once set and square, add the additional screws.
Once done I use the carrier to guide my plane to level the end of the plywood to the two-by carrier. Having this dead on means that the outcut of the last plane stroke does not break off the end grain because it is totally supported and backed up by the plywood.
Add the second two-by at the other end of the plywood and do the same if indeed you do want to use the other end as a carrier guide too. You can of course glue these areas behind the screws but with these screws in place, it's already rock solid . . .
. . . and in between the upper and lower carrier, I added a piece of plywood to align short pieces to.
The 3/4" plywood takes care of most wood that I use up to 3/4" thick. If I want more thickness I just add a layer of plywood to the existing one with a couple of screws. Adding a layer doesn't need to be the full length as the material will register just fine on the original first piece. This added piece is just to catch the outcut as support for the fibres of the wanted piece.
Using the carrier relies on the wood and the support carrier being clamped together in the vise and not the plywood part.
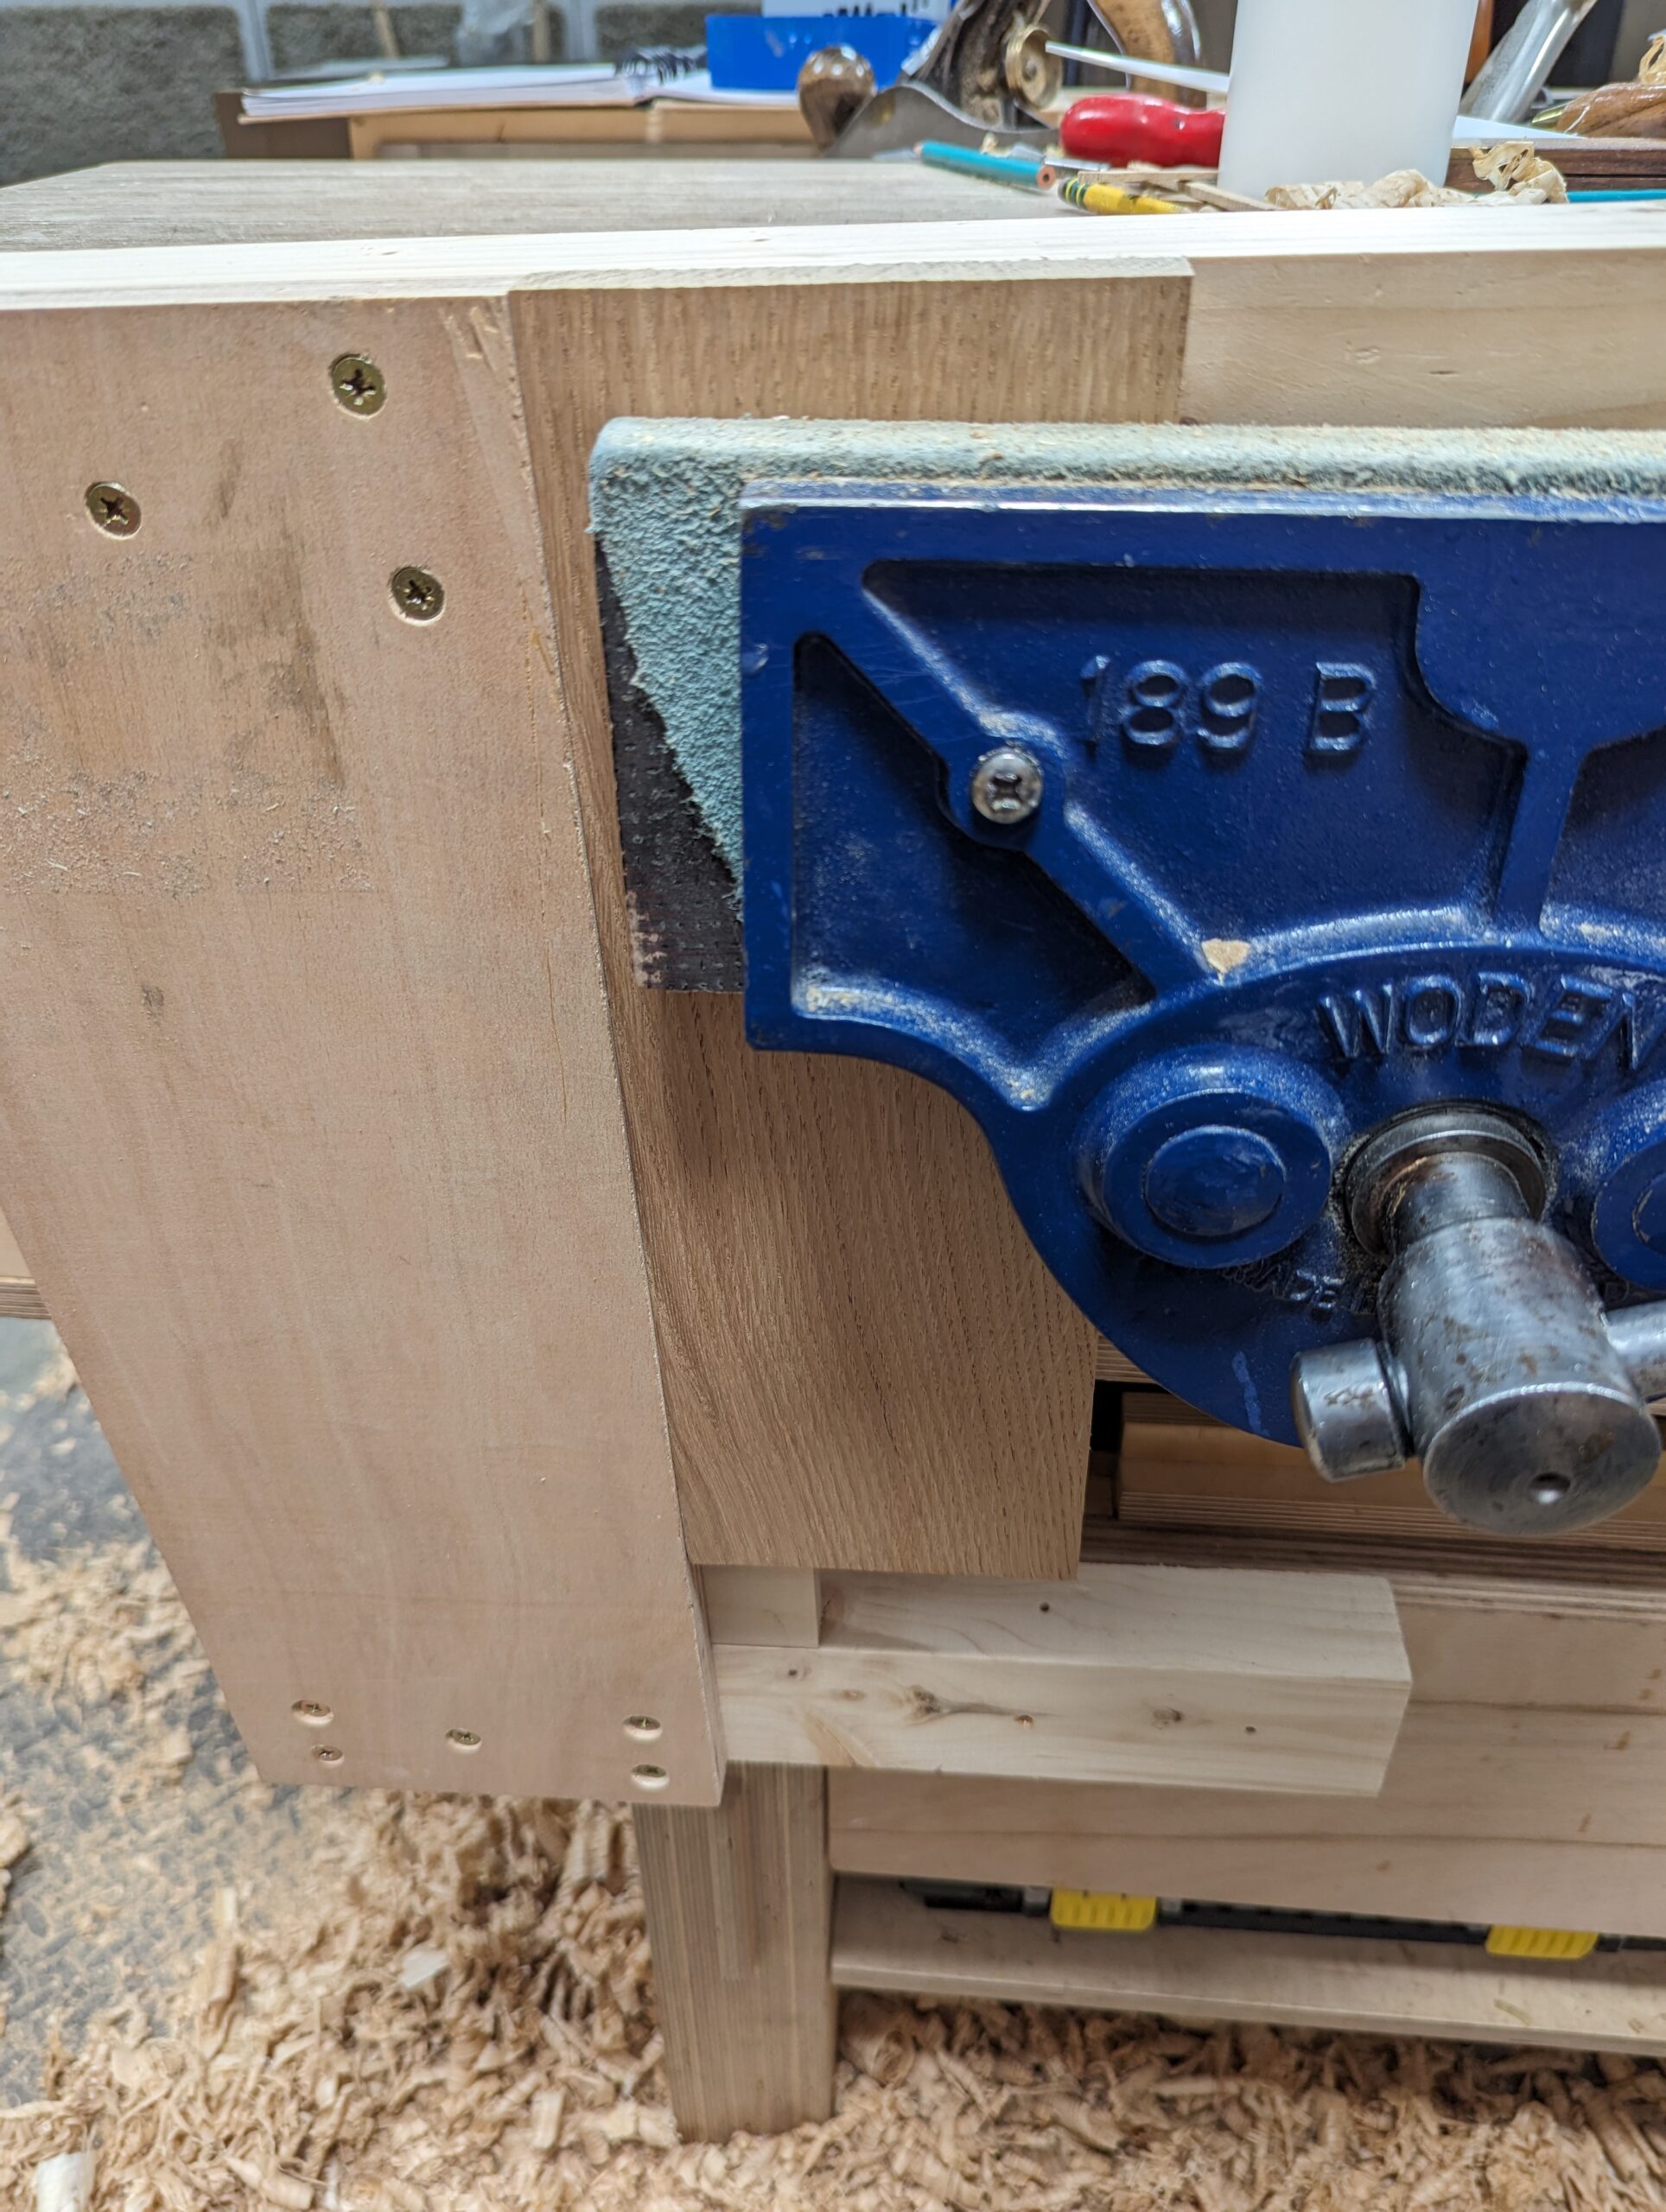
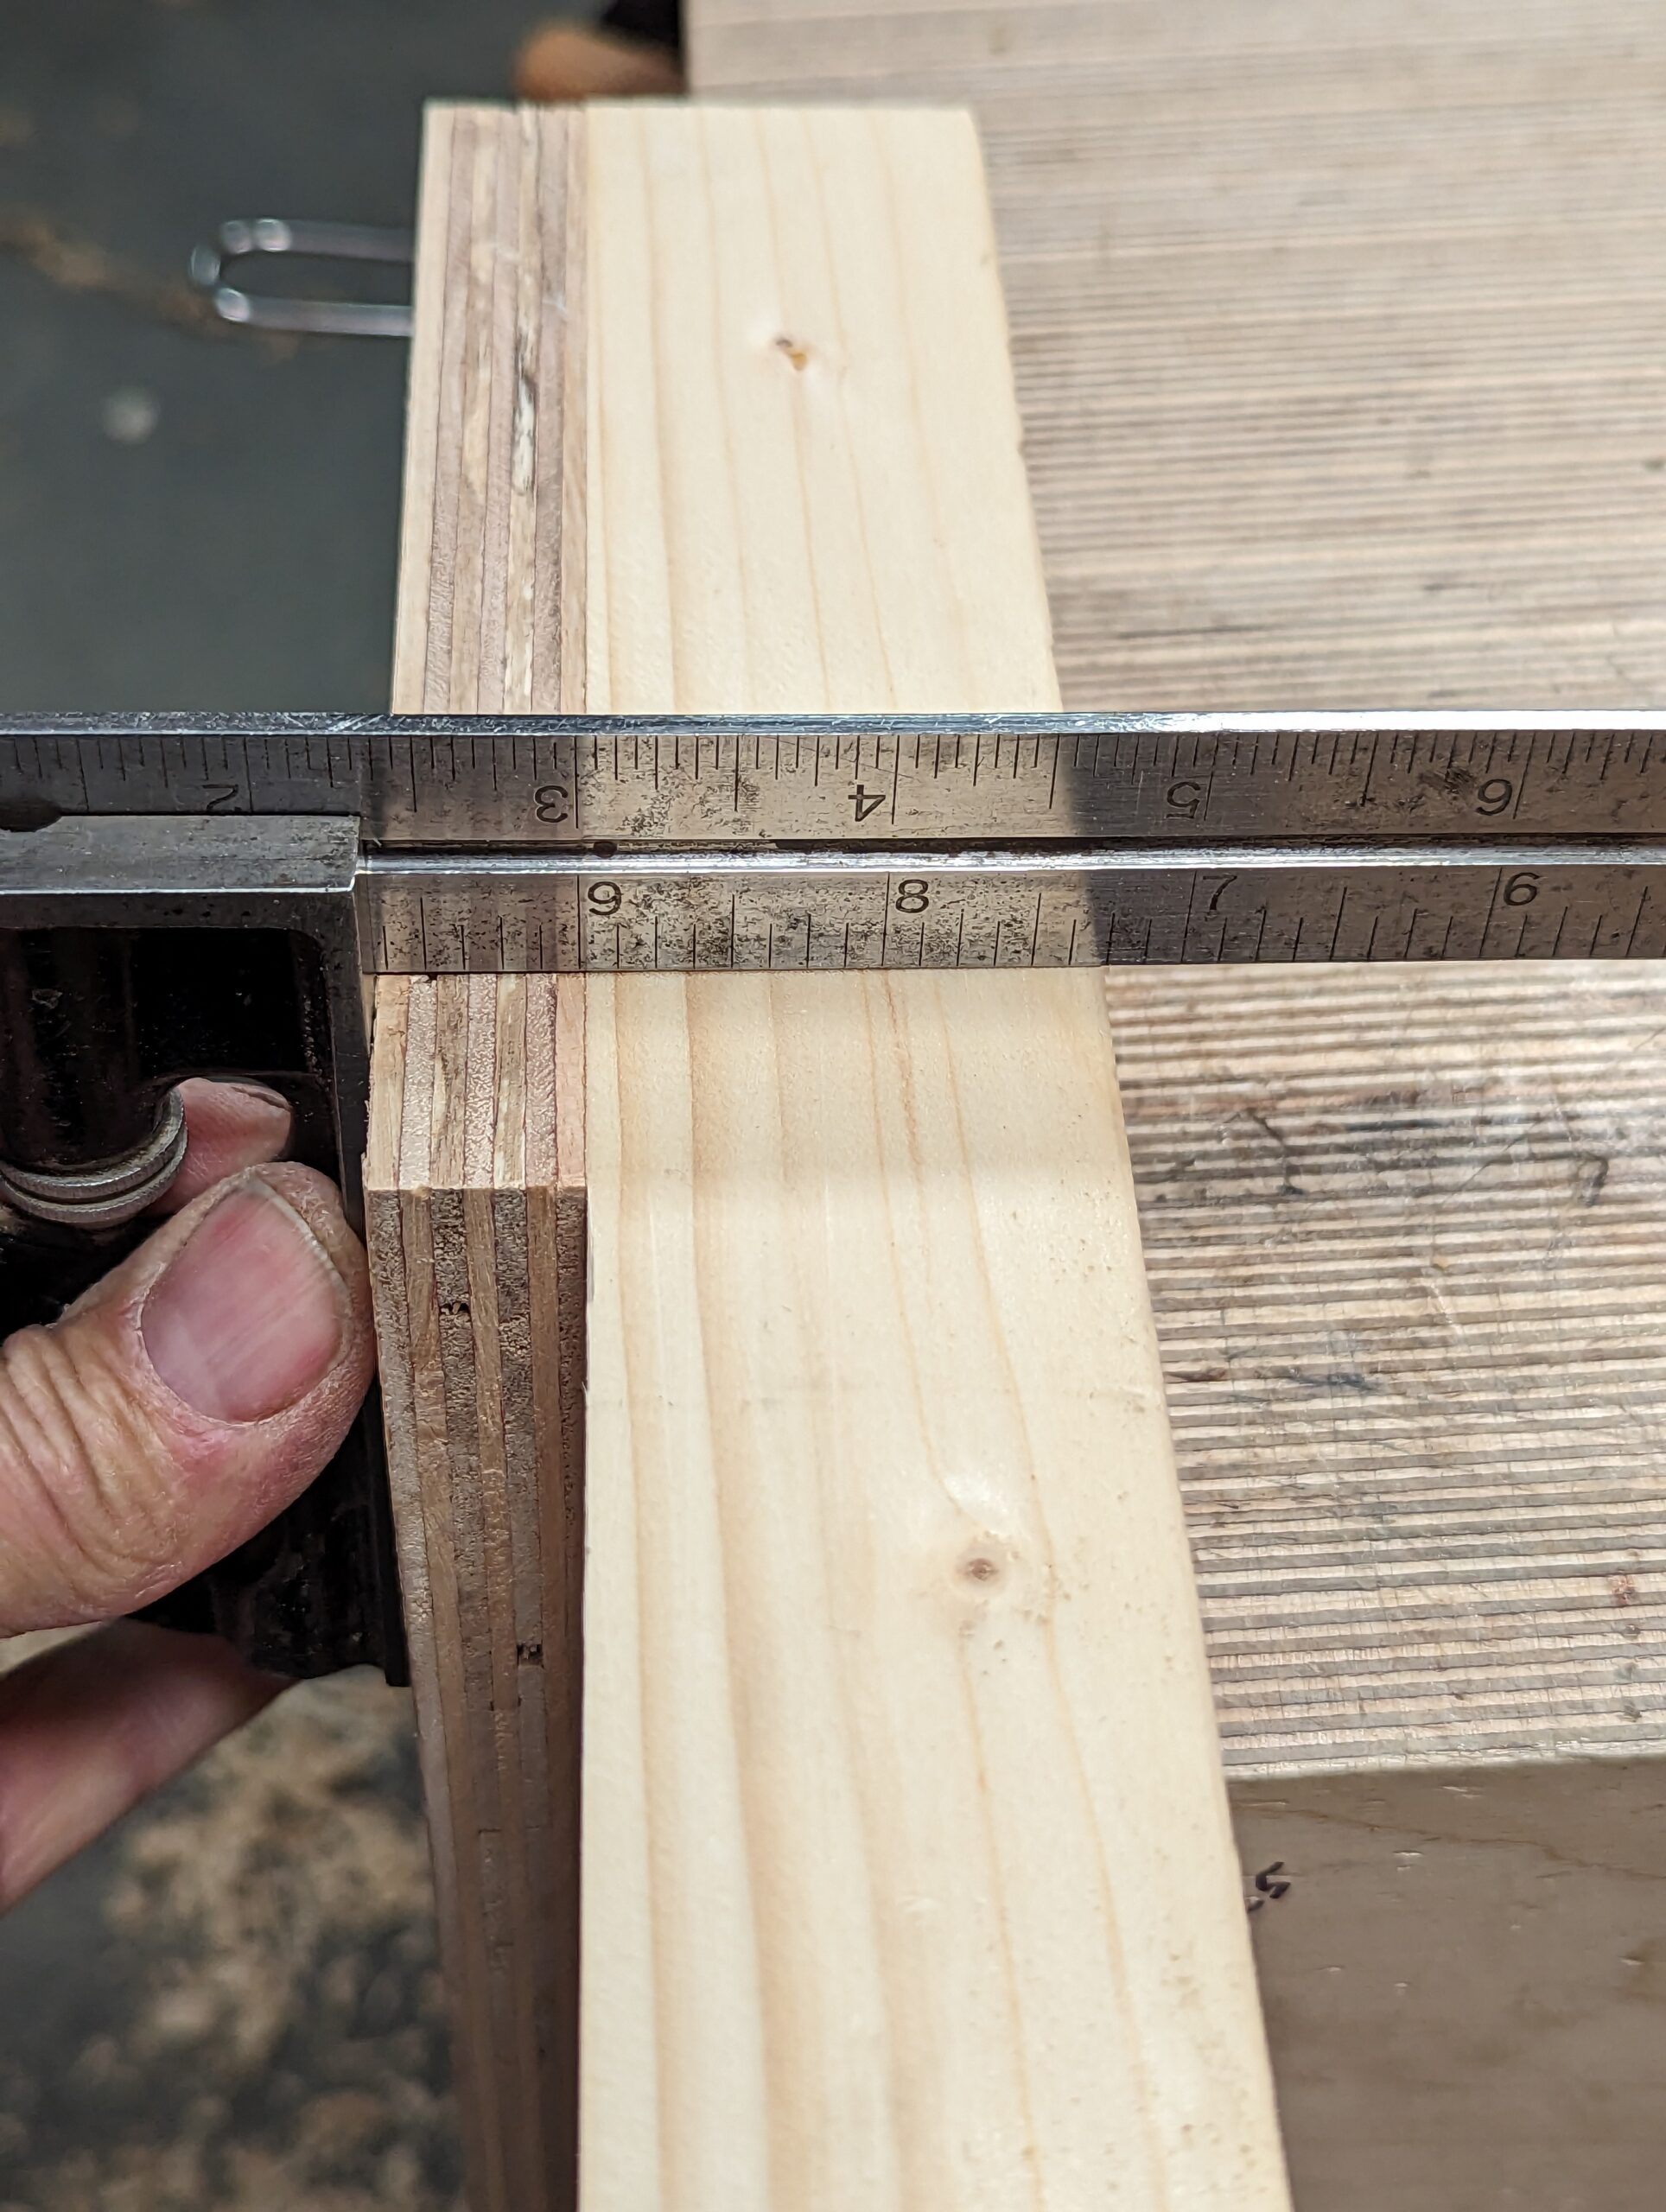
When you clamp the wood and carrier in the vise ensure that the long axis of the wood fully registers against the long plywood edge. I often tap with my chisel hammer to this end but I also will clunk it against the round bar of the vise which does the same. Once pinched tight, you can micro-adjust the end of the wood being planed. I always combine the guide with the establishing of a knifewall all around my wood. This way I can align my knifewall with the edge of the carrier.

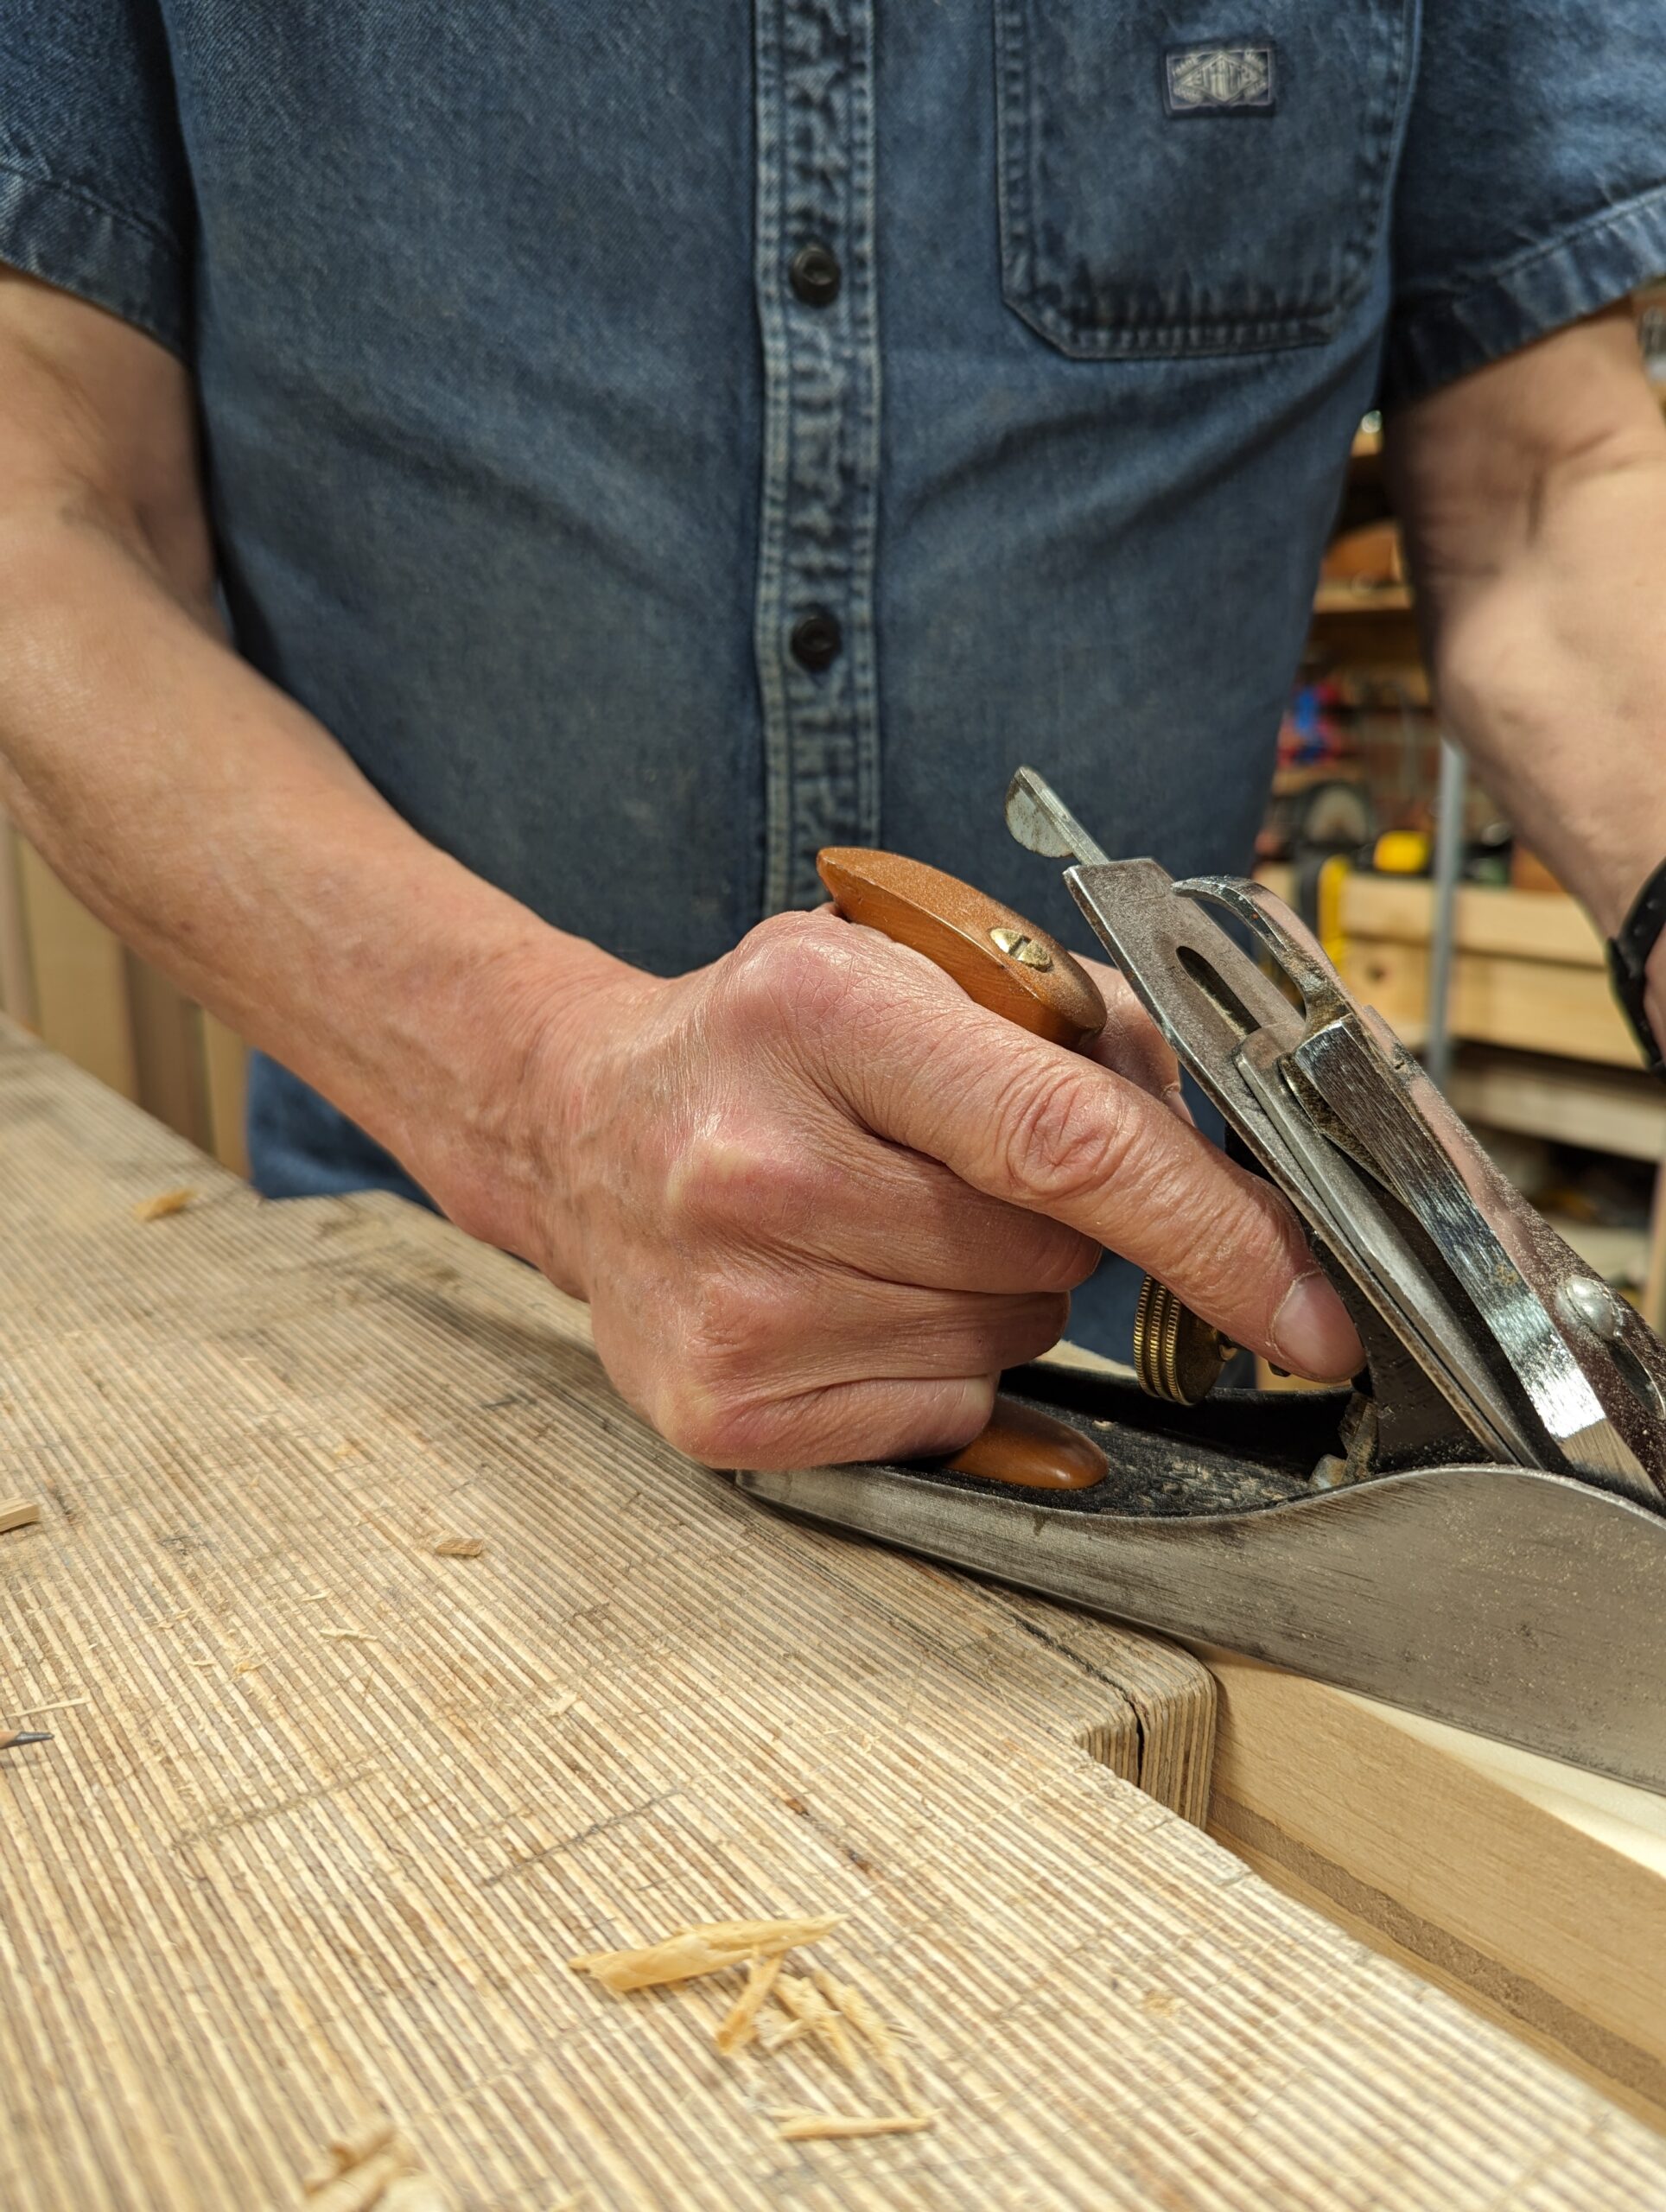
With everything locked in the vise, sit the plane on the carrier and in the usual planing manner take the first pass keeping the heel of the plane registered first on the carrier and then too on the high corner of the end grain of the wood. Usually, this will be the corner of the wood up to and against the carrier and to your right. The first strokes you take may give very short contact with the wood and seem unproductive but each subsequent stroke will take more and more until the final clear cut resolves all the end-grain trimming dead square.
You can of course use the carrier for long-grain trimming on short sections of wood too, by the way.
In the more recent pieces have made I have had upwards of 800 pieces needing end-grain perfecting. Even freehanding would have taken me longer because with this guide there is no hesitation. The guide should take no more than ten minutes to make, by the way.
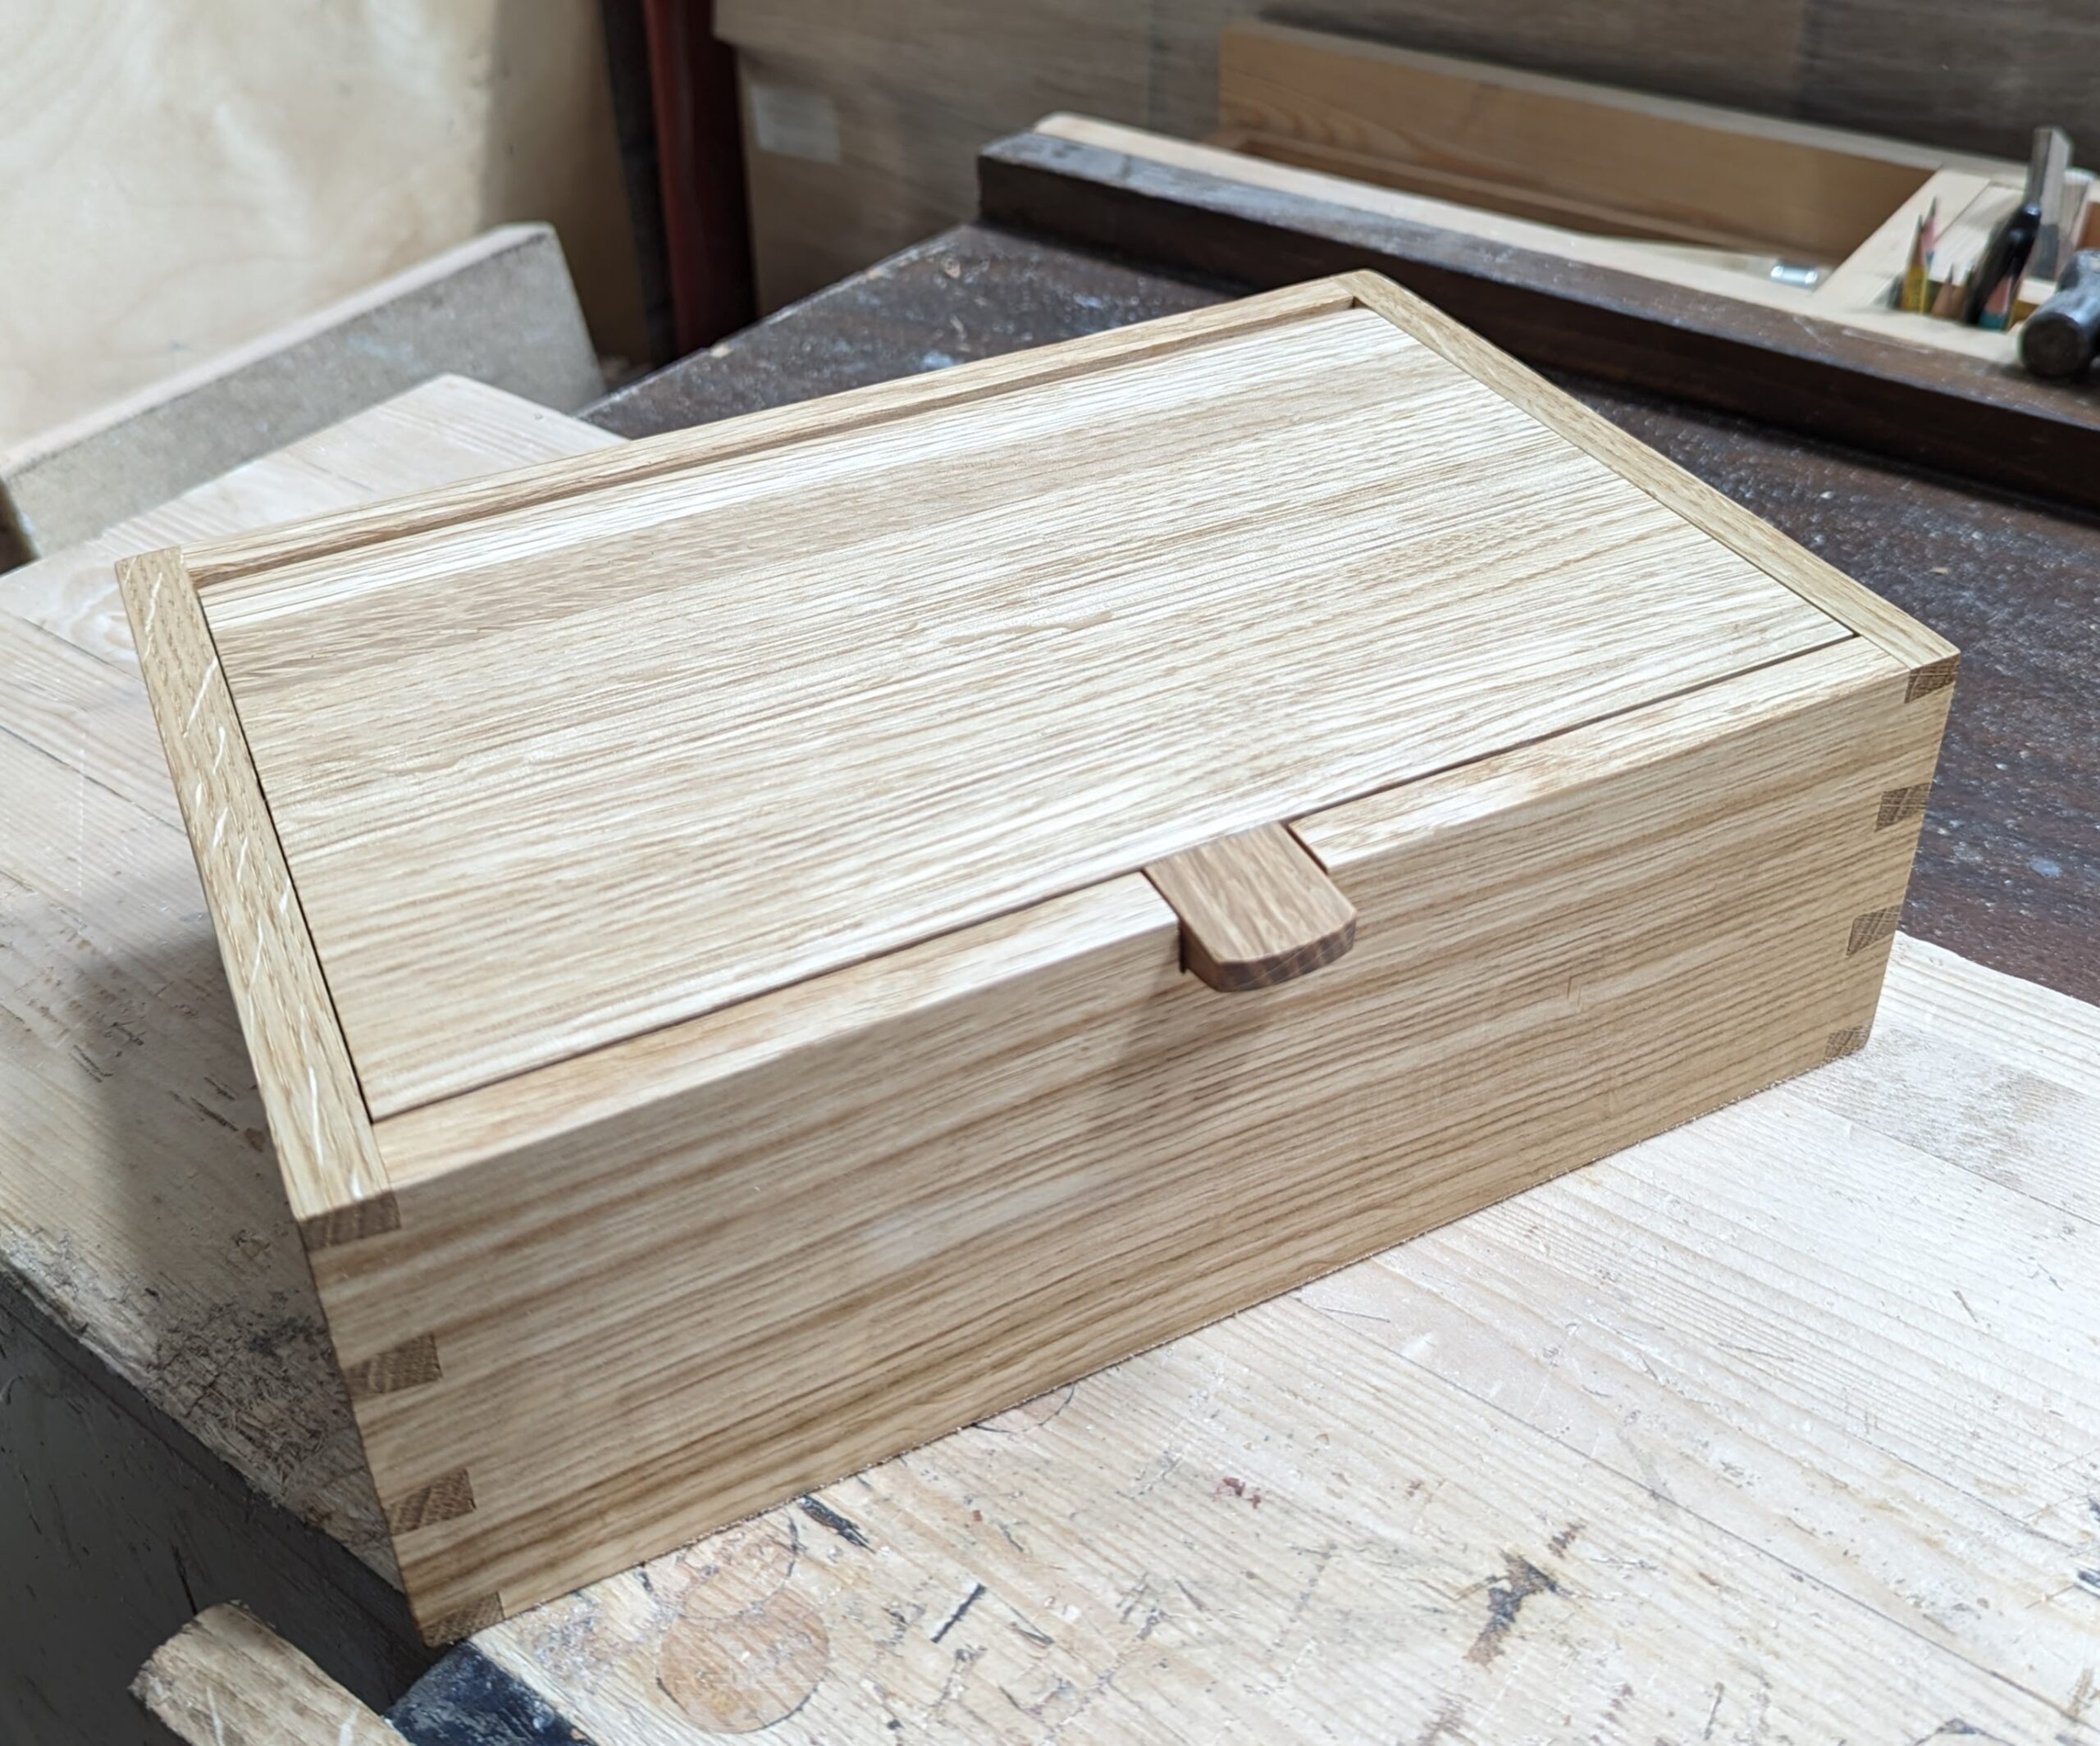
Oh, and I used it on this box.
Comments ()