A Quick Truing Strategy
With so much of my work being planed and trued by hand I use something of a simple strategy that really works well and especially with the short lengths we generally use in furniture making. Though of course we have long lengths for bedsides, head boards, tabletops and wardrobes but the rails and stiles, frames of cabinets rarely go longer than three feet. I would offer that 90% of our wood is under the three-foot length. I would also say that the smaller the component the more must strive for dead-on flatness. Any compromise on this will always result in severe twists in the final panels and frames we make. The narrower and shorter a stile or rail is the greater the resistance against any leverage we might try to counter twist by. We should resign ourselves to removing any and all twist as much as is humanly possible. This becomes all the more important in our decision to not resort to the use of machine methods for truing our wood.
The first and most critical face is the large flat face from which subsequent faces and edges take their reference. Once this face is refined we can square the edges and make parallel cust following gauge lines we run with marking gauges. I will assume we all know about this for now because my main focus here is to show how I deal with short lengths to establish that first dead-flat, untwisted face for which I accept no compromise. Why? If I allow even the slightest degree of twist in any rail or stile or panel board it will telegraph throughout the work exaggeratedly and result in a wholly twisted frame or panel that no amount of additional work will correct.
Step 1: By rough cutting my wood to length, width and thickness I minimise any effort for truing and over-exaggerating distortion. An extra inch in length and a half-inch in width is a minimal loss.

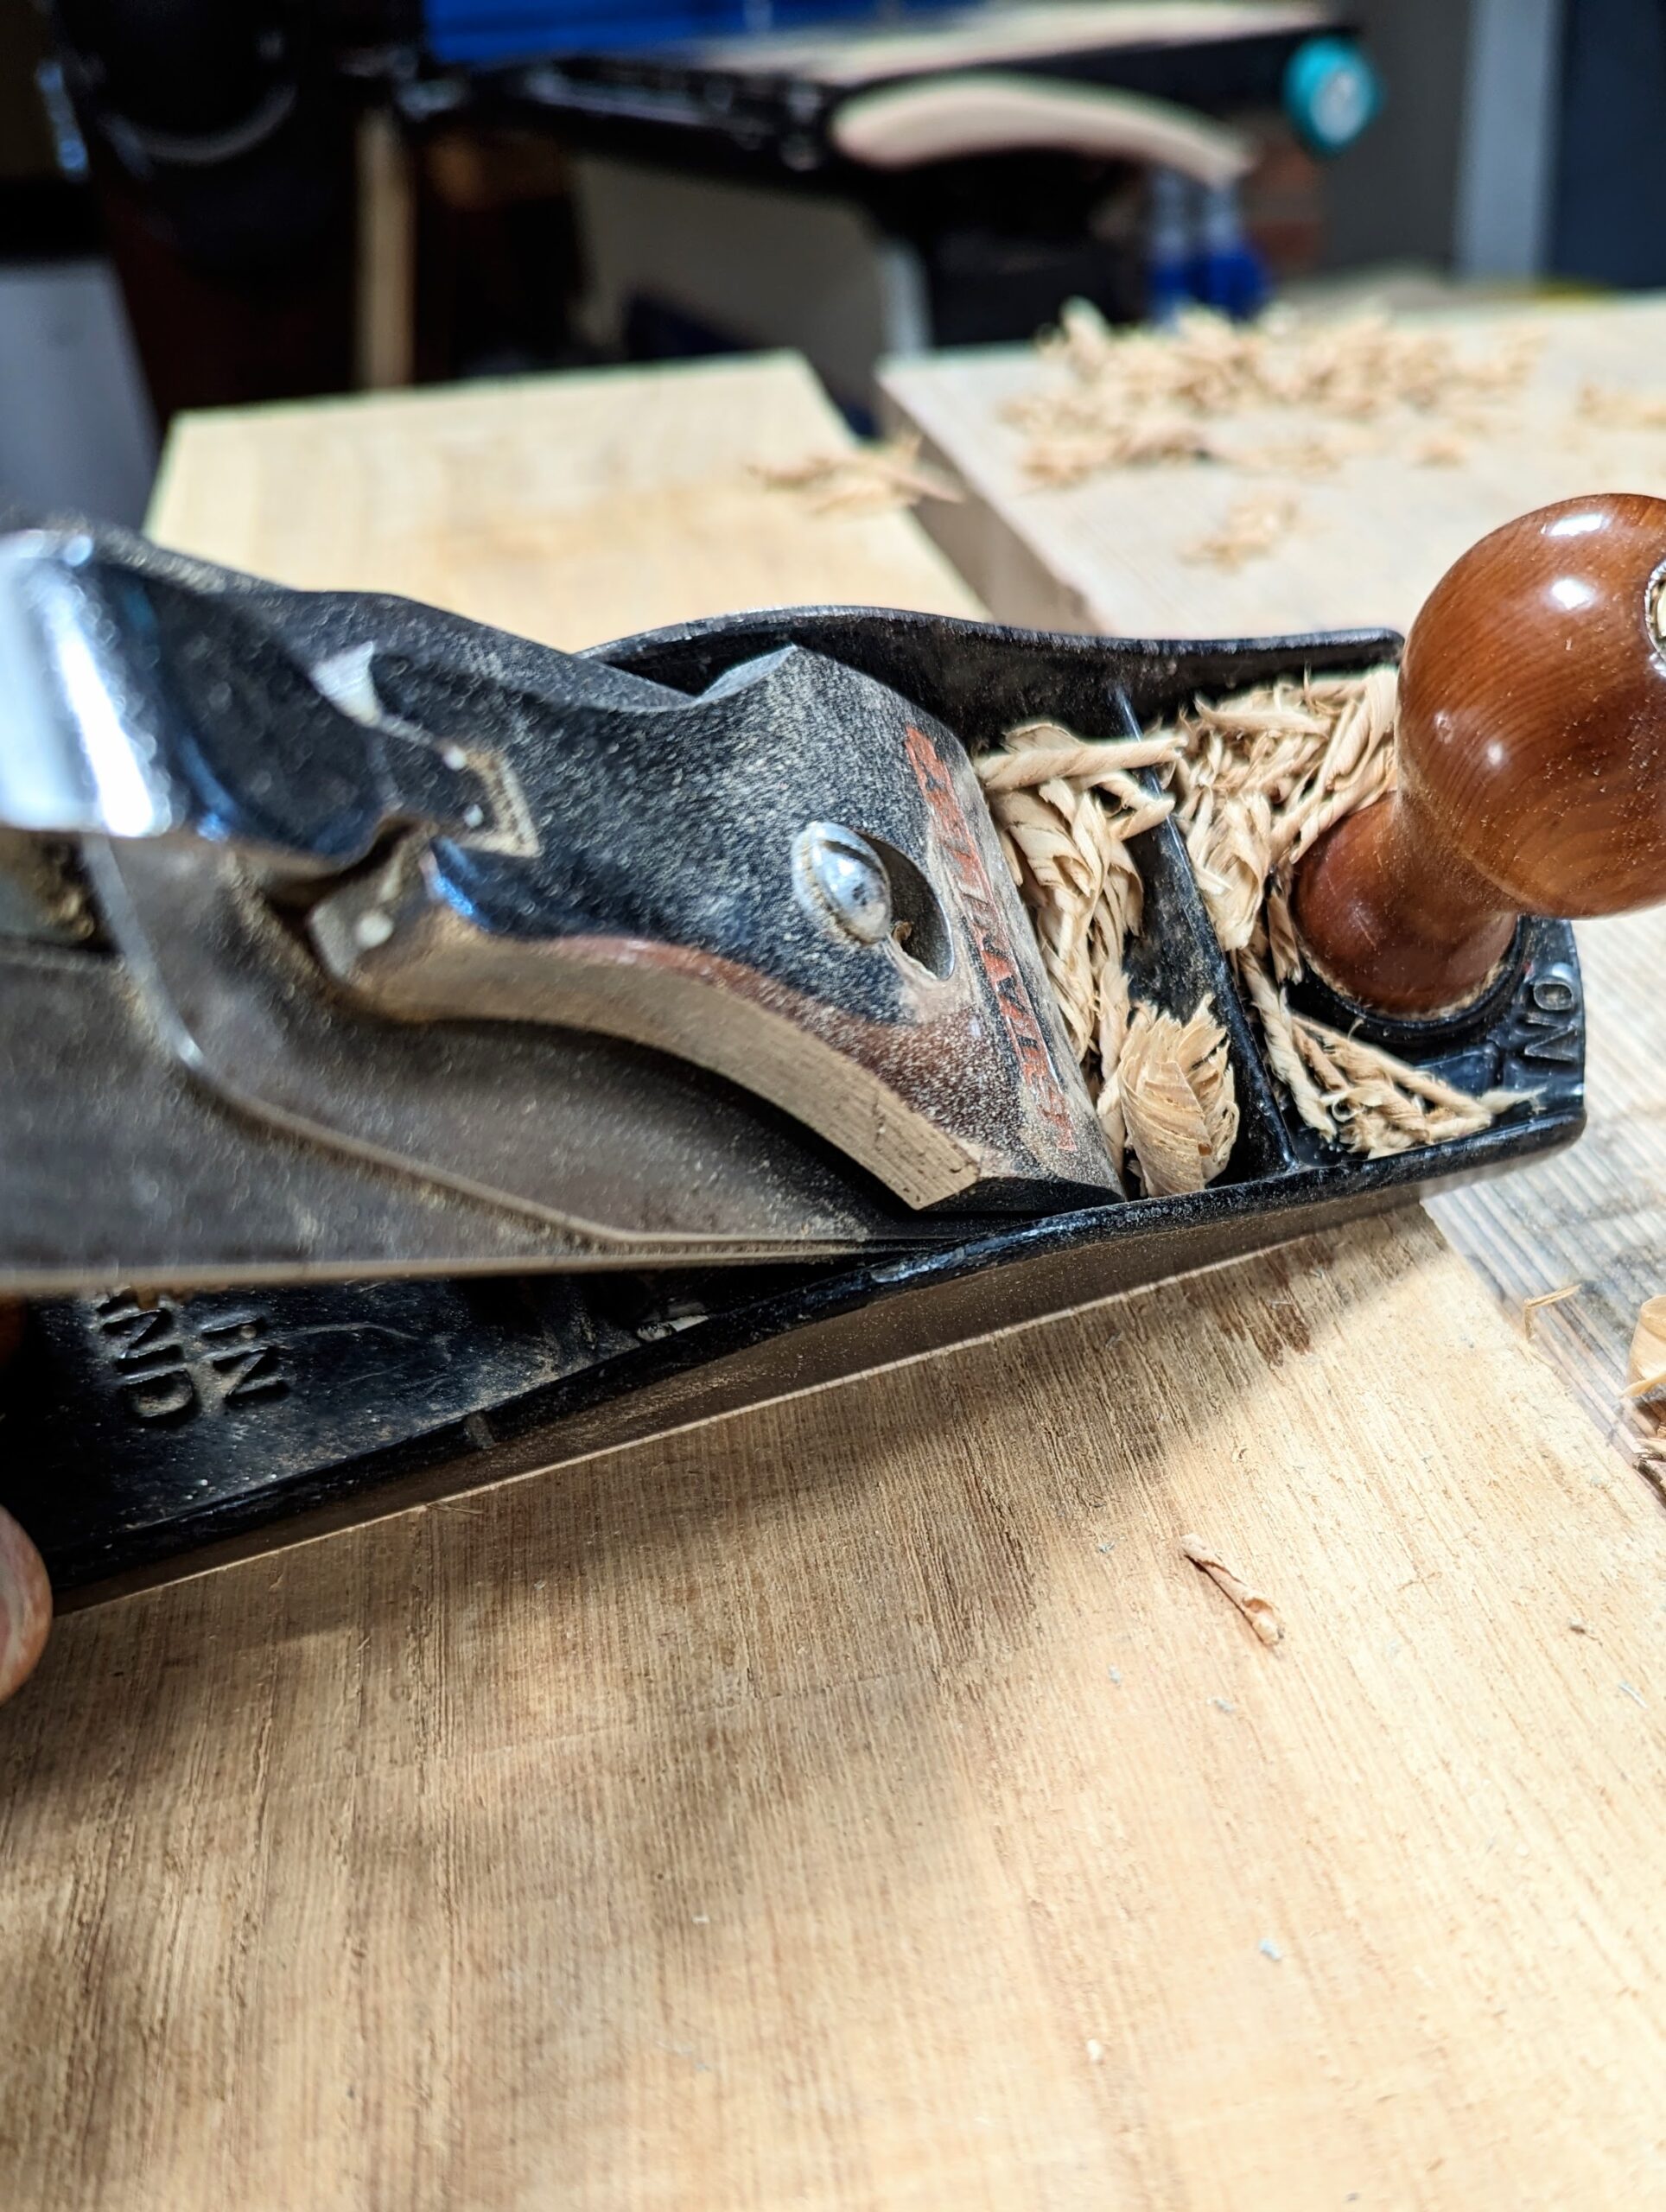
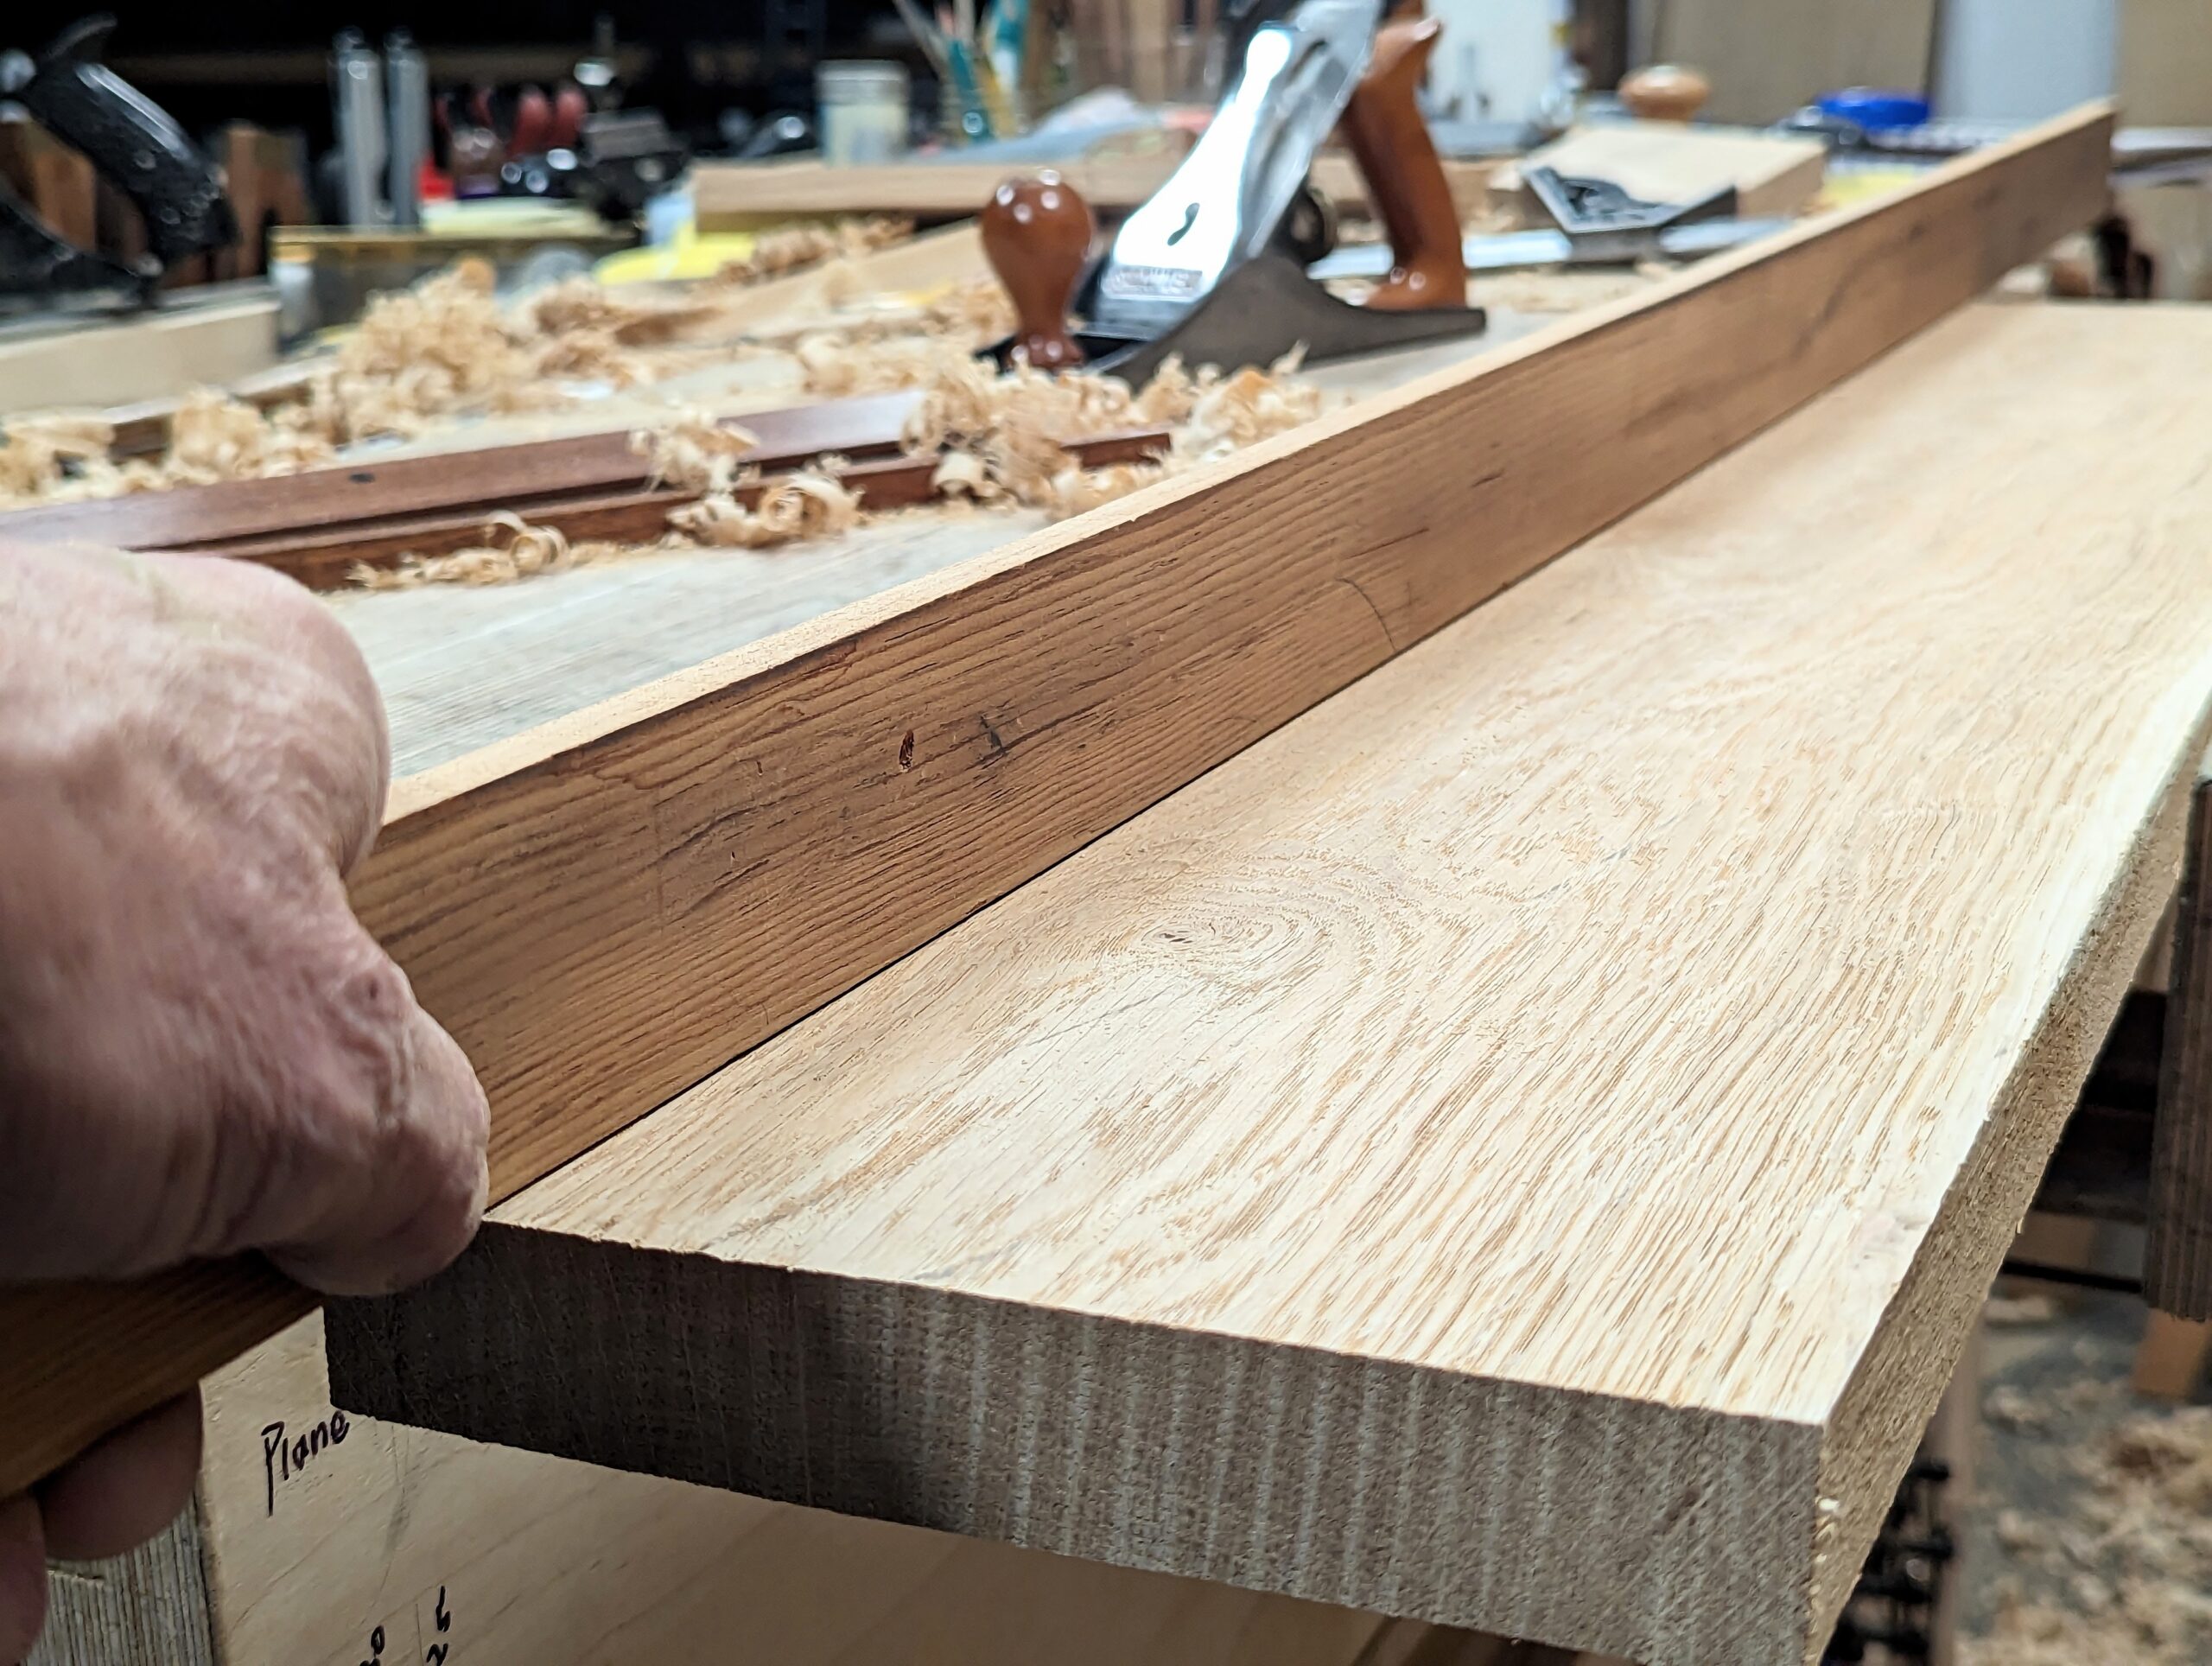
Step 2: I check across the grain with the corner of my plane to see where the light exposes the issues. Here is a cup. The opposite face will almost always show a crown but sometimes, rarely, not.
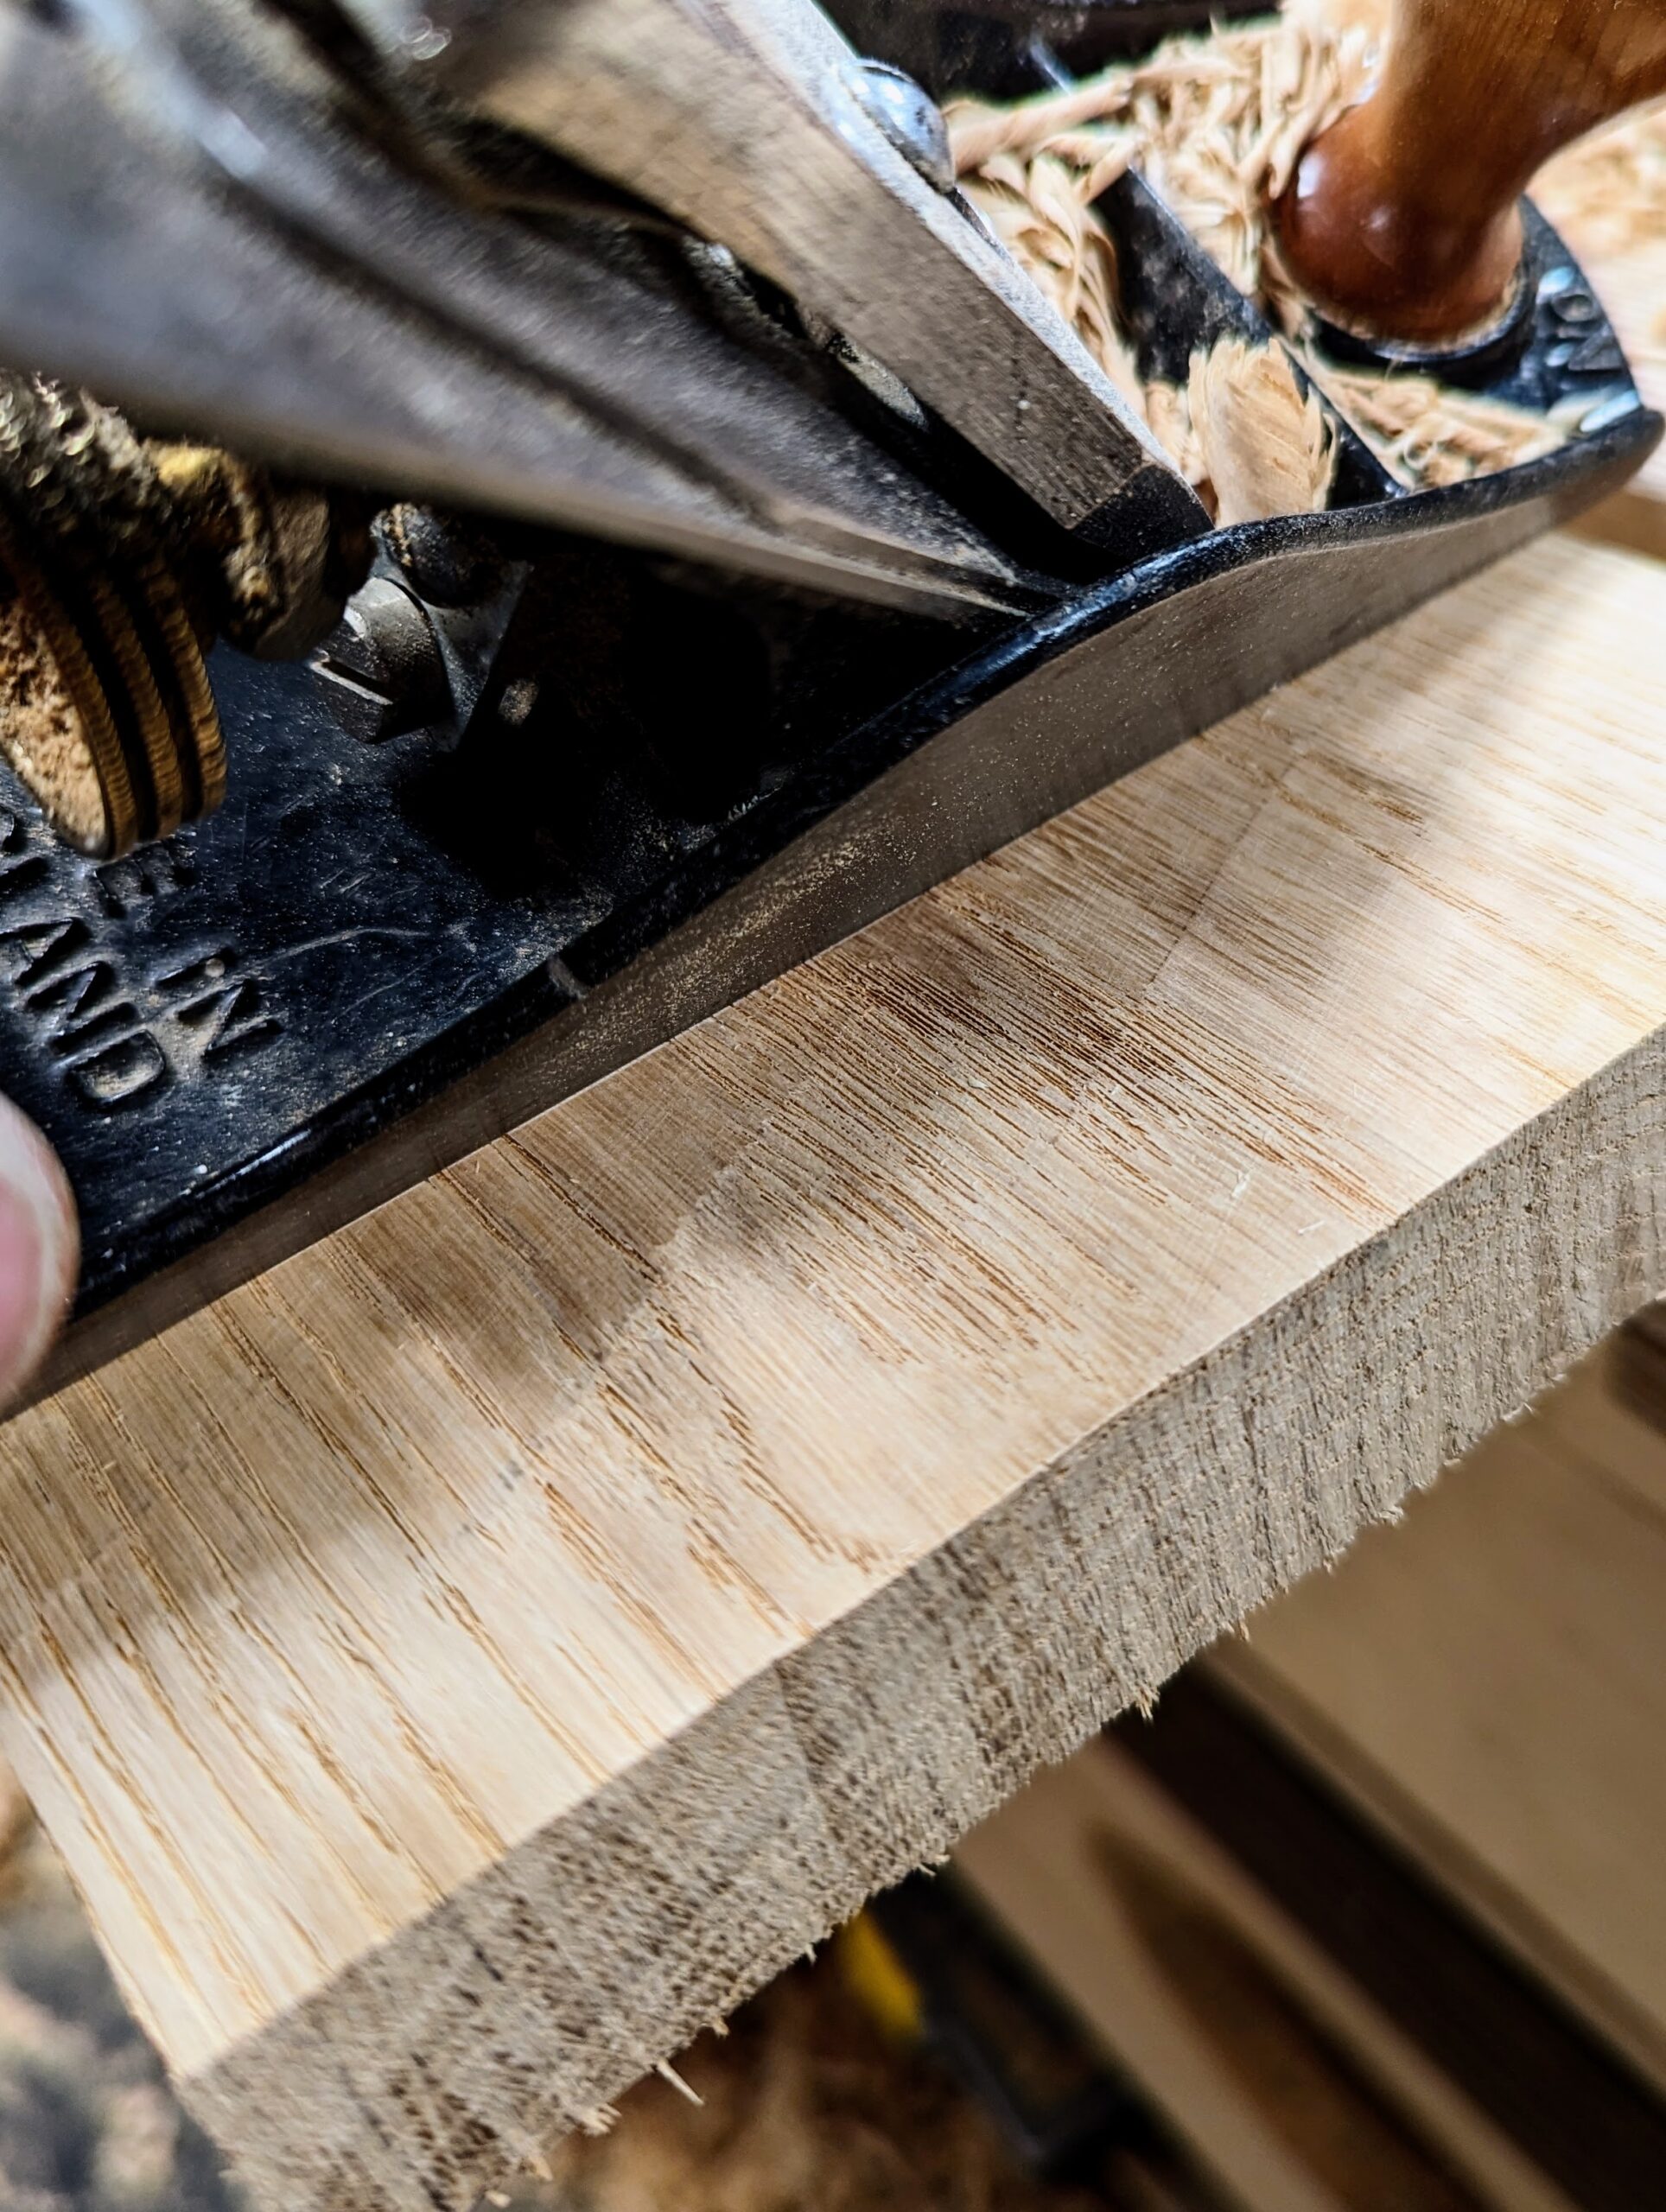
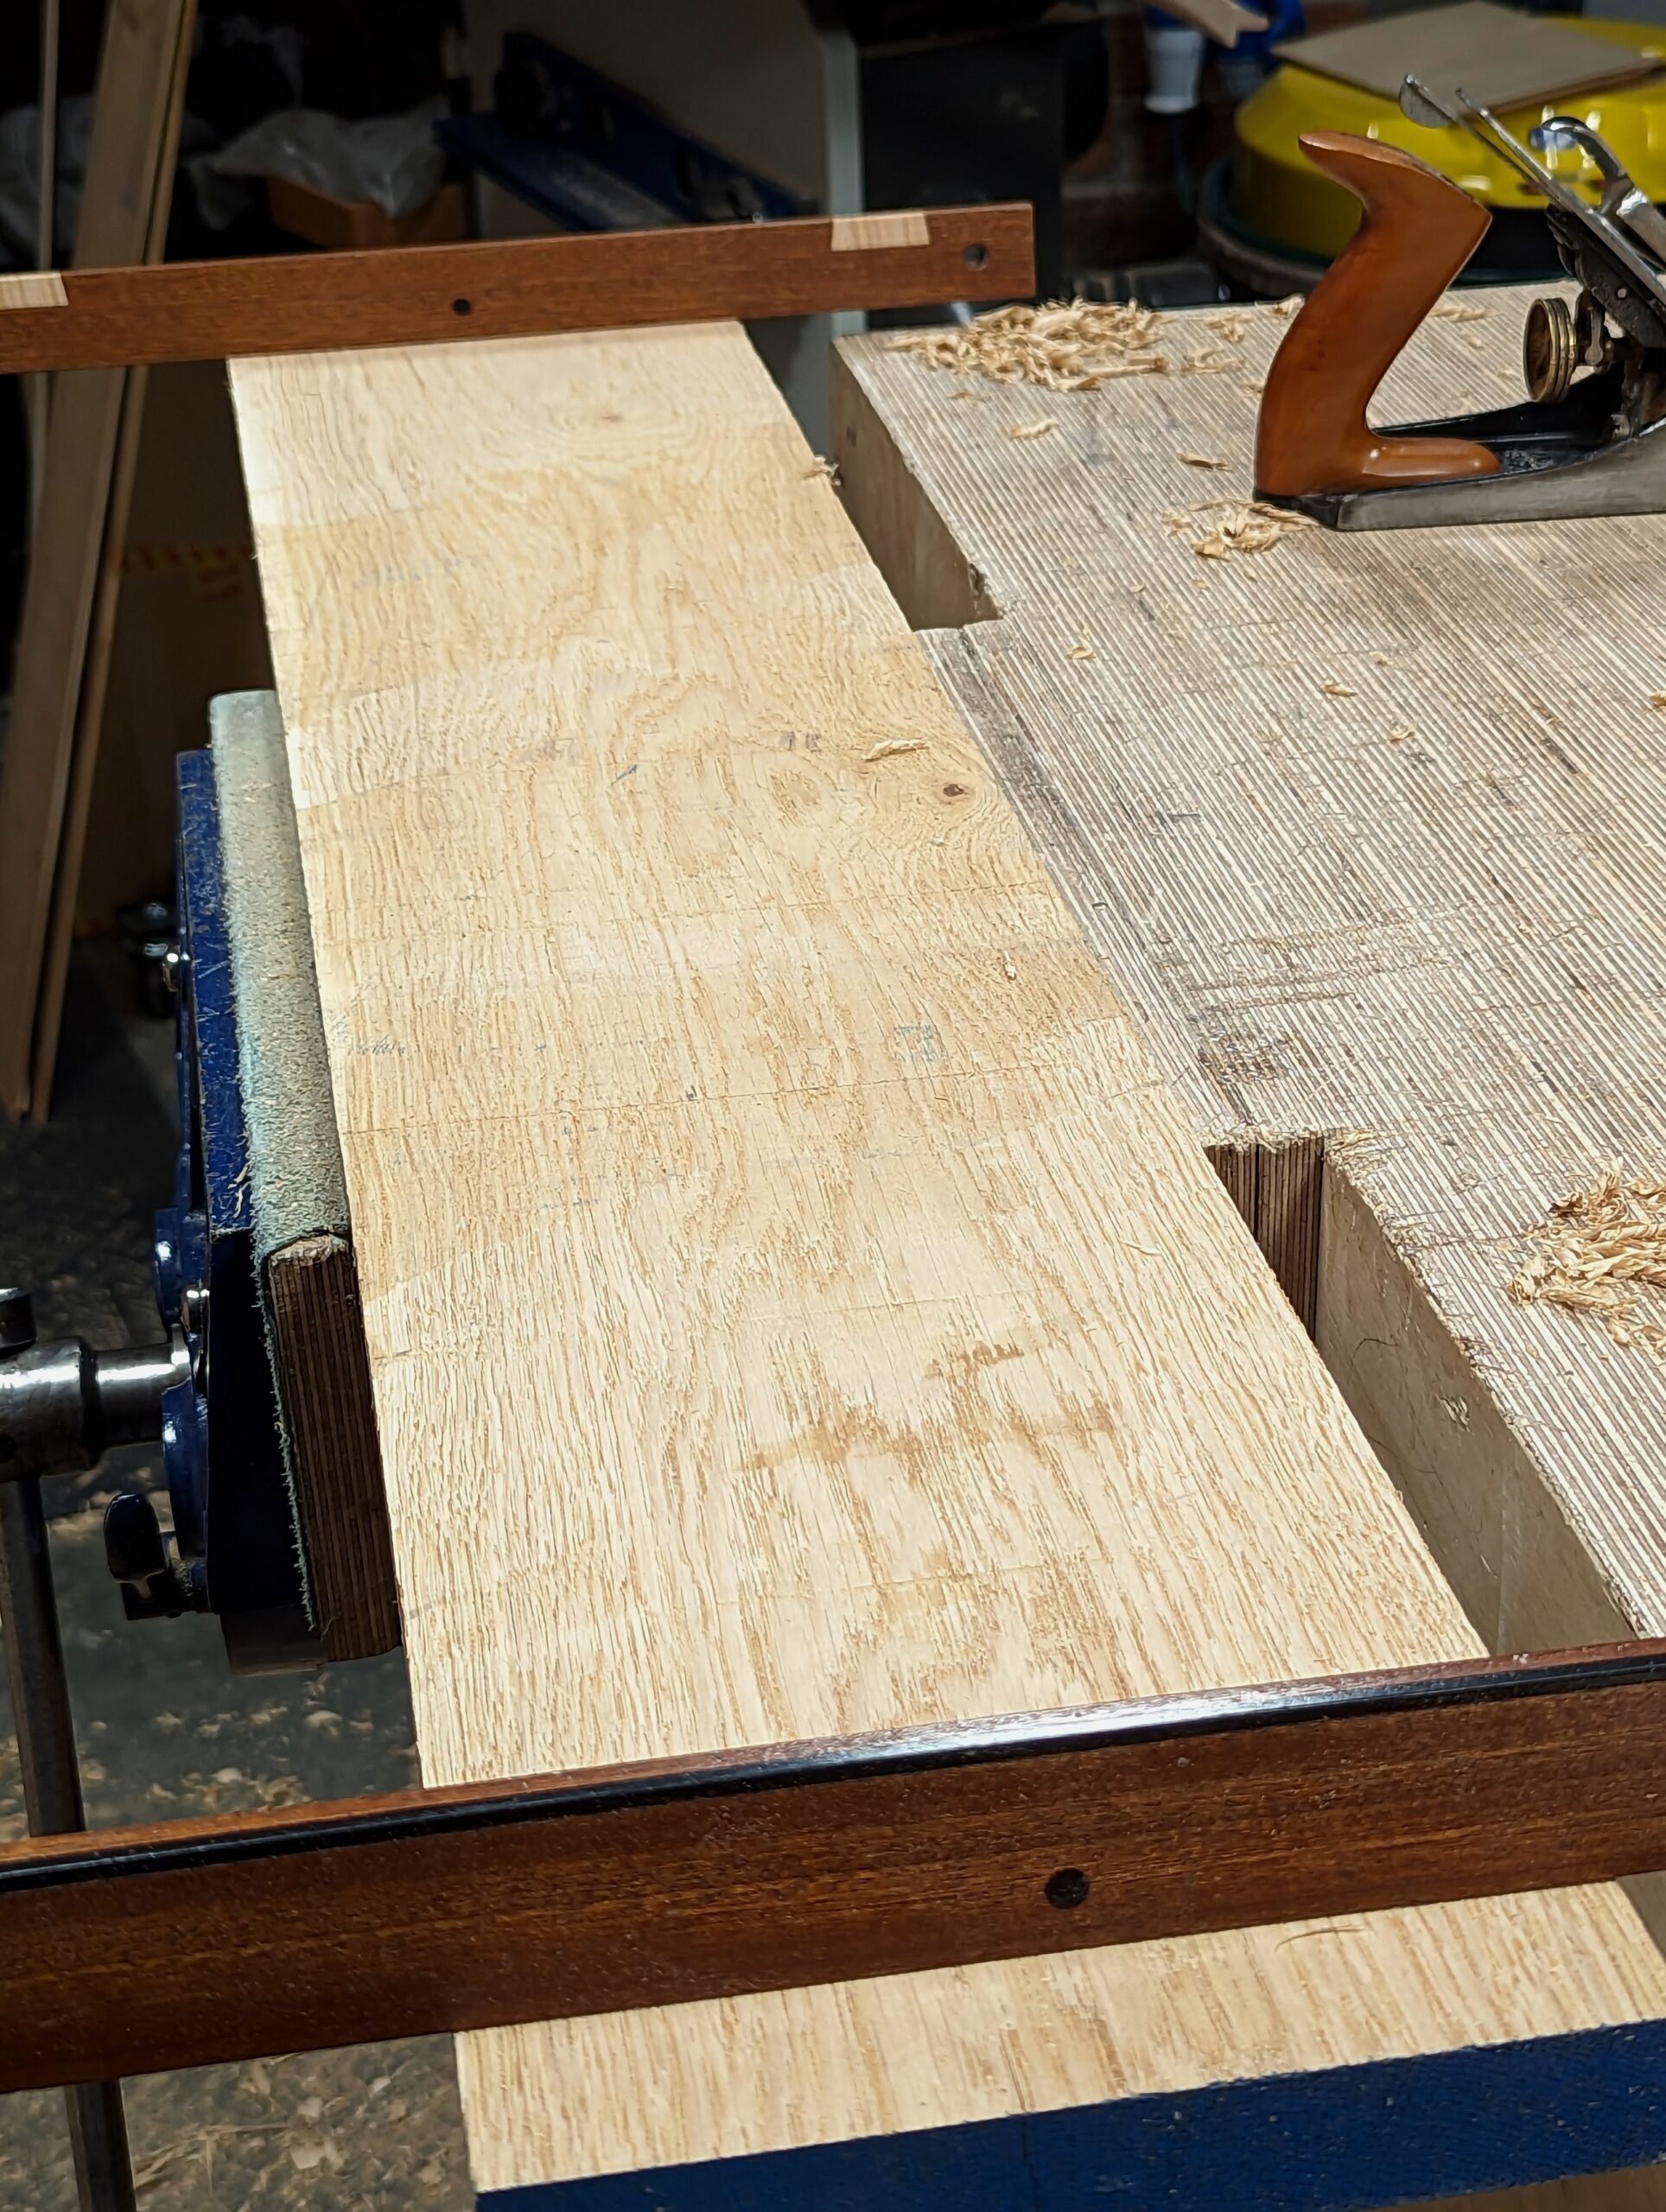
Step 3: I plane across the grain to develop a six-inch or so flat clear across from near side to far side at one end of the board . . .
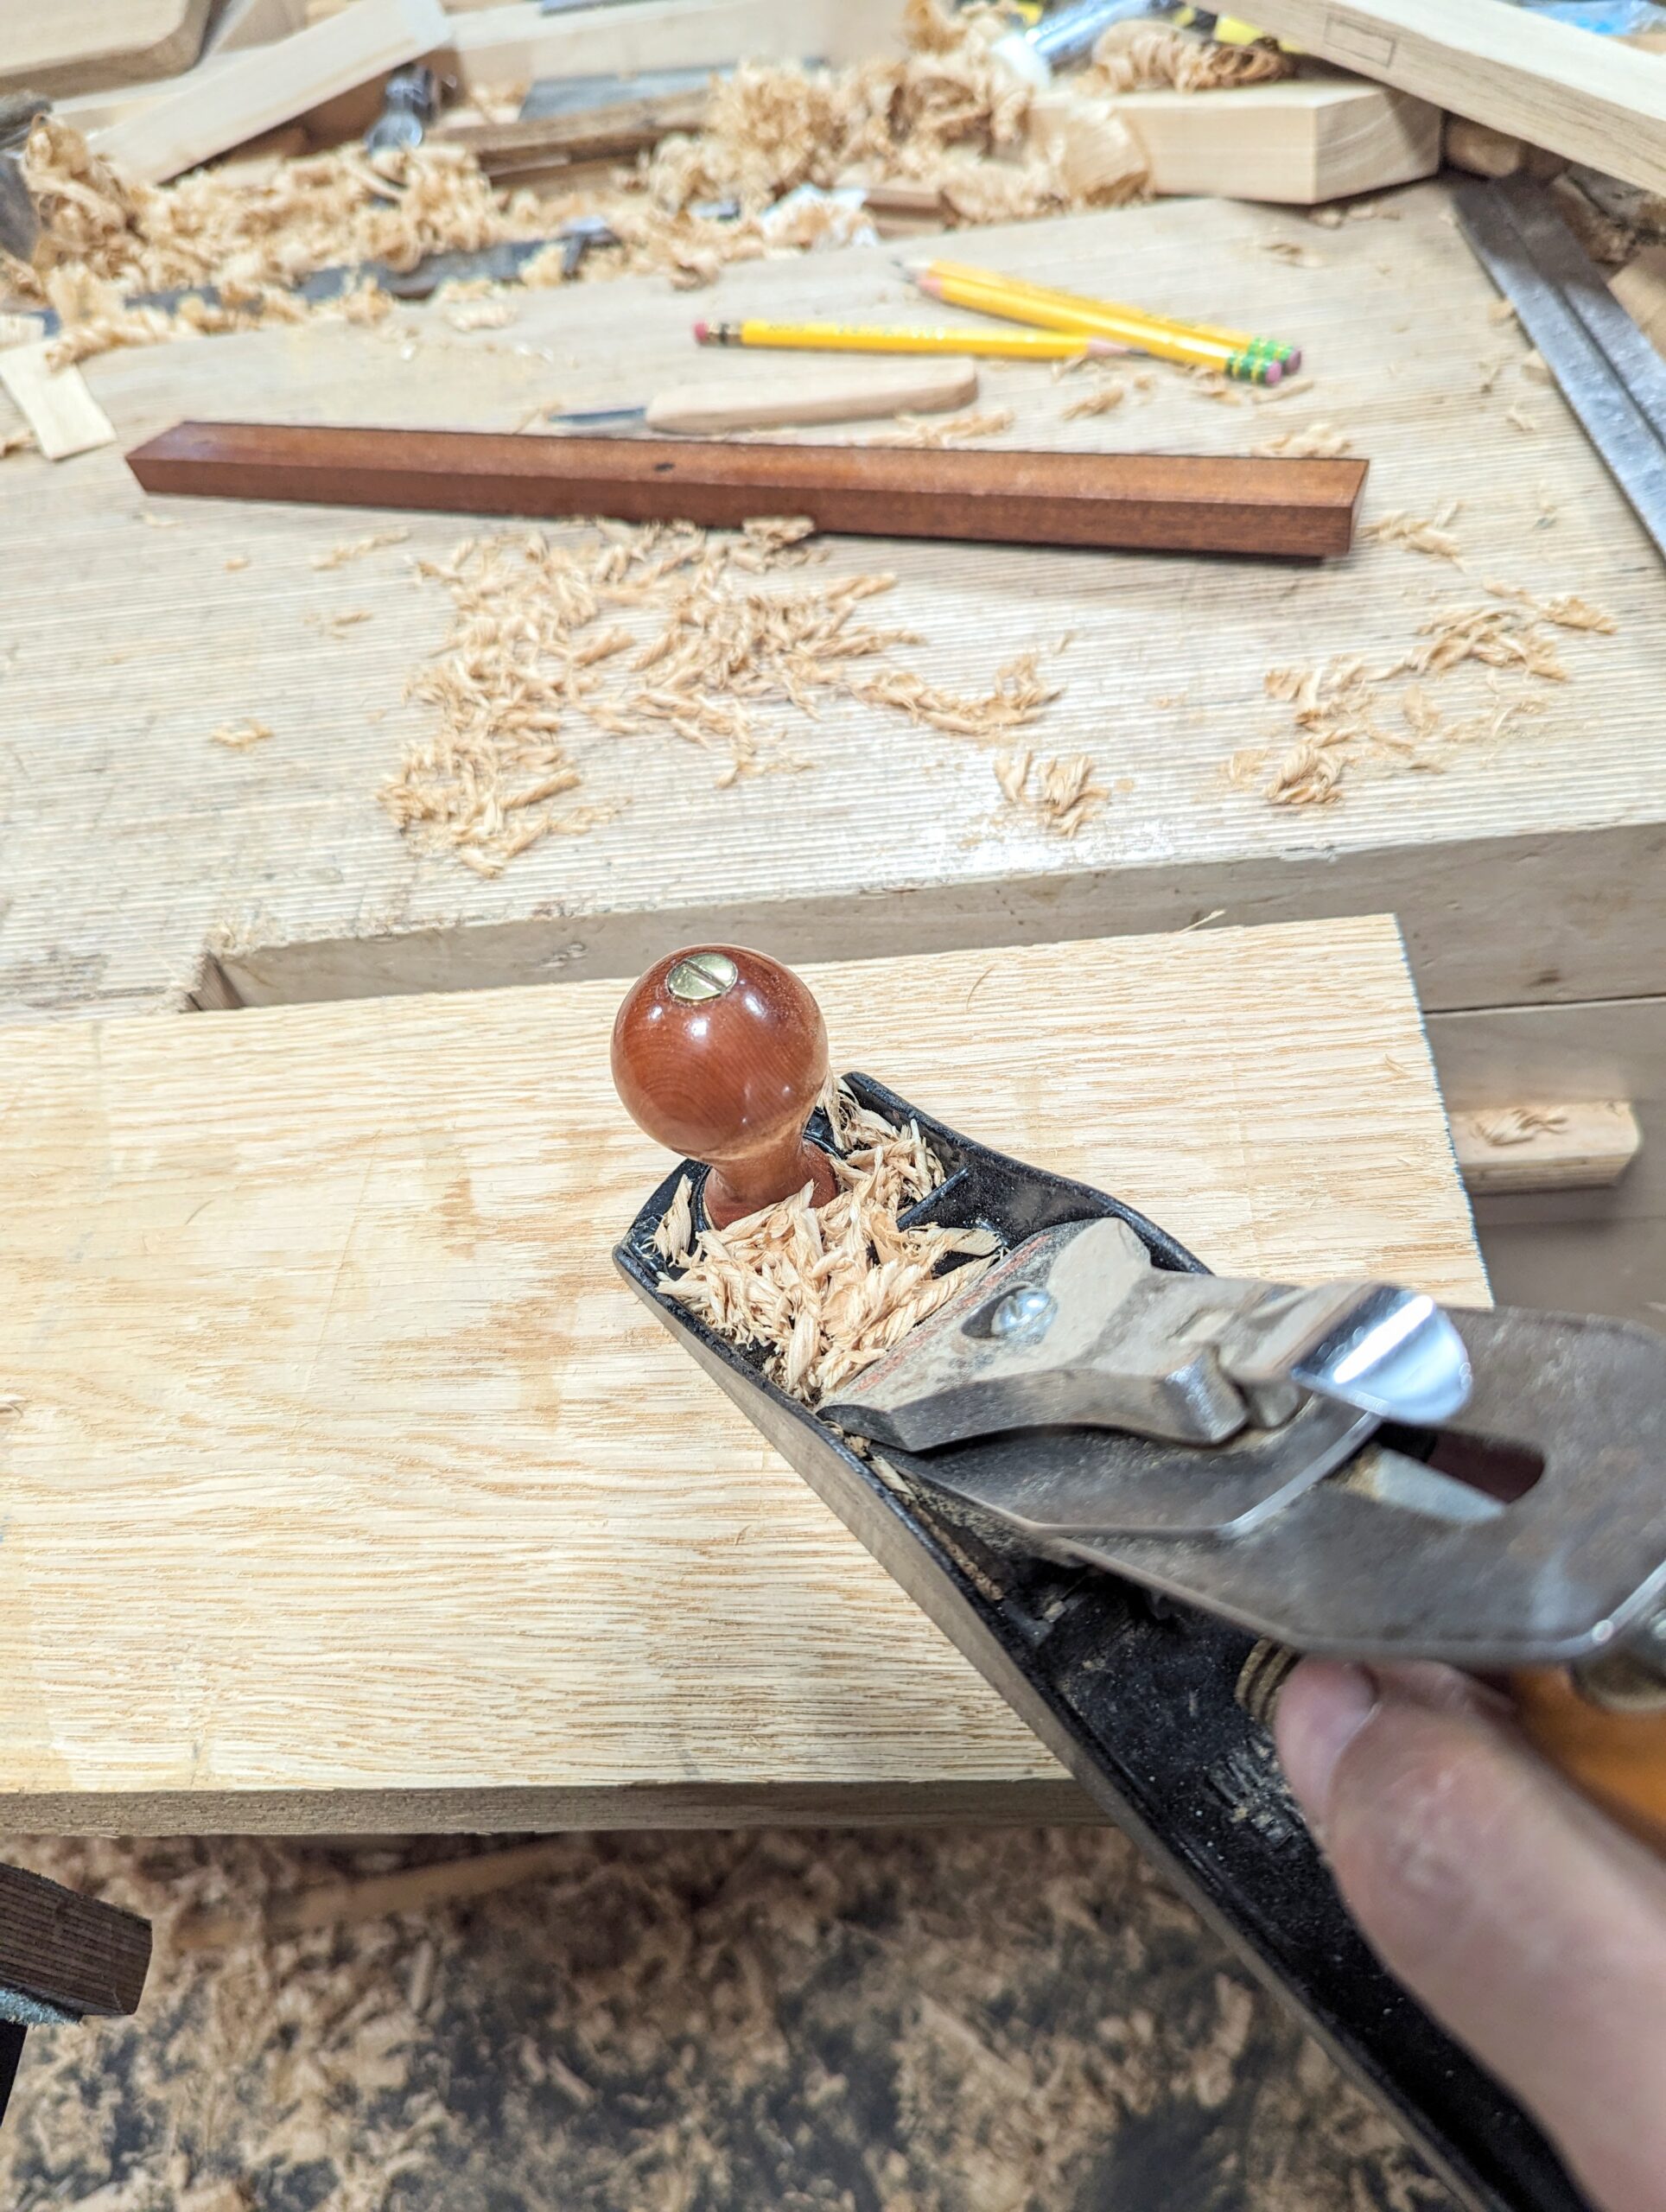
. . . and the same at the opposite end.
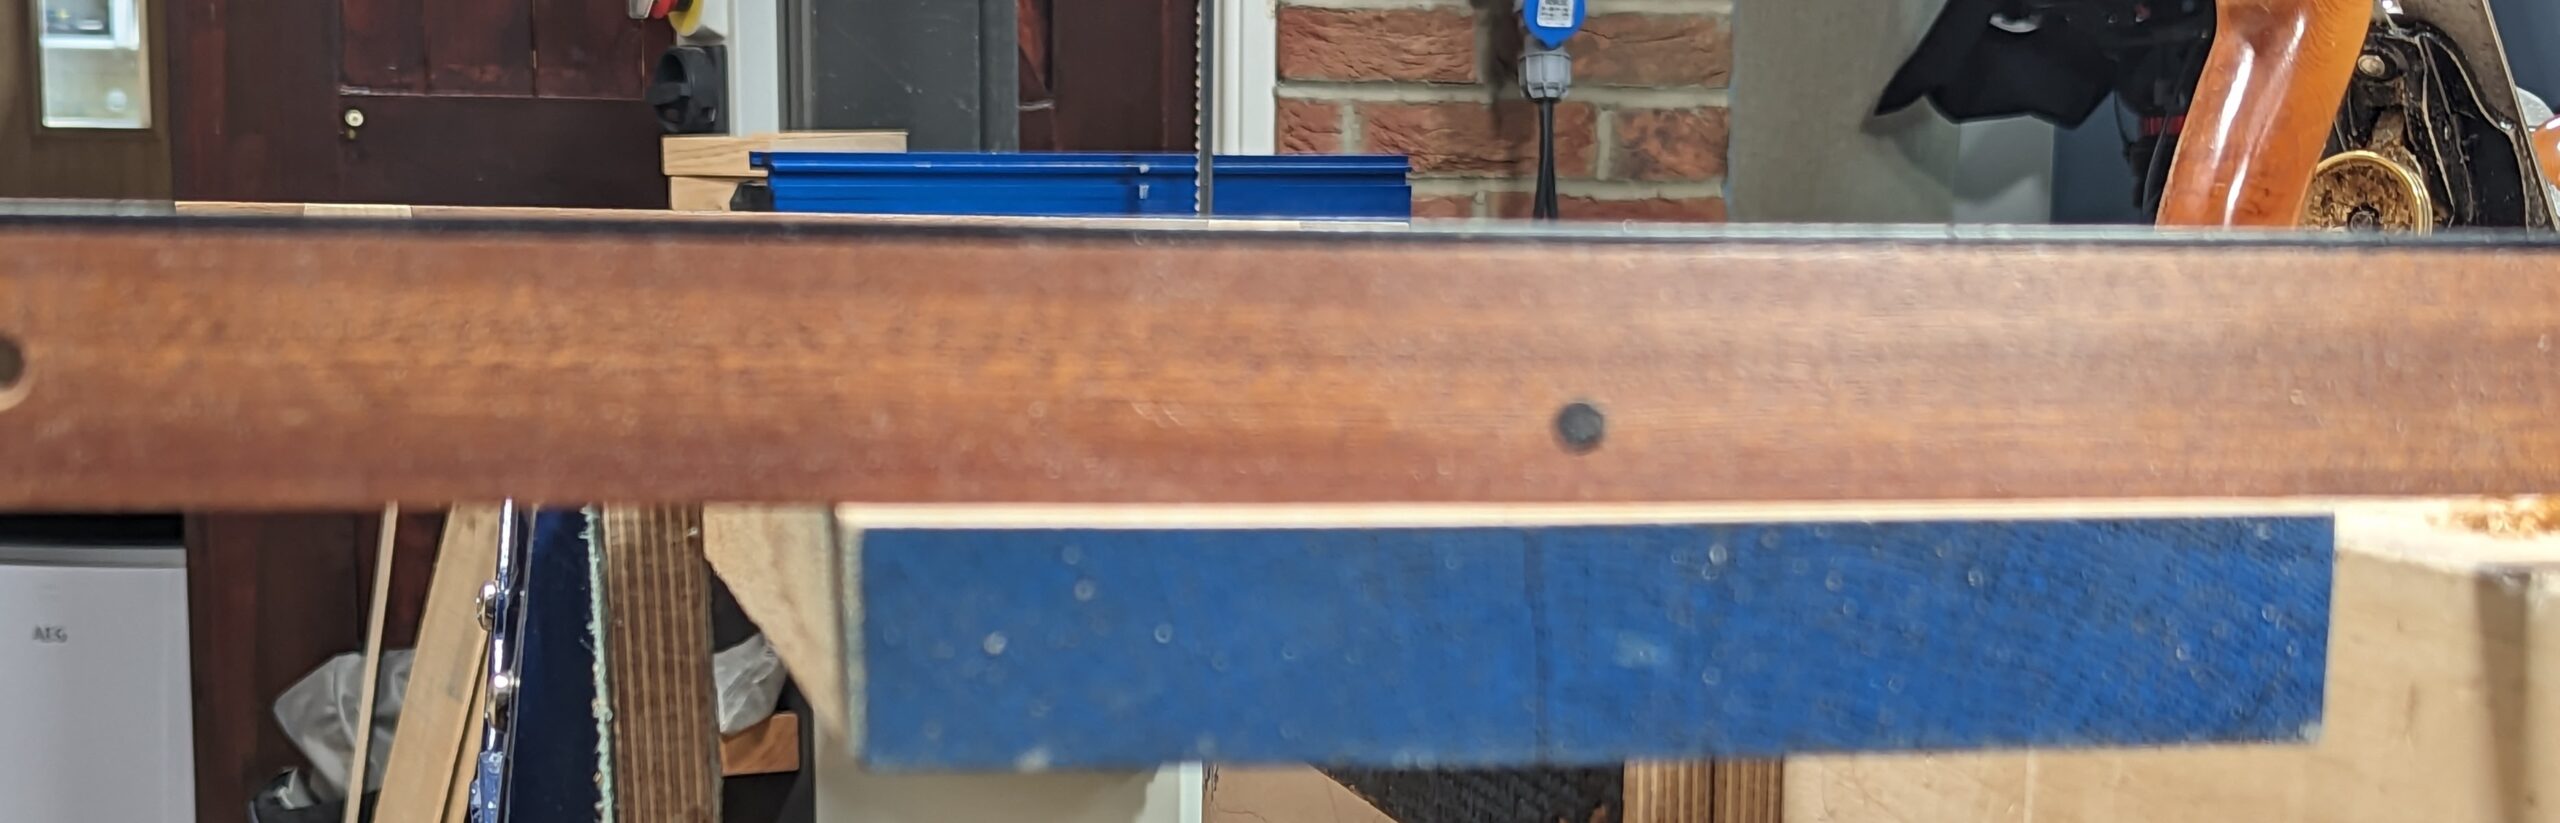
Step 4: I place the winding sticks on the new flats near to the ends.
Step 5: I plane the highs until both winding sticks align. I try to plane equally at both ends so that the distortion is equally tackled rather than just one high corner. This helps to keep the board more even in width.
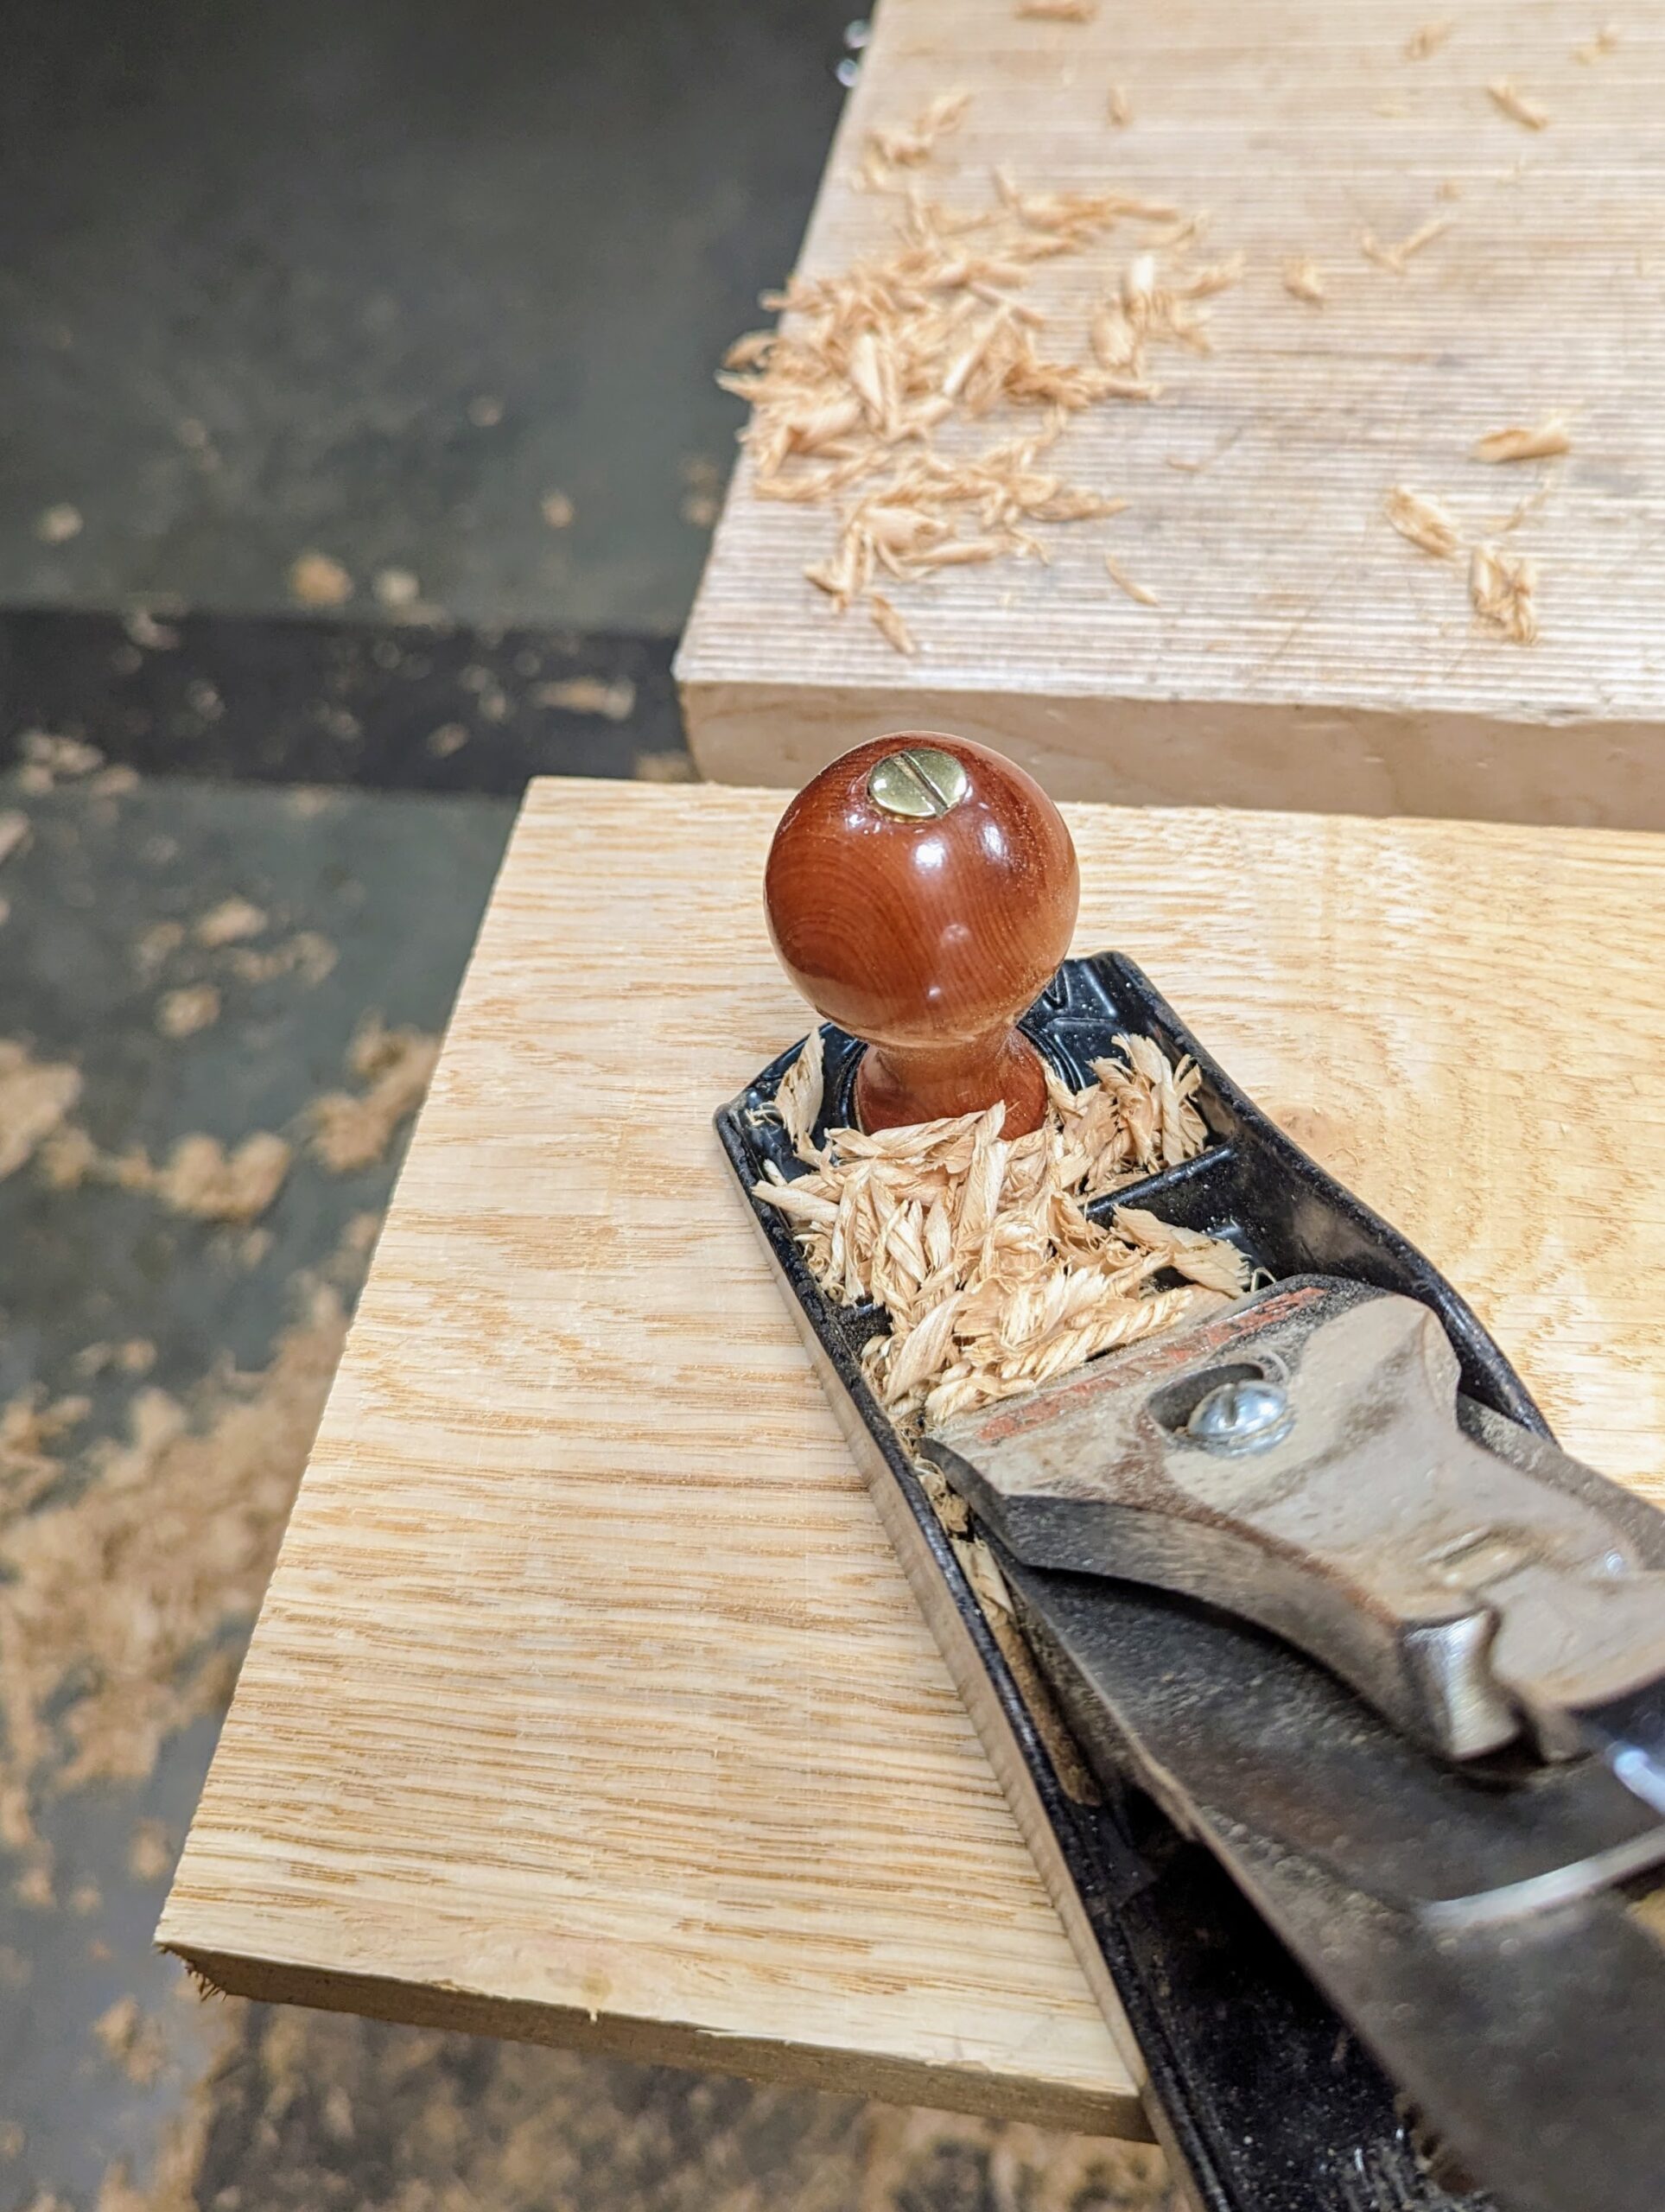
Step 6: Once the winding sticks show parallelity, the midsection is highlighted by its rough grain.
Step 7: I use the two extremes at the end as registration surfaces to finalise my taking down the midsection discrepancies.
I use four planes to get my results as quickly as possible. My first plane of choice will be my converted Stanley#78 scrub plane. This is a rebate, rabbet or fillister plane with a crowned cutting iron. This plane takes off masses of wood without ripping out the grain. I follow on with a milder version of the scrub plane with a converted Stanley #4 scrub plane which evens out the undulation and leaves shallower undulation. I then go to my regular Stanley#4 for perfect evenness. From here I revert to the same series of planes for that midsection and level from end to end. The Stanley#5 comes into play if the length is curved and I need to straighten it but I can do this perfectly well with a #4 only.
Comments ()