Heavy Duty or Balance?
I am not sure when I first read the words, but it seems no matter how lightweight the product these days the package will inevitably say, 'Heavy Duty'. I think I once saw it emblazoned on a US Ford one-ton dually truck a couple of decades ago and for a pickup it was pretty heavy duty even though driven by what was called a 'city-slicker' crossing downtown Houston city. My own one-ton flatbed's top speed was around fifty before the drift became less controllable and I needed two lanes to keep it on the road. It was at my time of ownership over 40 years old and had 400,000 on the clock if the clock had had the capacity to record it. It was indeed heavy duty in that there was no power-assist steering or power breaking. Get past fifty and you had to stand on the breaks to get the thing to slow down.
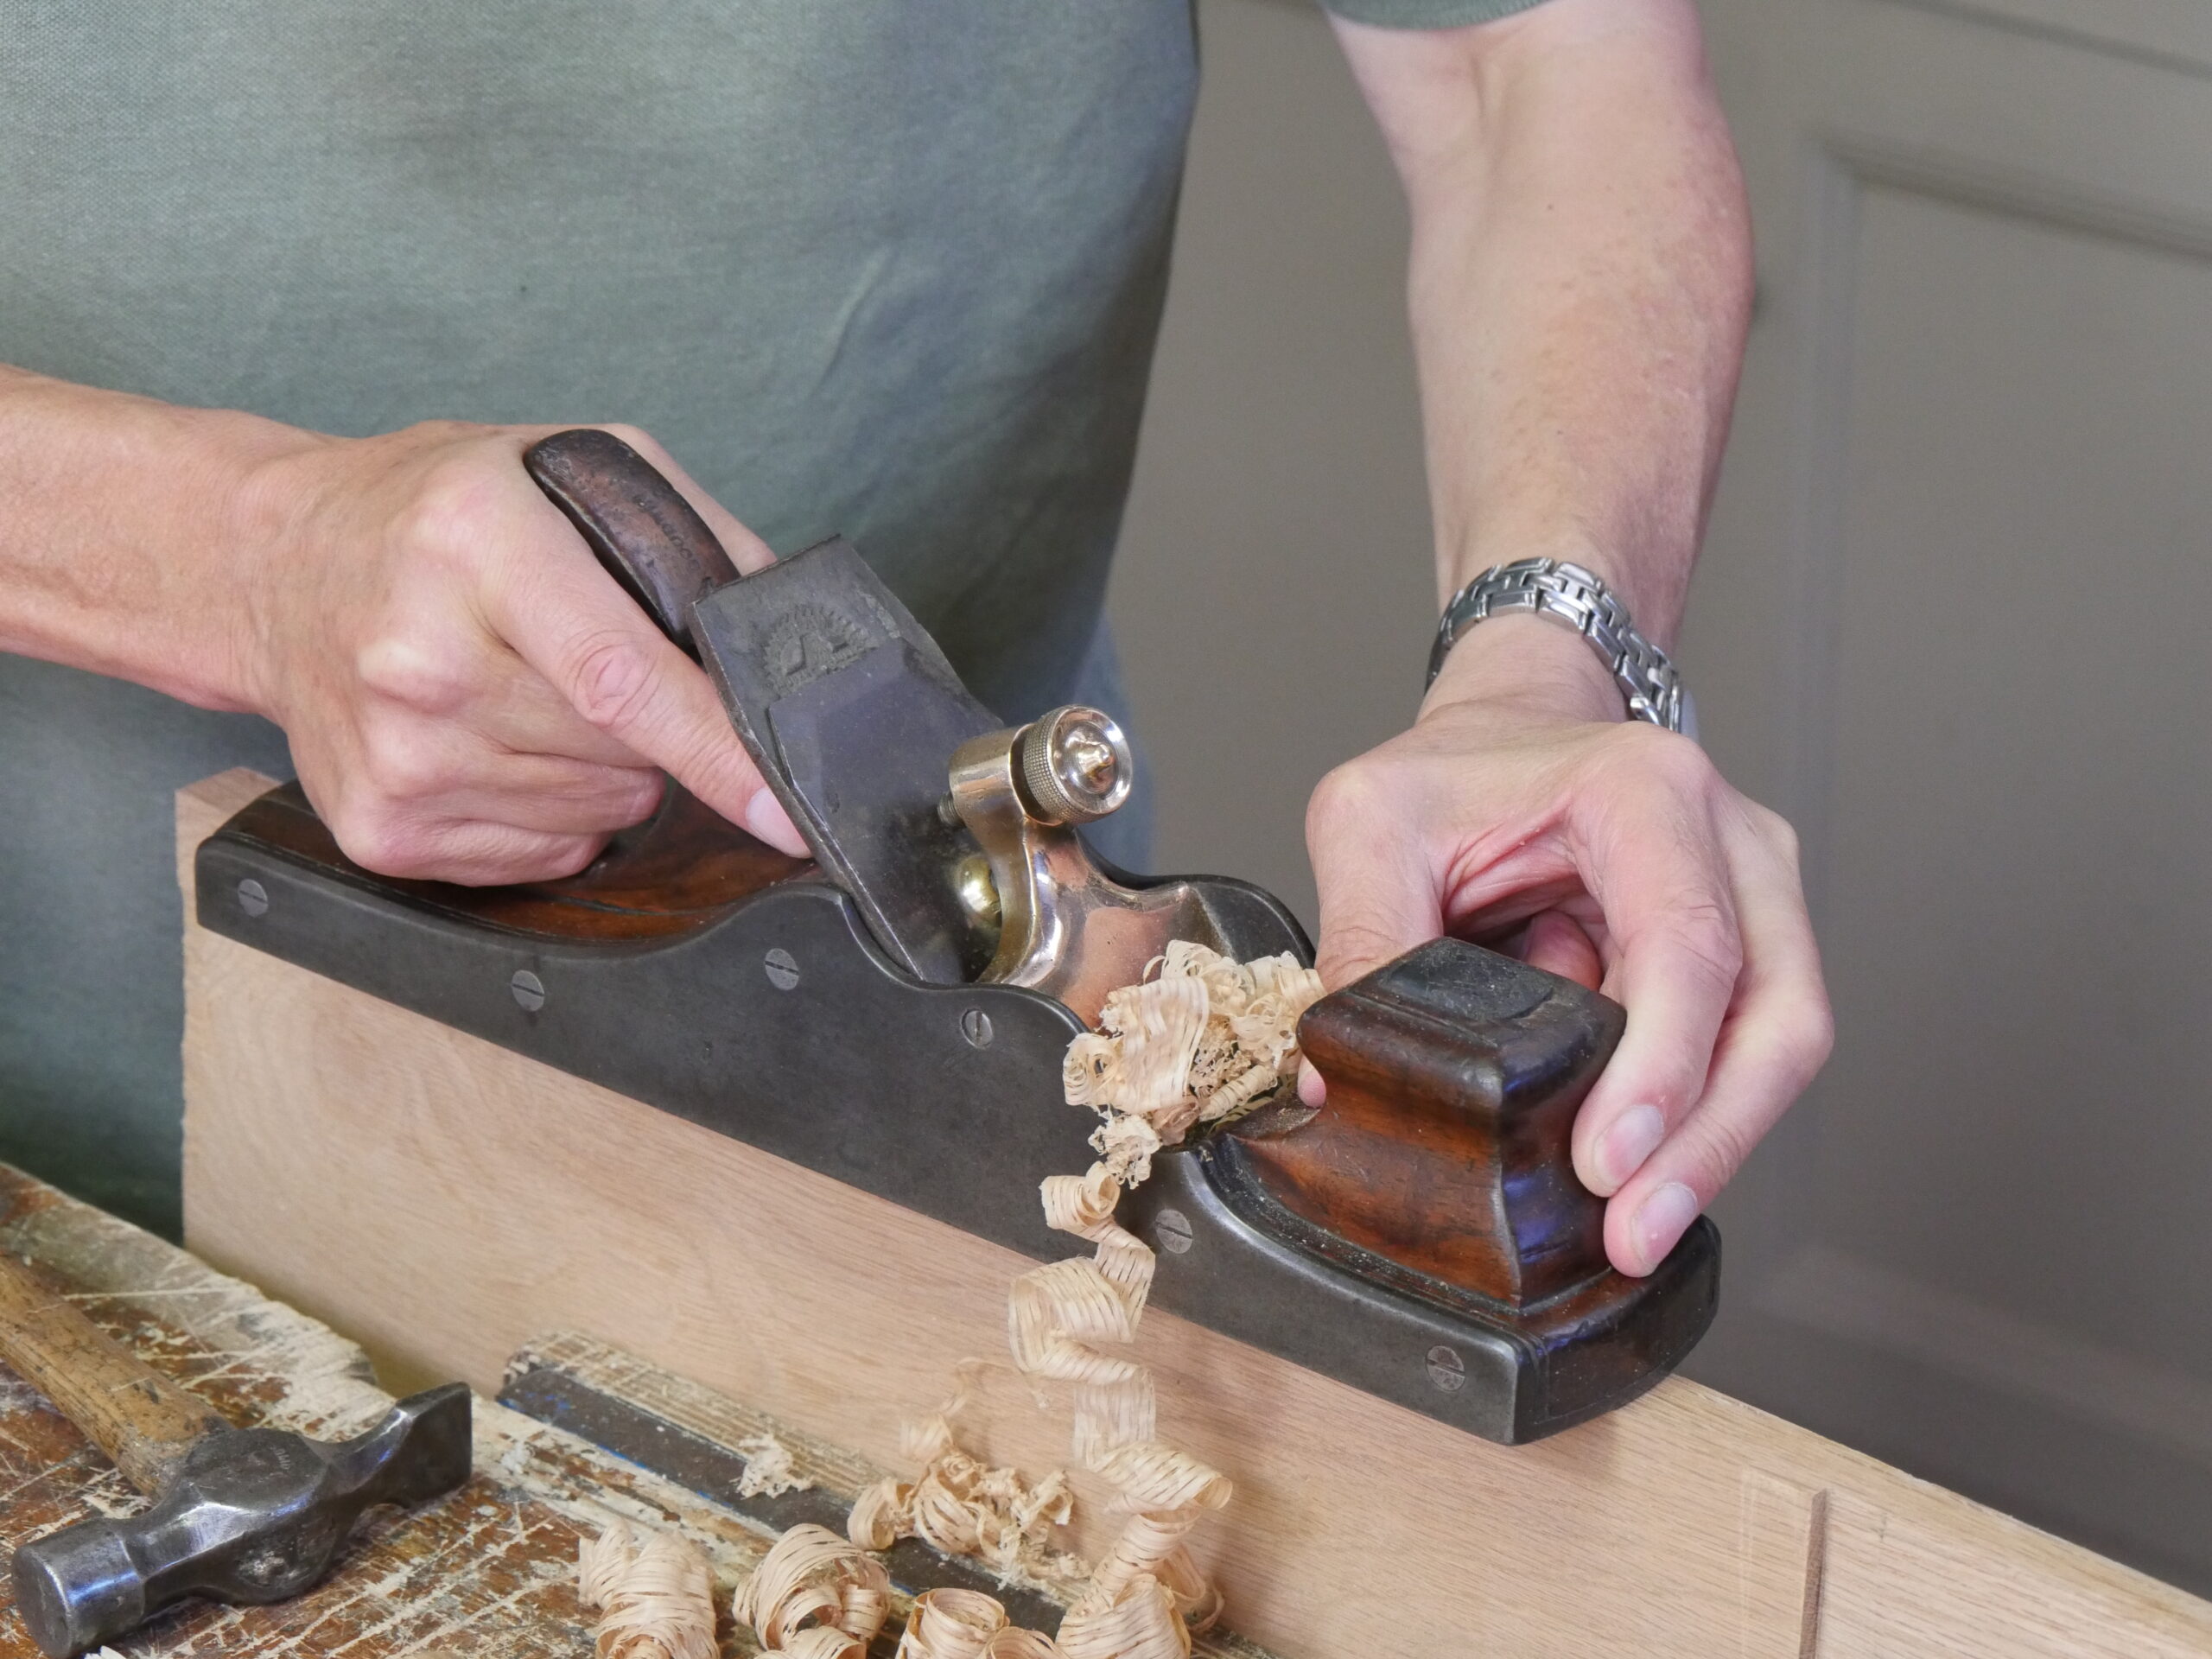
The perception of heavyweight in woodworking is a concept people like to think of as, well, long-lasting and equal to the demands of vigorous working through the ages. I think some woodworkers relate to their hand tools as rigid and immoveable pieces of equipment, similar to a road grader that levels roads by sheer mass. Some makers knew that the weight was against them and tried to lighten up their offering by adding wood whilst others just forged ahead with infills simply because the weight in solid blocks of cast iron would take a block and tackle to lift it. I have seen many concepts come forward at the hands of engineers that really challenge me even though I enjoy the works of art their planes became. I cannot imagine spending £3,000 and up on an engineer's offering as a working plane but for an example of fine engineering I am sure some will. `The challenge of making a common plane into a work of art seems inevitable to many engineers and I think it's mostly because they saw the slop in a lateral adjustment lever as flawed work or the whiplash in a depth adjuster too much to tolerate and thought they would solve the perceived problems. In practice, they both make no difference. 58 years on I am still capably and efficiently adjusting my plane with the same 'flawed' conditions of loose linkage they came with from its Sheffield factory production in 1965. Neither has any apparent decline and both operate the adjustments I need perfectly well. I do see though that those new to woodworking might believe the better option would be the heavyweights with refined millwork now offered, but that's not the case. They do no more than my plane does but mine works easier.
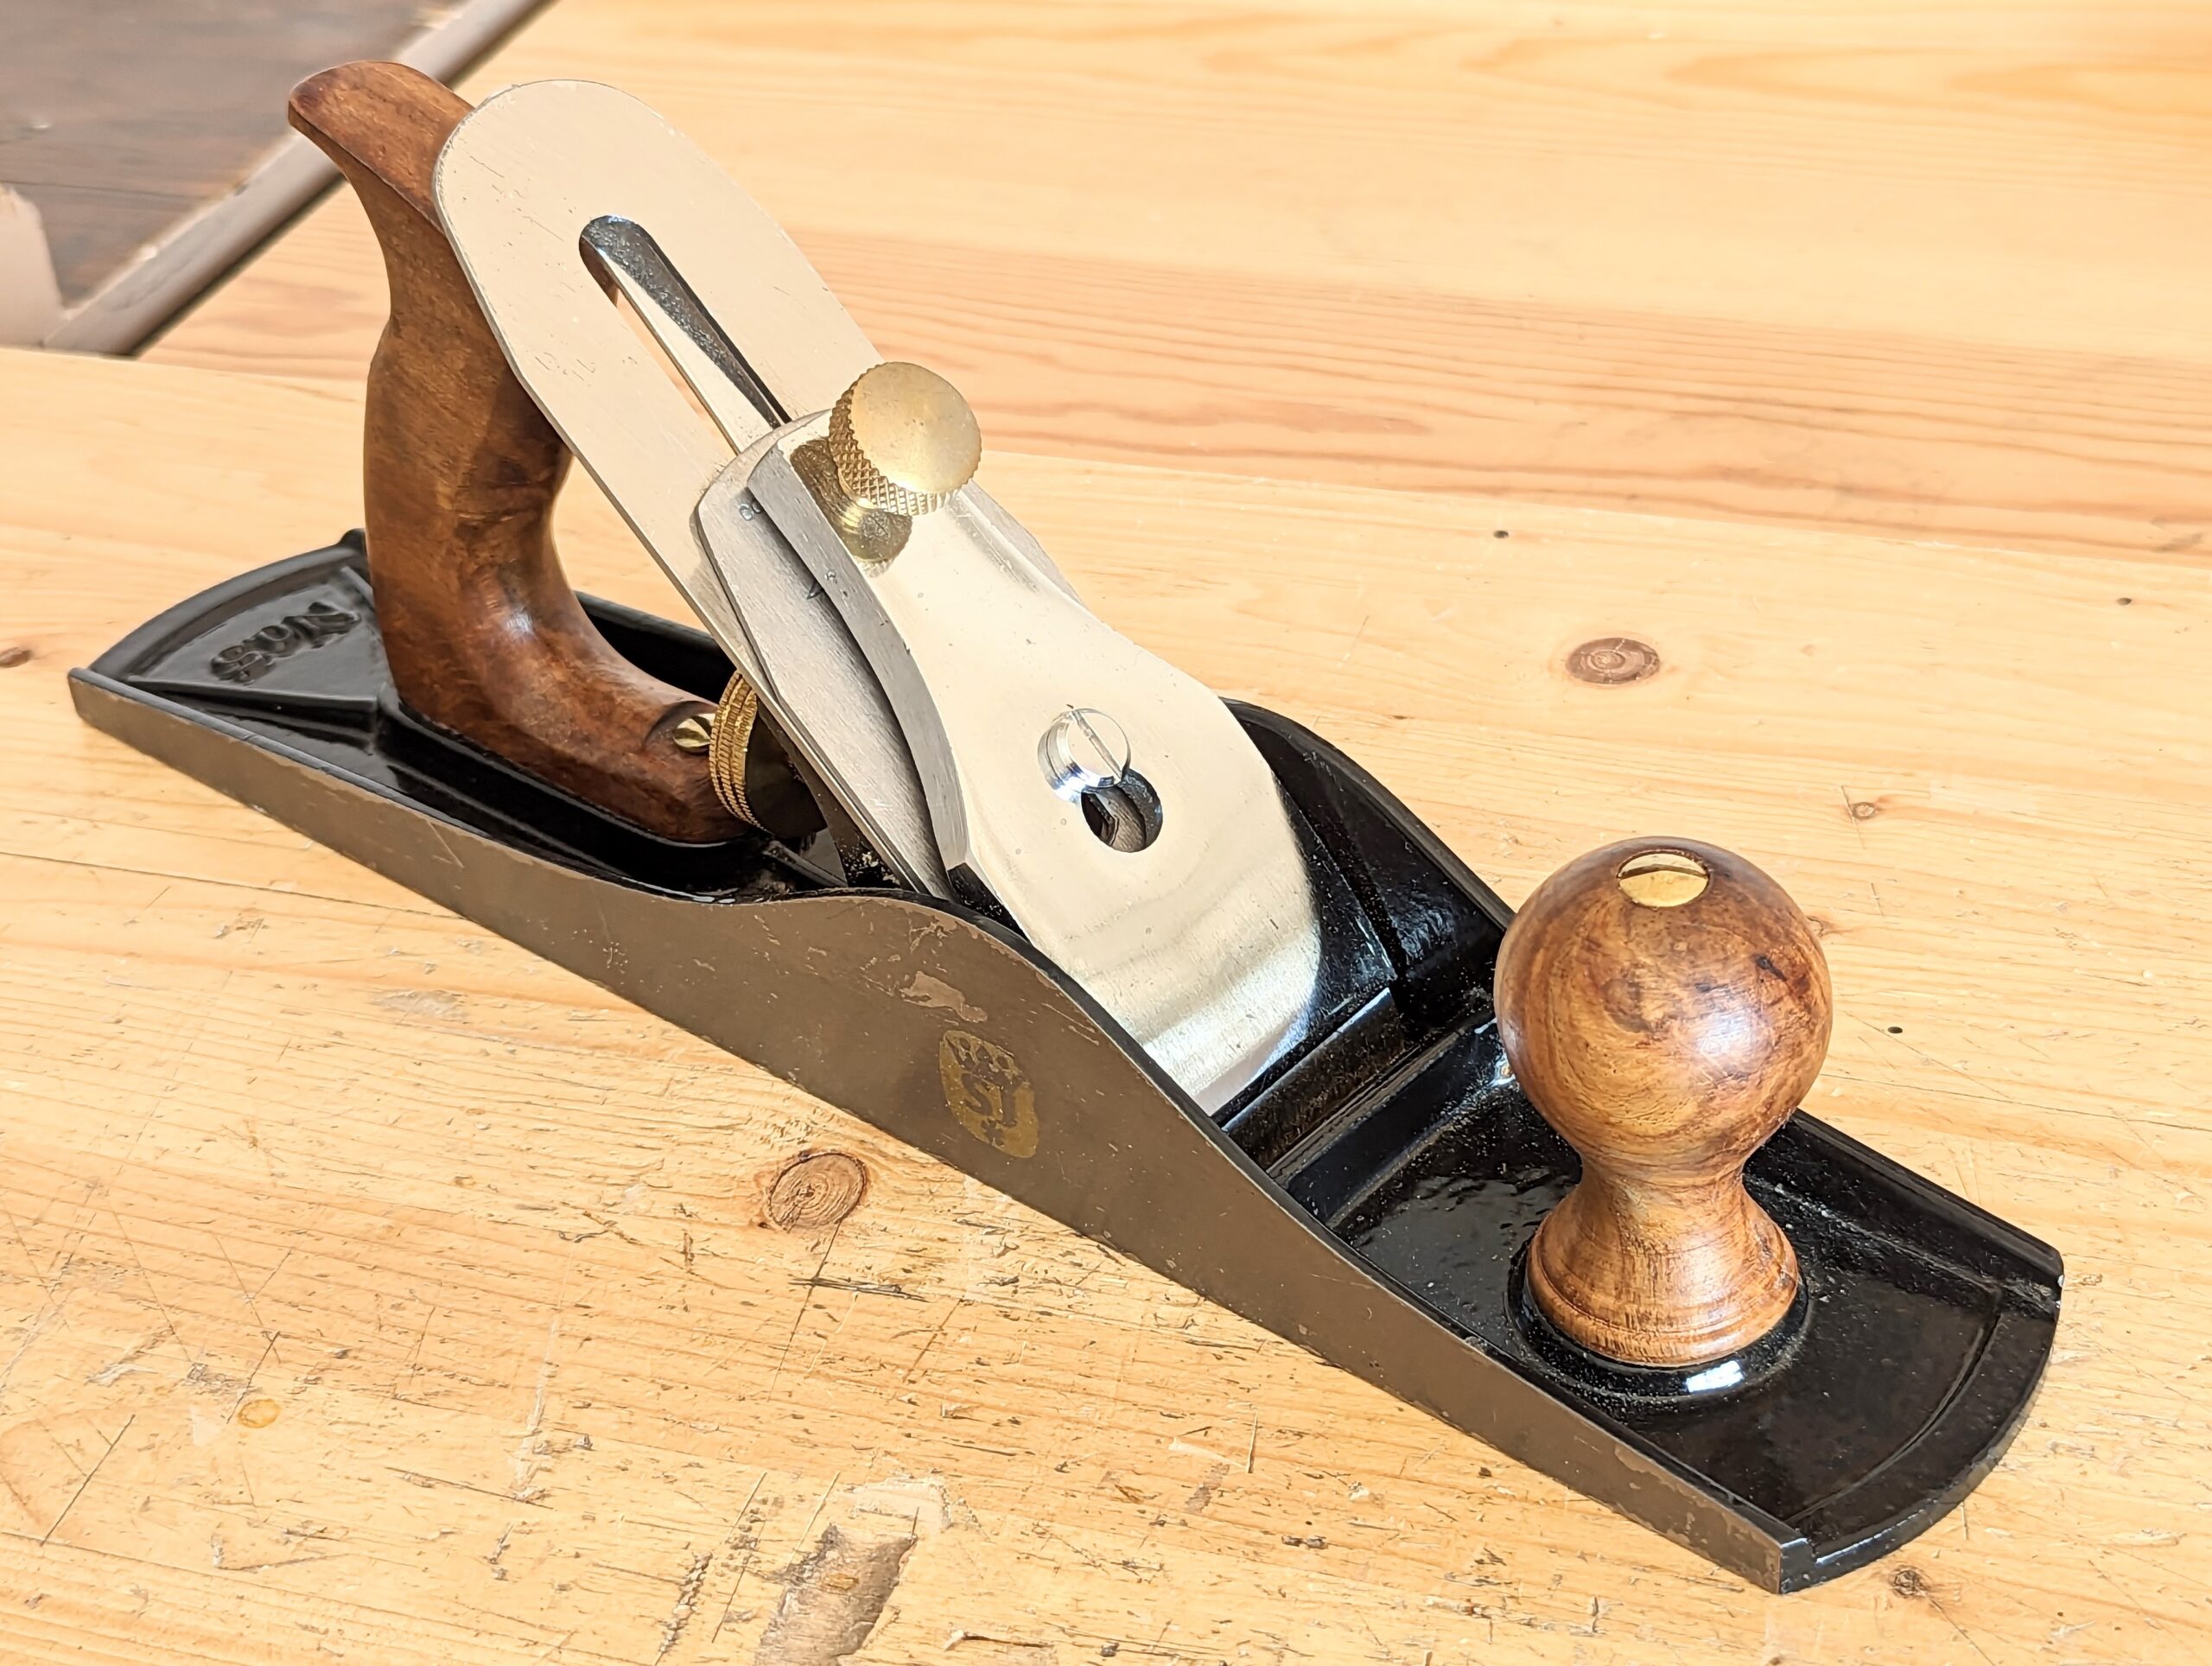
This week I used a lightweight jack plane hot from this year's Taiwanese production line and it's a joy to use. The tolerances are tighter than my now vintage-version Stanley without being too tight yet it is the good and better lightweight plane I would always choose over a so-called premium version. For about £30 via Amazon, this plane took only minimal fettling and no more than many others.
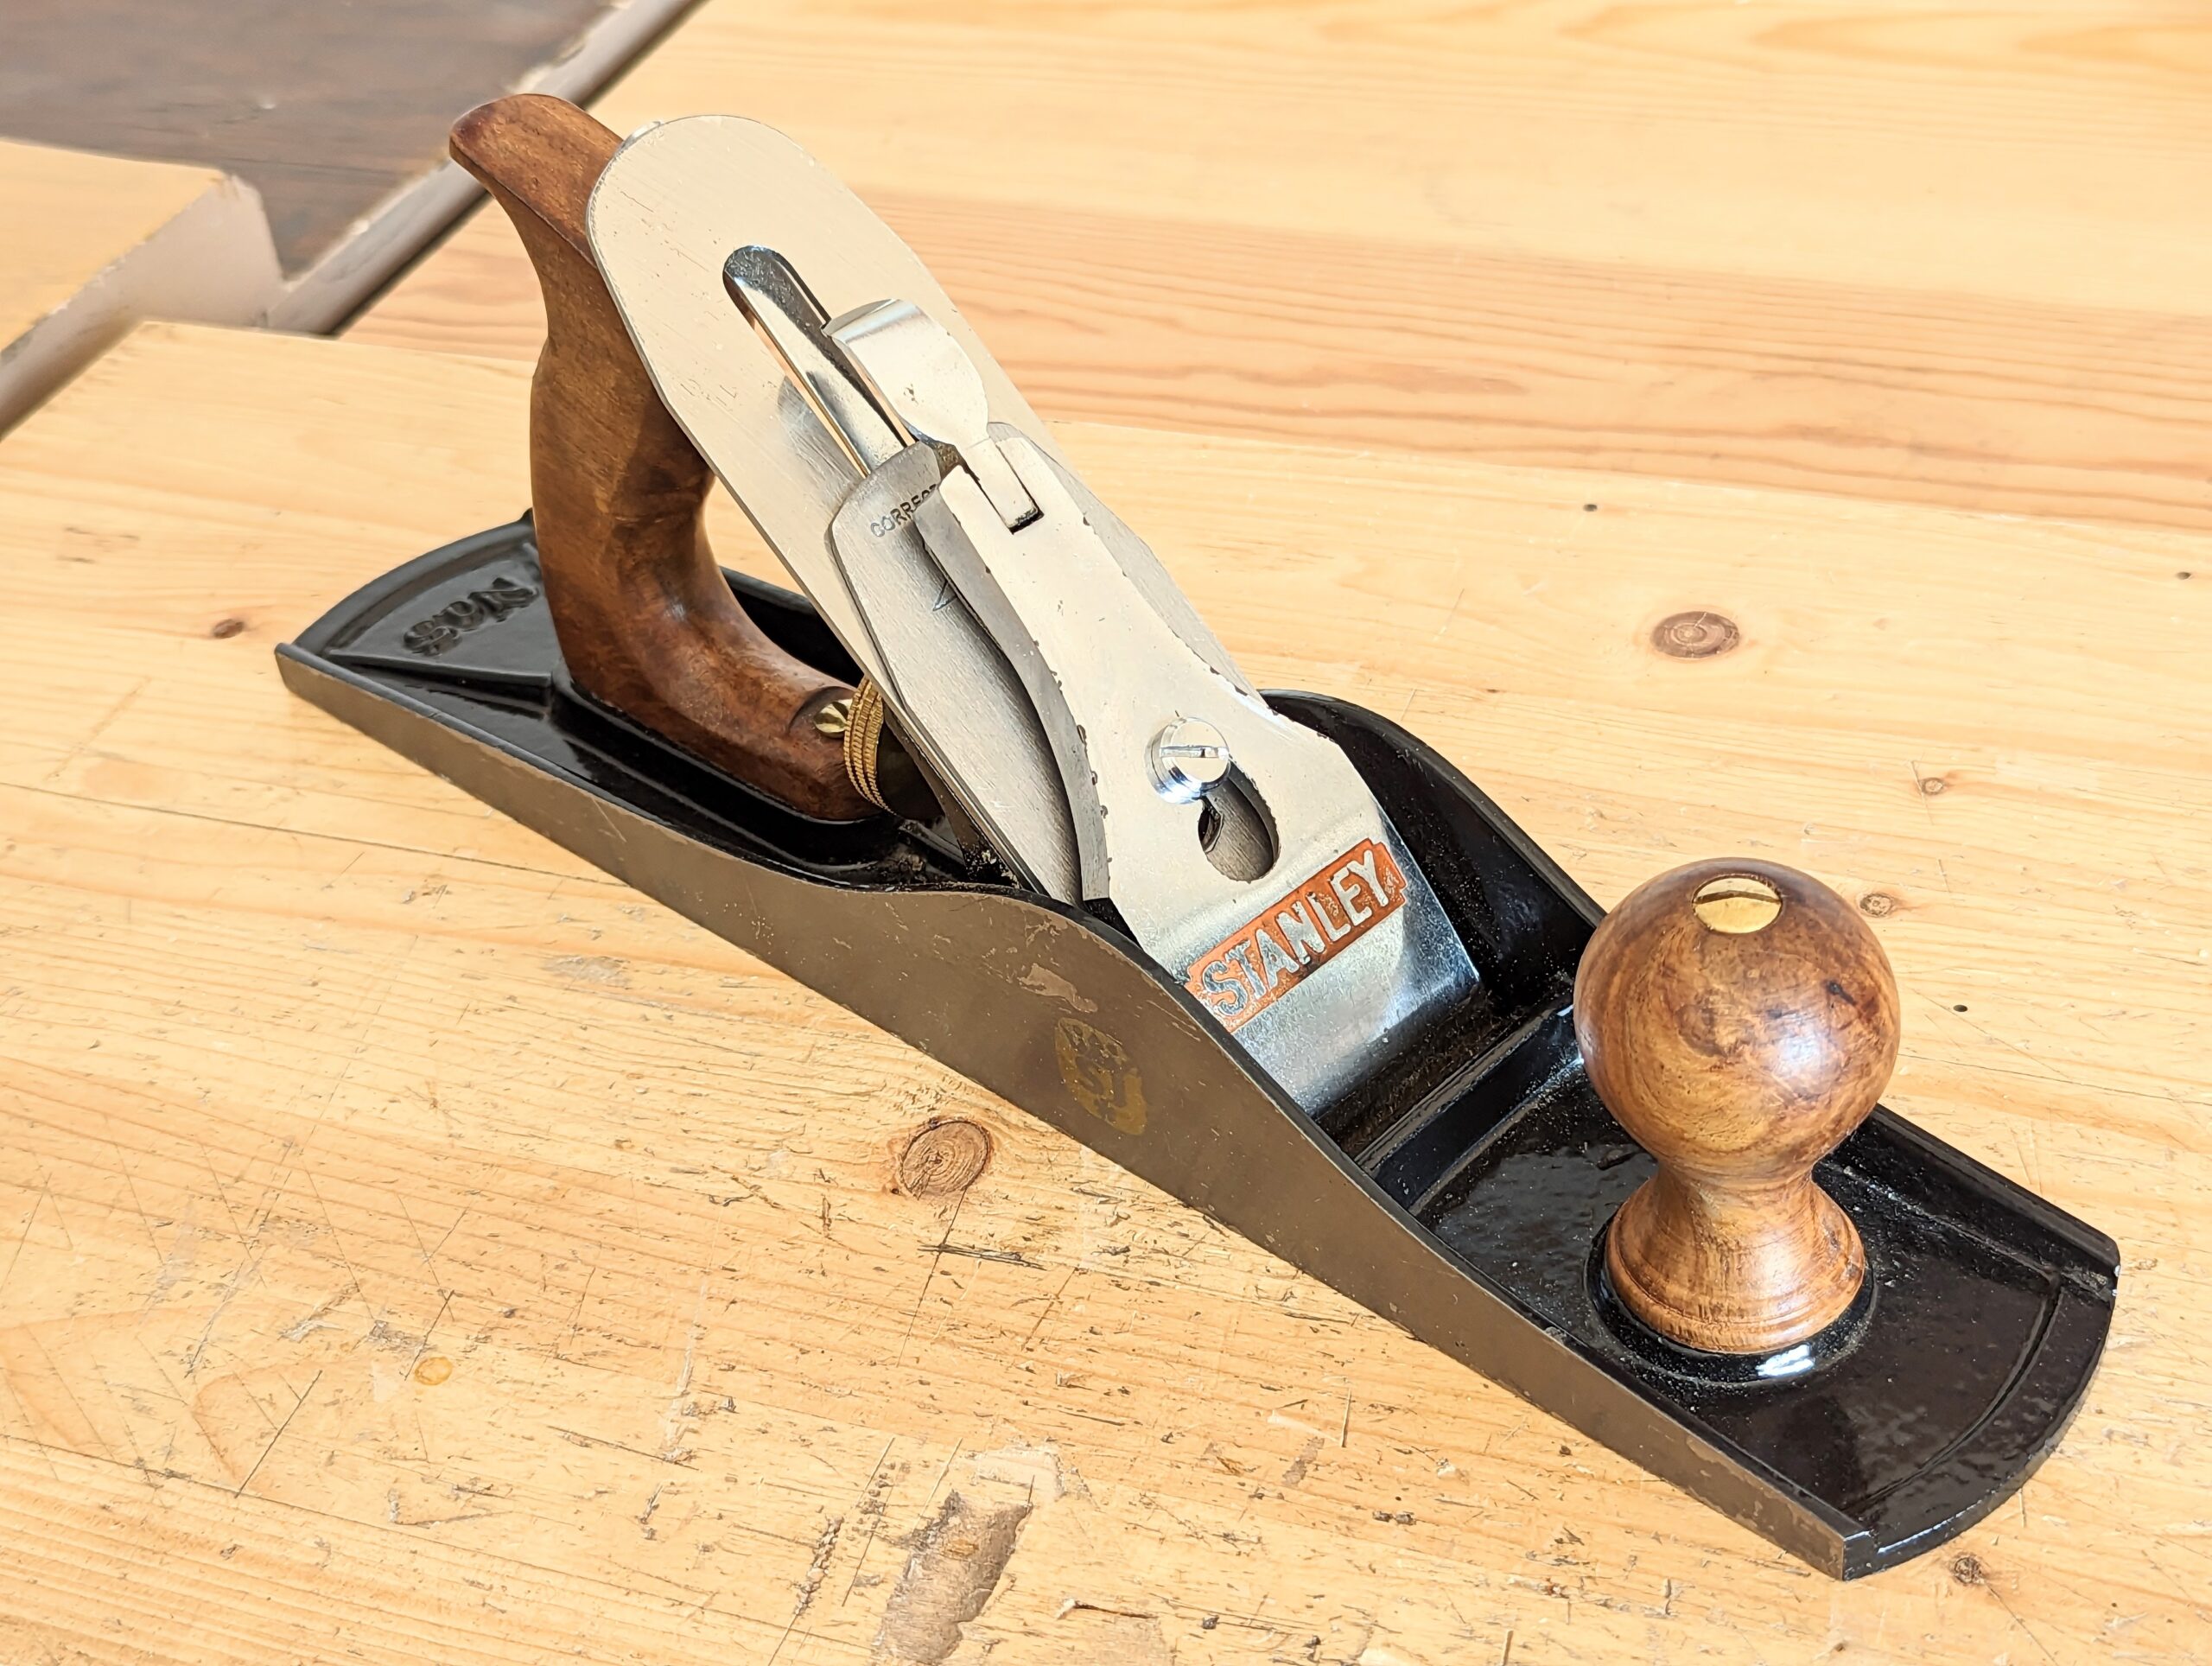
I don't altogether care for the knurled knob for locking down the cutting iron assembly as it is second rate to the lever cap altogether even though it works well enough for doing its job, but you can switch it out by buying or finding a lever cap from a Stanley or Record and it works just fine.
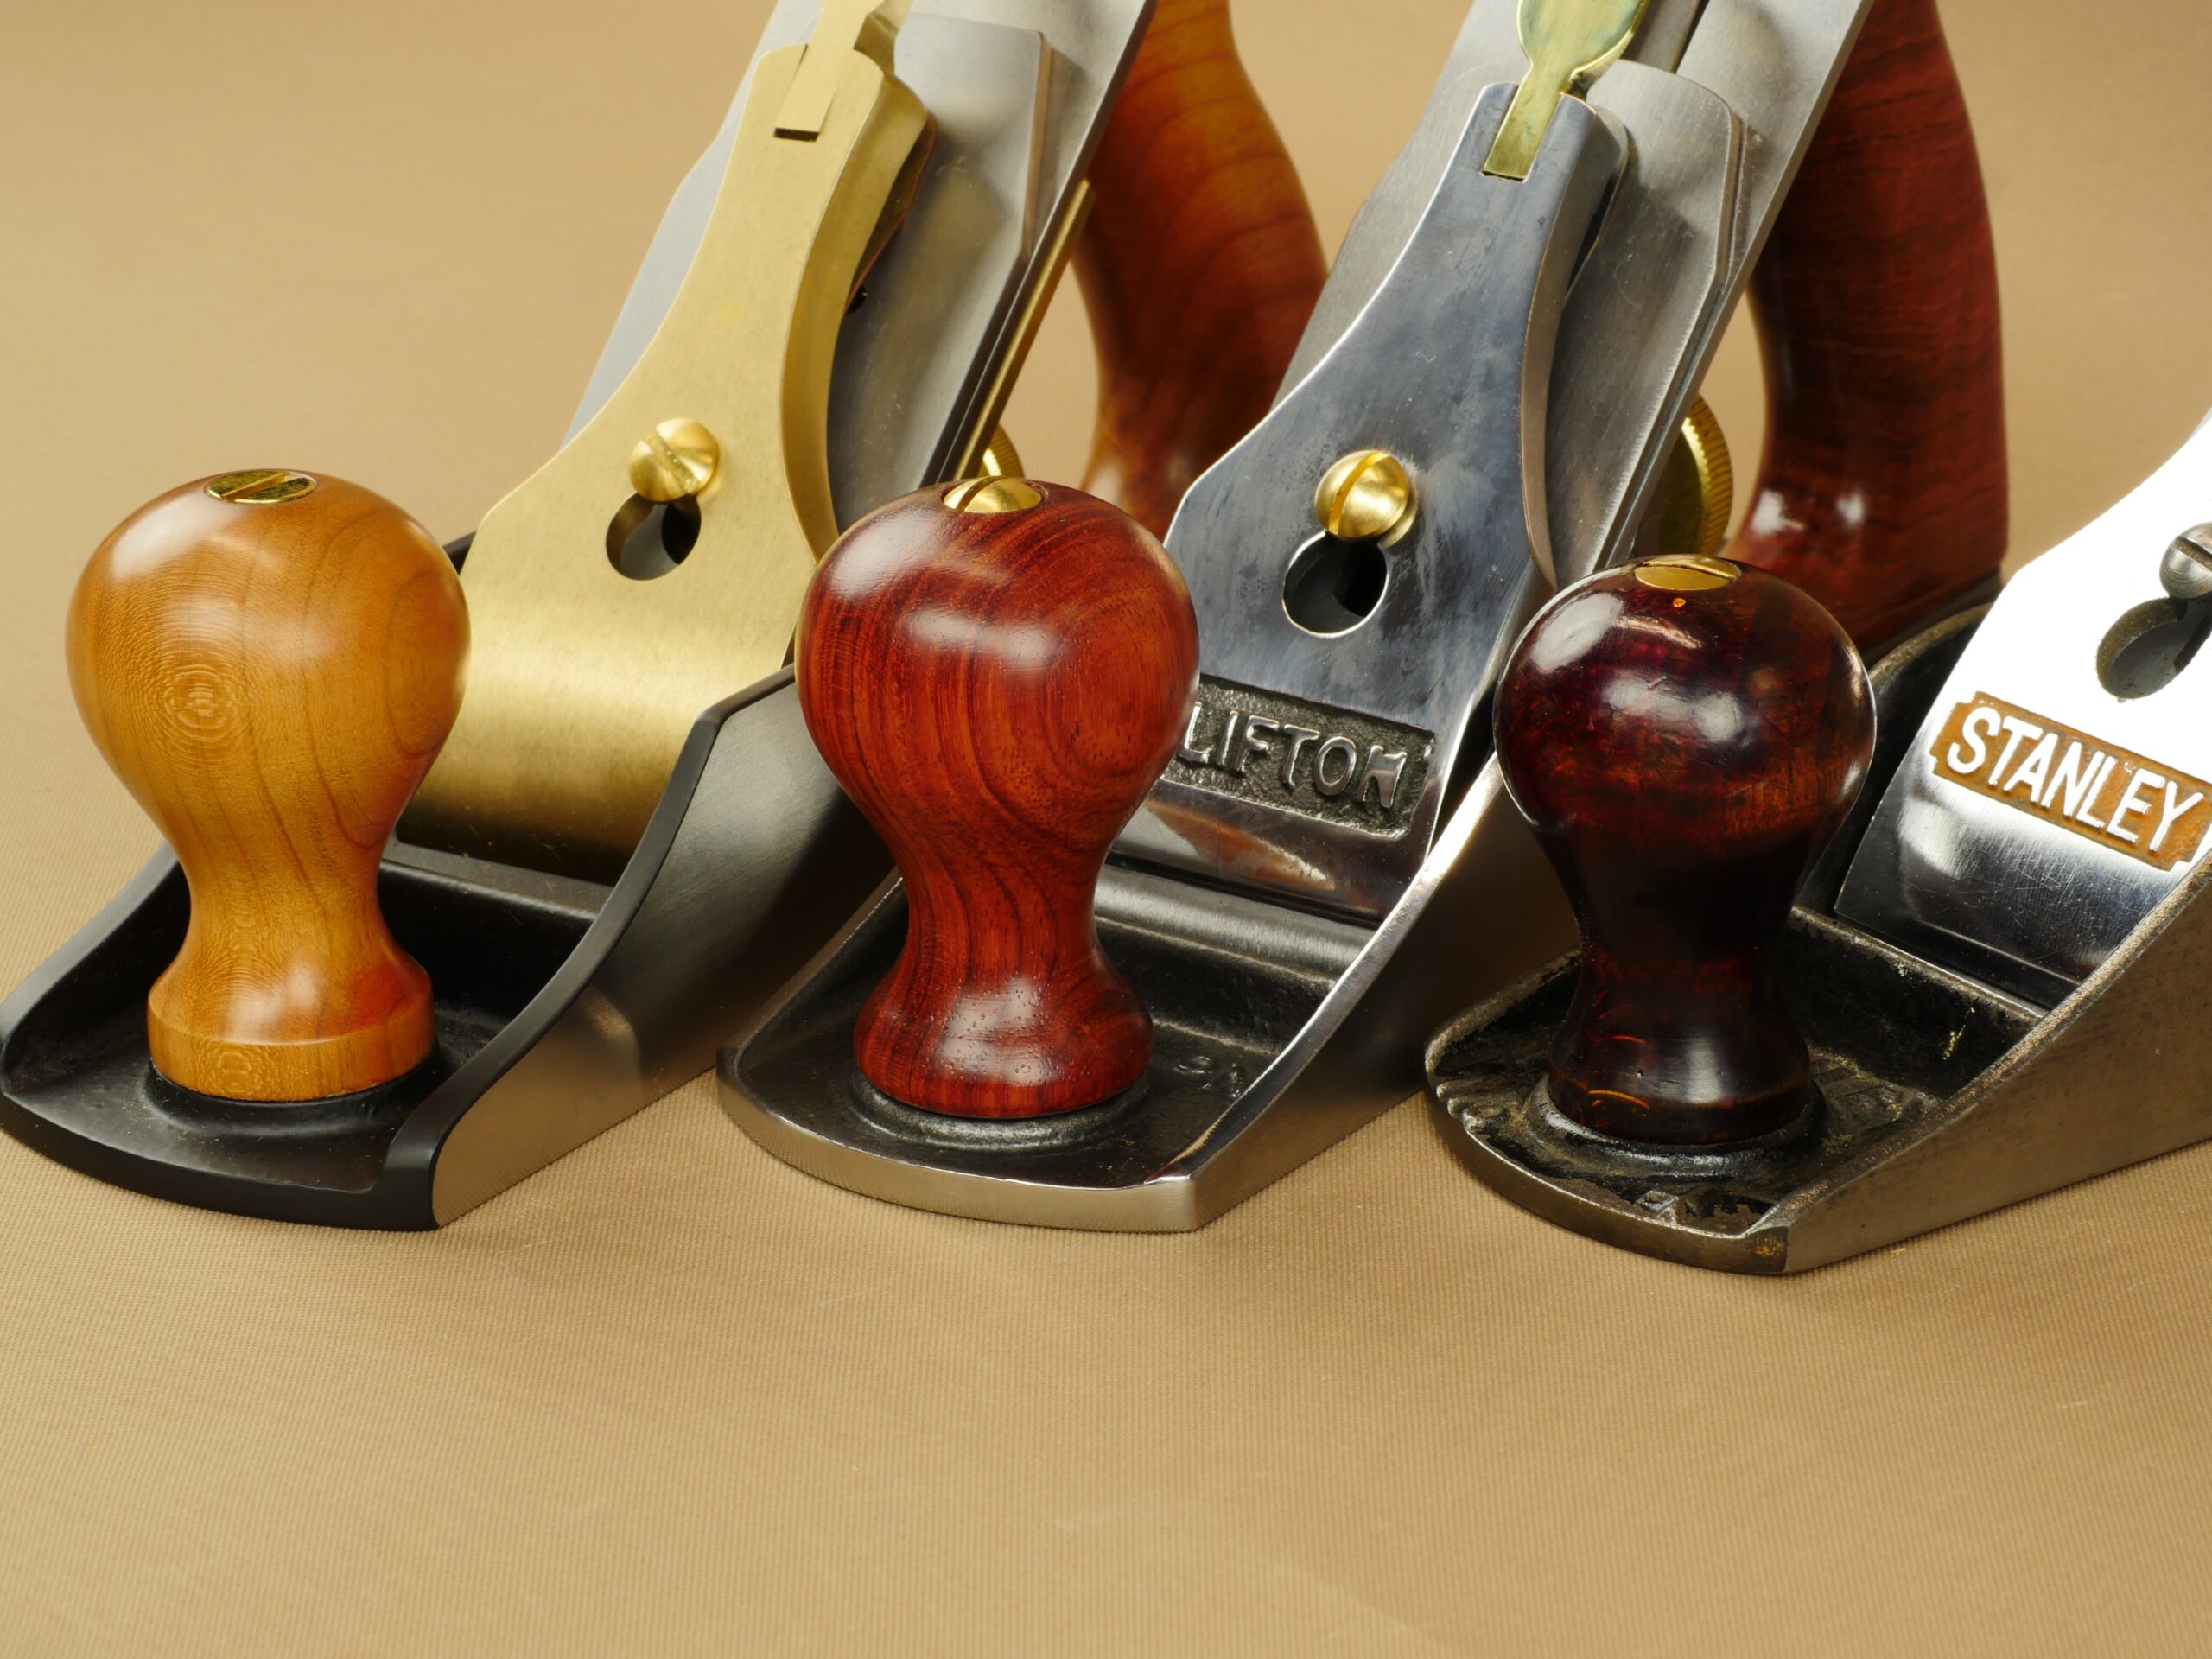
Fact is, I find the looseness of lesser planes more than tolerable. And of course the better makers could give tighter tolerances using their programming to micro-adjust the milling machines, but not one has come up with a lighter-weight bench plane to date and that's because they went ahead without really finding out what would be best for us. It's important to know that even the basic Stanley Bailey-pattern bench planes were once considered too heavy. Why was that? Woodworkers in full-time realms were used to wood on wood so even a try plane two feet long was lighter in action than a #4 smoothing plane. Simple fact.

Of course, people nowadays usually swear by the tools they initially purchase, that stands to reason but still may not have been the best choice. Of course, I do understand this, but most never have the opportunity to make any true comparisons on a variety of tools inntruly practical ways before they commit to a purchase and even then this might not be enough. The only real way to make an educated decision is over a number of weeks at the bench. That's unlikely to happen. When you do test out a tool at a show of some kind the tools are finely tweaked minute by minute by the salesman. That's a different experience than you'll get on your own in your own garage workshop.
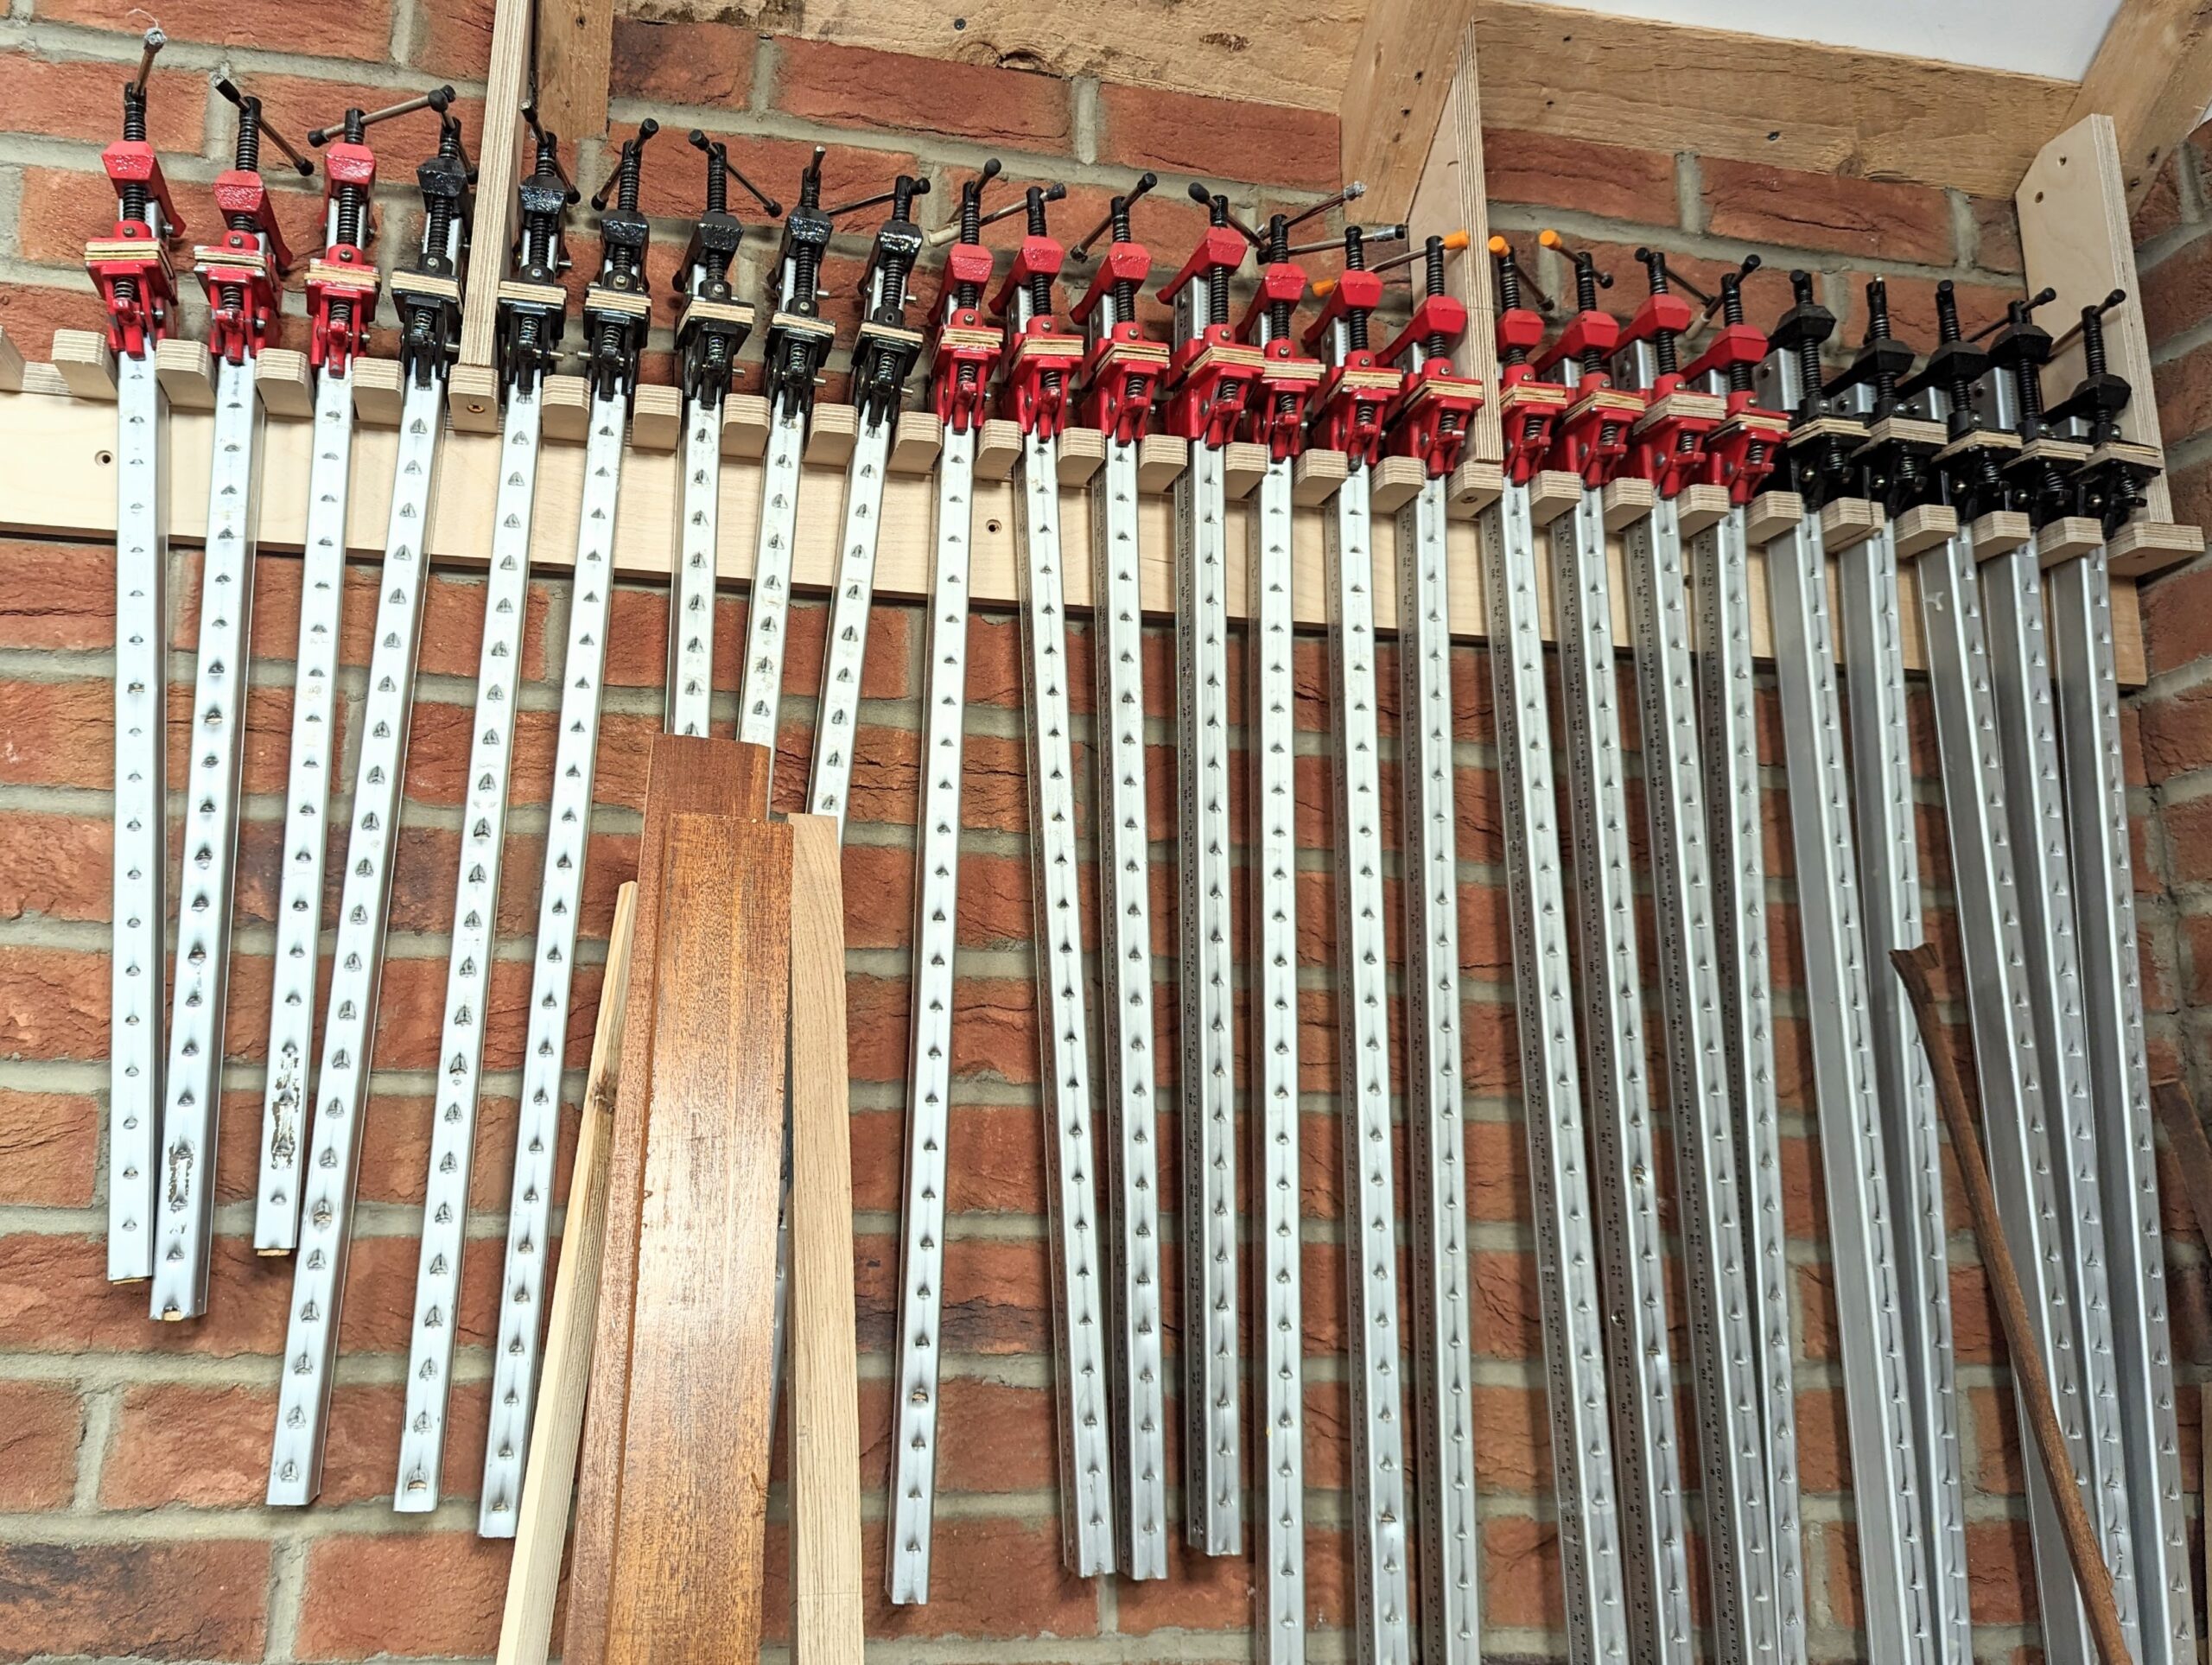
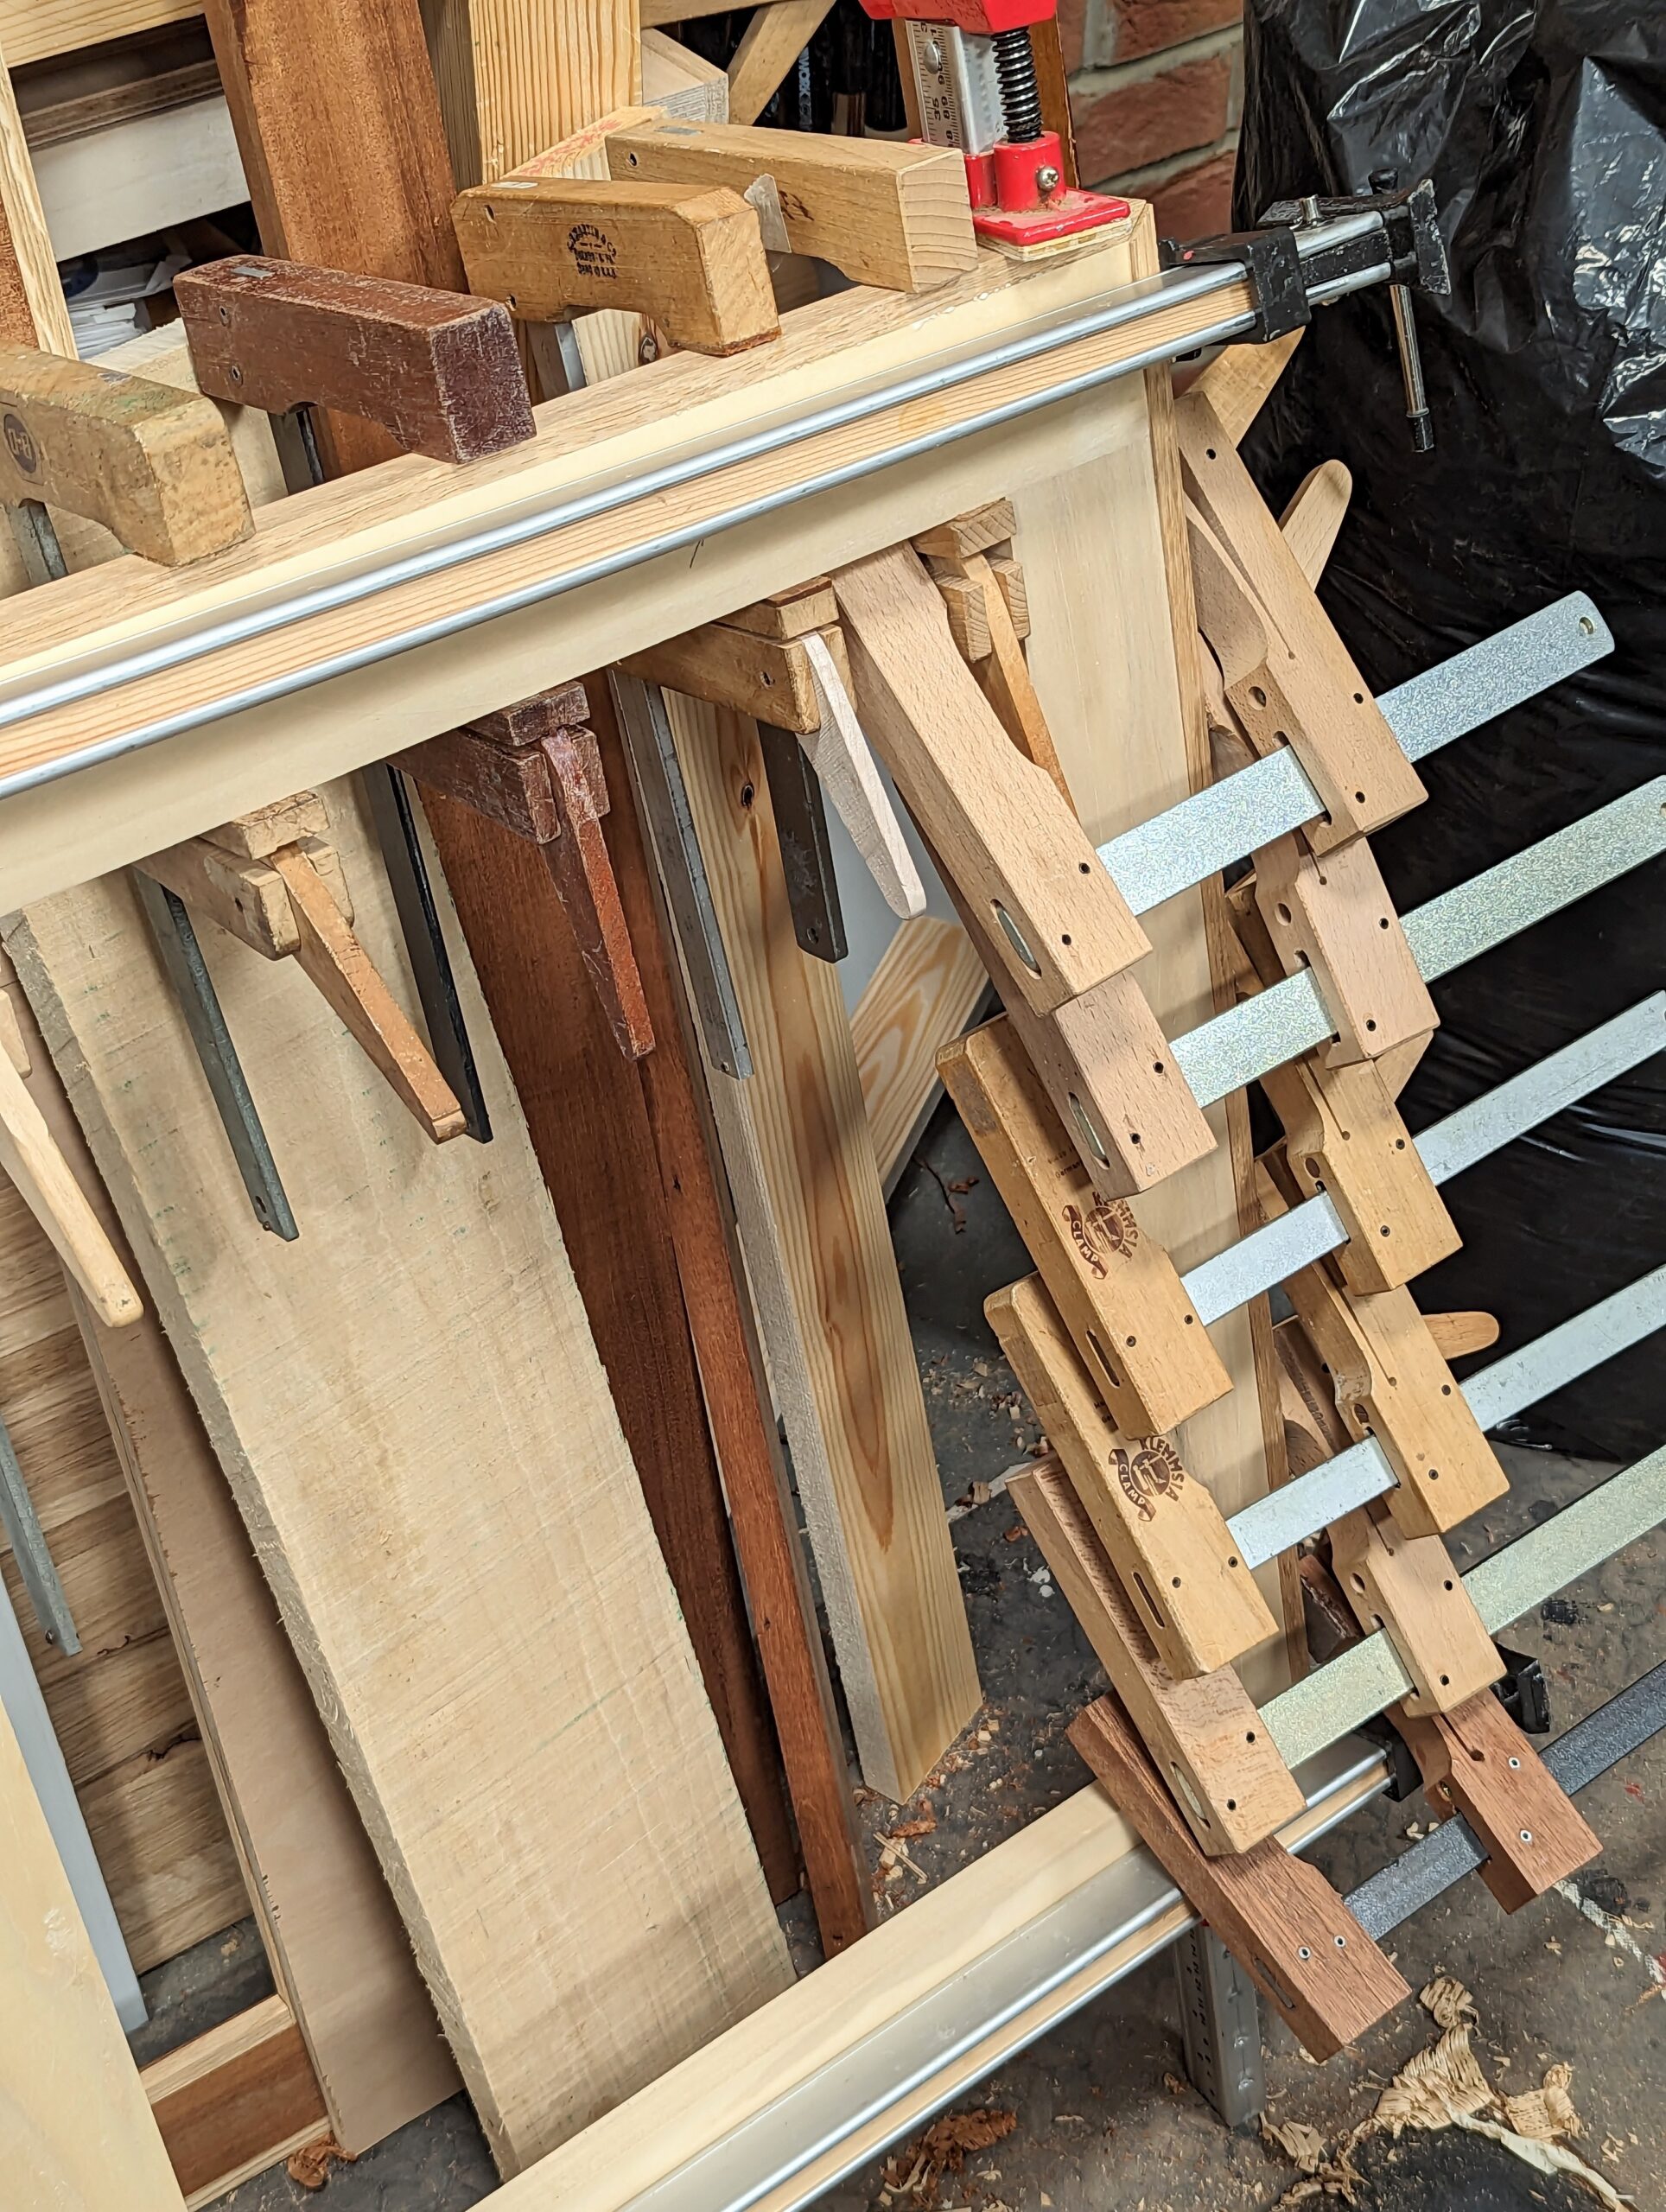
Clamps can be another example of heavyweights. When it comes to clamps I go for the lighter-weights that minimise adding masses of weight to my projects. I grew up using all steel and cast head Record clamps with hard, angular corners best suited to joinery rather than the furniture making I am involved with mostly. These hard corners will and do damage the work in a slip or drop. I was used to them, but a time came in the USA when I needed some clamps and discovered some inexpensive aluminium ones. After a few weeks of using them I found myself all the more reaching for these over the commonly used pipe clamps. Admittedly, they were not the best quality, but many projects rely on many clamps to squeeze the parts together until the glue cures. Adding my wooden inserts inside the channel completely transformed the rattly clamps and increased resistance to twisting under torque; now I never use any other type of sash clamp. I even cut some down to a foot long because I liked the positivity in use. My Record versions have been in shrink wrap for the past eleven years now. Had I used steel clamps instead of aluminium or wood I would have been in serious trouble to move them around as much as I needed to in a given day.

It's nothing to have 20 clamps on some projects. On a more recent note, we made a video series on making the cam clamps you see above and below and for pennies you can make twenty in a day. These too are another must-have lightweight and handy version for me. I have both heavy versions with extreme bars and then lightweight ones with aluminium bars and the lightweights do everything and more than the heavy steel bar ones. In the end, I plumbed for thin steel and that was a perfect balance. Here is a link on making your own.
Life in woodworking is about finding the right balance and that doesn't come to us all at once. I have frequently blagged on about bench heights through the years simply because of the erroneous ways people express very little beyond their mere opinions on what bench heights should be. Rather than trialling to establish good heights, most seem at best to have tossed a number over their overly bent backs and said this is the recommended height for a workbench and this bend in a knuckle, a wrist or your solar plexus will give you the best height. I do not usually do this but, well, hey. Here is an example of what I am talking about coming from the long-standing US woodworking magazine 'Wood' posted as recently as 2019. Notice how the authors use terms like, "The standard height" having just said in the opening paragraph, "There's no such thing as one size fits all when it comes to workbench height." Almost all of the gurus begin with this sentence and of course, obviously, it's true. But then again, there is the reality that we are not that different because there are national and international average heights that we can then in general use as a starting point. For males the international average is 5'9 1/2" (1.765m).
The standard height of 34" matches most tablesaw heights, allowing the workbench to double as an outfeed support. Many hand-tool woodworkers, though, prefer a bench 1 or 2 inches lower, allowing more leverage for hand-plane and chisel use. If you're mainly a power-tool woodworker, adding a couple of inches might make power-sanding and assembly operations more comfortable.To select a height to match your stature, use this "rule of thumb": Make your workbench height the distance from the floor to your first thumb knuckle, with your arms hanging relaxed at your sides.
—from the WOOD® shop
Well, using Wood Magazine's guide to establish my personal bench height would make it 31" instead of the 38" I have worked at for 58 years. That's a massive backache, neck ache, shoulder and arm ache for just about any male woodworker grown to full height ever born. But this is exactly what I mean about throwing numbers around that seem very informed and authorititive. Imagine working wood for layout, planing, sawing, joint making at the same height basically as a very slightly tall writing desk which is 29" on average.
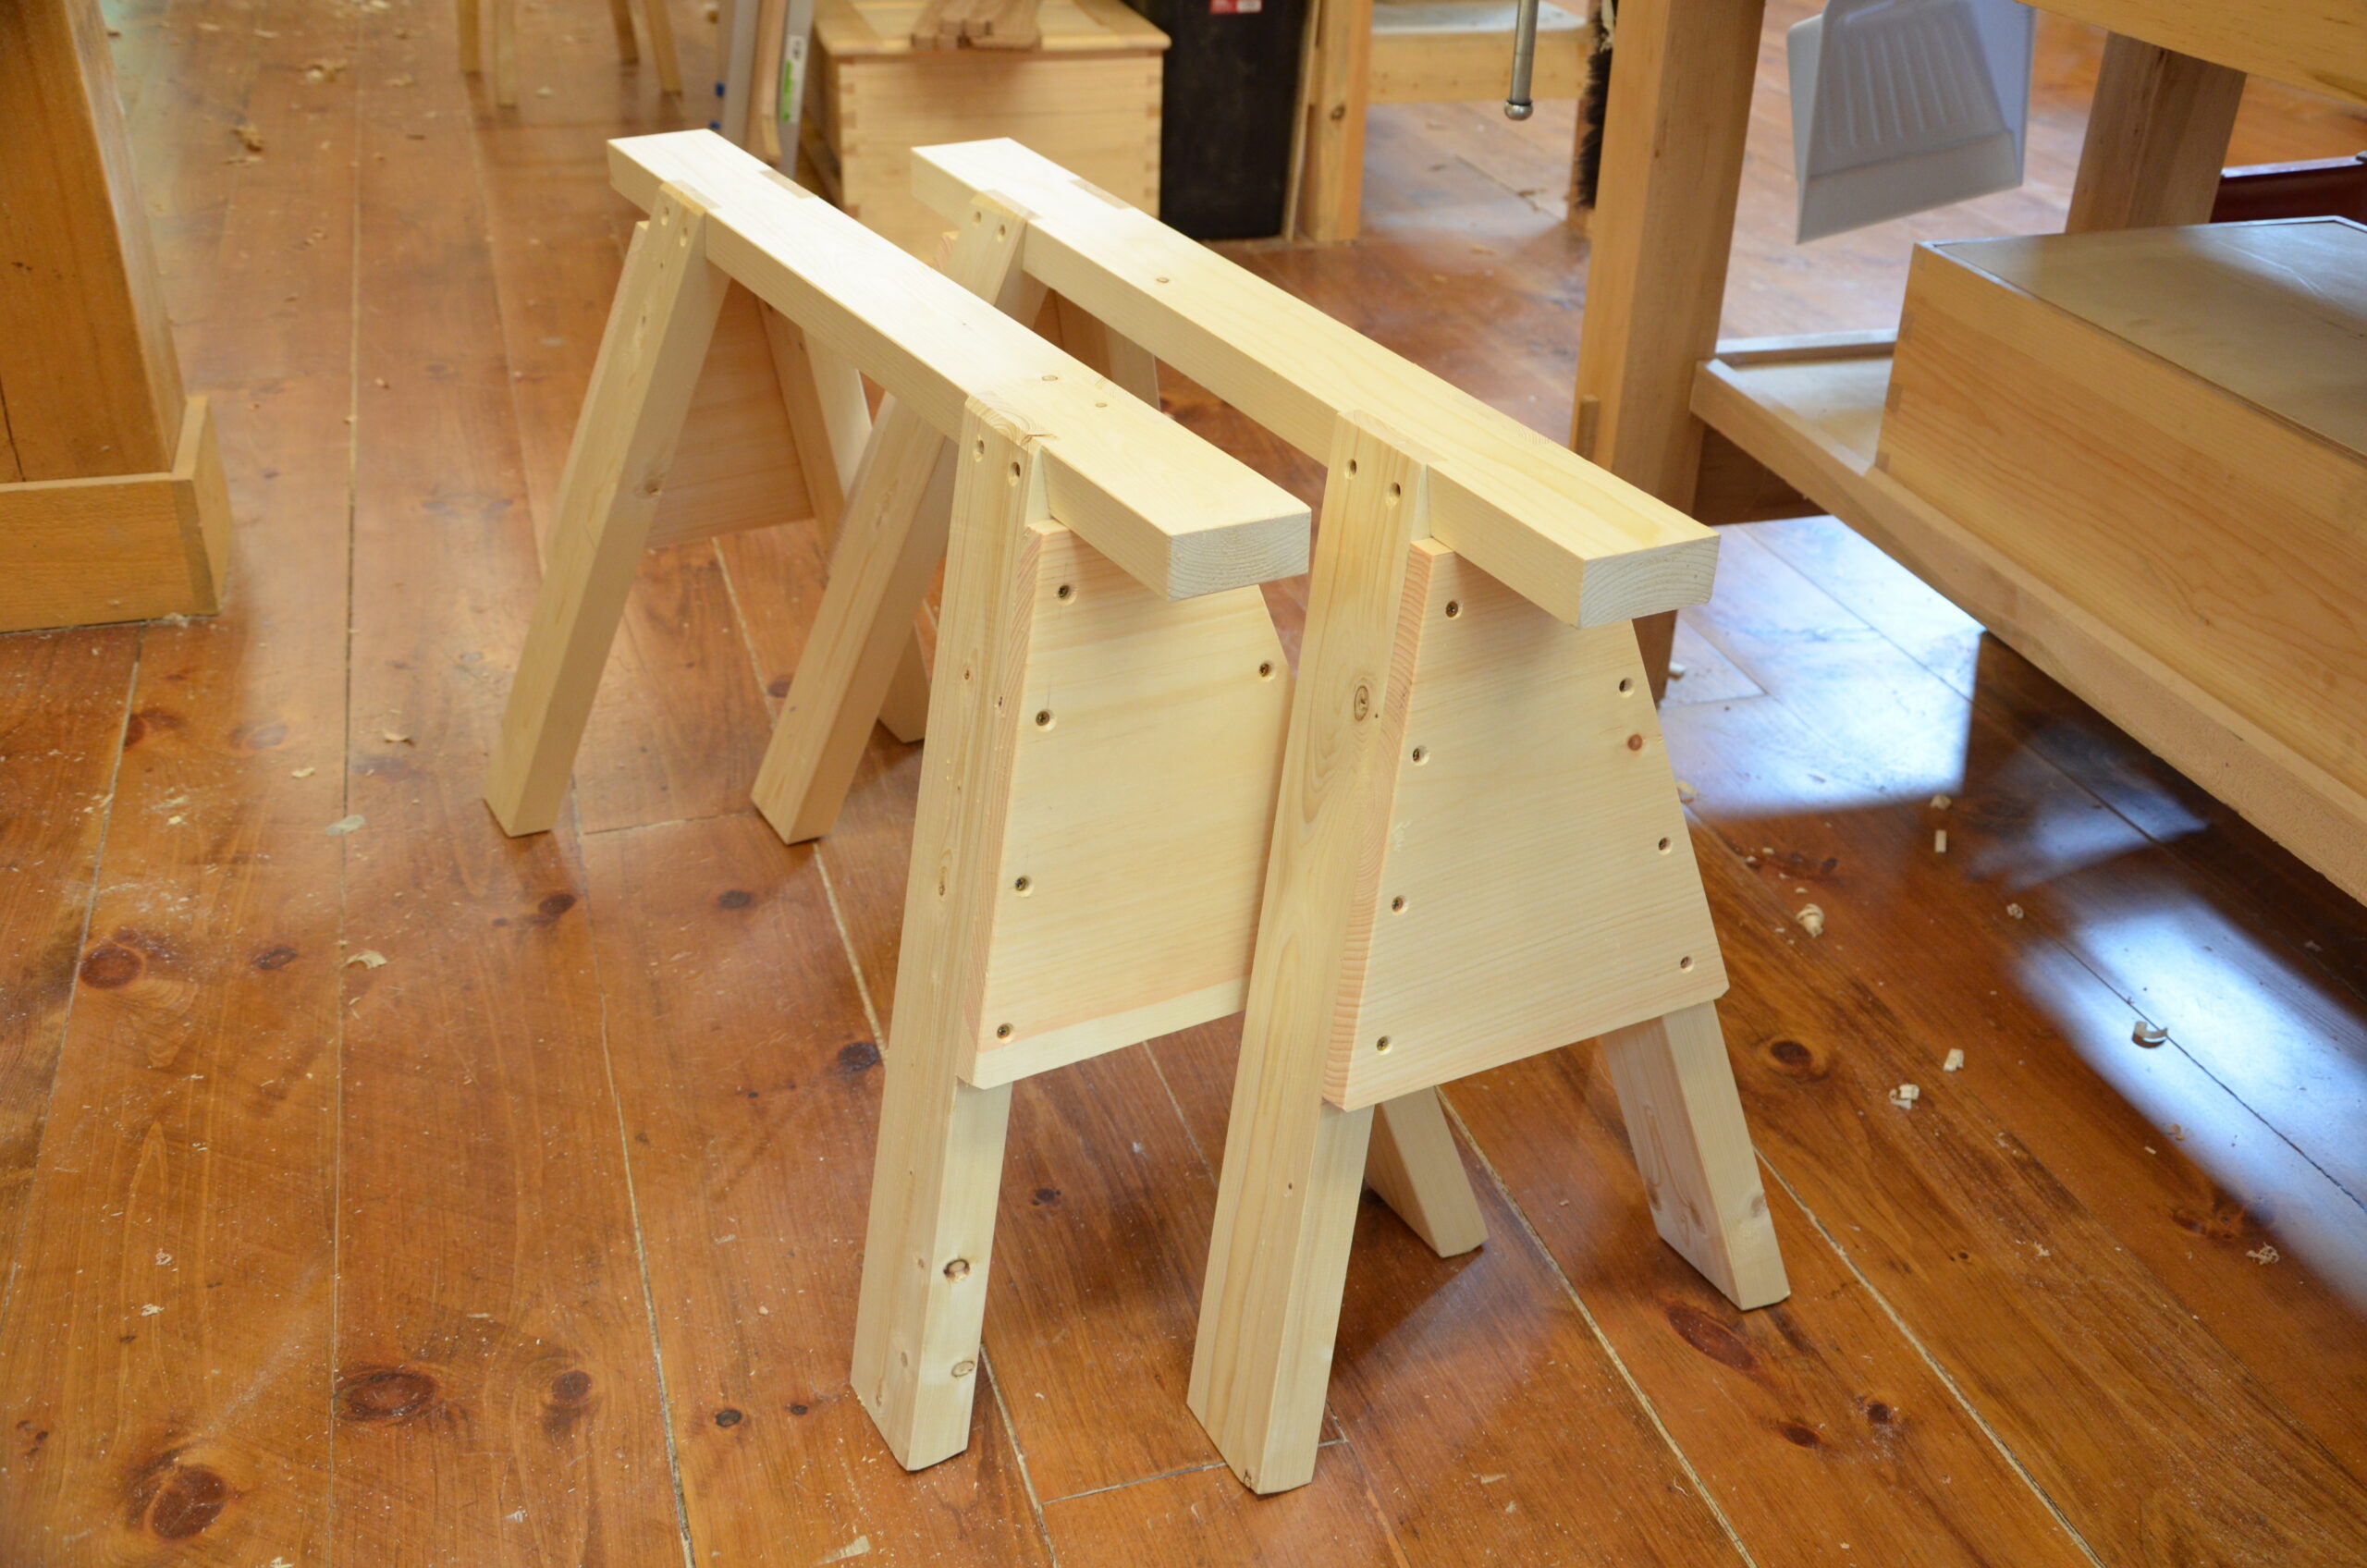
Another source, a YouTuber, says use the cuff of your shirt sleeve–that seems very iffy to me. This makes my bench height 35", still 3" too low and by that I mean way, way too low. Now if I am wearing my usual short-sleeved denims it makes it just a tad too high. What struck me thre more about this guru was his 'thought' that left us needing three bench heights varying between 29" and 41". he was , at the end of the video, selling bench plans though. Now I have to say that these informants sound very confident and herein lies the problem. Replicating the work of a YouTuber or a woodworking magazine editor or writer is as most unlikely to be any better than asking your chemist neighbour next door or your highly knowledgeable cafe friend who works in software engineering what is a good height for hand tool woodworker to work at. All of these people begin by saying there is no one-size-fits-all when it comes to workbenches. You do not need a science degree to know this. It makes sense that bench heights where possible should match the height and needs of the individual likely to be the predominent user. It also makes sense to say that it depends on the type of work you do. Different tasks will often need different heights and in an ideal world perhaps we should all have the wherewithal for three benches at three heights. But our work is woodworking with hand tools so we can stop at the one height and marry the outcome to suit our personal preference. That simplifies everything. If we get it wrong our backs and necks will soon tell us. If we made the big mistake of making it too low we simply jack it up. If it's too high we cut some off the legs but do so in small increments until we get it right. But we can also jack ourselves up on boards to get it bang on too. It's important also to incorporate the use of trestles and sawhorses for different purposes. These temporary work supports can be used and tucked away again to optimised workspace. that's what I do.
In my class this week I experimented yet again. Even though my testing and trials have involved 6,500 students at the workbenches over a 30-year span. I continue to look for good feedback. It's the only way we will ever get this right. And please, never look to makers of workbenches commercially, they haven't a clue either. Almost all of the ones offered are at 35". Now, of course, you can make any bench work for you for short bursts and shorter days of working wood but why not consider some facts that will establish the right height right from the start? It's really not complicated.
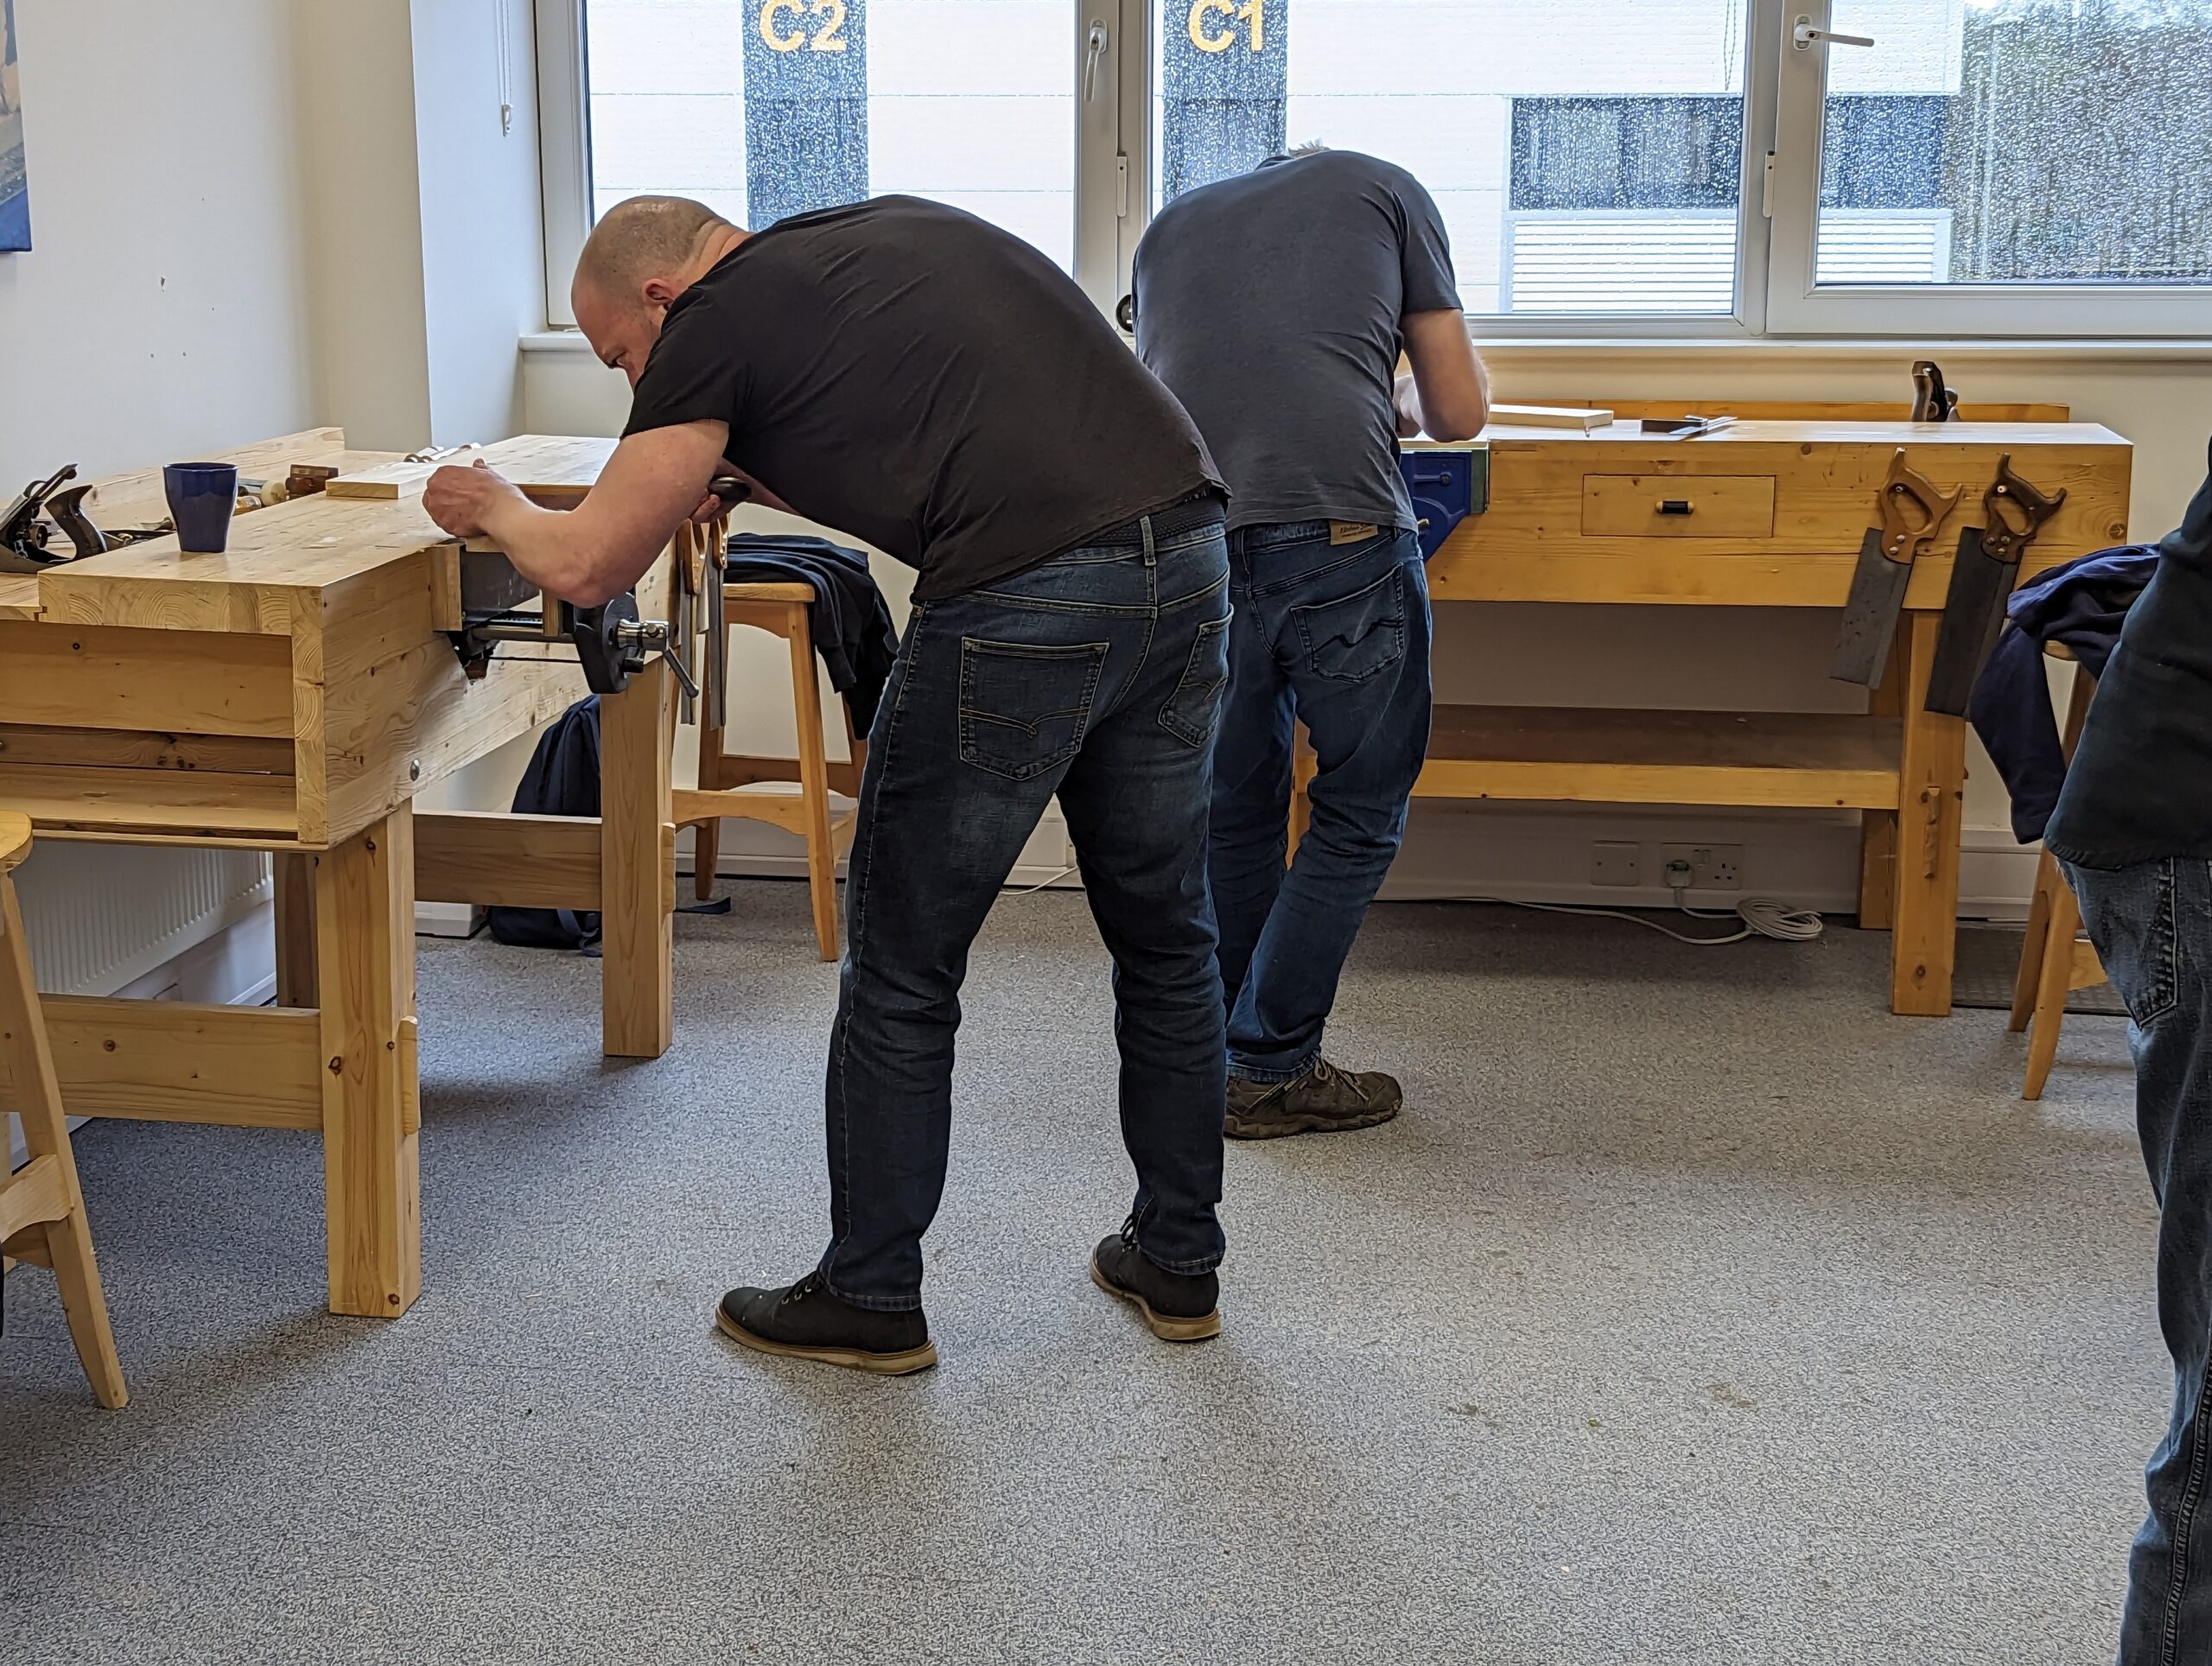
On Friday this last week, I held a one-day beginning woodwork workshop at my workshop. Two six-foot-tall students used 38" high benches for half a day's woodworking. In the second half of the day I jacked up the benches 1 1/2" and they found them far more comfortable. I looked at commercially made workbench offerings and found them to be generally 2" lower than mine so best suited to someone around 5'6', somewhere in there. That's 3 1/2" lower than the world's average male person.

I am so settled in my now elder years today to conclude my investment surrounding bench working heights for hand tool woodworkers to consider their backs and ideal heights early on in their establishing their own benches. To be able to offer a better and more educated solution based on practical insights taken from real life over so long a term is to help but not substitute for your own engagement to get your bench height right. It it does indeed help to do that it has been well worth it. The highest bench offered as 'special order' bench heights by one or two makers was for our 38" start height and we suggest that for the majority this might be about the lowest height for the average male. In retrospect, I would like to thank every students for being unwittingly involved over my long-term search for answers. You gave me the burden and the outcome is now reaching hundreds of thousands of woodworkers worldwide.
Comments ()