Measuring for Dead-on, Twist-free Stock-Prep
Taking twist, cup and bow out of rough-sawn stock and making it flat is a simple enough machining process provided you own the machine/s, the extraction system and the place to permanently house everything indoors. To tackle it correctly you need either two planers or a combination under and over surface and thickness planer. These machines are not quiet, in fact, they are exceptionally noisy. Not for use in a quiet neighbourhood; your neighbours will definitely not be speaking to you for much longer. For a worldwide audience wanting to create their own pieces, 95% will never own such equipment and nor should they if they just want to make a few pieces of furniture a year -- for most of my audience that's all they really want. Unfortunately, some met a machinist woodworker before I got to them and they bought into the machining wrap. Mine happened in reverse. I was trained in both hand work and machining, two virtually unrelated realms. Not one and the same at all. The one demands skill and total immersion in the craft, the other dispenses with skilled handwork almost altogether. I know what it is like to 'come off' dependency on machines. But I have learned that 98% of achieving anything is a made-up mind. When I came to that point there was good reason. If 98% of my audience could never own a machine shop, and that was the case, what was the alternative? Simple! 'Deconstruction woodworking!' Wow! I got rid of my machines pretty well instantly. I needed to prove to my growing audience that there in the past, when the finest woodworking in the world happened on different continents, Asia, Africa, Europe, South America, North America it was done without any so-called power woodworking. I kept seeing these amazing pieces made in Japan, China, during periods of freedoms in craft, when artisans were so linked with their work, they could inspire one another to amazing work. My steps showed the viable and real alternative that would work for a worldwide gathering of woodworking enthusiasts searching for the wealth and breadth skilled handwork offered them. Once they saw they believed. The sought out the work that gives satisfaction, develops real skills, costs a fraction of the price of machines and you can talk to your spouse and kids in the same workspace all day long if you want to. You can have the radio on, listen to a record player with LPs on if you want. Oh, and did I mention safety in there? Must have forgotten!
Back on Topic
Tackling twist can be something of a challenge and especially so in the early days of learning the craft. I put this method/technique together so that you have a more definitive guideline to work to that is foolproof and guarantees flatness to your registration face. Once flat and straight, gauge lines guarantee the parallelity you need for working your joinery, creating panels and whatever relies on accuracy. Once you try this you will see how simple the whole process is. The method works incredibly well for all lengths and widths but it works especially well for the shorter lengths we mostly rely on when we resaw or sections of wood from larger planks, boards and beams. In general, we cut wood down in width and length for economic reasons -- that's economy of material, time and effort. We all need to minimise our hand planing and sawing to the least; we get enough practice without prolonging the effort.
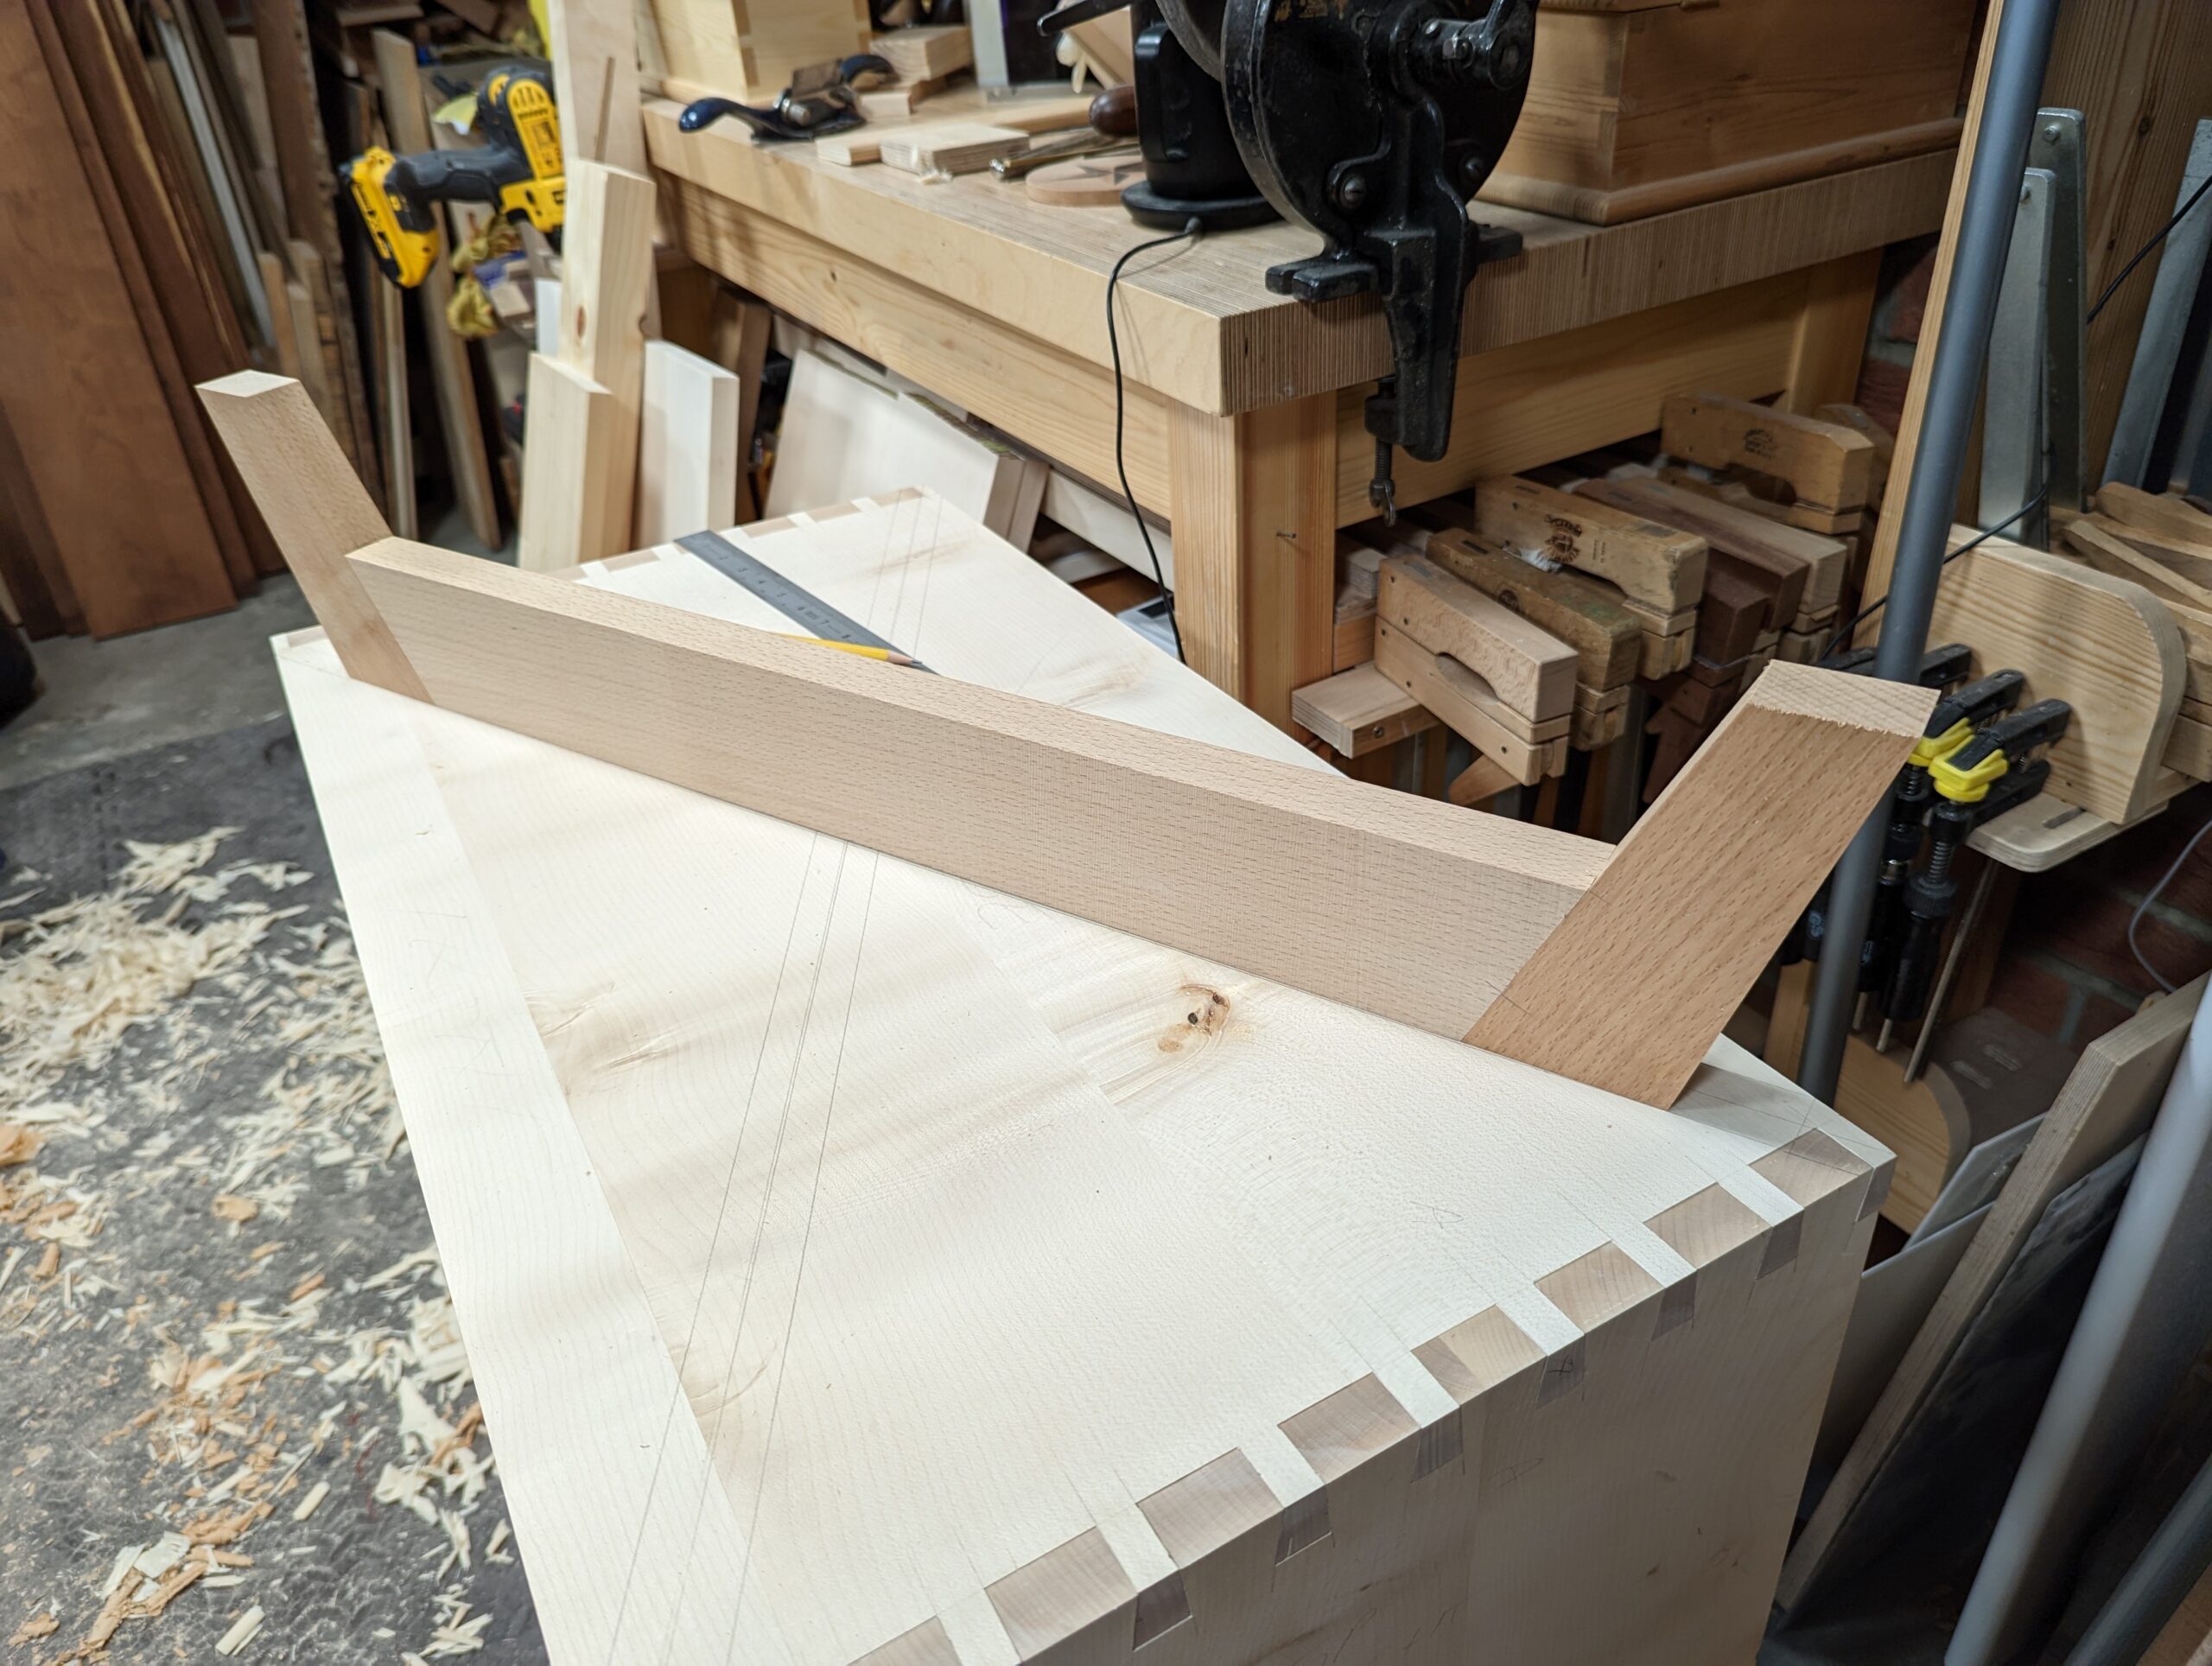
For my current cabinet, there are no pieces longer than 79cm (31 inches). A straightedge, a wedge and winding sticks give me a near-exactness for a measurement I can use to strike straight lines on the edges of my board to plane to. I say near exactness because the winding sticks still depend on how good my eye is at gauging the difference between the front winding stick and the rear one. ````even so, the idea of winding sticks is that that generally magnifies the wind by however many times the width of the board divides into the length of the sticks. A 3" wide piece divides into a 12" winding stick four times, so the exaggeration of twist equals four times. That's the end of the maths.
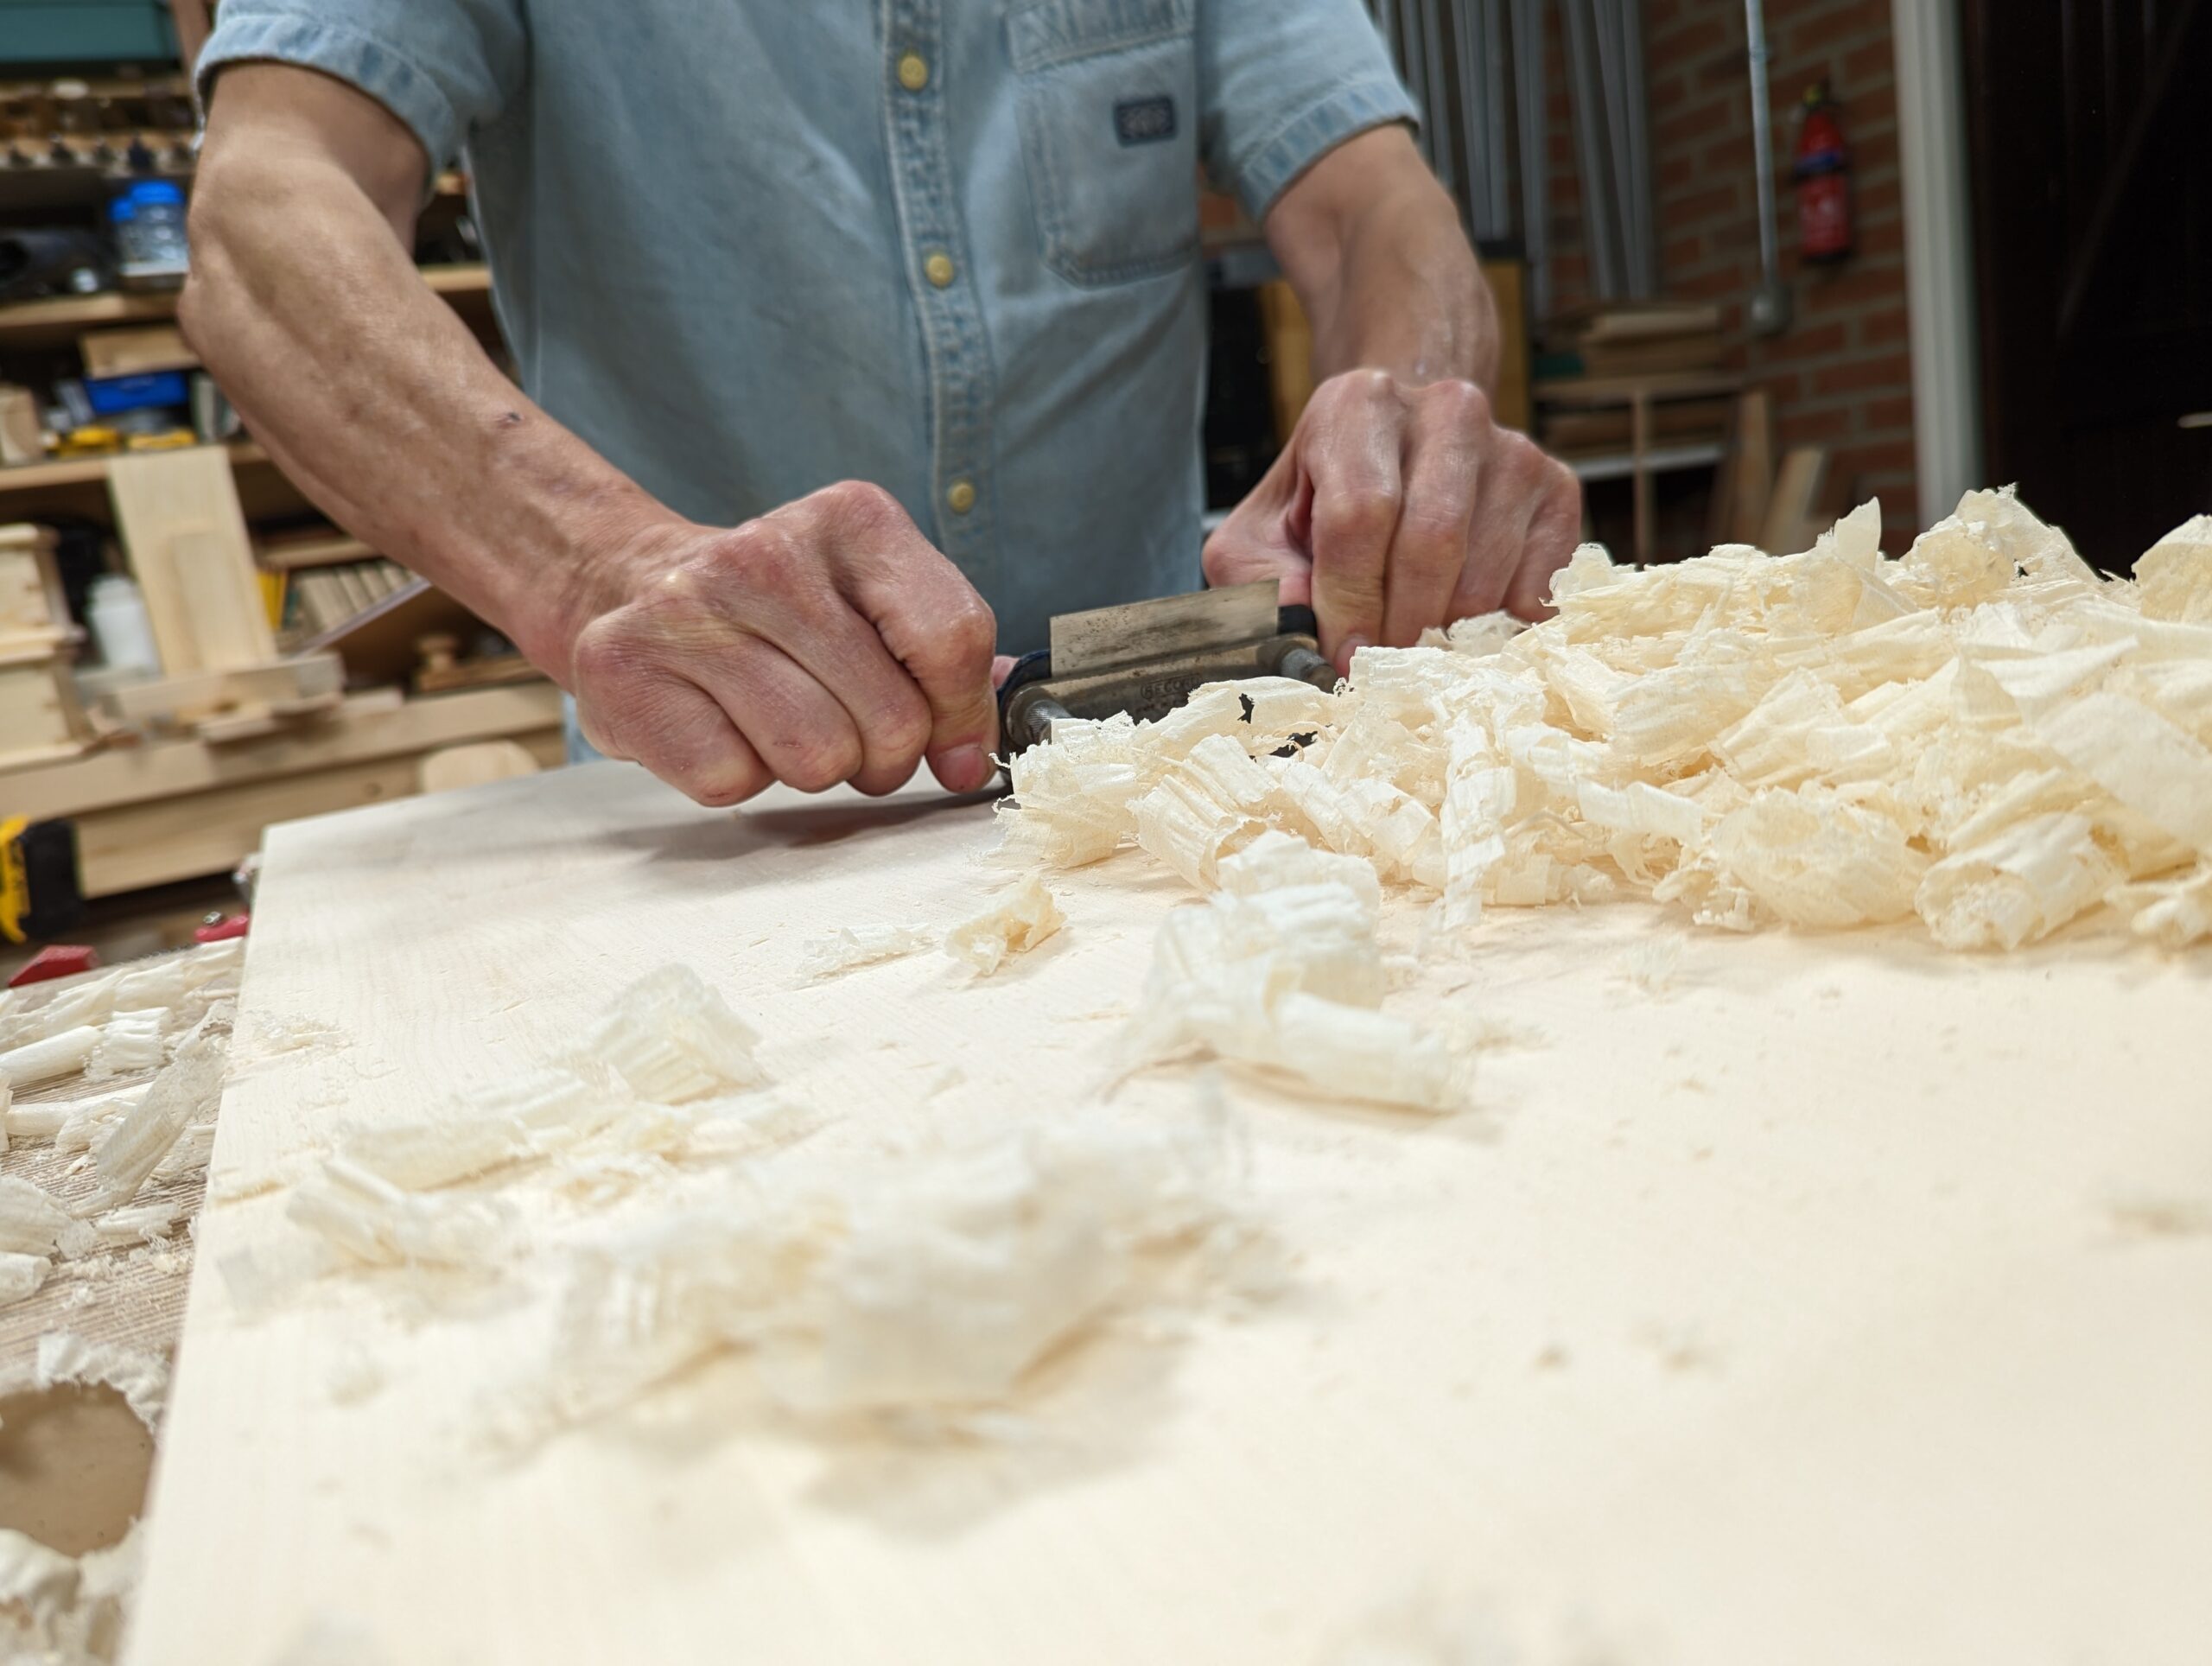
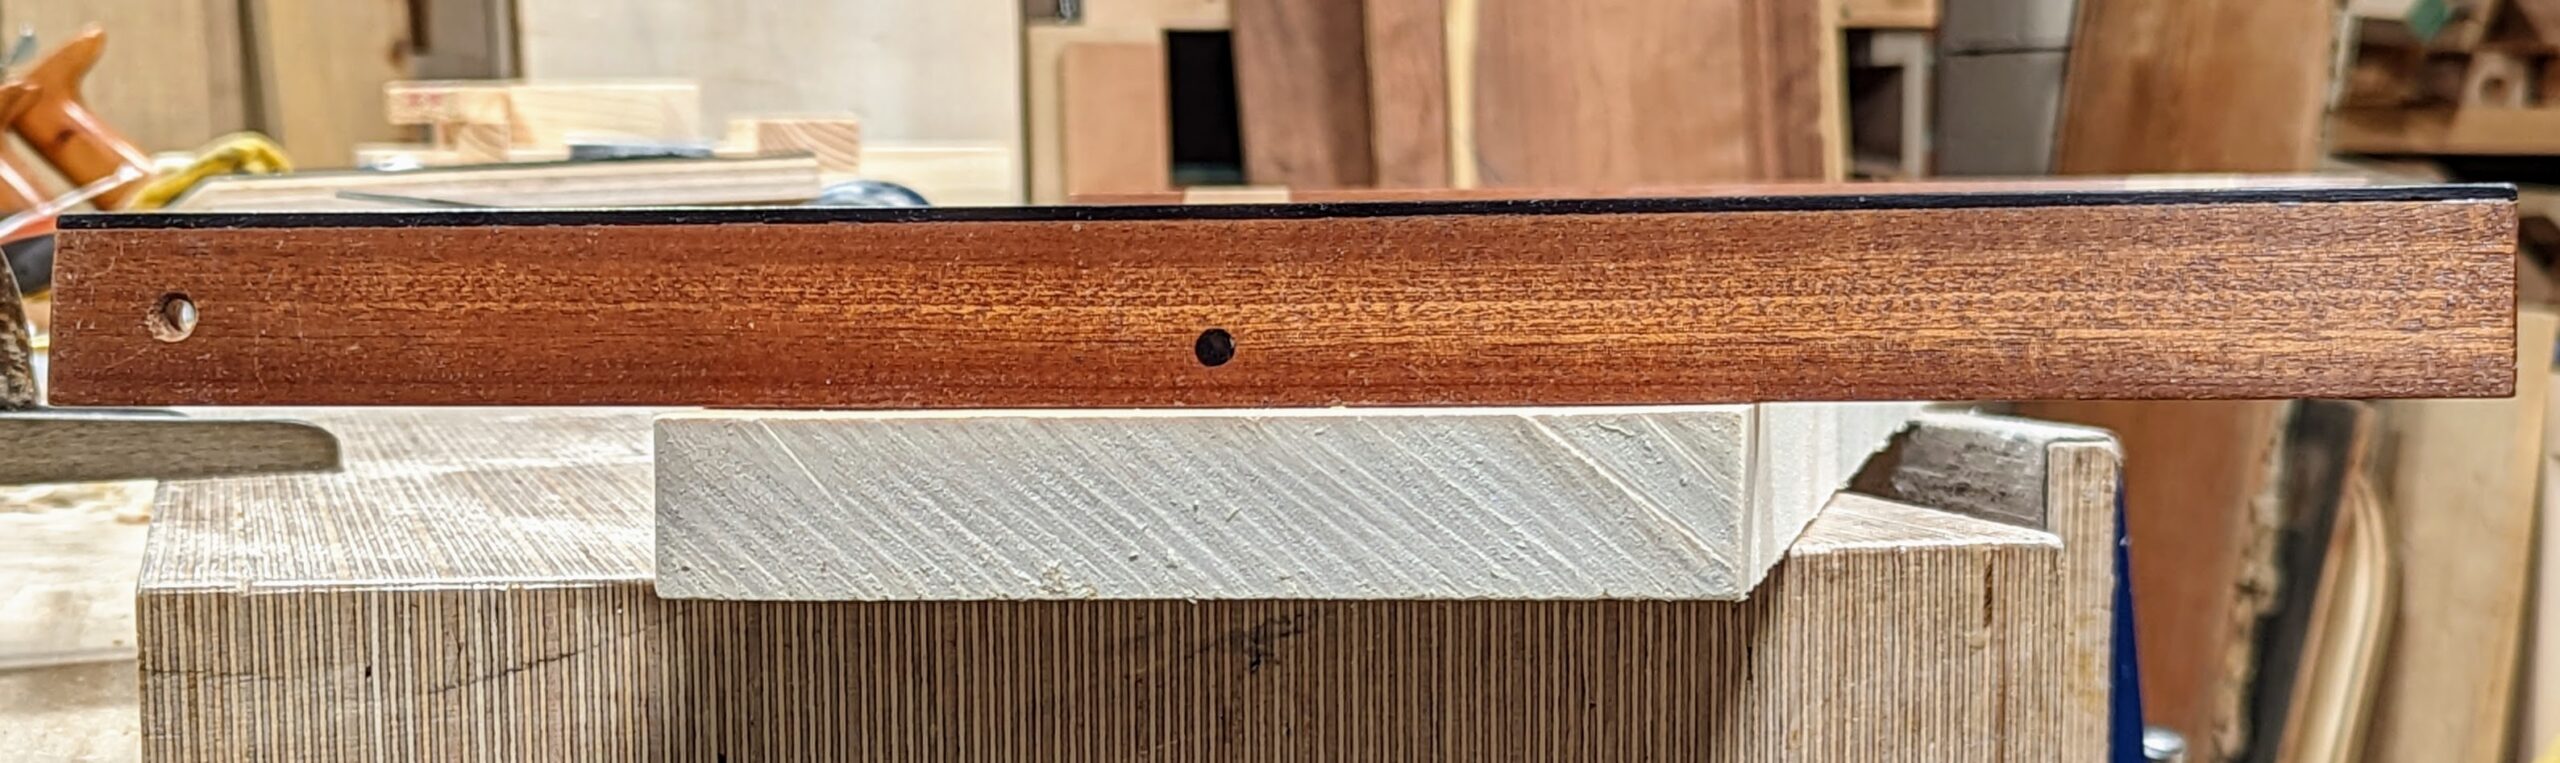
For most of my planing I plane directly in the vise. Many of my critics will say that this is wrong because the vise adds compression that distorts the wood even further. Occasionally this might, might be true, but this depends on the wood, the width of the board, its thickness and more. It's the quickest and simplest way to get your wood trued and for 98`% of my plane work it works perfectly well. If in doubt, I use my clamp-in-the-vise which is equally fast and keeps the wood fully supported. For checking for twist the vise needs not to clamp tightly at all so the wood will not be distorted. You can also simply place the wood on the benchtop to check too.
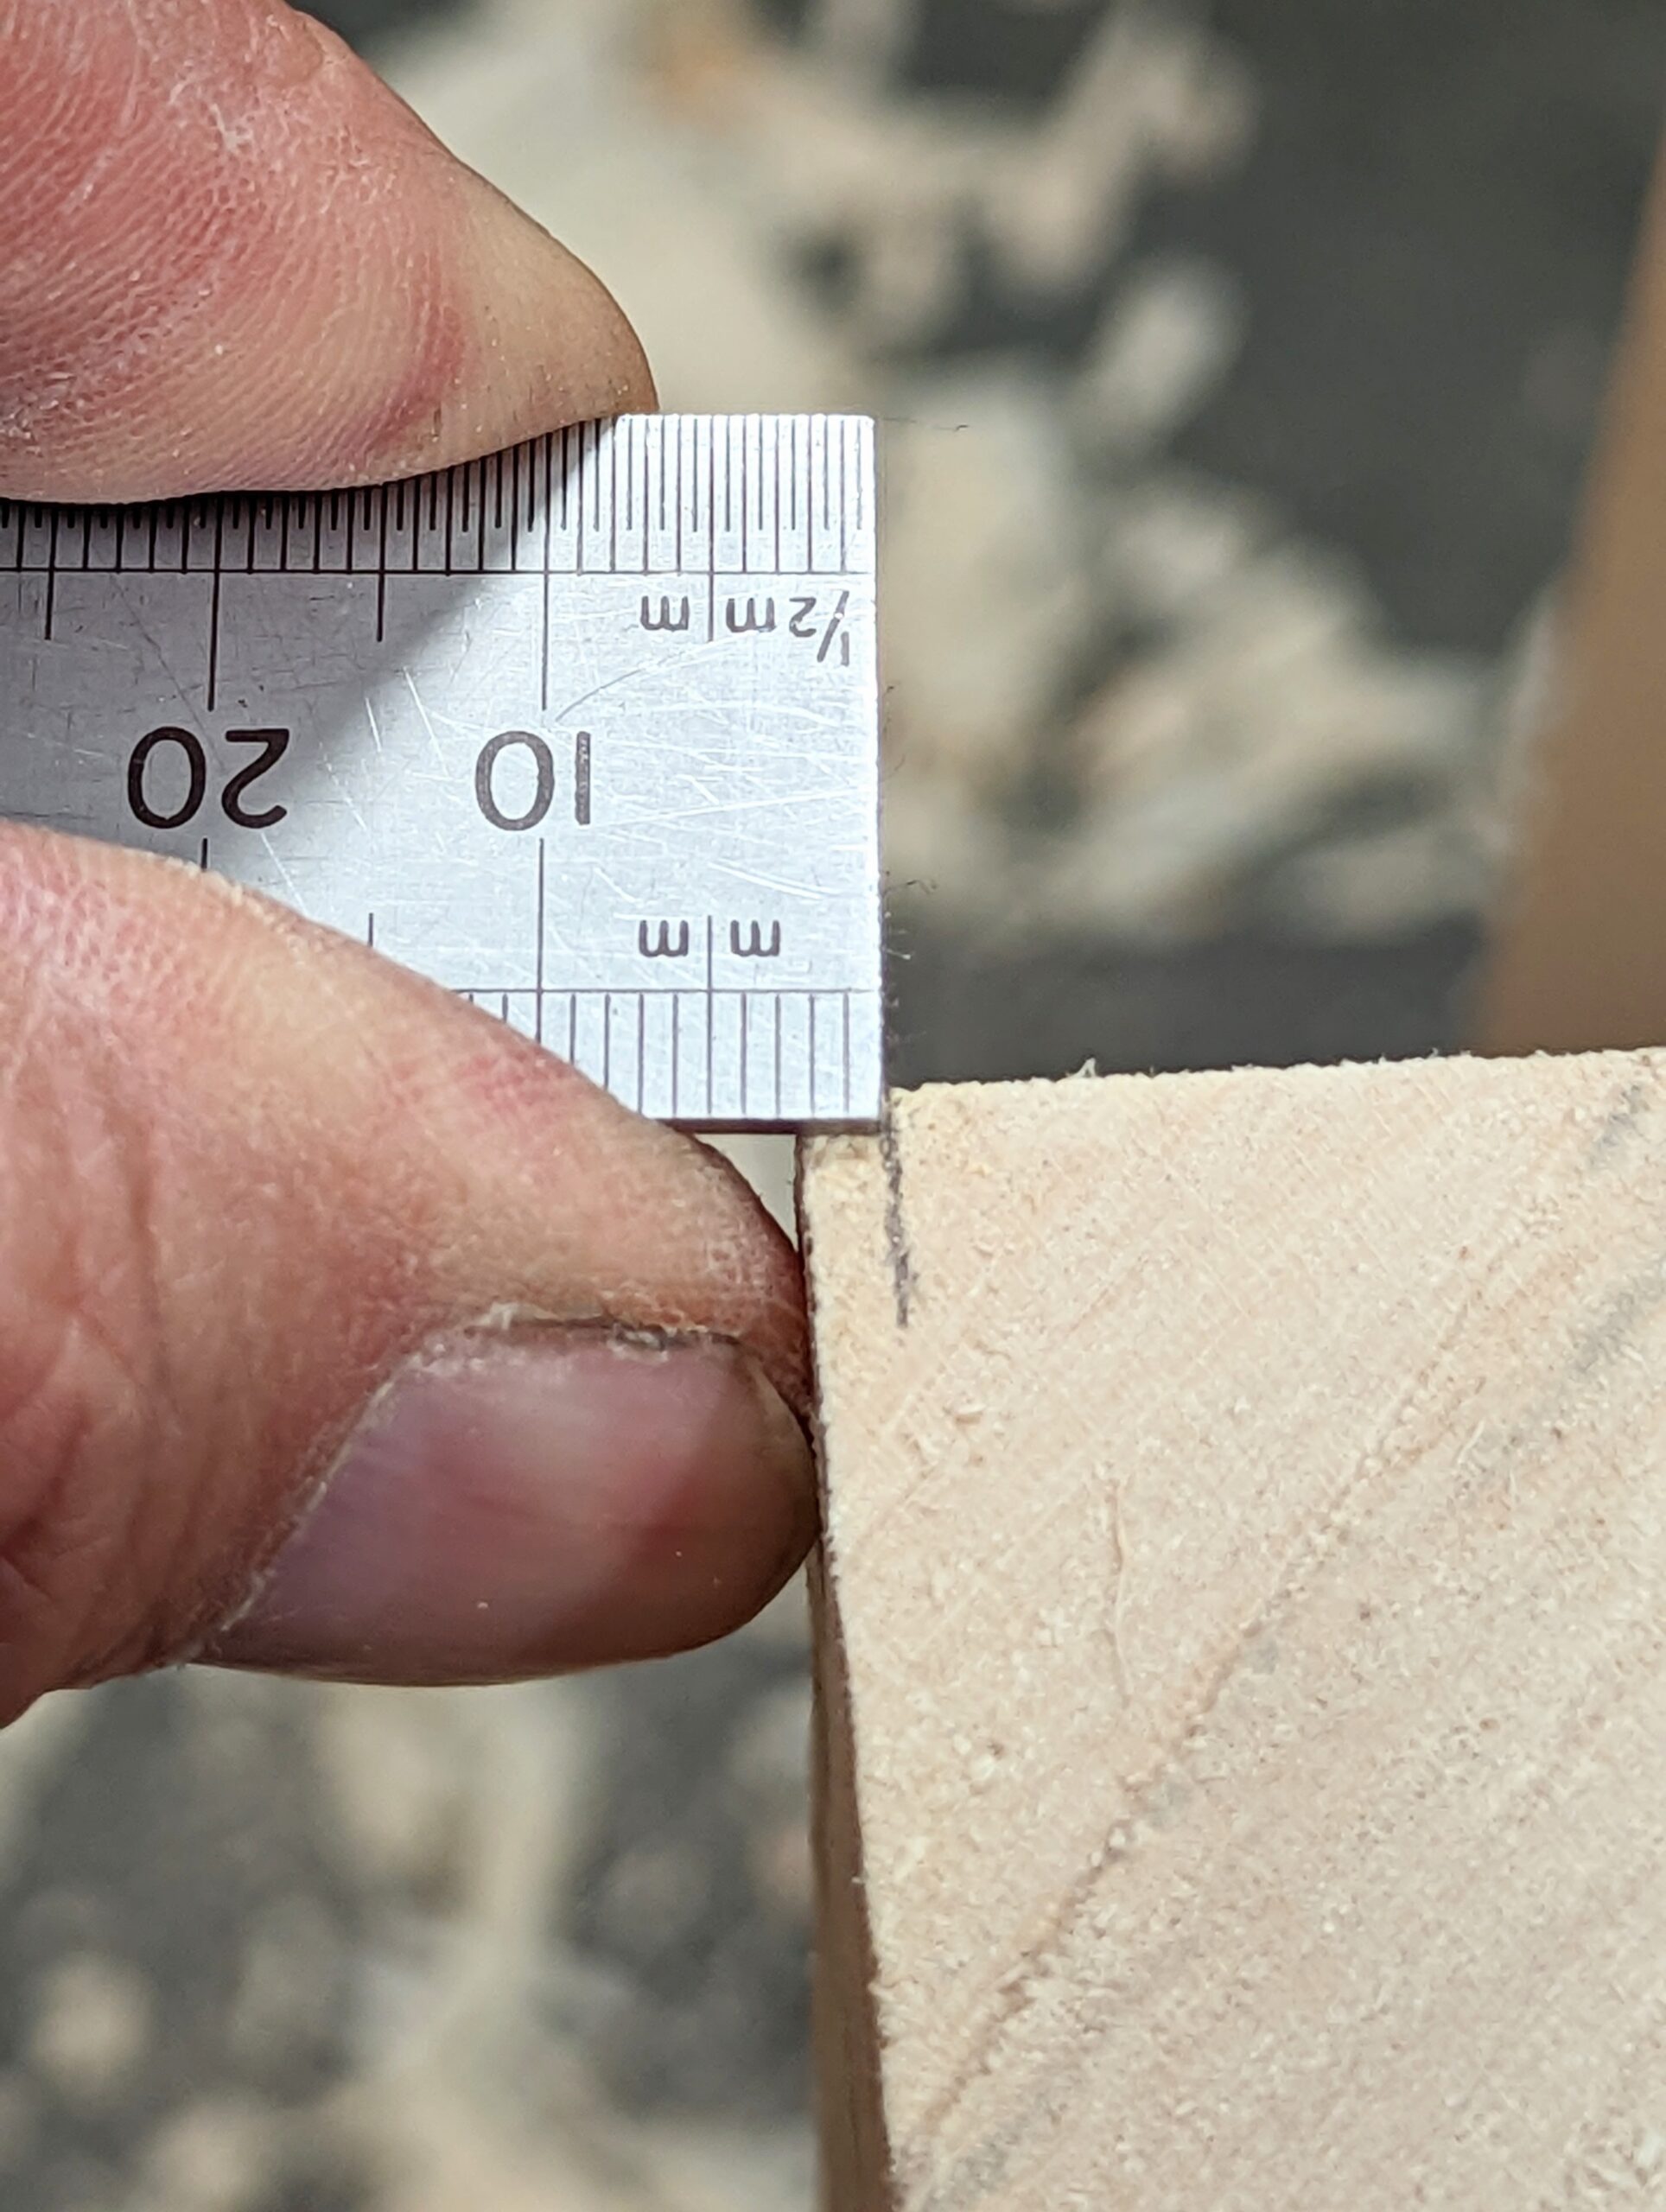
With wood in place position the winding sticks at each end, square across and centred on the wood and sight-in. Take your time and check and check again. This sighting gives a good stab at evaluating how much twist you are dealing with. In my case here `I am dealing with about 5-6mm (1/4"). It will rarely be dead-on but it doesn't matter too much. We are relying on eyeballing here and we will end up with a trued board.
With wedge in place under the low point of the winding stick and lifting it to parallelity with the front one, keep sighting in until you've elevated the winding stick to show zero wind between the two sticks. Once level you have the exact amount of twist in the board.
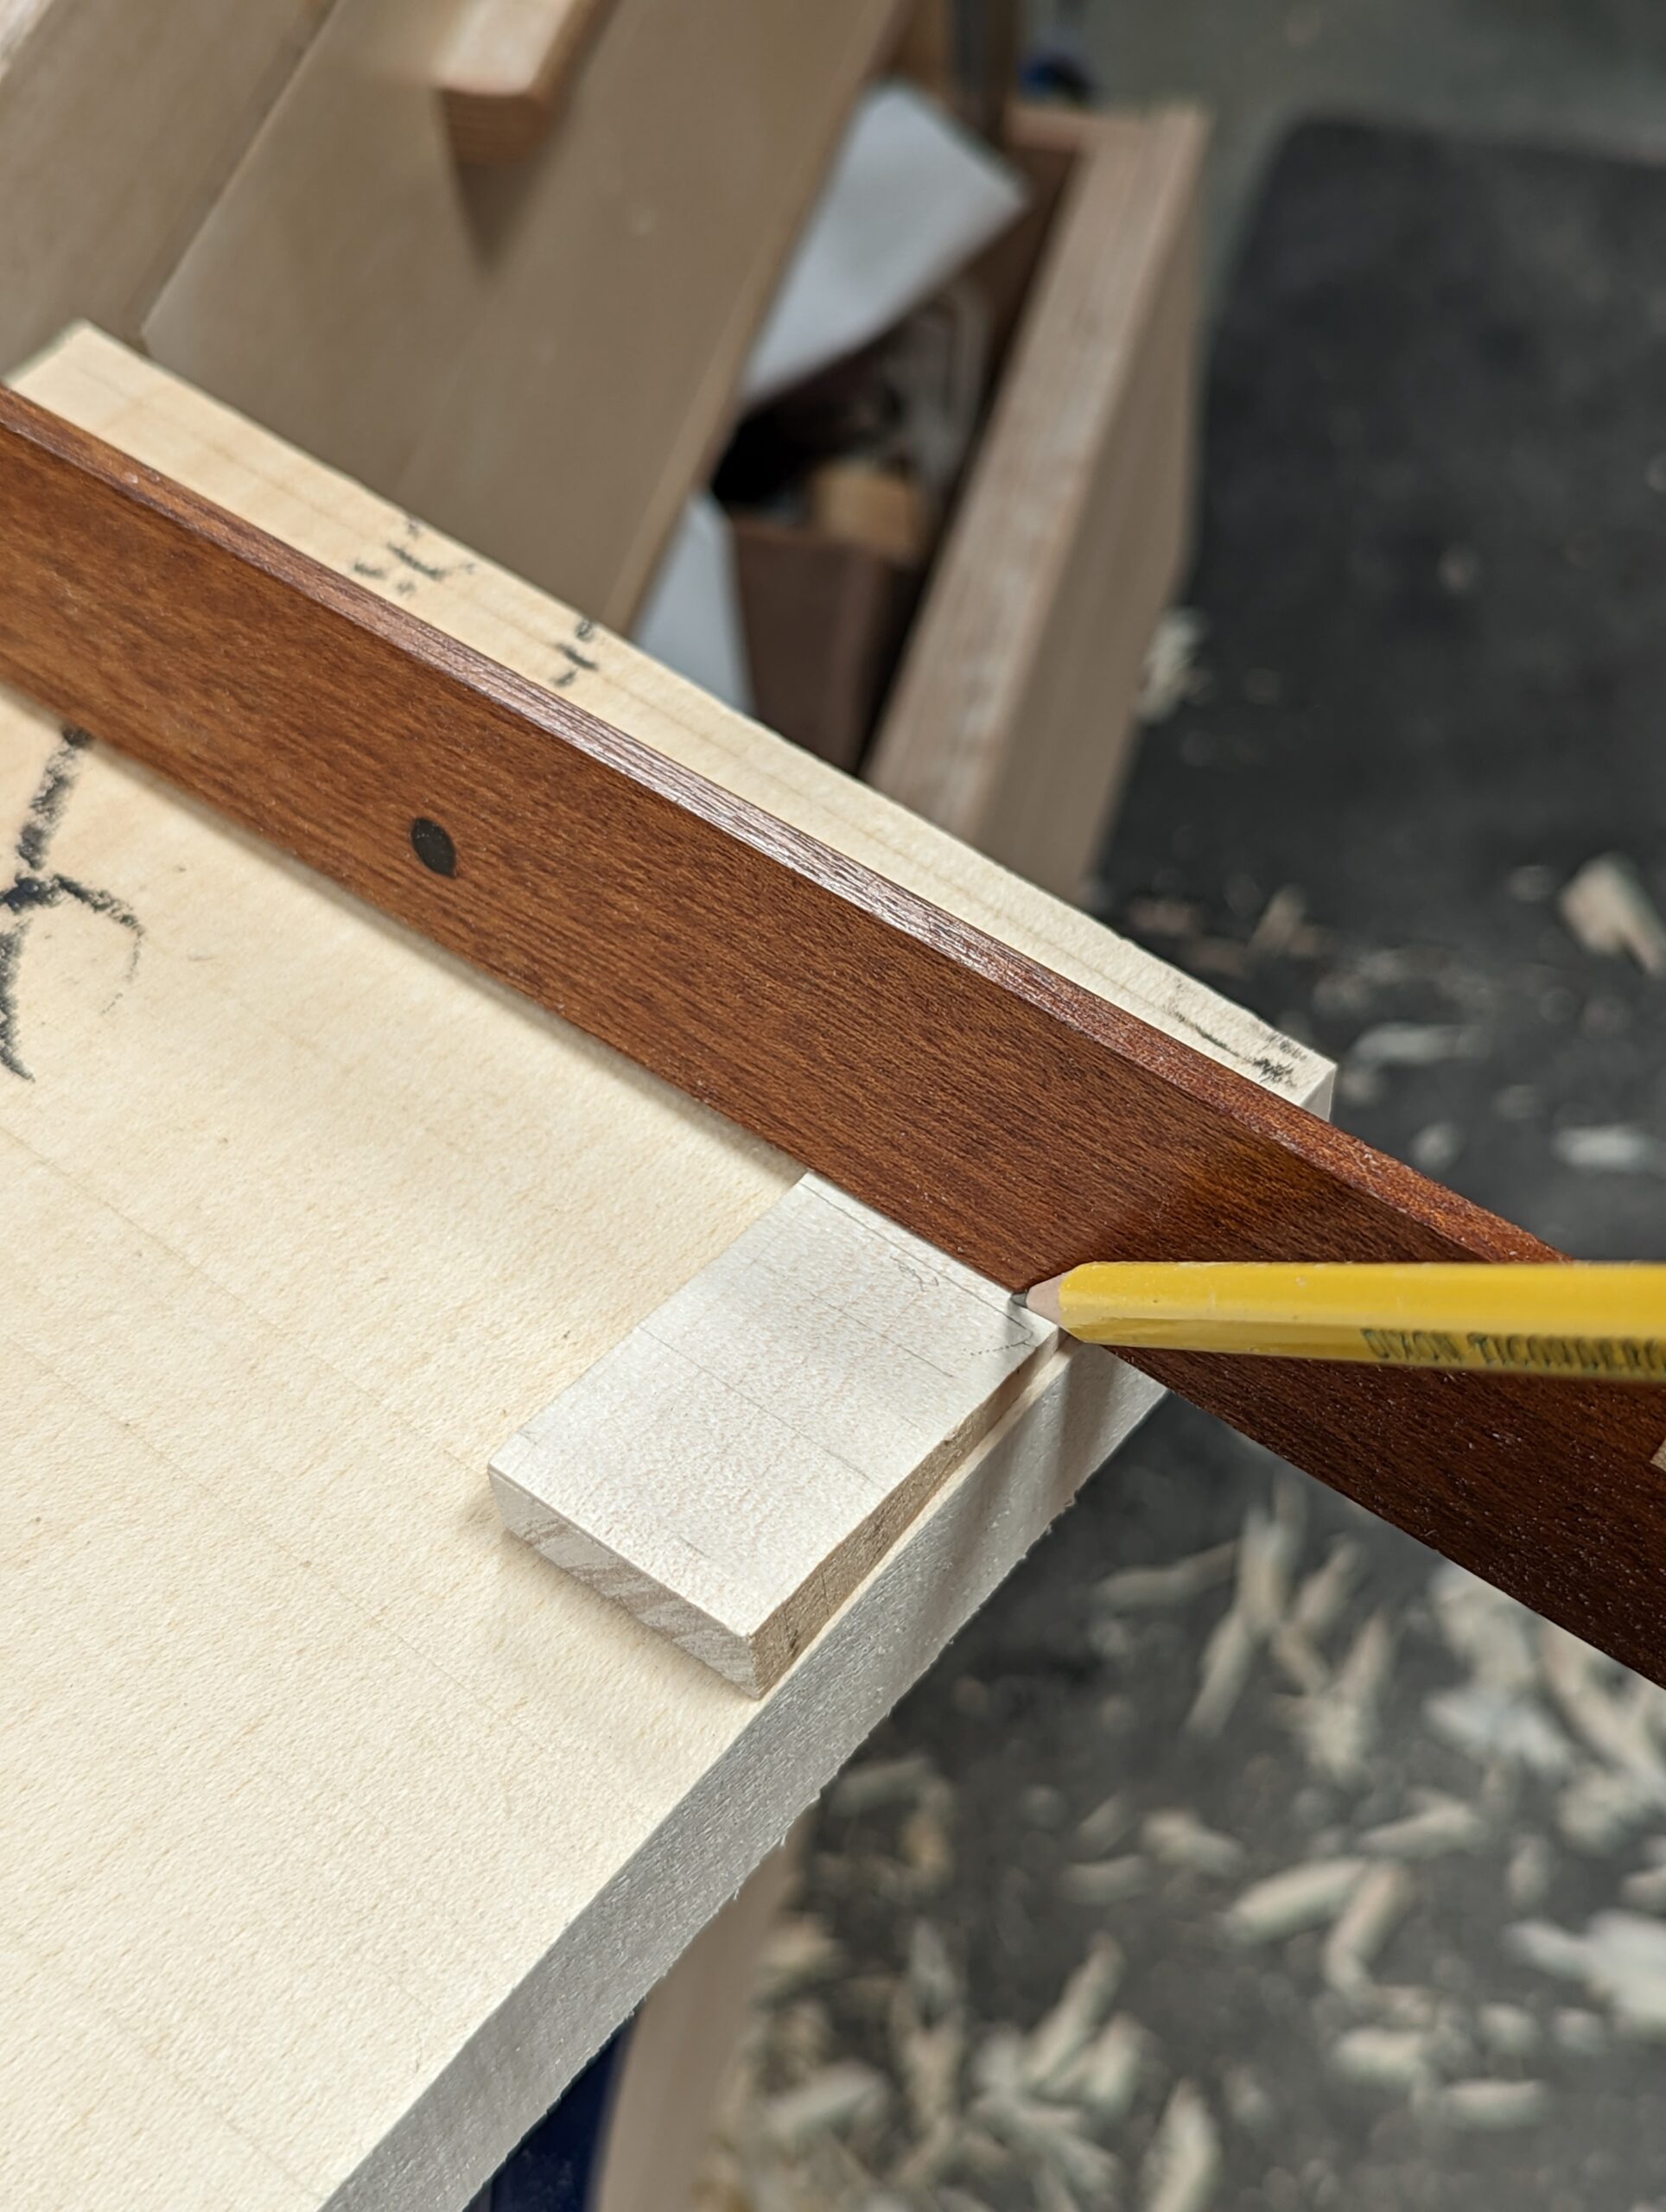
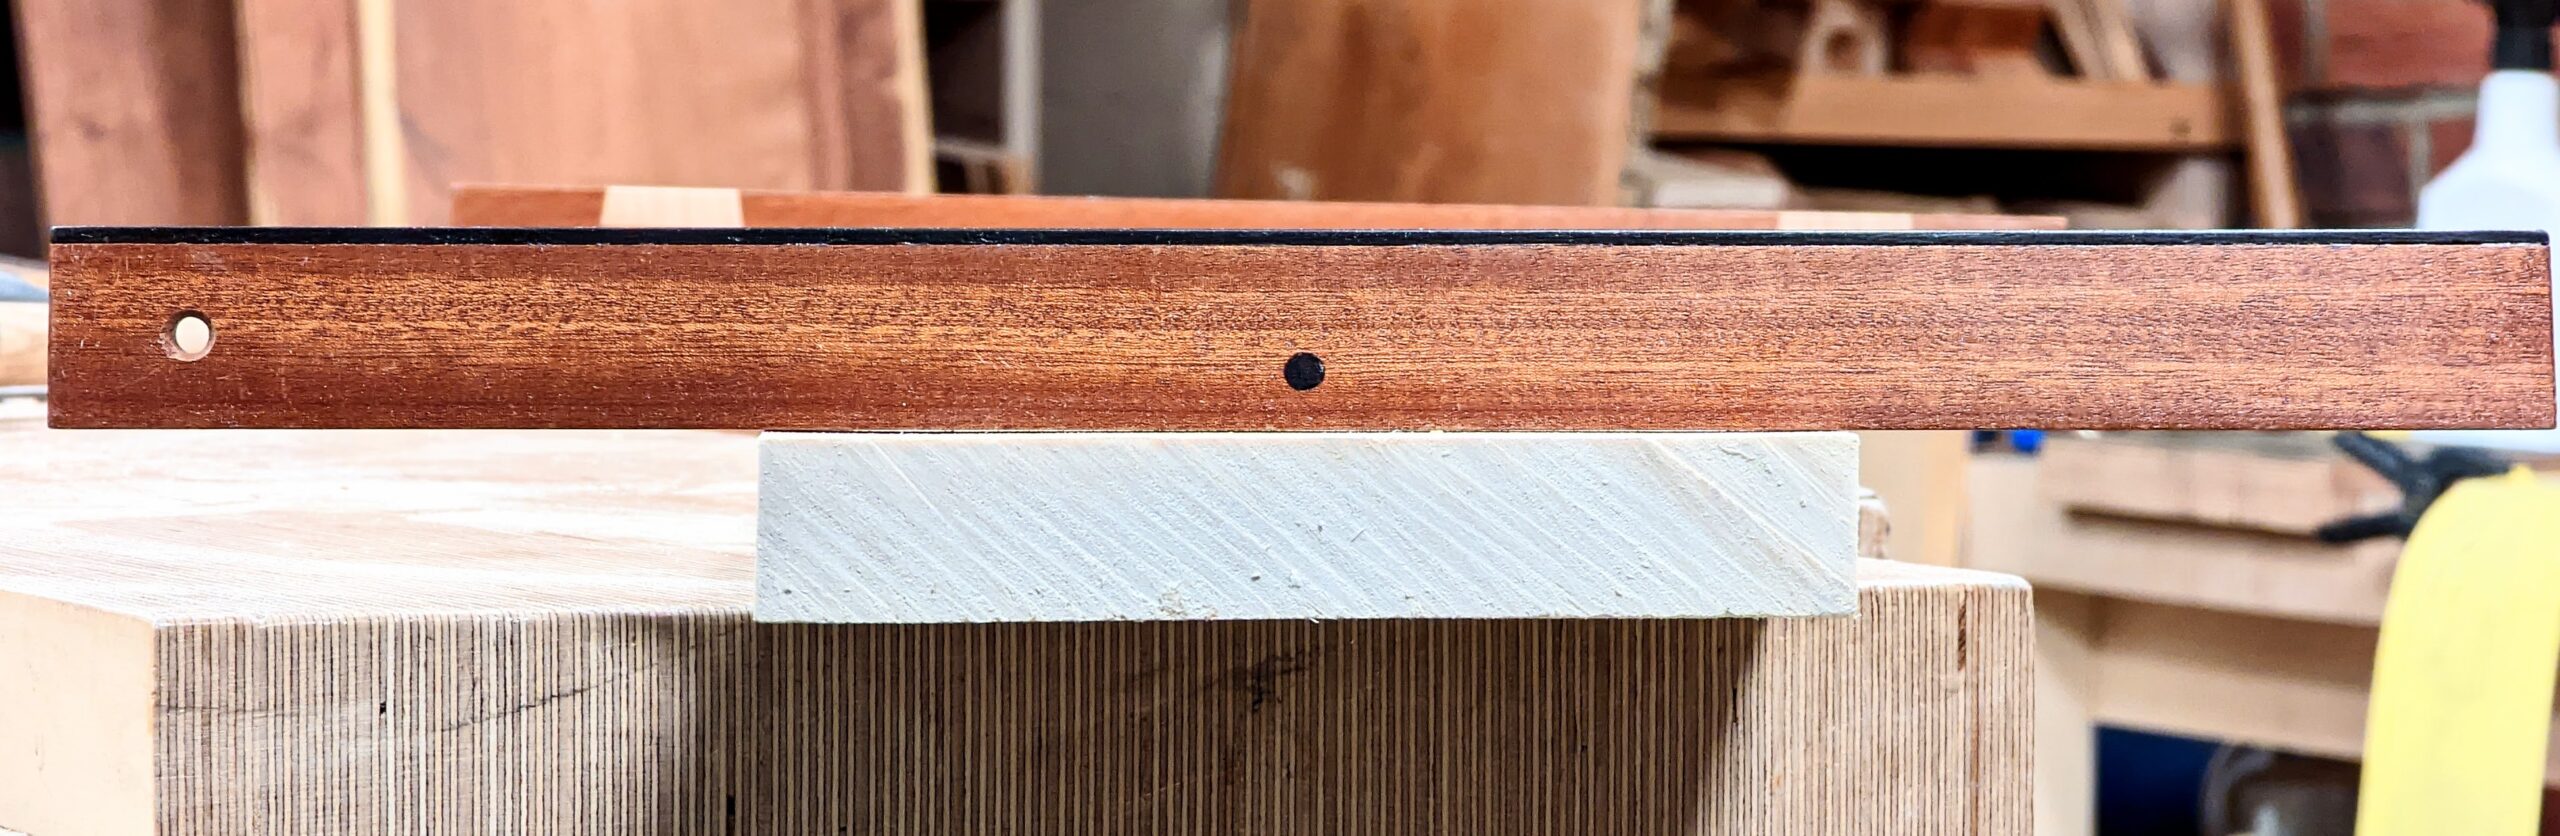
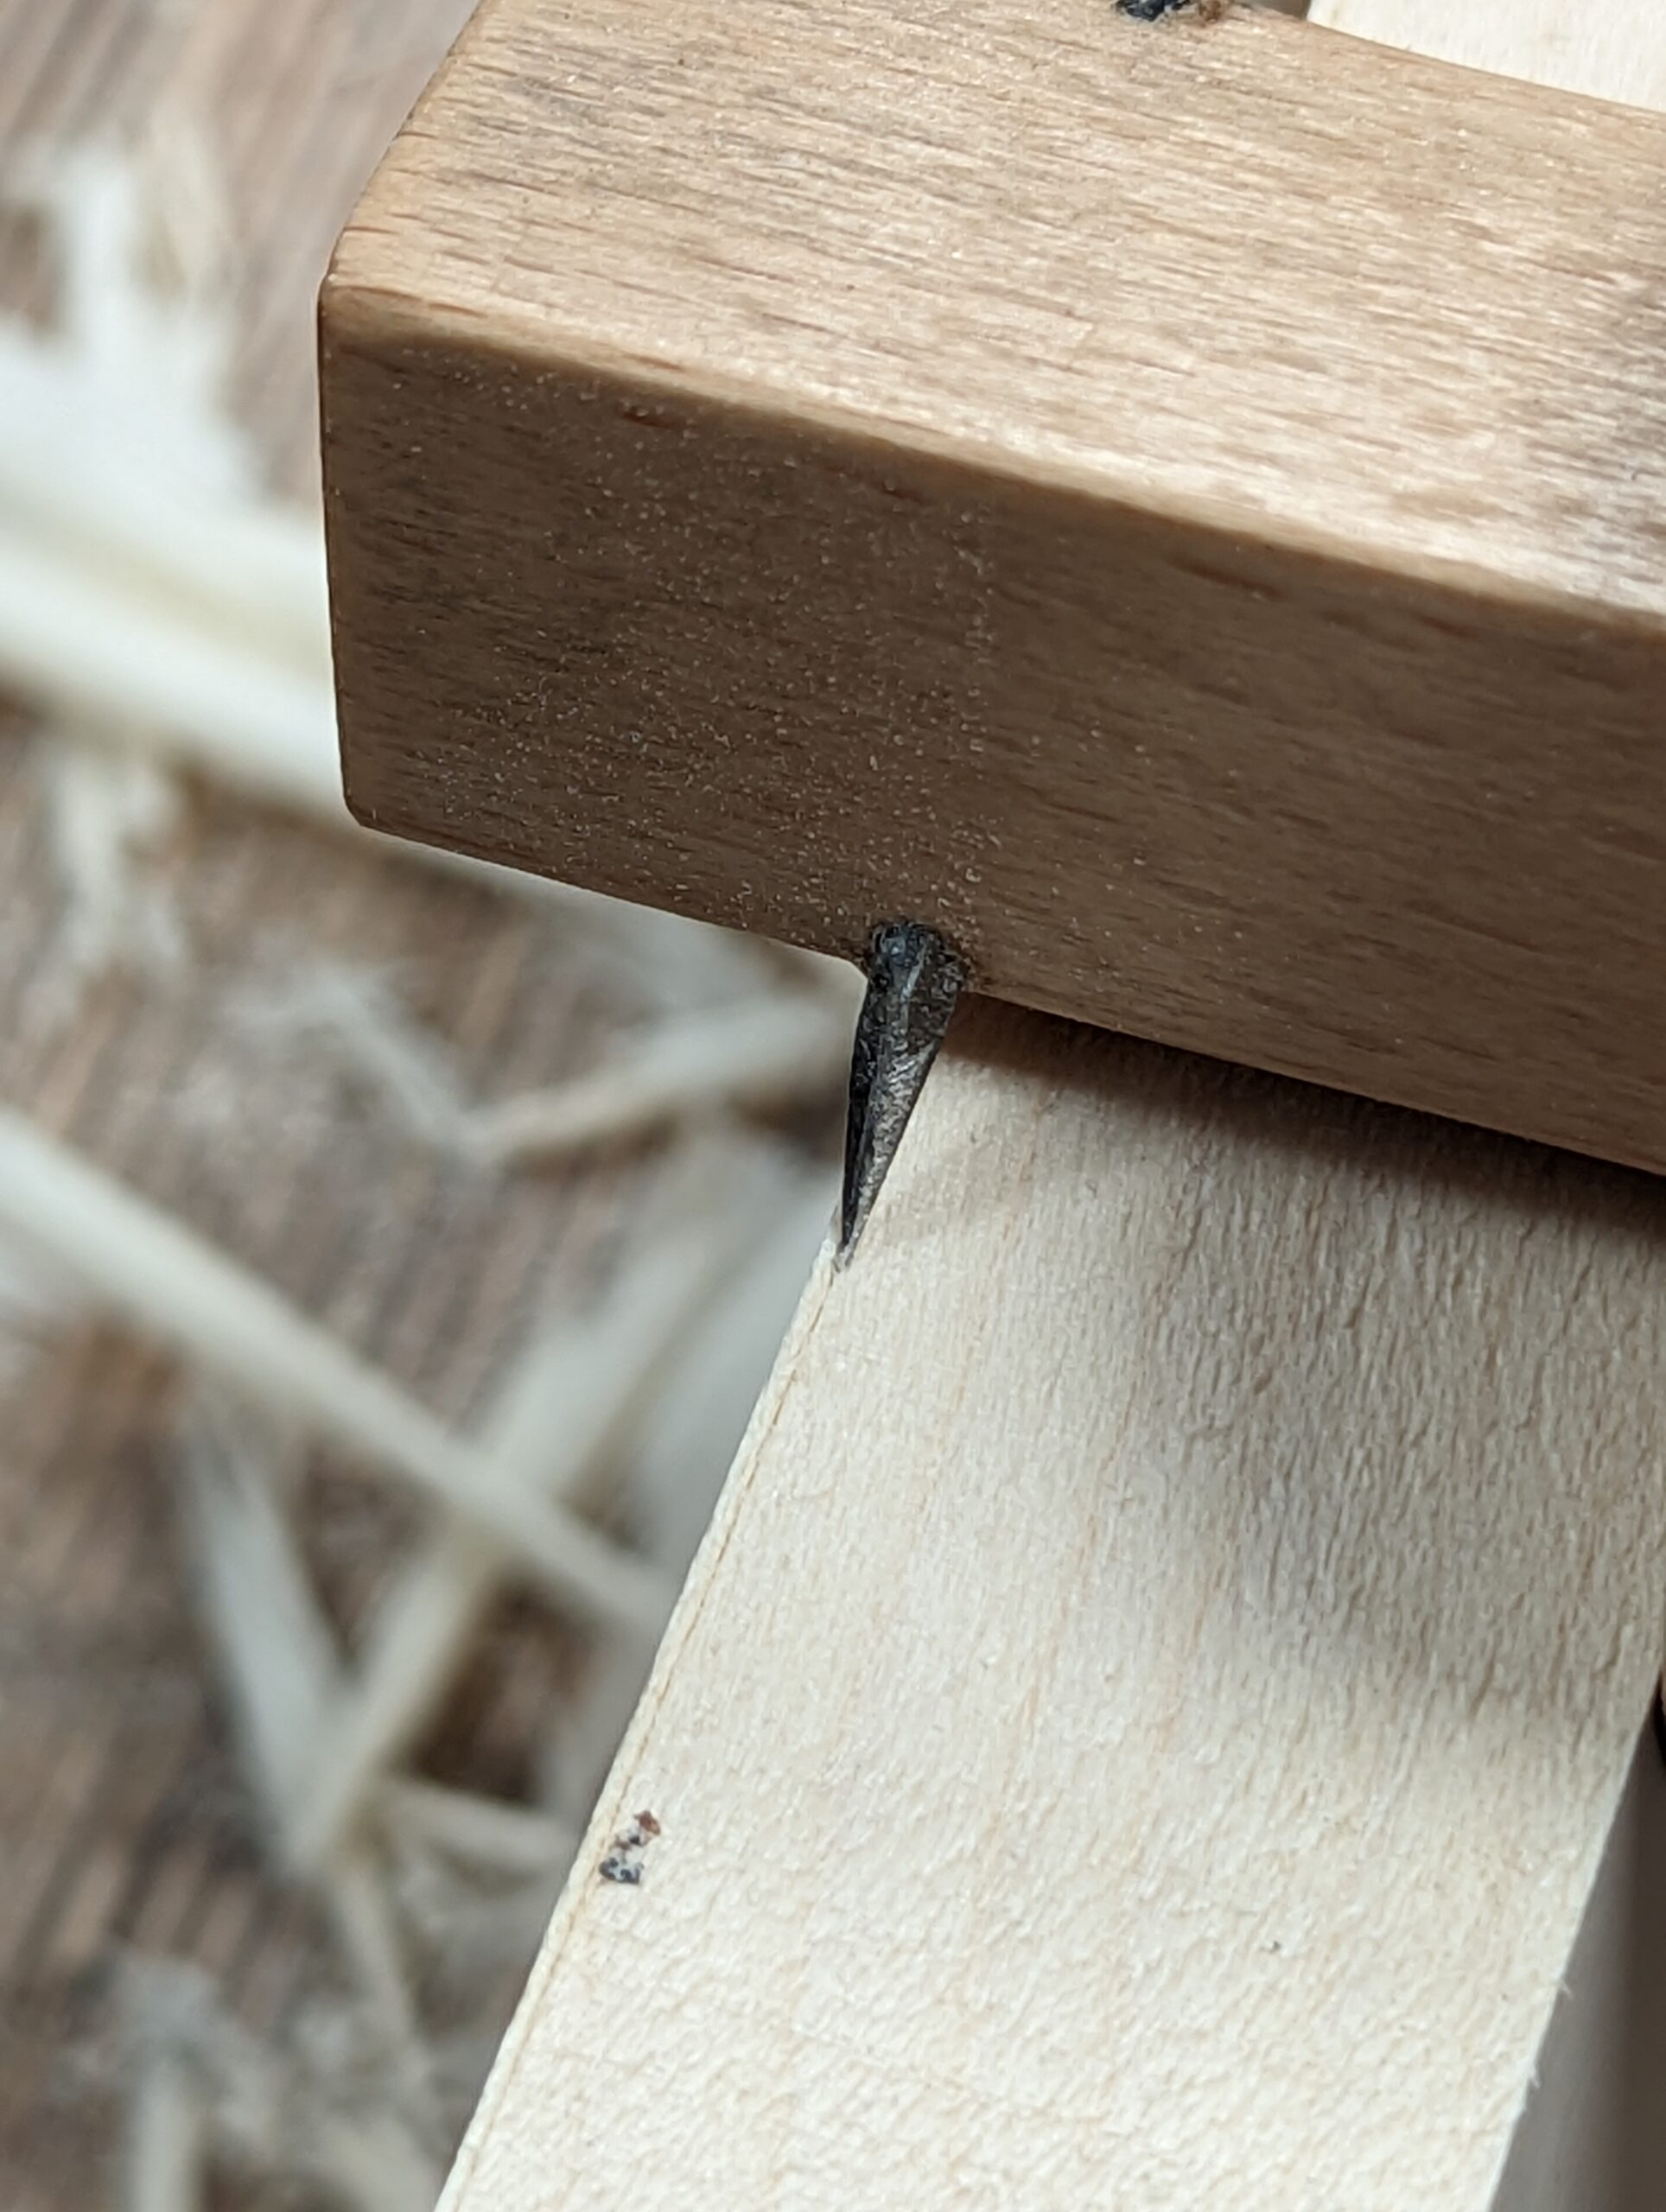
Take a sharp pencil and mark along the wedge itself at the point of elevation on the wedge.
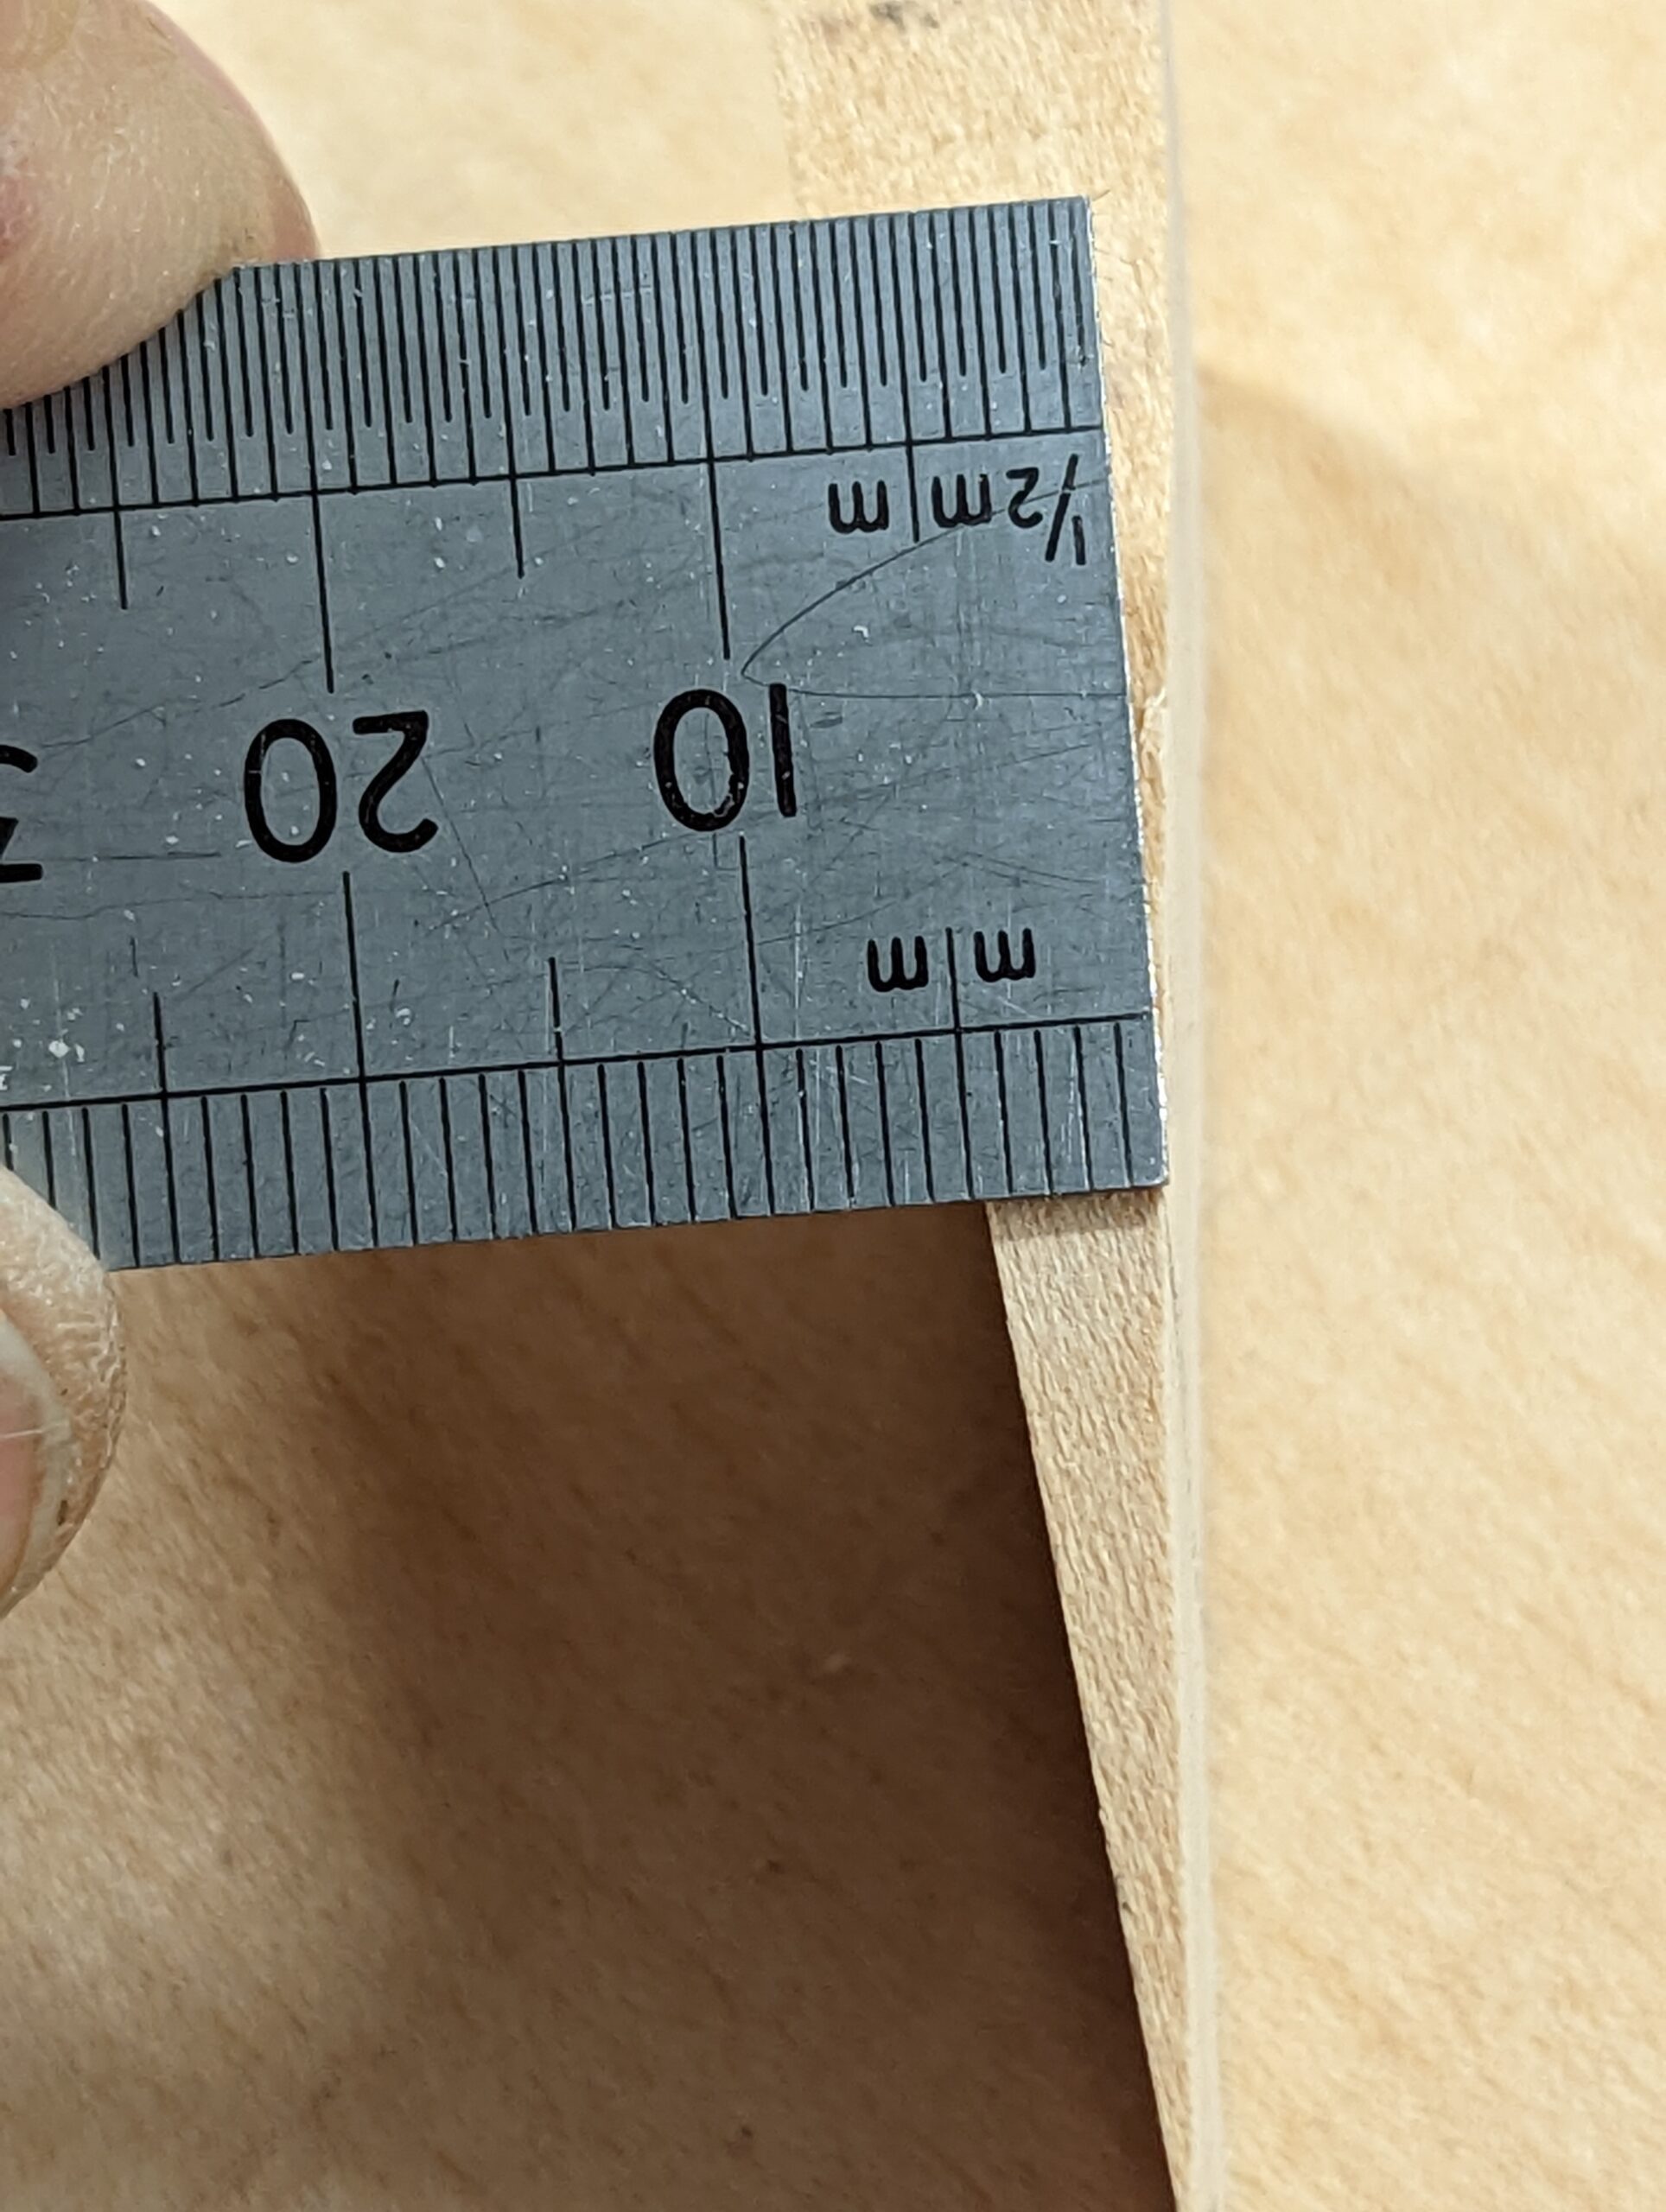
Measure the distance. . .
. . . and halve it.
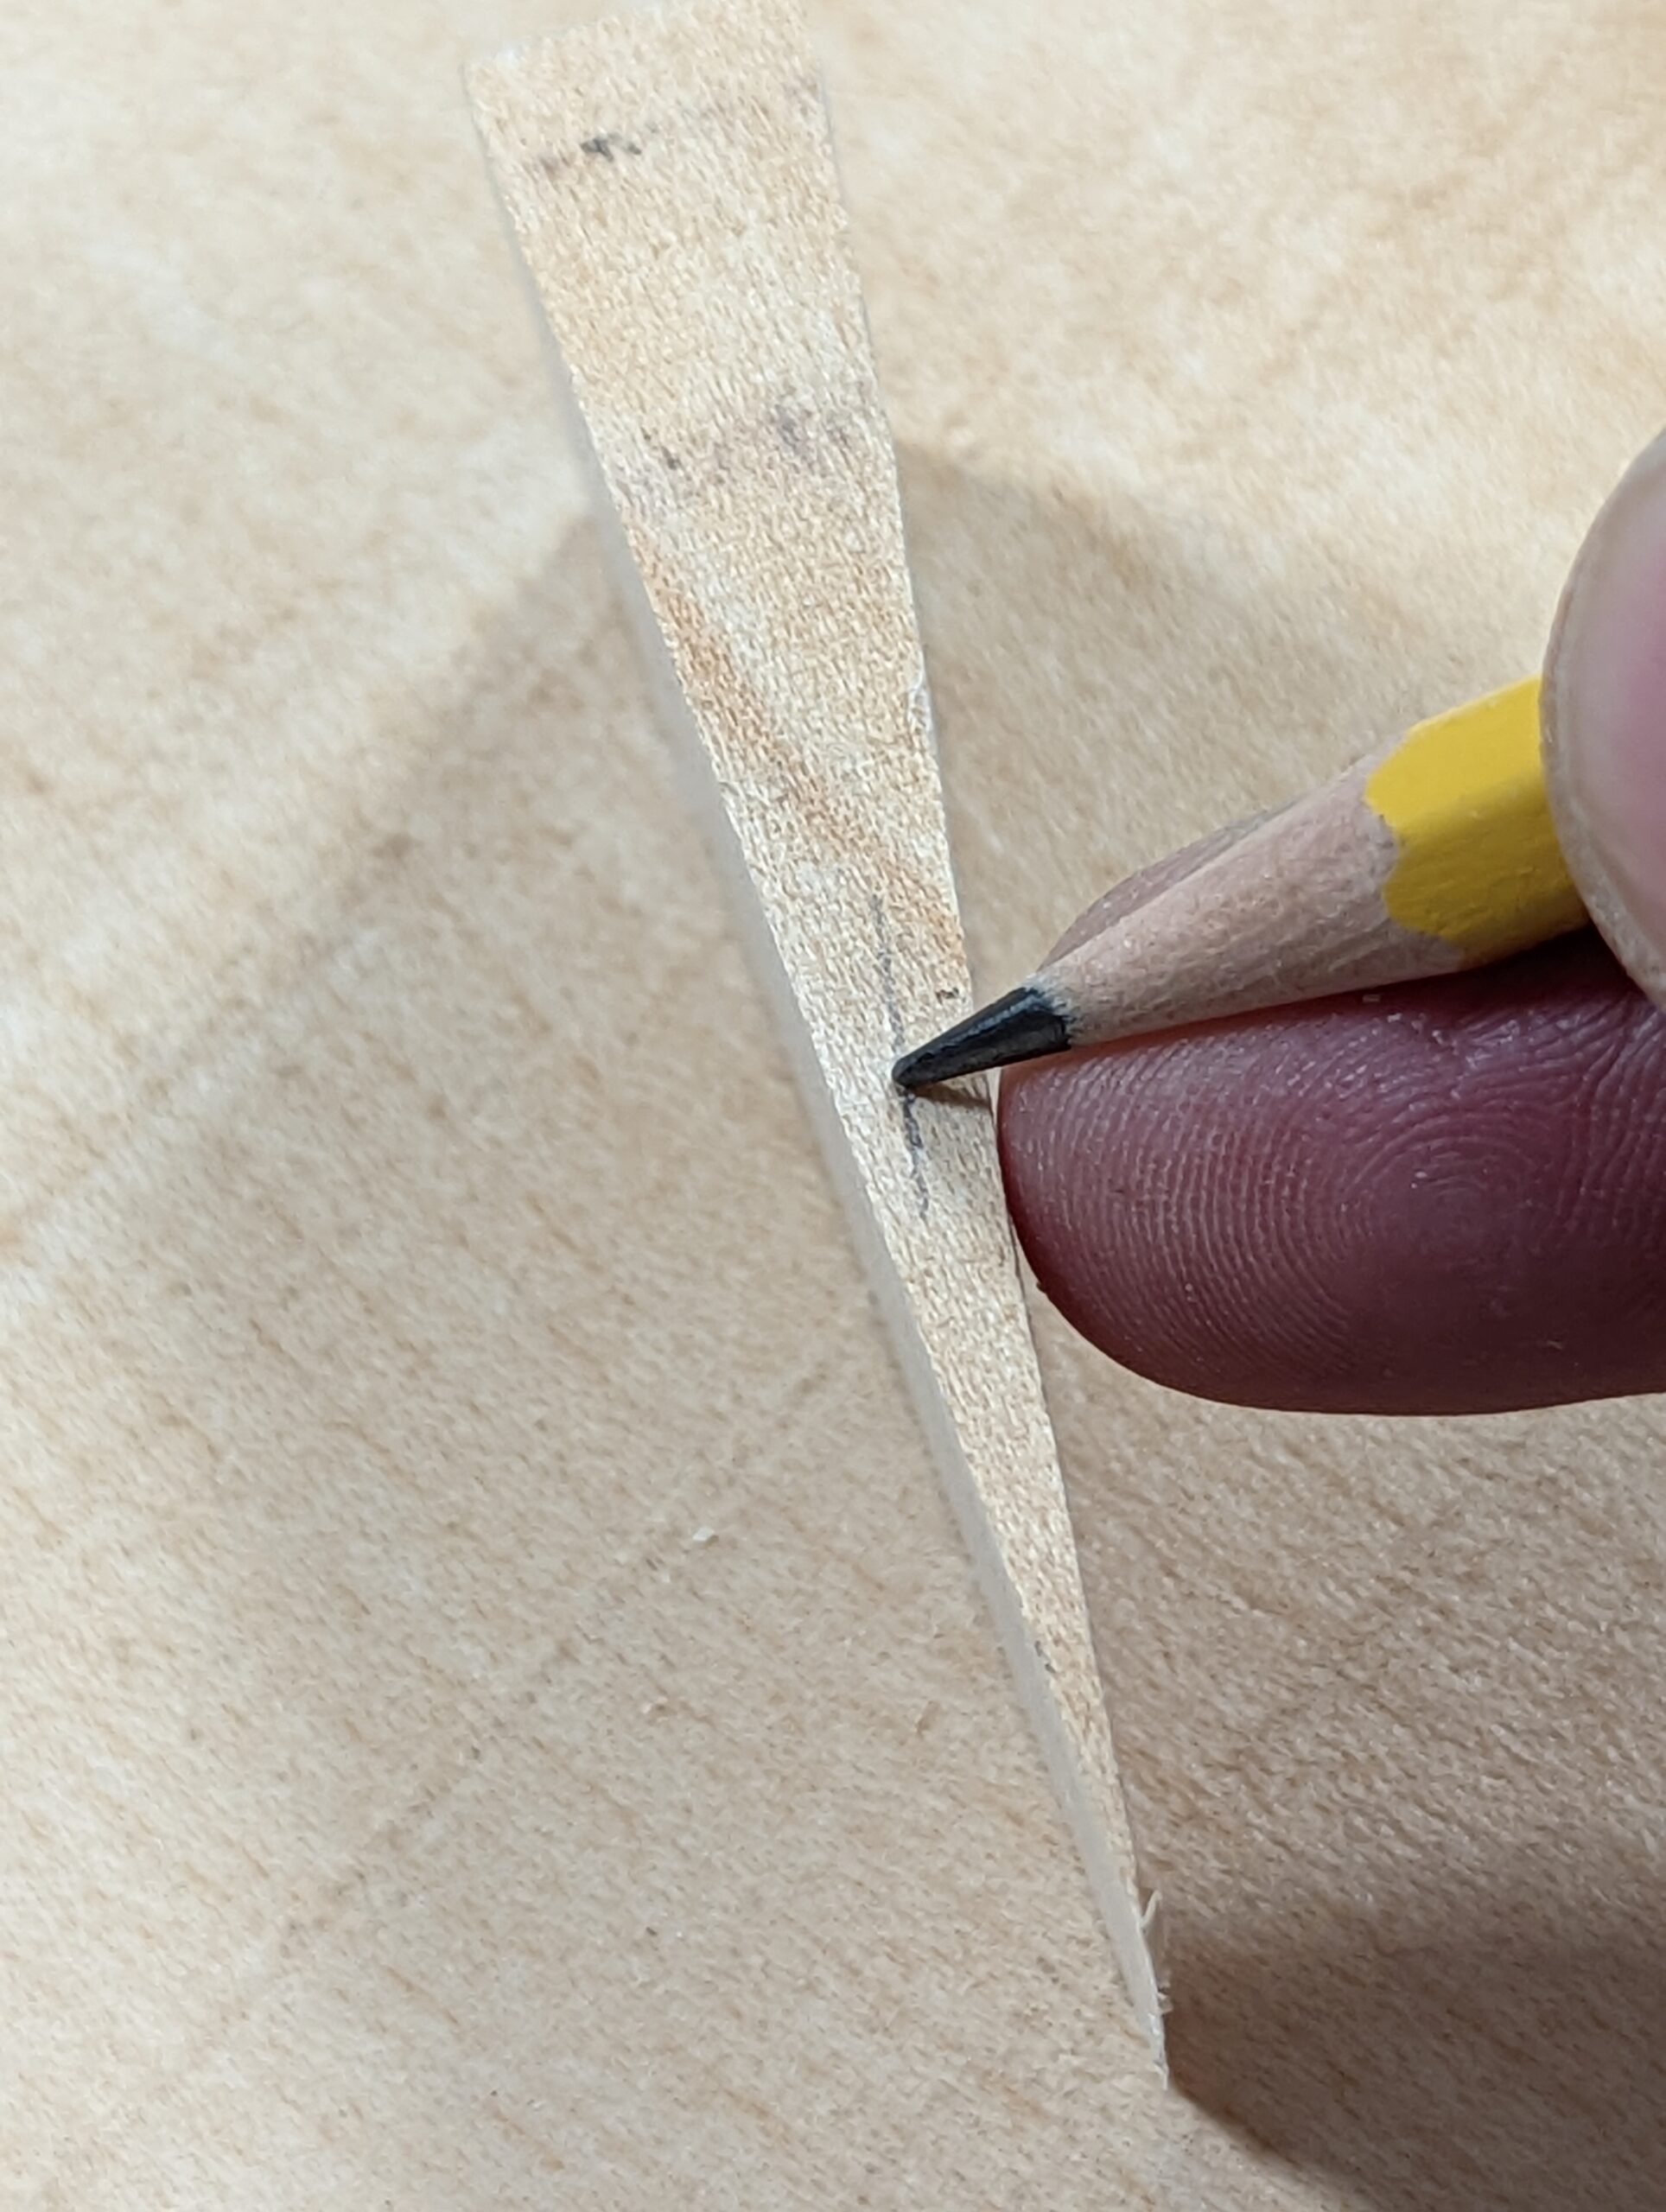
Mark this distance on the two high points at each extreme corner. In theory, of course, you can take off all the wist from one end but this usually reduces the wood thickness unevenly by too much and your board will be much thinner.
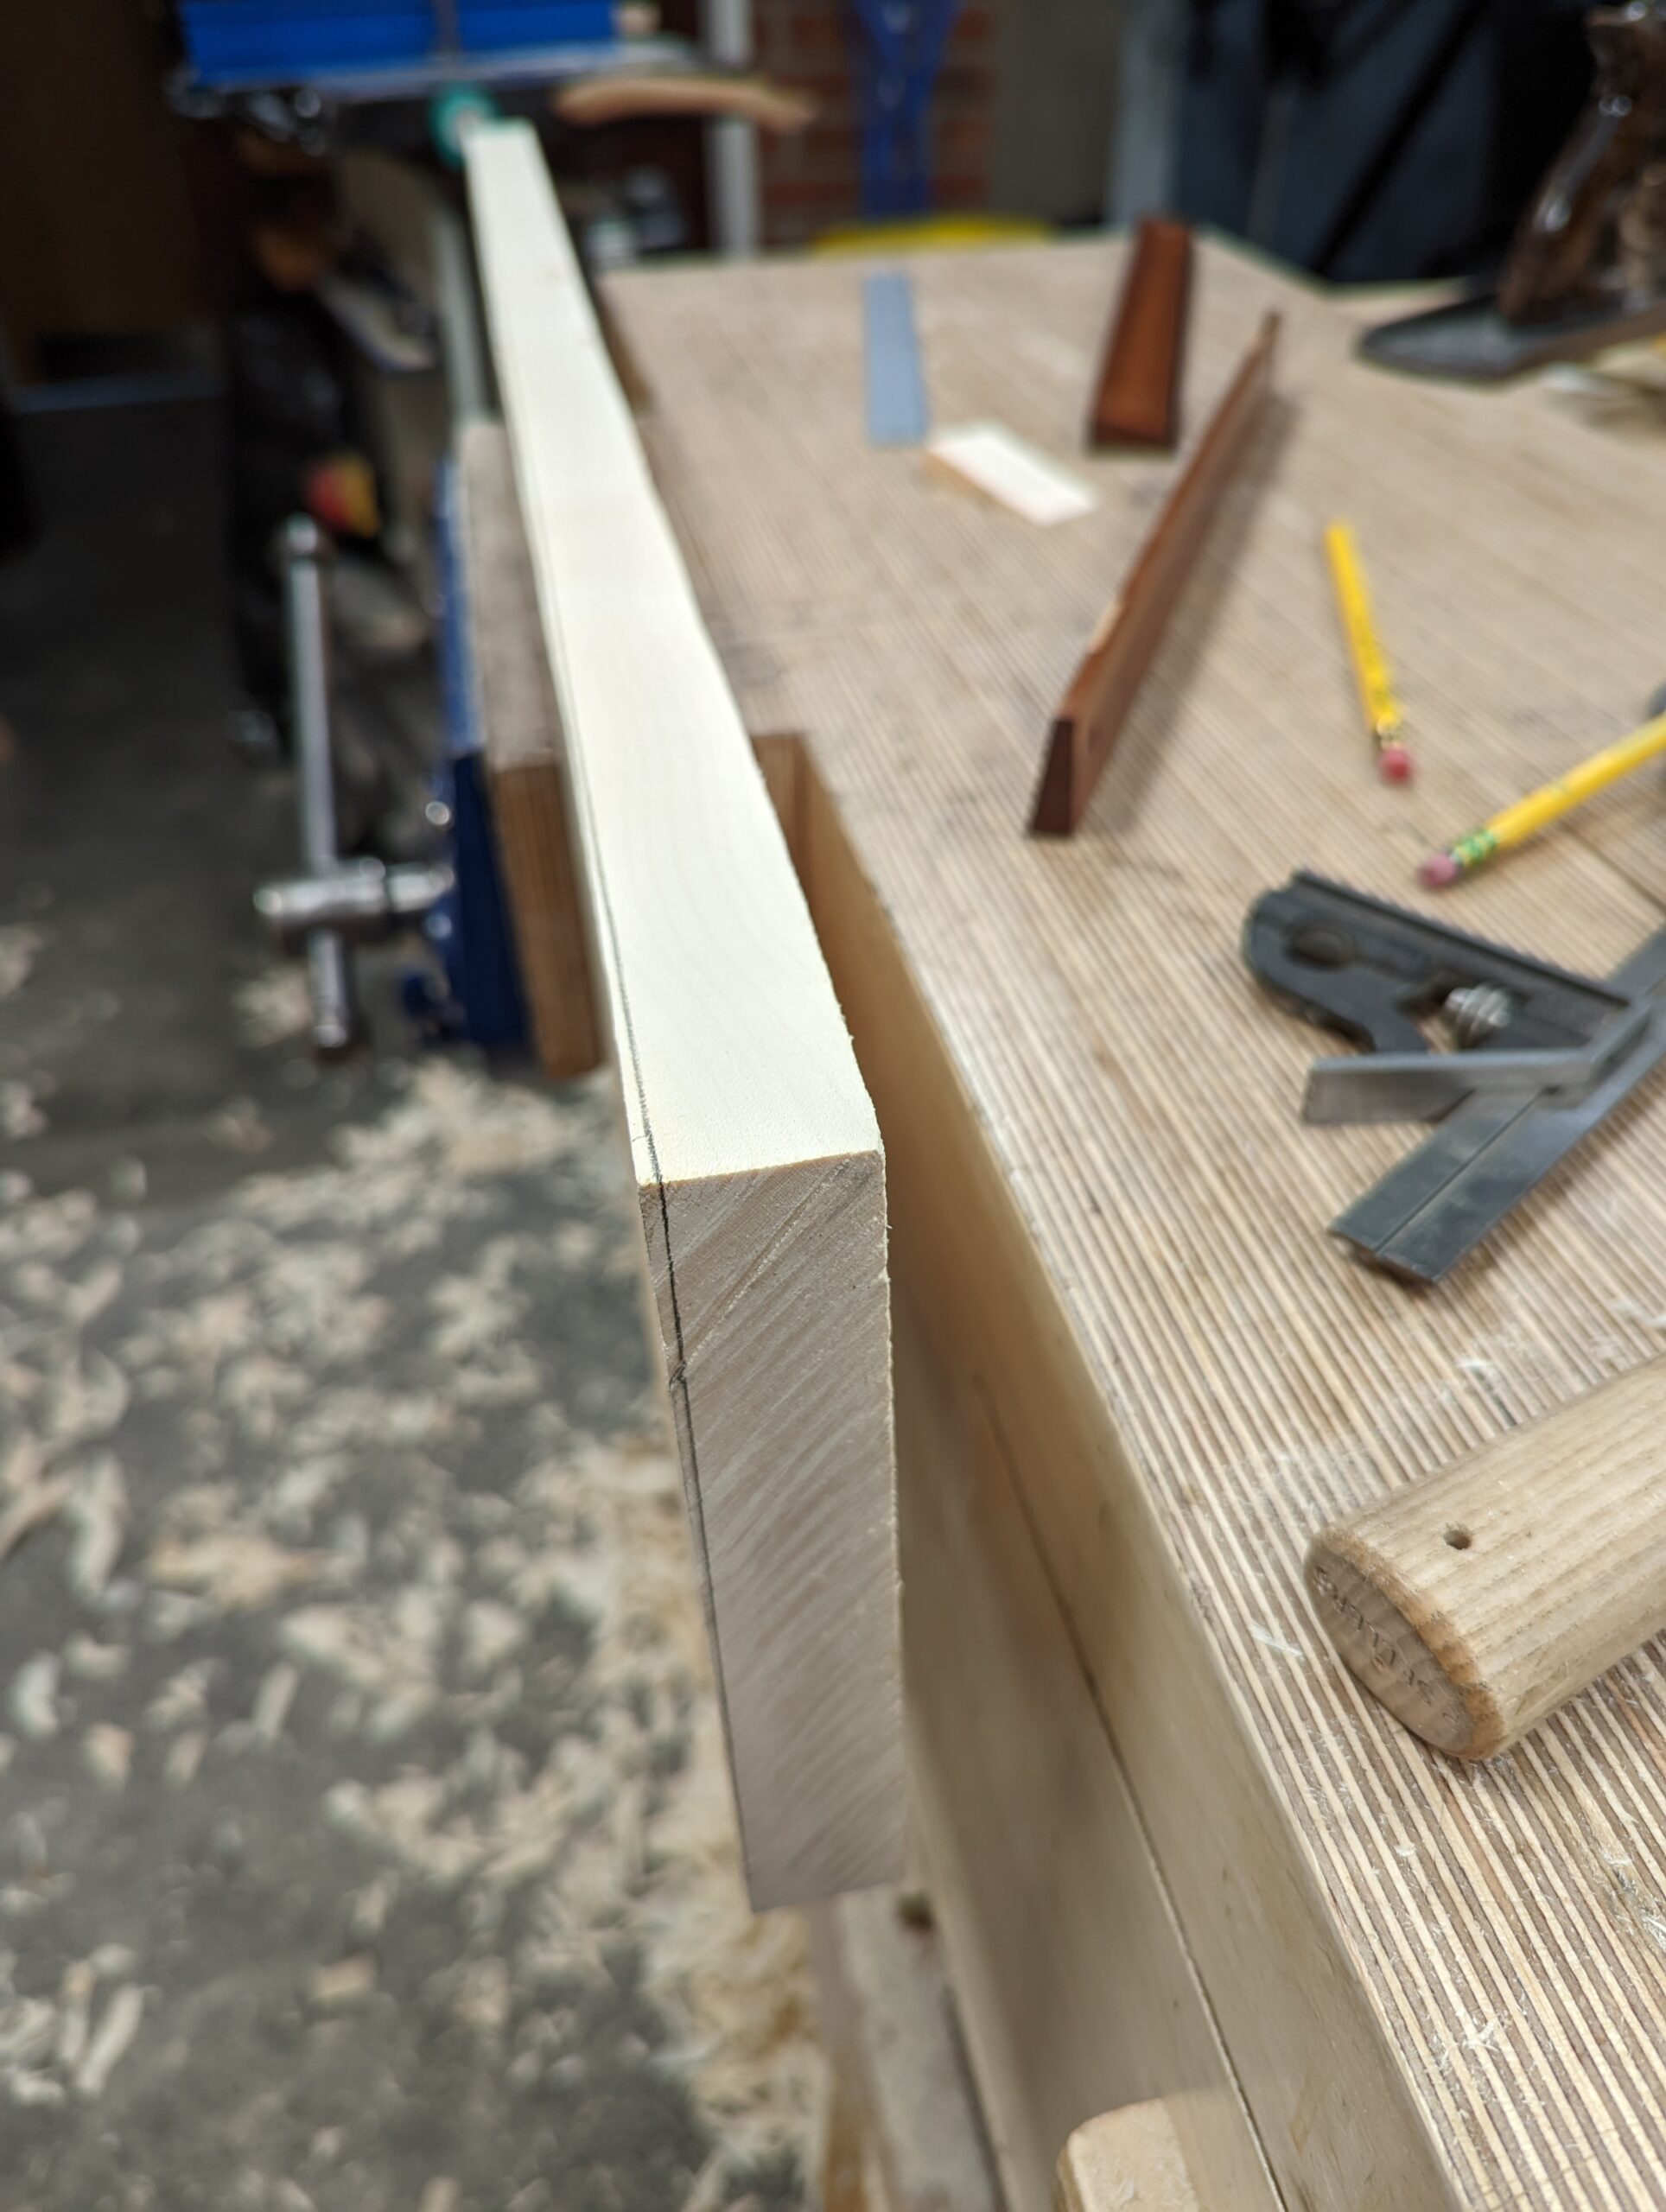
The two extremes corner to corner are the starting points to place lines on the wood edges on each side. Take a straightedge and draw a fine line end to end.

Stand on end and again make a line from the pencil mark to zero on the low spot. Flip end for end and do the same. These four lines are the levels you will plane to.
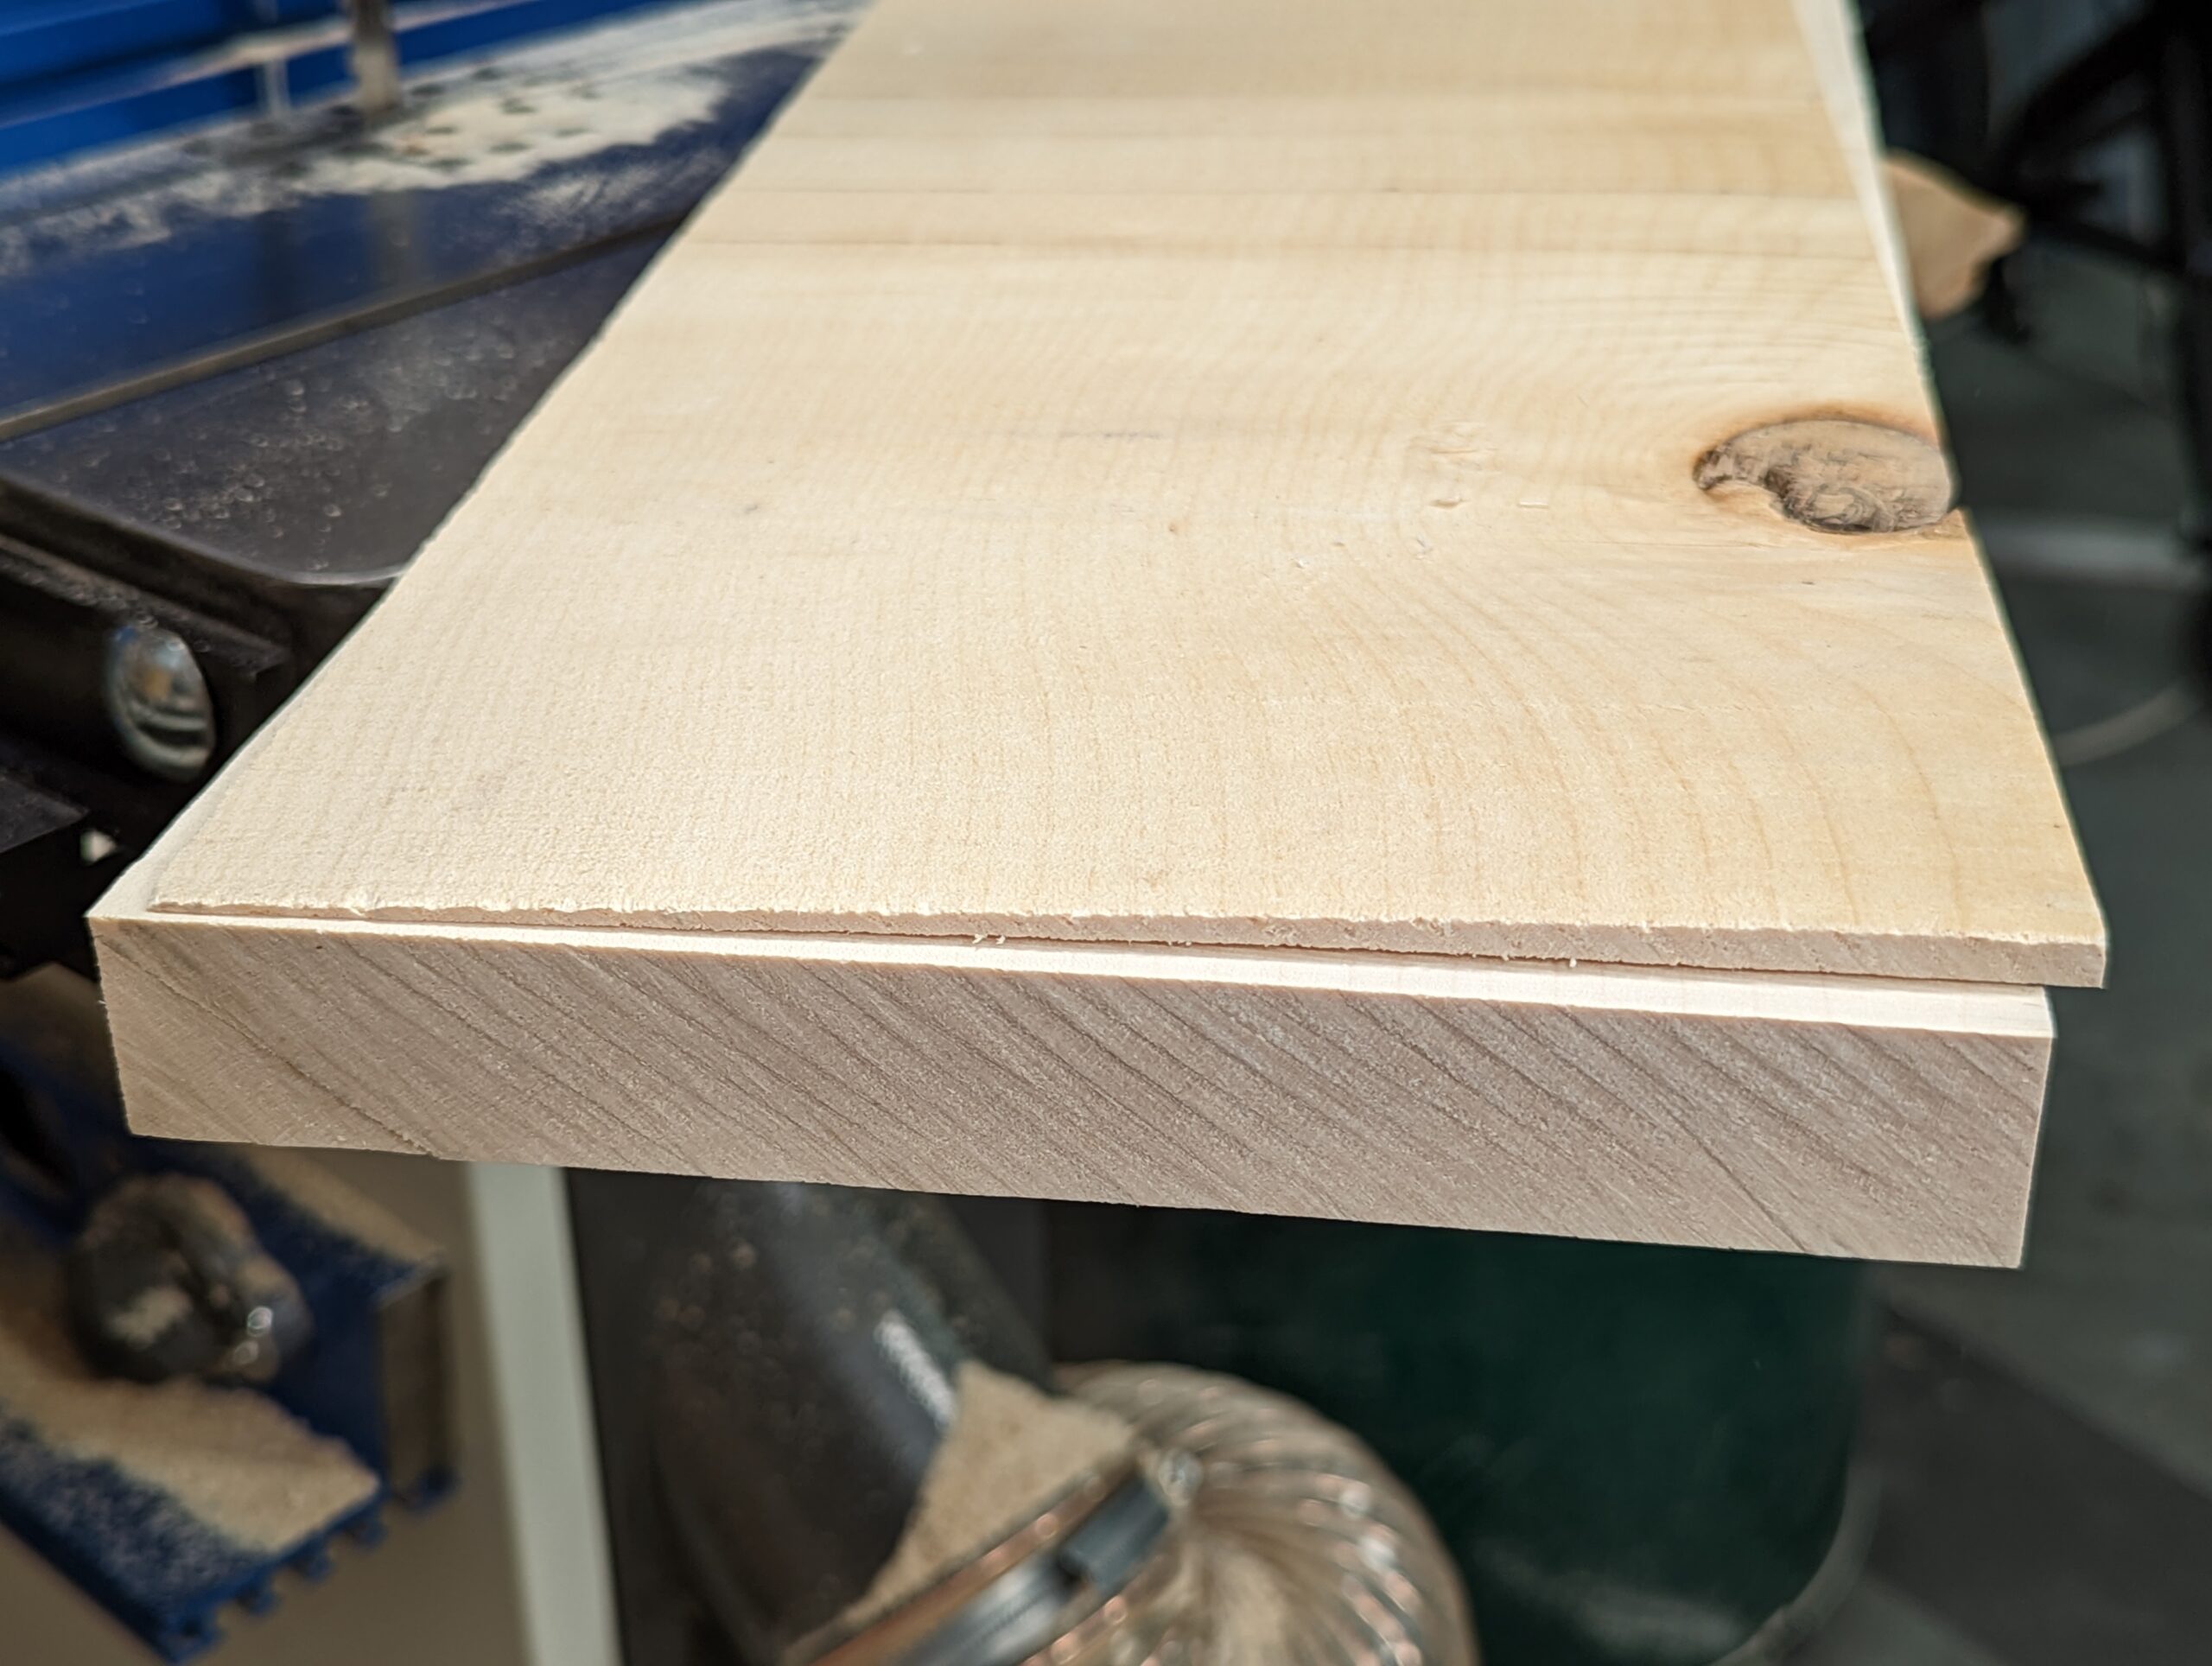
It's a good idea to bevel the corners down to the line first. That way, planing across the grain, something we often do, reduces the risk of corner breakout.
For my awkward grain in sycamore, I needed to plane mostly across the grain. This is a common practice and is the most efficient and effective measure I know of. Forget York pitches and special planes. A shorter plane (no longer than a jack plane) will do the job perfectly.
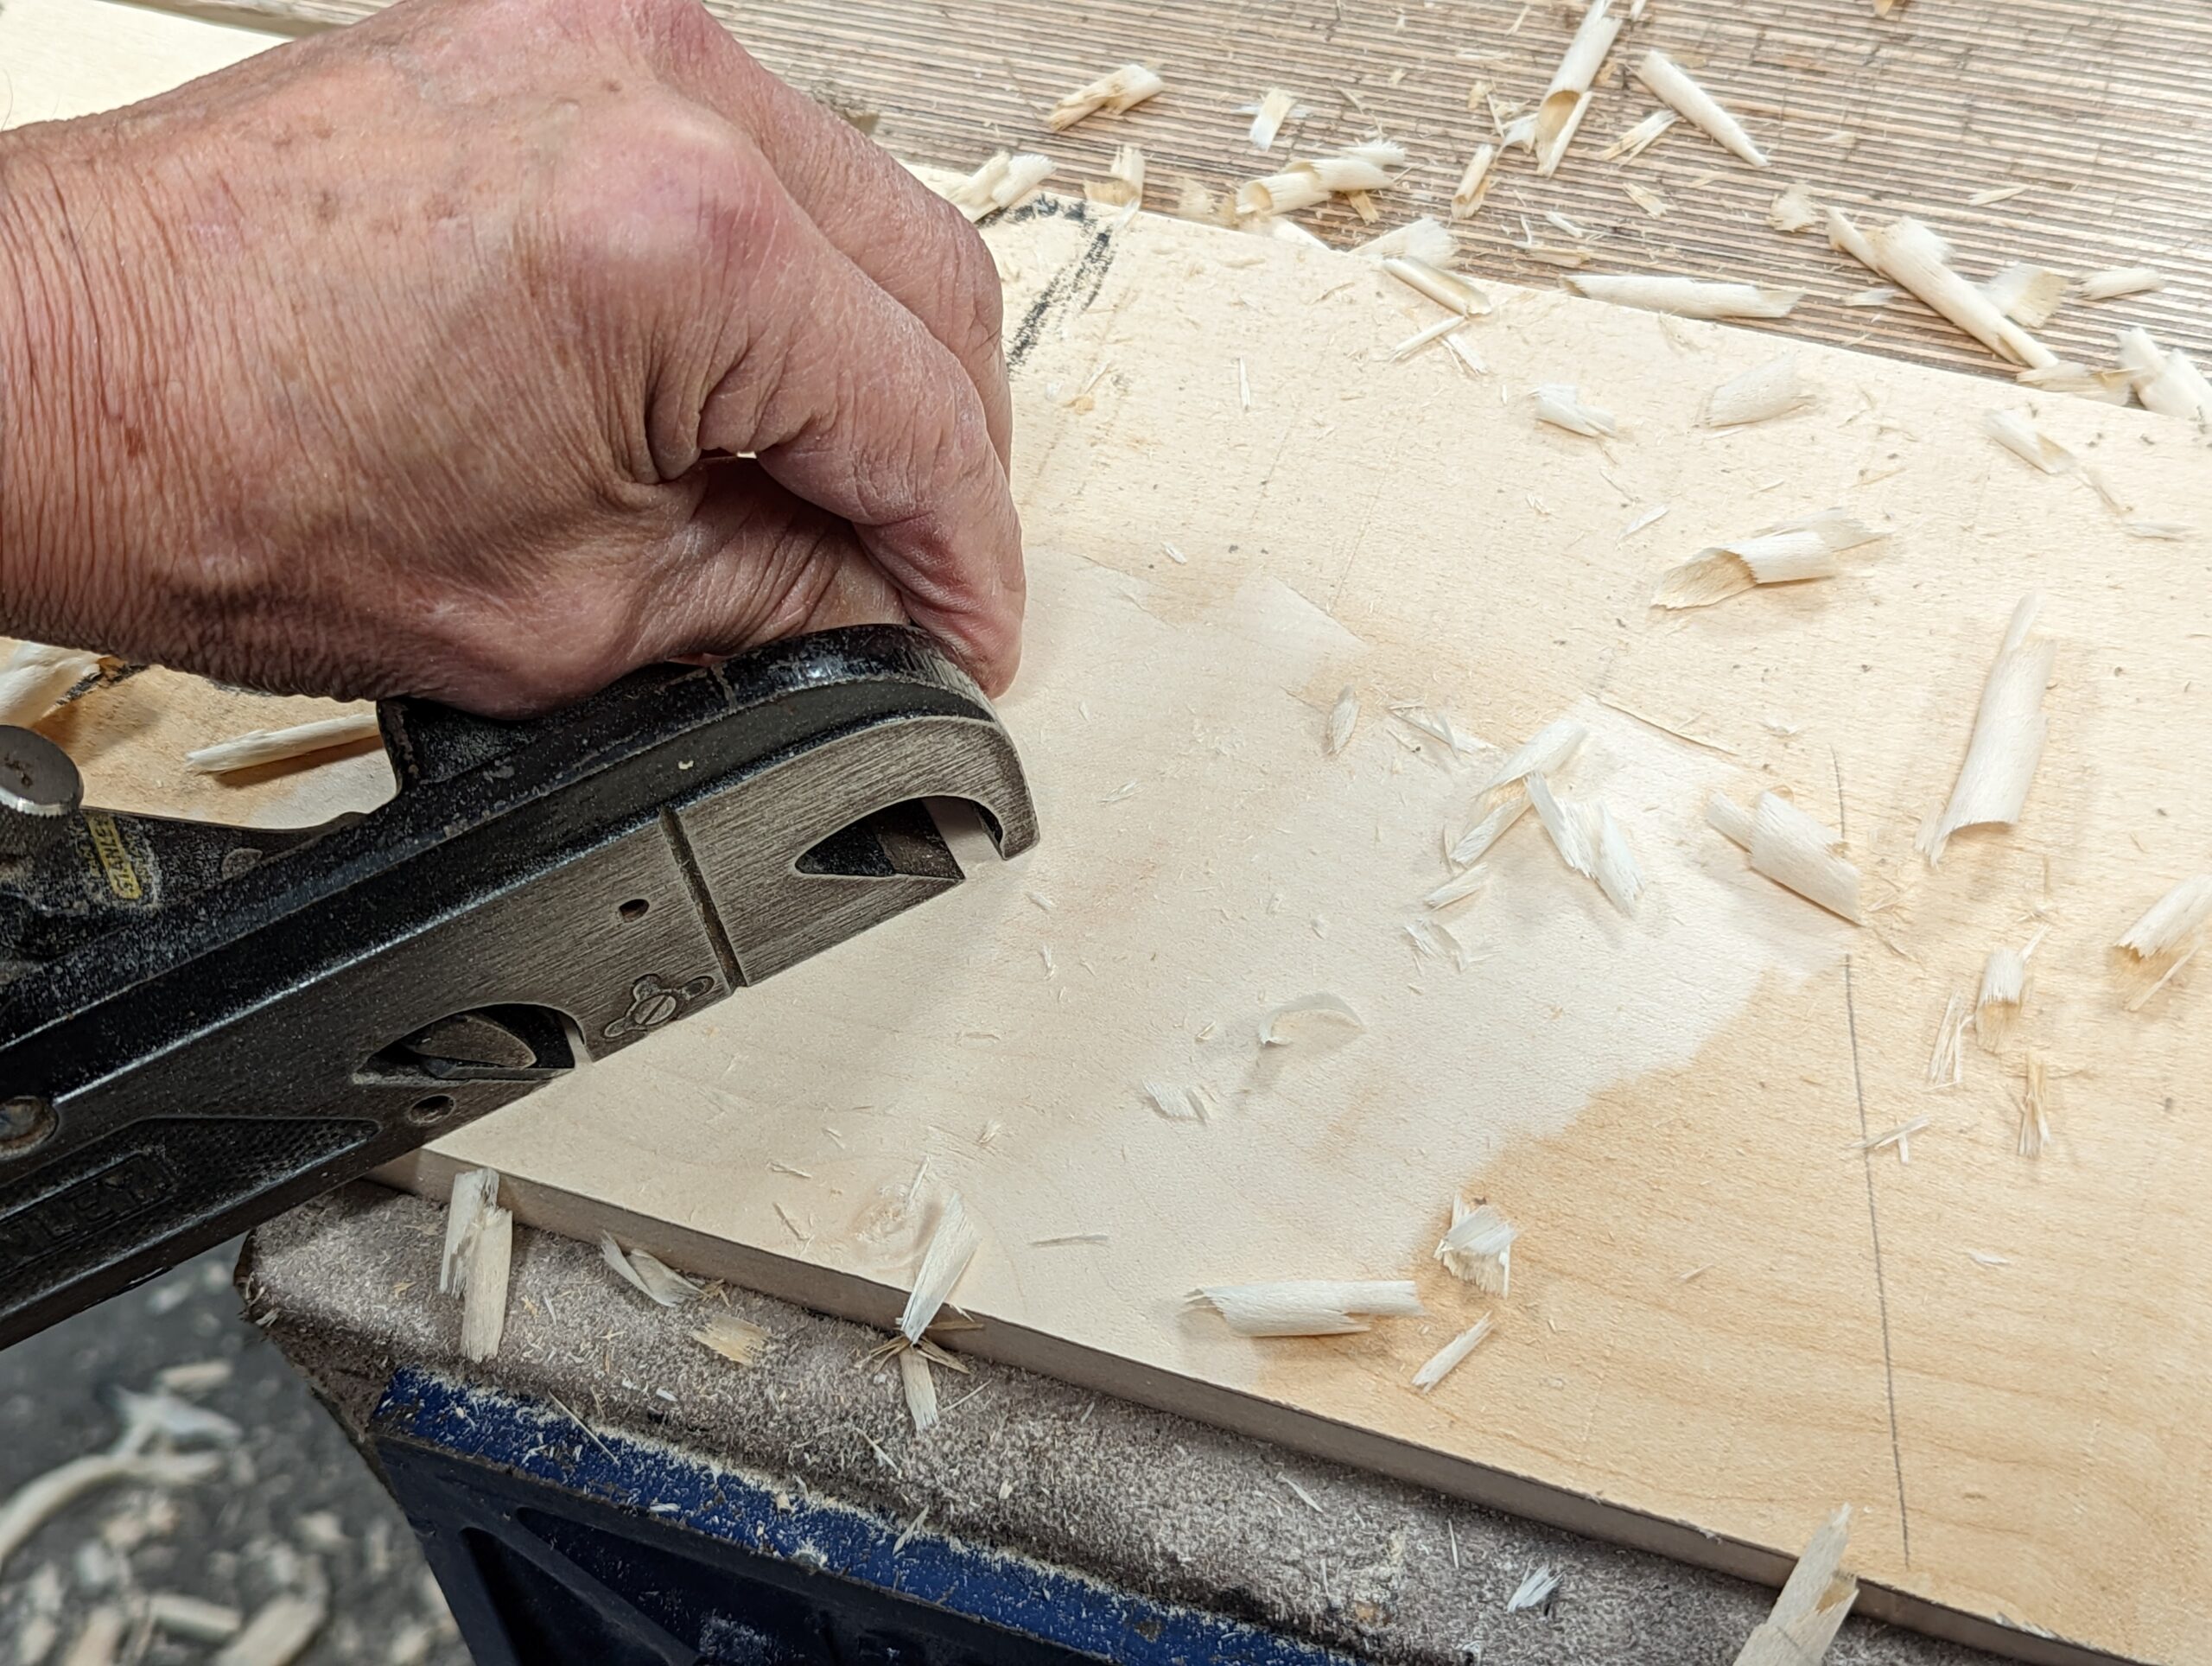
In most woods, you will be able to plane along the grain. Reducing the highs is a question of feathering into the low on the opposite side and along the length to zero at the other end. You have to put in mind that you are working on a propellor shape and trying to flatten the propellor.
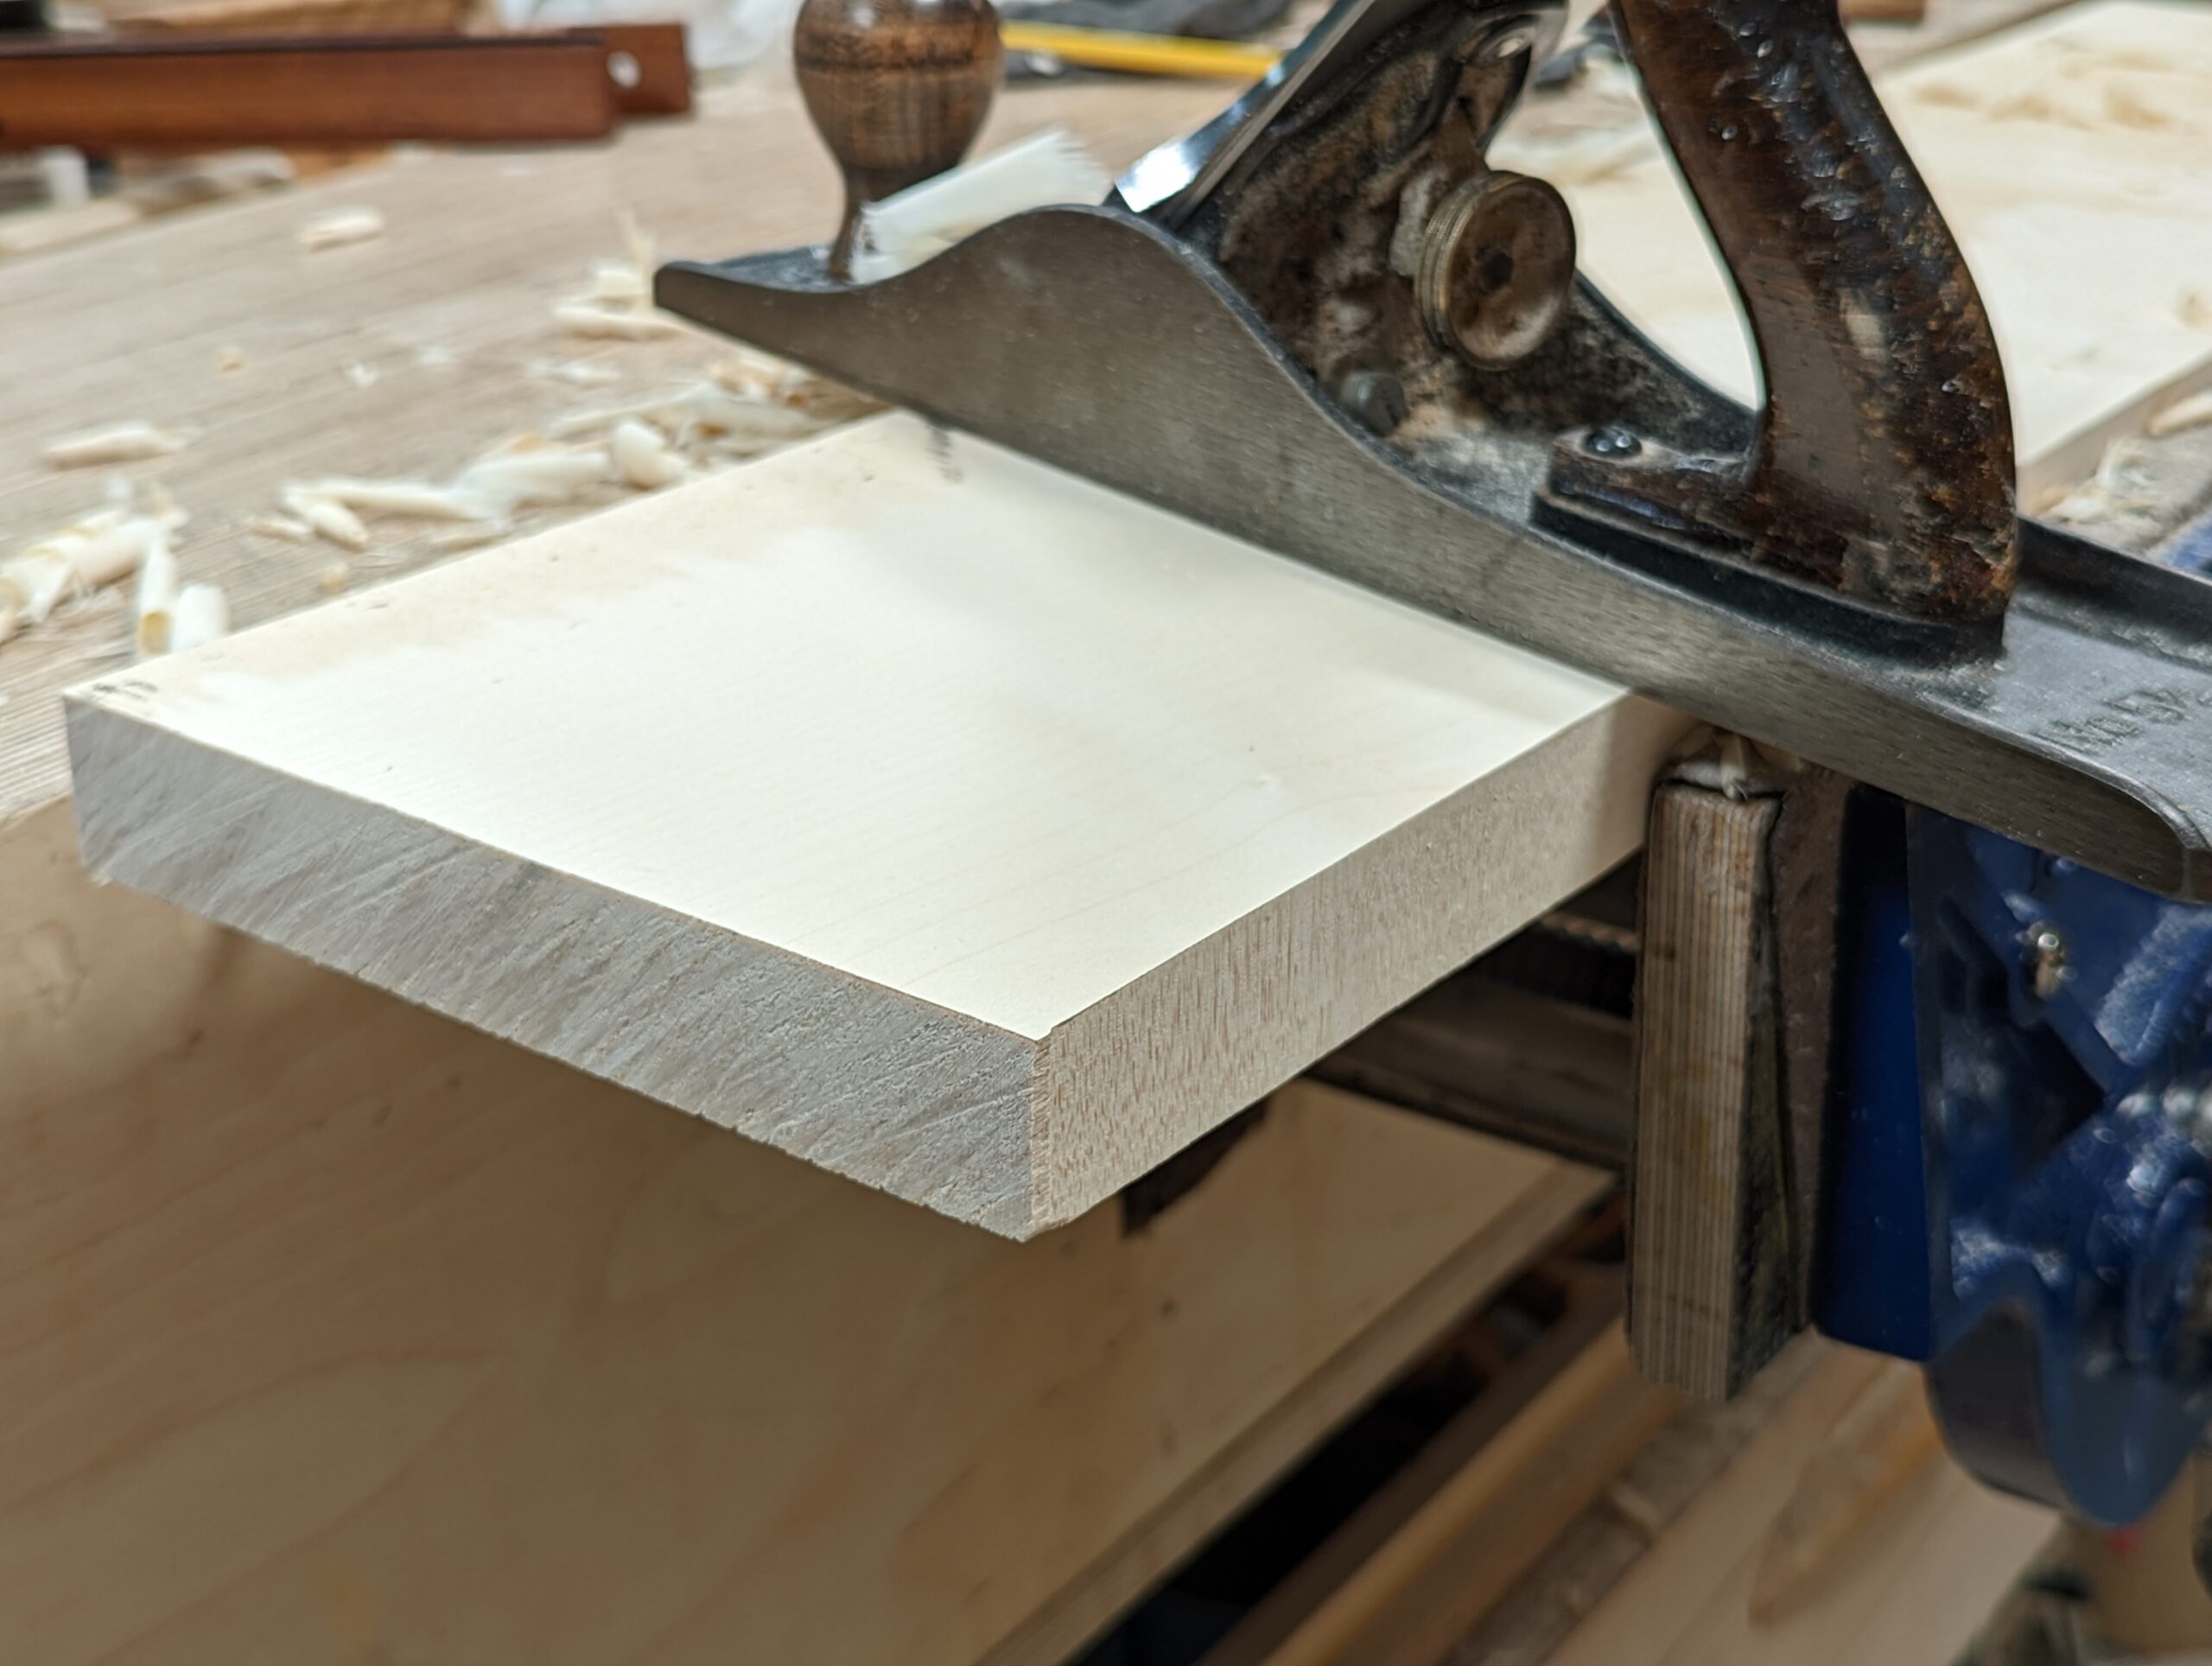
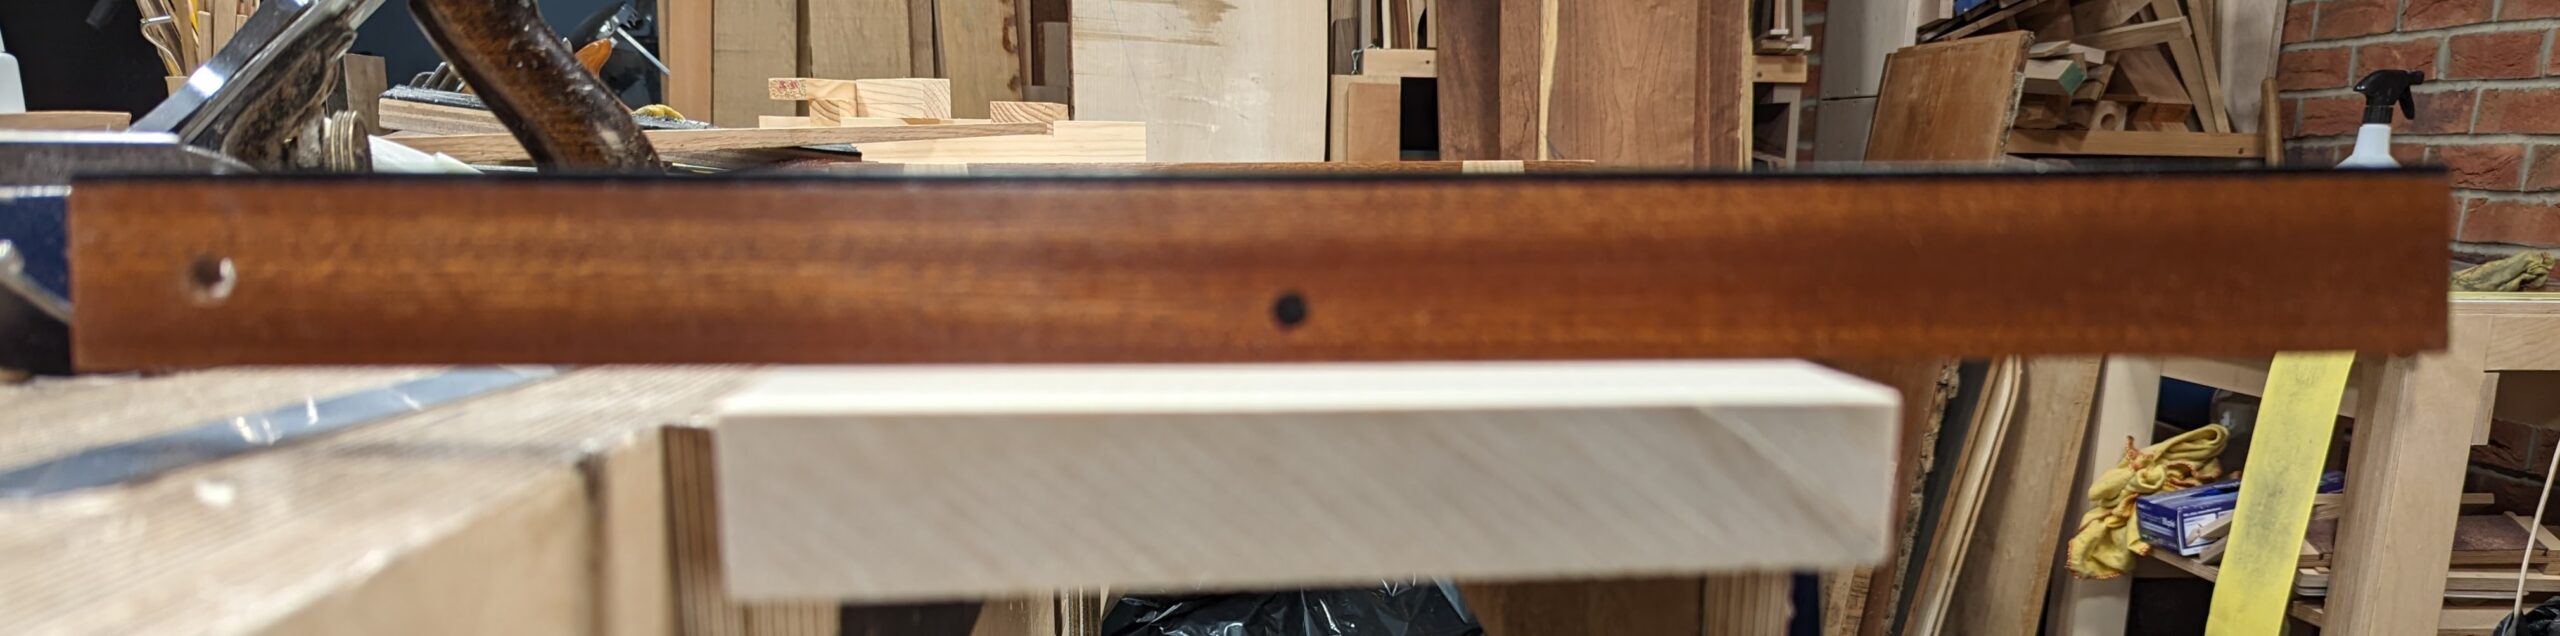
Once flat, take a marking gauge and set it to the thickness you want. mark the edges and ends to thickness and then simply plane as before.
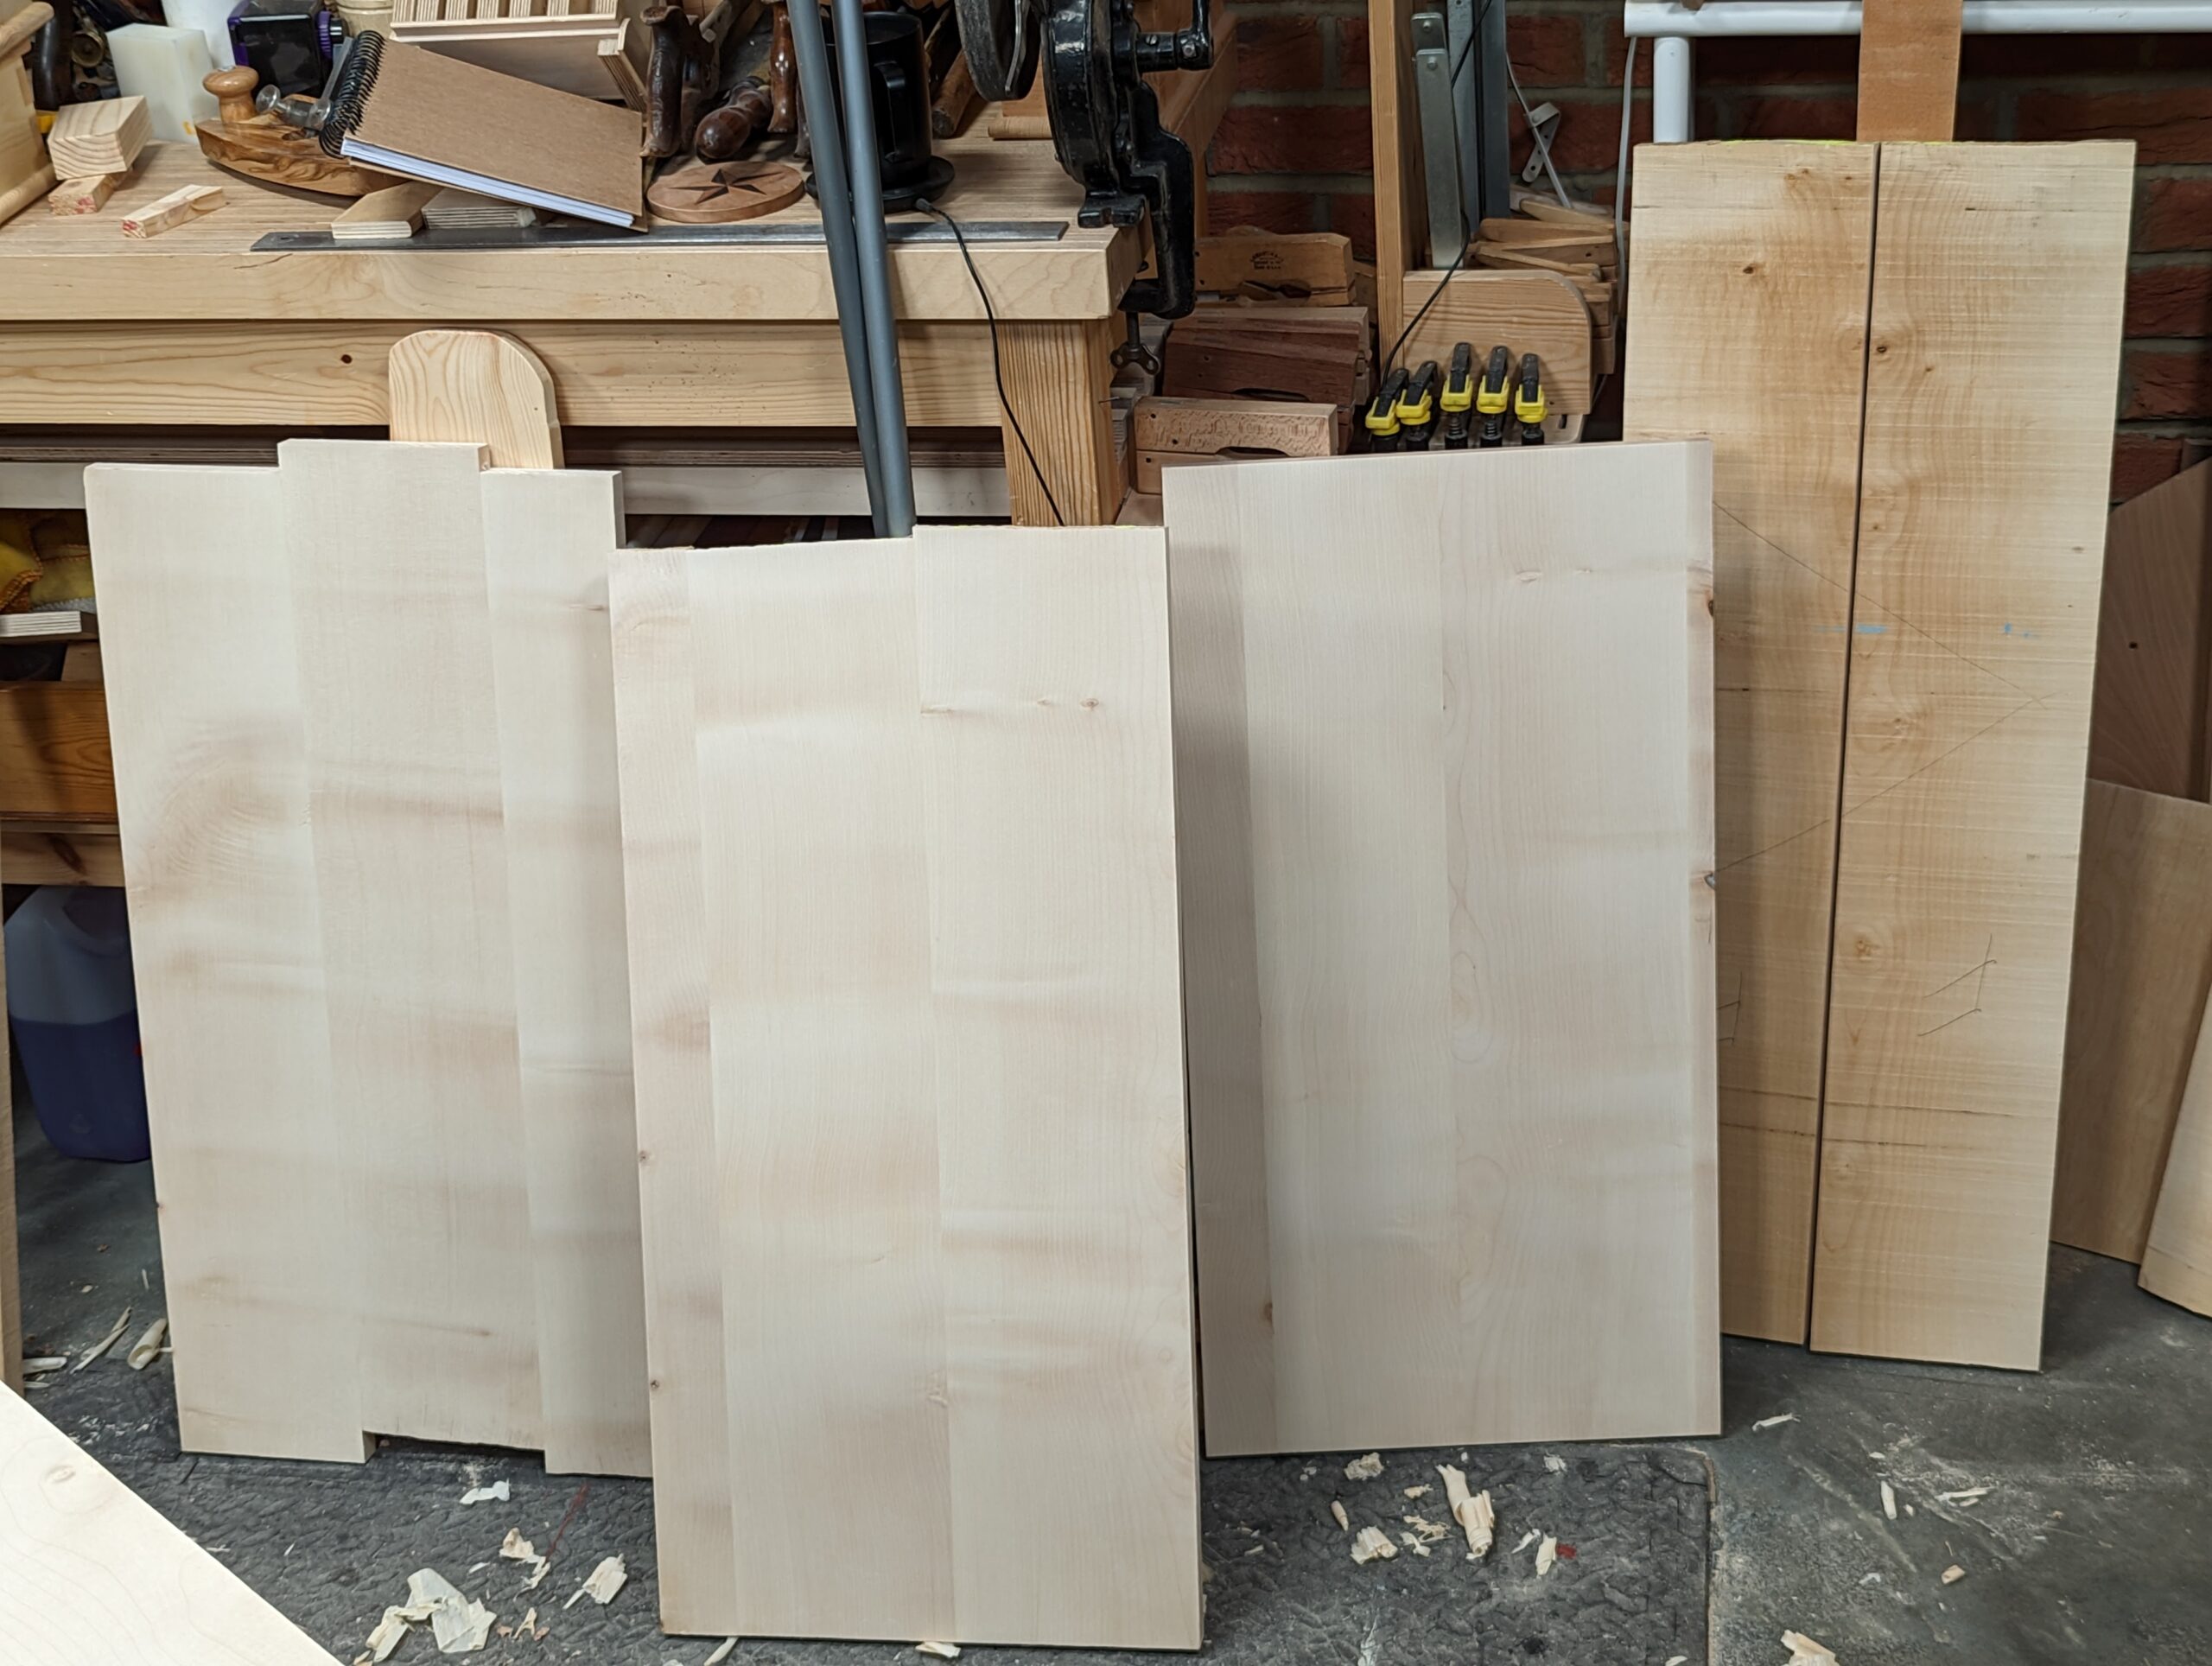
Here is the end result.
Comments ()