Sharpening Narrow blades
Here is a recurring question that many woodworkers as me about and it's not just new woodworkers either. Even though being out of square usually doesn't badly affect the functionality of an edge tool, without correction, theedge can worsen and this does affect how the tool works. Sharpening narrow blades of 3/8" and less often results in the cutter ending up out of square and with the bevel being rounded both ways and ending up domed too. Though the cutting edge may still cut, usually, subsequent sharpenings make matters worse. Whereas we may get better with practice, it's the in-between bit that's troubling and sometimes, often, we don't altogether improve our technique. We often reach for a honing guide to help correct our out of squareness honing but these rarely cater well to narrow blades either. Mostly it is to do with our holding the narrower cutter or chisel and moving backwards and forwards over the abrasive no matter the kind. This guide takes the awkward hold of cutters and chisels out of our hands and puts a controlled abrasive into them instead.
To make my jig resolves the issue and takes only a few minutes to make. I used an offcut of poplar and a scrap of cherry for the wedge. Almost any wood will do if it has enough density for resistance and some absorption of pressure to compress just a little. That's almost any wood you care to name from the western hemisphere.
I don't usually go for the more recognised twin bevel approach of recent decades to sharpening because I prefer the more traditional continuous camber that occurs naturally by freehand holding and sharpening the cutting edges of my tools. `I generally don't use a honing guide because, for the majority of my sharpening, freehand is very freeing and it gives me the gradual quarter ellipsed camber and speed I need to get on with my main woodworking. In this case, because of the recurring question, I decided a simple jig that's easy to load and use would be the answer for many. I made a jig that allows for a double bevel, be that a primary bevel and secondary bevel or a primary and a micro-bevel. The difference between these two types lies only in the sizes of the secondary and micro bevels. It makes no difference there at the business edge.
True up your wood to make sure it is square.
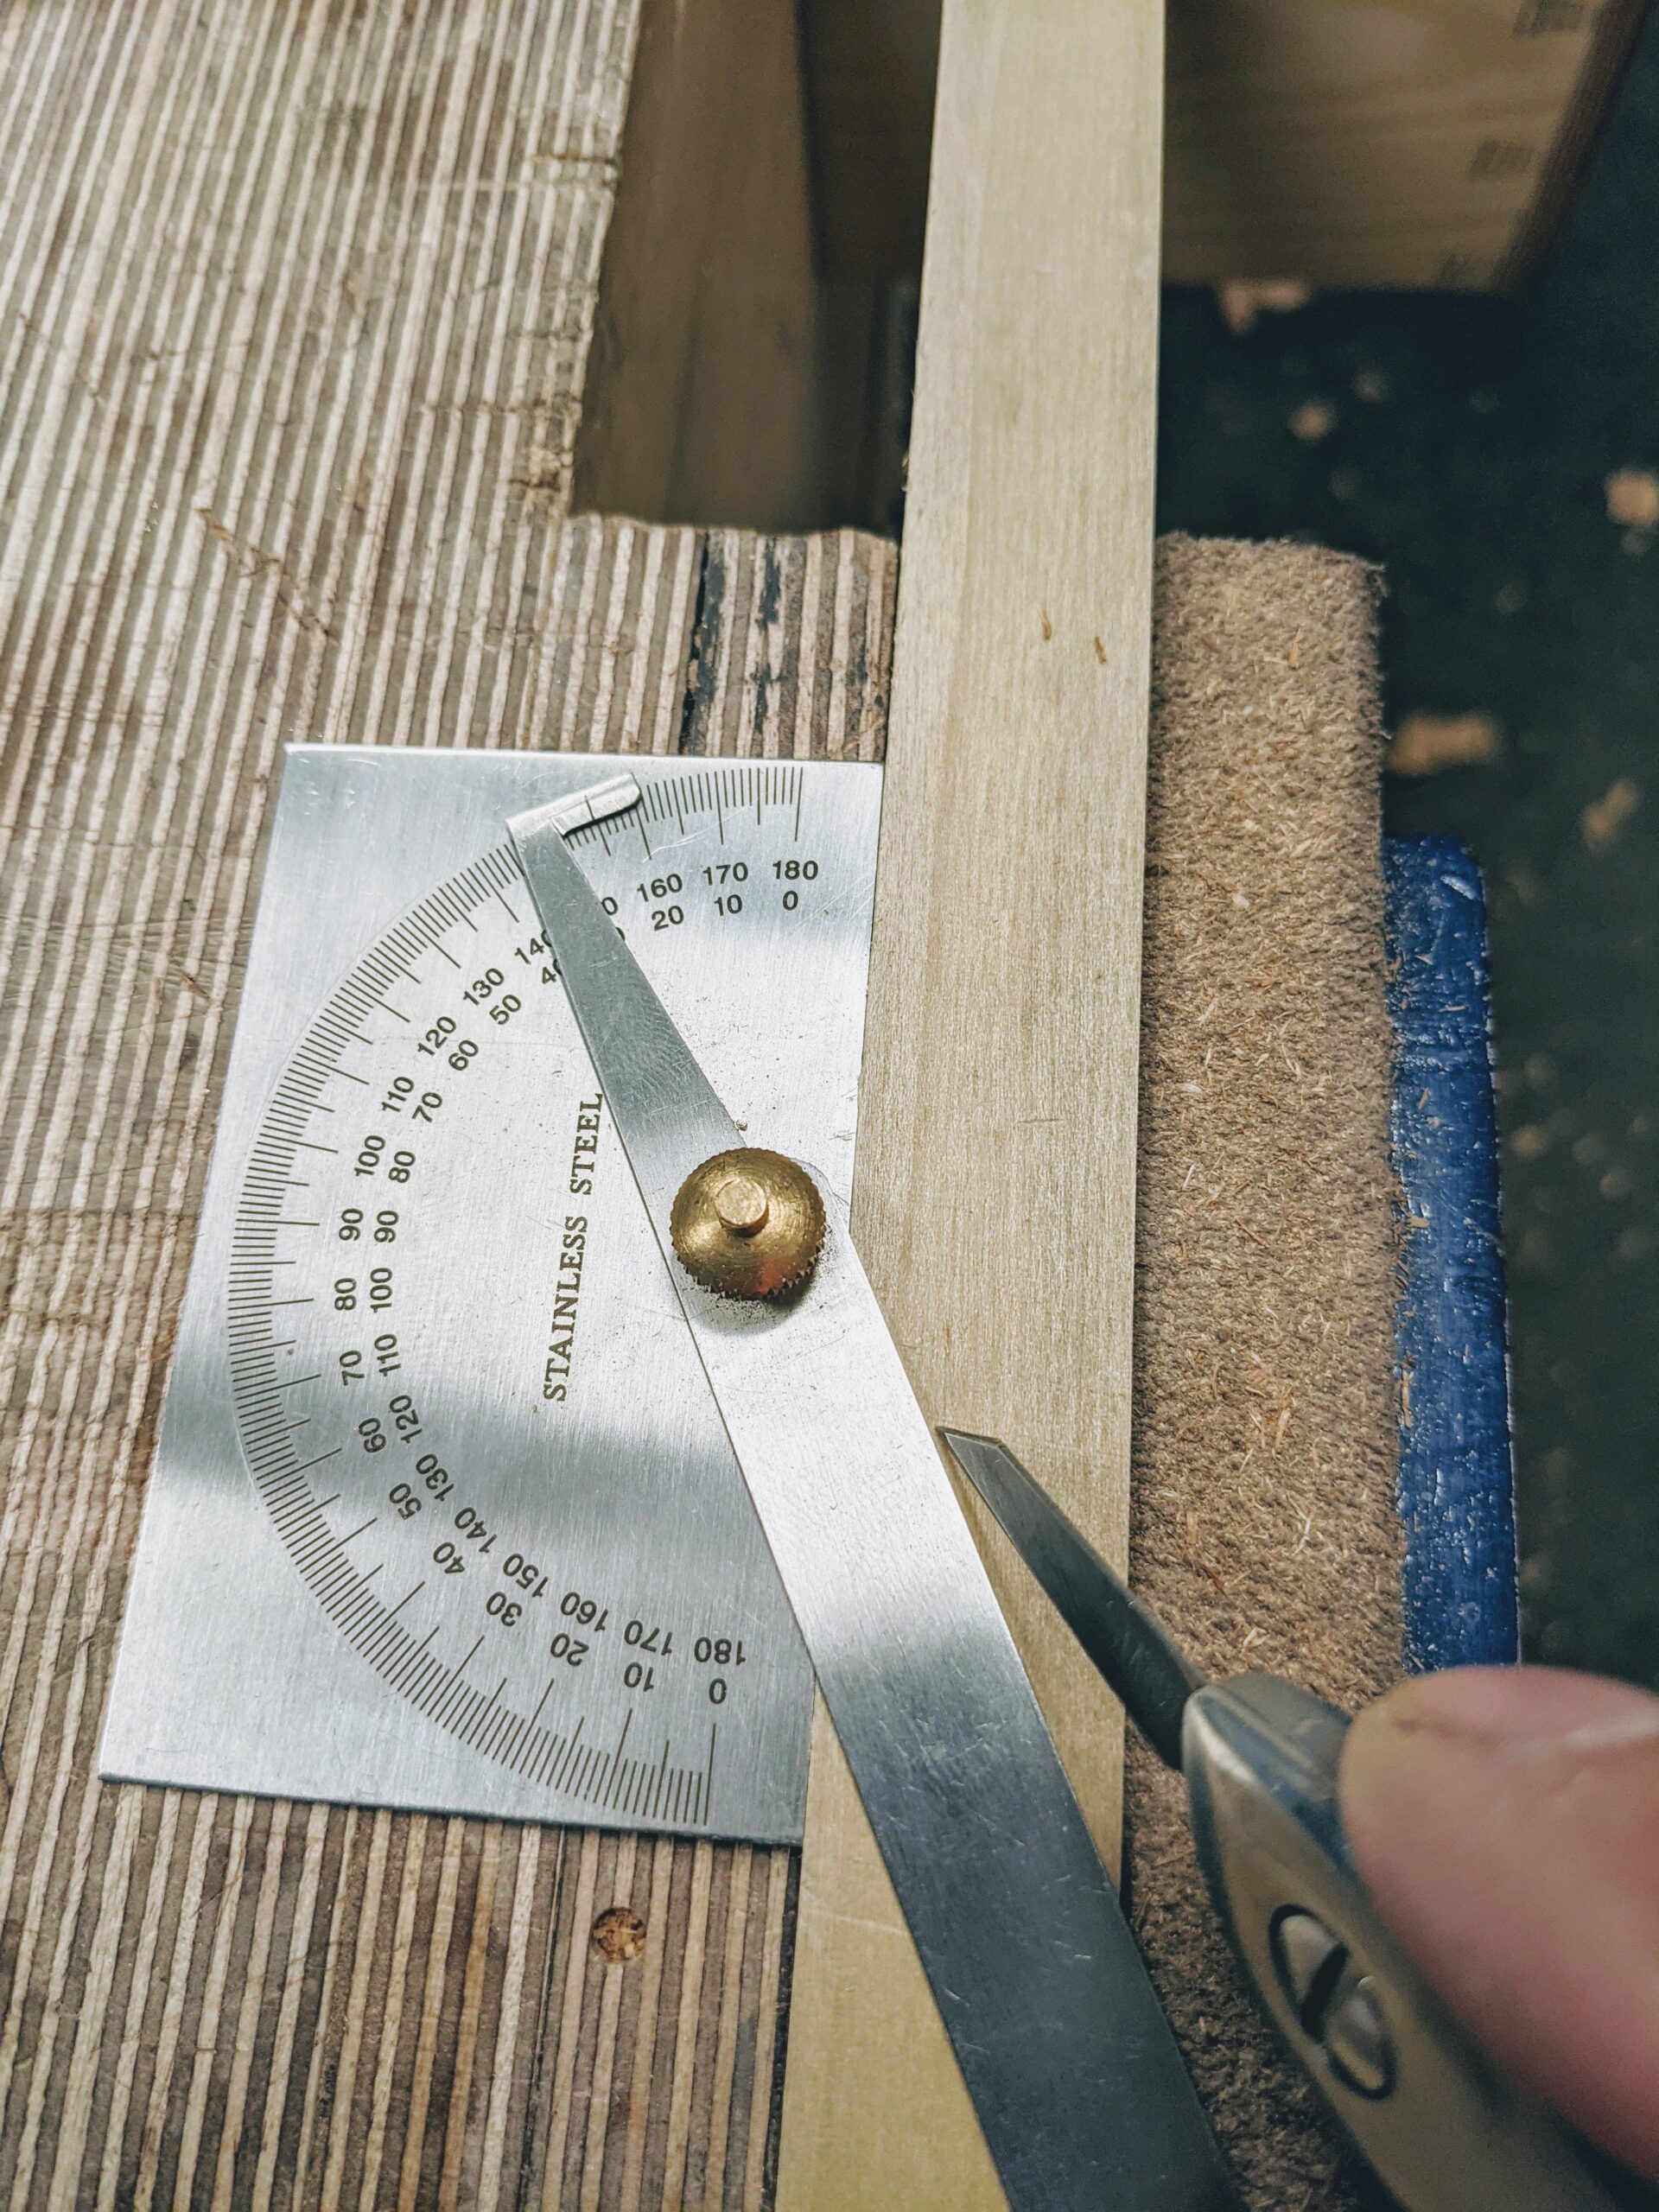
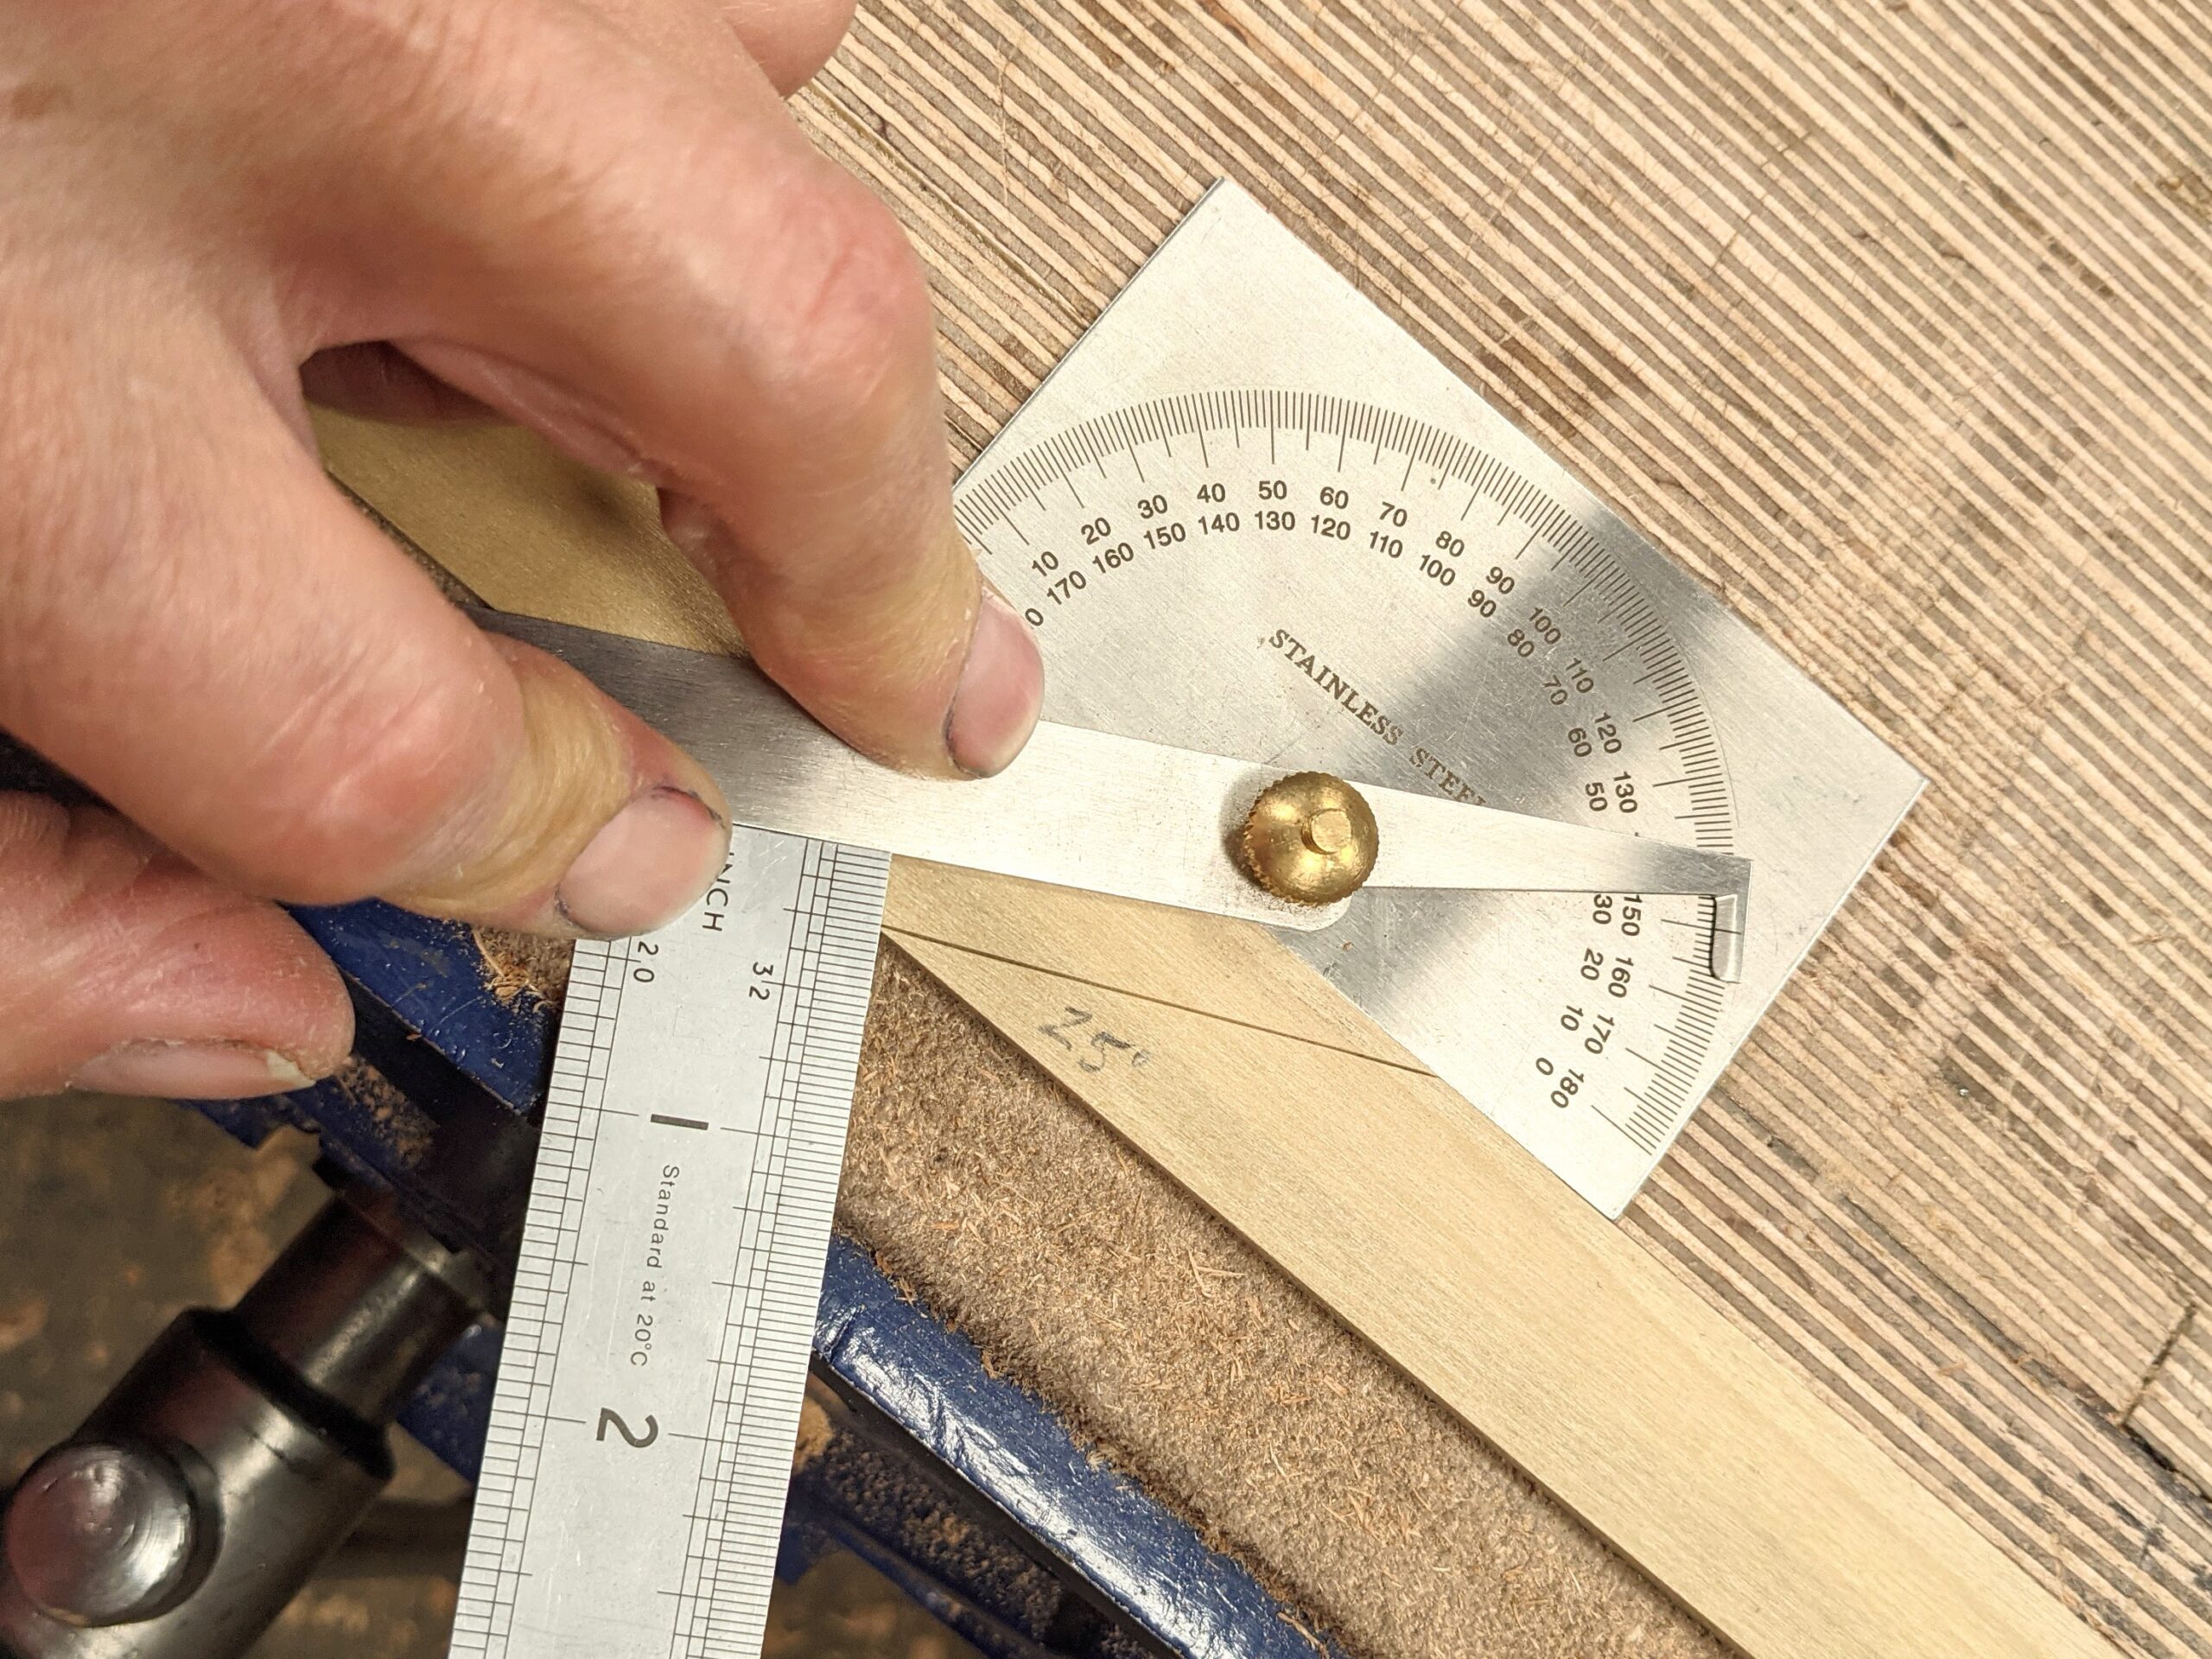
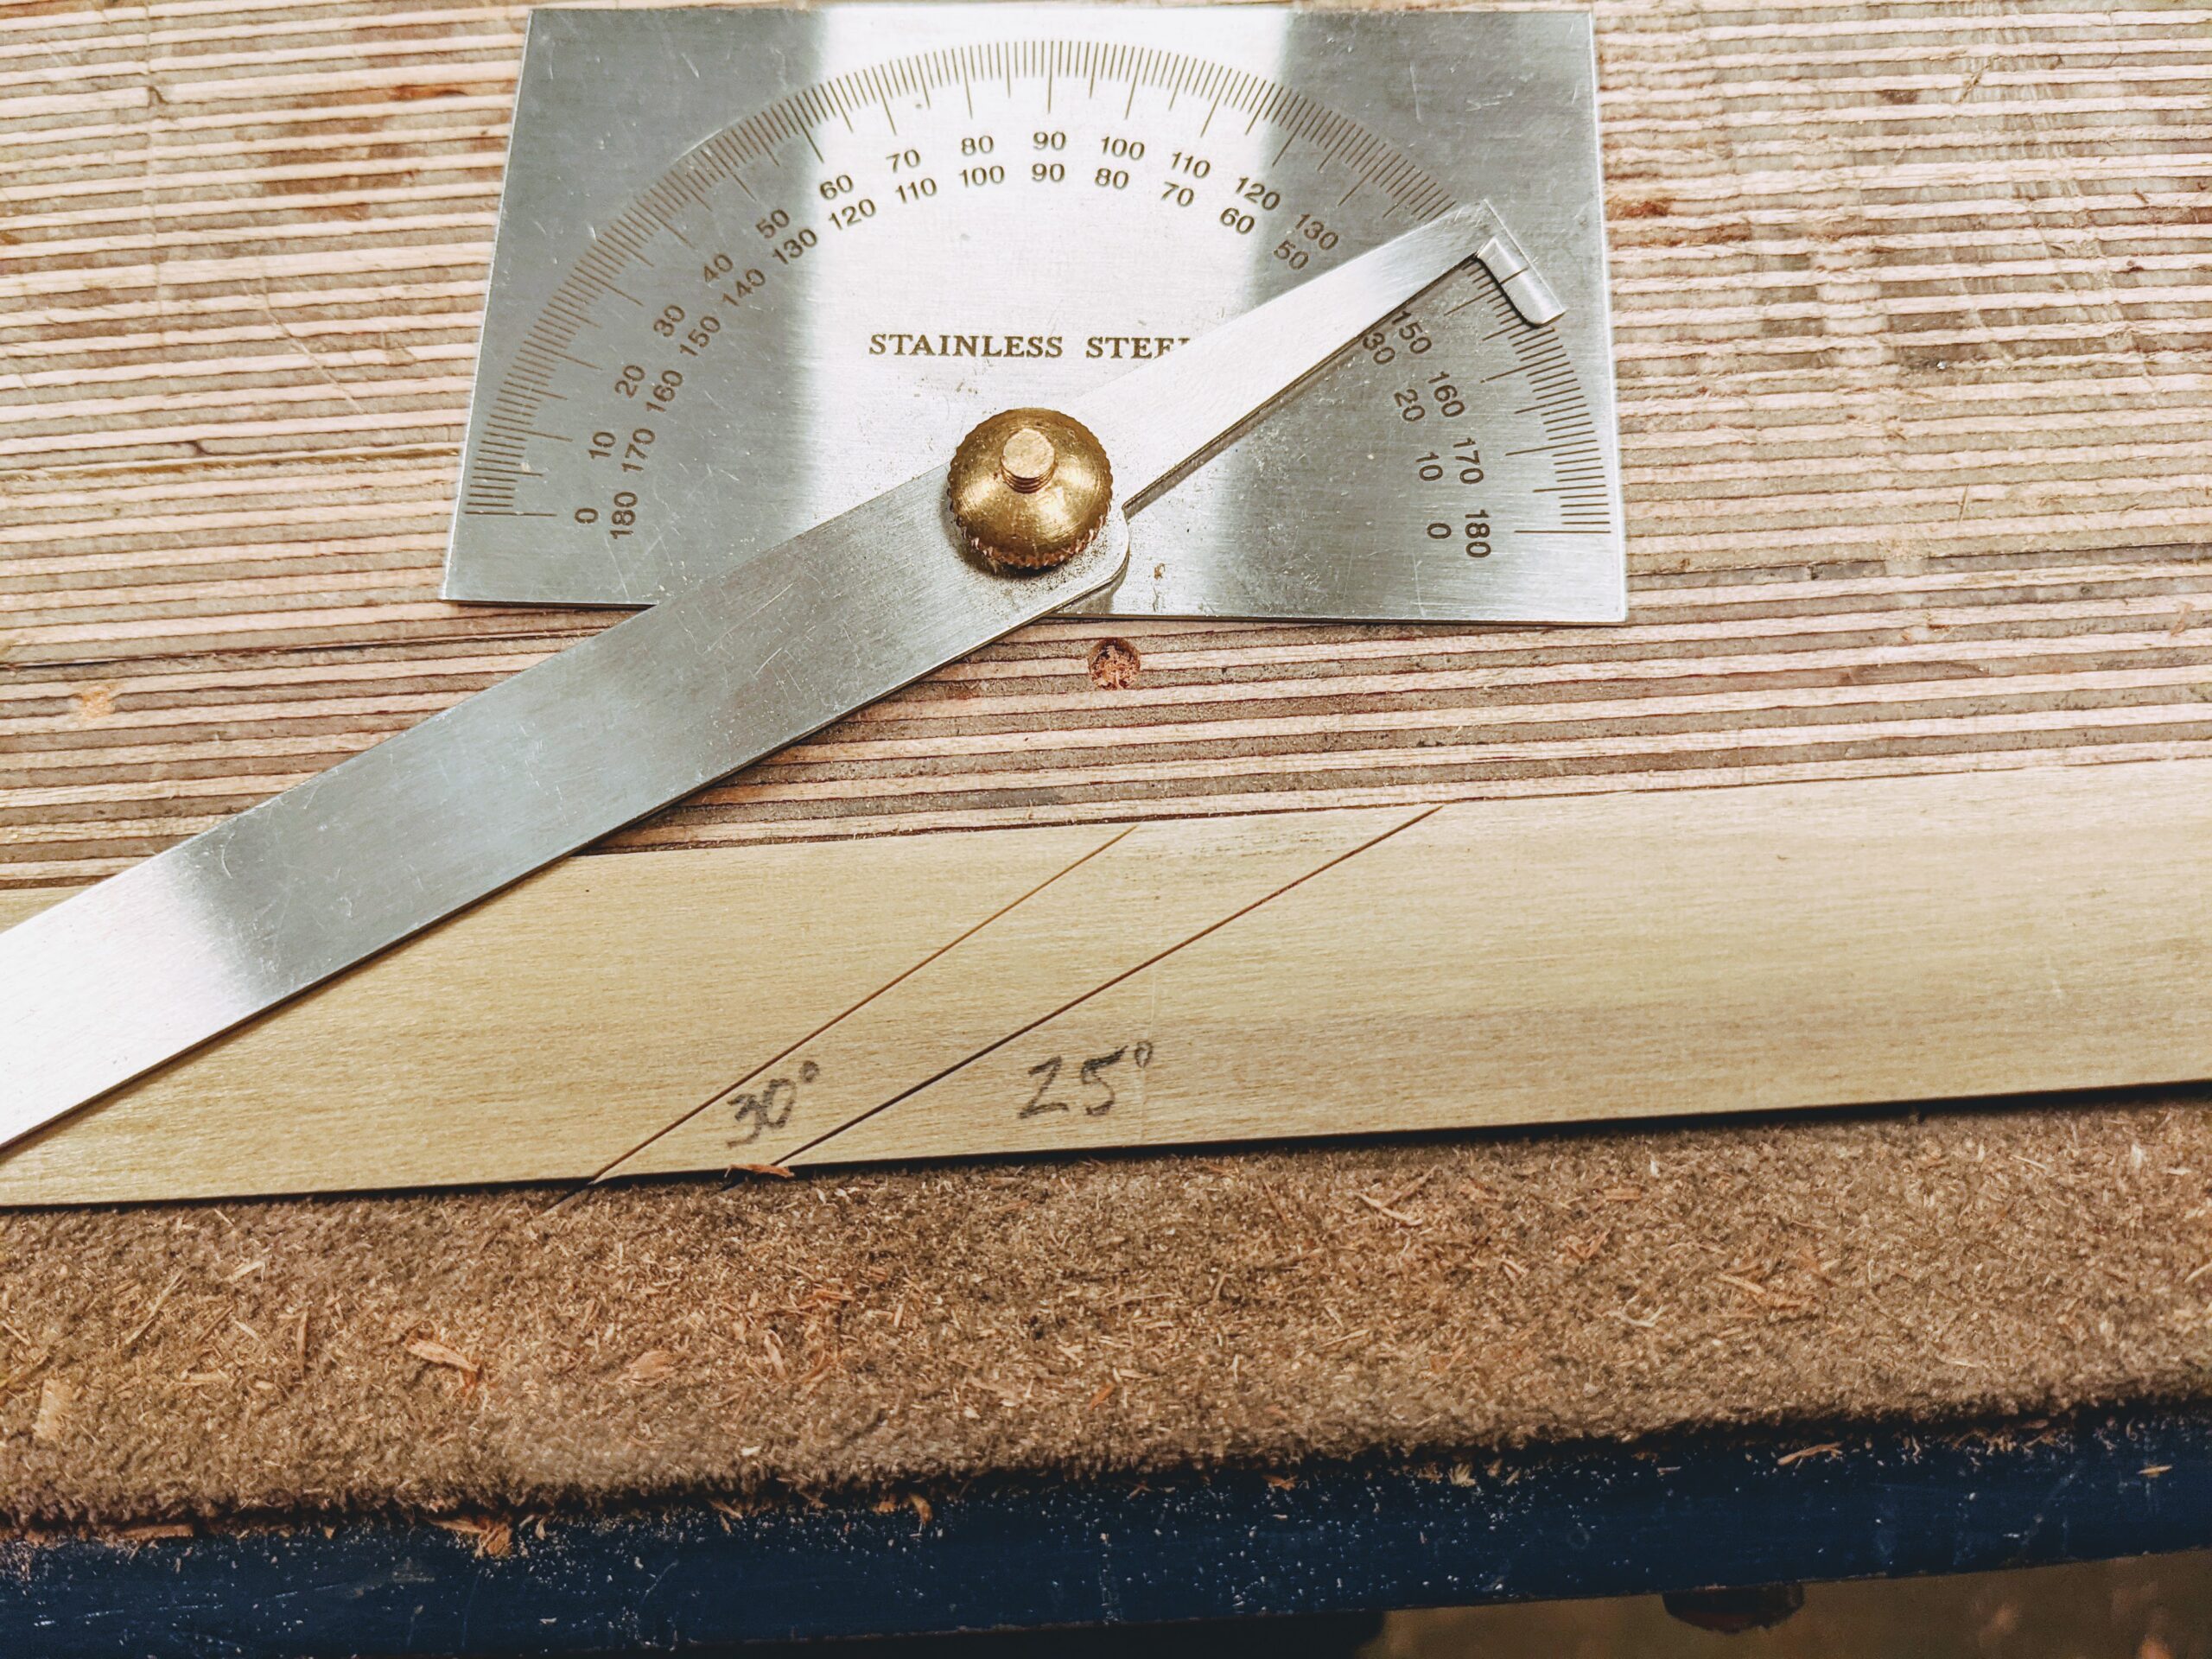
Use a sharp knife to establish the first of two knifewalls at 25-degrees.
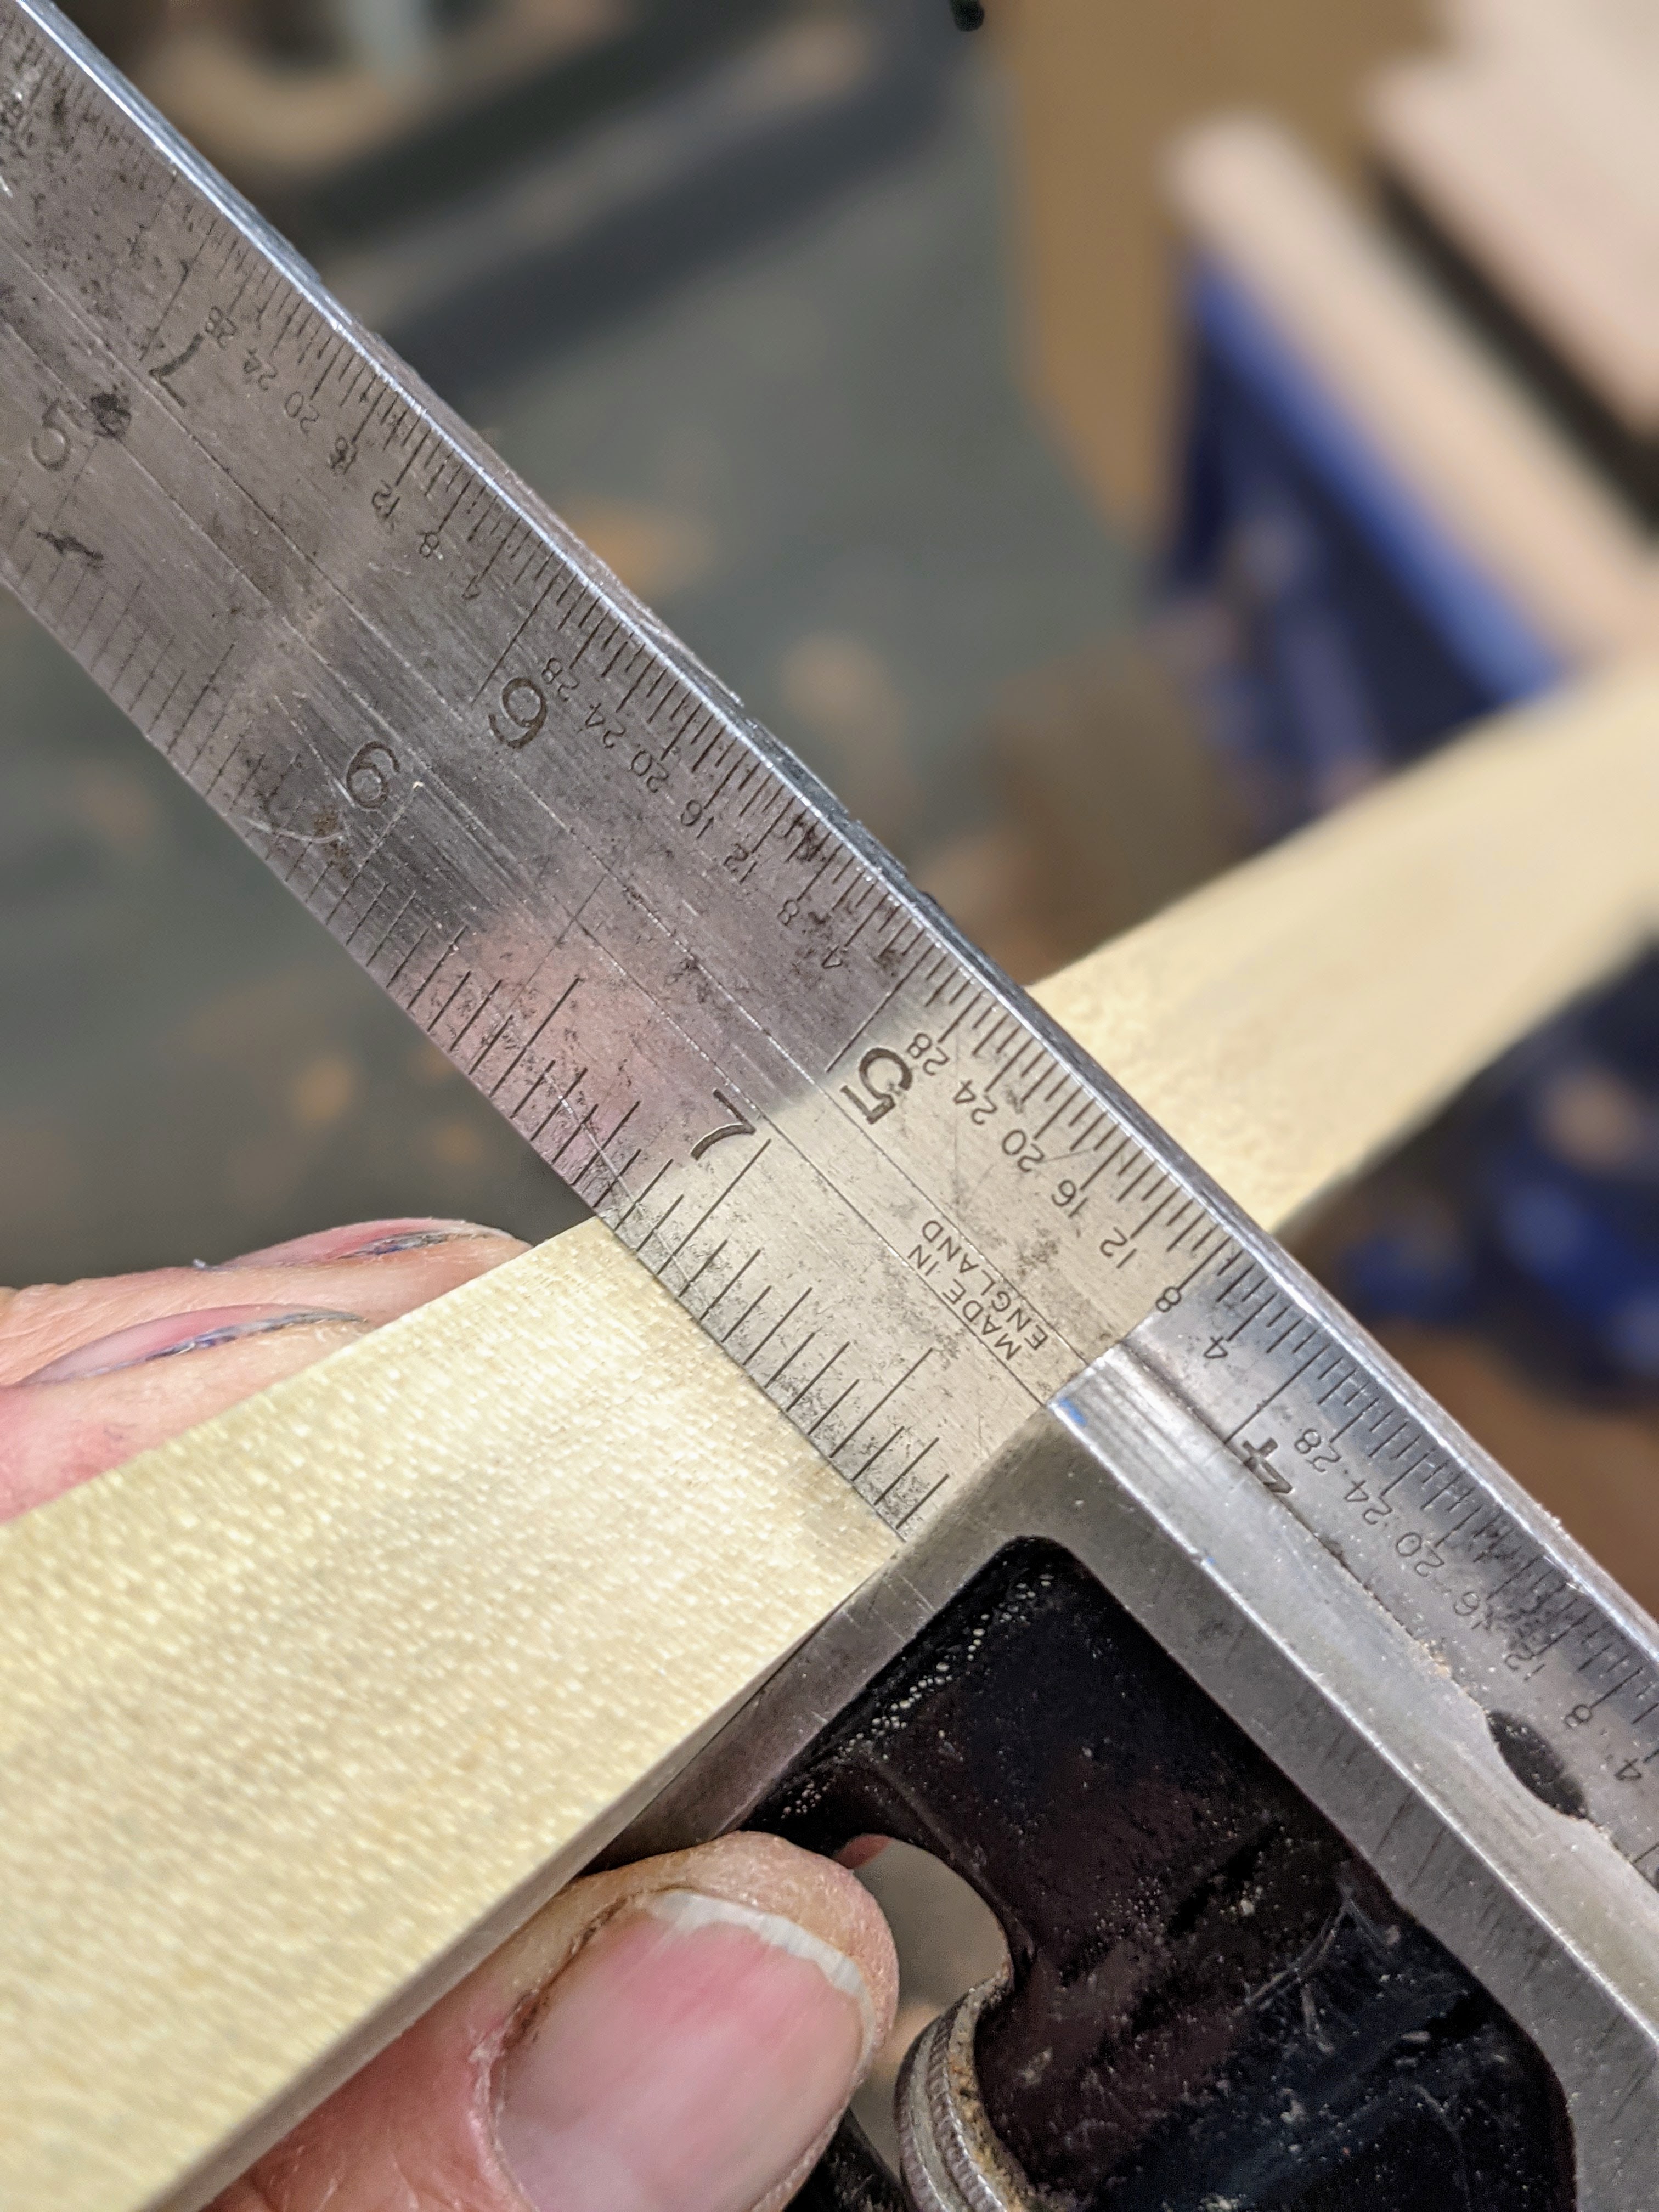
Merasure from the knifeweall 1/4" to establish the 2nd knifewall position . . .
. . . Square down the knifewalls onto the adjacent face, ready for sawing and . . .
. . . use a marking gauge to ensure a consistent depth across the width of the material. My material is 23mm (7/8") square but any scrap of wood will do.
saw both knifewalls to a depth of half an inch or so.
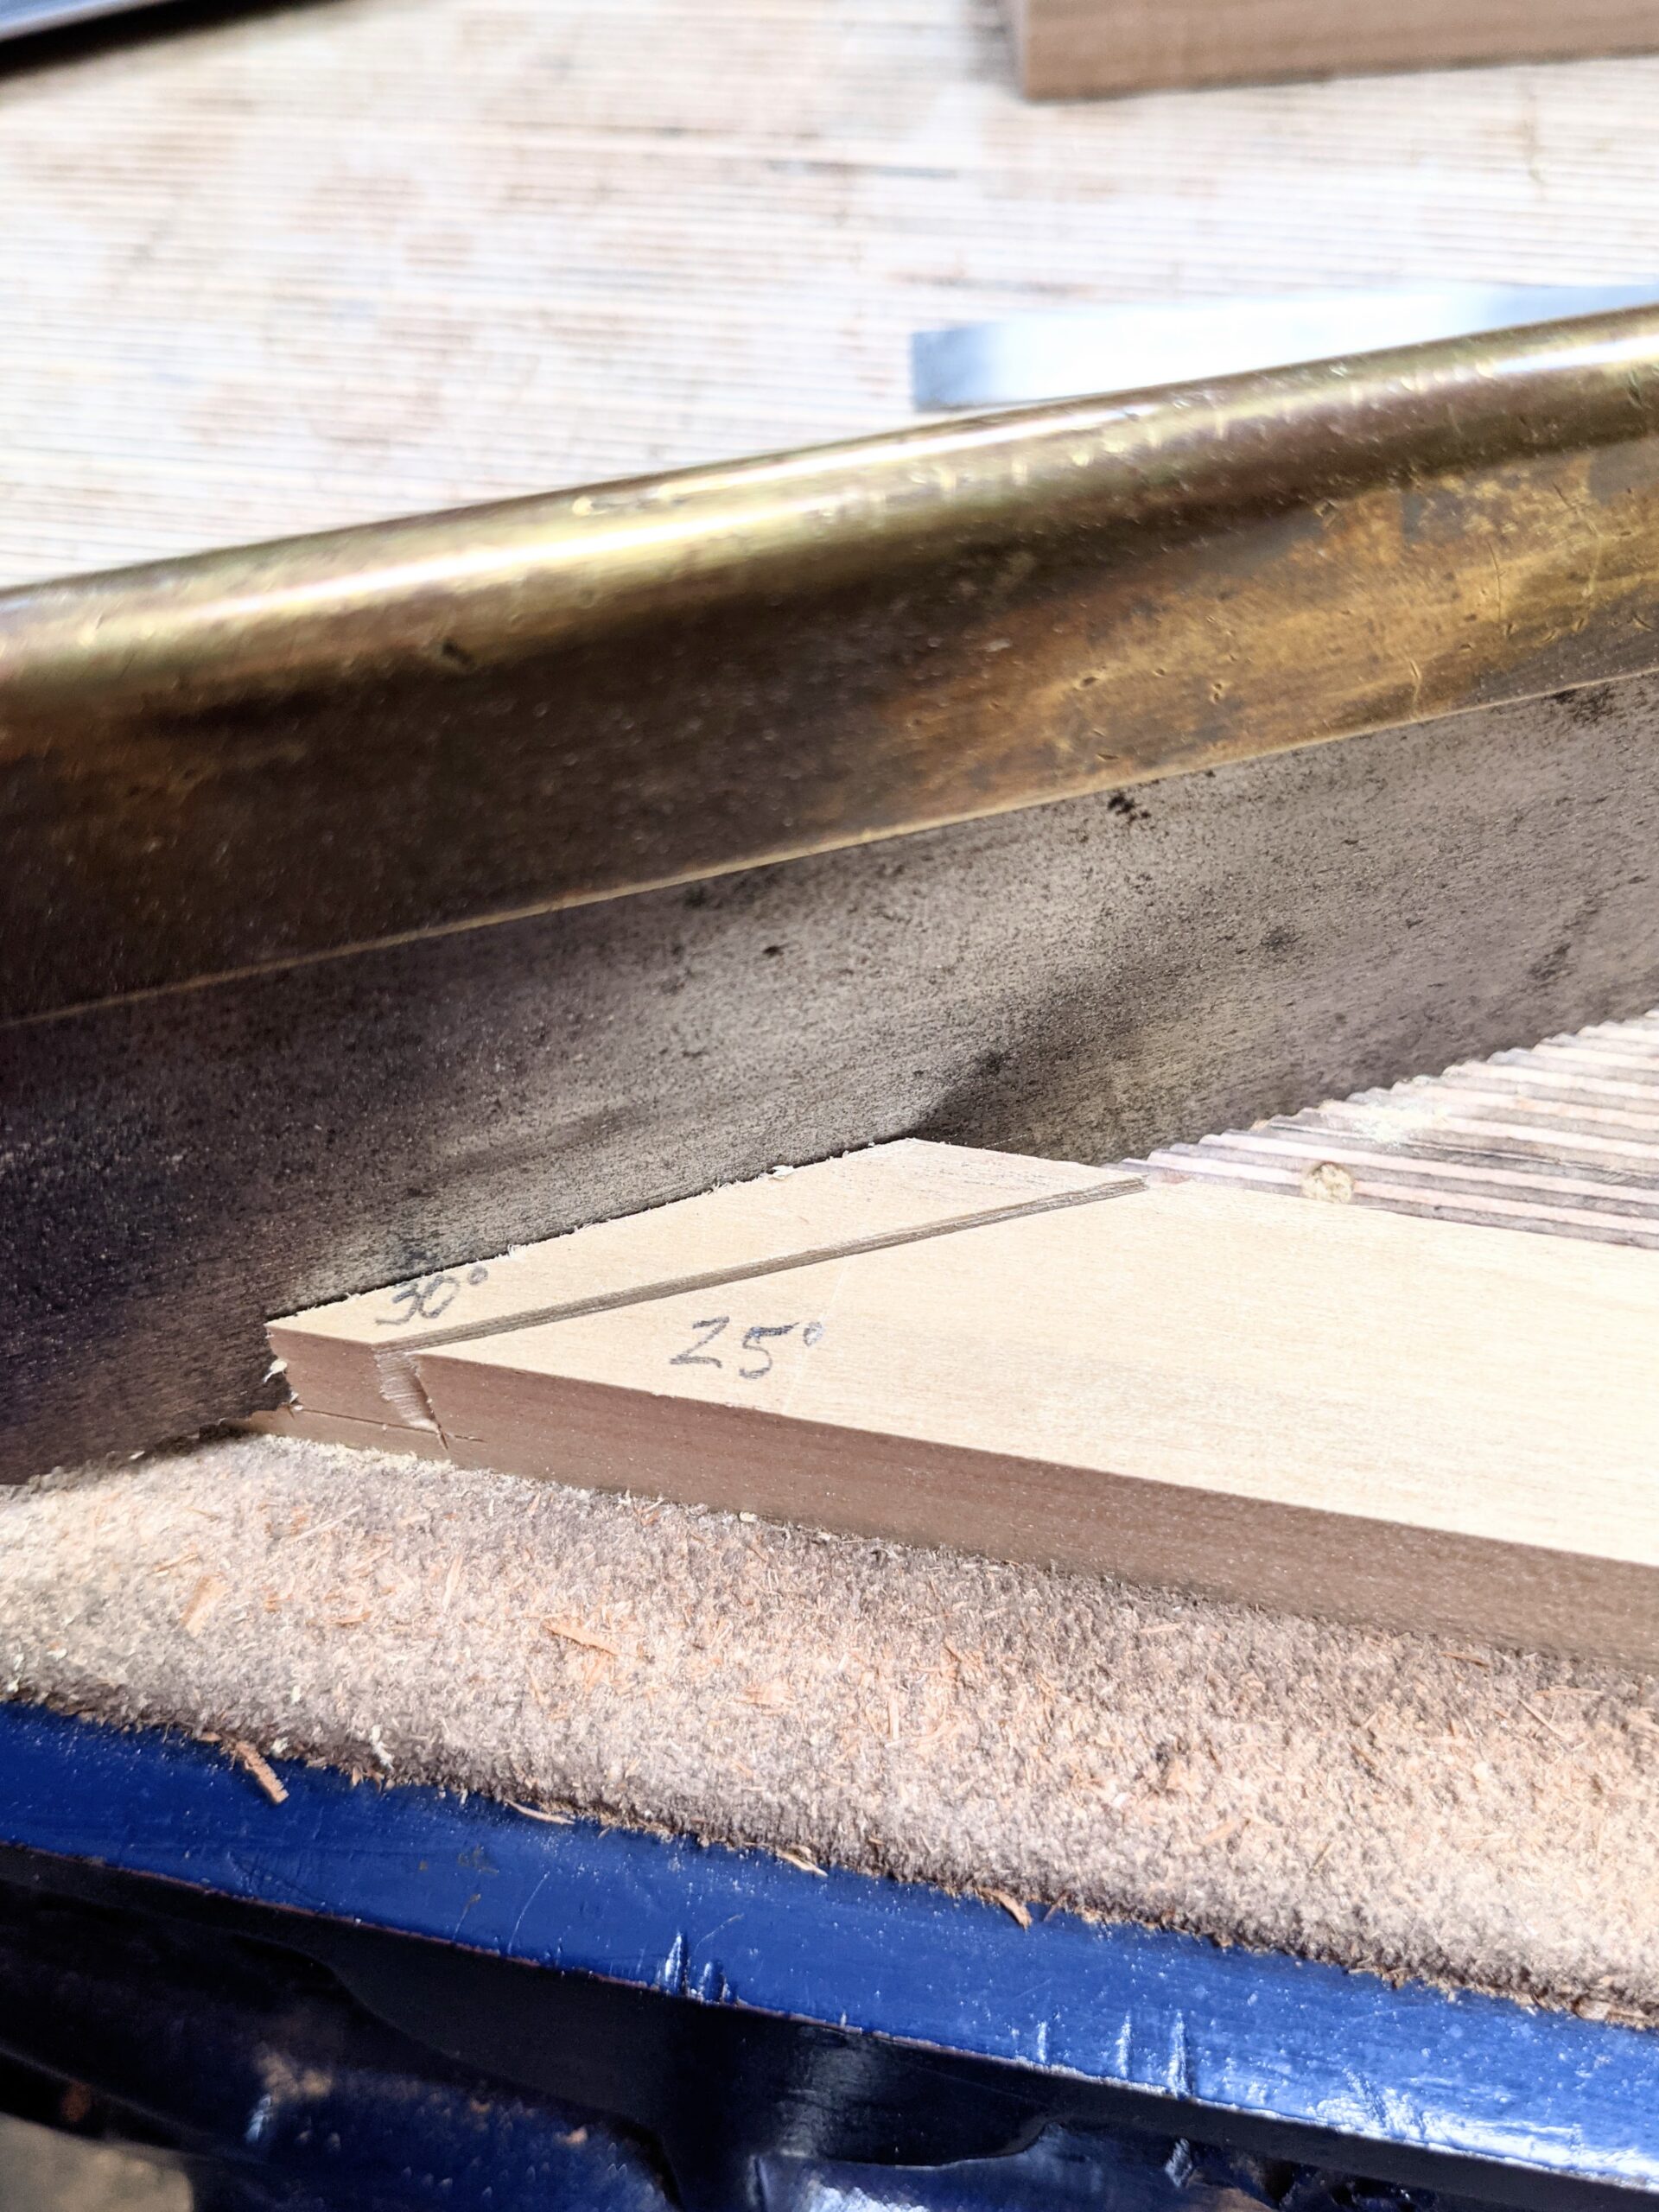
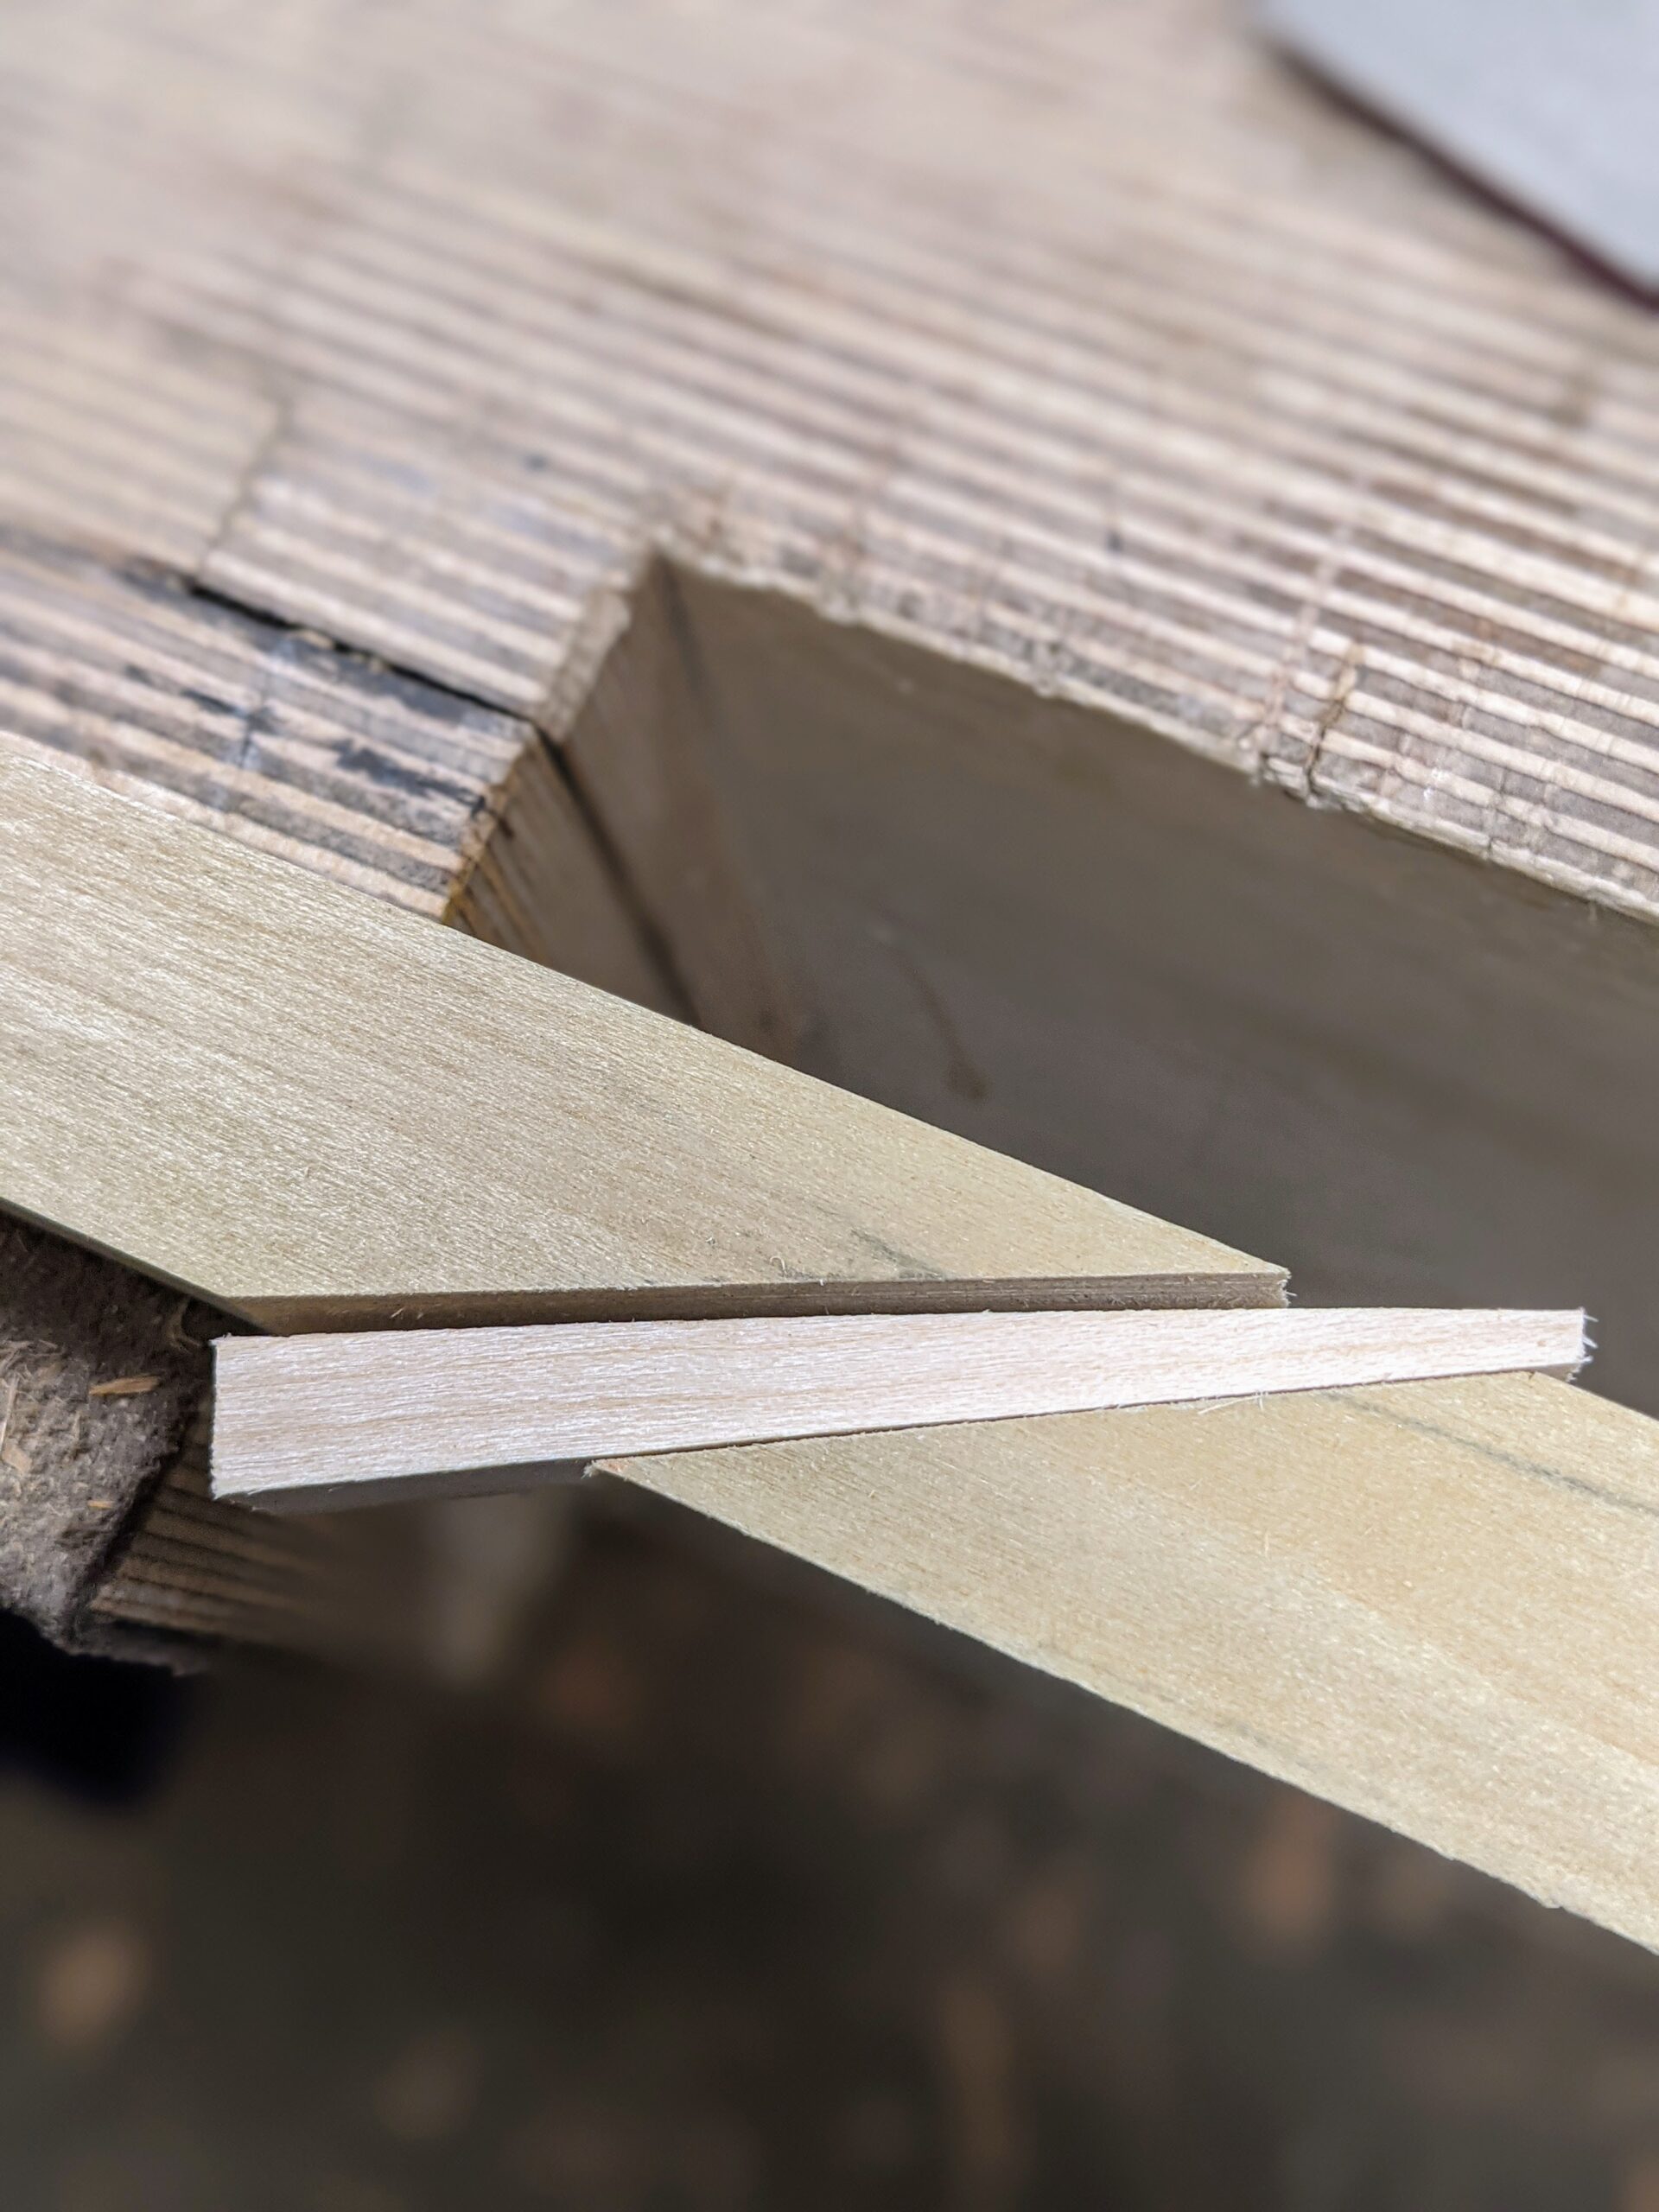
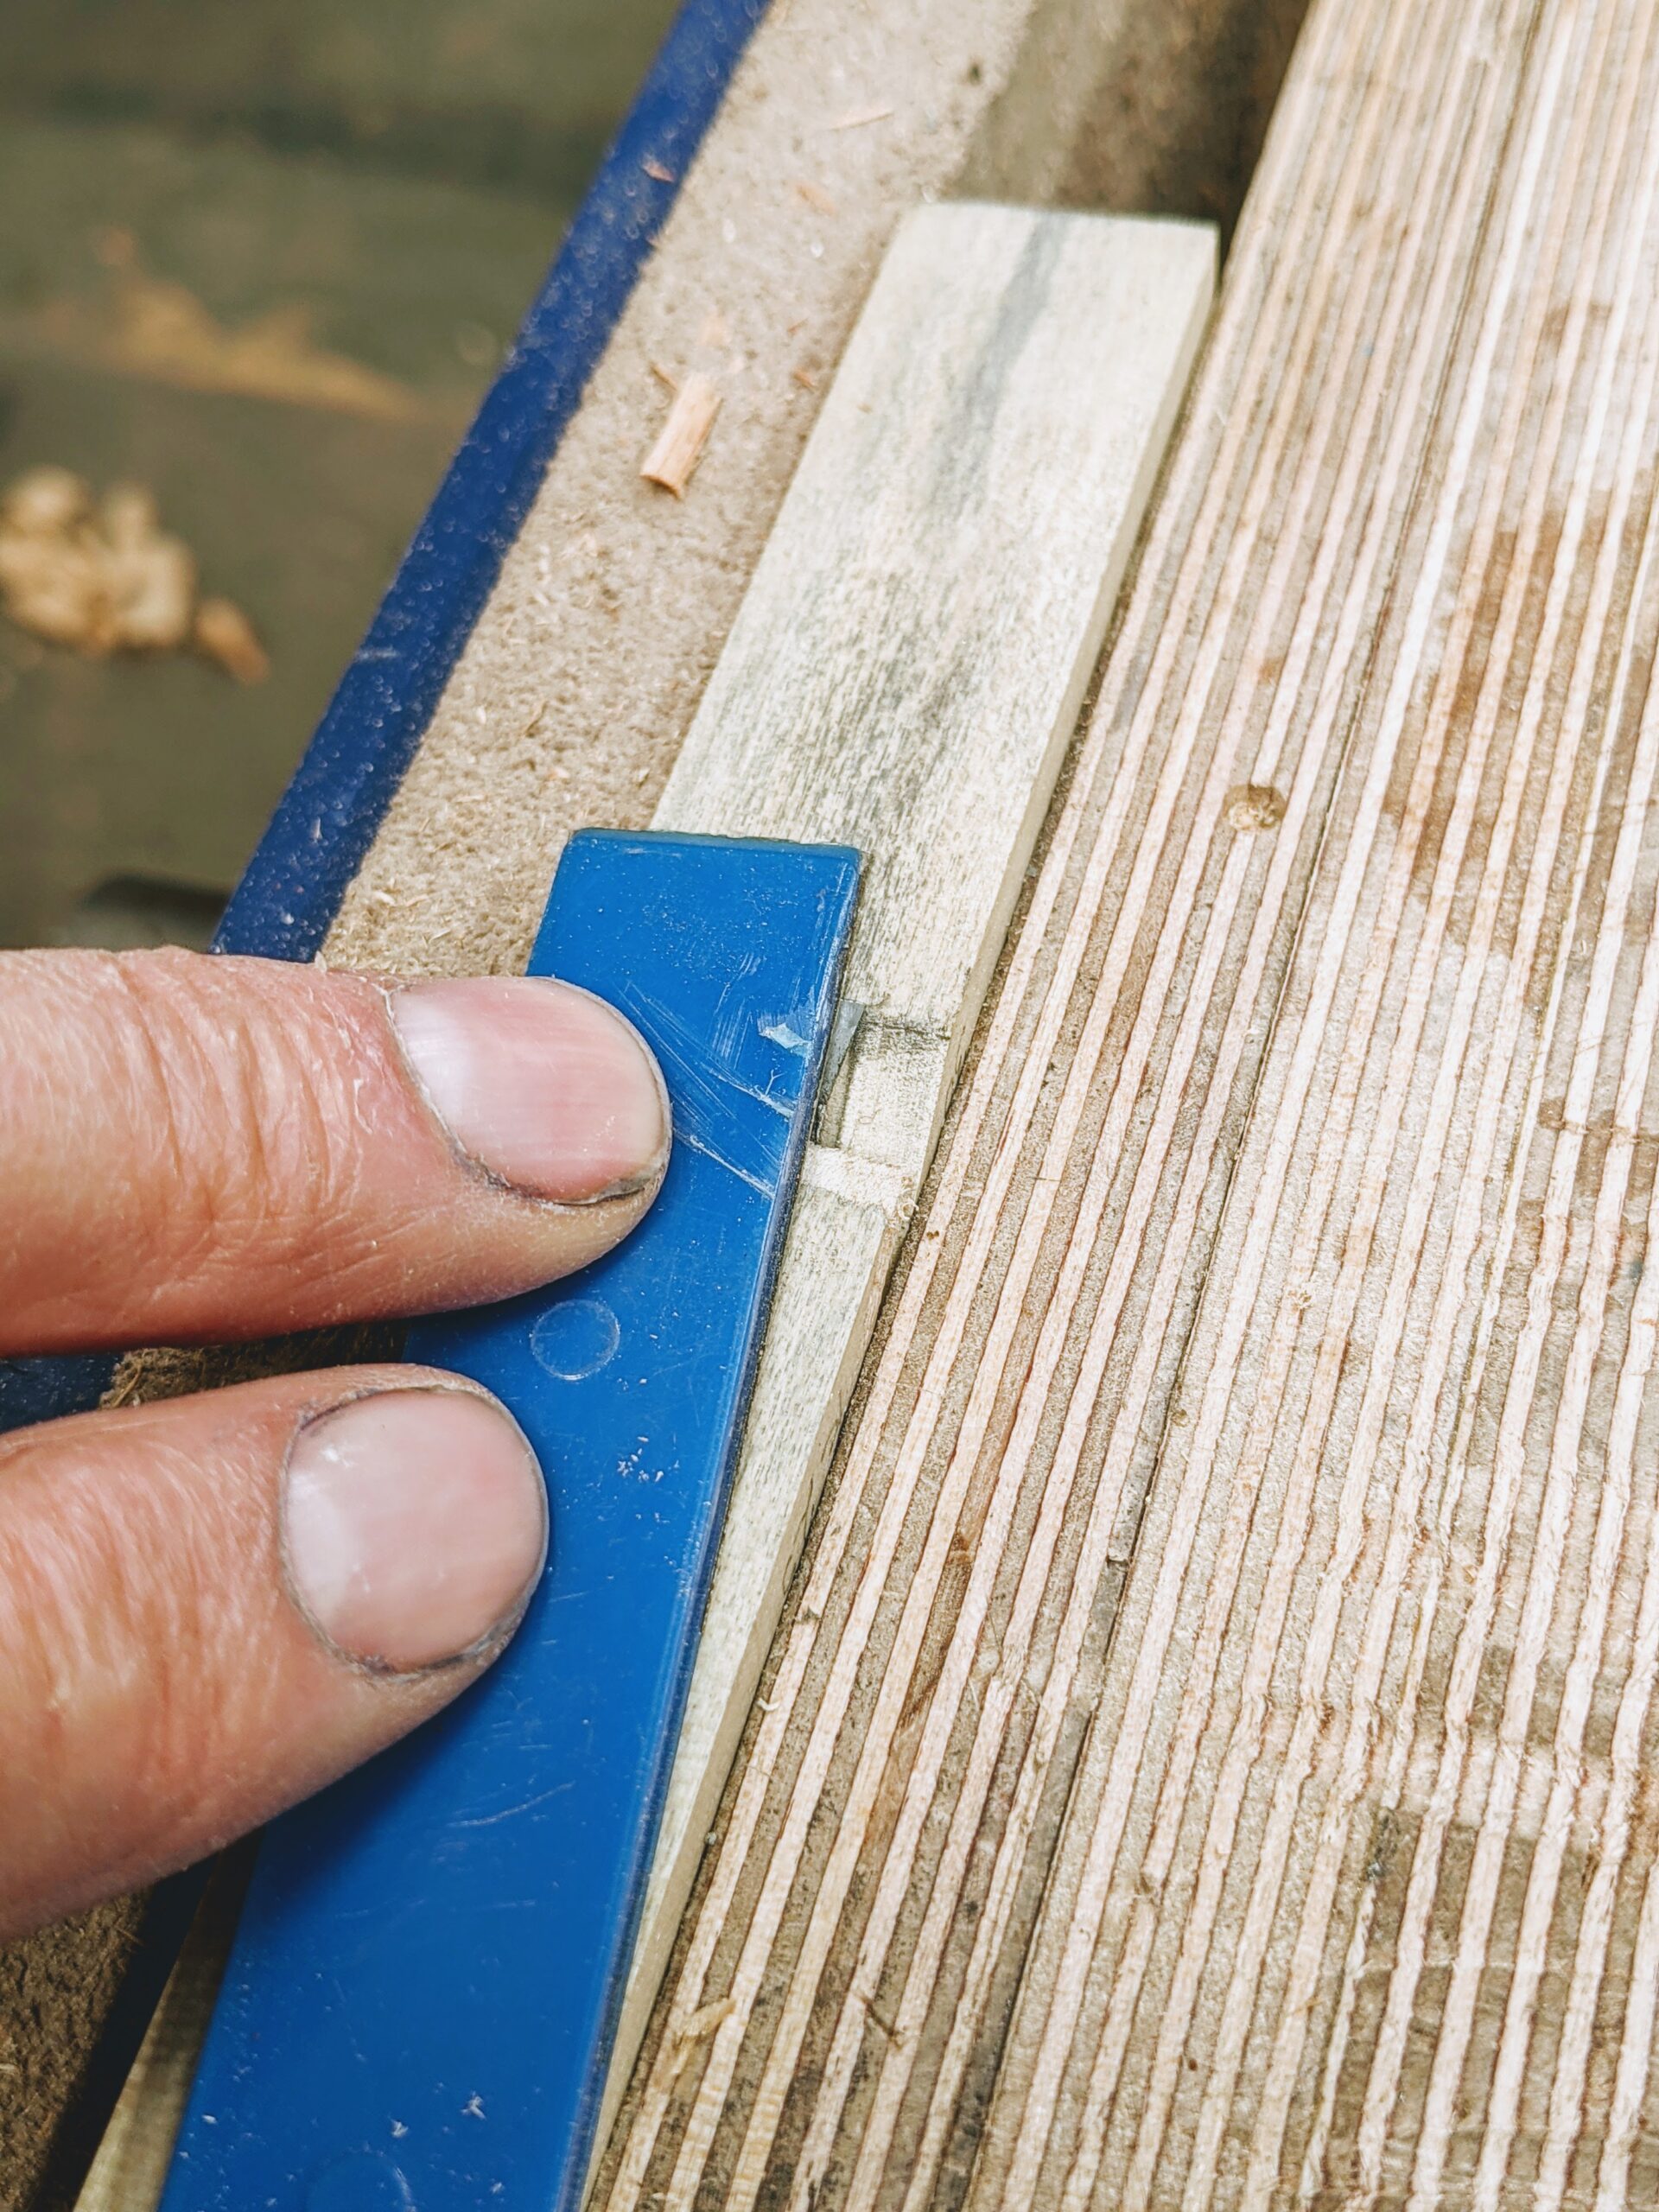
By splitting out the waste deeply you are more likely to remove a chunk that can be used as a guide for the angle of the wedge you will cut. The wedge will be narrower than the recess to allow for the thickness of the cutter alongside it. You may need two or three wedges, each refined to compensate for chisels that may have a tapered rather than parallel blade.
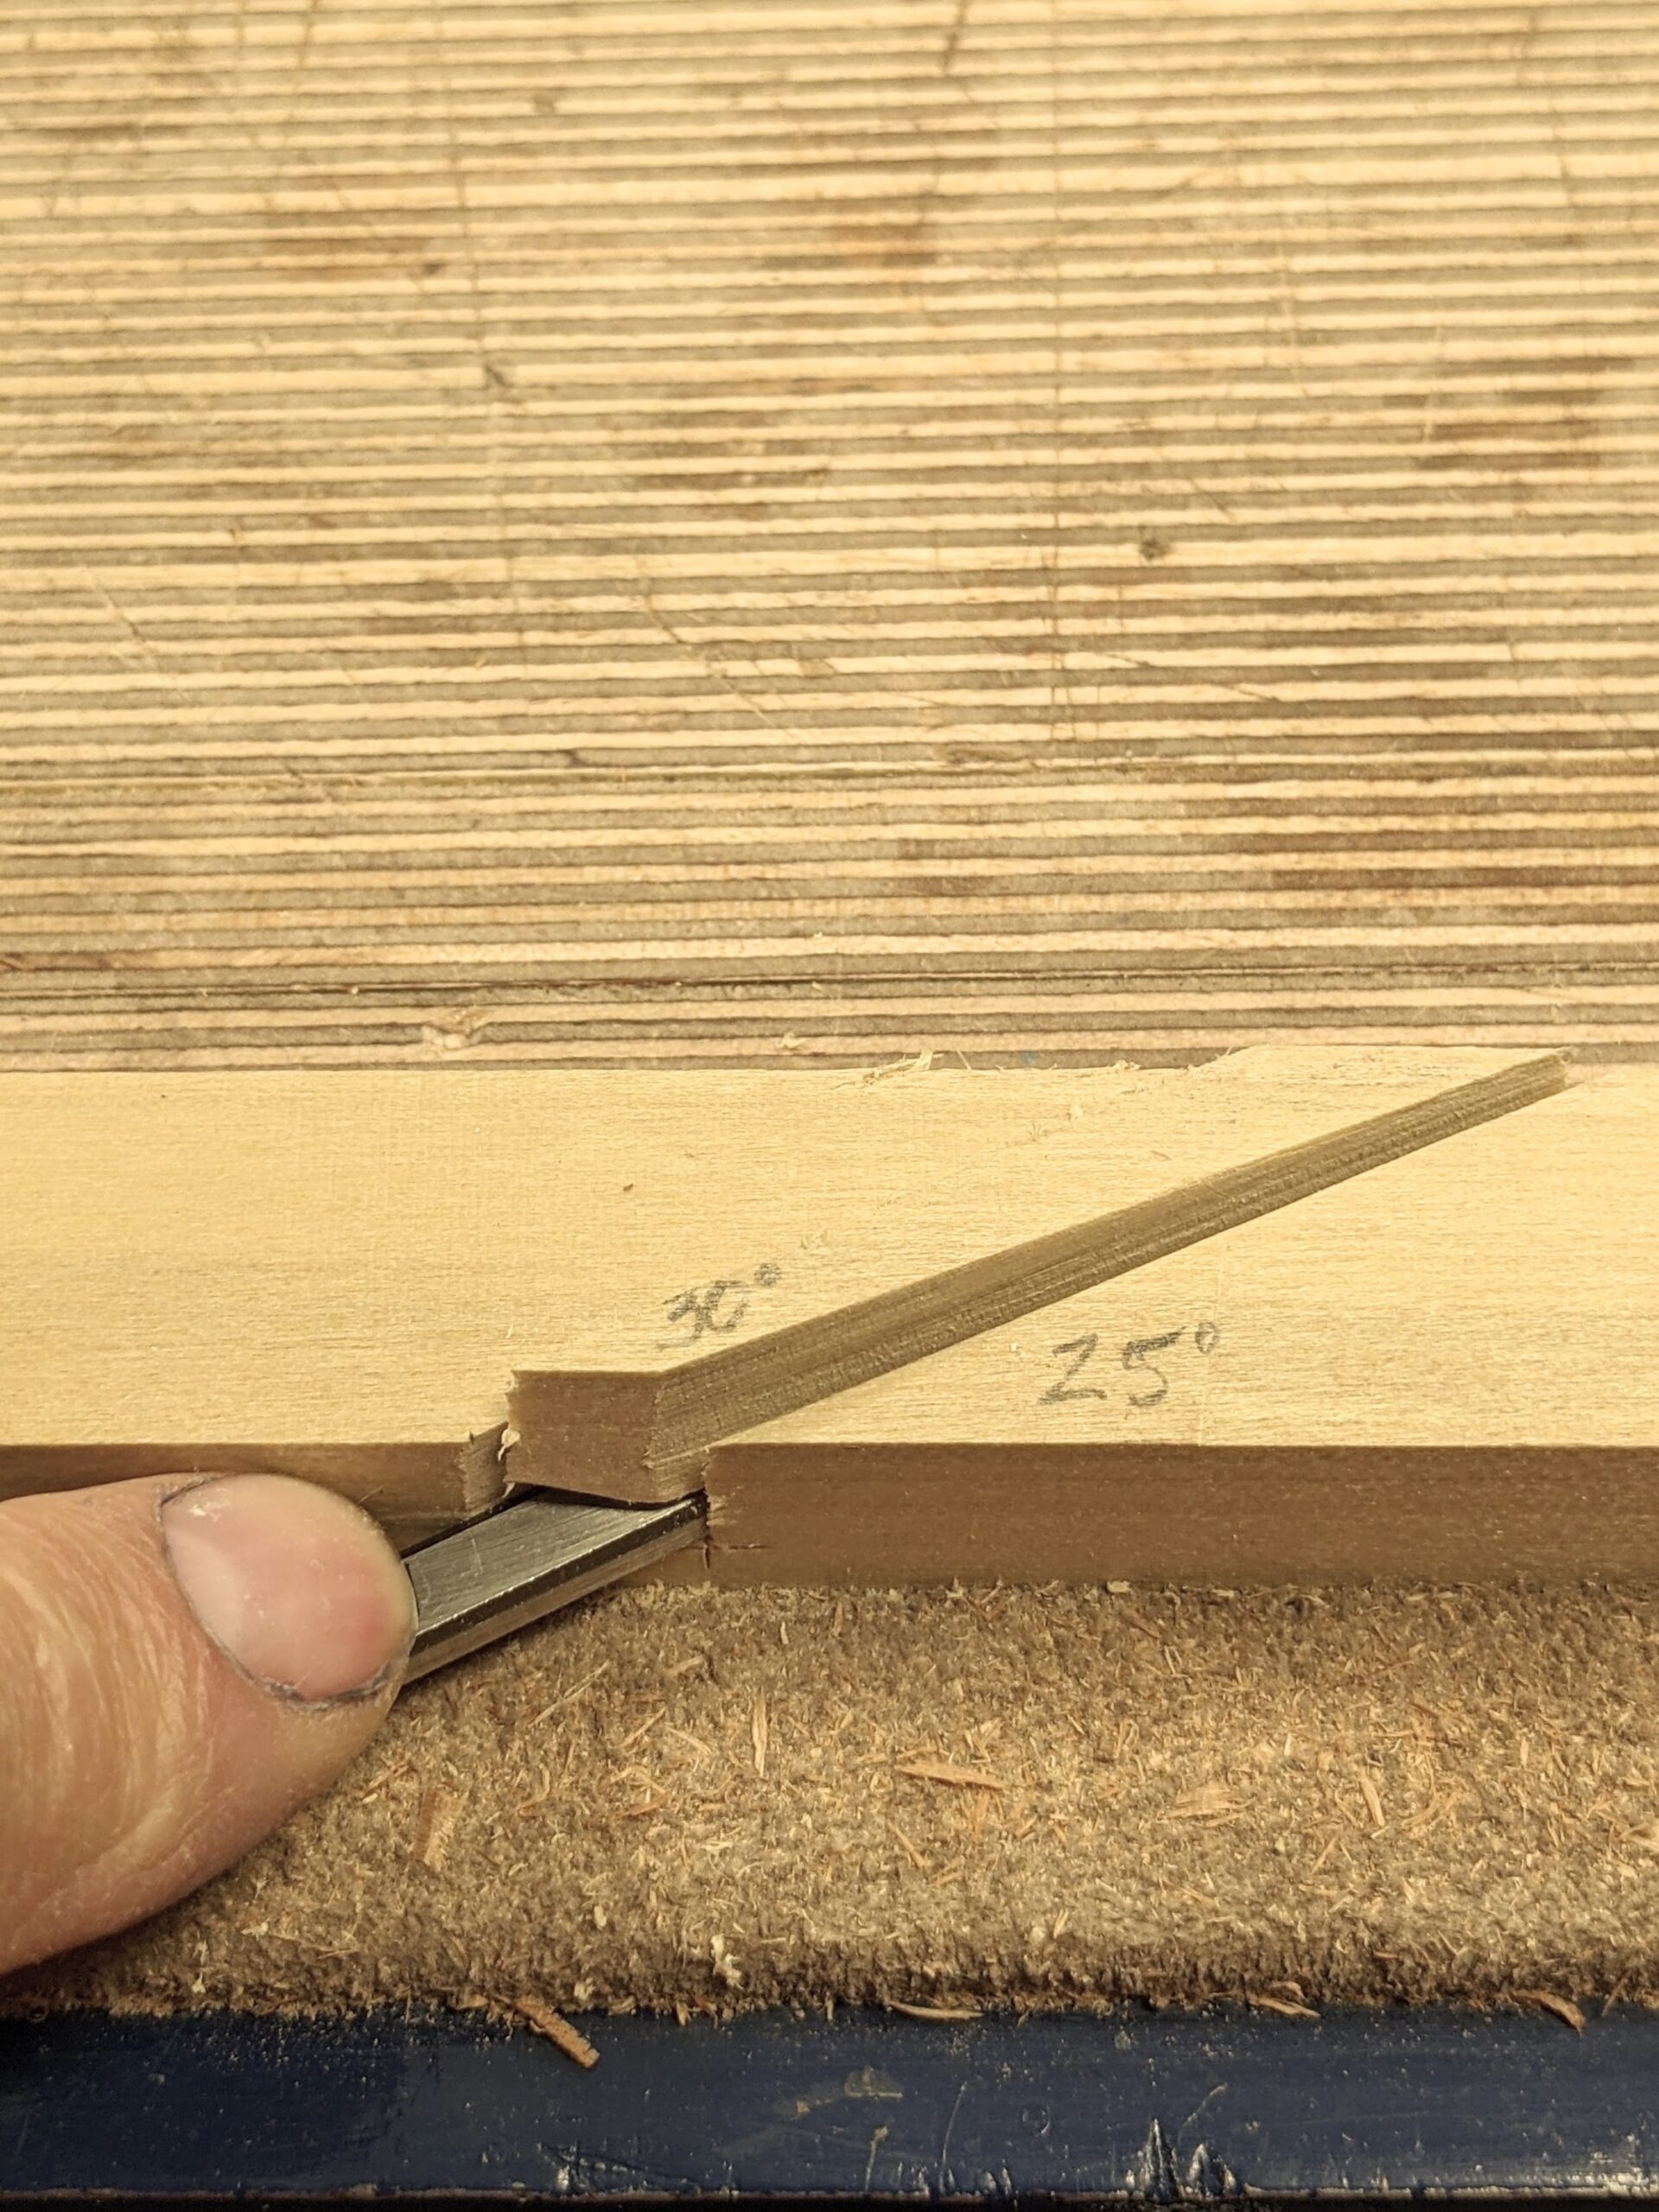
Now use the waste to establish a cut line on a wedge piece that fits the recess.
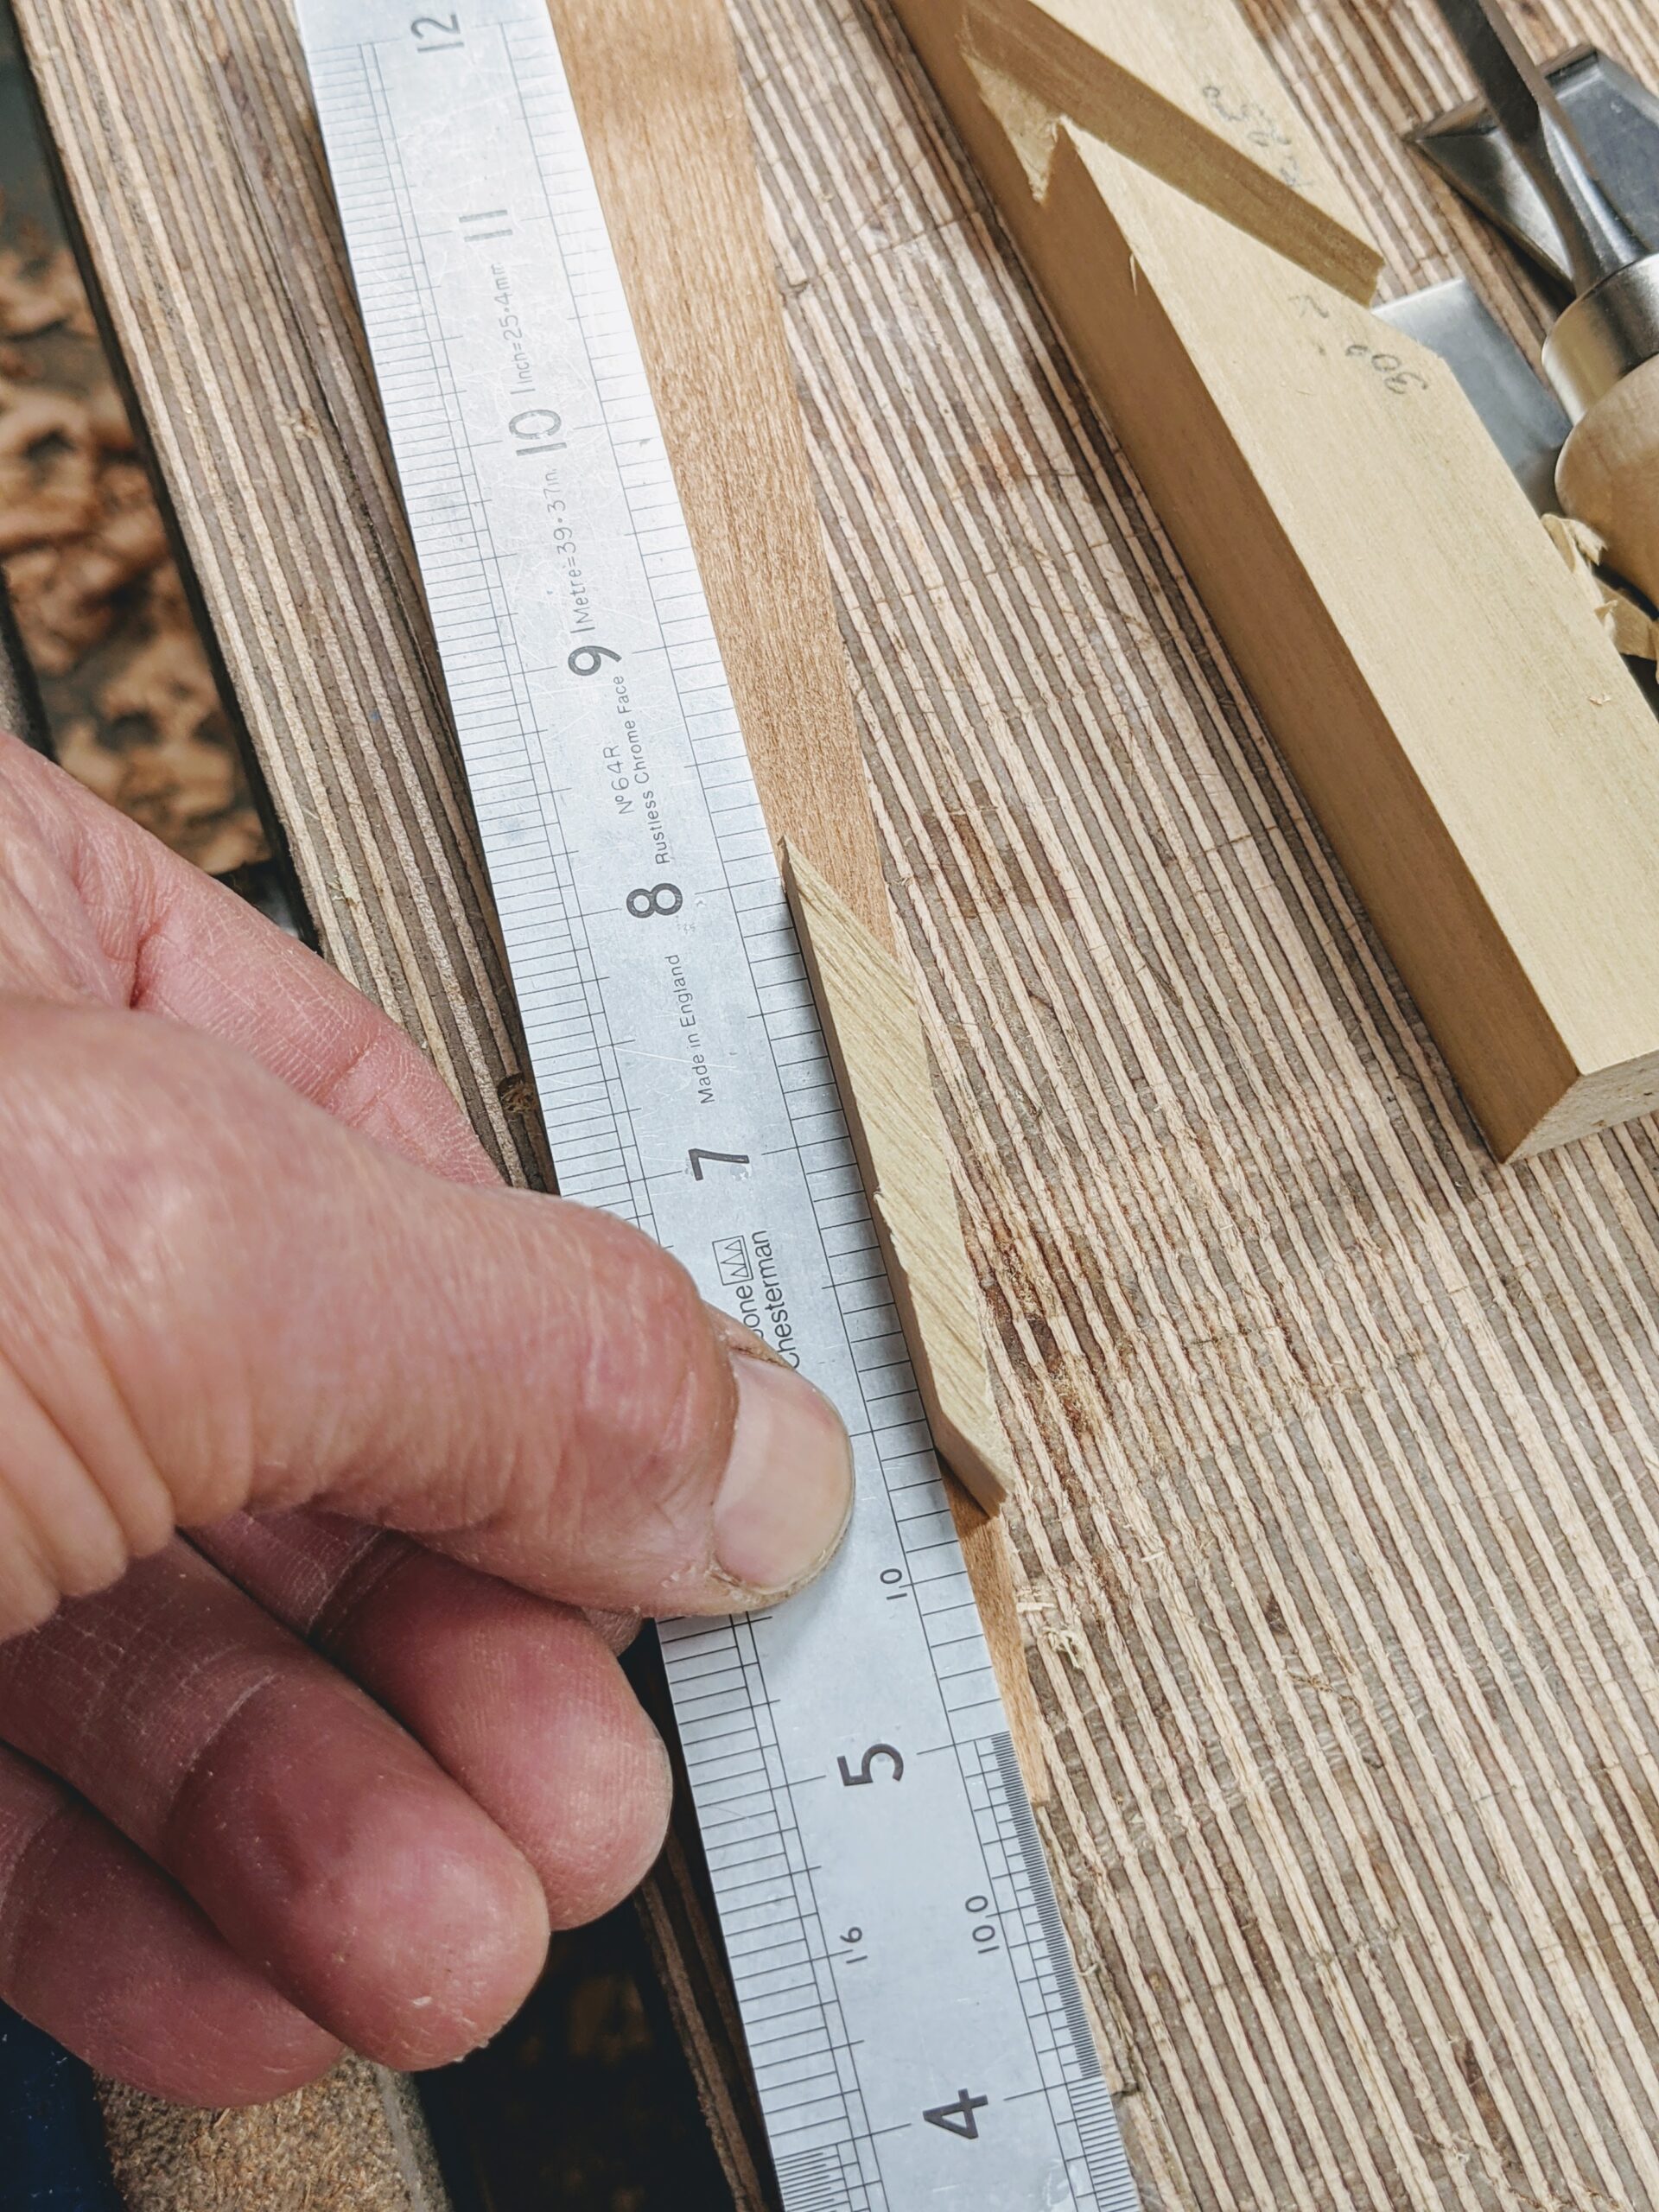
With a cutter in place, mark a length that is about 1/8" from the outer edge of the guide.
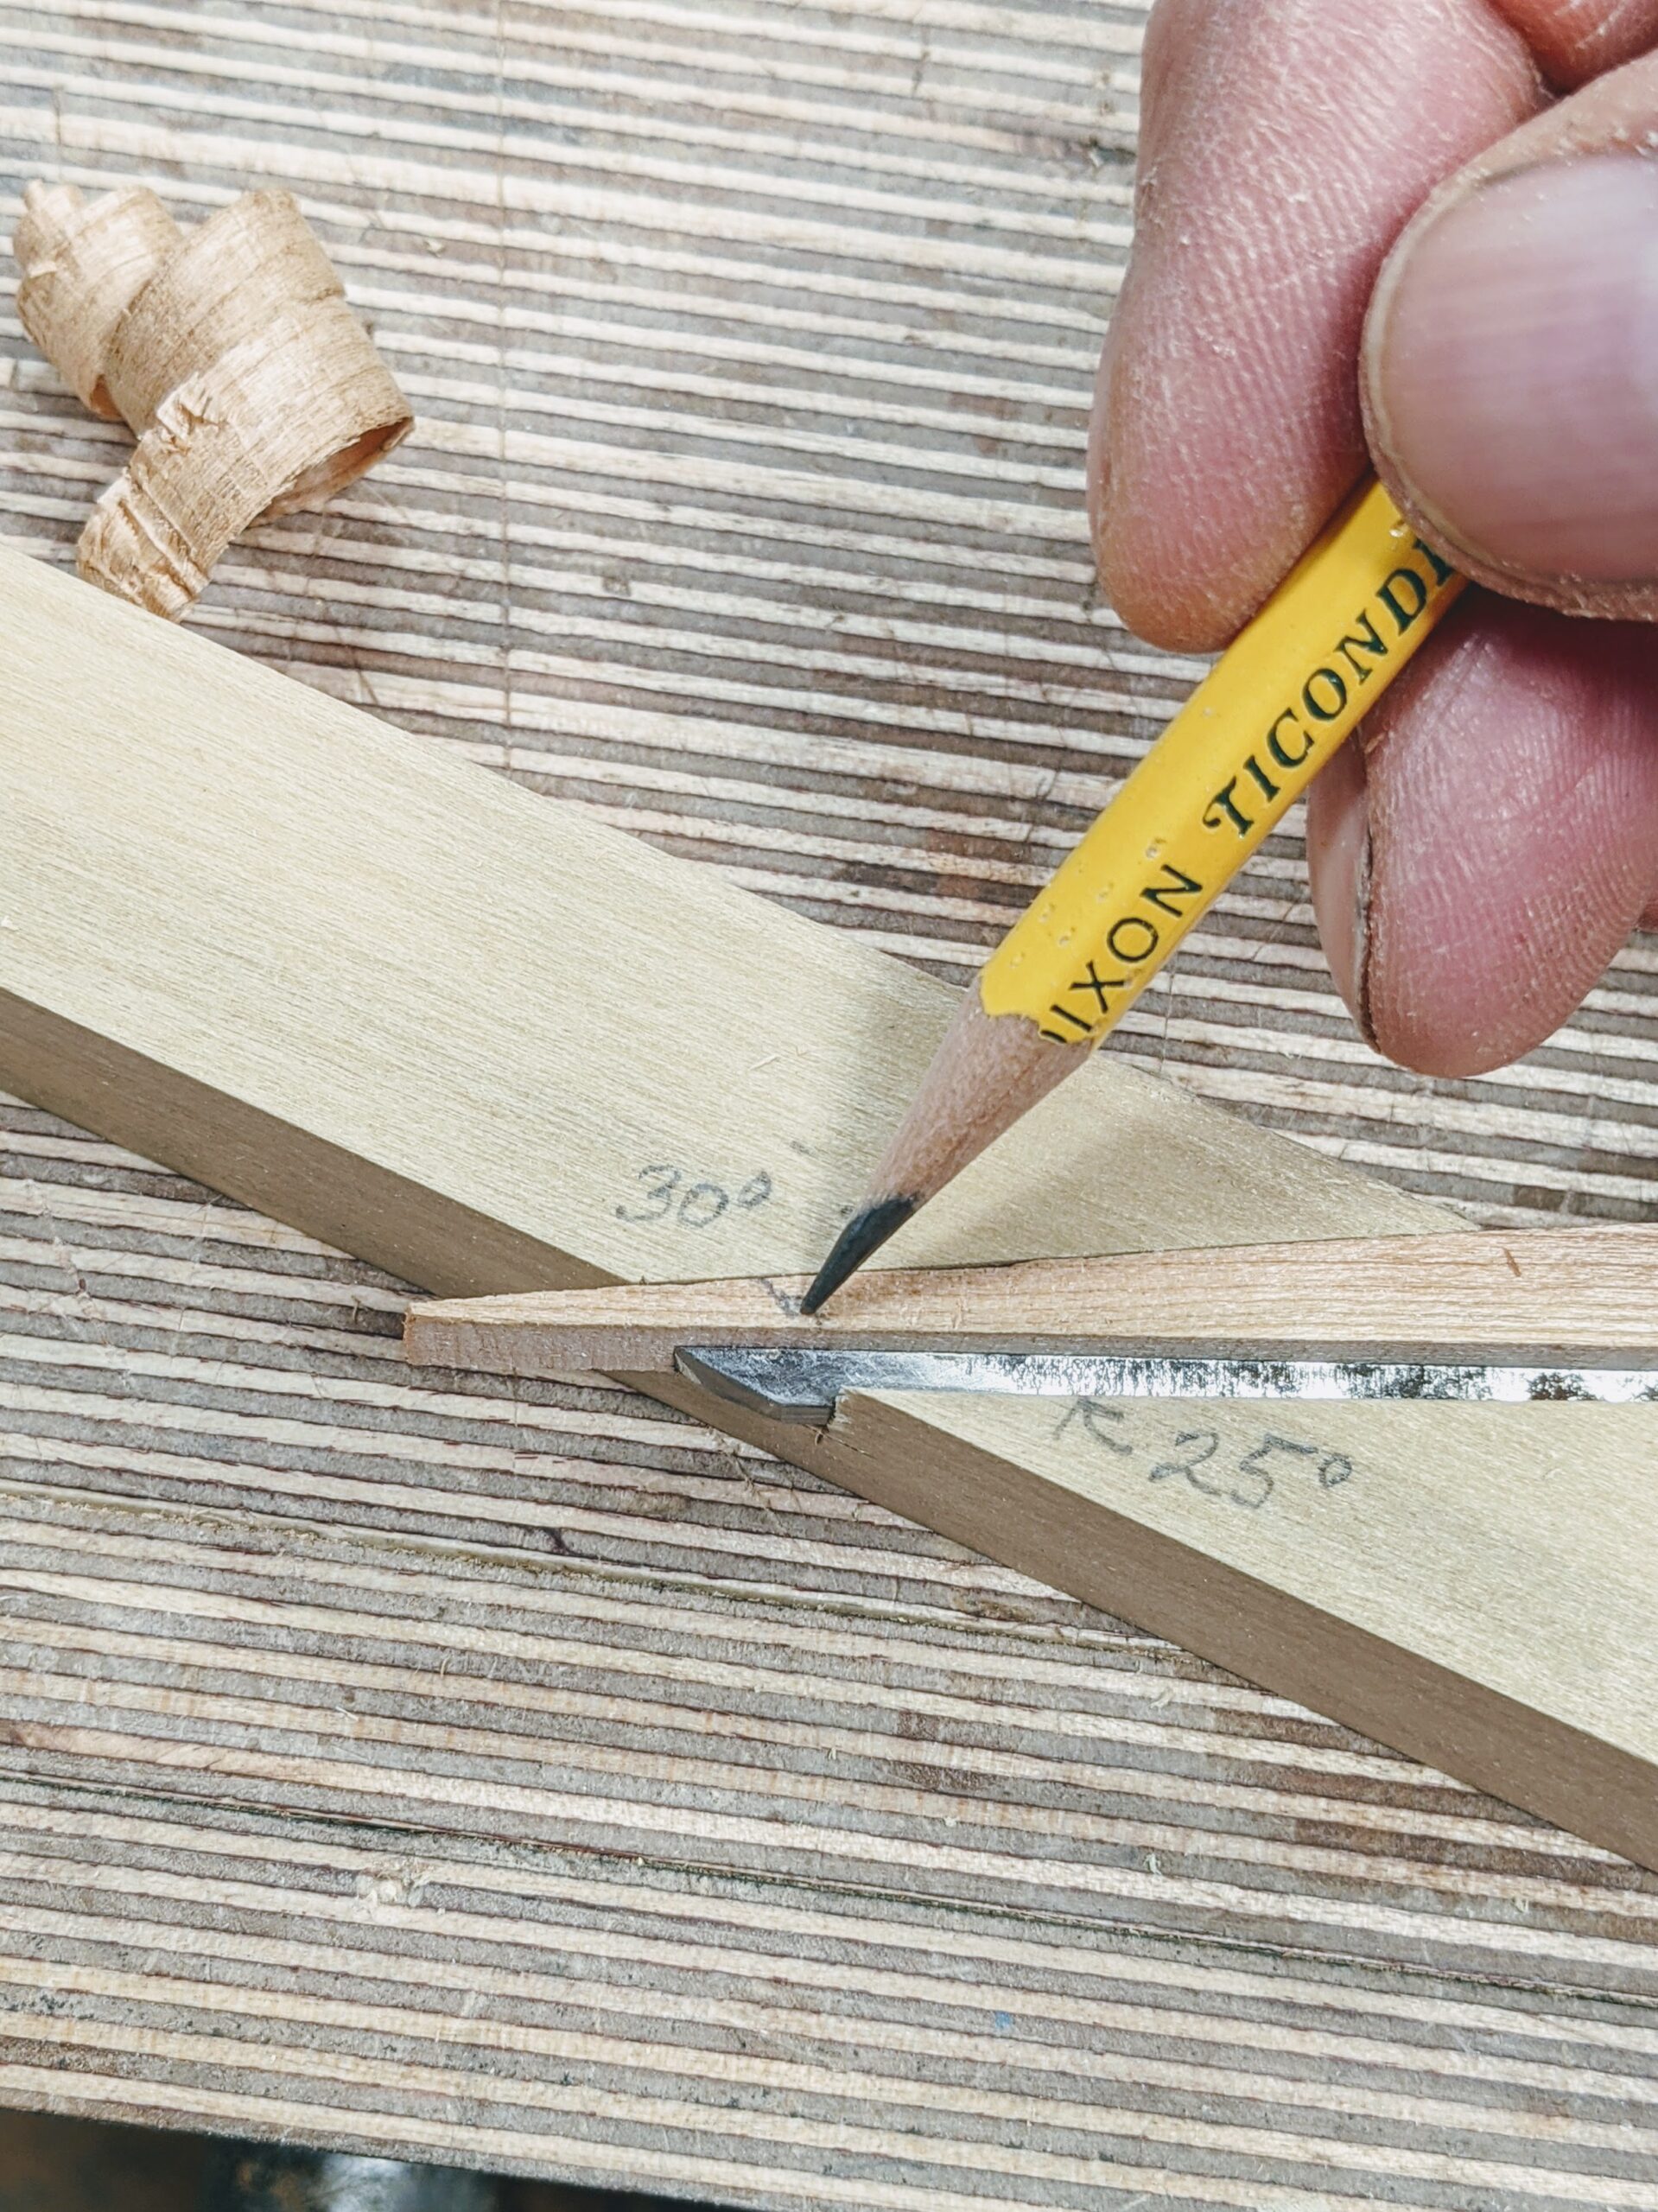
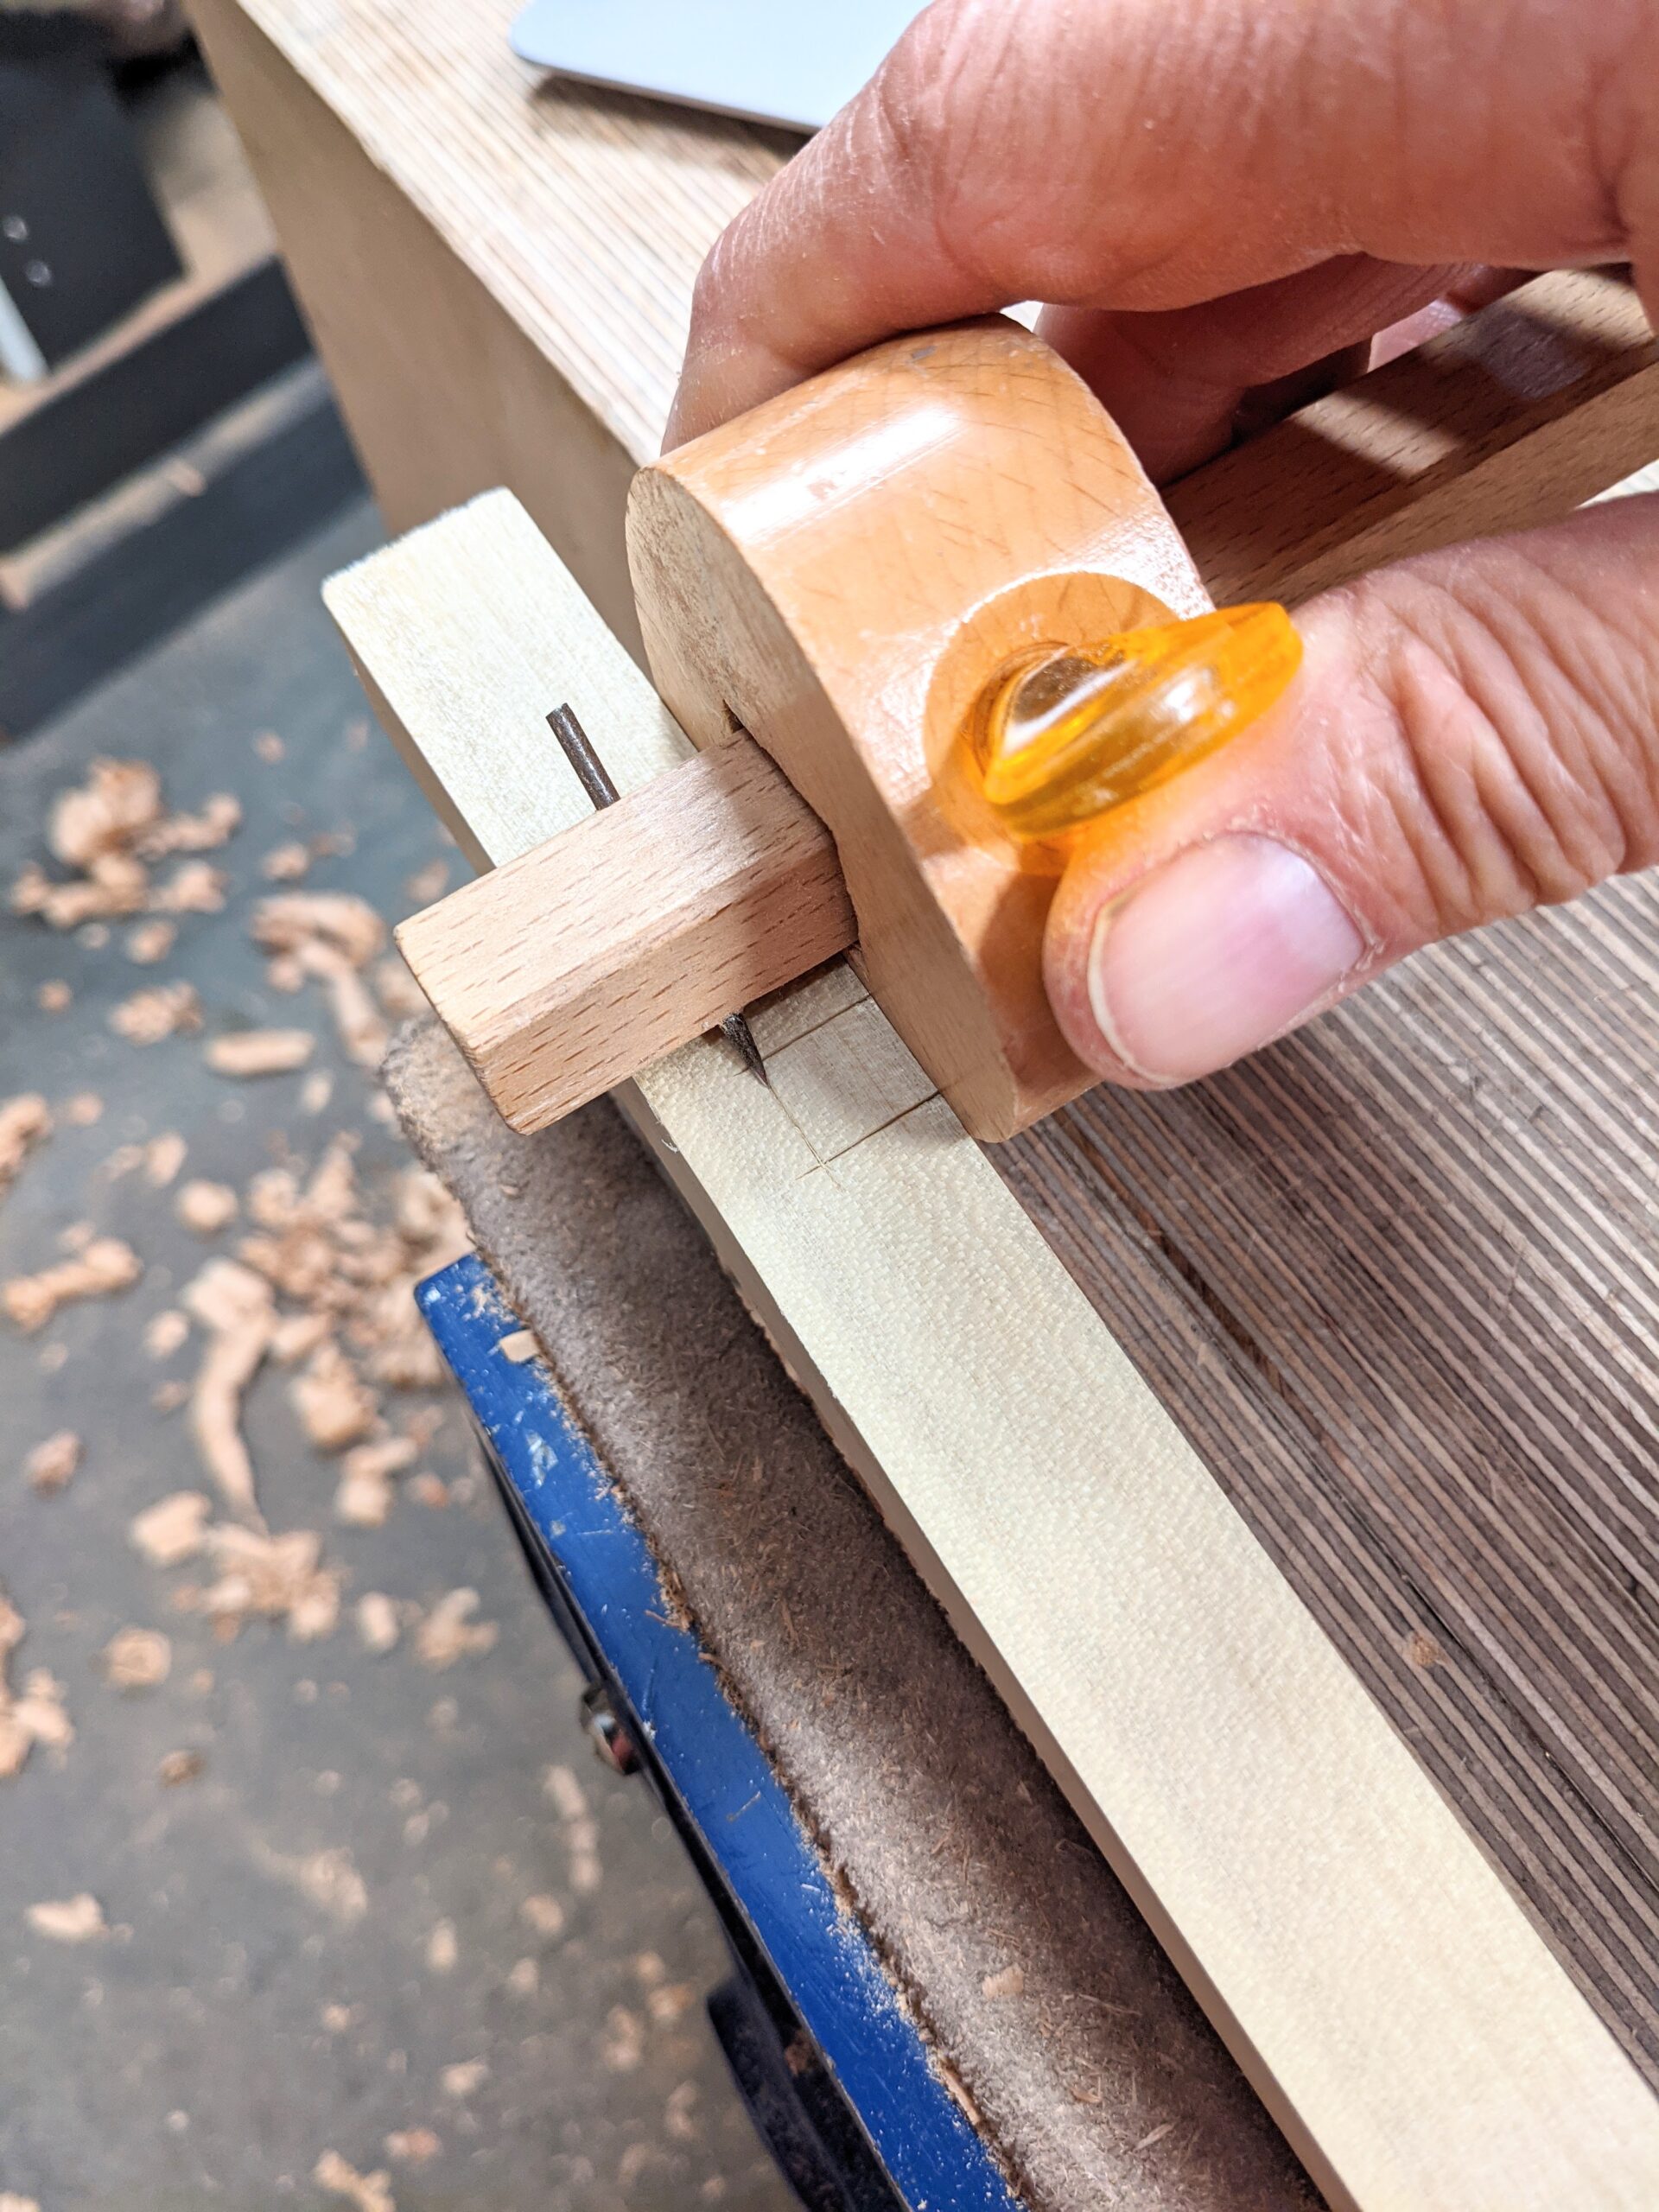
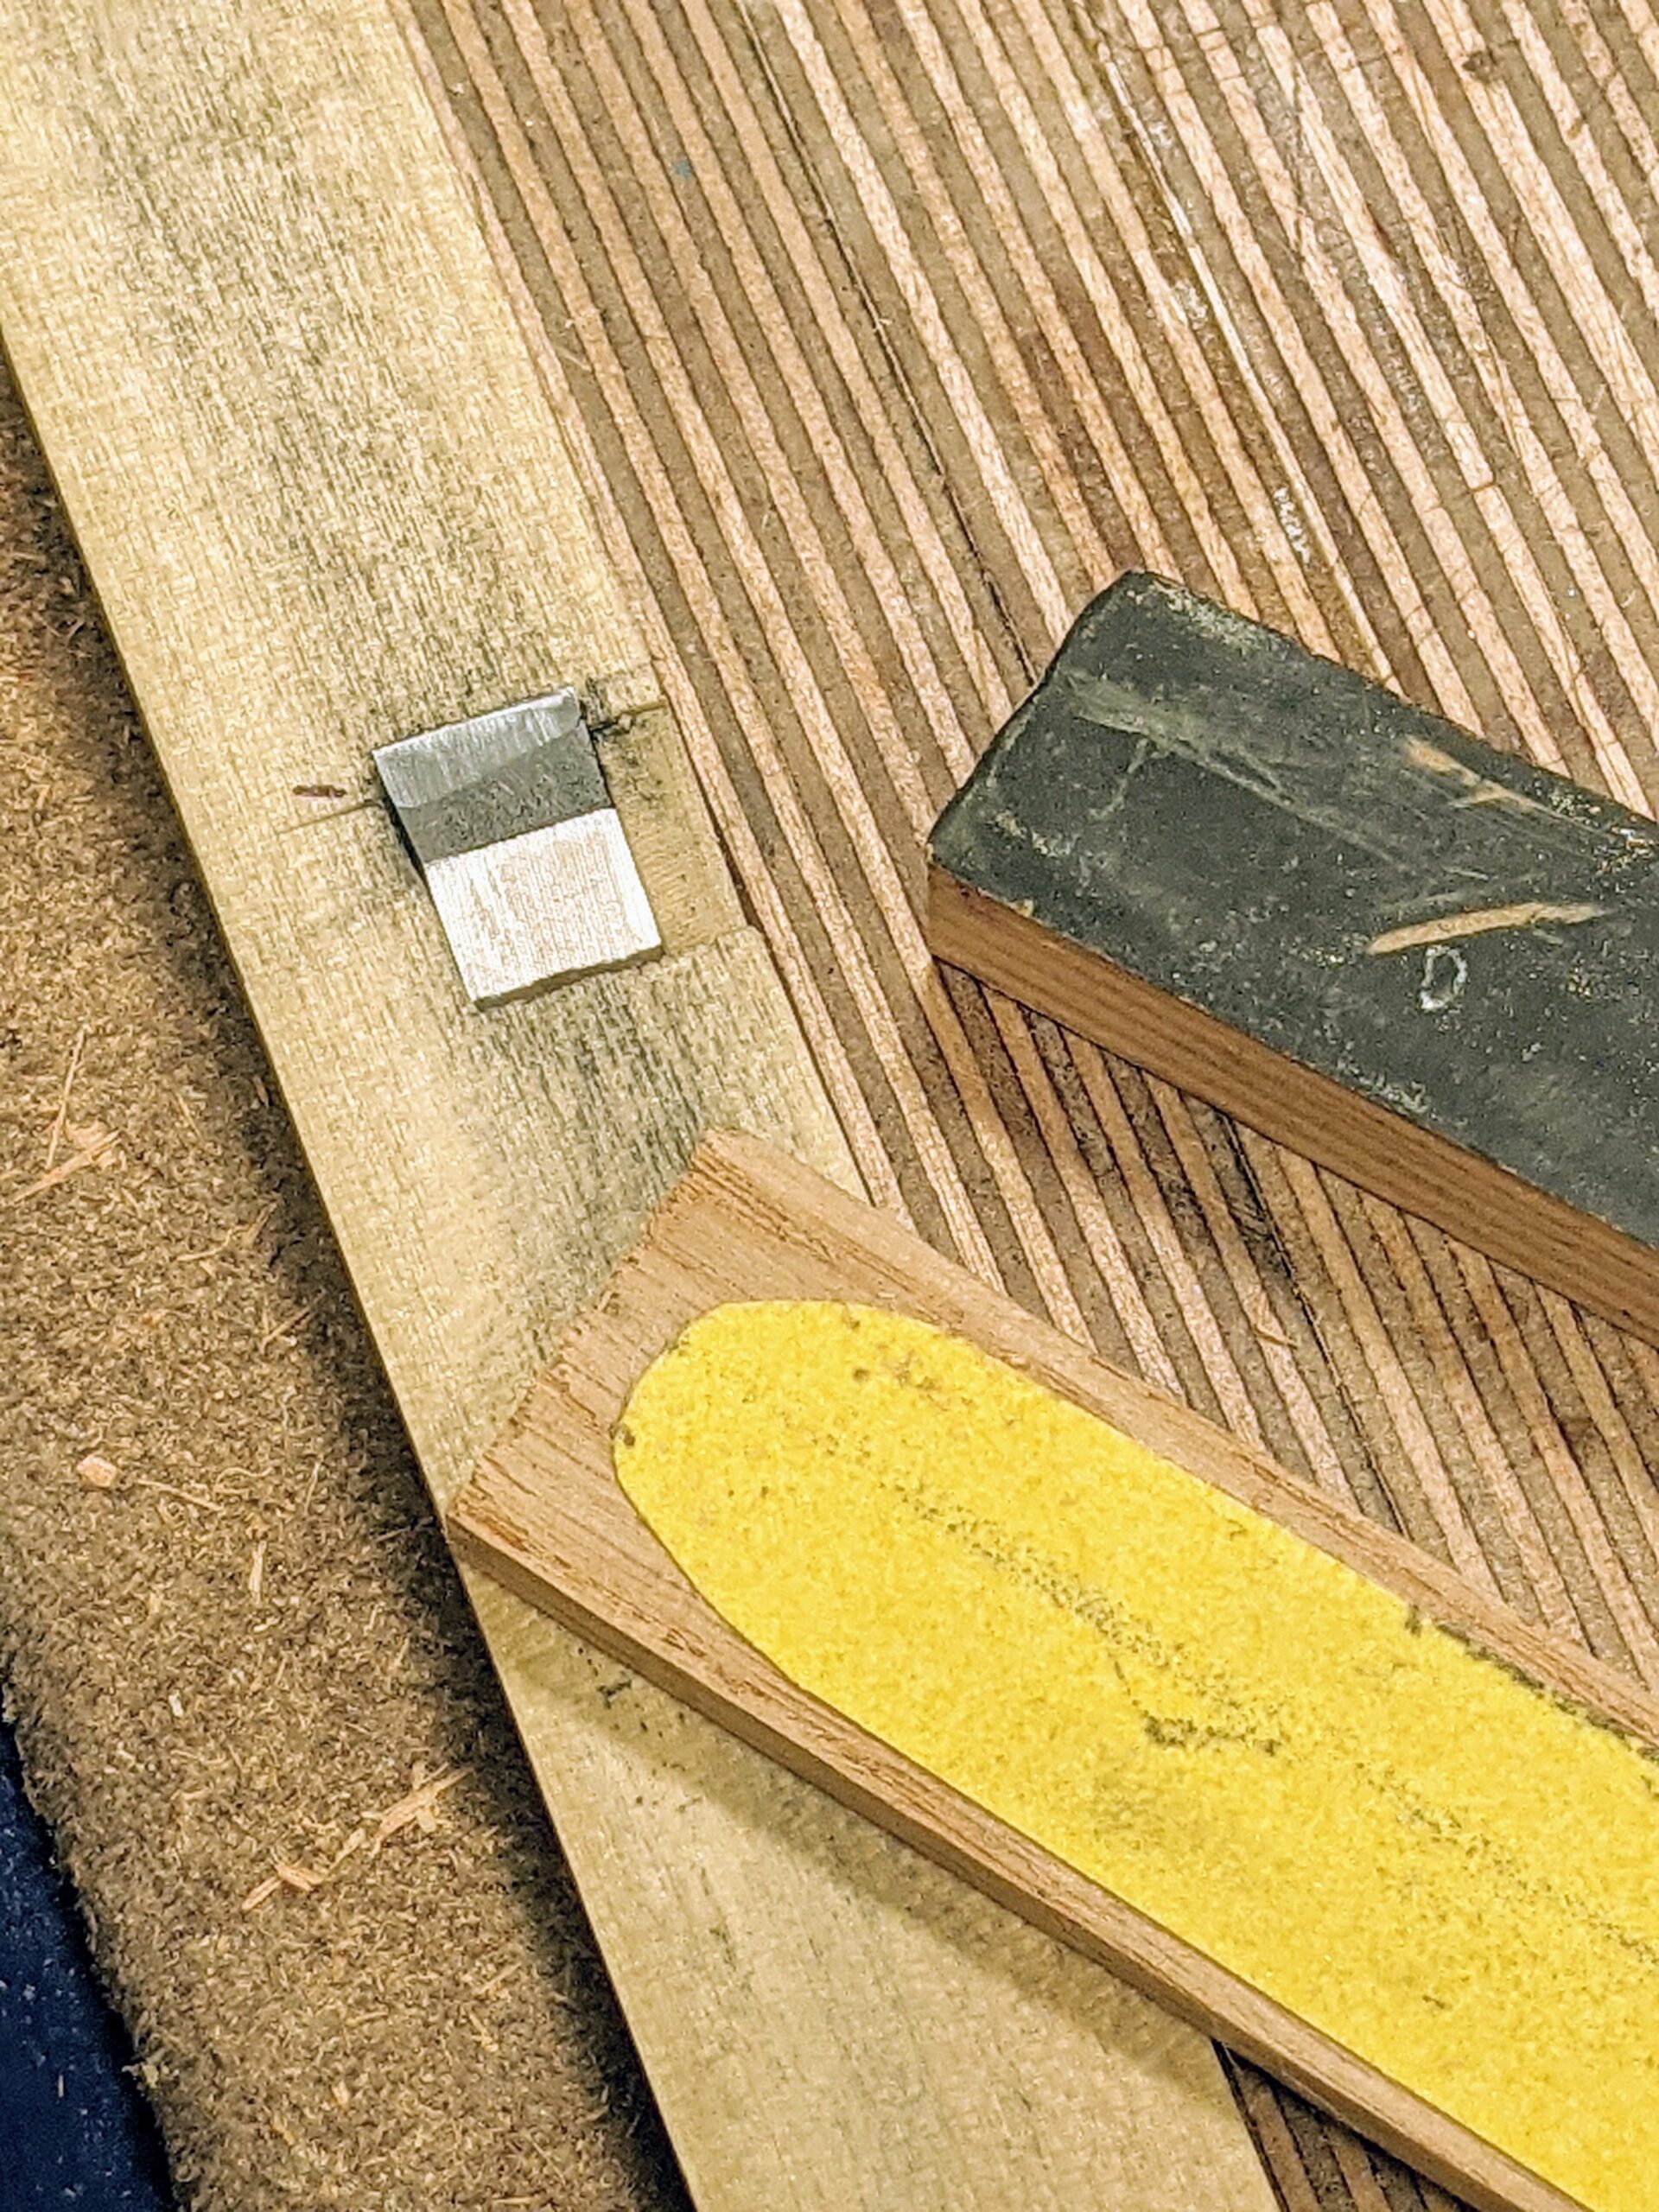
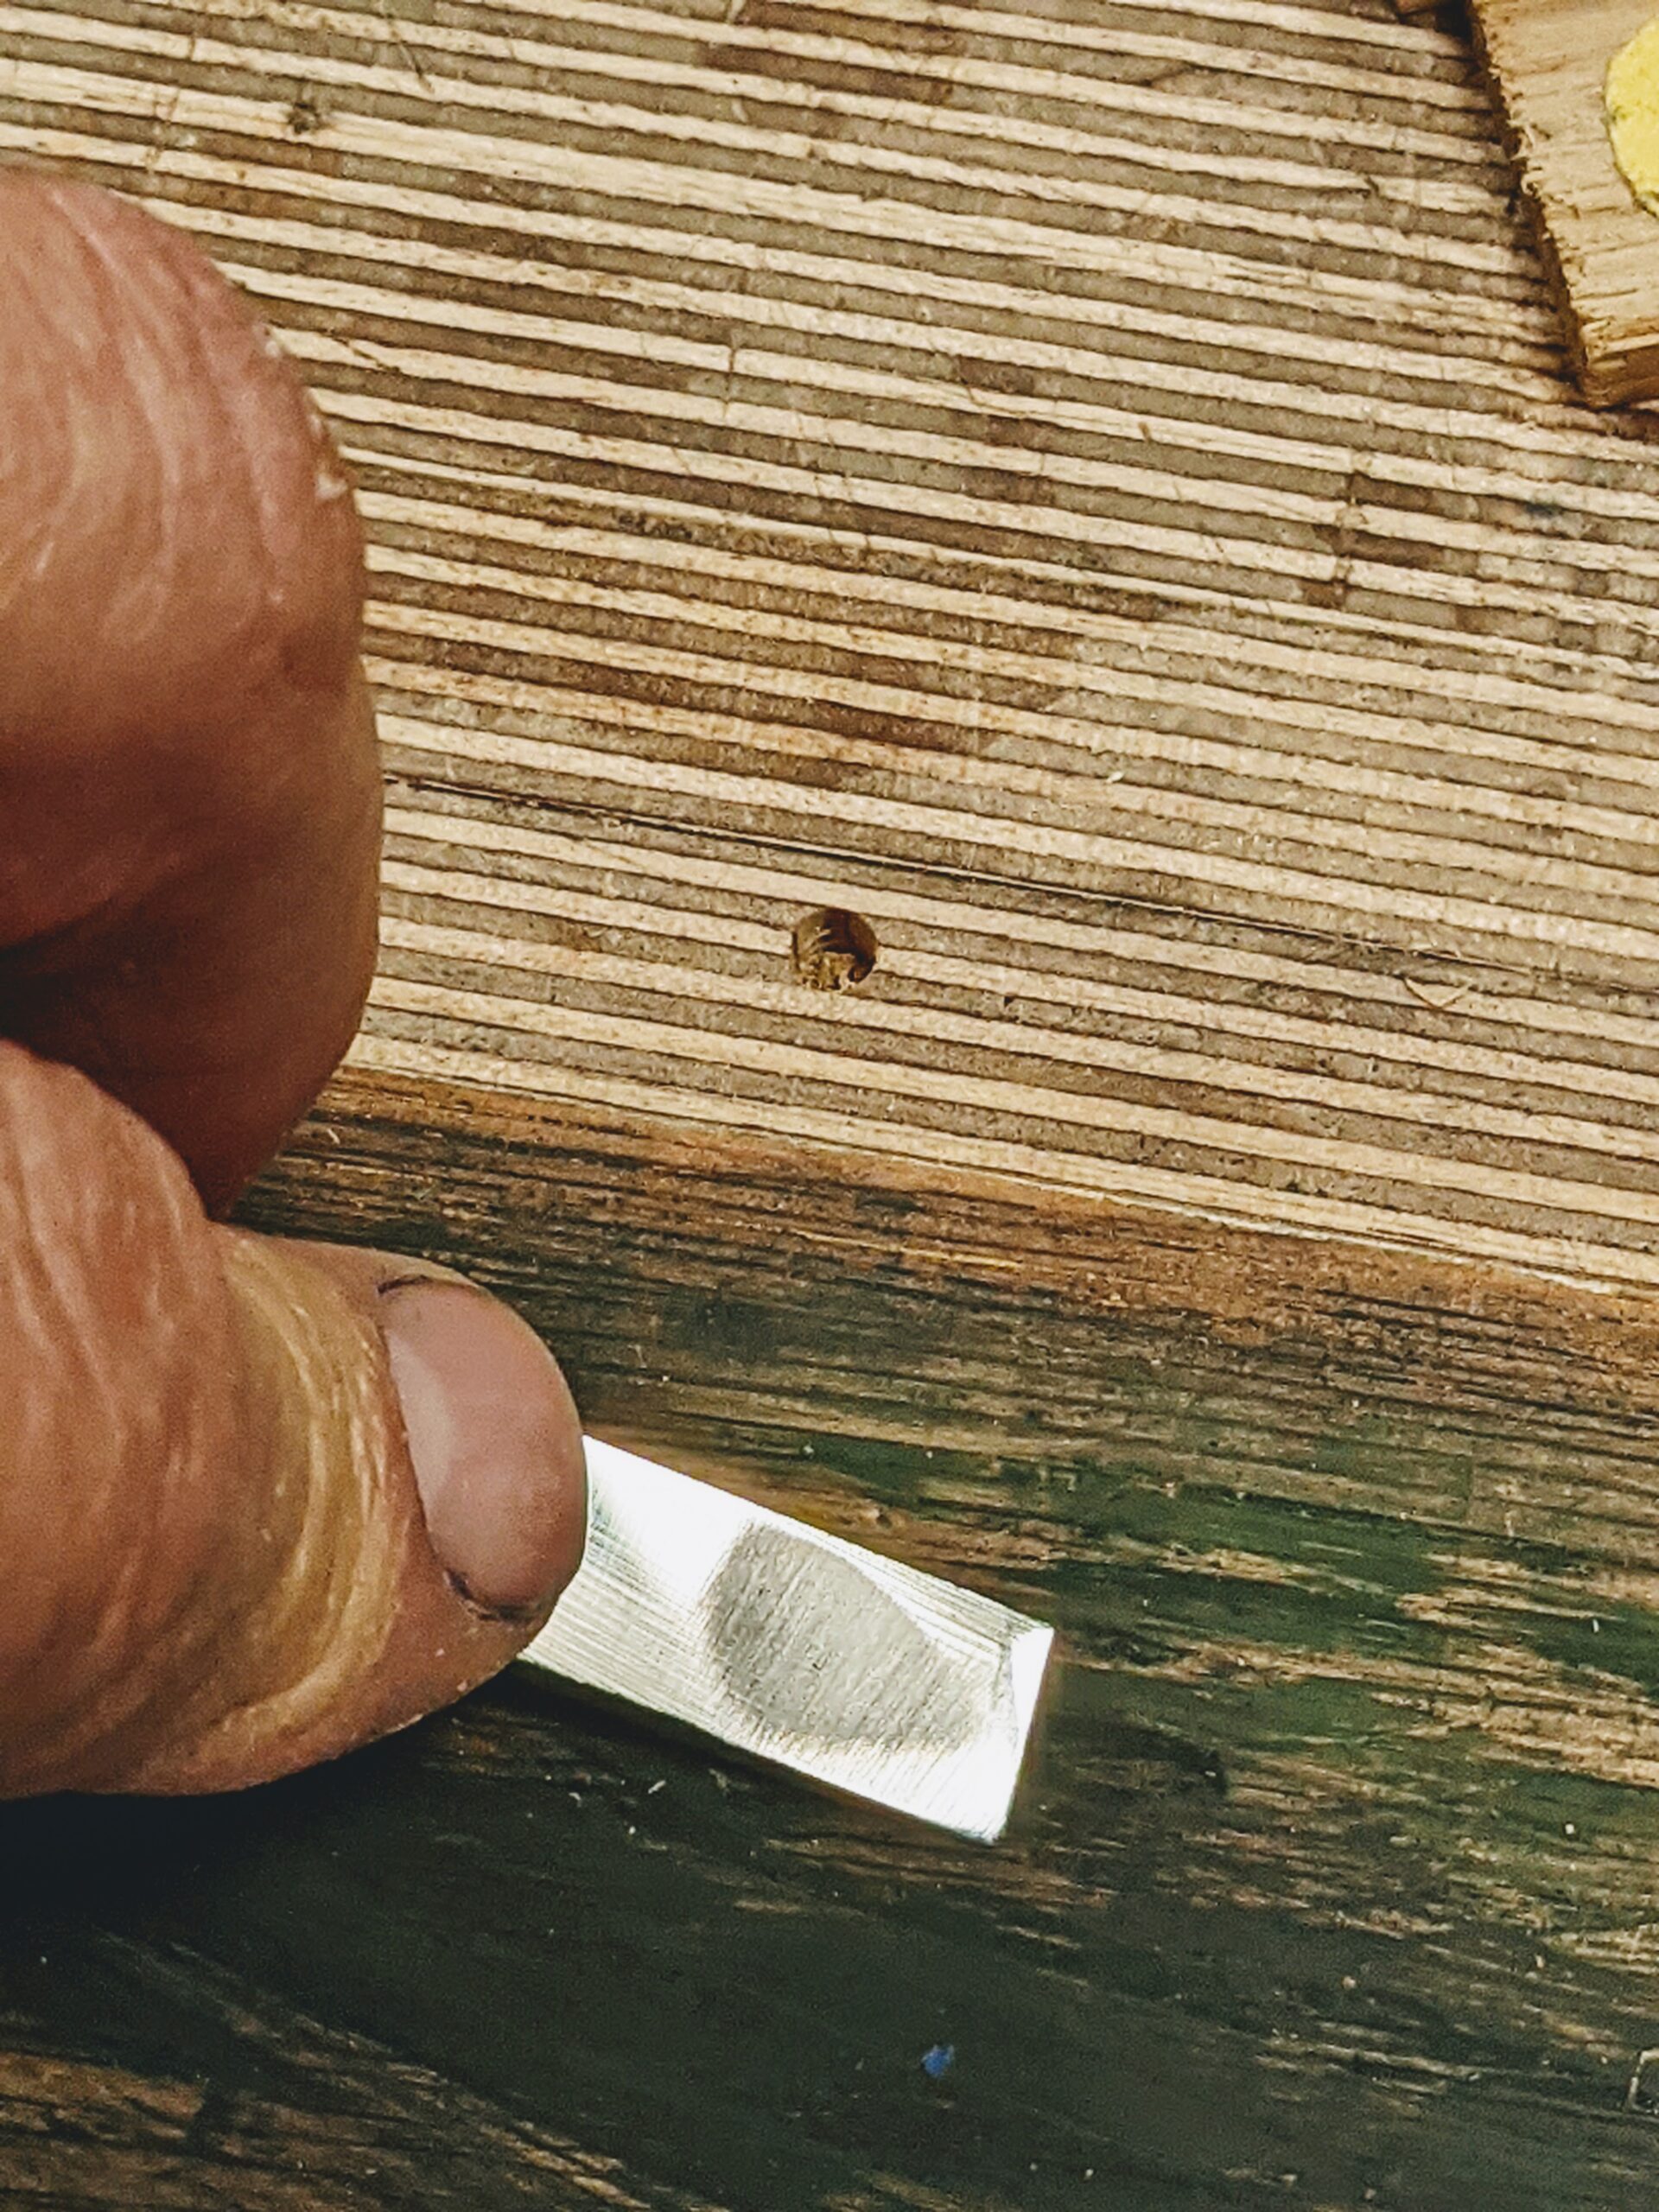
Once fitted, slide the wedge and cutter in place and tap the cutter until the cutter protrudes by the smallest amount and push the wedge in tight to hold position. Note here that we use the 25-degree rake first. This establishes the primary bevel.
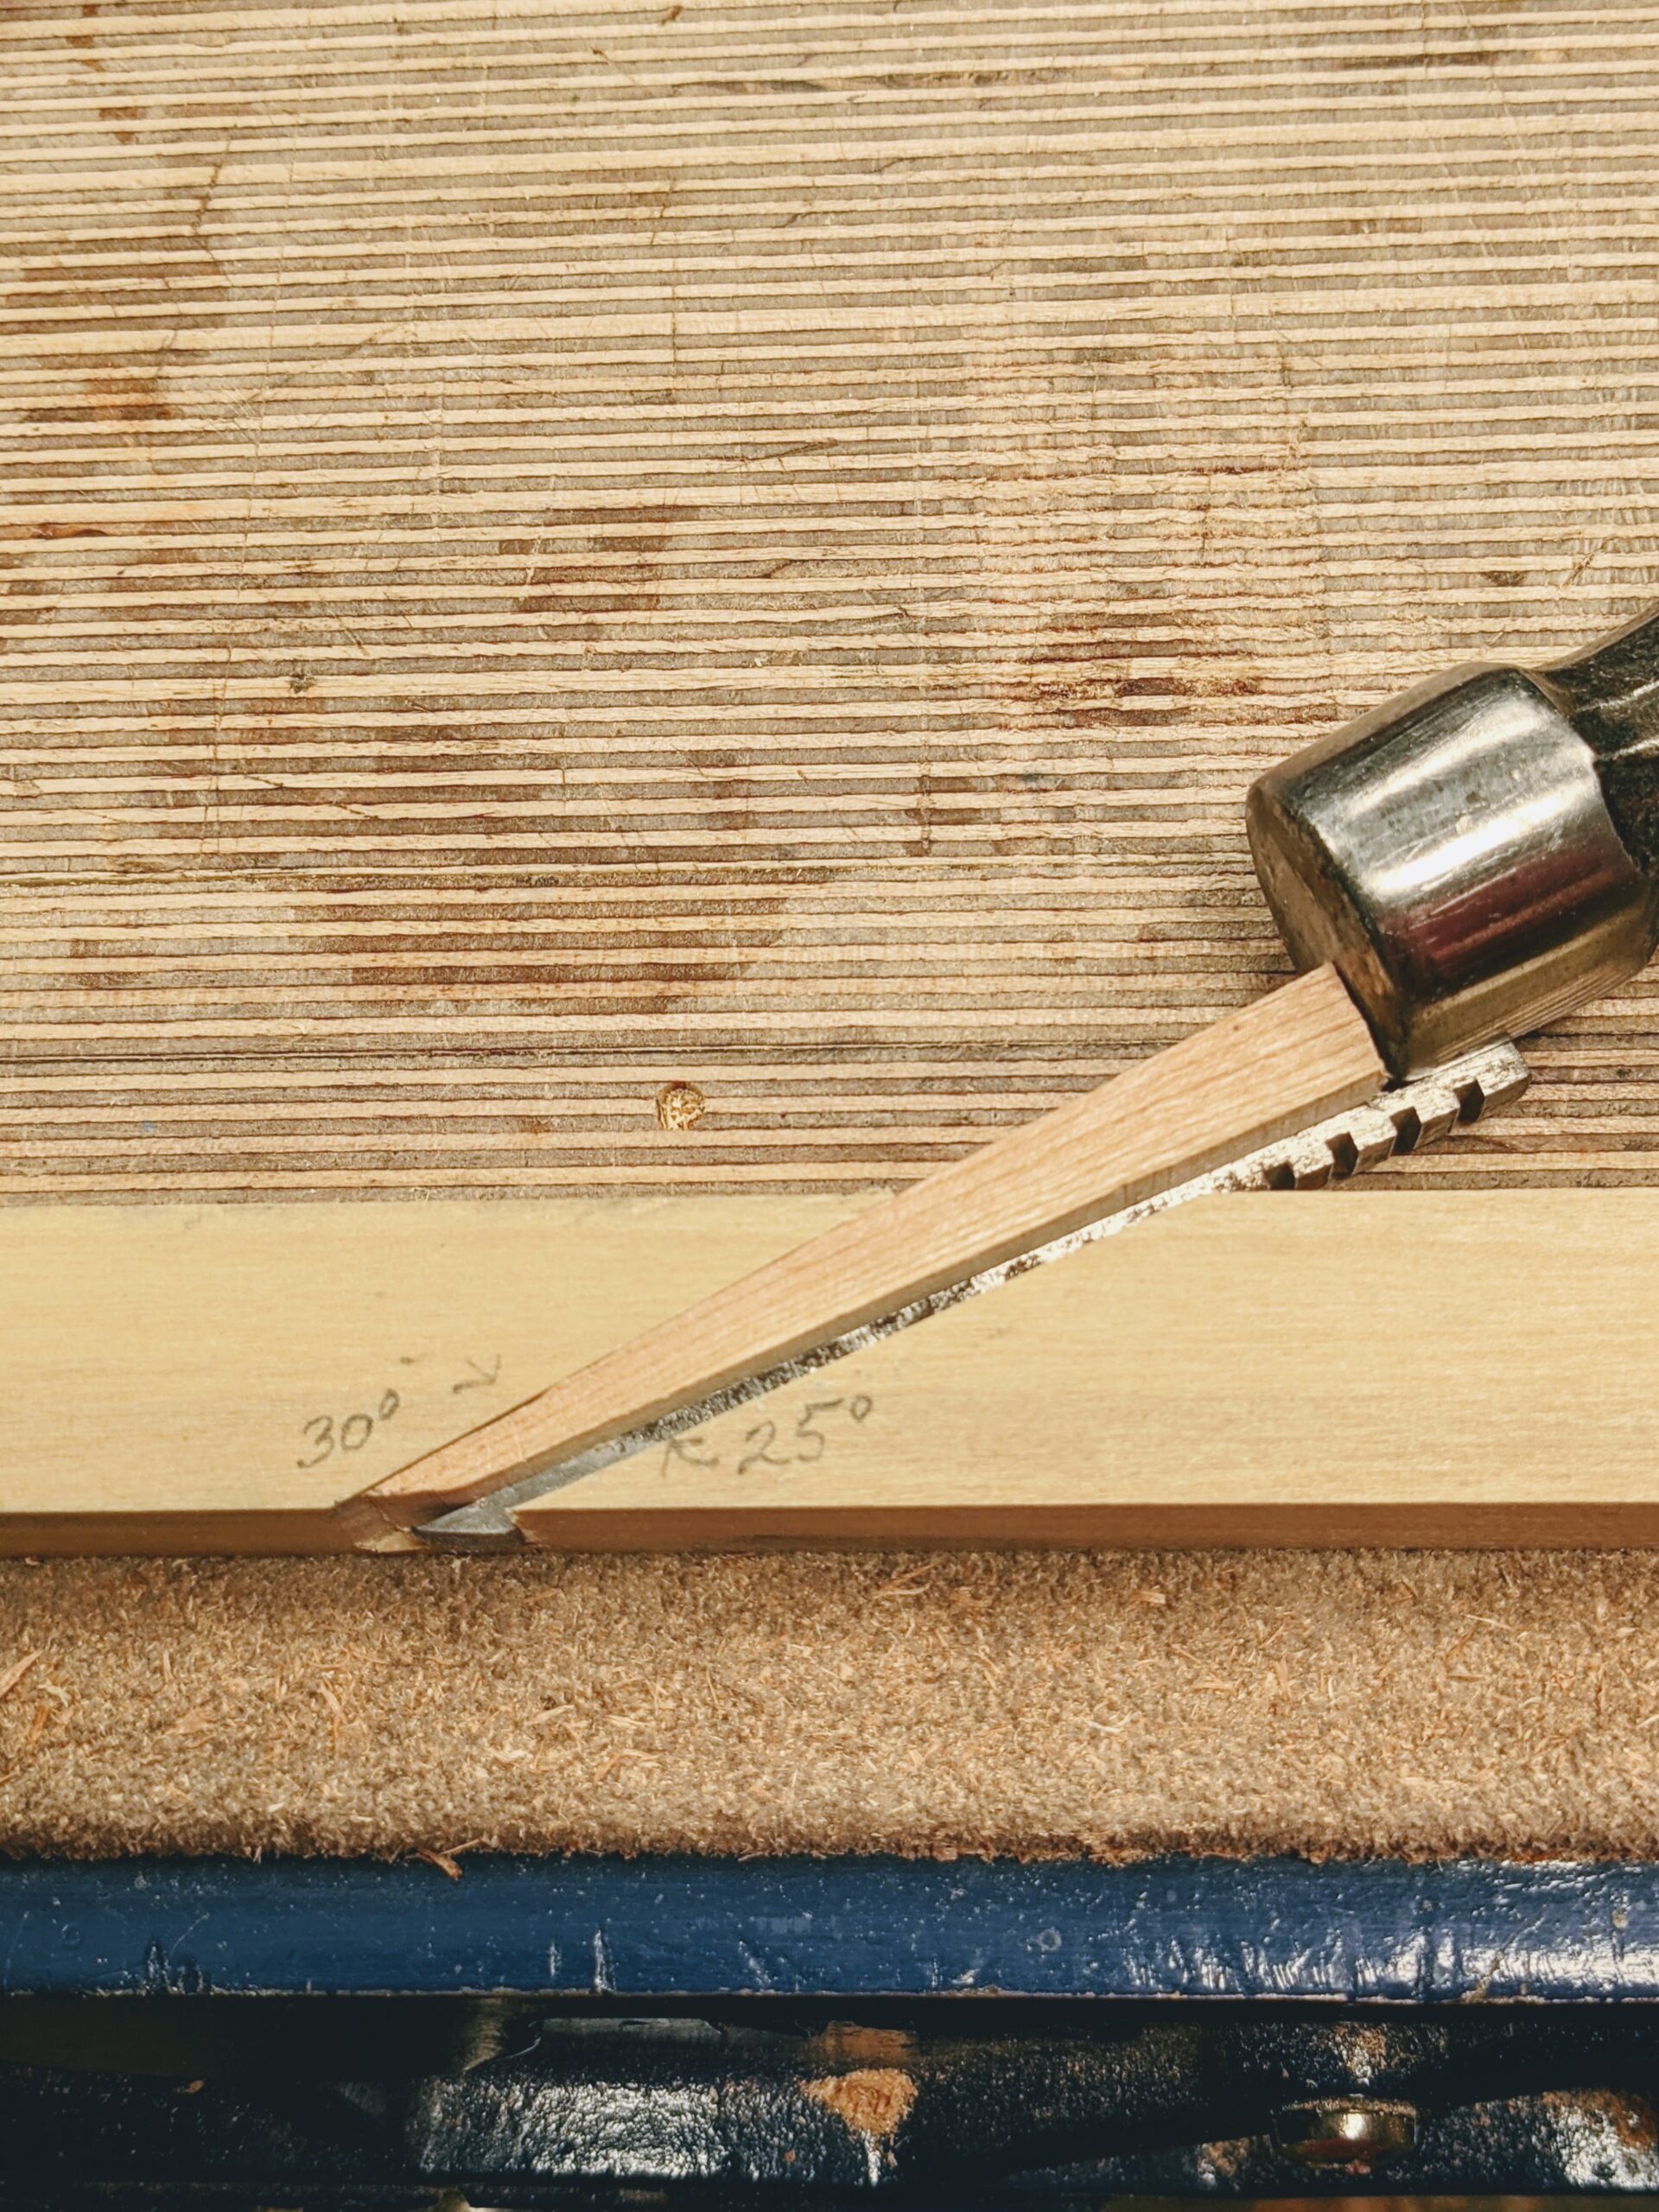
Once situated, tap the wedge tight with the hammer.
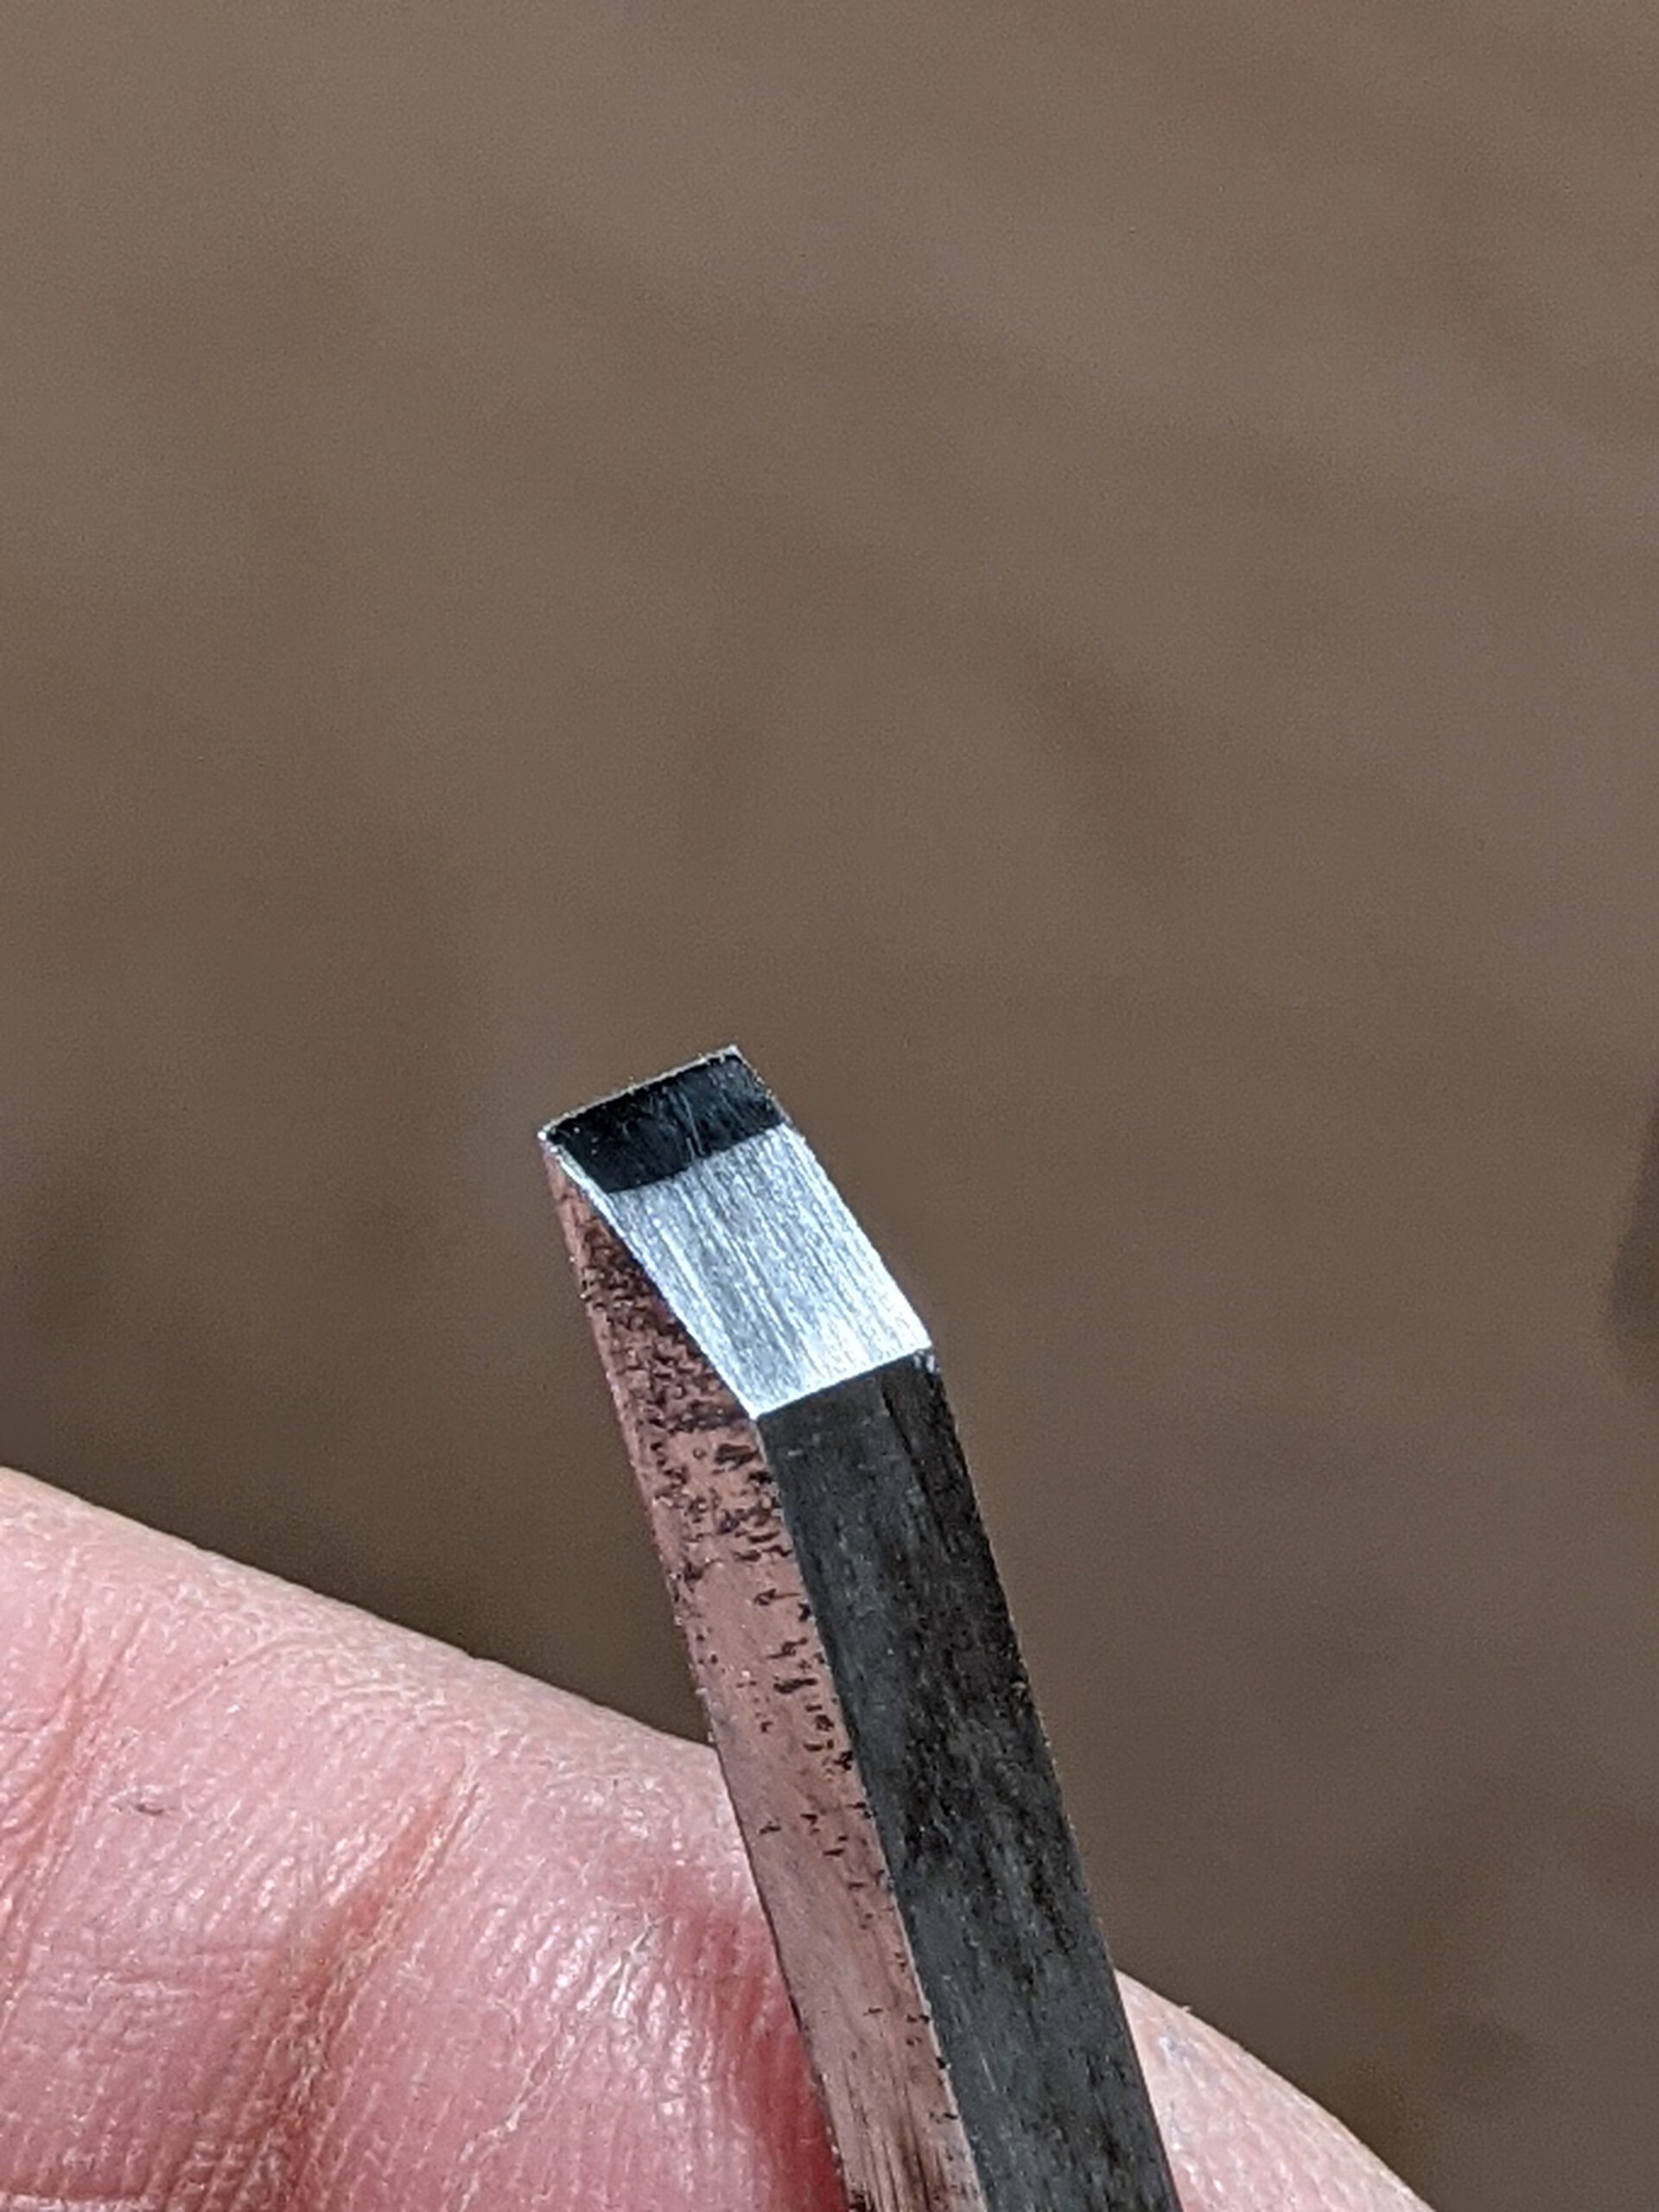
With the primary bevel abraded, now remove the wedge and move the cutting iron to the other side of the recess fro the 30-degree abrading and abrade the bevel with a finer grit.
Wedge again with the blade in place so that the blade is ever so slightly protruding. Clamp in the vise securely.
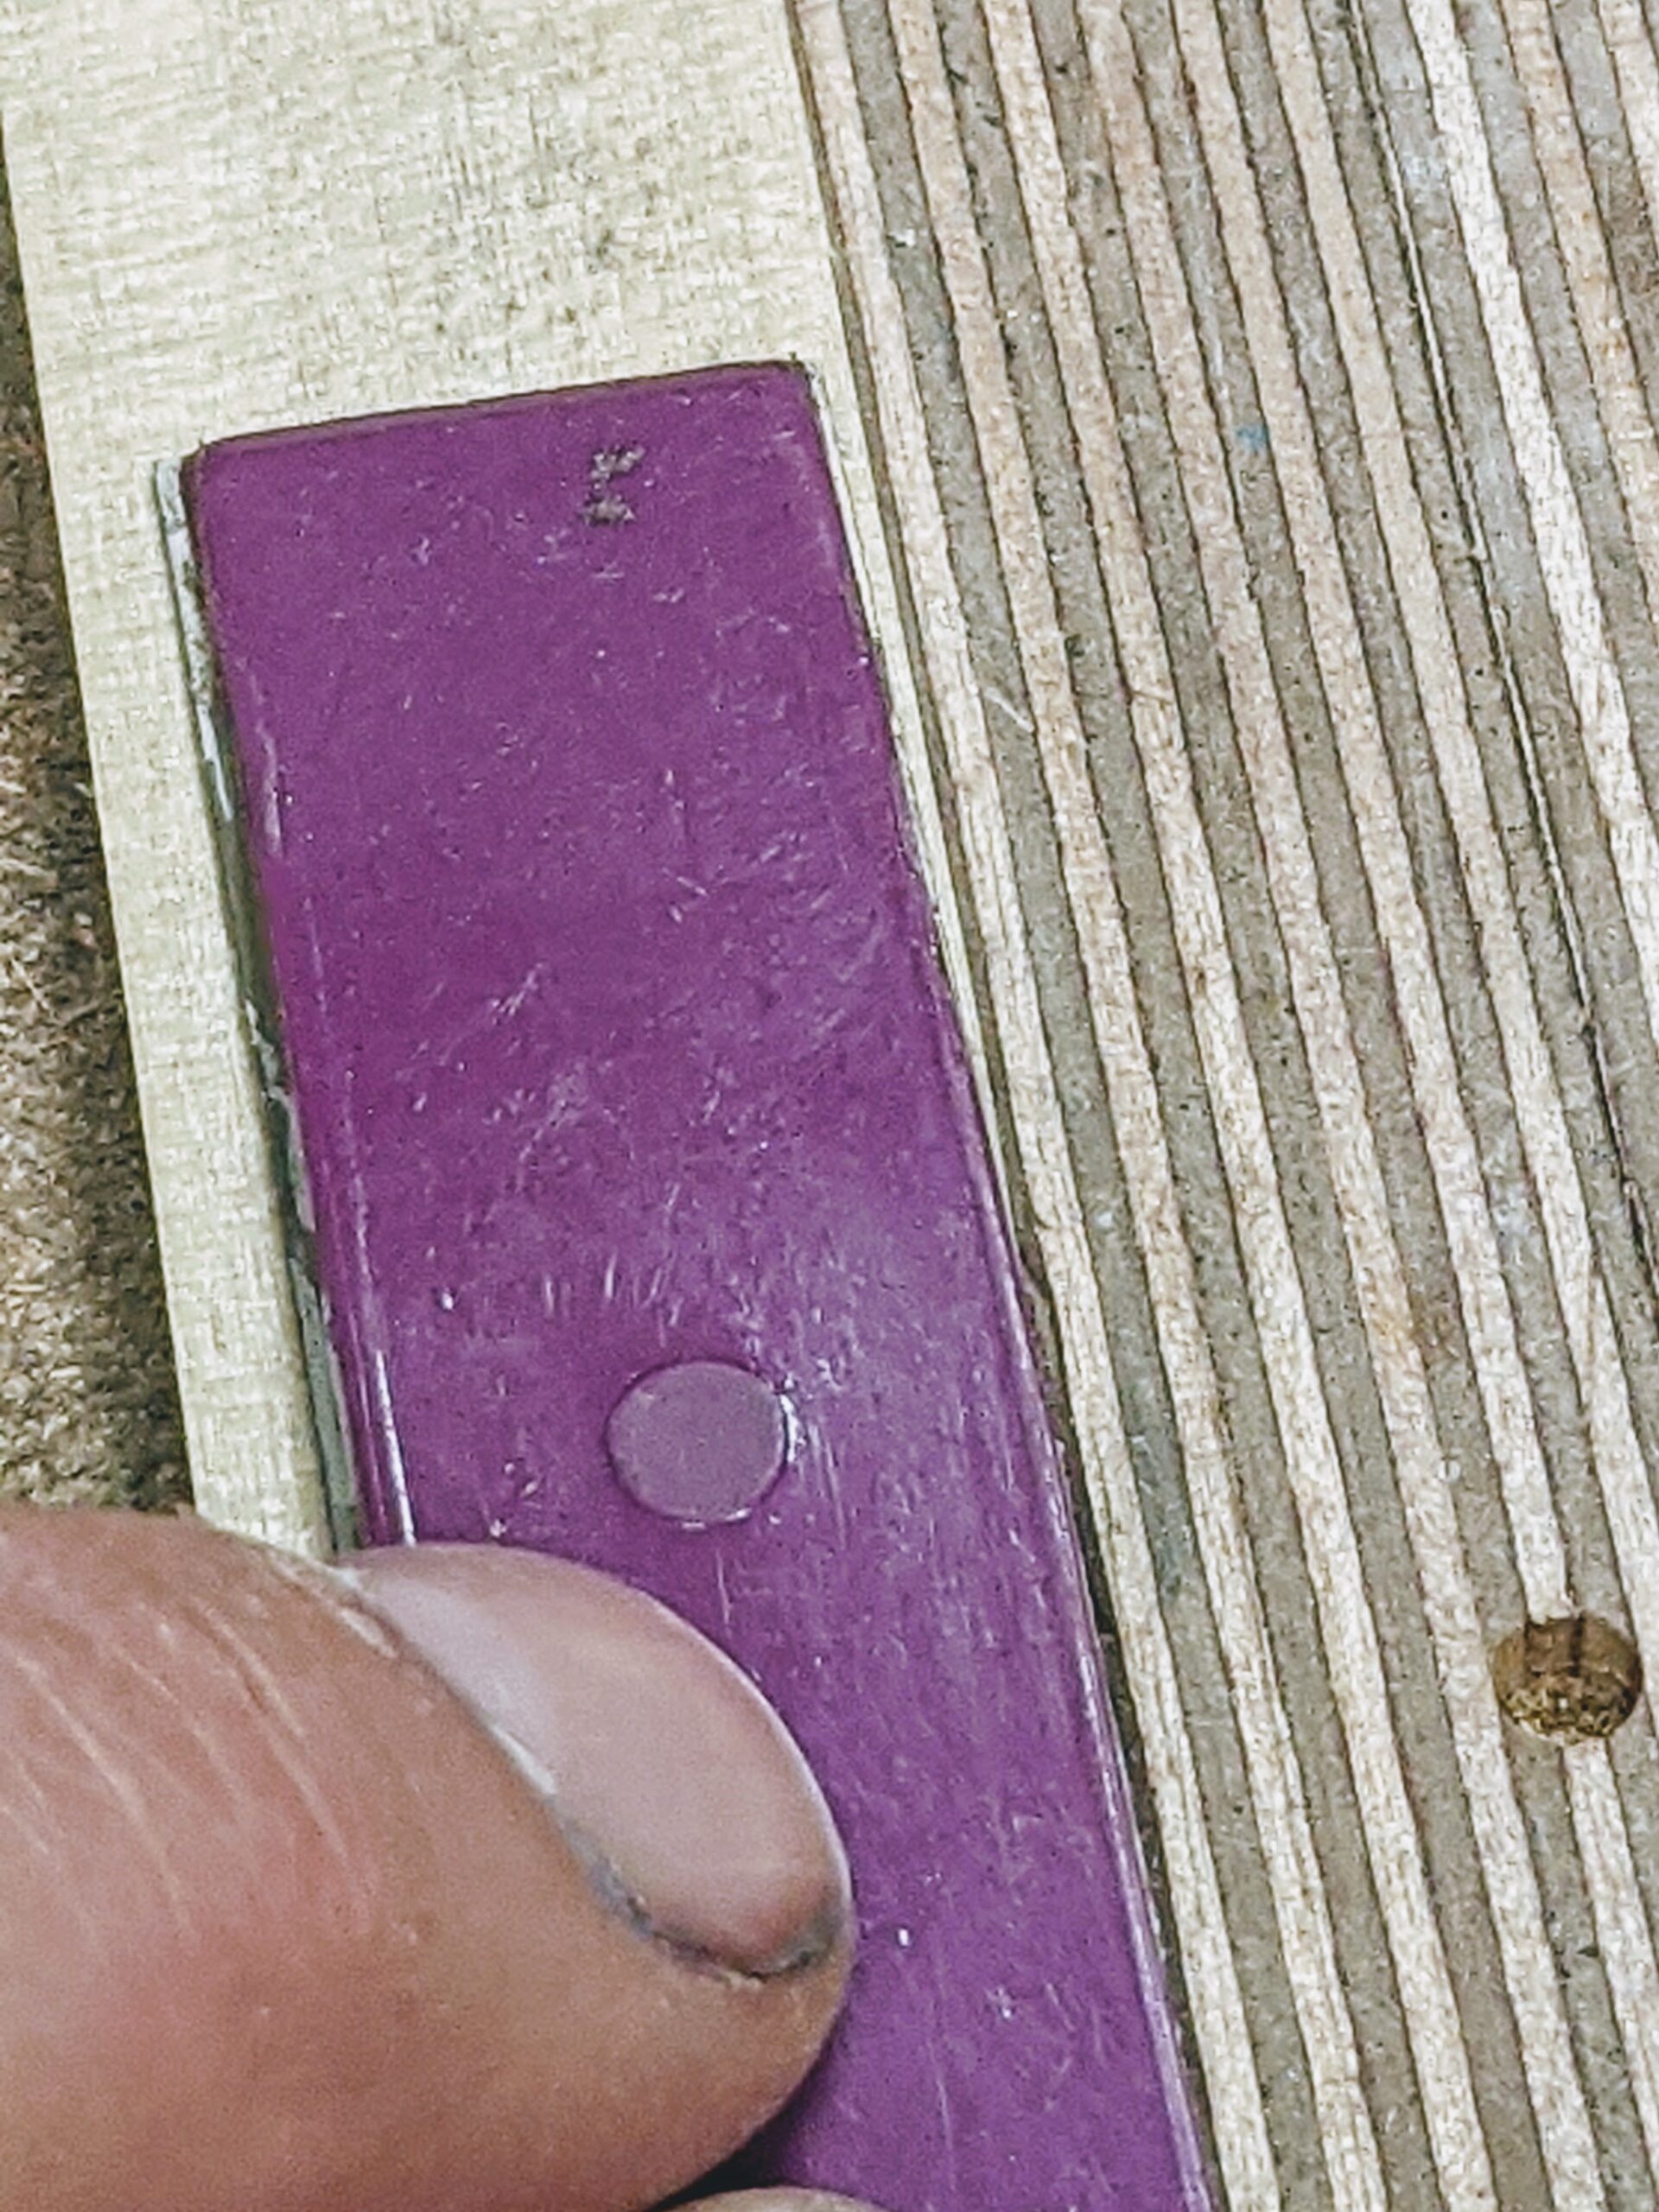
Note: If you don't have diamond hones use abrasive paper adhered to wooden paddles . . .
. . . go to 400- to 600-grit and further refine the bevel keeping the handle end of the abrading paddle firm to the surface of the wooden holder. Rub just a few times as the second bevel is soon established.
The final hone in the holder will be to whatever you want. Wet and dry of 1,000 to 2,000 will give an excellent bevel.
Buffing out further is really not always necessary but I often do so just for good measure, even on 1/16" wide cutting edges. Apply buffing compound to a piece of wood to buff out to around 10,000 on both sides of the cutting edge. You should be able to handhold this.
Comments ()