A plane difference
I have written my book on Essential Woodworking Hand Tools and left some tools out because owning every tool in the world is mostly unnecessary and especially is this so for new woodworkers who often turn the pages of catalogs and find themselves bewildered. Of course, we should be able to believe that every tool should work and work straight from the package. Truth is, if you buy a new bike or a new car, you don't expect to have to tune them before you start your journey. Many hand tools, on the other hand, whether they arrive good to go or not, need periodic sharpening and most likely will need taking to task every few hours or so. It is good when a tool is ready to cut straight from the box and that is a recent phenomenon. I think it is likely that Lie Nielsen was maybe the first to offer edge tools ready sharpened and finely honed. The contrast between the old-school makers who ground their bevels to 25-degrees and never put an edge that could be used to them and Lie Nielsen was night and day. This then gave Lie Nielsen the edge over the former competitors who have steadily declined in both manufacturing standards and output. I believe that their demise came because they relied on their ancient and outmoded reliance on a reputation that was not a reputation based on good codes of work practice. They thought that they were the best but they were just slightly ahead of low grade. For about ten minutes more work they could produce a really decent plane, but their arrogance and pride makes them blind to this simple truth. Their planes now come with built-in flaws that should never have been there, but if you treat them like a kit, replace the plastic handles and spend a couple of hours with a file and a wire brush, you will have a decent plane to work with. Buying one on eBay may well be ready to go with a little spit and polish as the previous owner/s will likely be an ex joiner who already fettled it.
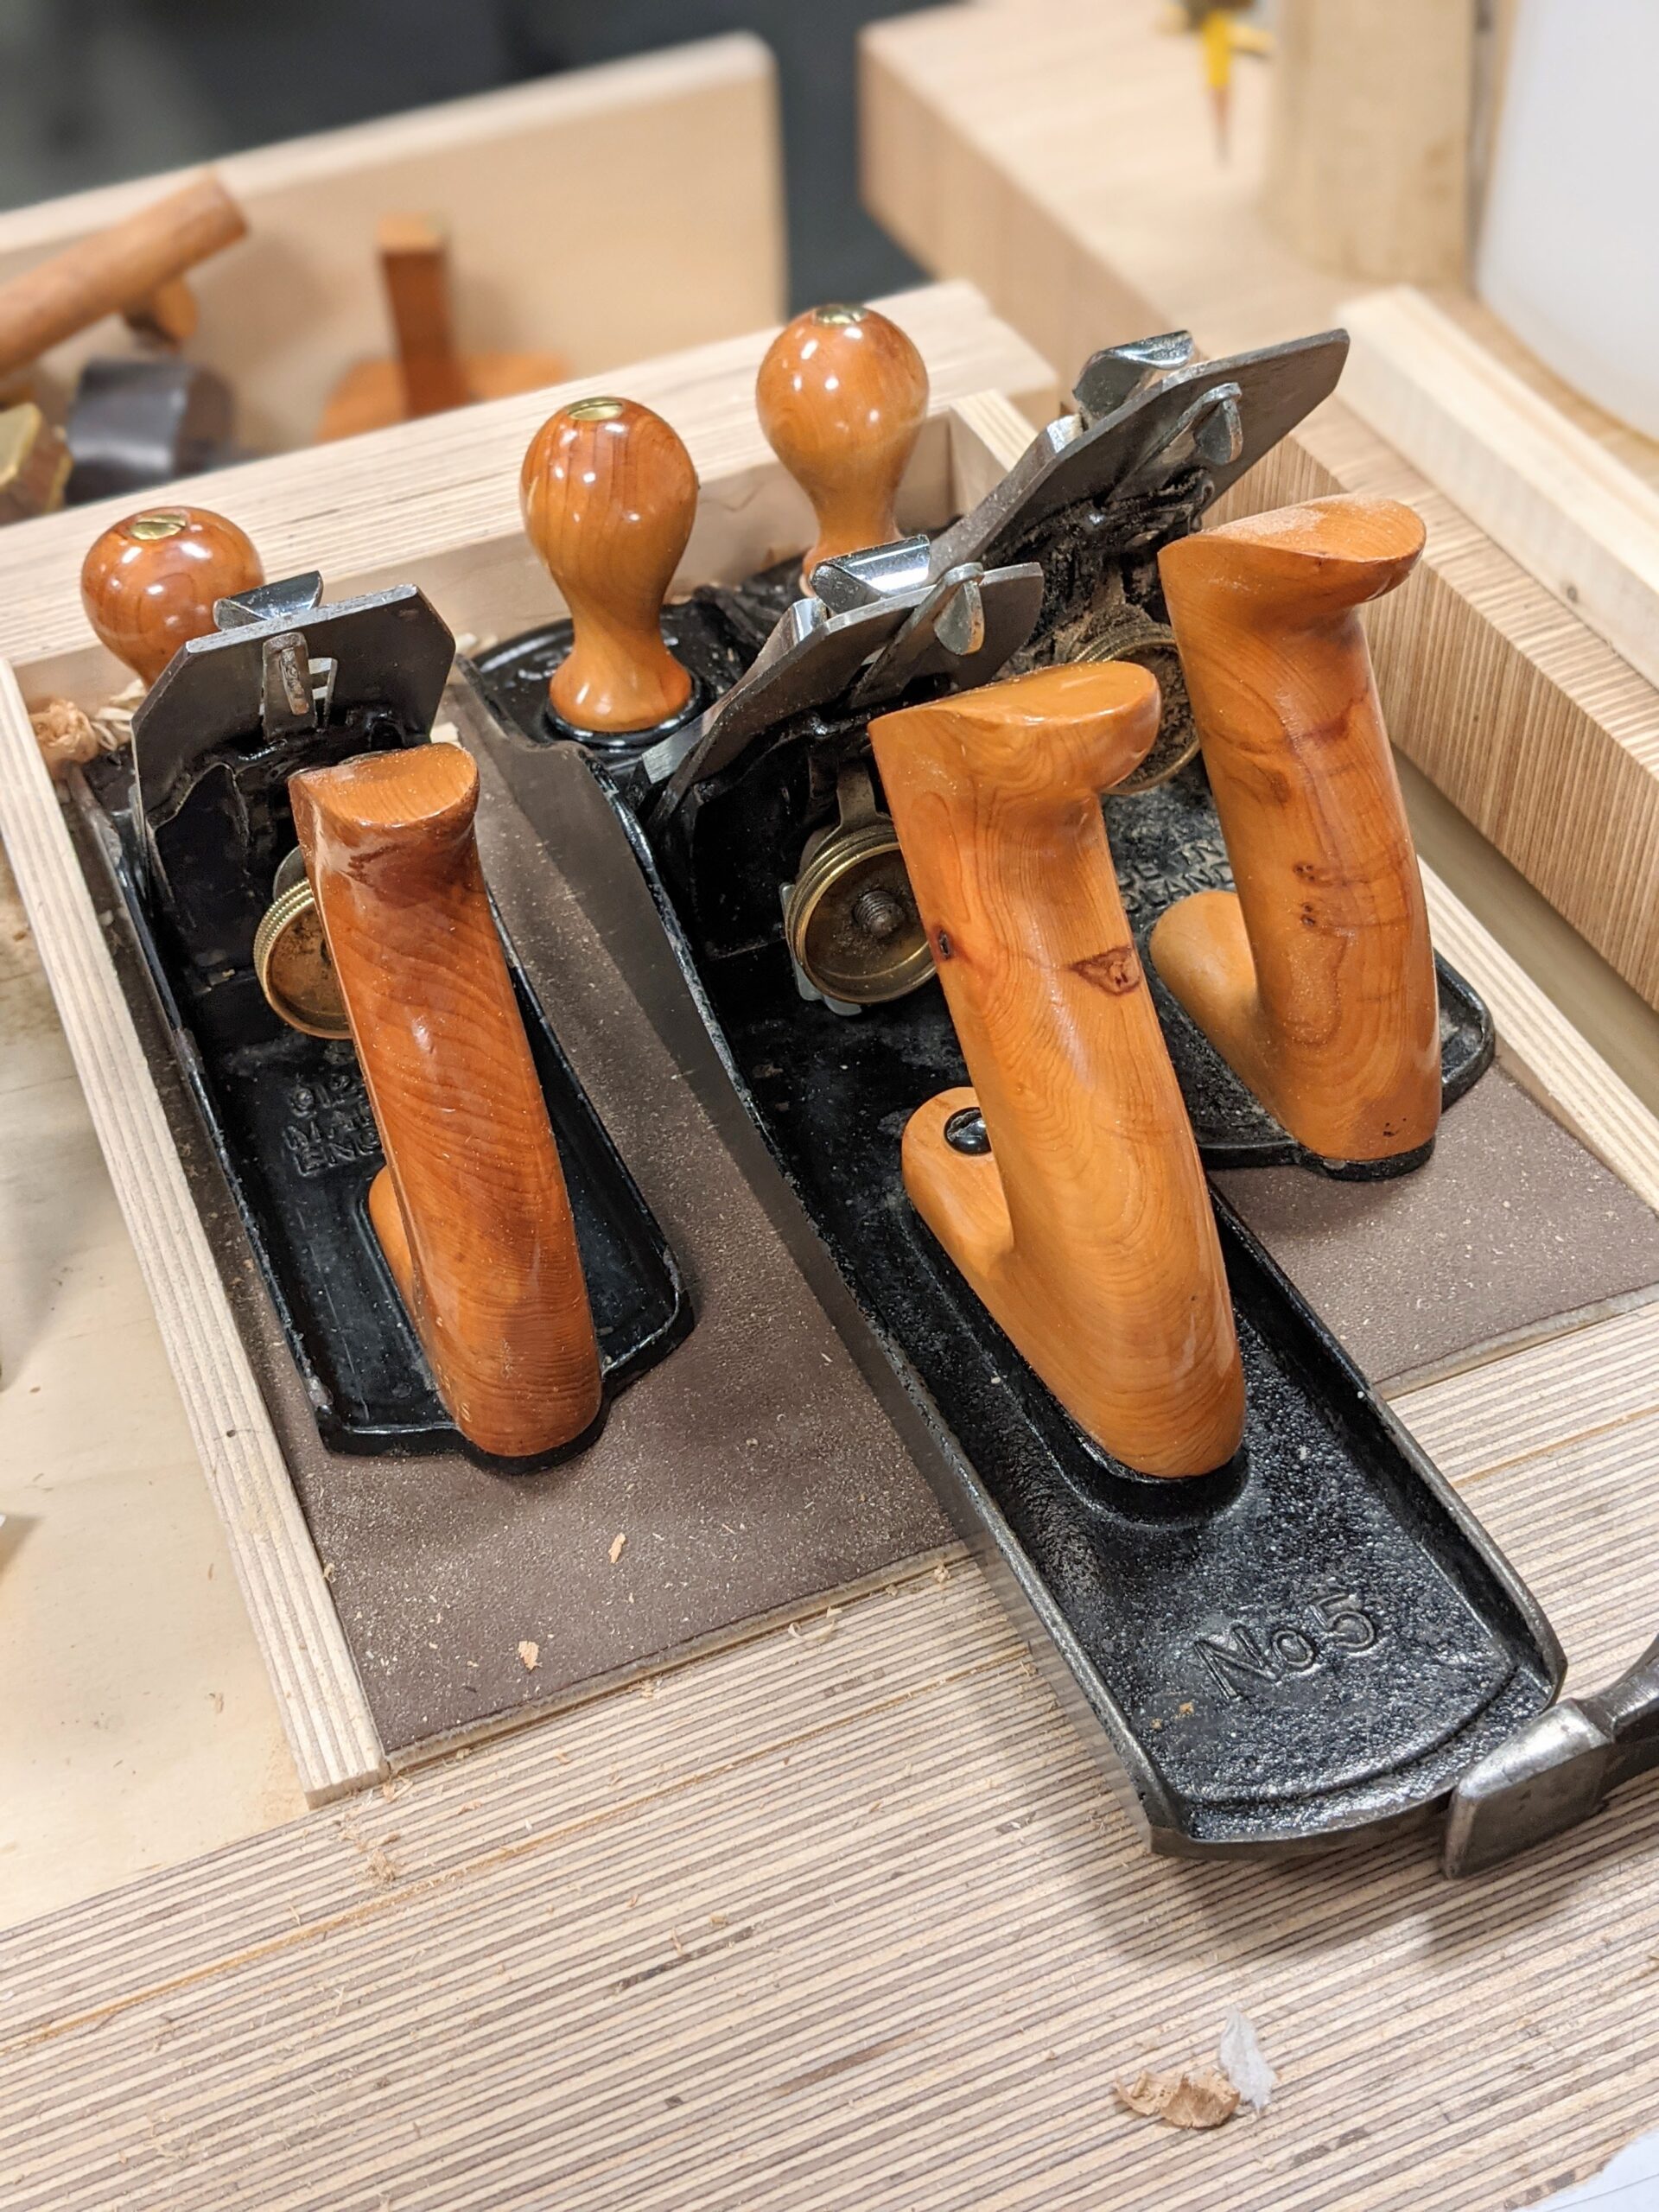
I say all of the above to say that you don't need the list on the 'Salesman's guide to buying new tools'. You will only end up with planes you may never use sitting on shelves gathering dust and the admiration of friends who think you are tool rich. You don't need either, listen to your Uncle Paul! You will do just fine without them and without calling yourself a minimalist to qualify yourself either. Let's just get real. Go to commonwoodworking.com to find a mass of free information on tools that we have put together over the years to get you started on buying them in, using them, adjusting them and maintaining them for daily use. We refuse all kickbacks or free tools. Of the hundreds of different project videos we have produced on woodworkingmasterclasses.com, the tools listed on CW are just about all we have ever used. When I wrote Essential Woodworking Hand Tools it wasn't to produce anything more than core information on the most essential tools I've fully relied on throughout my work-life as a woodworker. I decided later to produce an occasional 'Tools Worthy of Honourable Mention' page to introduce planes and other tools that, because I already own them, I tend to use them. These are tools I might not buy for that occasional-need use because I can adapt some other methods to get where I need to be. Things like shoulder planes, draw knives, scorps and such. Why are these in a category of non-essentials? Well, perhaps non-essentials would be better put as lesser-essentials. They are often tools that are perfect solutions in certain situations but other tools can be adapted to solve an issue with as good an outcome as with the more special tool. Remember too that I want new woodworkers to get the core essentials first and even buying the way I suggest, it can still run up the costs to more than some can afford.

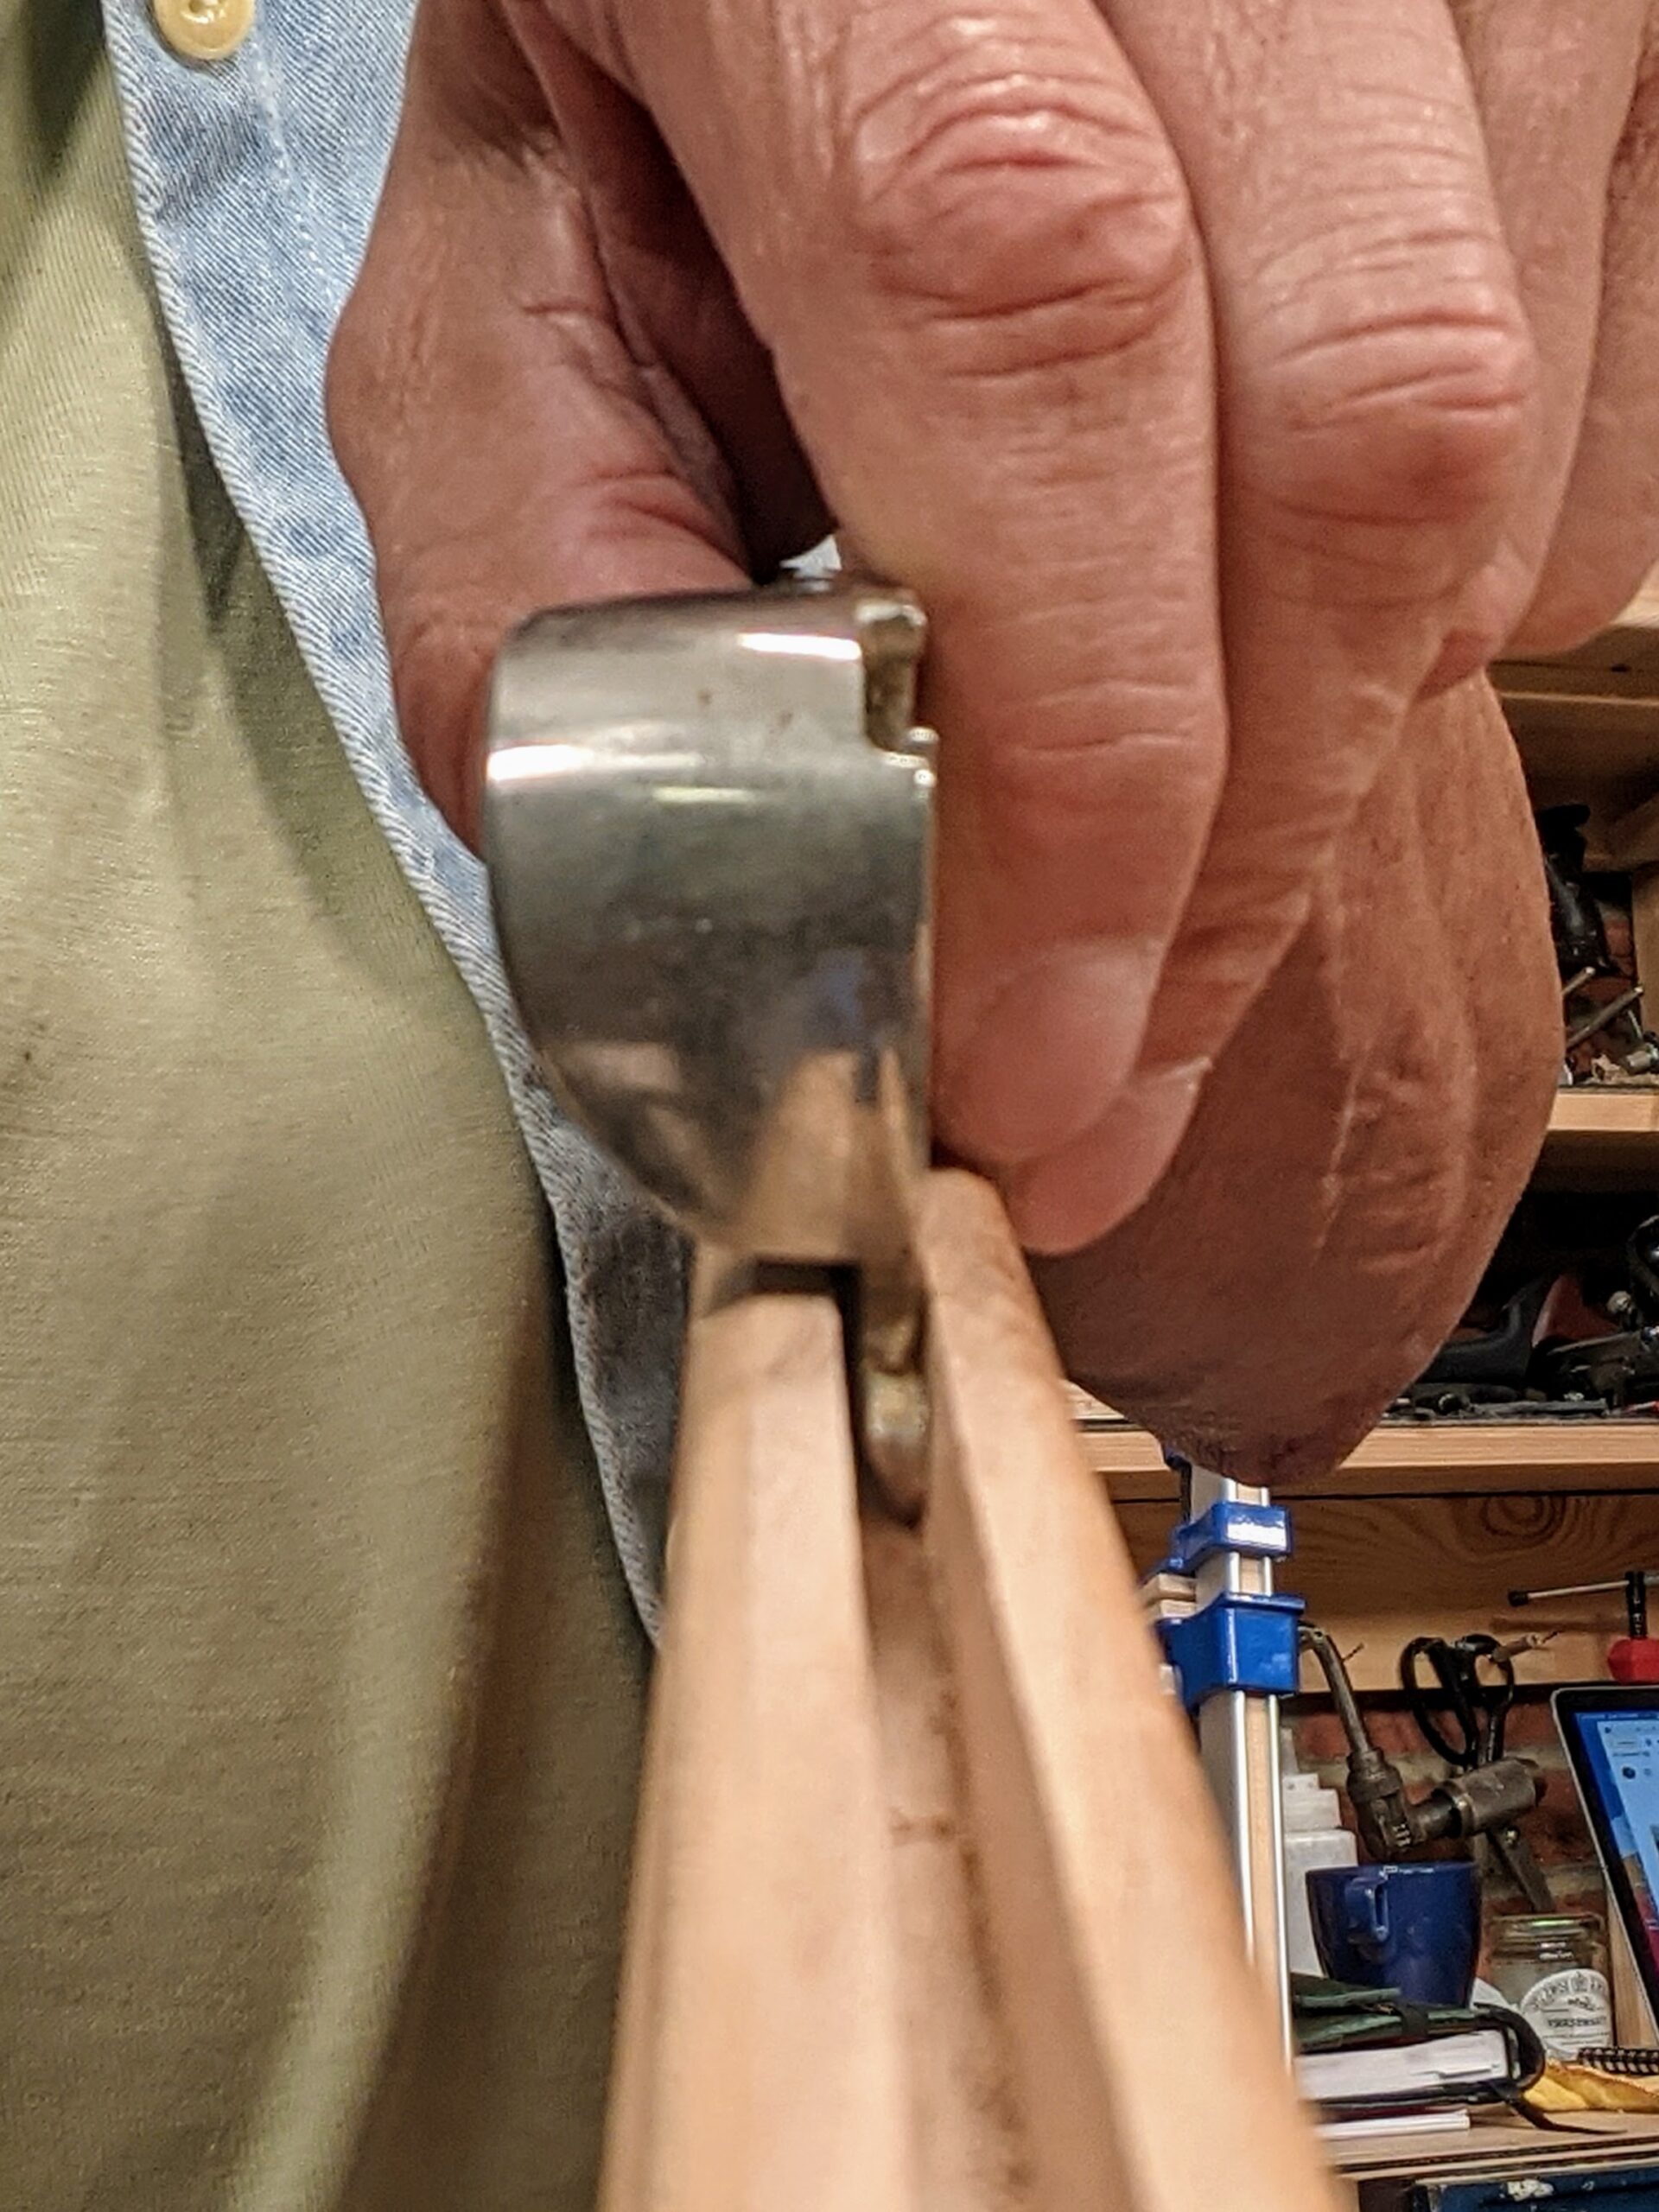
The plane I want to talk about is the side rebate plane produced by Stanley and then Record and then Preston too. Some side rebate planes have one blade in them and thereby require two such planes with the blades offered in two opposing directions to deal with opposing grain and the opposite sides of grooves and such. The two-bladed versions offer left- and right-handed in a single plane body so when you encounter situations where an opposite direction is required you can simply flip the plane over or end for end or use it on a pull stroke to resolve adverse grain issues.
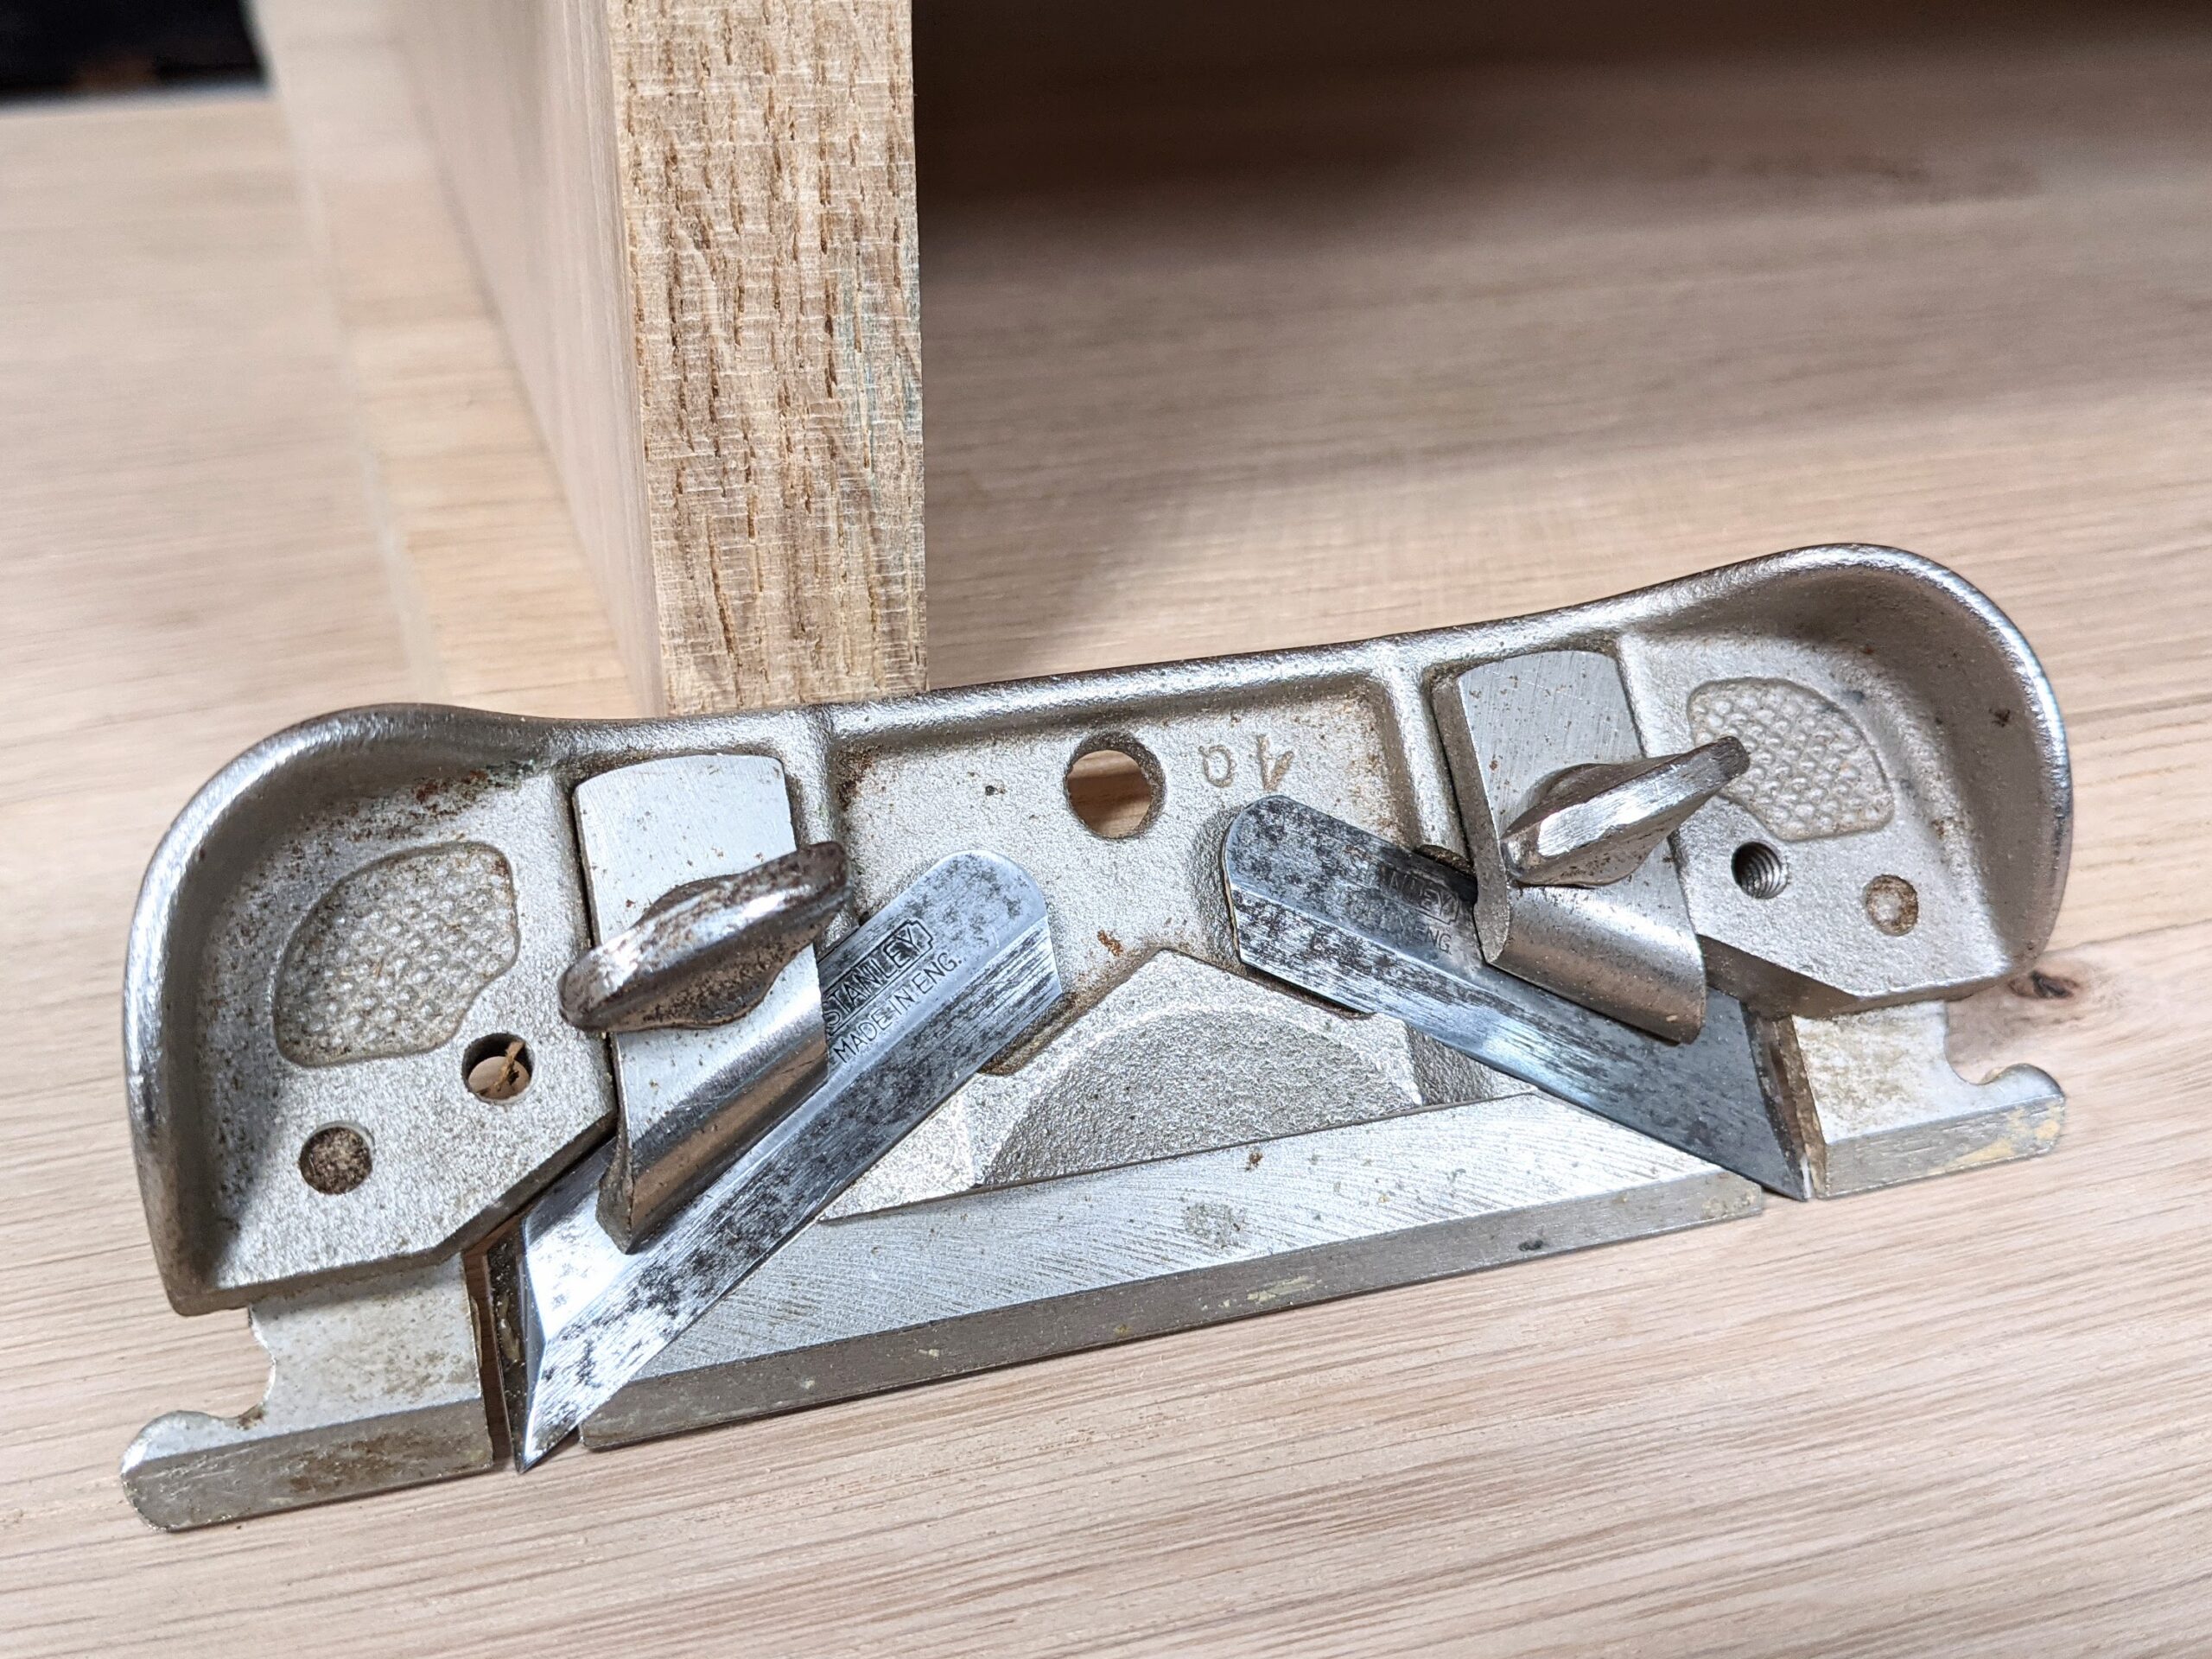
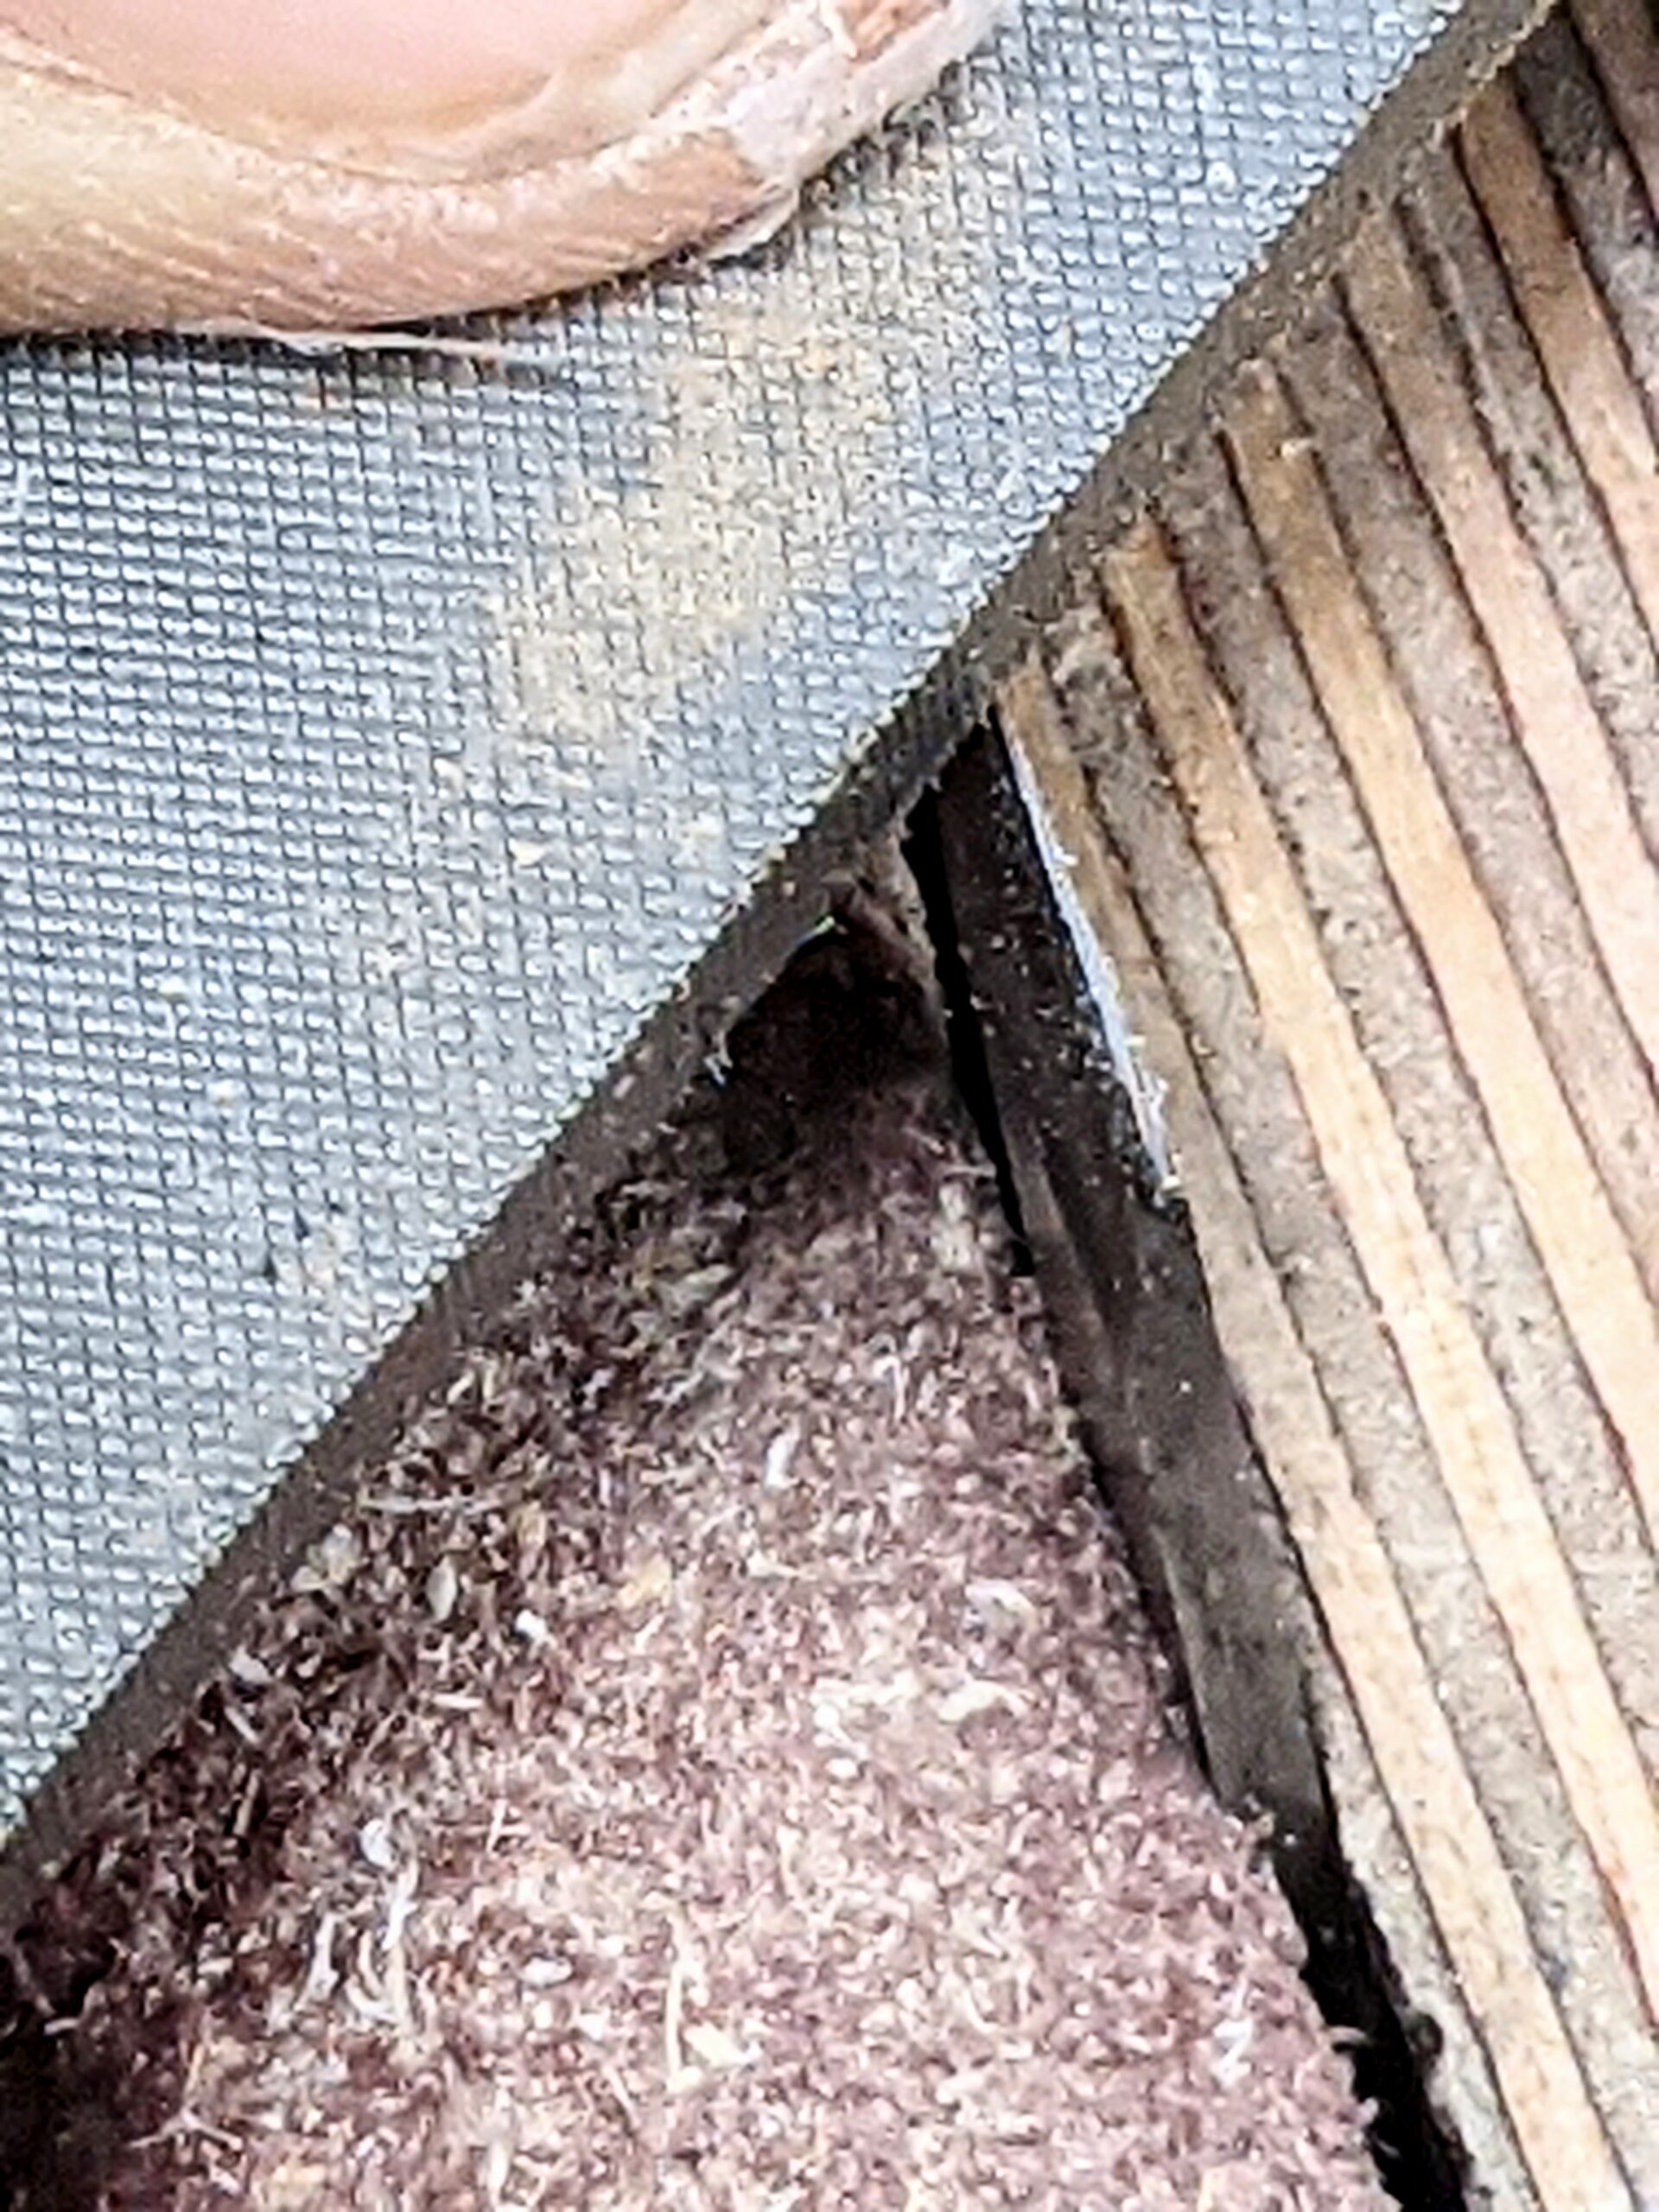
This side rebate plane by Stanley came from a recent eBay purchase to see what condition a previously owned one might be in if someone did the same as I and what they might face if they bought one from there too. It's in fair to good condition, totally usable and fully functional apart from a missing depth fence and the former owner seemed to me to have used it extensively. He/she did, however, need to get new glasses or a different way to sharpen because the bevels were so unevenly cambered it would be impossible to get the vertical cut you depend on this type of plane for.
Side rebate planes are designed to take off shavings of even thickness from the wall of a groove to increase the width of a groove and retain top-to-bottom parallelity or the side wall of a rebate somewhere. If the bevel on the cutter is uneven in pitch or angle, the cutting edge cannot develop a parallel cut from the wall of a groove or rebate wall. This may not be obvious when you first try the plane.
Think about the sole of this plane differently than you would any other plane where the sole is beneath the verticality of the plane. Think of the sole being on the side of the plane where the blade protrudes. Then you will understand better what I am speaking of.
This plane should not be confused with the earlier wooden version of the plane which had a much taller cutting edge and was often used with a combination of other planes known as moulding planes. Whereas the vintage wooden version did skim off shavings in similar fashion, they were used to refine rebates in mouldings and door frames where the Stanley version could not go. They were also used with unique moulding planes like snipe bill planes and various moulding planes where grooves were run along the face of say a skirting board or architrave to allow moulding planes of different profiles to further develop across the width of a board. Remember that the skirting boards we use today (base trim in the USA) were not simply a bullnosed top corner in 1/2" thick stock, 3" tall. No, some skirting boards were upwards of 12" tall and some were made in two or three parts to build one on top of the other. Mouldings were ornamentation of the most ostentatious kind in some houses and offices, museums and such.
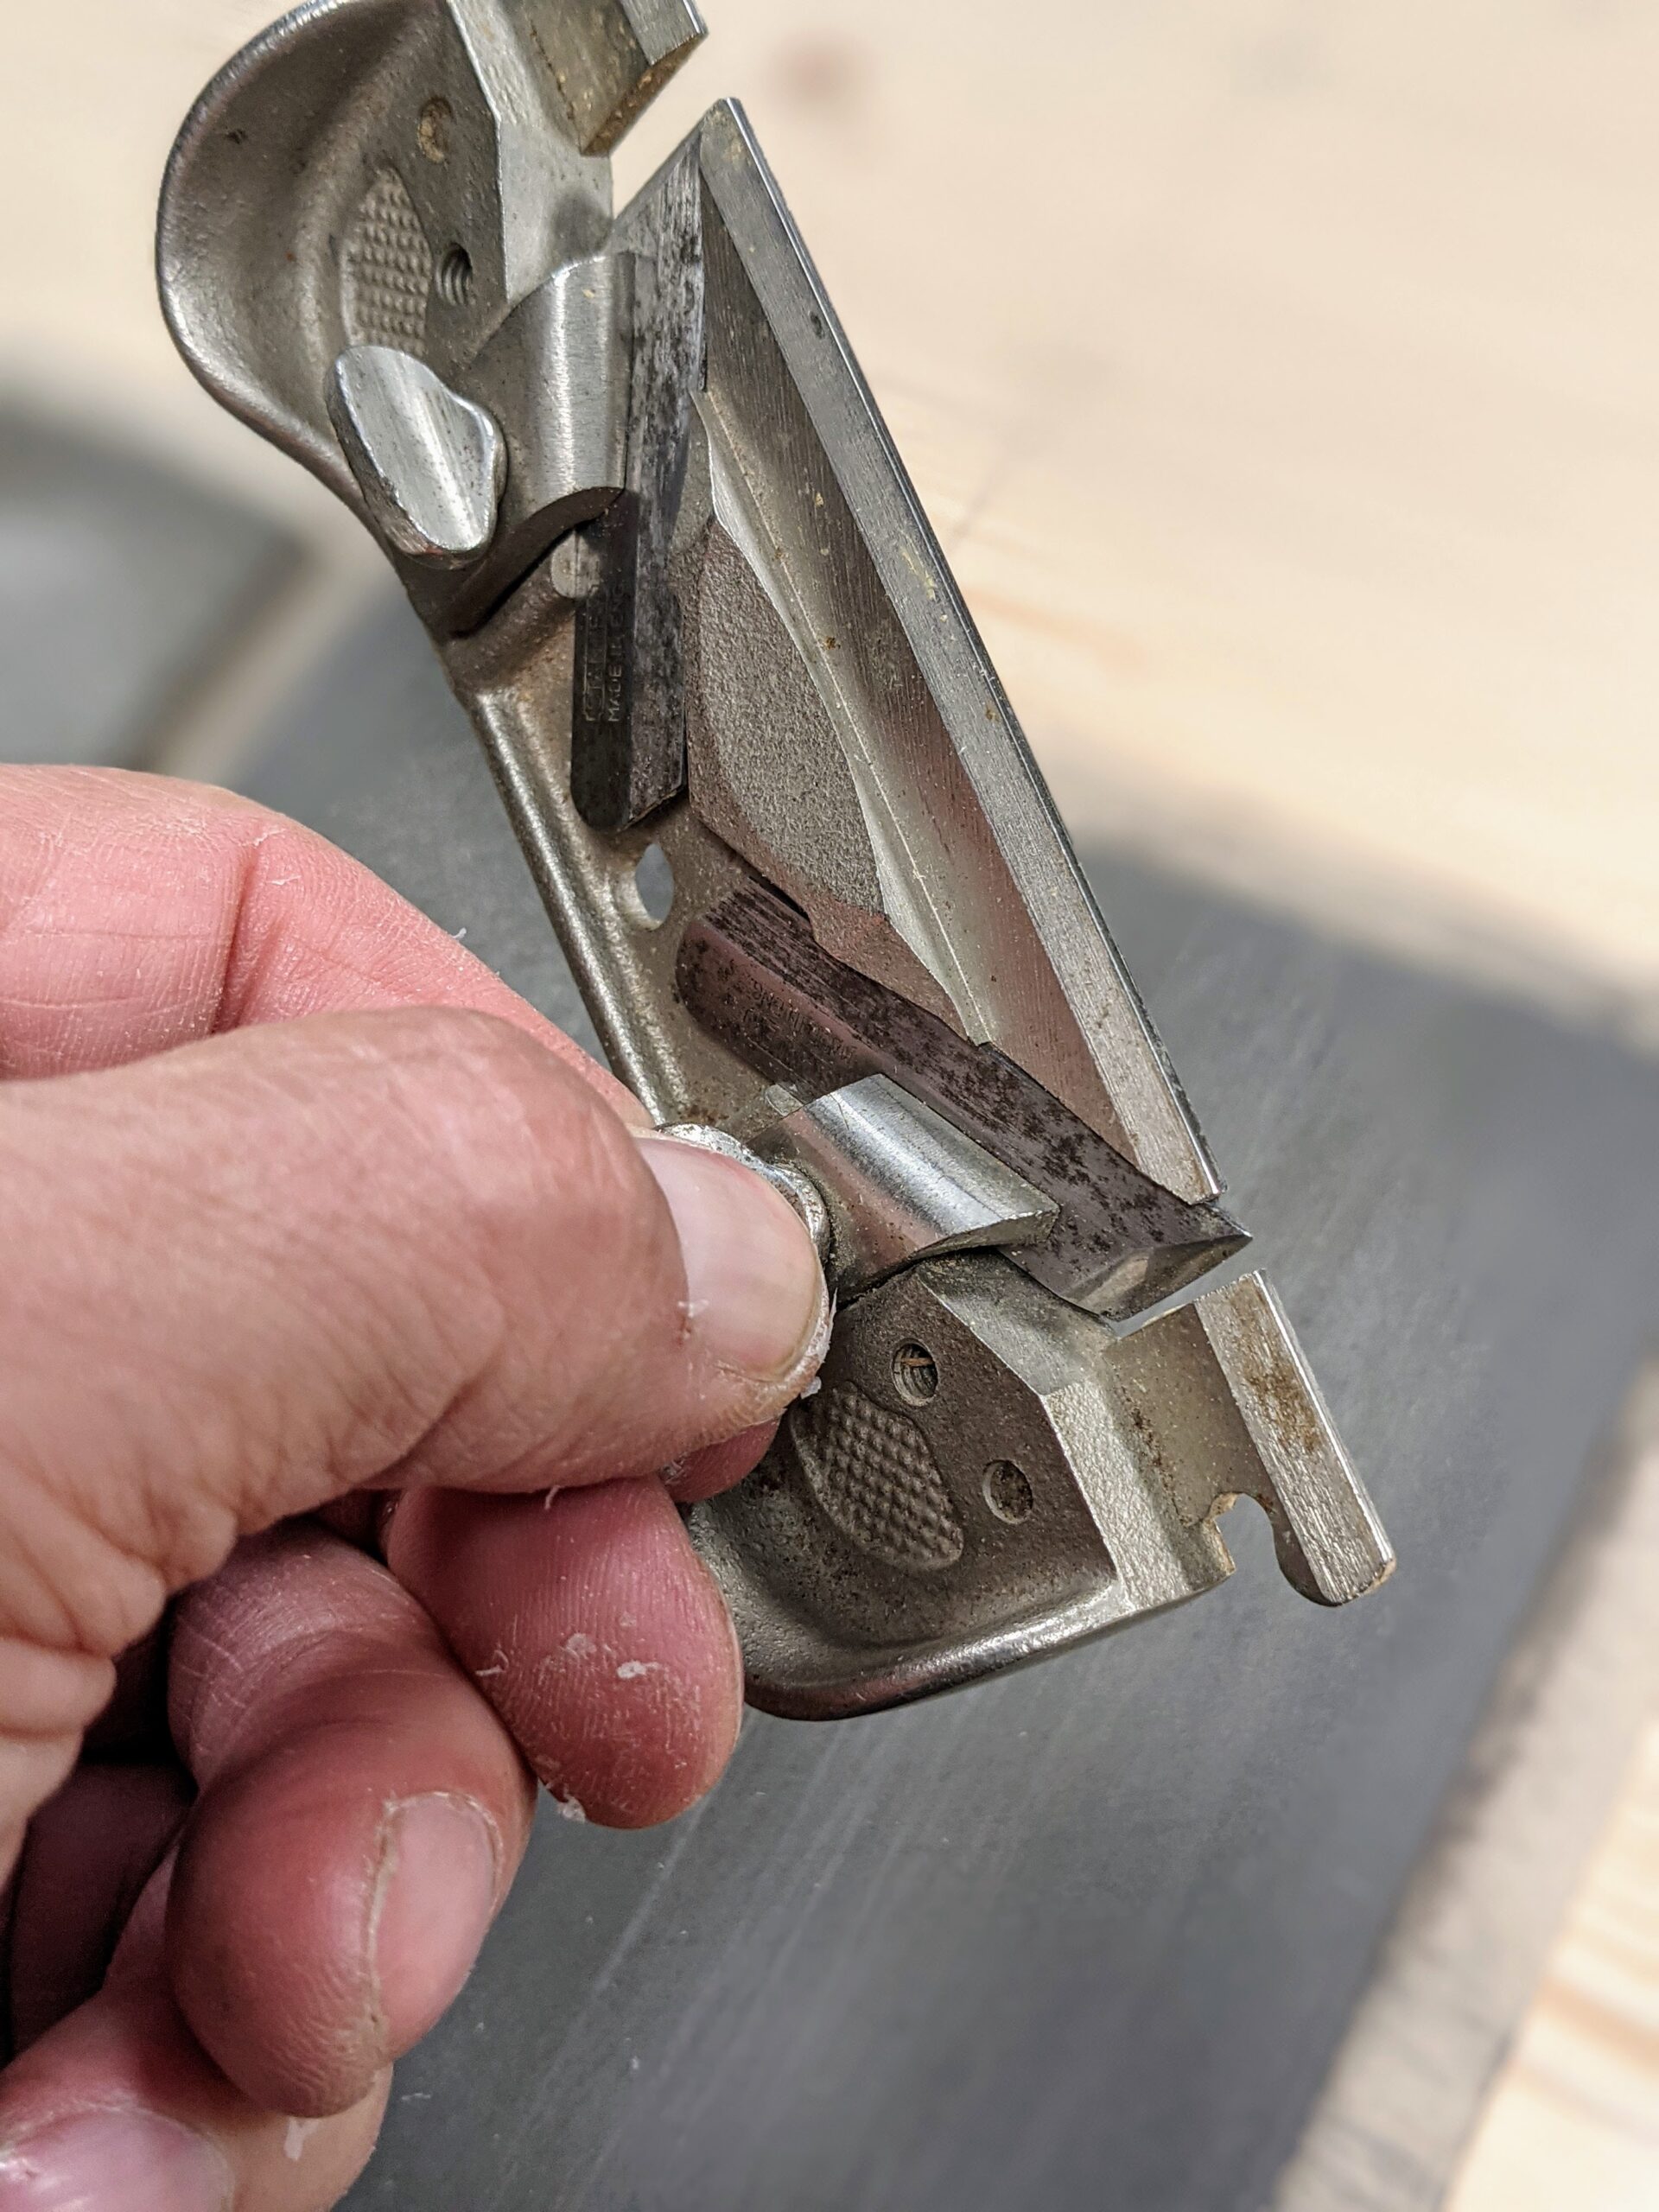
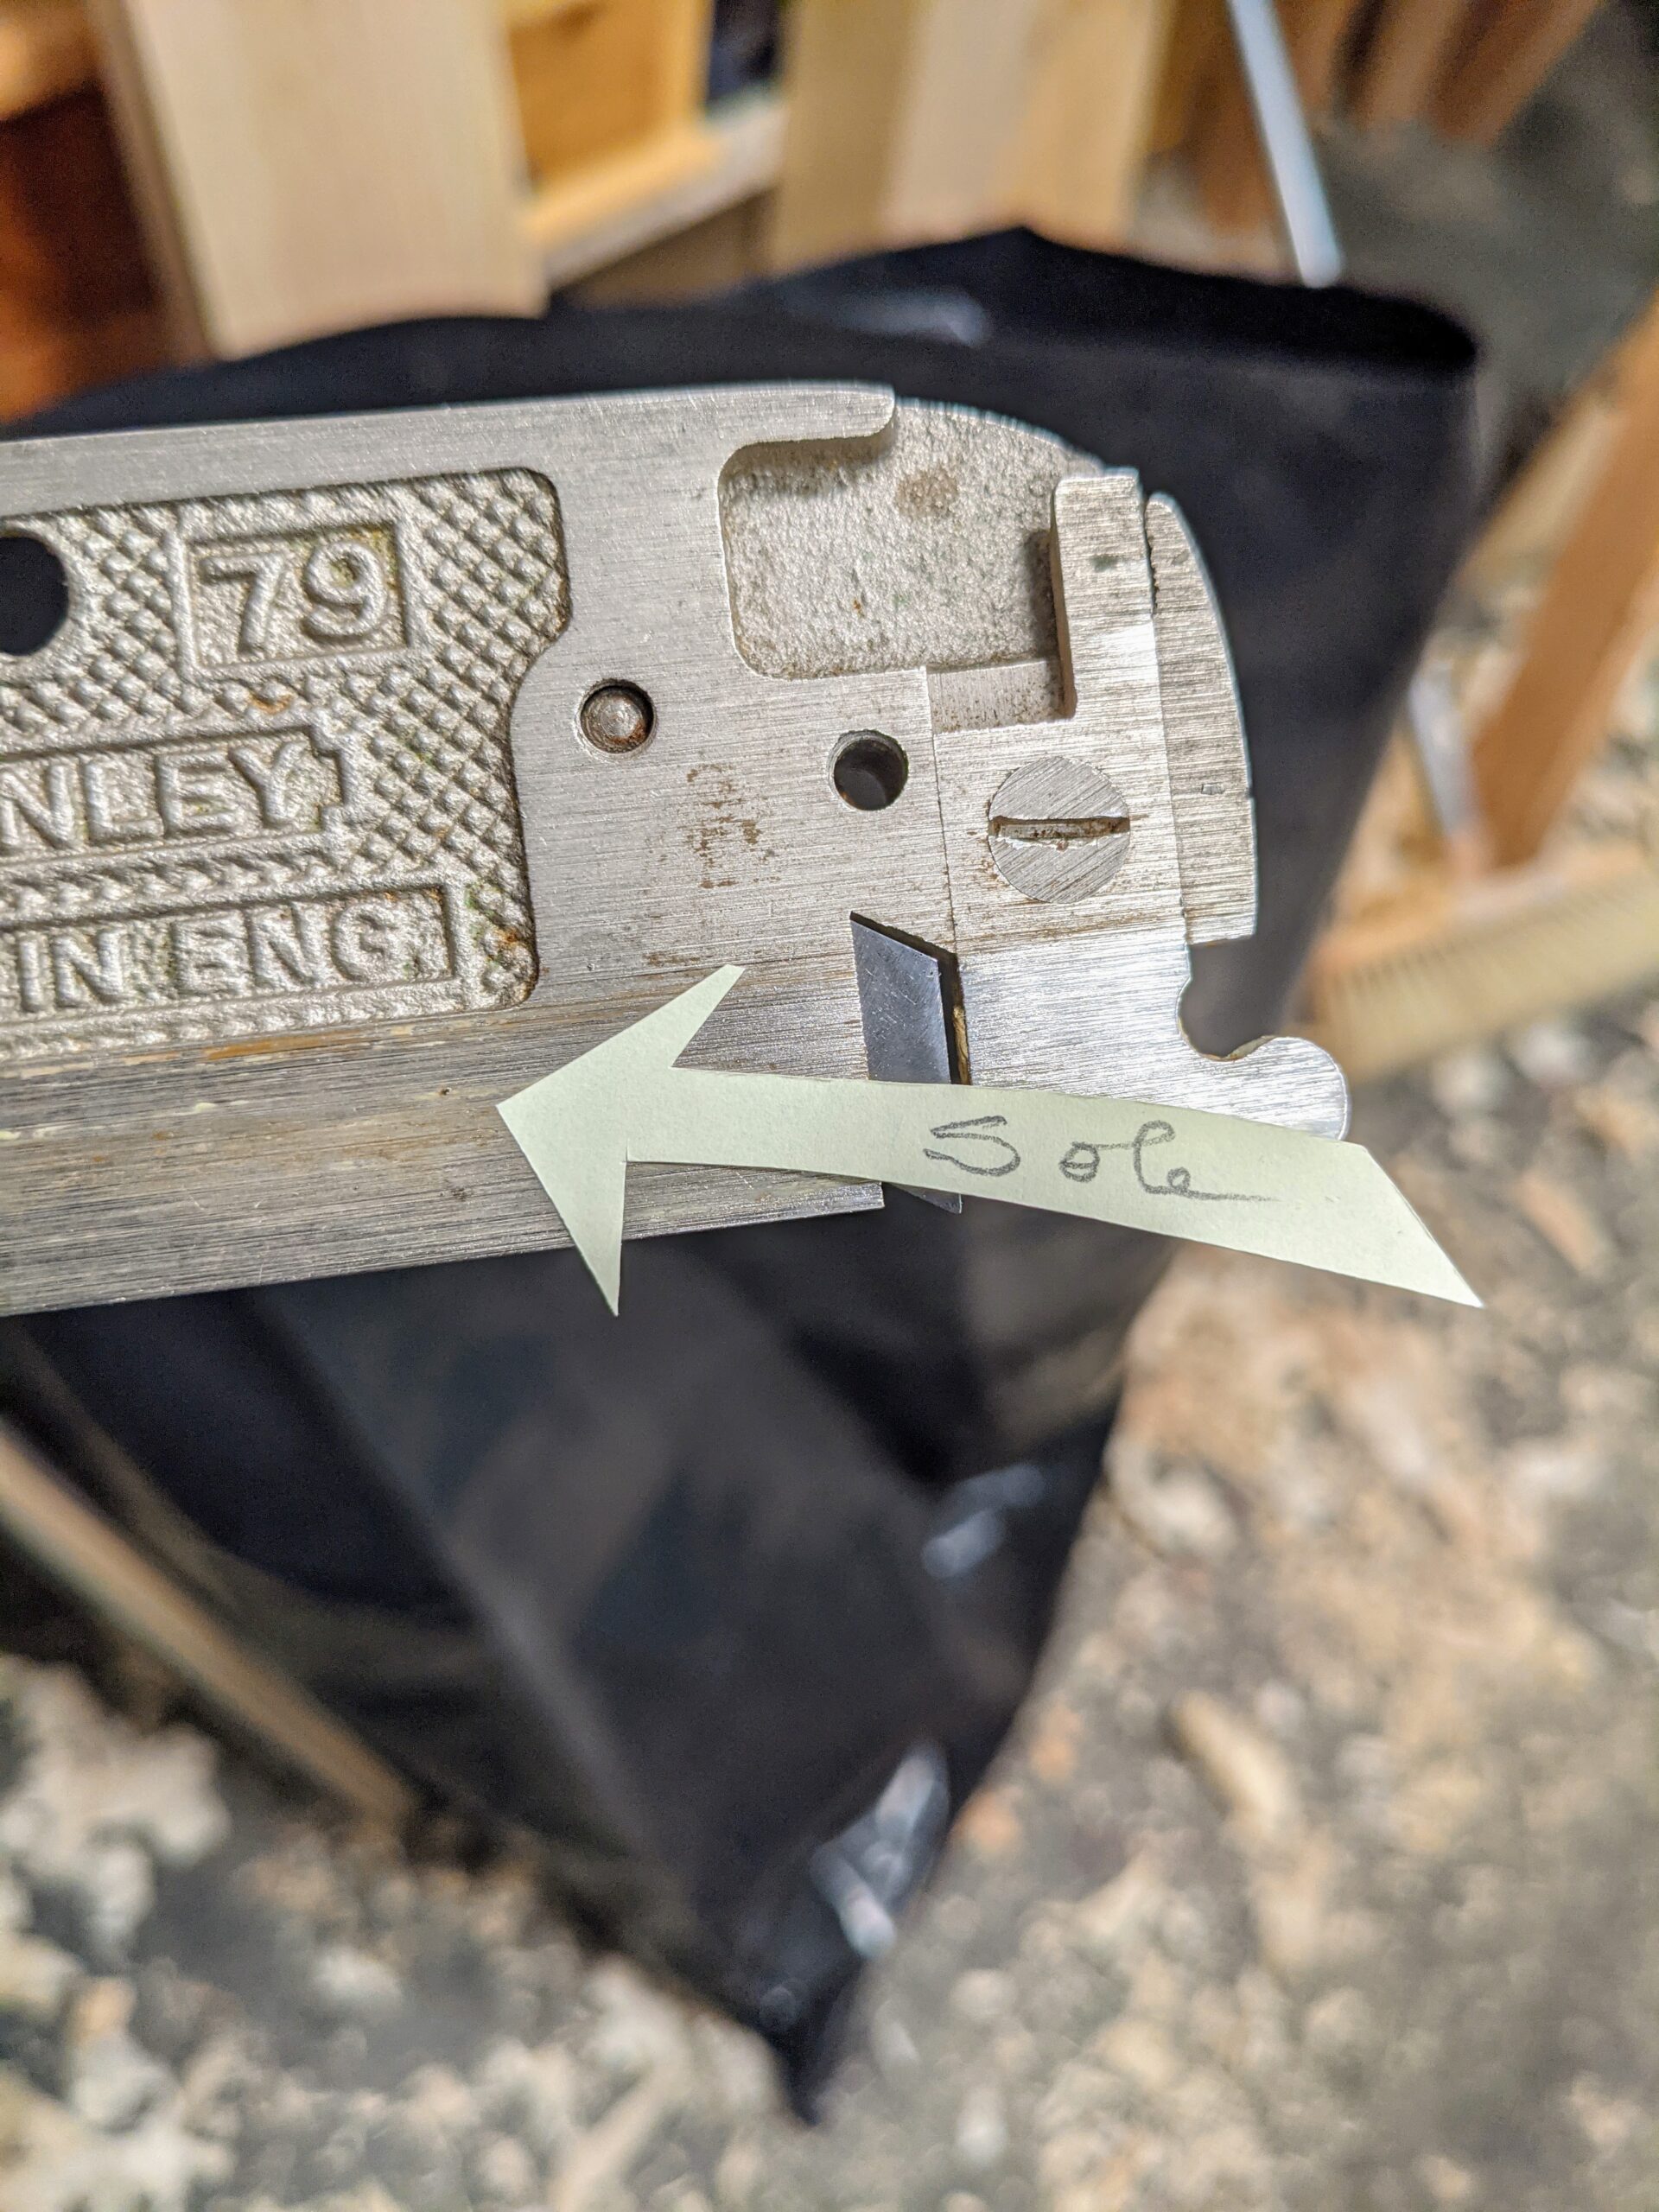
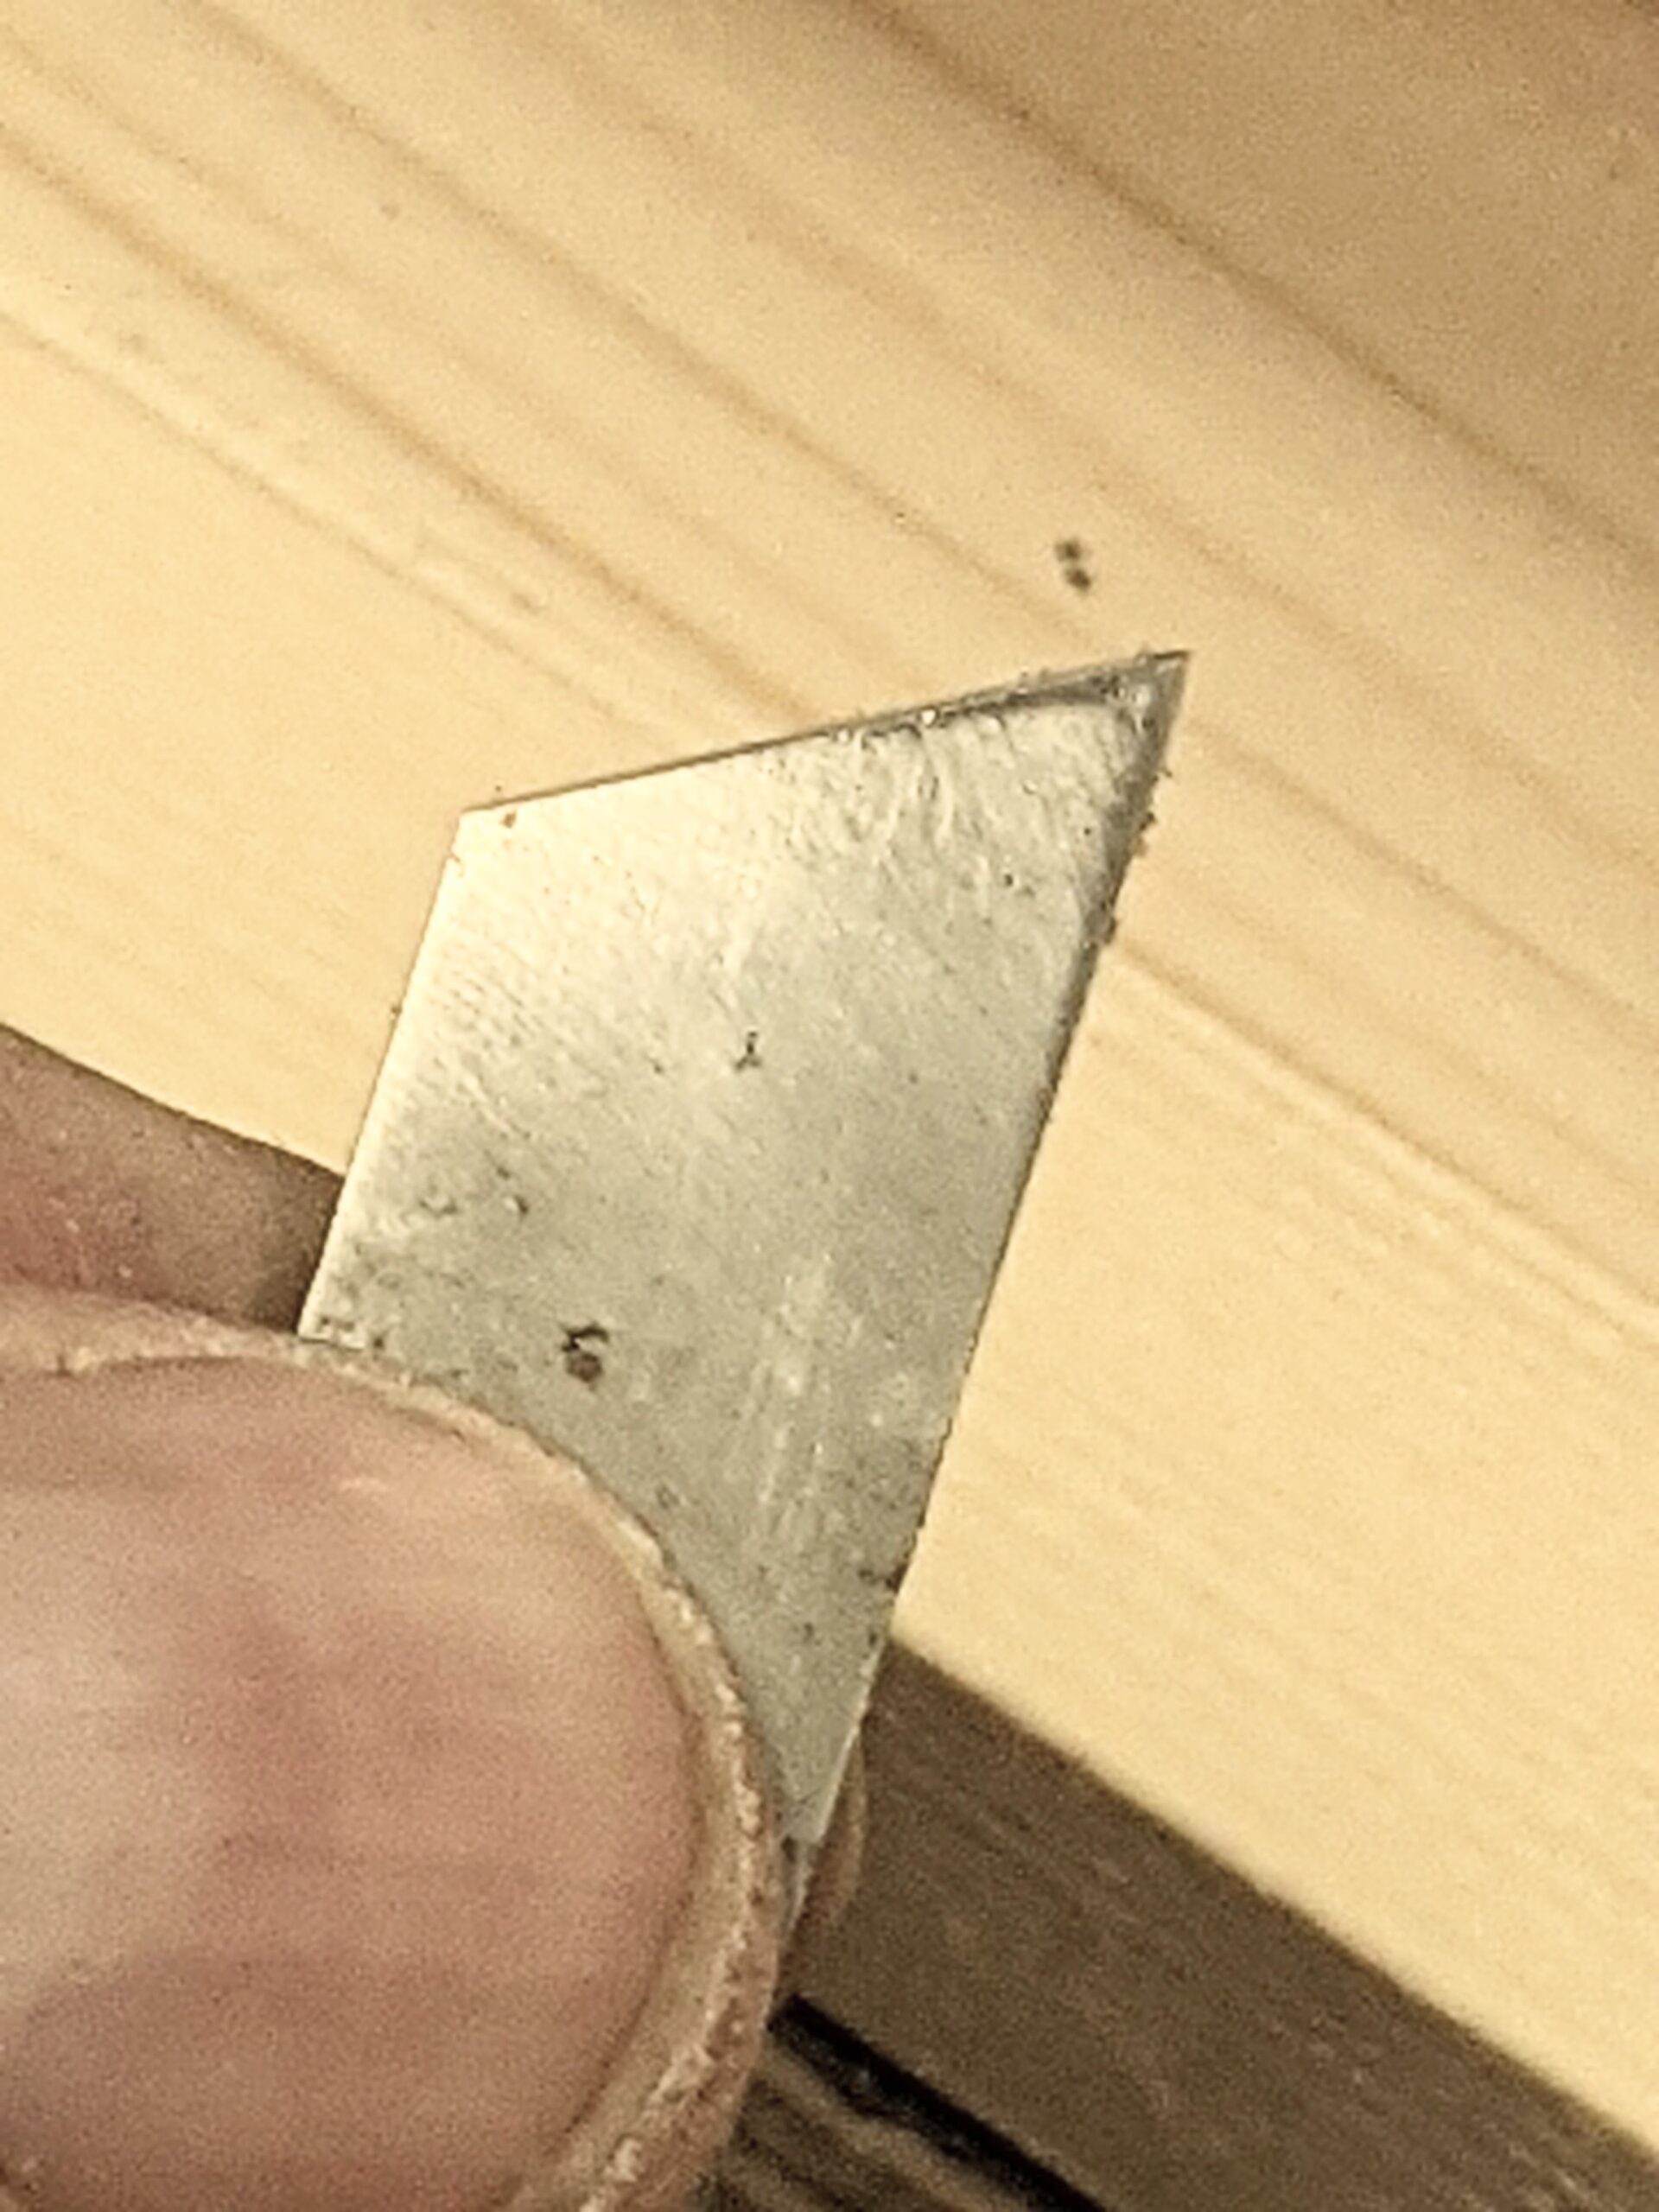
To begin recalibration on my newly bought side rebate plane I checked all of the component parts to make sure there was nothing holding off the cutting irons or anything that might prevent a good lockdown to the cutters etc. Beyond that, there is not much to these planes as they are without mechanical adjusters. Both cutters had badly formed bevels made worse by repeated sharpenings in the wrong hands. By extending the blade just slightly beyond the sole face (that's the side face, remember) I placed the plane on the fine diamond plate and rubbed just once or twice ever so lightly. This highlights the 'out-of-squareness' caused by uneven abrading of the bevel by the previous owner and at the same time serves as a guideline to file or abrade the cutting edge to.
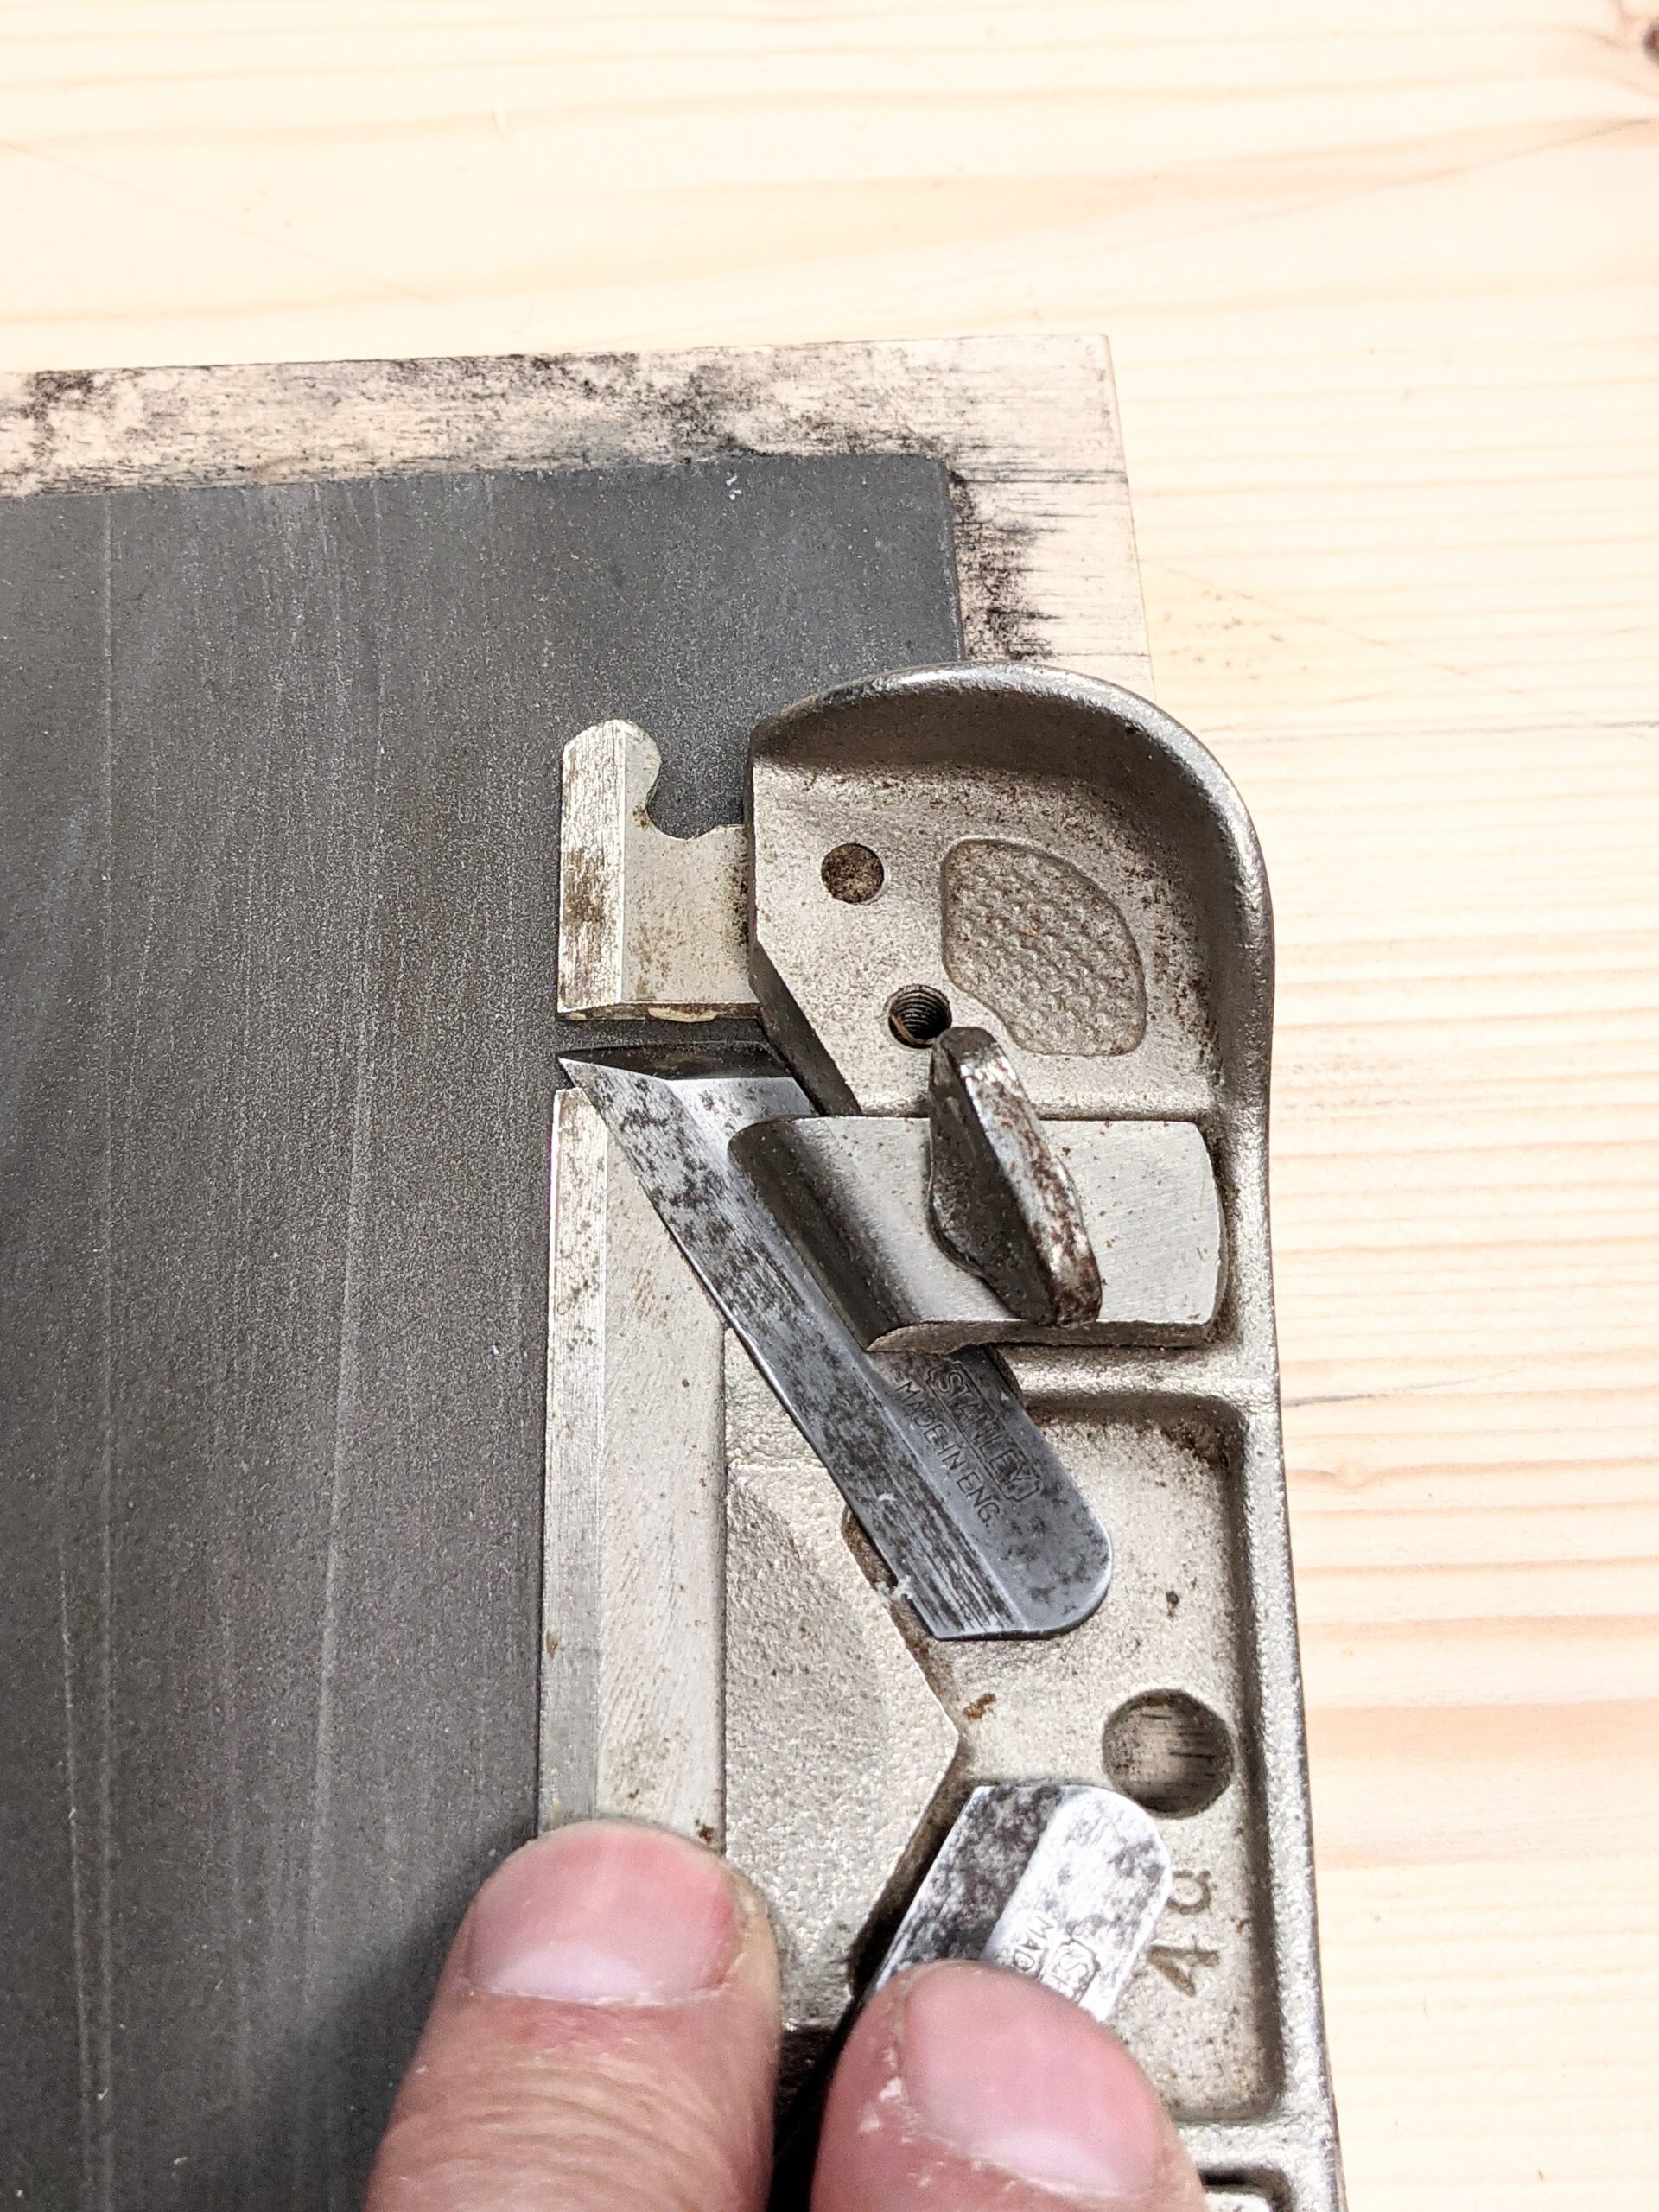
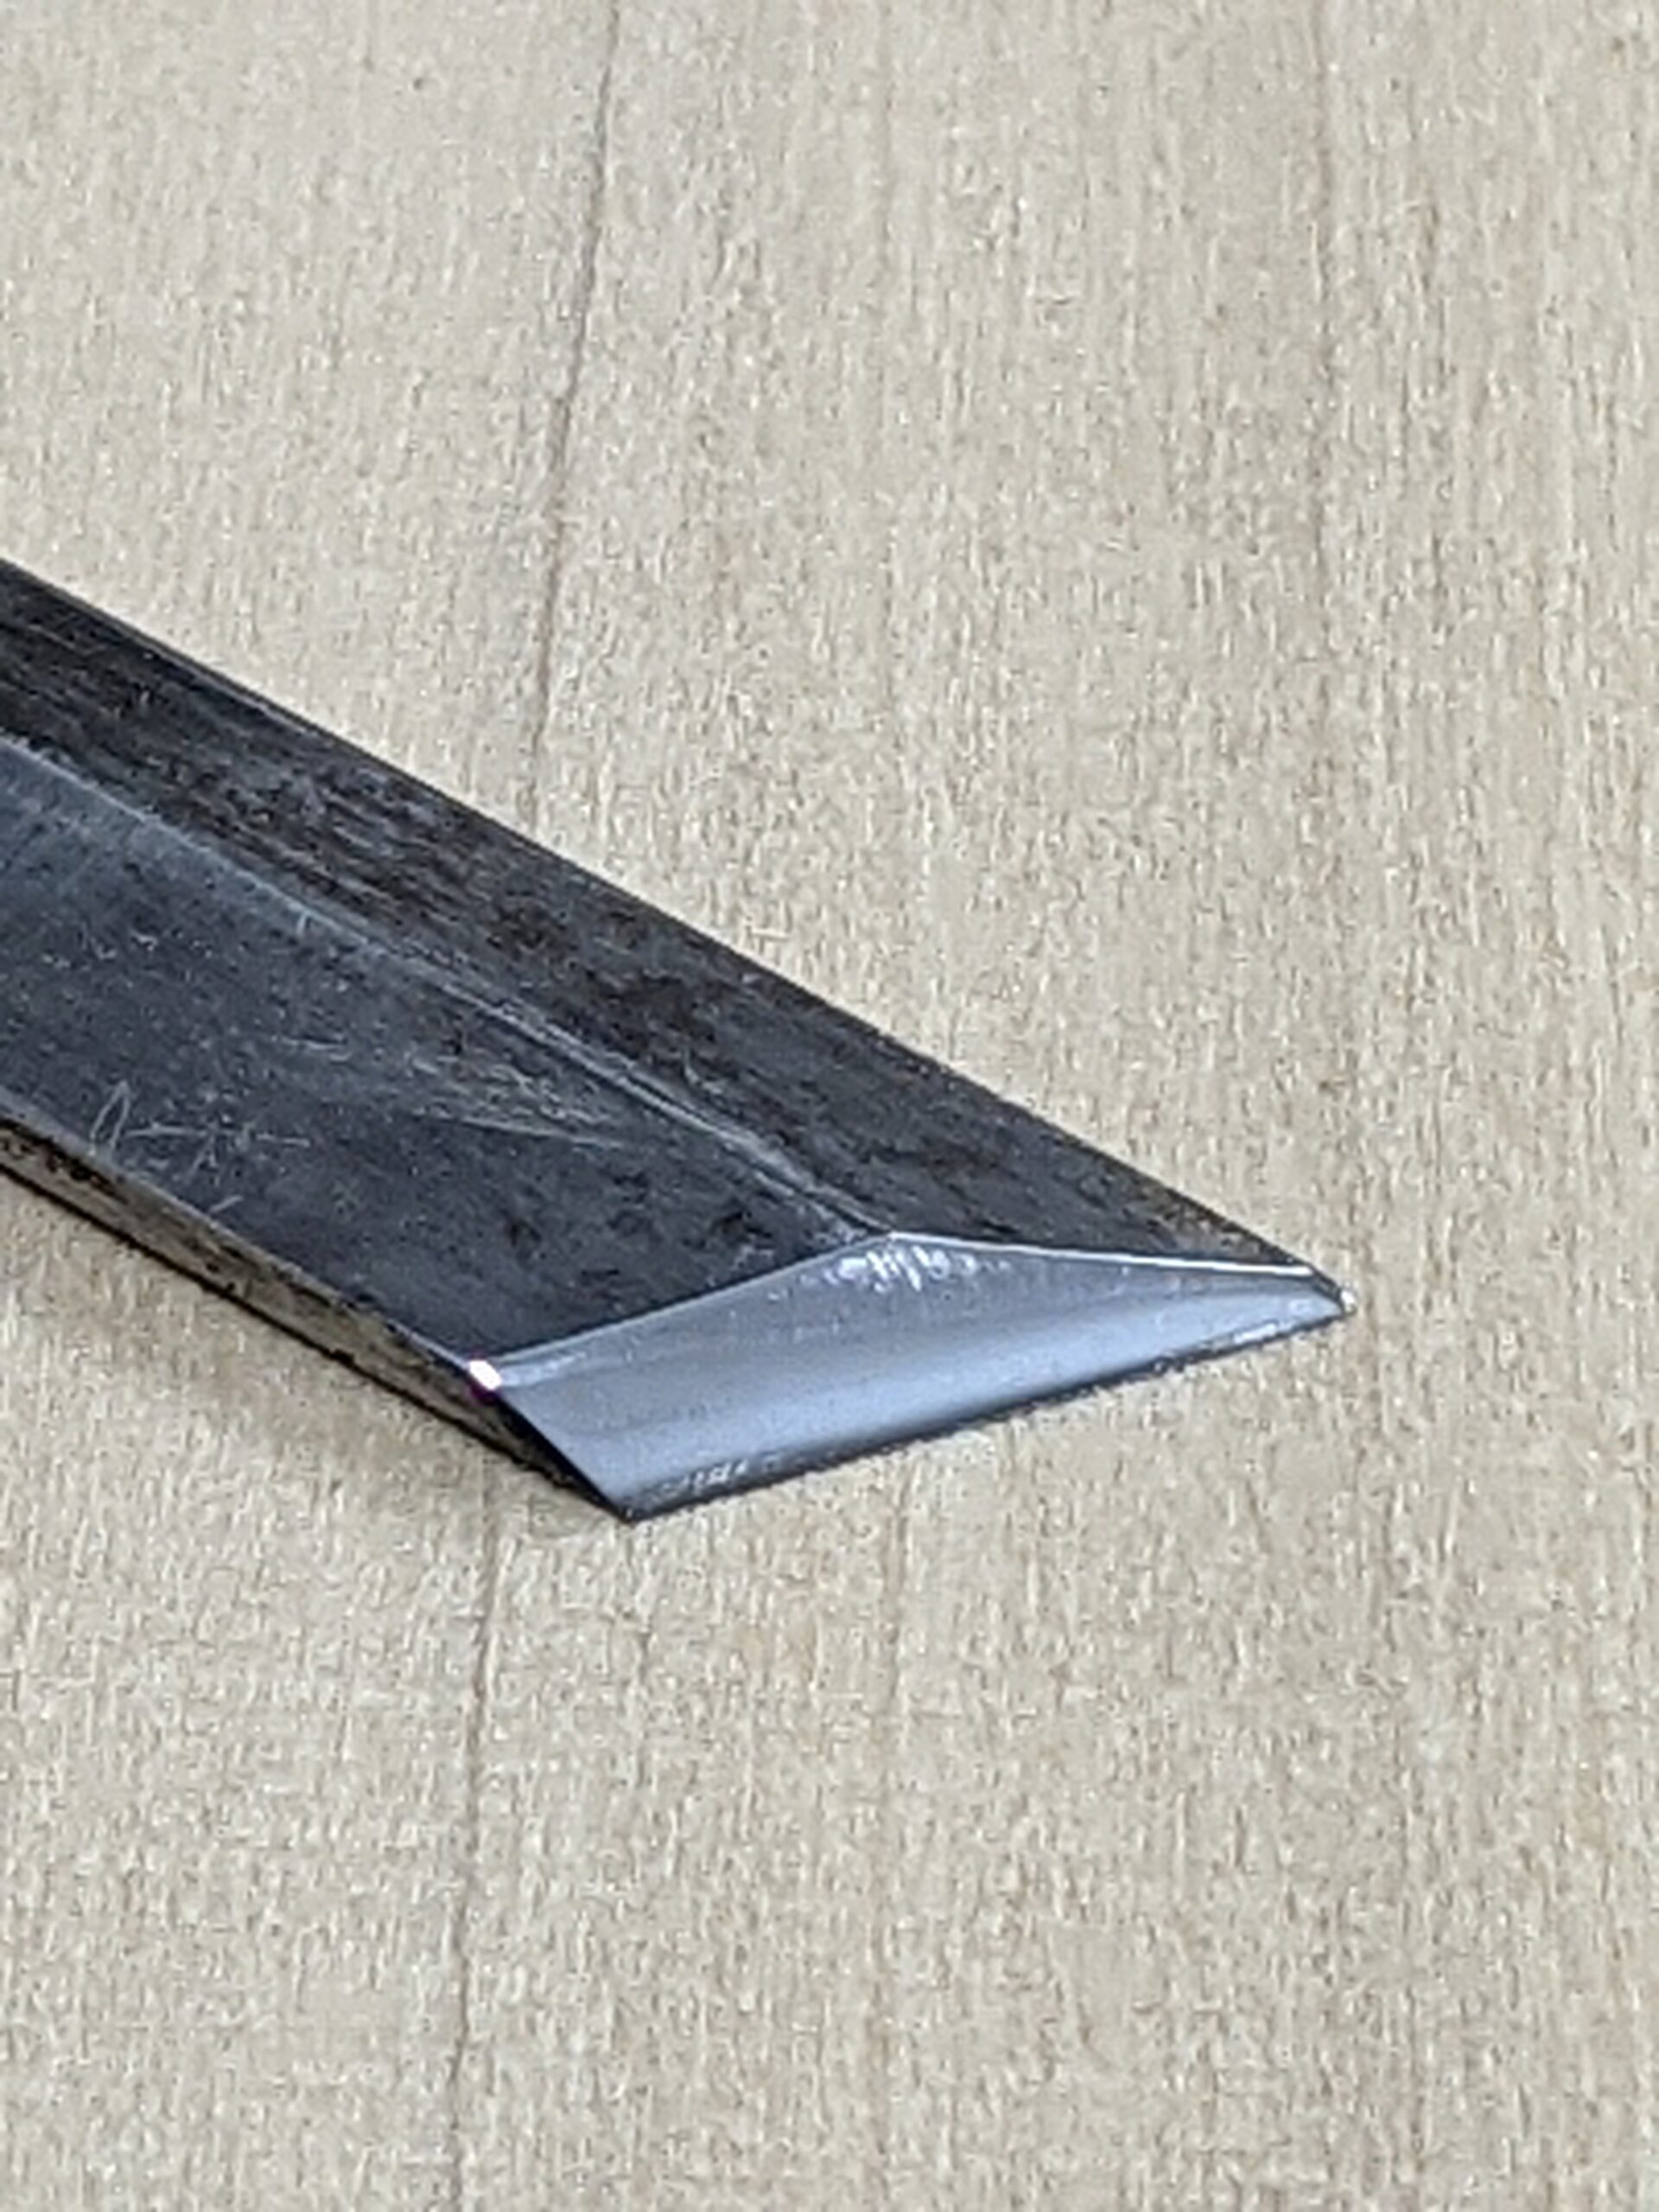
Here you can see how the shine on newly abraded metal shows the line we must now establish according to the recess in which the cutting iron lies and its relationship to the outside face as the sole of the plane. We call this the bed or bedding angle.
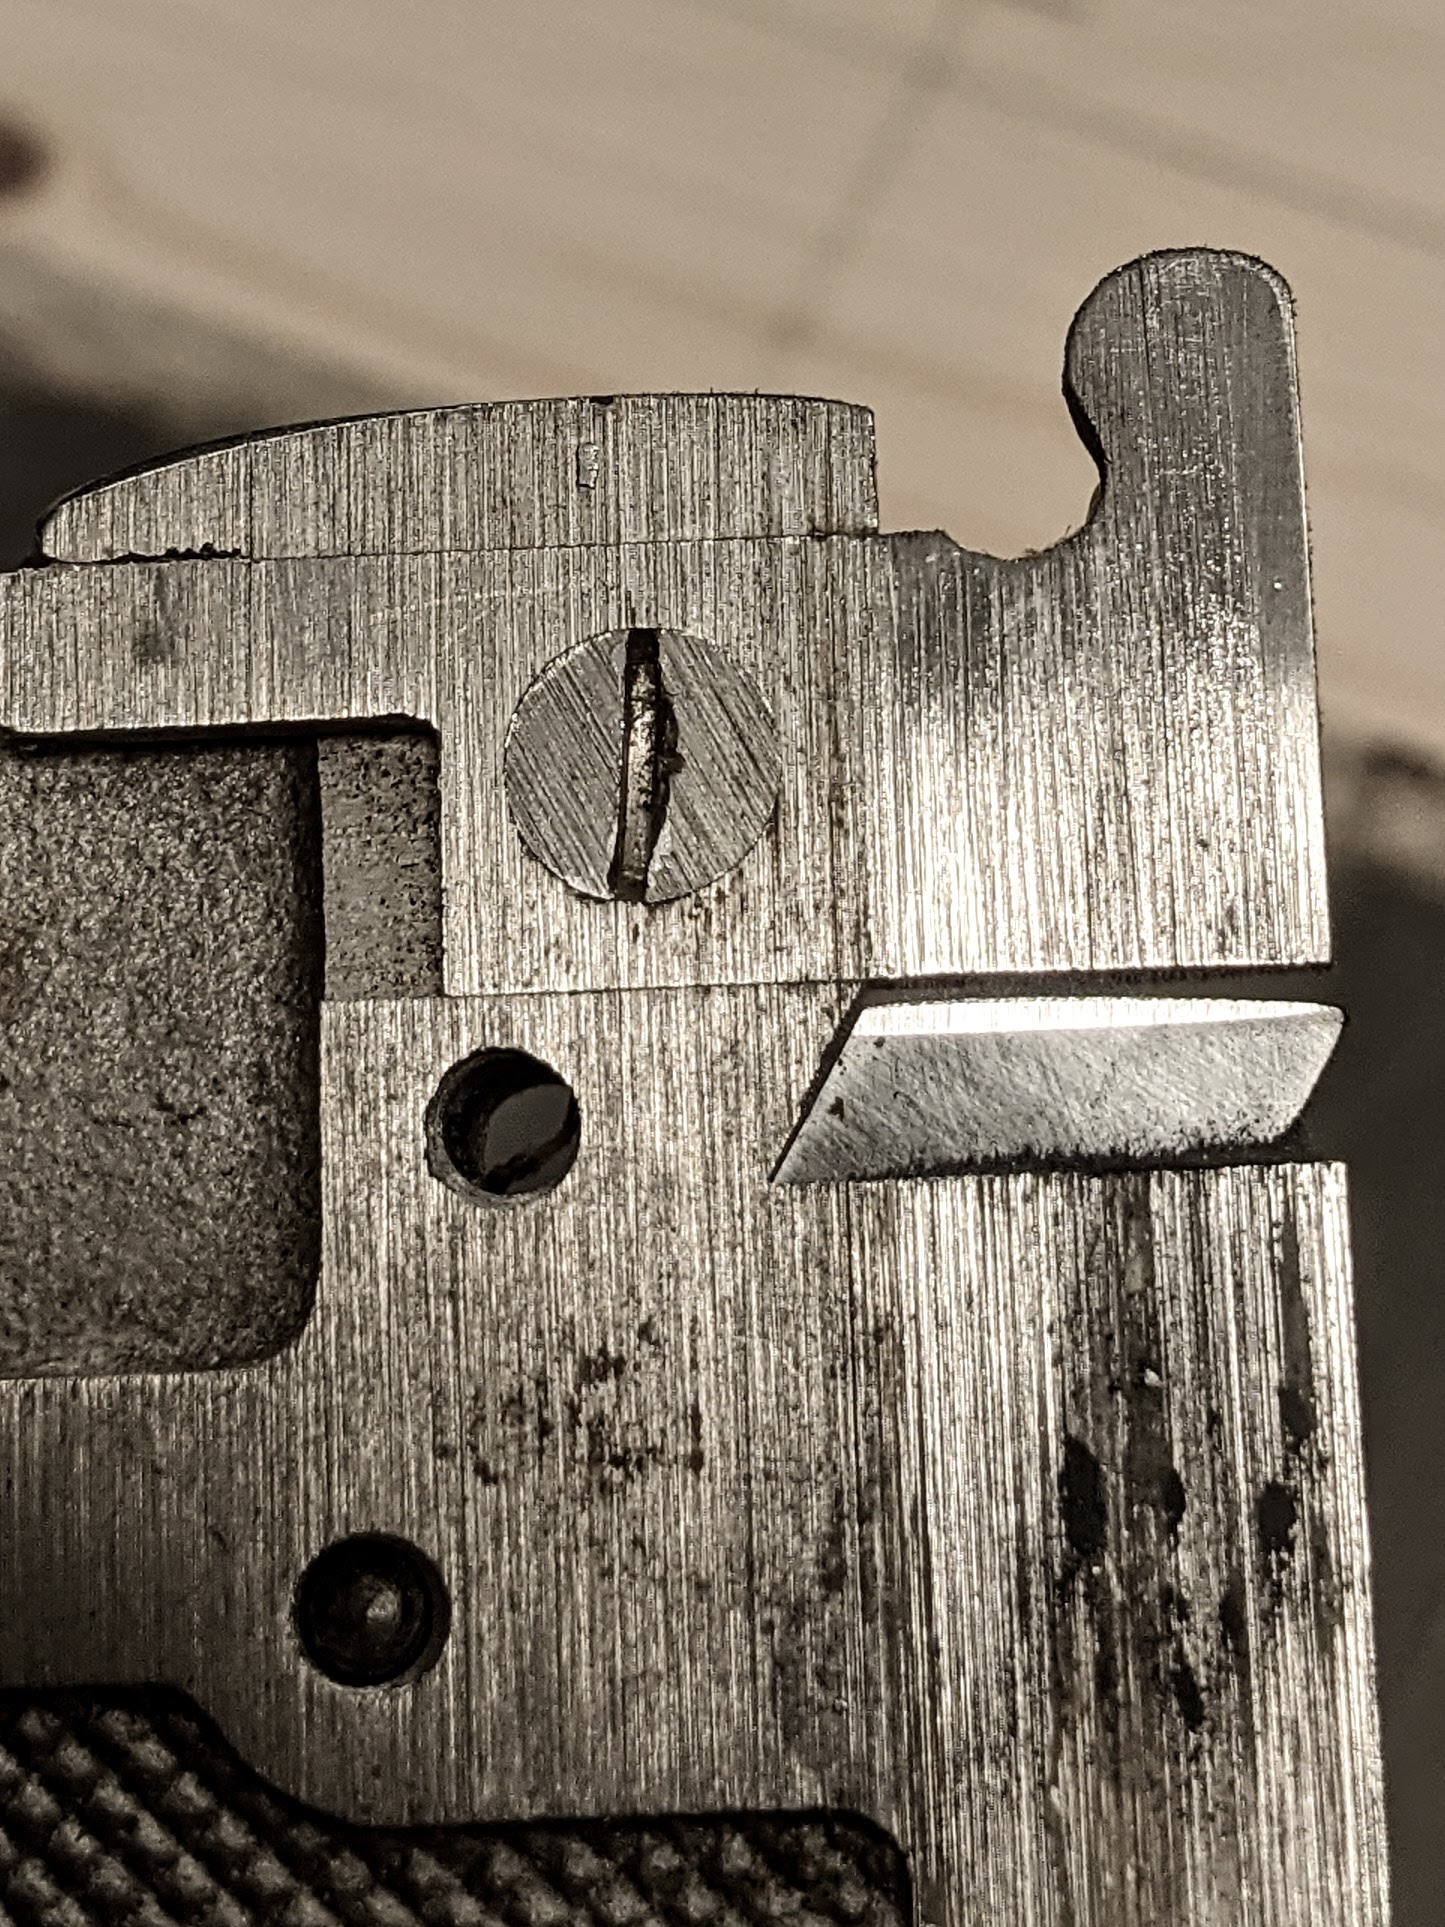
I used a file to reestablish verticality to the cutting edge, which worked perfectly in my case; some cutters may be too hard for a file, in which case, use a diamond hone or plate. I just felt that I had greater control with the file, that's all.
You can see now that I have filed the edge down to the edge of the bright-line and the meeting edge I have created is what I will now abrade the whole bevel to as I reestablish the cutting bevel.
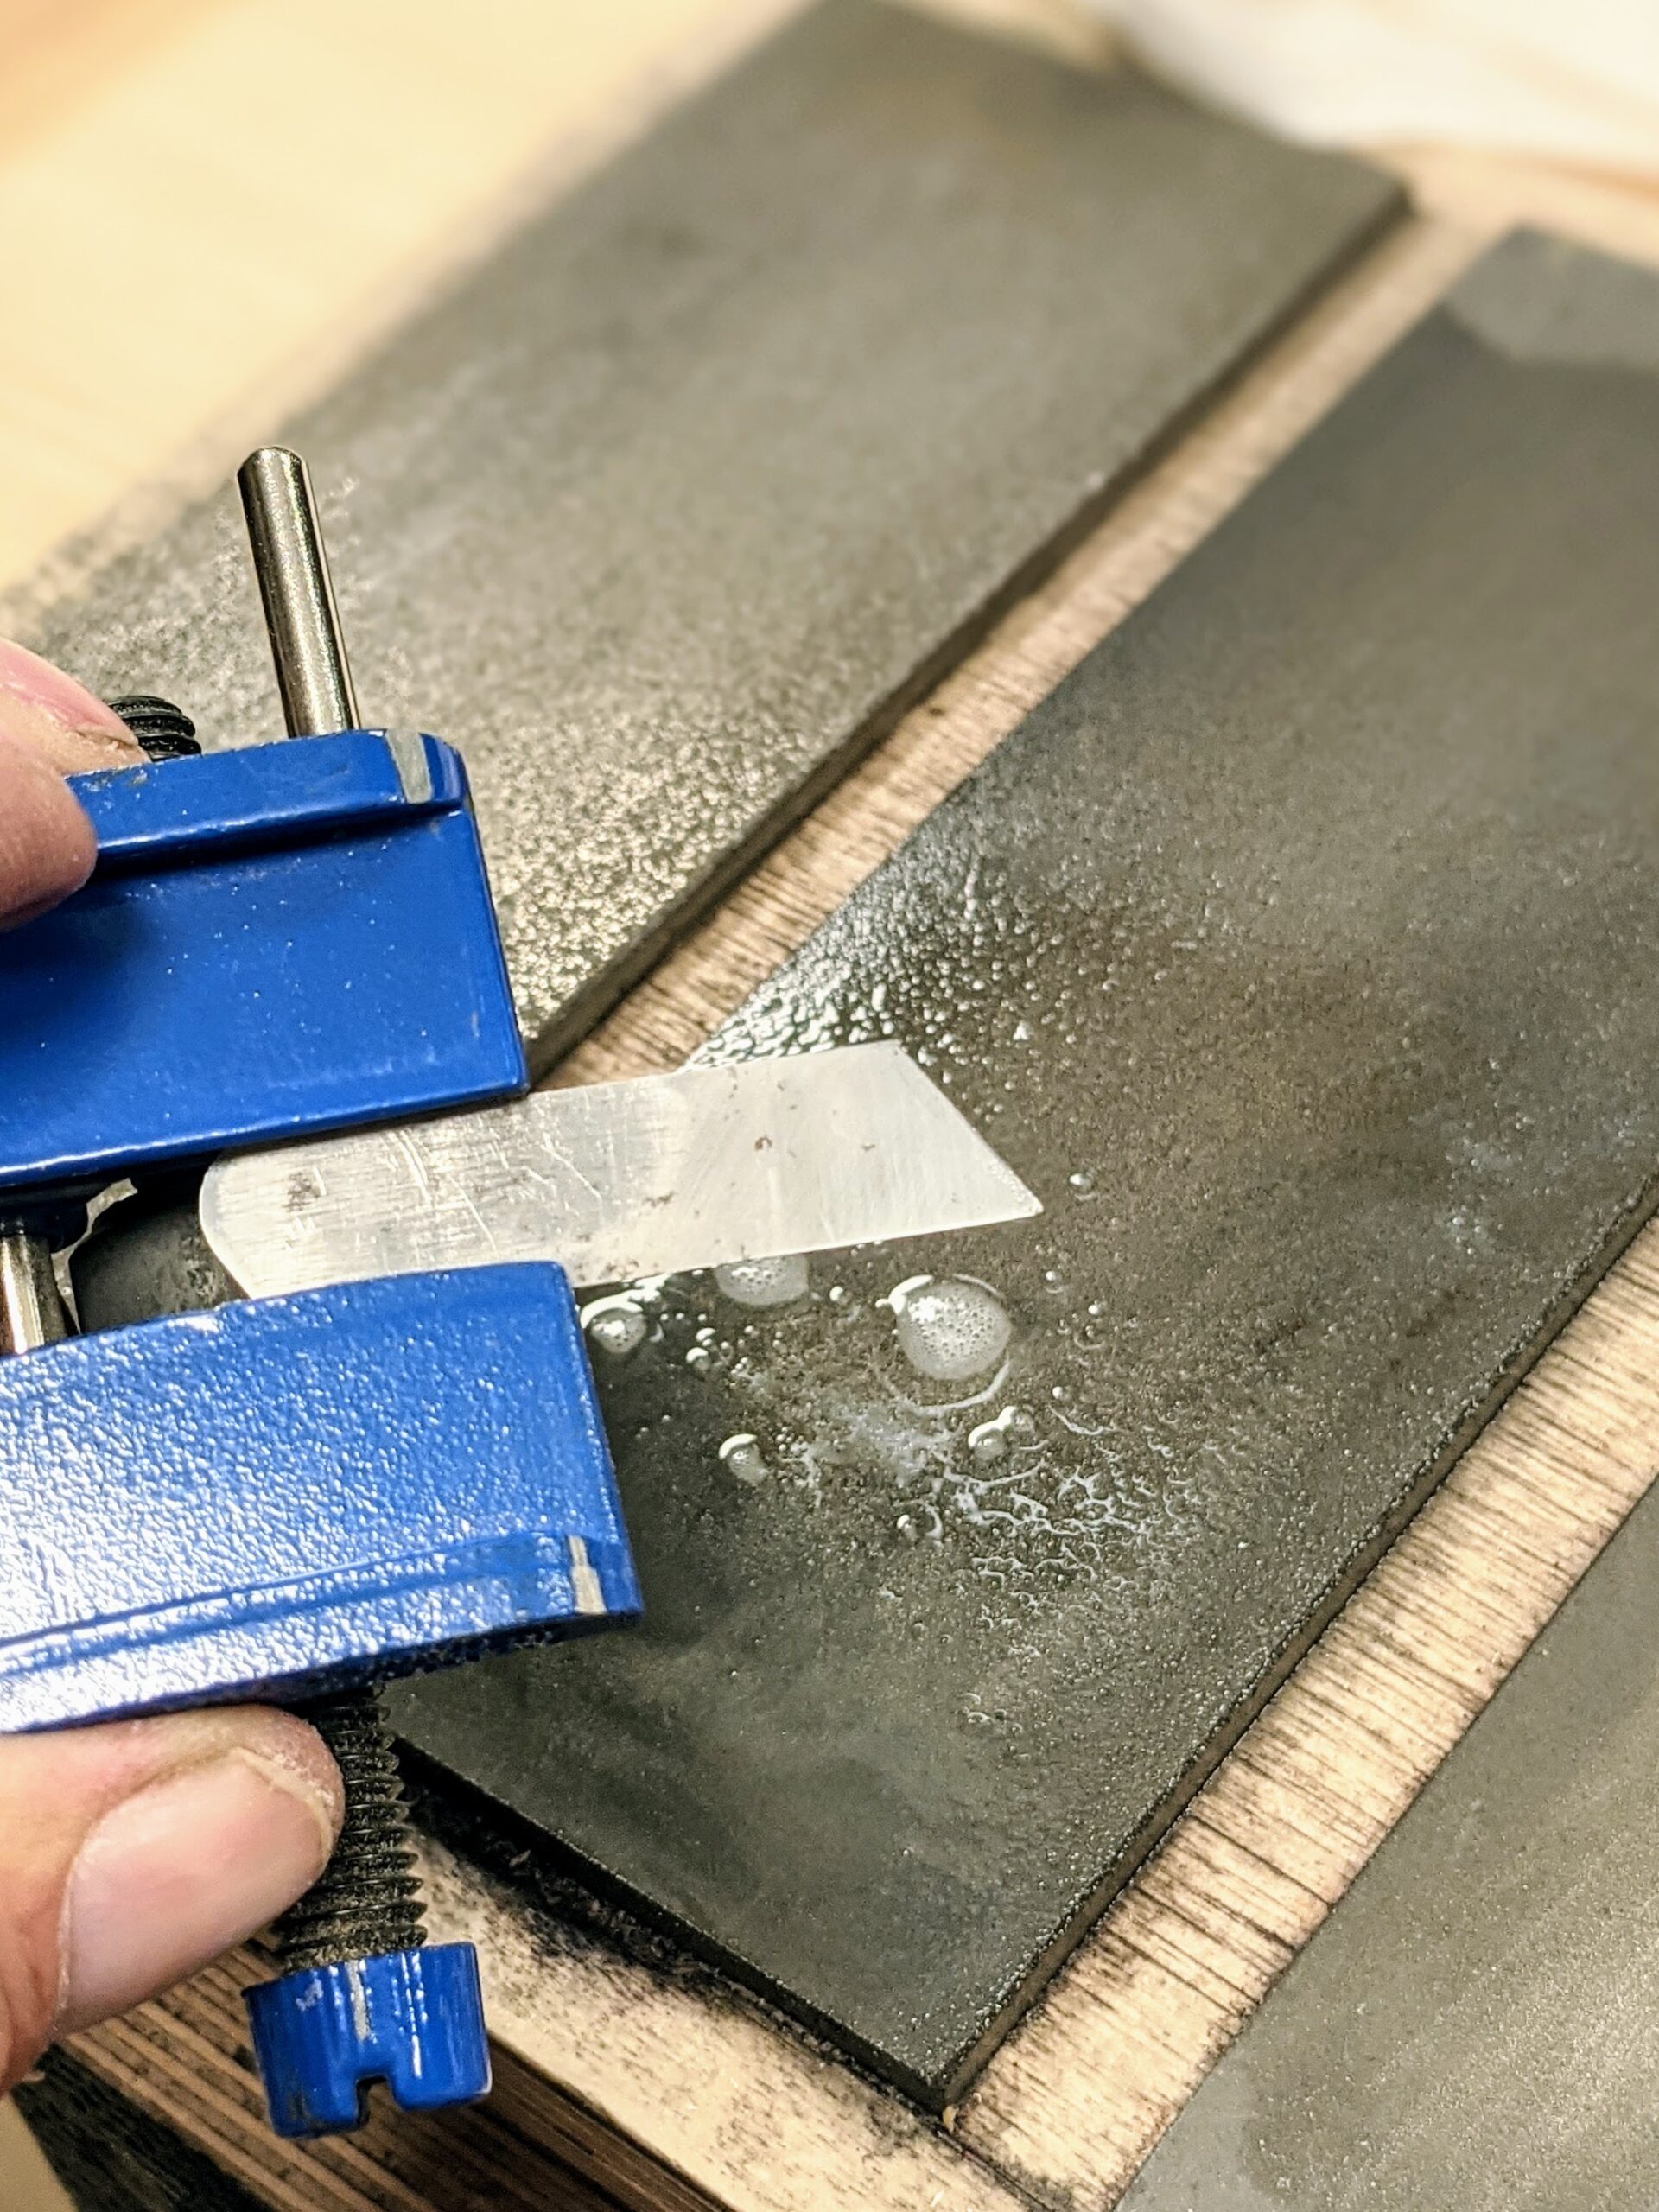
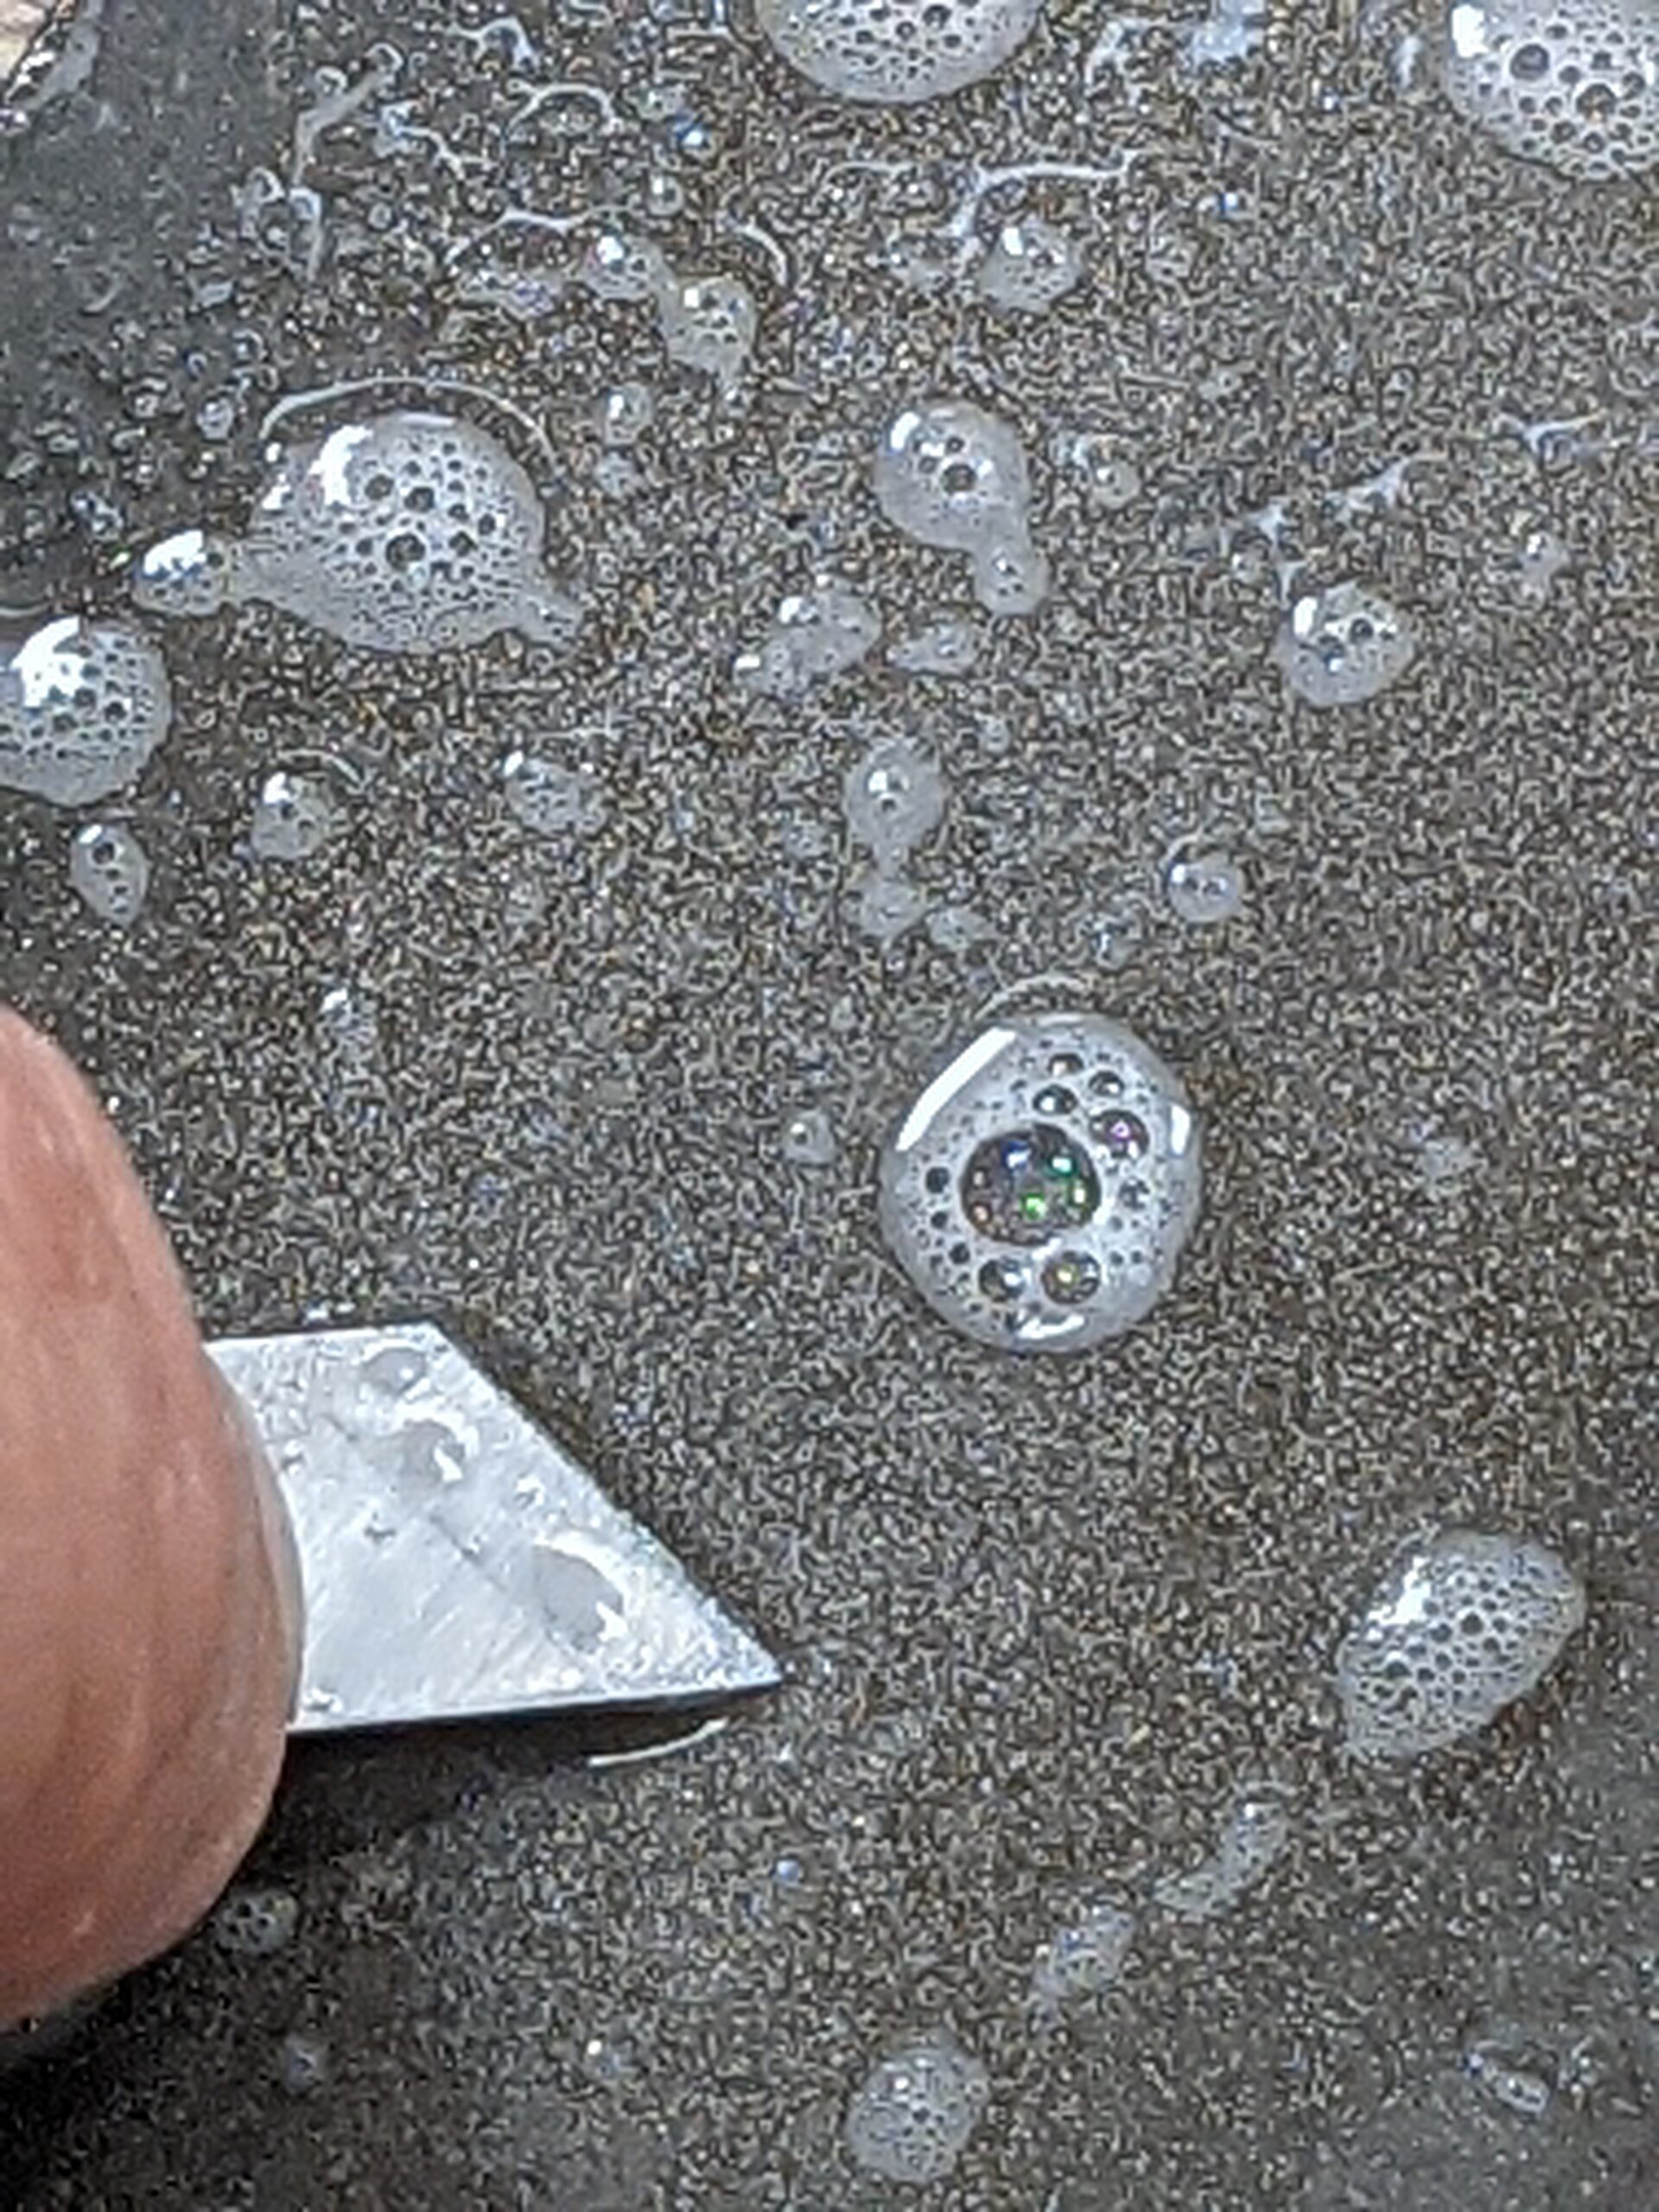
Once the angle is perfected, it is simply a question of beveling the bevel evenly across its width. These small and thin cutters can be hard on the fingers and this is why the bevels end up unevenly beveled. I suggest using something to grip the cutter with and in my case I just used a regular Eclipse #36 honing guide but NOT so as to guarantee an angle because of course, the bevel is angled and not square-ended as with regular planes and chisels. The honing guide just gives a better balance and control for reestablishing the bevel and then perfecting it, no more.
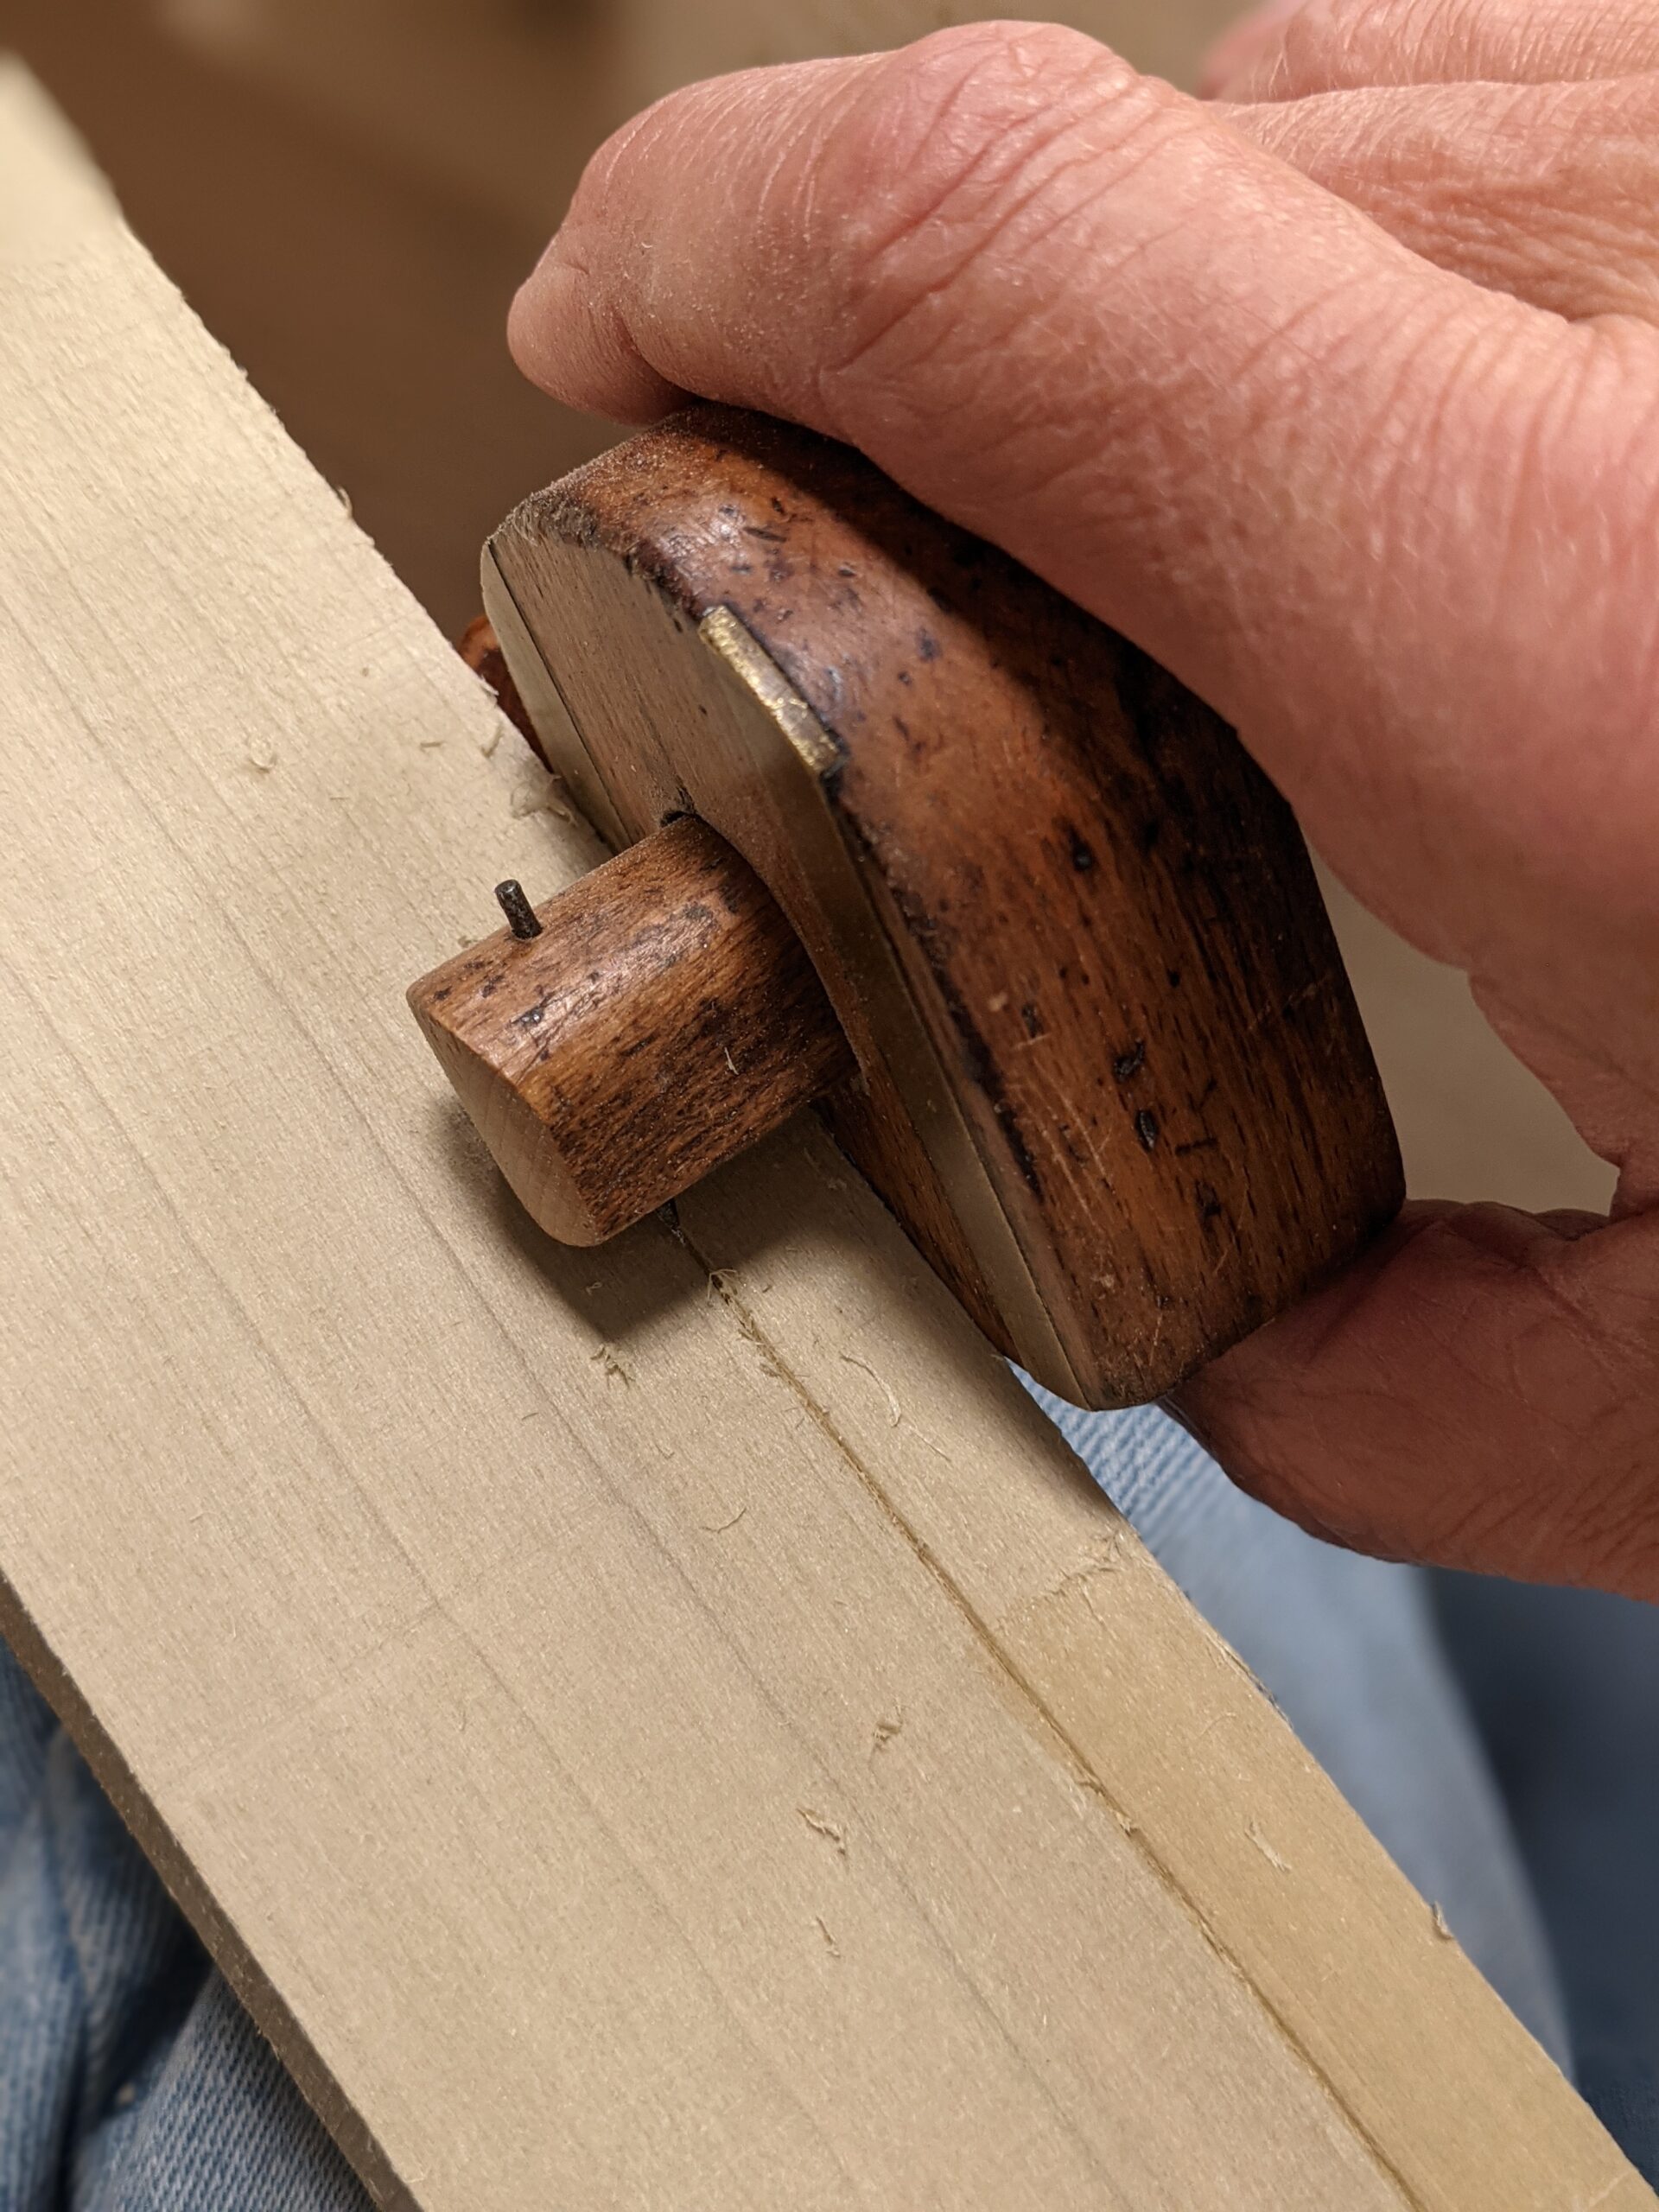
With new bevel honed and polished, the plane is ready to use. Insert the cutter, tweak it until the cutter barely protrudes past the sole, and you are ready to try taking a shaving off.
Polished out, the bevel looks like this.
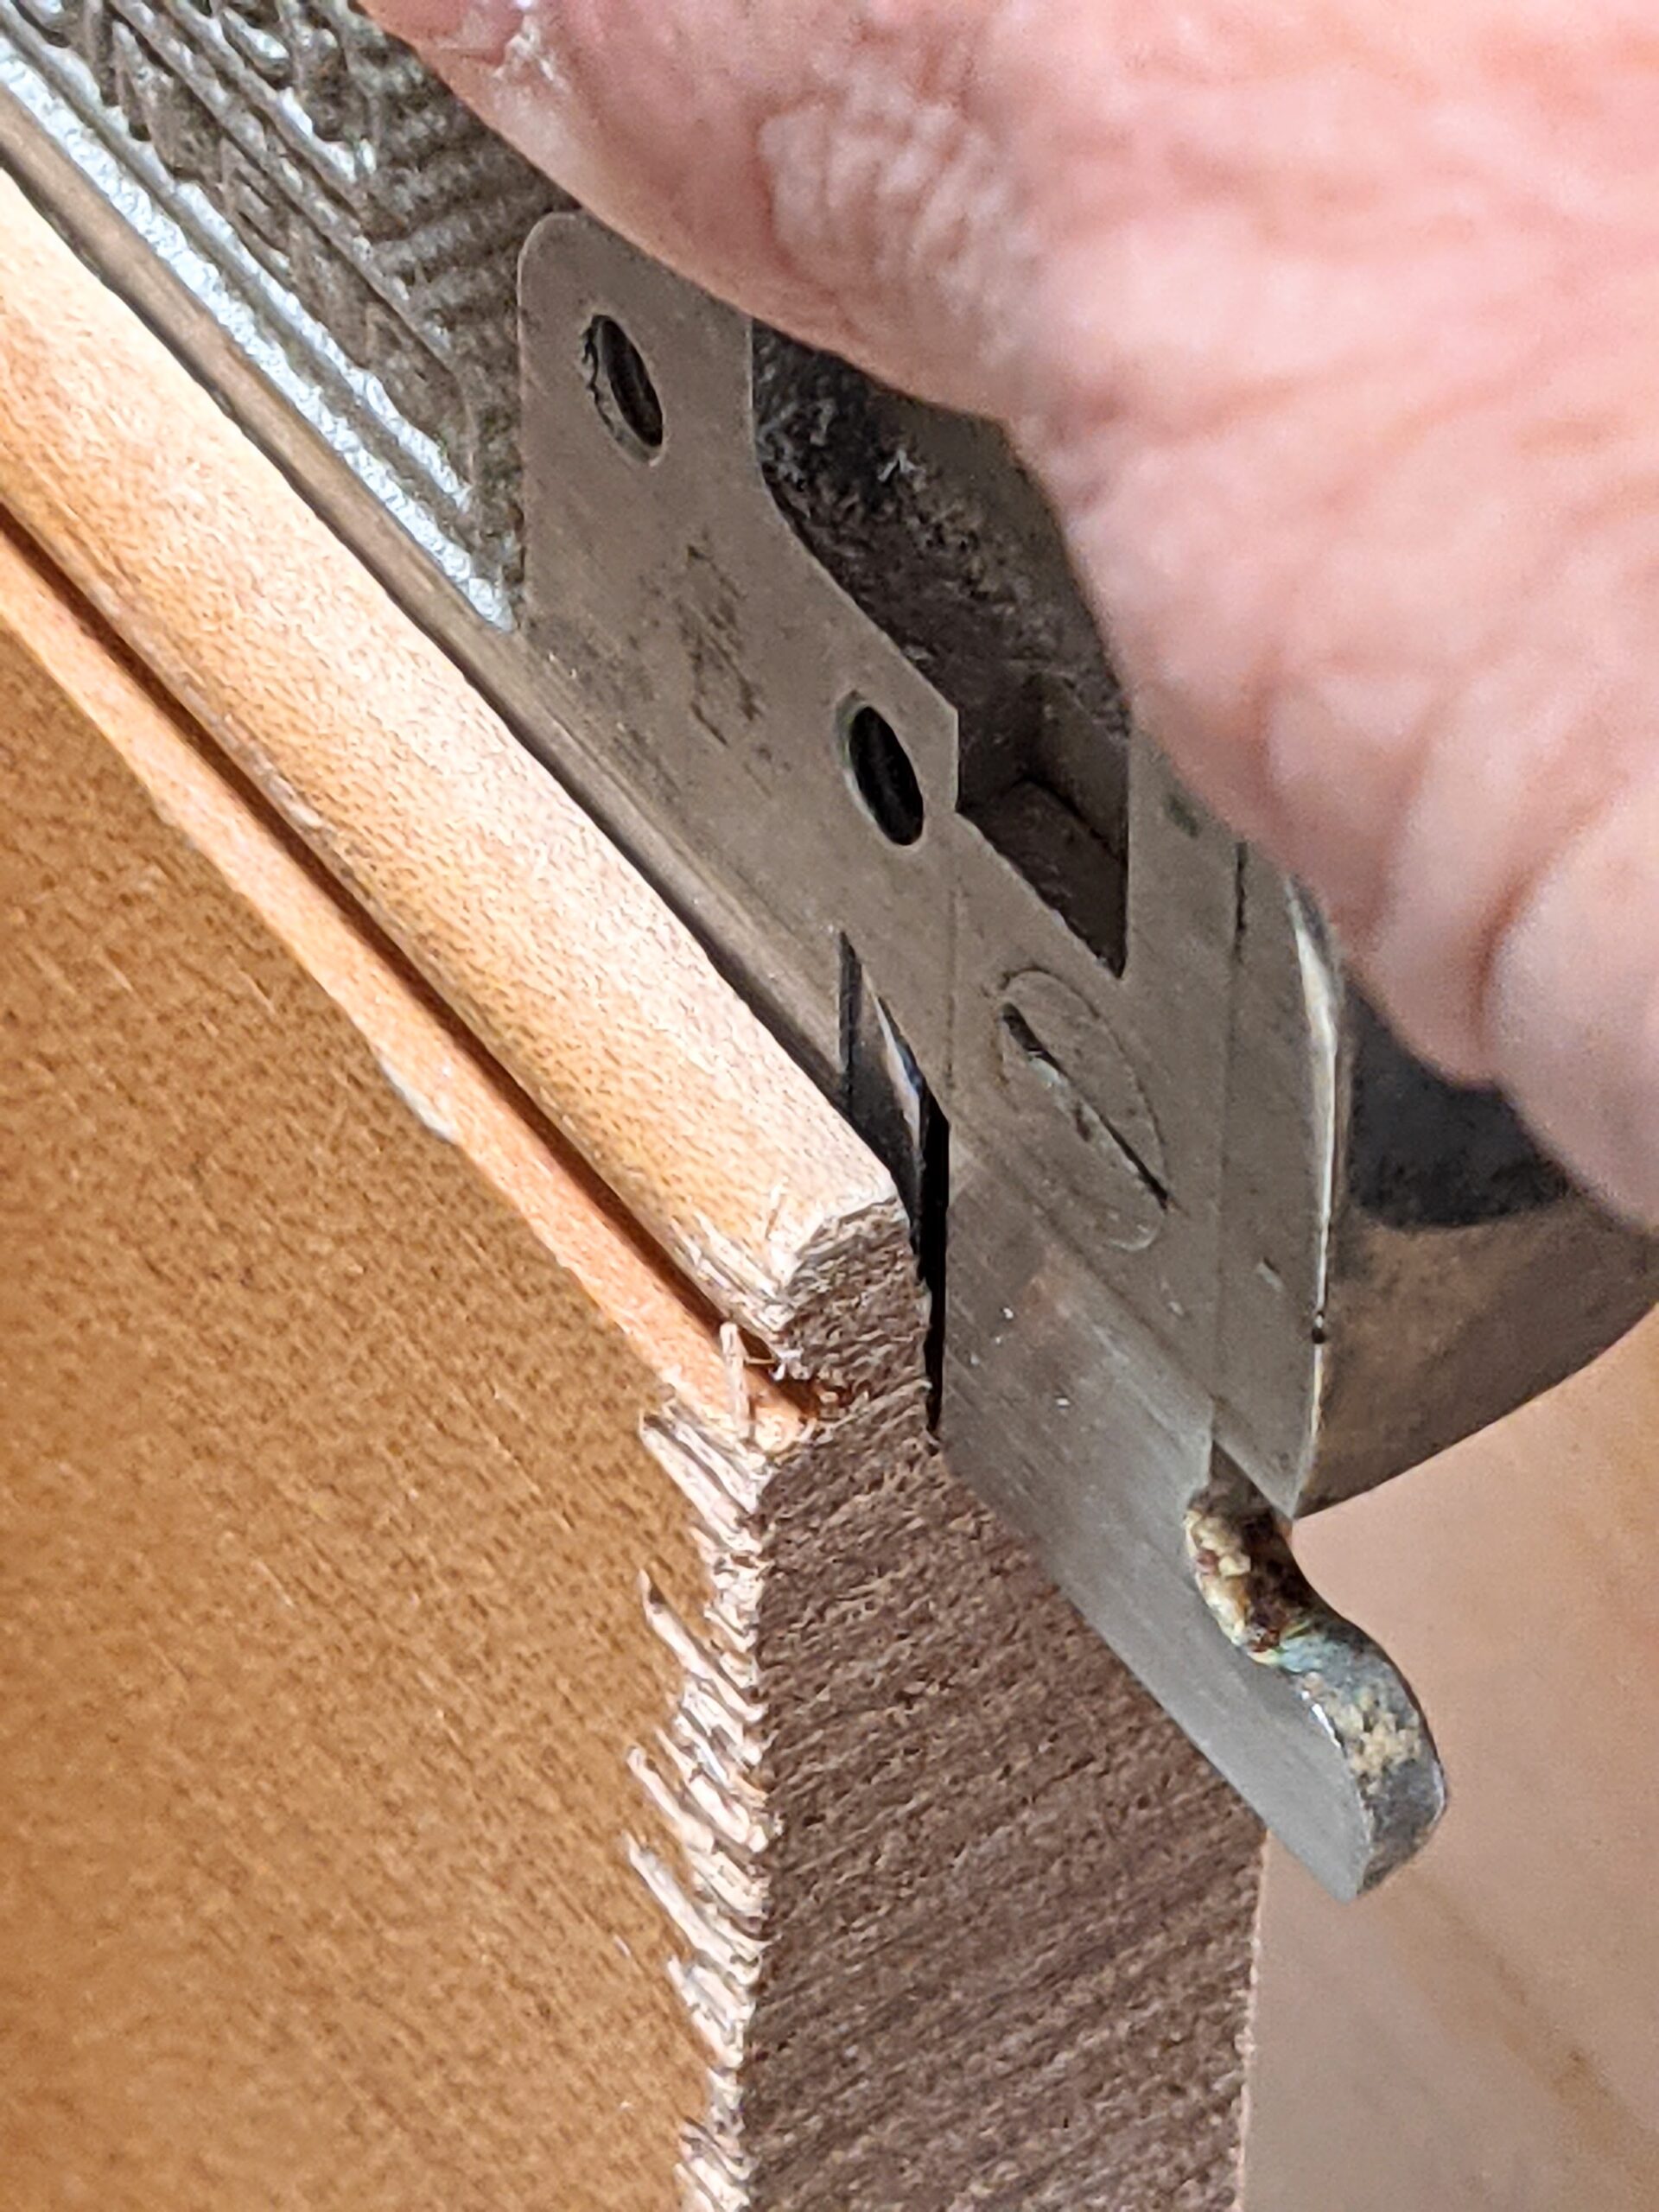
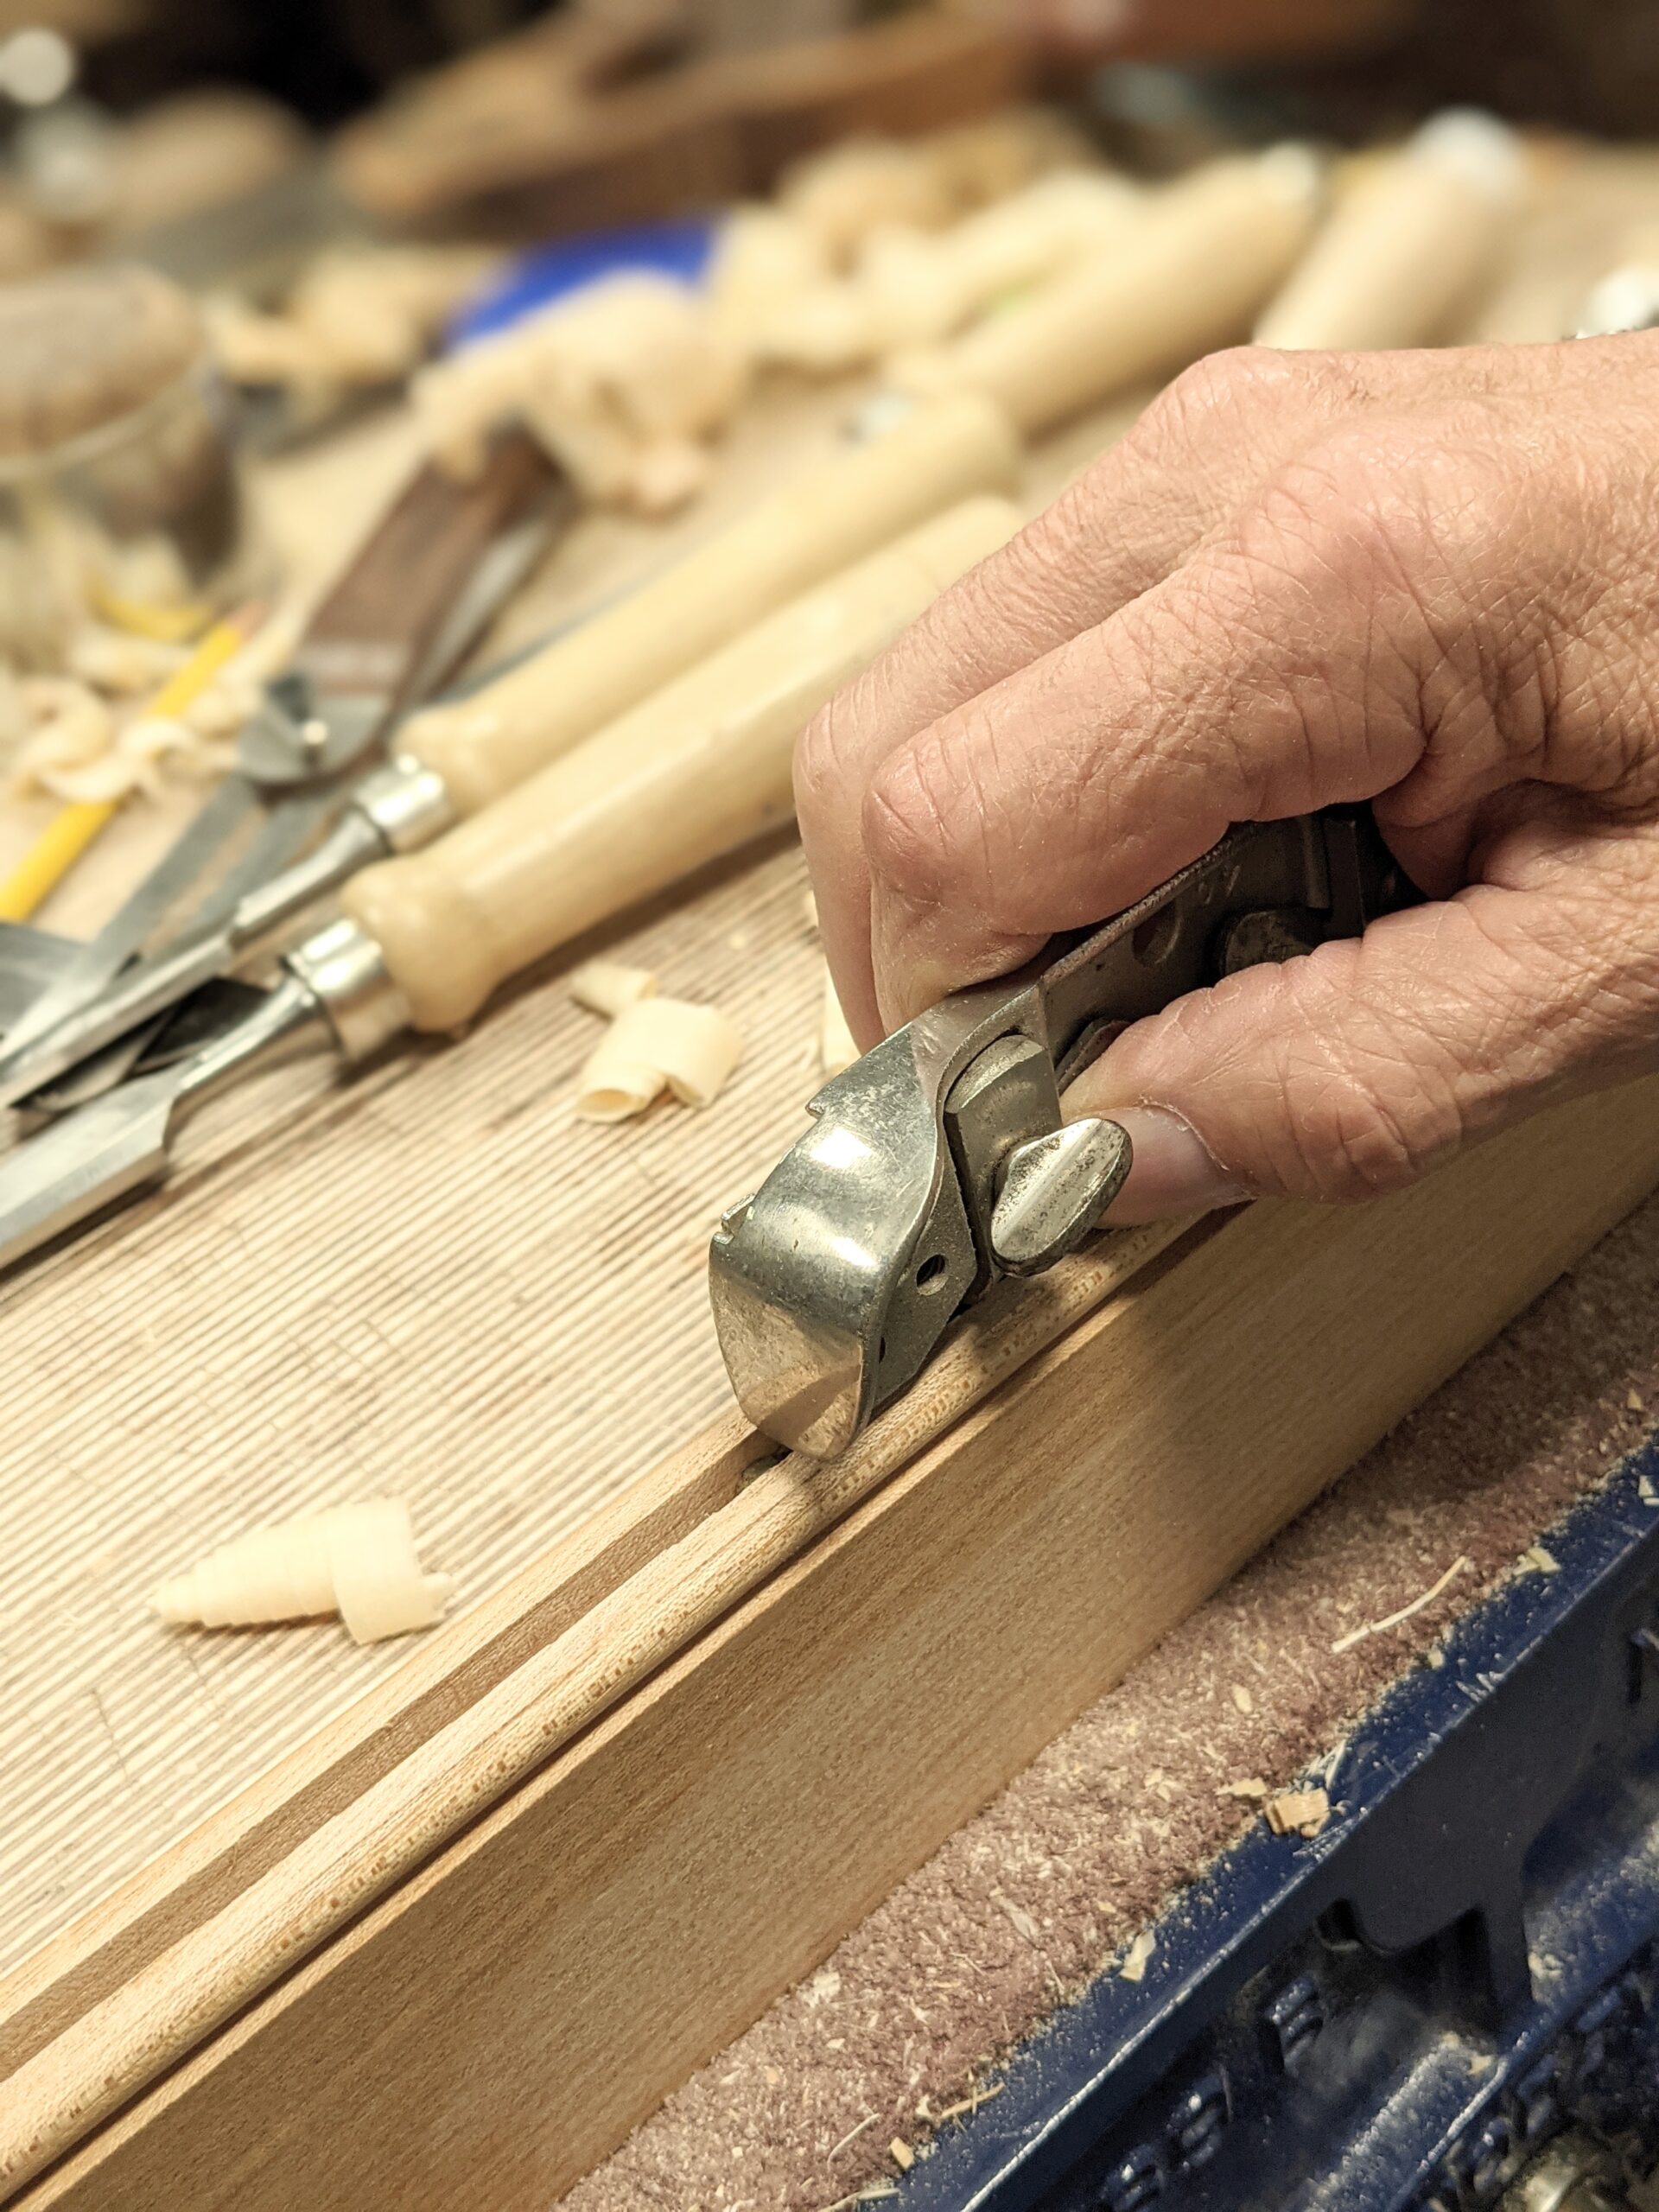
We can use a side rebate plane to create a recess by setting the fence, but using the plane on the face is best done after using either a marking gauge or a cutting gauge to cut the surface fibres first, so that a starter wall is established to begin with, otherwise the grain will tear and the edge corner fracture. I sometimes use a tenon saw along a piece of wood clamped in place and then used the side rebate plane to get to depth. This gives a good clean rebate.

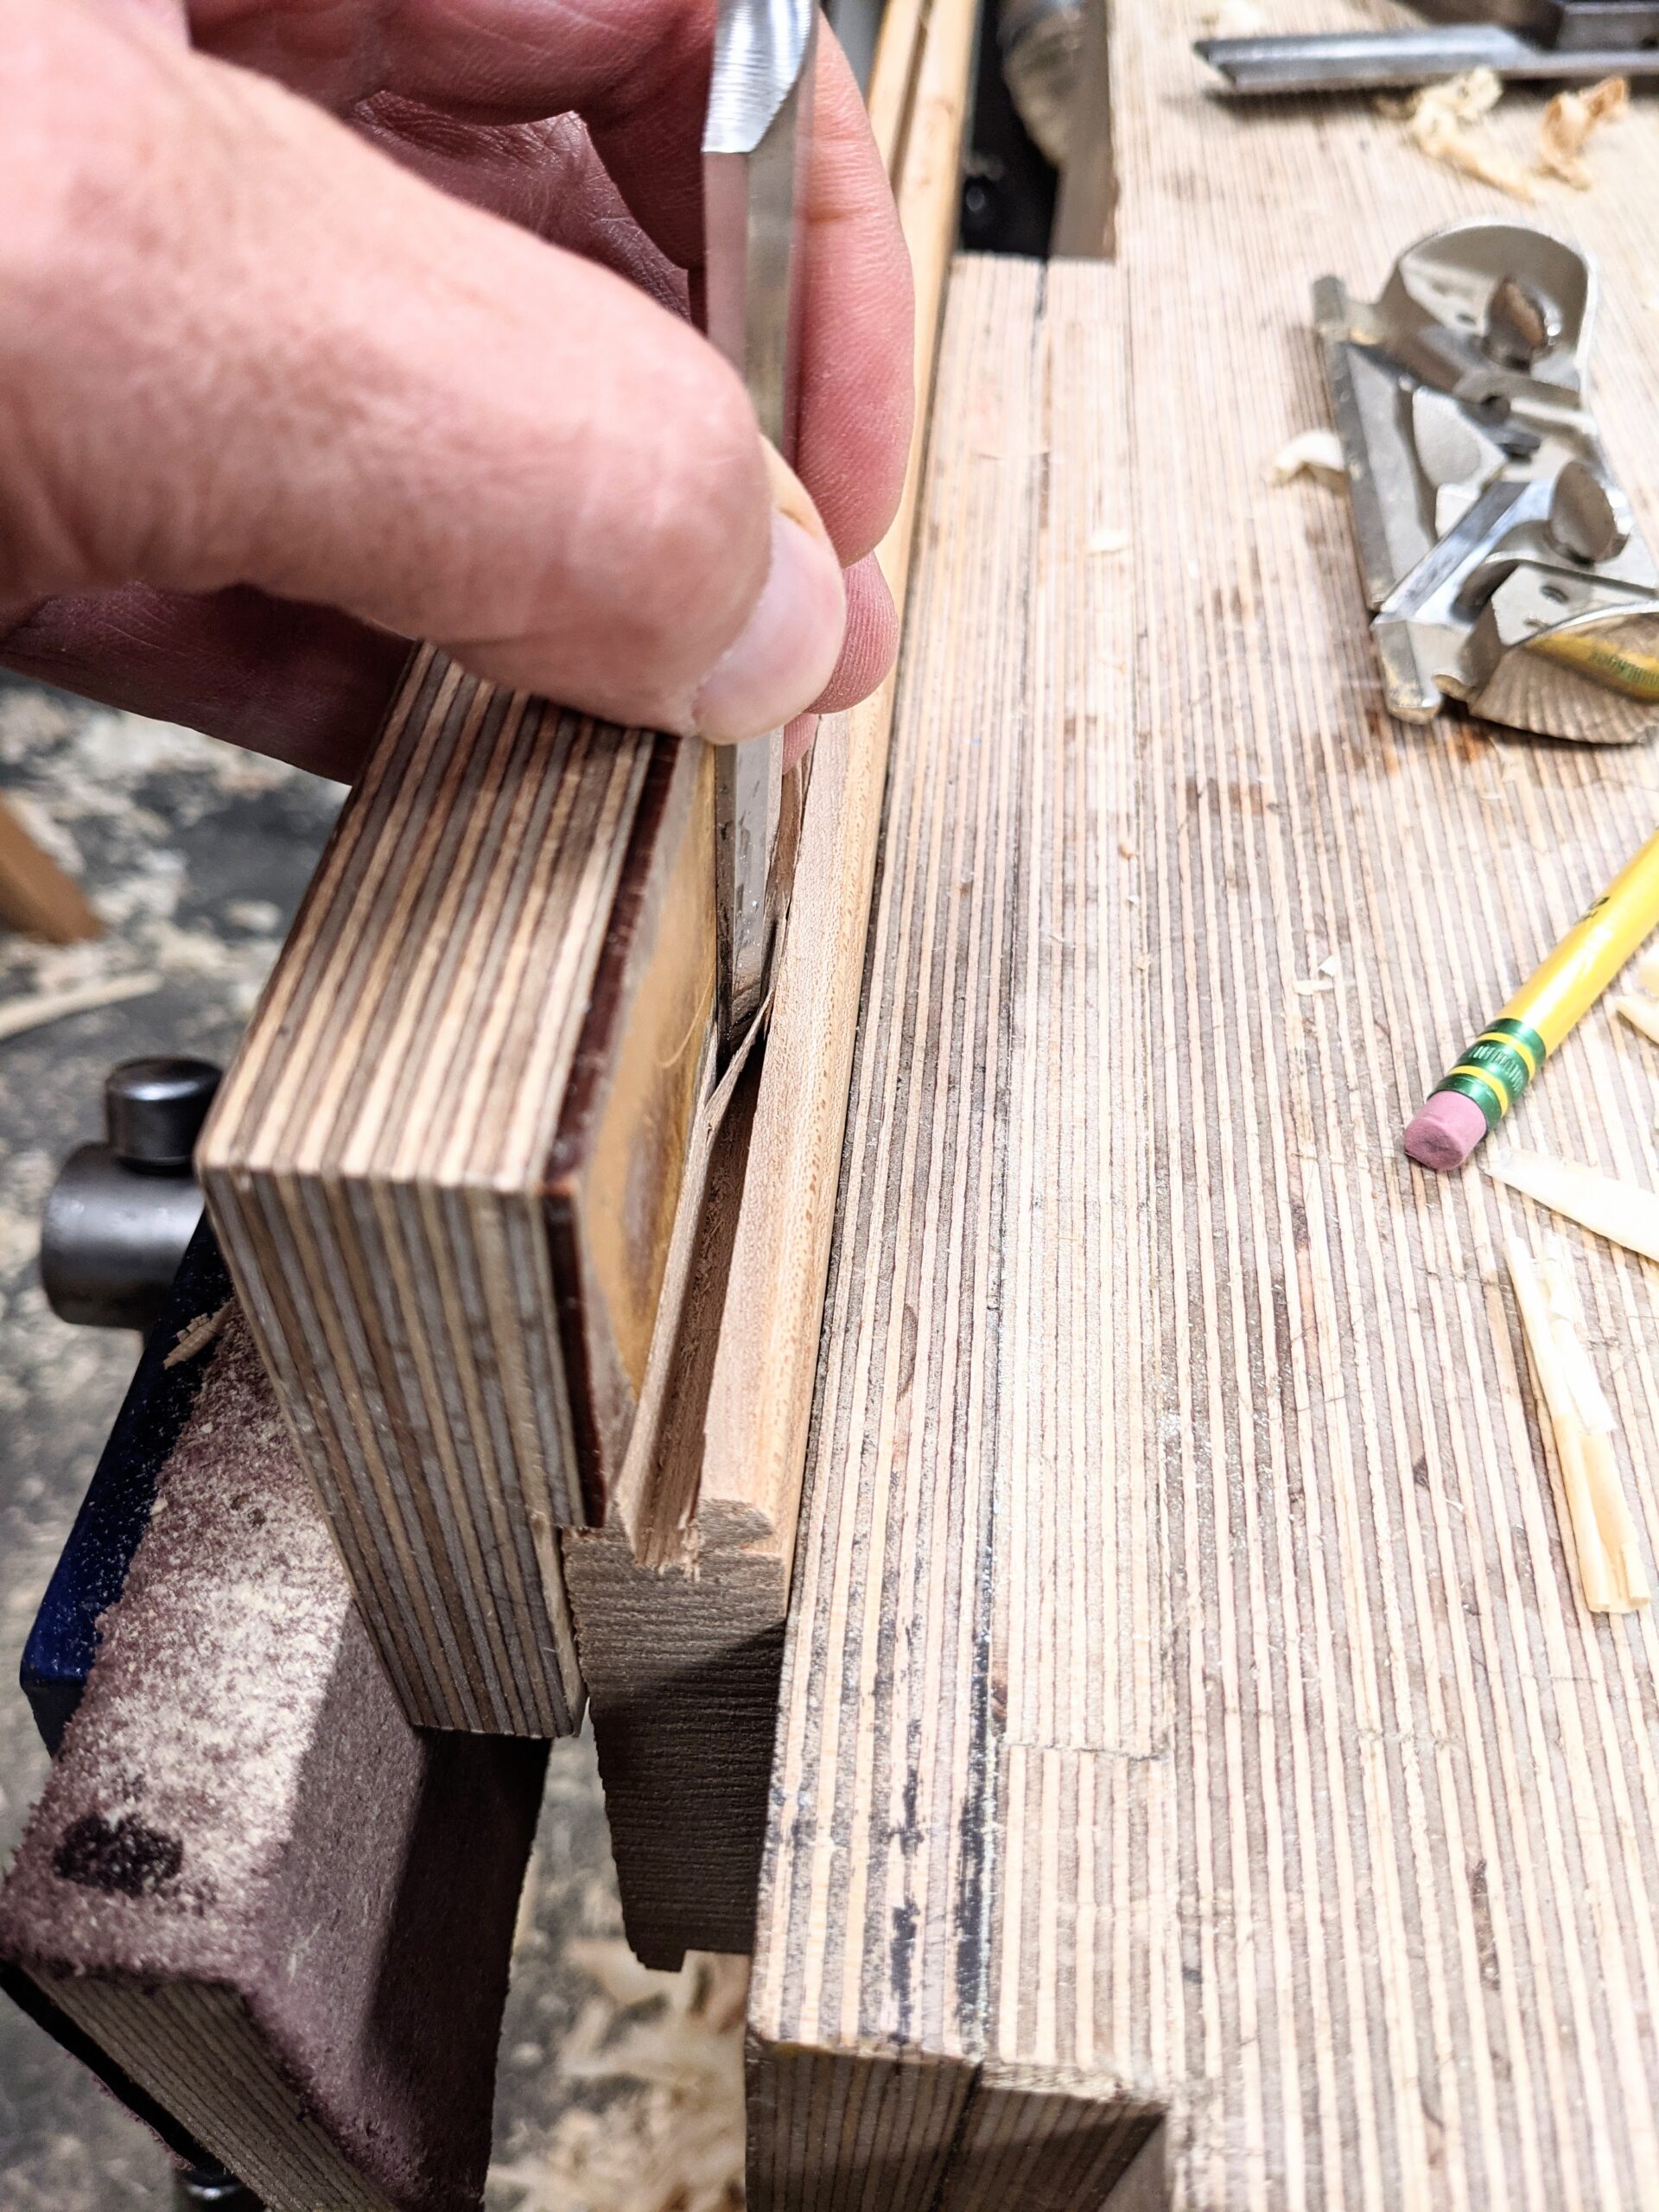
As I said, the side rebate plane is not an essential tool until you encounter many different-sized grooves according to pre-machined sizes in say manufactured sheet goods like MDF and plywood. 10mm is not 3/8" and 12 mm is not 1/2". The small differences can be reconciled with a side rebate plane but without one, you create a fence to guide a chisel as shown here. It is quick and effective.
Comments ()