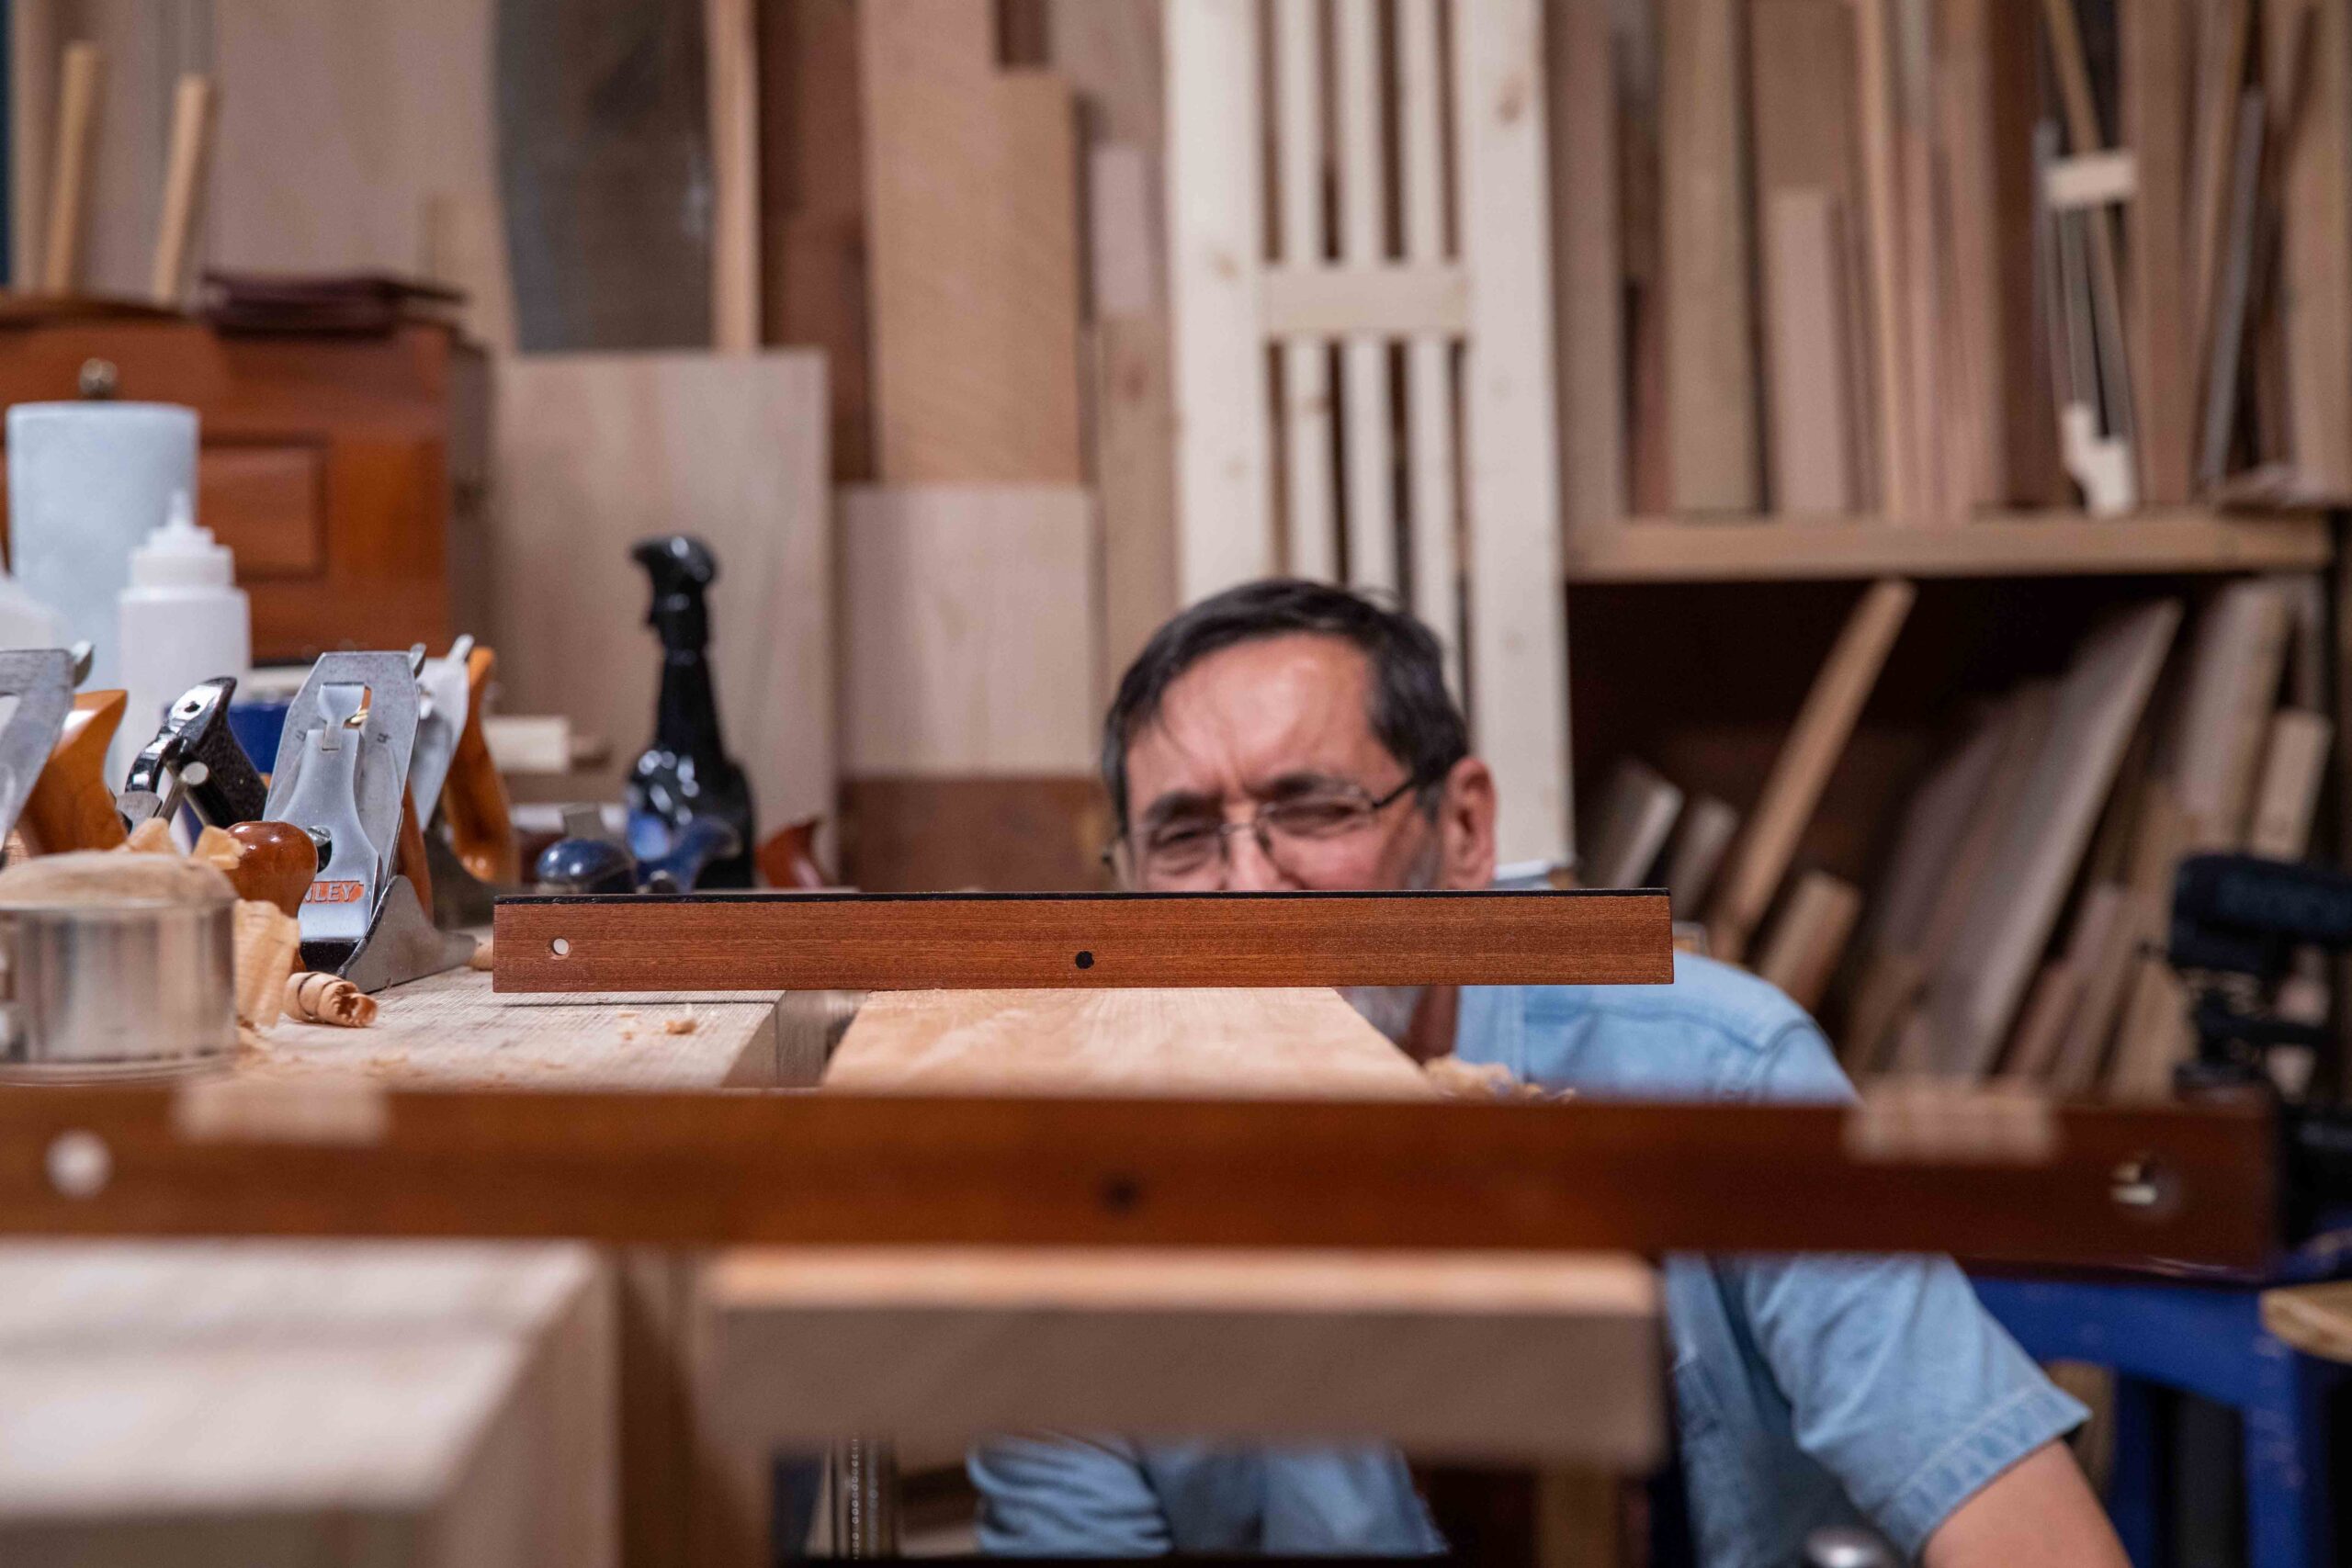
Prepping Wood VII
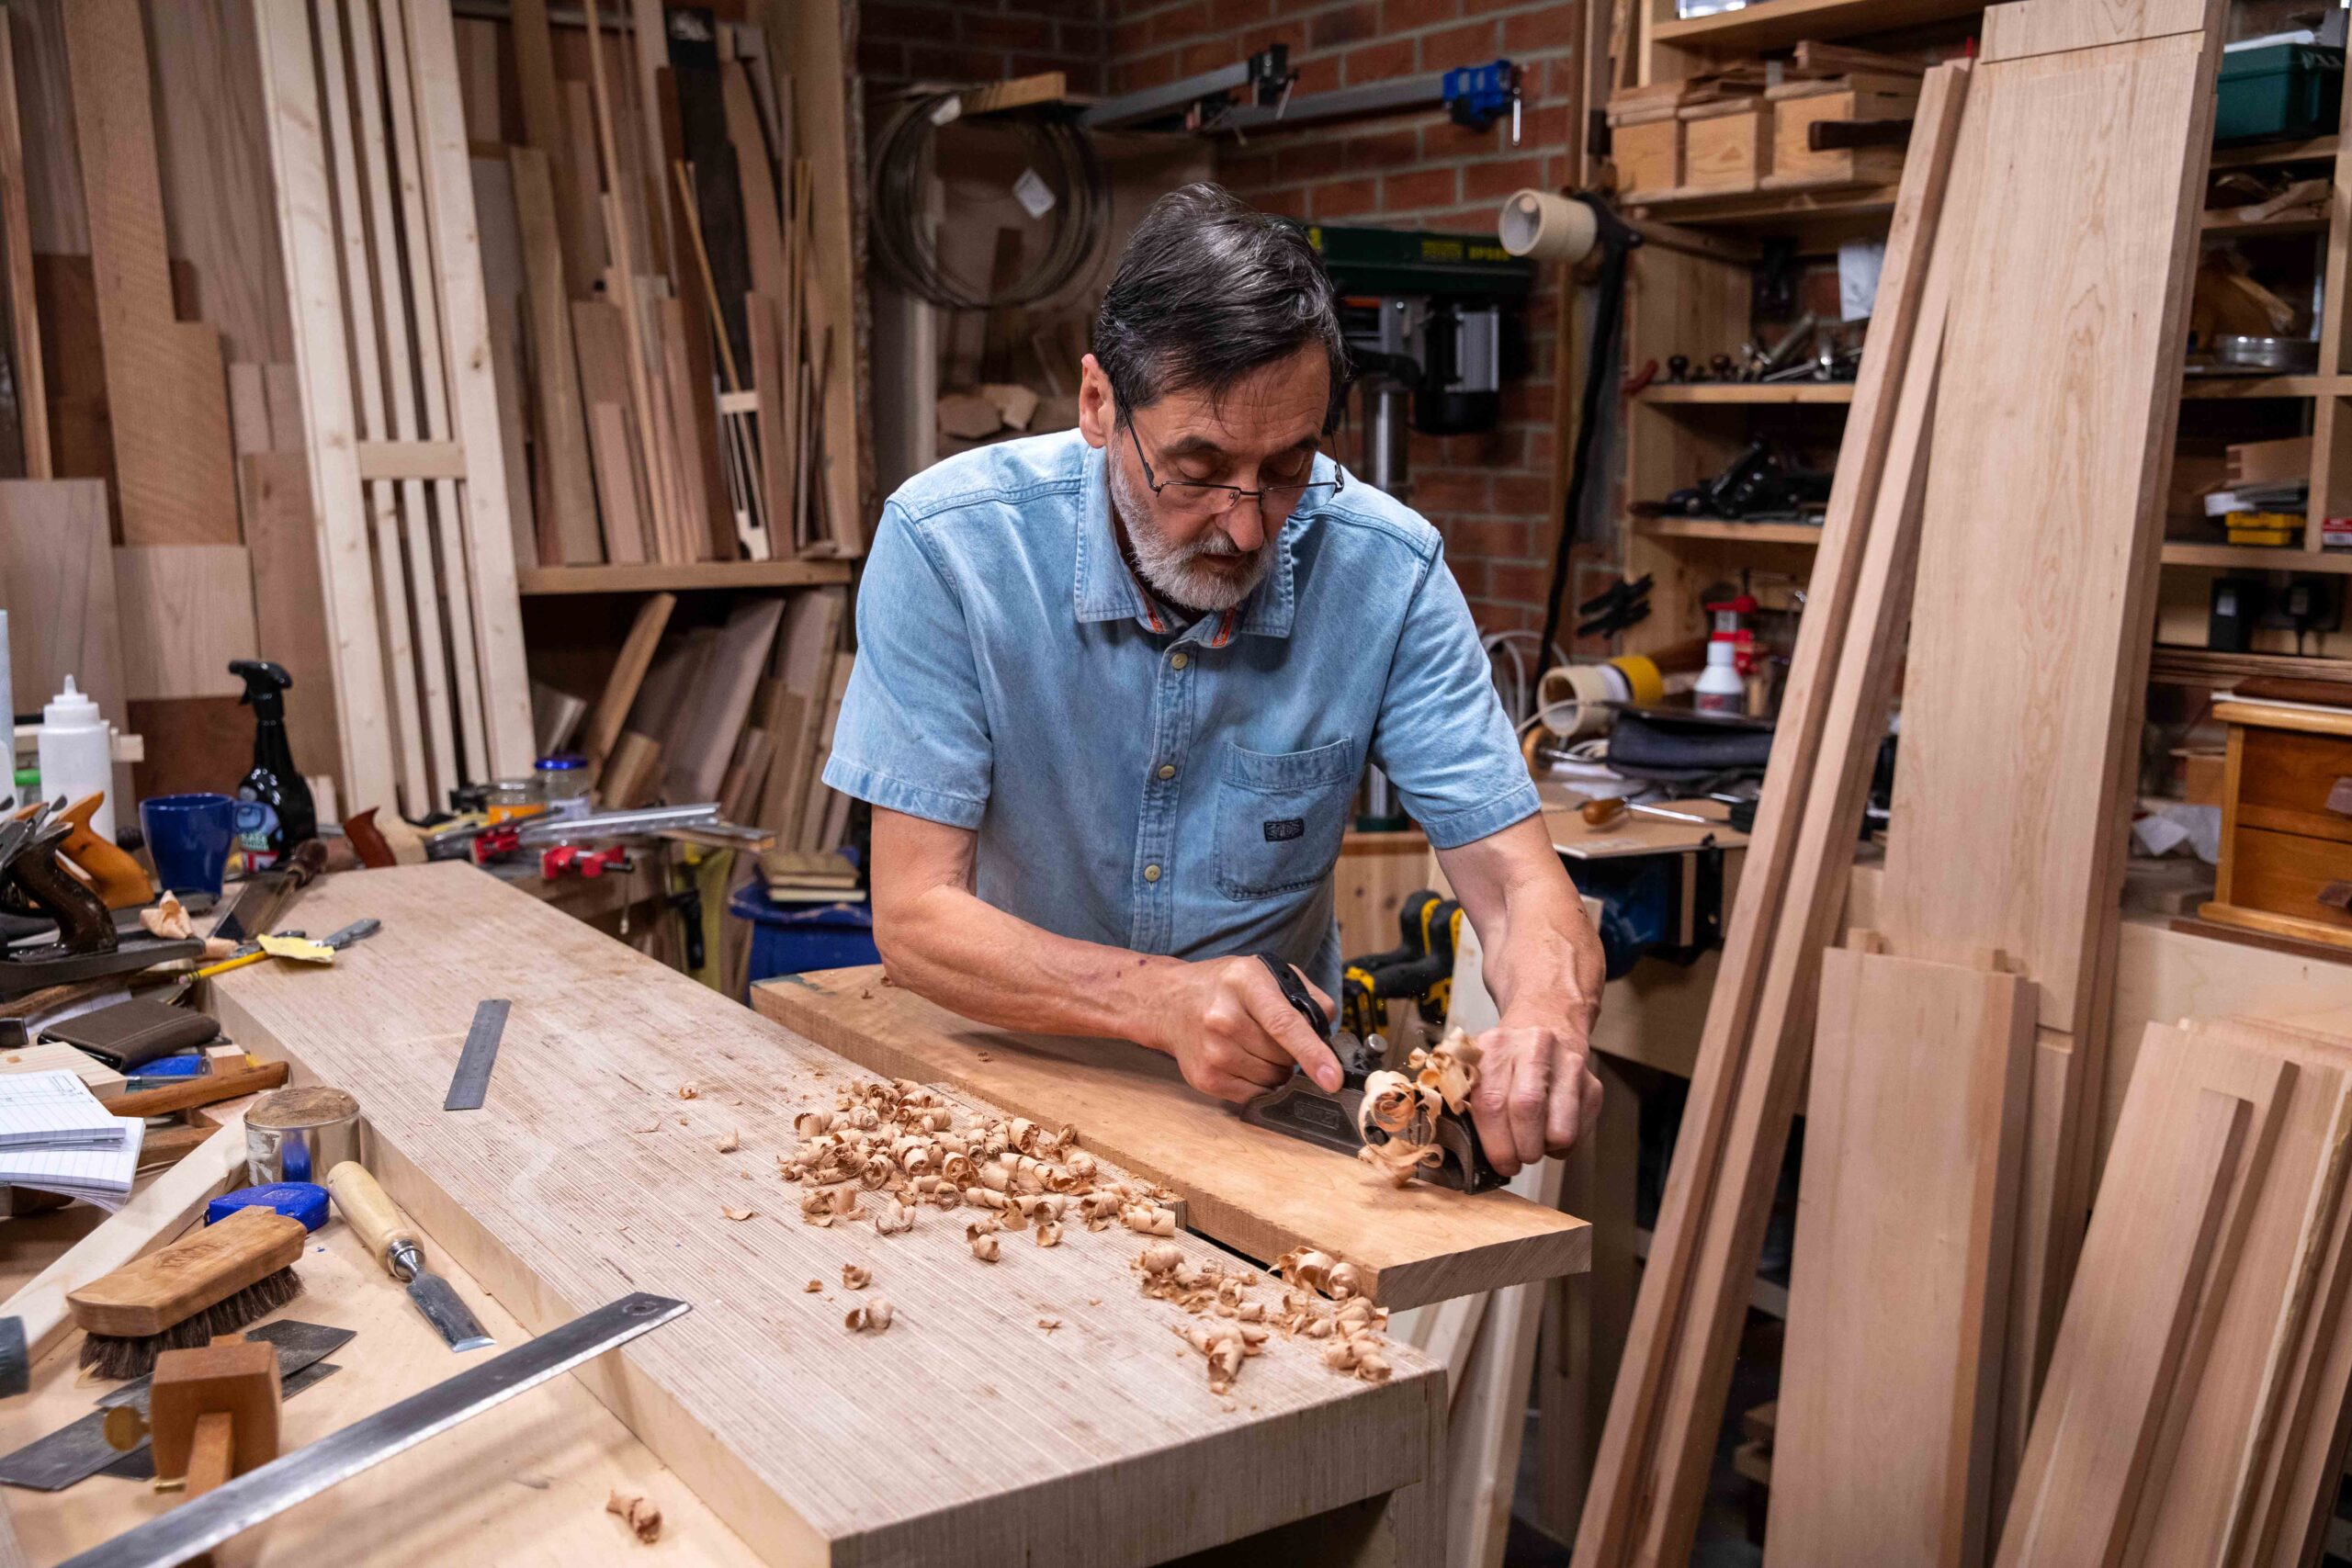
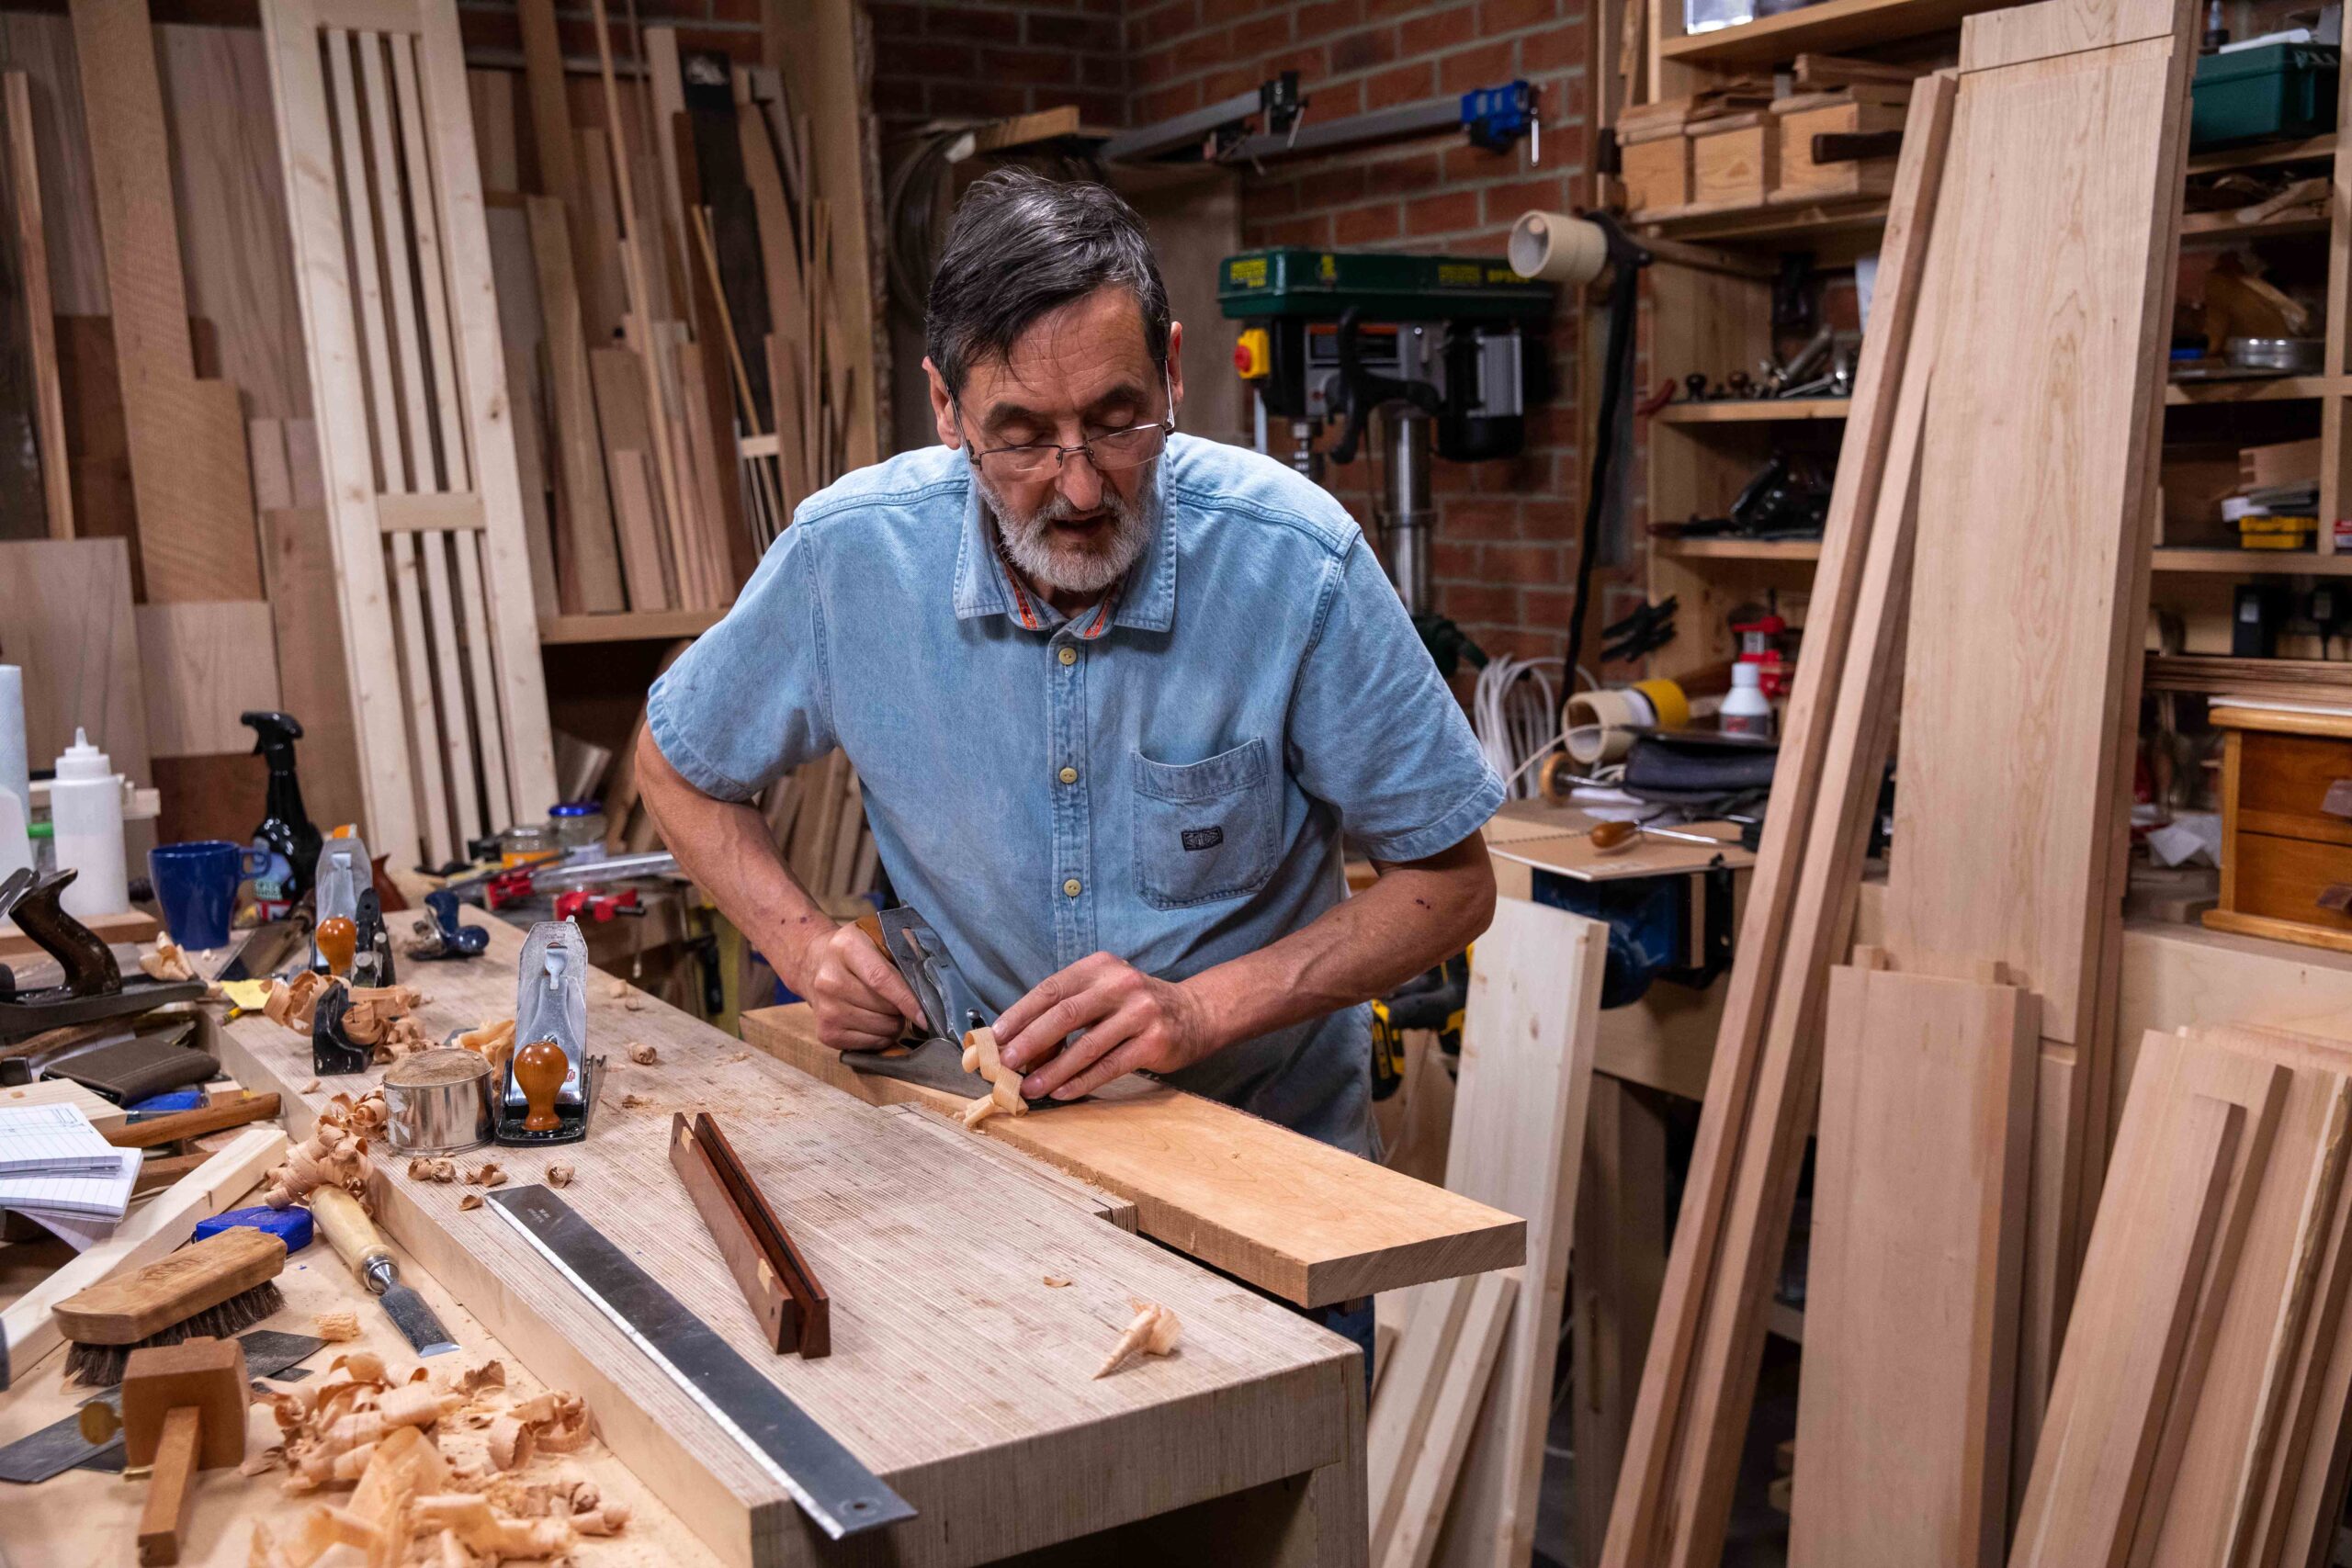
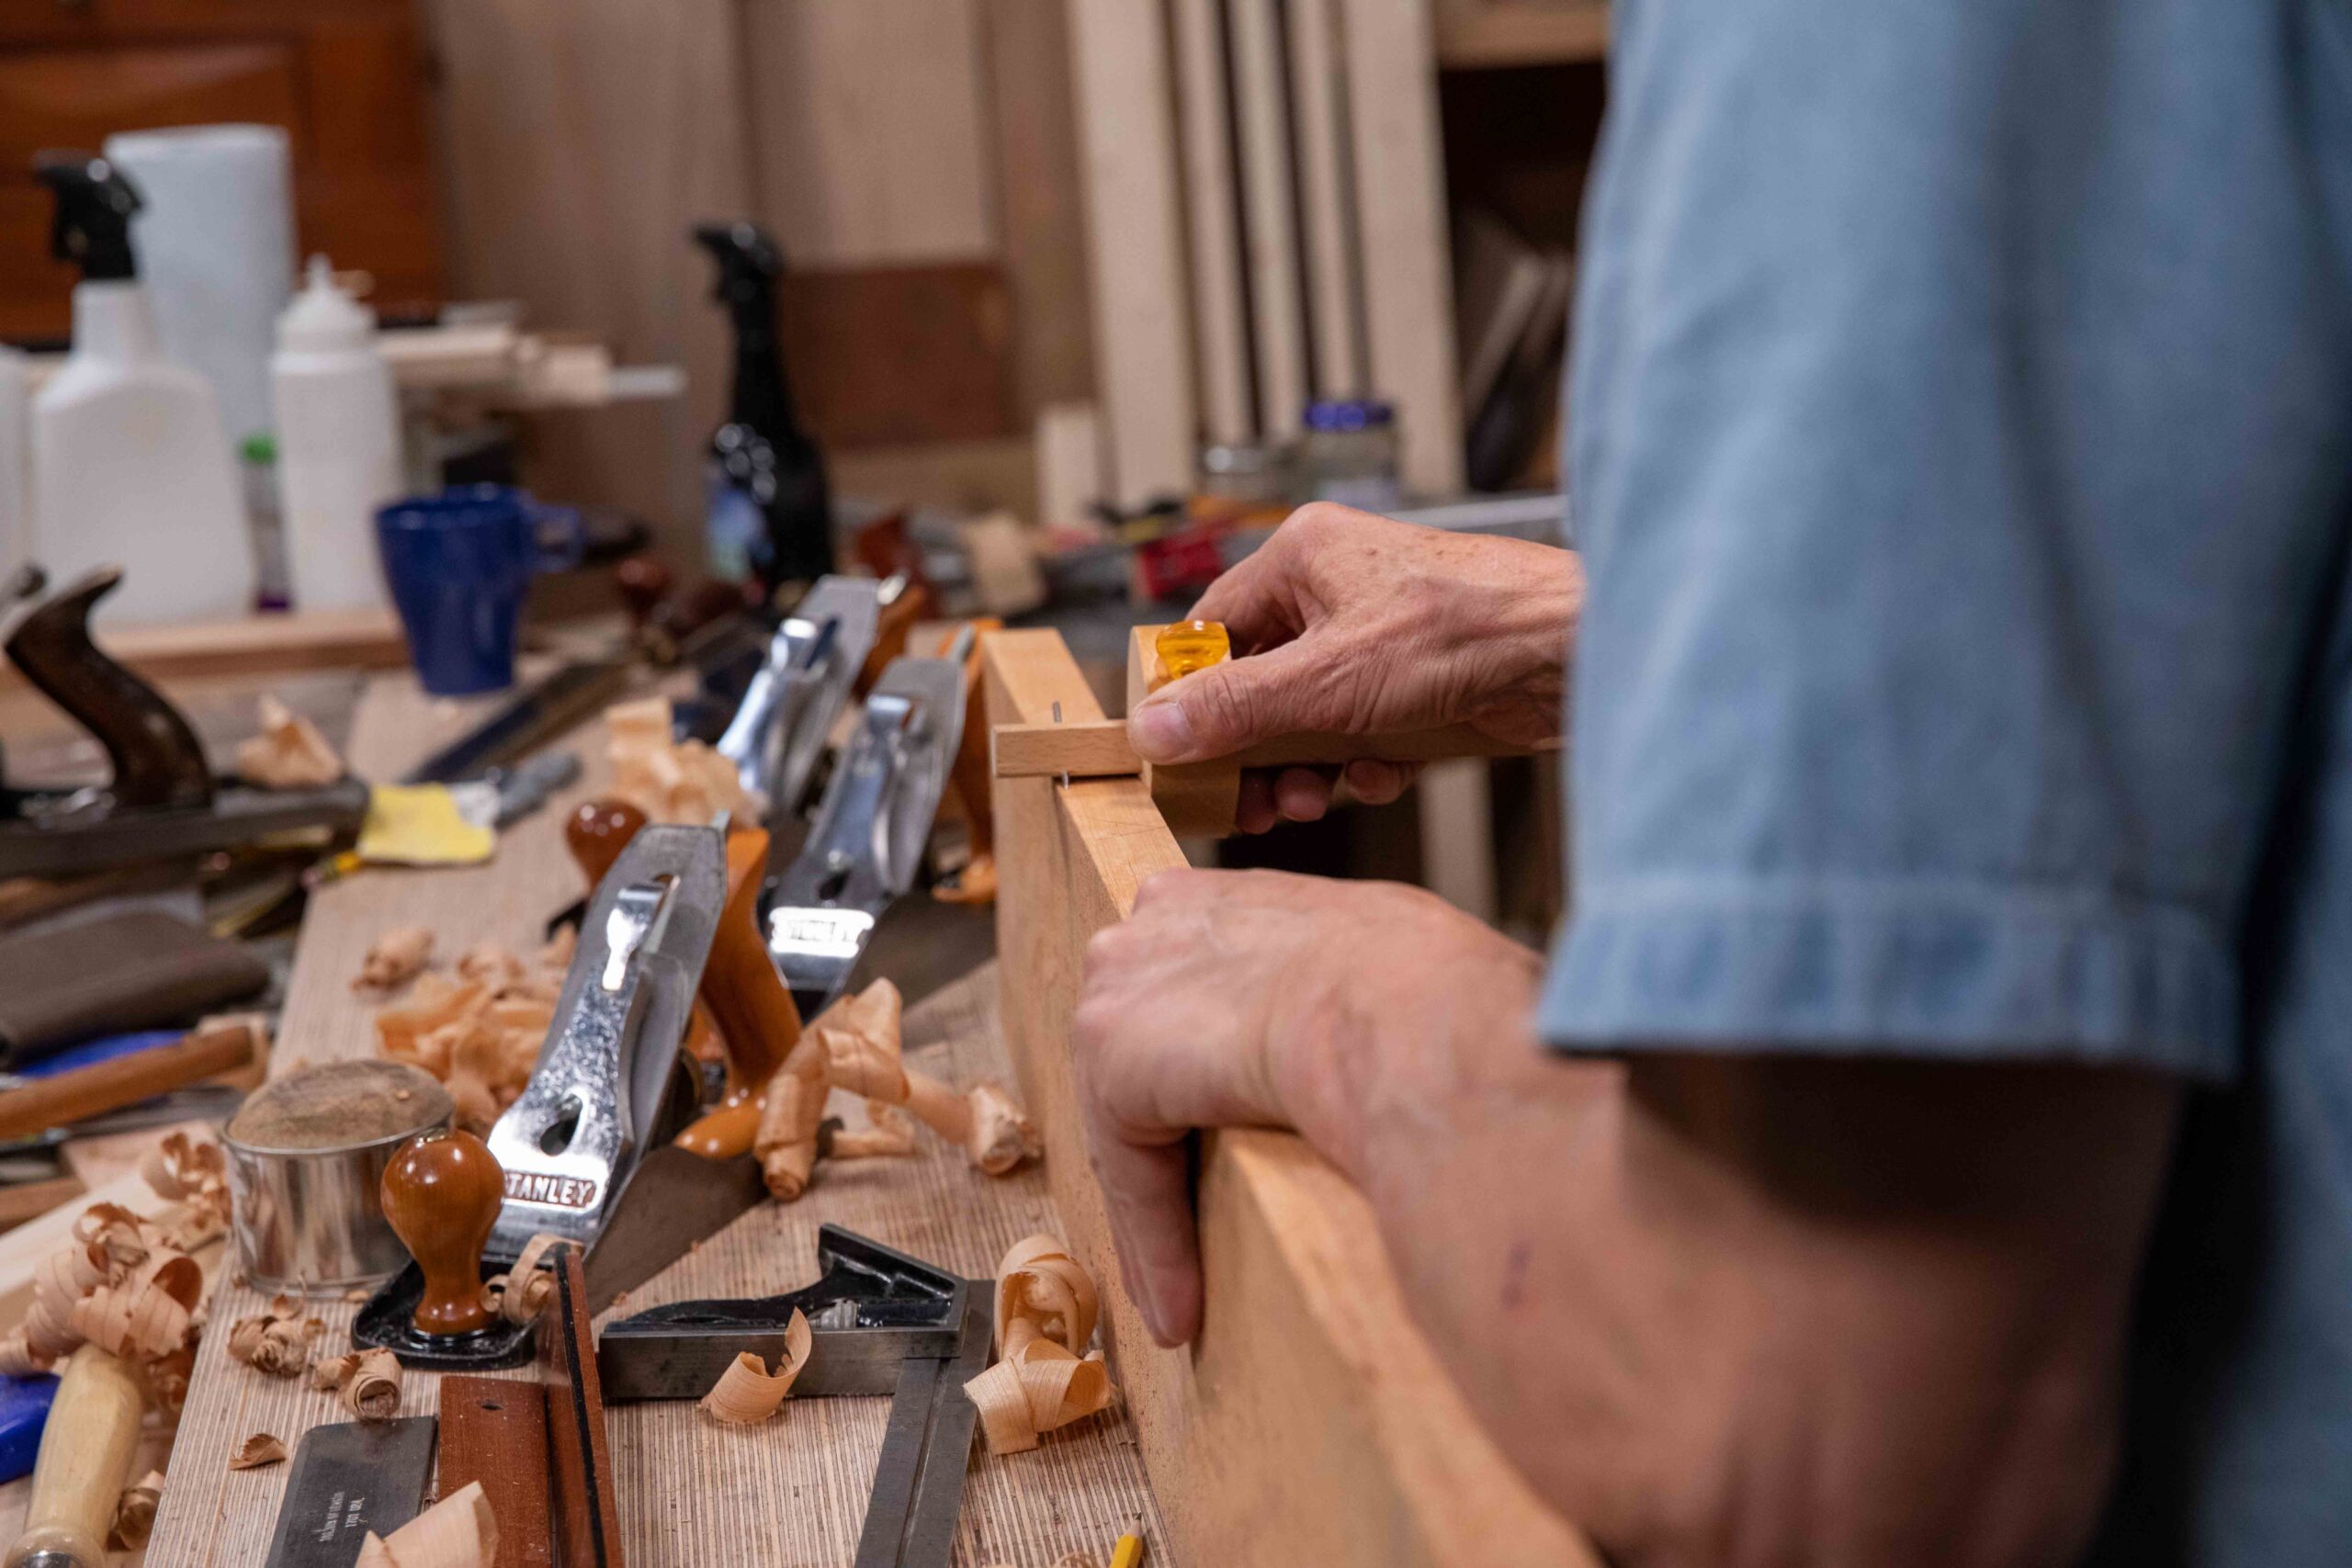
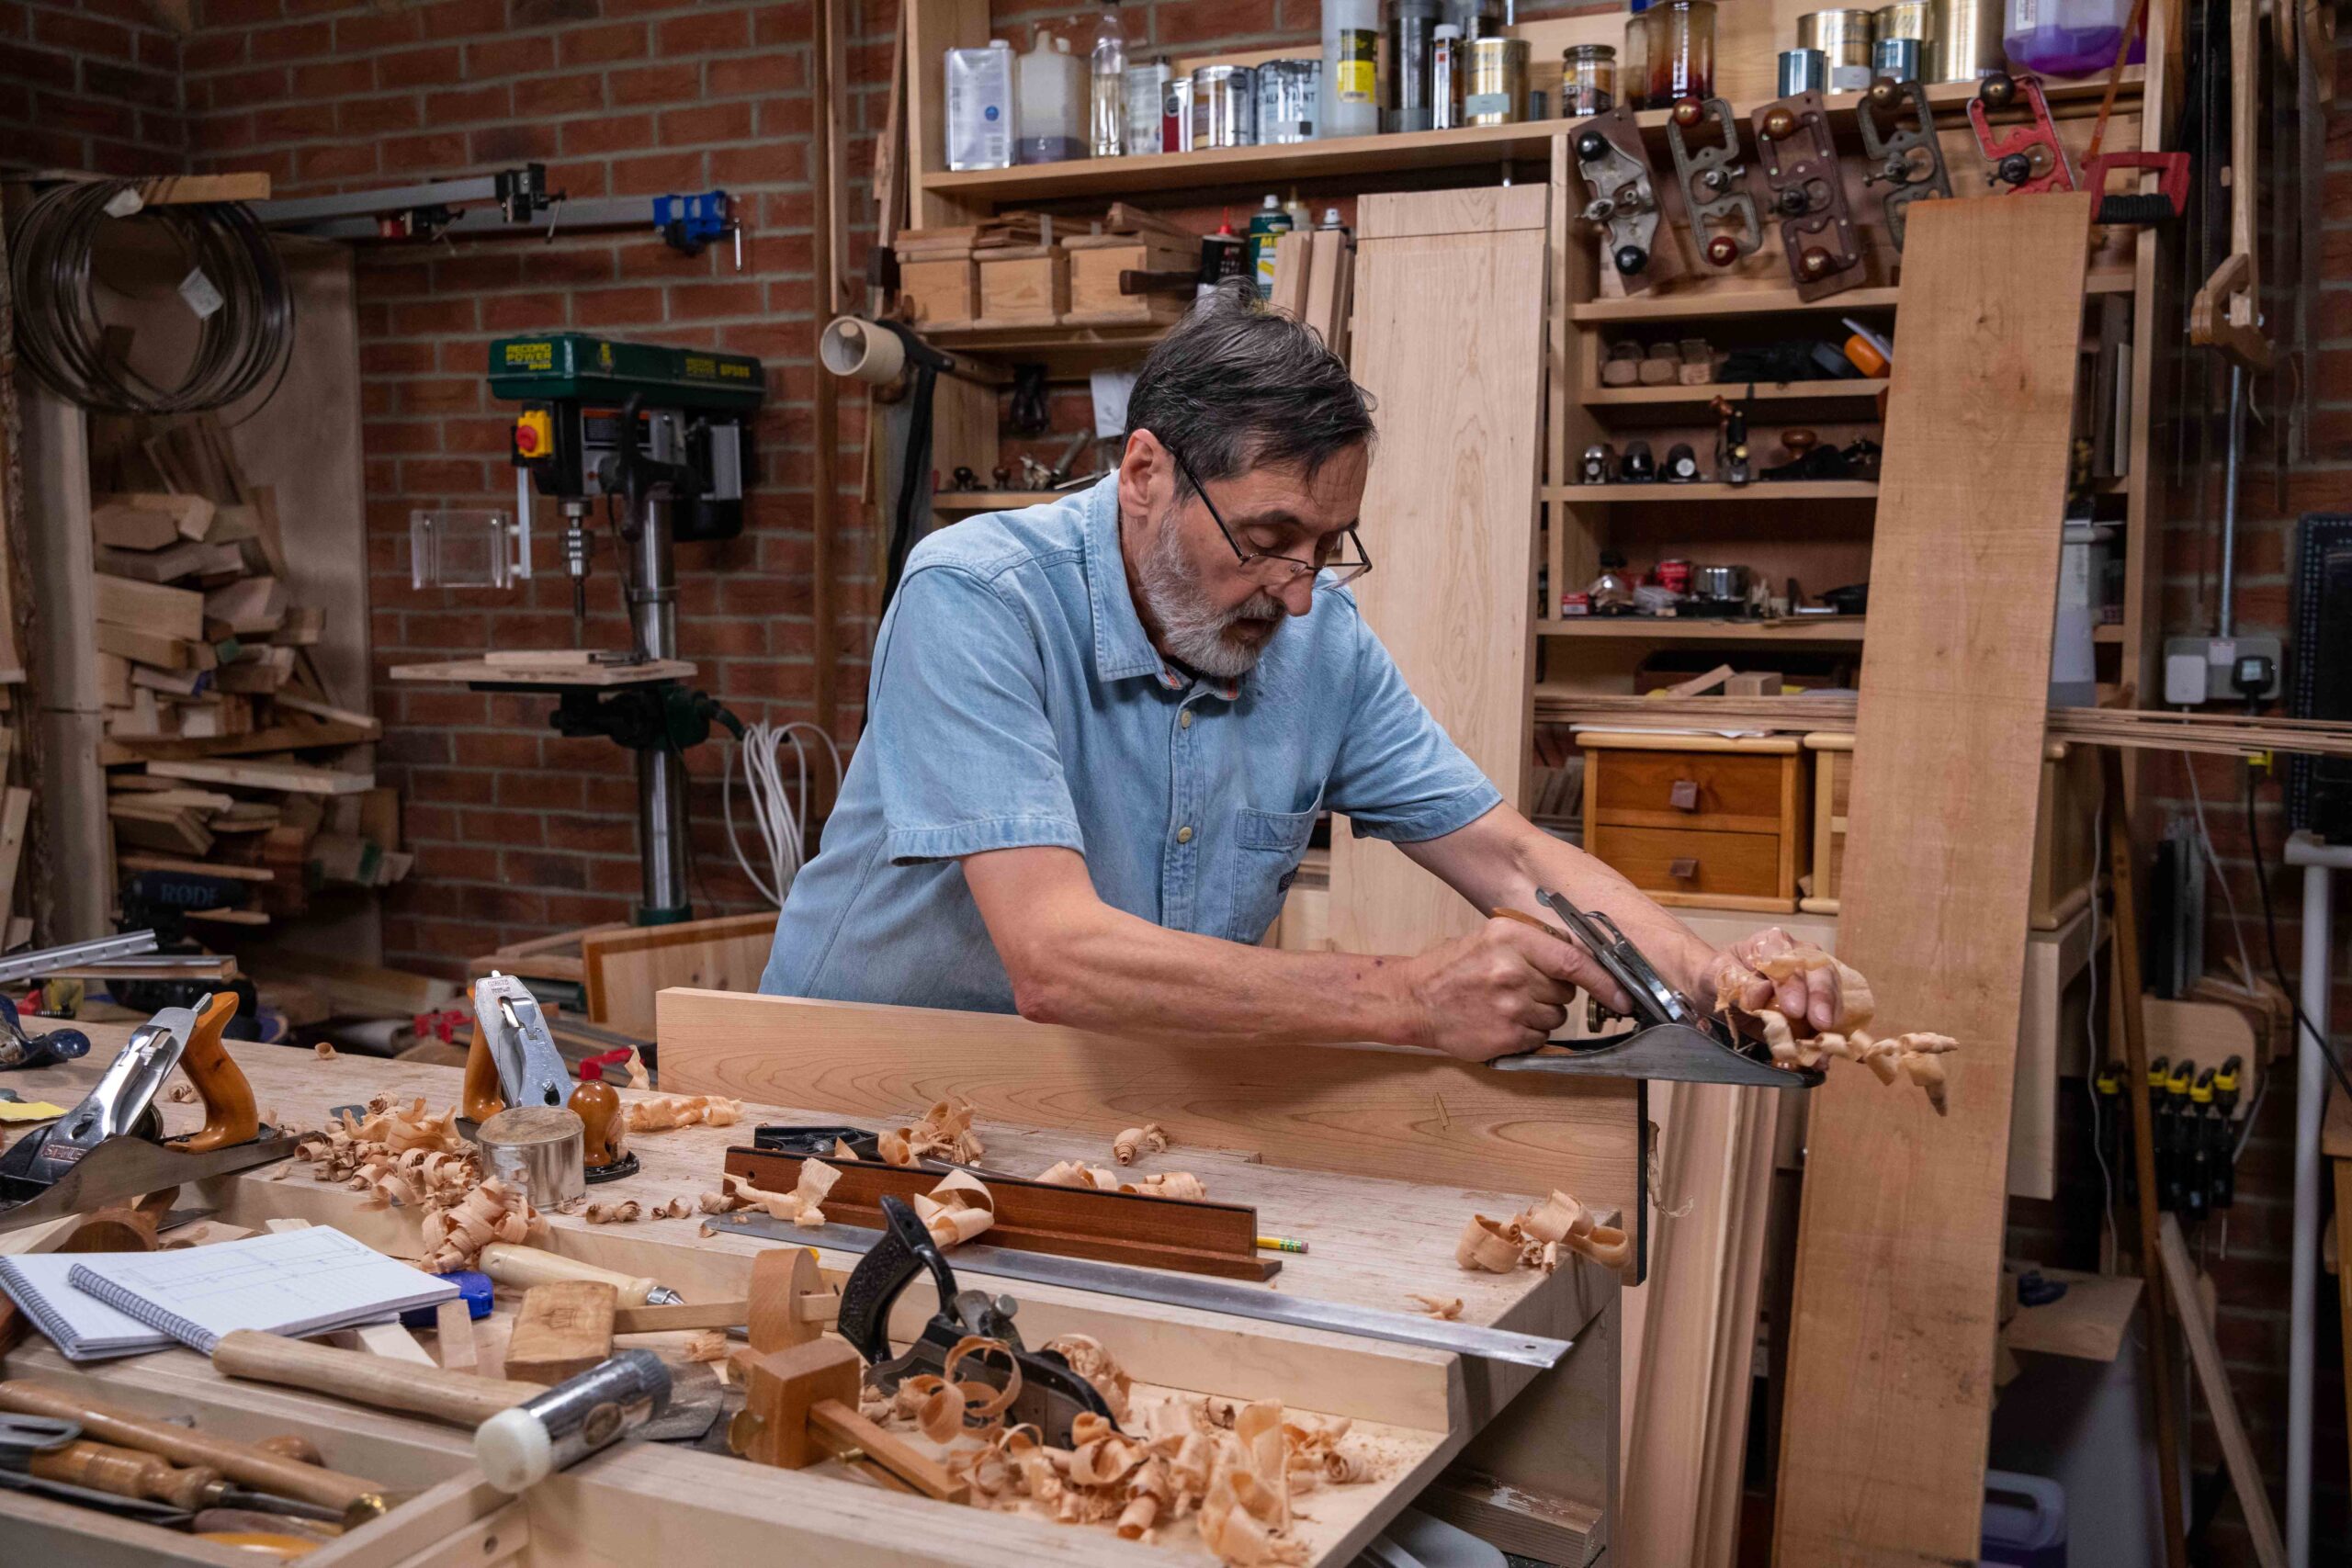
Finally, we arrive at the workbench with wood. The sawhorses get stowed, wood is rough-cut to width-cut and length-cut and stacked alongside the bench. It's here that I pull out four planes for possible use in the next few minutes and then for hours. My diamond sharpening plates are to my left hand on a shelf at the end of my bench aprons. They are always there and totally ready for use alongside my strop. The pieces are roughly marked out with the name of the part and my cutting list is there on the bench for referencing. I have done my groundwork in identifying and noting, selecting and rough-cutting. Now it's time to take my exercise.
I am never sure why so any machinists are disparaging about hand planing wood. I have faced adverse comments at every show I have presented at through the decades. Two things generally occurred, one, someone says, "Why not just use a planing machine? It's much faster!" Laugh, laugh. The assumptions are many.
a) Why would anyone want to do it by hand?
b) Everyone can own a machine shop with tablesaws, planers, bandsaws, drill presses, mortise machines and more.
c) Everyone has the space to house this equipment permanently.
d) No one would want to use hand tools or have the skills to dod so.
e) That I am promoting something archaic that no one wants.
f) That machining processes are n evolutionary advancement.
g) Hand tools are outdated and primitive.
h) Hand skills can never match machining methods.
i) That machining wood is the same as hand working.
k) Everyone worldwide has the privilege to be able to own machinery and a machine shop.
I could likely give 20 more but I will stop there. We did the survey, found out what people had to work with. We are a solution for the majority.
The second annoyance is when someone walks up to MY bench and lays MY plane on its side. Neither of these two people types can ever understand yet think that they know something I don't when it is always the other way around. Oh well!
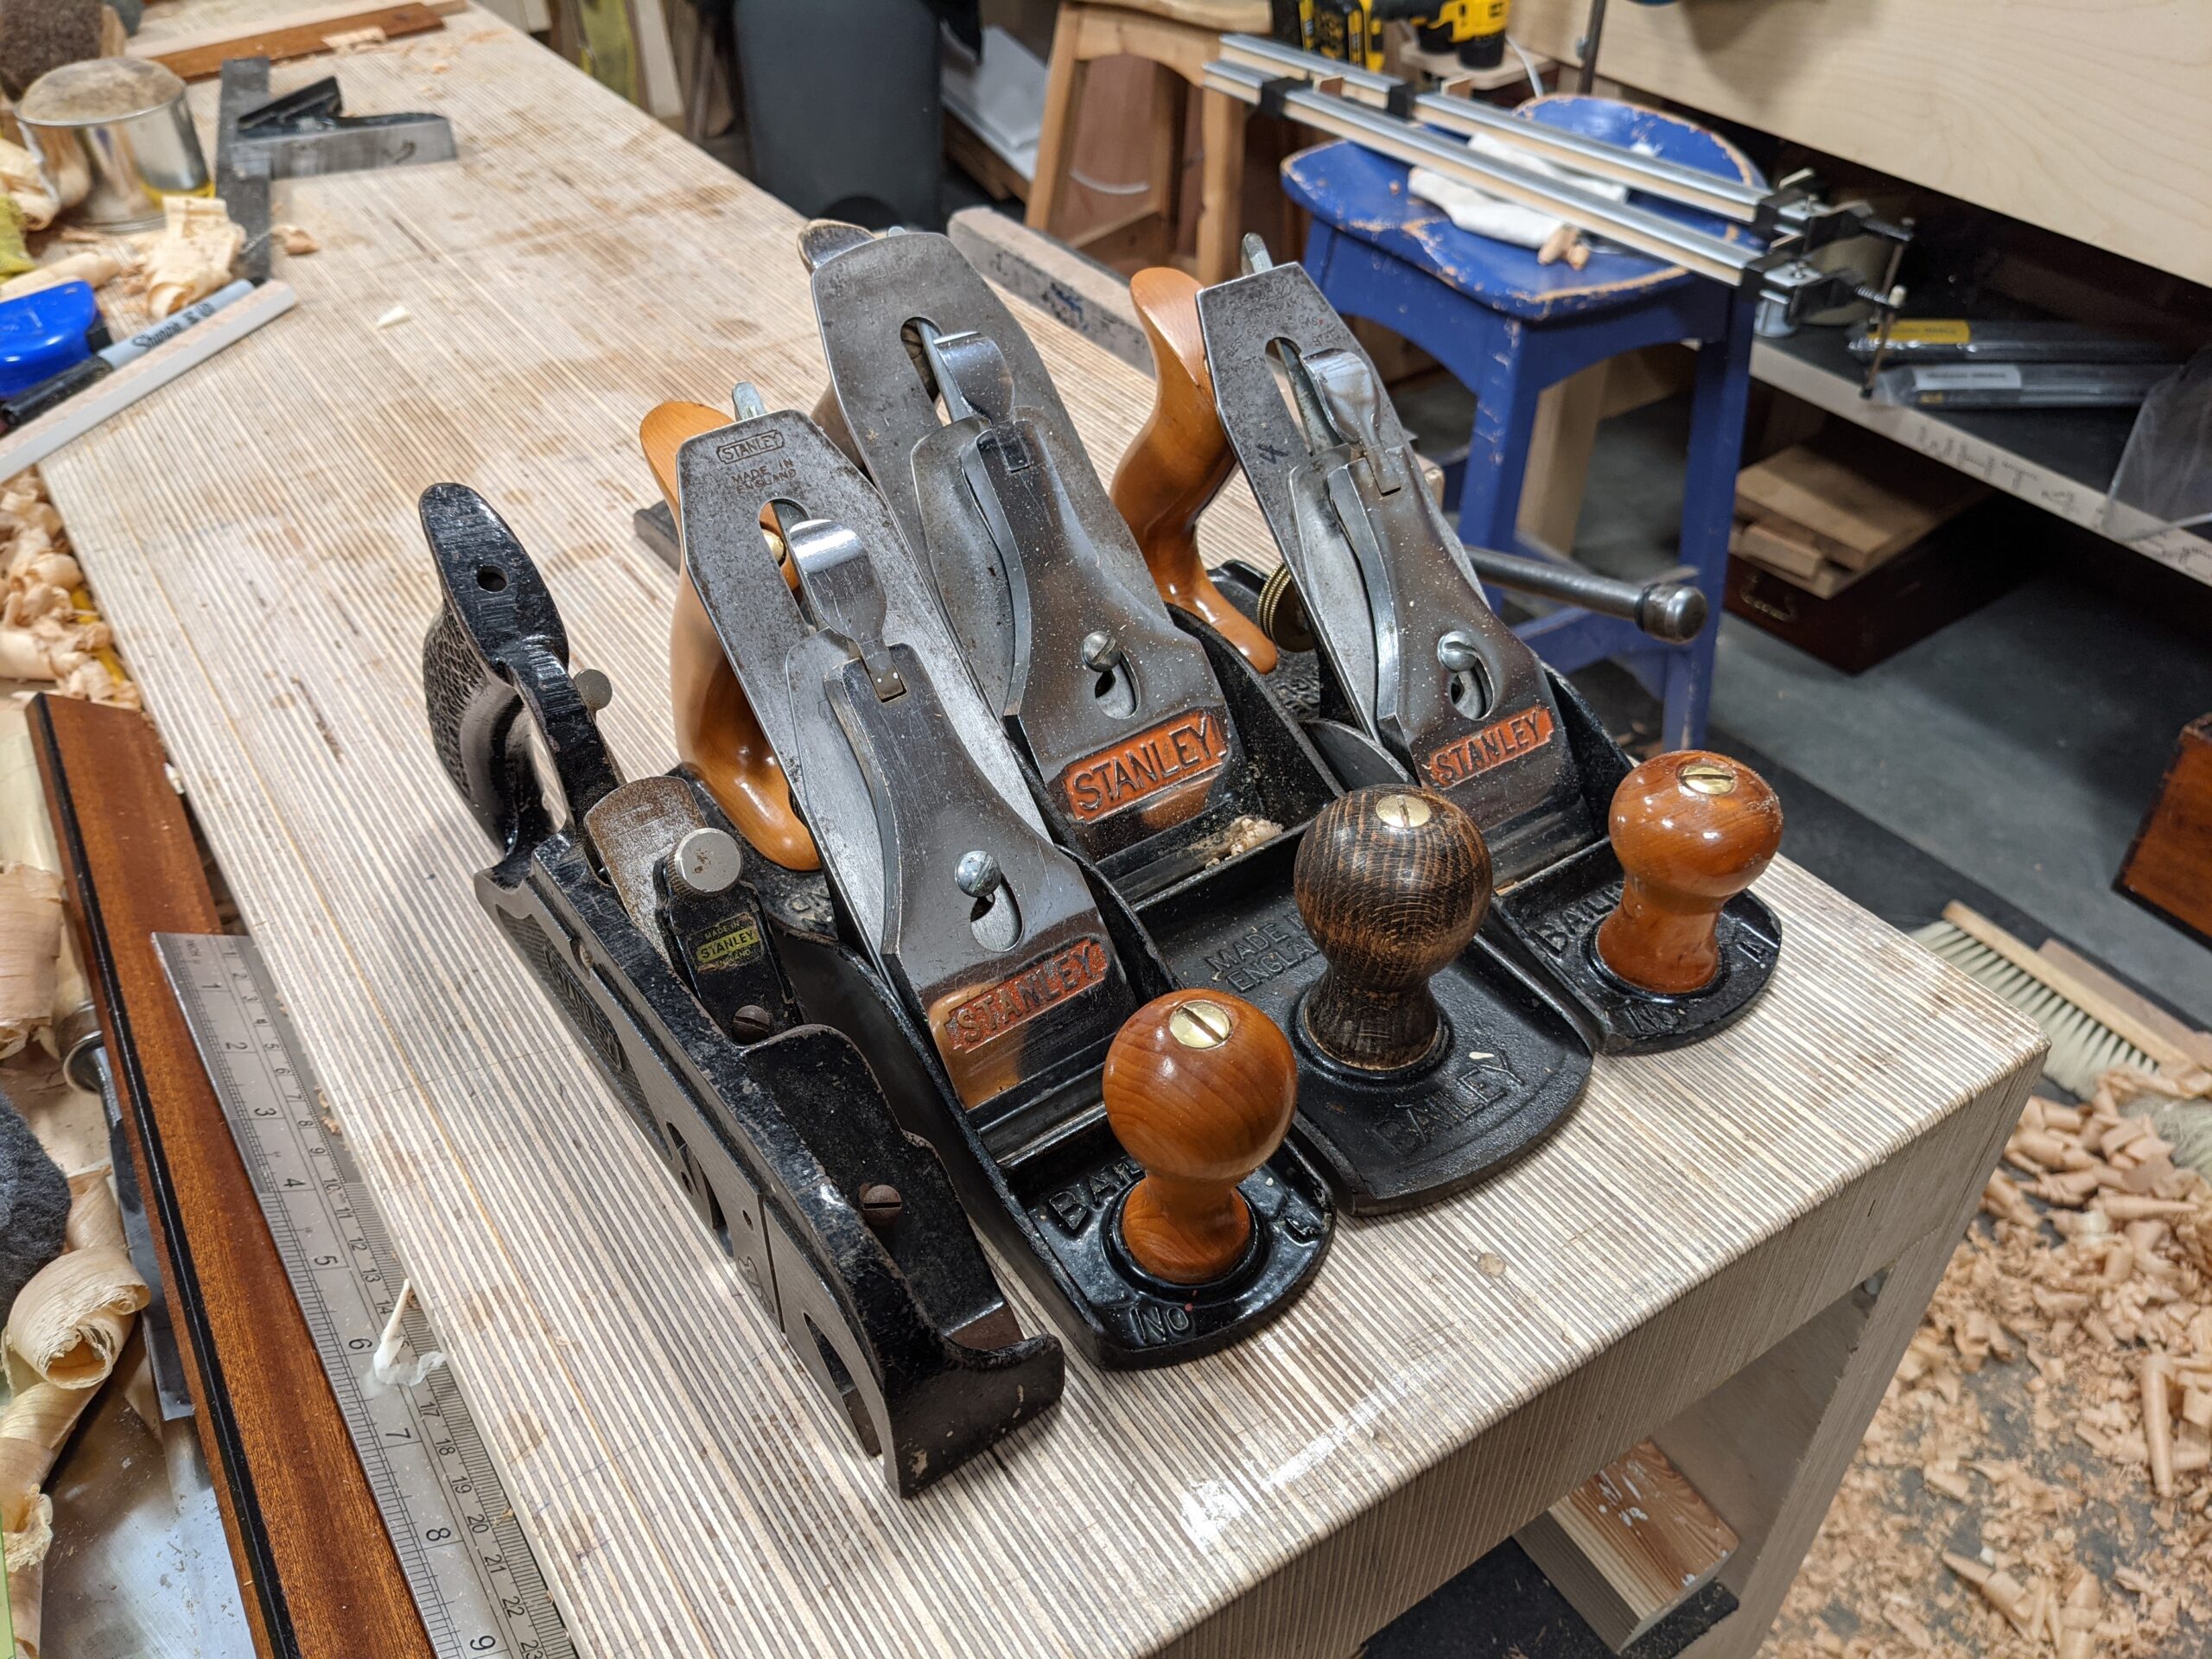
Truing up wood demands at least one sharp, well-set, well-maintained hand plane to get the best from our work. Beyond the plane or planes, we need a decent square, pencil, sharp knife, straightedge, and winding sticks. Let's look at the planes as our first 'doing tools'. In my case, I have dedicated planes but, if that is too much of a luxury for many, you can use different plane irons in a single plane or planes of choice. My arsenal comprises my first level scrub plane which is a Stanley #78 rebate, rabbet or filletster plane, all the same plane with different names. Any make will work. No fences or depth shoes are needed and no snicker cutter for cross-grain cutting is needed either. My second plane is a second-level scrub plane which is a Stanley (or Record or other) #4 smoothing plane. These two plane types are my planes to tackle rough-sawn surfaces from sawyer or millwork, cambered and convexed surfaces, twist and other surface defects. I also rely on a #5 and a #5 1/2 bench plane.
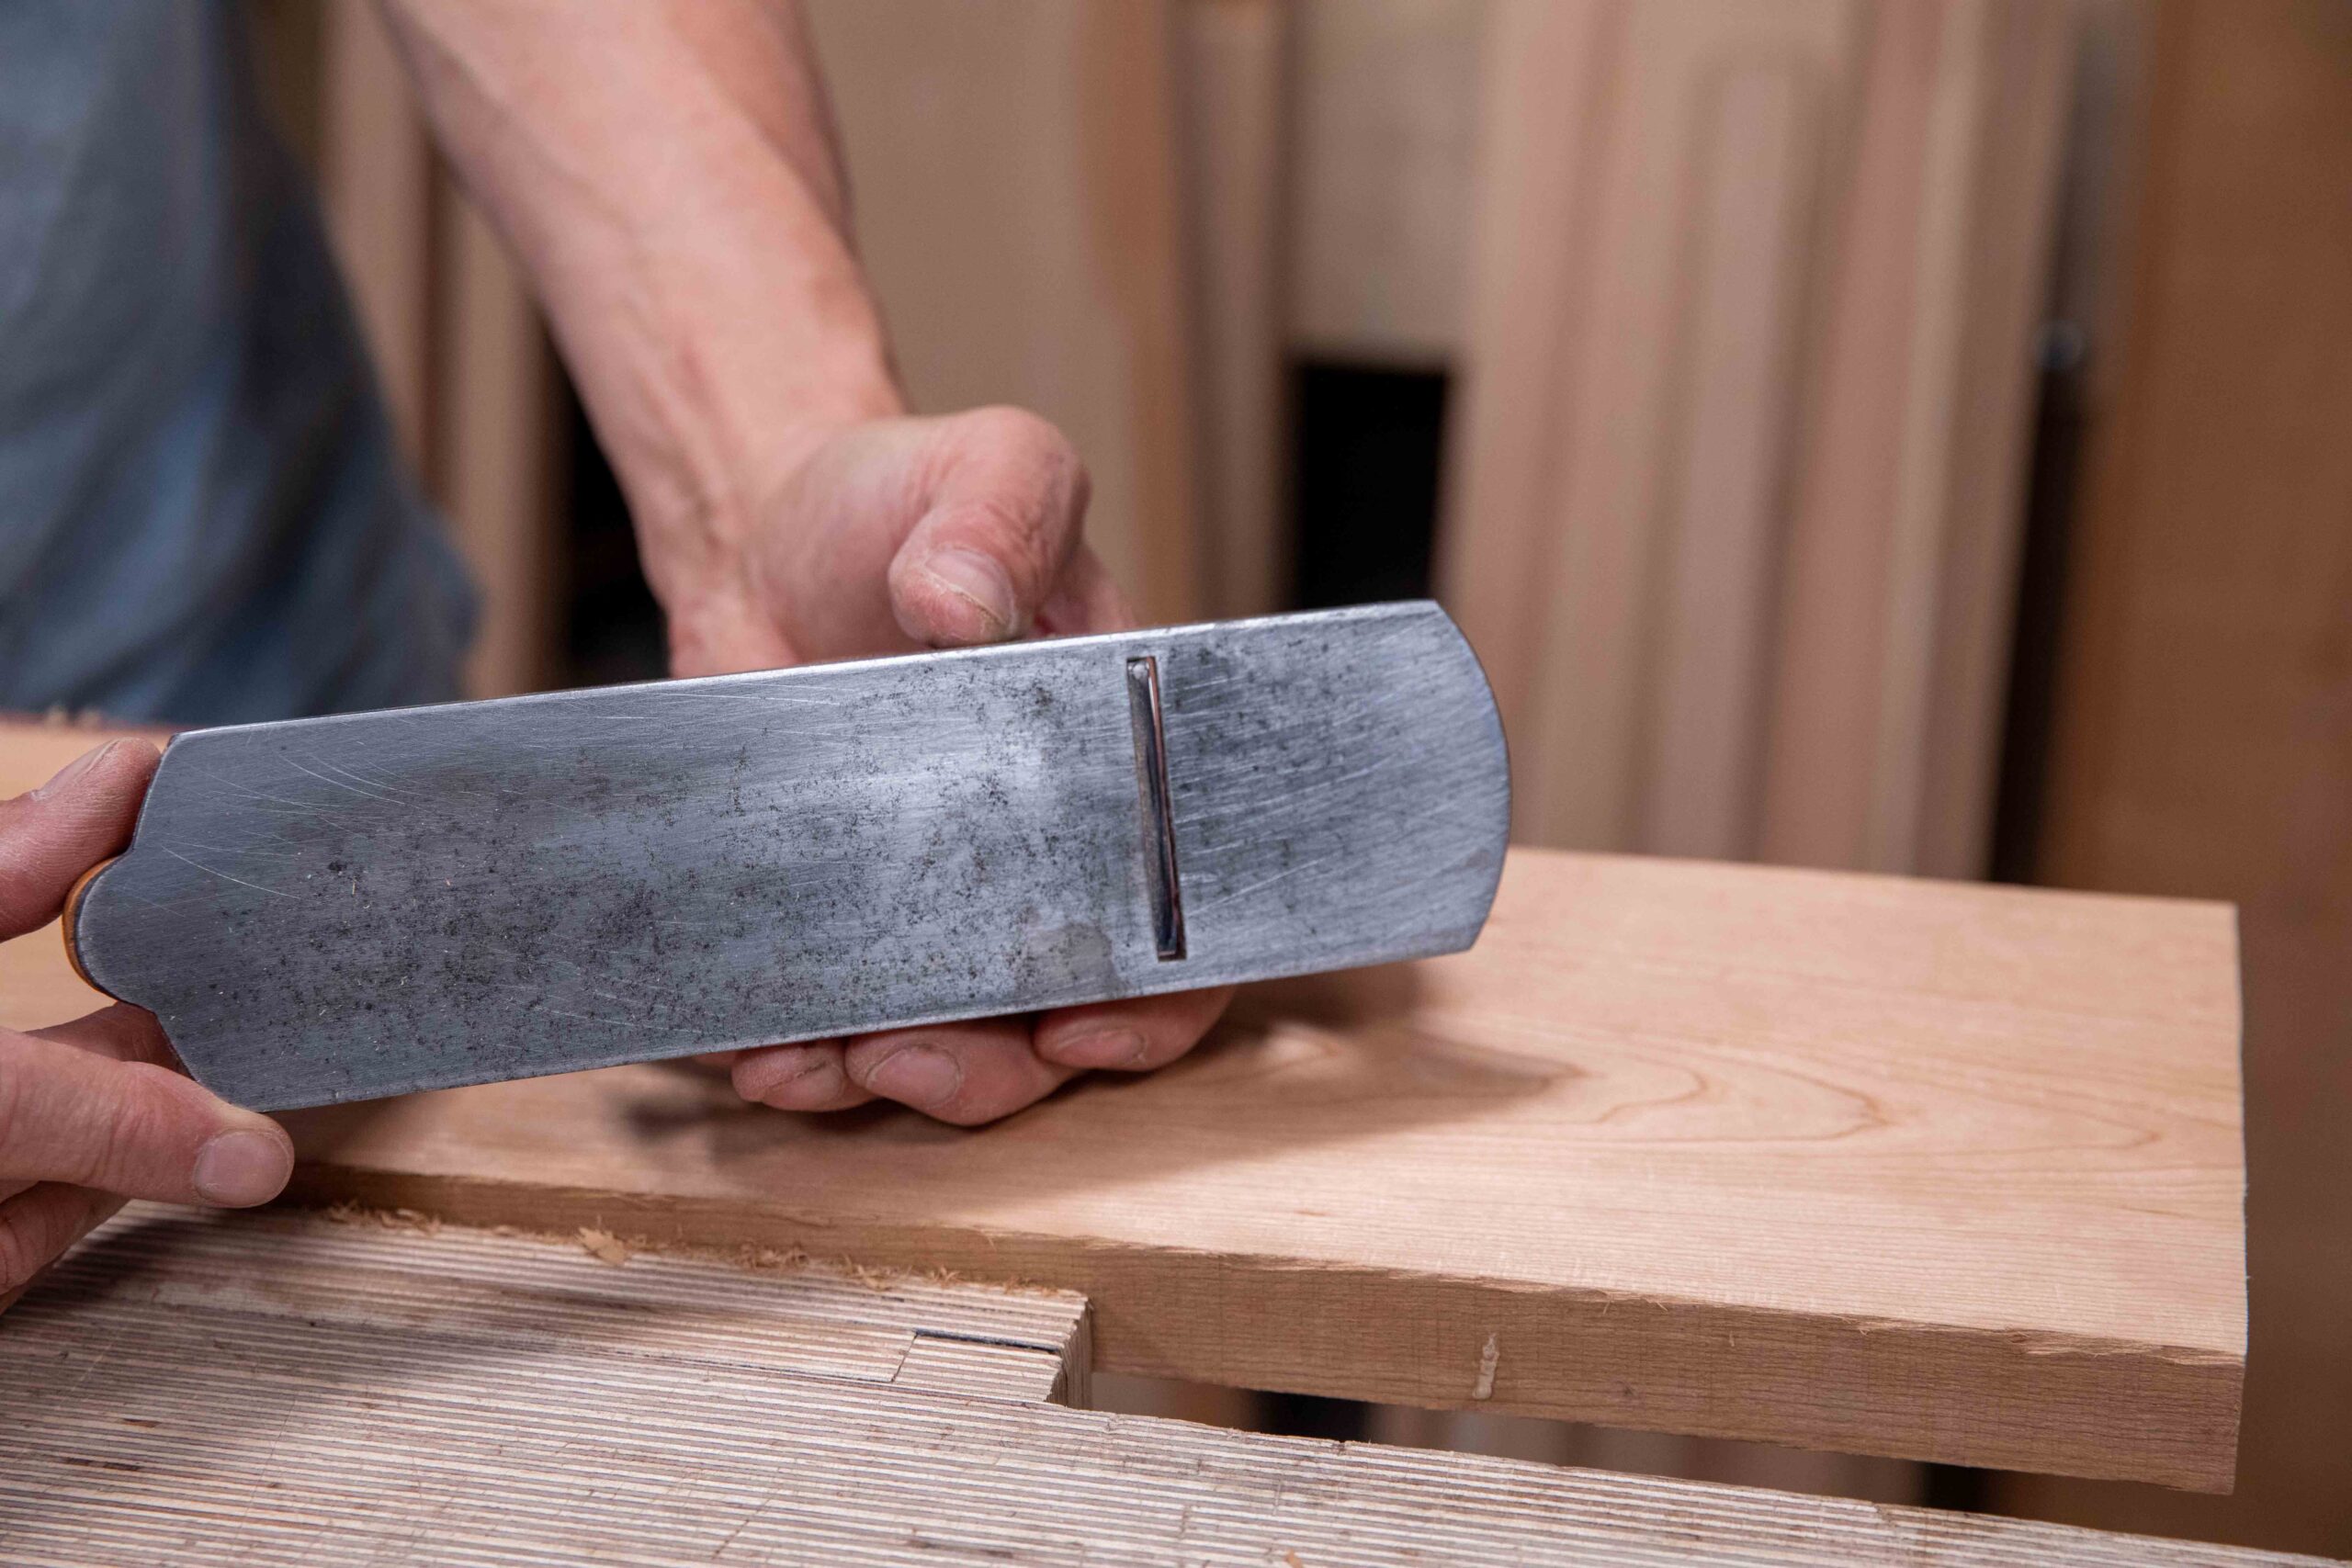
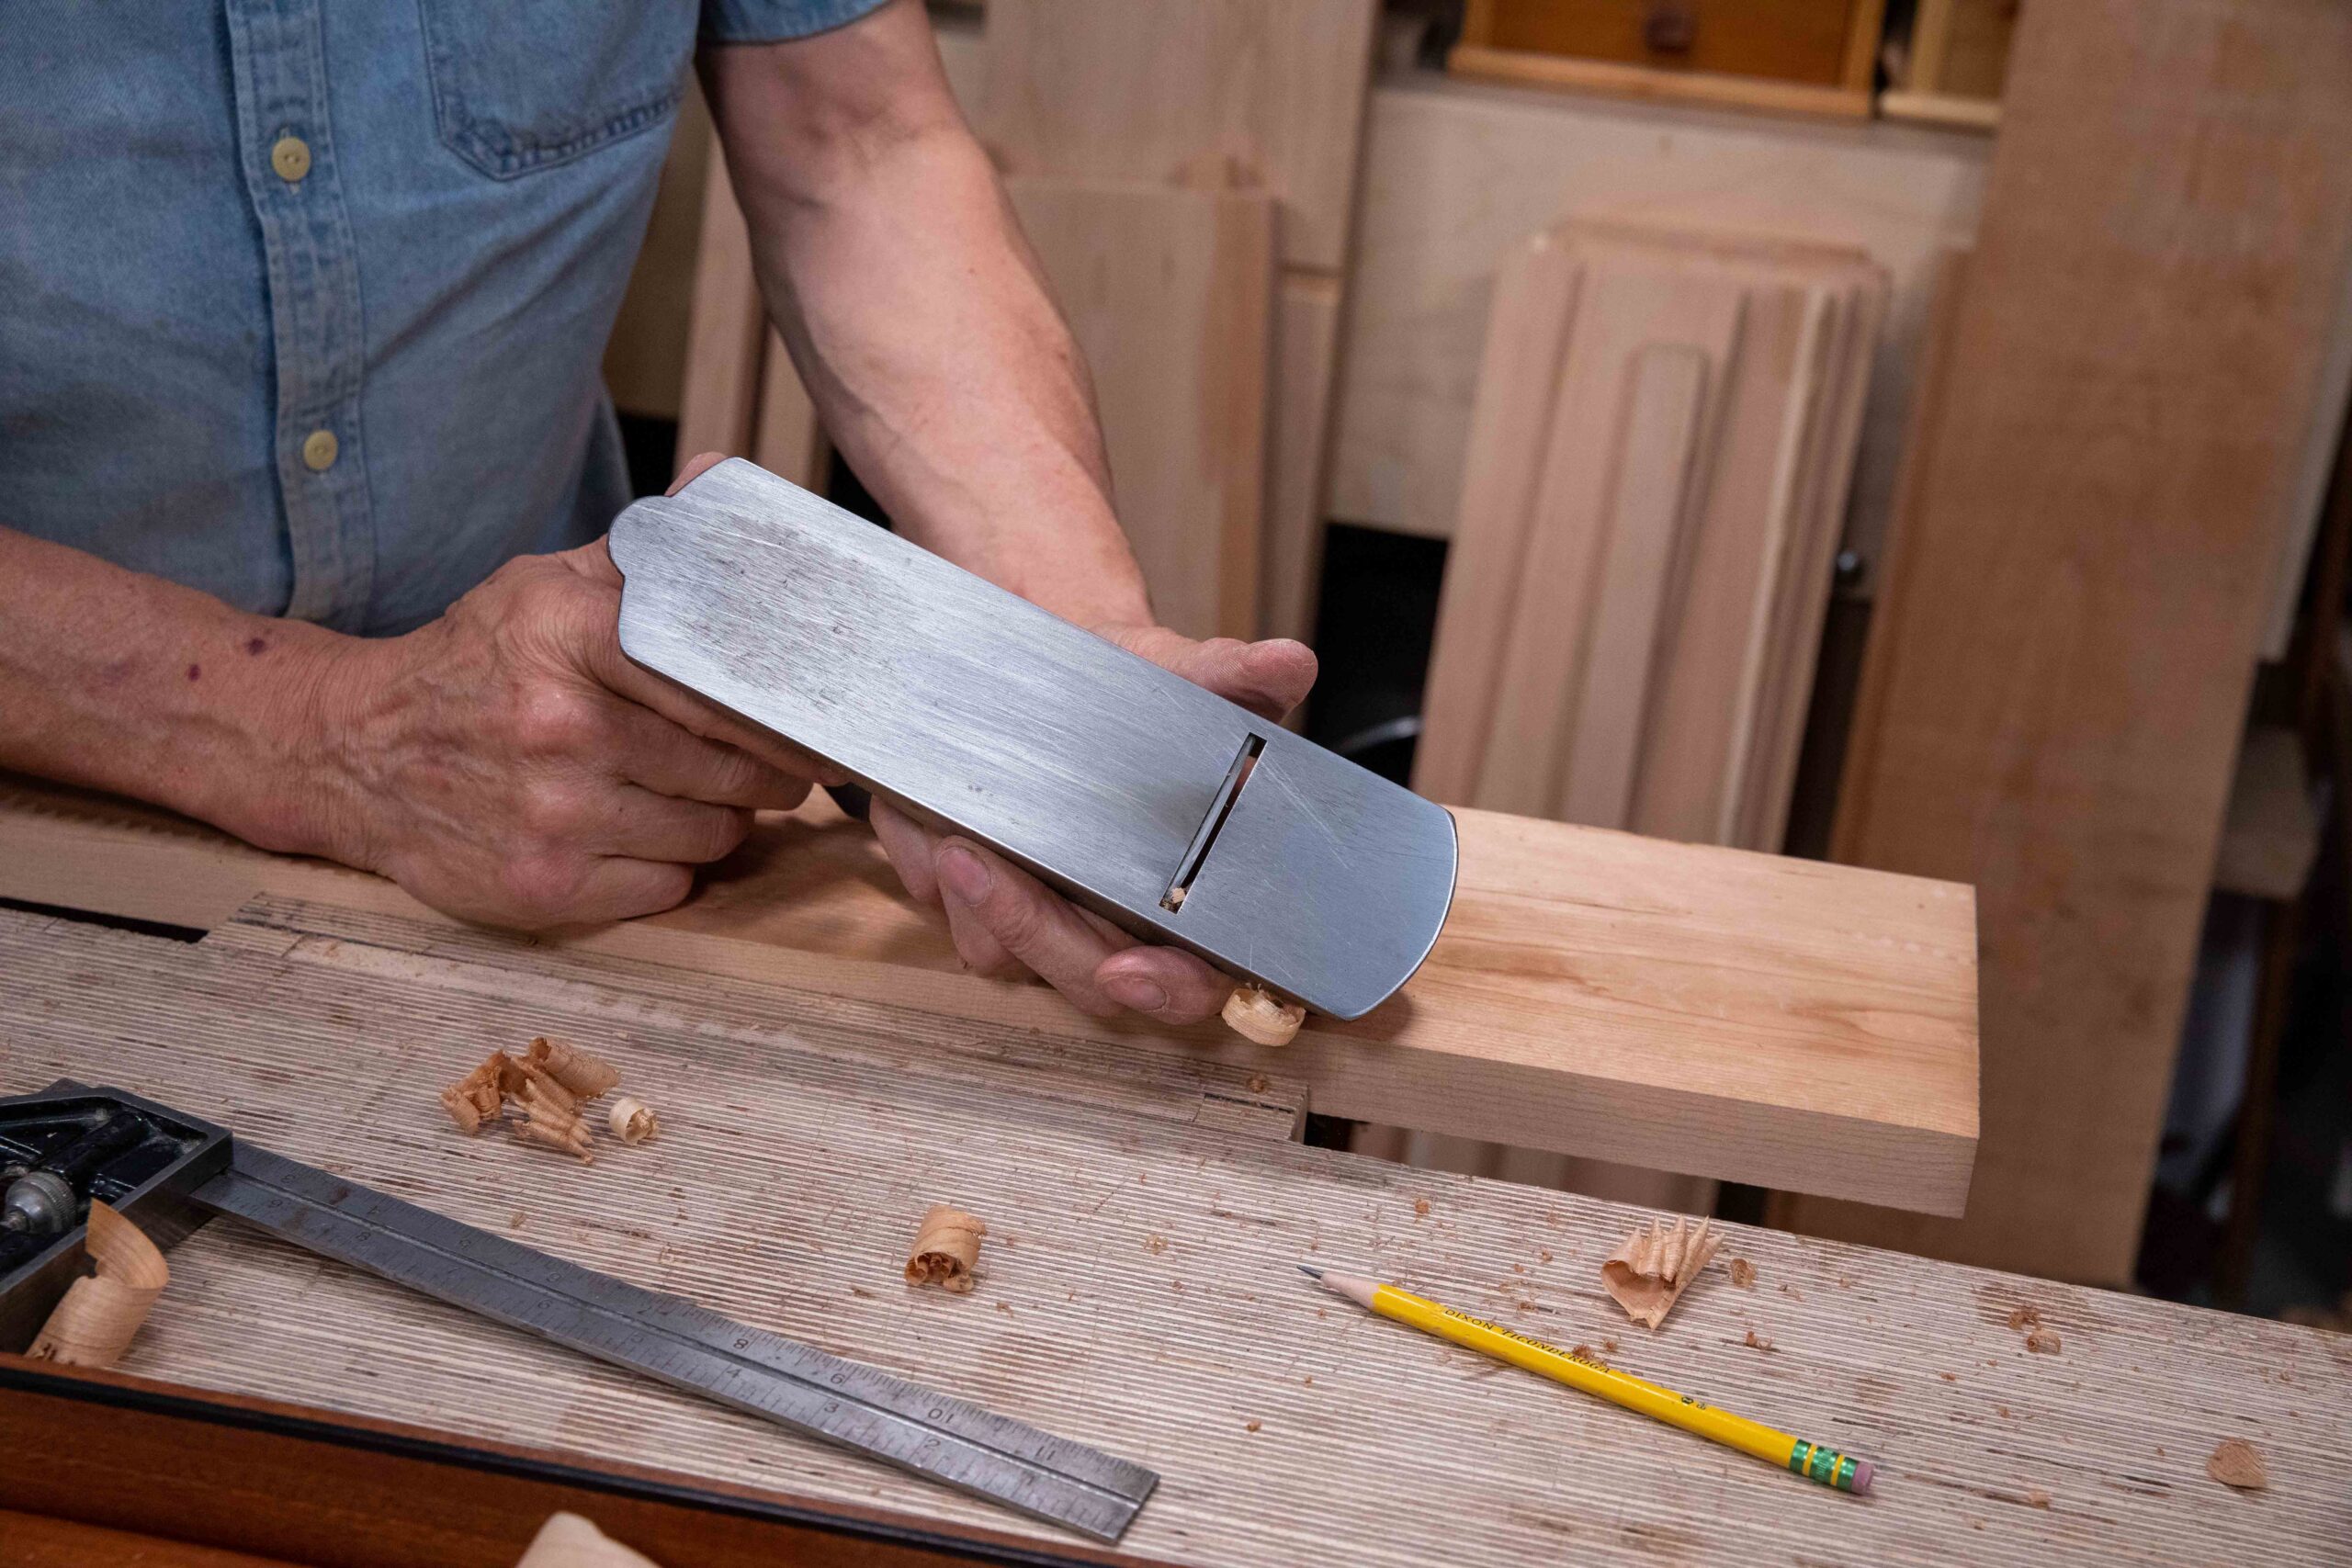
Let's look first at the #78 plane as the first plane for tackling heavier defects like cambers and twists. Some years ago I sold a Stanley furring plane for £1,500. Now, this was well over three decades ago so that was a lot of money for so ugly a looking plane. You can read me here on this plane type for interest.
The purpose in scrubbing off surfaces is two-fold: One, the rough-sawn surface of much bandsawn millwork can be very coarse with deep undulations resembling a ploughed field, and, two, getting down an eighth-of-an-inch or so even across a wider width goes quickly with the heavy scrub action this plane gives you. Removing as much as a millimeter or more deep between the intermittent high points and the lows every inch or so from bandsawn boards can be tedious without a cambered iron as narrow as this one is. My #78 scrub plane strategy tackles the opening of leveling faster than any other hand-planing method and with considerably less effort. To bone up on converting the #78 plane iron go here for a ten-minute education watch.
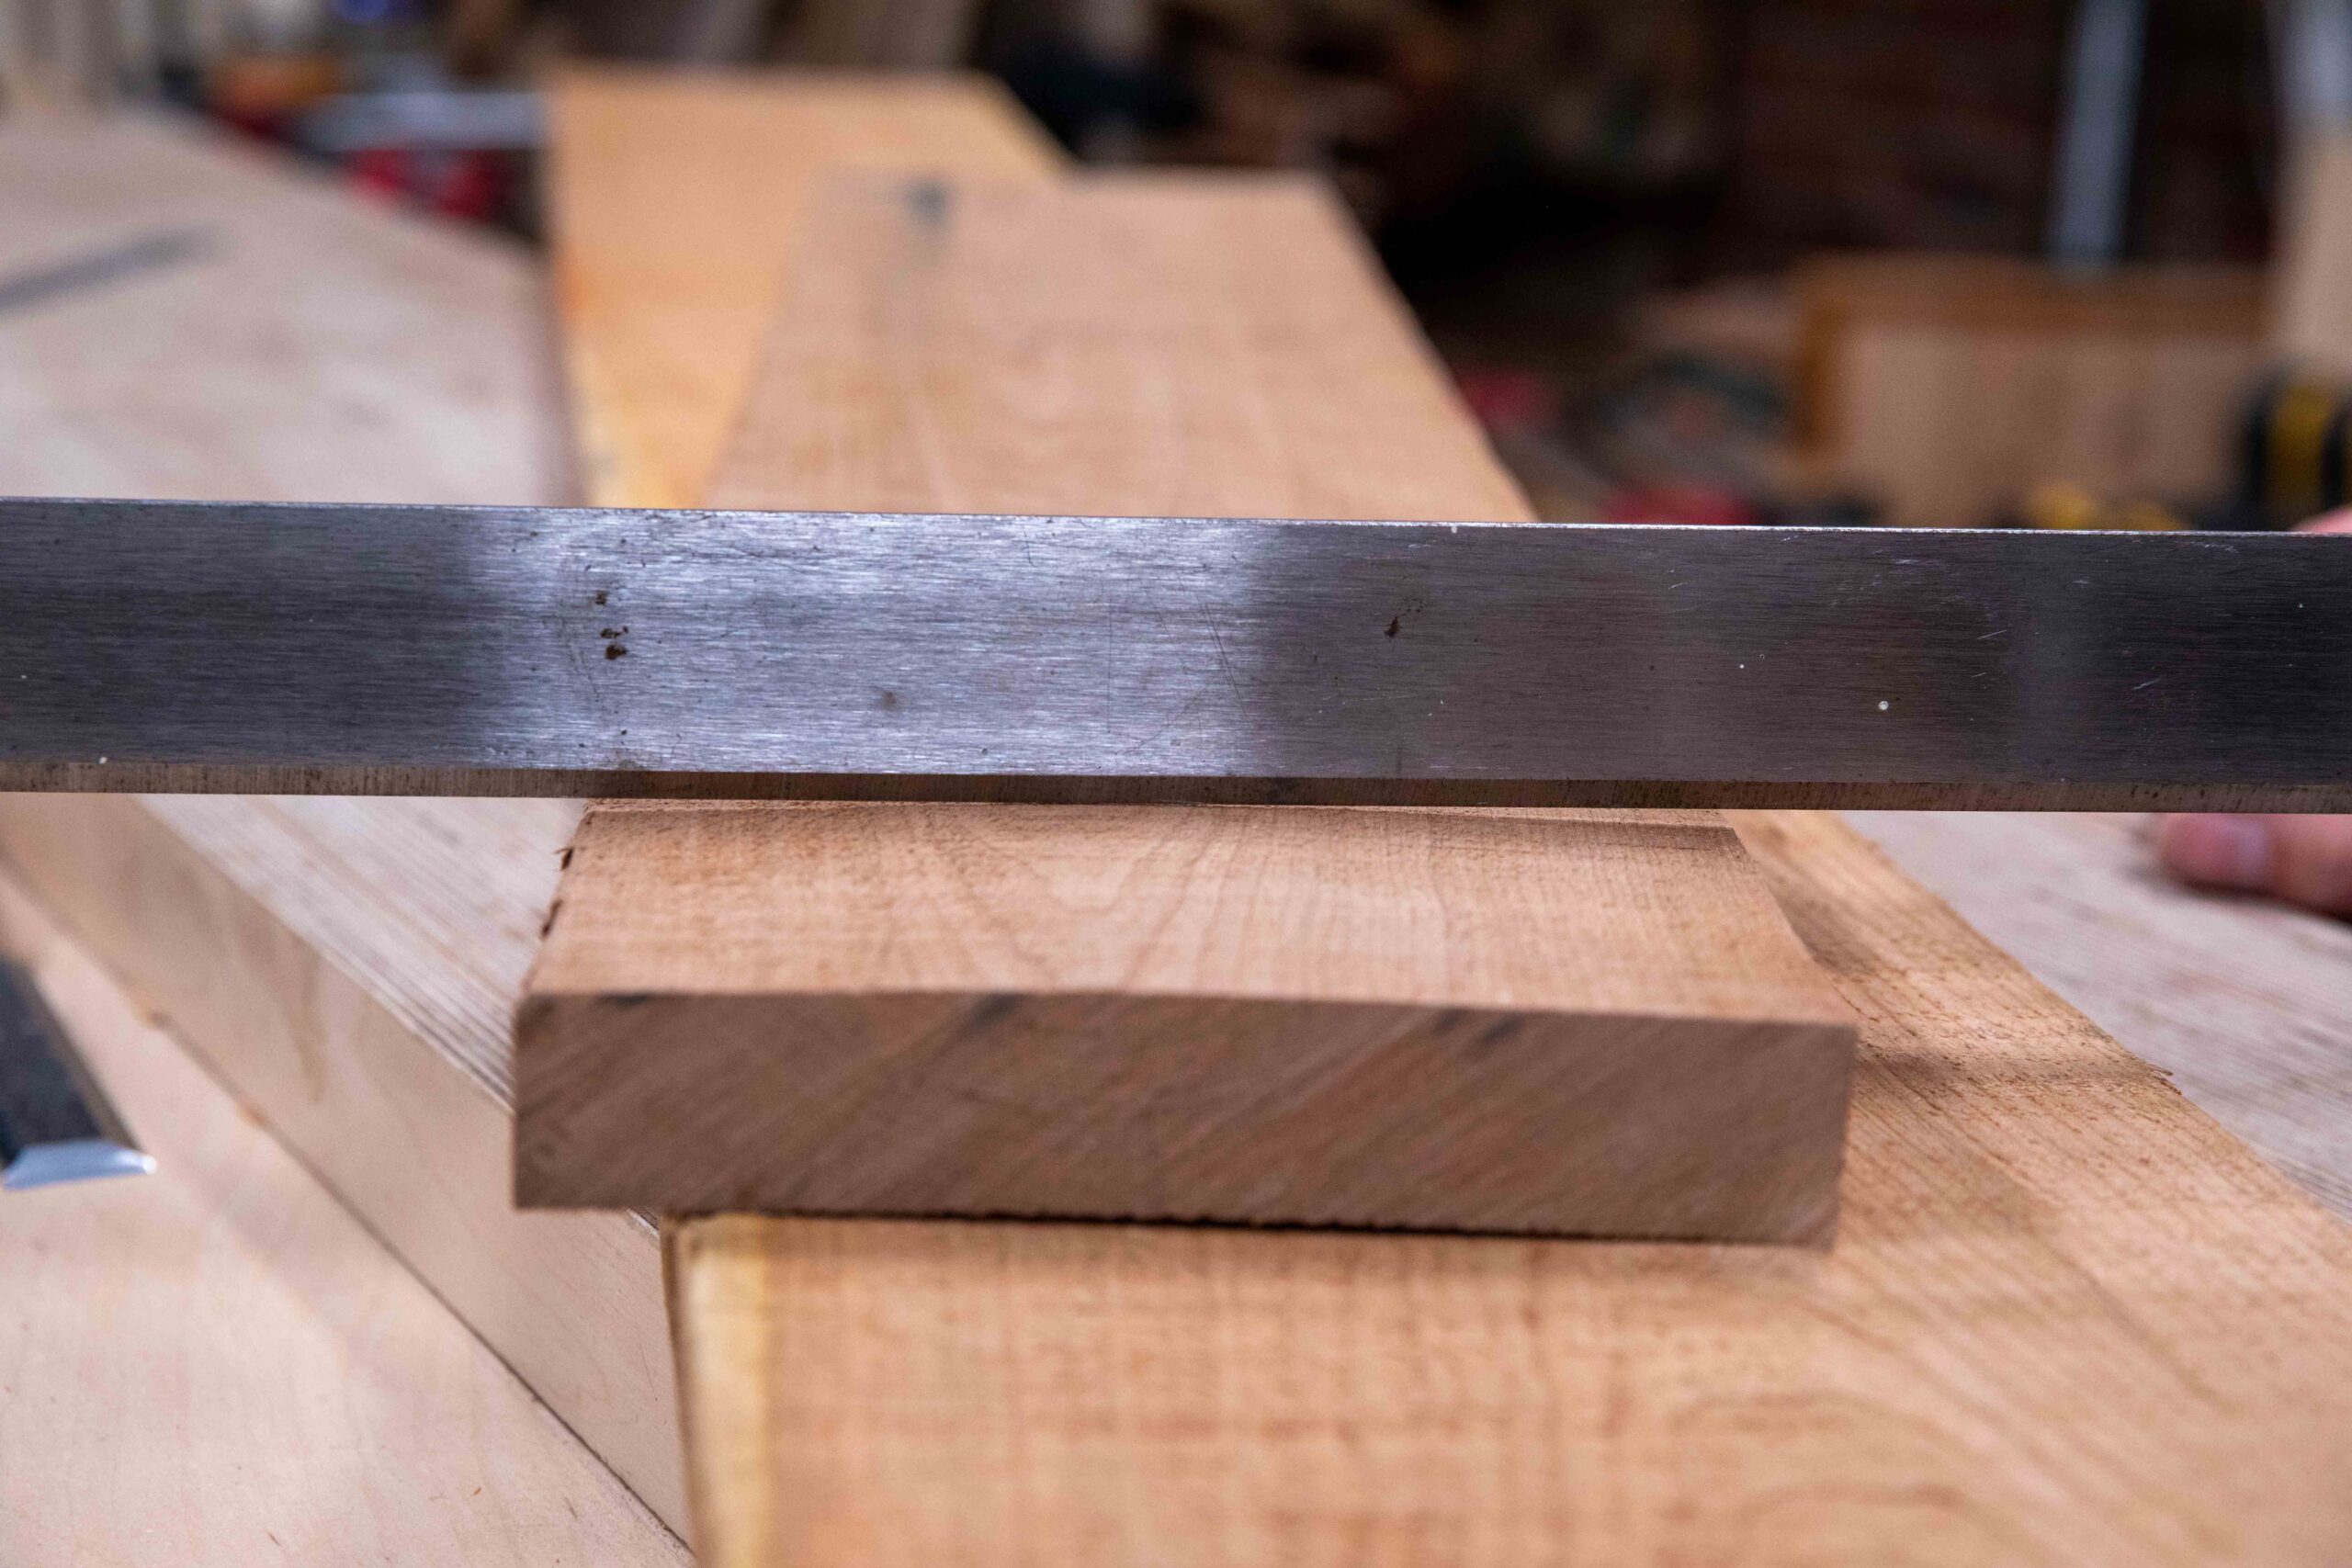
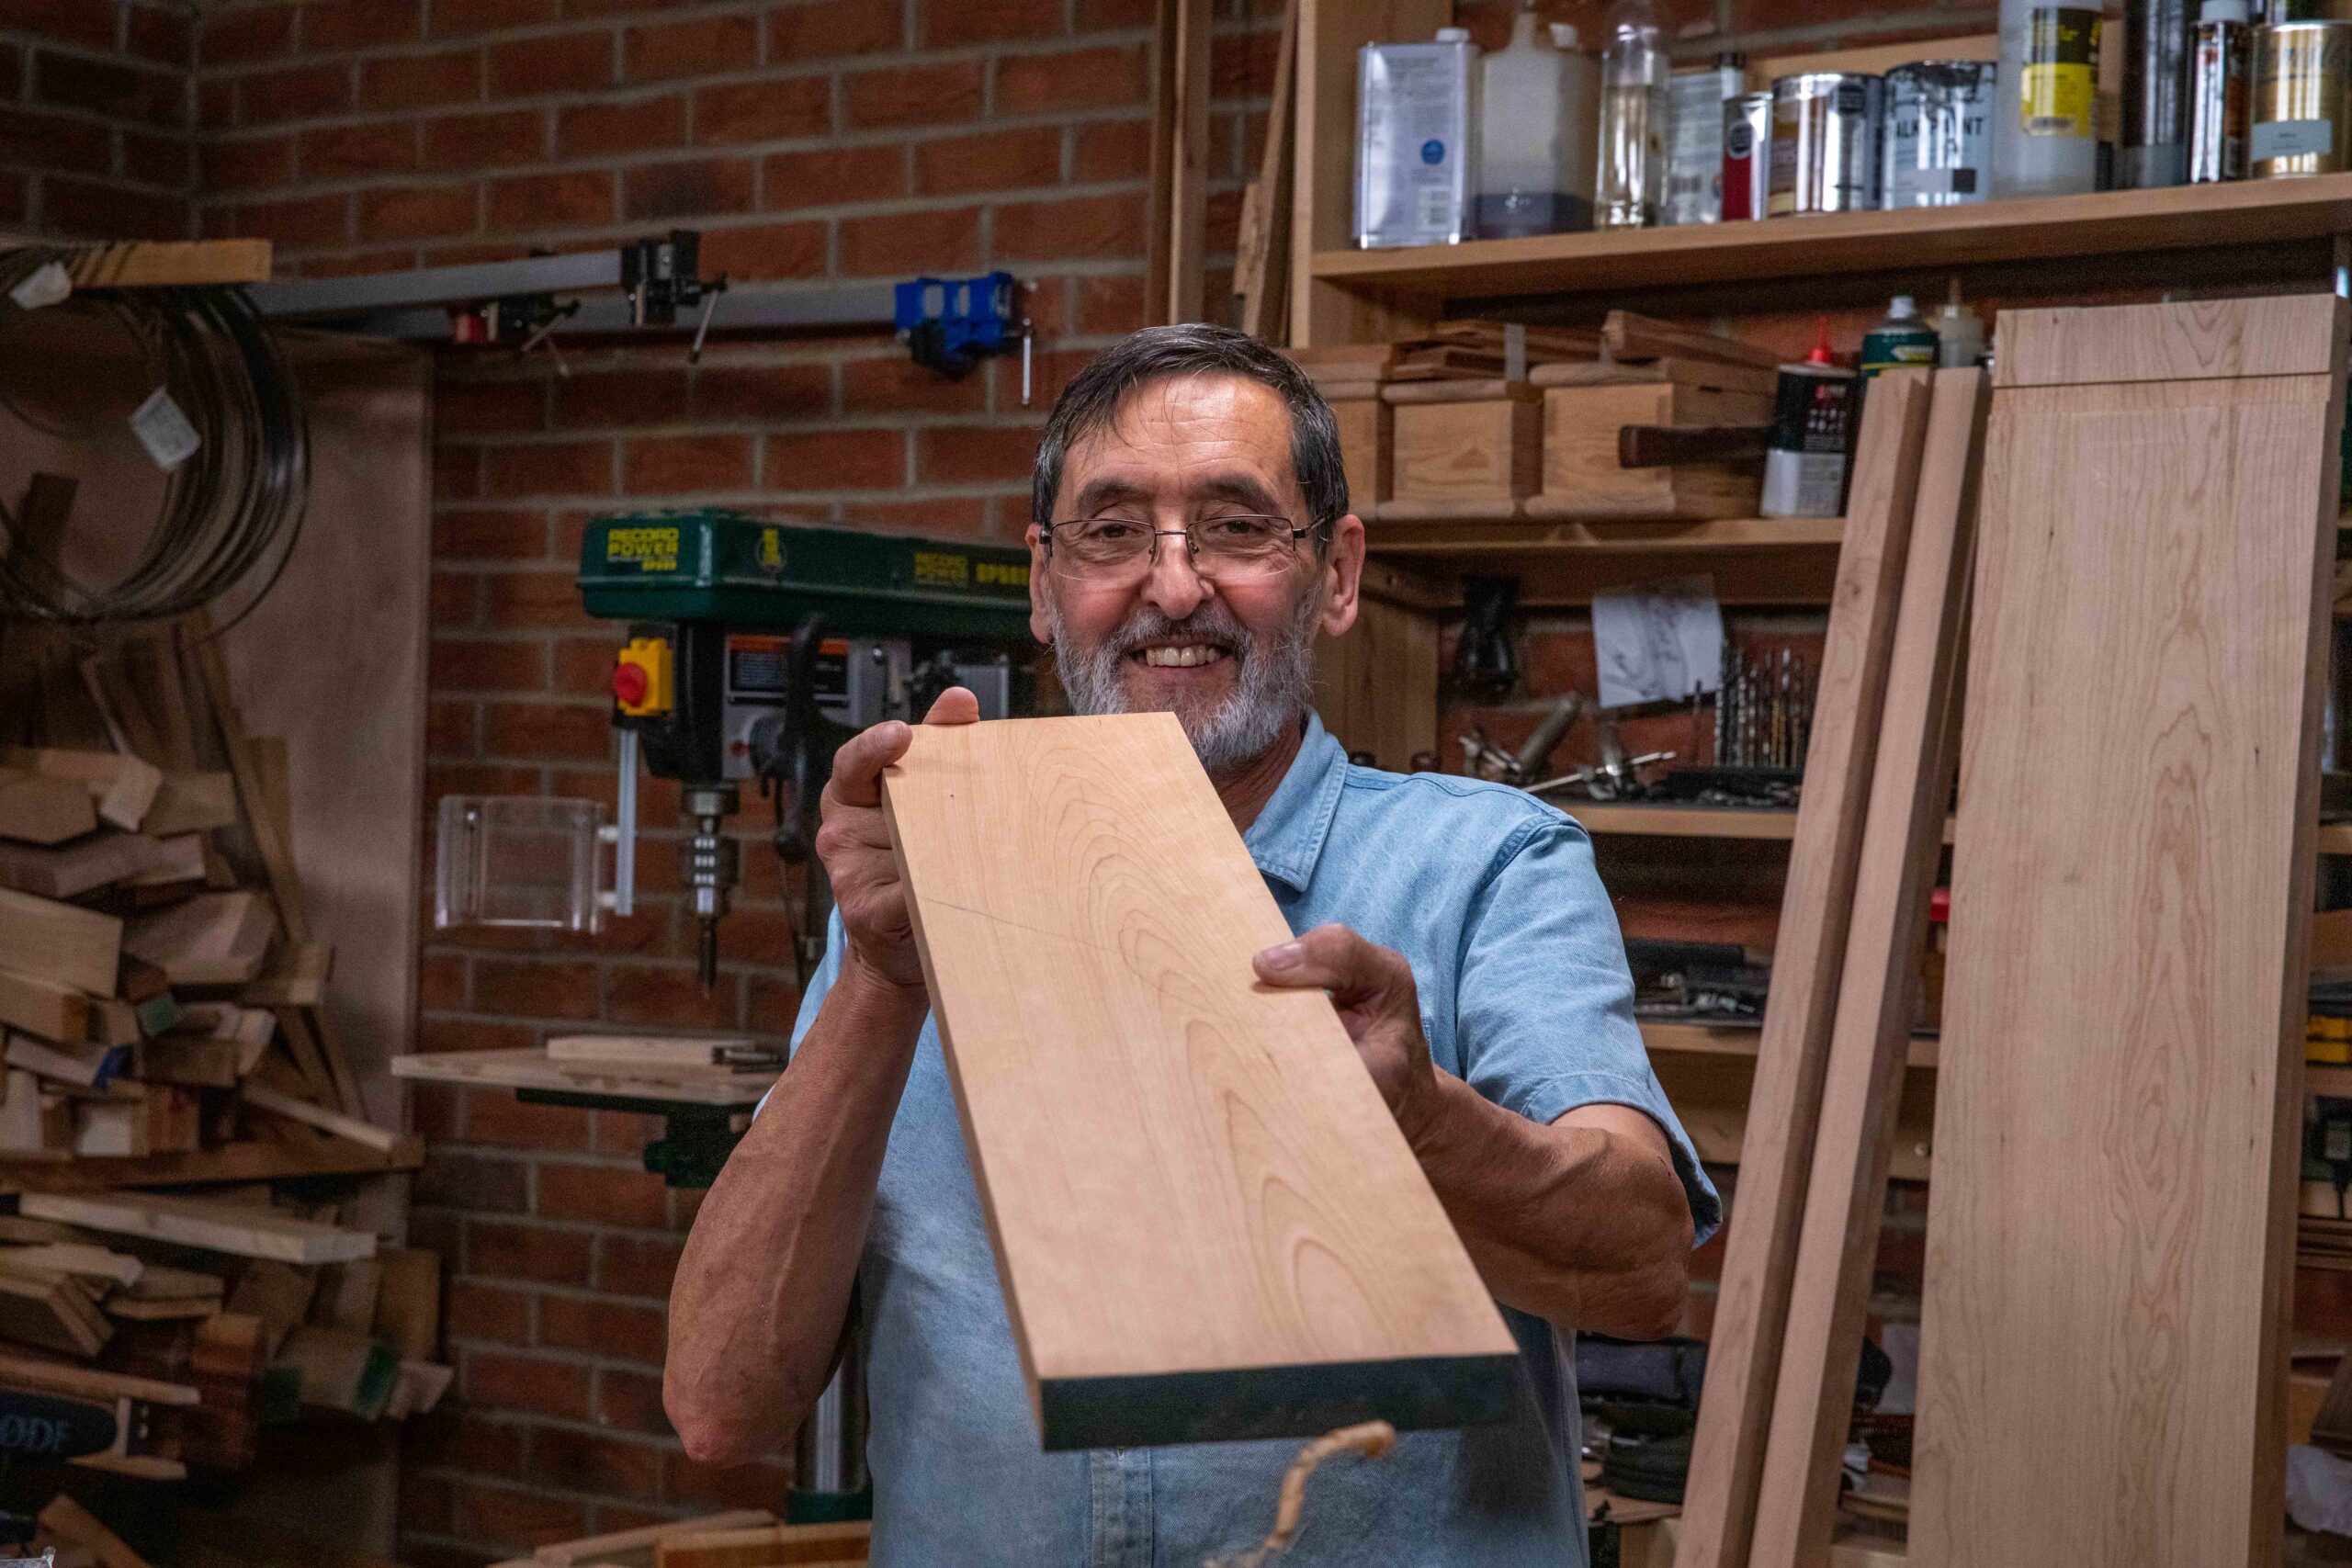
The two pictures show the two sides of the same board. This is cup one side, camber the other. I generally prefer to remove the camber first but you can work either side according to your preference. In machining a board this tends to be done the opposite way with the camber uppermost on the surfacing or jointer bed. That's because it is easier to take advantage of the outer points of contact afforded by the outer extremes of the board with the surface of the bed than use the camber down and risk rolling as you progress through the full length of the cut.
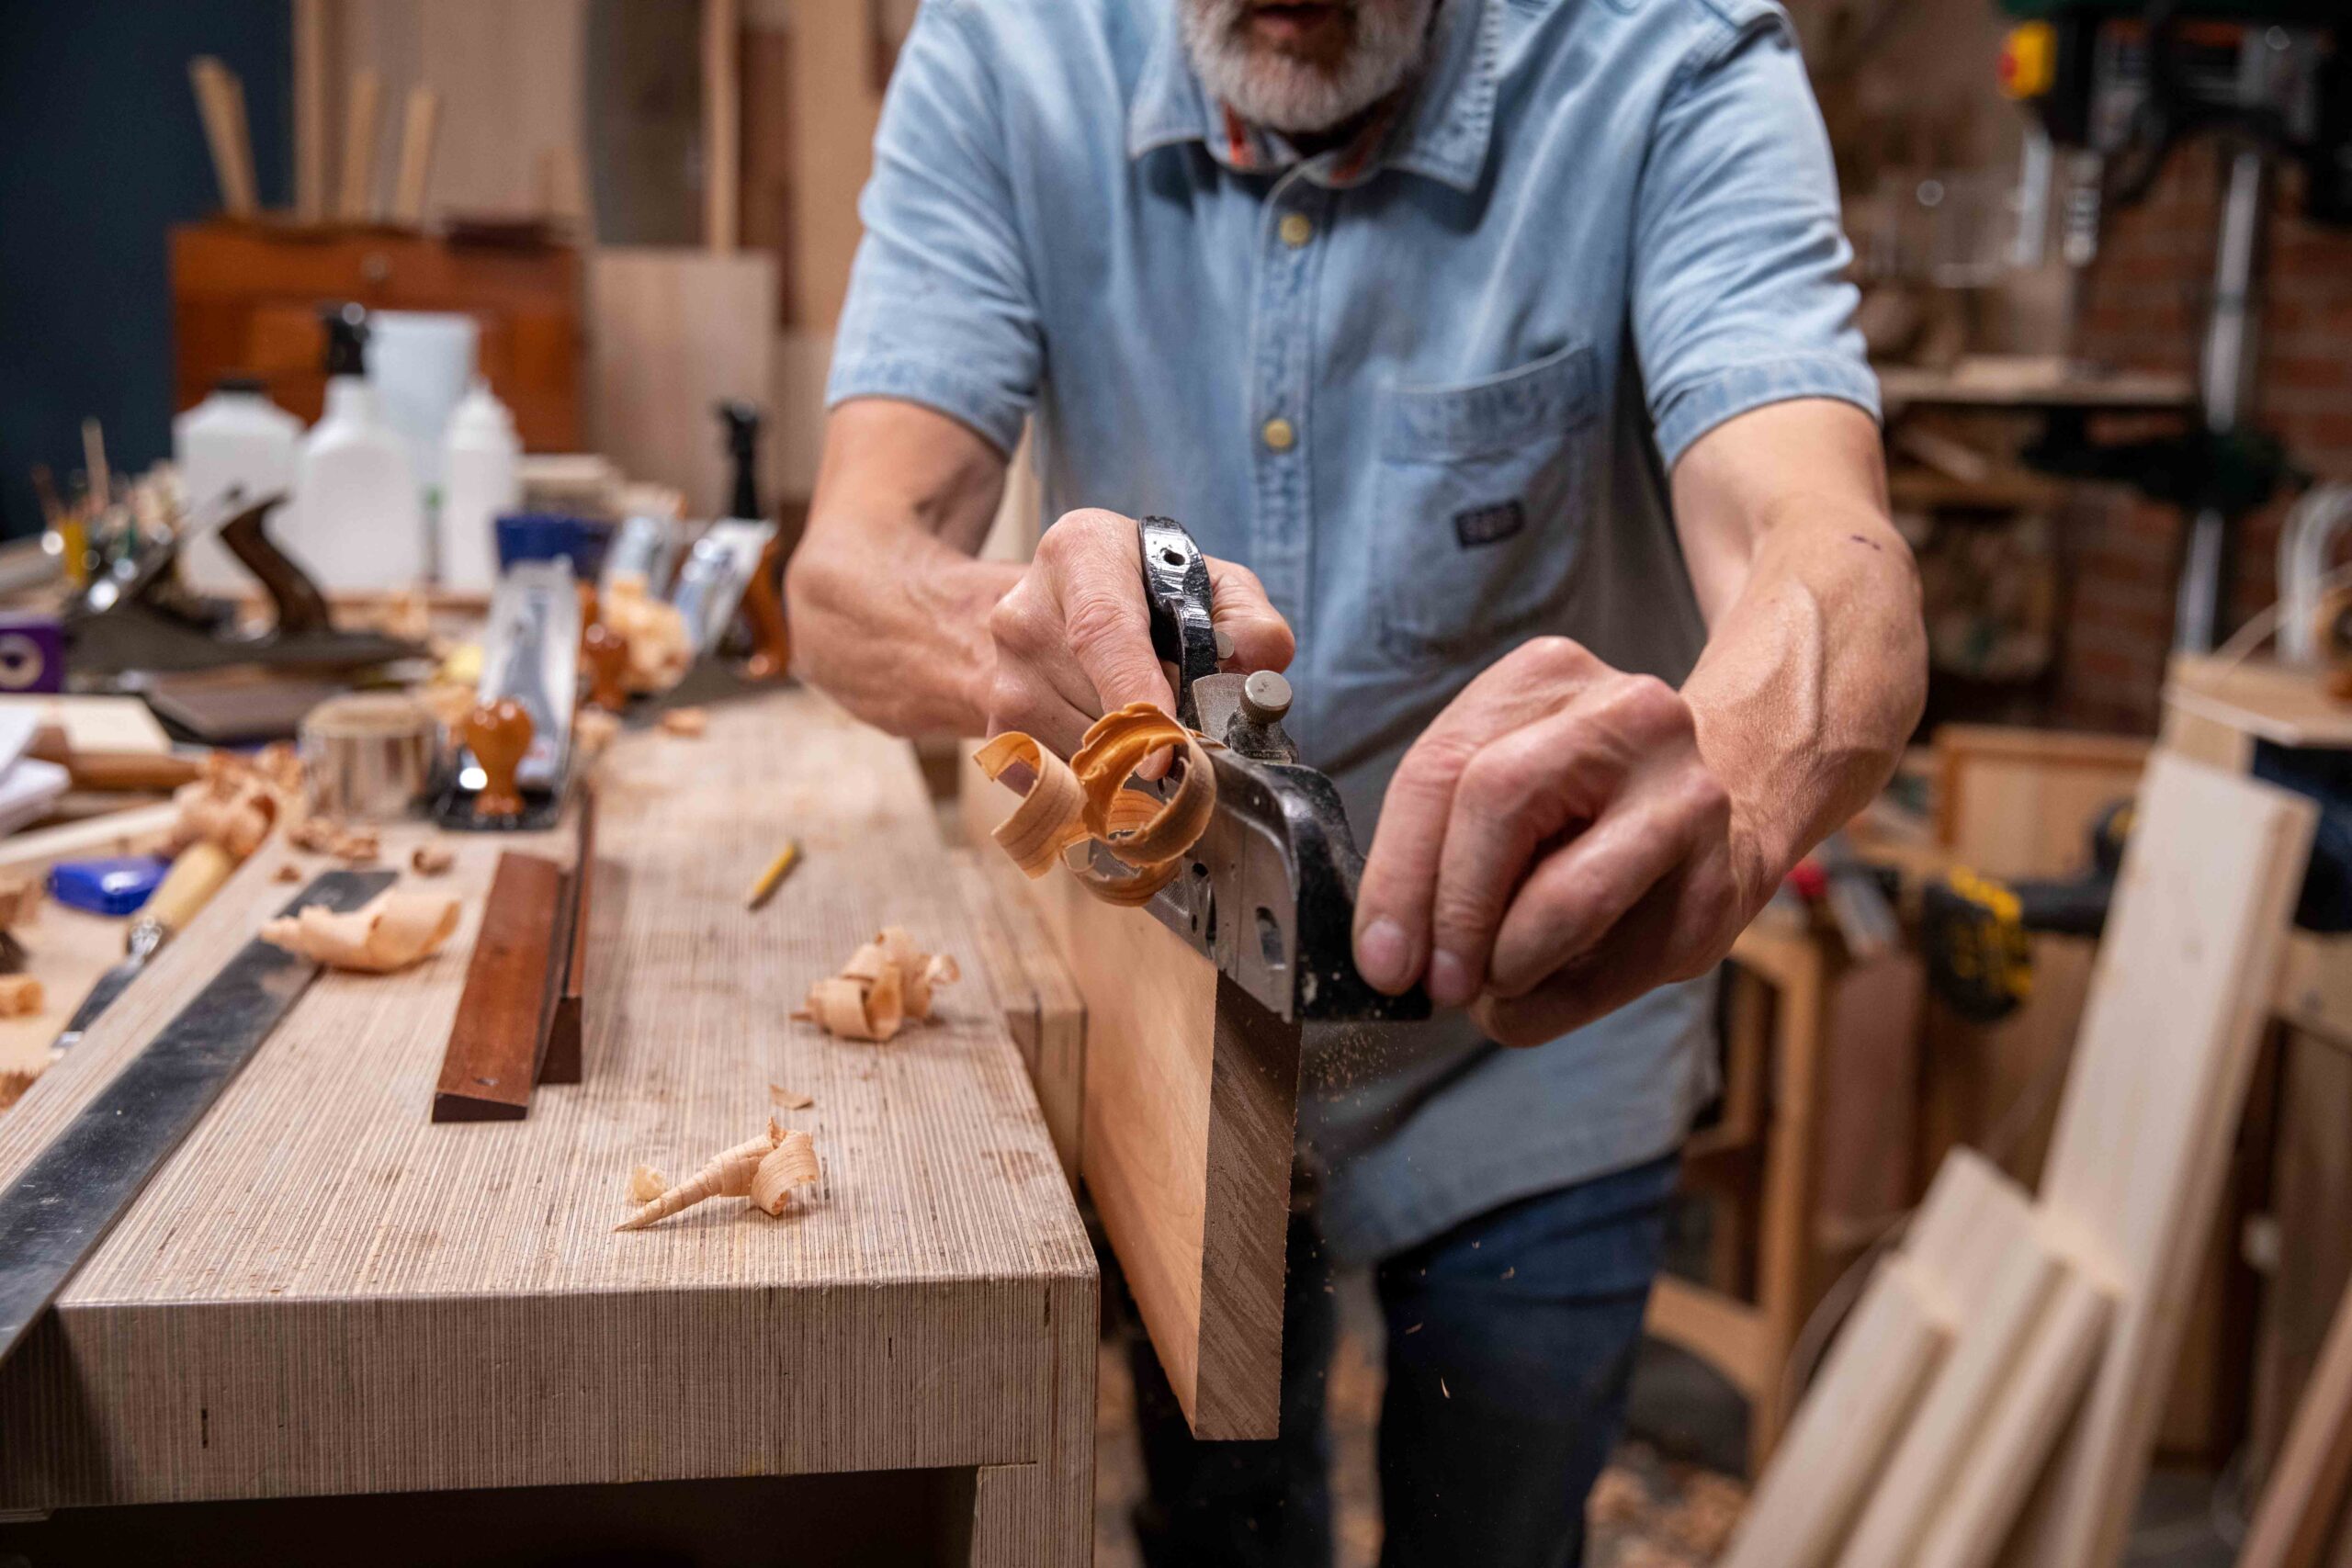
Start out at the end of the board and work backwards uniformly and overlapping the strokes as you go.
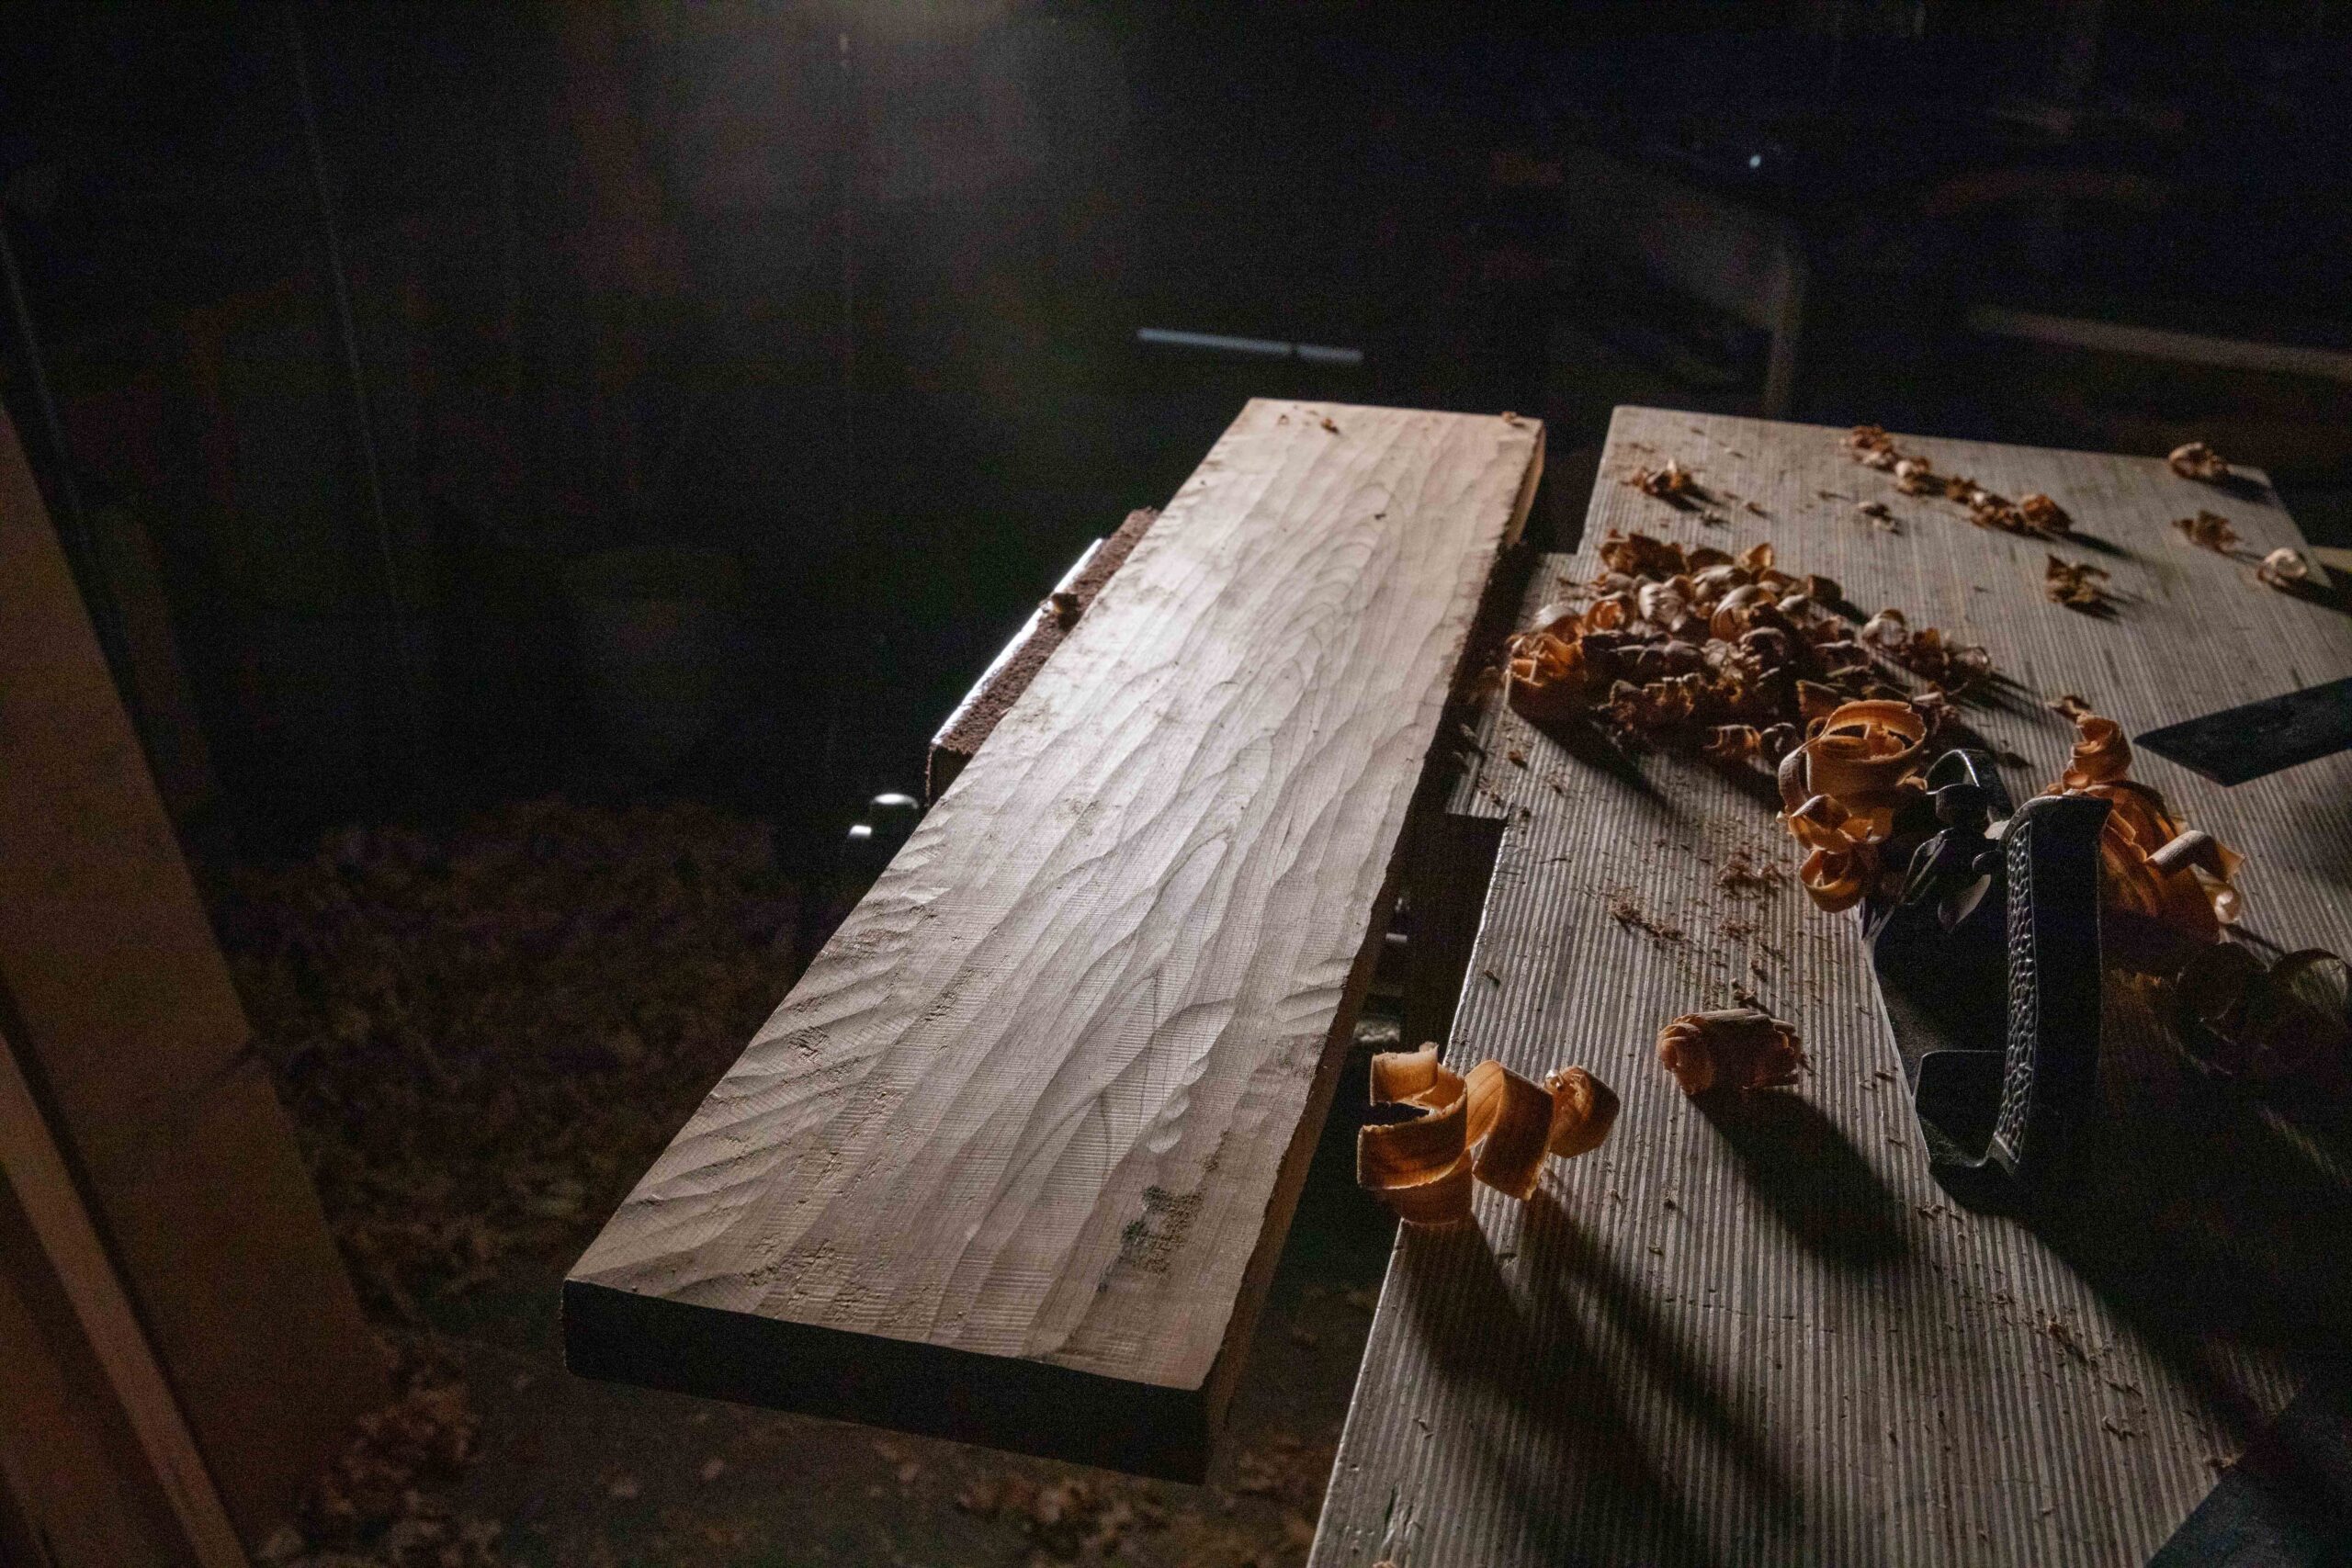
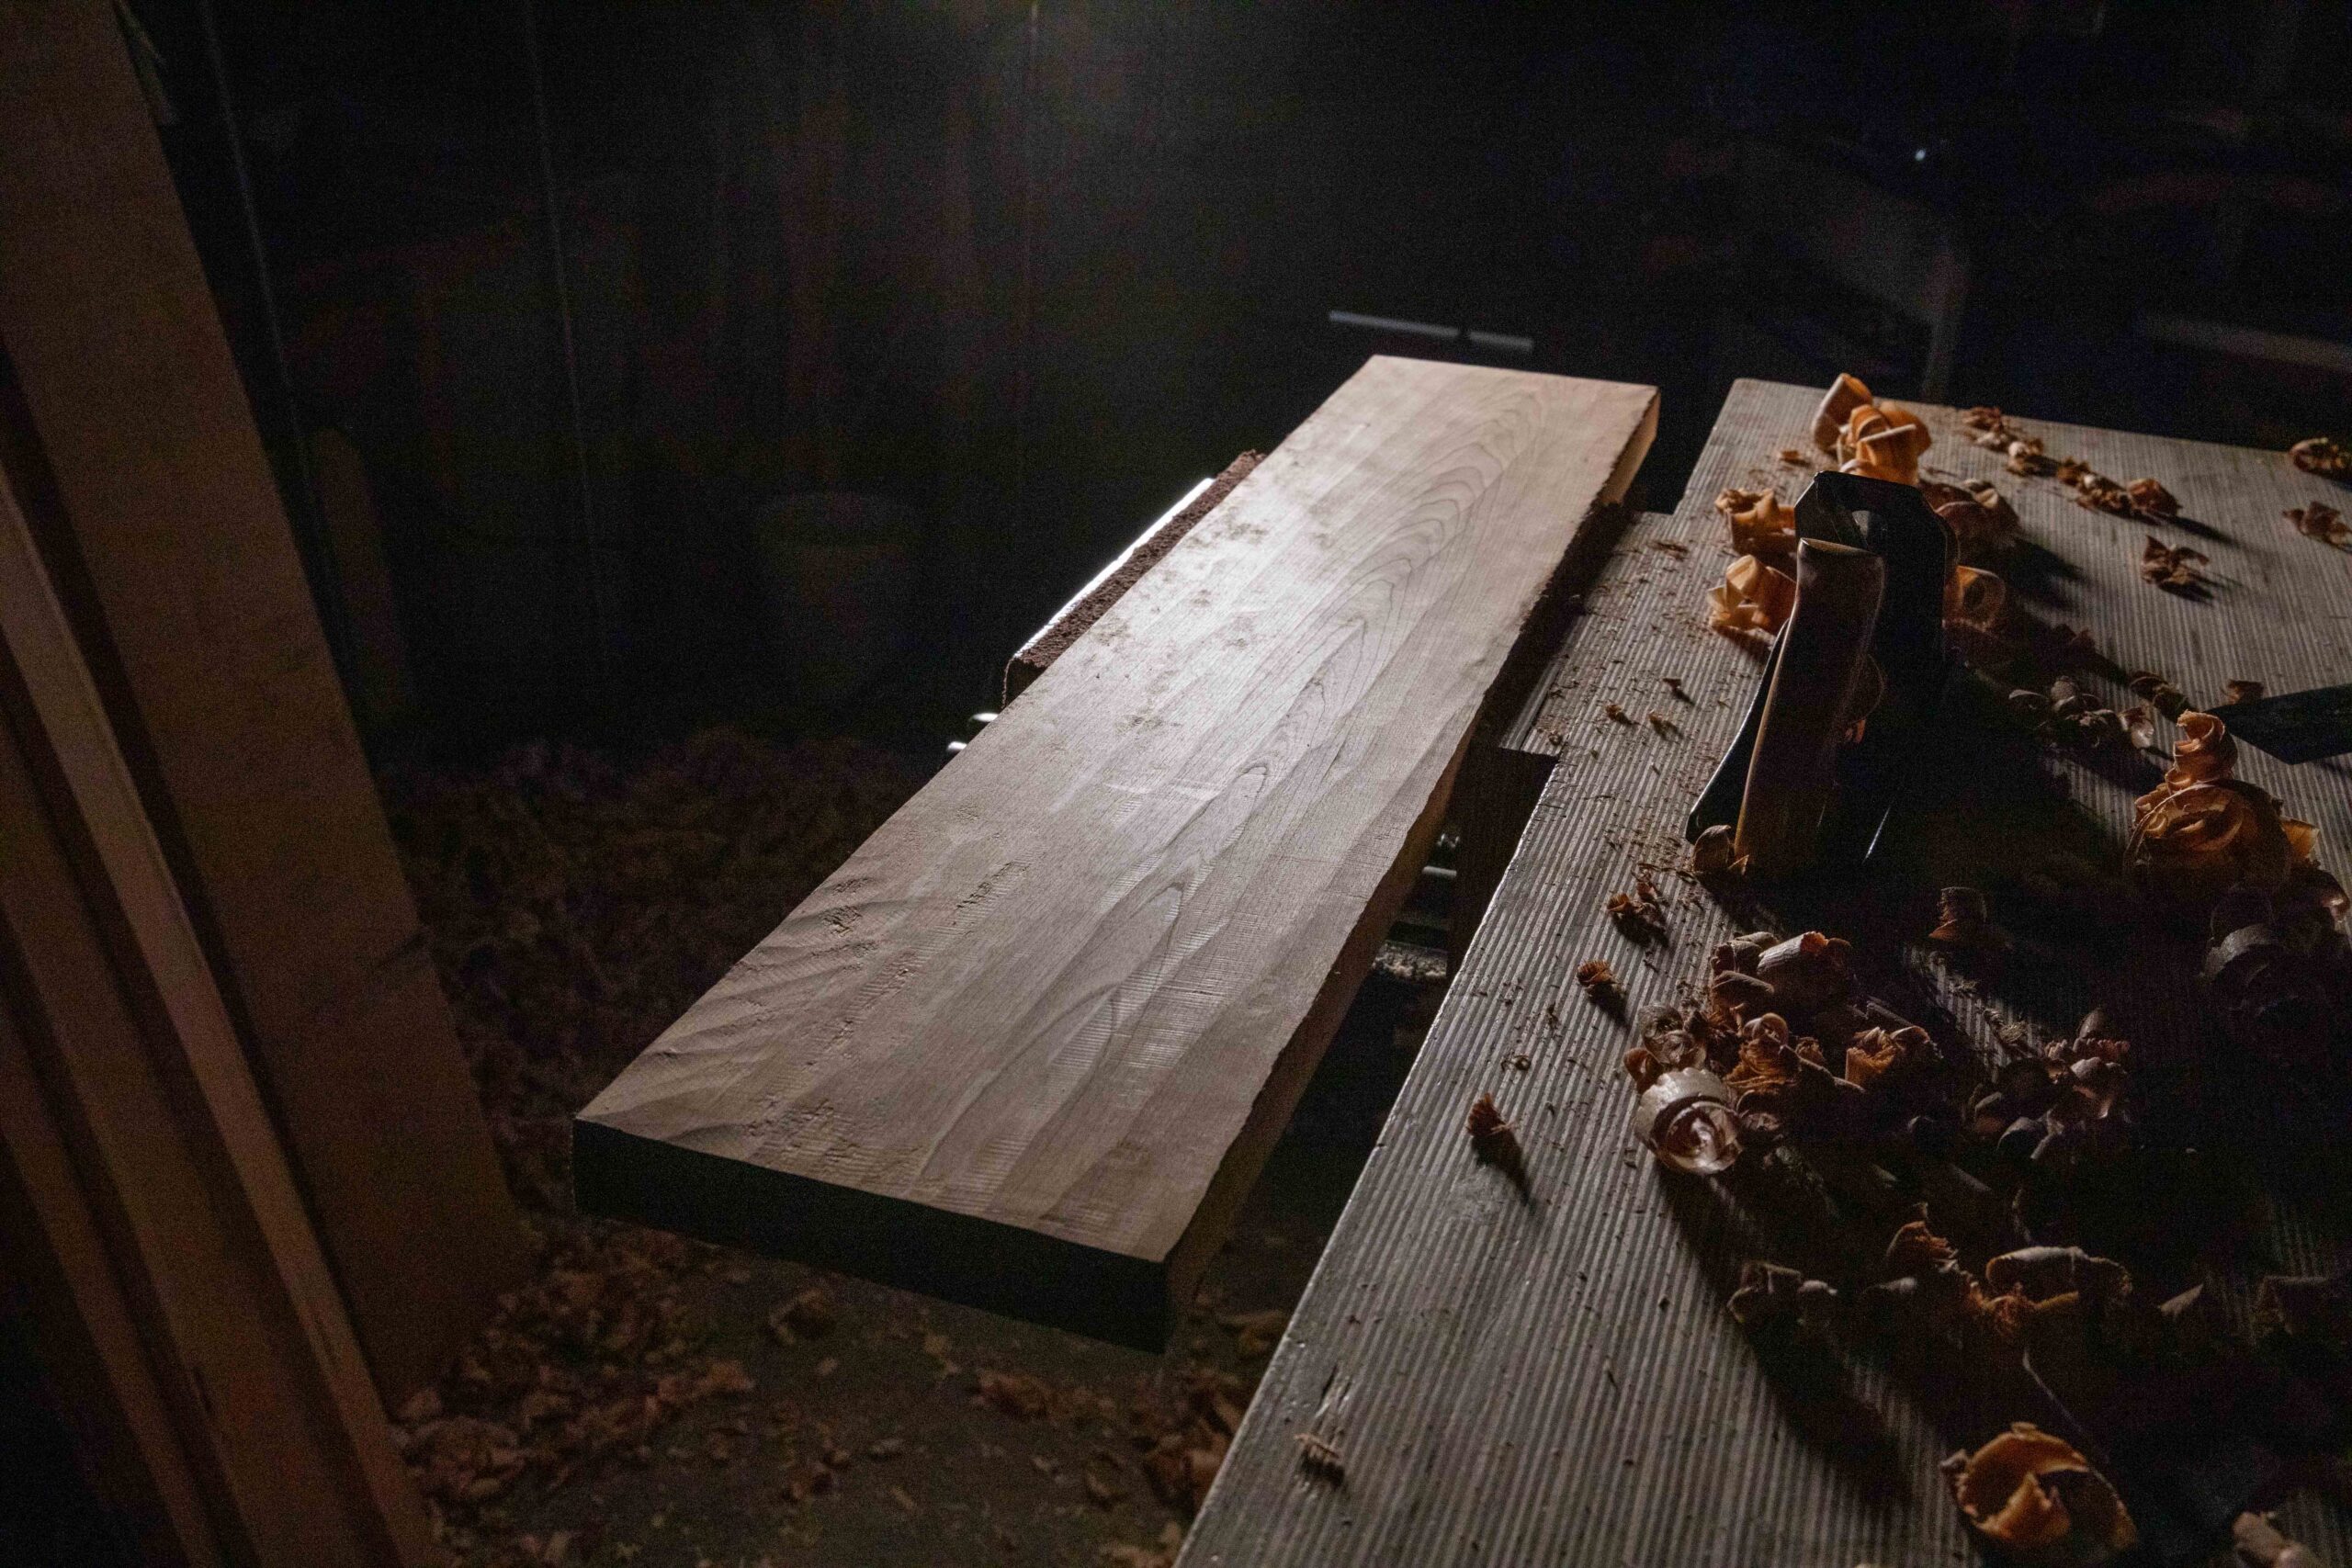
The initial result from scrub planing with a number 78 planing diagonally looks like this:

At this point we have succeeded in removing most if not all of the camber. The surface is exaggerated by the light positioning but I wanted to show the results. We are now only a few strokes lengthways from a leveller playing field.
The #78 plane plays a key part in my roughing down work and I rely on it for this area of wood preparation more and more these days because the effort and energy lessens the work with my other planes. Remember you don't have to have two planes too. You can simply buy in a second plane iron and swap them out.
At this stage of planing, about five minutes maybe, my wood is looking like this. You can still see the hollow side below which I deal with soon after surface planing and ensuring my first surface is trued and not twisted.
Using the lights once more, you can see the long-grain undulation alongside the tangential planing. This all close enough for the next step. If the board looked particularly twisted, I would continue with the #78 scrub plane to reduce the high points more.
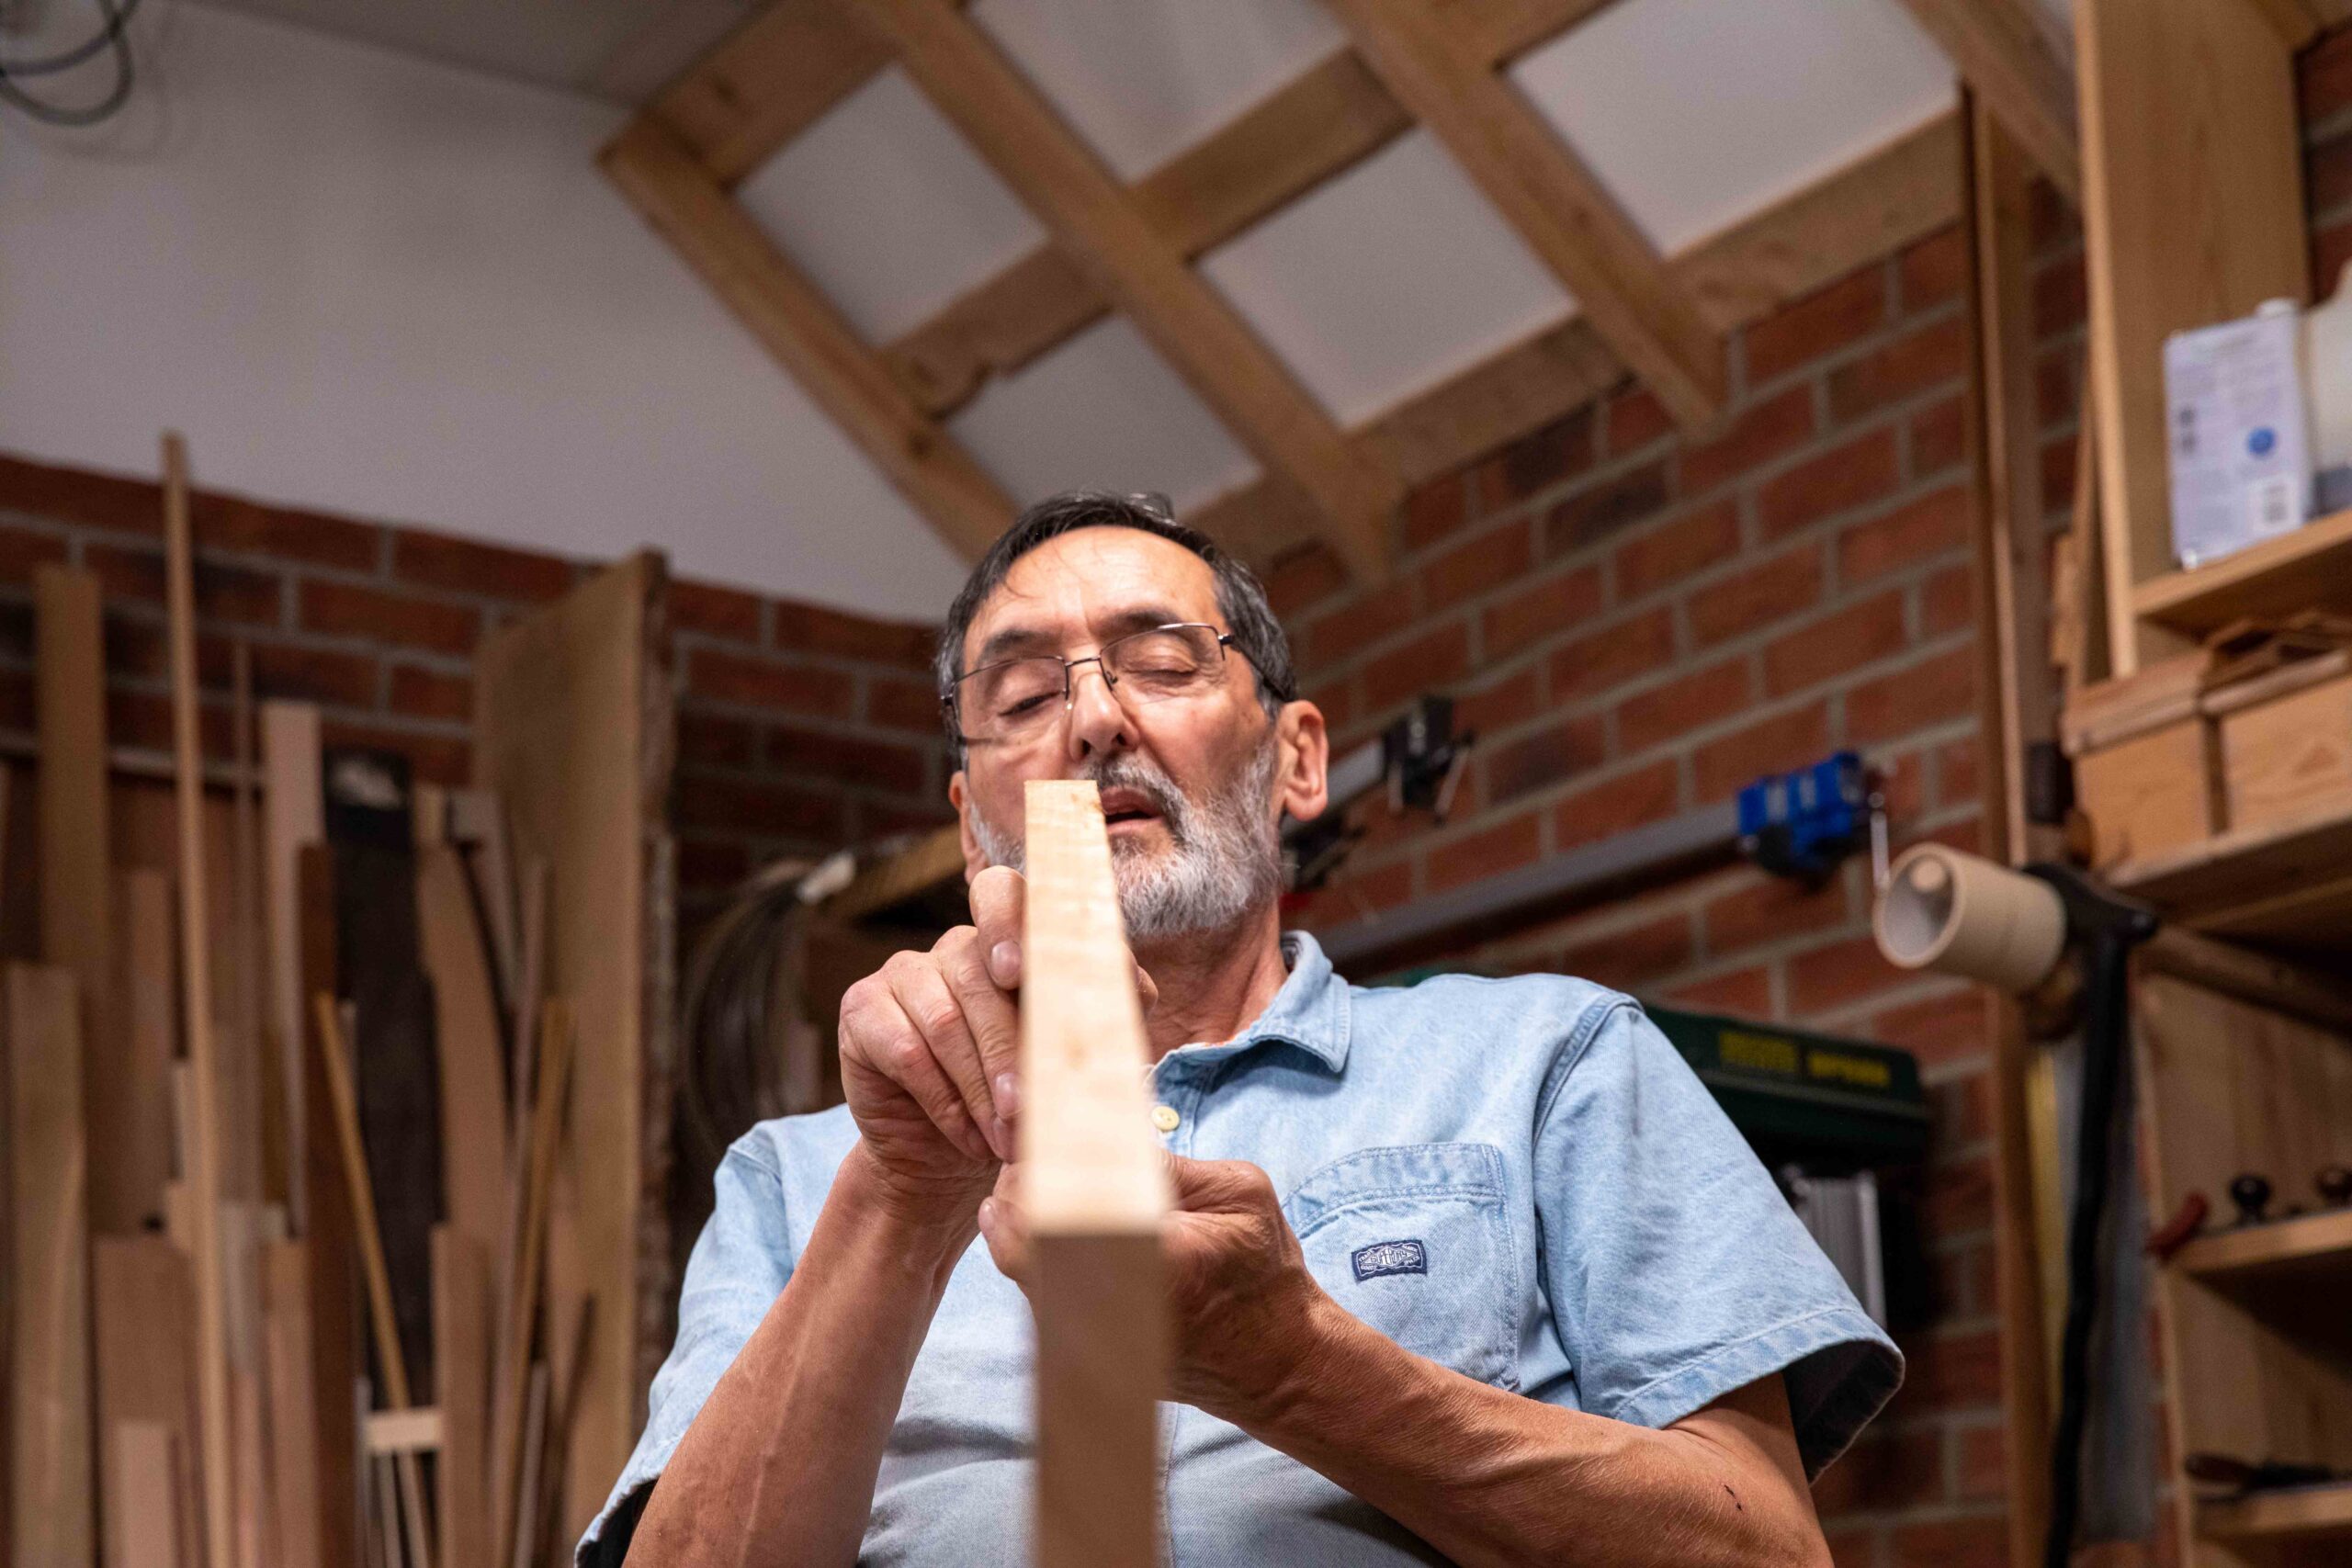
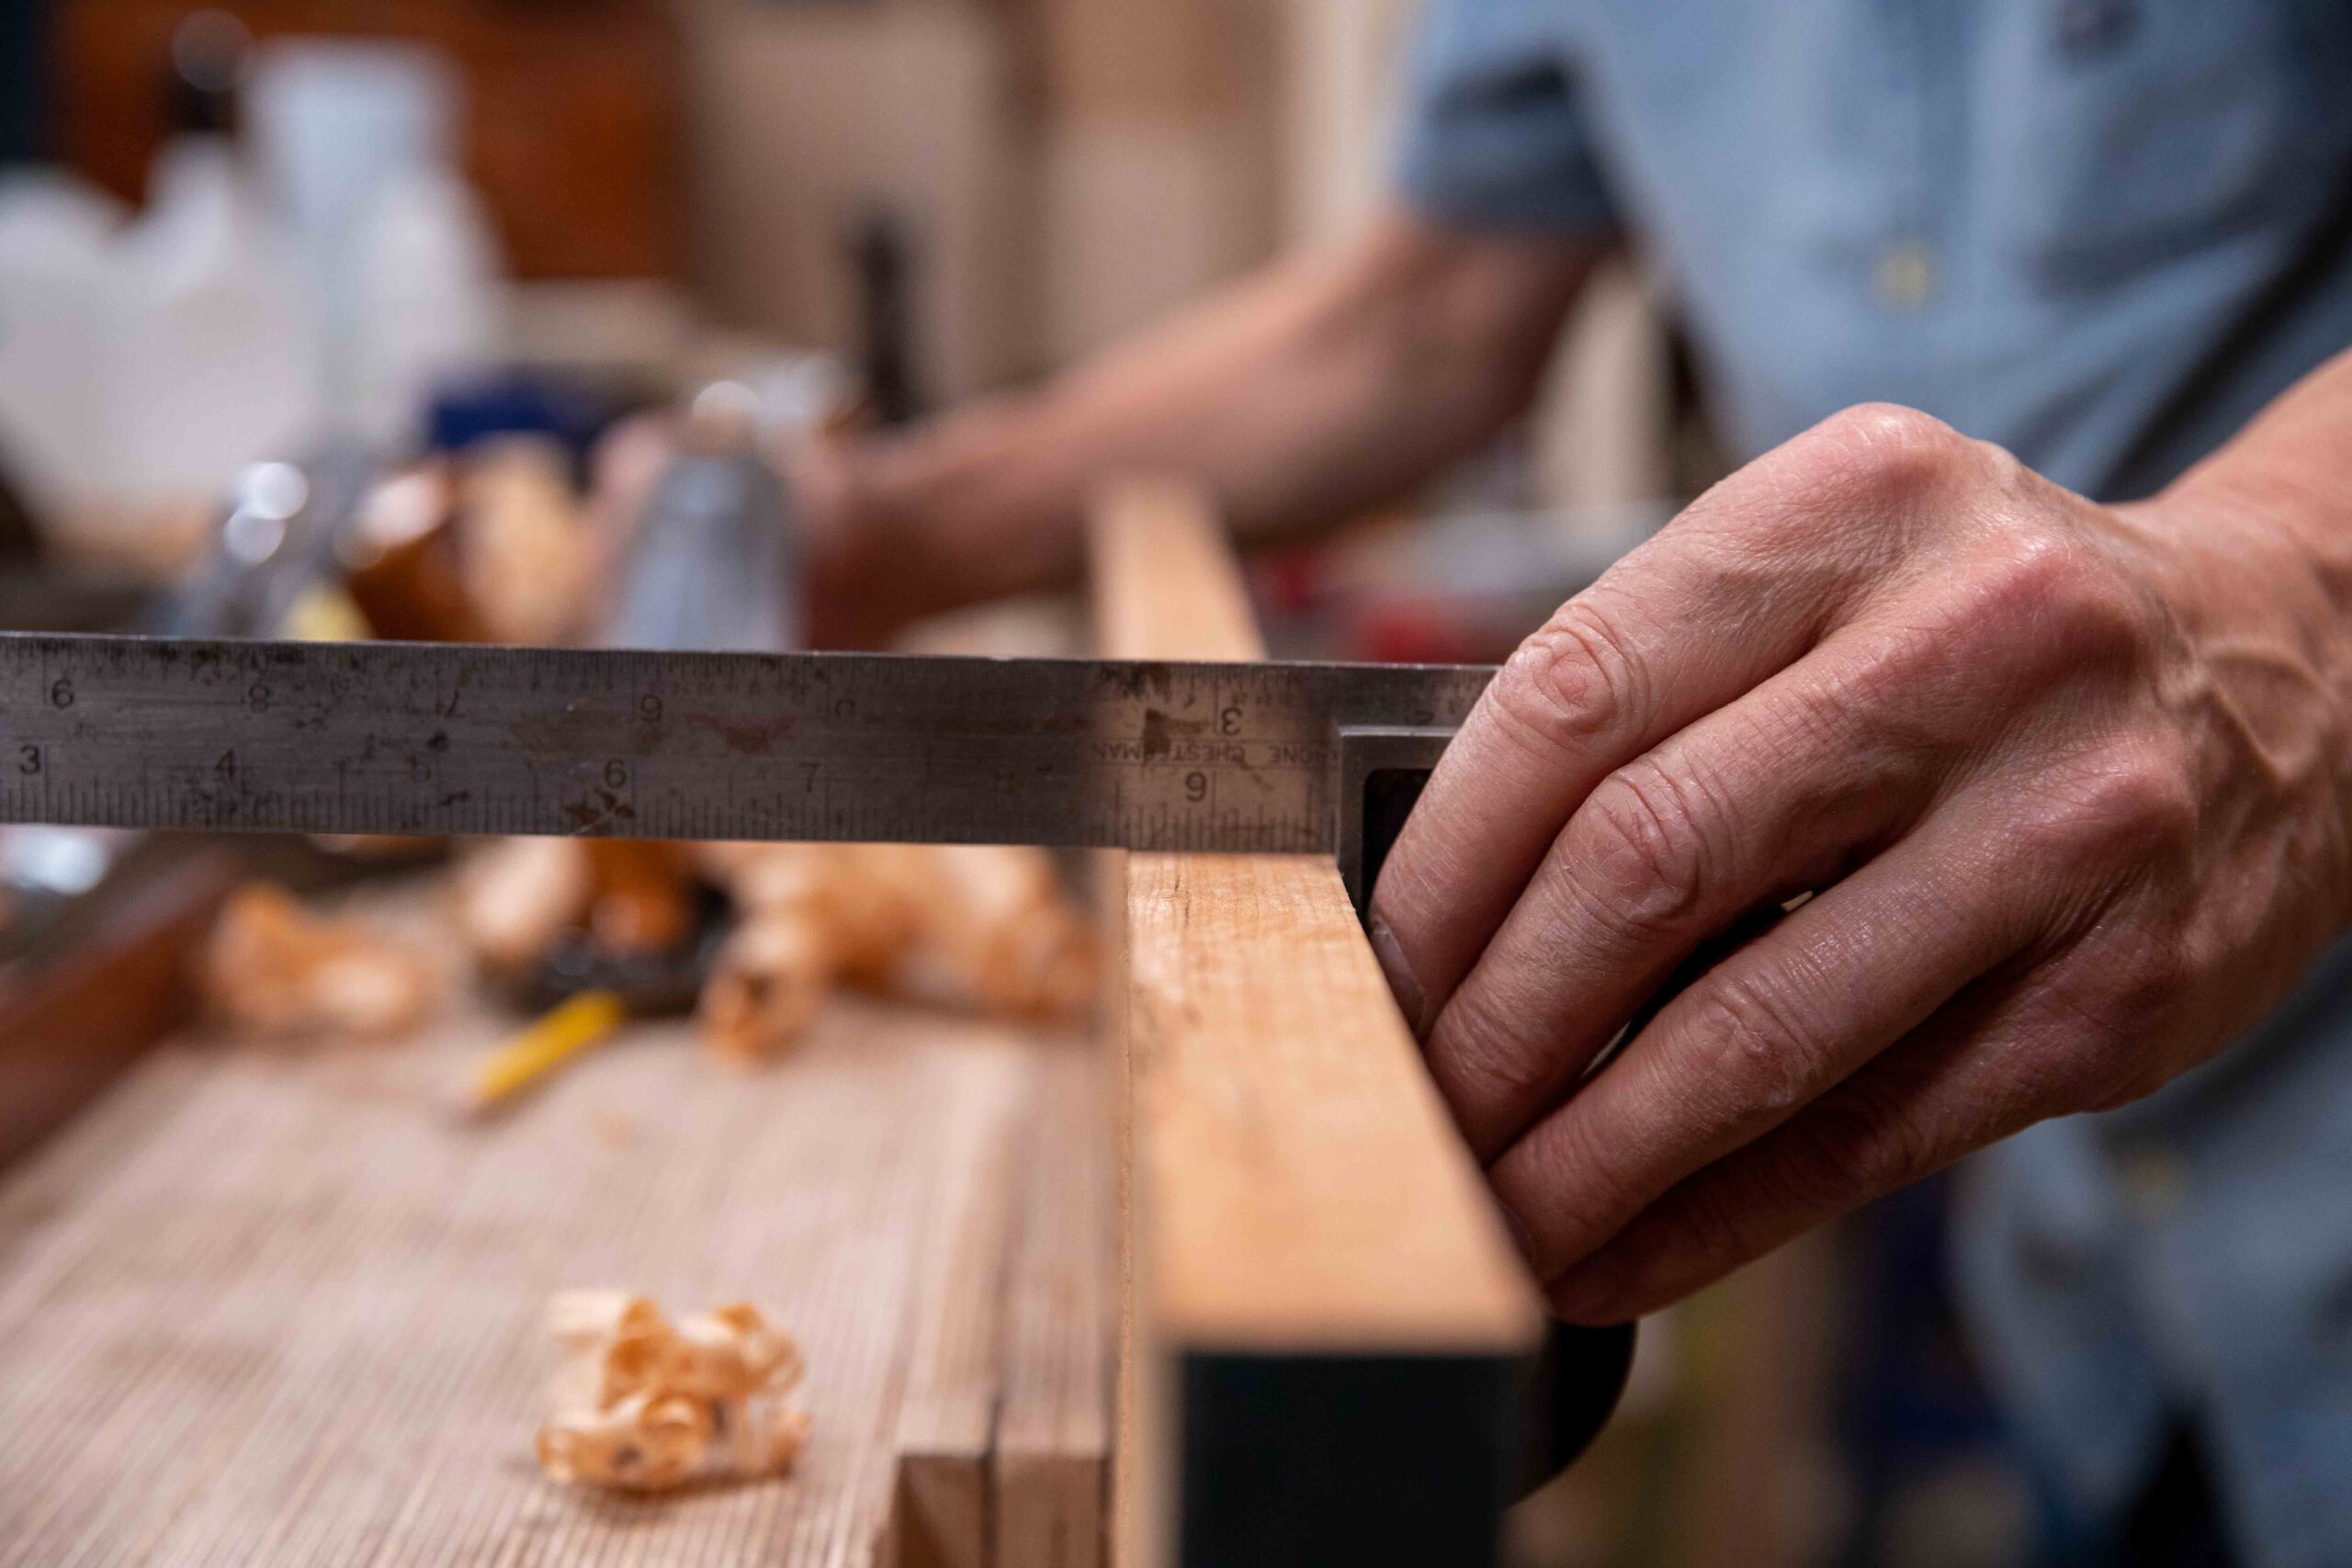
It's at this point that you must establish whether you have any twist in the board and to this end we usually rely on two parallel sticks of wood we call winding sticks. When the face has been flattened and the camber is gone, we can still have a twisted board. Placing the sticks at each end of our cut pieces, we can sight-align one stick to the other to see if the two look parallel along the top edges of the sticks. If one sights high at one side or the others the wood being planed is twisted. The sticks obviate discrepancy by magnifying what we see. In my case my winding sticks are 16" long and my wood is 8" wide. The distance divides into the sticks twice so what I see in the sticks is a magnification twice the actual discrepancy. If the wood was 4" wide, the sticks would magnify the discrepancy by four times.
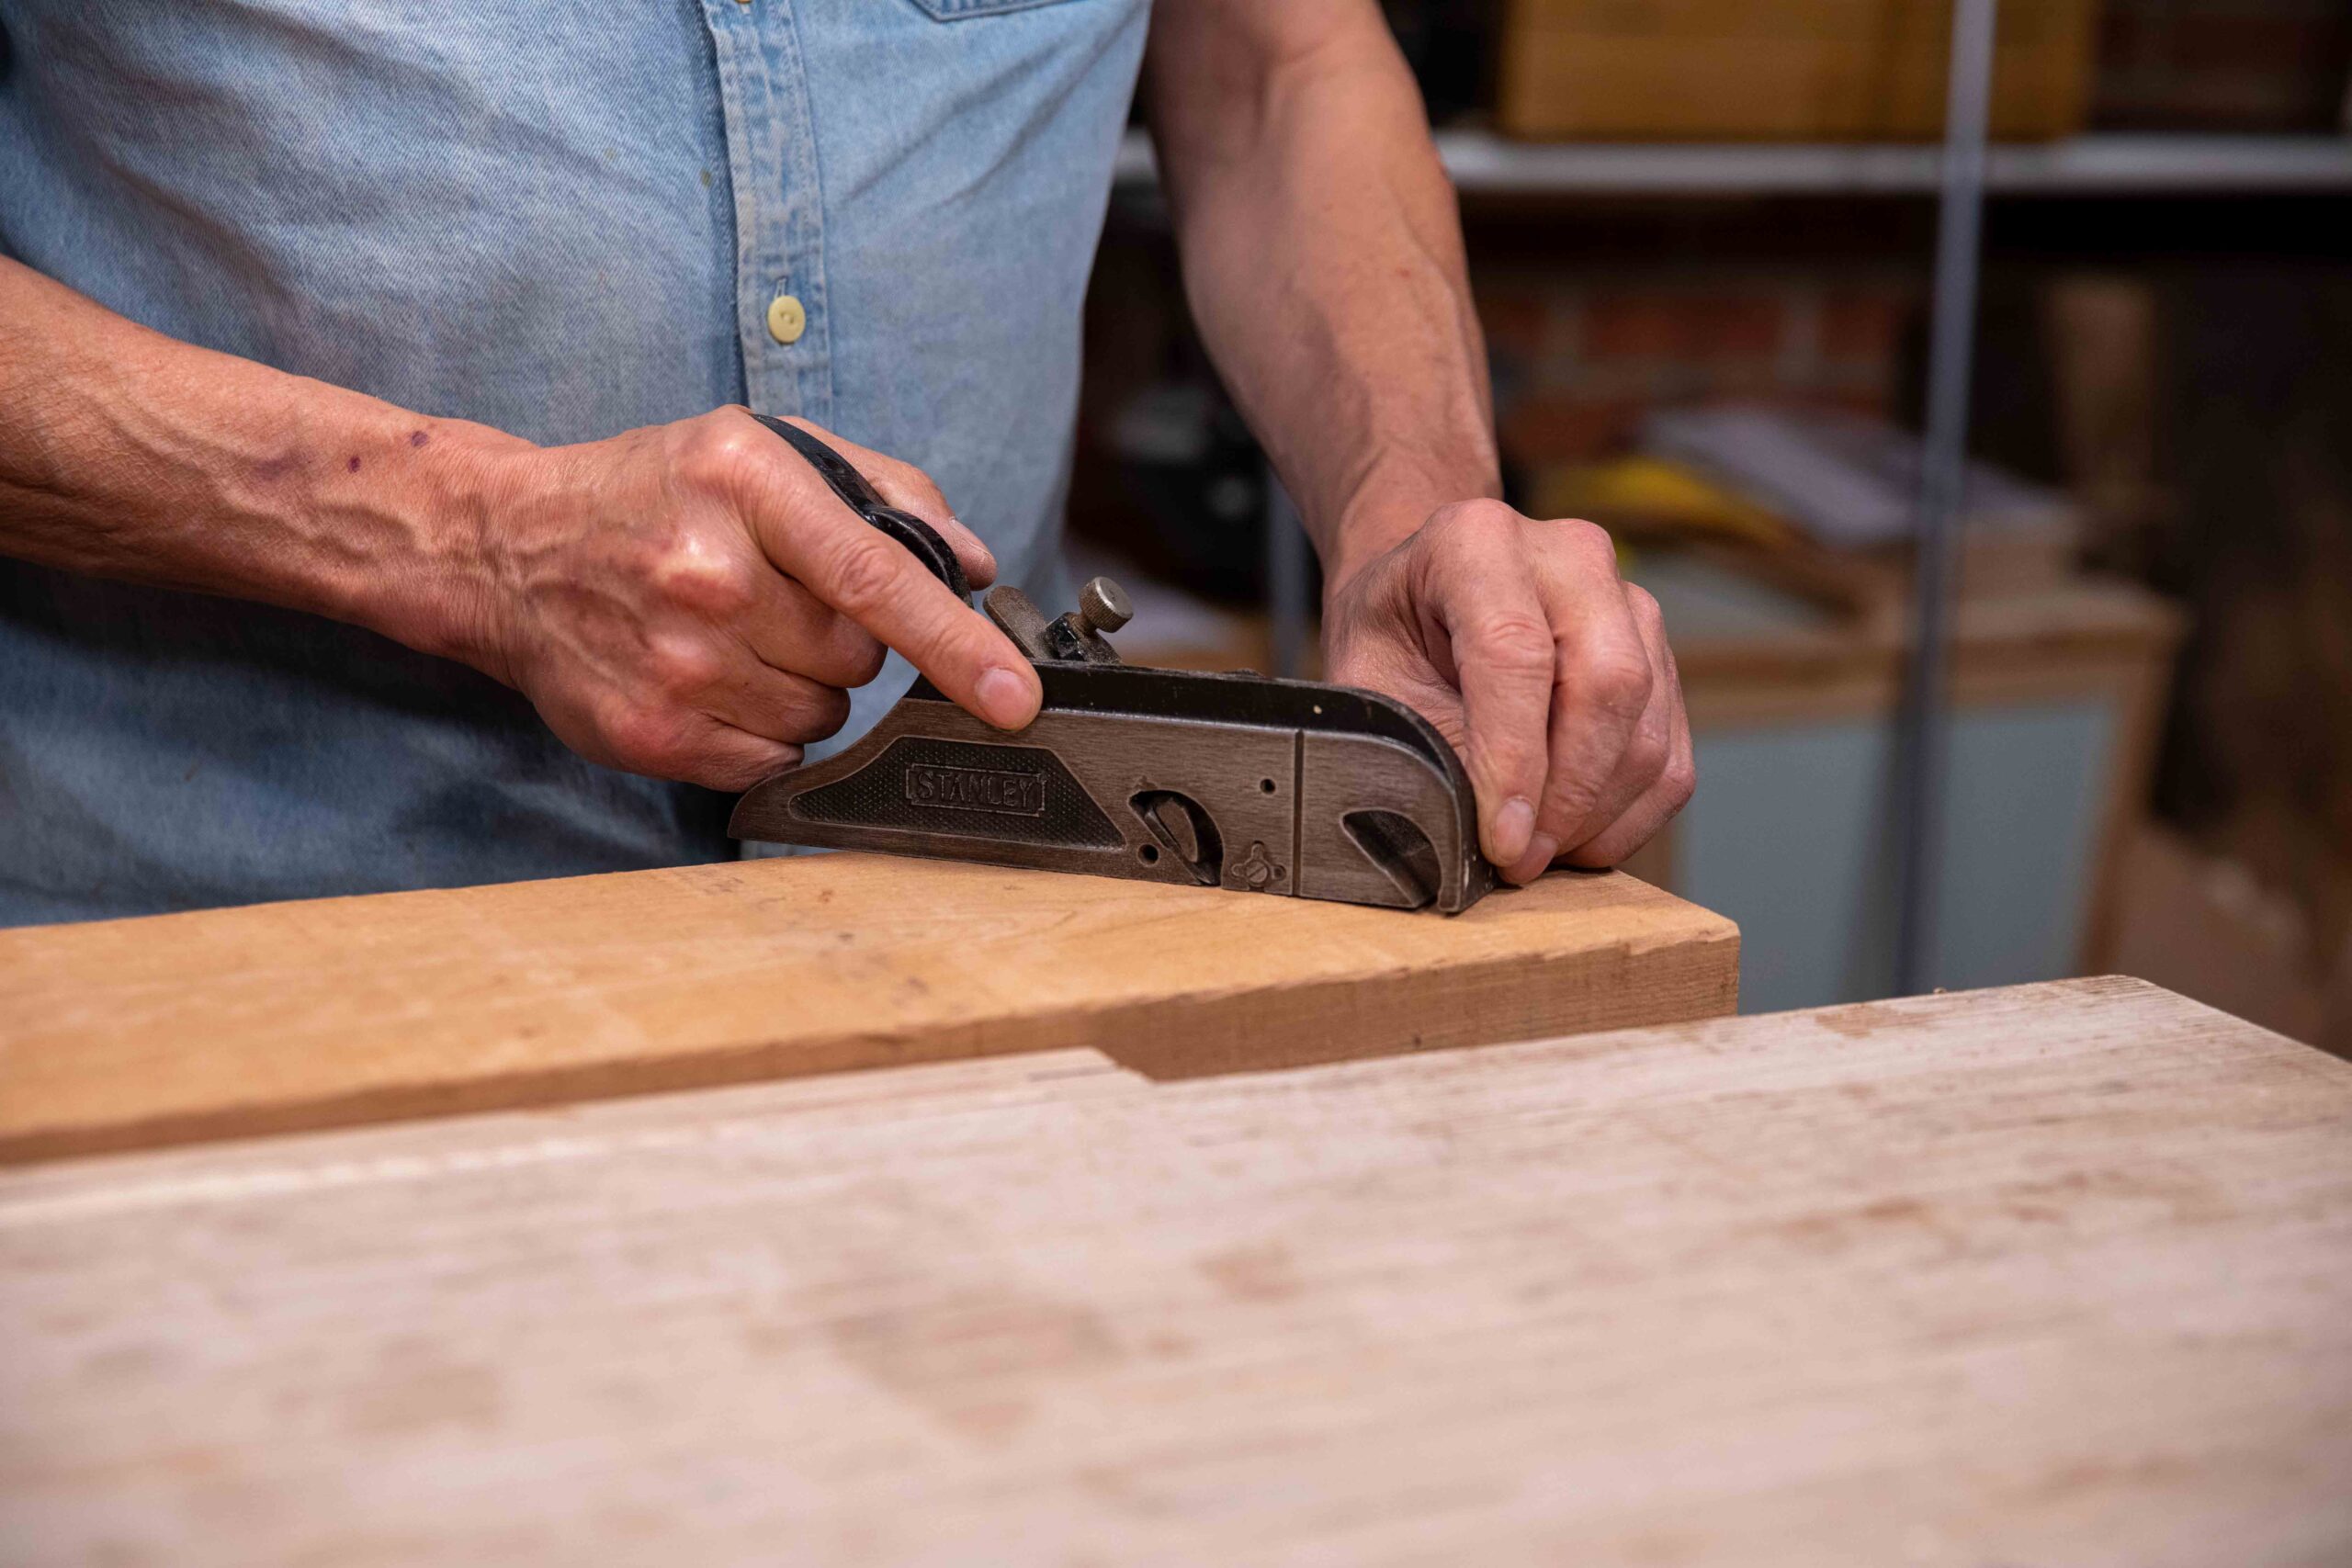
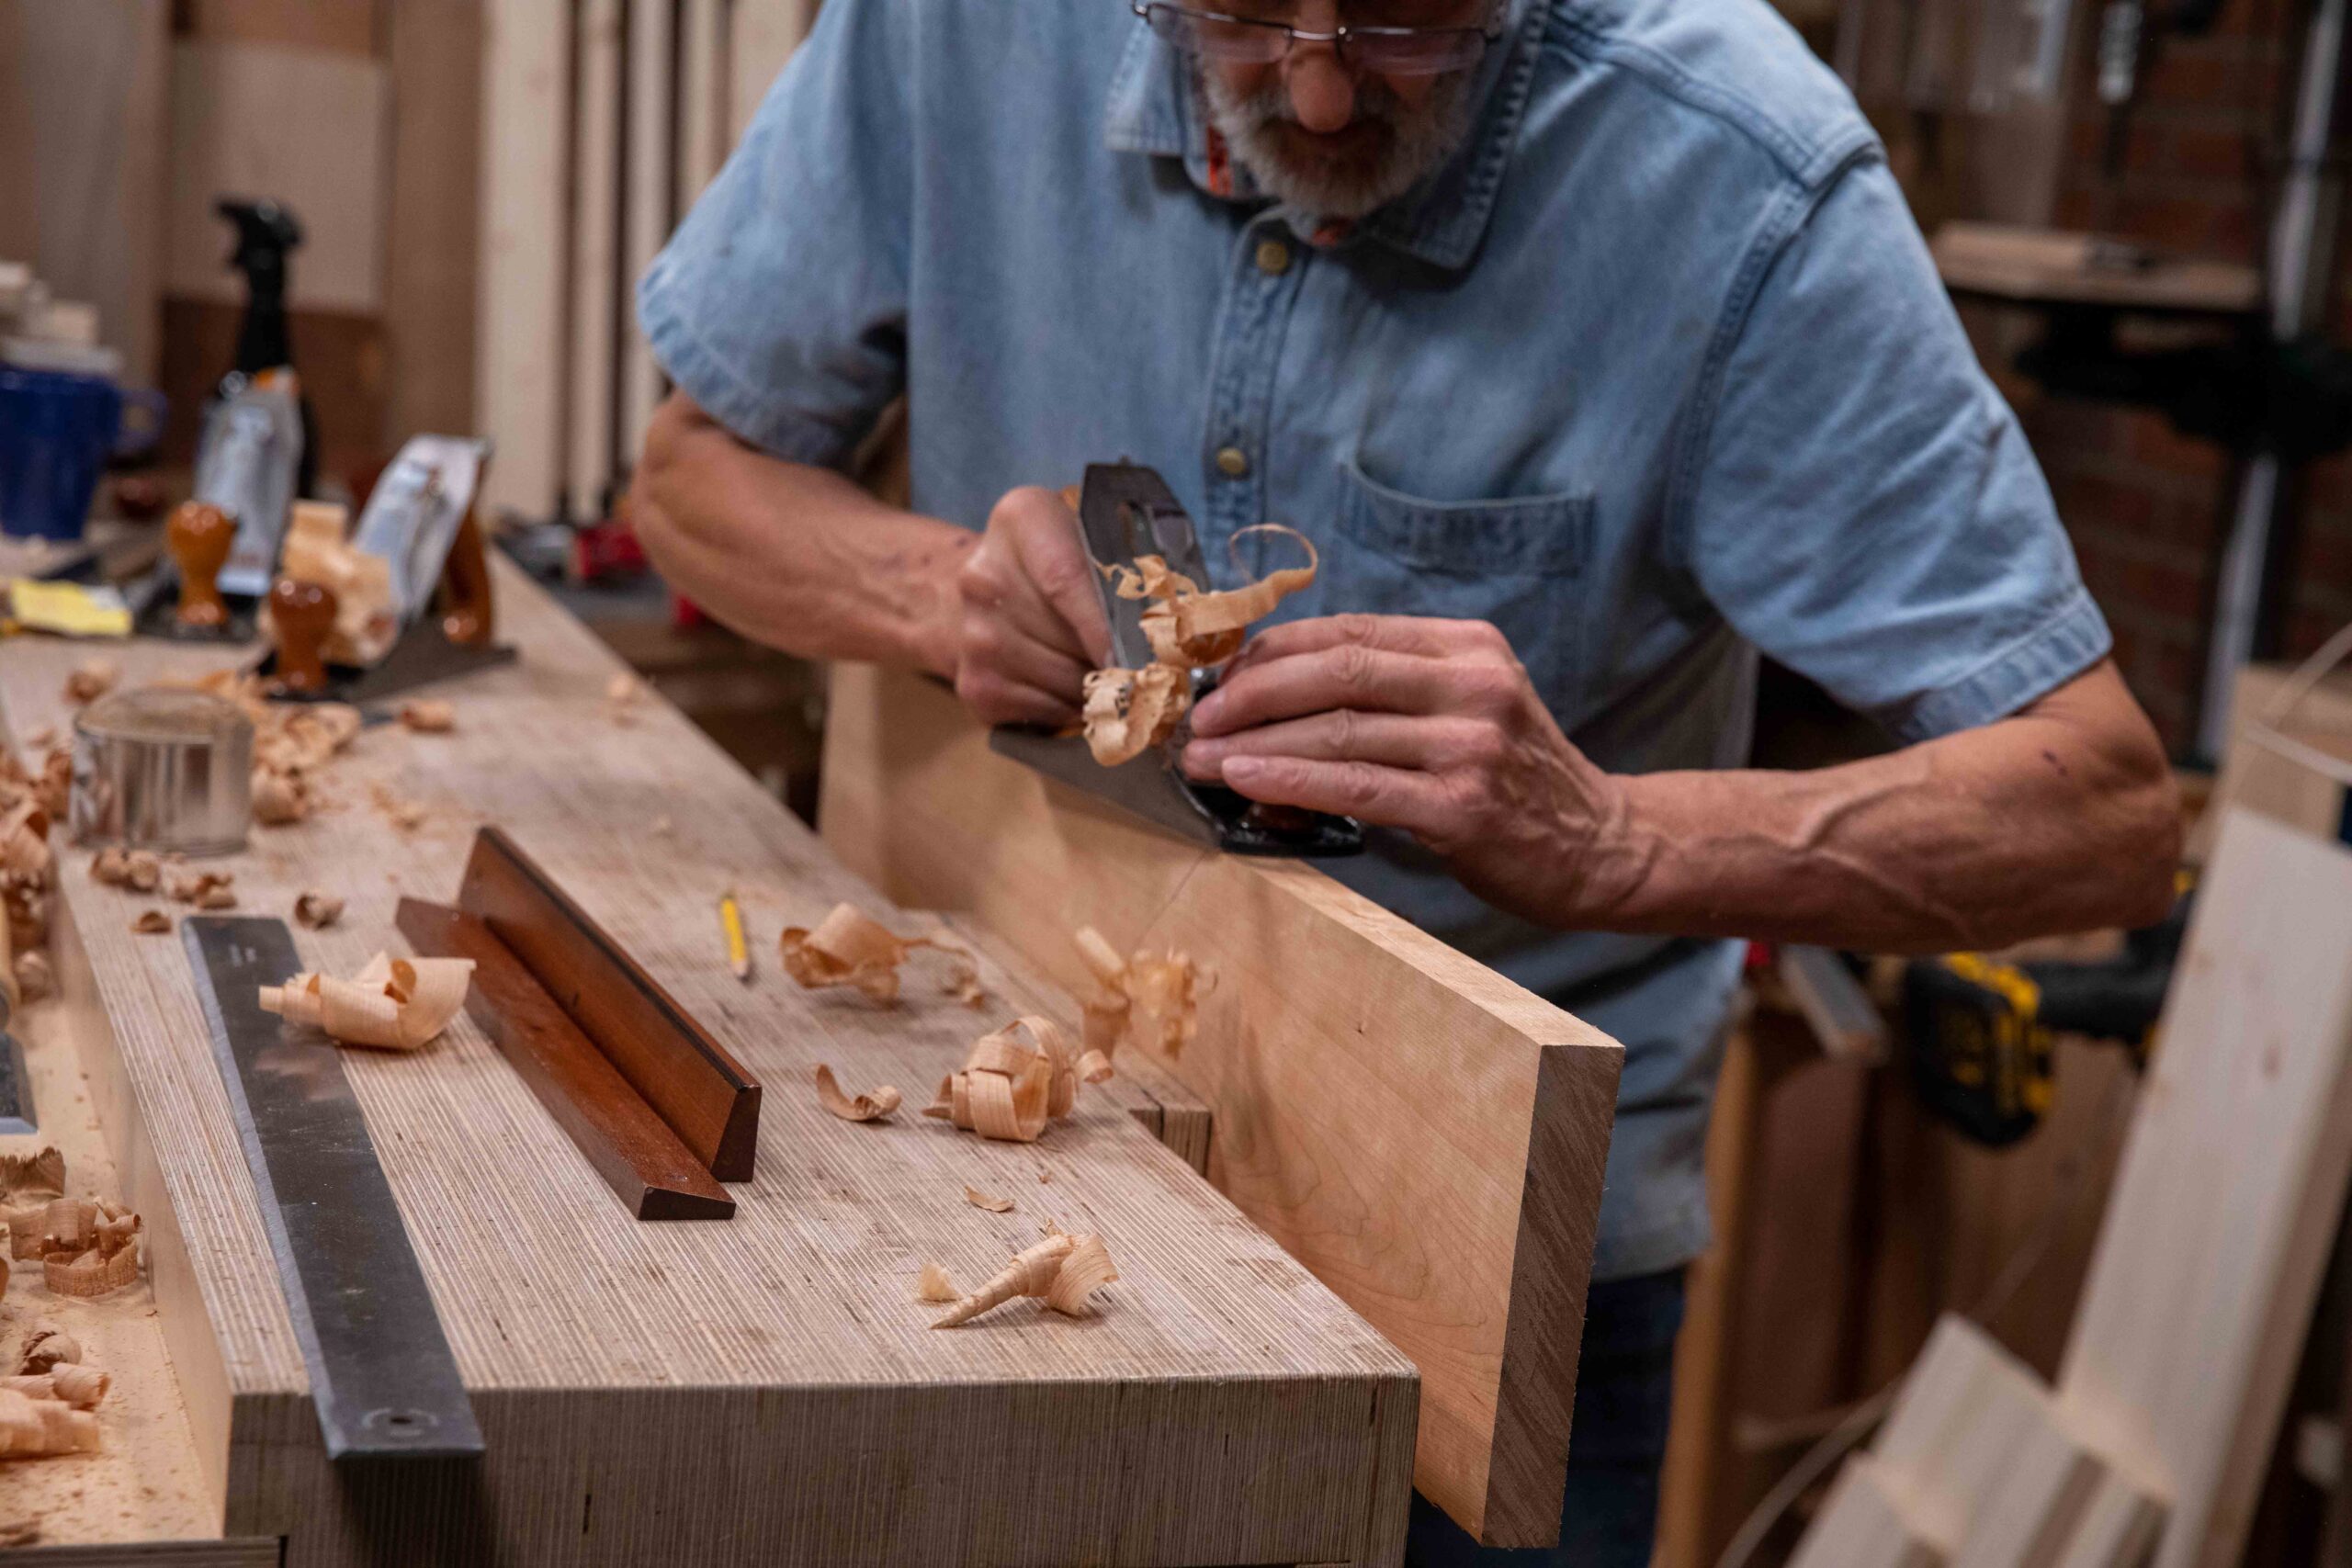
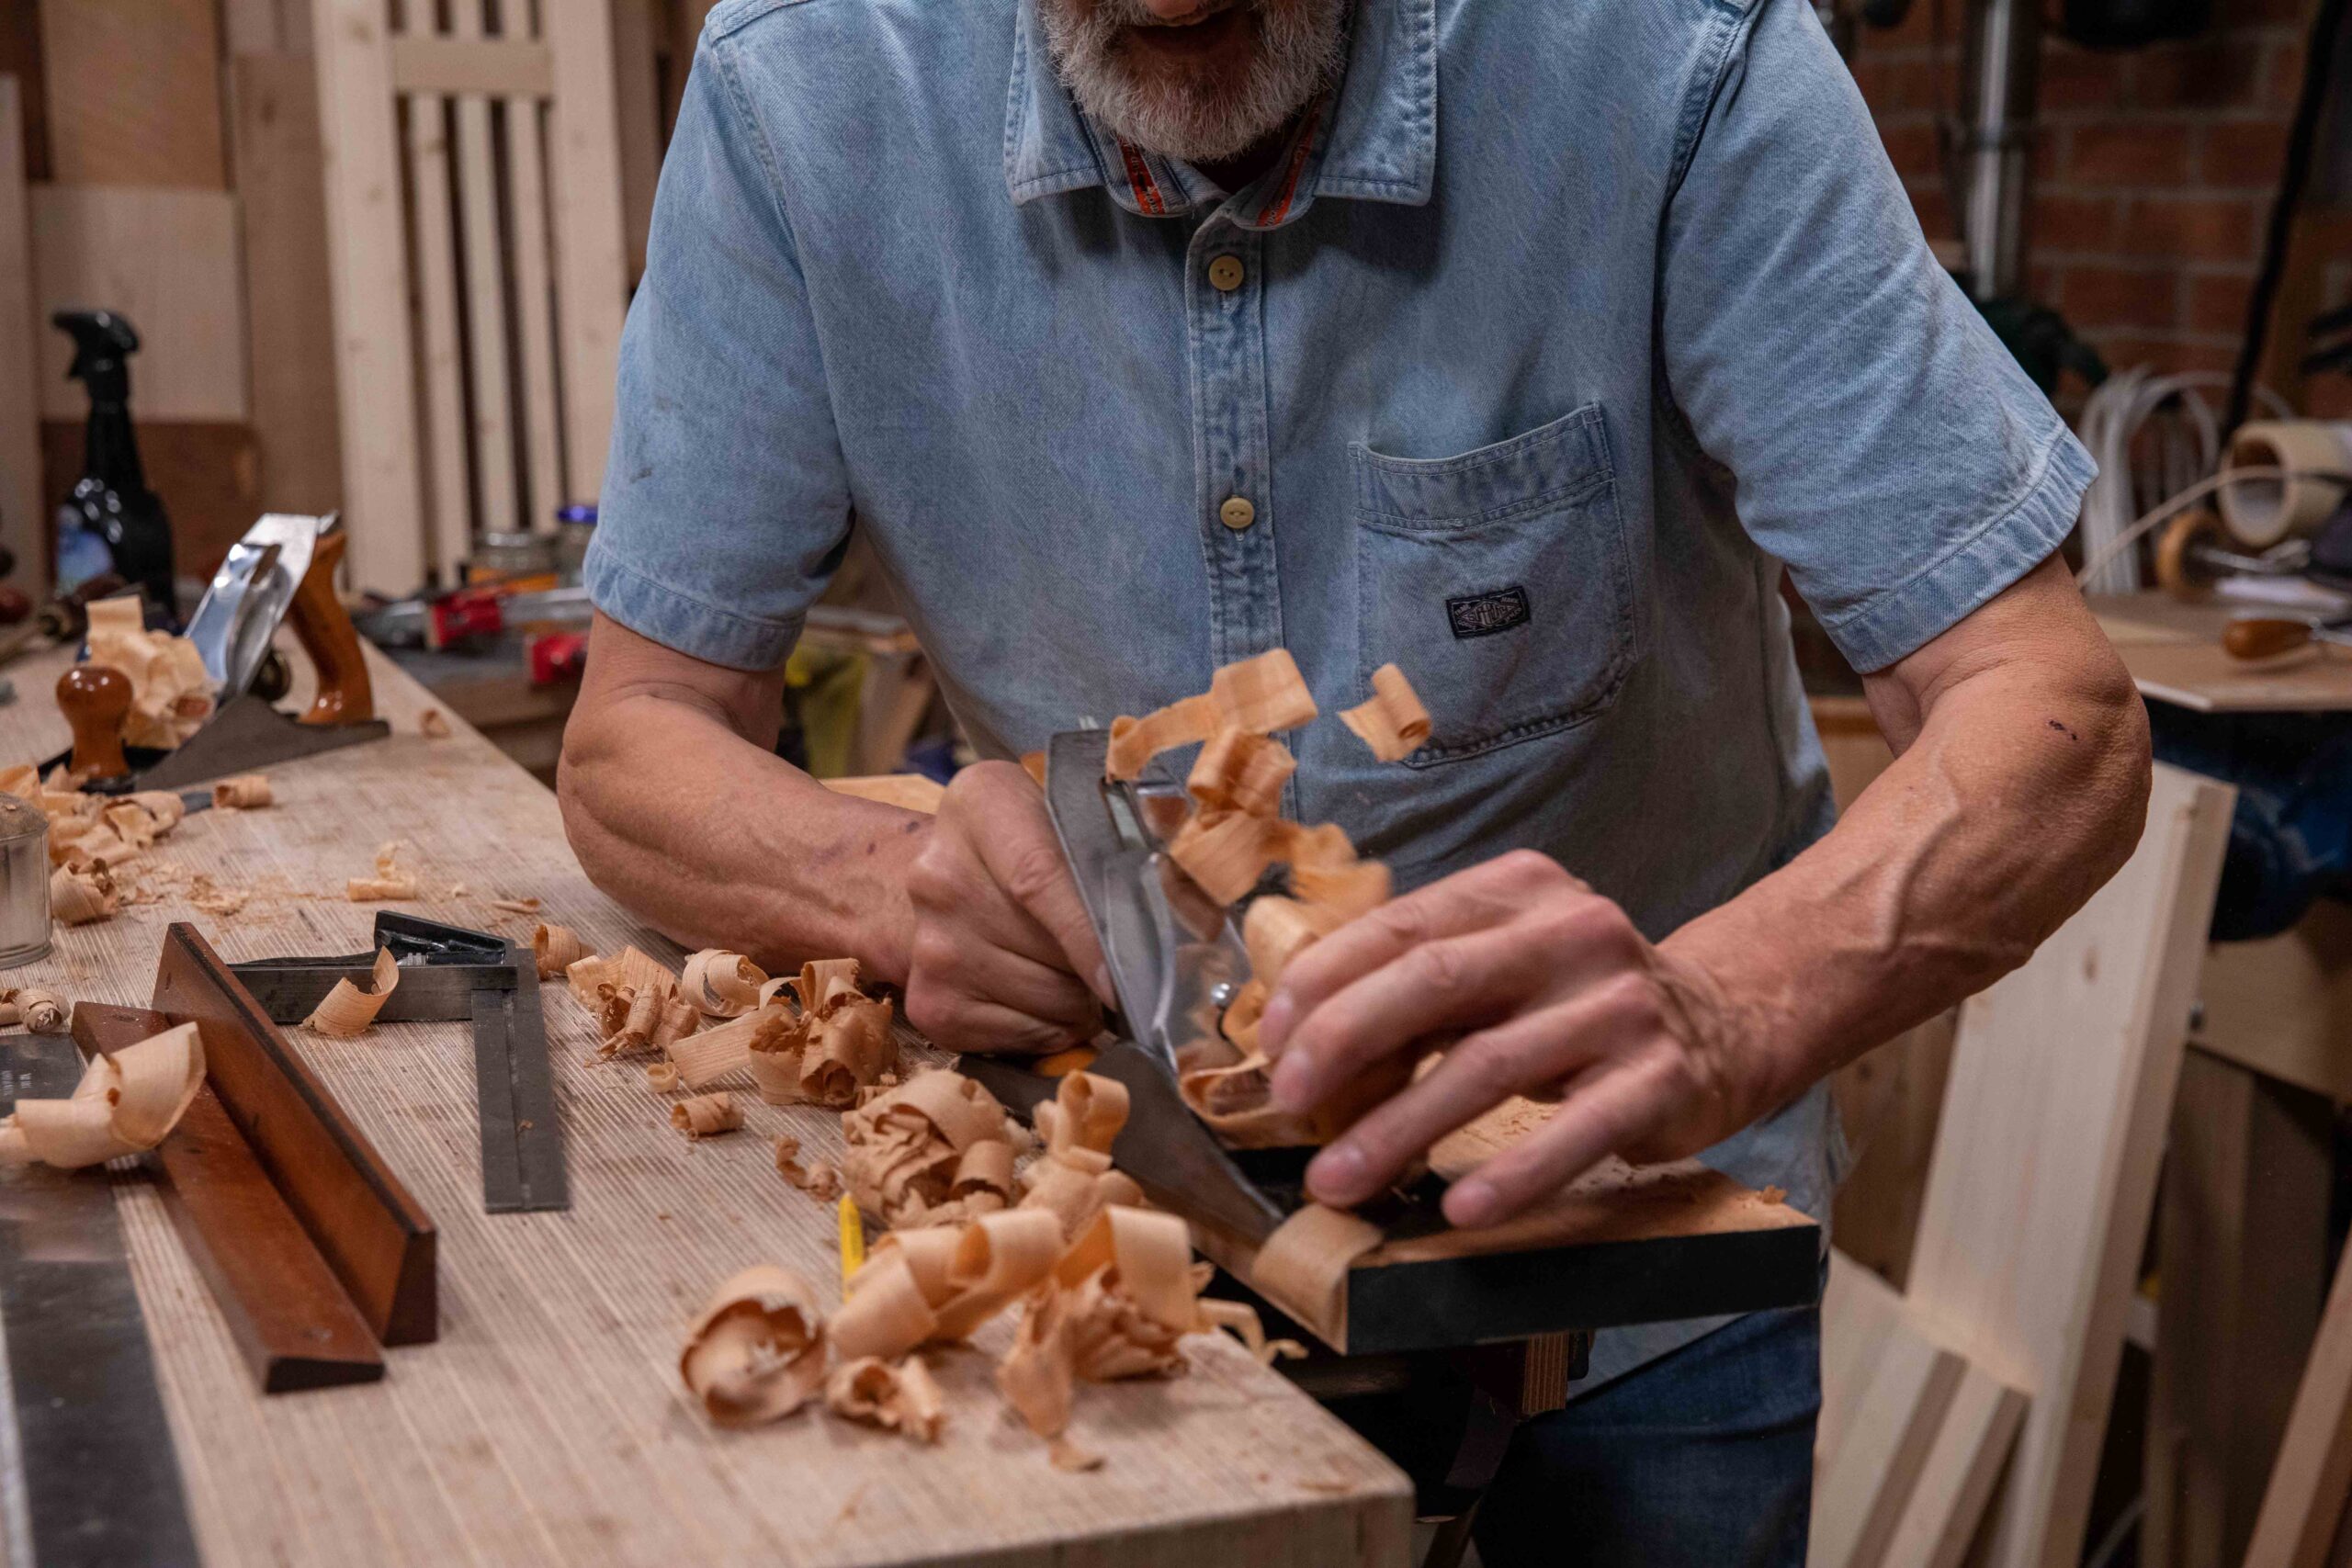
My #4 Stanley converted to a scrub with a shallower sweep to the camber of the cutting iron begins its work following up from the deeper profile of the #78. You will be surprised how easy this plane is and how much you will rely on it as you progress the flattening and truing process.
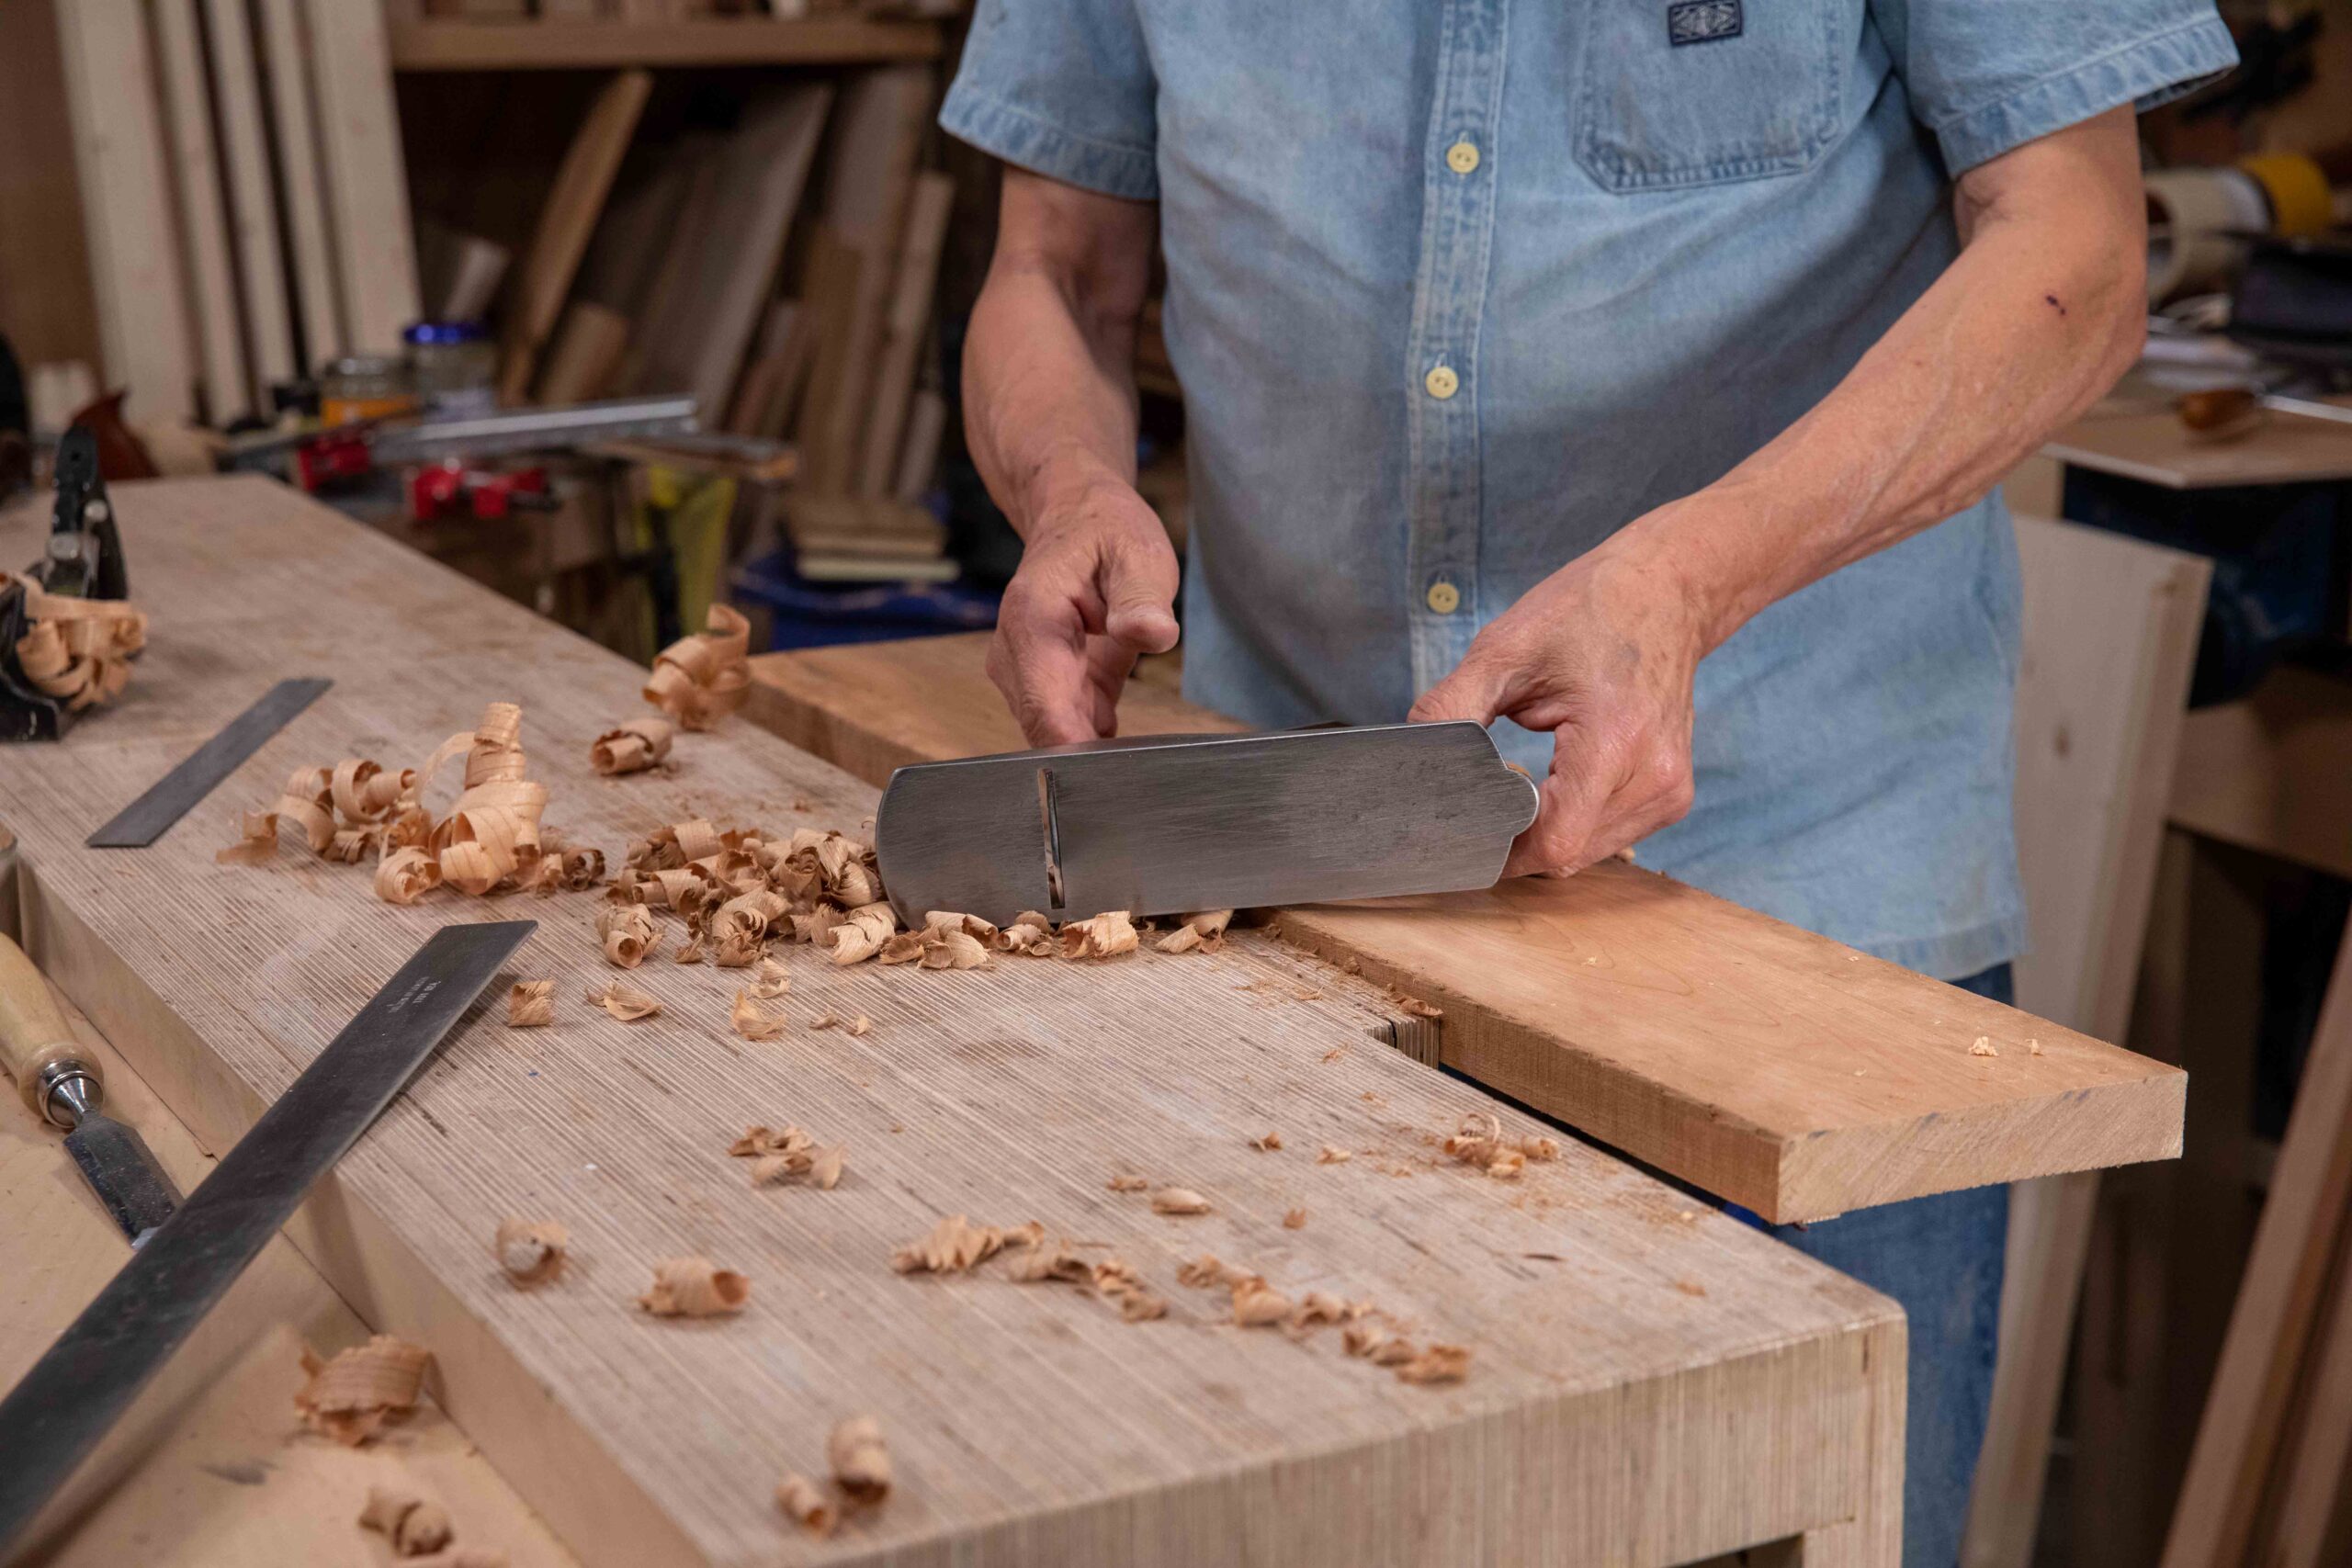
We work 95% of the time with or along the grain. Here again, remember you don't have to have two planes, just a second cutting iron assembly to convert the cutting iron and the cap iron (sometimes wrongly called a chipbreaker by Americans) to a cambered radius.
Be patient with your work, your wood and your own body. Build up to it if you are not used to this kind of work. It takes time and thought to think through how you are working, how the wood responds to your new-found techniques and then too, to better understand your mind and body in symbiosis.
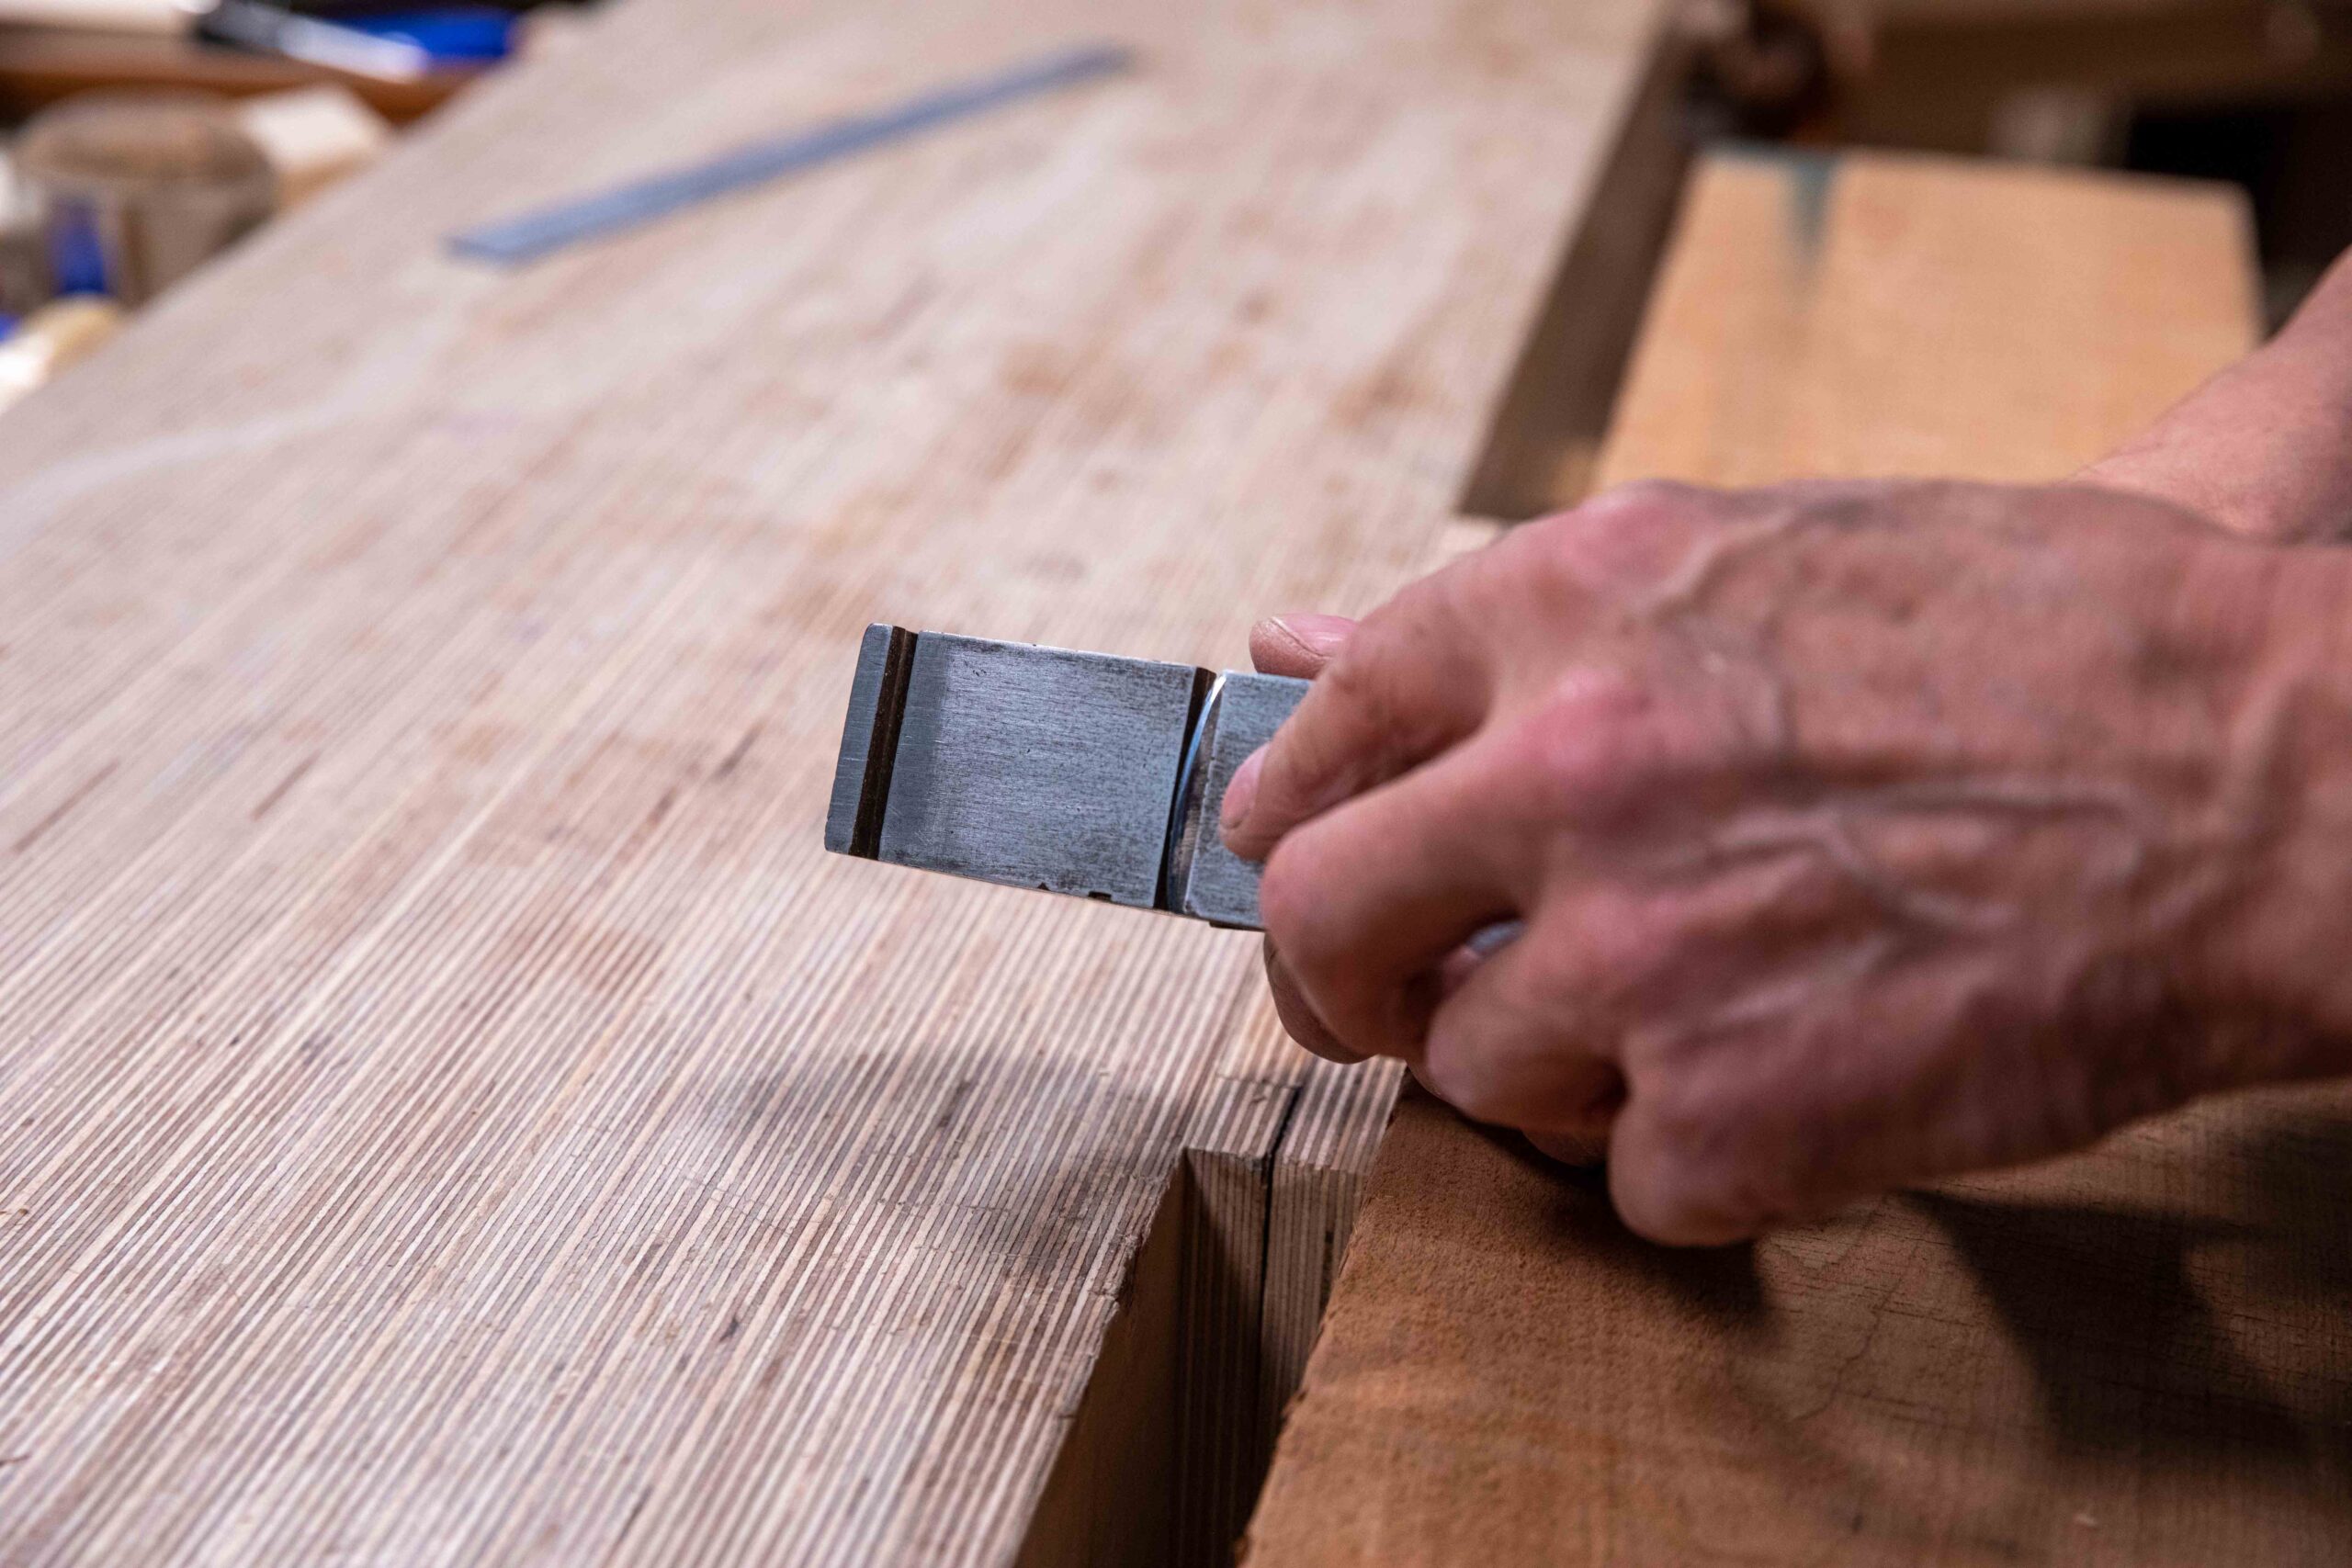
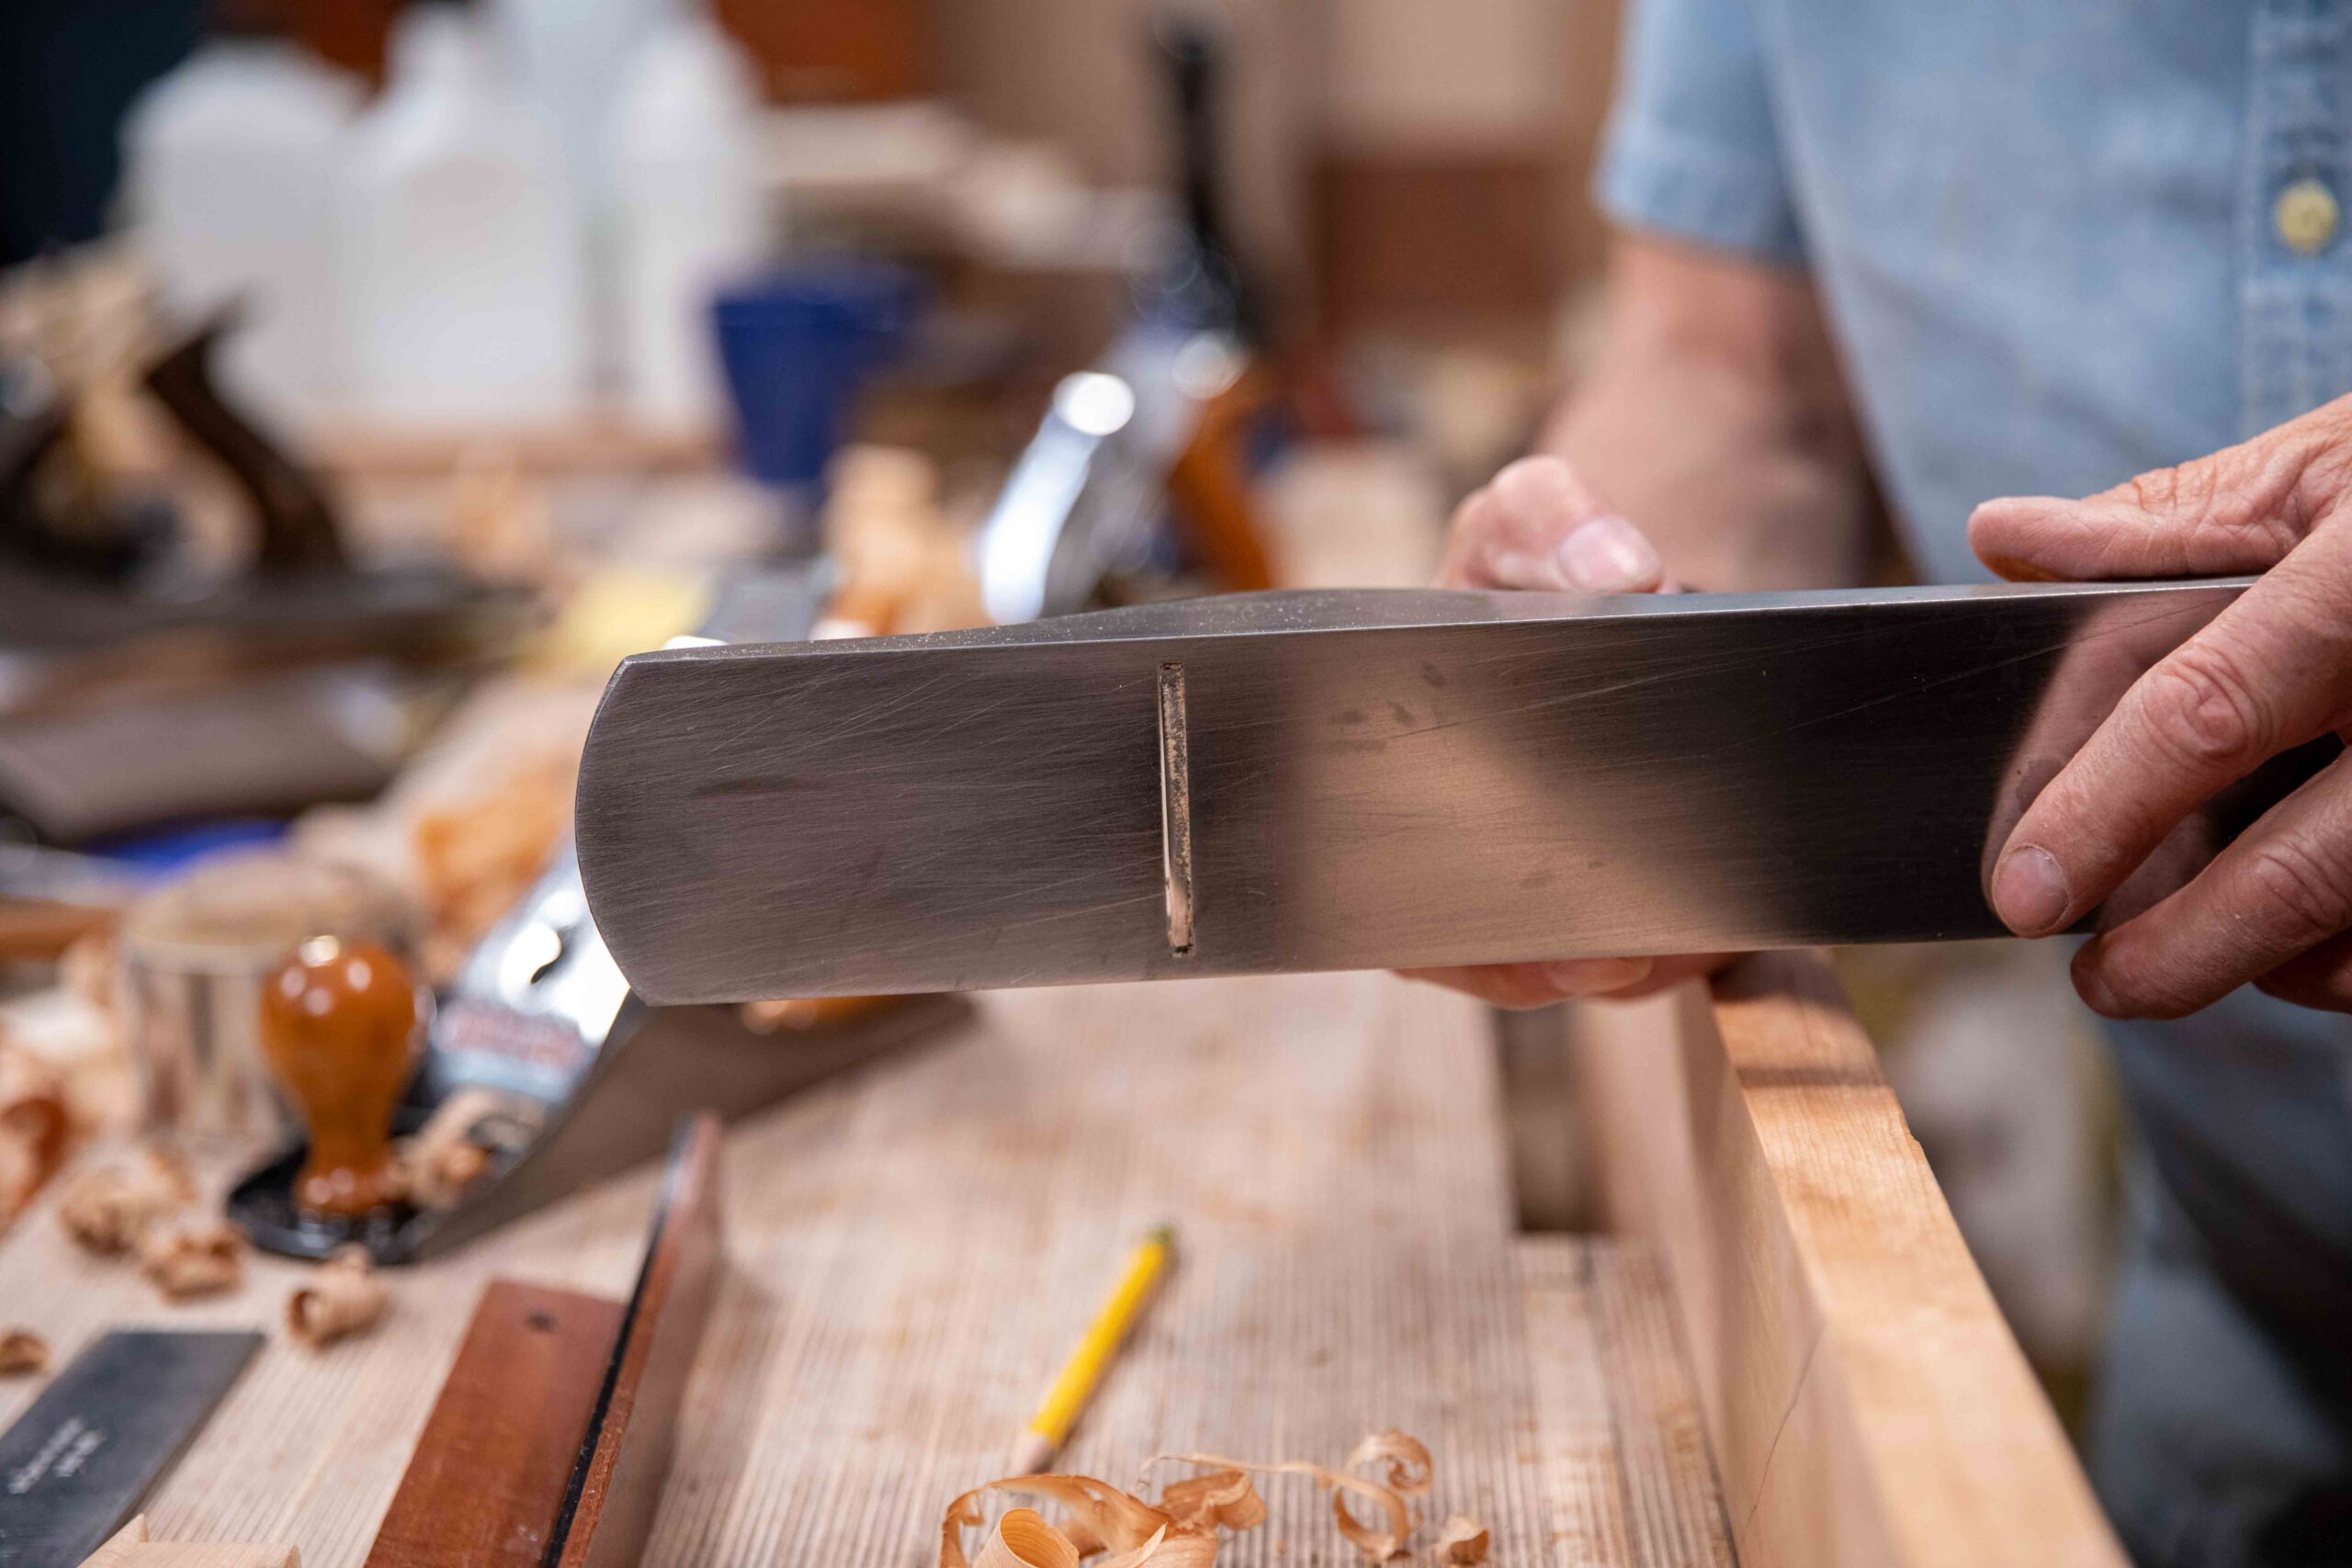
Use the corner of your plane sole to cross check for flatness across the board as you work down the surface. It's quick, accurate and effective and its been done by crafting tradesmen for centuries.
Following the #4 lighter scrub plane, your board will look like this below. Using the lights to exaggerate the undulation is stunning but we are indeed much nearer to the finished board than you might think.
Once you reach near level with minor undulation, check again for twist with the winding sticks. (You can make your own winding sticks by following me here. but remember two straight and parallel sticks of 1" by 2", sixteen inches long will do the same thing.) You will need to do this several times.
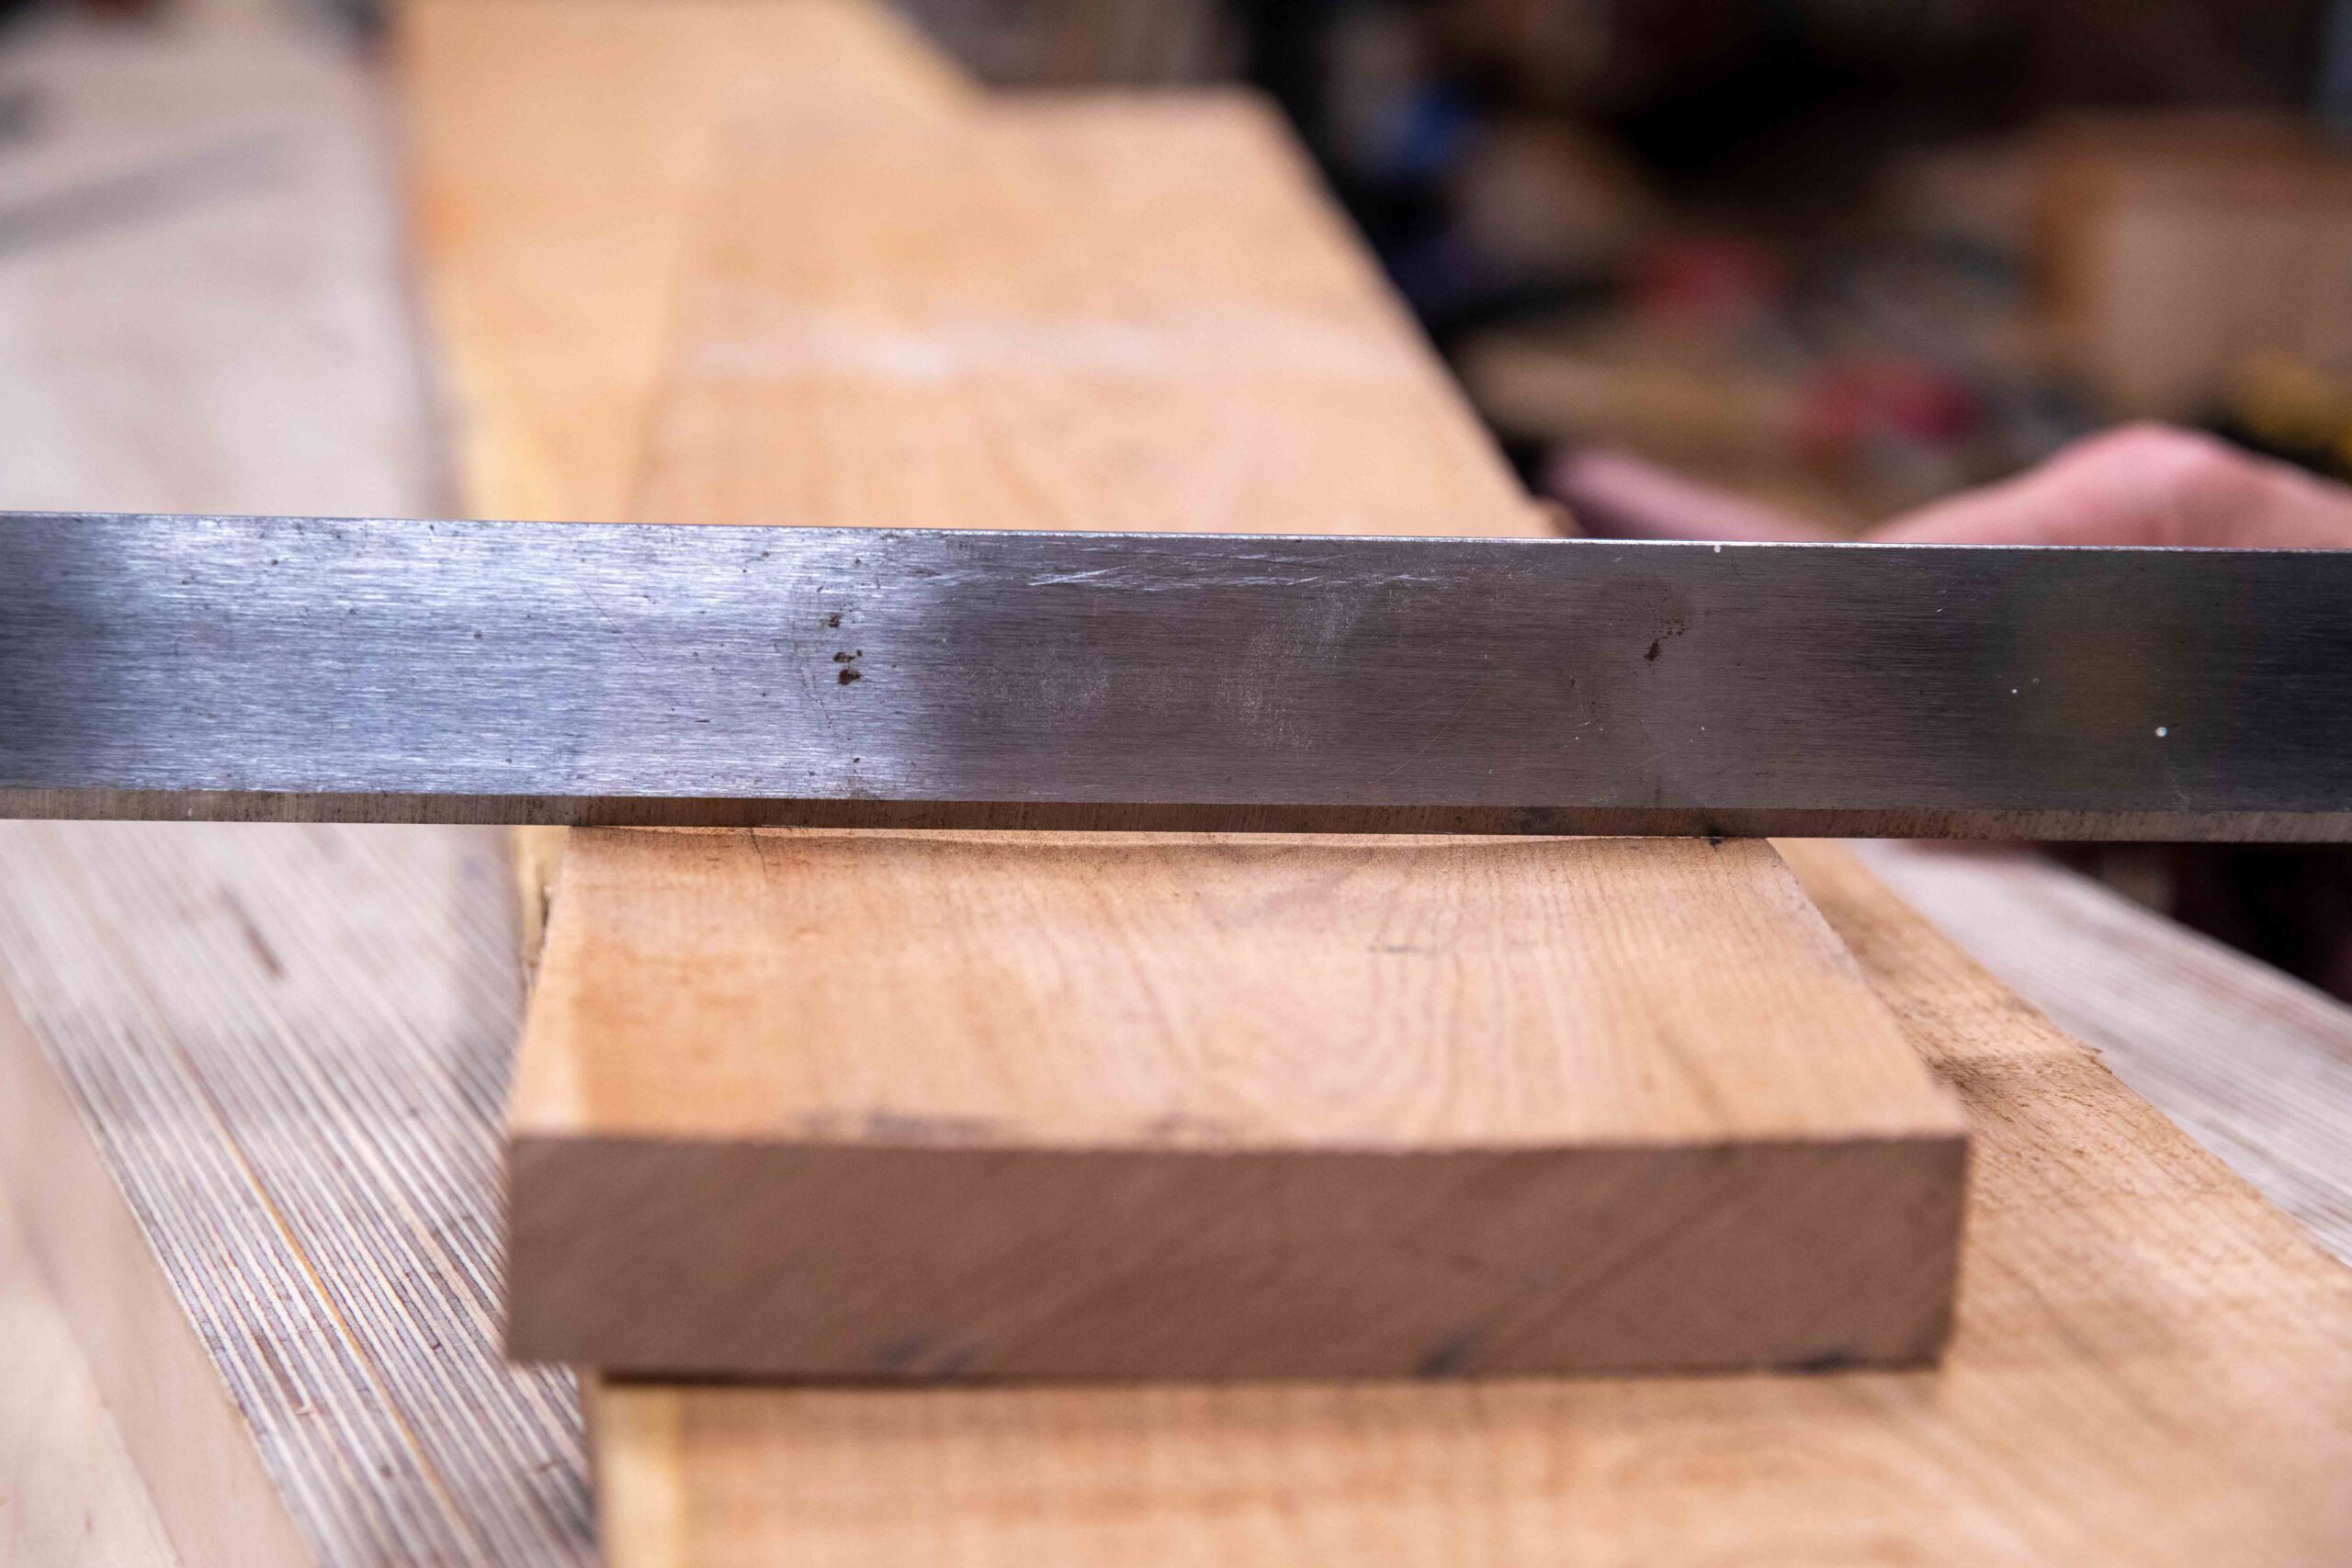
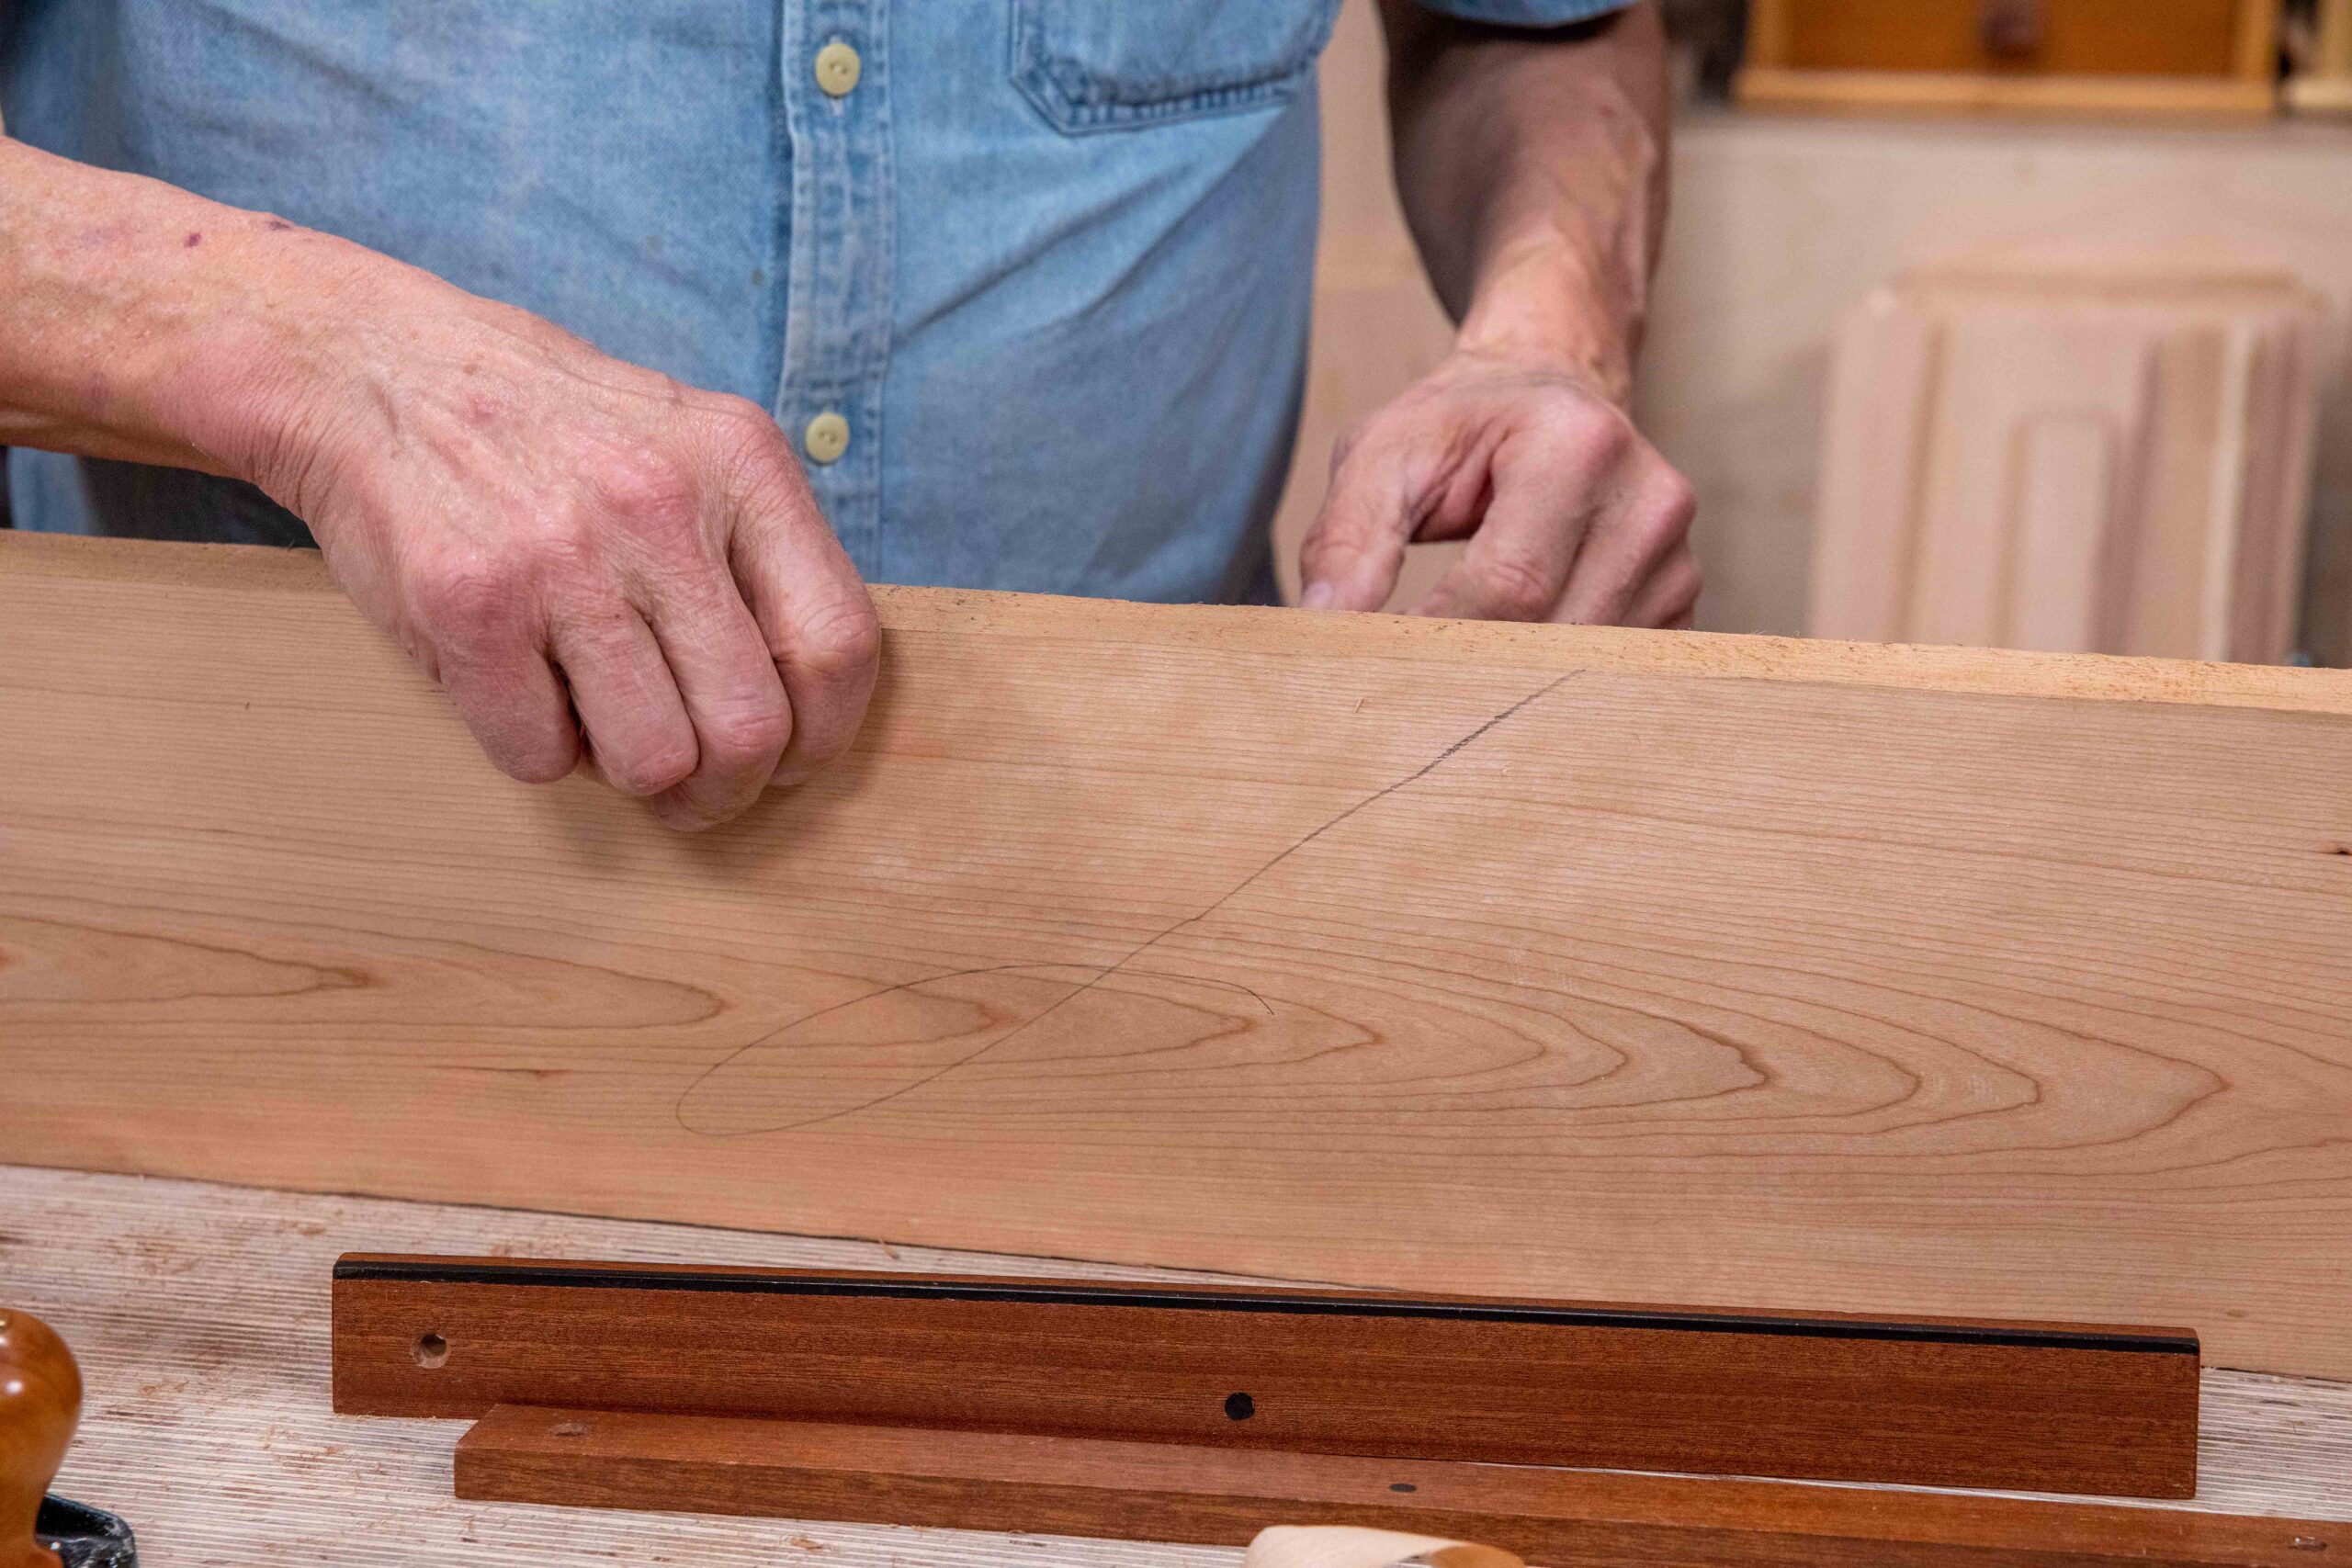
Also, remember it is necessary to eyeball along the corner edge of the board to see if the surface you are planing is straight or curving like a bow. If it is curving you must remove the bow between the two ends so that it is straight. There is an art to this and you must start somewhere; it might as well be here and now. Also, remember it is ultimately best to train and ultimately trust and rely on your eyes rather than the plane's sole alone. A plane tends to follow curves and the user the path of least resistance.
Sighting along a corner edge will help you determine if a board edge or face is straight one or both meeting that corner are out of straightness in some way. Any discrepancy will need correcting with the plane. This is often done by trial and error until that final swipe comes and you are satisfied.
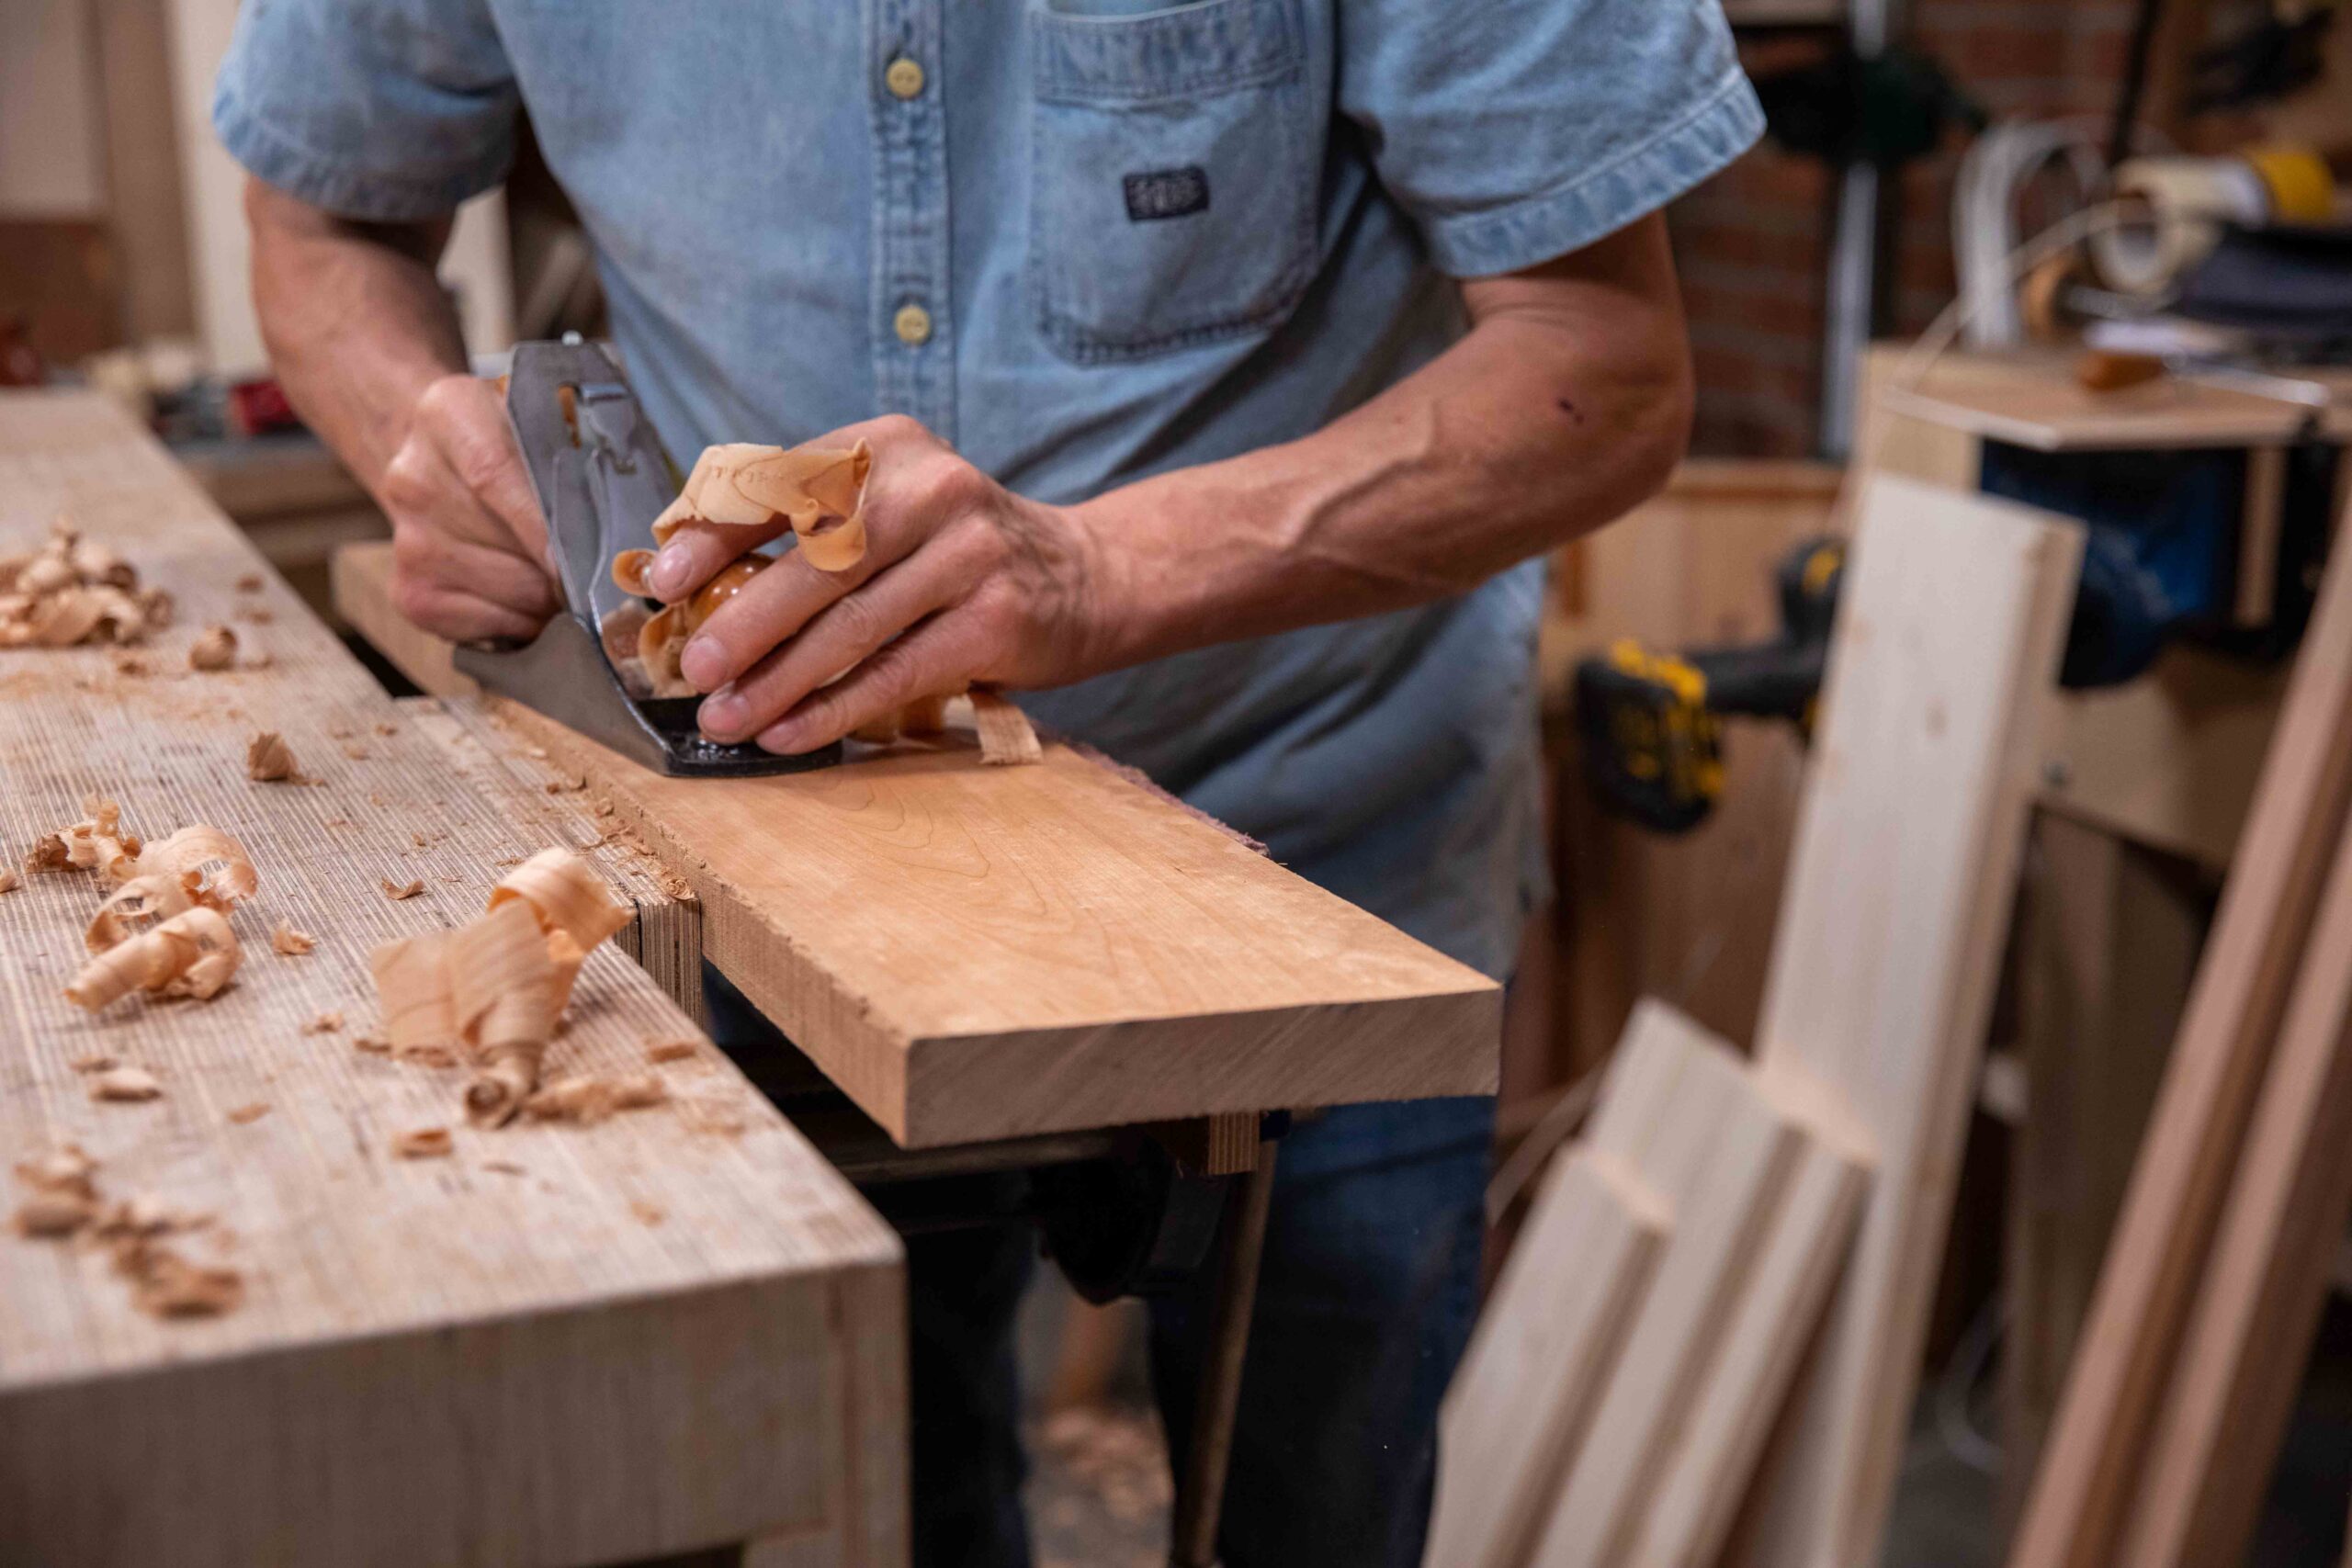
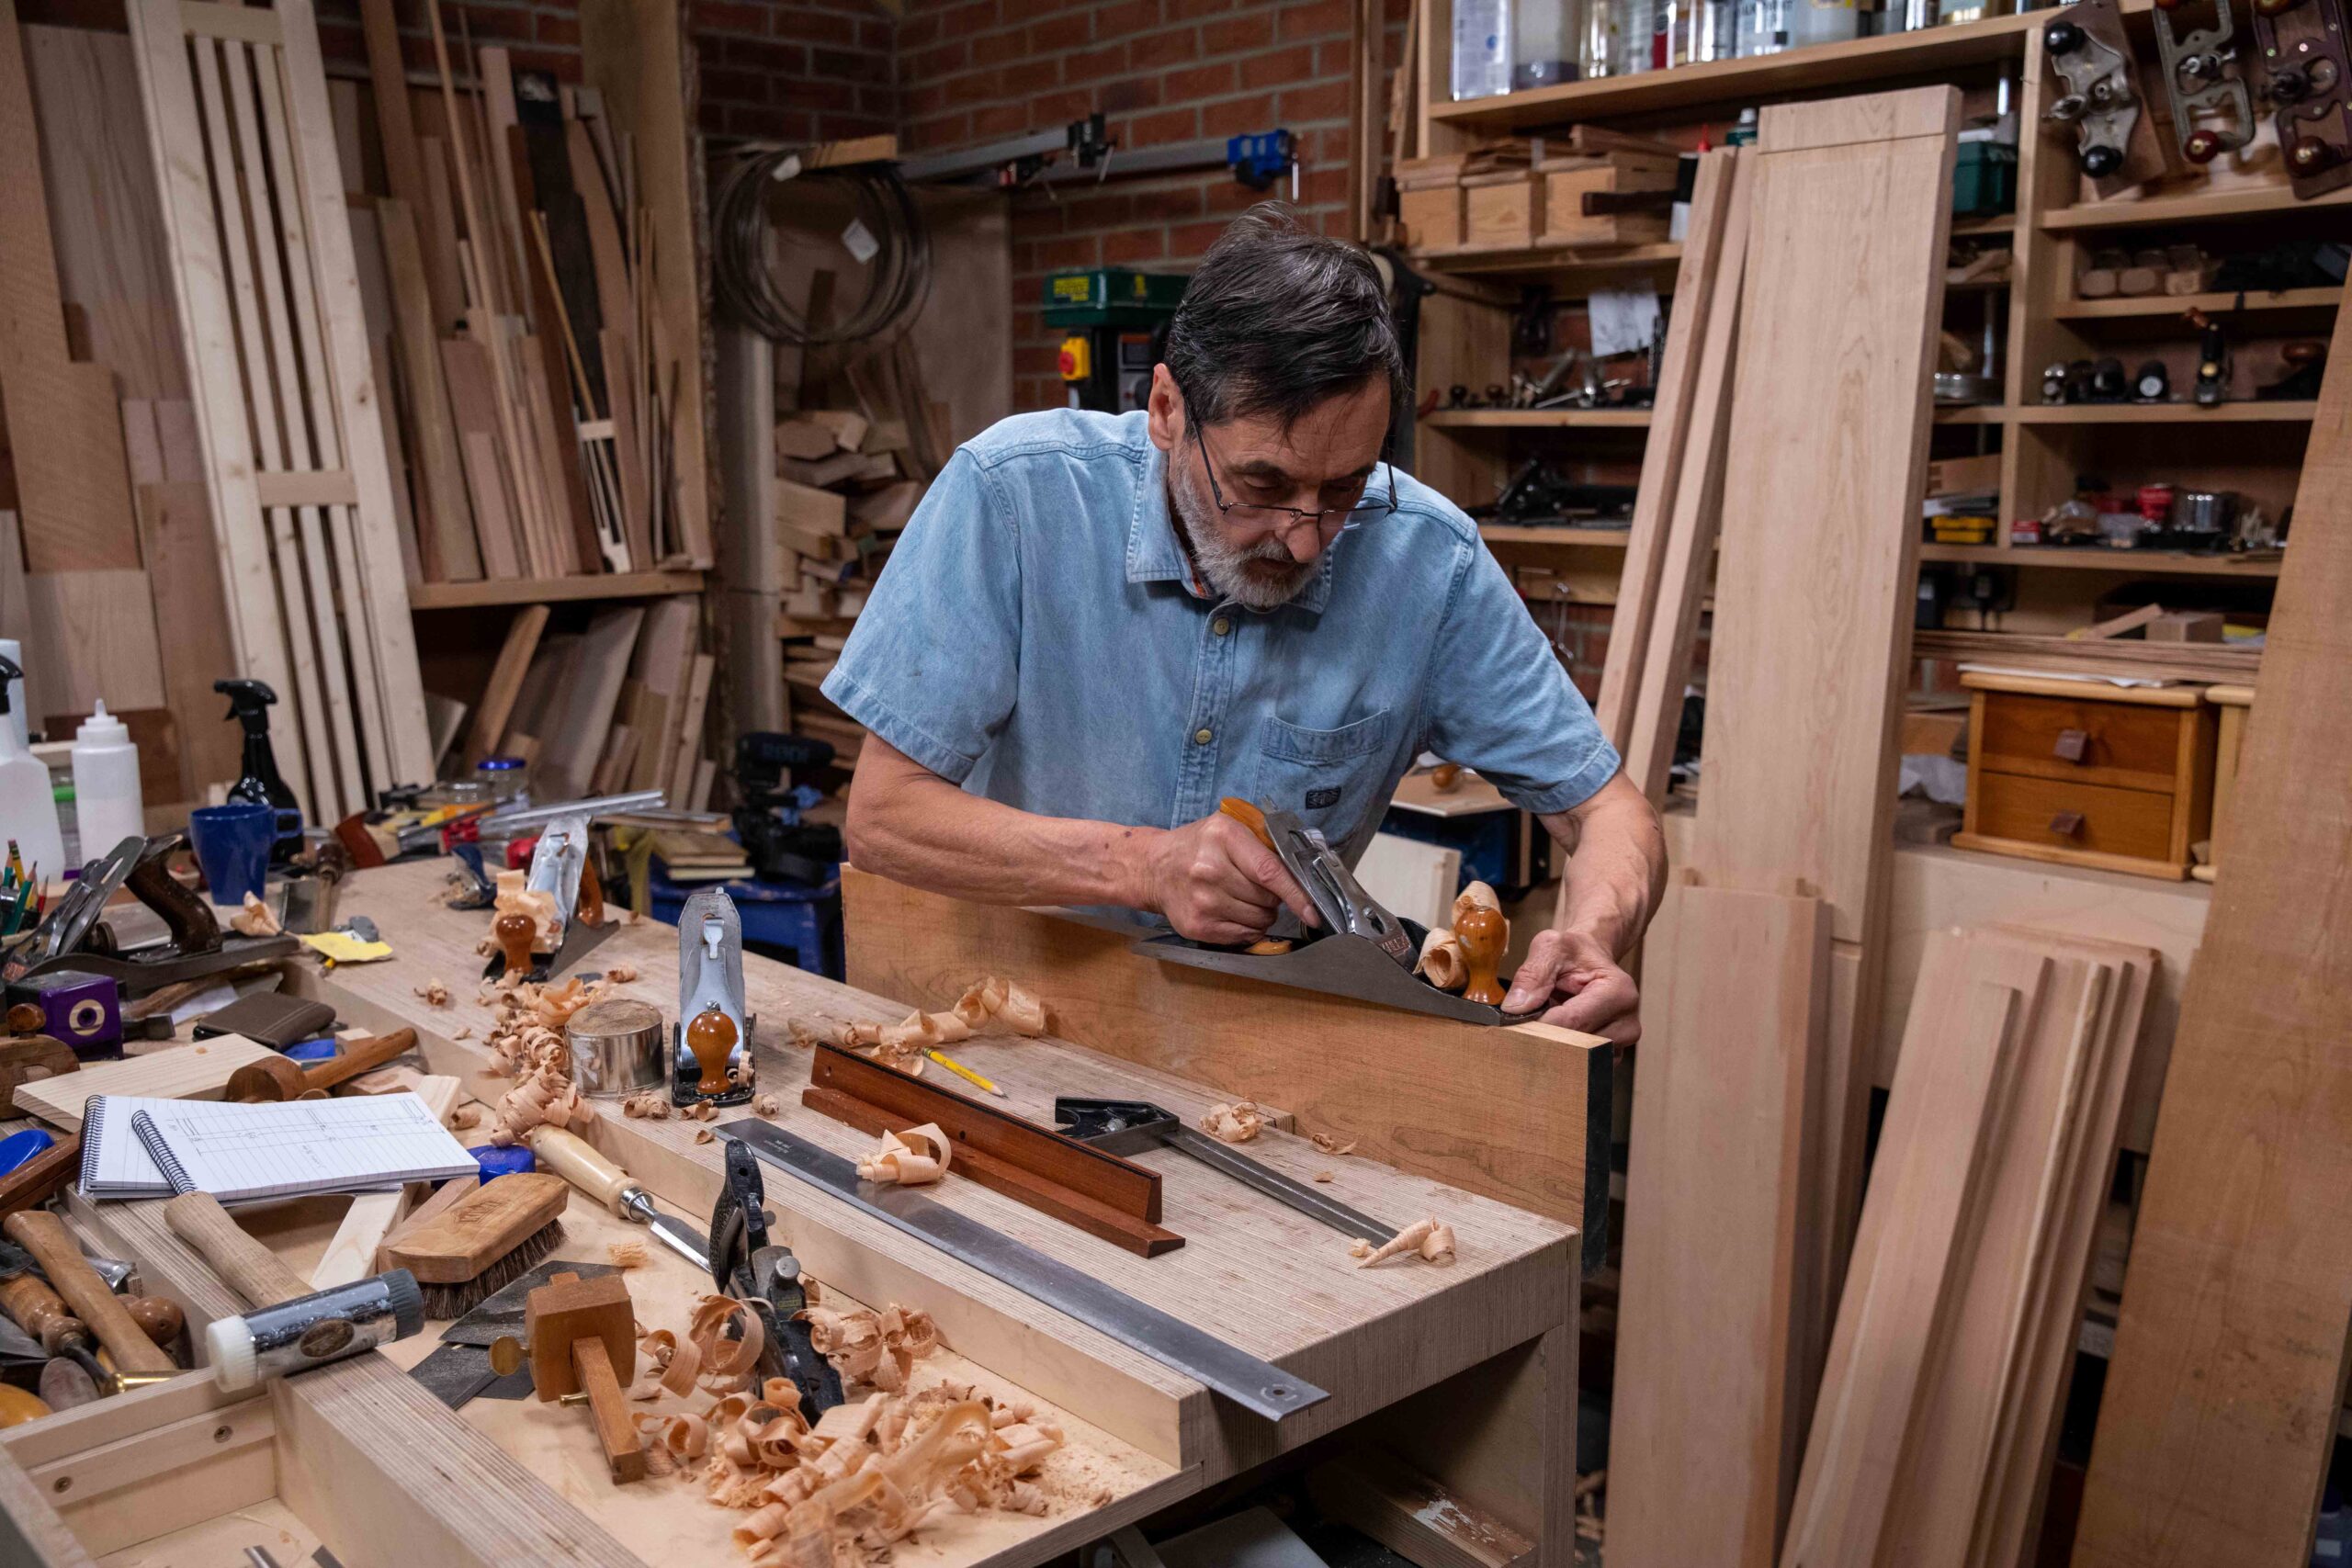
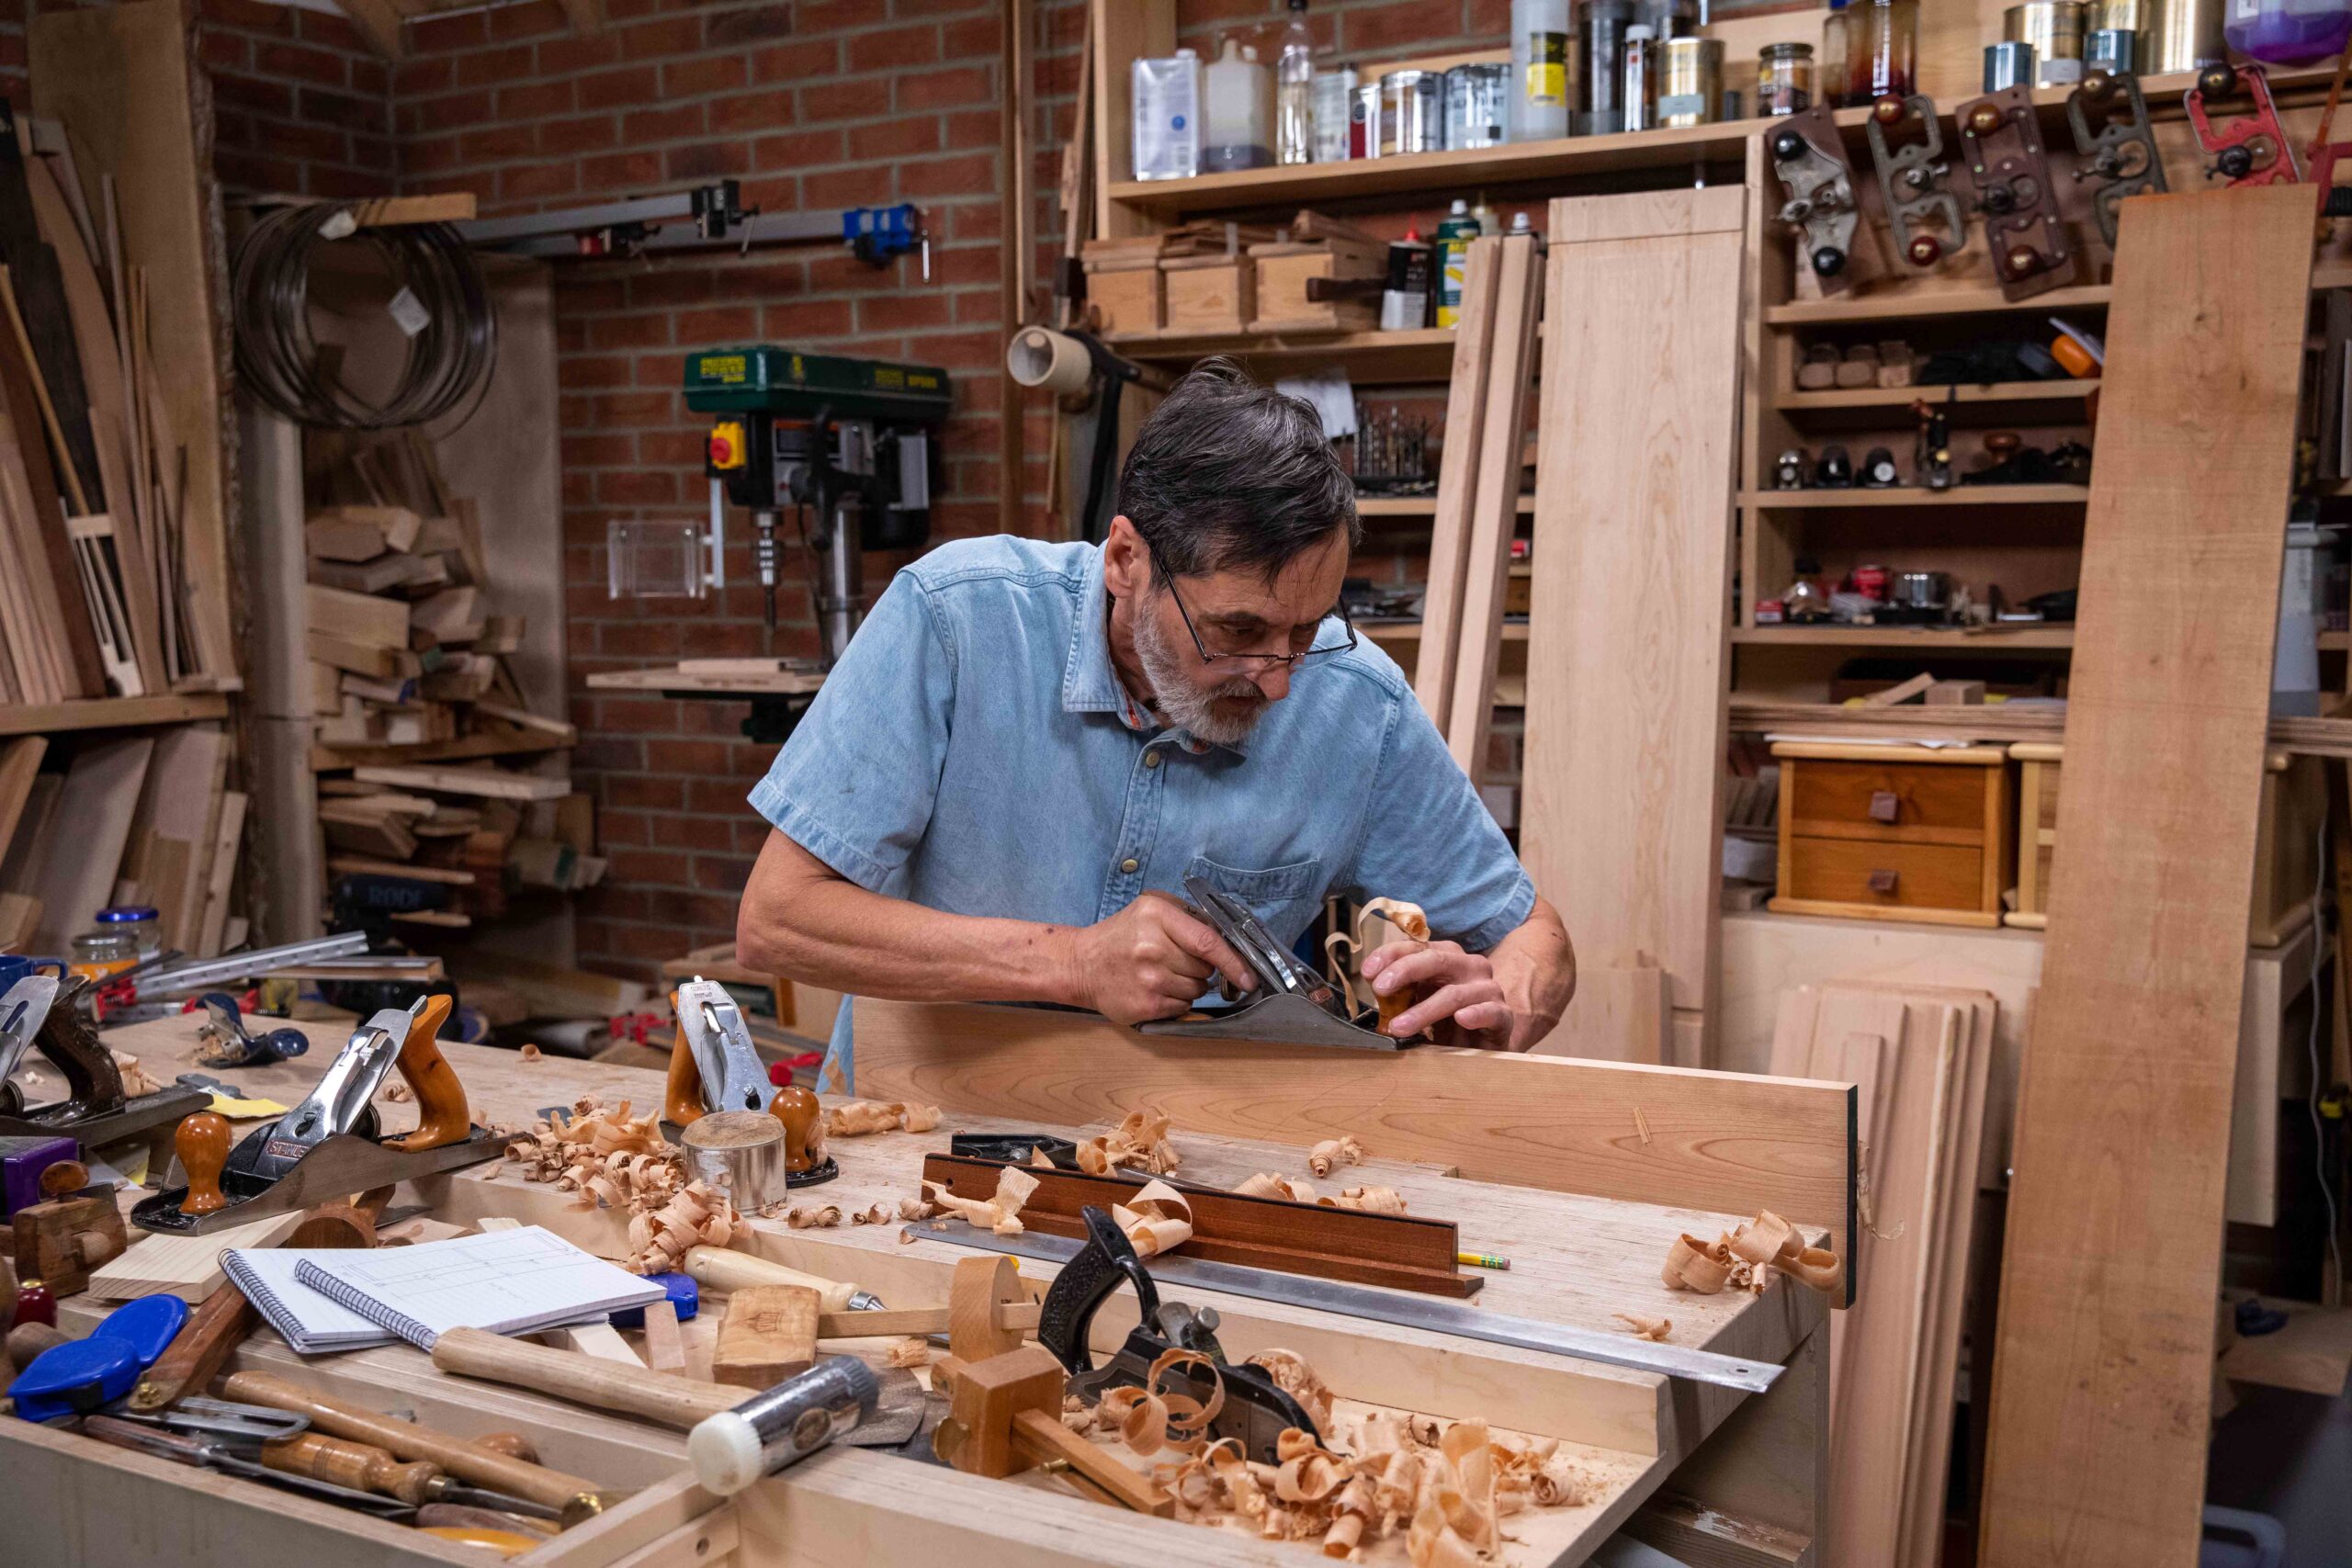
By now you will have removed any twist, cup and bow from this whole surface. That being so, use one of three planes to conclude the flattening process. You can use the #4 smoothing plane, as I am doing here, or the #5 or #5 1/2 jack plane. The surface of your board will feel like glass now.
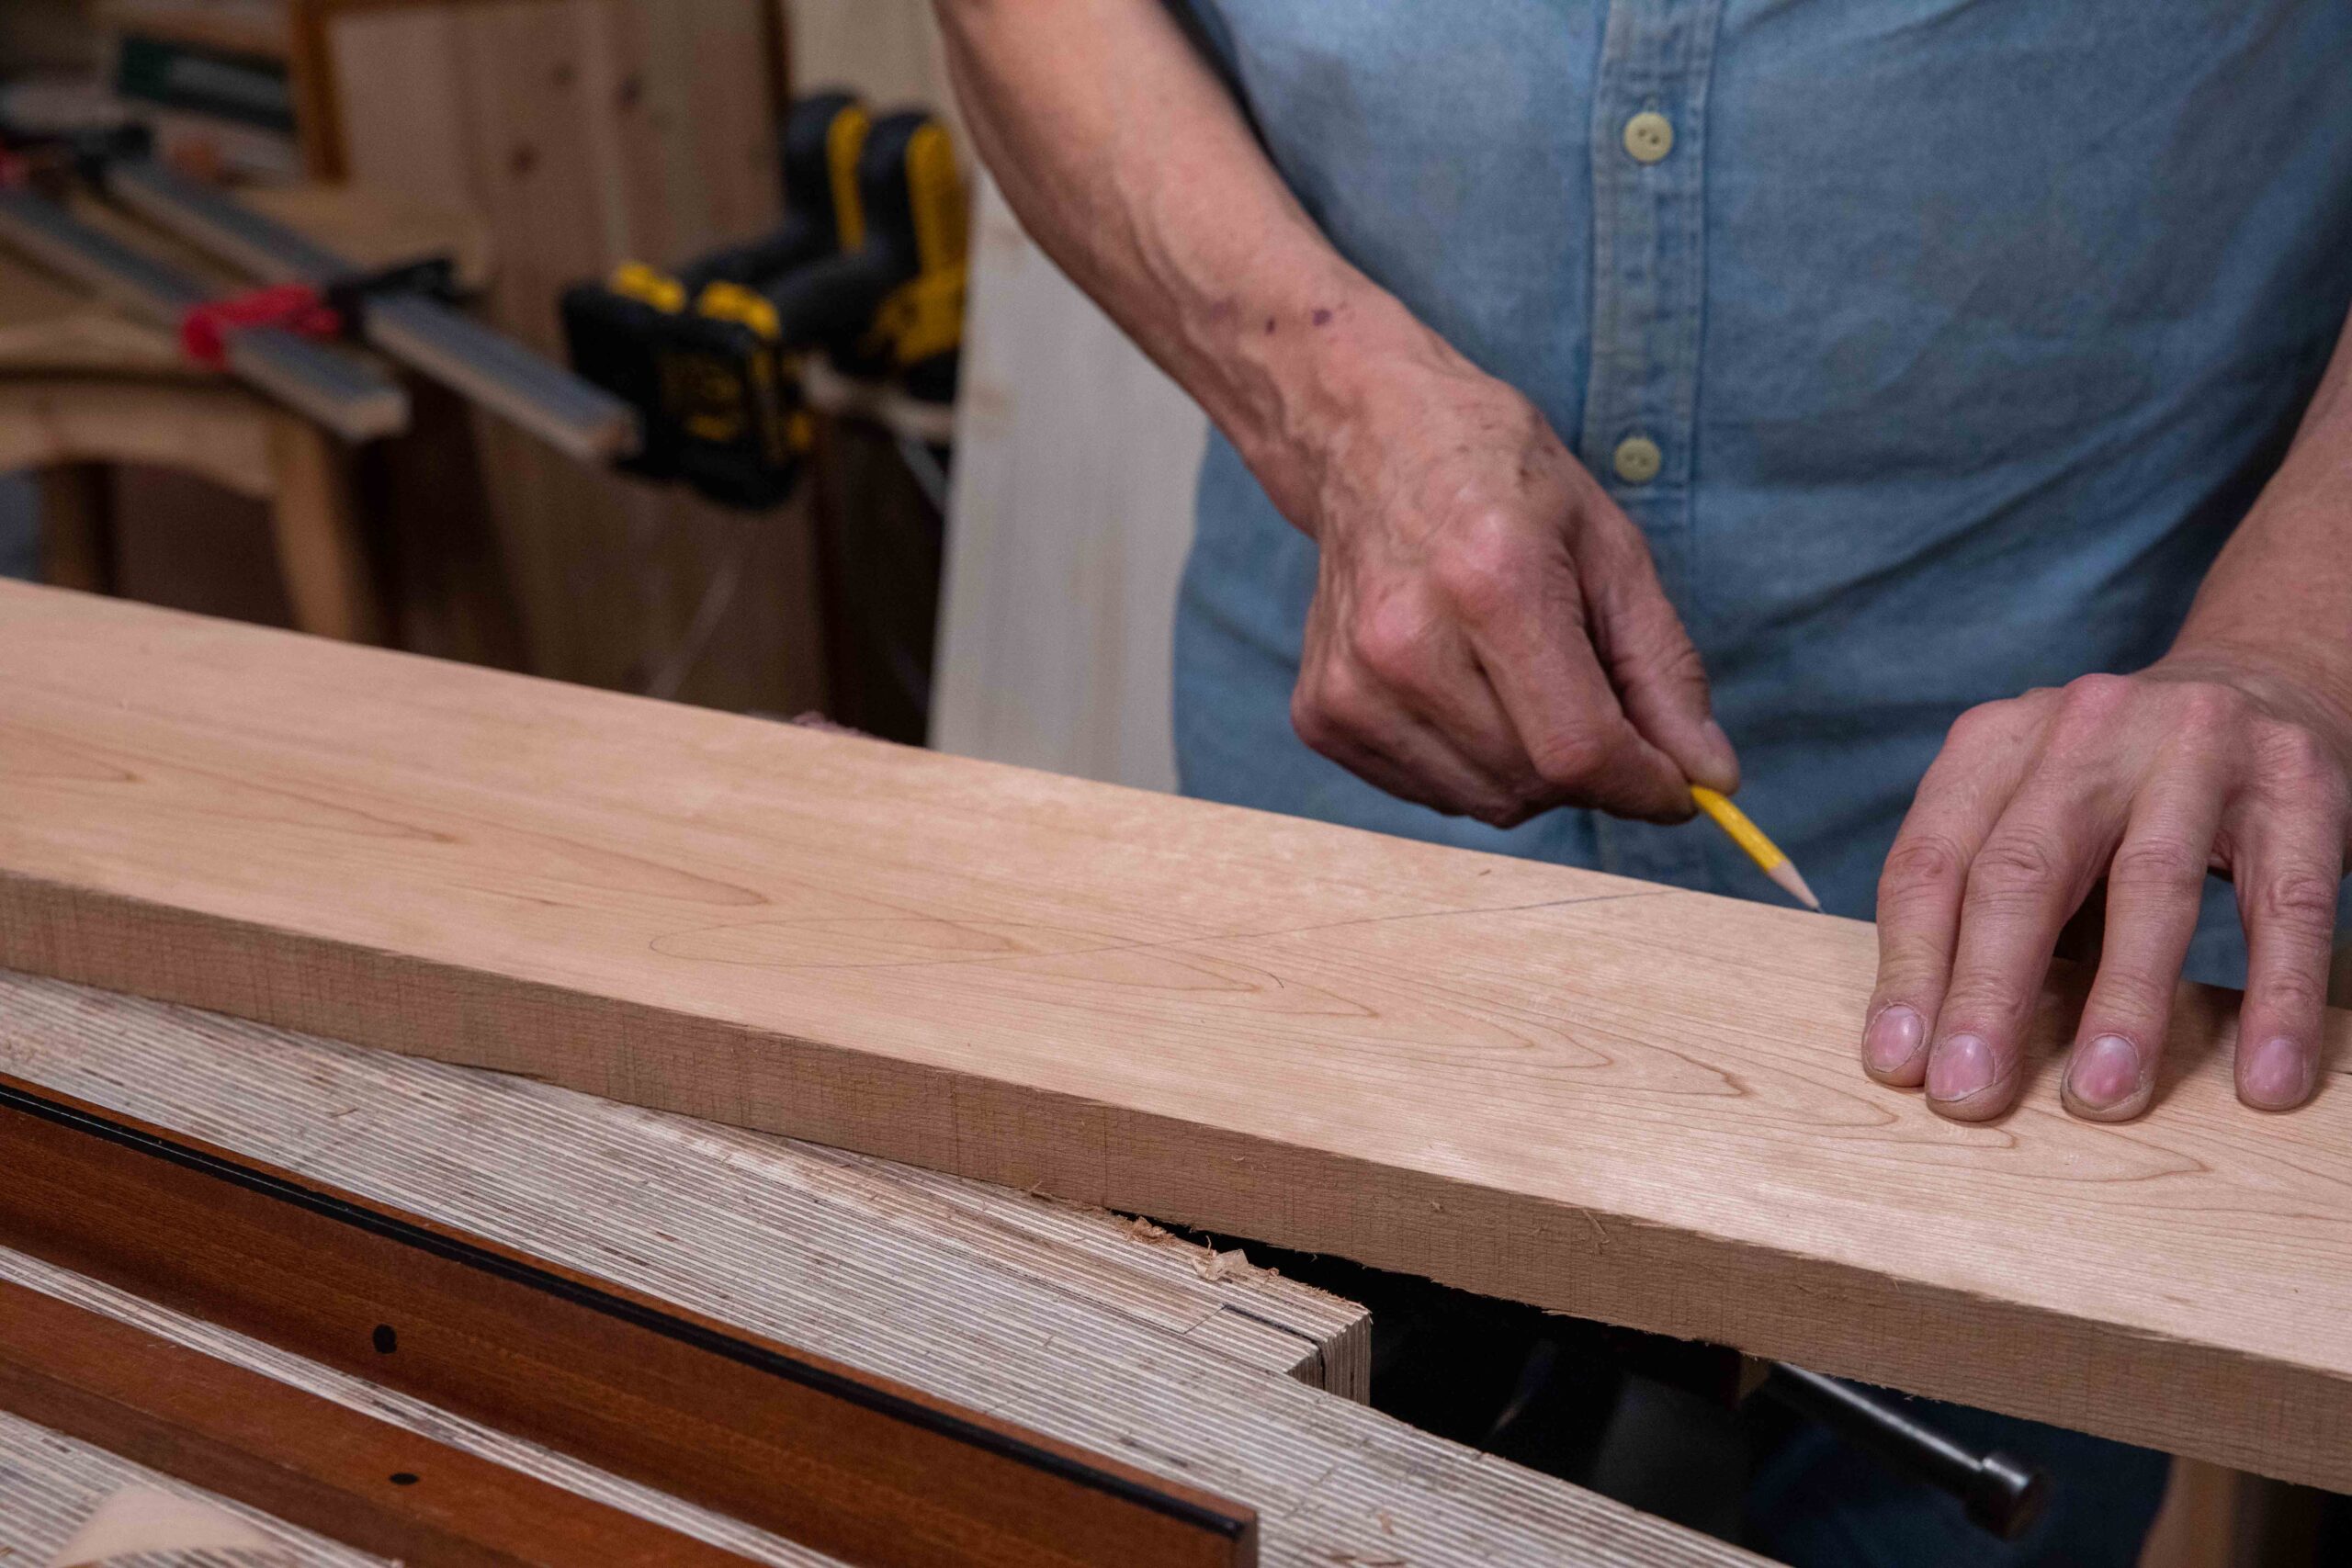
You now have a truly flat surface that you will identify with a face mark. This is one of two faces or a face and an adjacent edge that you will use always to reference your square or and gauges to.
Now we can focus on an adjacent face or edge. No matter the size of stock, we always mark a primary face with a face mark as shown above. This is a cursive letter 'f' and the lower art f the tail always points to the adjacent face to be trued and used as a secondary reference face in all layout from here on. We must now true this face-edge.
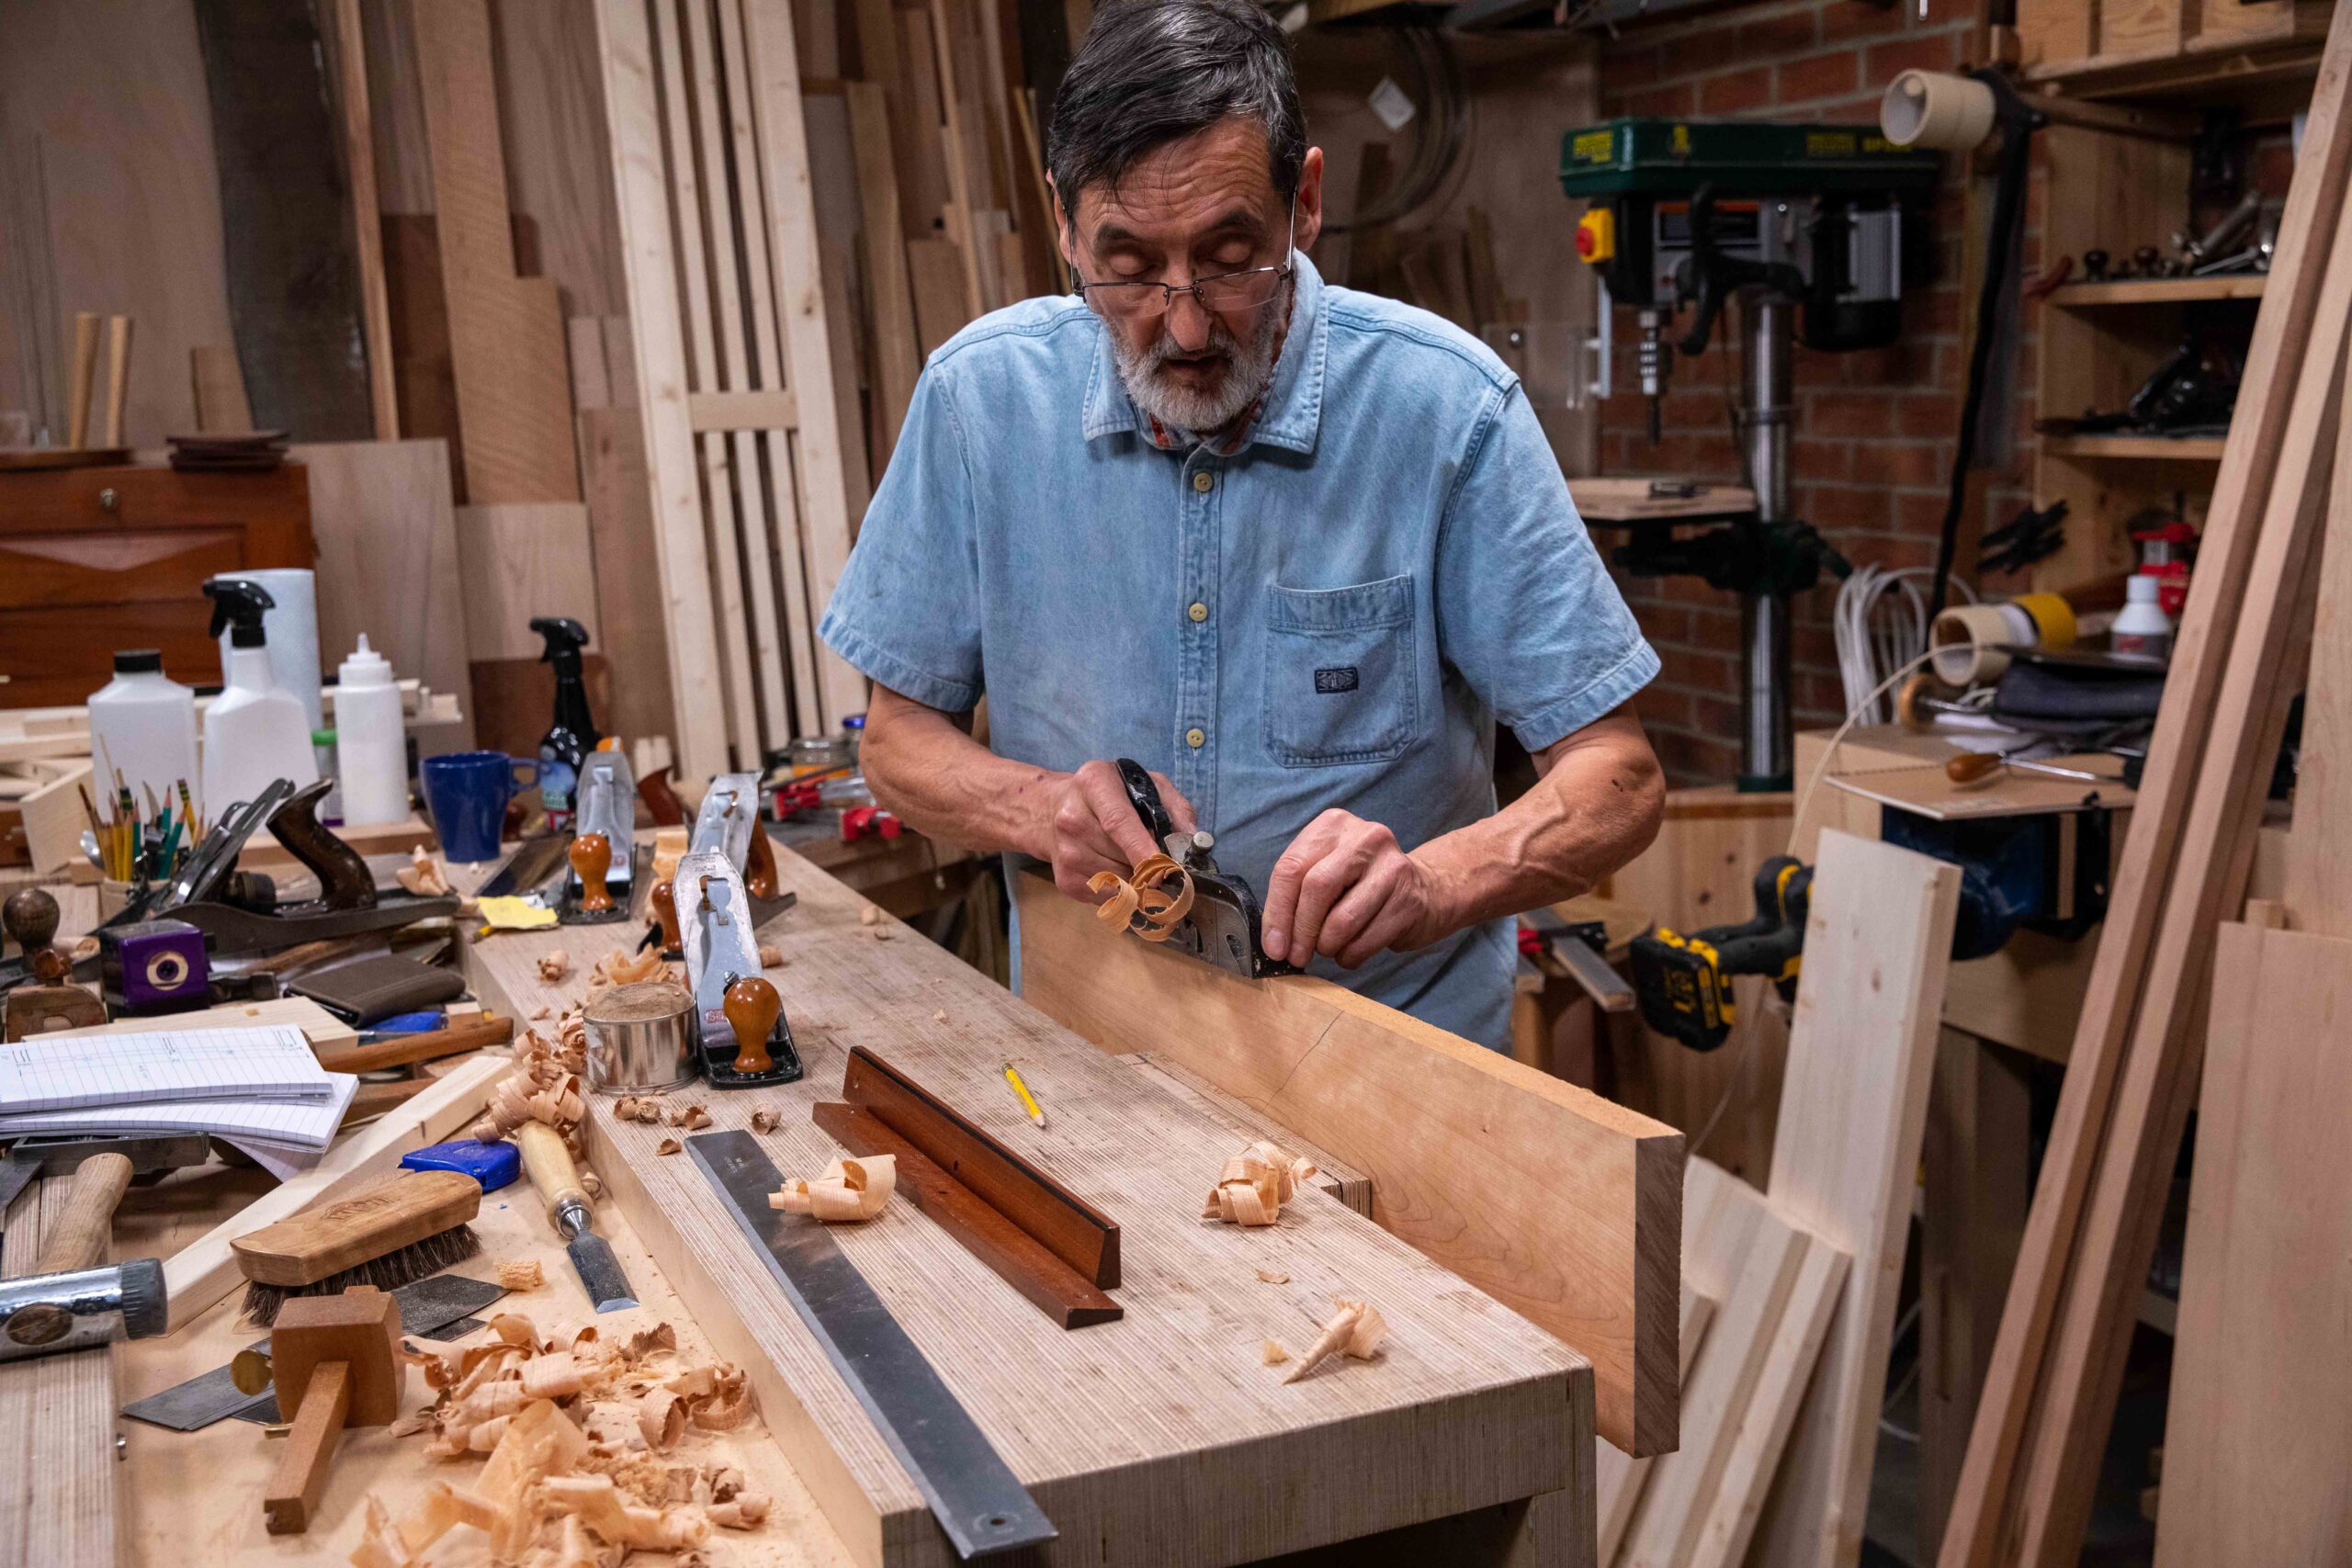
I still use the #78 even for the narrower edges. It removes bandsaw roughness in a heartbeat and makes subsequent planing with my #4 scrub or my jack plane so much easier and the subsequent straightening and squaring work goes quickly too.
Here (below) I have switched to my lesser-radiused #4 scrub plane to further refine the edge.
Its an amazing thing even now to feel that sense of accomplishment in a finished planing job like this. Remember I have done this thousands upon thousands of times over the past 56 years.It never grows old!
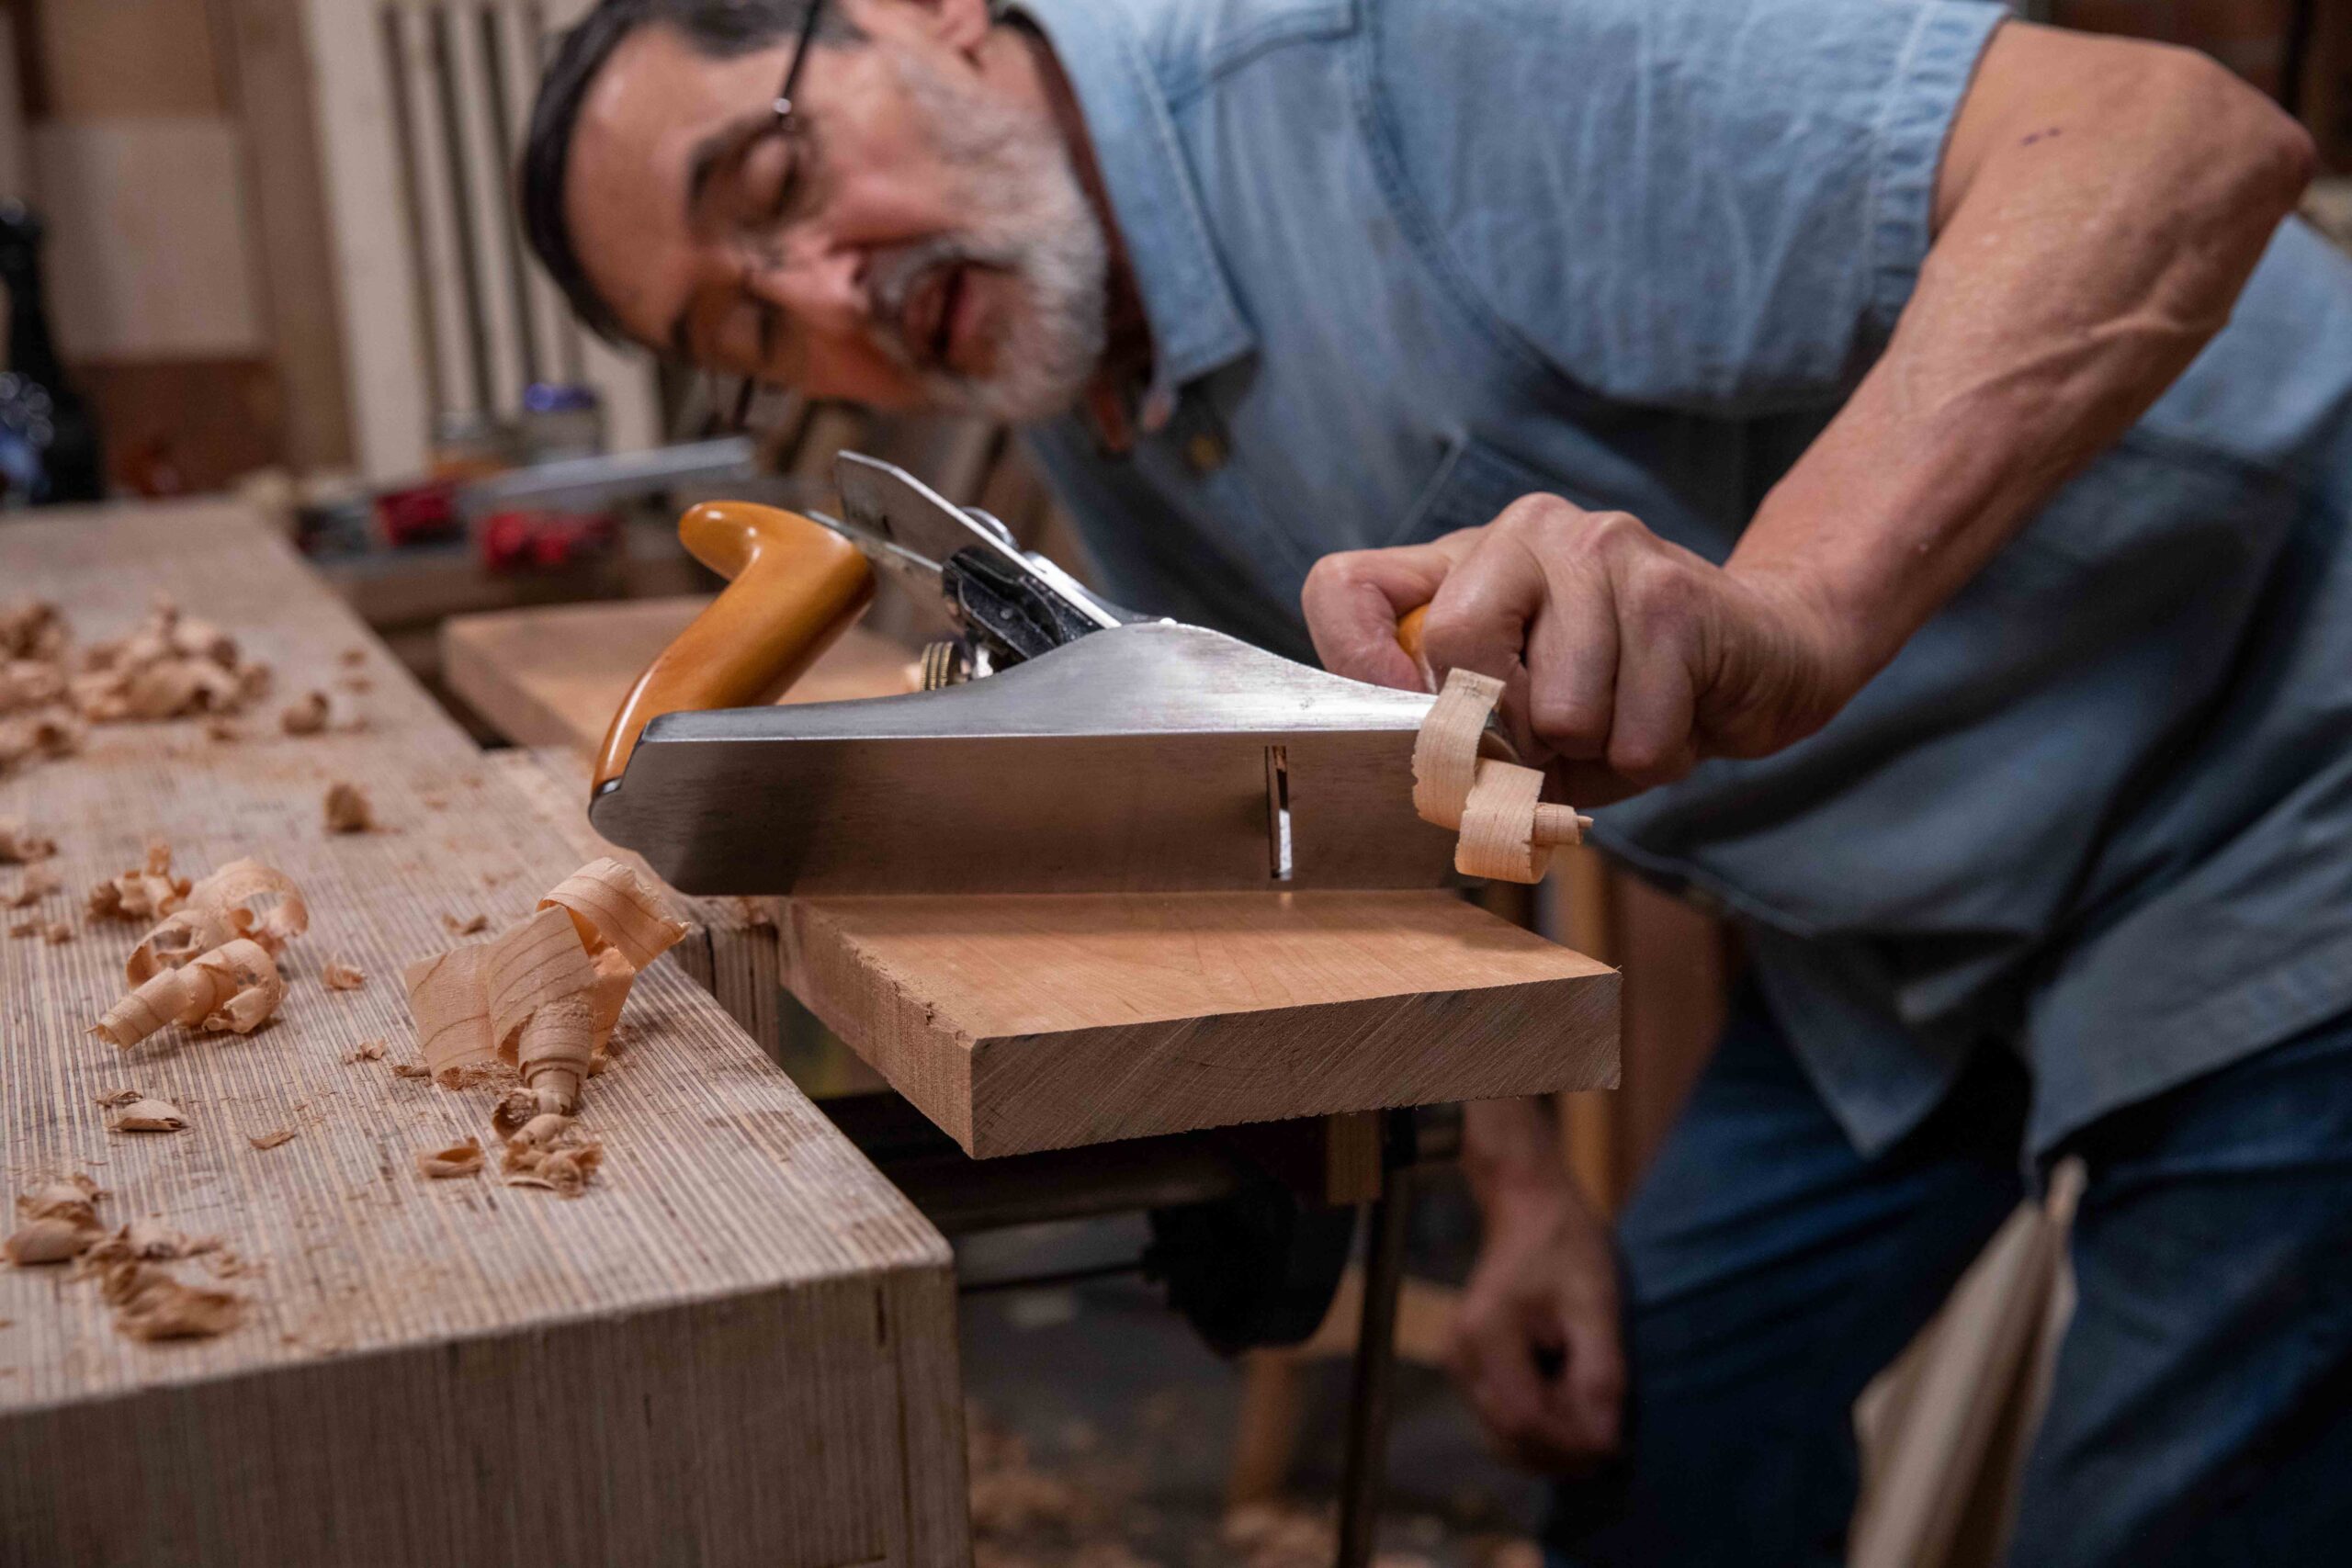
Here I have decided to follow on with a longer plane, the #5 Jack plane. This does not have a curved iron installed but you can use a #4 scrub iron in a #5 jack if you want to or need to for a slightly heavier performance.
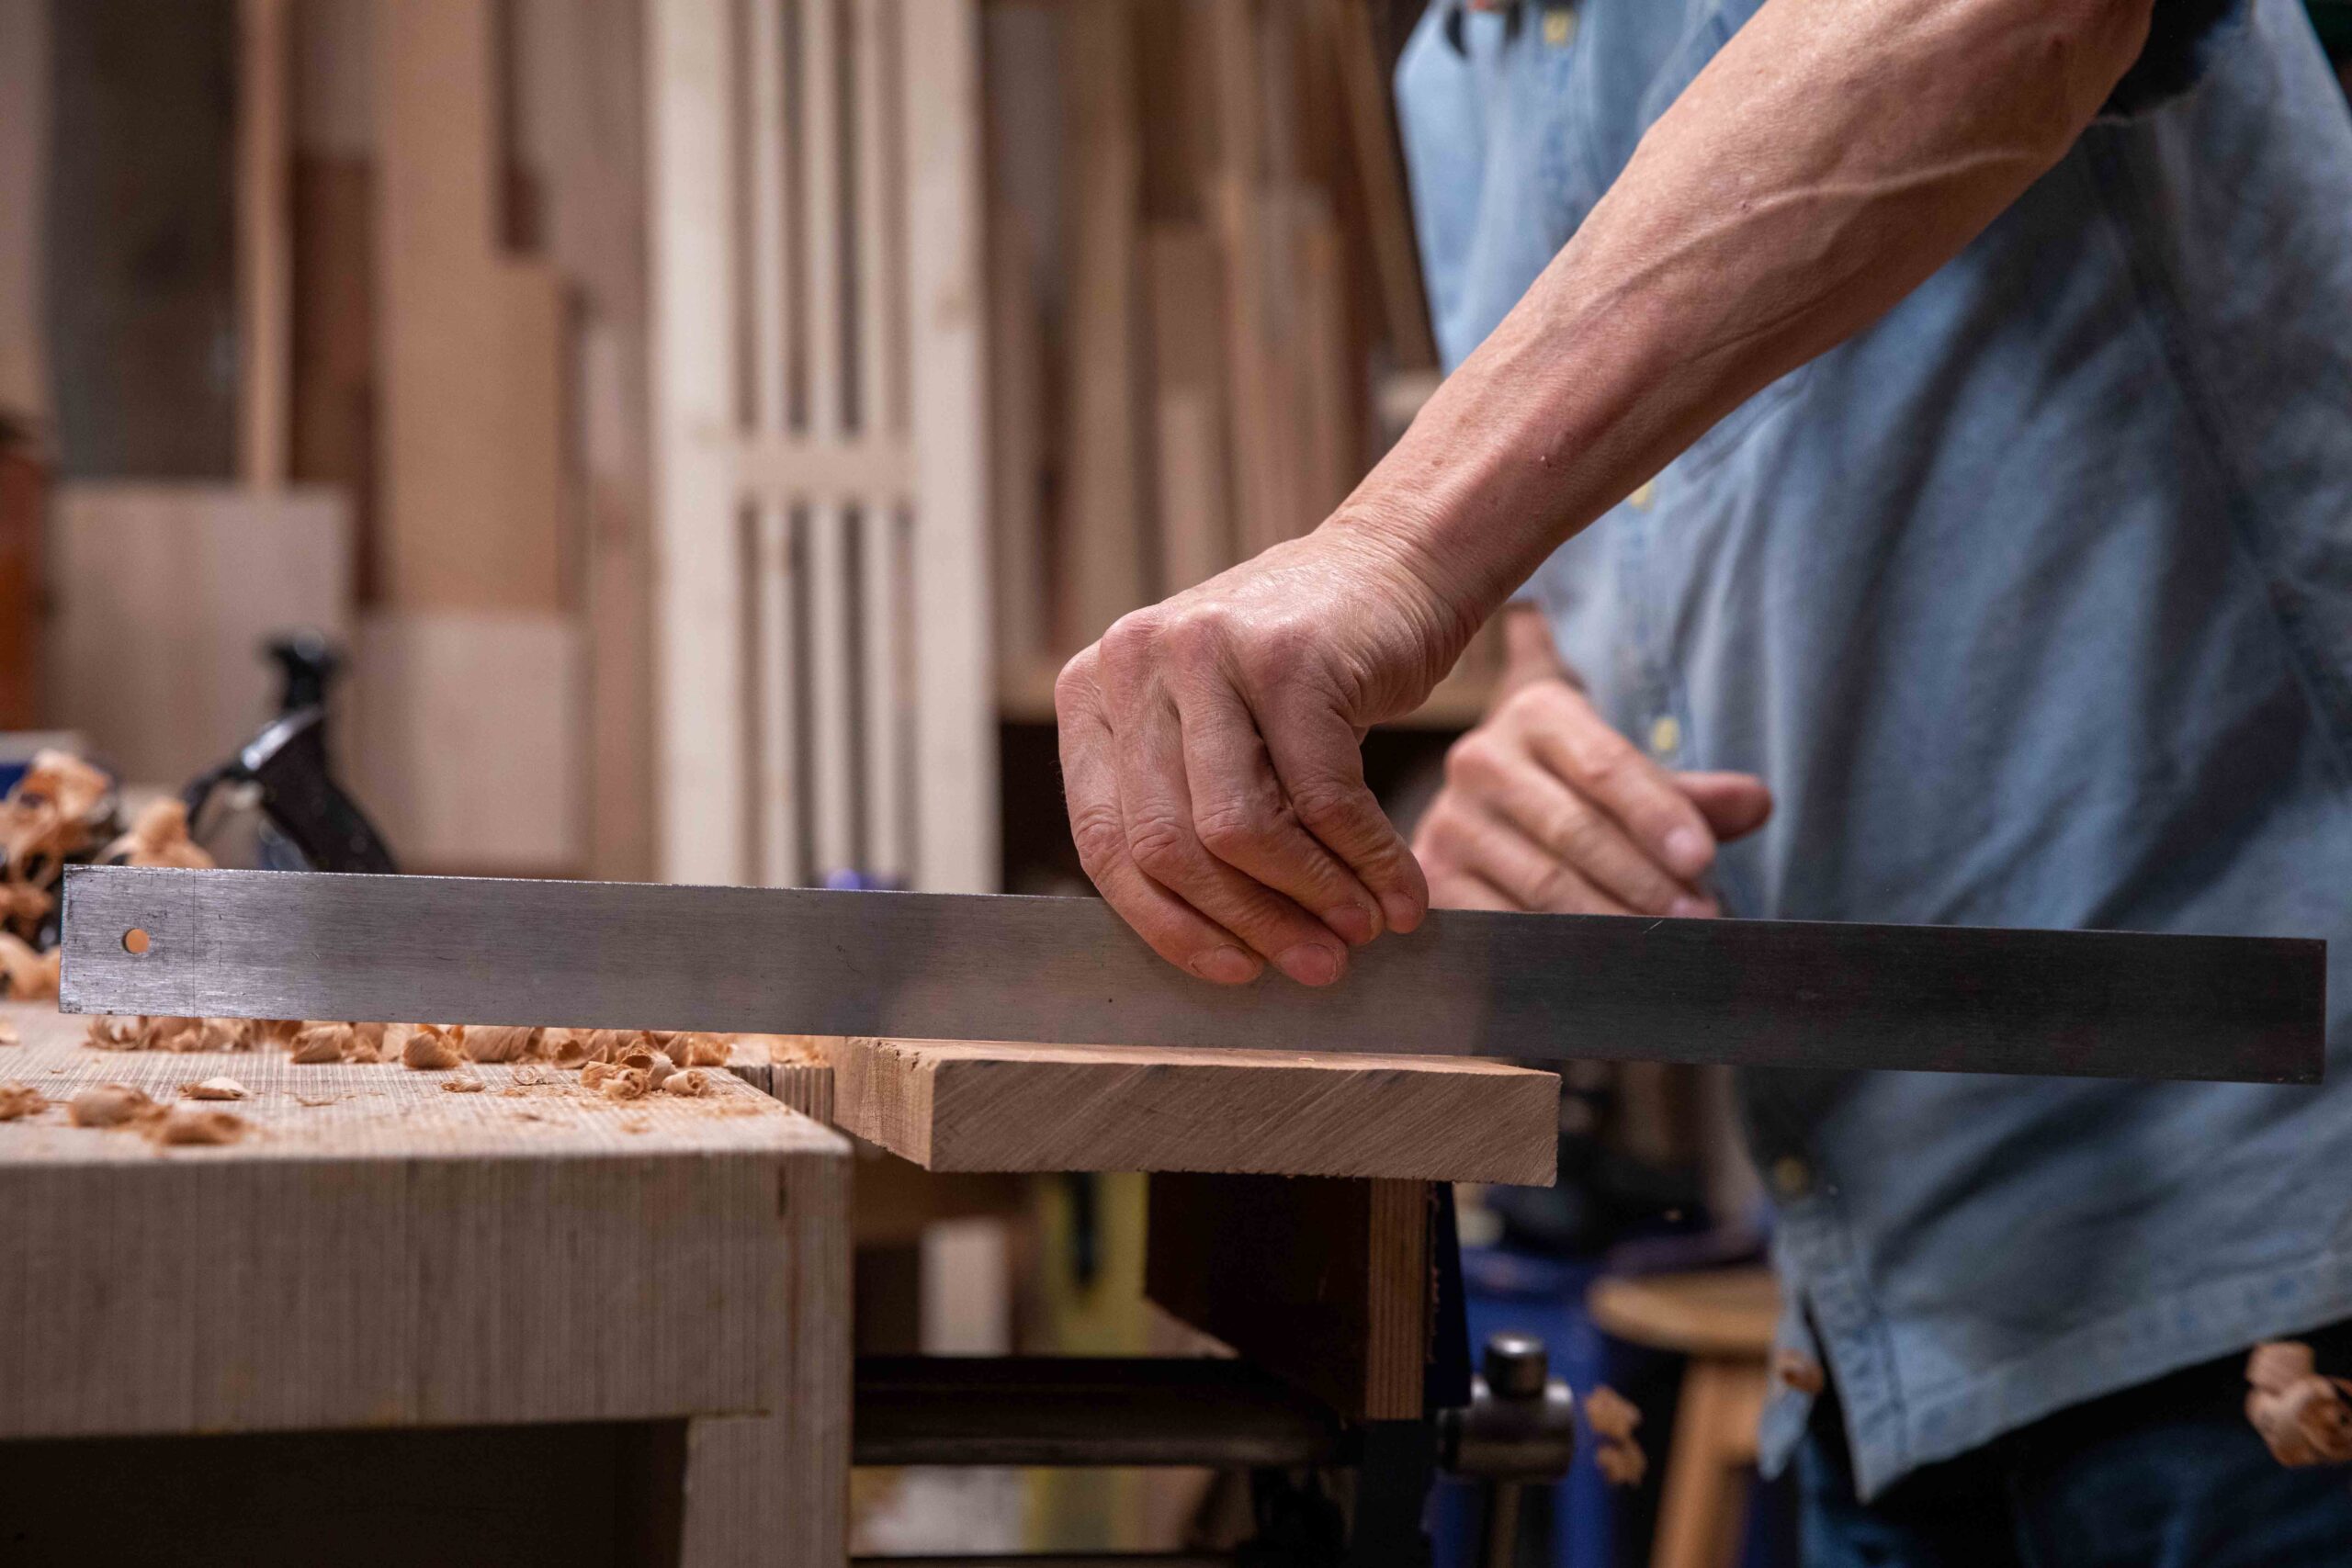
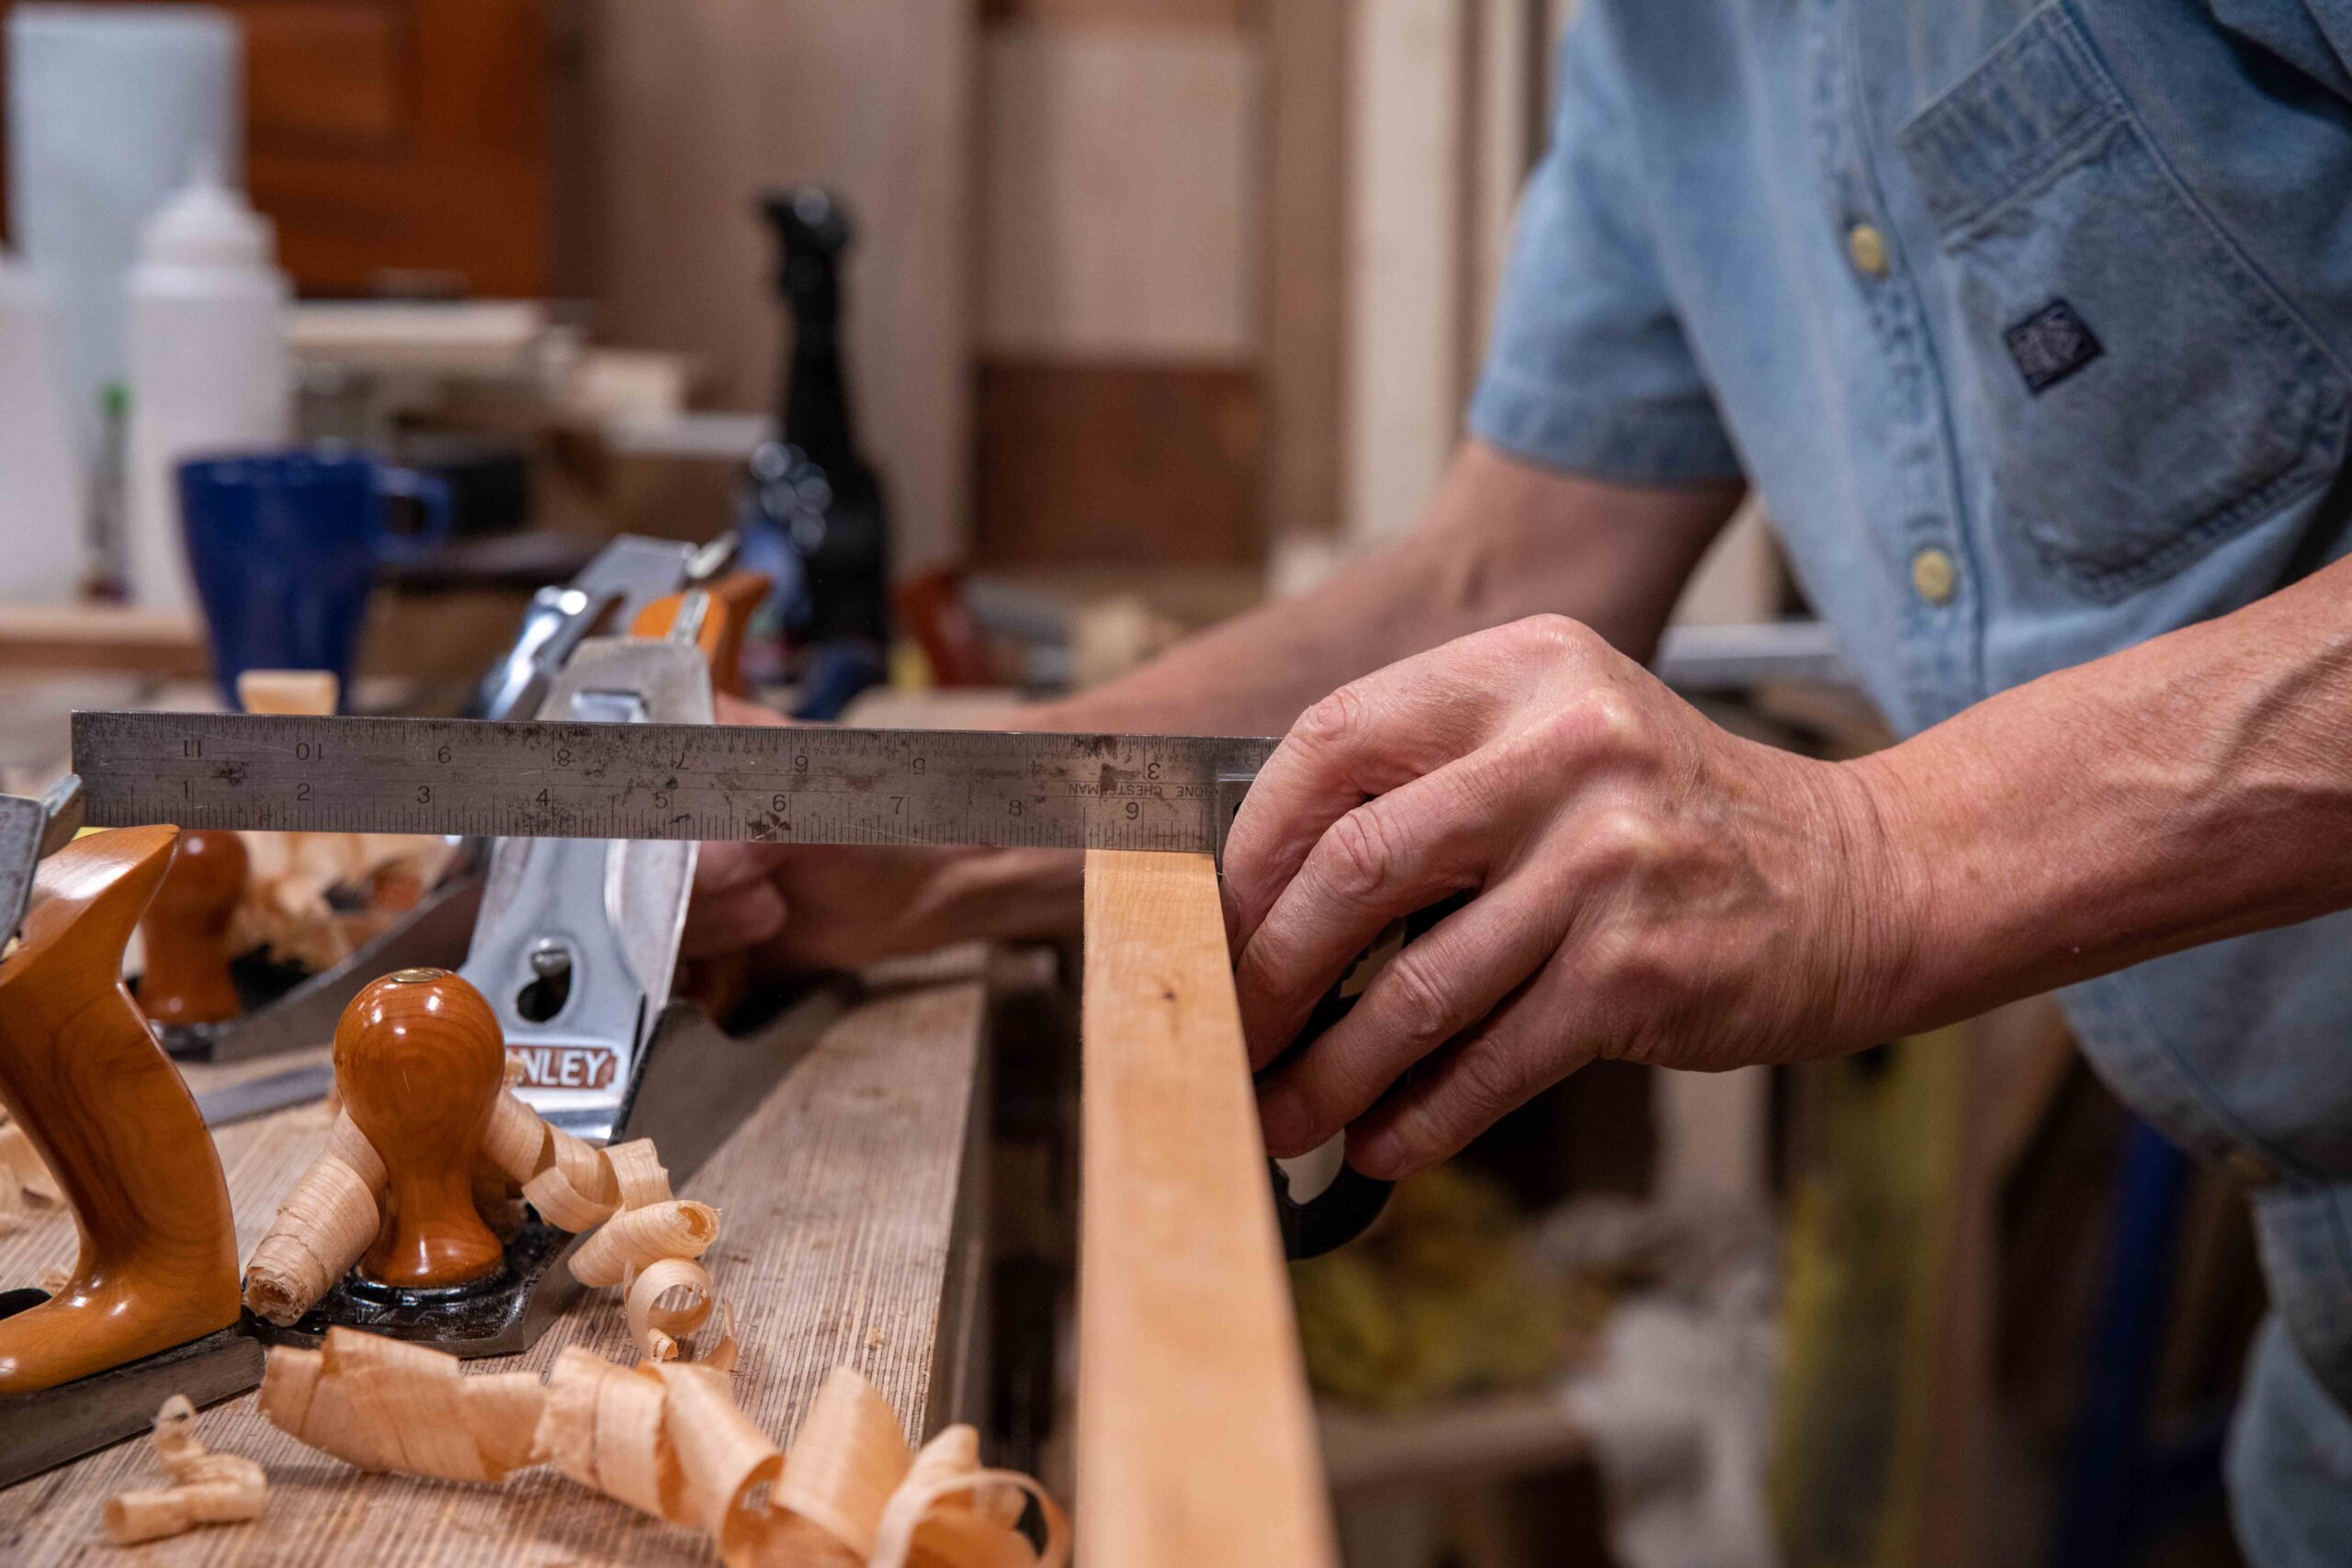
Once this is concluded I use the square to check for squareness along the length. Sometimes, less today than ever, I need to correct discrepancies at this point, sometimes not.
I check at different points along the edge just in case I tilted off somewhere a little. For correction I do not tilt the plane but place the plane off centre so that the plane overhangs on the high side and the cutting iron is roughly centred on the outer edge of the edge. This compresses the fibres beneath the plane on that side of the edge and the surface springs up into the cutting iron by a thou' or two. It works!
Once square and sighted for straightness, I apply the identifying face-edge mark.
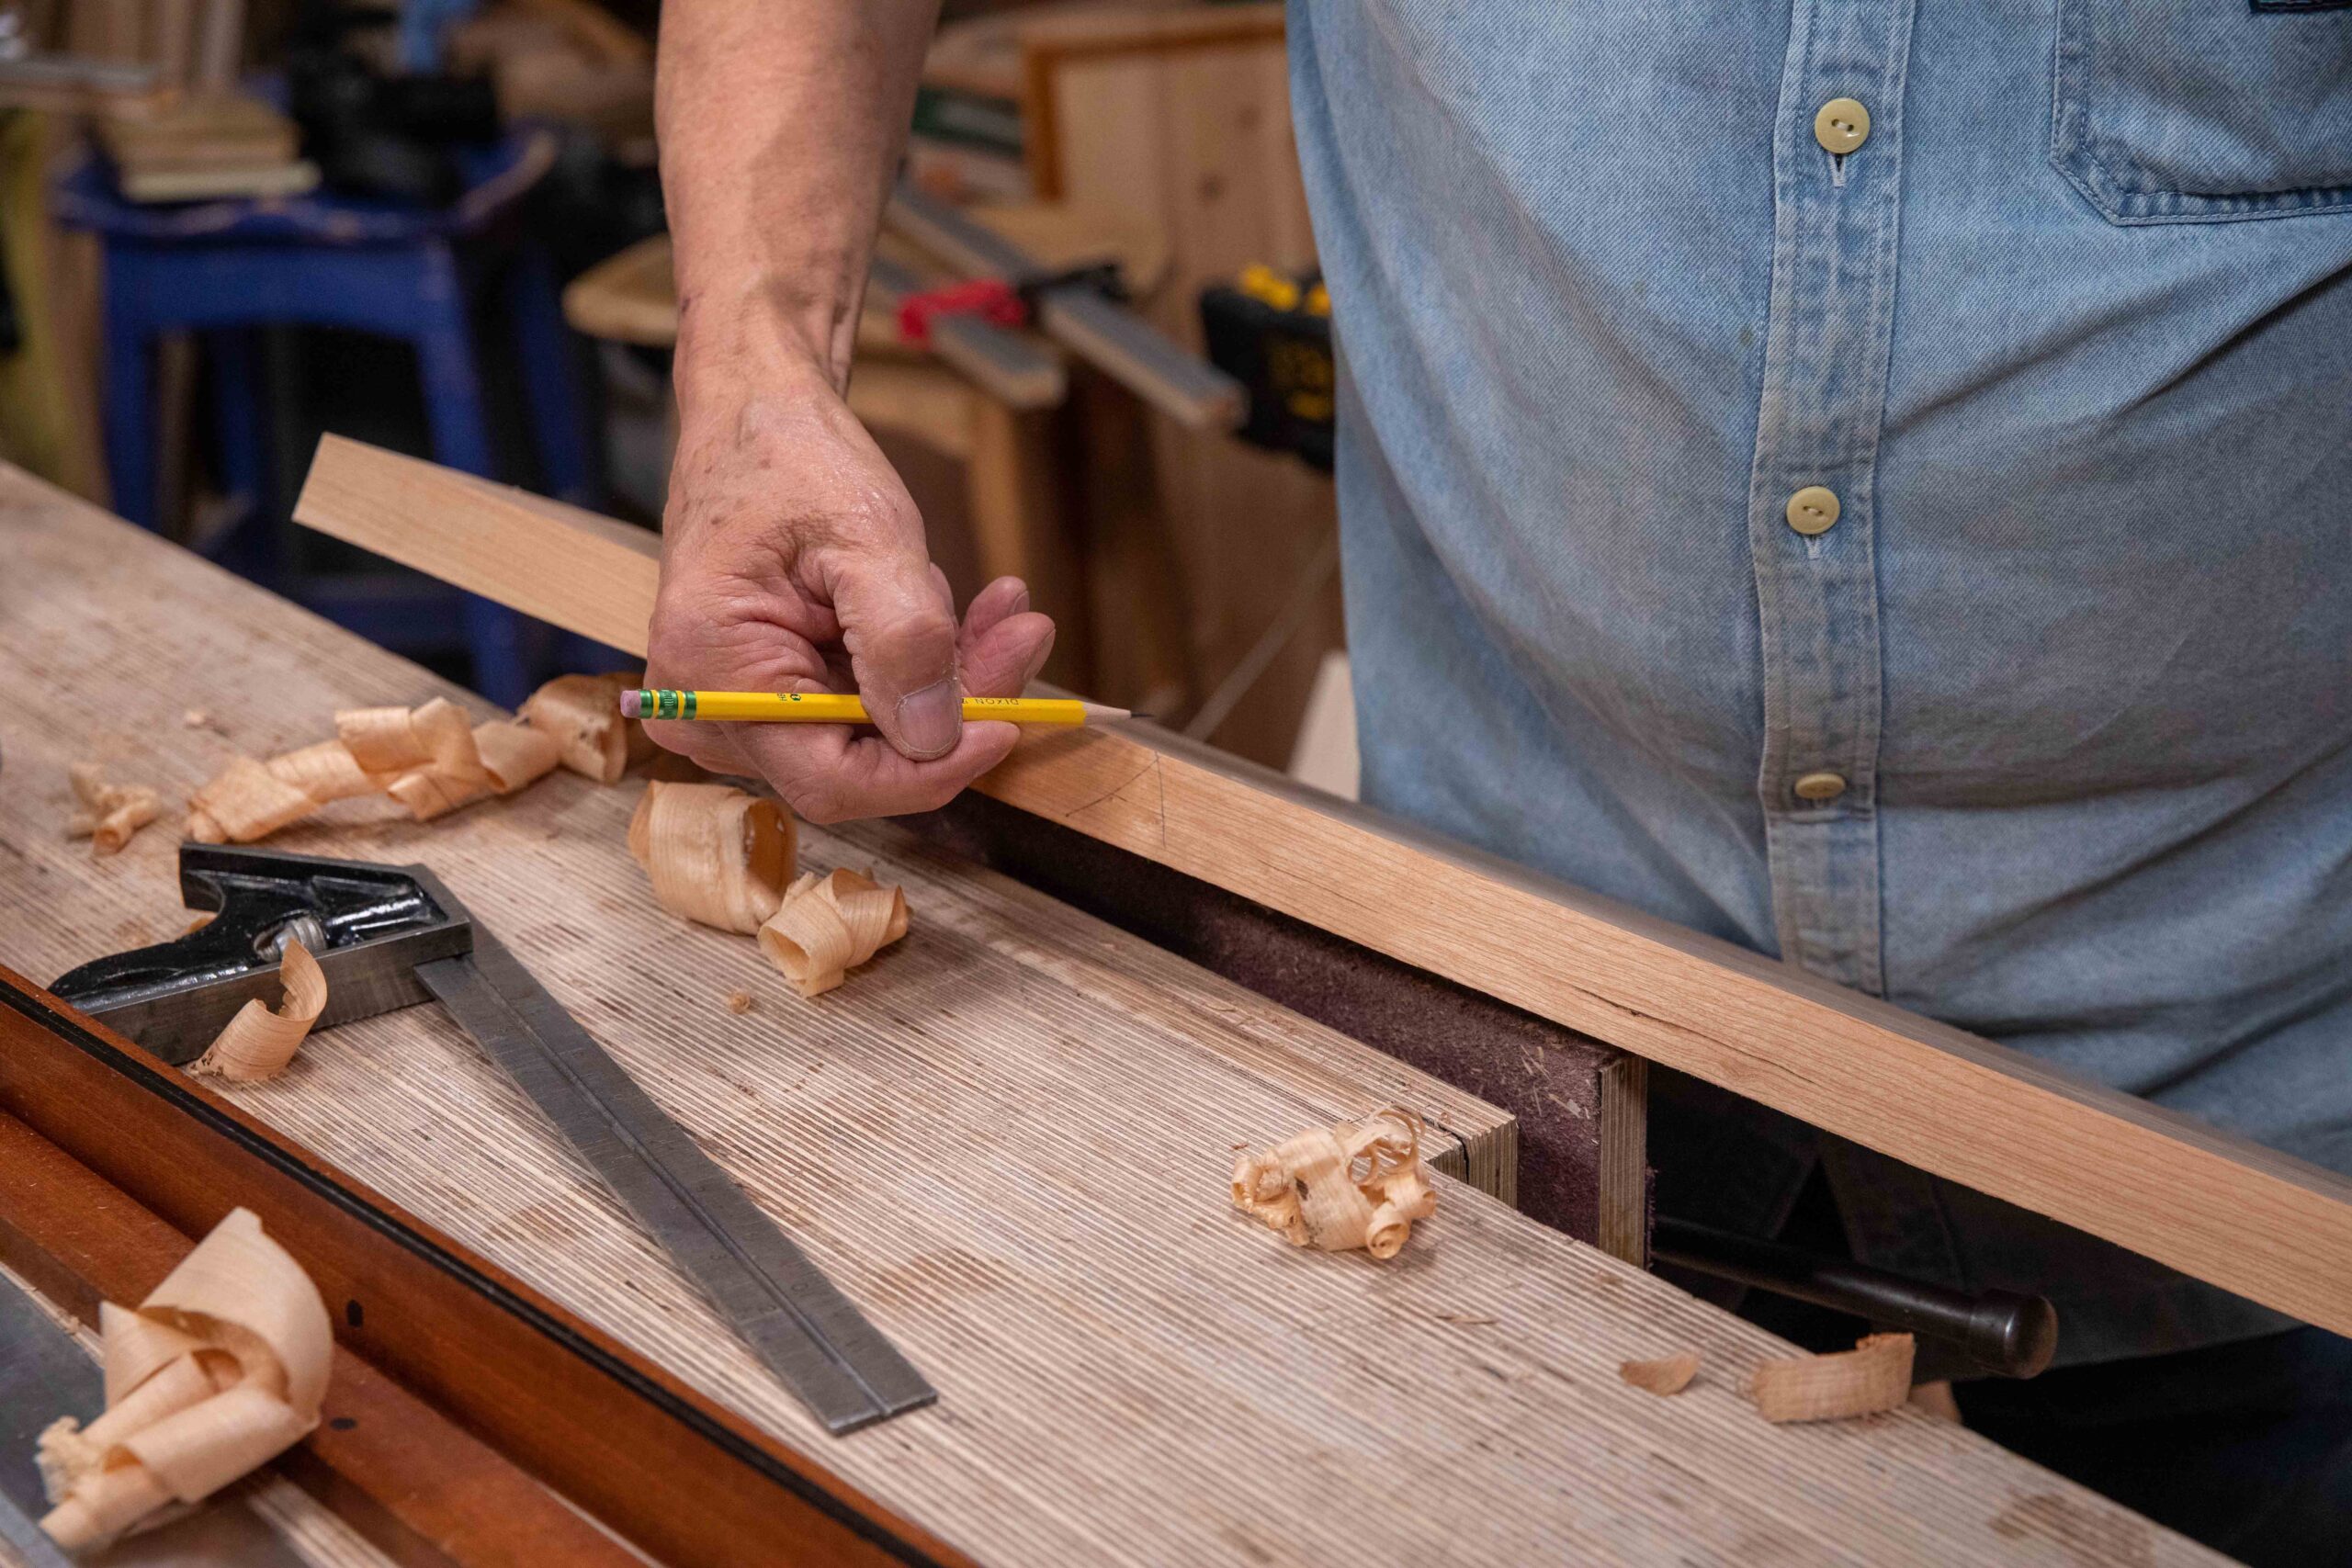
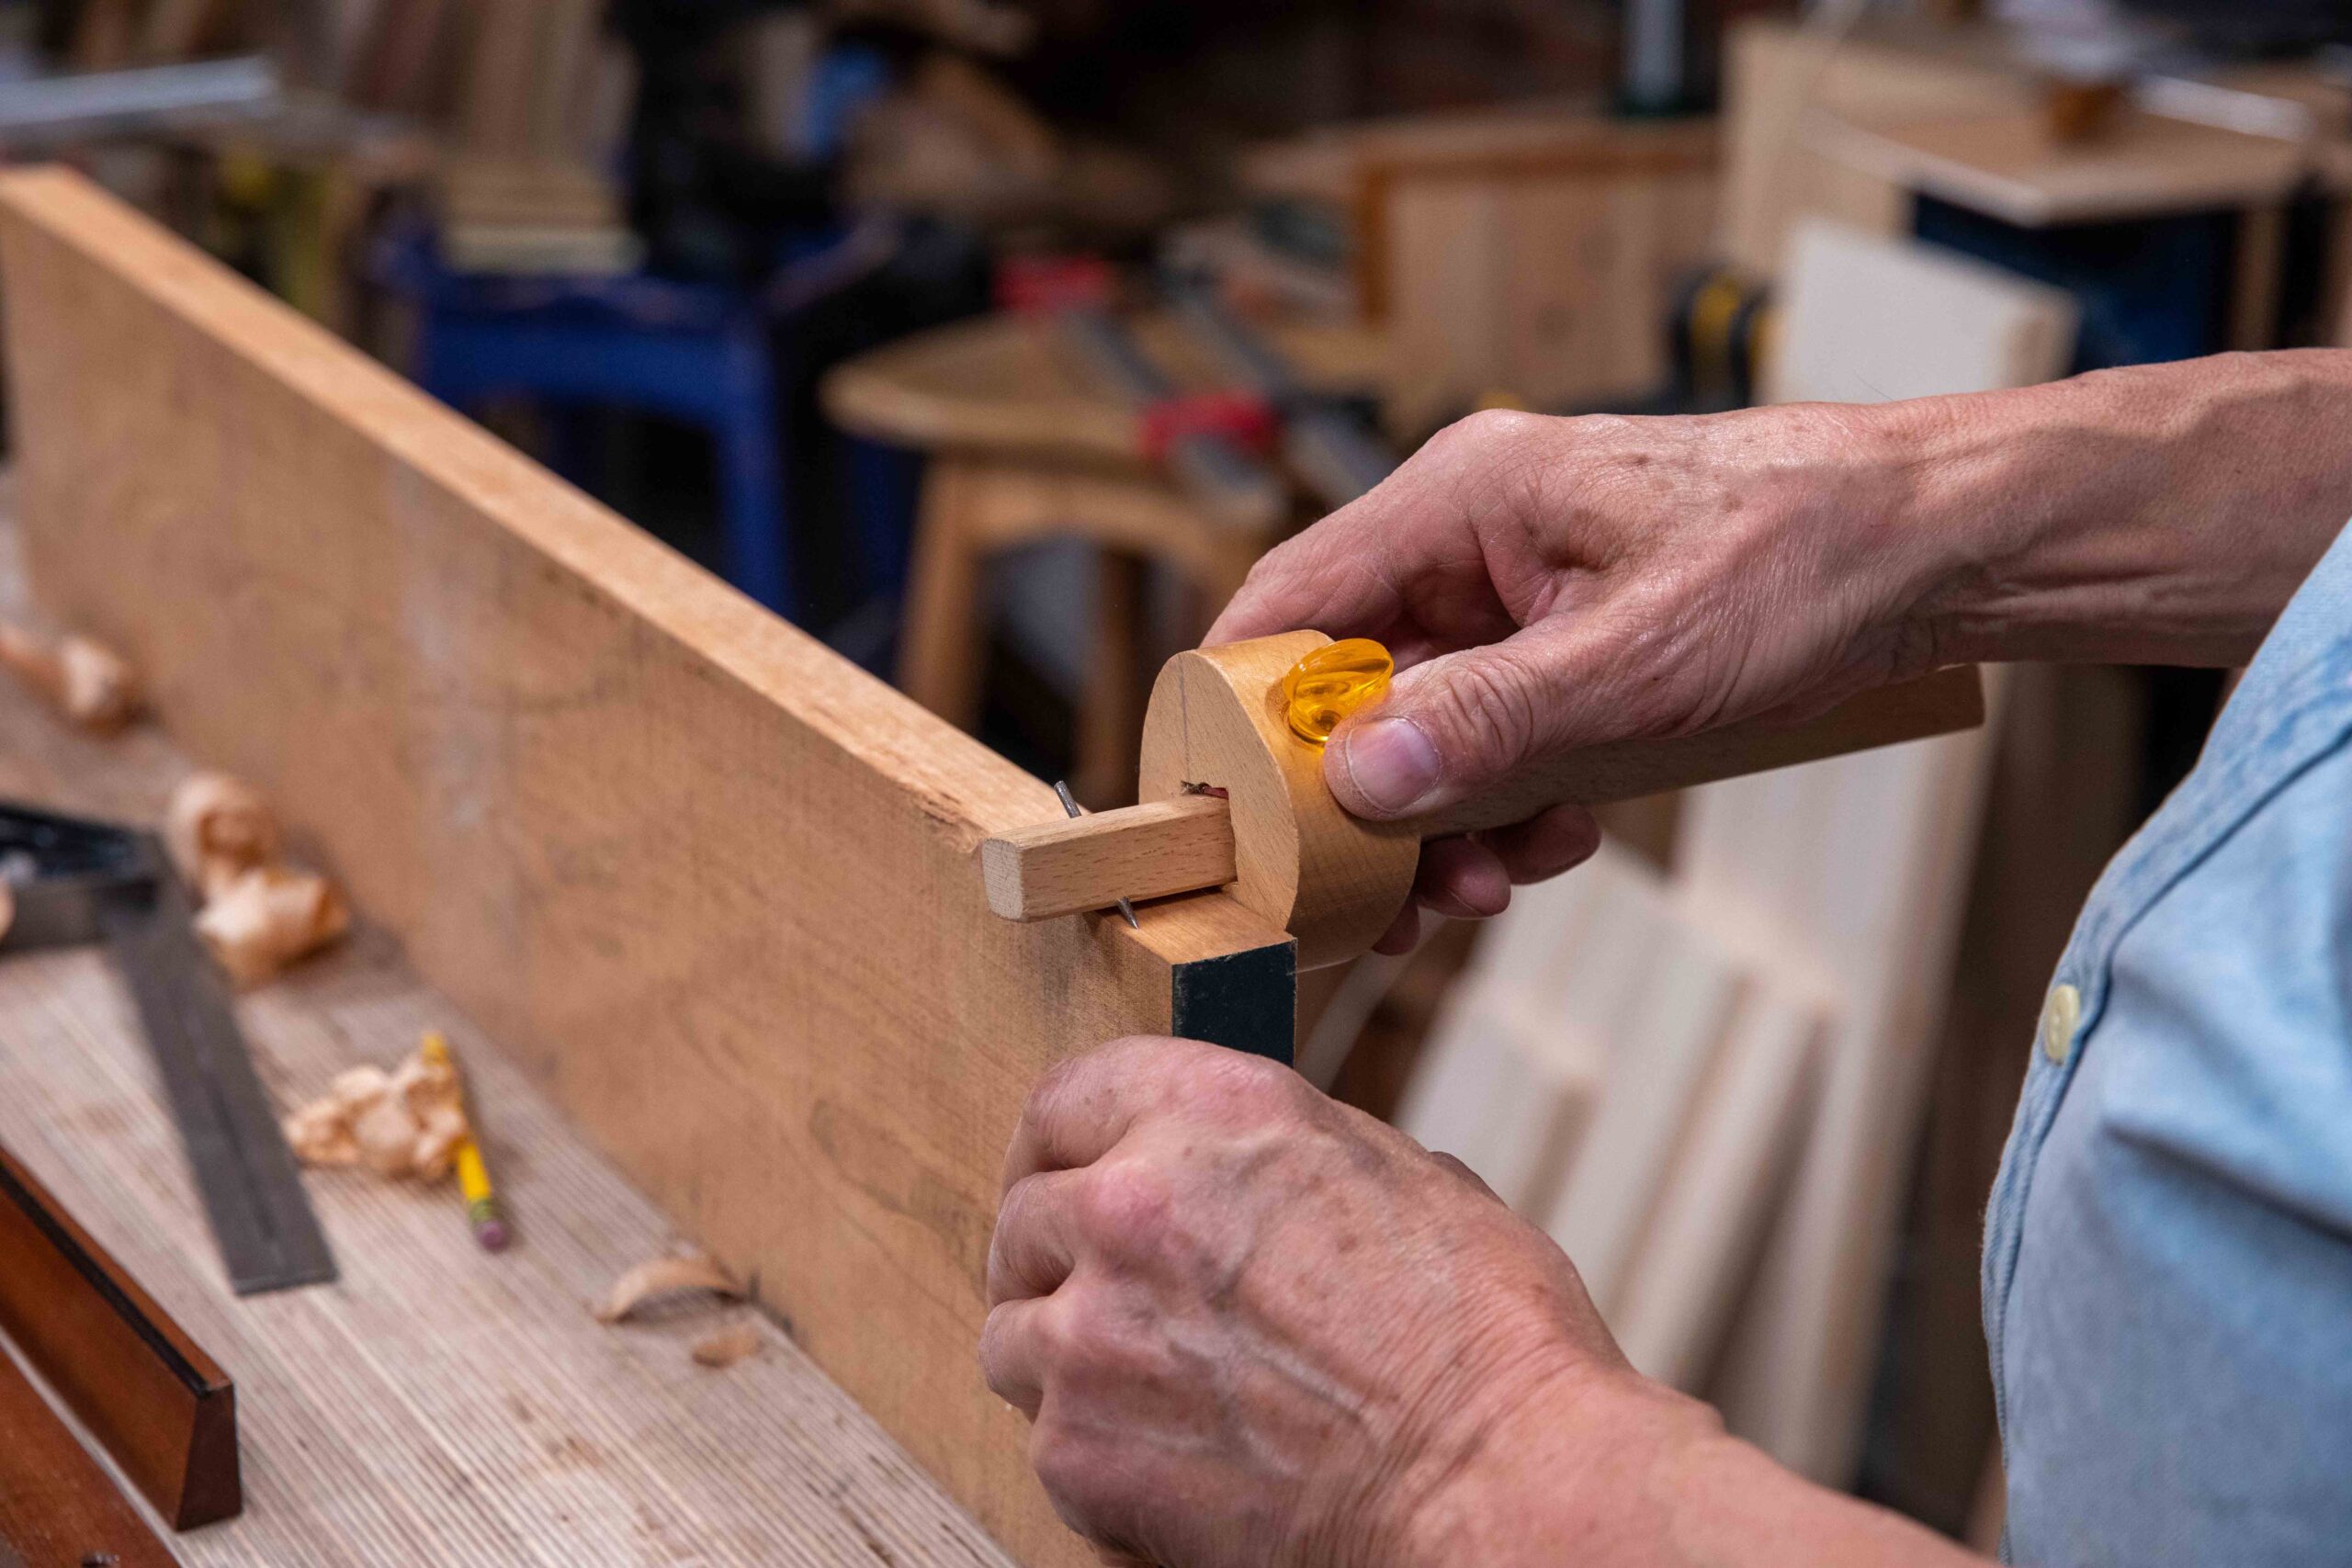
With these two faces trued, proven and marked with the face mark and face edge, I can rip or plane the opposite faces and edges parallel to the two planed surfaces. Before I do this, I mark the thickness and width using a marking gauge or penciled lines if the width is too much for a gauge to be used. Technically this is only necessary if planing to width or sawing.
Even if I am using the bandsaw with the fence guaranteeing the parallelity, I often use the gauge lines to help me note if there is any drift taking place and of course I must still plane down to the finish line subsequent to ripsawing.
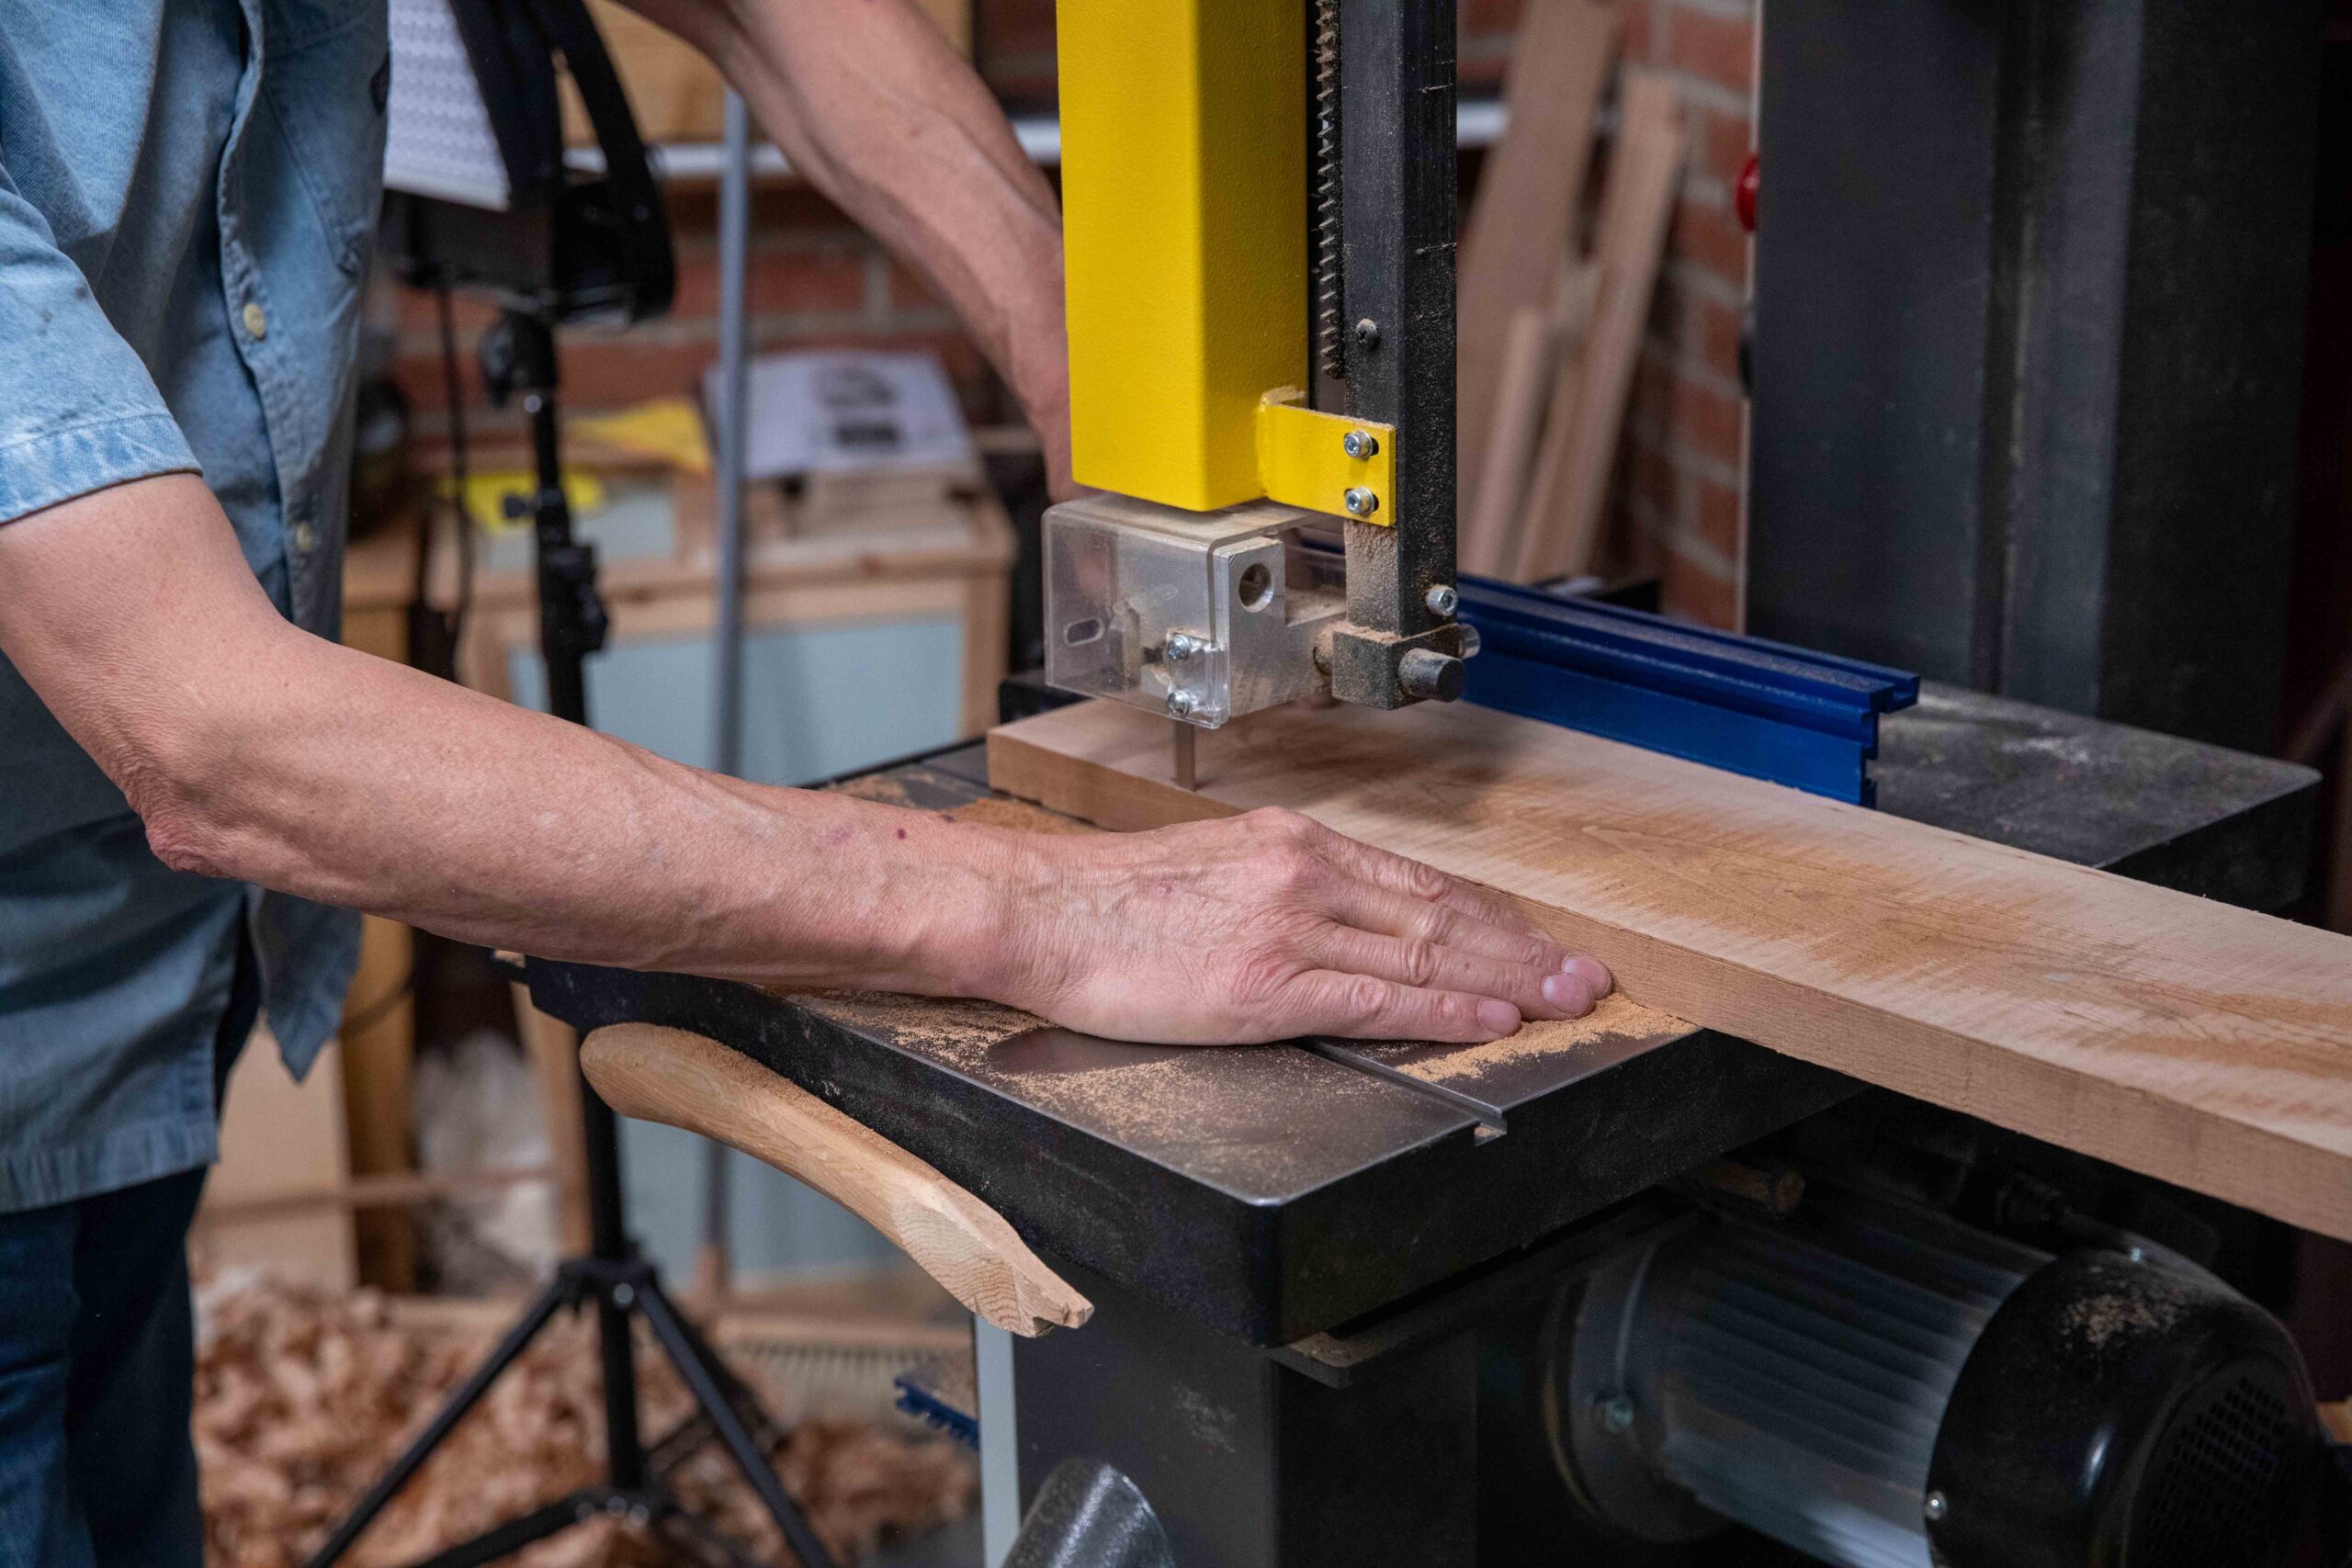
Using the bandsaw to parallel-cut to the now newly trued face means that any cup, twist or bow that still exists on this opposite face will be automatically removed as the board passes through the bandsaw. Without the bandsaw cut, the board must be planed or sawed by hand.
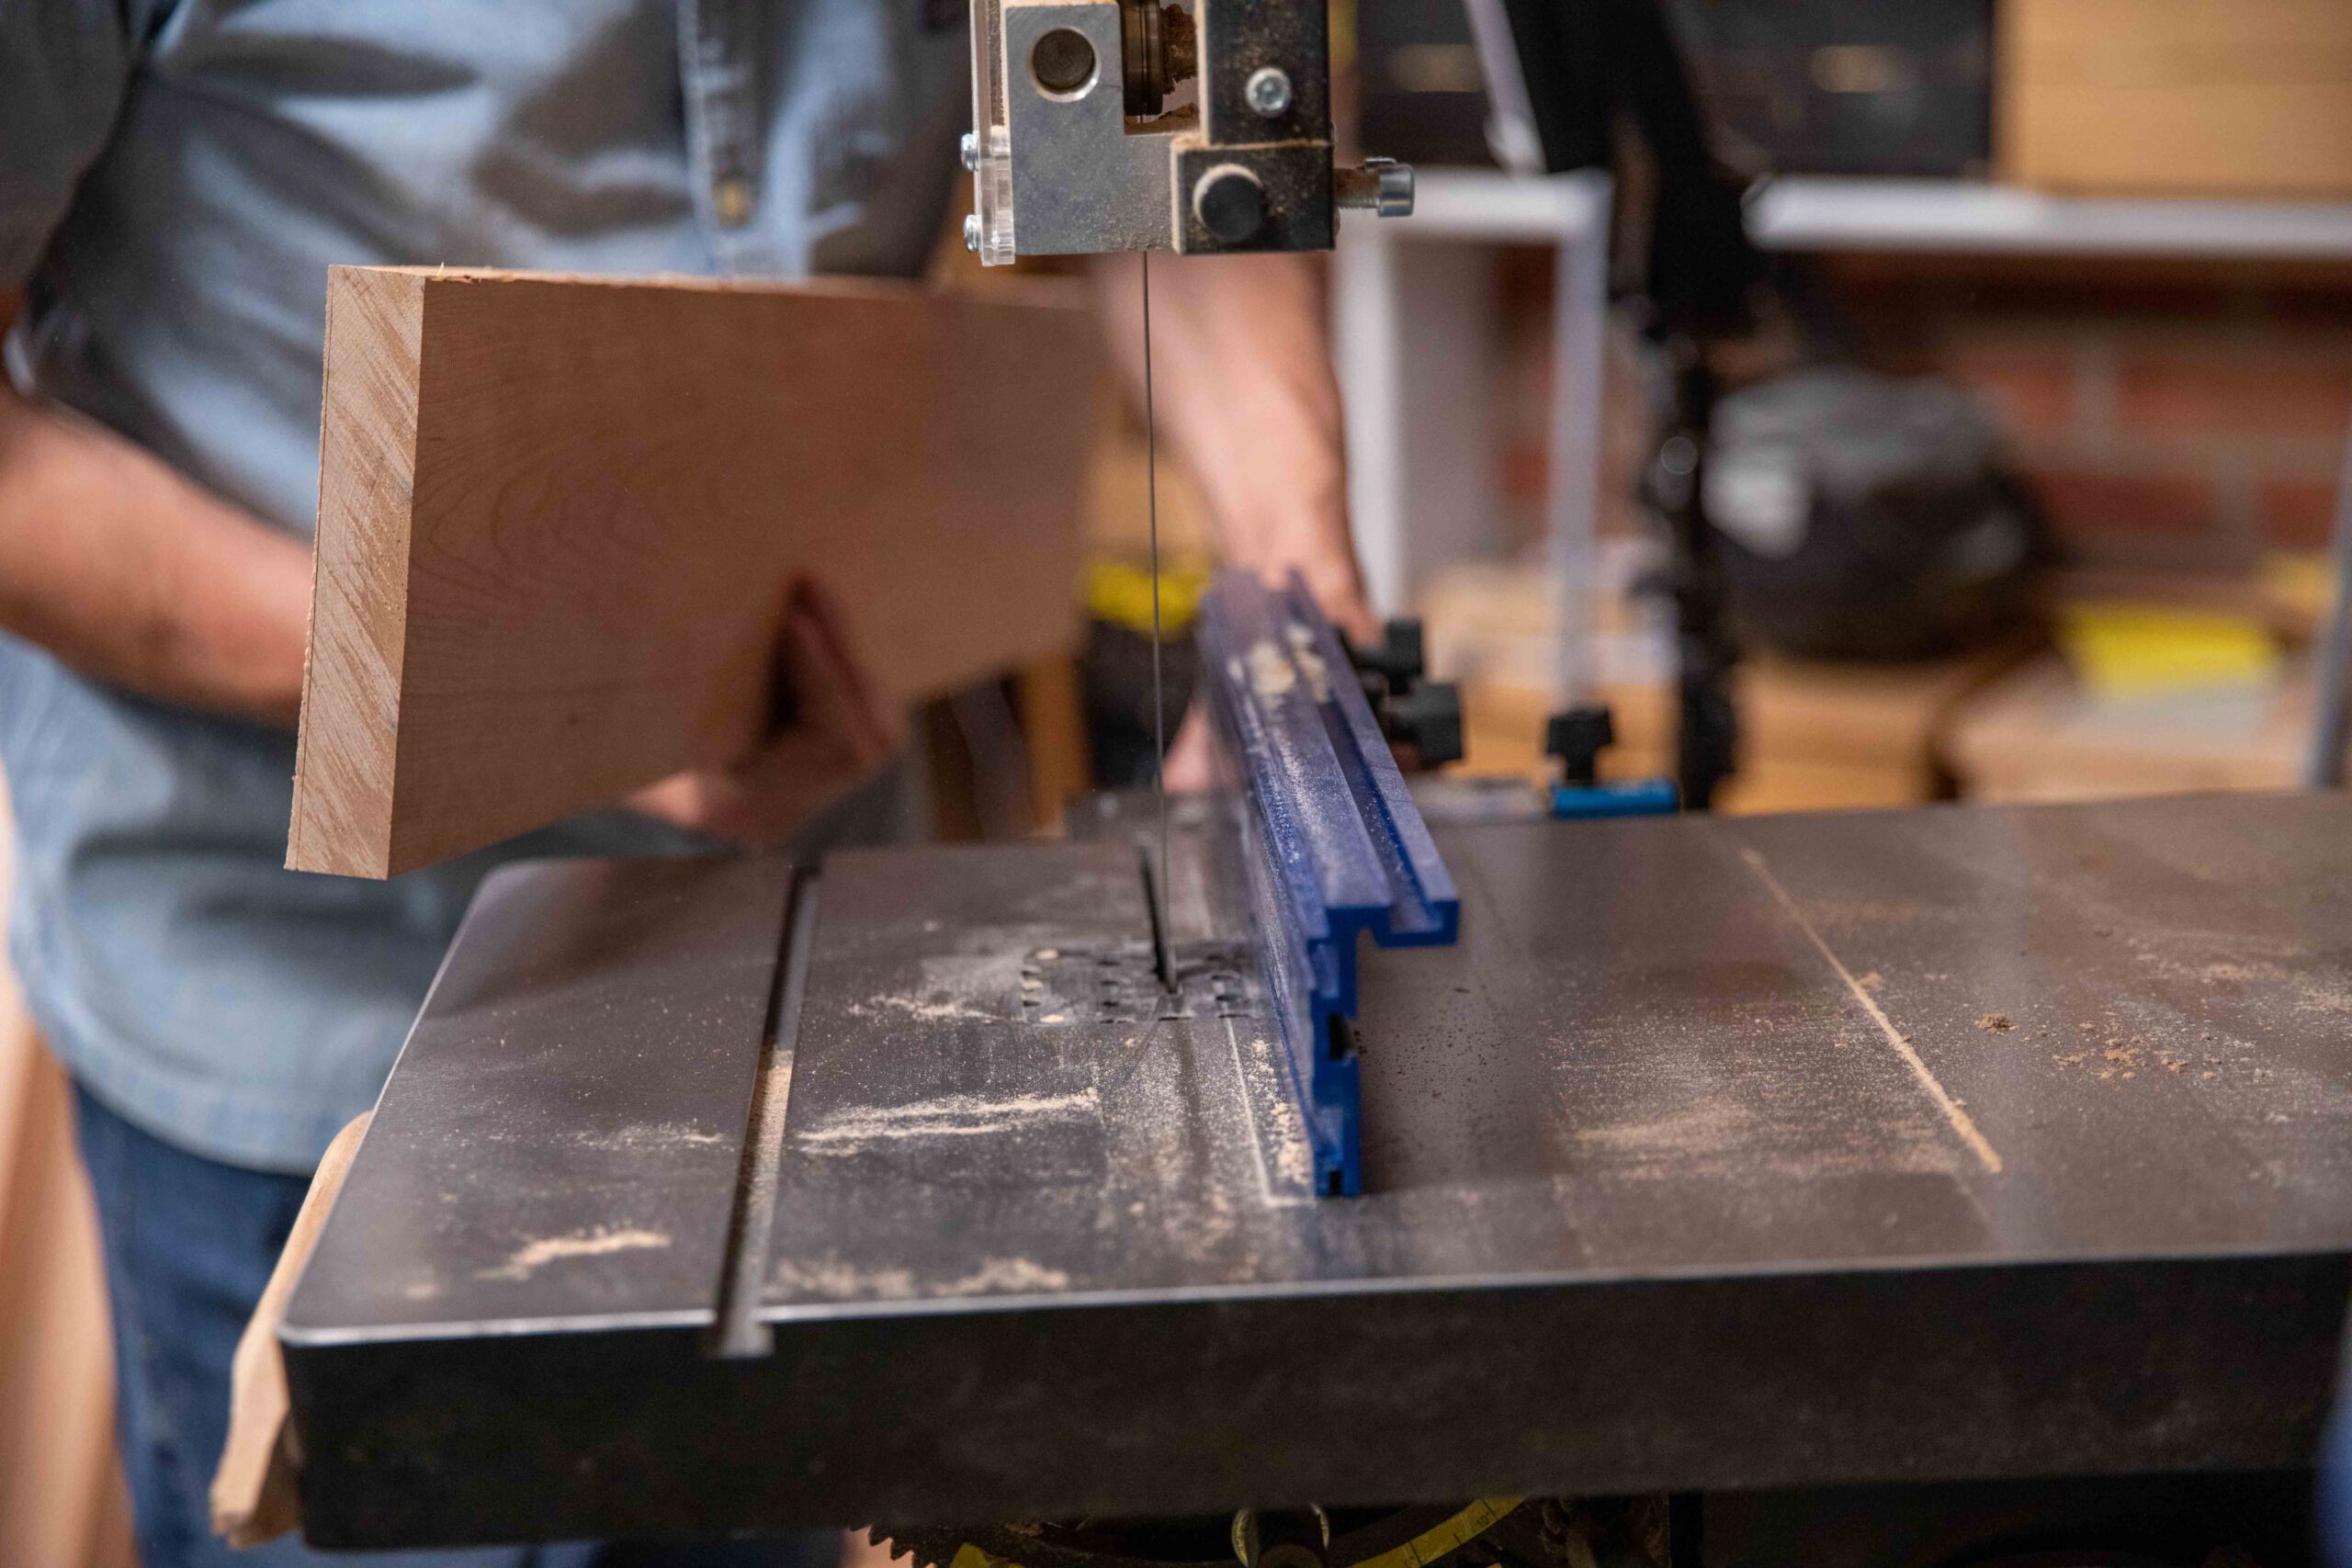
The bandsaw is essential for me in the handwork that I do. Ripping wide boards 8" and up wide is both tedious and physically hard, especially if its several feet long.
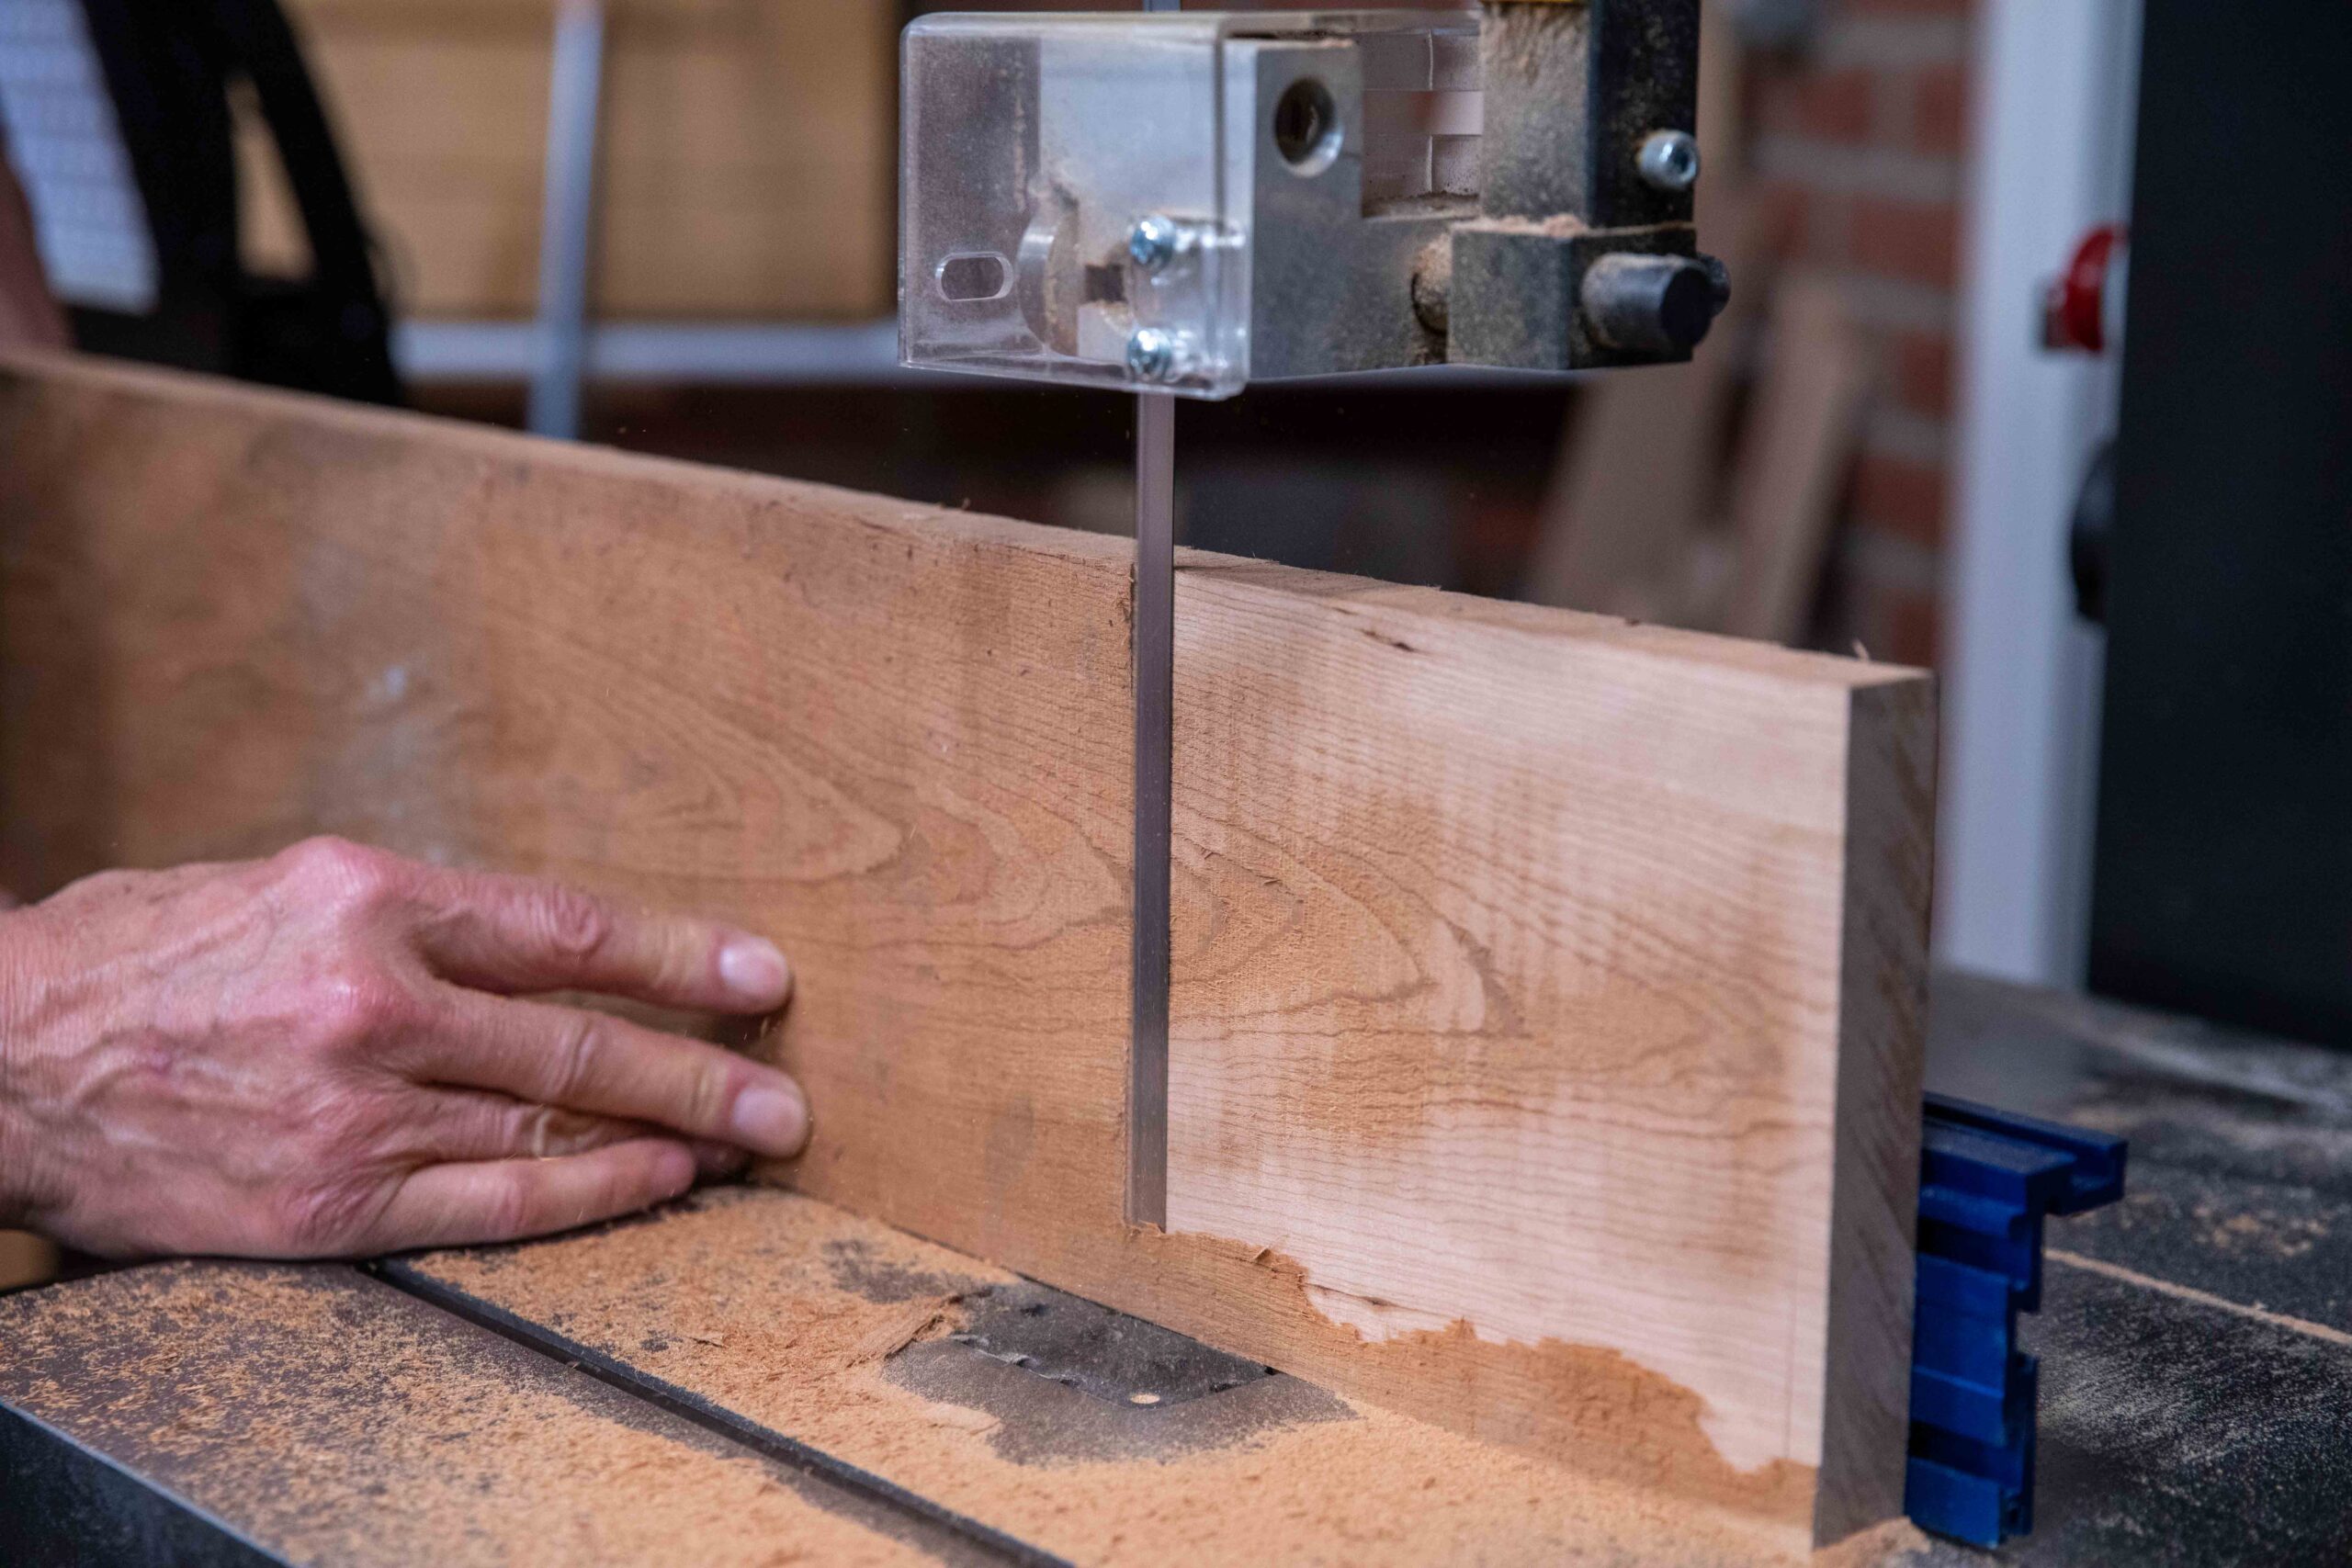
Here you will see the discrepancies removed by the bandsaw, making the process of subsequent planing much less tedious and needing little more reference checking than looking at the gauge lines from the marking gauge.
It's worth noting here that the vertical bandsaw stripes are from the original commercial ripping and not the bandsaw work I am doing. This shows that the subsequent bandsaw work I am doing is actually taking off the coarser work of the mill it came from.
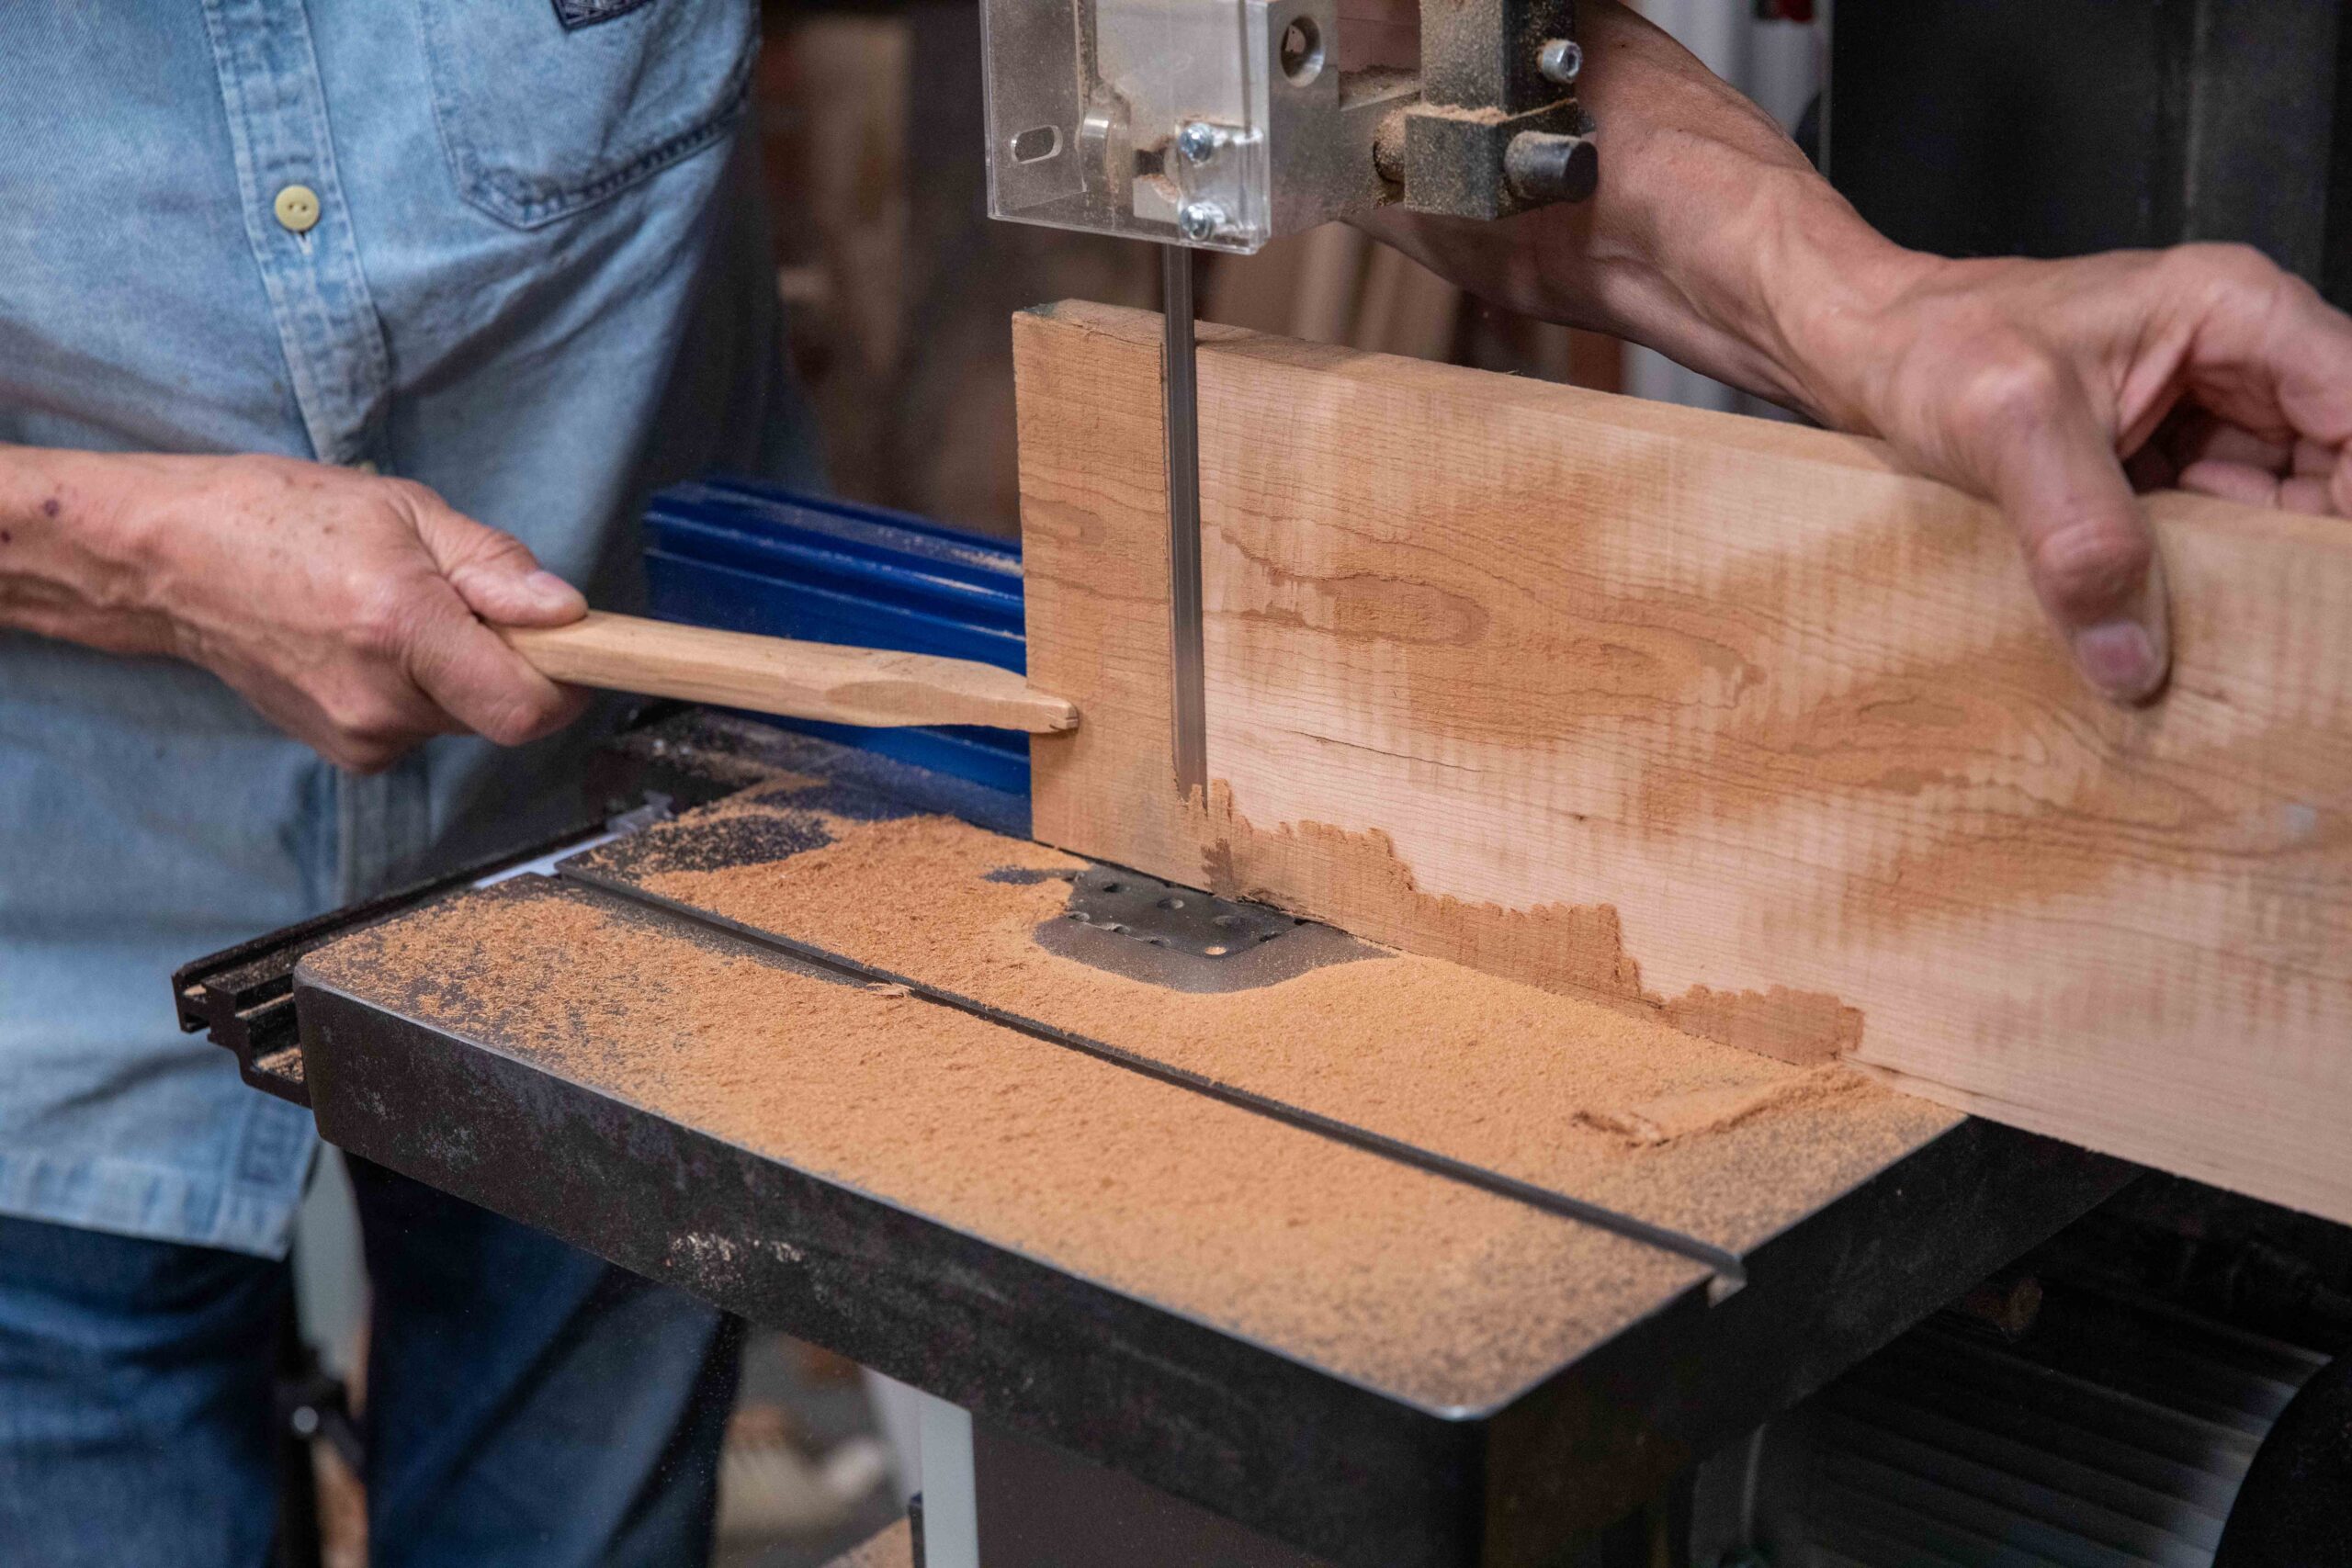
I can now rip to width also. I leave on about 1/32" for plane work.
Back at the bench now, I can surface plane using the lighter scrub in my #4 scrub plane. This takes only minutes and a very few strokes.
Long strokes only now as there really are no highs of any consequence to take down.
Now I am on the final edge. The smoothing plane snugs to the board and I am feeling good for the workout. Oh! See those boards as panels behind me, ten of them? They were all hand planed from rough boards and I loved it!
The above steps and the steps in the previous blogs in this series 'Prepping Wood' are the steps I take in every board or beam I work with to initialise them ready for subsequent work such as panel making, making tabletops and joinery. It's the same for all sections of wood going from 4" by 4", 1" by 2", 2" by 12" and 3" by 6" and all of these and a million other sizes in various lengths up to around eight feet long.
This may be my longest blog post top date. I make no apology because what is said and photographed, drawn and explained needed saying. There is yet another blog post identifying with this blog series...just for good measure!
Comments ()