A Sharp New Look
In a communal workshop, it makes sense to have a central sharpening station for all to use and that's what I just completed in the bench shop next door. As more and more people begin to use the benches it makes sense to relegate sharpening to a central point and that is what I used to have when we held classes of up to 20 students. Of course, we're all using it and it's working great. Rarely is there a conflict of timing but if there was you can still sharpen at your own workbench as needed.
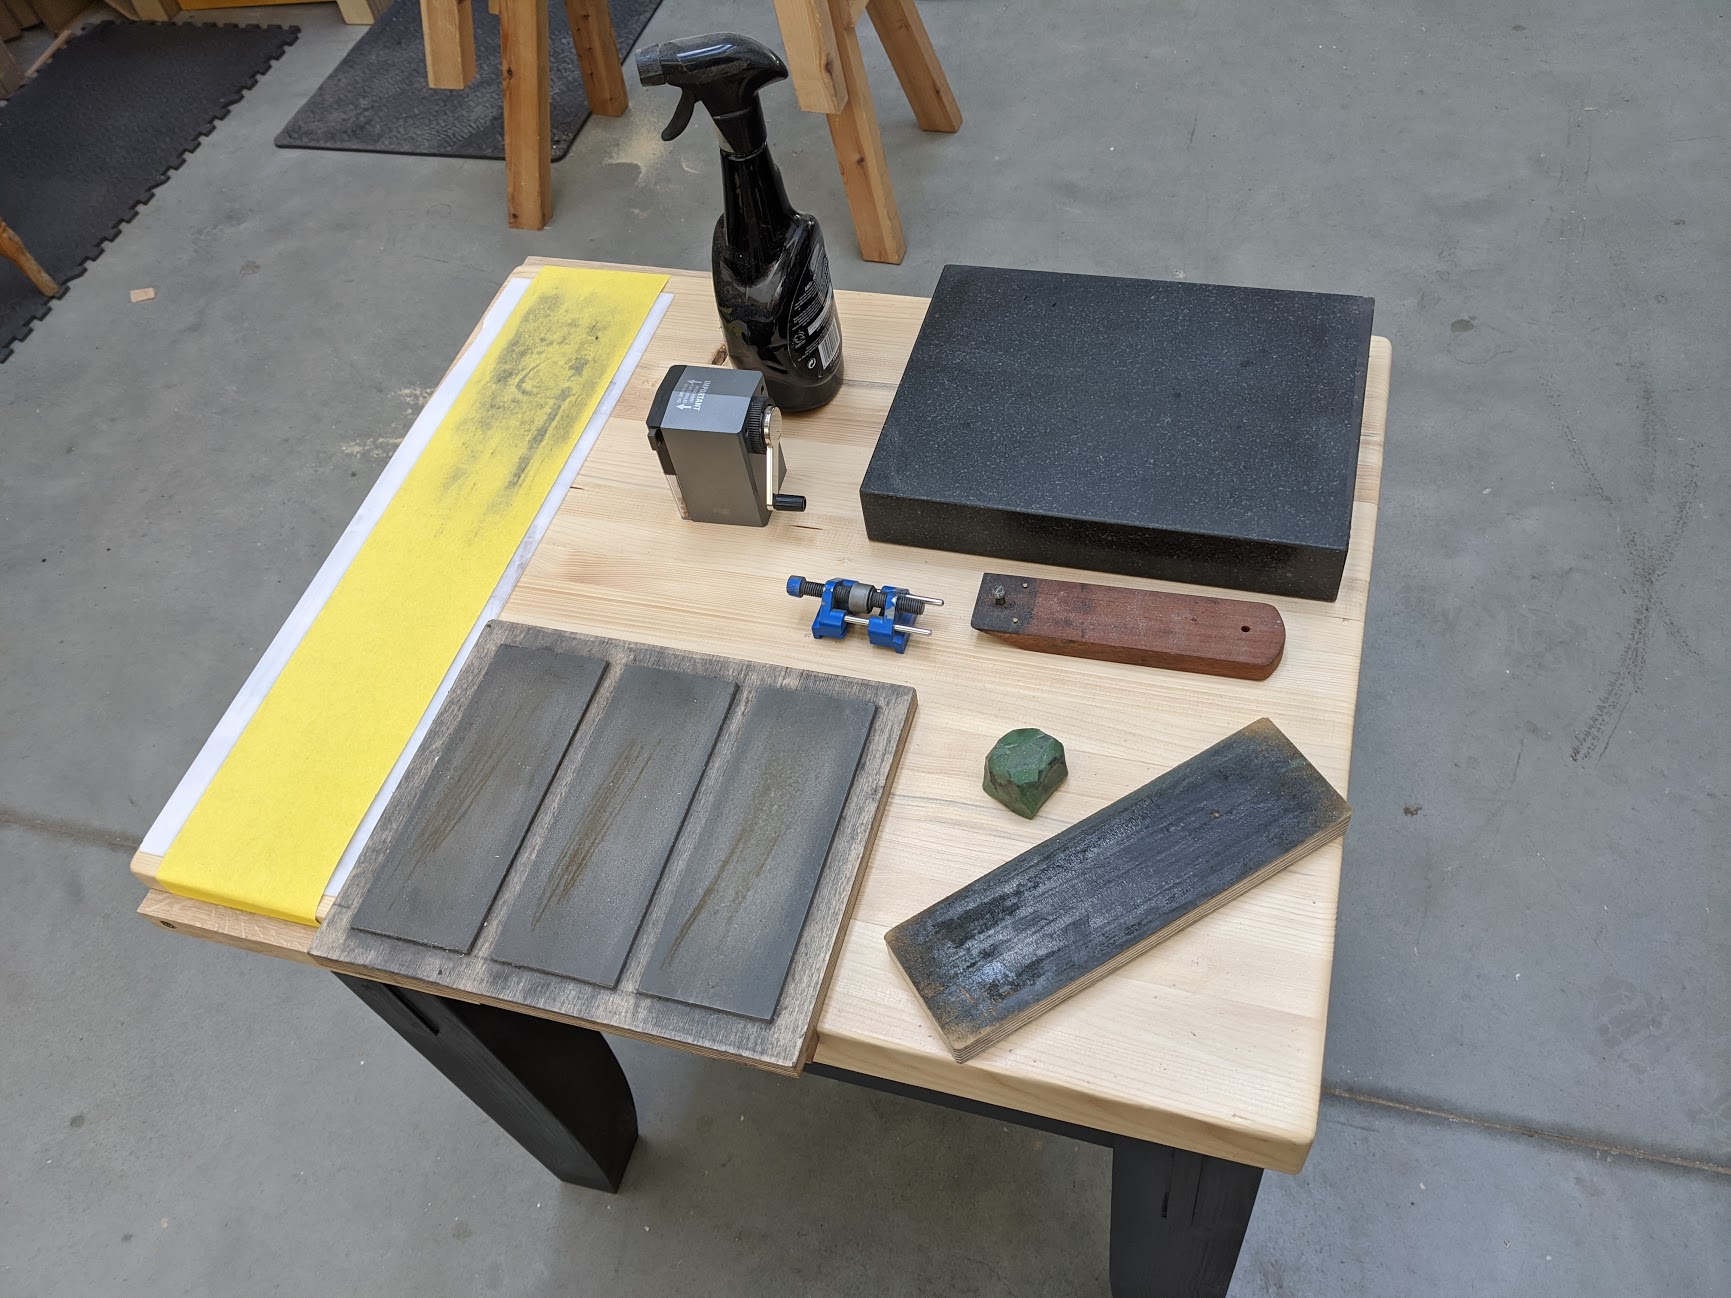
On this workbench, we keep all of the relevant equipment for day to day sharpening and fine honing and everything is fixed in place rather than removable, that way the permanence helps keep things in place and in order. One thing that's not there is the card and cabinet scraper set up, mainly because both of these rely on a vise and the ideal vise and height for these is the workbench we work at anyway.
You may or may not remember my answer in classes, where people height varied so much and changes from one person to another can be difficult to provide for. I always kept a 2" x 2" batten by the sharpening stations so that placing your heels on the batten raised you up 2". It worked fine. In the main workshop, it is more important to direct weight and strength from the shoulders and upper arms through to the hands as directly as possible. You only need minor linkage movement, mostly at the elbows and then less at the shoulders and wrists.
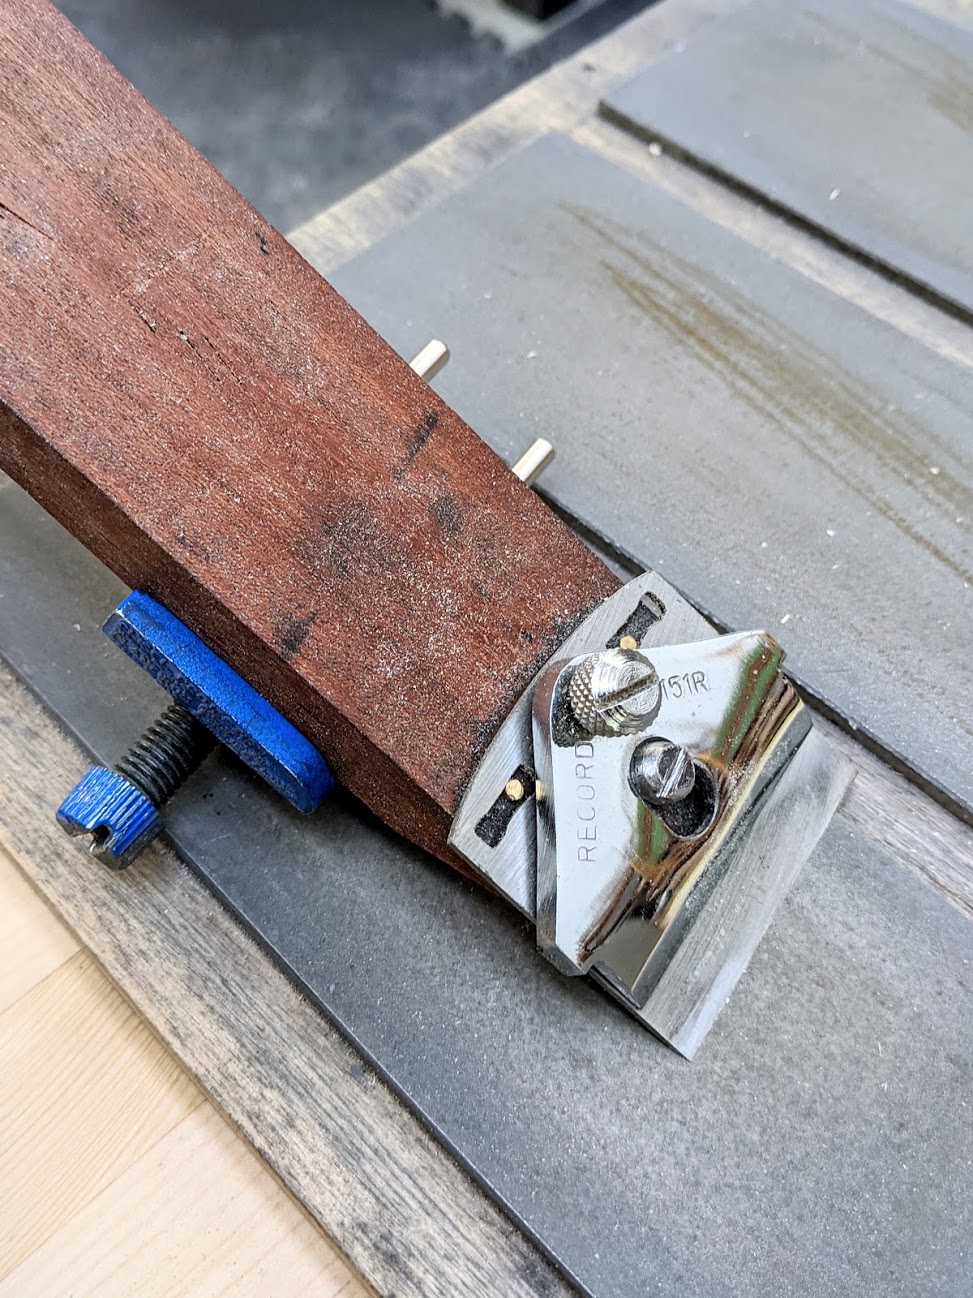
On the new sharpening station, I have the triple-plate diamond plate setup of roughly 250, 600 and 1200 grit plates, the catty-cornered strop (caters to both right- and left-handed people), buffing compound, granite registration/test block (for flattening and testing flatness), the spokeshave extender which I consider to be more essential than most aids. This one means you can handhold for freehanding or install it into the honing guide as shown. This one is my own design for sharpening spokeshave cutting irons. I put it together when my students seemed always to have difficulty latching on to the small size and relying on fingers with no fist grip possible. Also, many new to woodworking have difficulty getting the angles right and prefer to use a honing guide. Here's how to make your own:
https://www.youtube.com/watch?v=sw1JGEbKgCw
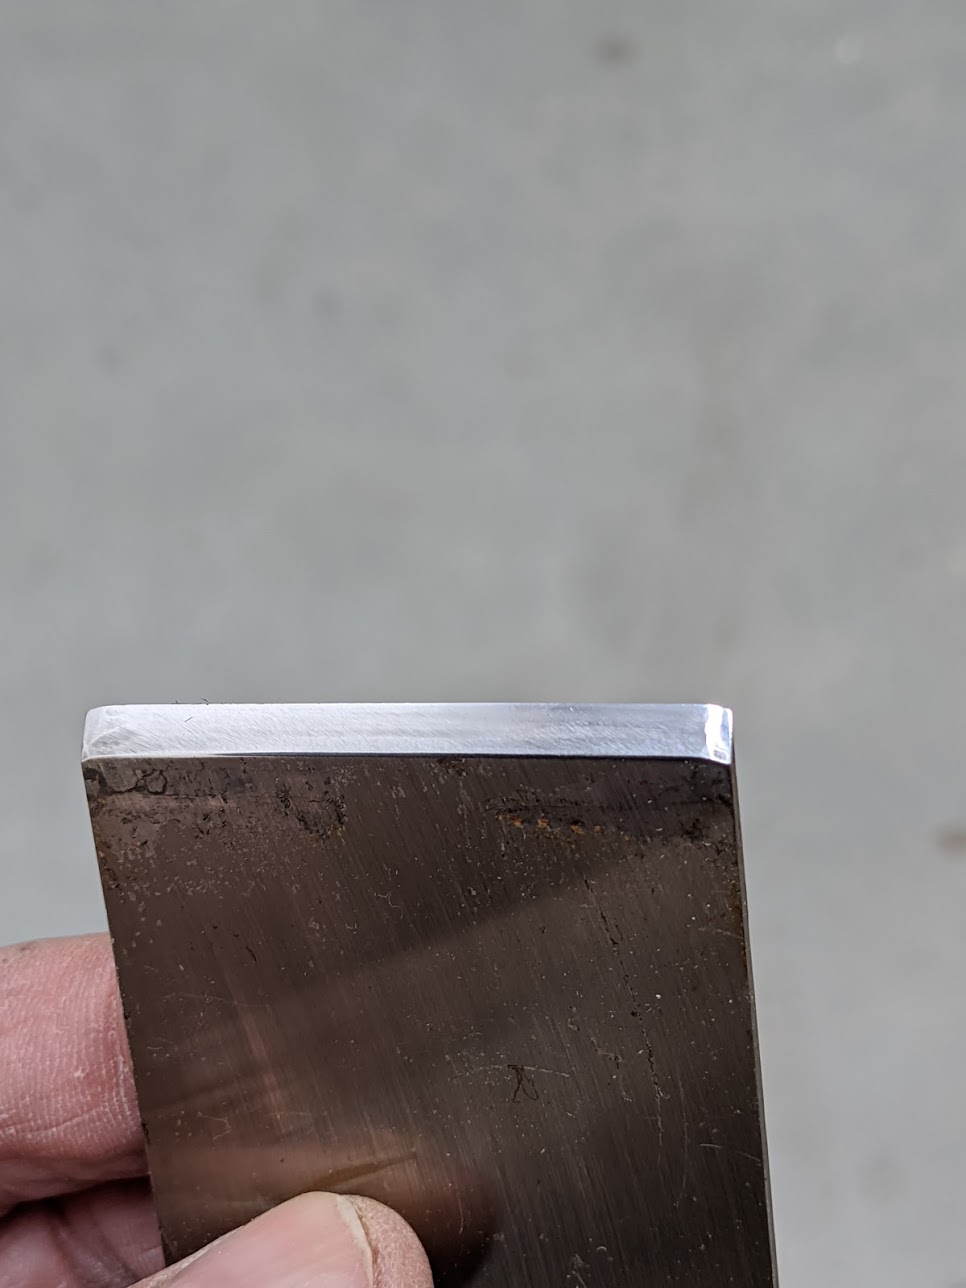
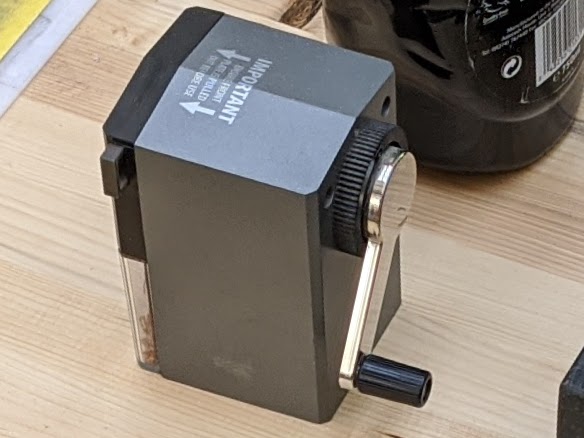
A Swordfish pencil sharpener (probably the best type I have found and very long-lasting), honing guide any make but this one is an Eclipse, sharpening fluid (auto-glass cleaner, cheaper the better) and then the coarse abrasive paper (for quickly reestablishing the 25-degree bevel). This is the fastest sharpening setup I have ever put together and trialed.
Size-wise it measures 28" long, 23 1/2" deep and height to the tabletop is 31 1/2" so 32" to the top of the plates. It could be much more compact for a smaller area though. I have a smaller one in my garage for my own use generally. The important thing is that it stays put, doesn't rock even slightly, and it doesn't get in the way.
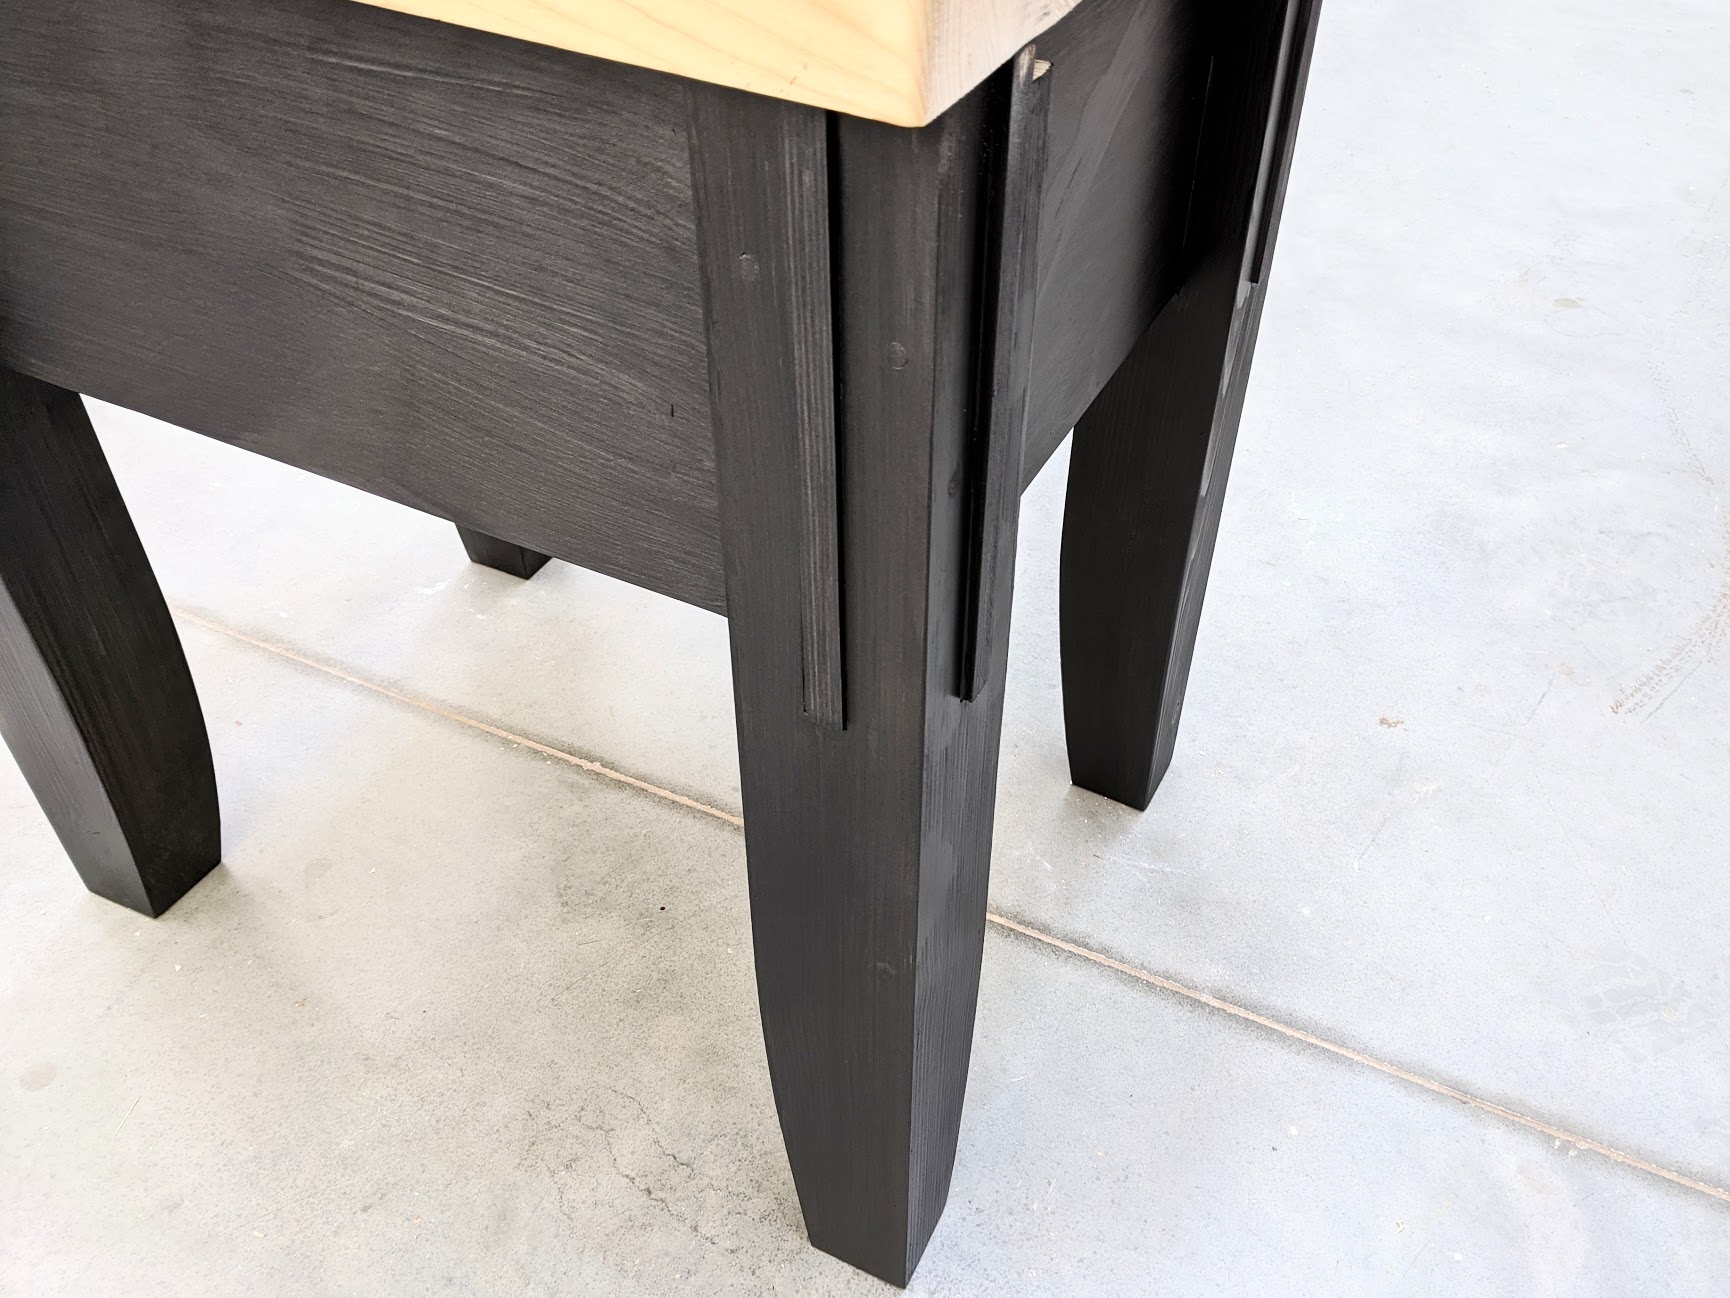
The top is laminated pine 2 3/8" thick made from studs I used to make my first UK school workbenches 10 years or so ago. With 4" square legs and the wide, interlocking aprons it is totally rock steady and immovable in use, so no swaying back and forth through the rigourous continuity of on-off sharpening. I coated the surface top with three coats of water-based, clear varnish for easy cleaning as these areas can get mucky in a heartbeat and there is no reason to give in to it.
Comments ()