Filing Brutalised Saw Teeth
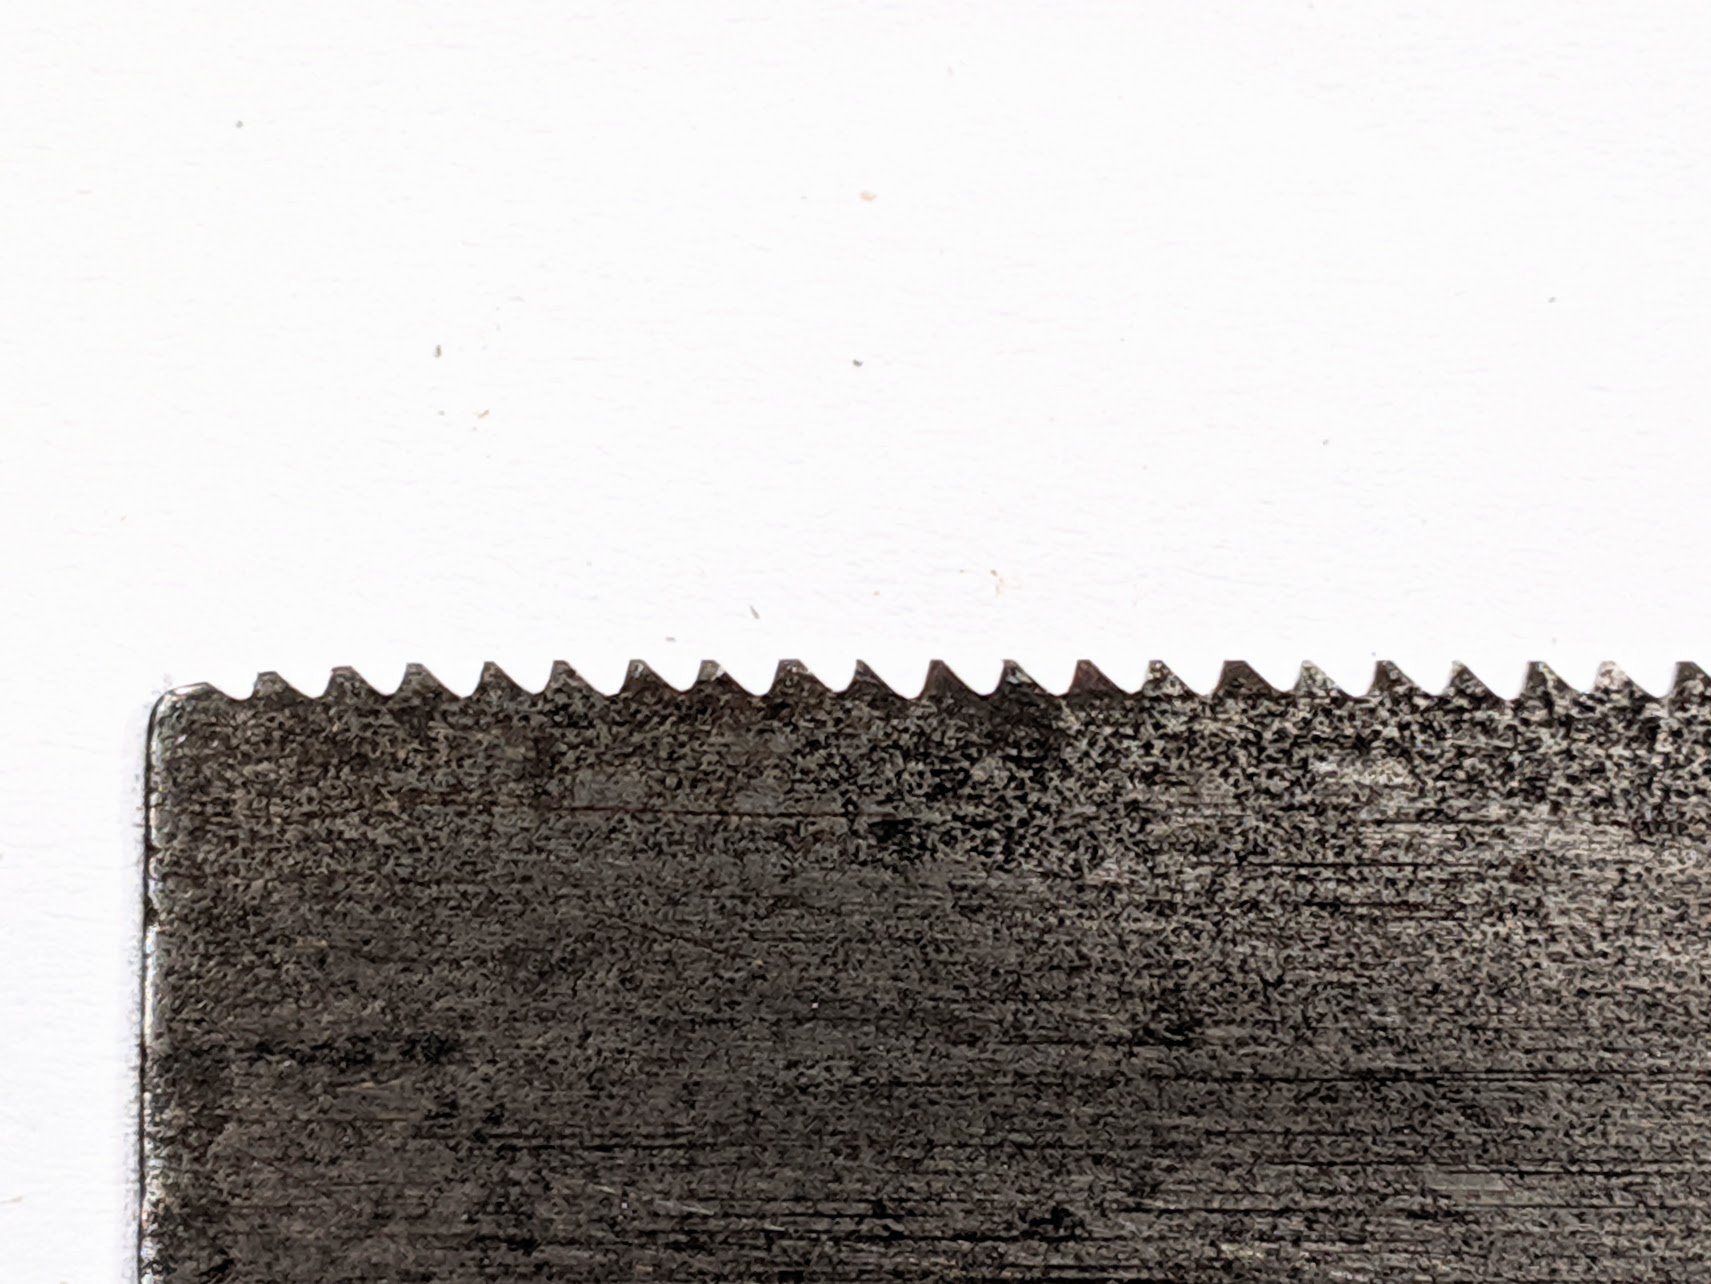
I must have bought it years ago, this 1960s 14" tenon saw. Probably a find in a car boot sale or something. Anyway, I pulled from my shelf of abused subjects and thought unkind thoughts about the brute that just wore it down to this condition. My first thought was did they cut concrete blocks with it, something like that, but there was no evidence of that. The teeth were the worn parts, not the sides of the plate.
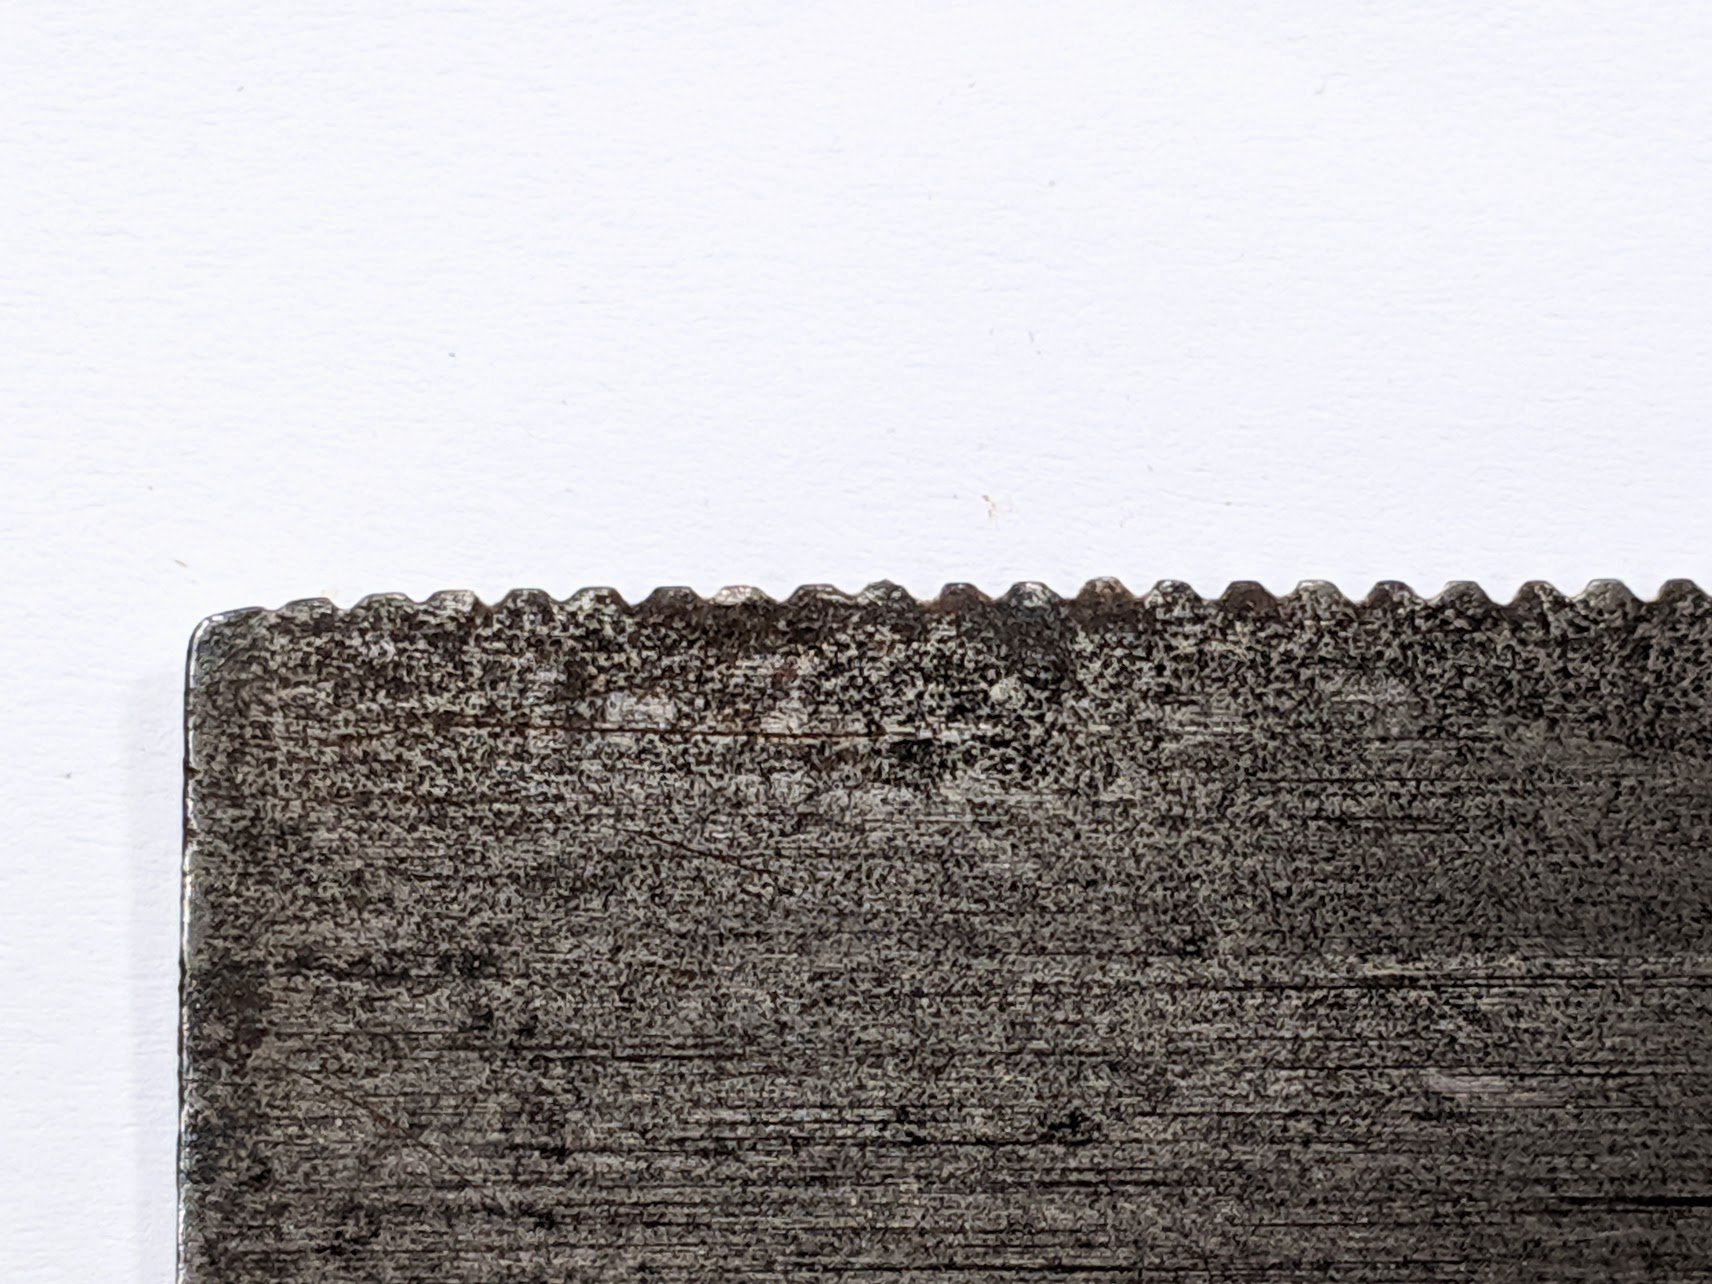
This first picture leads me to think that there should be an abused saws support society but of course saws don't have feelings and can't feel pain. Truth is more that I feel the pain of such insensitivity. I wonder how a man can reach an age of adulthood and take a saw to this level of harm without questioning himself. What would you say if the bruiser who owned this saw asked if he could borrow yours? I imagine his conversations with the saw. "Why won't this thing cut?"
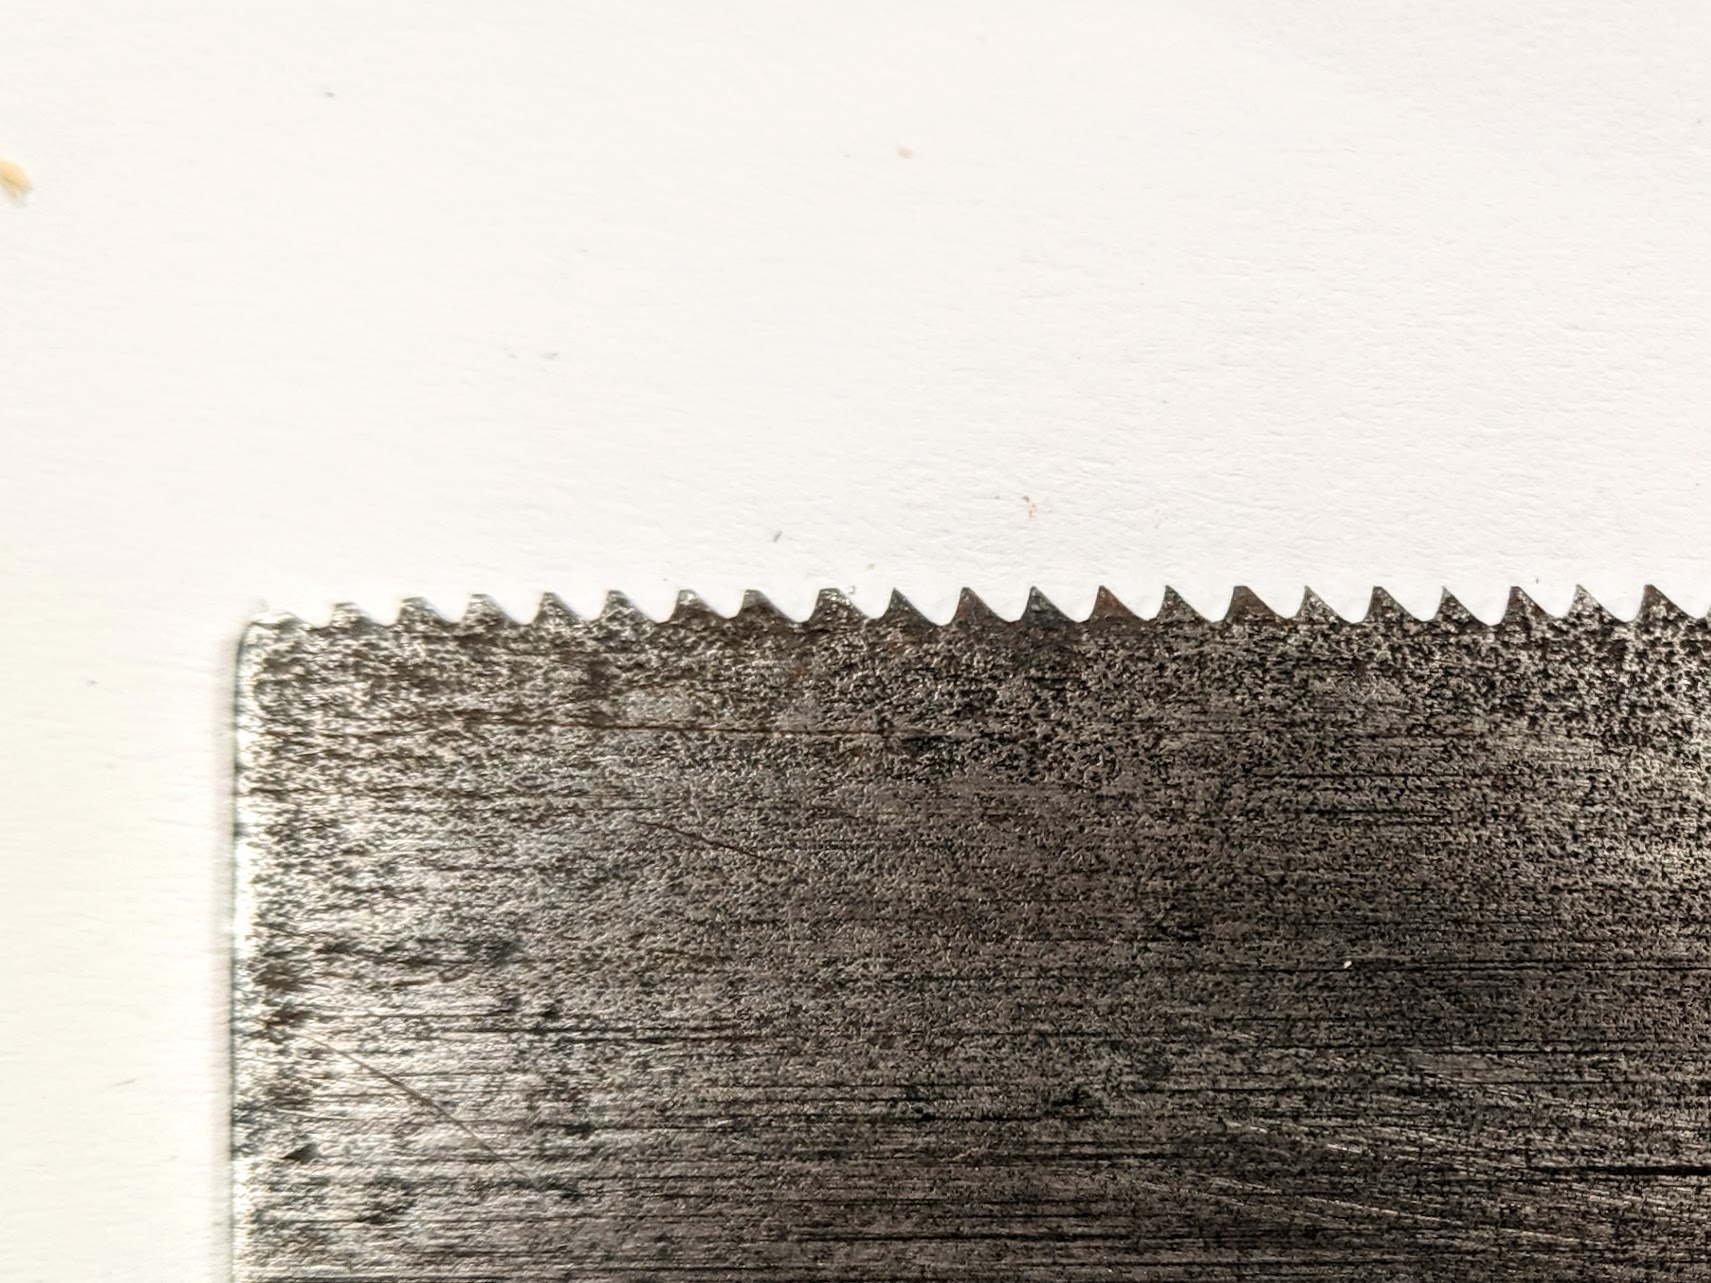
I took the opening step and filed a single stroke through each gullet. This is a trick I have never heard anyone shout about so I claim it as my own and give it out freely. When you look at a saw to buy look first at the teeth with regards to the gullet positions. If they are even there is a good chance that the saw was never sharpened or it was sharpened professionally. You should start to pick up on something here. Usually the gullets are mostly damaged by incorrect sharpening. The result is what is commonly known as sergeants and sappers here in the UK and cows and calfs in the US. Simply put the teeth result in one oversized tooth at the expense of an adjacent tooth which is then filed low or out altogether. These are the ones to avoid when you are new to sharpening. Look for even wear on the teeth no matter how bad. Look at the teeth in this first picture and they are really badly work and rounded. There is no way even the man with the biggest muscles could make this cut any more. But the gullets are indeed evenly spaced even though the teeth are work at the tips to a well rounded round.
I place the saw file in the bottom of the gullets and take a 2 1/2" long stroke through each gullet, maintaining the same hand weight for even pressure as I stroke the front and back of each tooth. As you can see the teeth are developing the same sizes despite the teeth are indeed so bad.
After that first filing I began to think about profiling the teeth. This step basically changes the pitch or rake of the teeth and by this I can make a saw more or less aggressive. This usually starts with topping (Jointing USA) the saw teeth lightly with a fine, 10" flat file first.
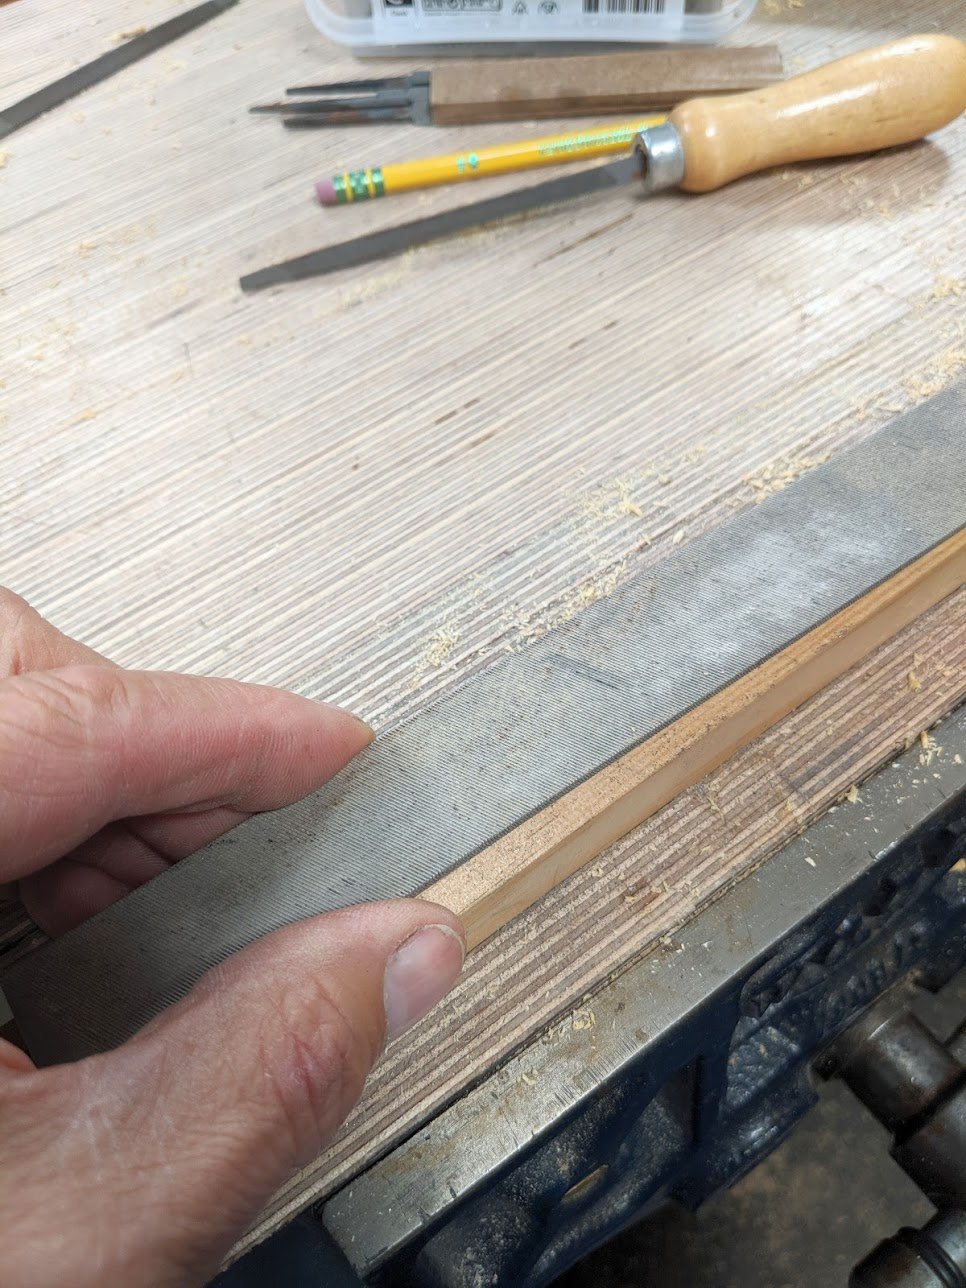
Now I can see exactly which teeth are high and I can file to height according to the flat tops I introduced and can now see quite clearly.
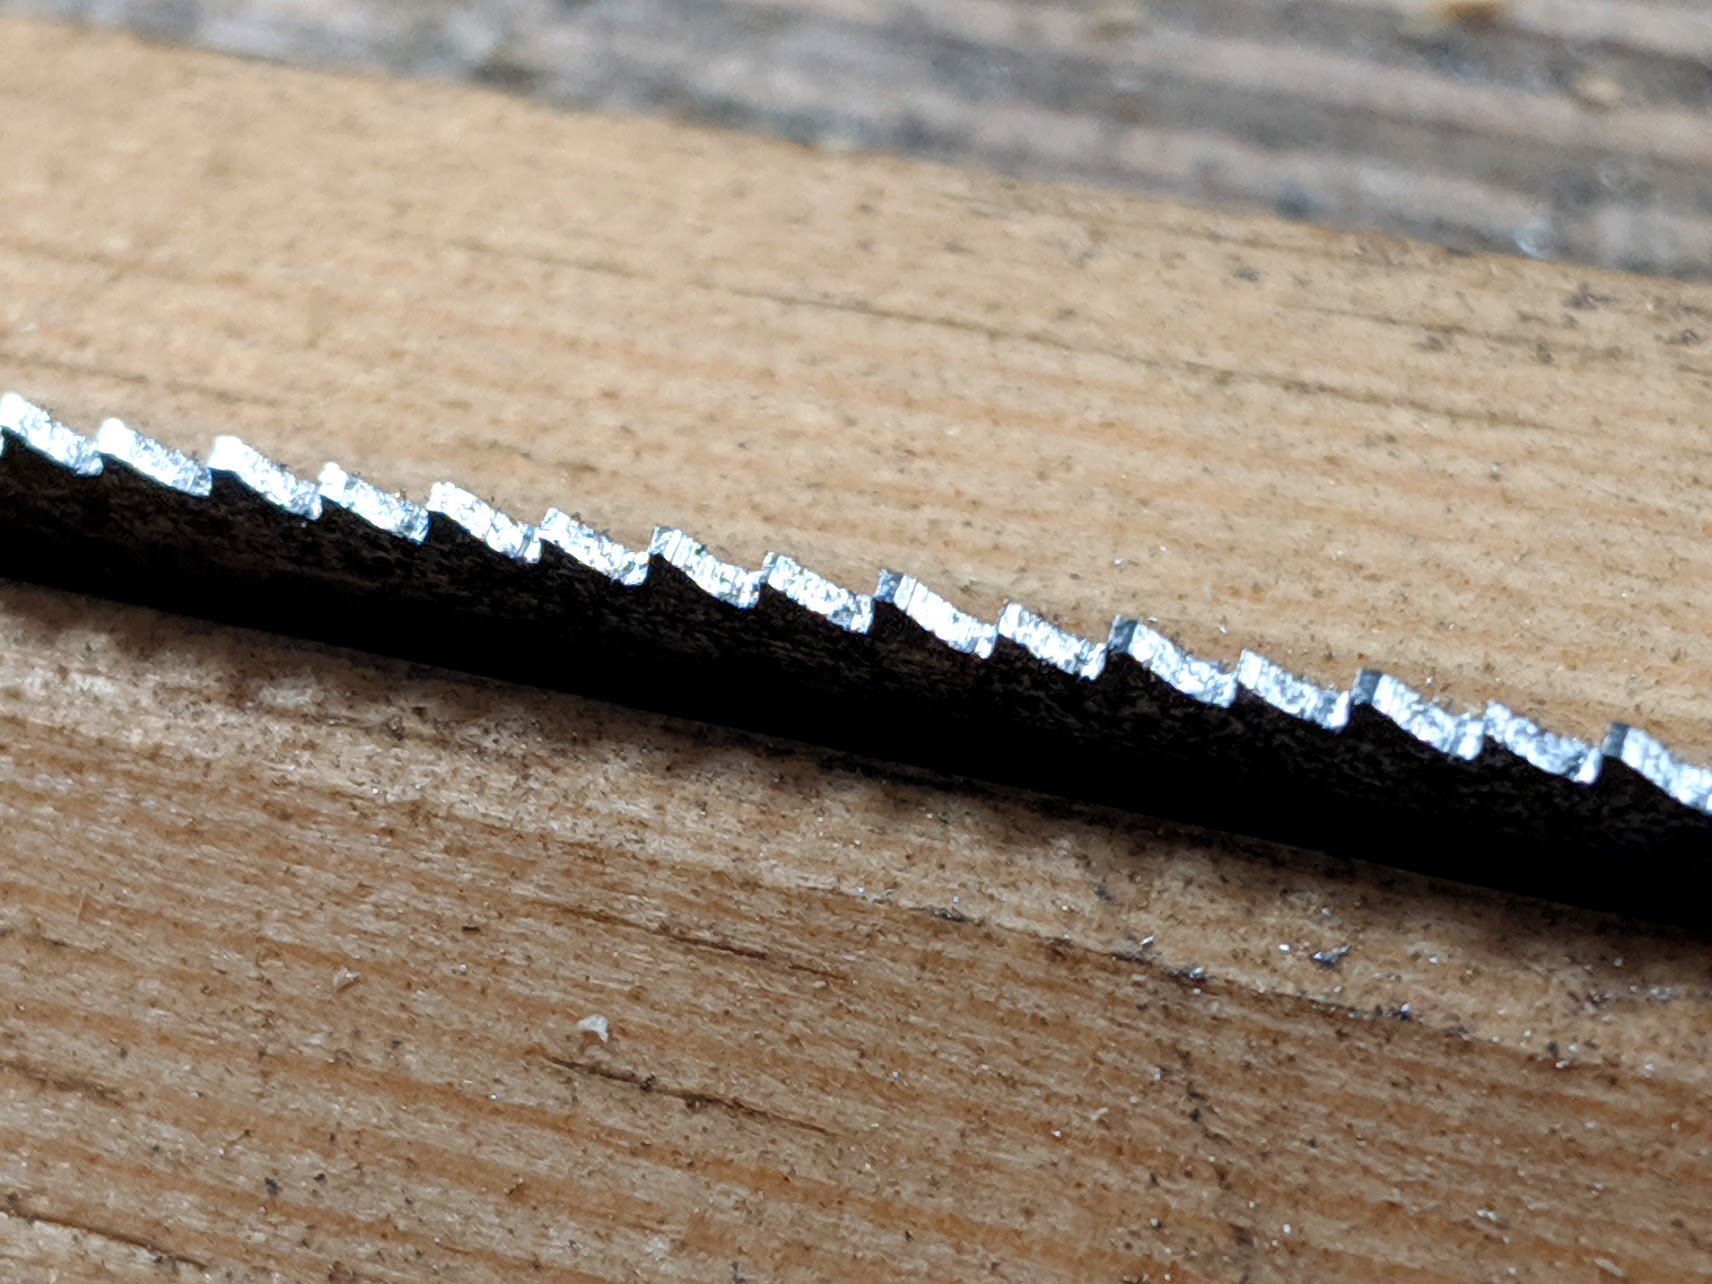
Now it is simply a question of sharpening the front and back of one tooth gullet, pressing more into the wider flat top as needed until evened out the flats. Remember you must sharpen from both sides of the tooth as if you don't you will be creating more sergeants or sappers. Also, I think it is important not to allow intimidation about sharpening. Often, usually, even a badly sharpened saw works quite well.
Final shaping is still on its way; usually with only one stroke to each tooth gullet. The process for this saw took just four strokes across the gullets of all the teeth which gave me a good, user saw. Fifteen minutes work or thereabouts. You can do this!

Only a little finessing now. I'll finish it tomorrow when the light's a little better.
Comments ()