Sheds at Home
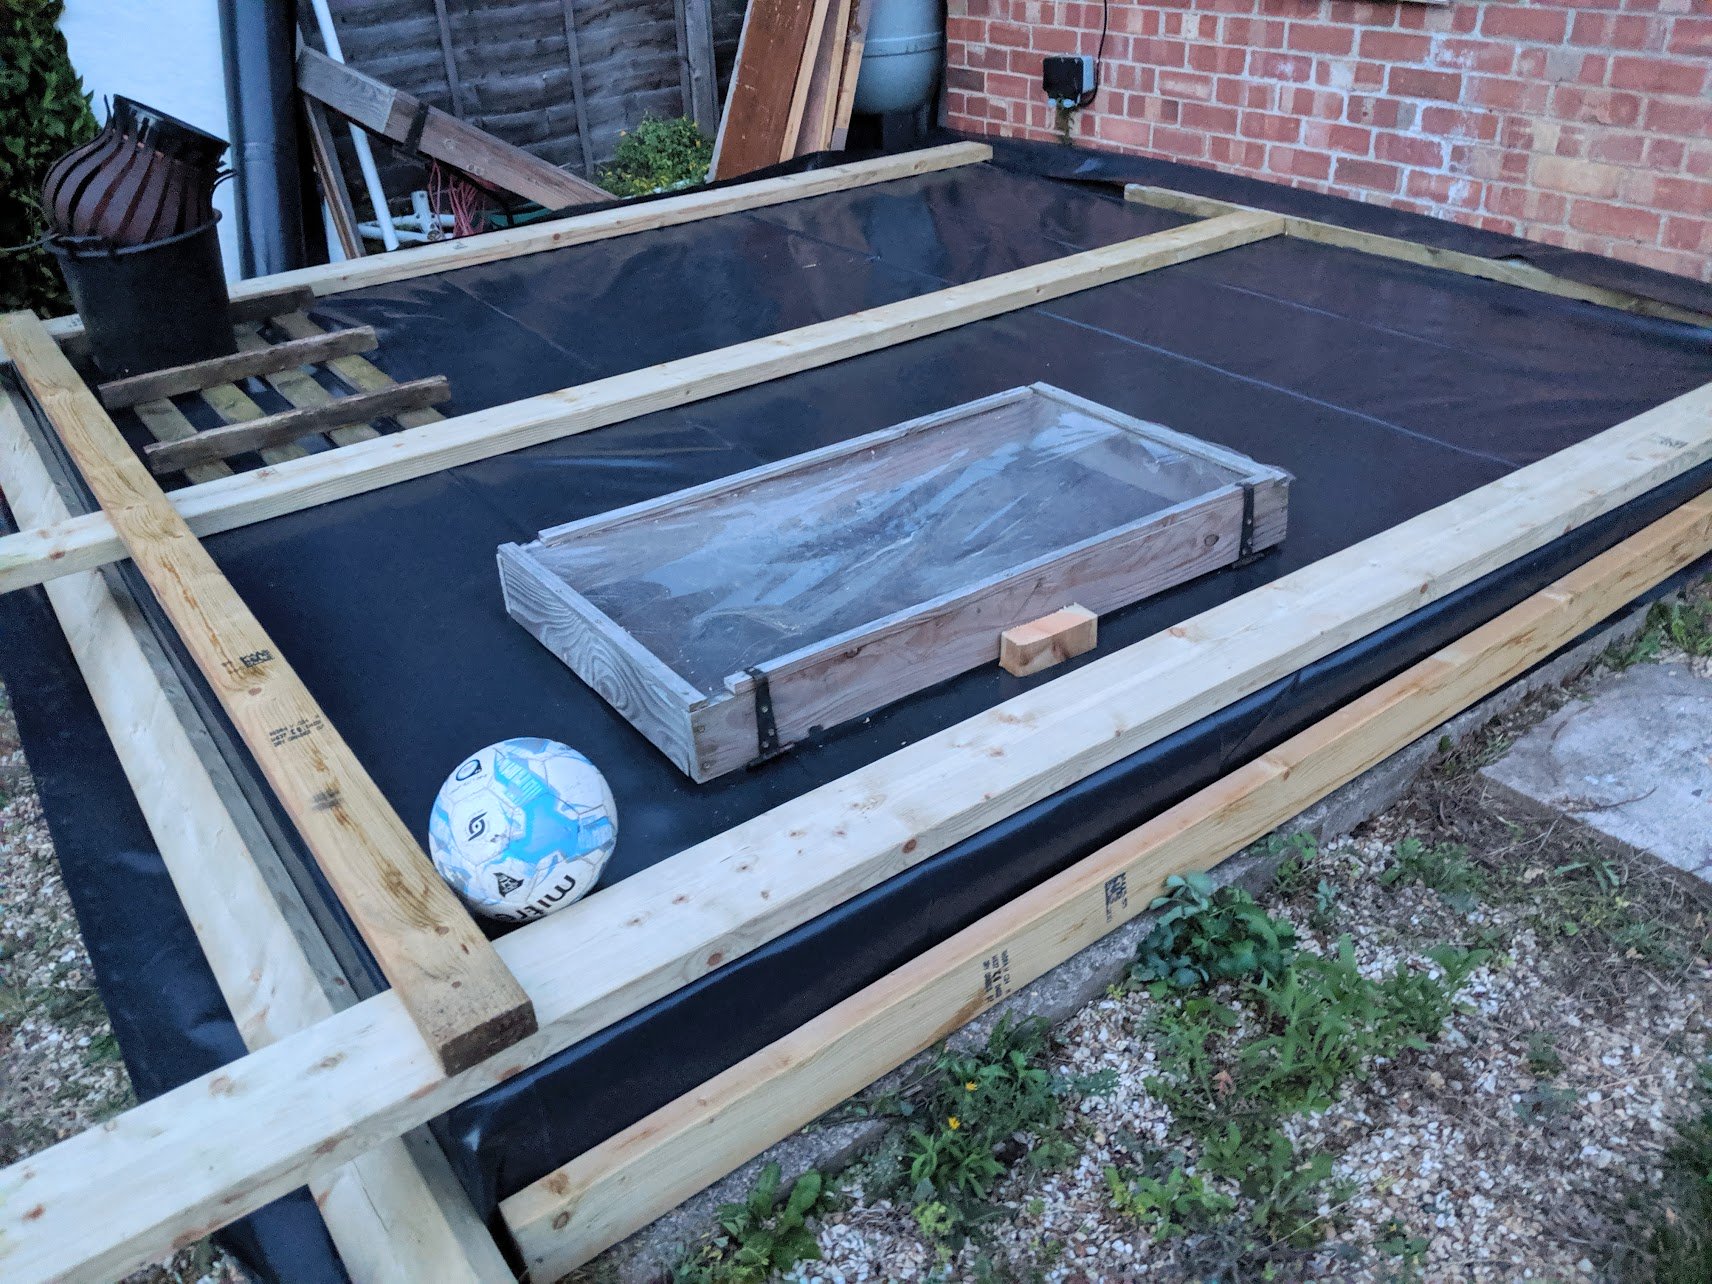
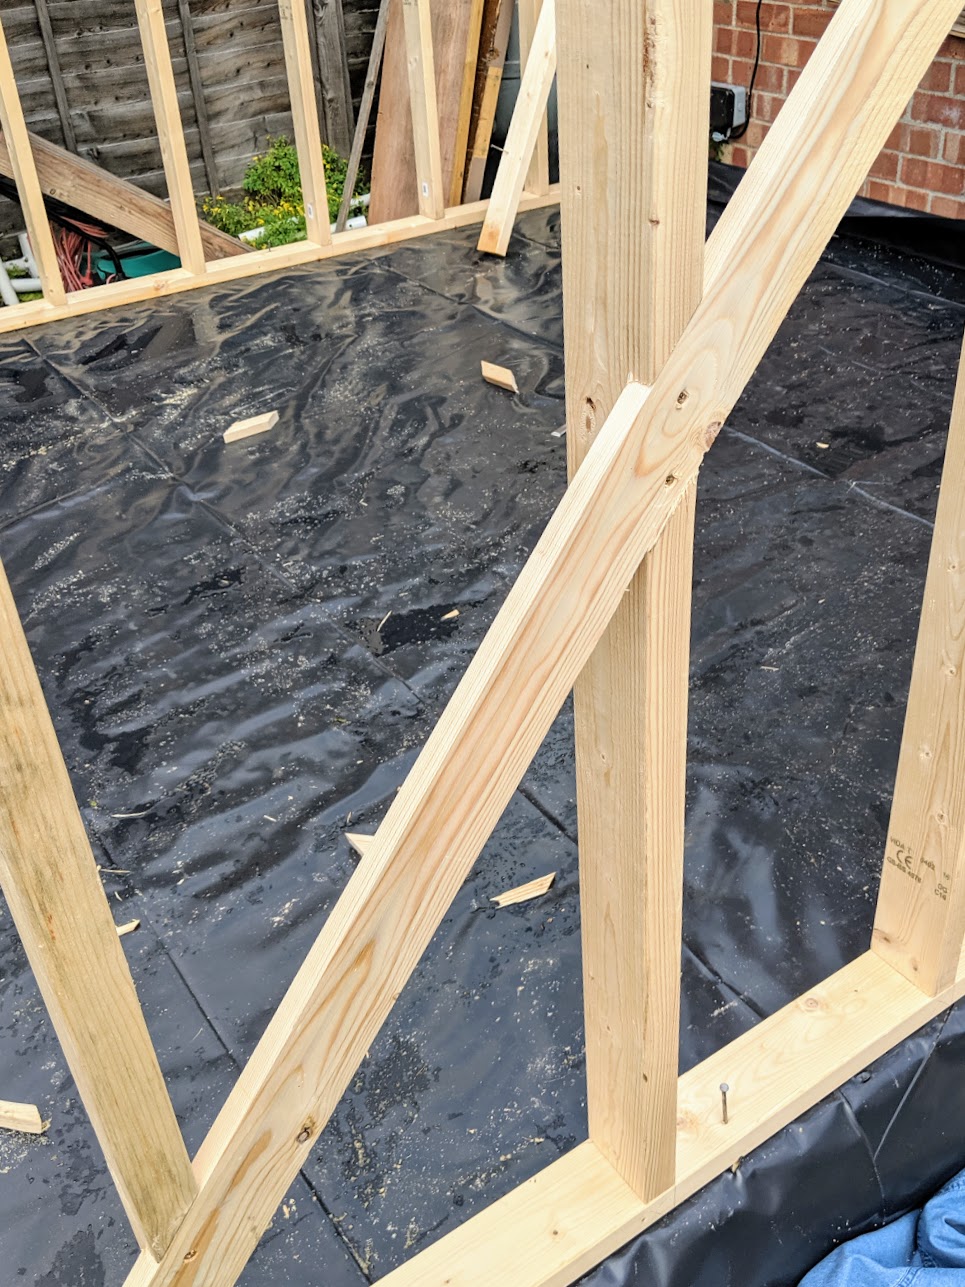
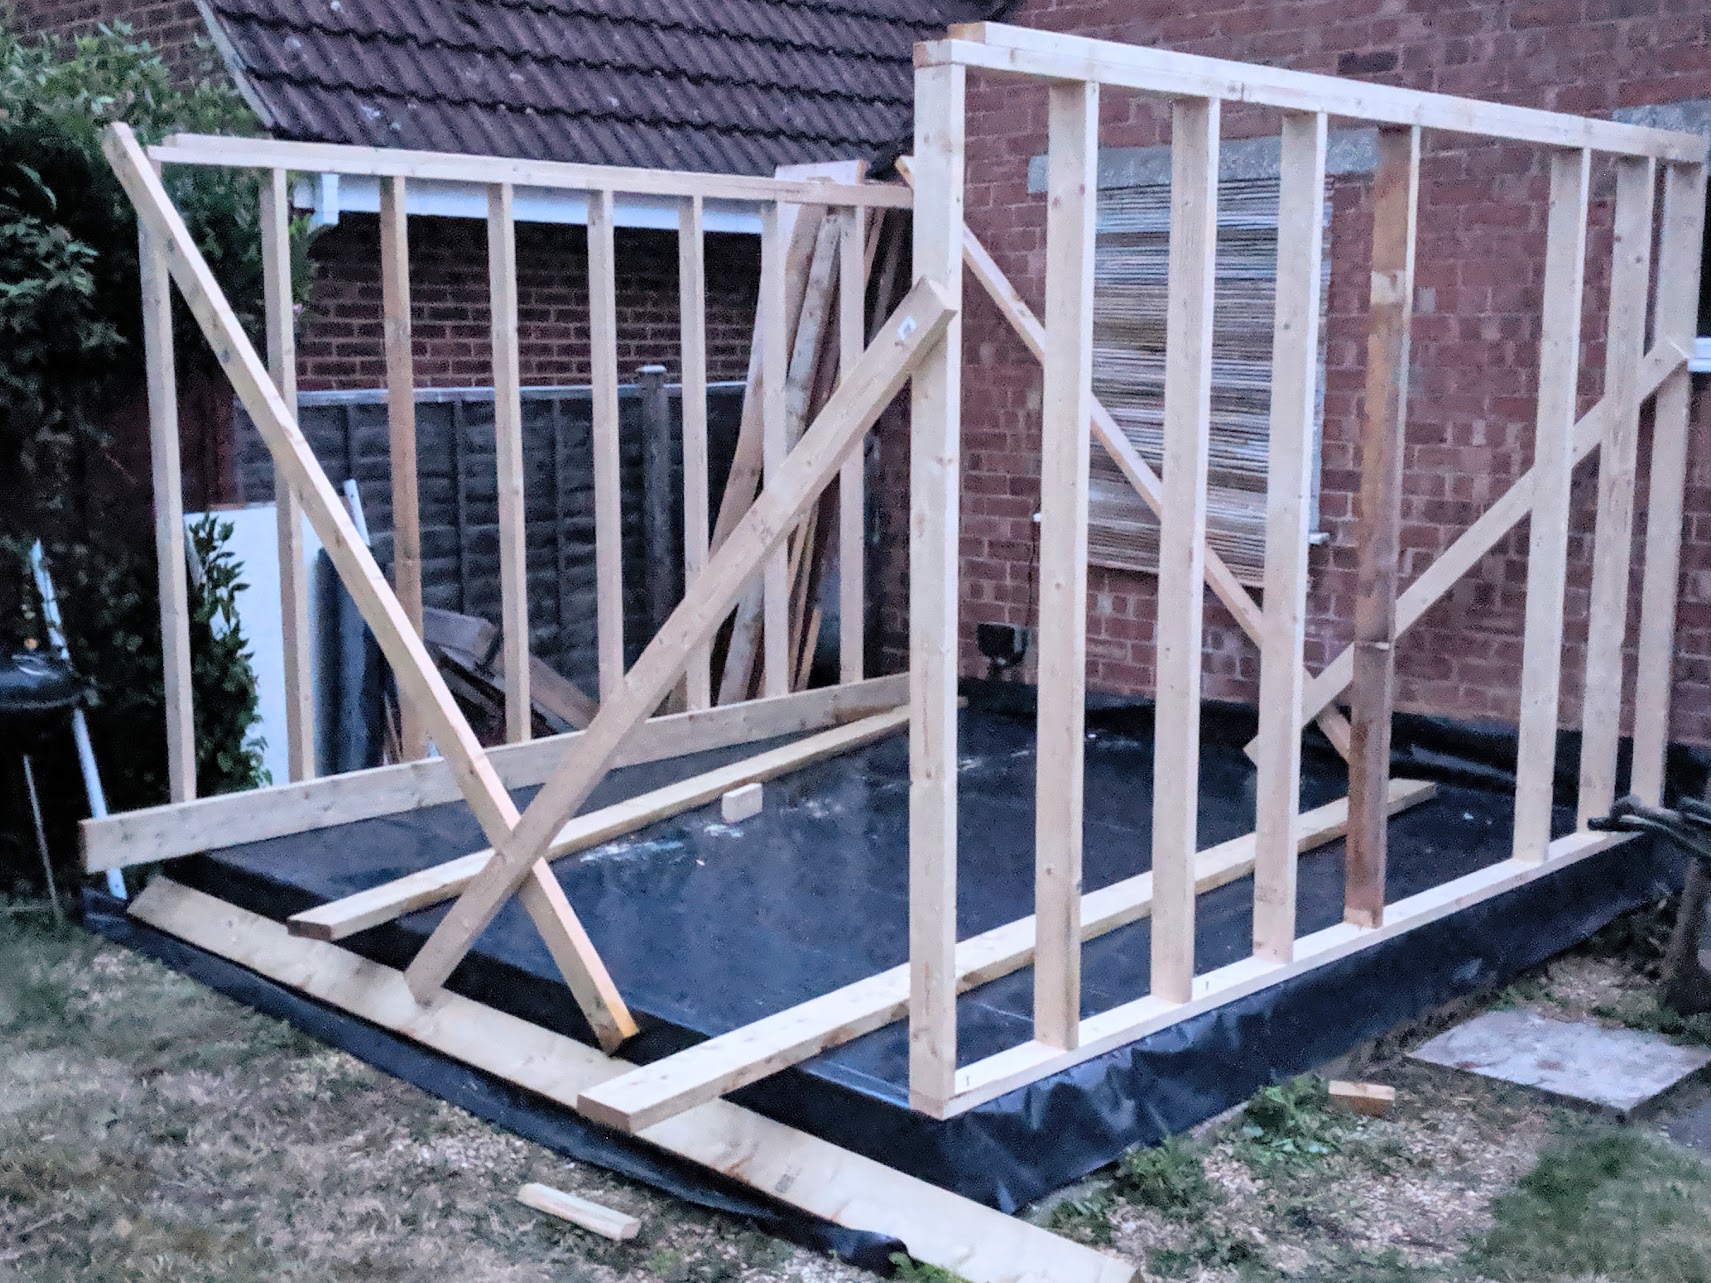
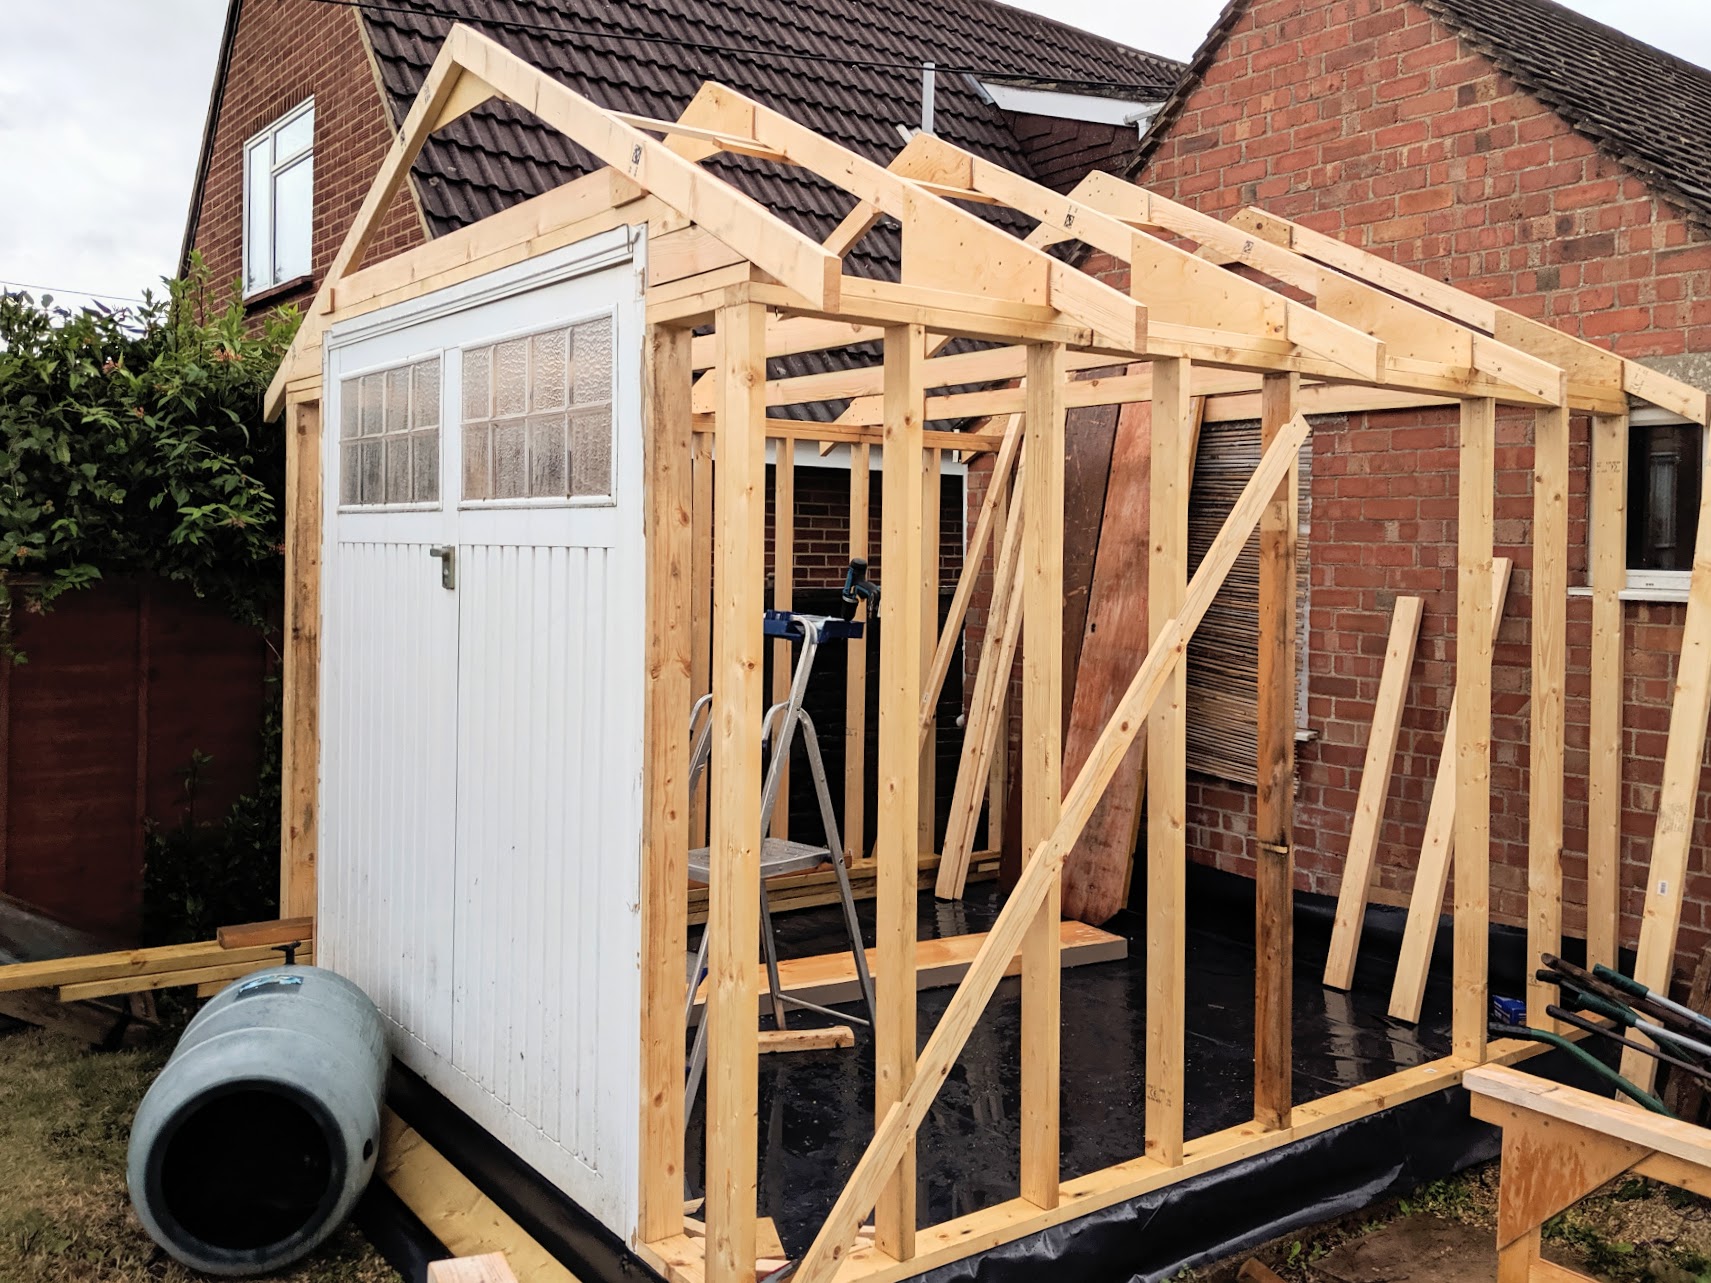
As it is with any foundation, it's important to get it right. When you do, everything else falls into place. Level and square are the two key elements after ensuring the foundation is strong enough to support the whole when done and then some. Standing the stud walls on so small a structure is not hard or particularly heavy. Braces at the ready, nails started and then the spirit level for plumbing. With the foundation (floor) squared solid and skinned with 3/4" ply and level everything else from here on is about being plumb. I'm enjoying the work. It's different for me. I installed the up and over door as a cost saving and because I didn't want to scrap a good working model that may well help me with access and so on. I plan to build shelves in front of the door inside but to put them on wheels. That way I won't lose the long wall for the storage I need. So far I have kept all of my materials dry throughout. Nothing worse than working with wet wood with hand tools. No forgiveness there.
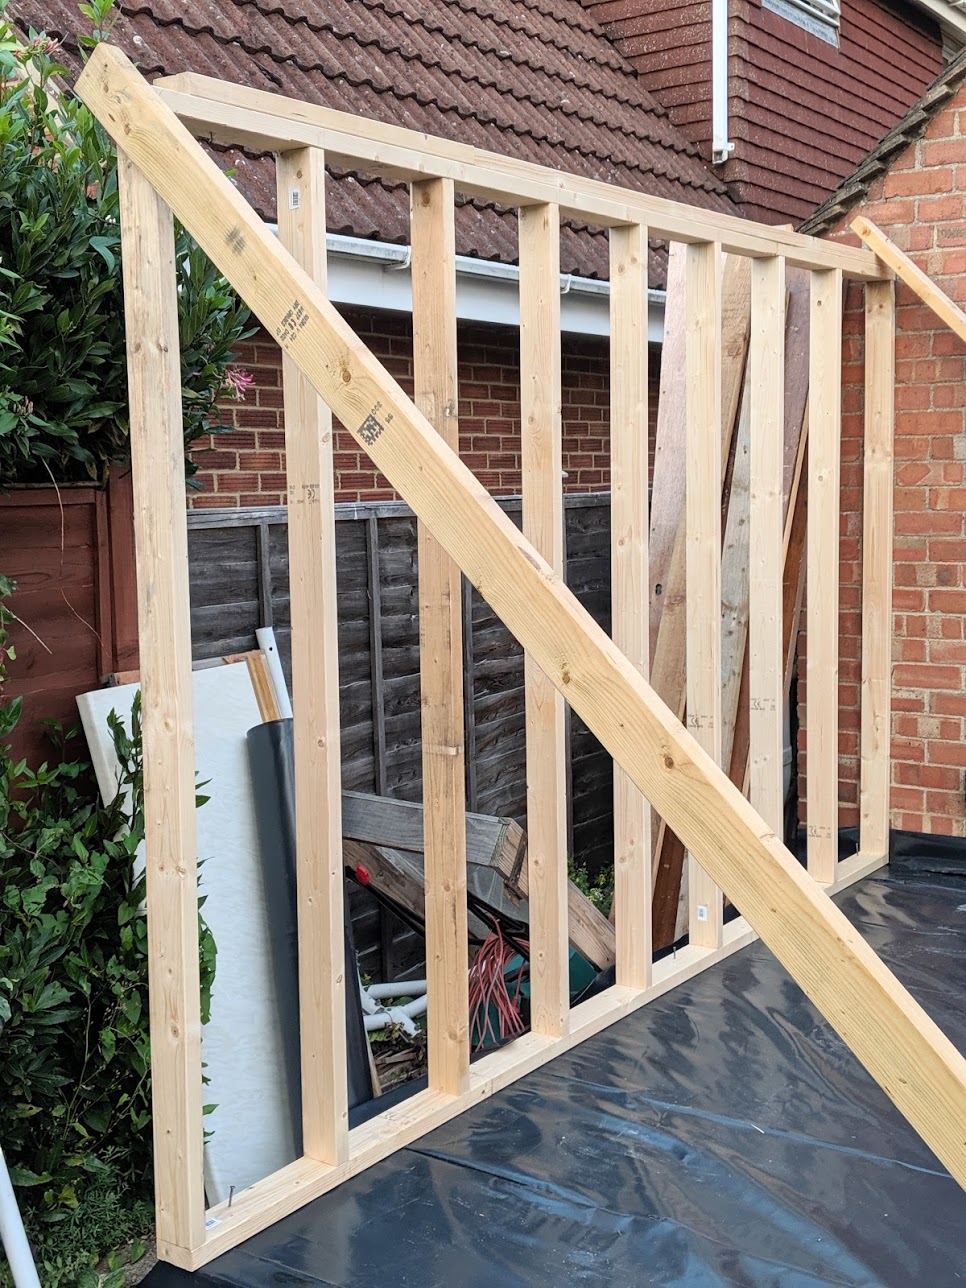
When I stood the walls I had inset the braces to each frame and whenI stood them I could tweak them before screwing them permanently in place. it was quick. A frame took me half an hour to nail stand and plumb and brace once my studs were cut. This saw is one from the early 70s before Spear & Jackson sold up and shipped out. It's one of their bicentennial versions but this one has the mahogany handle.
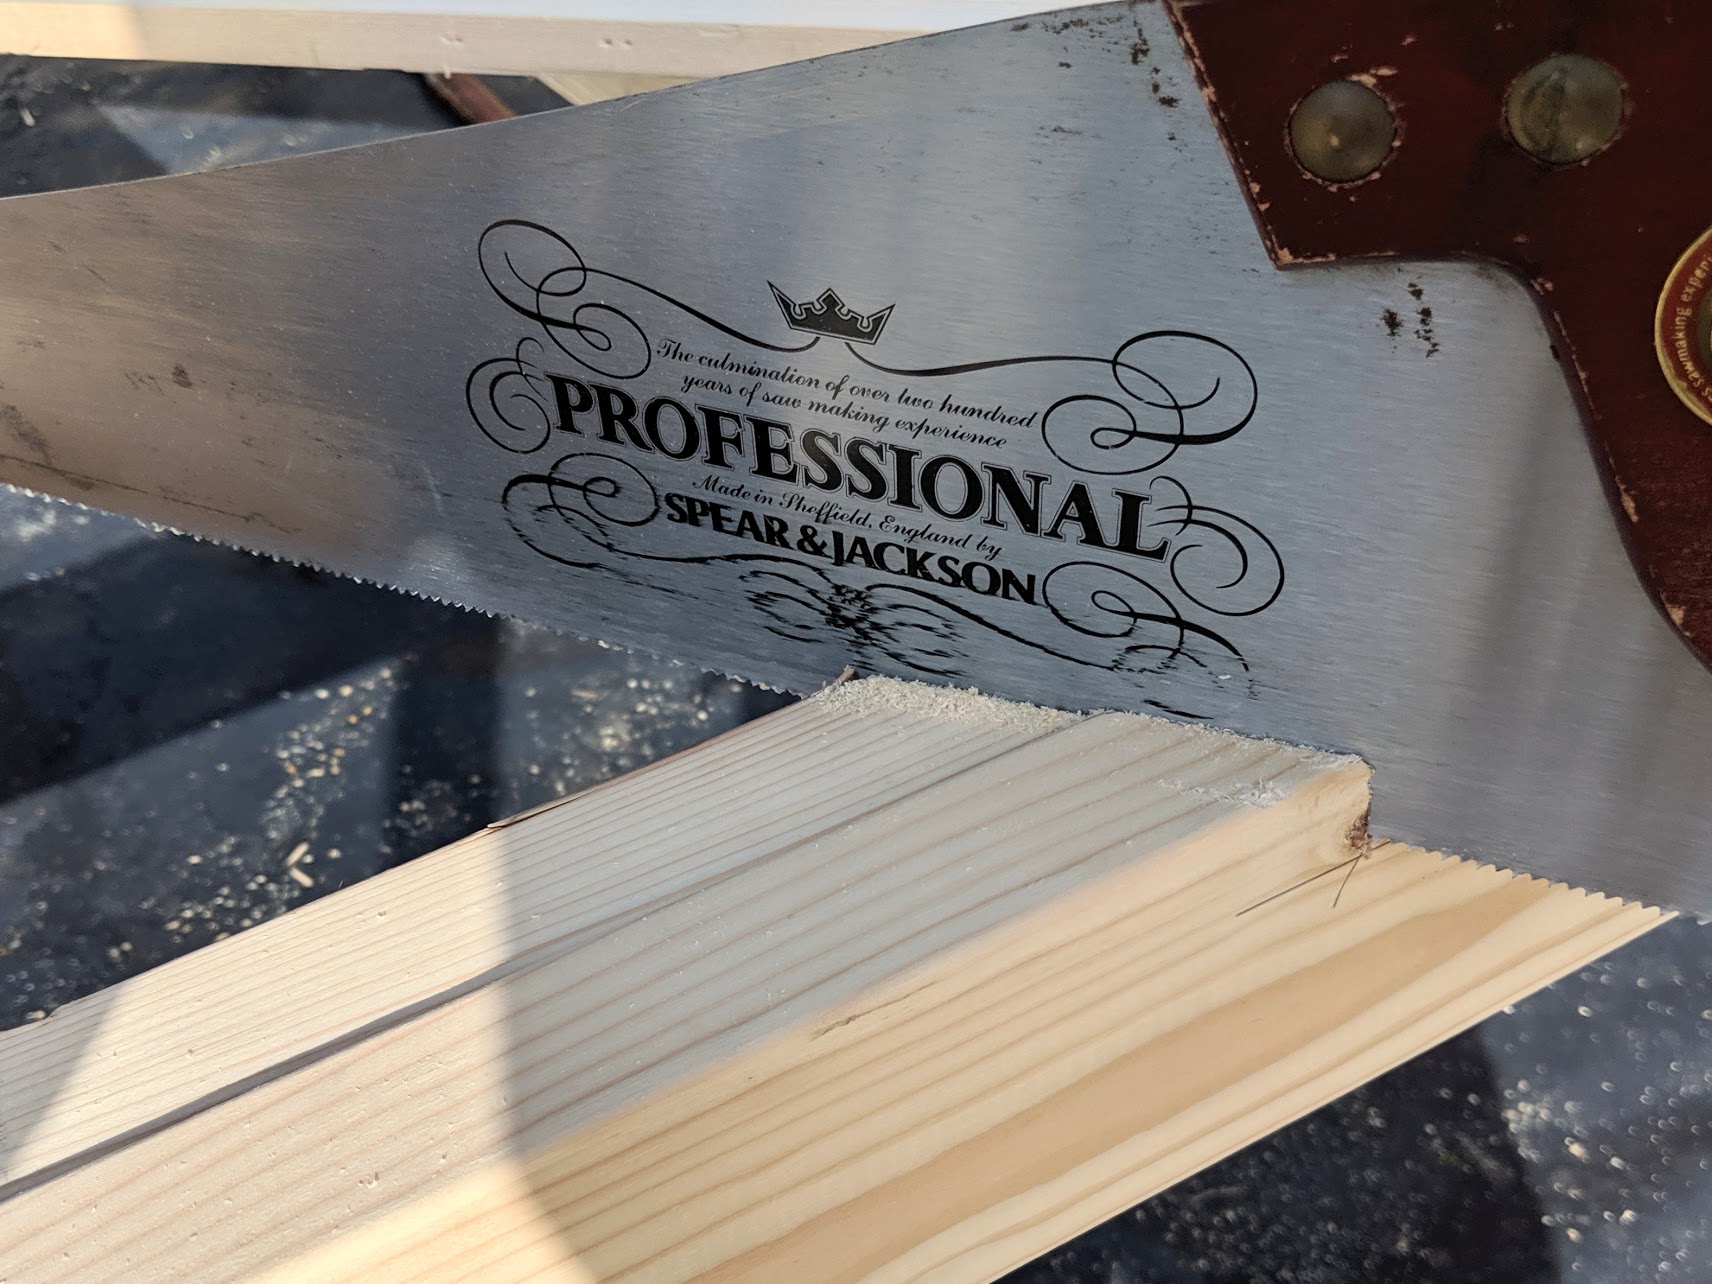
I have a couple of the rosewood versions (one with the original S&J box) which I really like and you can look for them on eBay. I usually would pay £40 for the rosewood handled version, £20 for the mahogany: Oops, the price just quadrupled. I would go higher too. They are worth it. basically you are getting a new-old-stock saw that will last you a lifetime. The plate is a little thick but not overly so. When they get too thin you run the risk of buckling to a kink.
Building against the brick wall of my garage saved money too. It's unlikely that I will move so I bolted the wall frames and floor frame to the wall for rigidity too. If I ever need to I can always unbolt, lift and roller it out to another location. It was really the slab that decided me. It was obviously the foundation for a building somer time in the past so replacing it with mine works well for me.

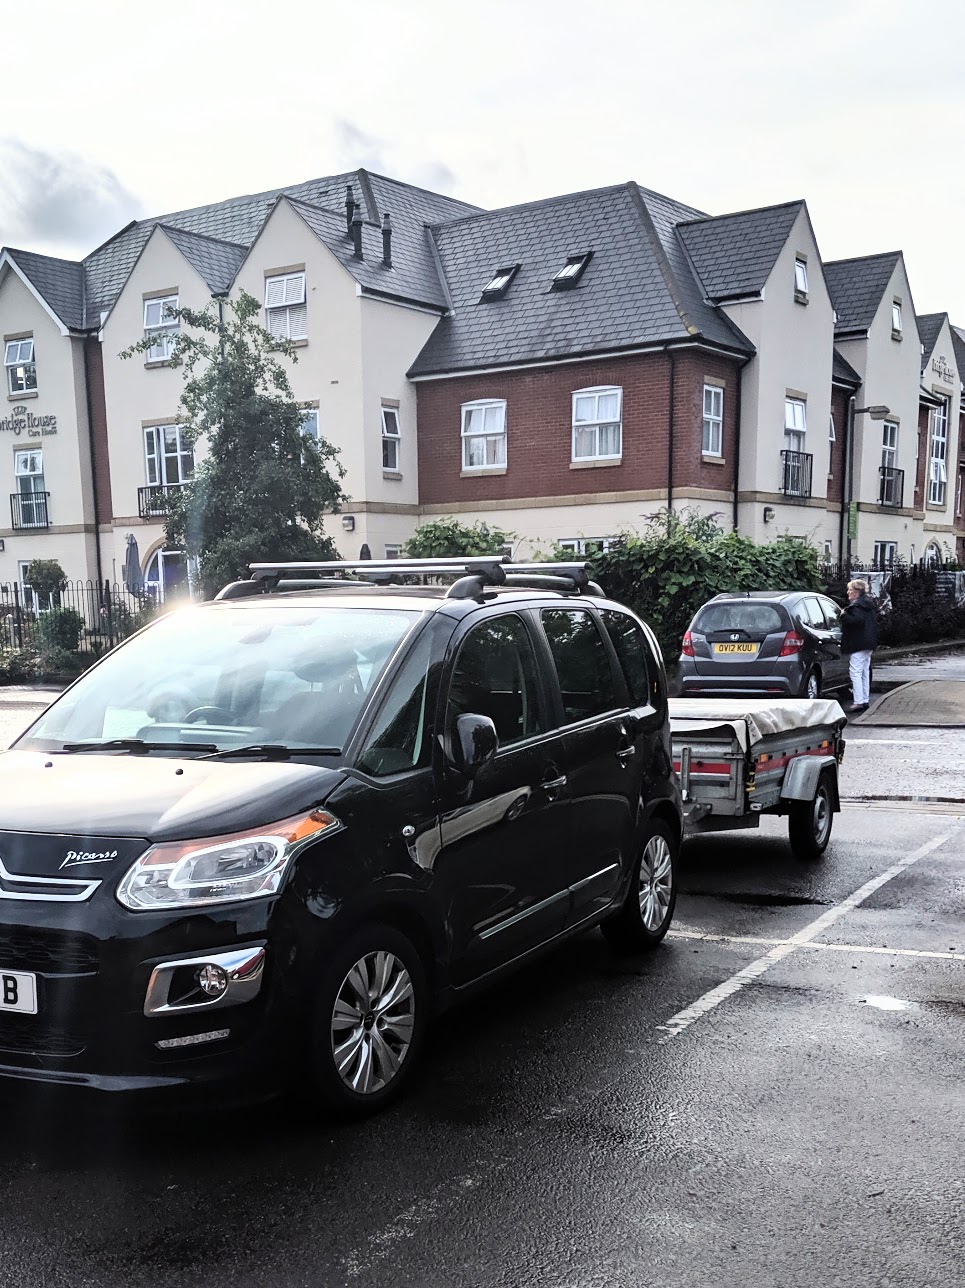
I use my trailer for most of the lugging work and that works great for me. I can also use the trailer as a work platform as I did when I made my five trusses. It works perfectly and in the past I have also used it with power equipment like chop saws and tablesaws as it is just the right size and I had wooden outriggers to support the workpiece. I had decided to lower my my eaves to allow more light next to the passage down the side of my neighbours side so I had to compromise my internal height somewhat and accommodate to the up and over garage door at the last minute. Bit Heath Robinson but it will be fine. I have yet to add the second gussets this side of the trusses yet but I will do that now that they are in place. No big deal but I was running out of daylight and could be bothered setting up lights so late at night.
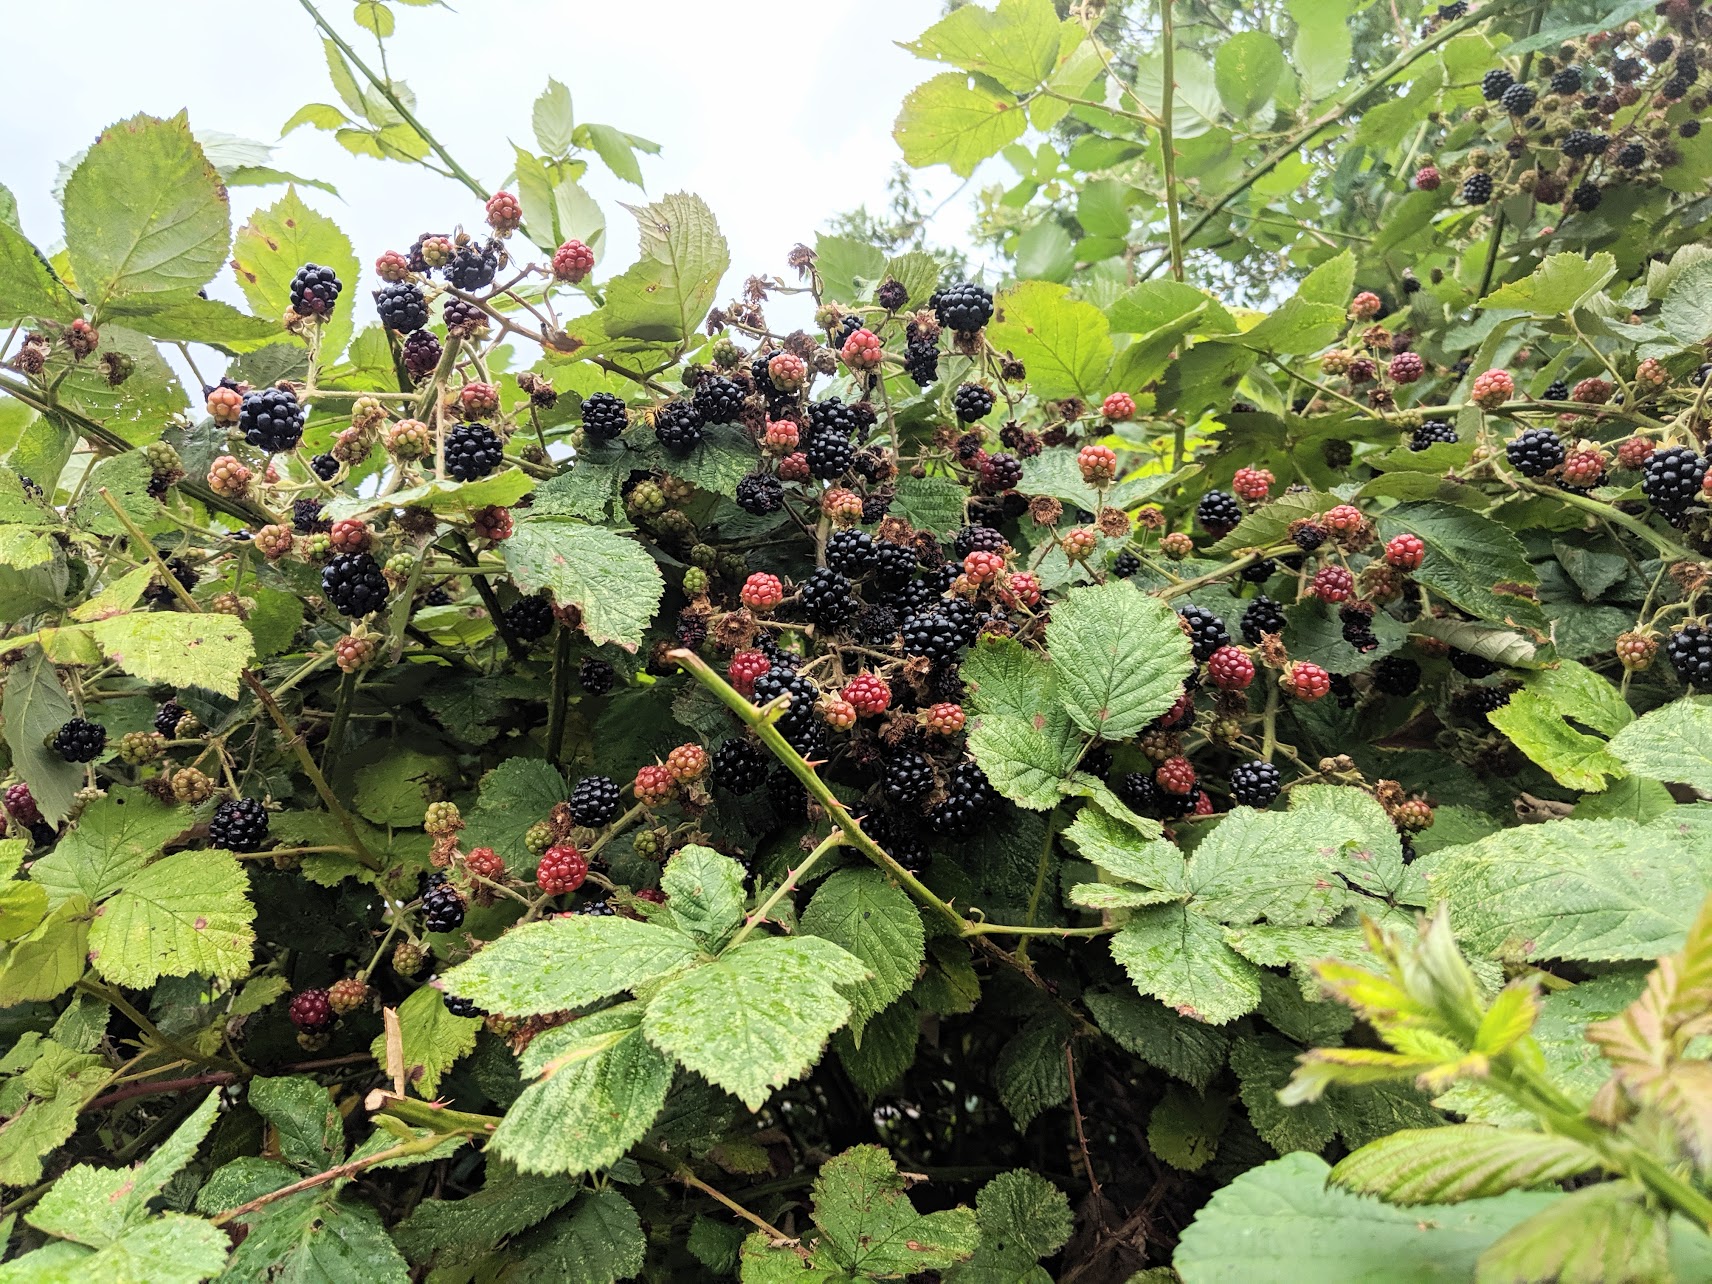
I picked the windiest rainiest day to put up the roof trusses. Dodging between the bursts of rain wasn't easy but I managed to stay mostly dry. When heavy rain came in I almost gave up with the plywood for the rest of the day but I took a cafe break to write and think and when I came out the rains had all goner. I saw a large blackberry bush fully laden and I love blackberries.

Two memories flooded back to me during the past two weeks of building my shed. No, it hasn't taken me two weeks to build a shed. I have an hour or two before dark after my day job keeping you all entertained with videos. The memories? One, the smell of mixed pines and plywood from when I built my first Texas home. If I could bottle that it would be wonderful to uncork it now and again. The missing ingredient was the mountain laurels covering the hillsides around my home there.
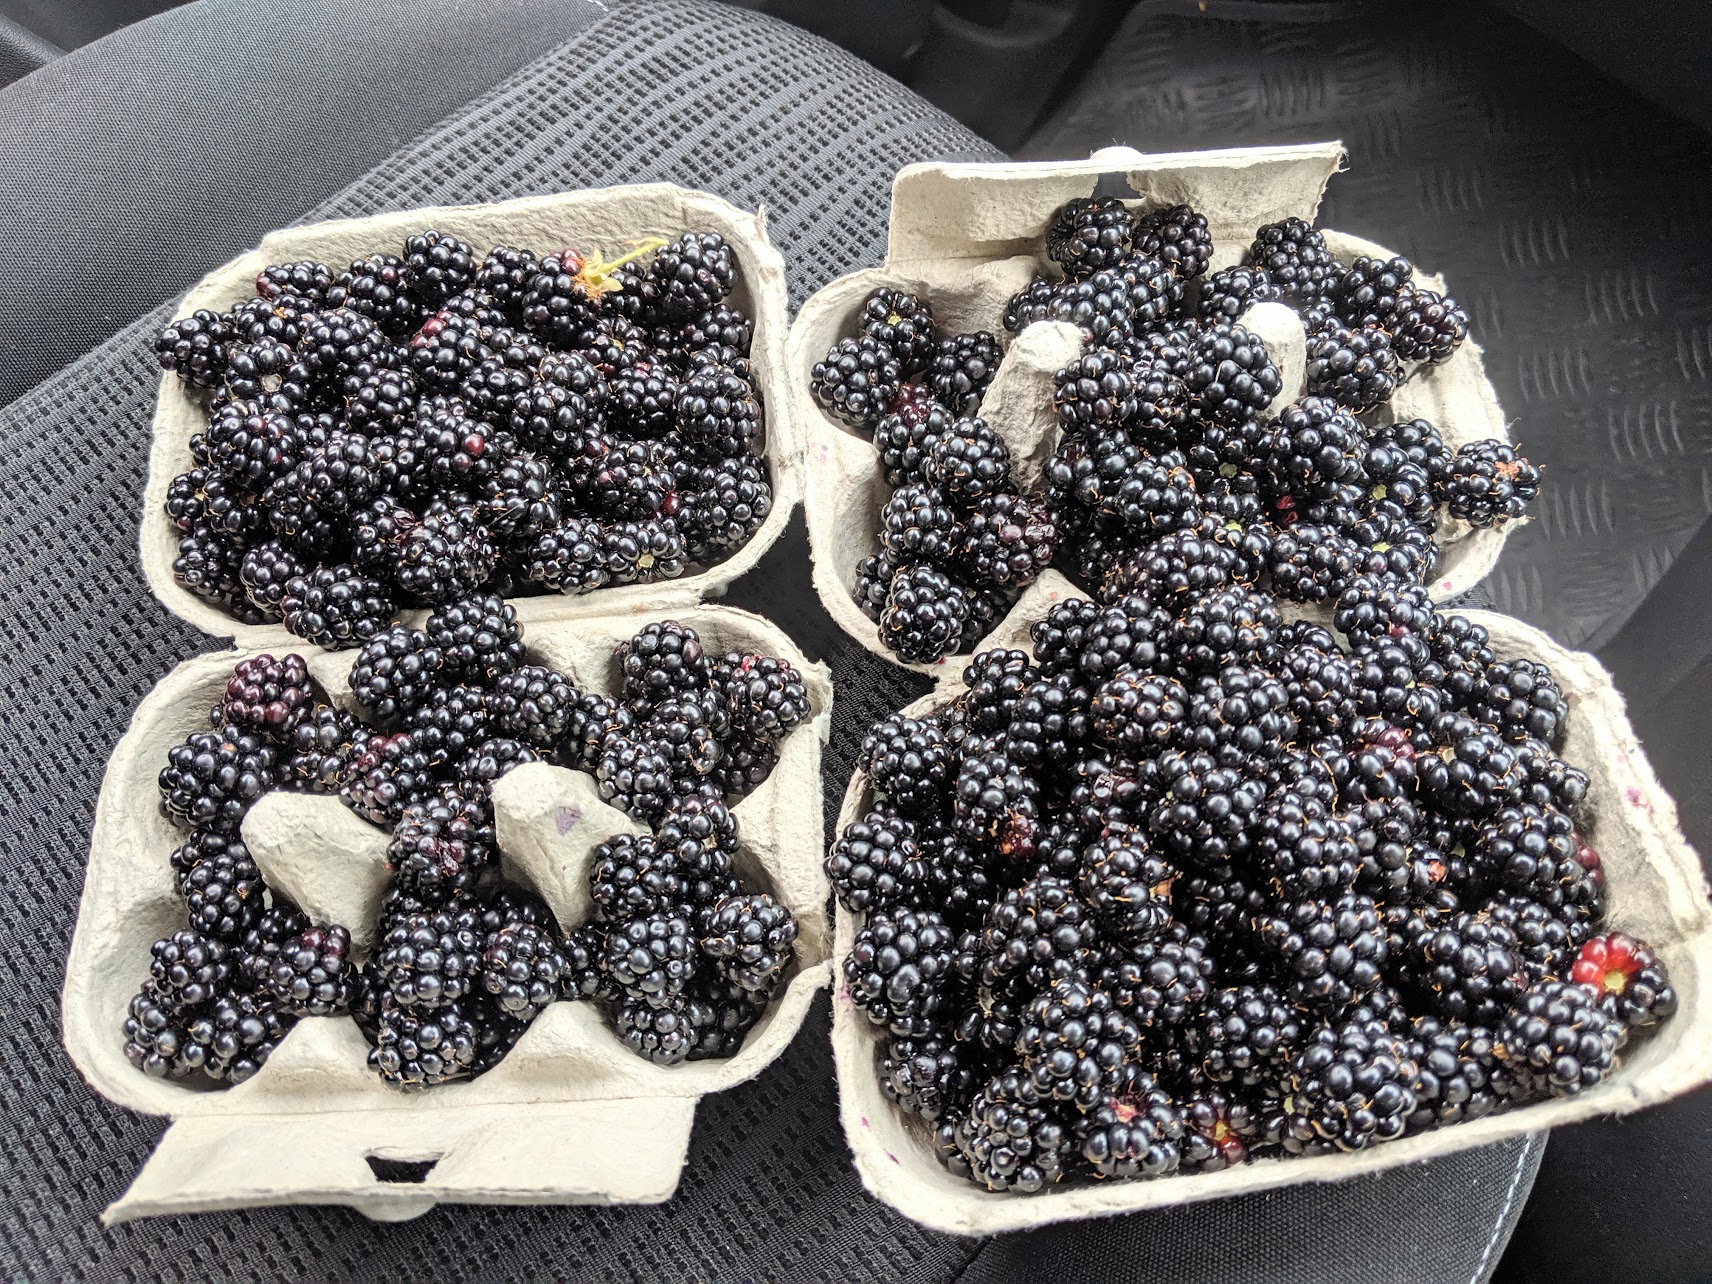
The second memory was picking the blackberries. My brothers and sisters (six of us) and mum and dad often took in-season day trips to the brickyard in Adswood to pick blackberries. We took five gallon buckets and would not leave until we had filled five of them. When we got home mum would start making the blackberry jam and jellies. She made a years supply of jam over the two days and we had jam for a year again.
With the wind whipping around my ears I stood atop the ladders and stood the trusses to anchor them at the wall plate (UK). In place, bracing them inside so that they then stand parallel and plumb is a temporary fix until the plywood is in palace and its this that keeps everything square and stiff in the upper reaches. The wind got up to 40-50 miles an hour and perhaps higher in the gusts. That was the point when I decided to put the plywood on. Not thew best timing but I felt it was doable so I did it.
Instead of nailing I screwed the sheets down. I used half inch plyfor this and I plan to add some 1 1/2" by 3" battens inside in line with the screw line so that I can use longer screws for anchorage. This comes from living in Texas where I have seen screws reverse themselves in the thread as a direct result of the heat raining down to expand the pressure on the screws. Longer is better. predrilling the centreline holes prepared for the screws and I waited between the unpredictable blasts to lift the sheets in place. It worked. All in all the last sheet went up at 9pm.
So next I will pick up the roof tin, galvanised followed by green colouring, foam infilling and screws and flashing. I will be insulating and lining the walls with plywood too.
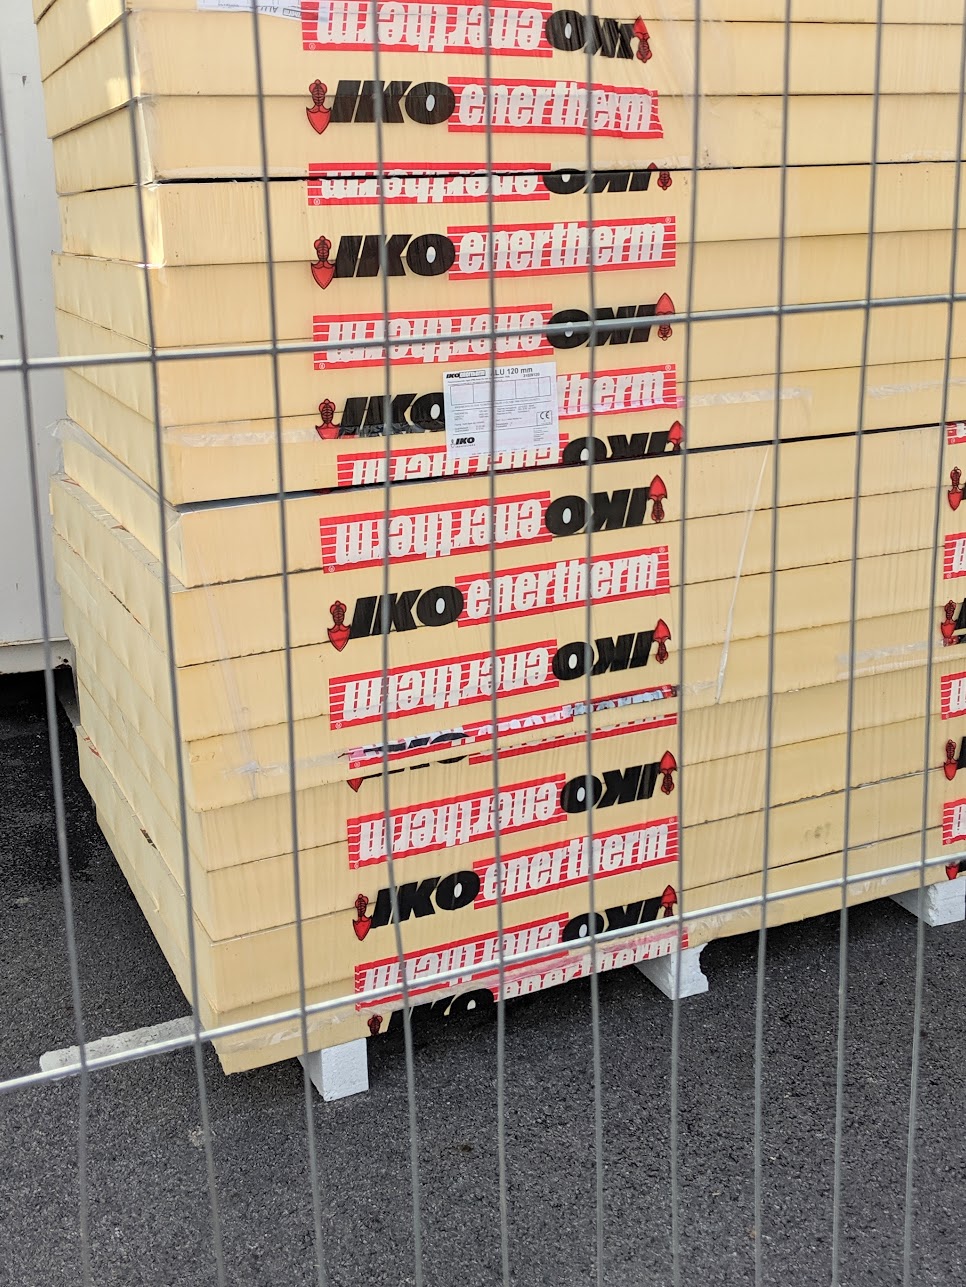
That upgrade will take me over budget but I may change the use one day from shed to art studio, for when I start writing and illustrating the books I will write into the future's of hand tool woodworkers.

Comments ()