My Own Scraper Burnisher
It's been some time since I designed my own burnisher. Having used so many I thought I could develop one that was specifically designed for my own hand according to preferences and knowledge I had gained over several decades. I have used it every day since I turned the handle and slid the hardened steel into its place. Whereas any burnisher of any shape and made from almost any hardenable steel will consolidate, burnish and turn the cutting edges I need to any type of scraper, and that includes the #80 cabinet scraper and rounded versions too, I admit to this being my best shot bar none.

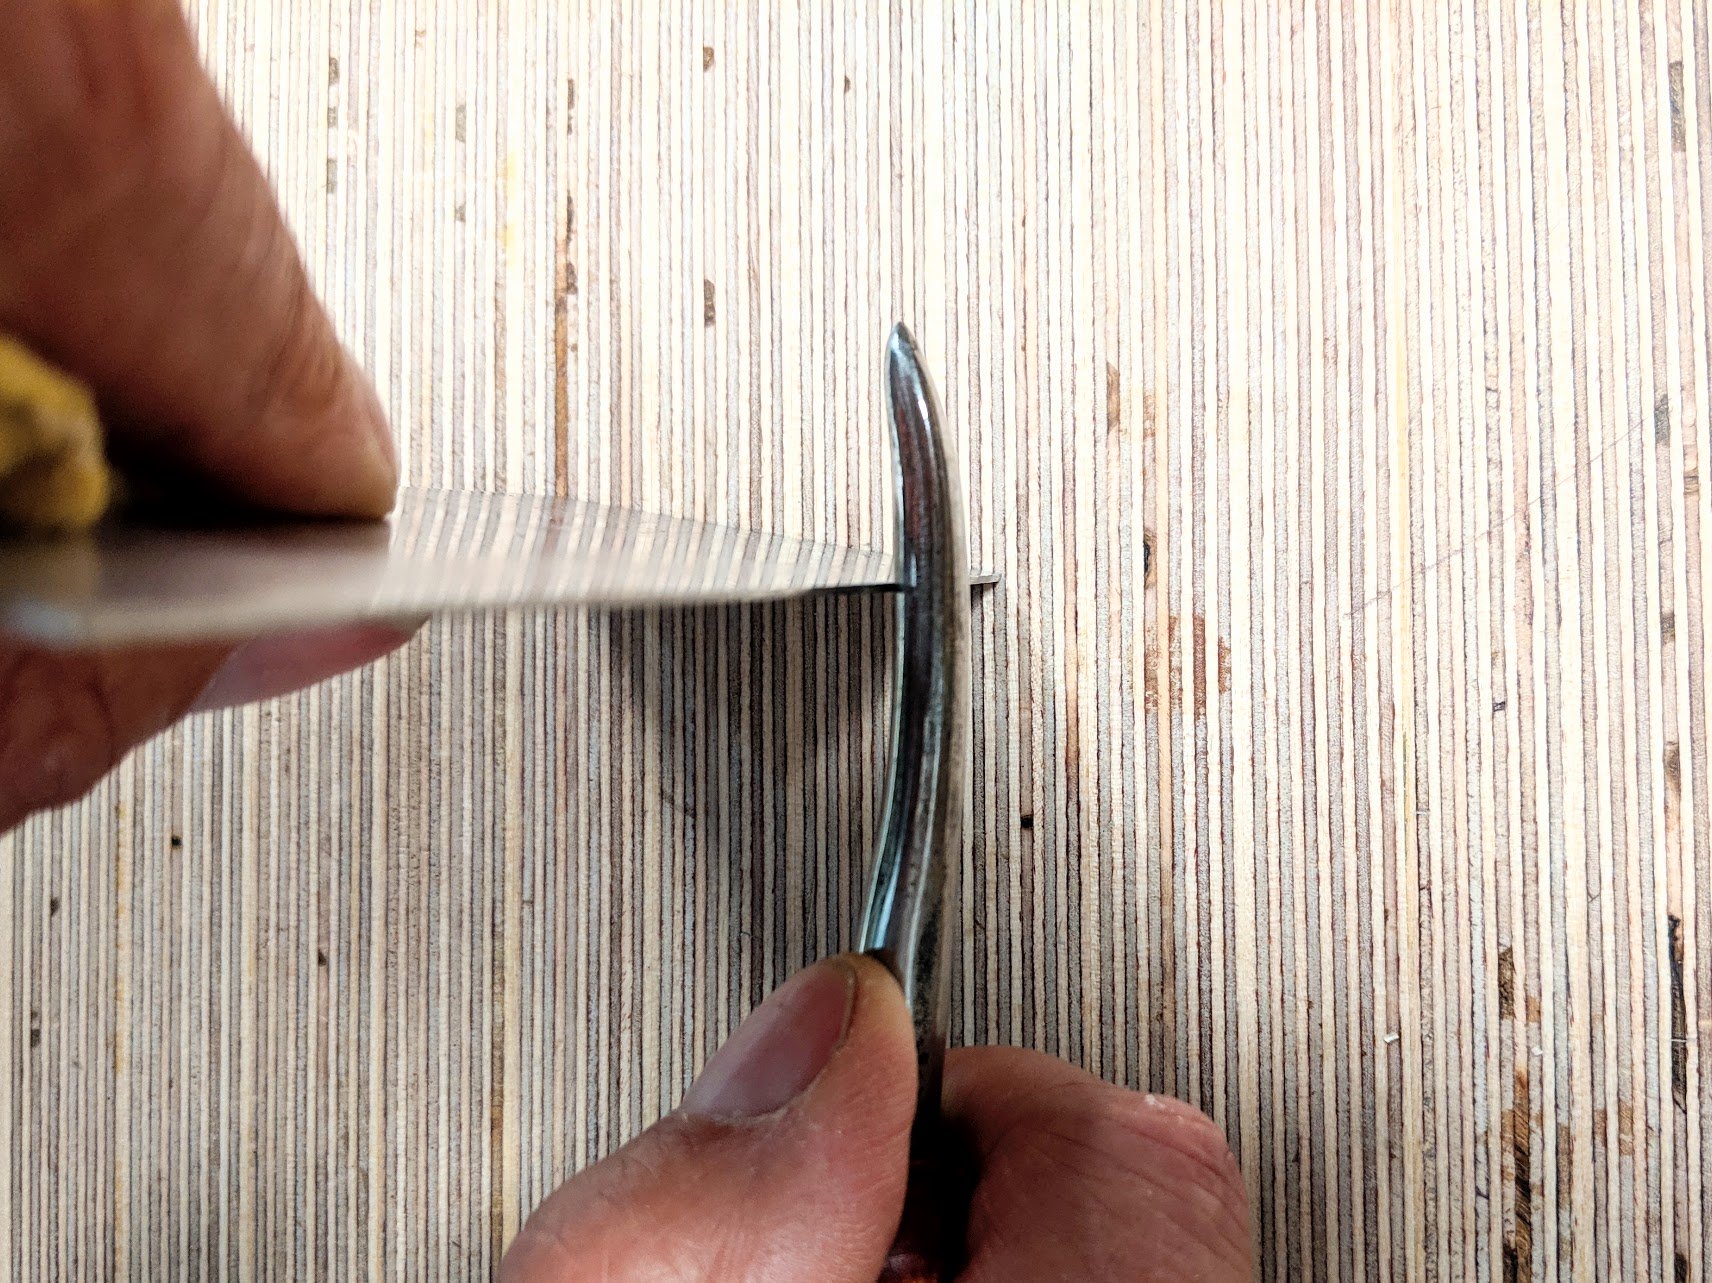
I shaped the steel according to the gradual bend I liked the most after trying four or five slightly different angles. It's a simple enough task to pound round rod into an oval and then draw out the end to elongate the point. While it's still hot, two or a few taps will reconfigure the shape. Before hardening it was best to remove the hammer marks on abrasive although that's not really necessary at all. I polished it out on abrasive with hardly any effort and then it went through the hardening process before final polishing on cotton mop on a bench grinder.
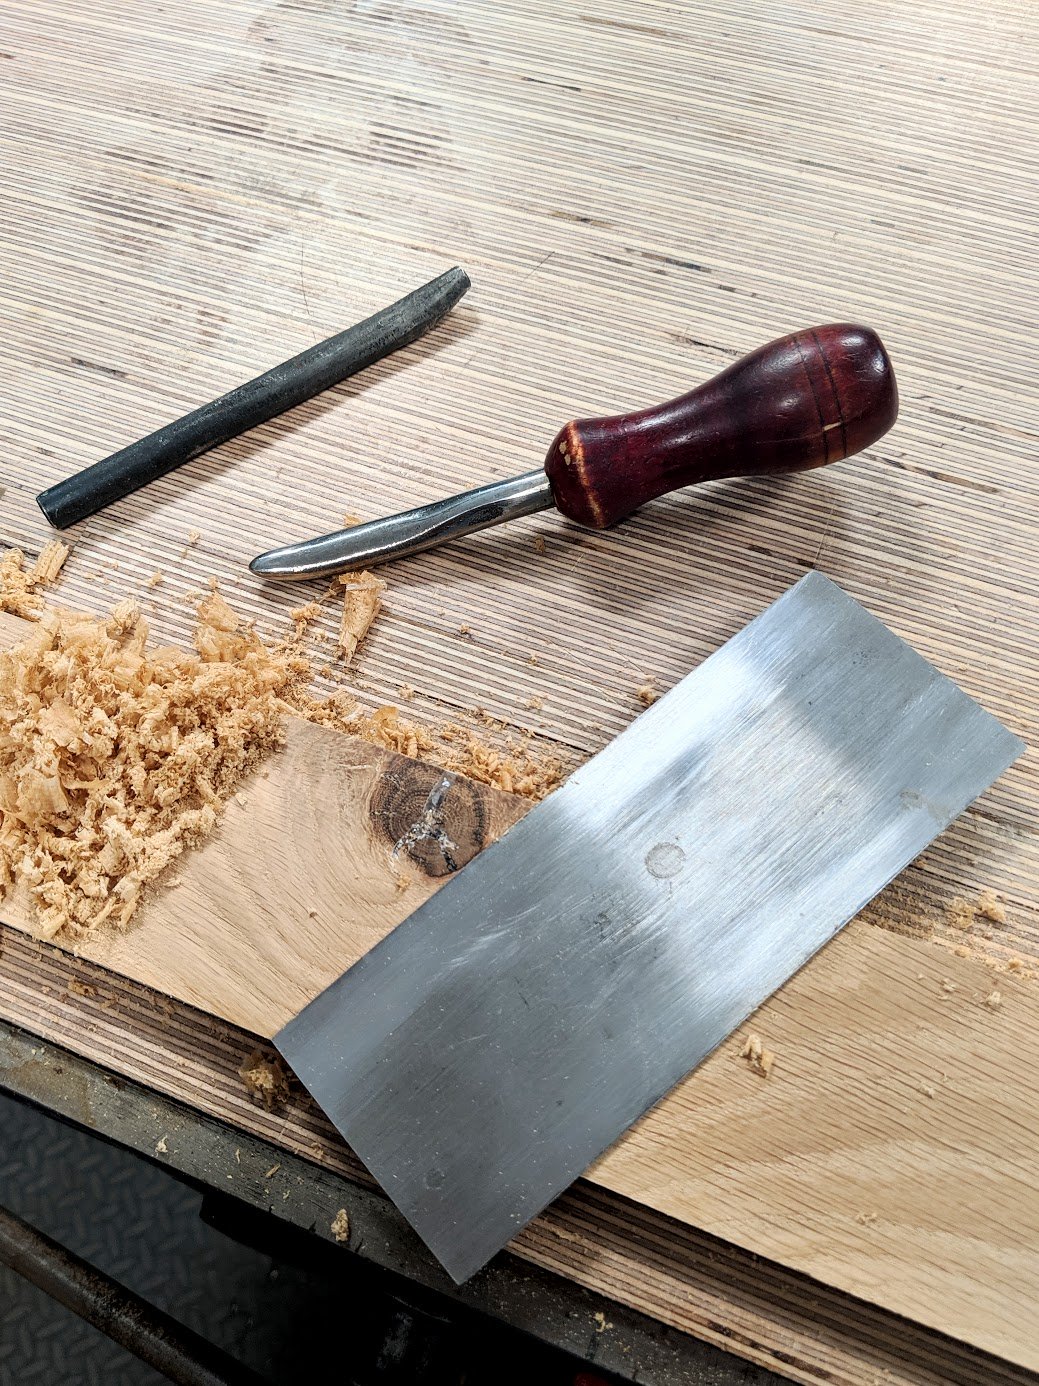
Though I think a ferrule in brass looks nice it's not at all necessary for strengthening as the pressure is not that great and of course it is not a struck tool in any way. By filing three flats on the round bar end to allow for epoxy to adhere in the flats to the wall of the hole in the handle I had pretty much finished the metal working part.
The handle I turned on the lathe, as you can see, simplicity is the name of the game. Literally a few minutes to finishing it out completely with a little stain and three coats of shellac. I could only get the 'Sellers' aspect of my personal name via the name stamp on the handle but I'm just fine with that. They say, "a fool's name is written everywhere!"
No need for a drawn out tang as such. I just dripped in a few drops of two-part epoxy and the only thing left was a quick wipe over with a soft cloth.
Comments ()