The Thing Is...
...wood is wood. I know for many, cost of wood is always an issue and whereas people do often romanticise the using of pallet wood, at the end of the day it's just a useful alternative as well as good not to be wasteful. Whether it is truly a free resource is questionable because wherever your input of labour becomes an issue there is of course a cost to it. Someone retired with a pensioned income for their latter years may perhaps have a little time on their hands to start stripping down pallets and denailing the wood. That's not at all always the case though. Someone working full time with a family has to start prioritising their time and money and then even denailing pallets can cost them more than buying in the wood so they can get cracking straight off. Time as they say is money. All considerations at the end of the day. Of course saving wood from burying and burning is going to be the positive alternative. I doubt I would buy pallet wood when it is often free for the asking.
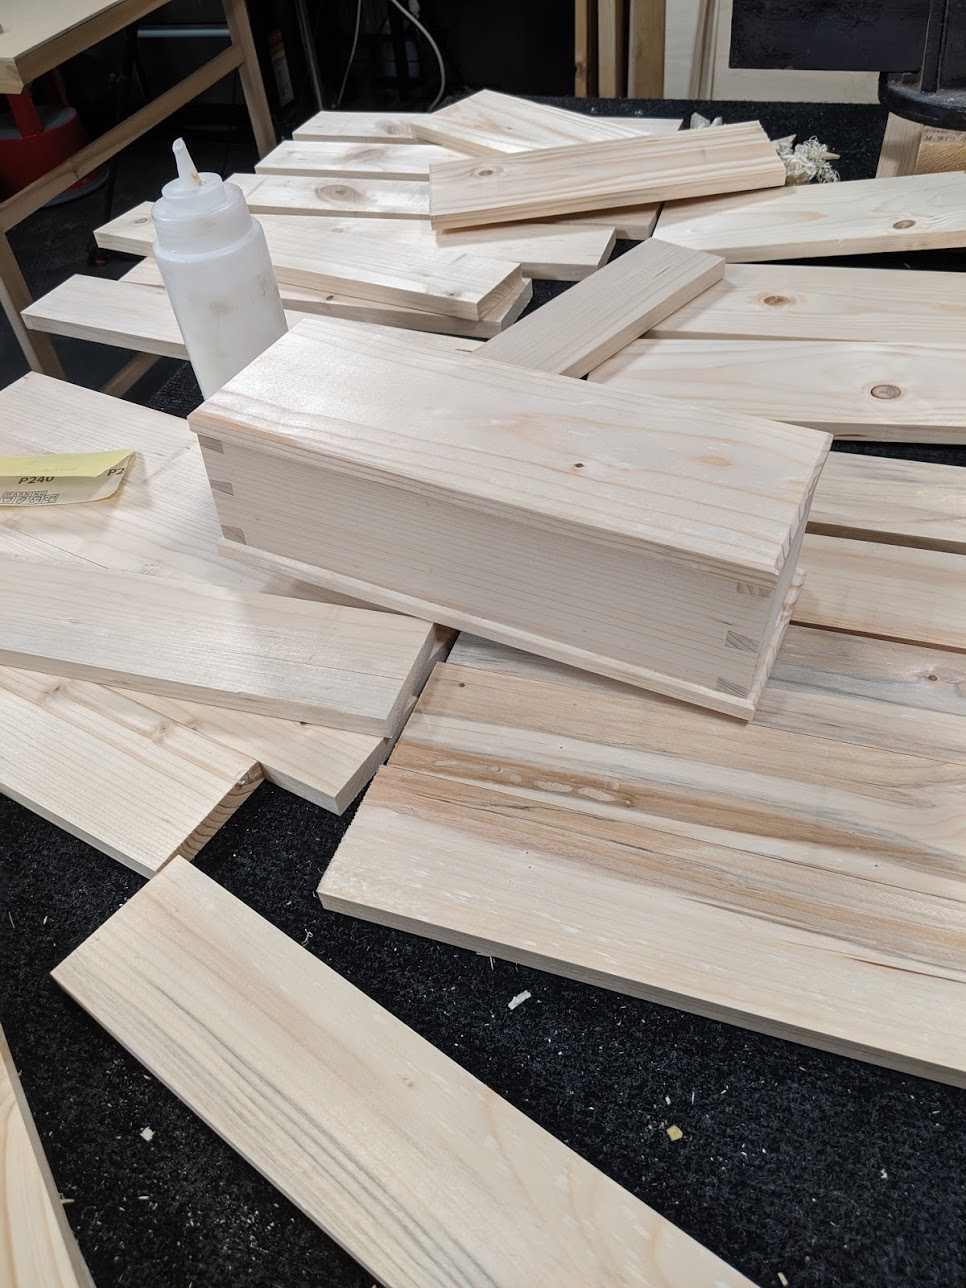
Though this wood type, exploited for shipping and distribution pallets, is a fast-growth material intended for the ugly side of commerce in the mass-industries of the world, it can work quite nicely for low cost boxes. The boxes could never really be described as premium but there are options; they can be left as the one here is in a natural condition or they can be painted, stained, varnished and so on or covered with another material, leather or fabric, even decorative papers and such.
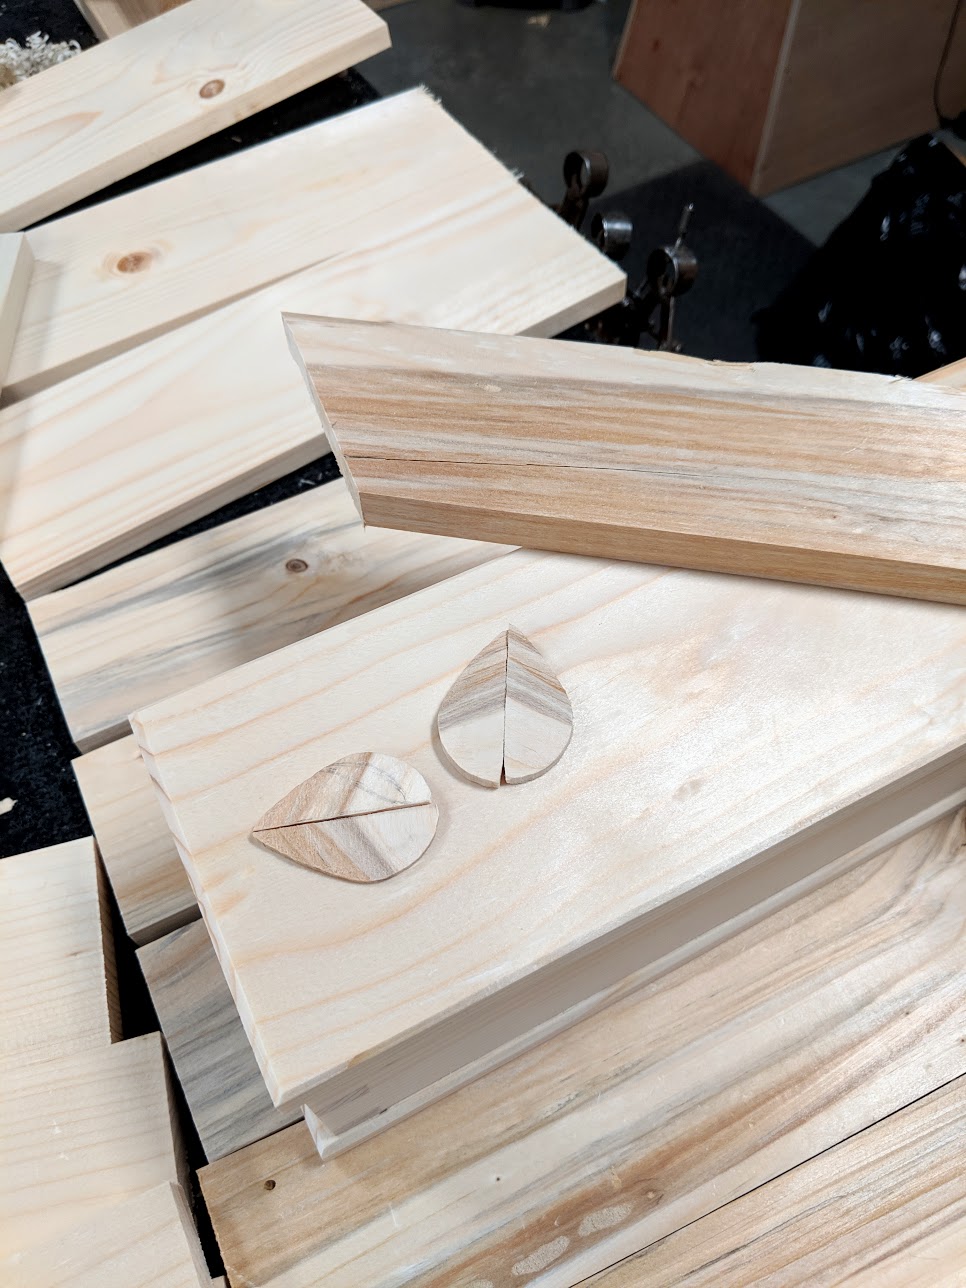
They can also be inlaid with alternative woods and woods with different grain configurations and colour to form say leaves, geometric patters, that kind of thing. The world is your oyster! Softwoods used for pallets is generally a little softer and less dense than say lime but can often be readily chip-carved. Decoration increases saleability if you planned on selling as an end product. These would make quite nice gift boxes even if only nailed - a bottle of wine or such, maybe.
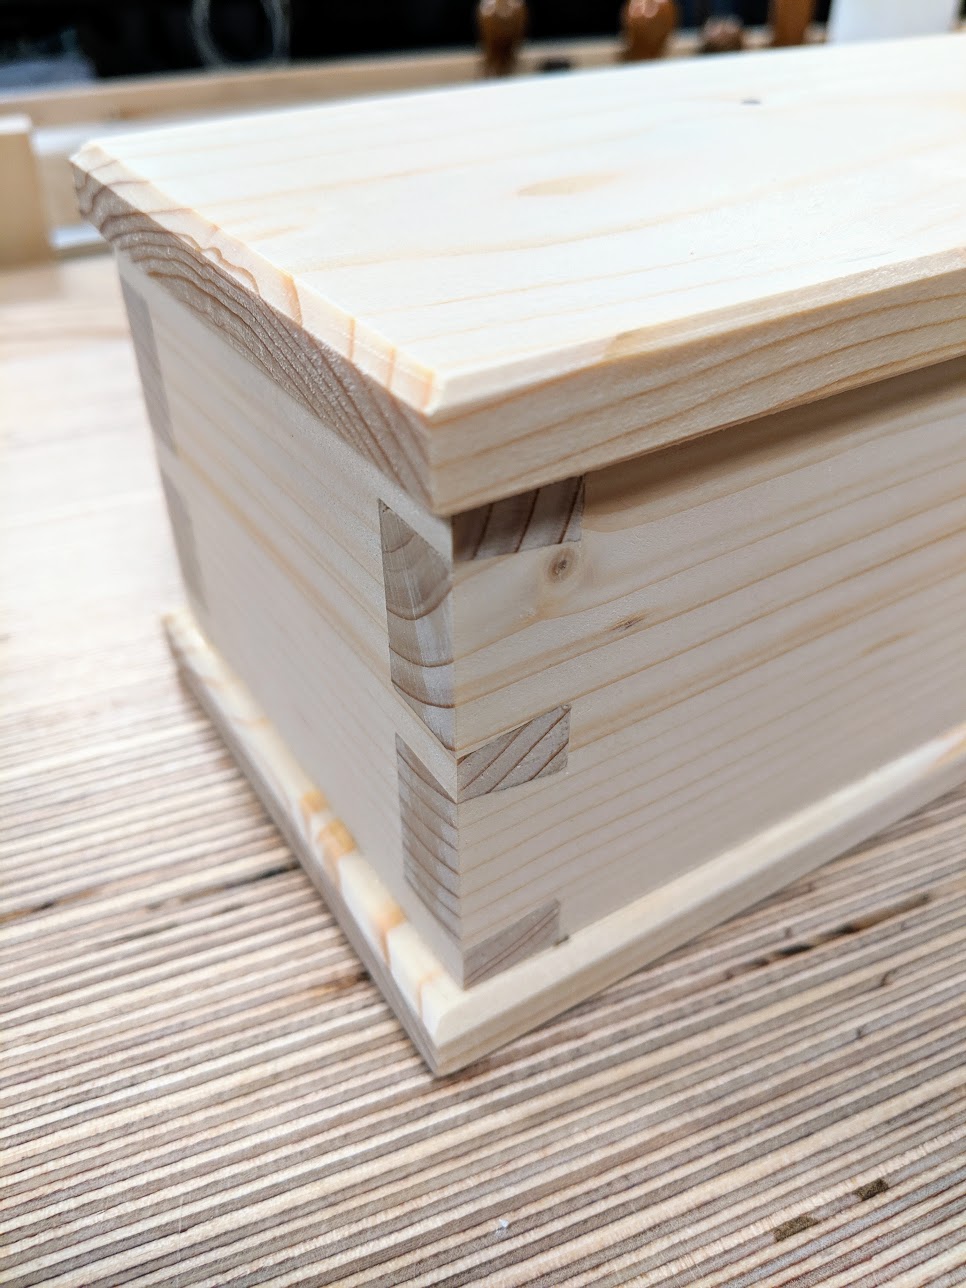
So it takes me about an hour to plane up the wood from rough-sawn to a finished dovetailed a box as shown. As you can see by the discrepancy in the corner joints, the dovetails are not of course measured and neither do I use a template guide for the angles.
Eye-balling is fast as is sawing all of the tails first before negotiating pins. I'm going to make a couple of simple alternatives to show options I think but not promising. I decided not to cope out the waste with a turning saw because on pine the grain tends to tear out when levelling the cut. It's much easier in maple for that as maple has consistent grain density and so does not tend to crush with alternating growth aspects of the growth rings.

I was quite fortunate because the grain moisture levels were already low when I first cut into the pallets. After a couple of days in in the workshop, stacked as said, this type of wood readily gives out its moisture. When I began the joinery my wood measured around 5 - 6.5 percent when checked in via end-grain cuts. No likely shifts in that going forward so no worries with regards to either shrinkage or expansion. The key to working any softwood, and that's just about all of the softwoods from coniferous the forests and woodlands we get from more temperate zones, is the sharpness of our tools. Without this sharpness we cannot hope to get the crisp lines at the shoulders where one part of the joint unites to the other. It is well worth going all the way to 10,000 on the strop. Also key is the knifewall. Again start out with a sharp knife and the lines will meet perfectly and also give you the accuracy you are striving for. It's also a good idea to use much less force via the chisel hammer as this will compress the fibres and move the knife wall which will show as a gap. I will often use just my fist, the side of it, as an initial entry into the wood, and then, as the cuts deepen, revert to the chisel hammer. This will be enjoyable for you!
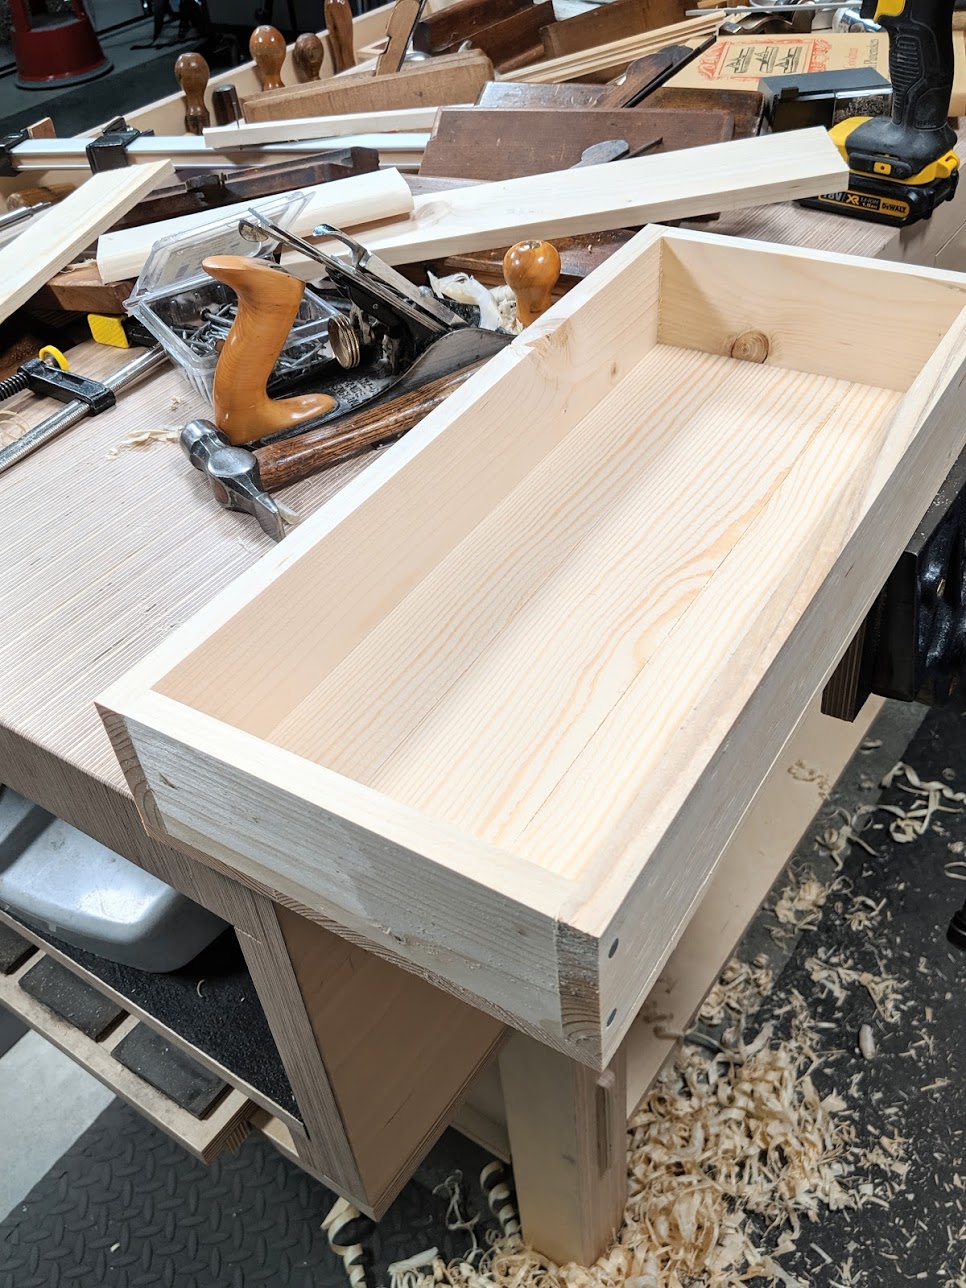
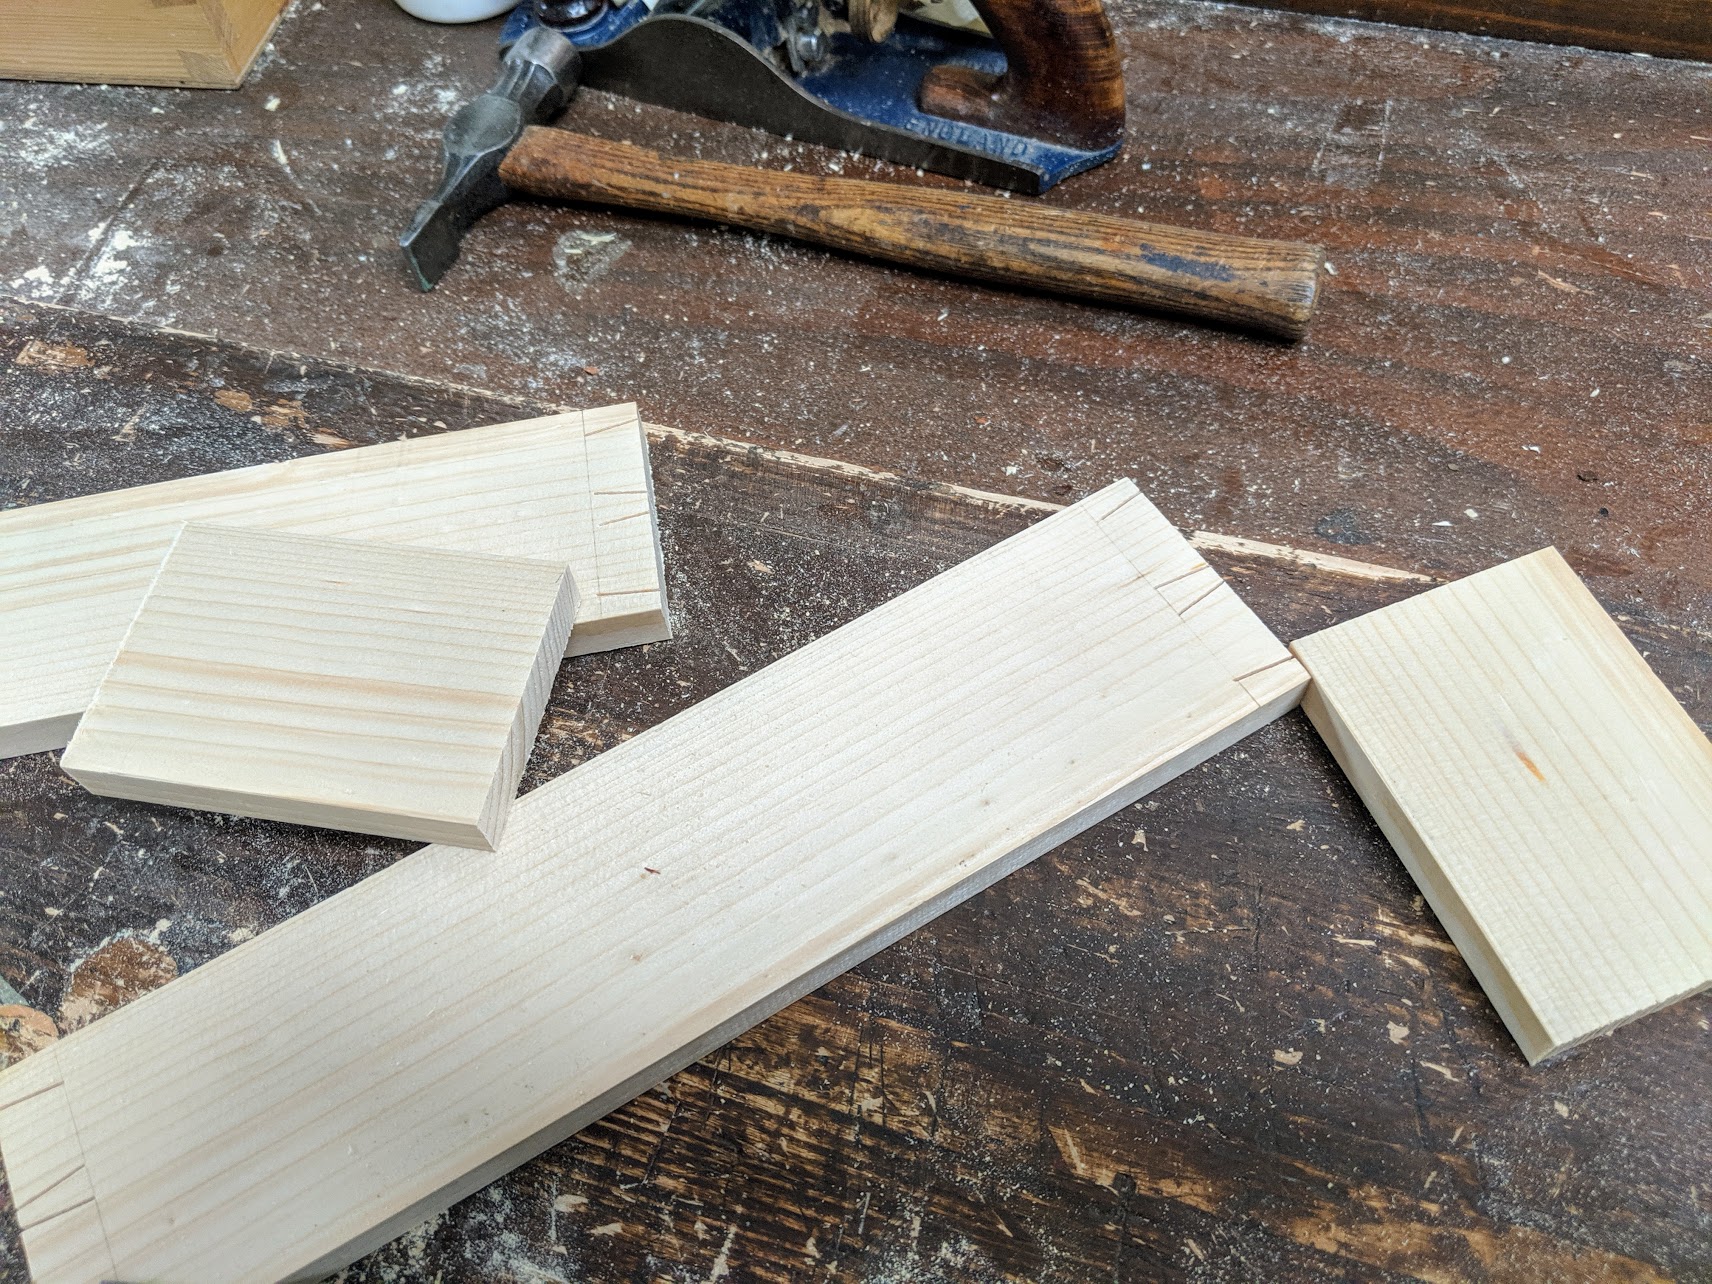
Nailed boxes and trays are useful. I mean seed trays and wine presentation boxes, things like that, from wood scraps, such as this: They will last for years of seed raisings or as paraphernalia catchalls. One time I took a section of wood and a blowtorch to an iron manhole cover in the town where I was born and lived because the manhole had a raised name and town in the casting: 'NEEDHAMS' on the top half of the circle and 'STOCKPORT' down below. Heating the iron on the small section gave me an immediate brand for nothing but gas. It worked fine. Of course stencilling with card stock and misting with spray paint works fine too. I have cut through masking tape to get patterns for stencilling with a stiff brush and dabbing in chalk or milk paint as well.
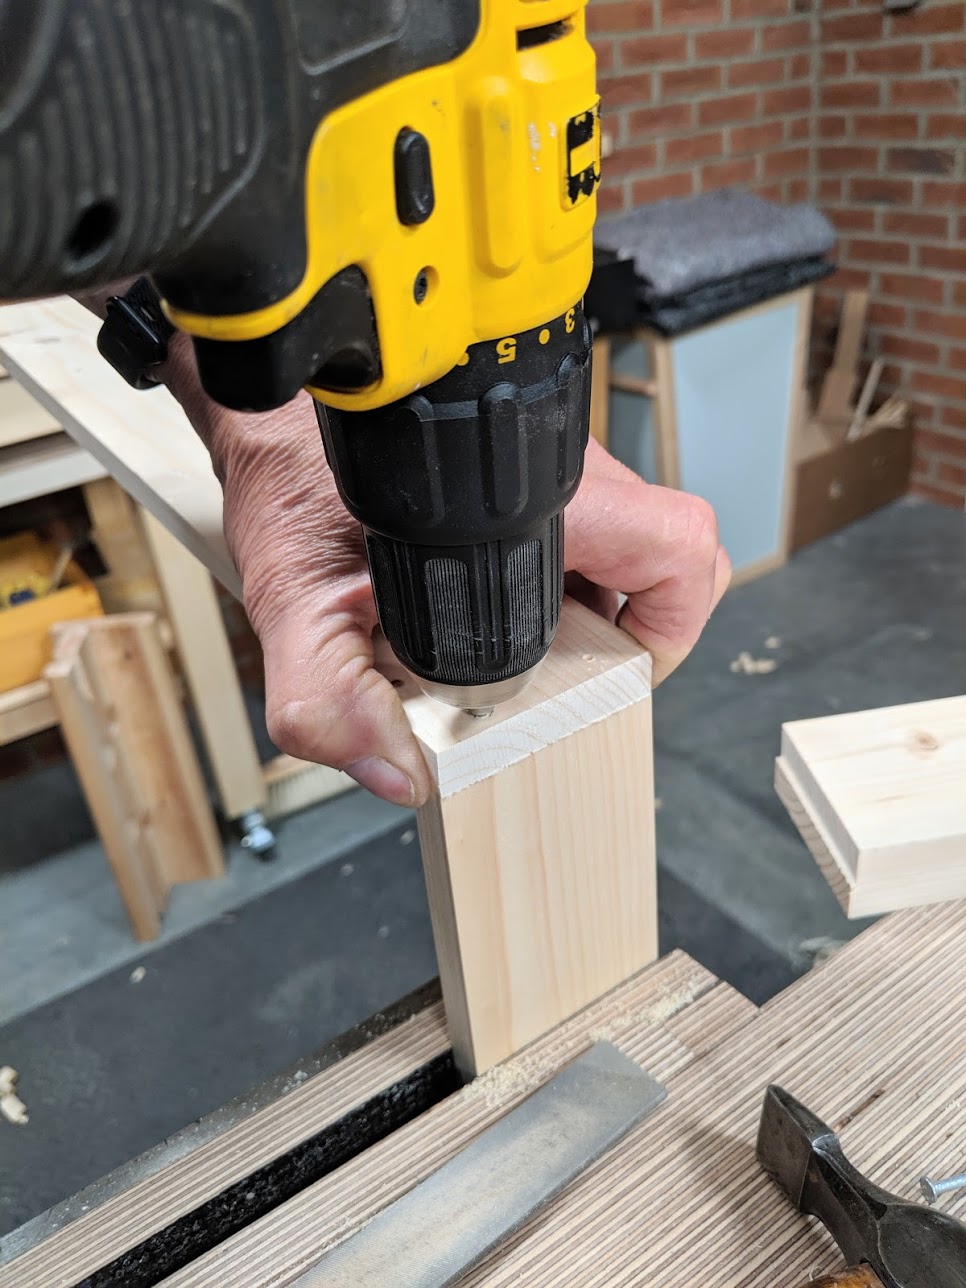
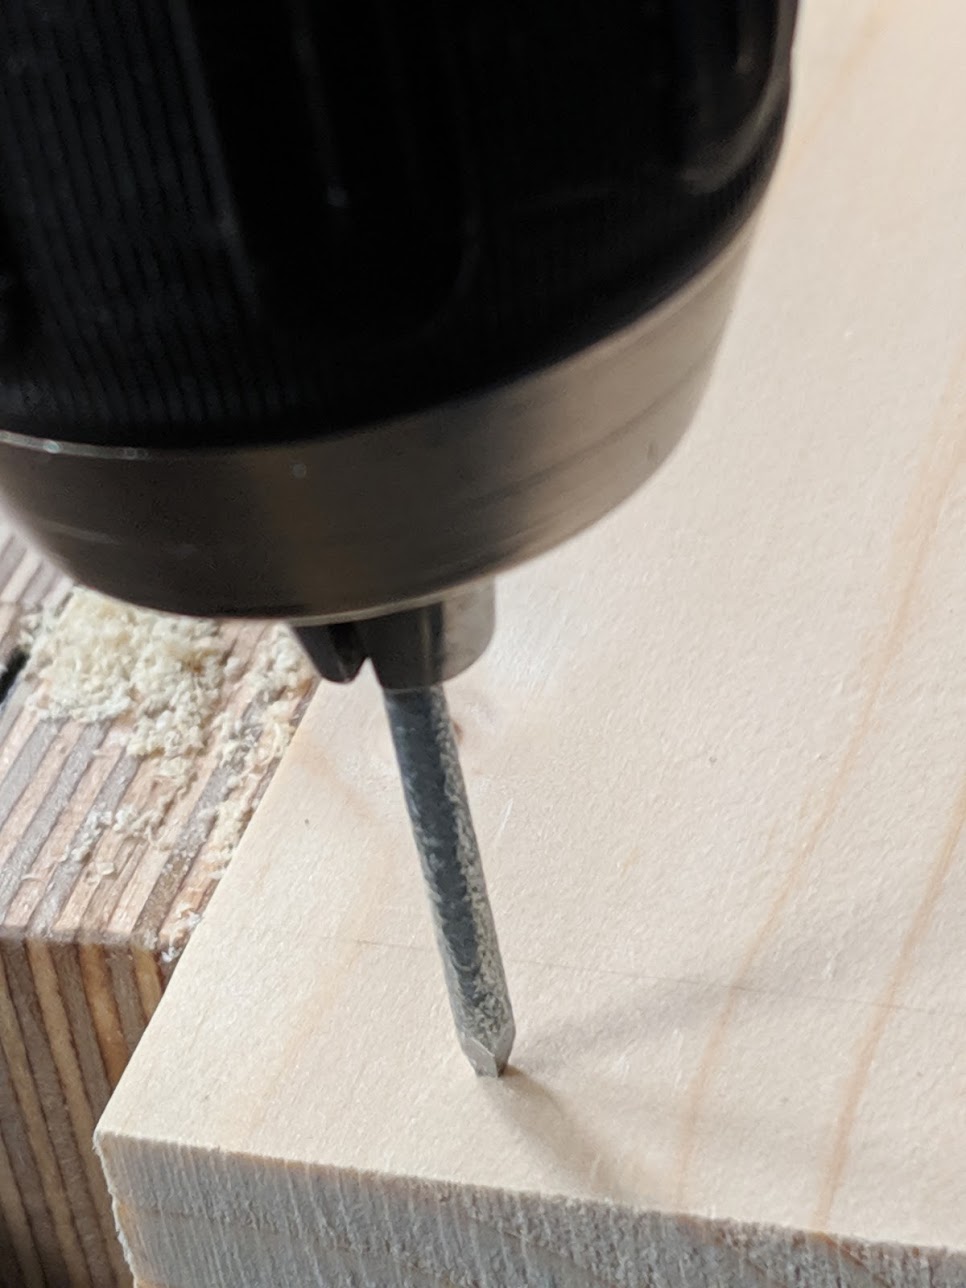
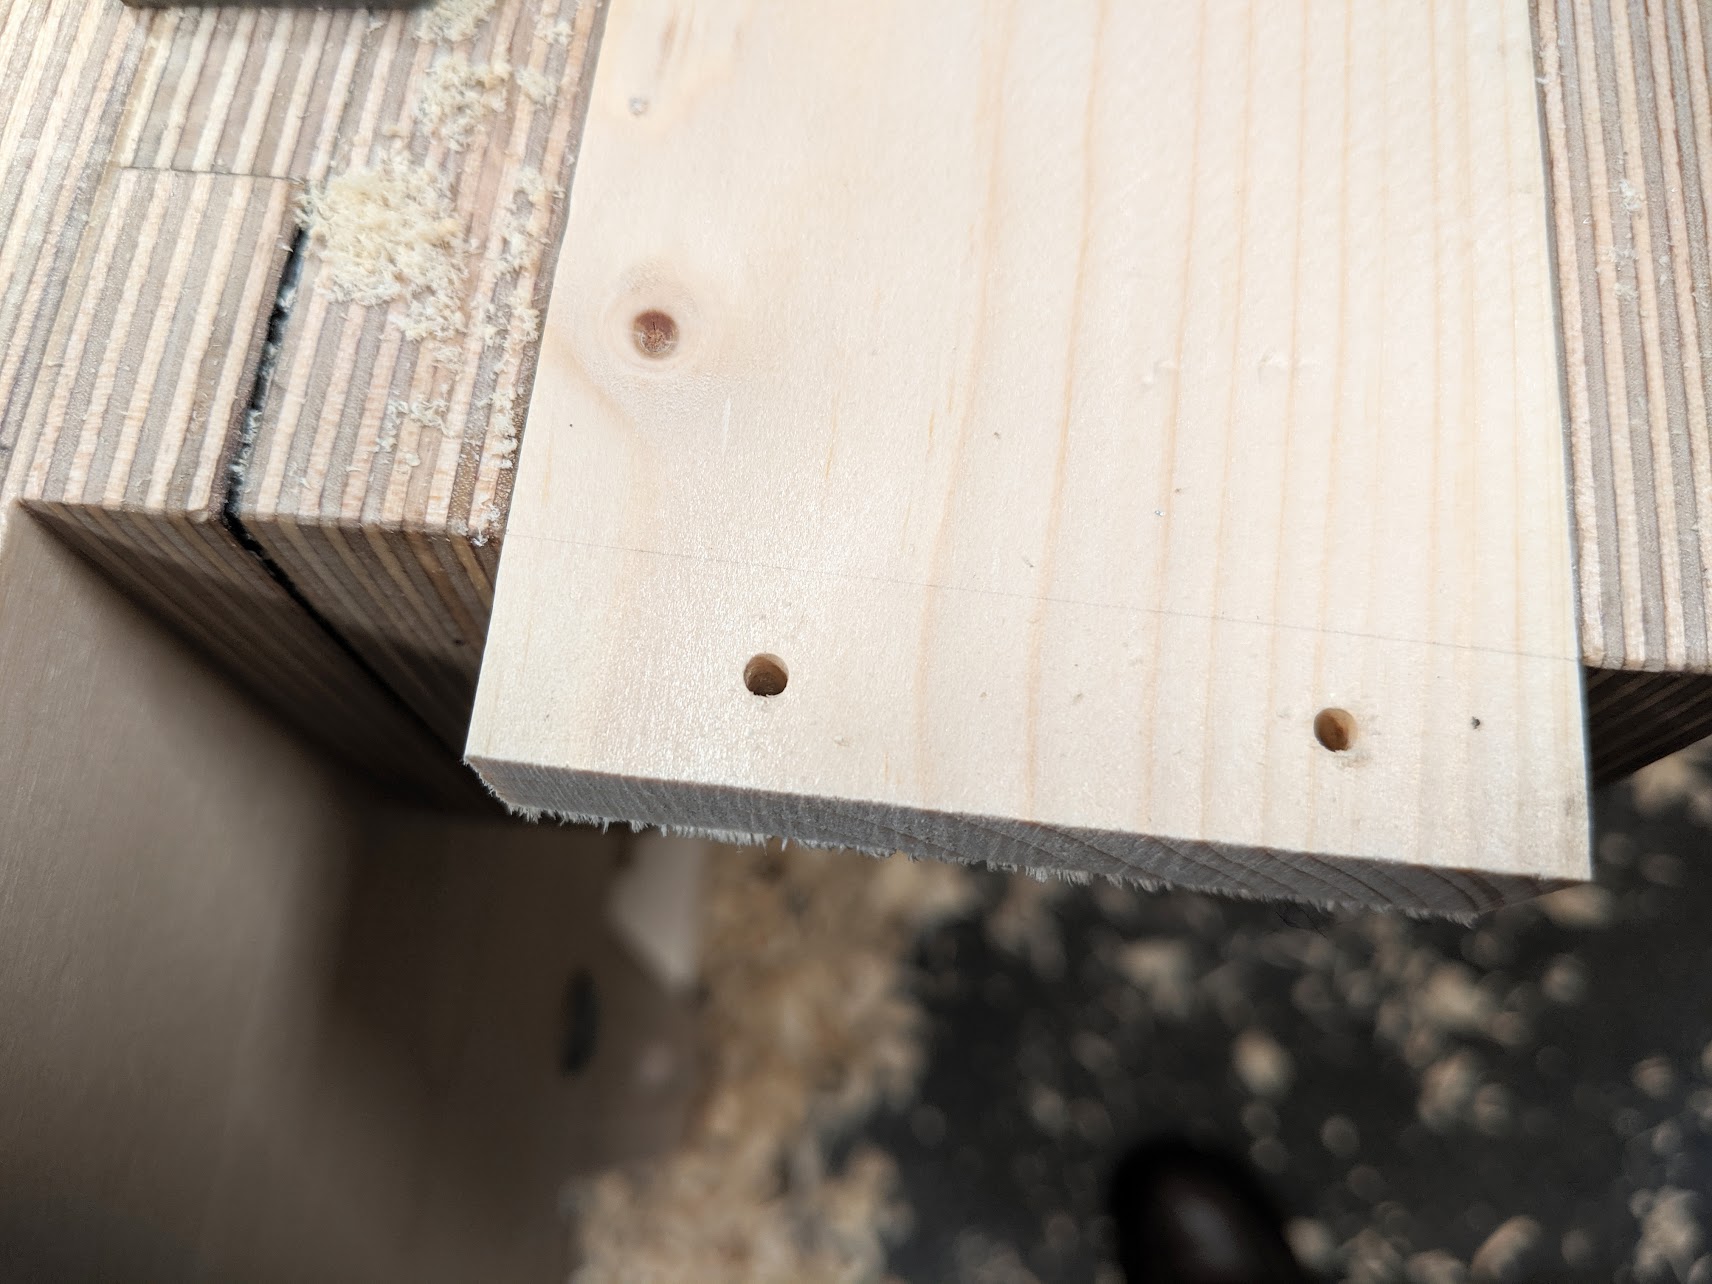
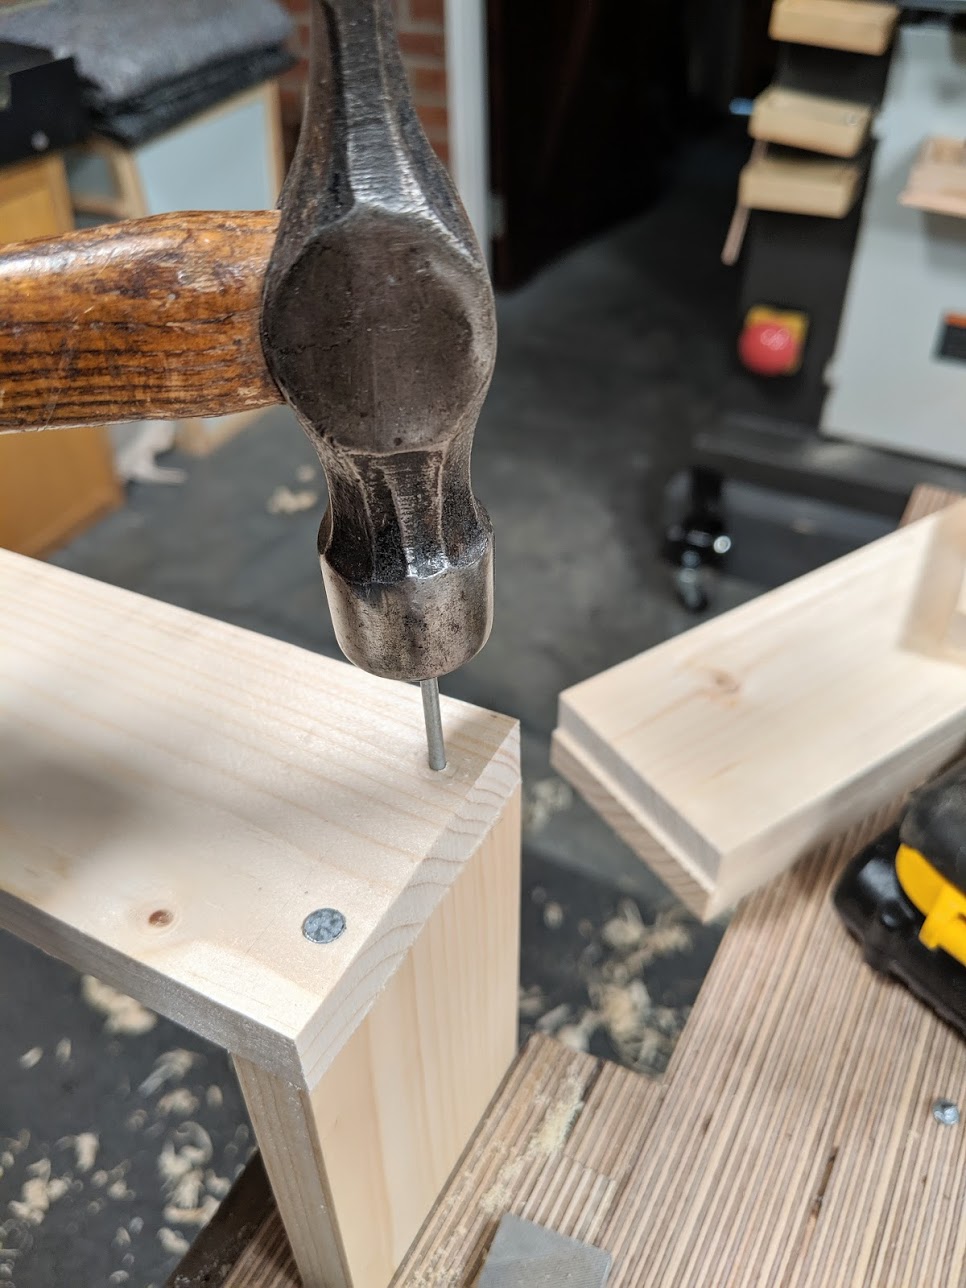
Pre-drilling with a same-sized nail used for nailing stops the wood from splitting even when directly near the ends of side pieces and bottoms as shown. Simply file the pyramid point to create sharper corners to the point first and away you go. This works with small pins and large nails too: four inch even. Try it!
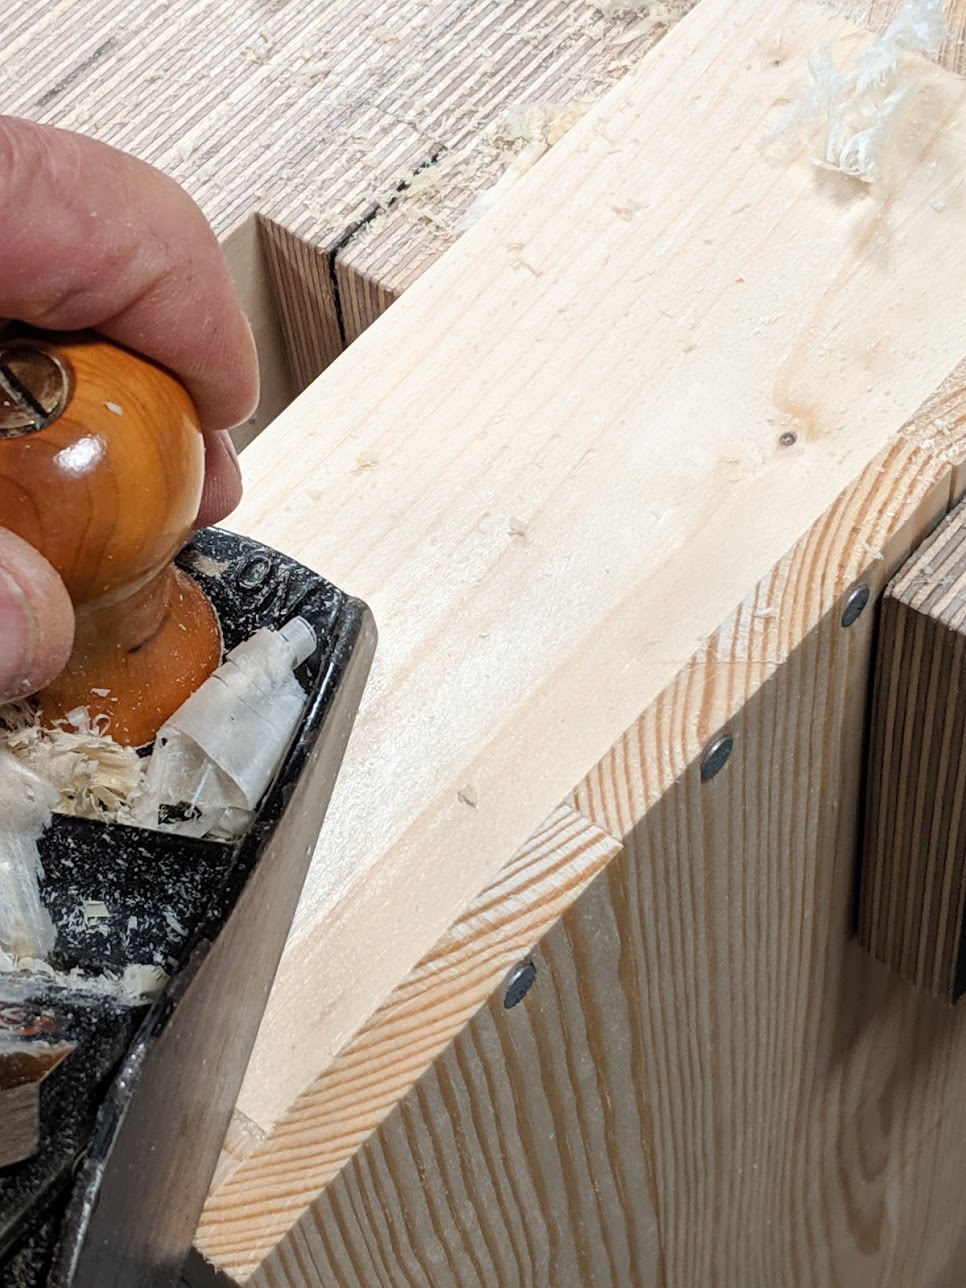
Plane flush if it matters and then sand and round the corners as you like.
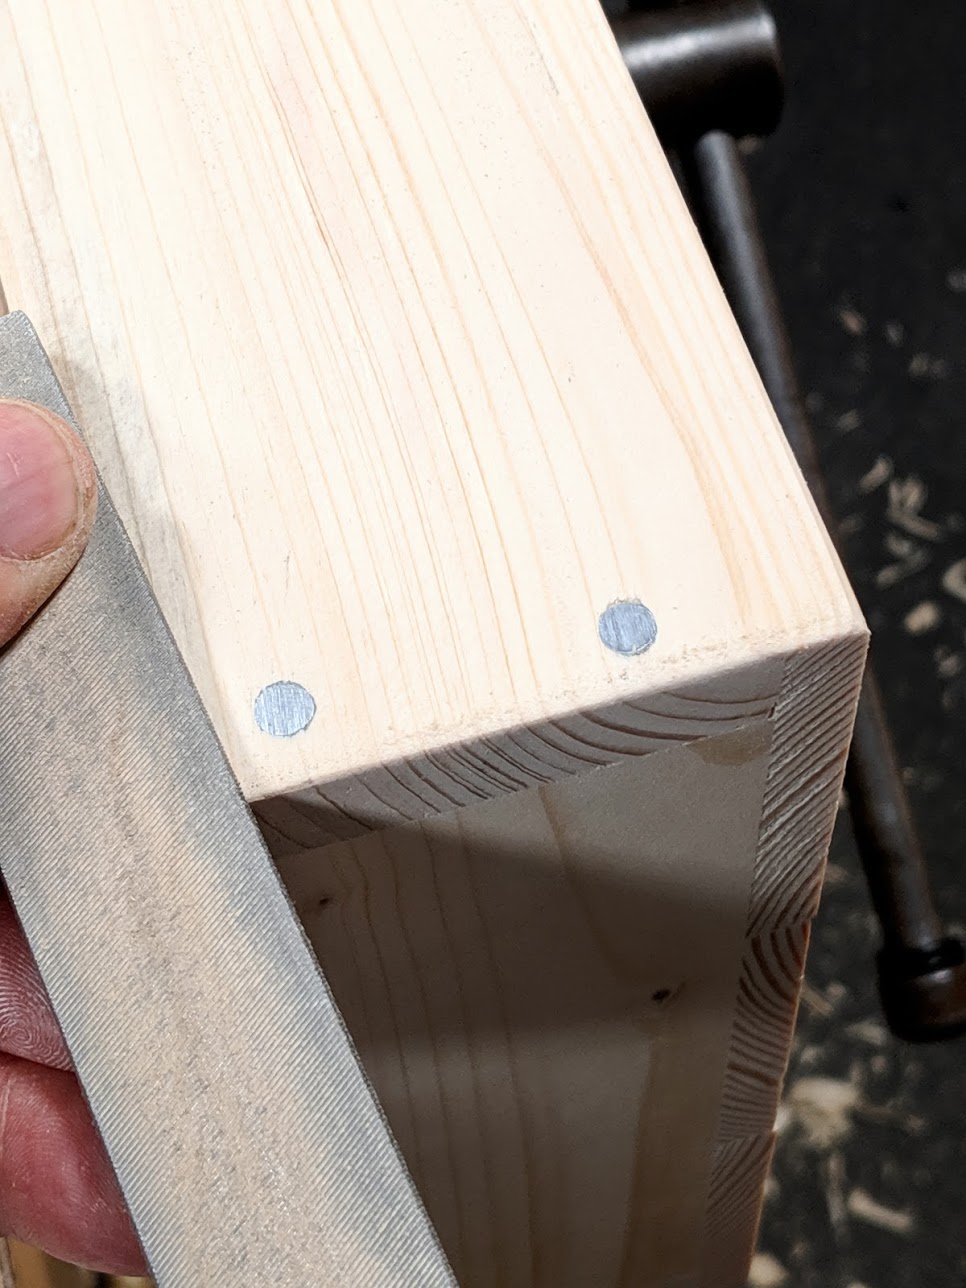
I filed the heads flush for appearance here but just leave them if a utilitarian look suits you better.

Maybe more even yet!
Comments ()