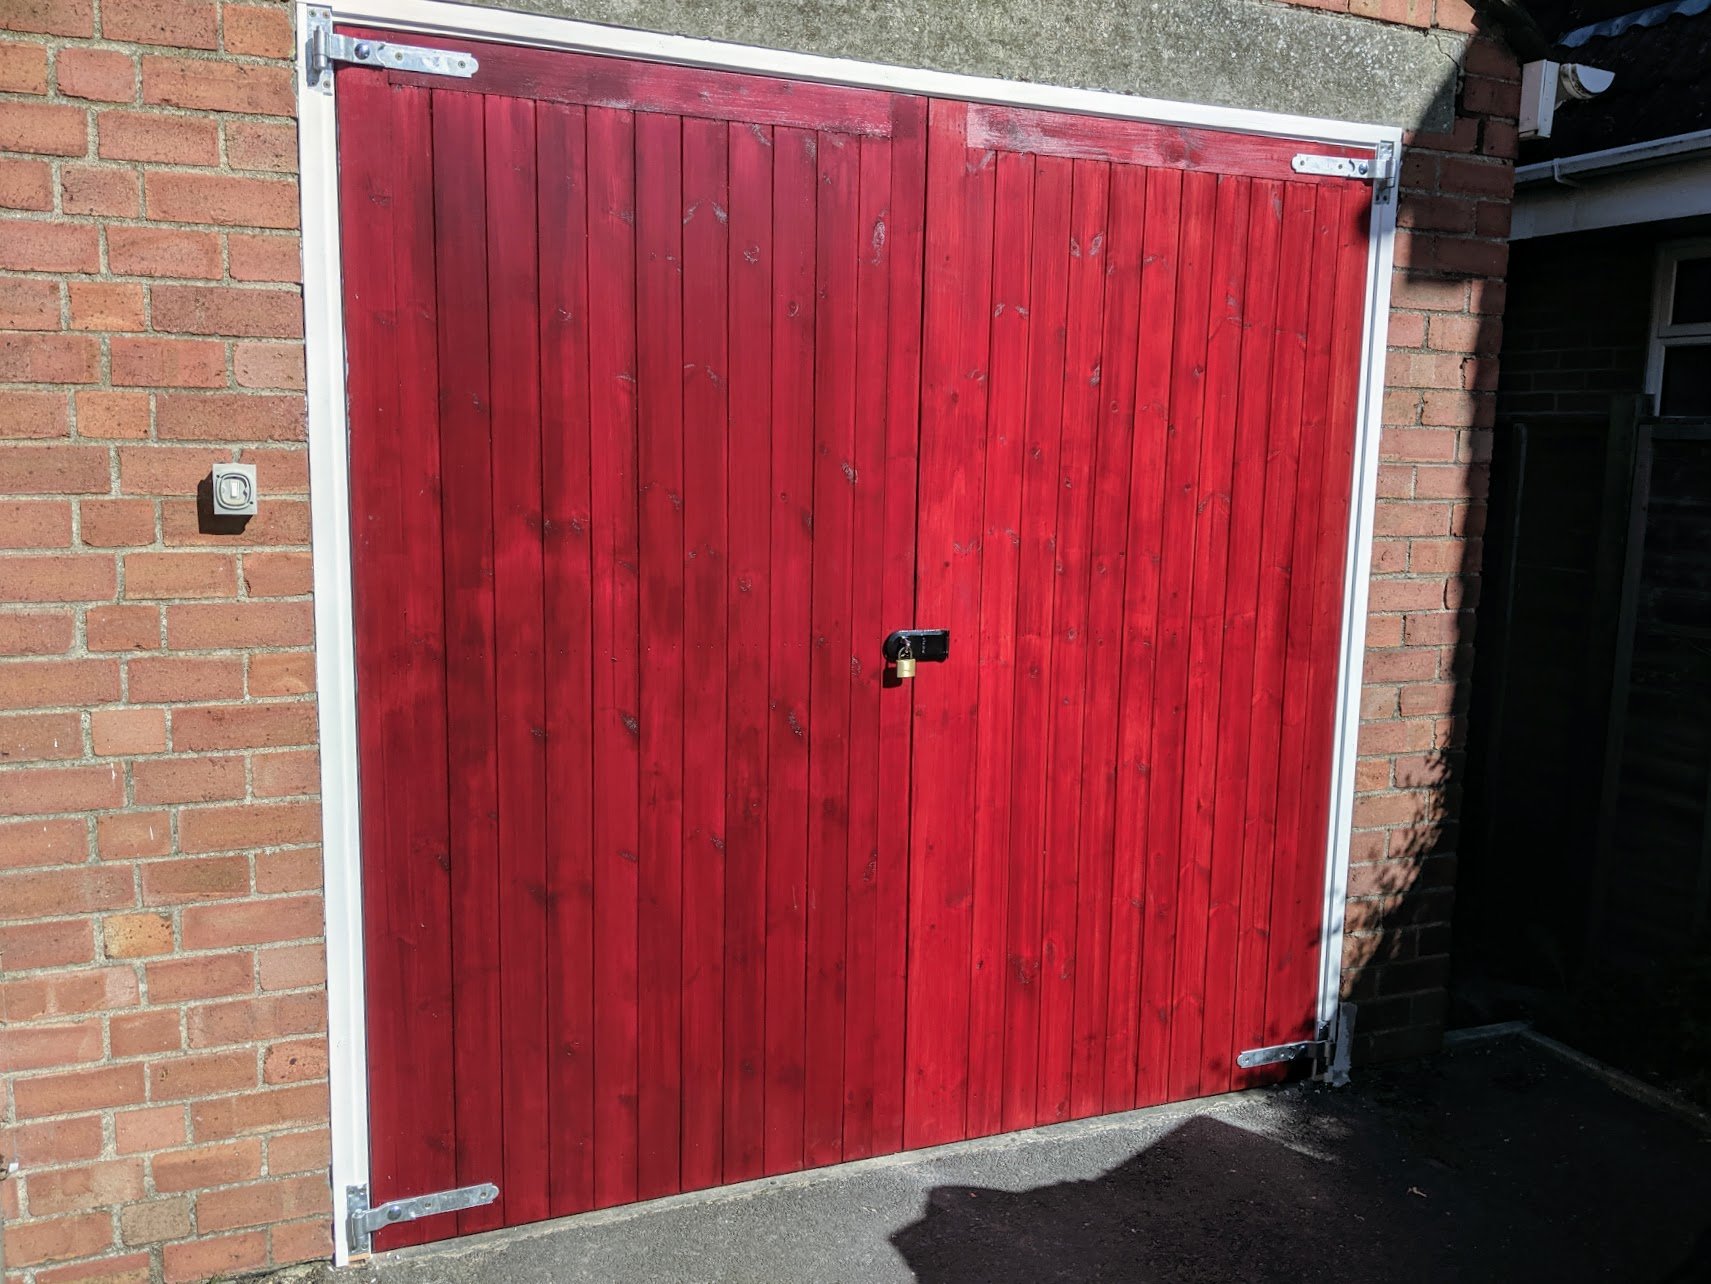
Replacing a Garage Door and Frame
I've never really liked up and over garage doors, mostly because they hang well below the door frame and take off valuable head room where I need it, which is above my workbench. I am always finding myself ducking as I pass through. I don't know how people above six foot go on. So my task this day was to remove one and replace it with a pair of nice wooden ones. My plan is to reuse the up-and-over on my new shed at the back of the house as soon as I get to building it. Firstly I made the door frame. It was simple enough but to buy the one I needed was an extra hundred pounds and I could make a better one for around £20 with an hour or so's work. I took out the other before the frame was made so once that was done I was committed. I knew what time I had to finish up and the race was indeed on.
At 3.30pm I cut my header and stiles to length and started the mortise and tenons. at 4pm the frame was together and I was sliding the metal up-and-over down the side of the garage and out if the way until I install it in my new shed when it's built. I'd already worked all day on a new design in oak and glued it up before I went to the house.
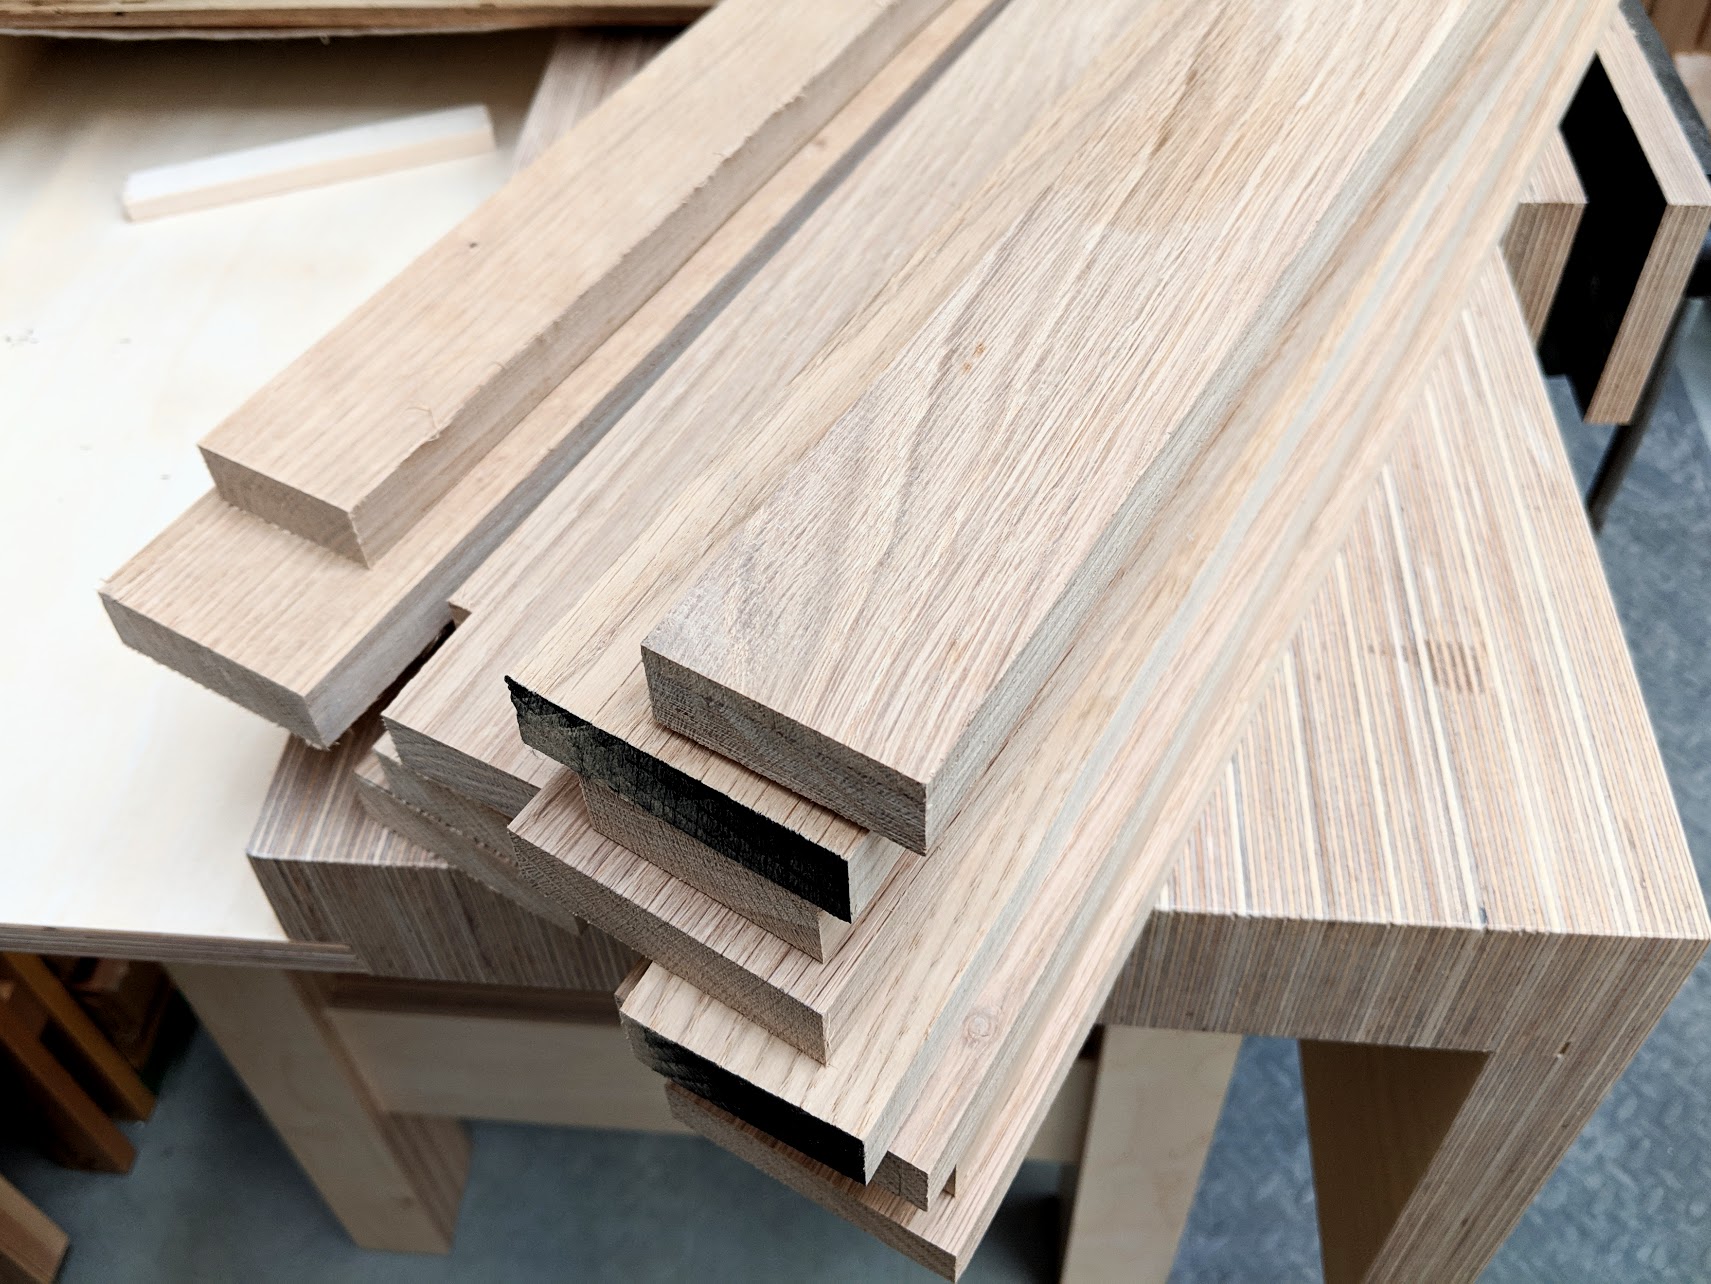
I am so happy with the design because I was looking for something that could be built from readily available wood without needing heavier 2 or 3 inch stock for the legs and such. It worked well and I was happy with my choices. This is a new masterclasses video series so it also means I can relax over the weekend knowing everything that began with just a thought works as well if not better than I actually envisaged. What I loved the most though was offering the tape from inside corner to inside corner showed it was perfectly square after glue up and the release of the clamps - not even a discernible fraction of a millimeter off. The project is a entryway or hallway table. It has a few features as yet unshown so offers some new learning instruction for everyone. I believe it should be very inspiring for everyone. I doubt anyone has shown these methods online or elsewhere before
Installing the garage door frame went like clockwork too and all of my forward planning was a dream of well-worth-it-ness. I worked within about a millimeter throughout the sizing and joinery so that when I stood the frame in the opening it slid in place with 5/8" shims equally spaced to screw through into the brickwork. Now for those who don't know such things, brickwork is harder to deal with than 2x4 studding. Bricks don't move. They are unswervingly rigid and no amount of pounding will move them the 1 or 2 millimetres you need to make the gap right. In this case the woodI had bought in was 1 3/4" by 3 3/4" so not enough to get tight brick to brick. Hence the 5/8" packings. I have already said that I have cut in excess of 120,000 hand cut joints in my lifetime as a furniture maker so chopping out these mortises for the frame in addition to the 8 in the oak for my aforementioned table earlier in the day, and then 8 more for the turn-buttons in the aprons too, all gave me immeasurable pleasure. It has never been tedious for me because I love it so much. And it has been like that since day one in 1965, even when the outcome might not have been so successful as in the last 24 hours.

My garage is solid brick and the bricklayer should be proud of himself. Plumb throughout, he made my job as easy as pie. That meant anchoring the frame went perfectly well with screws into plastic plugs. I could also have used the traditional wooden plugs into the mortar joints but I chose the first because they work so well. It is also an option to use a combination of the two methods. Doing that means no packing off. Anyway, the frame sat squarely inside the brickwork. The resultant gap is trimmed out inside and out to the sides and top. Starting at 3.30pm, taking a 3/4 hour break for dinner, I was installing the hasp and staple to lock the hung doors at 8pm.
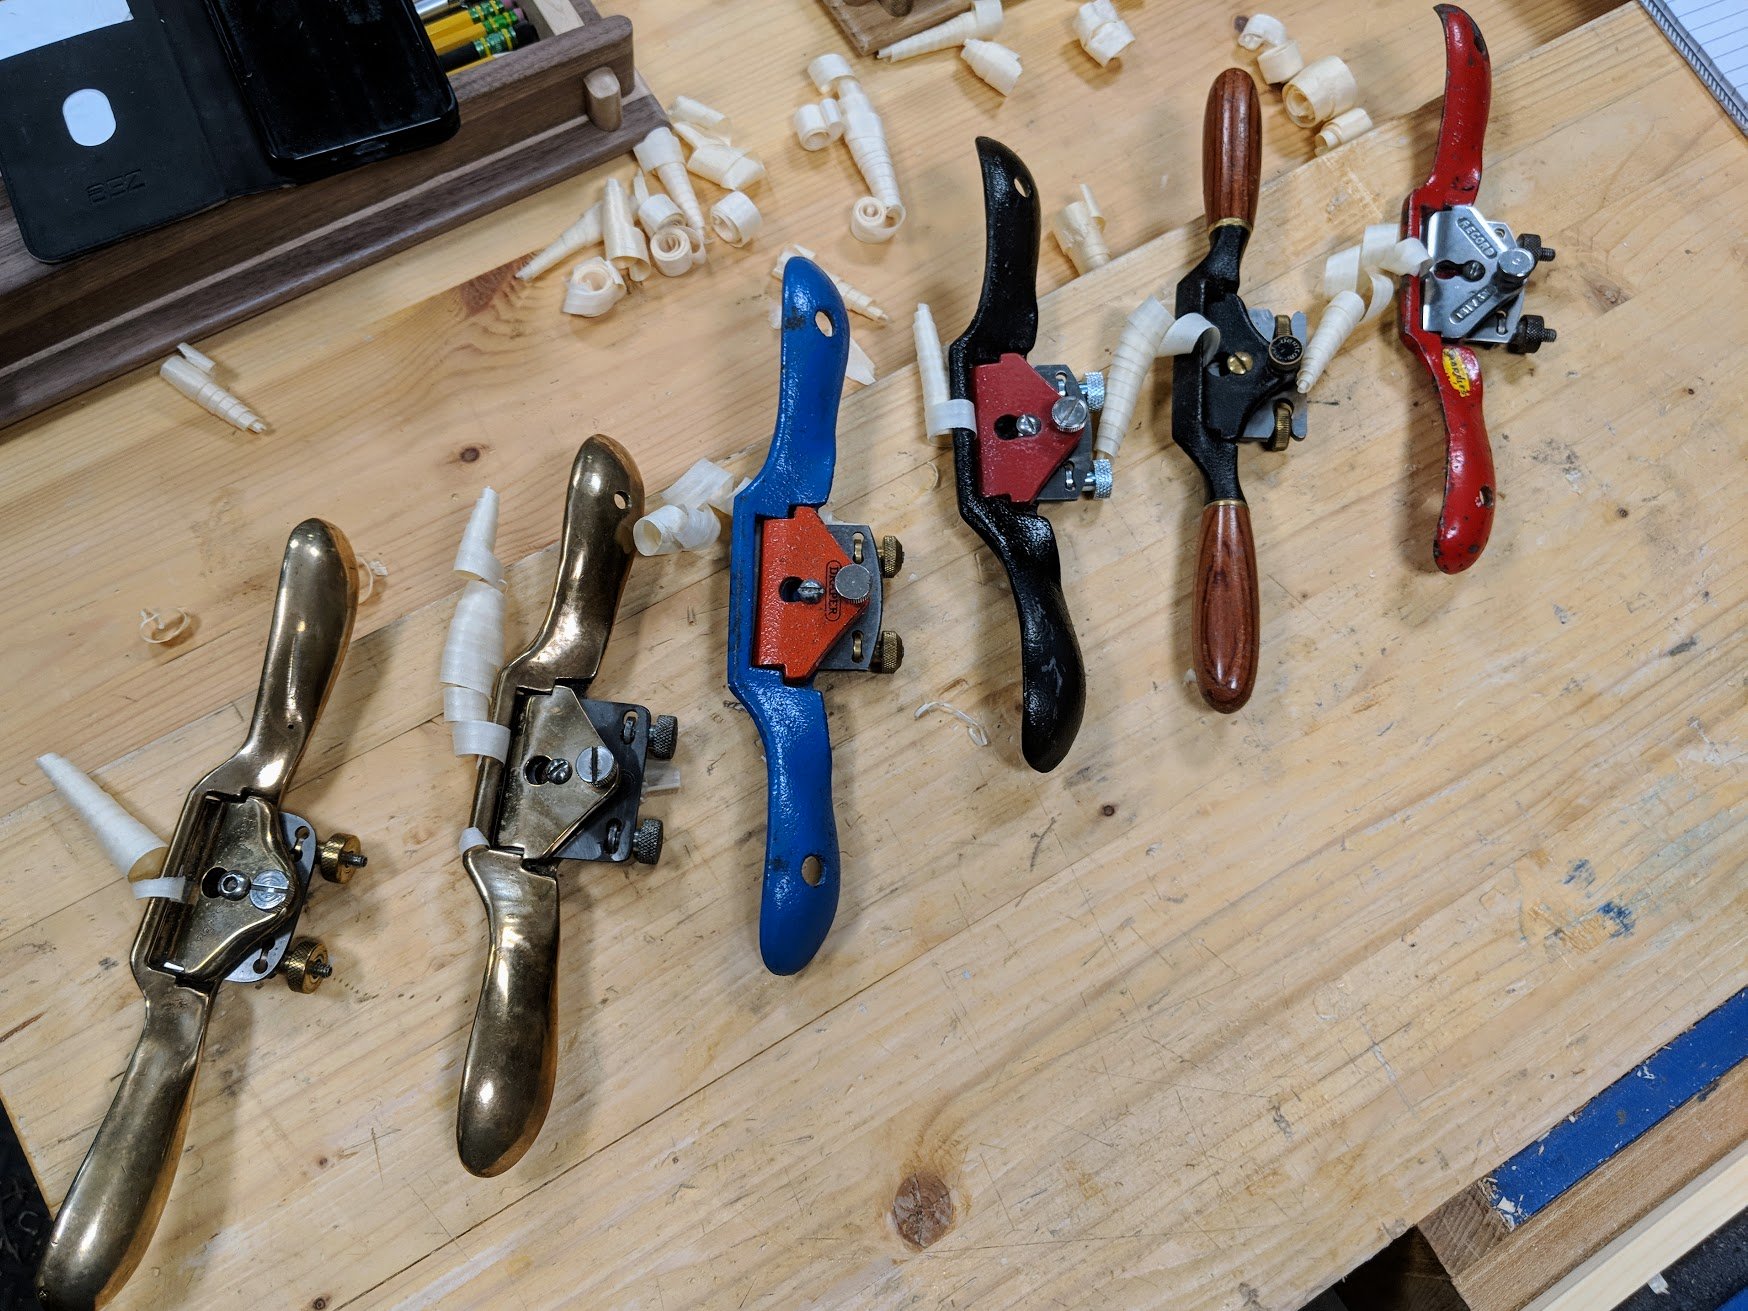
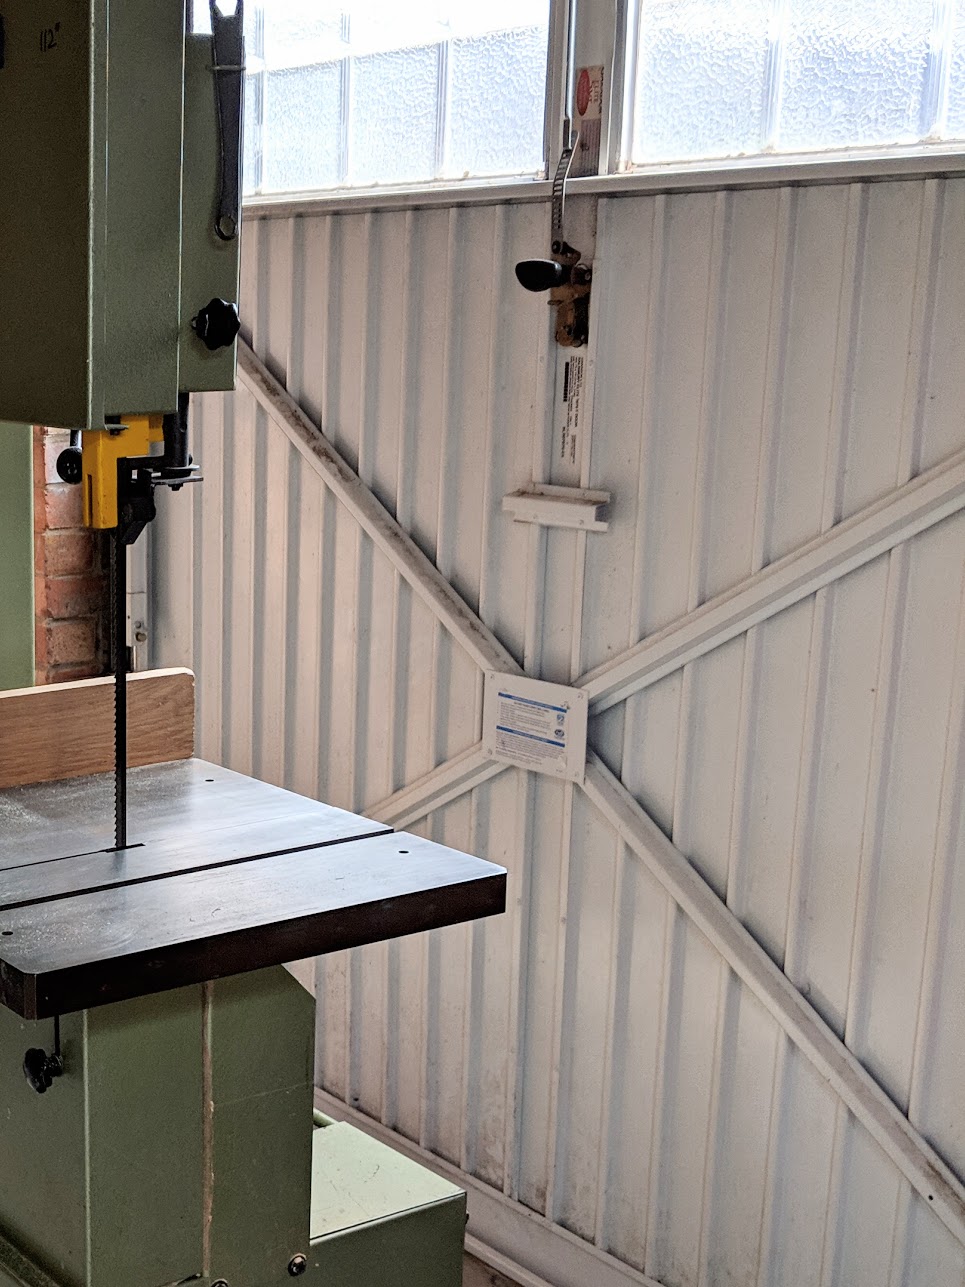
Between stopping points throughout the day of course there were a lot of other things to keep up with. The Q&A in the spokeshave via YouTube went amazingly well and people expressed their difficulty in mastering the spokeshave until they saw the video which gave them the answers they couldn't find elsewhere. That made me glad we did it. Many things that I take for granted have become the source for our training program via our commonwoodworking.com. This is our foundational work that trains new and seasoned woodworkers who were never exposed to the reality that hand tool woodworking is highly efficient in most areas once you have established the skills of using them. So many of you are making amazing progress. Thanks for sending your images in for me to see your progress. Without foundational training it is hard to know if what you are doing or expecting is right. Commonwoodworking.com is working for thousands!
Comments ()