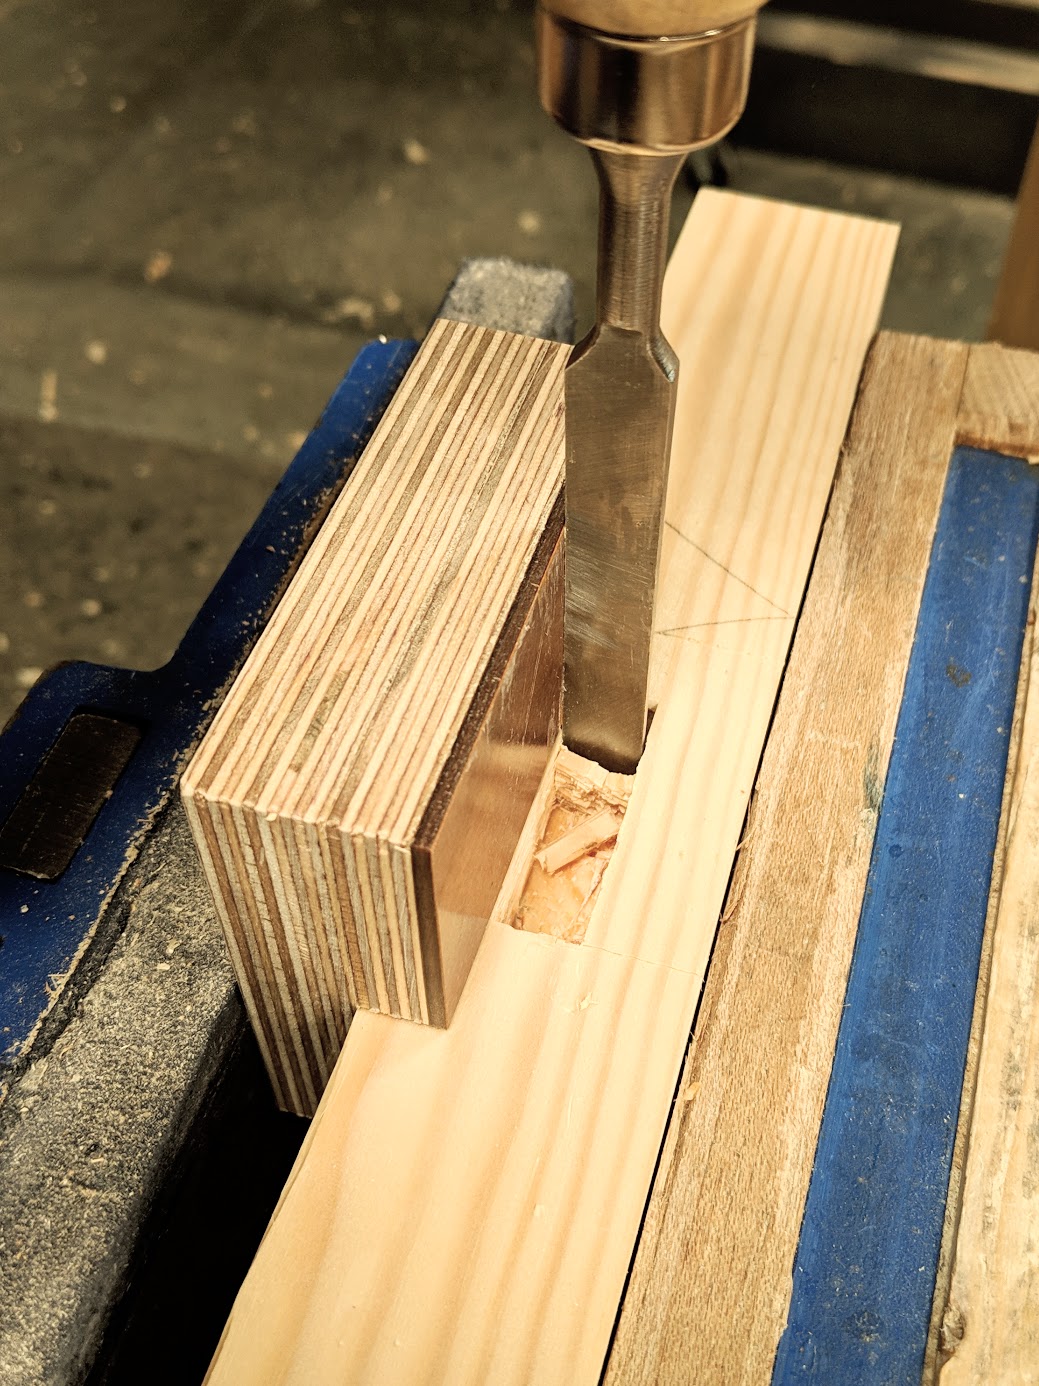
Mortise Guides at the Ready

We often use guides in my actual work and then, or especially, in my teaching others be that via video or in classes one on one. In the past it was simple enough to get my students to cut their tenons to the parallel guide lines because, after all, they are so clearly visible, but guaranteeing the inside walls of mortise holes to correspond with parallel walls following the outside face or faces was almost always impossible and especially so for the new woodworkers. Consequentially such inaccuracies led to shoulderline issues and the inevitable severely twisted frames. What to do?
Twenty years ago one of my classes was due to start in an hour's time. Whereas I worked through the issues described with each of my students individually over the years, it did take my time from the other students. You see they rarely ever had muscle memory to rely on because they had not done the same before. Of course muscle memory can work in the wrong way too; if you are developing bad habits instead of good. Like sharpening plane irons into a skew instead of square on. That's to say that, just as practice makes perfect, practice, good and bad, can also make permanent and bad habits are hard to undo. As I walked across a field towards the workshop an idea resolving the problem kept revolving in my brain. At the workshop I set to to put my idea into action. I quickly ripped oak pieces and crosscut them to size. In a matter of twenty minutes I had my first prototype guides ready to go and when the class was assembled round my workbench I chopped my first mortise using one in front of the class. It worked flawlessly and a class of 20 made 80 mortises perfectly. Ultimately I added brass wear plates that saved on wear and tear.
My gathered collection here handles most of my daily needs for mortising. I worked out (after all these decades) that my mortise positioning always works in from an edge at 1/4", 5/16", 3/8", 1/2" and 3/4". For other sizes or in metric I can make dedicated guides according to need, no problem.
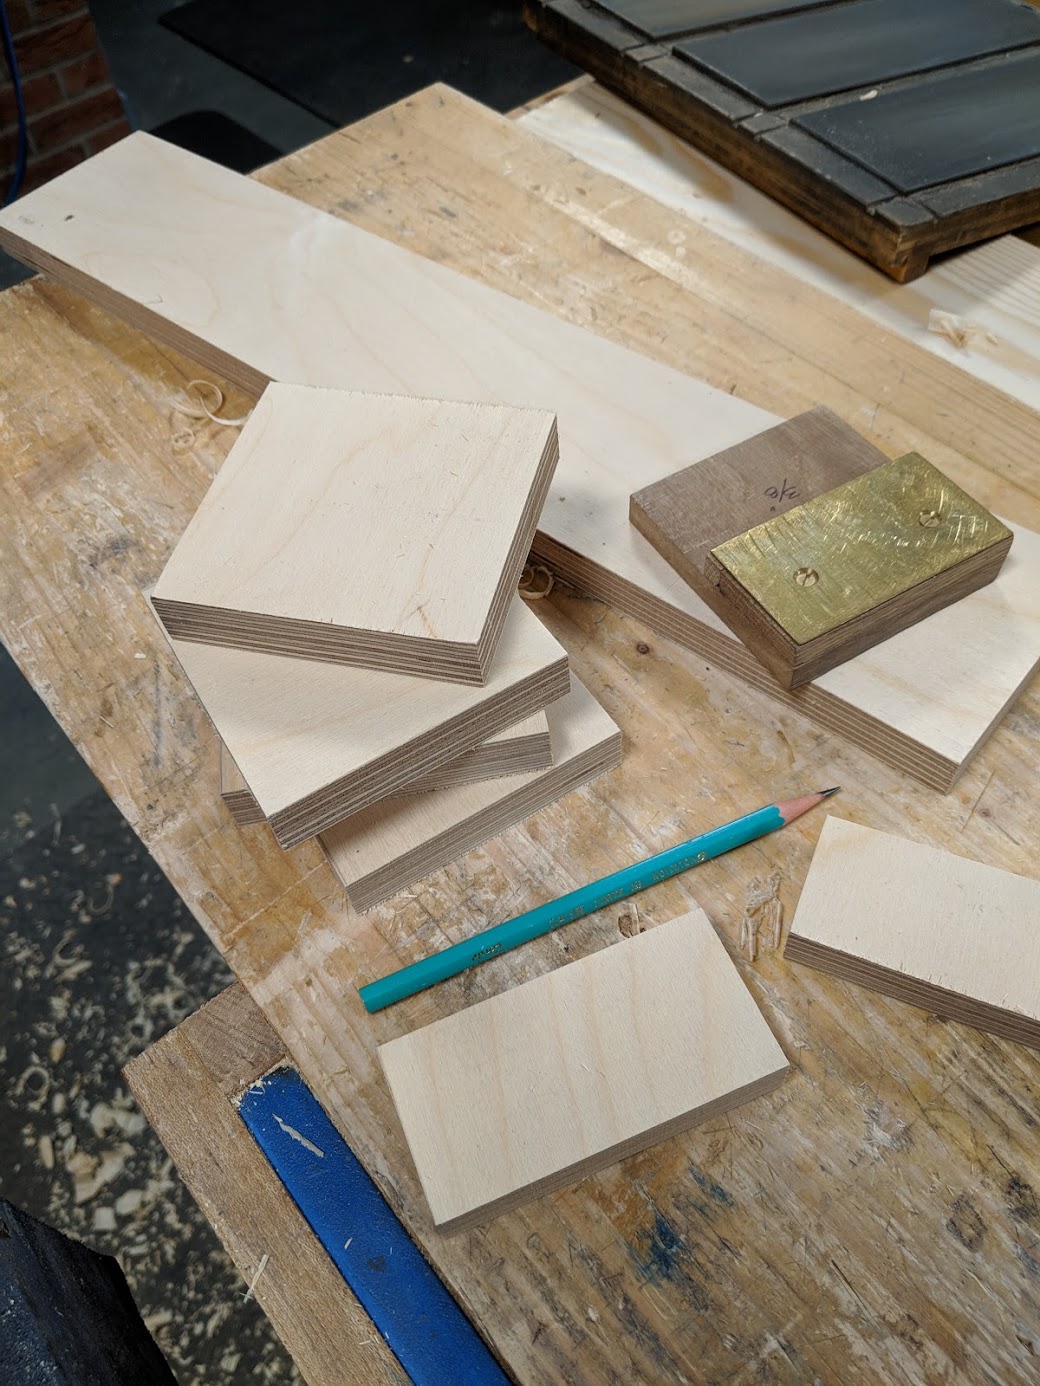
For my set I used plywood for its stiffness and resilience. Cutting 3/4" plywood down to thickness is no different than solid wood and of course you can use solid wood if preferred. In my case I was able to use up some of the offcuts from my plywood workbench making.
The steps for mine are as follows:
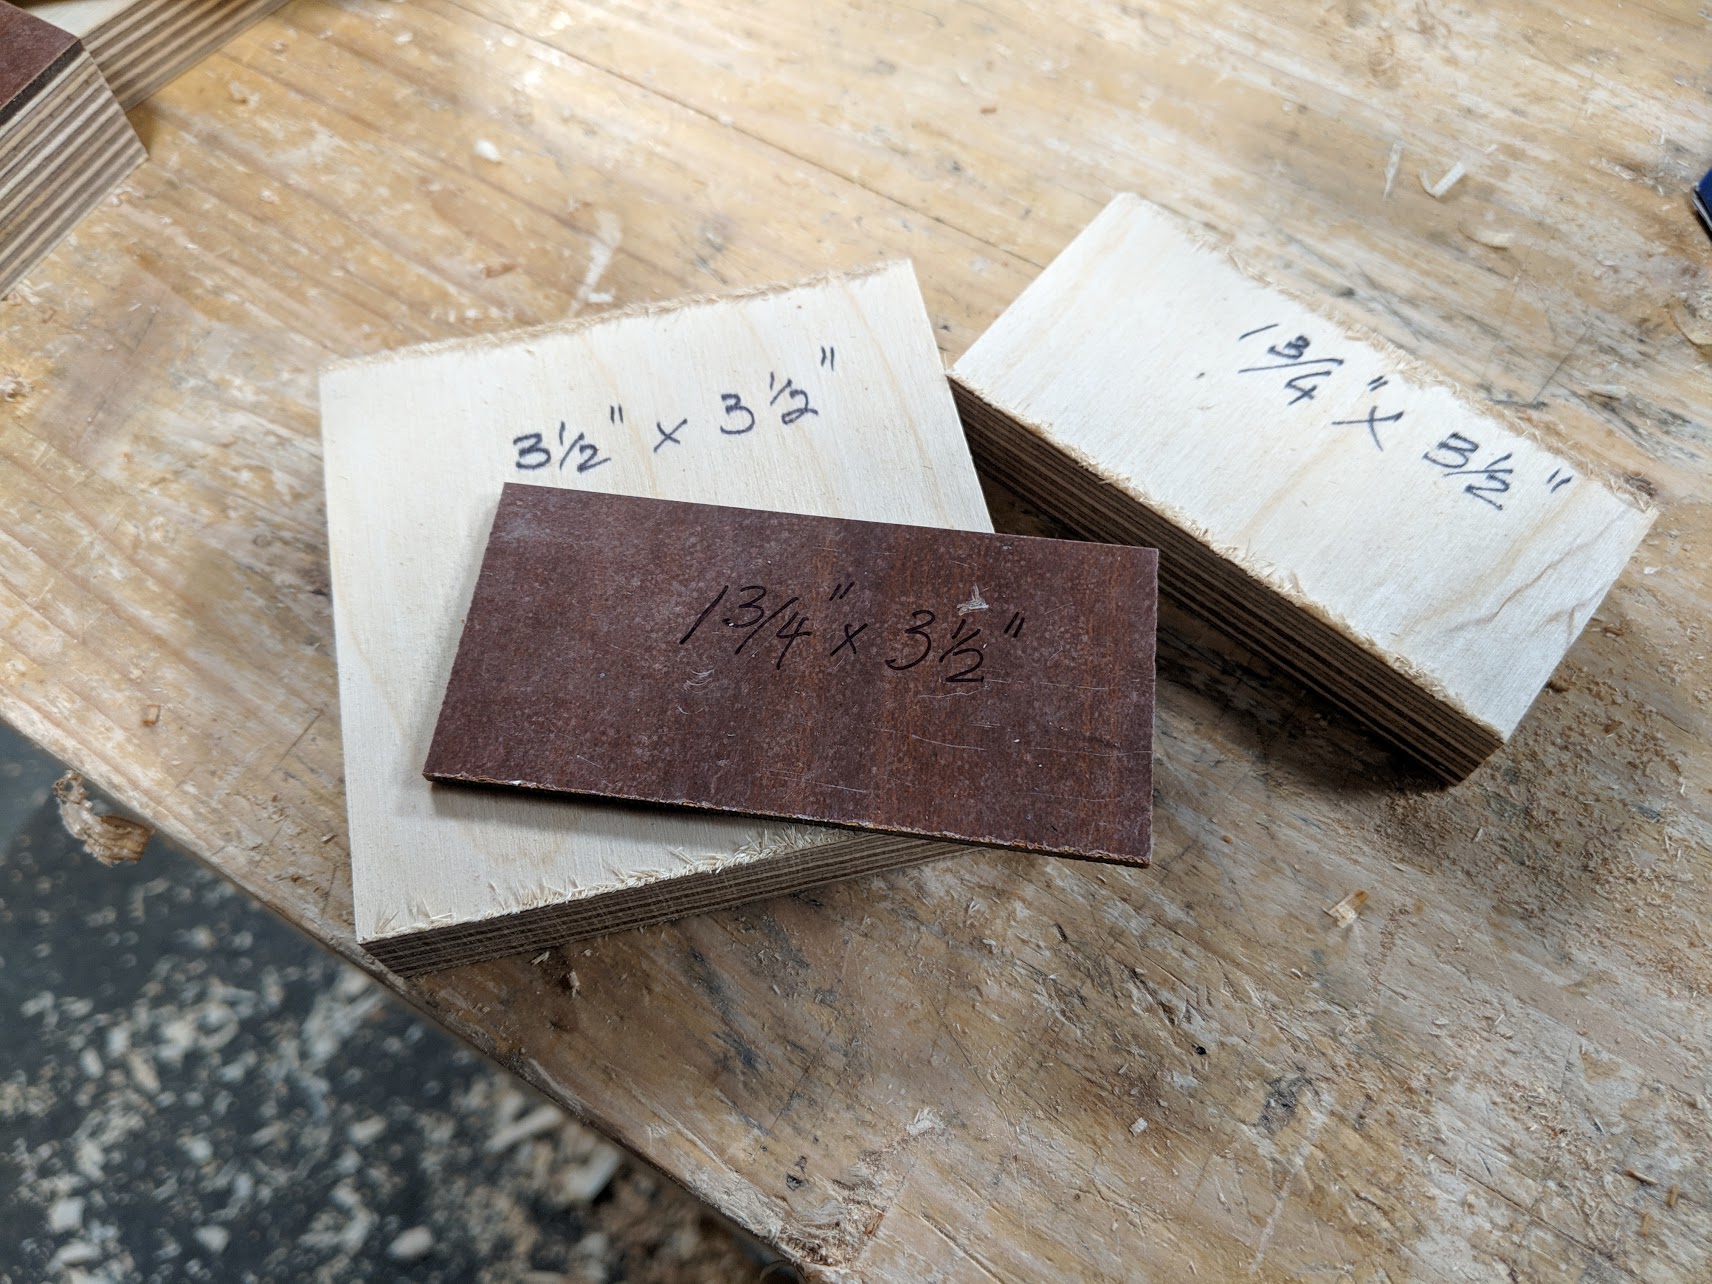
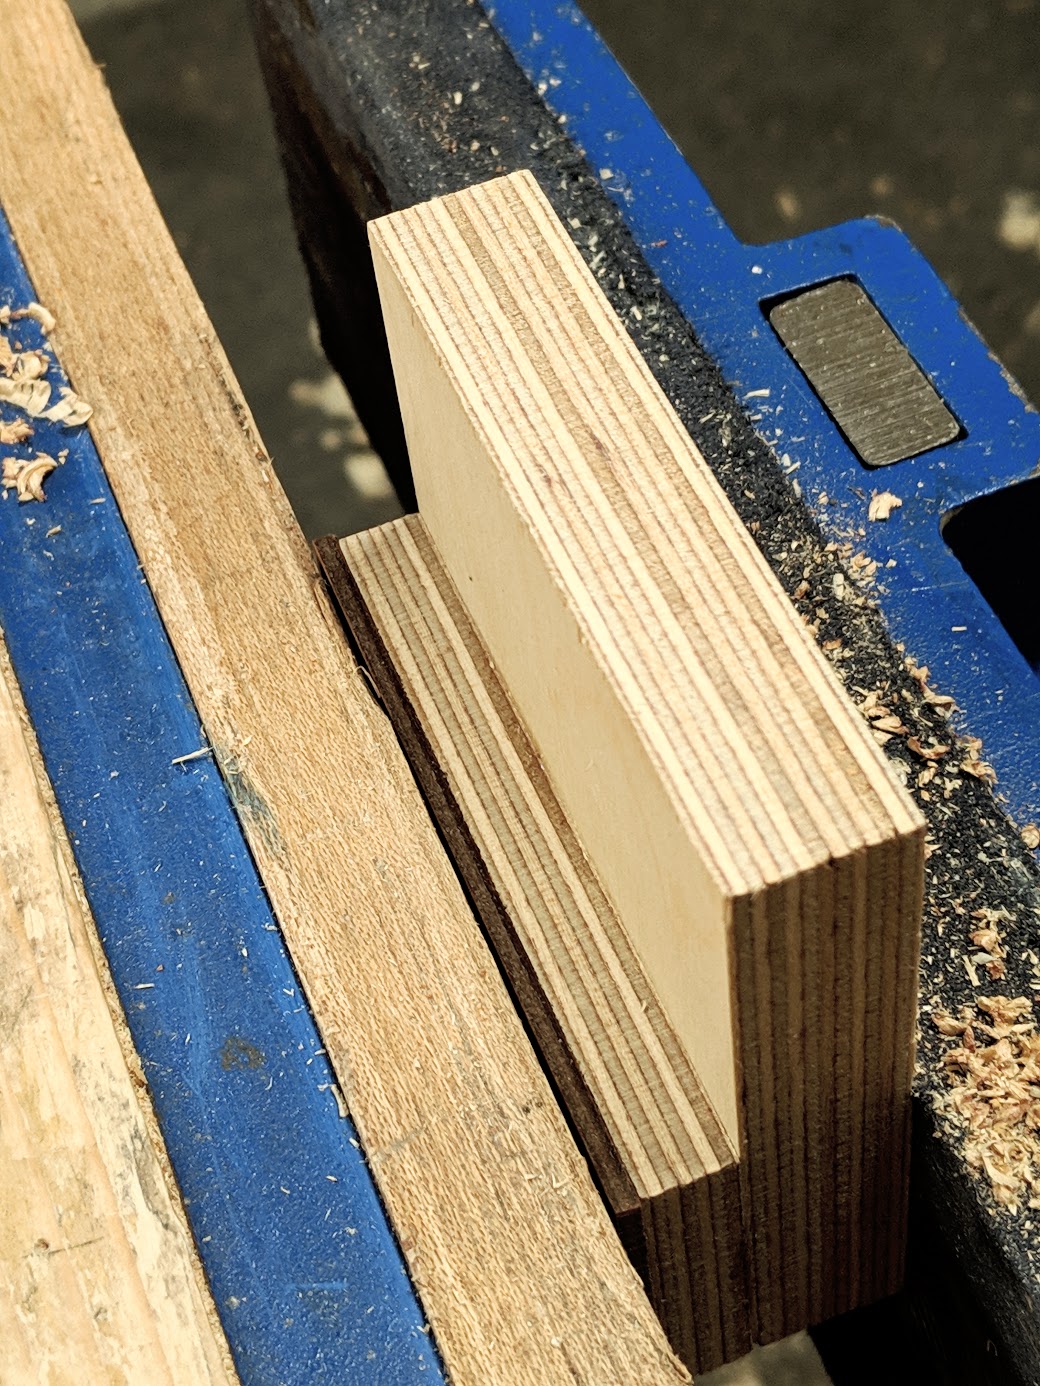
Cut pieces 3 1/2" by 3 1/2" and 1 3/4" by 3 1/2". The thickness depends on the size you want i.e. distance from edge of stock to mortise hole cheek side.
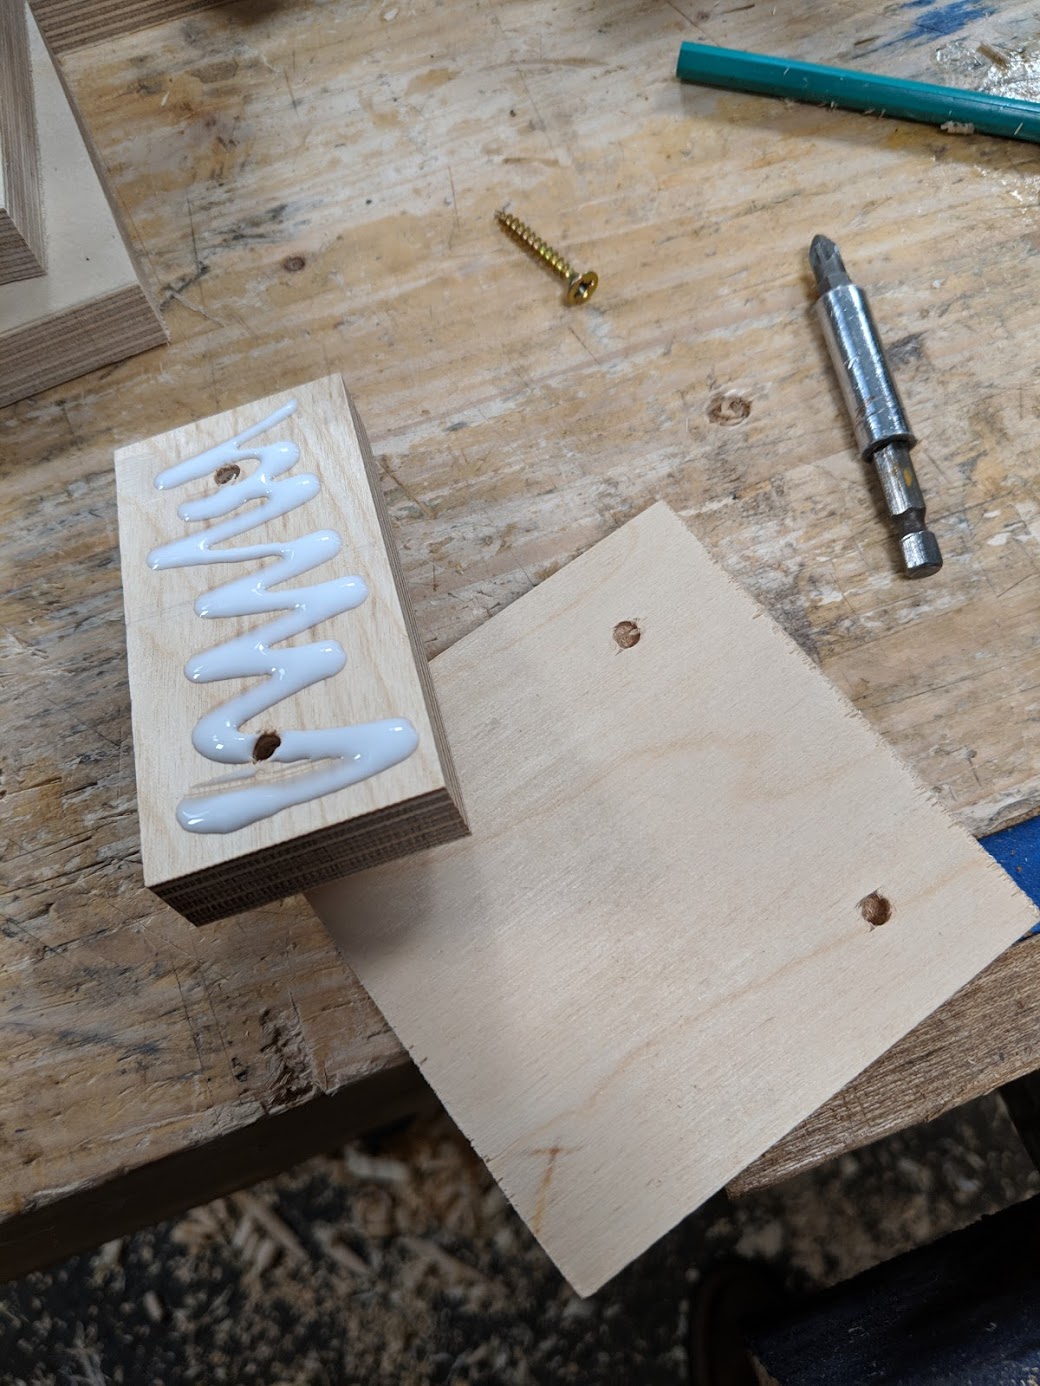
Drill, countersink, glue and screw small piece to large piece as shown.
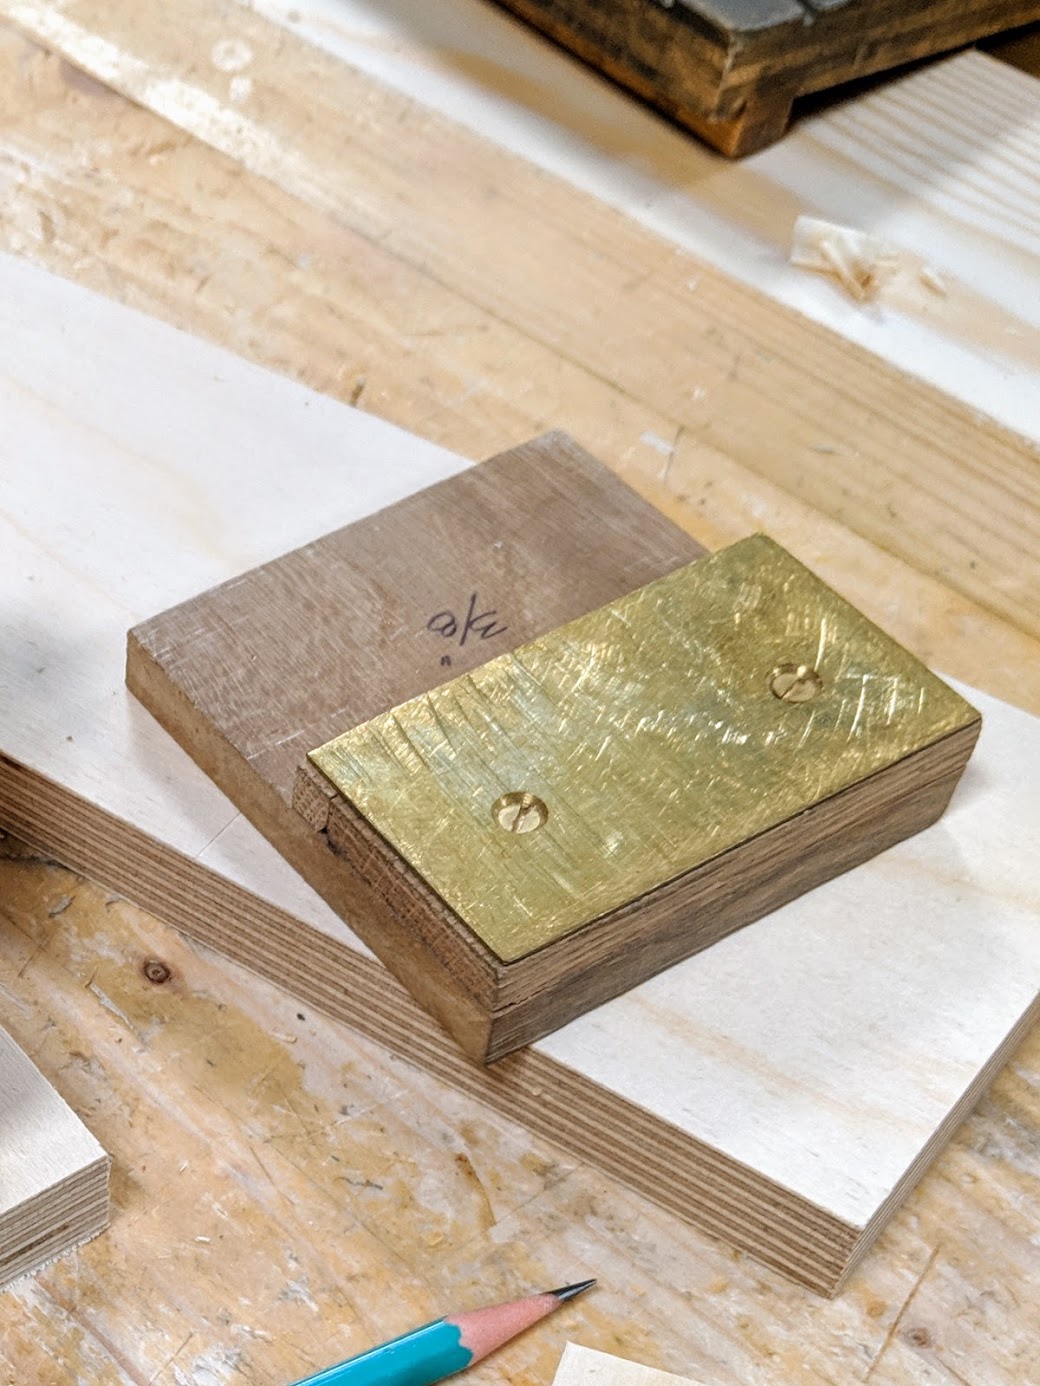
Use plastic laminate or similar hard and resistant material to face the guide. You can also use brass or steel plate.
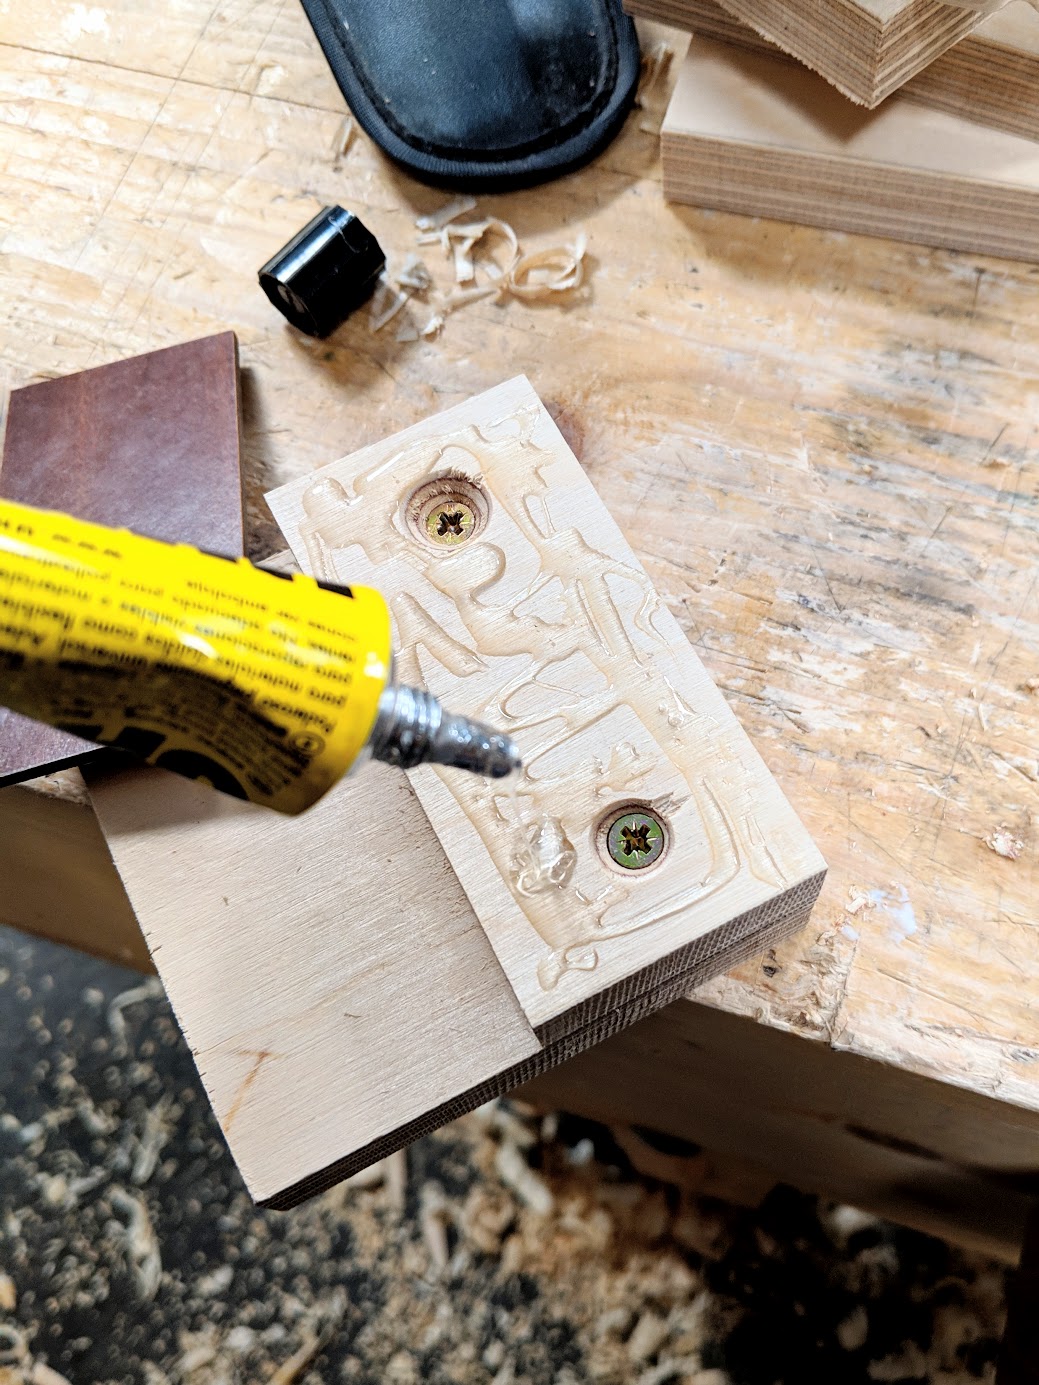
Use contact adhesive to glue both together. Apply glue to both meeting surfaces and let dry until tacky.
Press together and clamp to expel air. Once this is done the guide is ready.
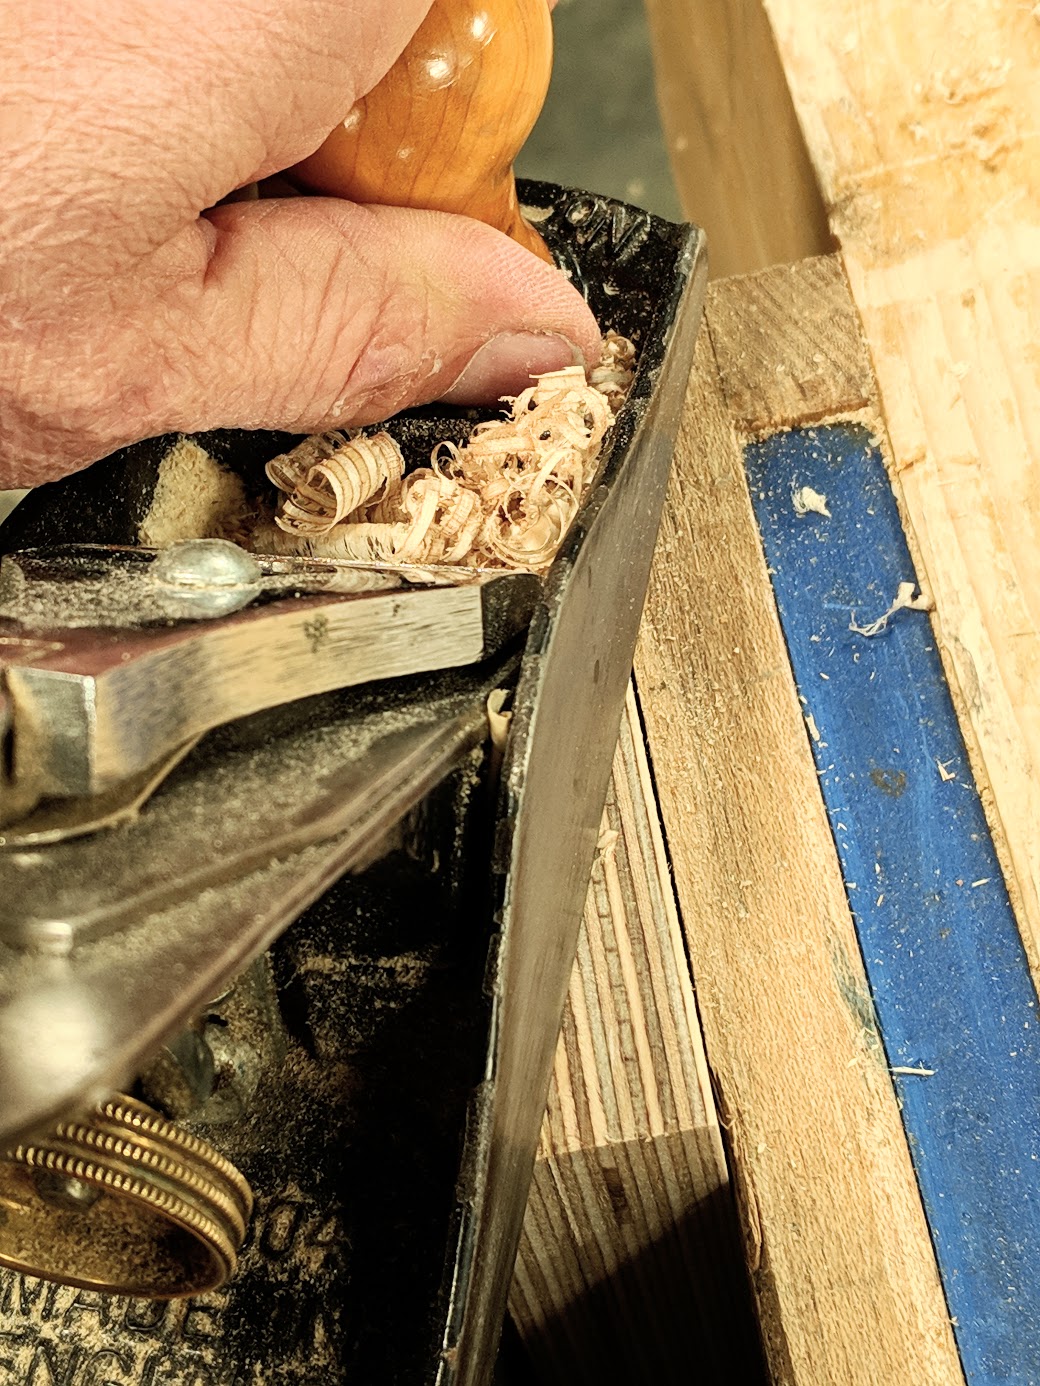
Plane up the edges.
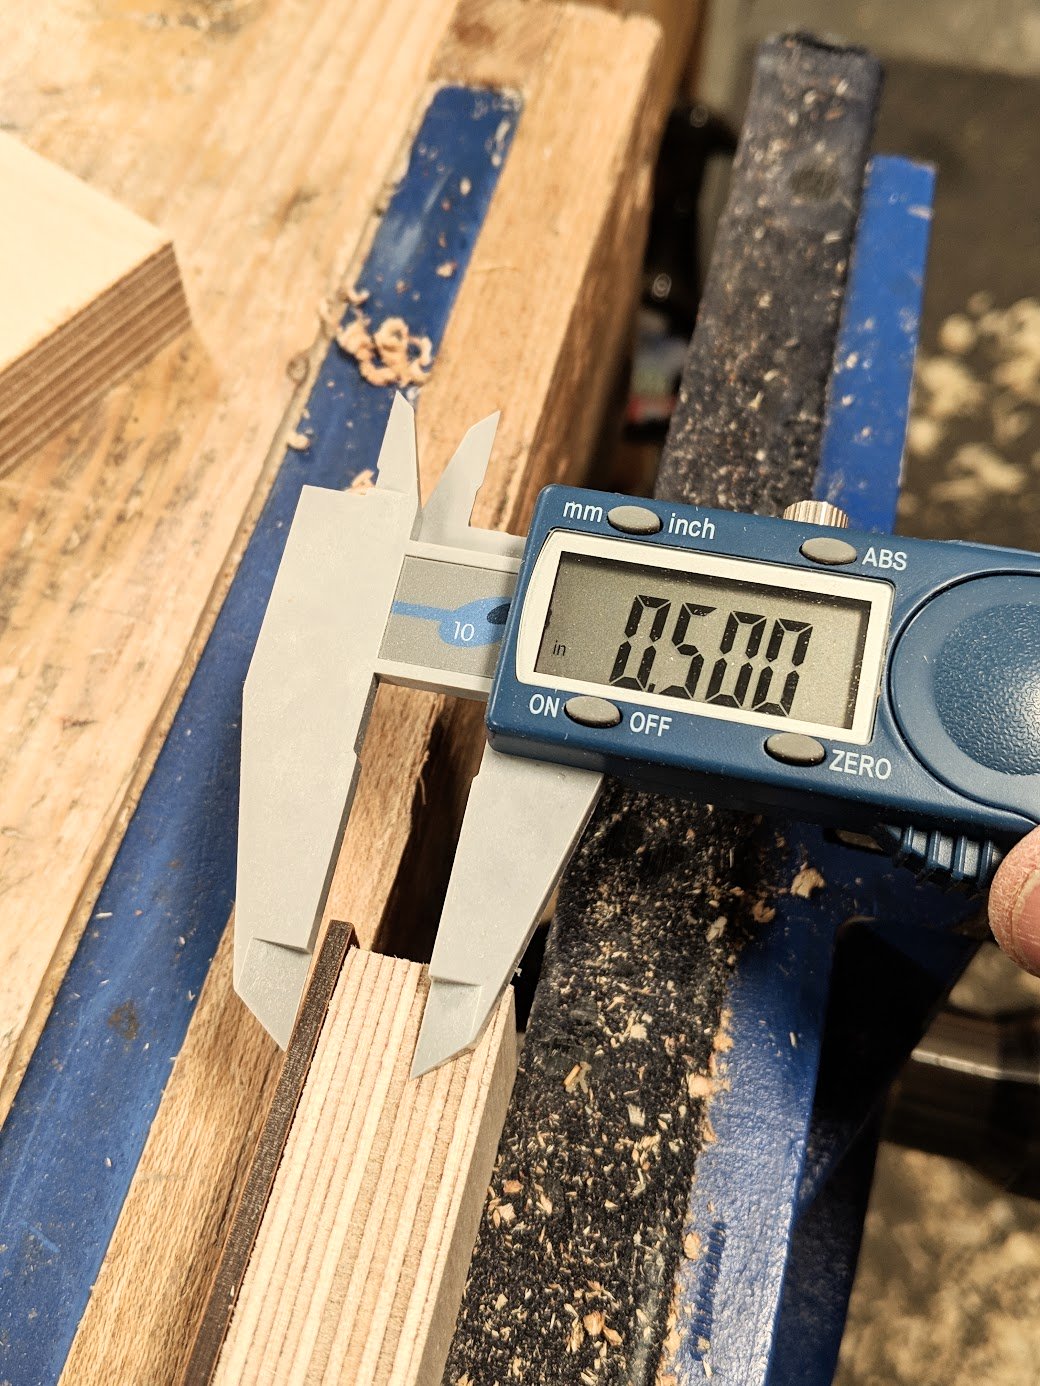
I sized my thicknesses using digital vernier calliper.
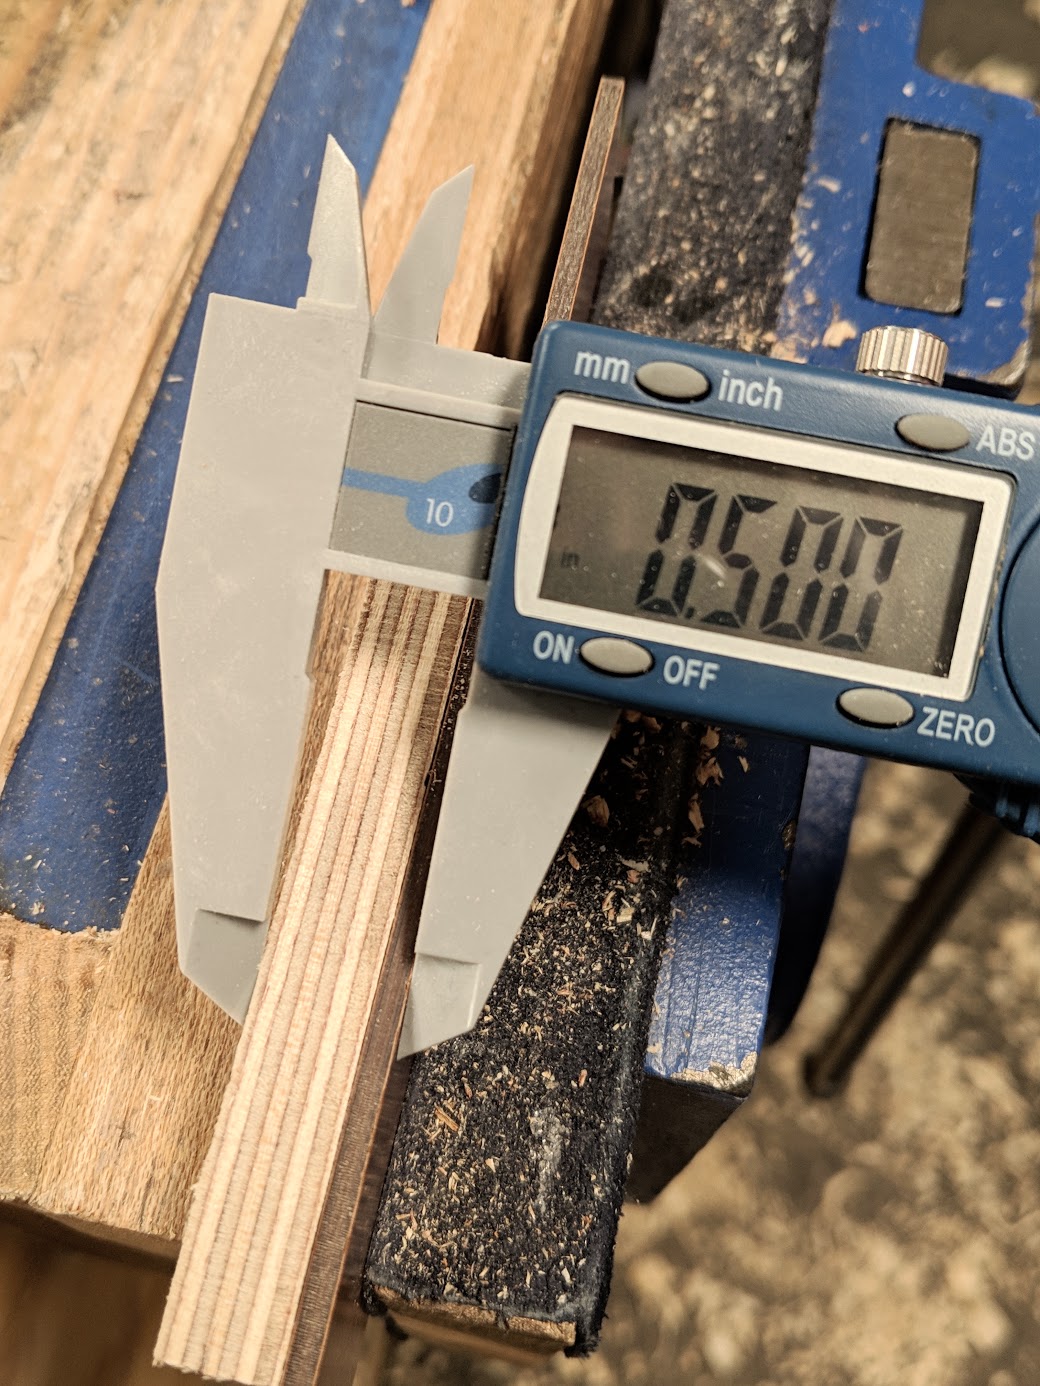
Add the thickness of the laminate to the side of the distance piece, set the calliper to distance and use a knife to mark the cut line.
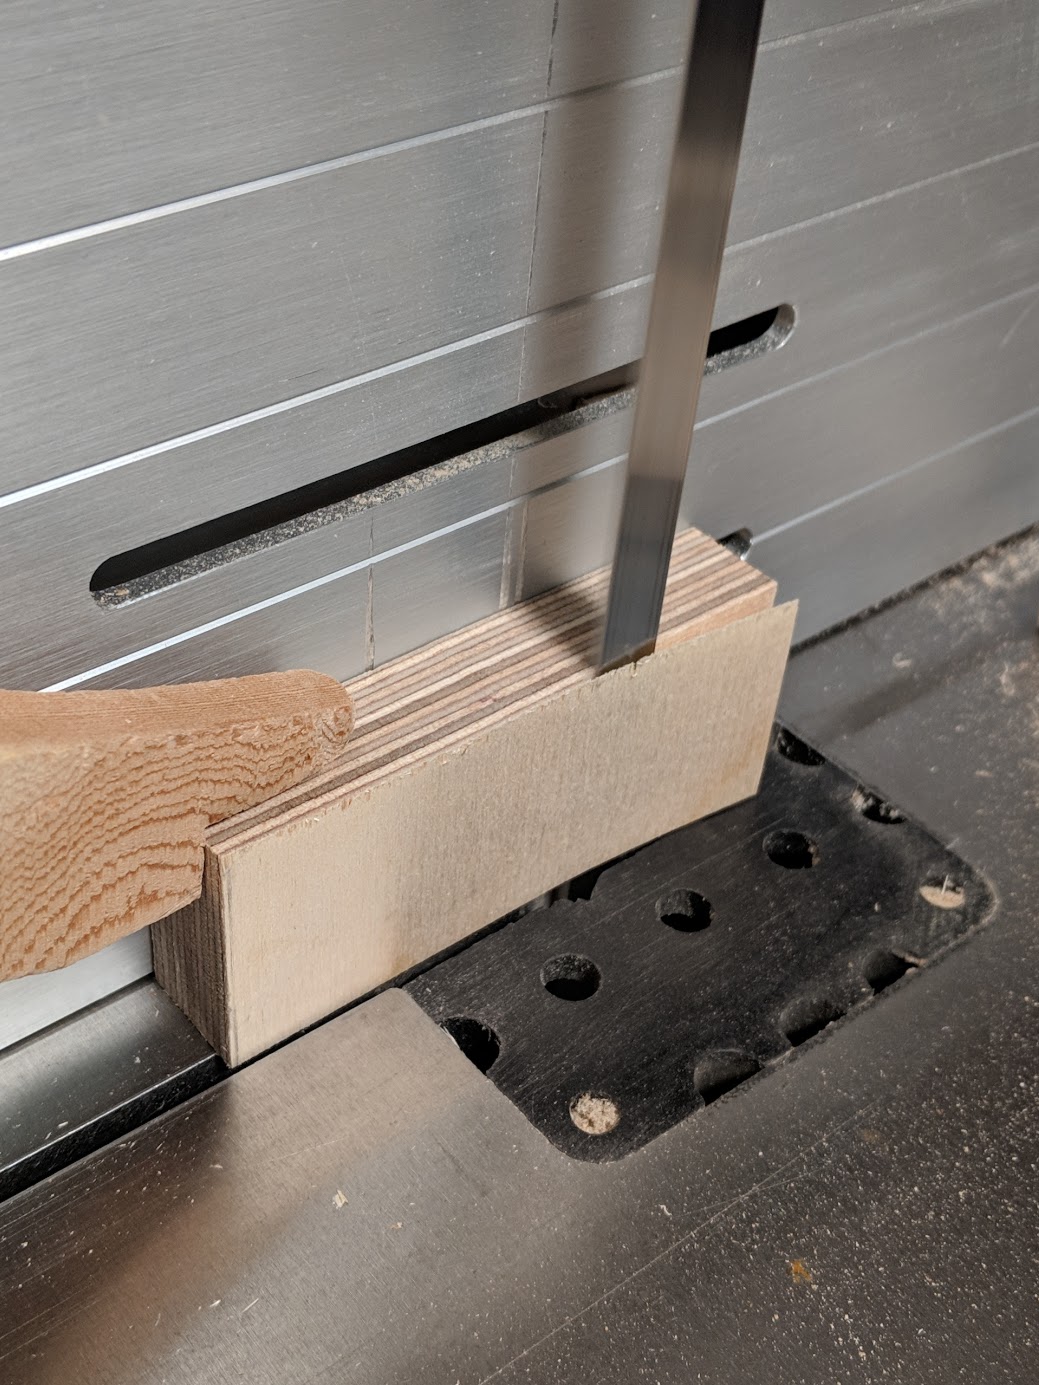
Set the bandsaw fence to match the knife mark and then rip. Plane to get dead size as needed.

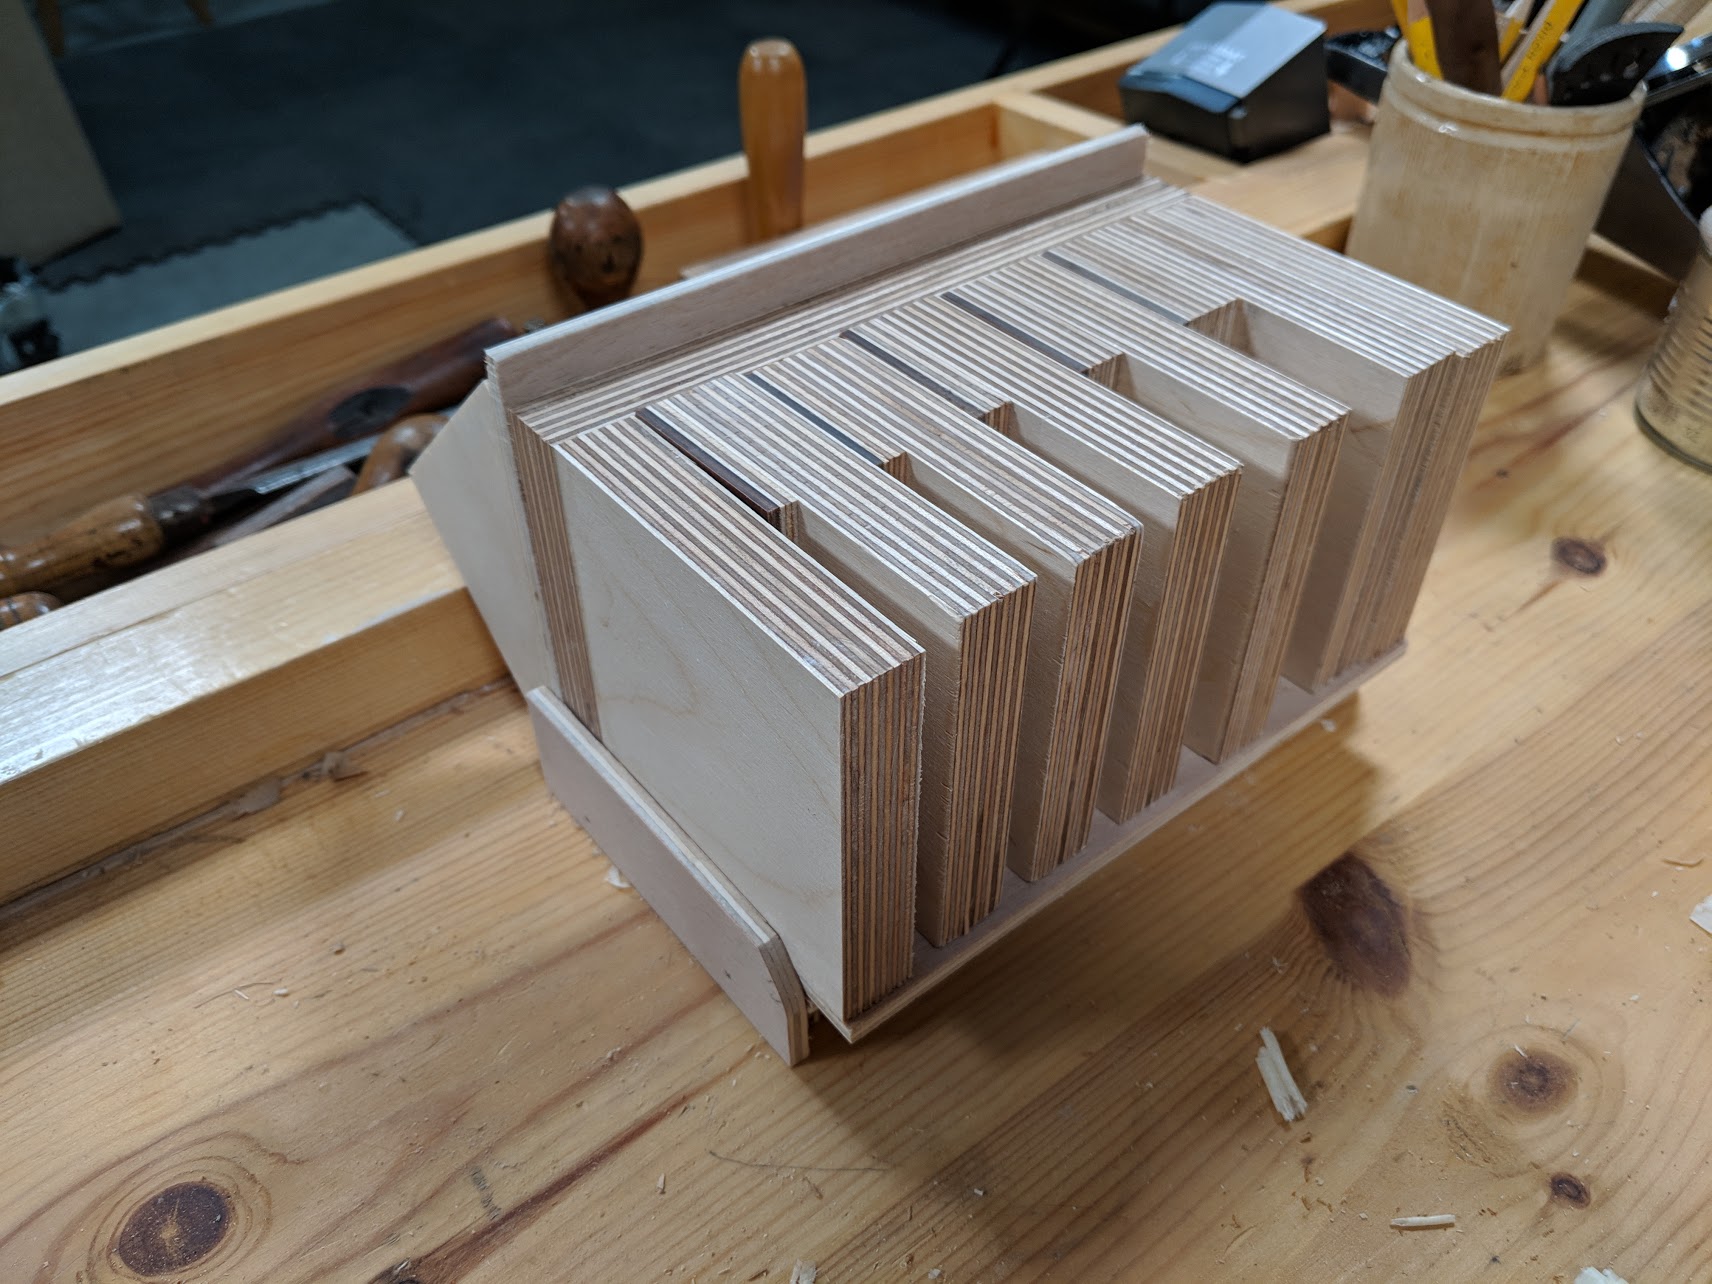
I made a rack to contain my guides and to keep them orderly. It tilts back to self locate the guides.
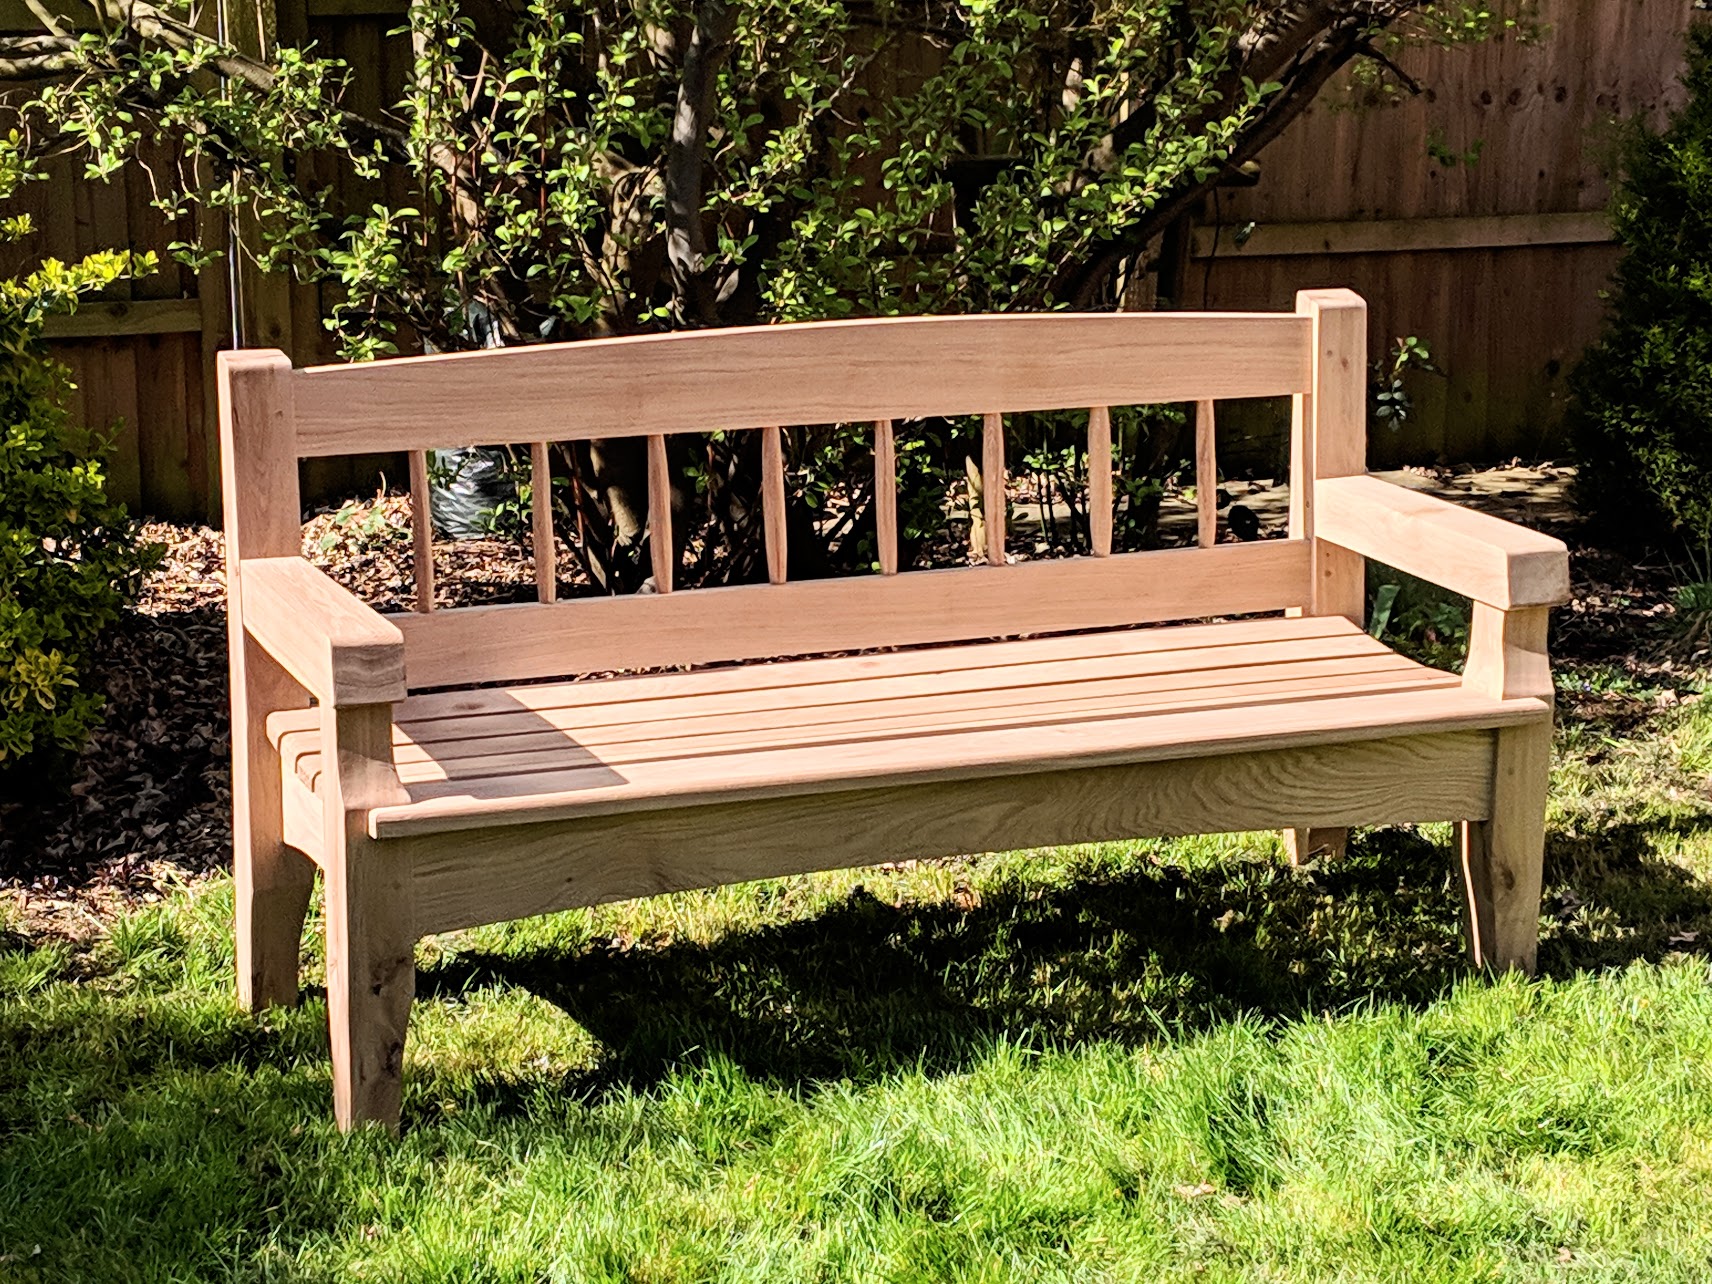
Whereas my guides are being used globally these days, when I made the garden bench it was easier to use the plywood offcuts for a couple of different guides because the mortises were mostly 3/4" in from faces. I just used plywood on plywood without any facing and they felt so firm. Why would I use up good and solid hardwood on something like this, I asked myself, when the scraps are already there? Why not save it for when I need it. But beyond that, I did notice that the plywood versions seemed to sit more squarely to the work and the lack of compressibility in the structure as in wood meant perfect parallel clamping throughout the vise jaws, keeping the guide firmly to the workpiece each time I clamped or moved things.
Comments ()