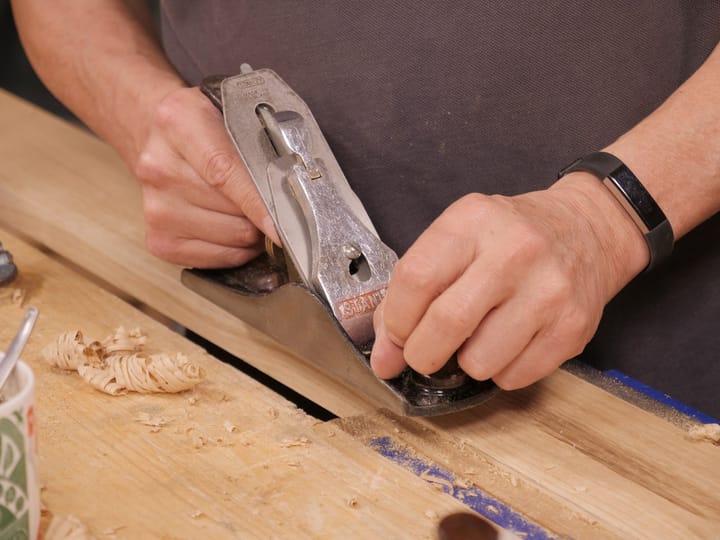
Thickness Planing With a Hand Plane
On woodworkingmasterclasses we've often developed thinner pieces, strips, for things like chess board veneers blocking, coasters and such. Sometimes thicker pieces like table legs have been planed parallel too, or indeed intentionally tapered within extremely tight margins. Our members can be forgiven for taking the methods we use to guarantee exactness for granted, thinking it's a common method perhaps, but it really isn't necessarily so. Fact is I never saw it in my life till I did it myself and developed it to use in my work. I've extended into other areas of my teaching to help others create what I was making in the video training we do. Most if not all of our presentations using hand methods depend on helping those who don't have and will never have machines. That's a huge percentage of our audience and for them I think it's the best thing. They like wood, the working of it, and they especially like hand tools and skilled working. You can't get that kind of skill growth any other way. I won't call it upskilling, that's the silliest term I ever saw. Just my perception, that's all. Whether my system existed elsewhere before is of no consequence. I don't, won't, copy others unless it's been passed on through the annals of time. That's just me, again.
So it is, as ever, unlikely that what I have has not existed before me, I'm sure it did, but just as the router plane was all but dead, now it's not. We've restored it to its rightful place and I'm glad. What we do without it? Crank up a power router? Don head gear? For just a little joint? Not a good idea really.

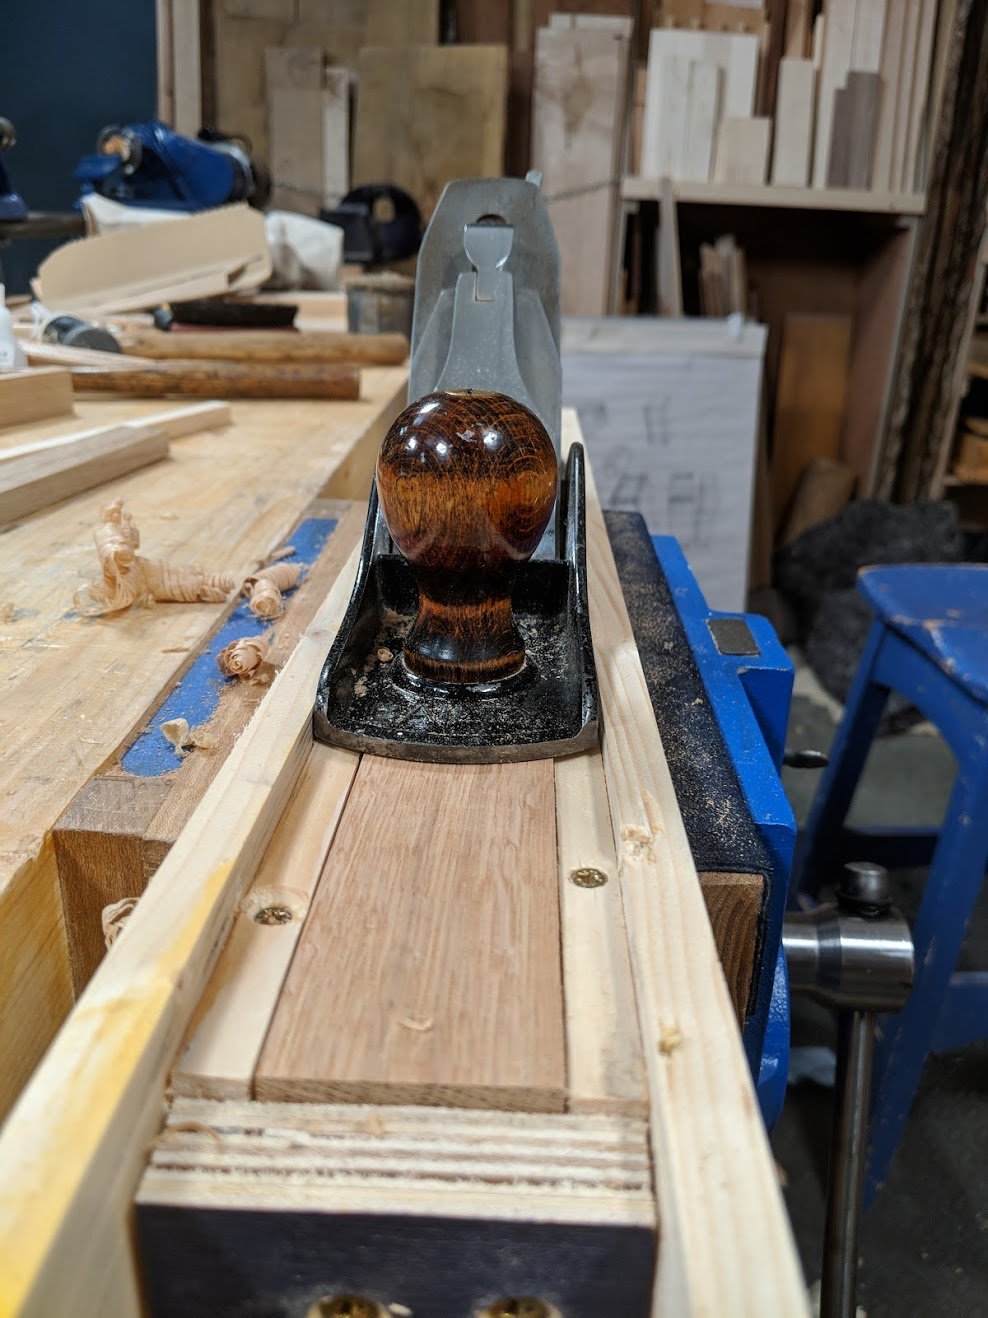
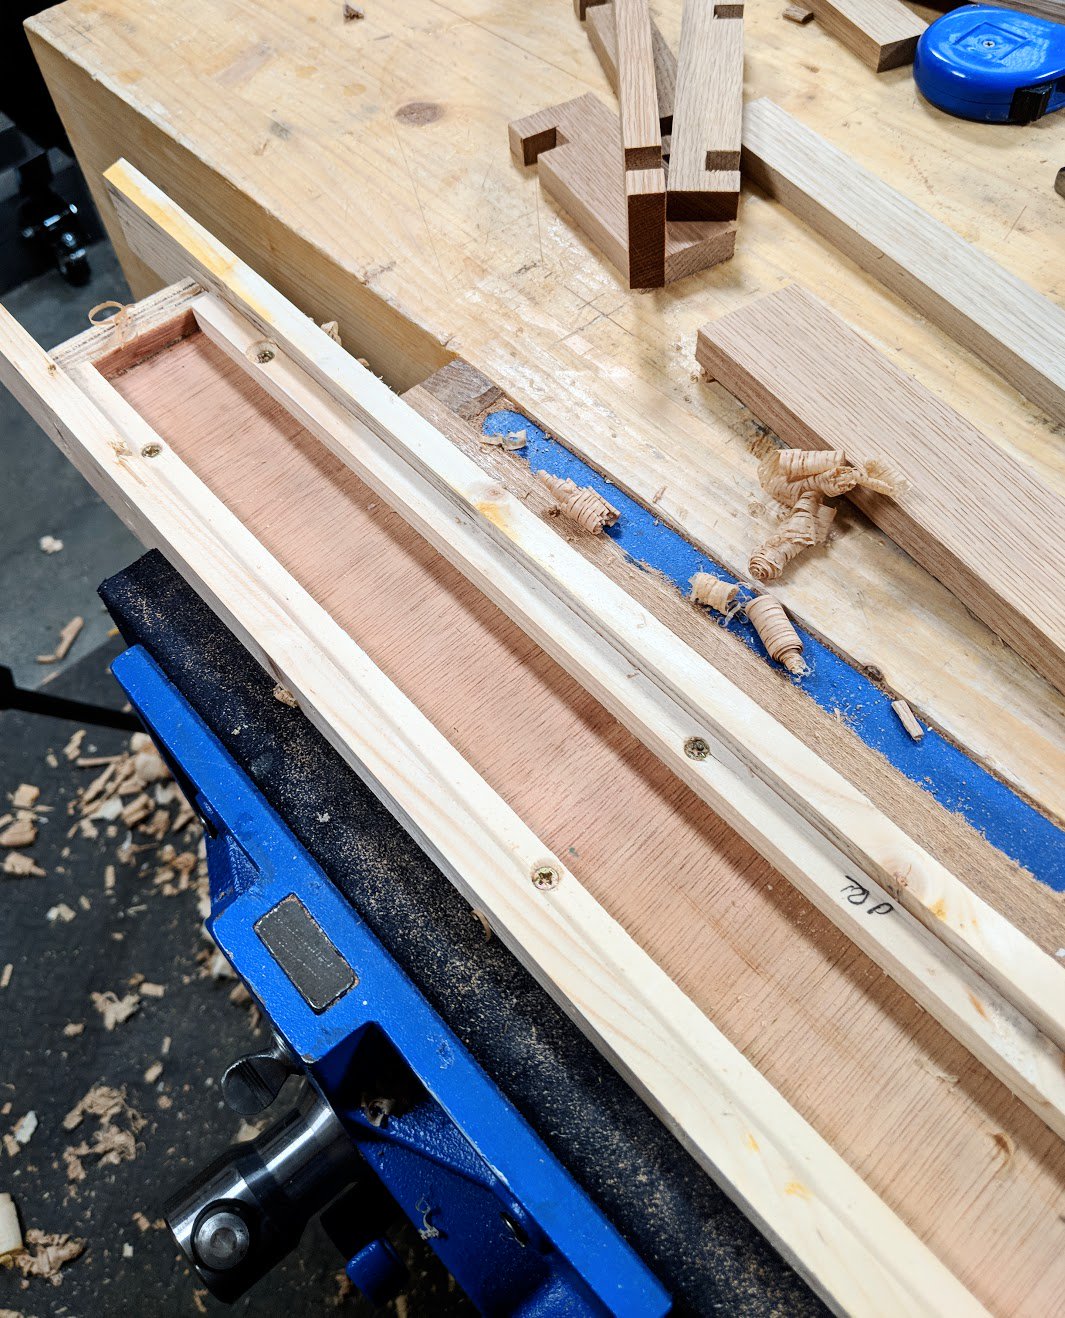
Anyway, my current project developing 1/2" sections demands accurate thicknessing of multiple pieces. To do that I made a planing guide. I made it from a few scraps in a few minutes. Plywood works great for the base (3/4"), and then some ripped strips of softwood for the side guides and two strips for the parallel registration strips to slide the plane along and onto. Oh, and then the end stop to butt the wood up to too. Two screws and glued to secure.
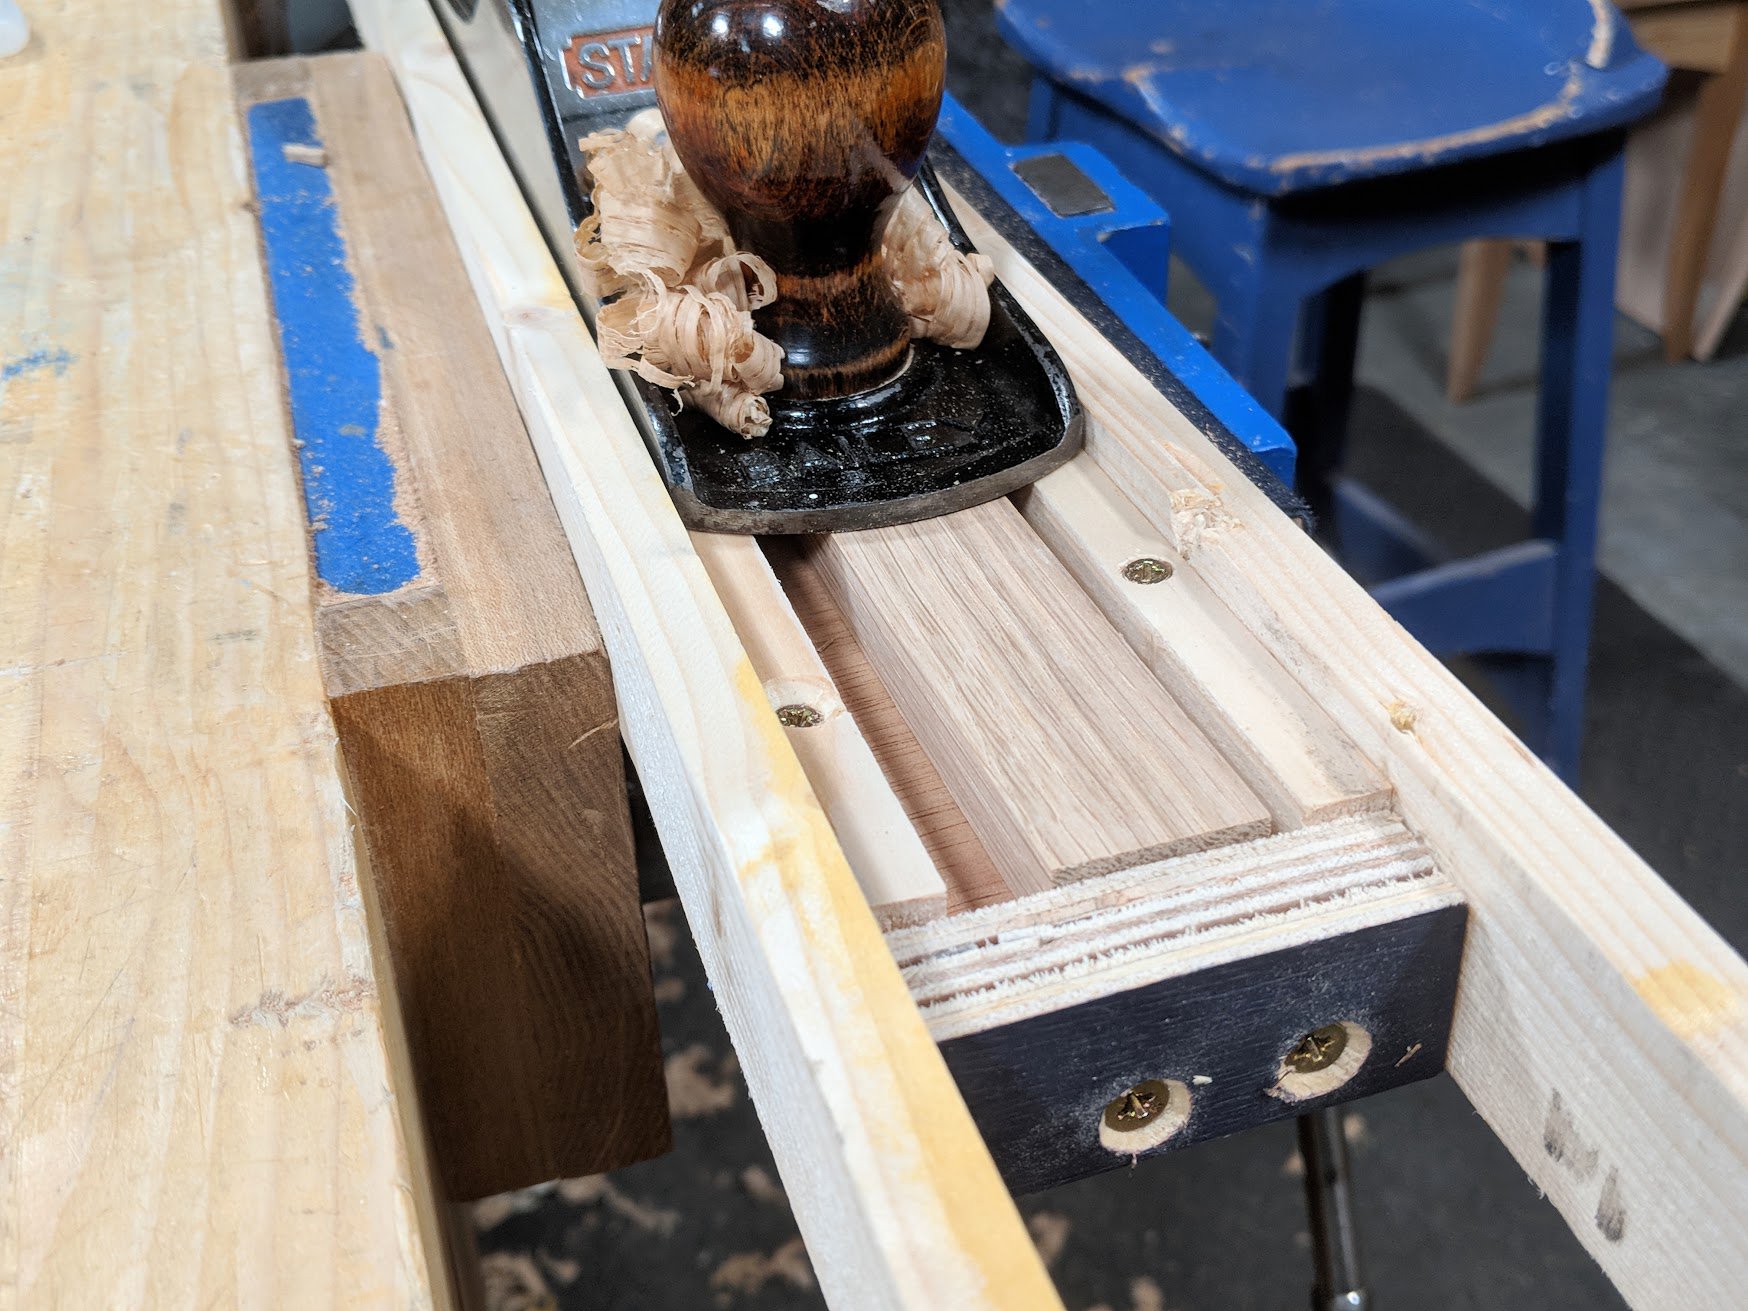
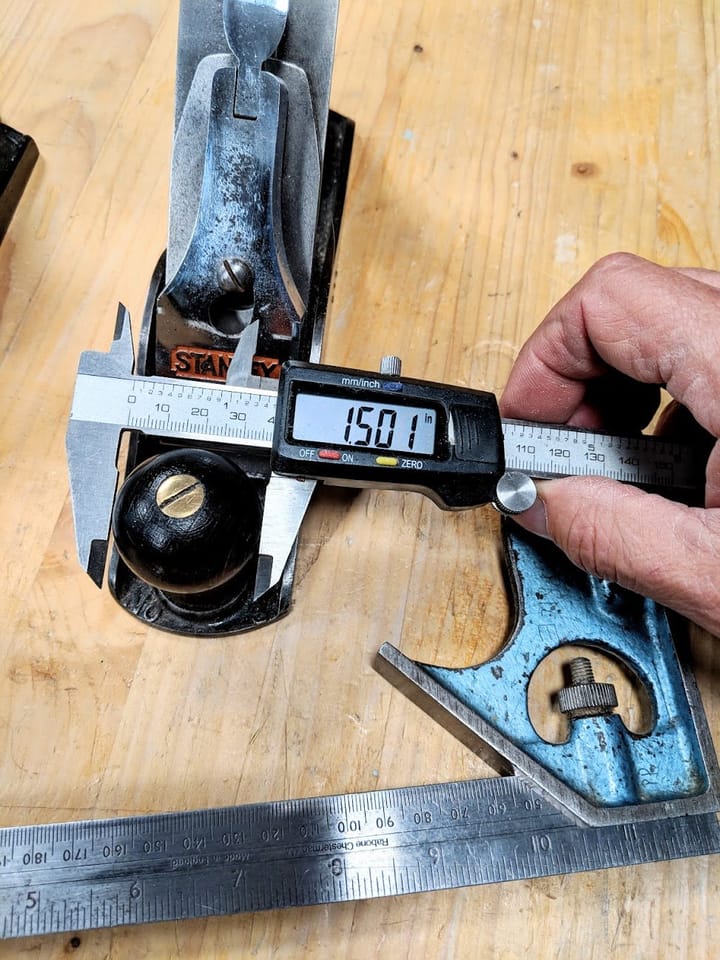
The two strips that the plane rides on are the most critical and demanding. I plane mine as close to parallel as possible. I like to think in thousandths of an inch even if I can;'t get that. I wanted to finish at 1/2" so 12.7mm. Having ripped my wood parallel to two fully planed and trued adjacent faces, I use a vernier and work the wood to within around 12.65–12.75 at any given test point in parallel. Once that's done the rest can be a little more slapdash. The 3/4" plywood base is 1/8" wider than the plane, not too much slop. The side guides need only be 1/4" above the registration strips. I nailed and glued the side strips to the edges of the plywood and then screwed the registration strips into the inner corners. I used two screws and glue to ensure the end stop was secure and just below the surface of the registration strips so the plane didn't catch.
Run Two Planes in Tandem
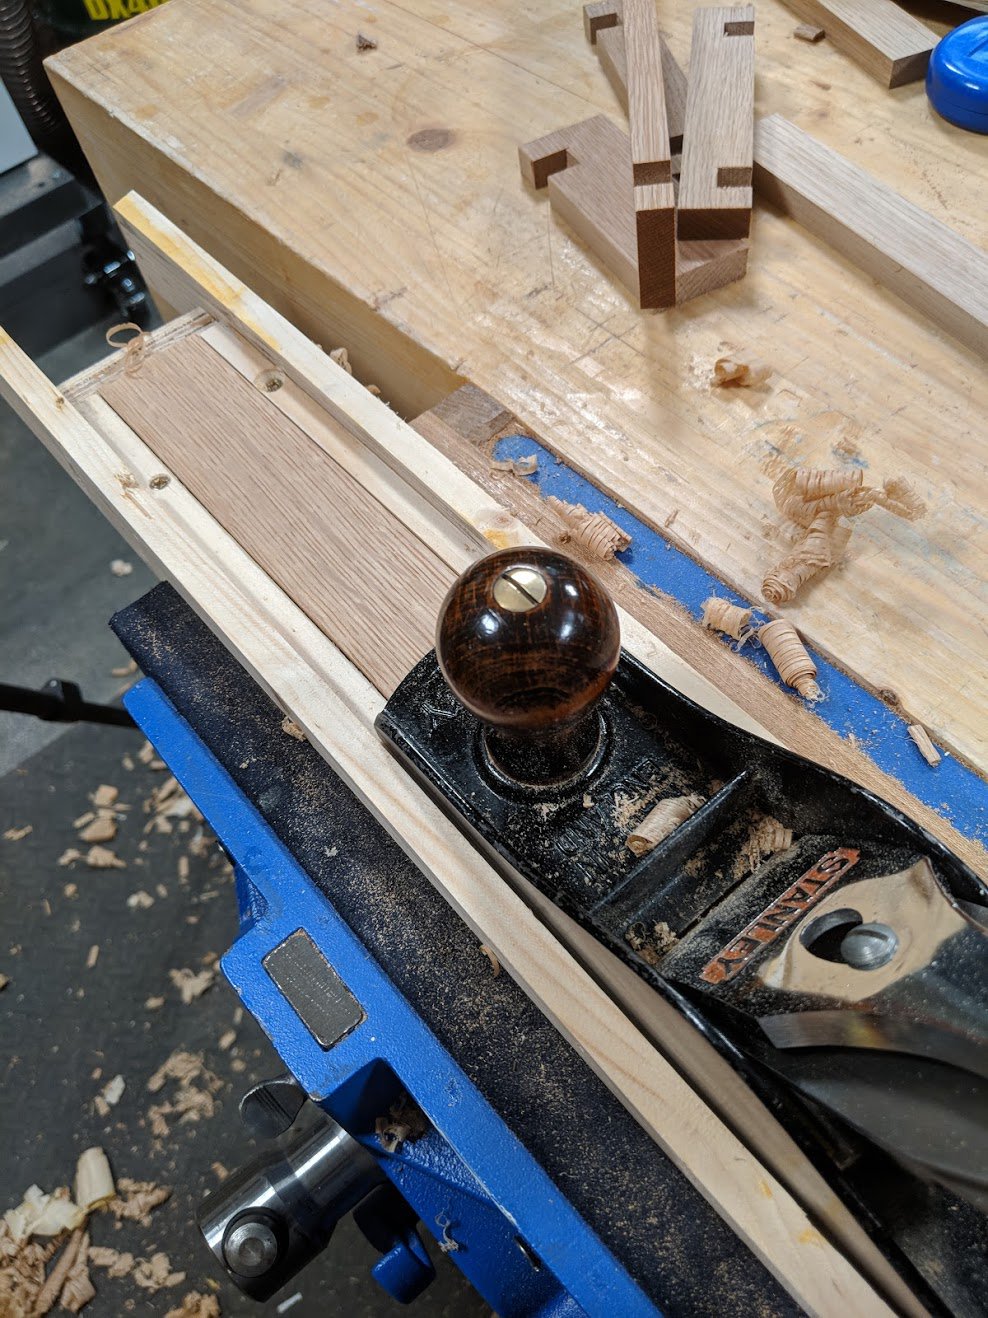
It's surprising how quickly any plane will dull and how long it will cut for after it loses its prime edge. After say fifty strokes, take the plane iron out and feel the edge, it will feel much duller. But it will continue cutting for a few hundred strokes and still leave a silky-smooth surface. This isn't a figment it's reality. My 'trade secret' here is to run two planes side by side, keeping one for only the final finessing strokes and the other for the donkey work of quick reduction. This mens that repeat sharpenings go to the dulled plane iron and the second plane retains the same setting and the same level of sharpness pretty well throughout. Try it, it works. In my case I used the #4 and the #5 but two planes the same size will work well too.

Comments ()