Installing My Under-Bench Shelf
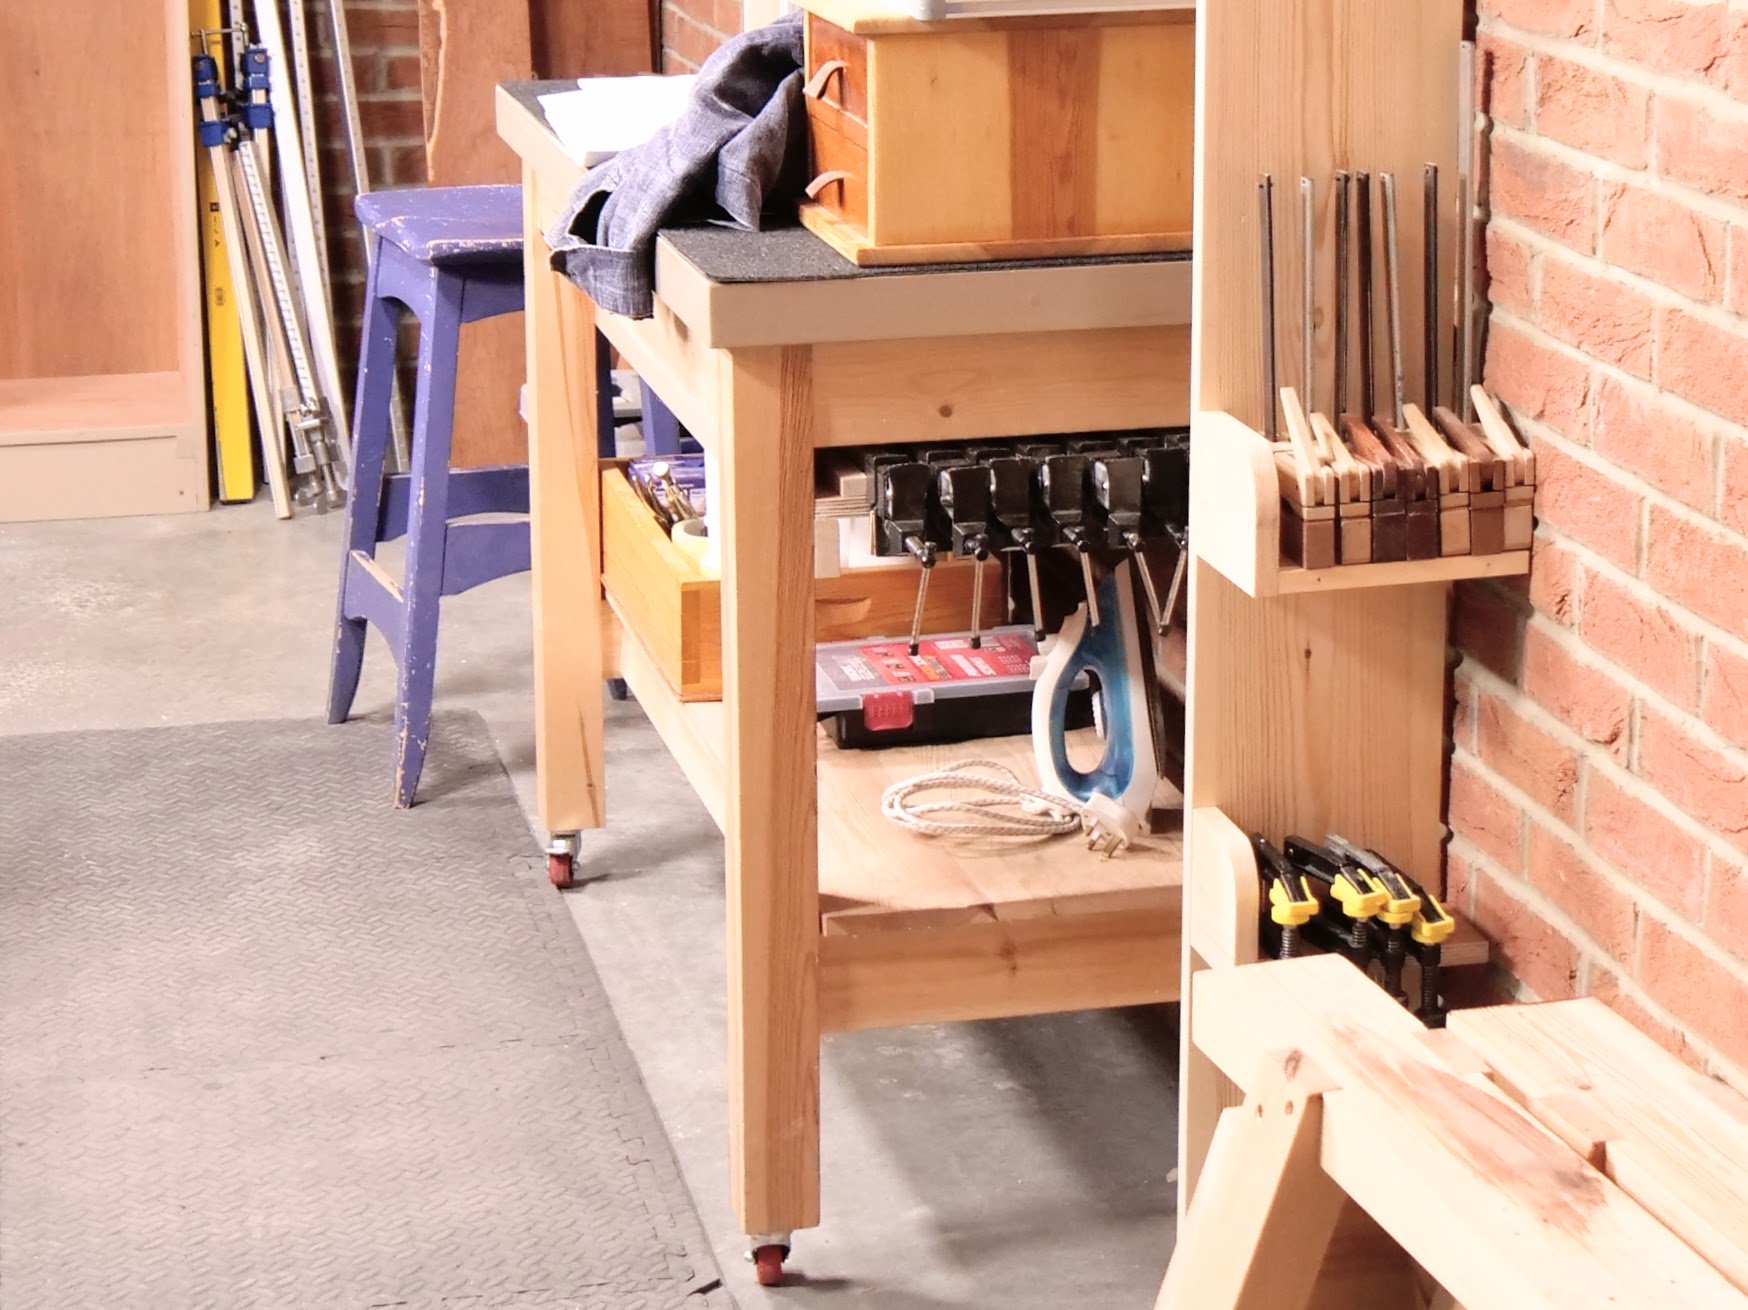
Adding a main shelf underneath my bench is a questionable addition except this time I am going to take control of it. Over the years it proved useful more as a catchall for stuff that just does not fit elsewhere rather than an organised system of storage. It did hold my electric grinder, my metal vise, wet and dry abrasive paper and stuff like that too, but all that didn't have a slot ended up there. Technically, I don't use these as much as others might but when I have a metal working project I am always glad I have them close to hand.
The moving work surface behind me was something I made for the woodworking school a few years back. To stack project wood on mostly. I made two of them and they became ever more useful to me even outside of class time. I find them handy for what they give me because they can be swung in at anytime to support my work and working. The one behind me is already installed and working great for what I need. I can take it completely out or move it along left or right if I need saw horses setting up to rip sheets or boards if I need to. I have room for the second one either side at the end of my workbench and I am thinking of doing just that and installing the vise and the grinder on there. That frees up the underside of my workbench for the shelf and I can use that then for stowing wood from a project, tools, equipment or whatever.
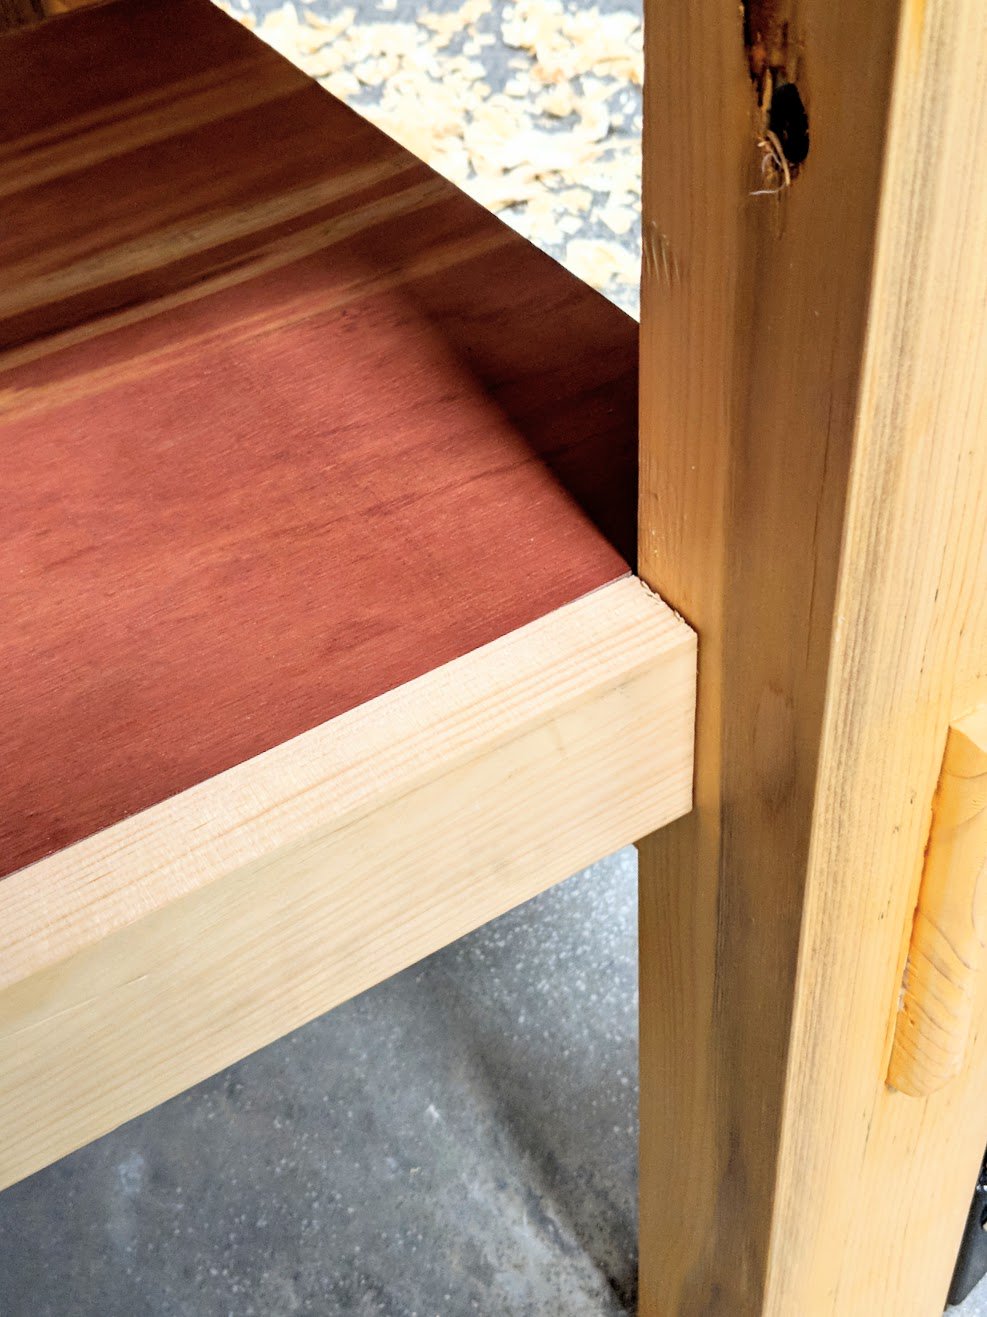
I have fitted many such shelves with all of the benches I have made so my favourite method is the one I am showing you here. Plywood is stable and strong and easy enough to cut and fit. I like to cover the edges so you can't see the ply edges.
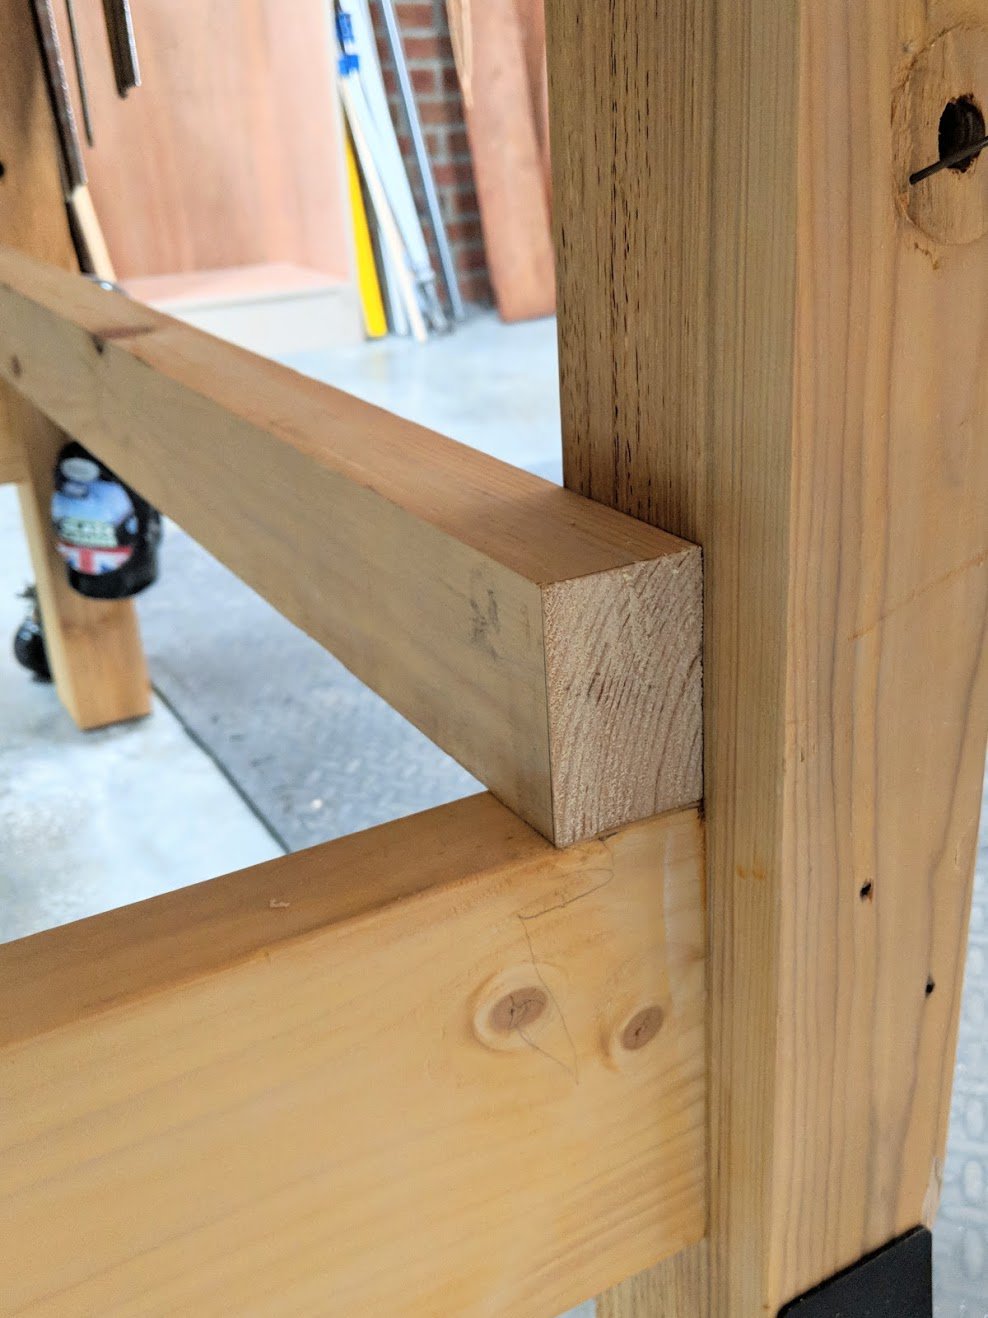
My wood size is 1 3/4" (44mm) by 2 3/4" (68mm) softwood but you can use other sized wood. Firstly I cut my wood to length using the outside of the cross rails to mark the distance. This is not the final length. I will cut the final length after some other work yet to be done.
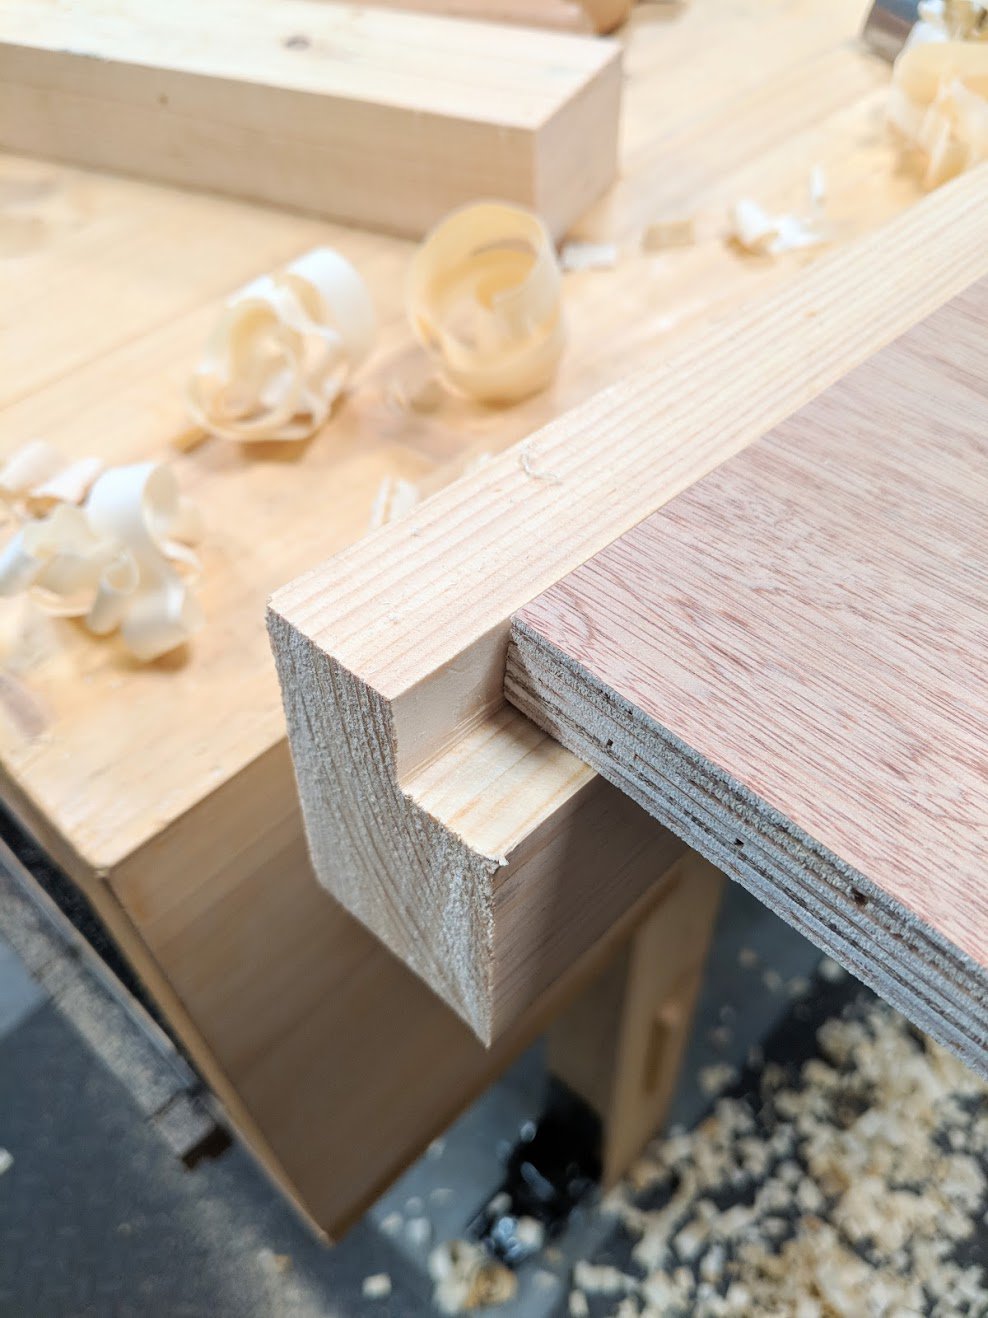
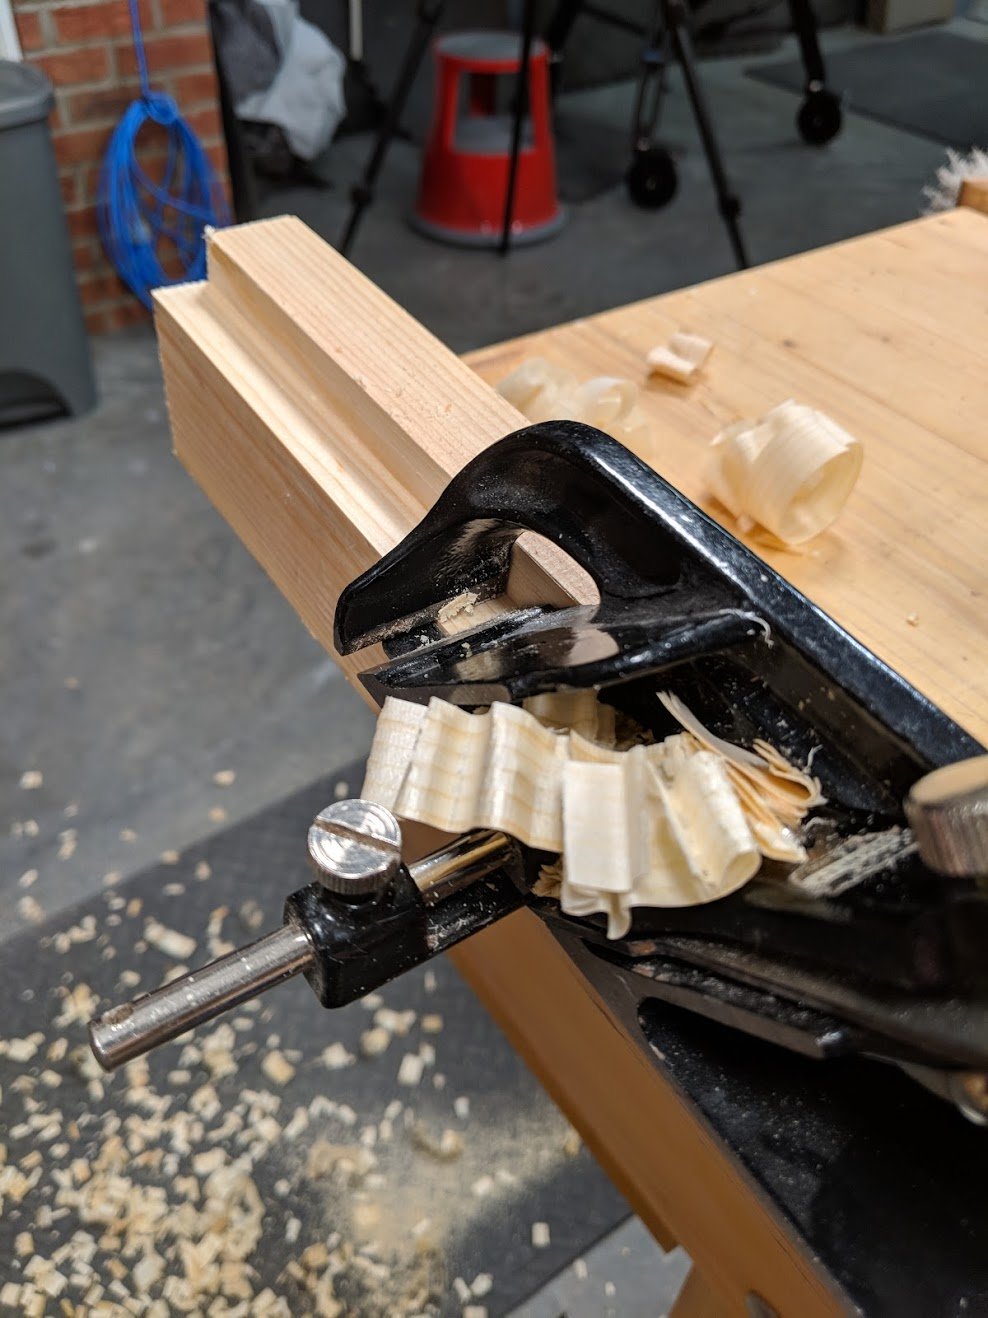
I rebated the lengths with a #78 Stanley to form a 3/4" (19mm) by 3/4" (19mm) rebate. This forms the step down for the plywood and gives it good and sufficient support.
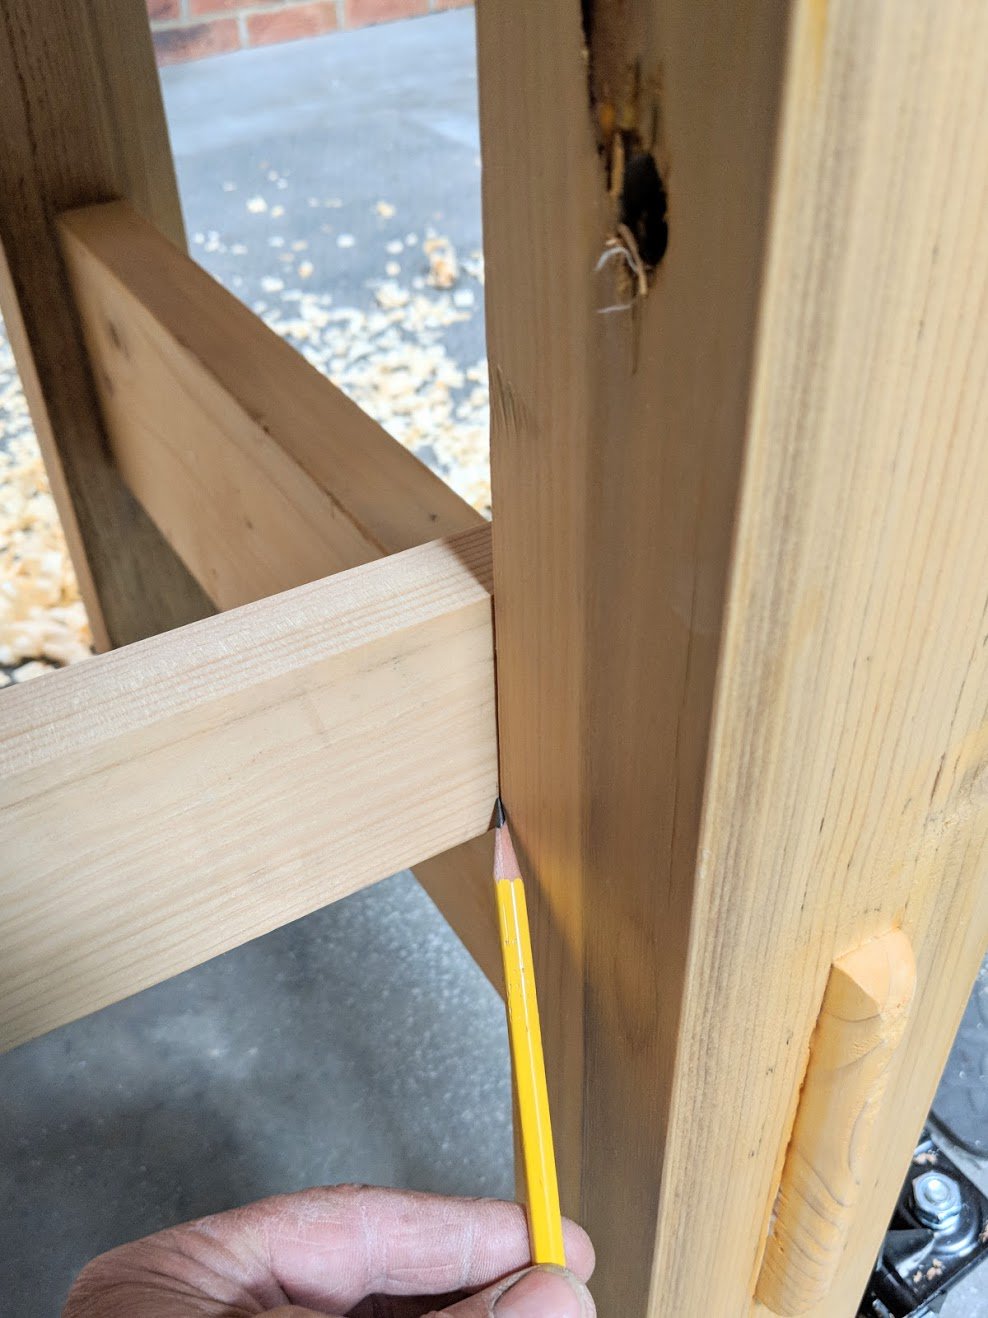
With the rebates formed I place the length on the two cross rails of my workbench to mark the internal shoulder lines directly from the legs.
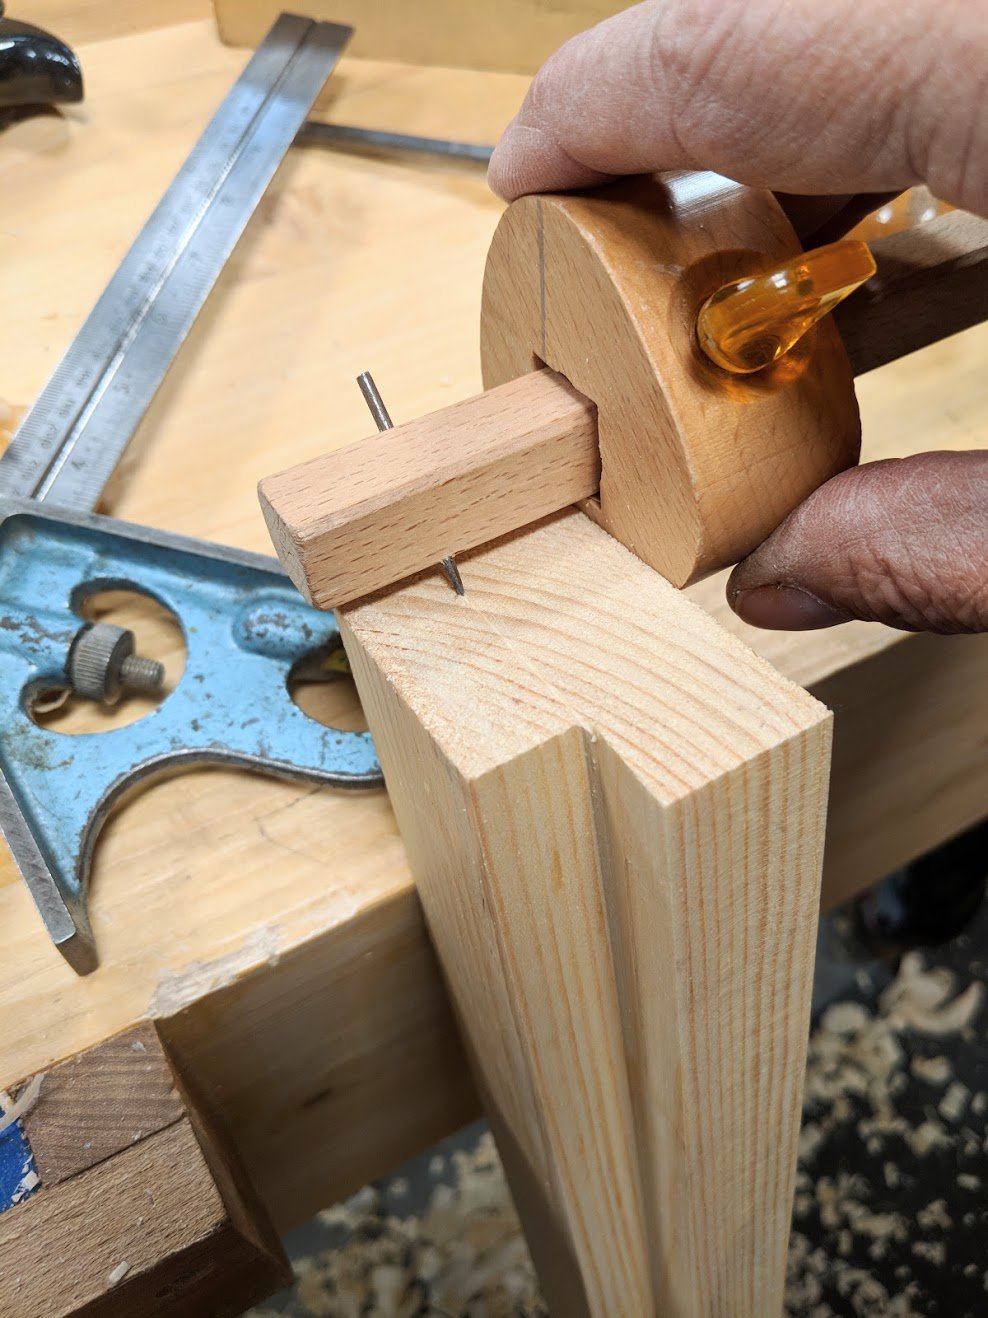
Using a marking gauge I run a gauge line from the rebate onto the end grain and around onto the other opposite edge.
I used a knifewall to define the cut line...
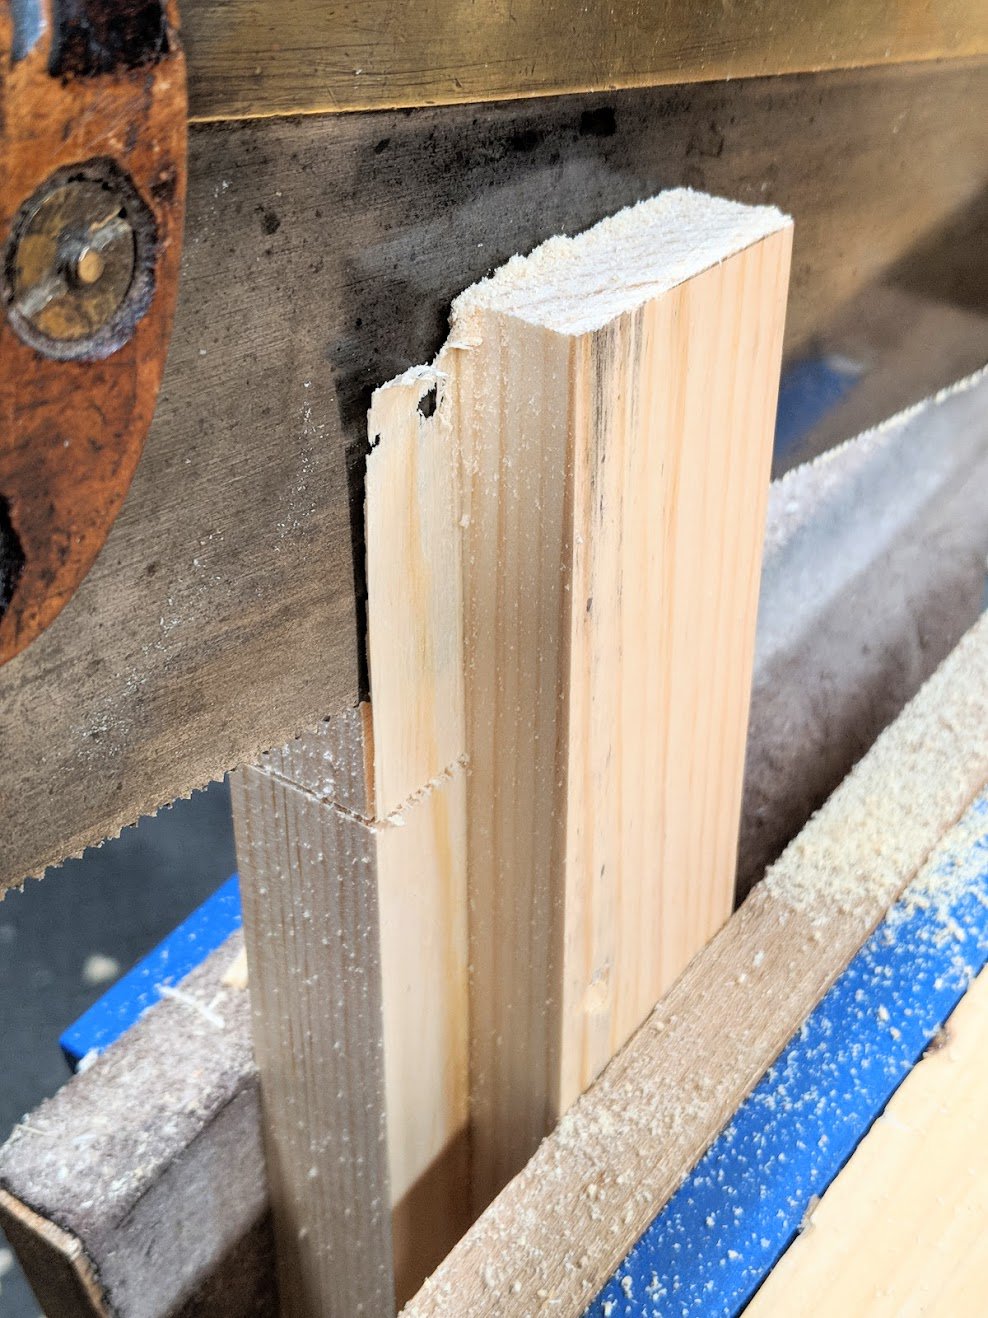
... followed by a crosscut to develop the shoulder with my tenon saw.
I ripped along the cheek with a tenon saw, following the gauge line.
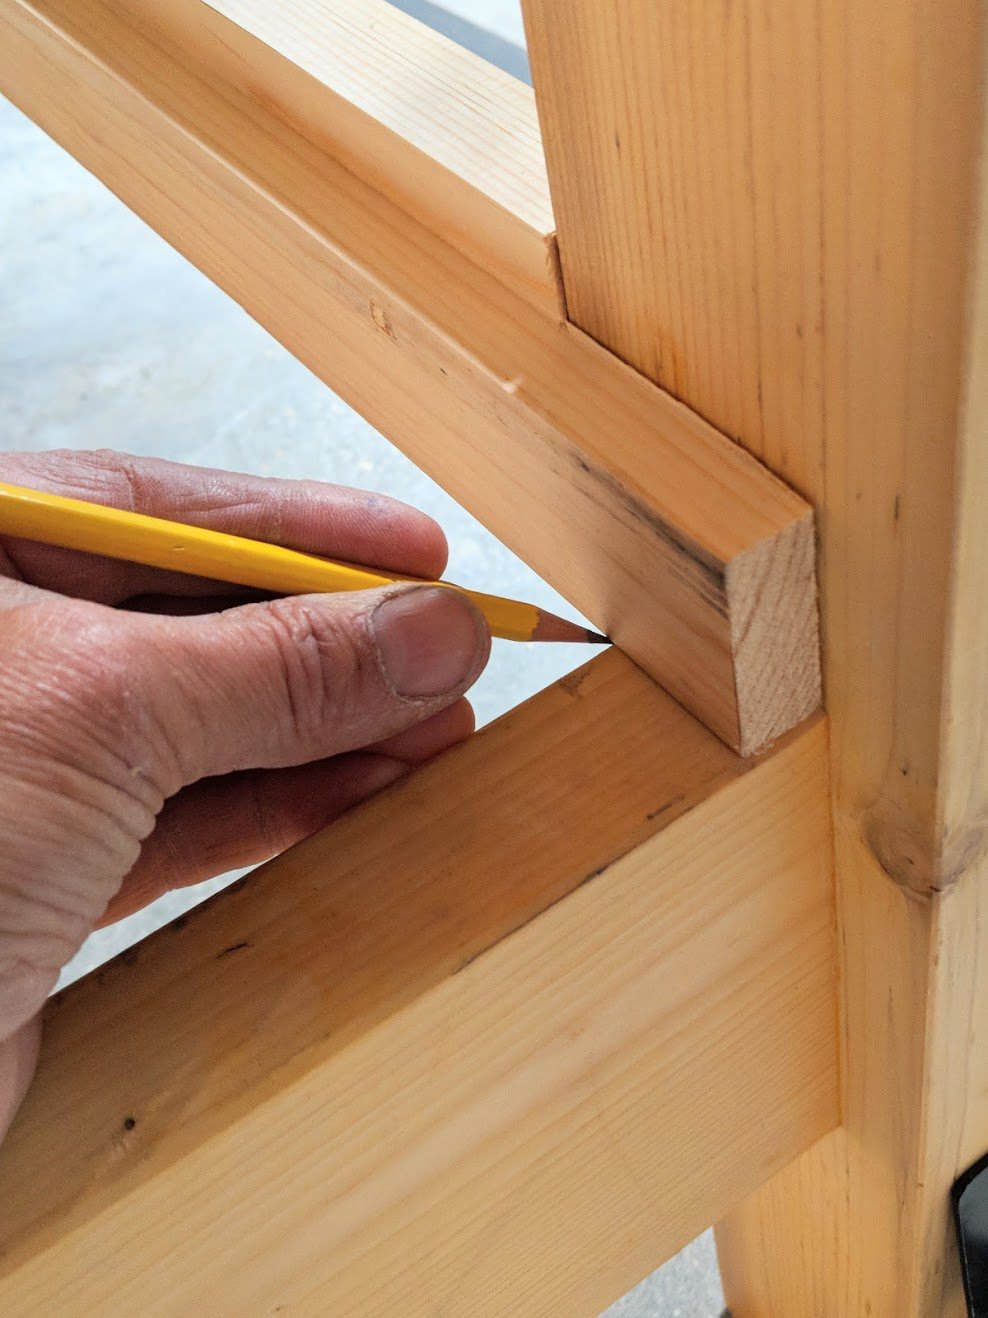
I placed the newly form support rails in between the legs and marked the final length directly off the rails and cut them to length.
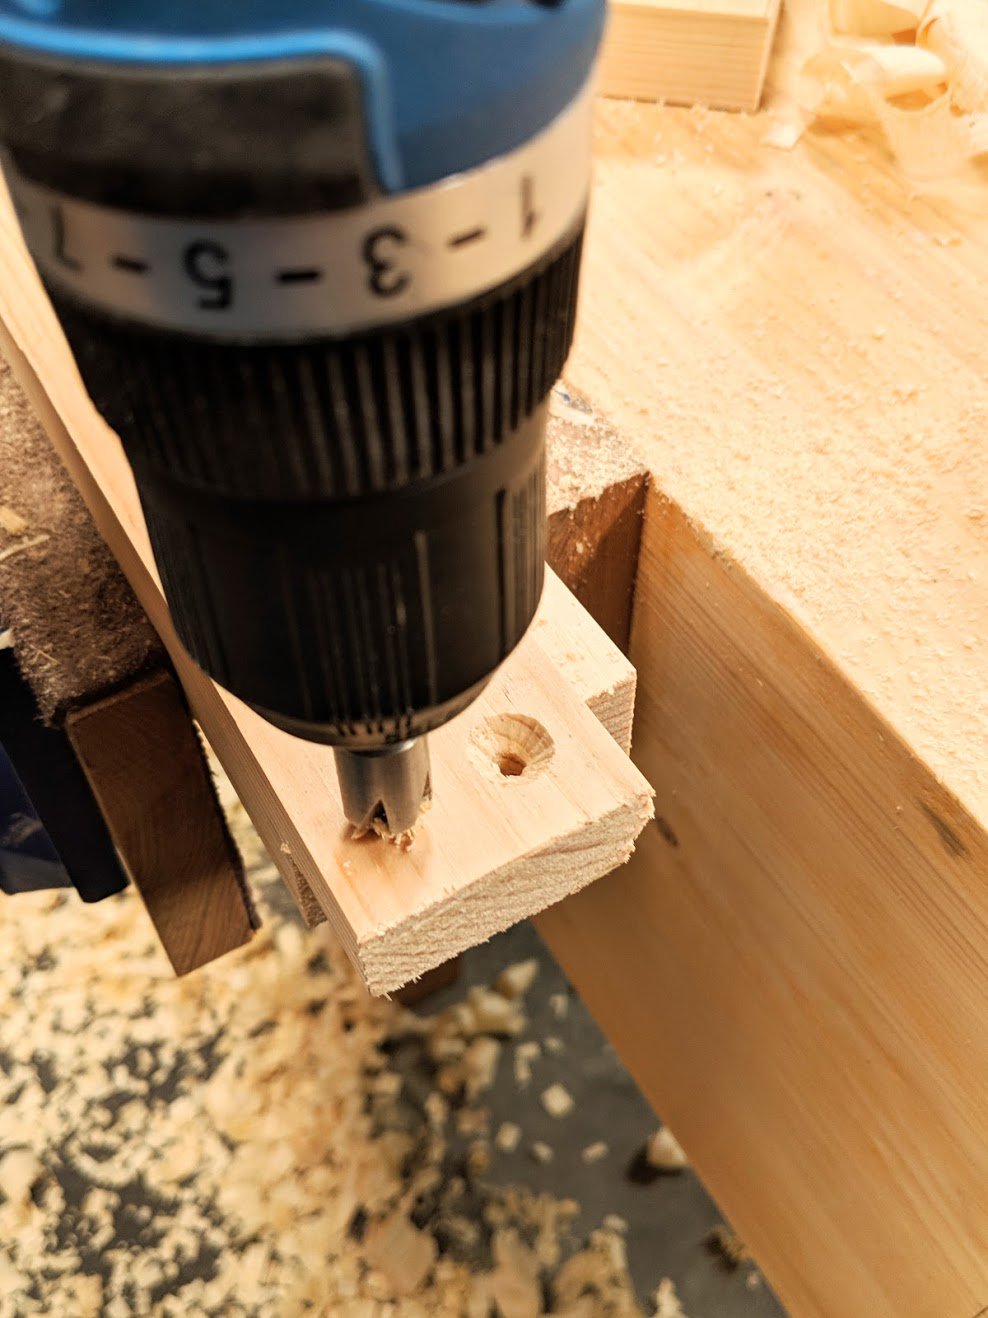
I drilled two 3/16" holes and countersunk them.
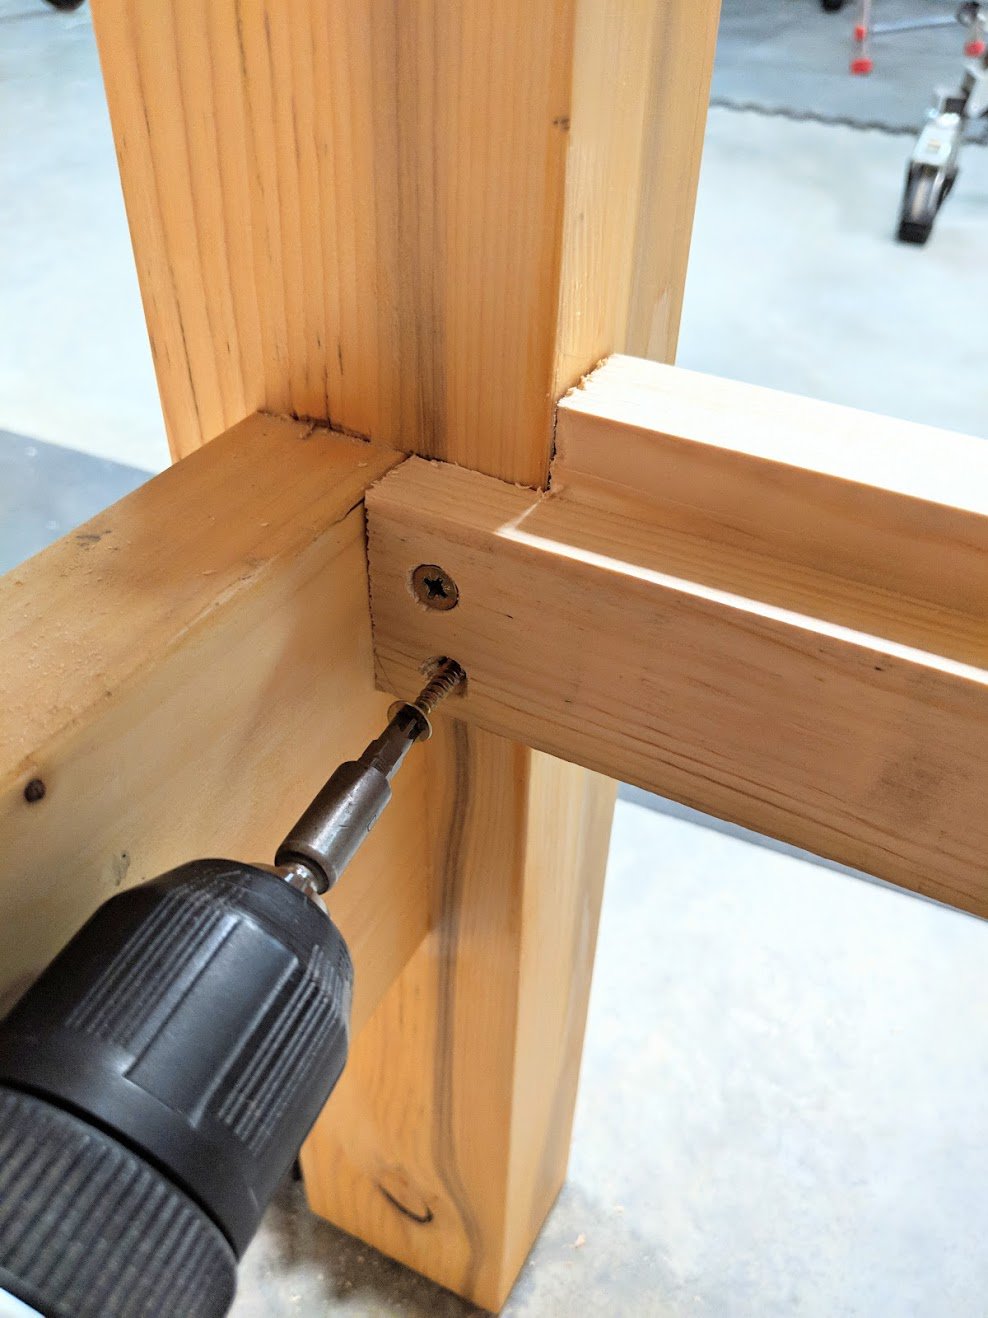
I screwed them to the legs with the bottom of the rebate level with the cross rails.
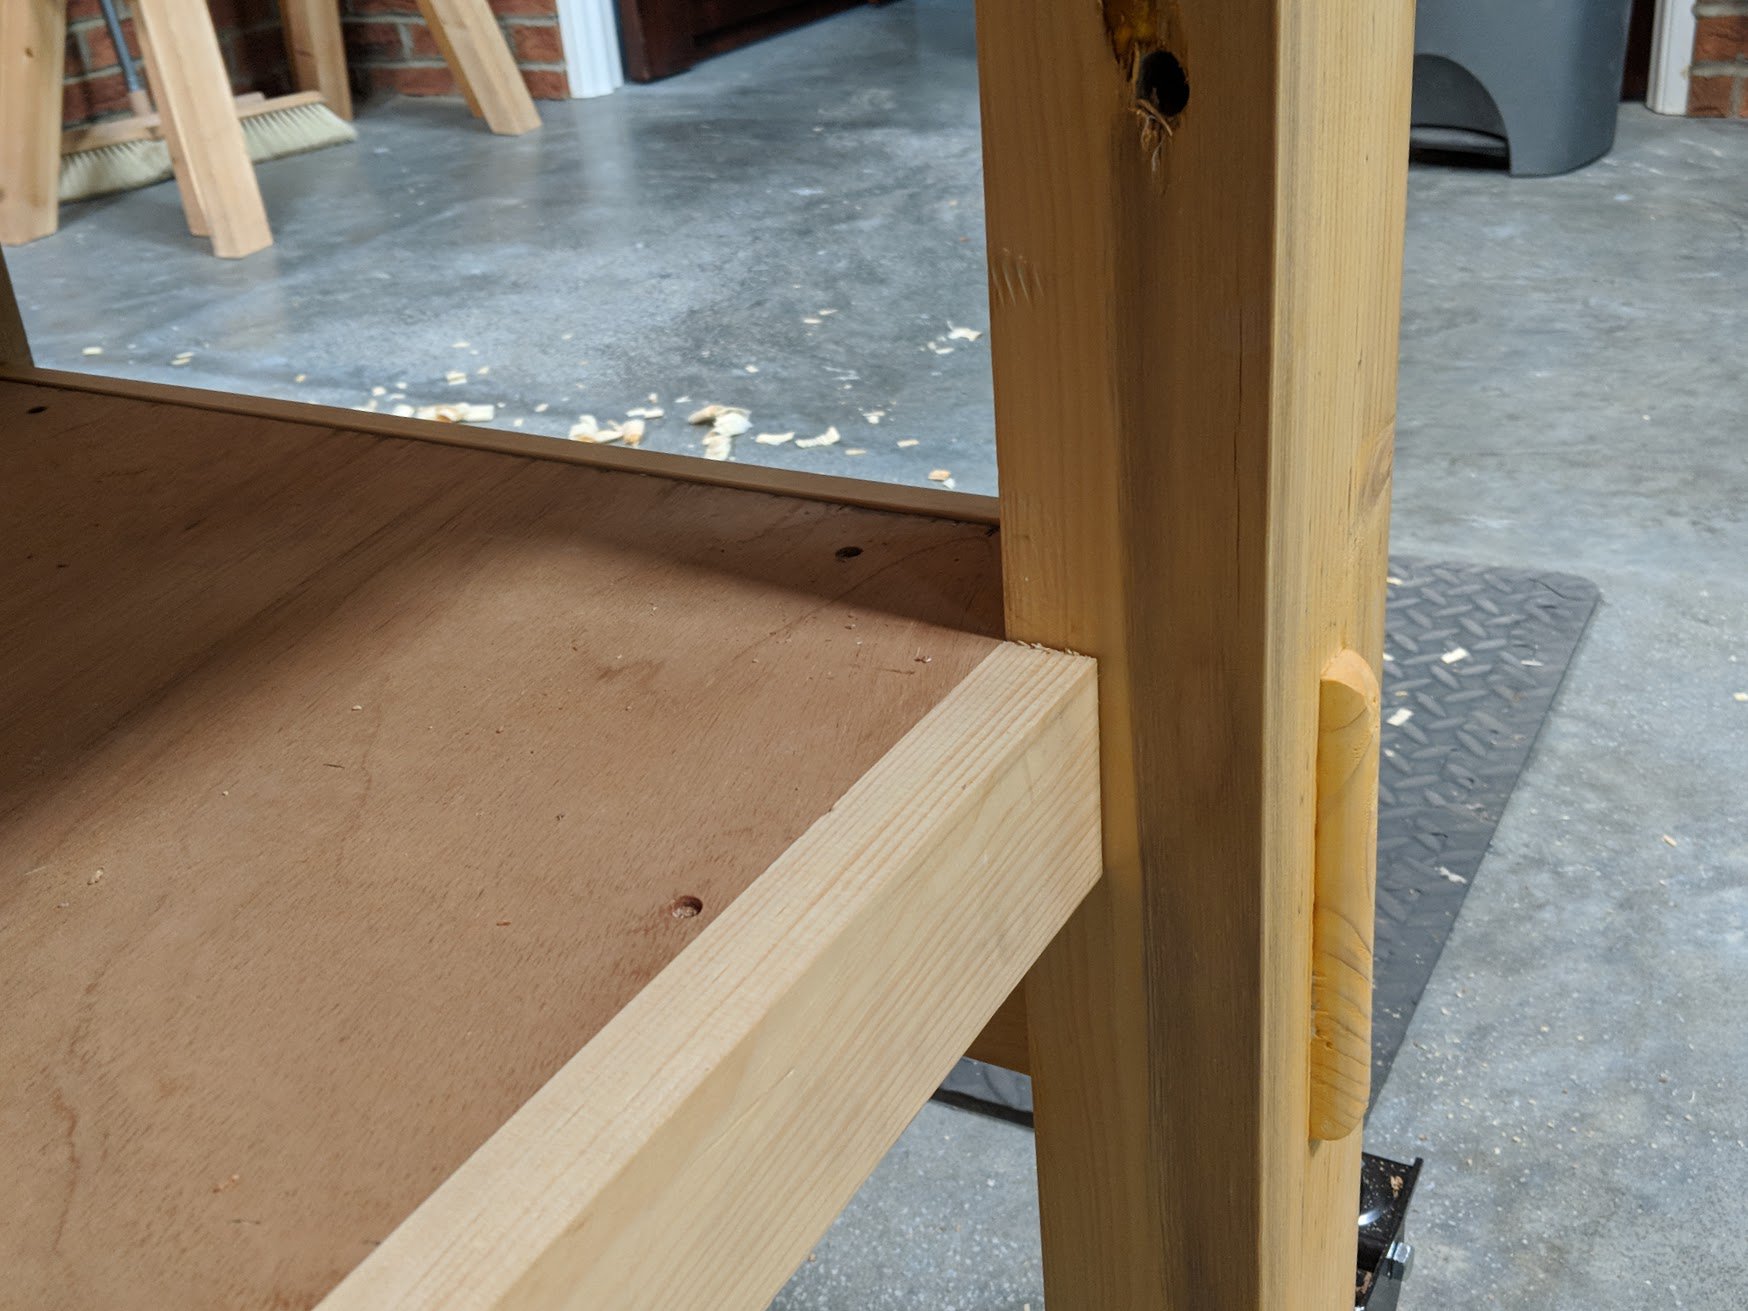
I cut the piece of plywood from scrap I took from another cabinet. It's just a question of ripping to width and planing to fit.
For the edges between the legs along the rails I just used 1/2" by 2" trim pieces nailed in place.
I will next use the same furniture oil I used on my workbench for colour and then repeat two coats of water-based floor finish to coat with any-easy clean protective finish.
Comments ()