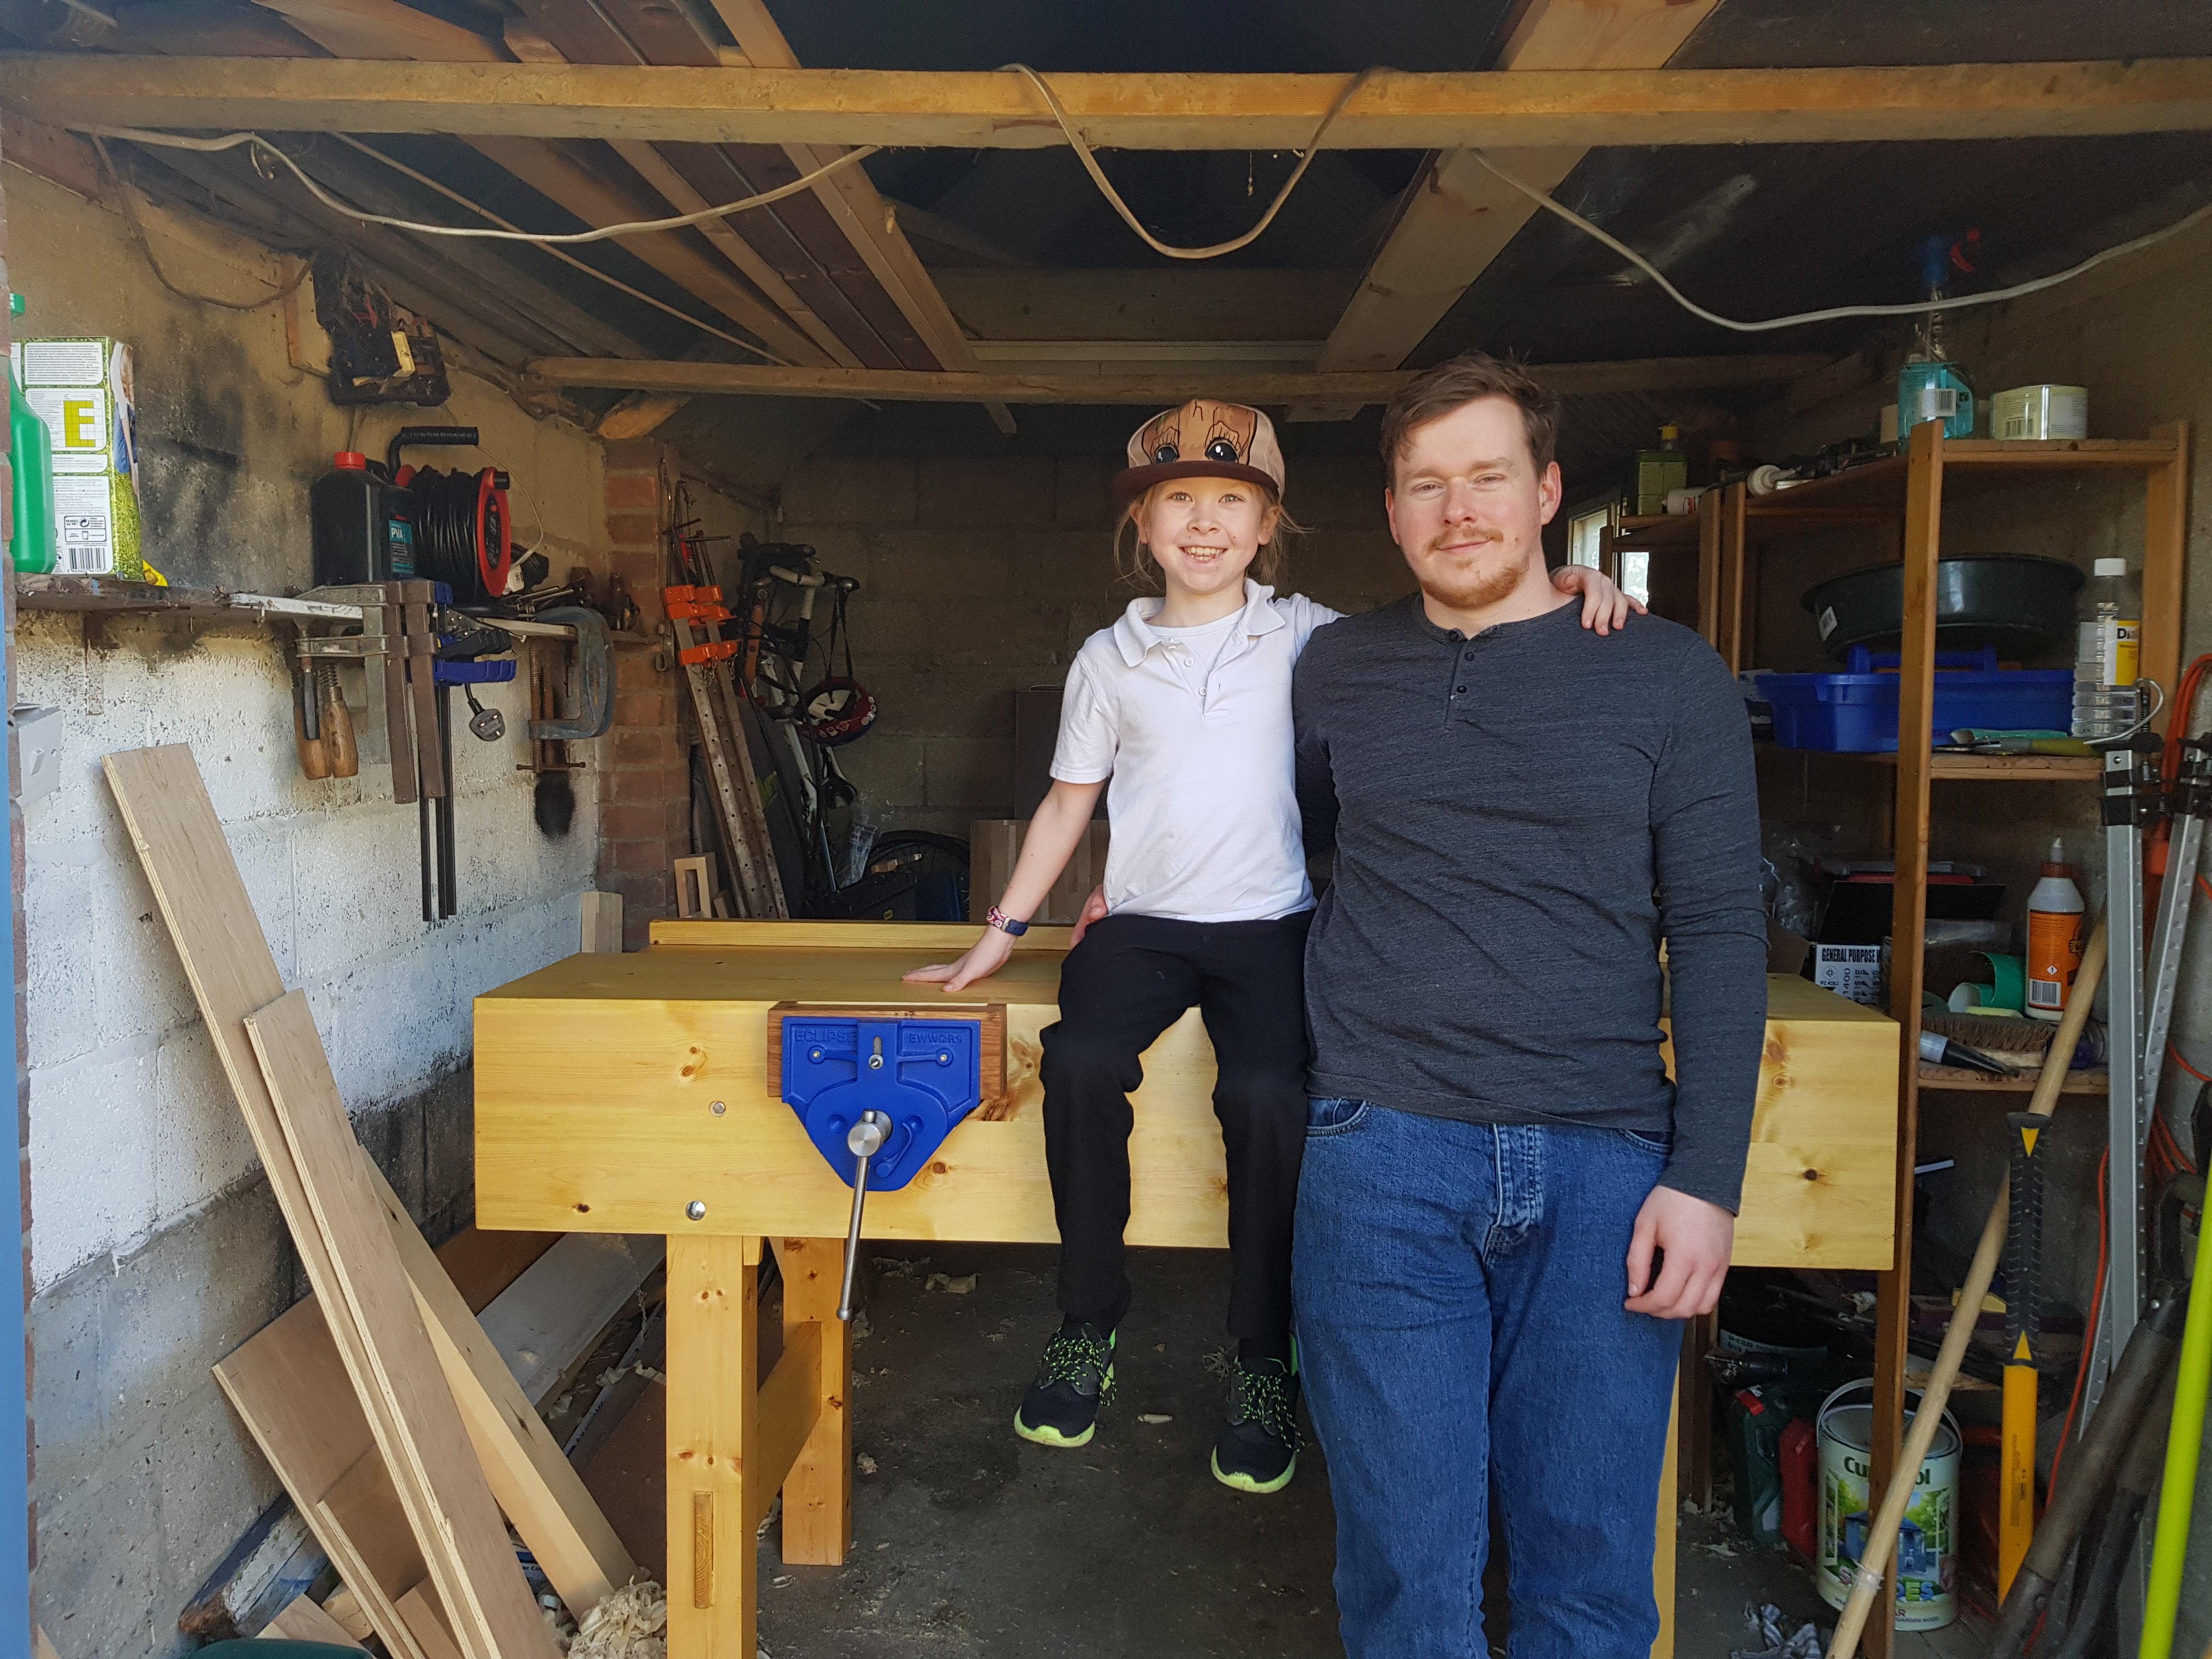
Putting my workbench into the garage may not seem like a big thing but it was. What you may not know is what's now started happening beyond my sphere in the making of the video series. These pictures tell their own story, but I'll add mine in between the pics.
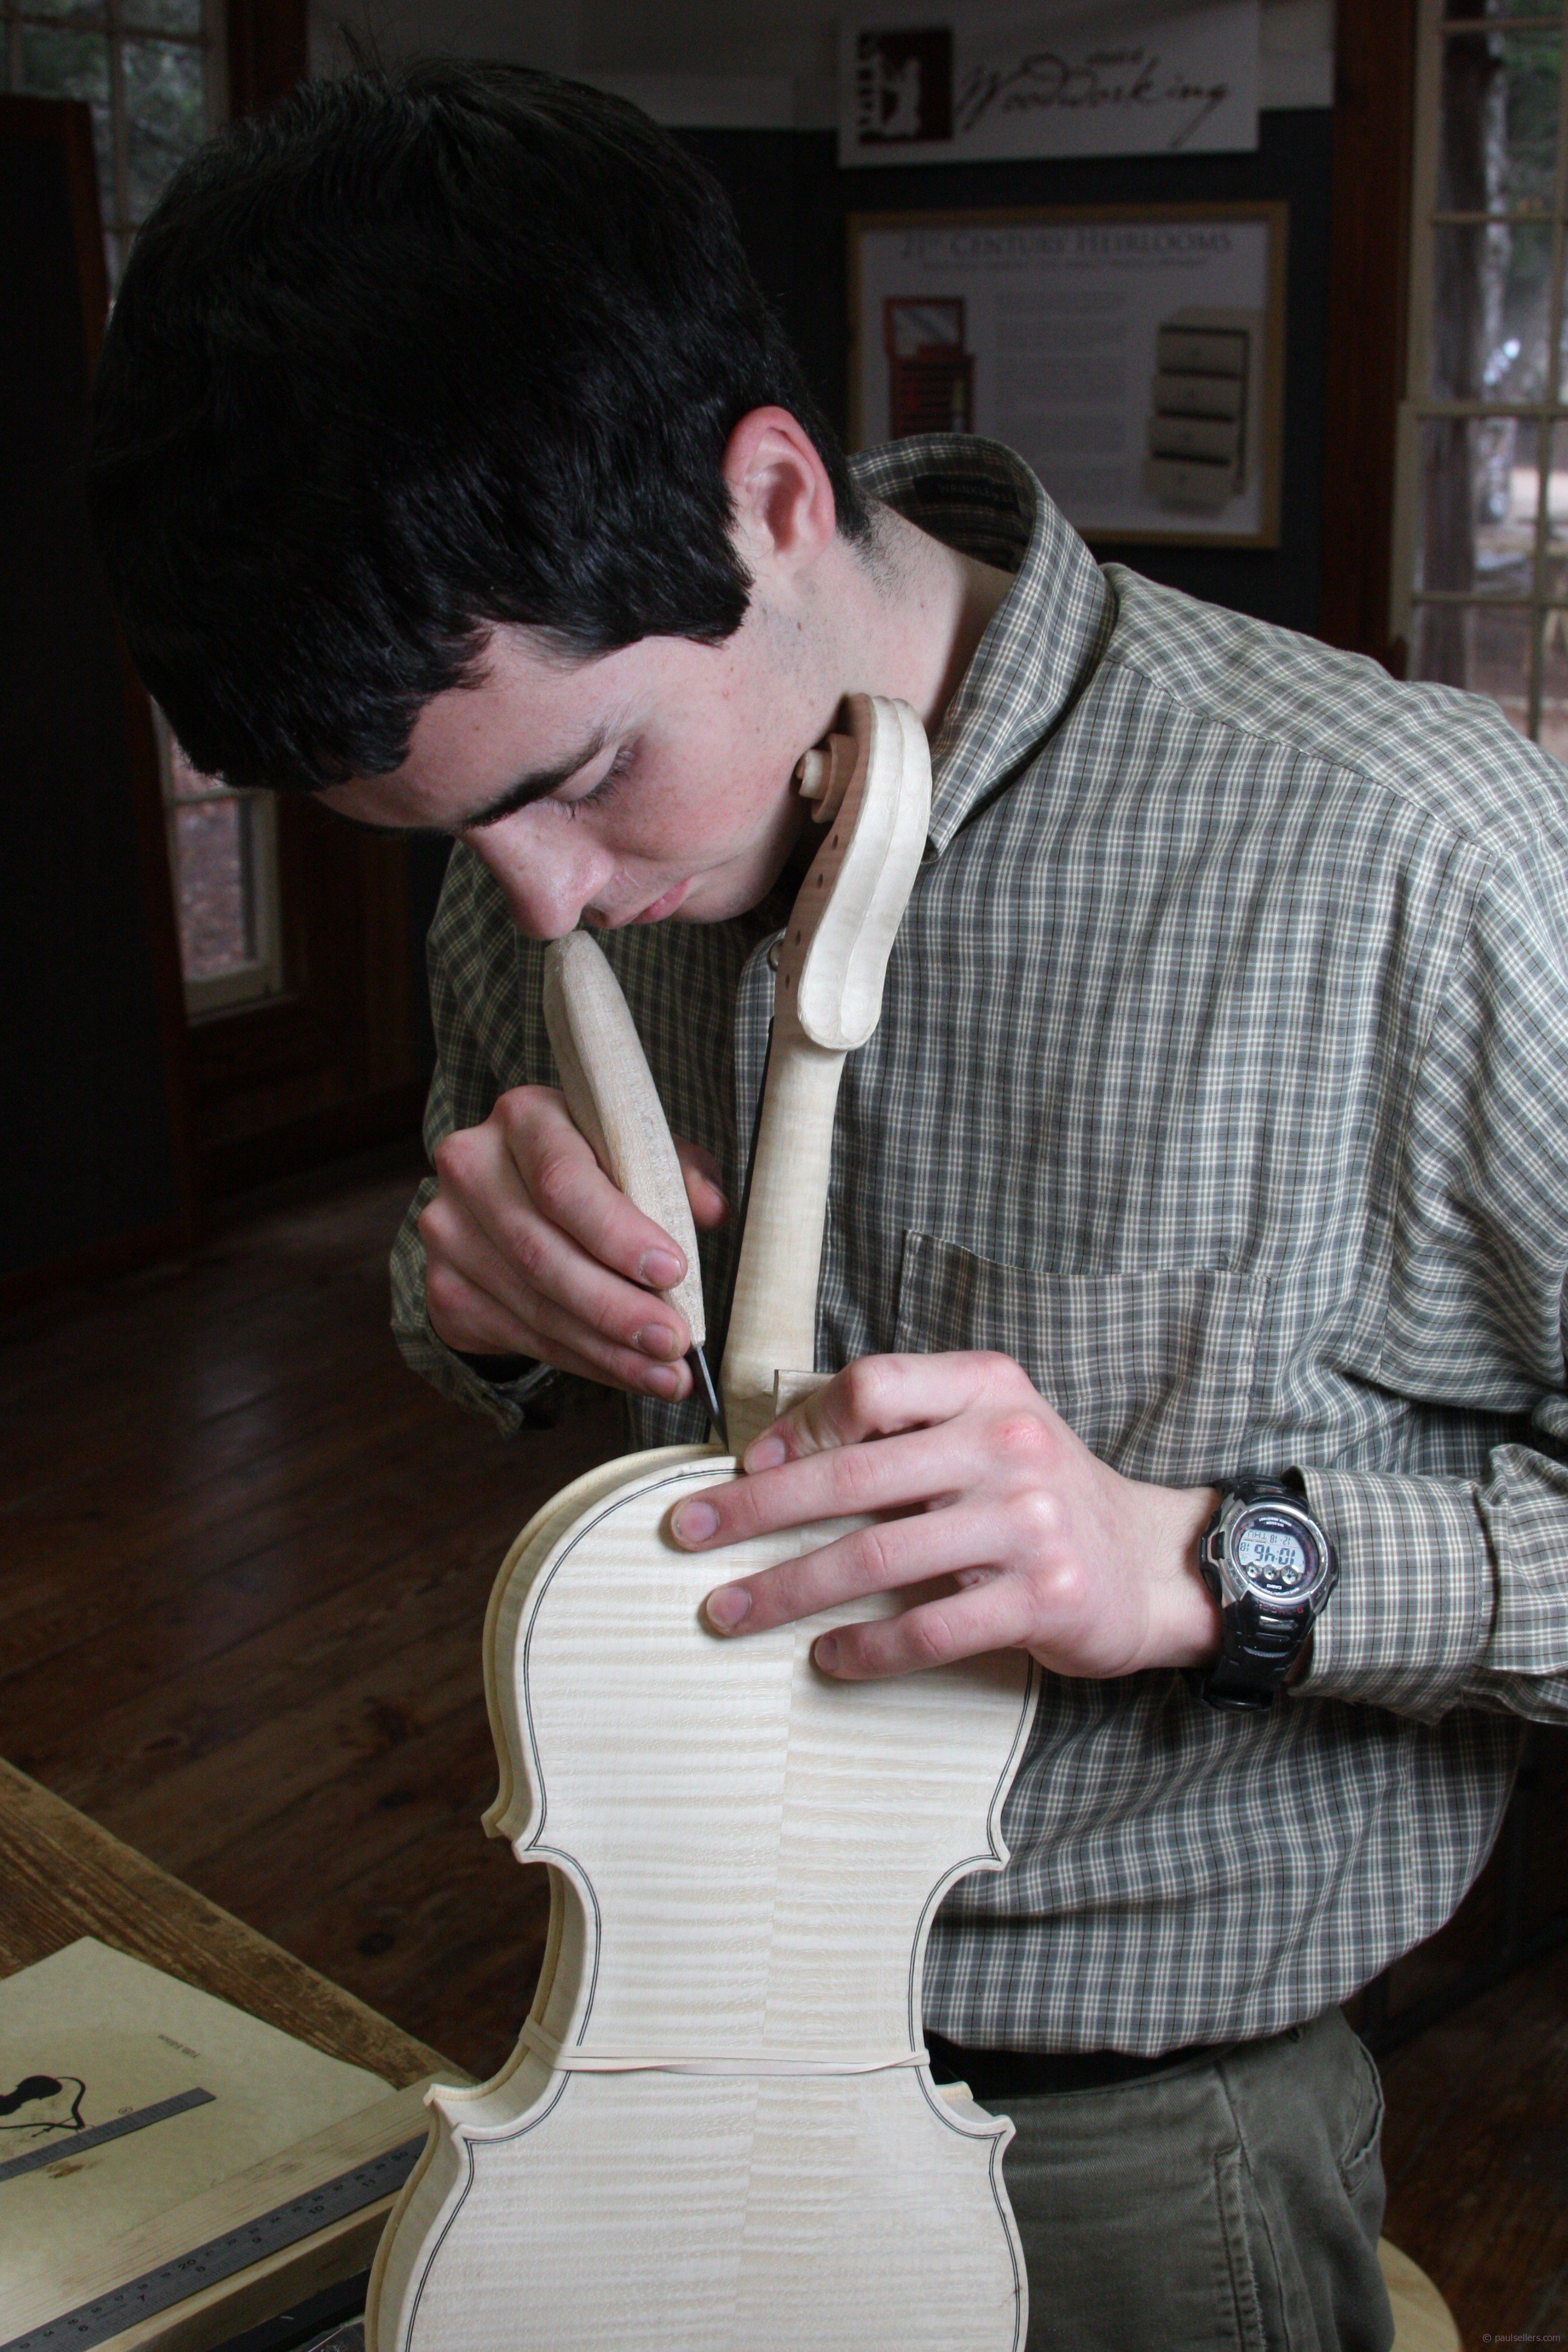
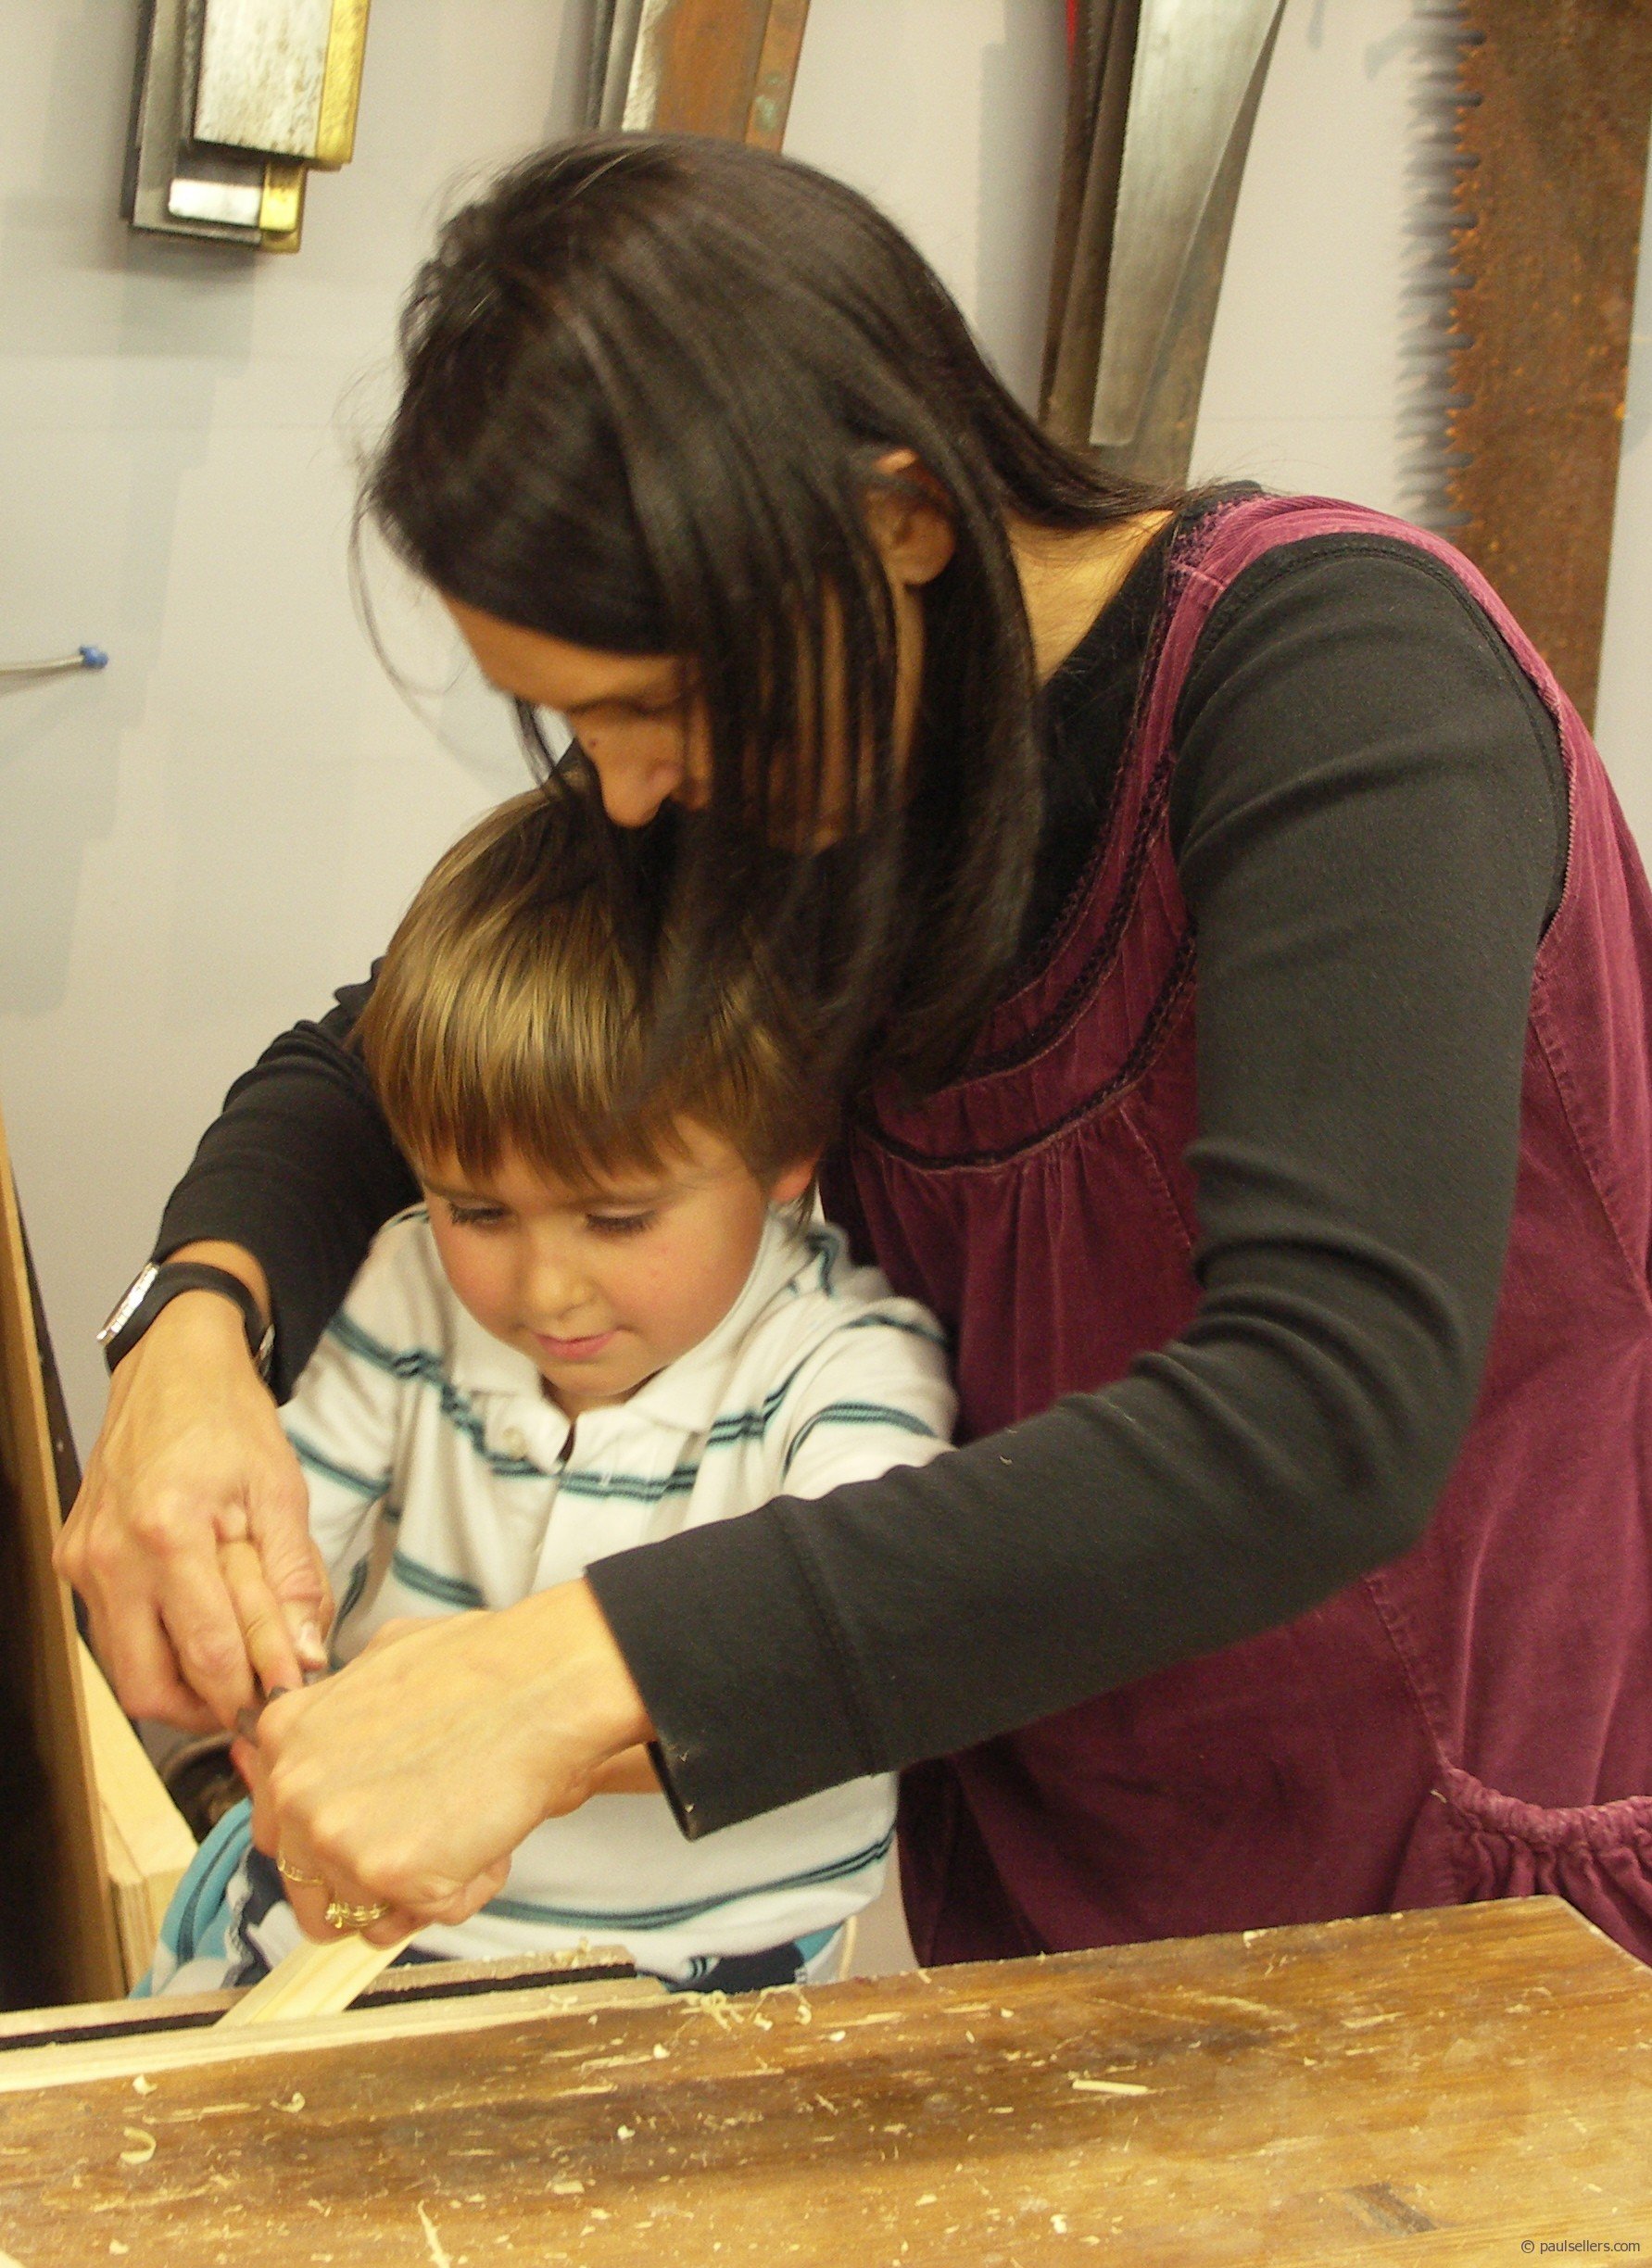
My sons are all capable woodworkers. From a few years old their play area was in my workshop somewhere. It was safe and without machines. As a producing craftsman I did have two shops, one for machines and the other my hand work. The difference for me was sanity. Because I had developed hand skills in my early years I knew I could use them and that I could never work efficiently without them. Machinists generally declare the opposite. No matter. The important thing was that the children began at a very young age. They were sensible and careful and never more than an arms reach from me. No machines invaded our space together.
Even my grandchildren have spent time with me in the workshop.
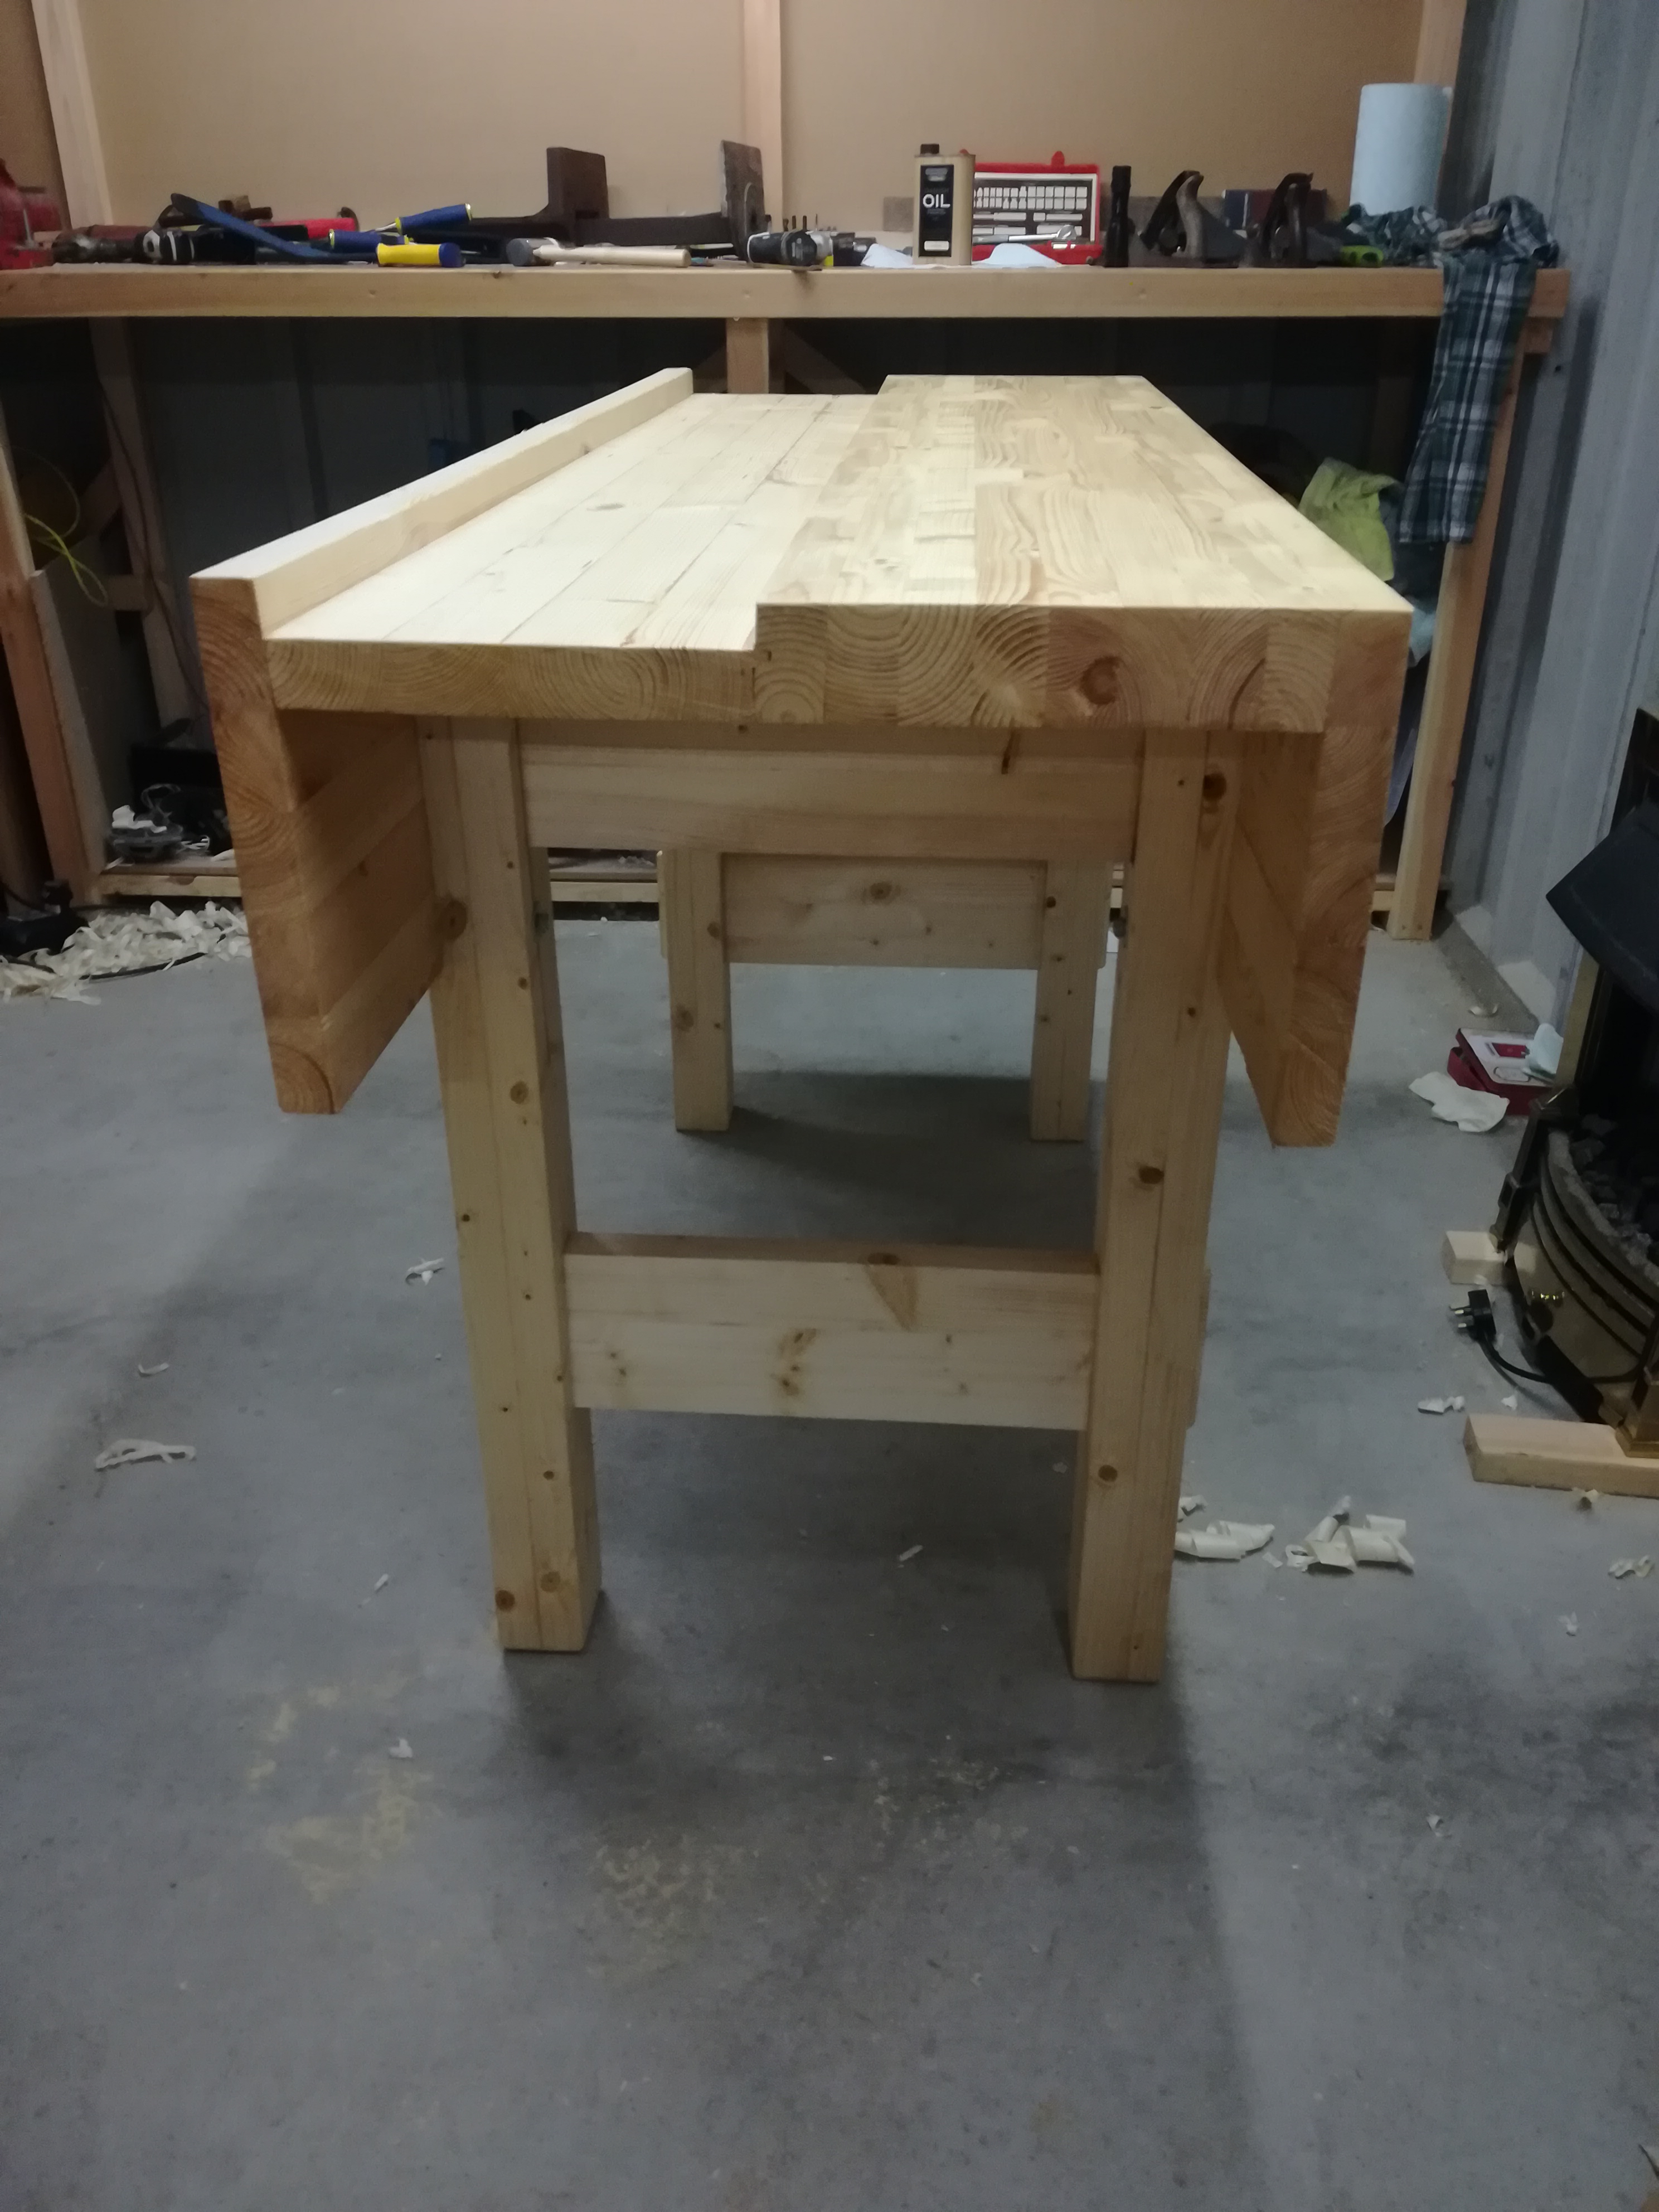
The pics below are those submitted by others following the workbench build
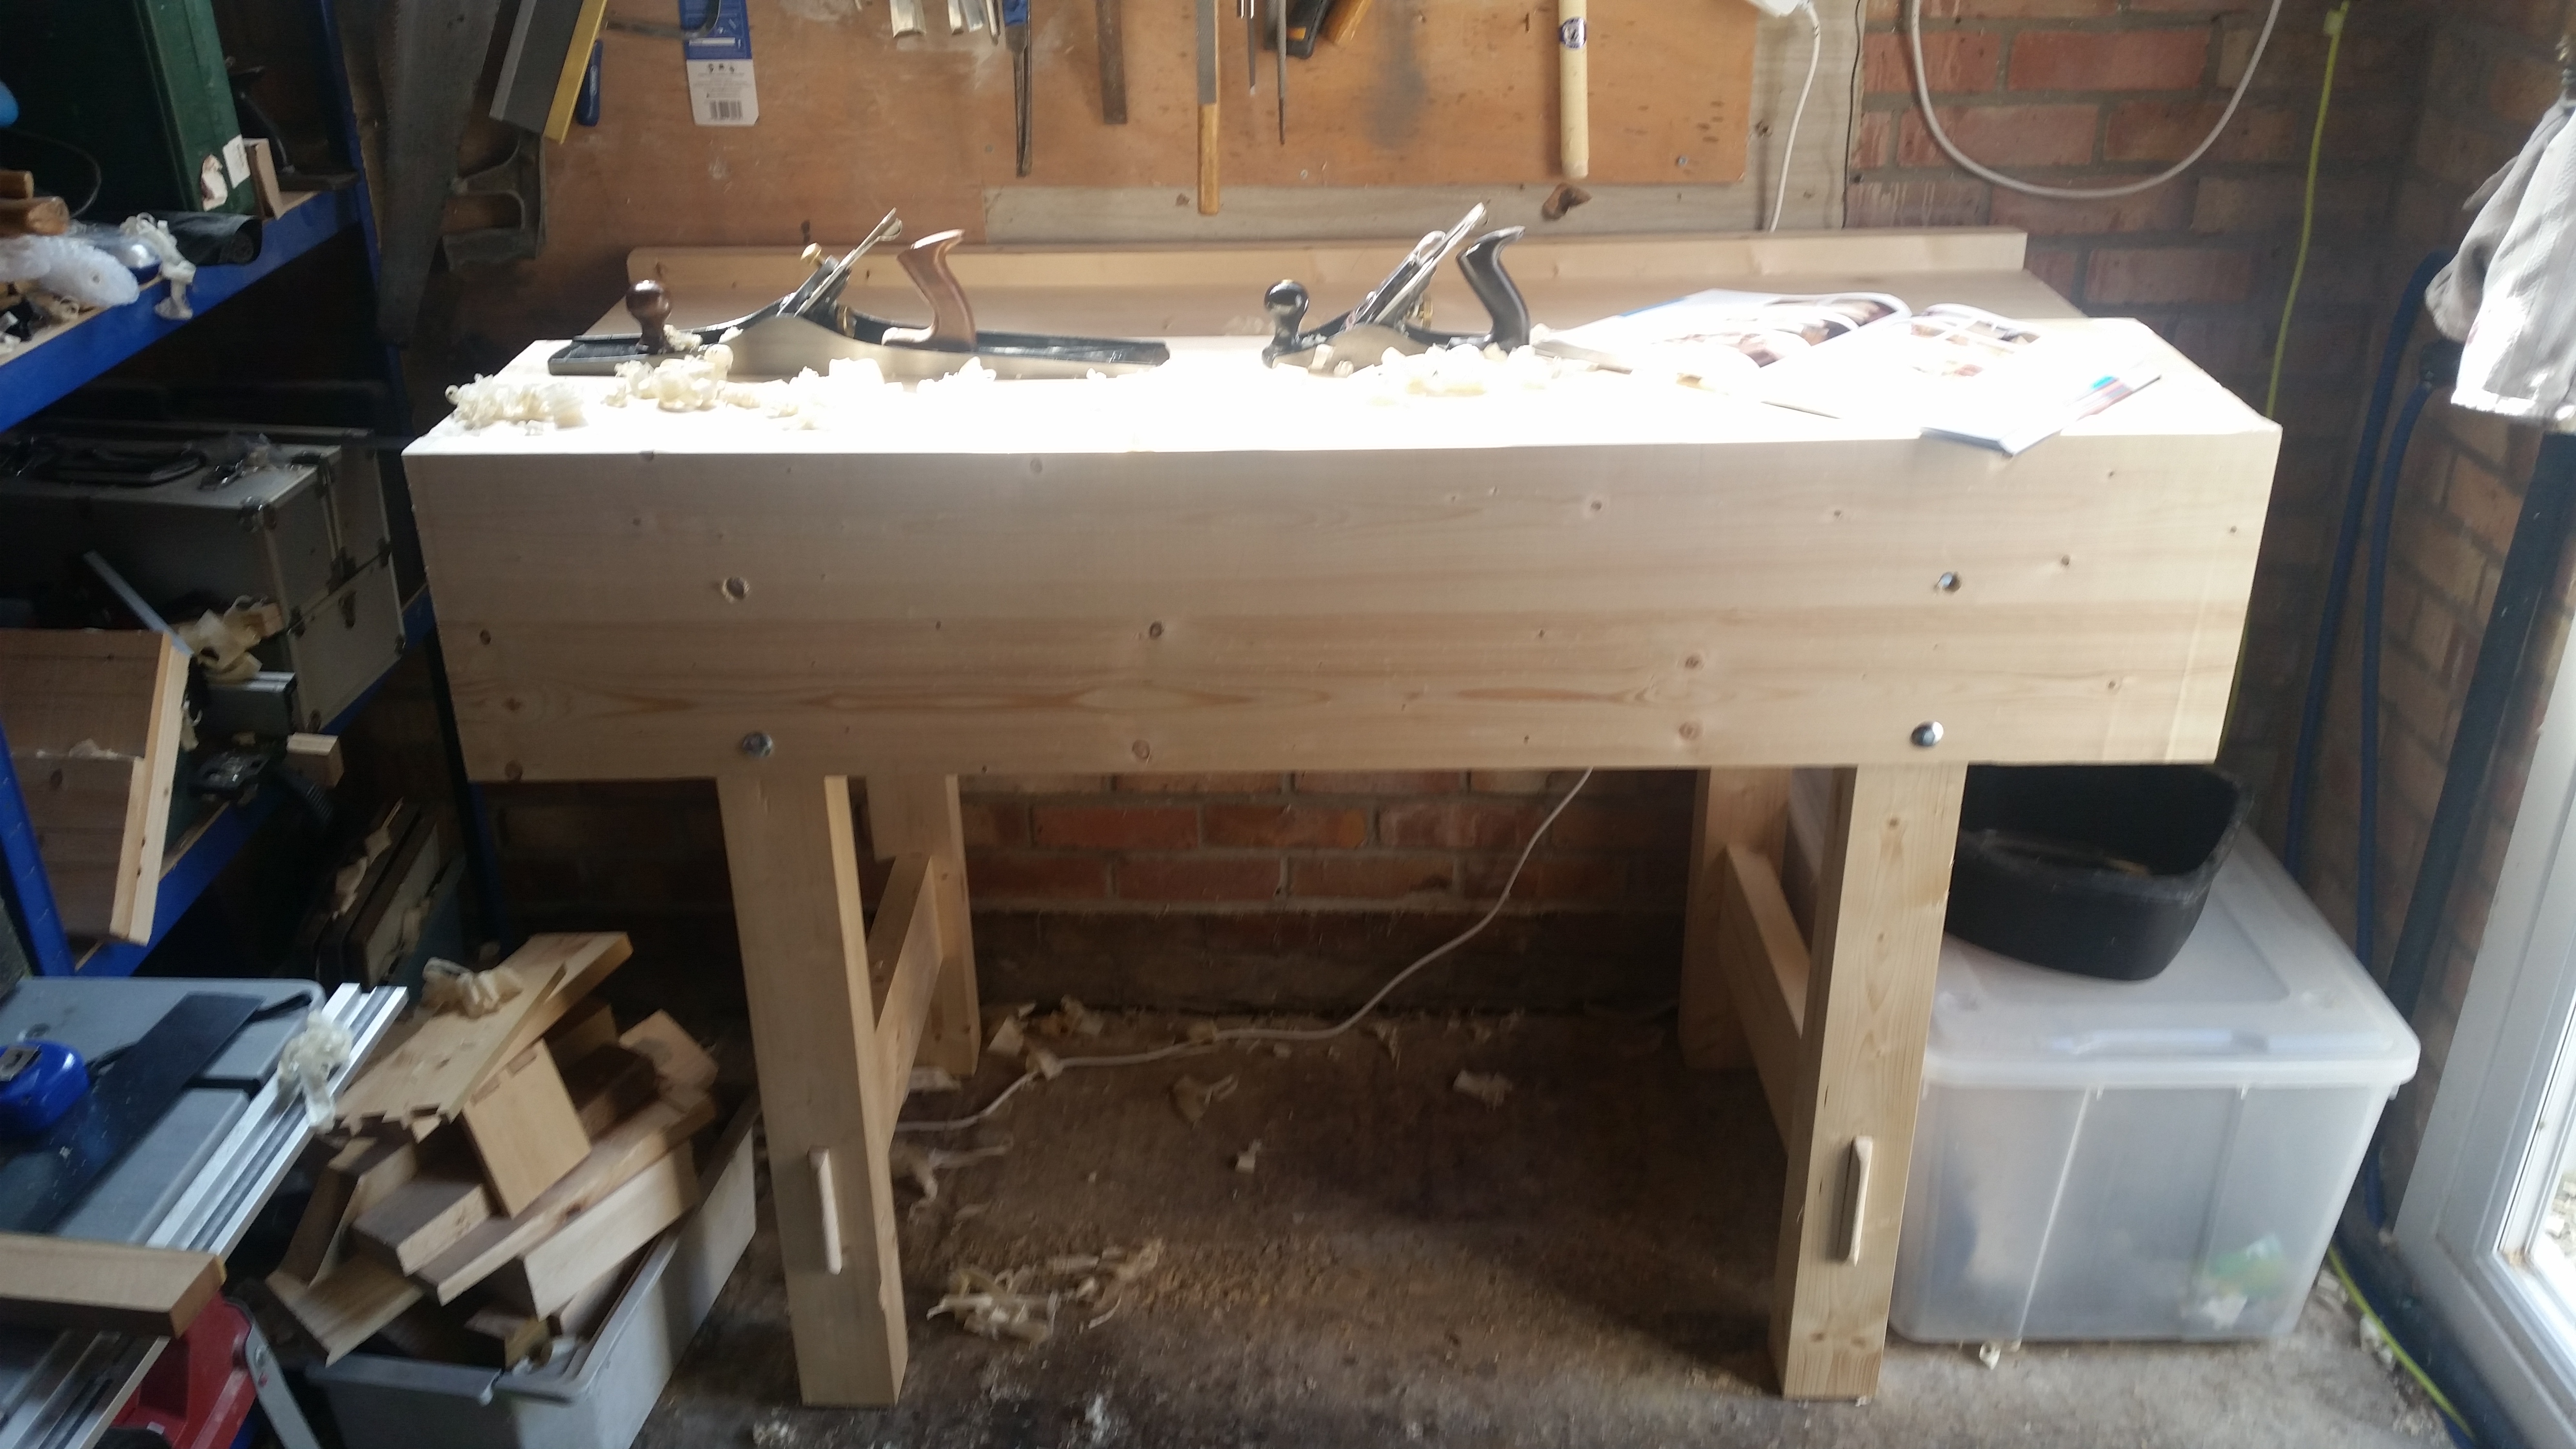
Mine completed in Jan 2016, of Southern yellow pine. Paul’s videos and the book chapter made the project simple. Thanks Paul!
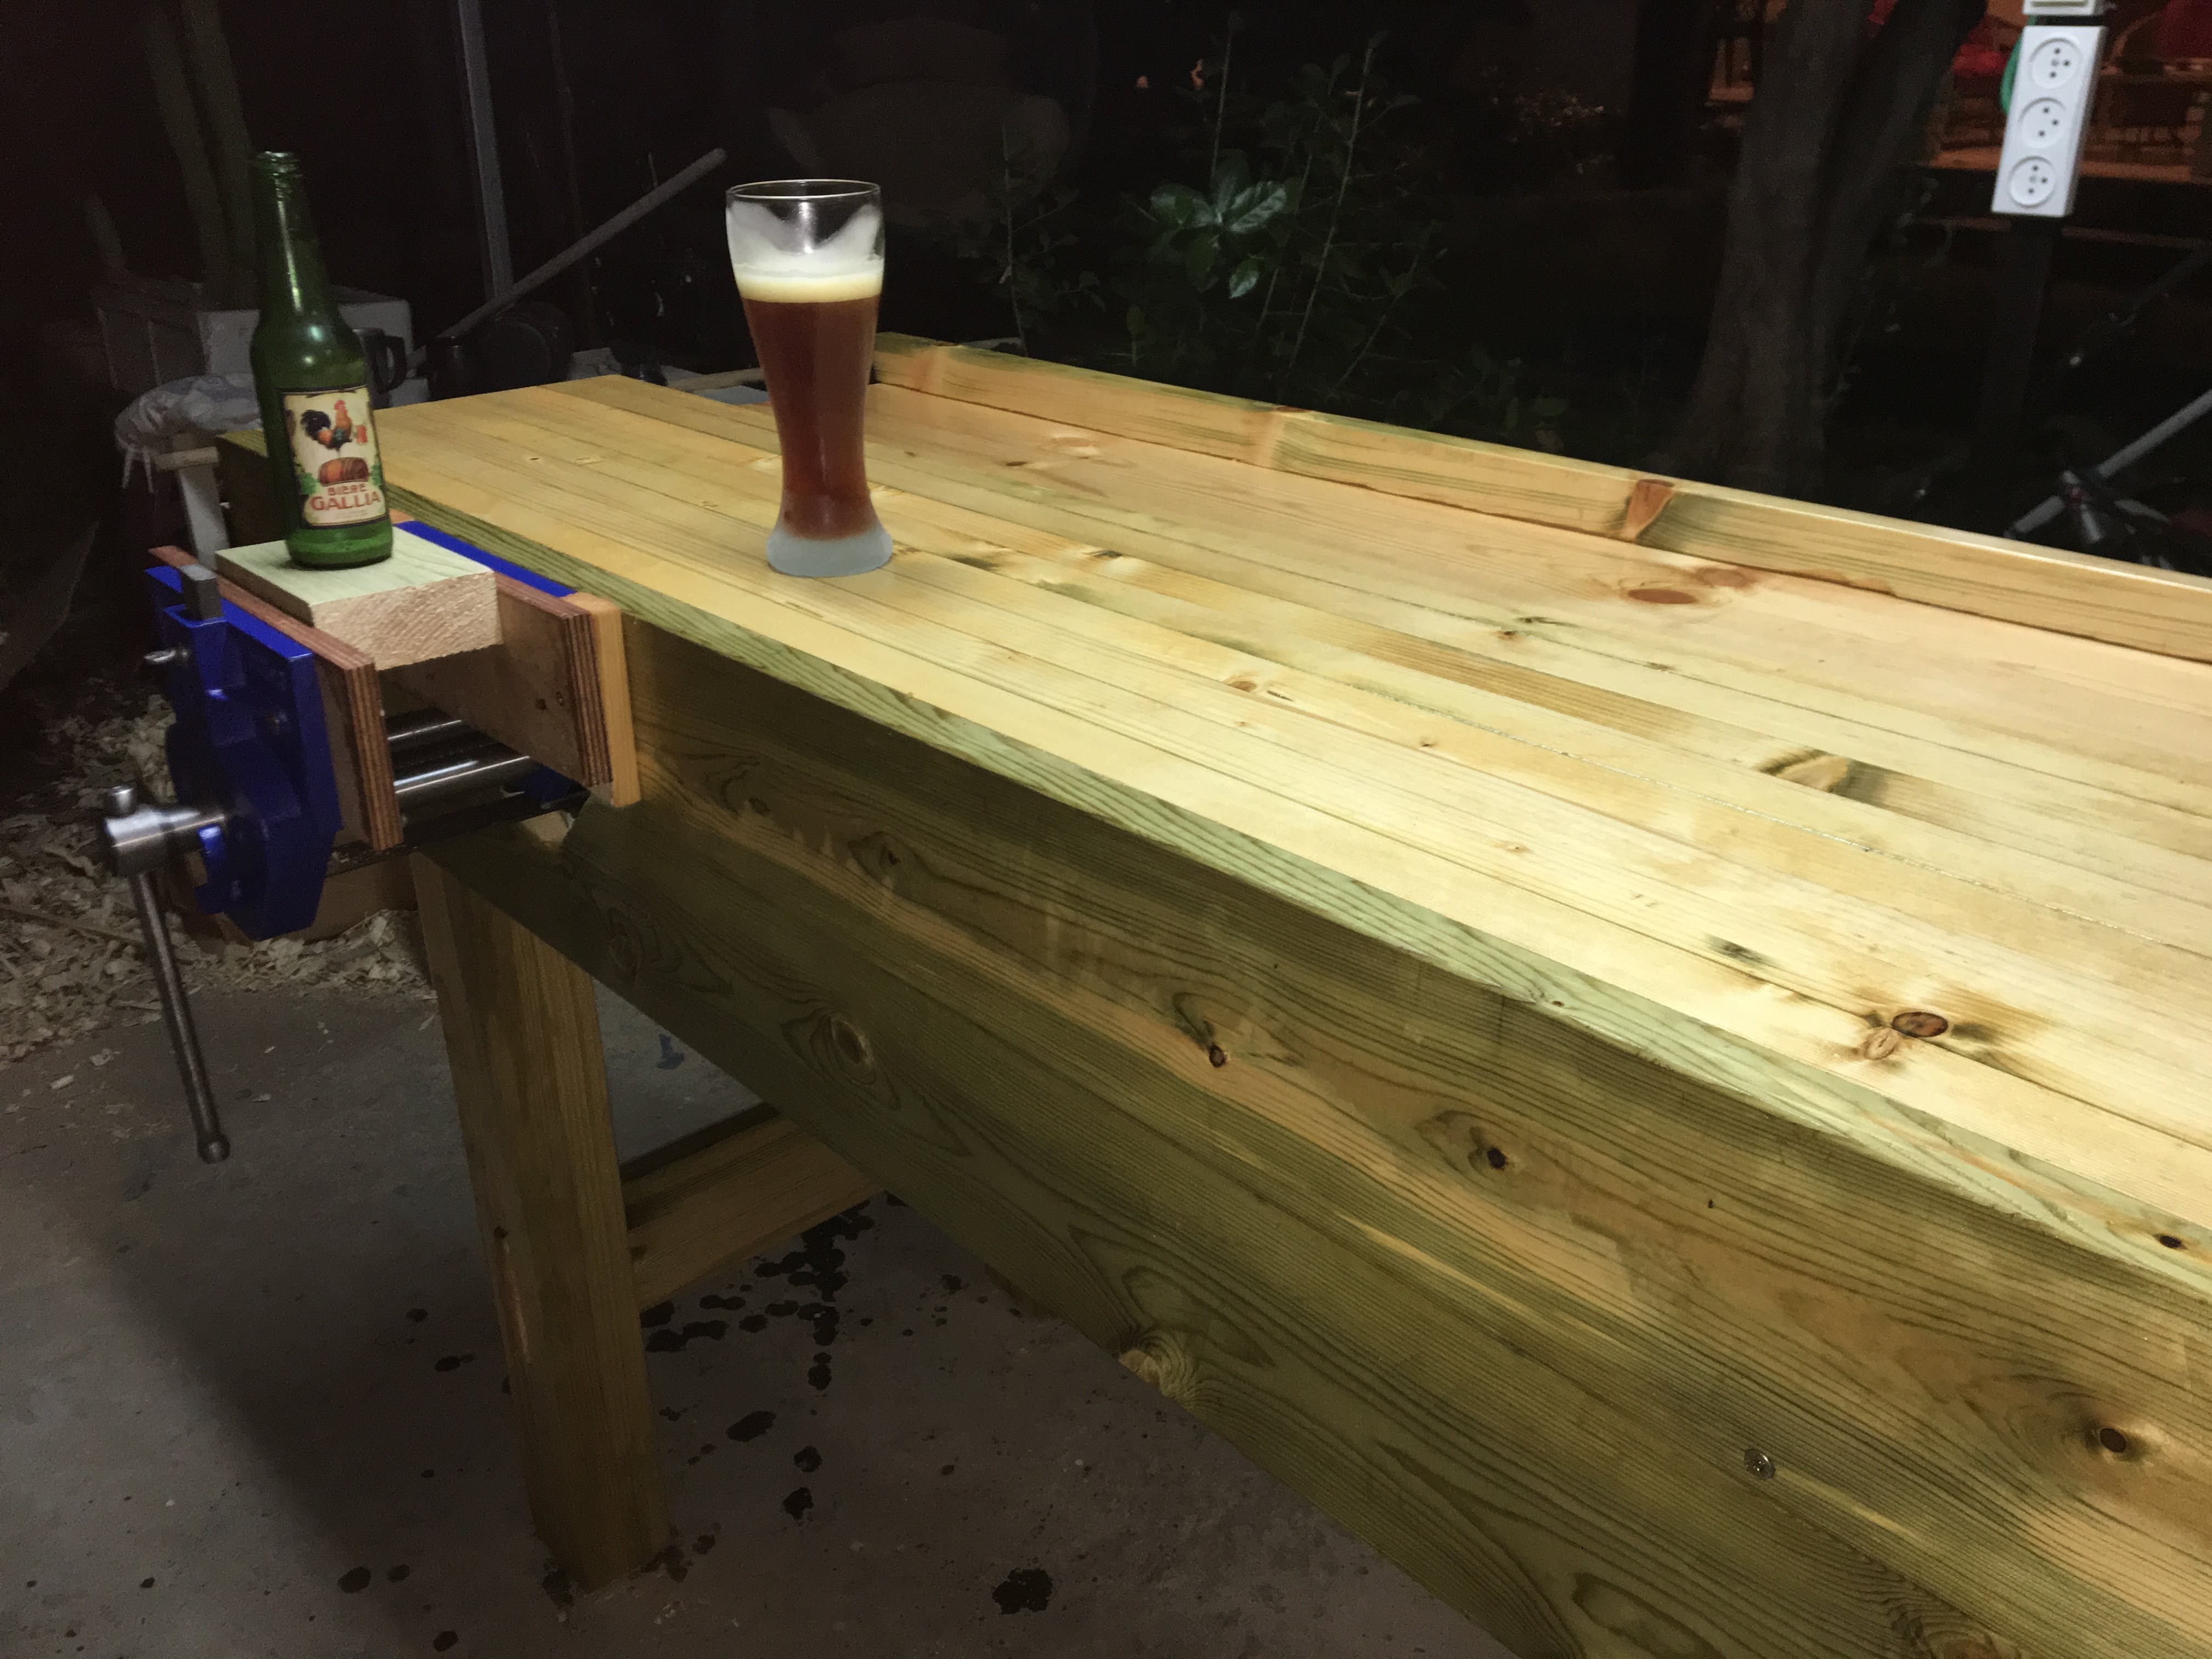
These are pictures submitted by people following the workbench build either via YouTube or woodworkingmasterclasses. We have a lot more instructive videos on woodworkingmasterclasses and our members have kept the forum in tiptop condition as far as interaction goes.
The bench was built from construction pine with tools bought for me over Christmas and my birthday. I had to redo two of the legs after a major measuring mistake! Thoroughly enjoyed using the router plane. The best part of the build was my 9 year old son Alfie helping to apply the Danish oil finish.
I like seeing these because they show the work we do is helping others get their benches together.
If you want your workbench photo on my blog in the gallery, don't forget to Click Here, and scroll down to the bottom of the page where you can upload your photos.
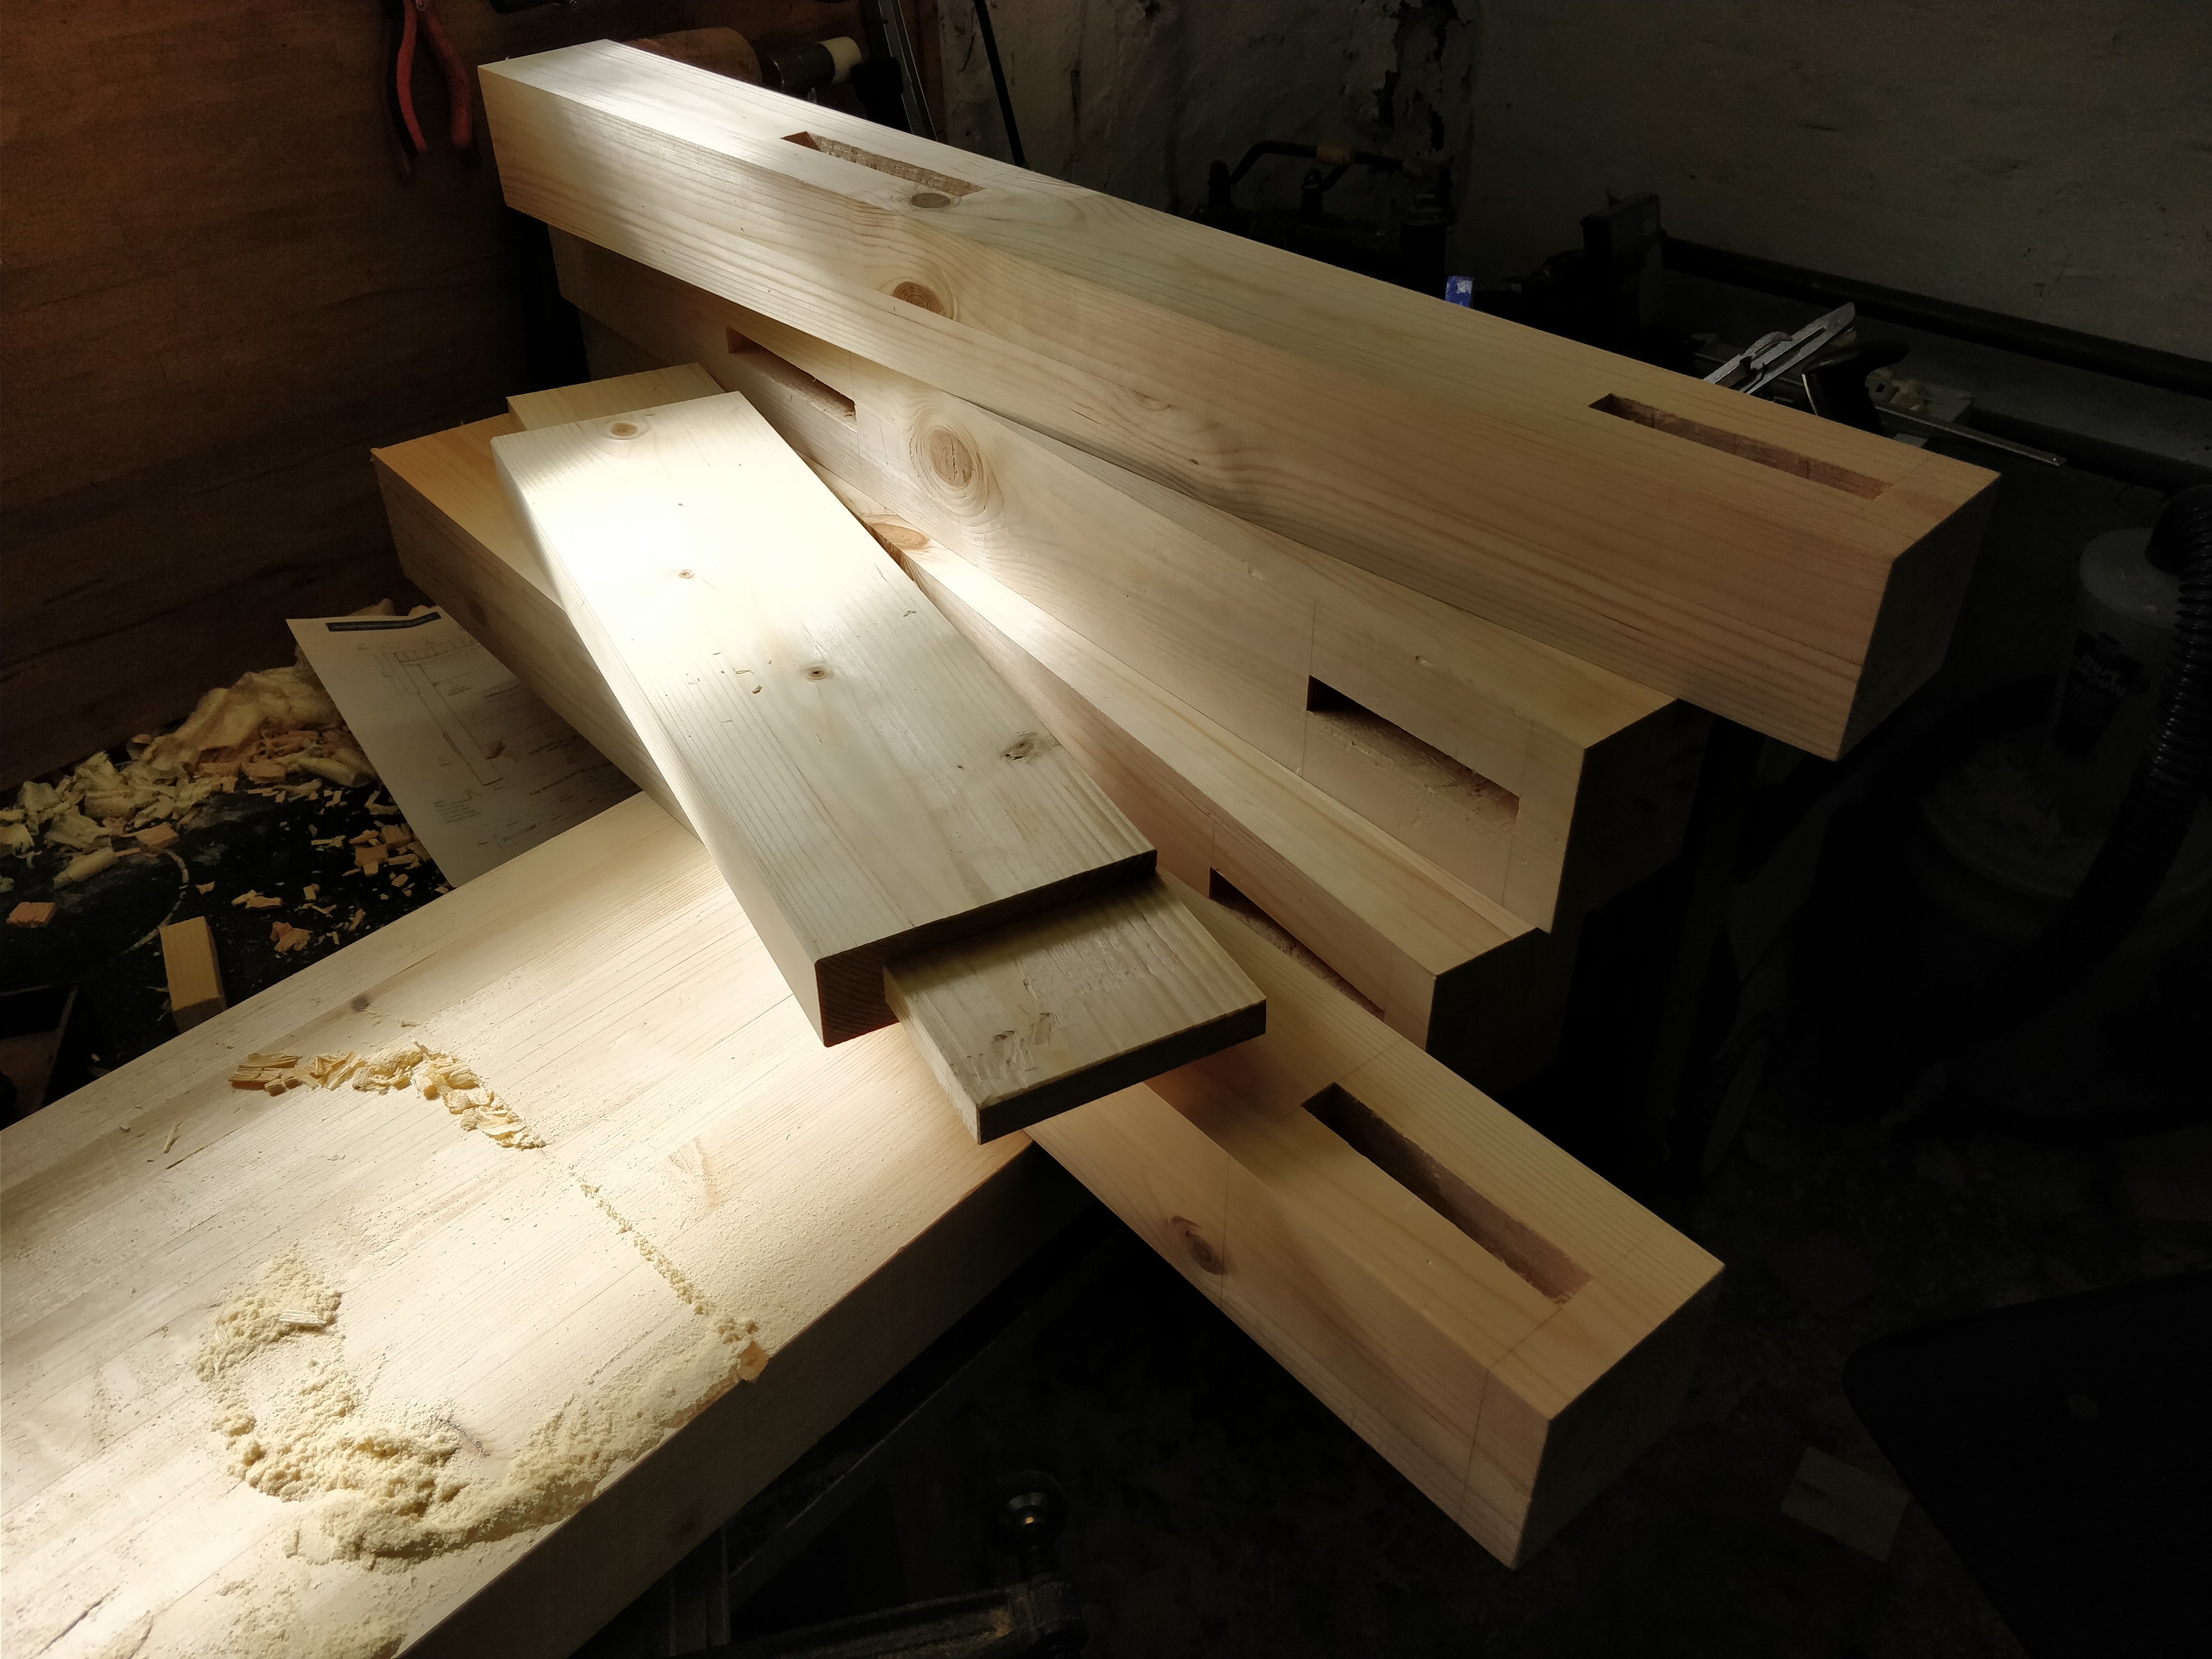
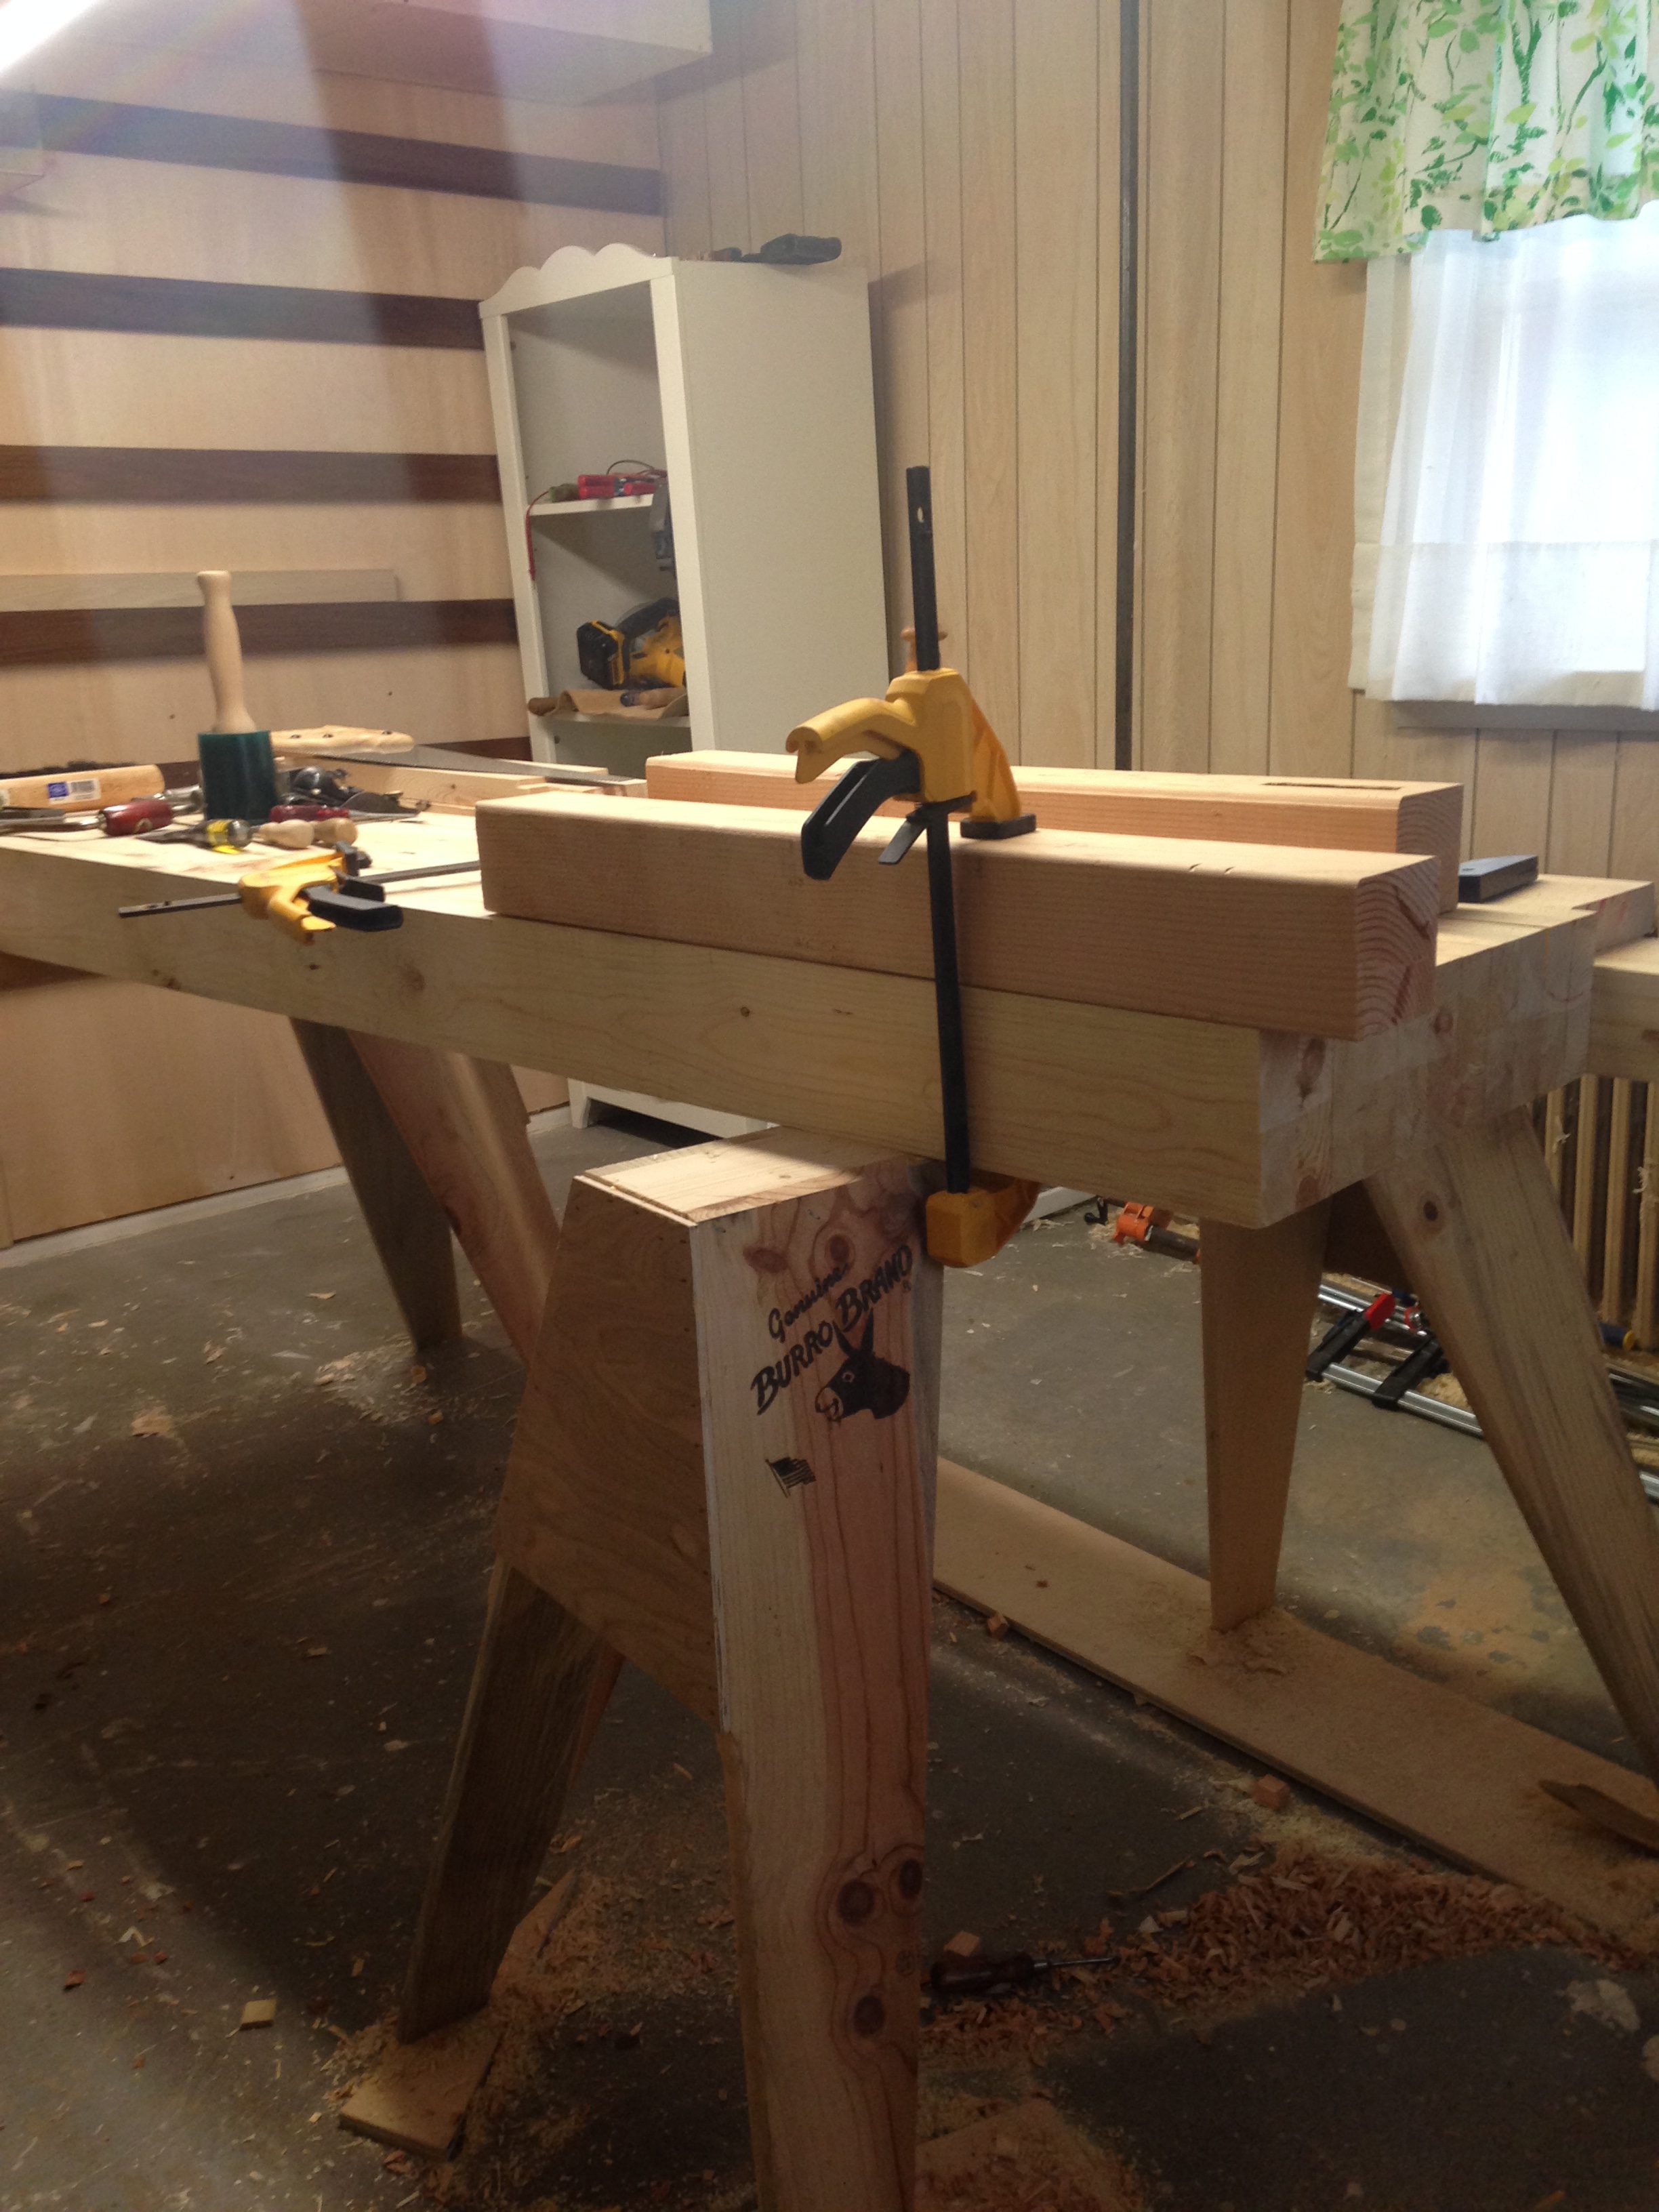
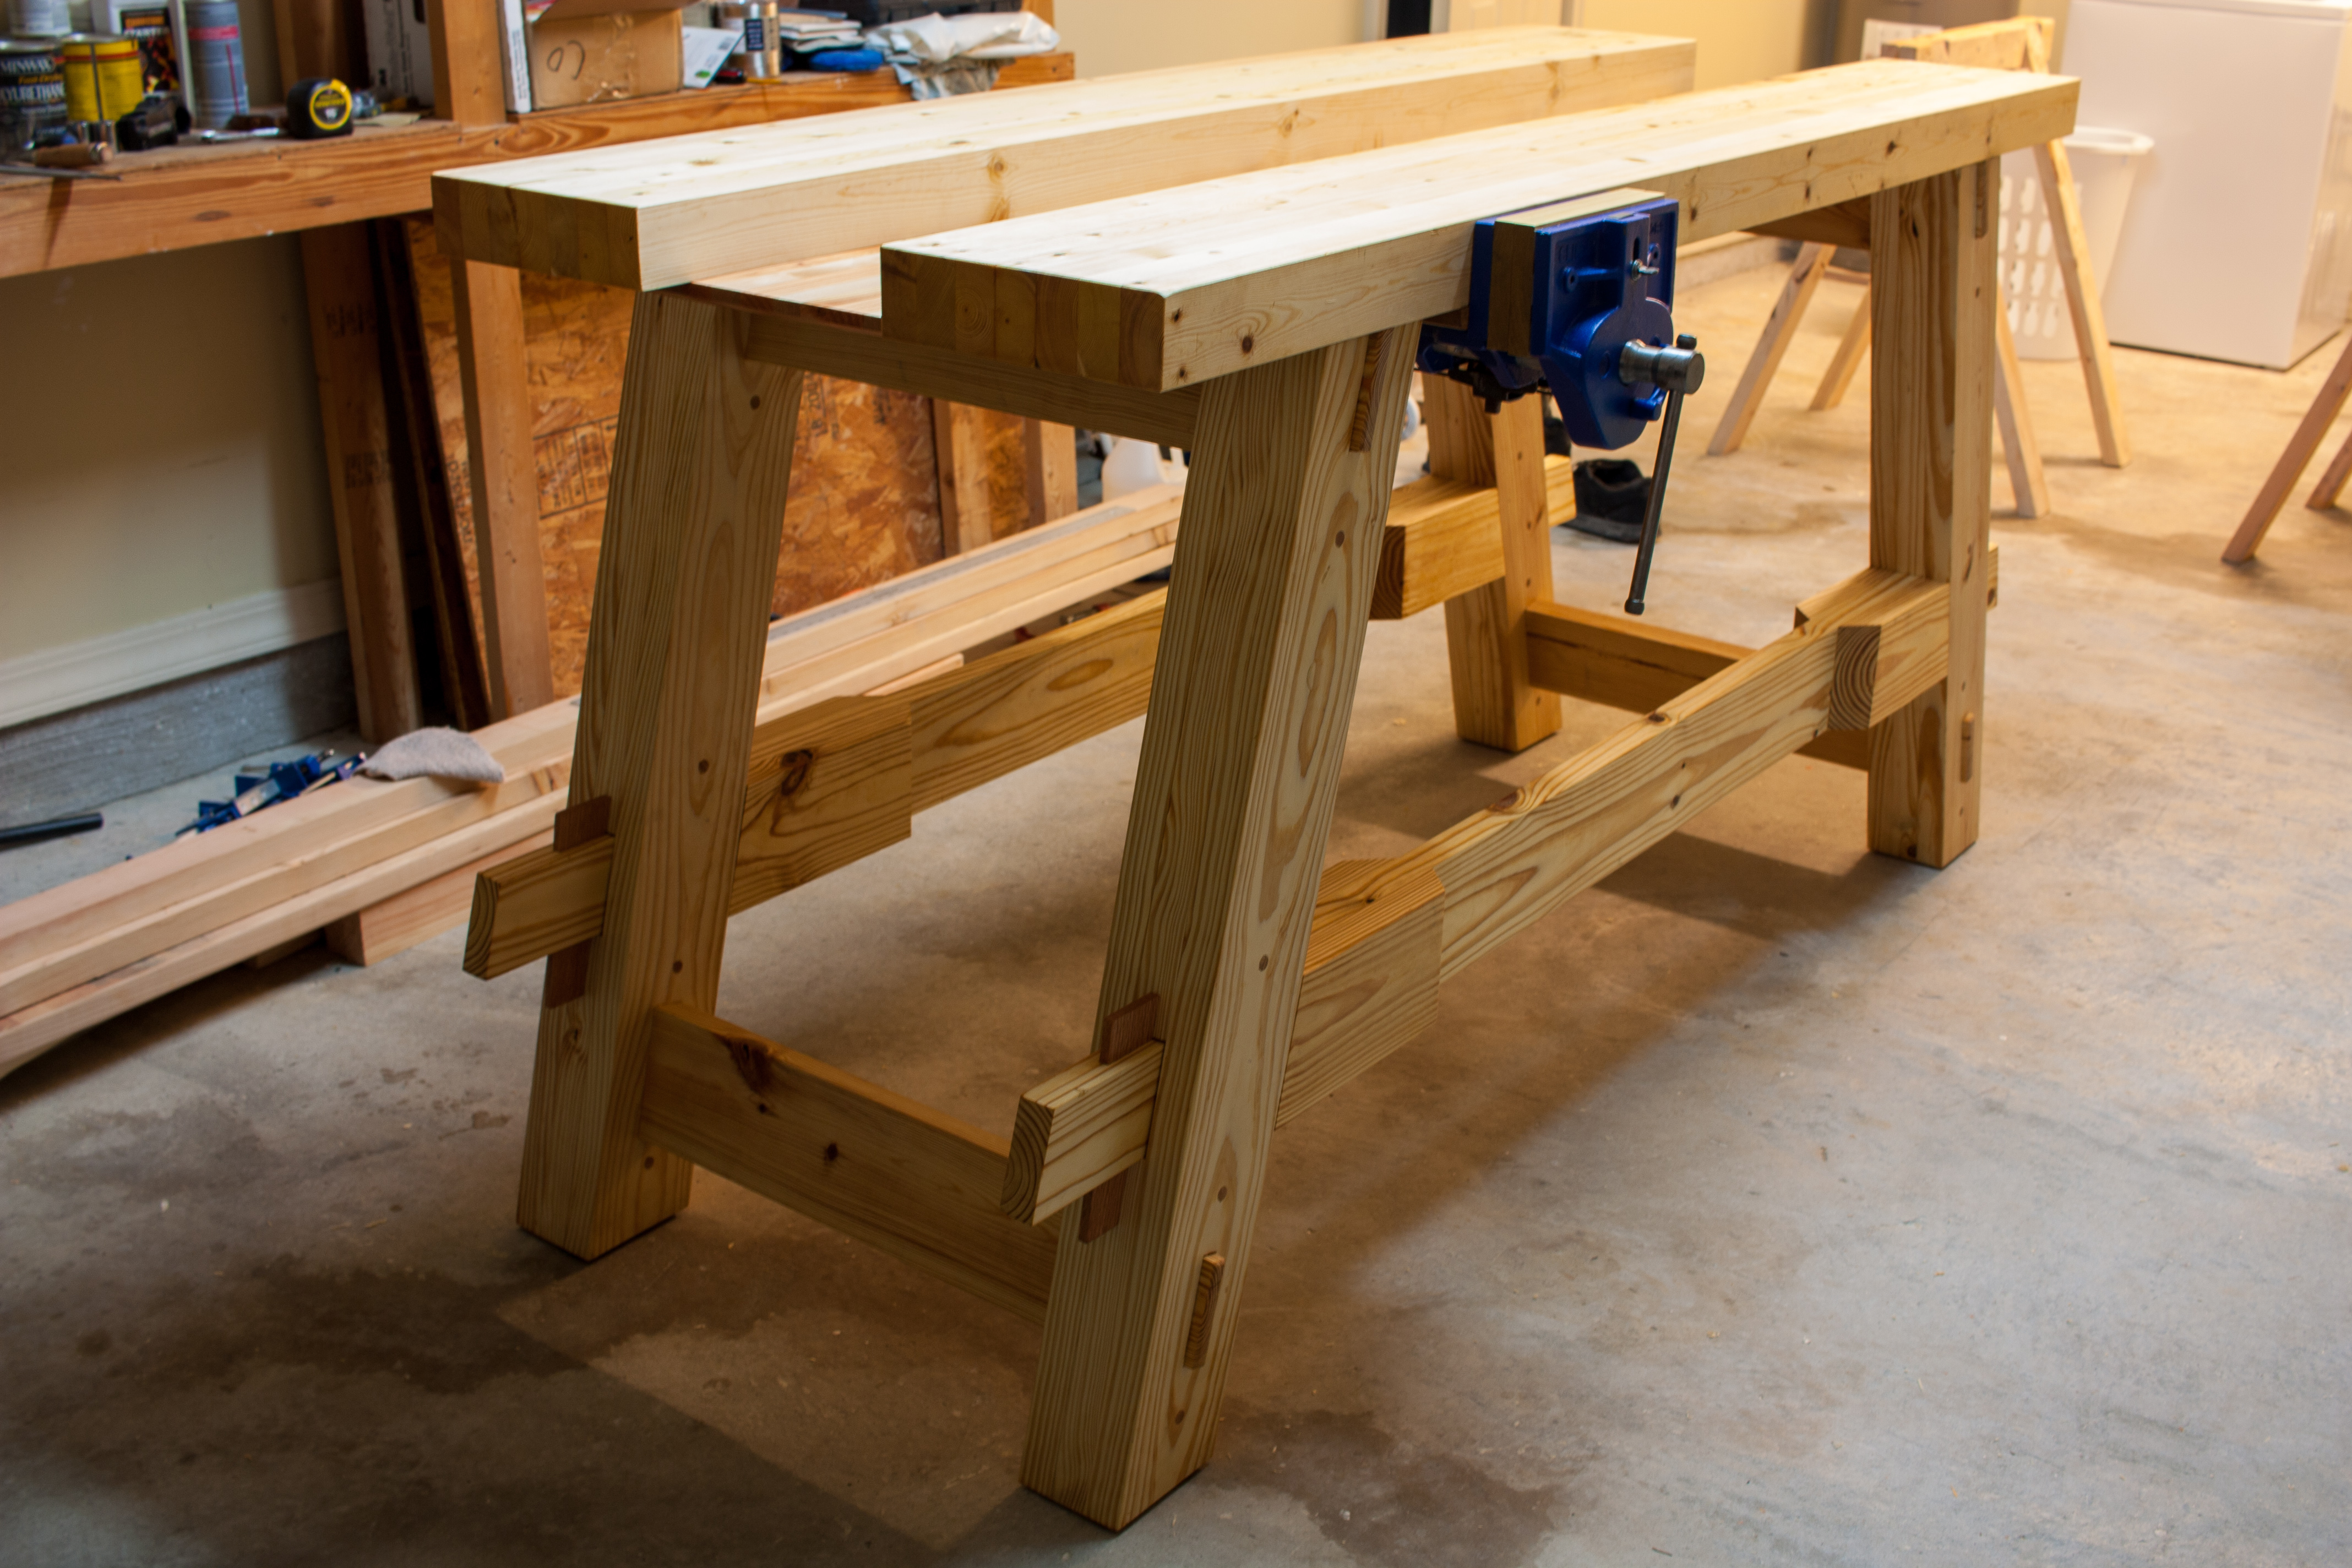
Using only CLS timber from Wickes (UK), first joints I've ever made!After watching a lot of videos and stocking the hand tools necessary, I began my own work bench project. I am making my work bench from fir bought in a local shop. I let the fir dry for a couple of weeks, and I have now completed the bench top. I am current working on the legs, and should be able to assemble these in a few days. Furthermore, the aprons have been glued up, these just need to be planed. On my bench, I will make my own leg vice from a beech plank that I got cheap. I will use a veritas spindle for this.Last week I finally started my 'Paul Sellers Workbench'. I used for the legs scraps of laminated Merranti poles that I have planed manually with a Stanley #4. The rails are laminated from red Norwegian pine (22x120mm) to a triple thickness. The dowels to reinforce the mortise and tenon connection were made from an old broomstick (maple). I want to use Douglas for the worksheet, the aprons and the tool well.Mine completed in Jan 2016, of Southern yellow pine. Paul’s videos and the book chapter made the project simple. Thanks Paul!Taken 3 months of working odd days to get this far. Working on the top before fitting vice. Excellent project I have learnt a lot thanks Paul.2x6 pine with Douglas for legsI based the design of my bench off of Paul Sellers original workbench with a morovean base. I chose to use pine with blo finish. It is very solid but portable!I wanted a work bench for some time and following the series was a great experience.


Comments ()