Devloping My Mortise Alignment Jig
Back in the dim and distant past I found myself struggling with an issue. I'd learned to chop mortise holes parallel to the outer face by rote repetition. With non-through mortises this can be difficult to get perfection in. In my teens I pretty much mastered the technique but most people don't have what I had in an apprenticeship. Cutting hundreds of them was part of my ordinary work. No one would do that today. Decades later I watched each batch of students struggle to cut good mortise holes if they were not through-mortise holes and even then they were somewhat higgledy piggledy. It was a battle and disappointing for them and for me.
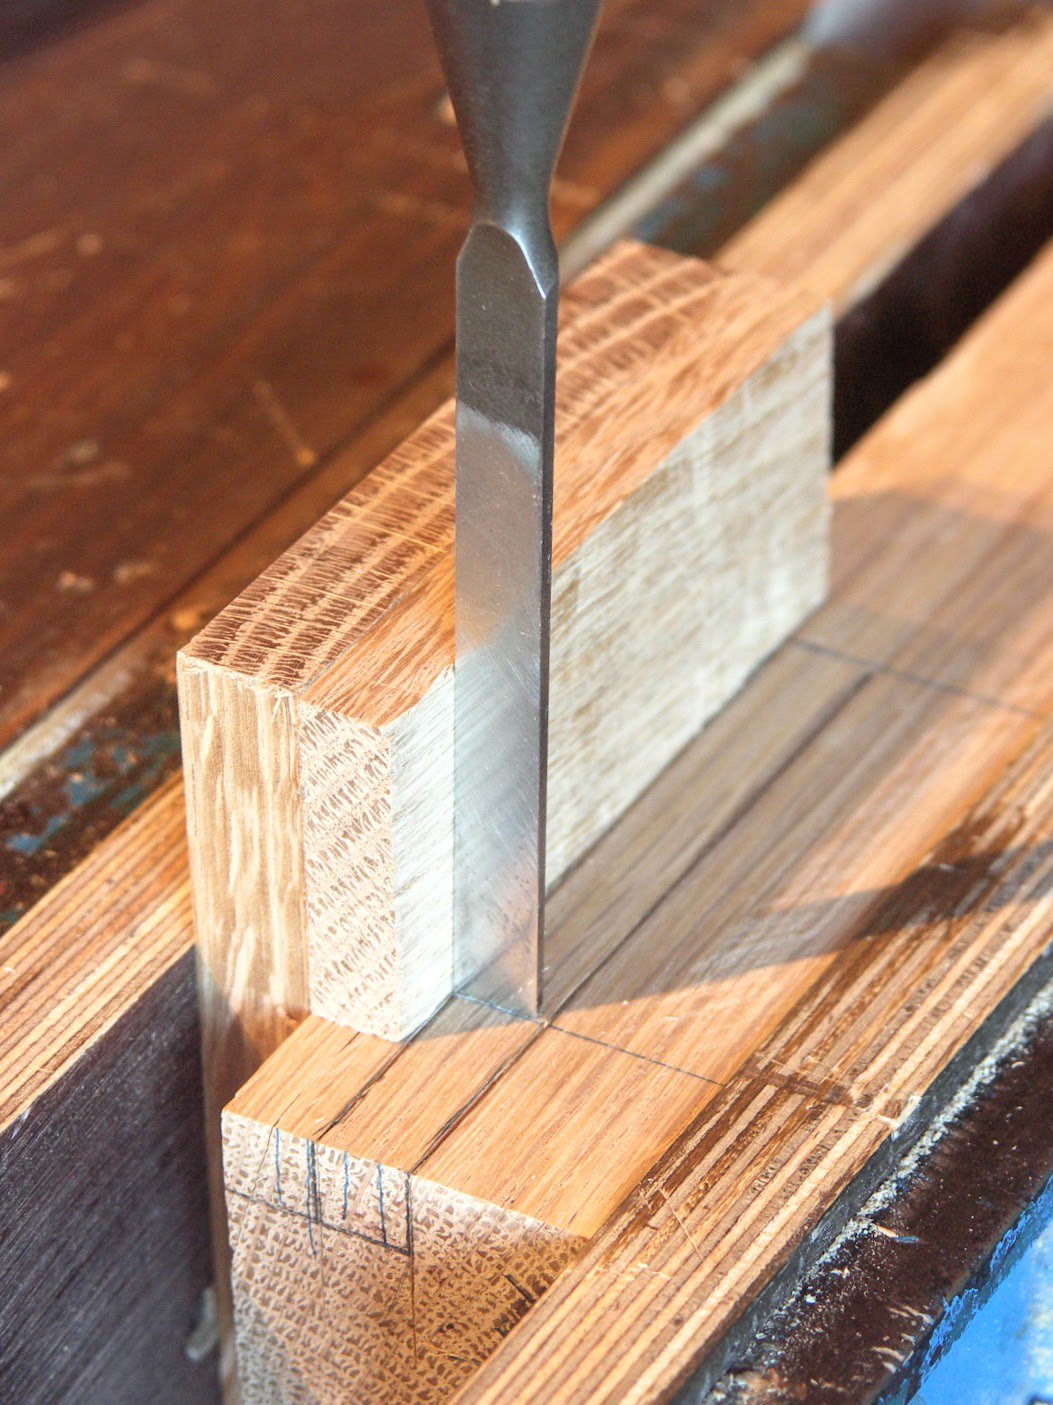
Through mortise holes are simple because of course there are gauge lines both sides to work to. Chopping through from both faces and meeting in the middle meant that any bending could be straightened by paring the inner walls. The difficulty arose when the mortise stopped or mitred internally, forming an intersecting point governed by the size of the leg or the length of the tenon. In table joinery what often governs the length of the tenon is the distance from the inside face of the leg; putting the mortise holes too close to the inside edge shortens the tenons because the corresponding tenon is cut short as it were by the adjacent positioning of the mortise cut 90-degrees to the other. See photo's. Short tenons can be far from ideal for some work so it's more a question of trying to find the balance. What to do? Many of my projects, the ones I'd designed for classes to develop and reinforce skill, relied on mortise holes cut dead parallel to the outside faces. Even one degree off could render alignment to be out by 1/2" by the time the tenon 18" away was introduced to the opposite leg mortise. I needed something to help my students.
I'm talking of something back in the dark ages when hand tool work was generally being more abandoned than sought out. That's changed. It's been a slow, uphill slog, but now hundreds of thousands are doing what I do to make their pieces. Back in the 1990s a new generation of woodworker began to emerge and my classes were always full. They sought the hand tool tradition but with a view to mastery of skilled work rather than a speedy outcome. What I teach today resulted from my early days teaching them. I found what they struggled with and sought answers. One thing I knew I had to do was find a way they could mortise with guaranteed results. On a personal level I had mastered the art and could do that task every time. New woodworkers and then those used to machine methods only struggled to get the accuracy they sought. Another major issue I faced with their misaligned holes was that because the tenon followed the angle of the hole, the shoulders would be presented at the wrong angle too and so would not meet correspondingly. This resultant gaps would sometimes lead to hours of awkward fettling. The thing I knew from those early days teaching was that I had to be a solution.
My classes were constrained by time. No student had unlimited time to spare. It was distressing if students just couldn't get it and we couldn't spare half a day to put things right. As with most teachers, seeking a solution to a teaching problem often means agonising for an answer. YouTube was yet to be born and even then, when it was, it was as much the primary source of misinformation then as it often is today. My agonising over two weeks led to an idea for a mortise guide and one I have more fully developed today. How did it happen?
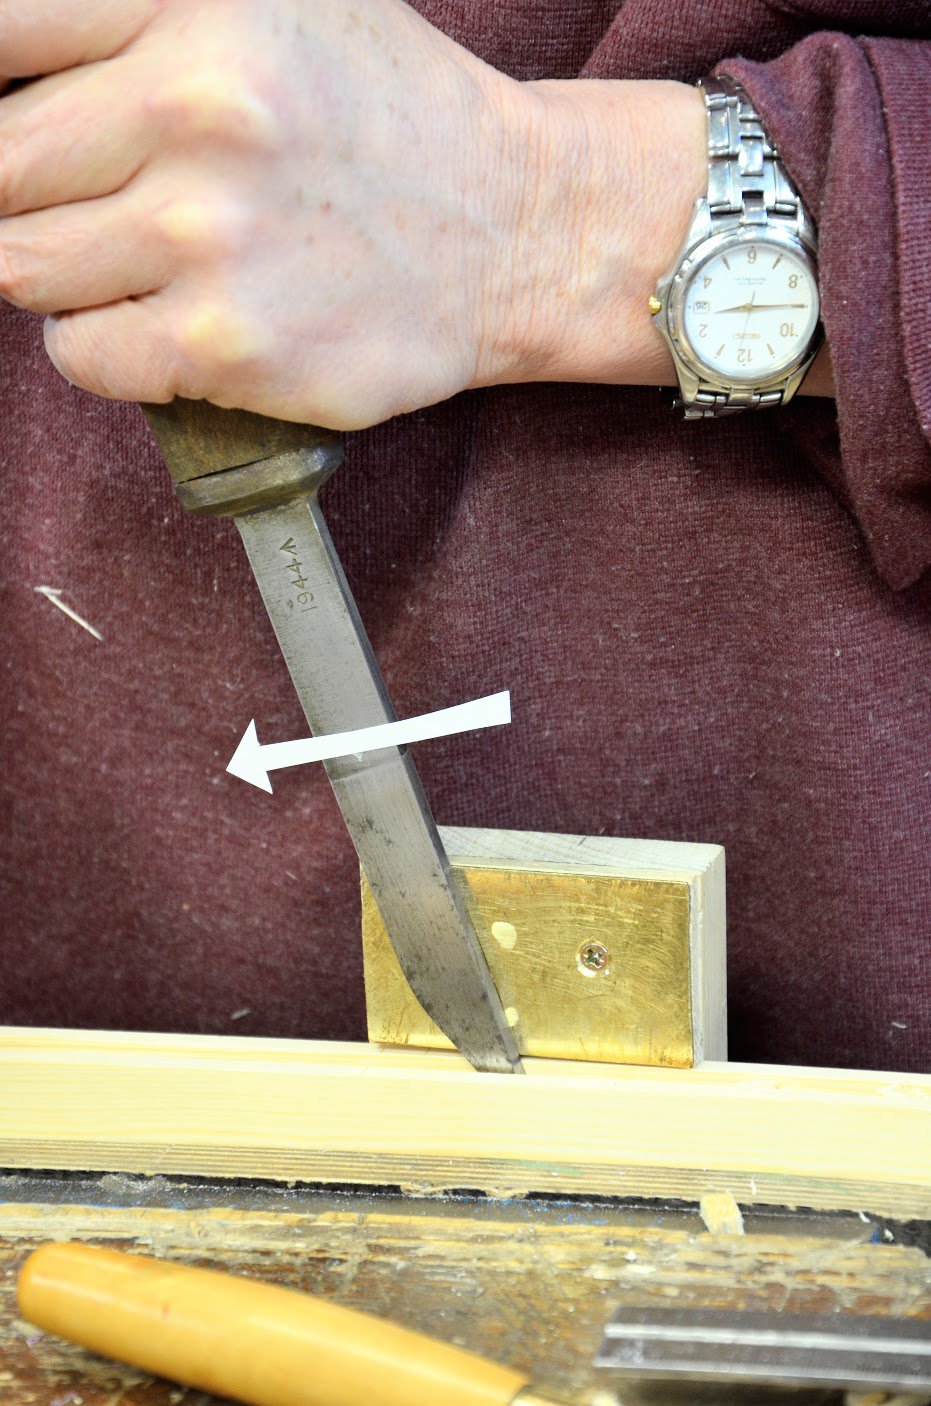
Walking across an open field on my way to a class of 20 students, I contemplated my dilemma. They would be arriving in an hour's time but before I arrived at the workshop I came up with what became a perfect solution. The 20 students gathering in the workshop would become my unknowing guinea pigs. Waiting there with bated breath they wanted to learn as much as they could. I set to to make 20 hitherto unseen alignment jigs from oak. They were basic but they came together quickly and they worked.
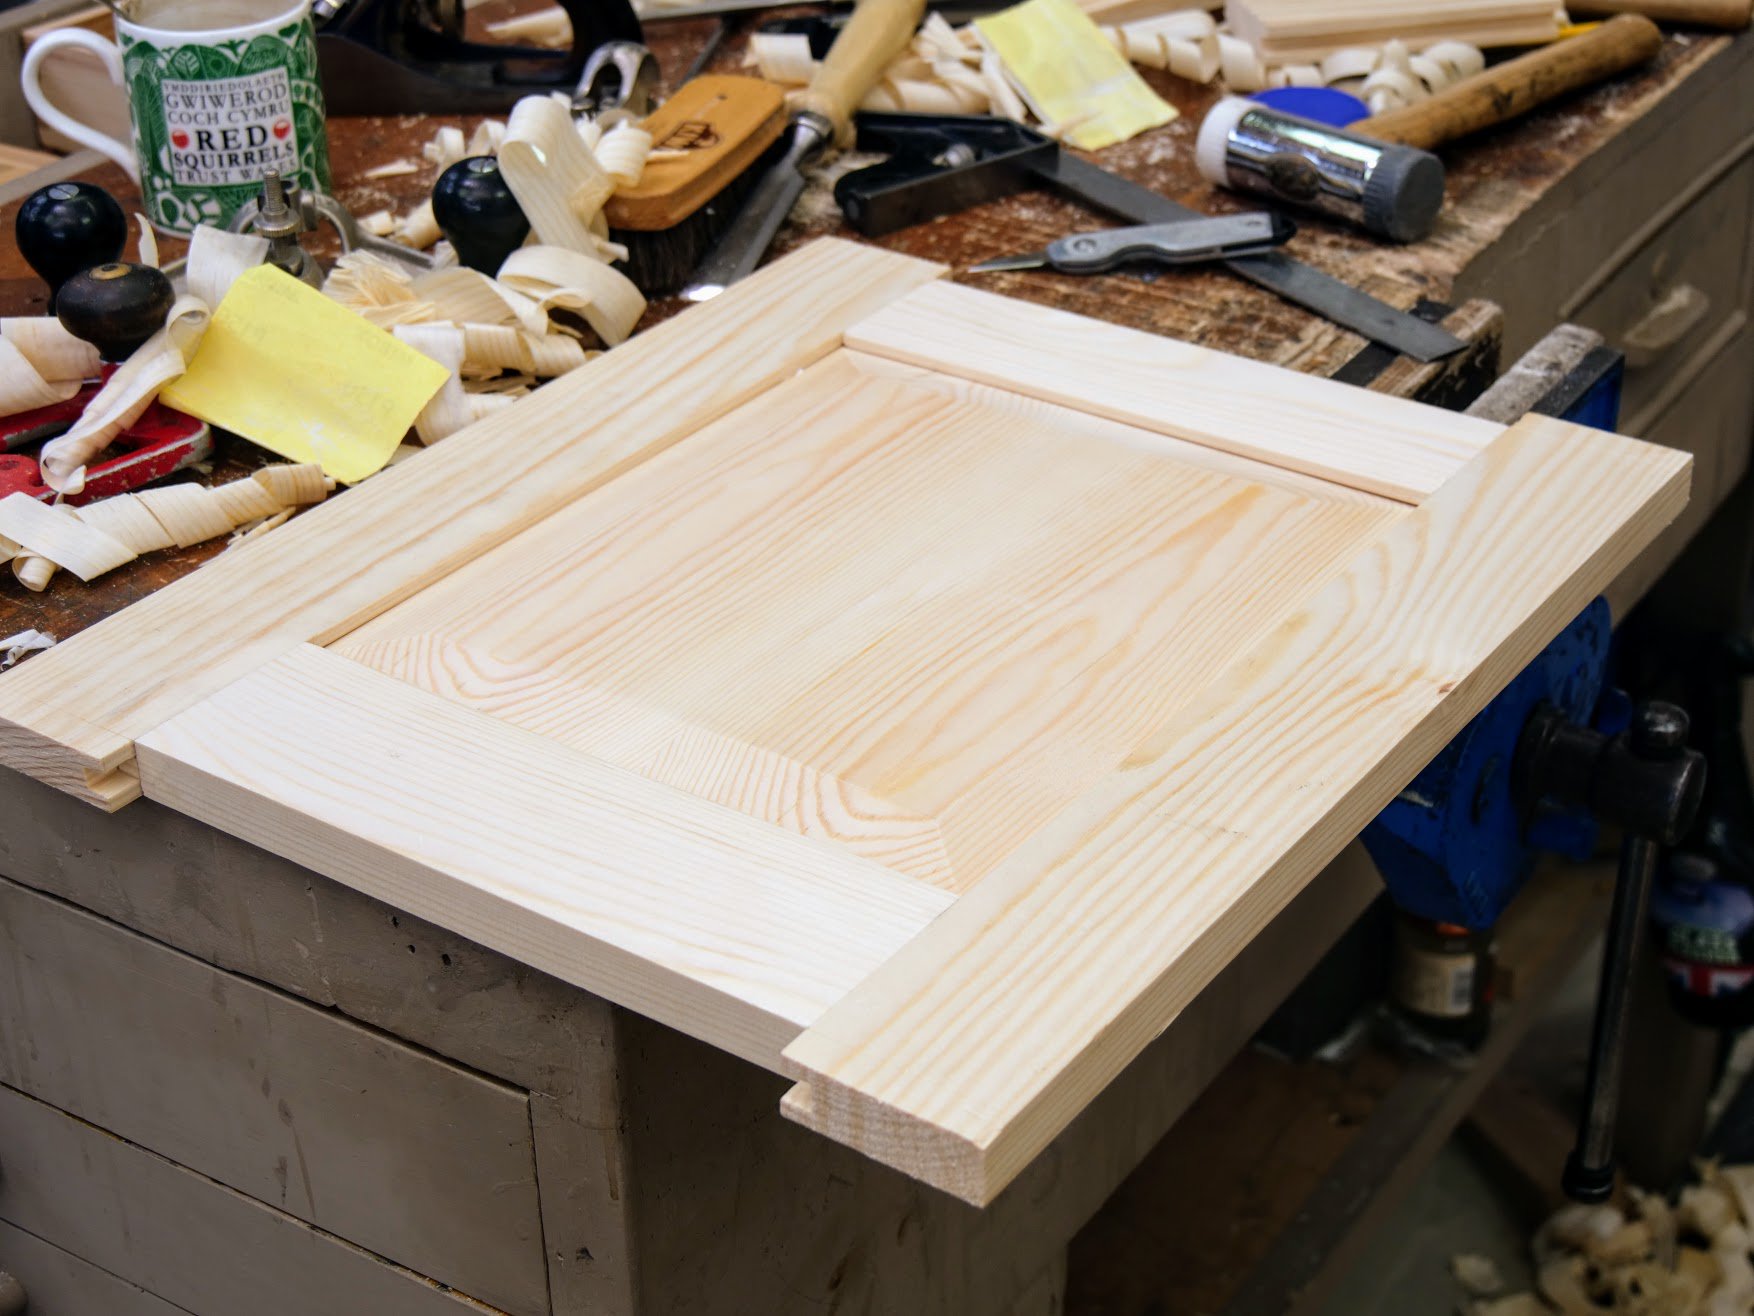
Since those early prototypes I have revised different elements to give them longevity and have even resolved issues to adapt them to other tasks. Combining this with my hand router techniques for surface-planing tenon cheeks I won the cause. Students since then, over 5,000 in my classes, and now many multiples of thousands online, have developed their techniques and gone on to master their cutting of mortise and tenon joinery. My attempts to give you all of the systems I have developed since my apprenticing days has become my success. Here is a video showing you the early system and the methods I used in my earlier classes. Making this quick guide for mortise hole cutting gets you in the zone immediately. Here is my current version showing how effectively this works.
Comments ()