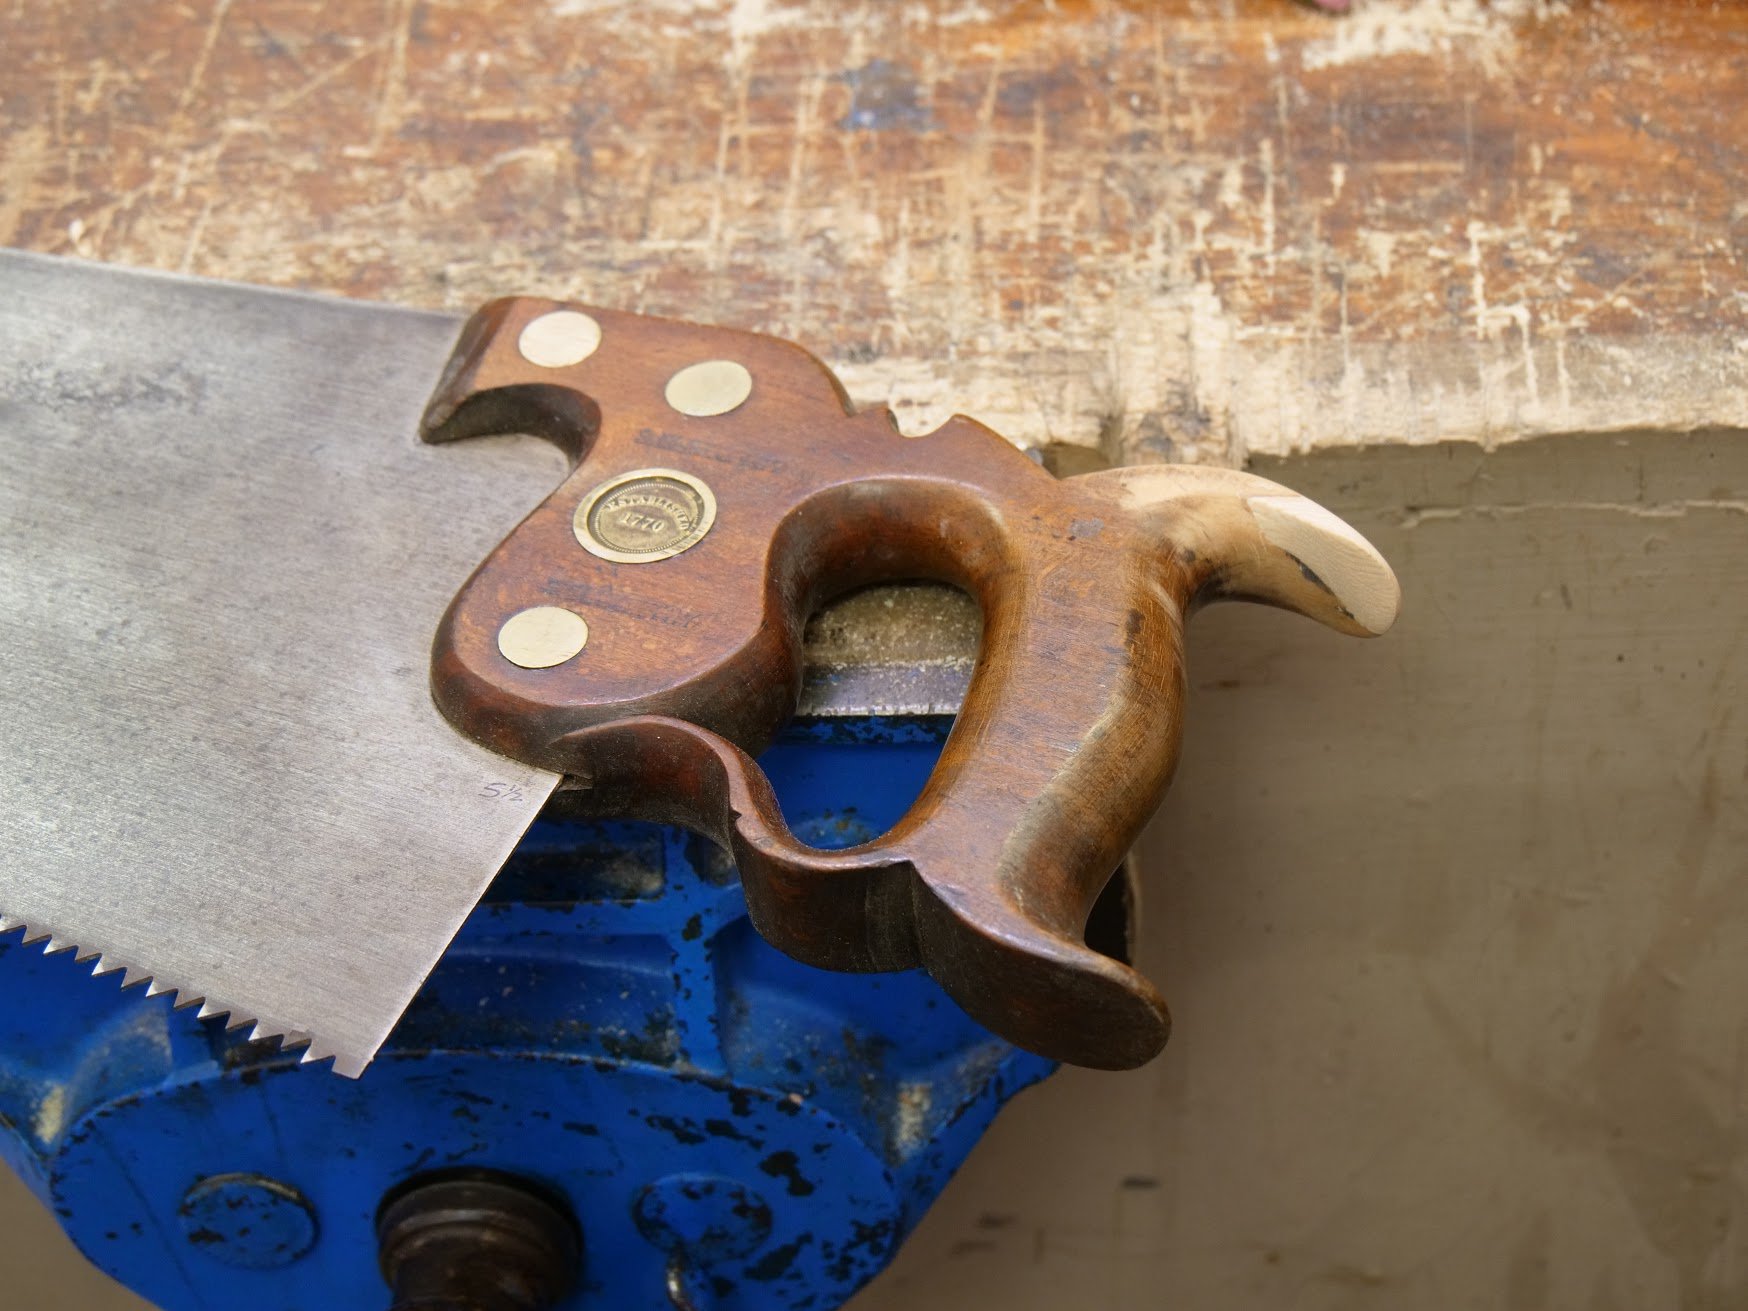
Repairing a Saw Handle Horn
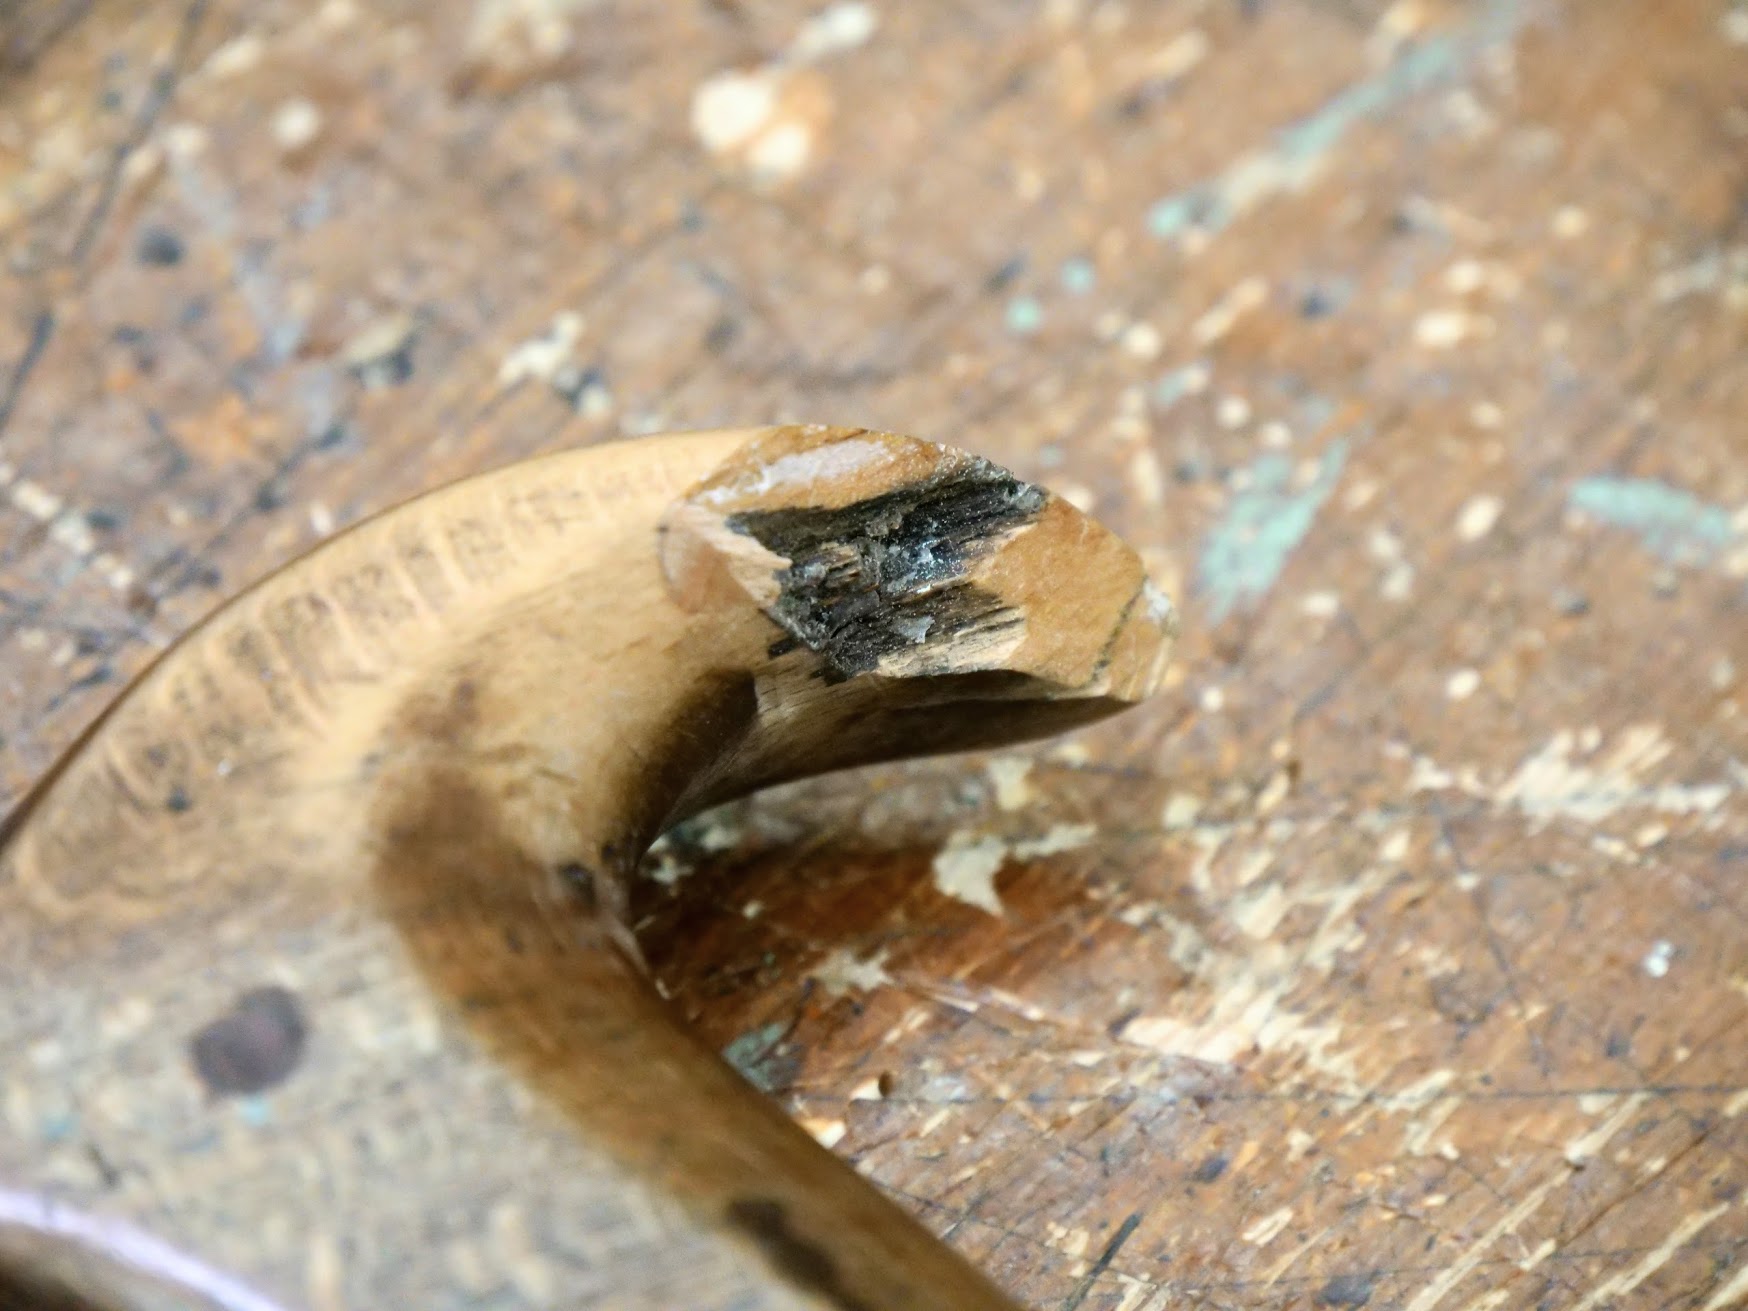
The saw handle on my R Groves rip had been damaged and poorly repaired. It happens and it's not uncommon at all to find a saw horn damaged. The repair popped off at some time and I have put off the repair proper until I found the right time; that's something I rarely do because I like solutions in time not late. I have been packing away my tools, categorising them, archiving some, destining some for repair and keeping primary users close to my right hand. My Groves always take priority.
The handle is beech. It's smooth as silk and even with the chunk missing it still feels OK, but OK is not quite right so today was the day for the repair. Whoever repaired this before intended I am sure to develop a flat plane but instead created an undulating surface with a large hollow in the centre. Not really a good gluing surface.
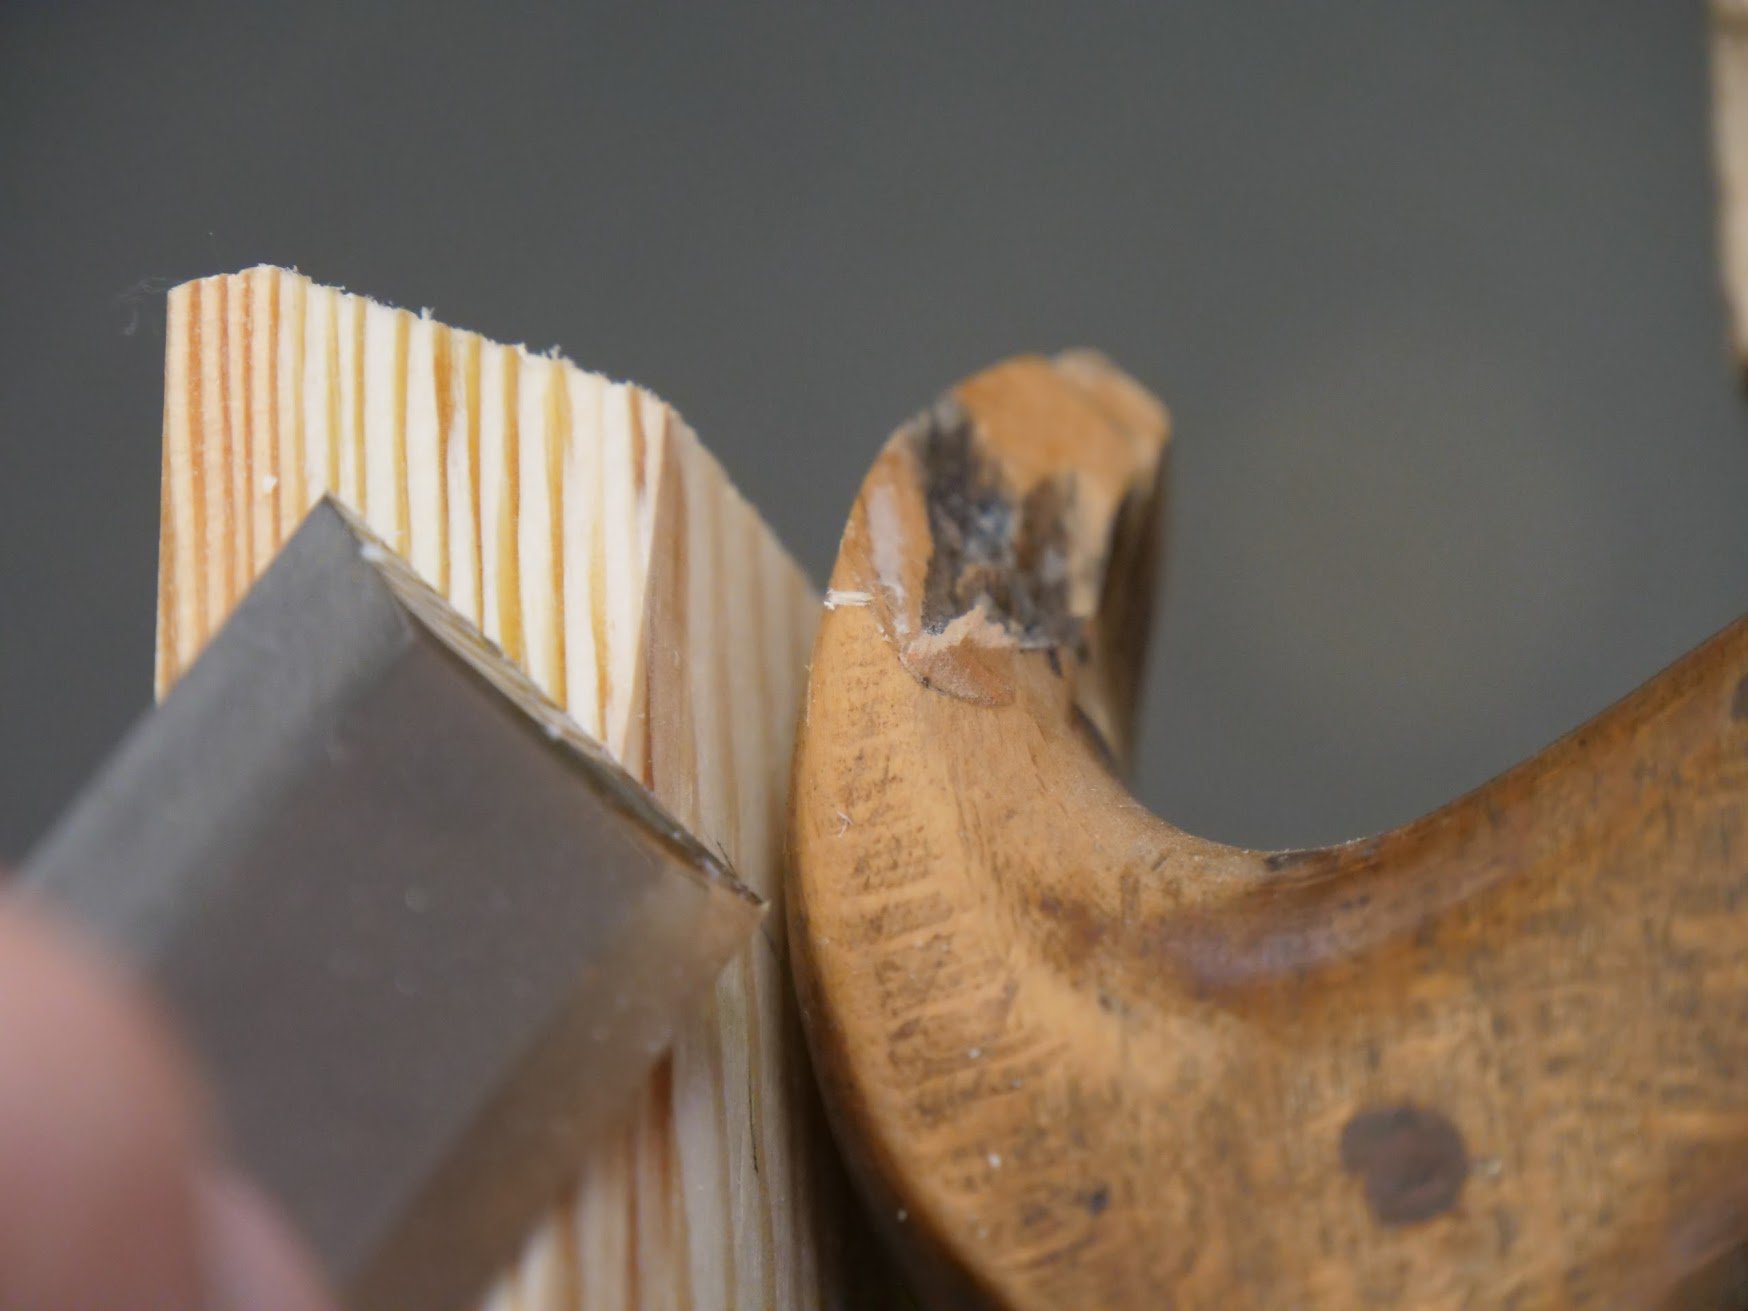
I developed a registration surface by eyeballing the angle and creating a flat to a piece of scrap wood.
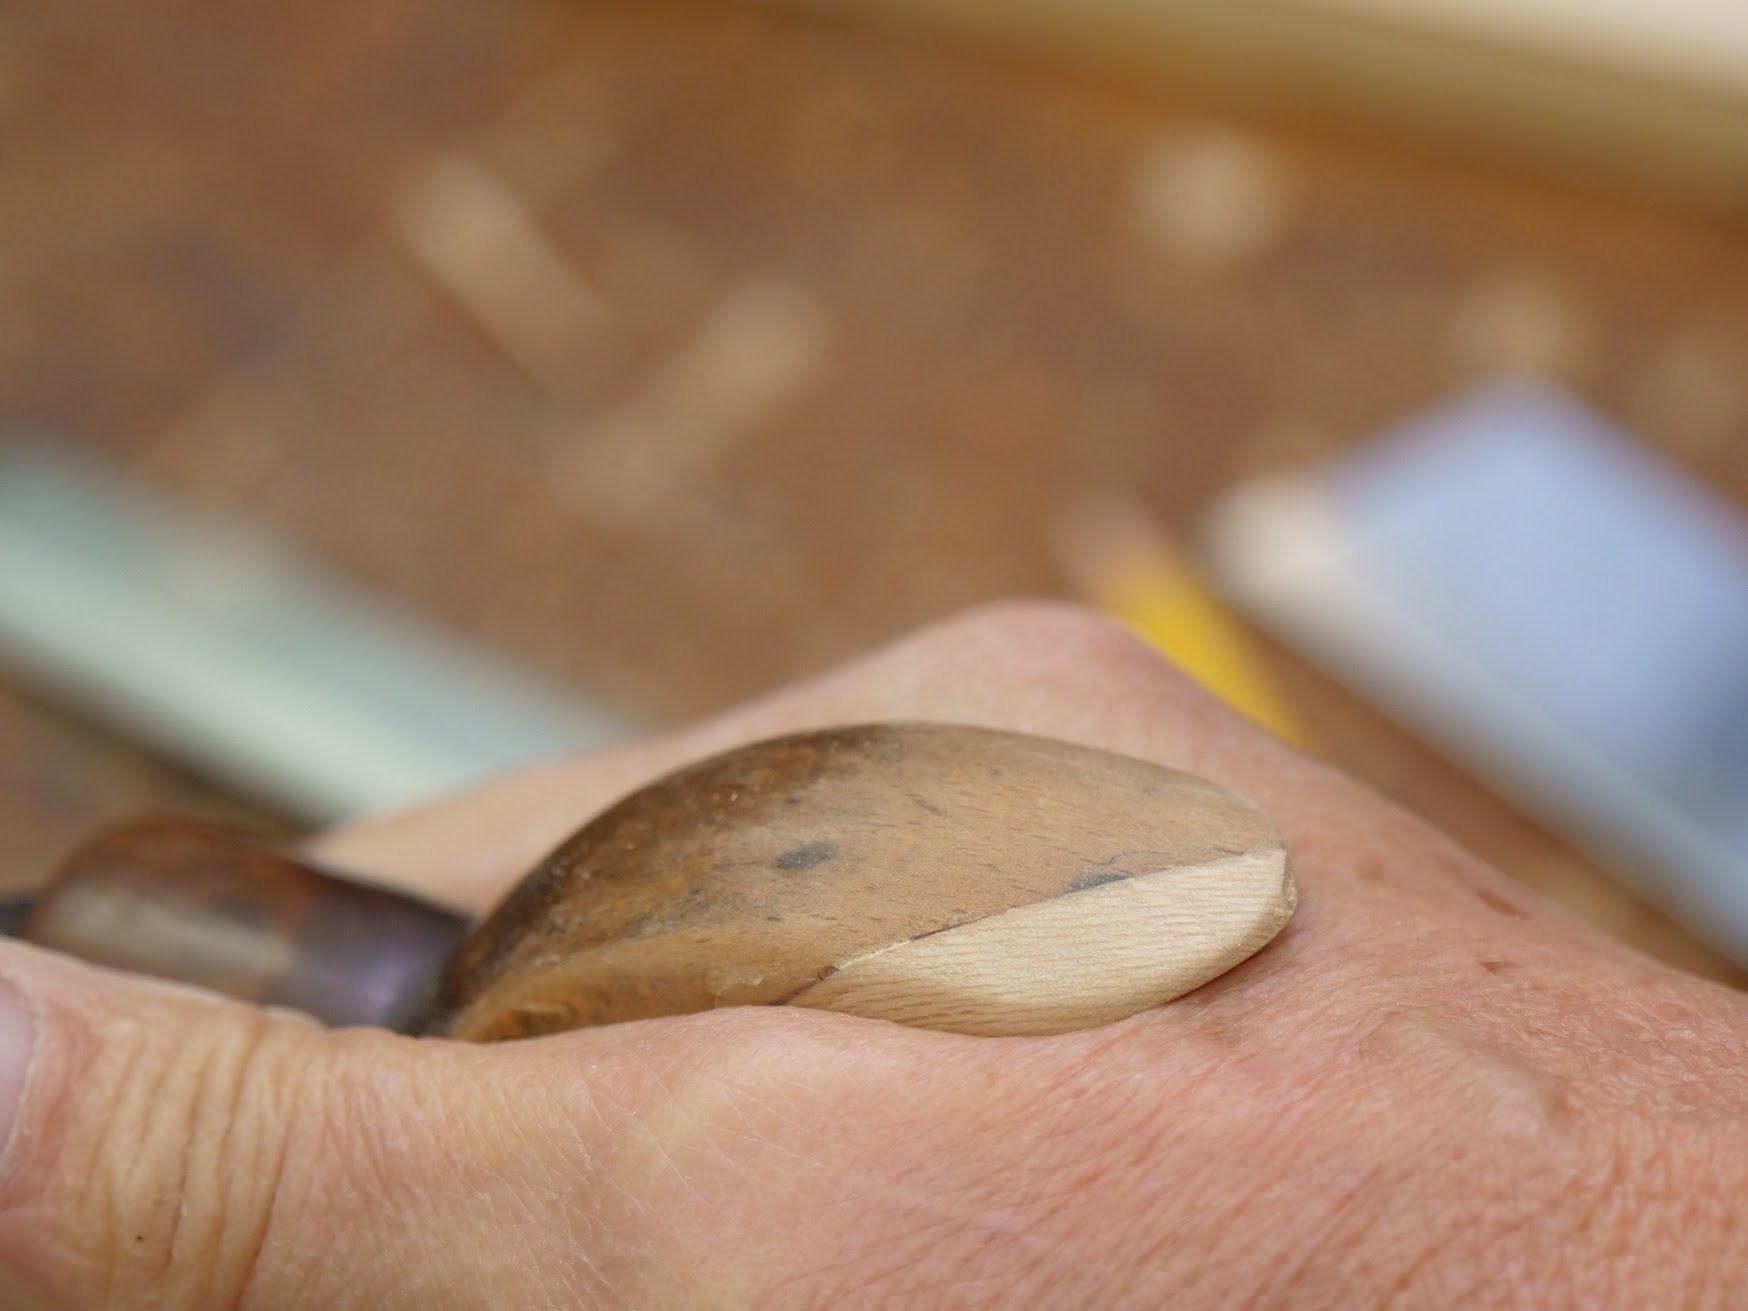
The chisel made the primary cuts to some beech I found to cut the repair piece from.
I then planed the flat true with a #4.
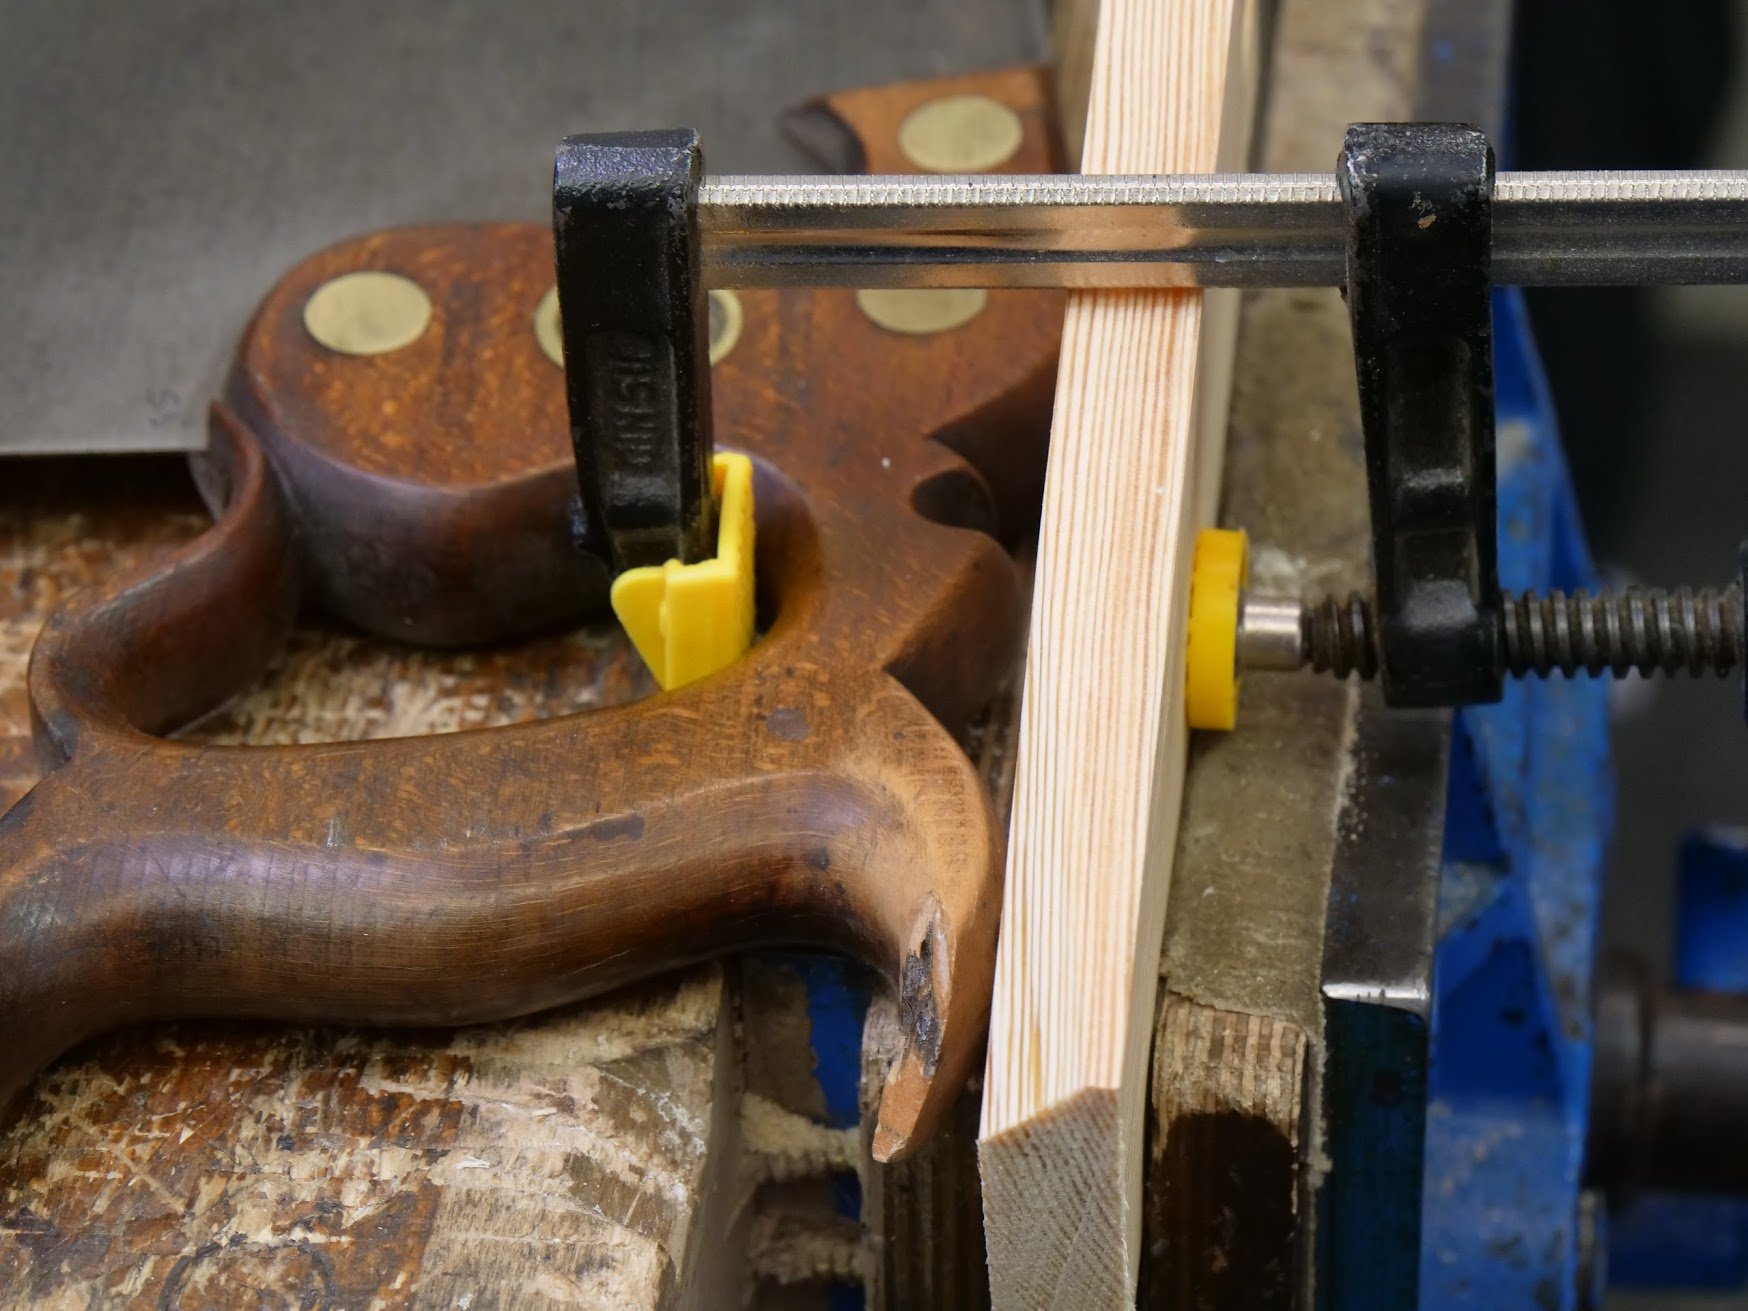
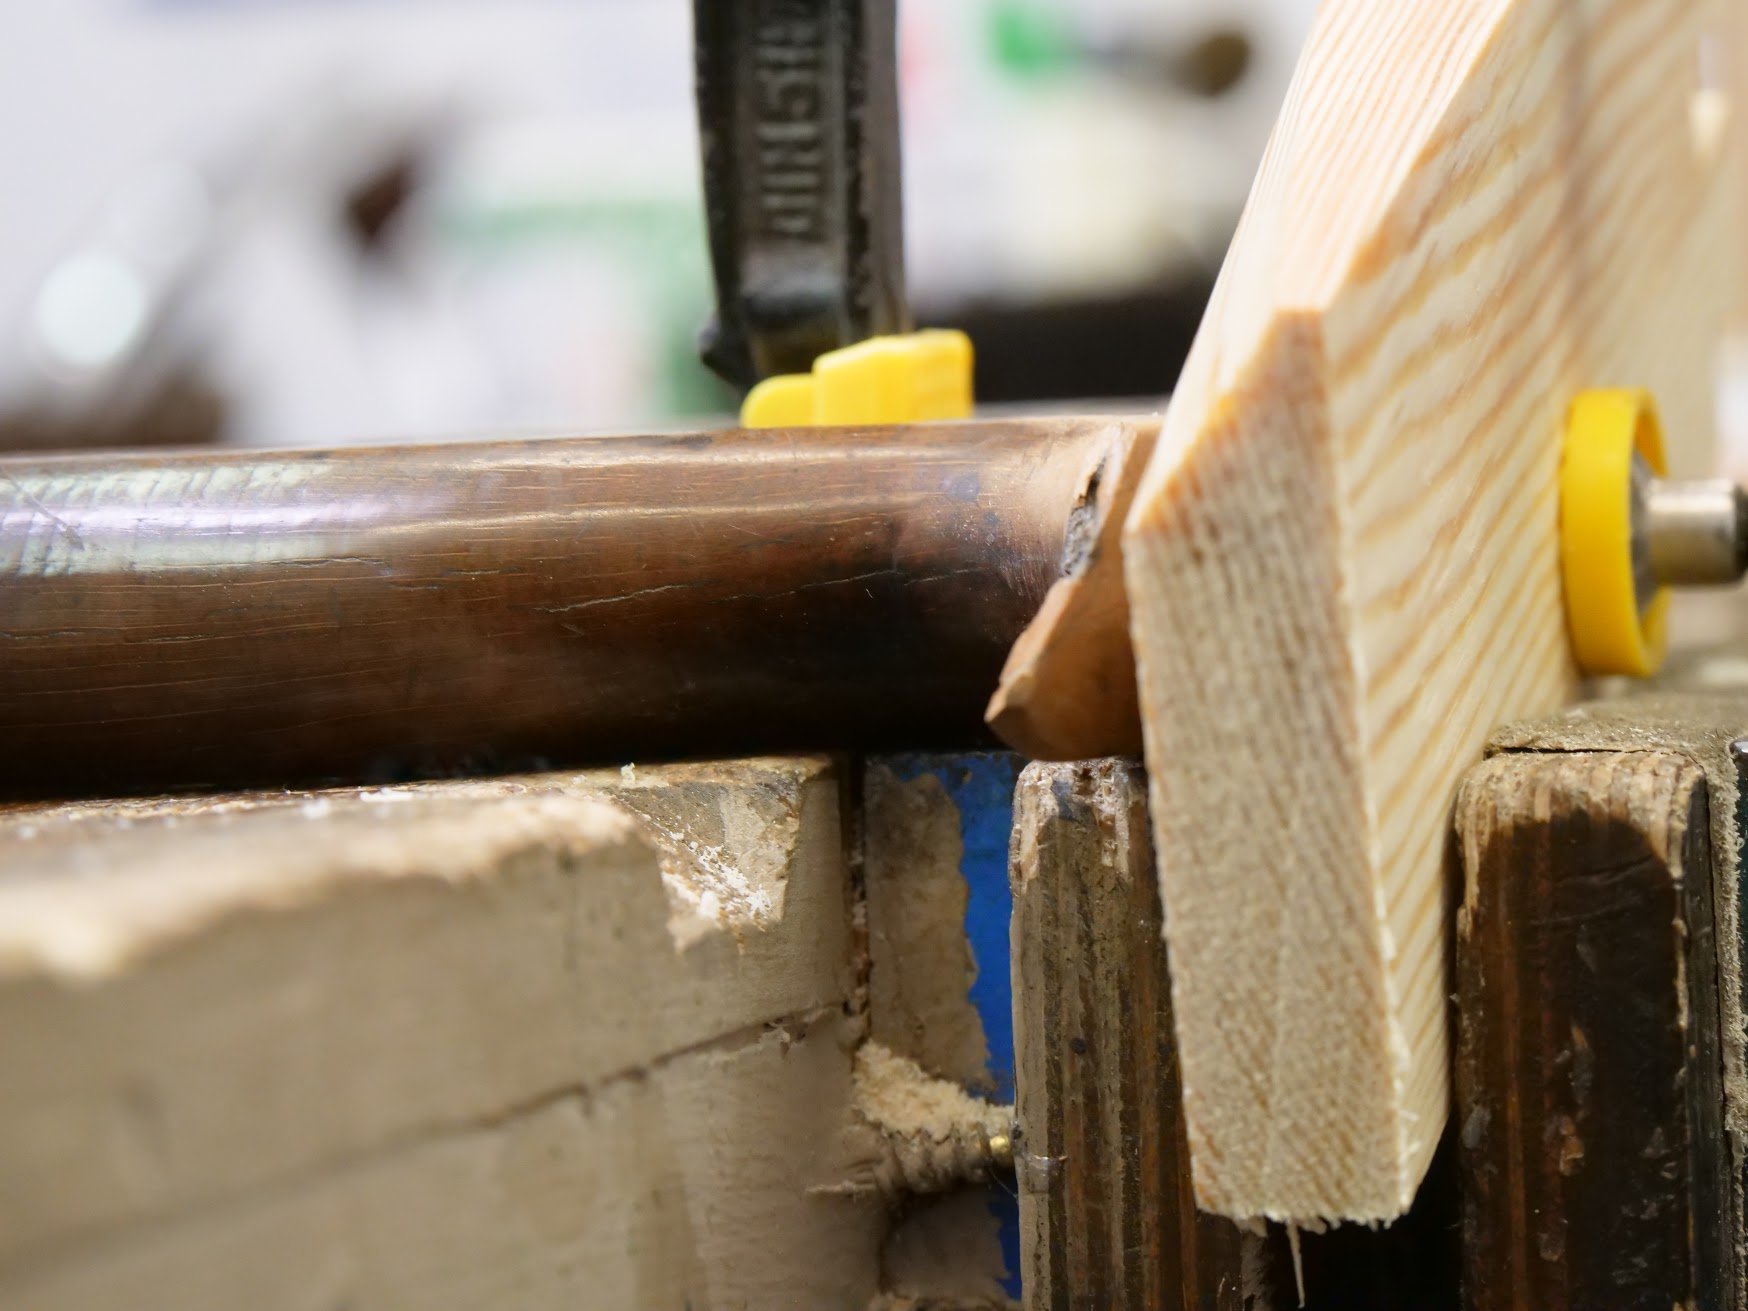
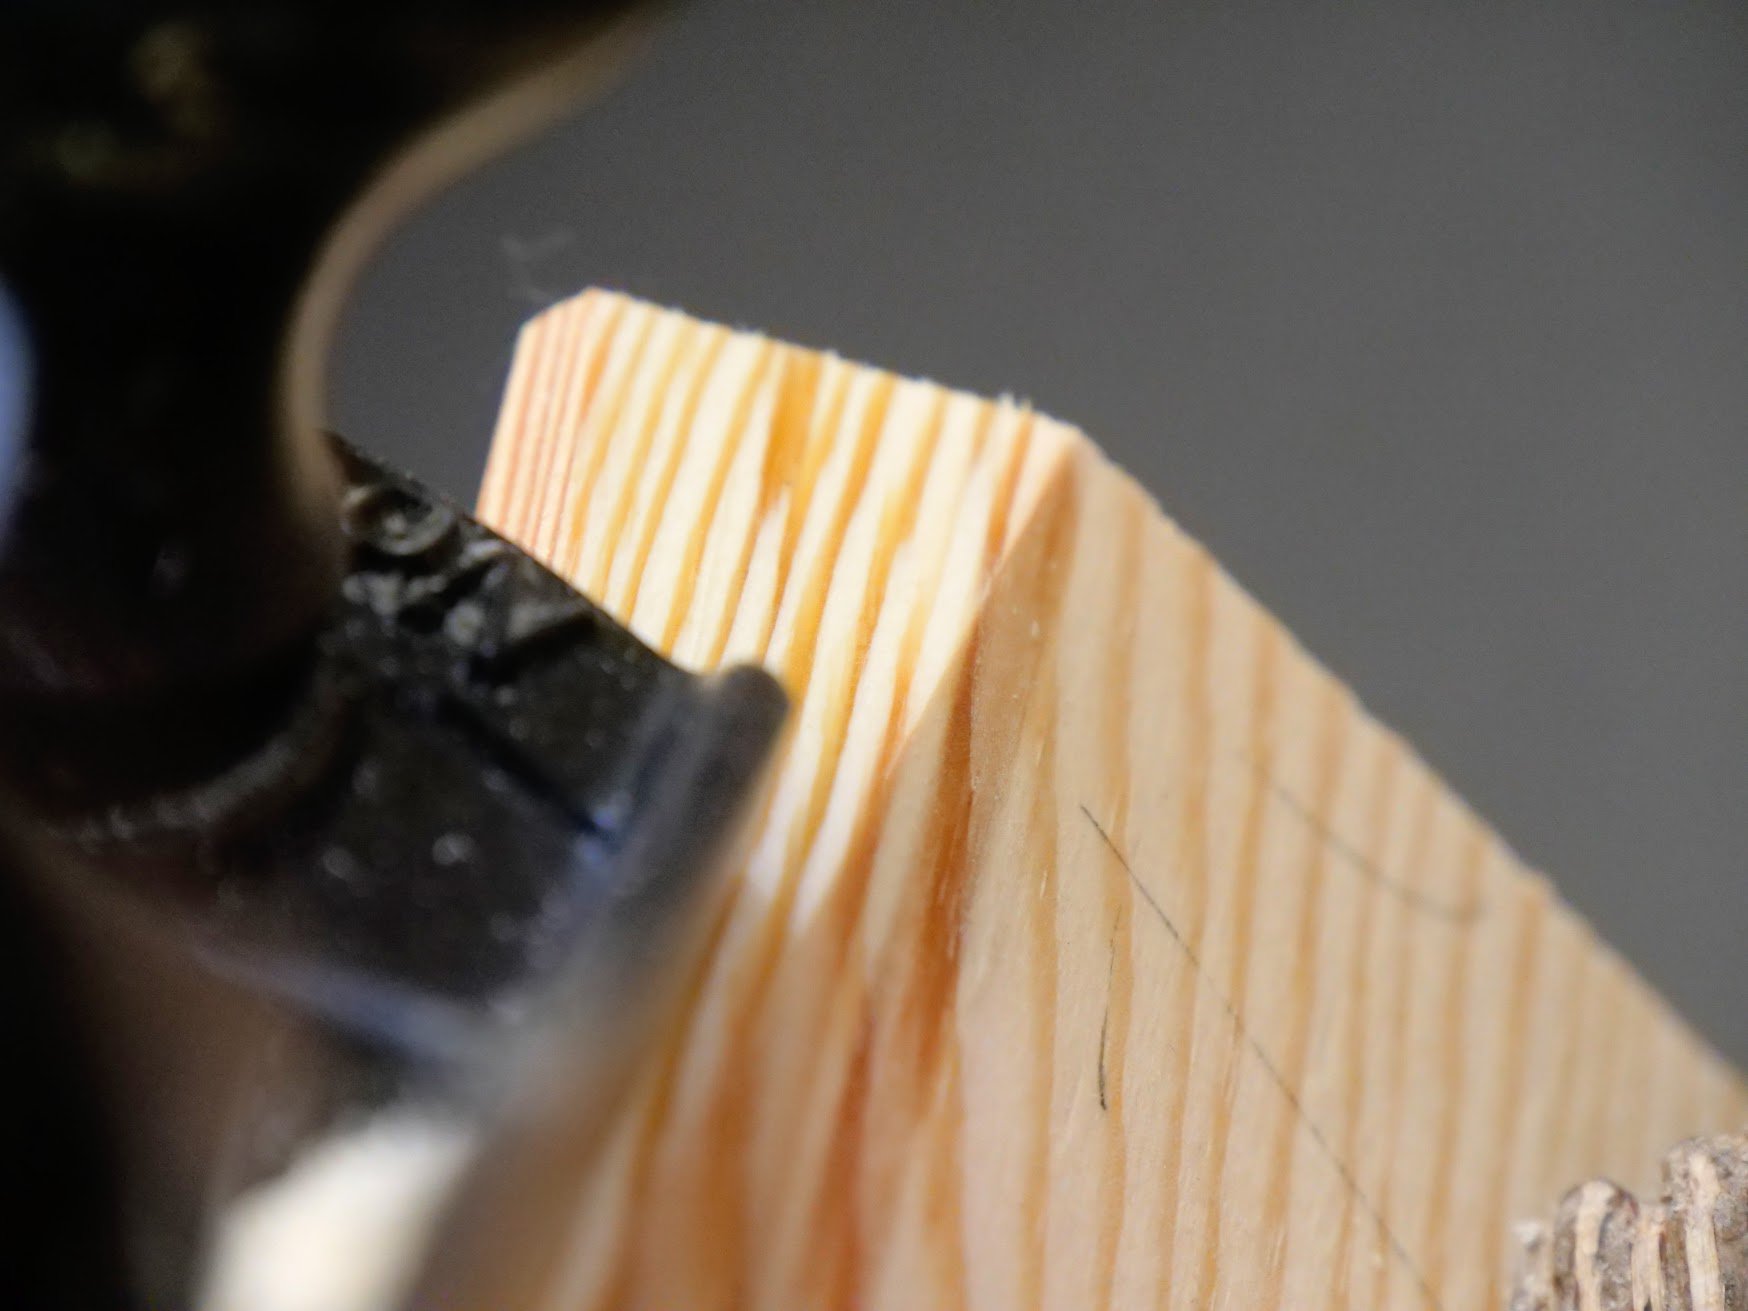
Clamping the newly formed guide in the vise and then the saw handle to the guide made everything solid enough for me to pare cut the surface dead level.
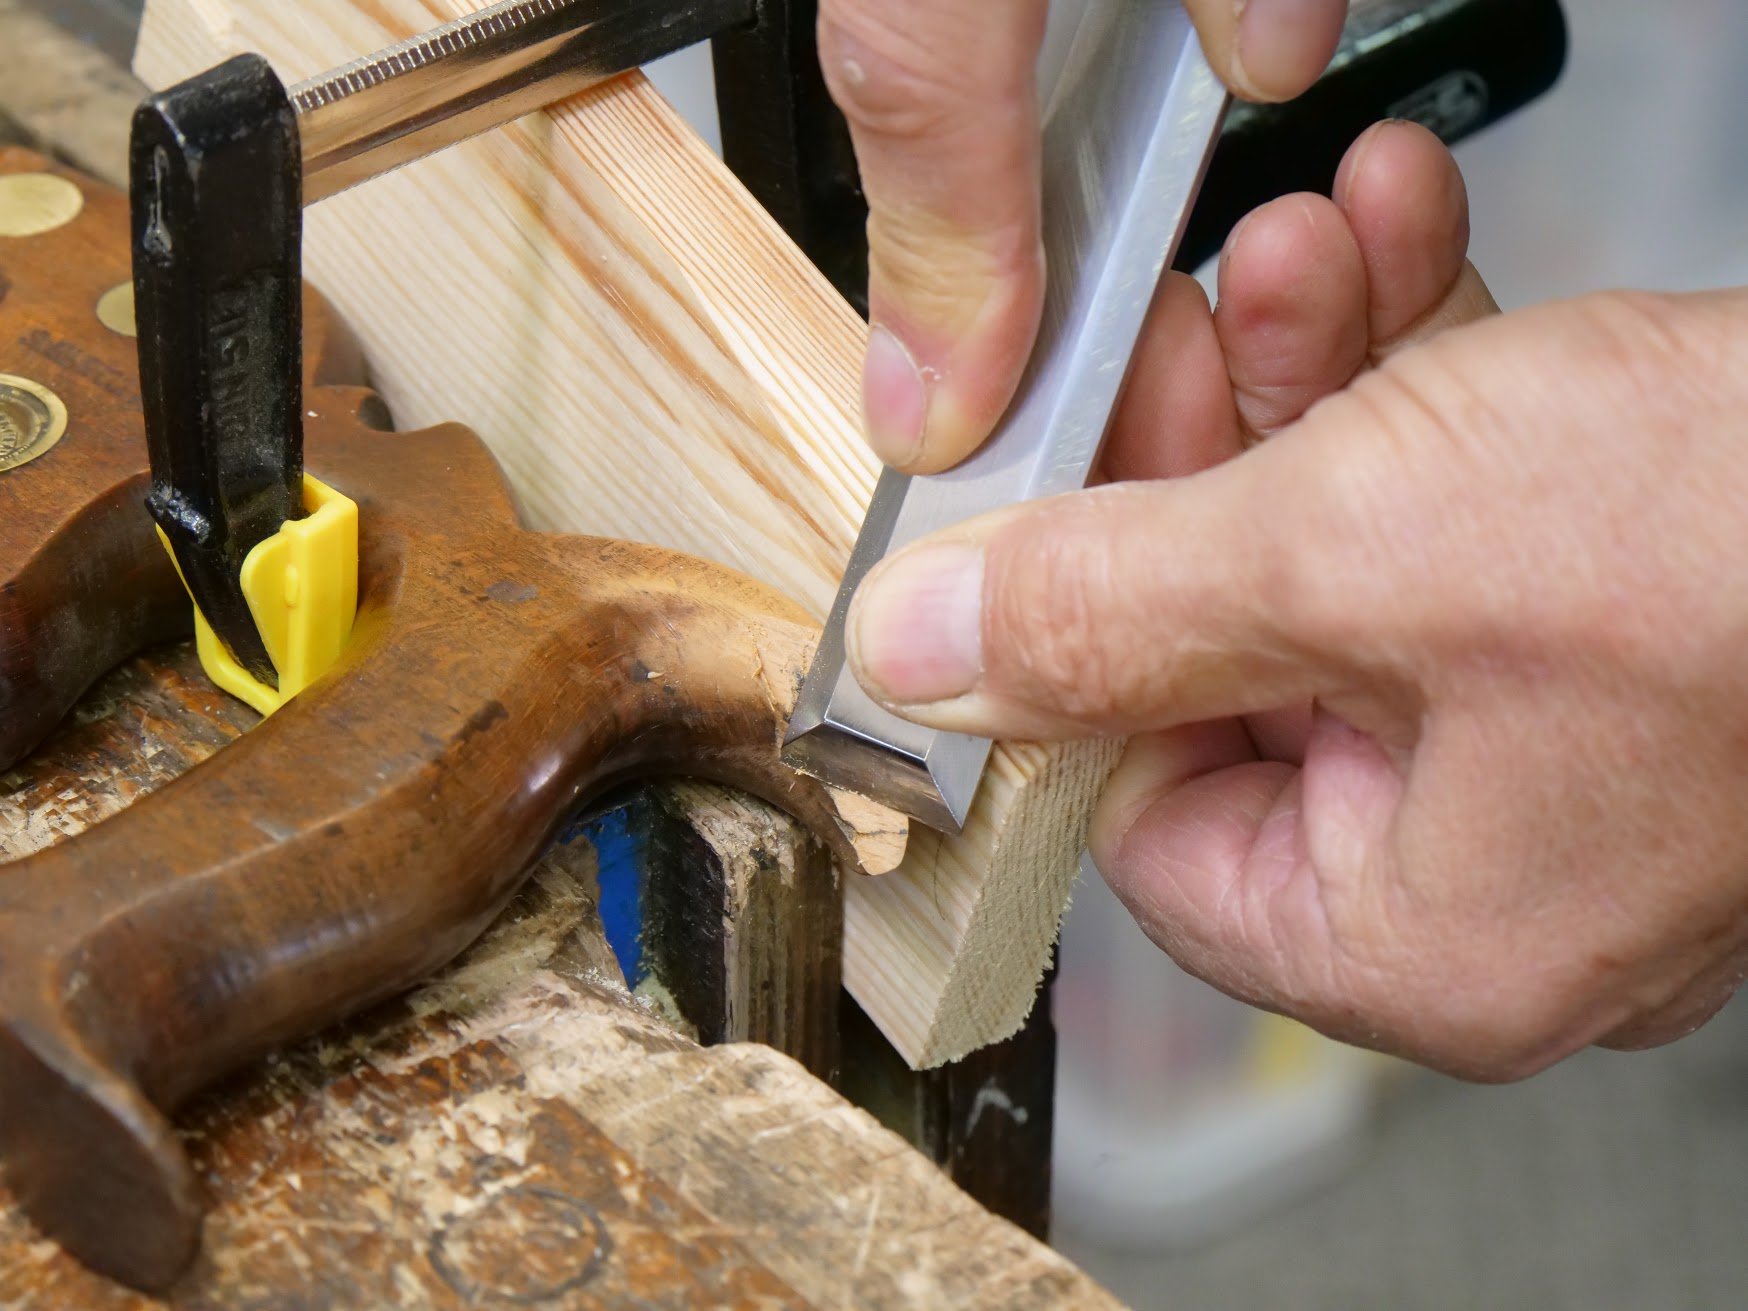
A few stokes with the chisel brought the highs low to create a decent mating surface.

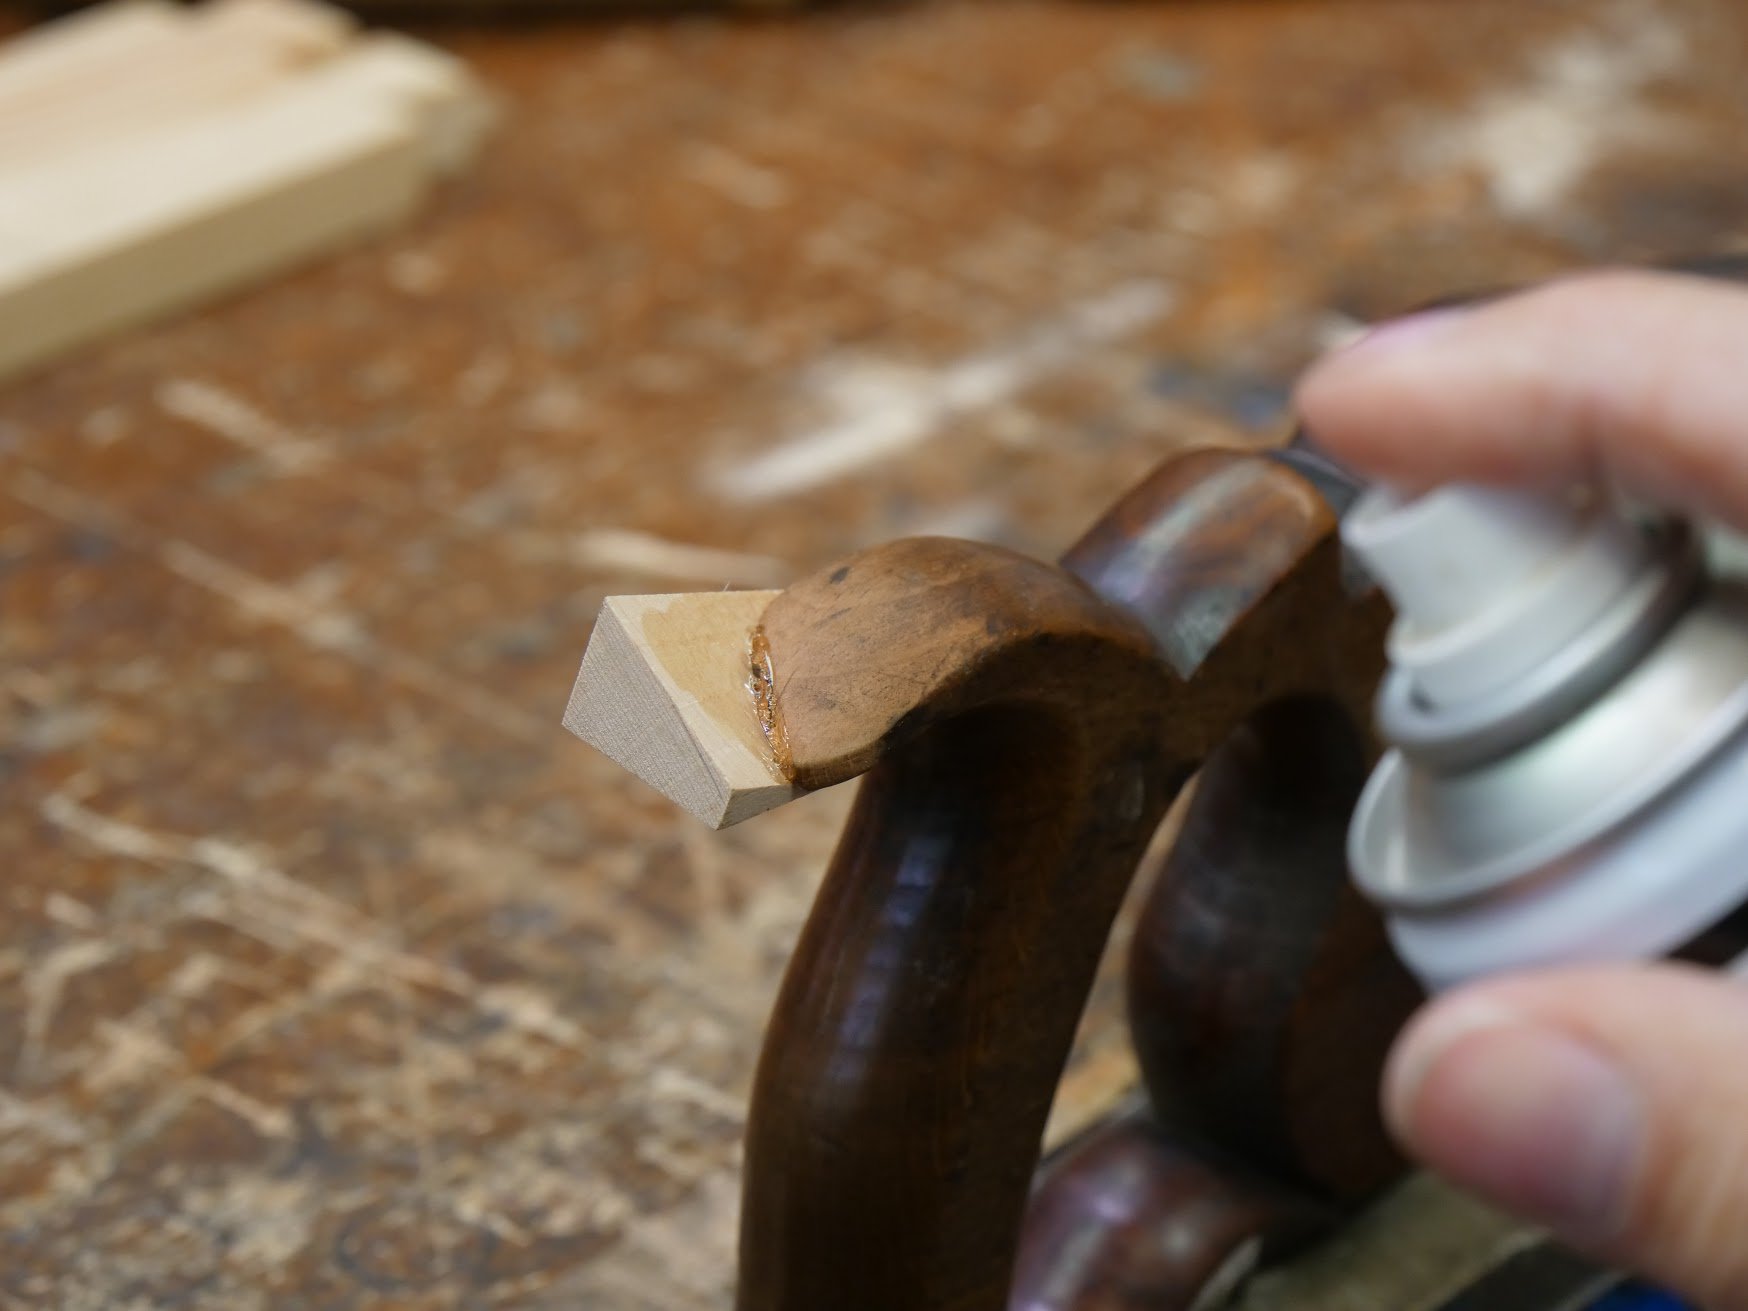
I used a more viscous super-glue (Cyanoacrylate) and accelerator to set the glue almost immediately on contact. It worked perfectly first time. Applying the glue to one half and spraying the accelerator to the other works great.

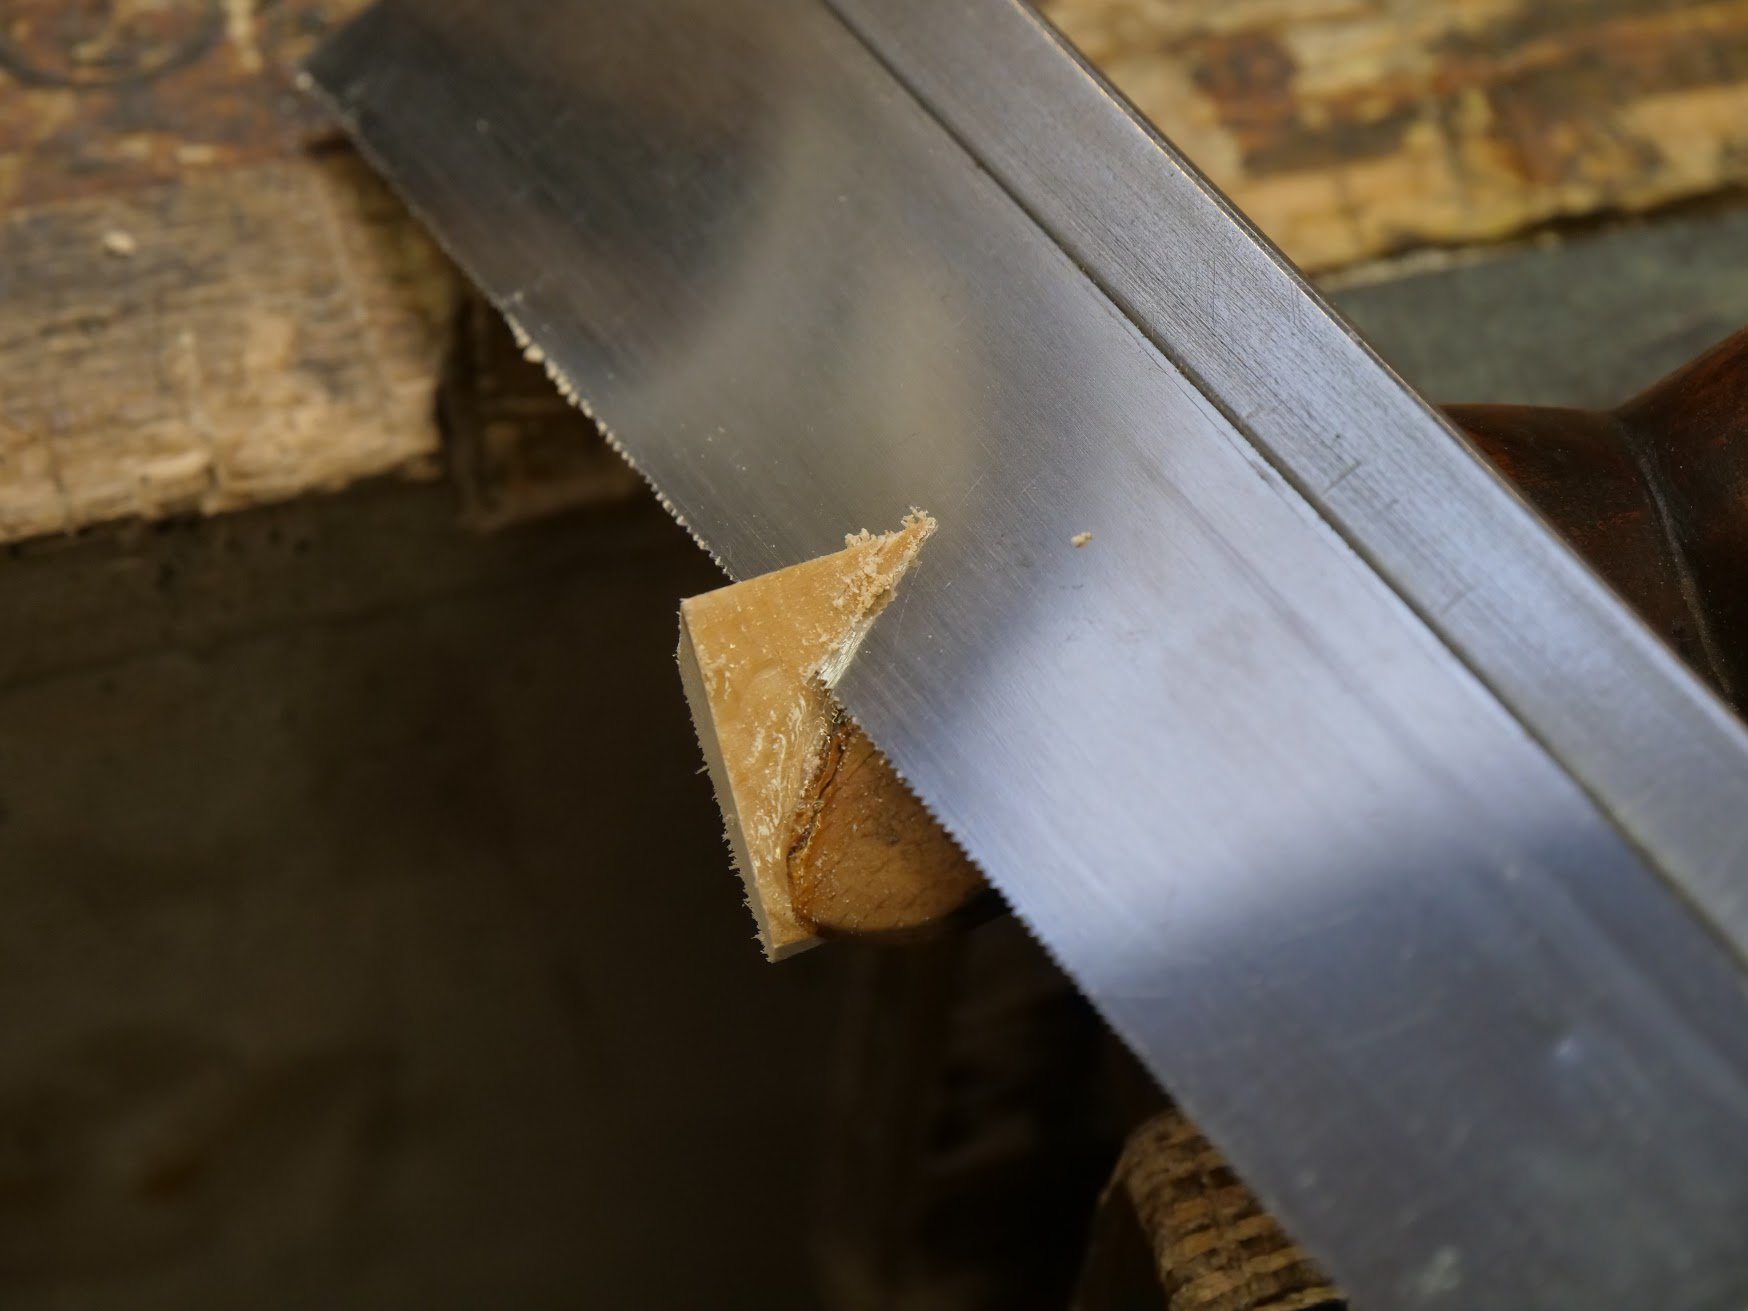
After a minute or two I removed most of the excess with a small saw.
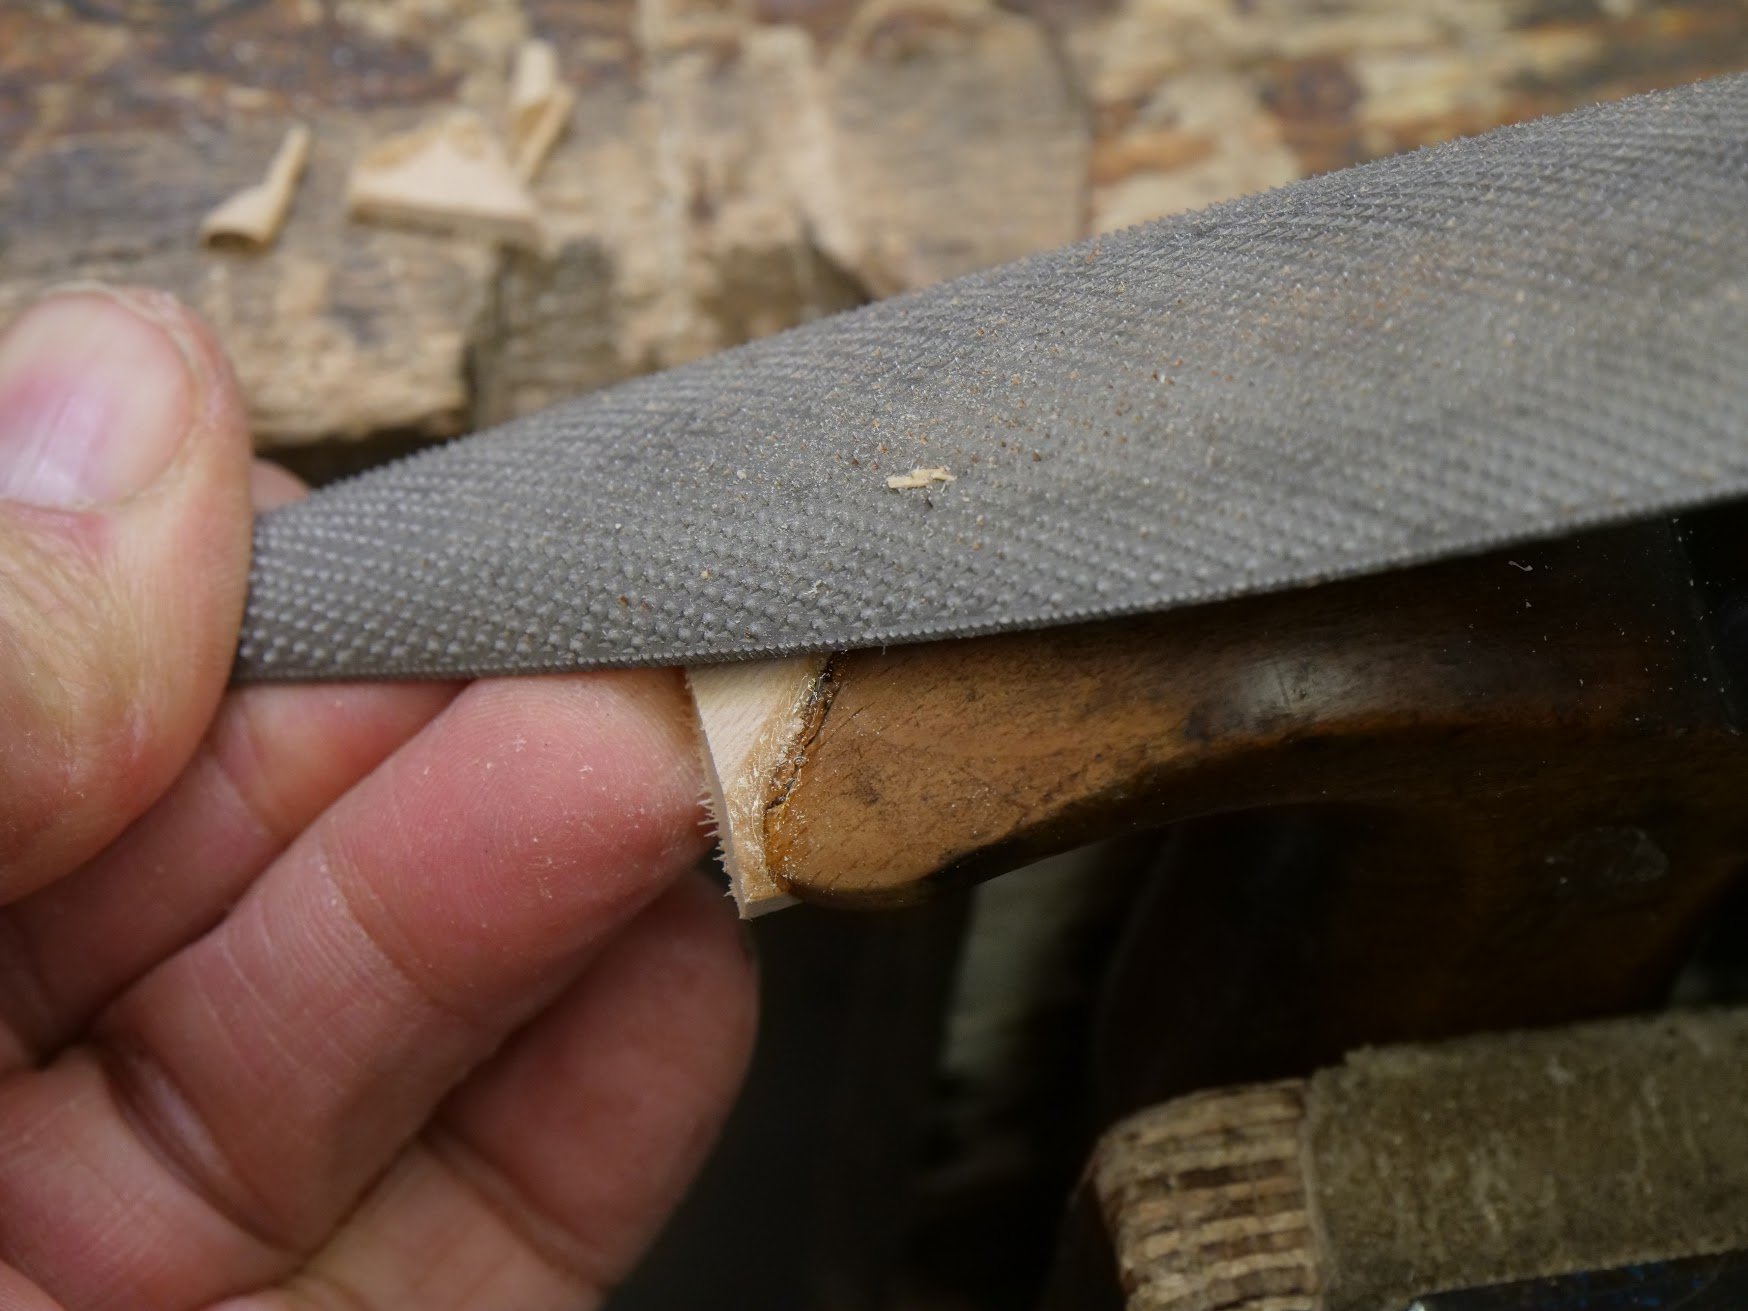
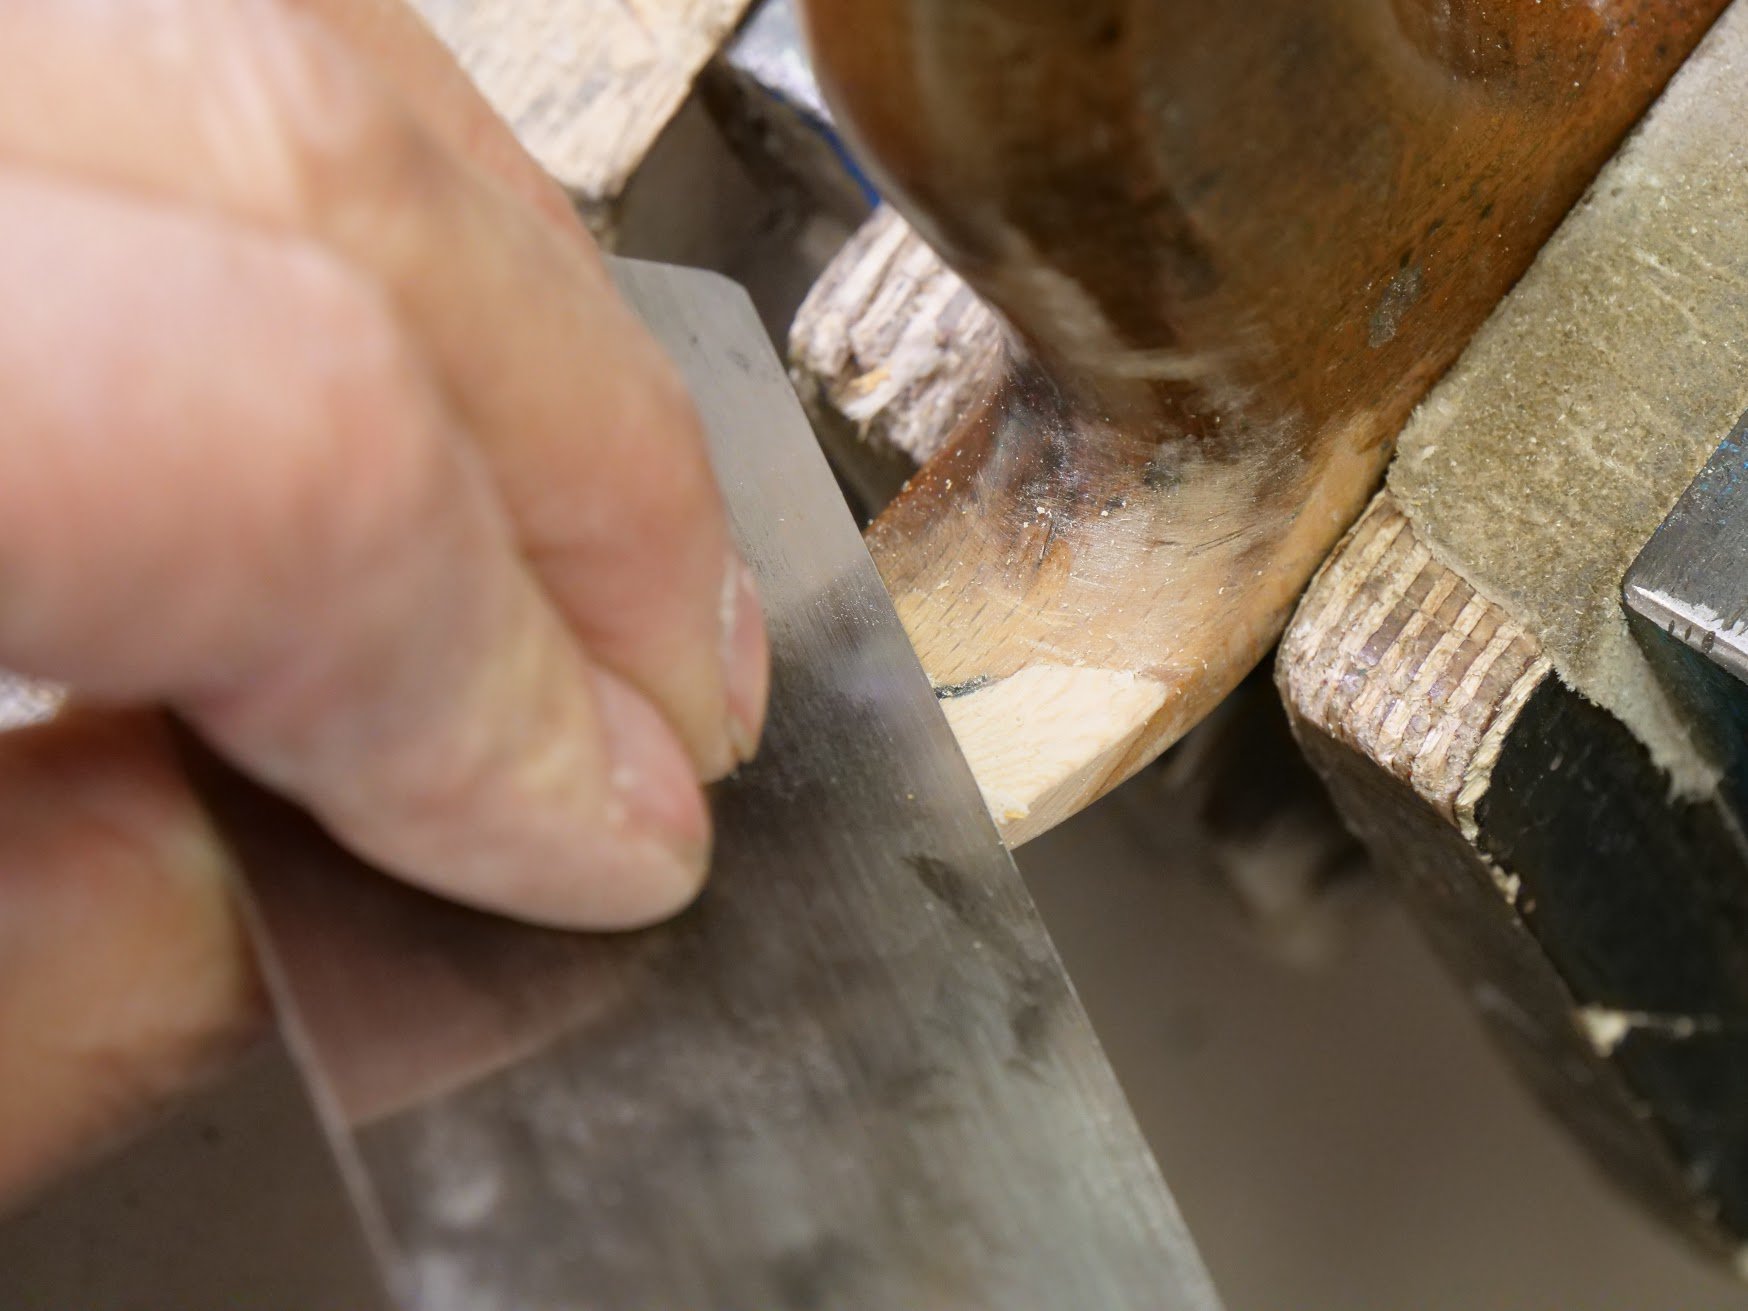
I then used a chisel and a rasp to refine the shape so it conformed with the remainder of the handle.
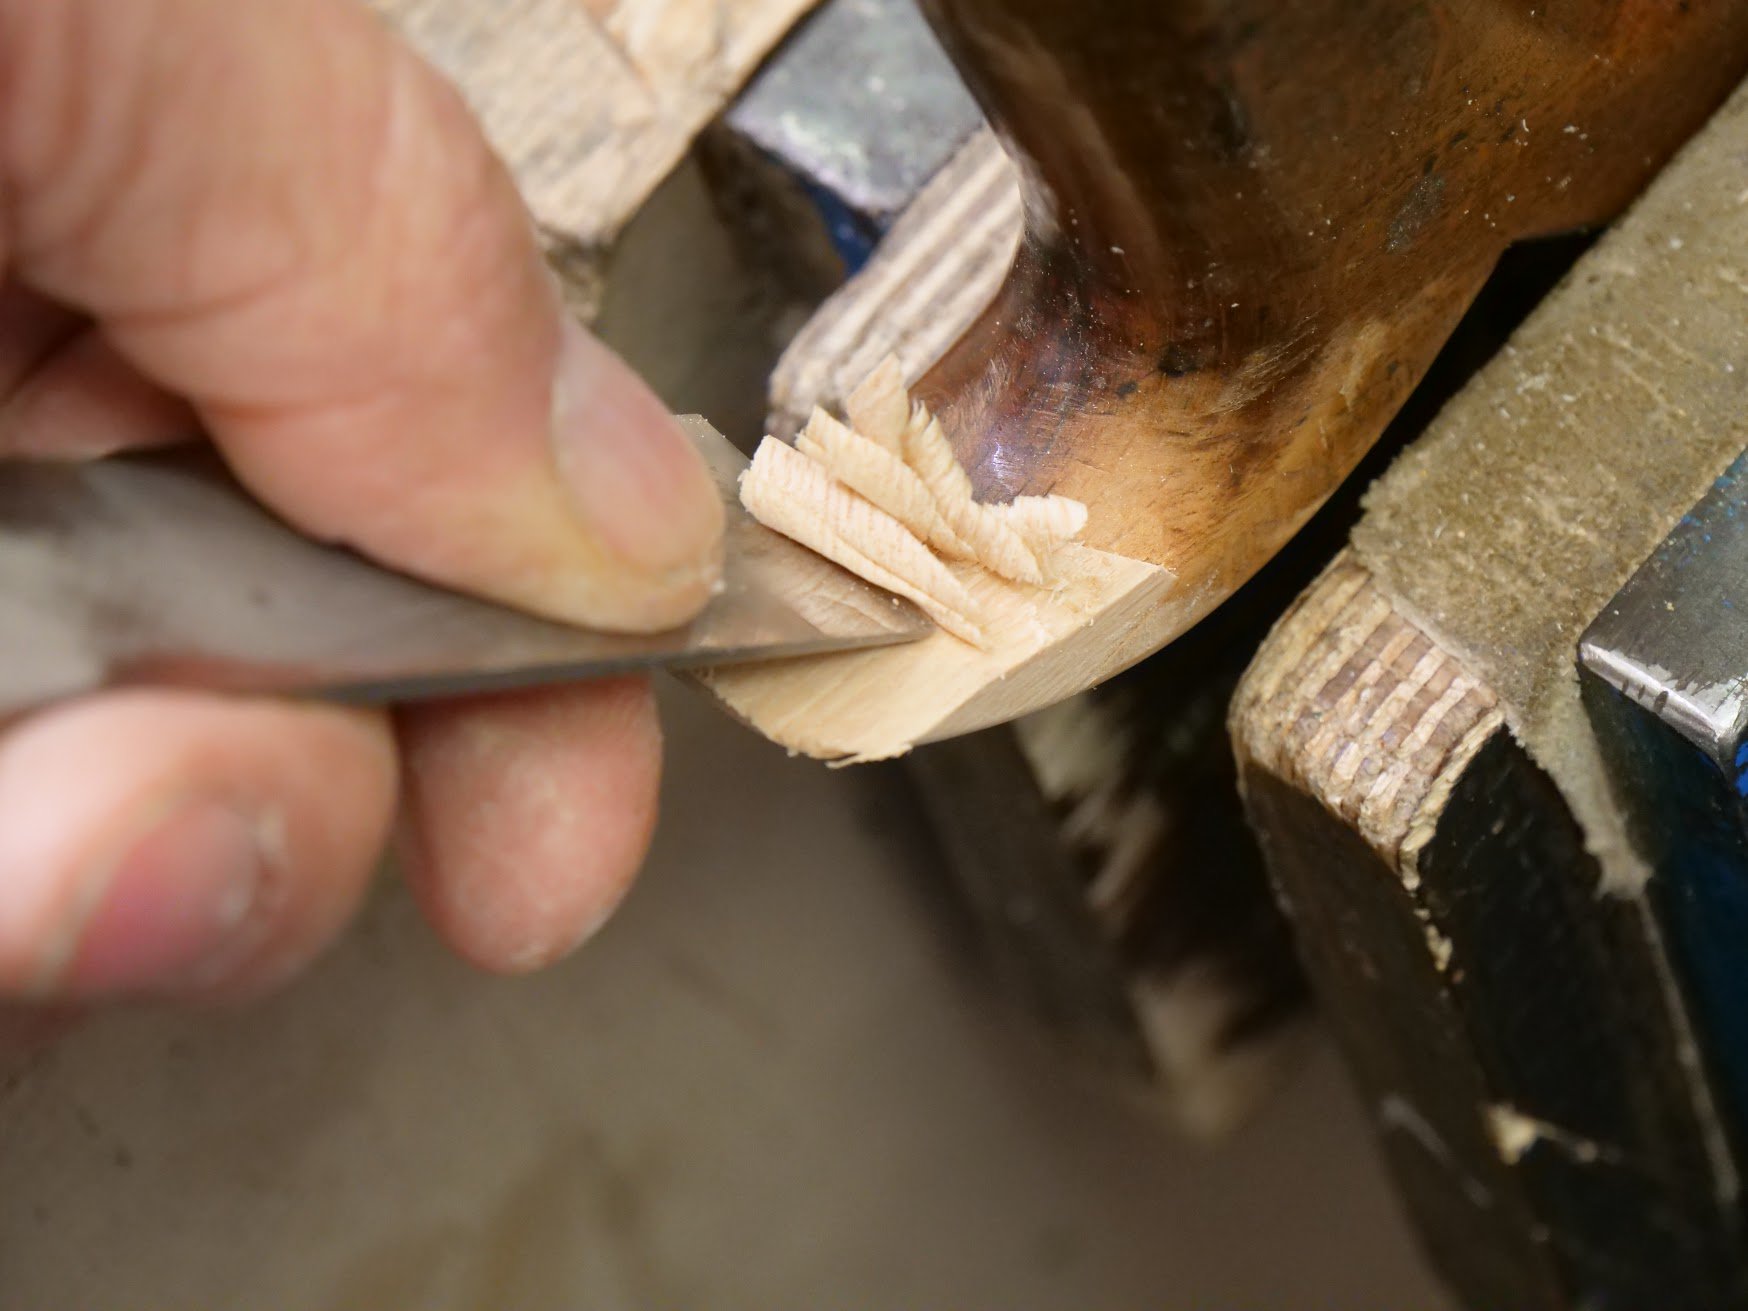
The chisel, bevel down, worked best for the coved parts...
...and the scraper came in for truing and levelling.
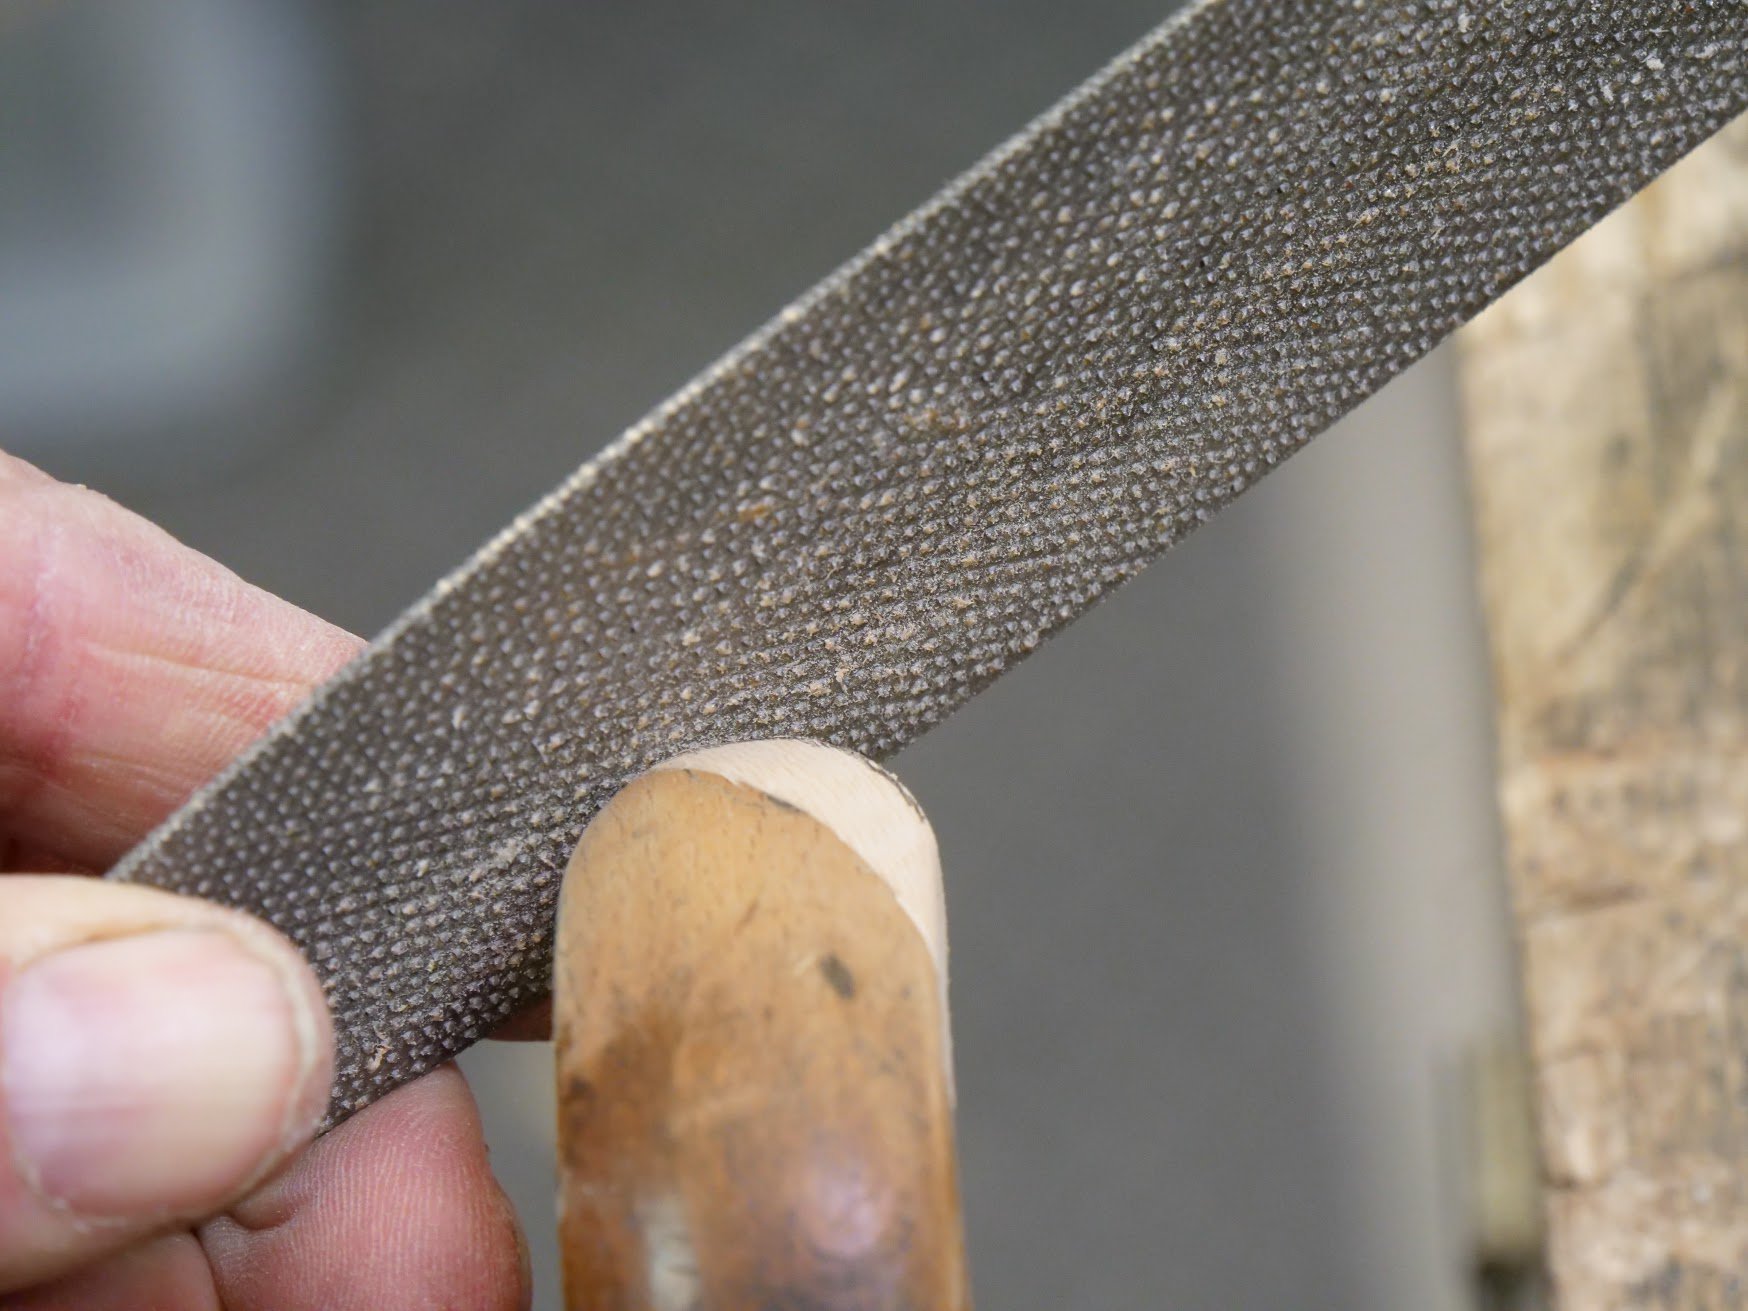
The file and rasp helped me to shape the additional shaping.
Lastly the sandpaper gave me a very smooth texture that matched the original.
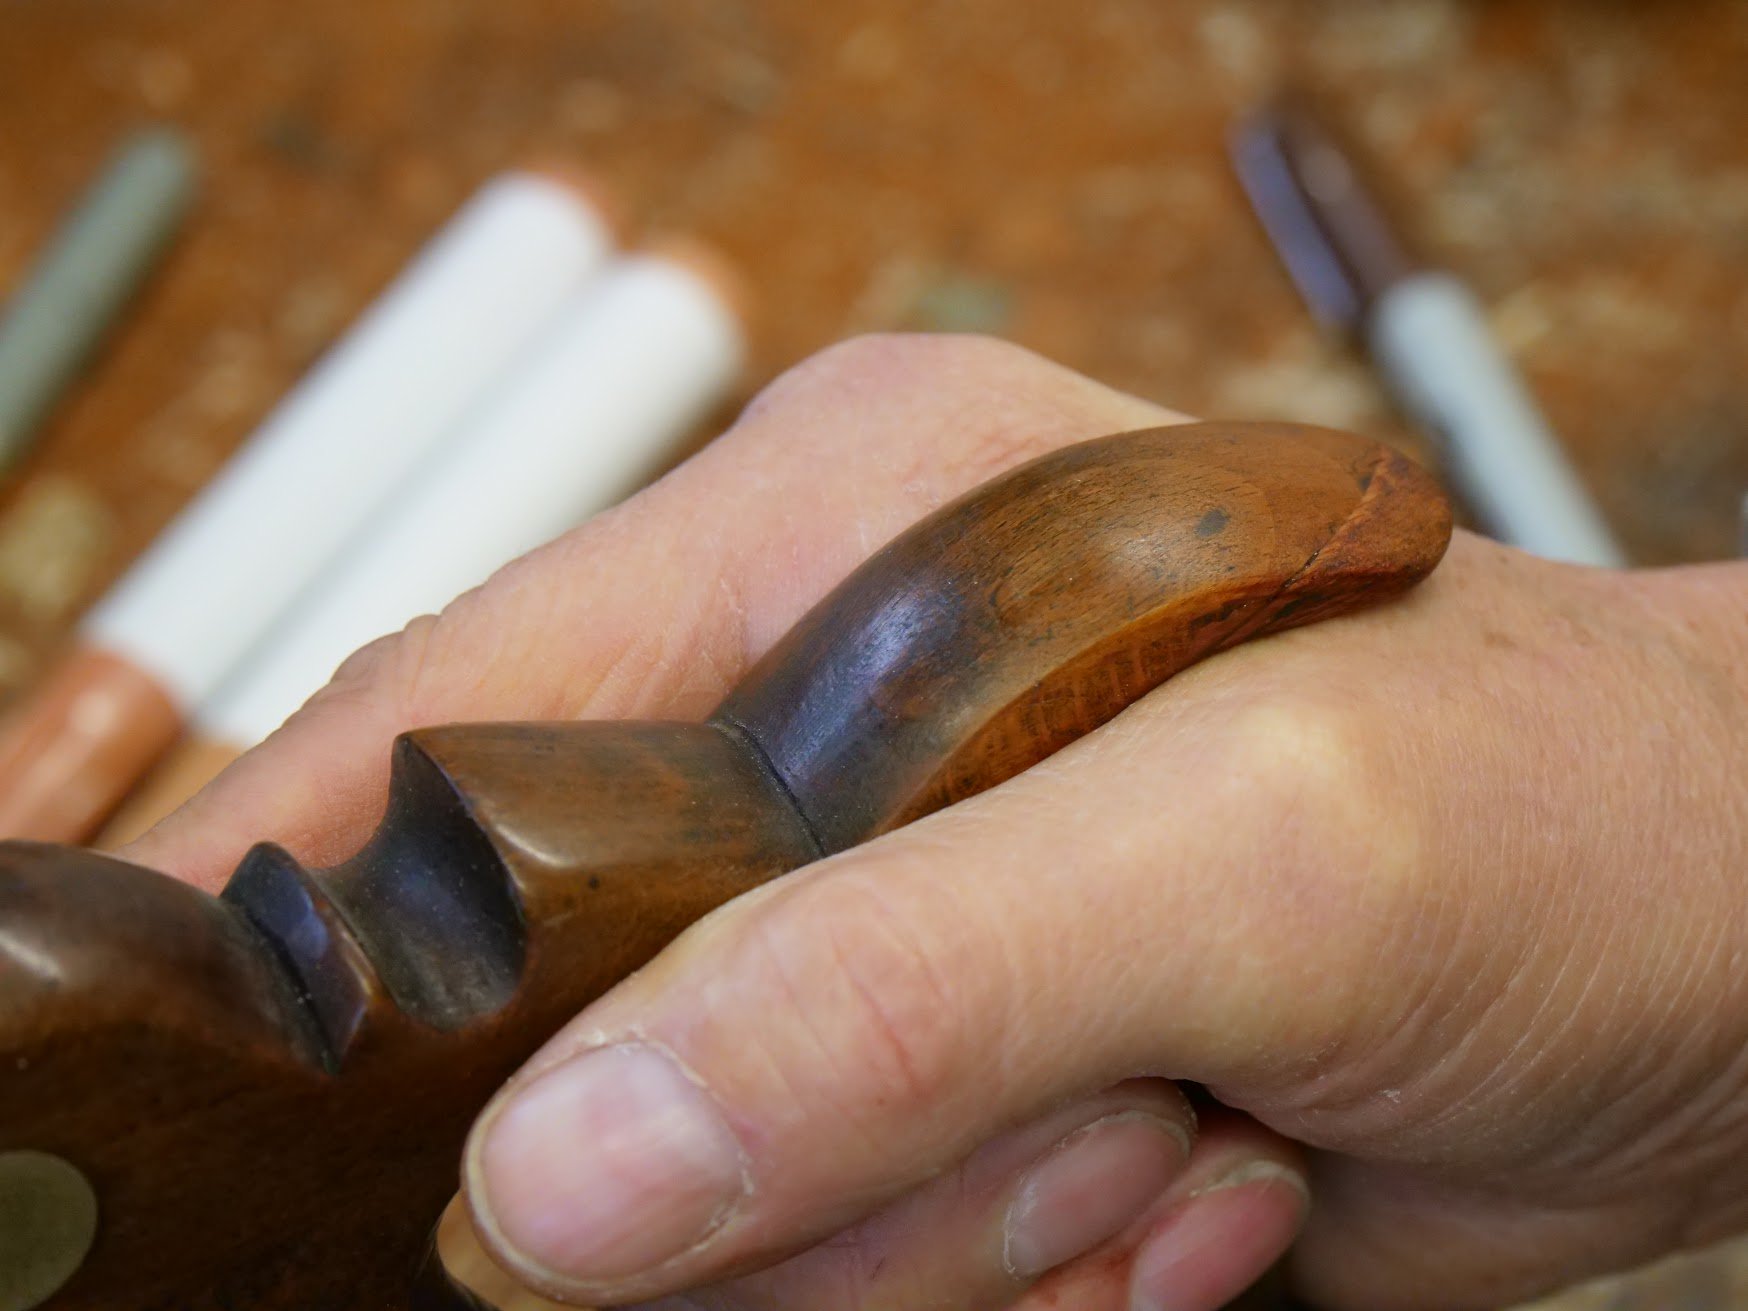
Now it fits and feels good in my hand as if its always been there.
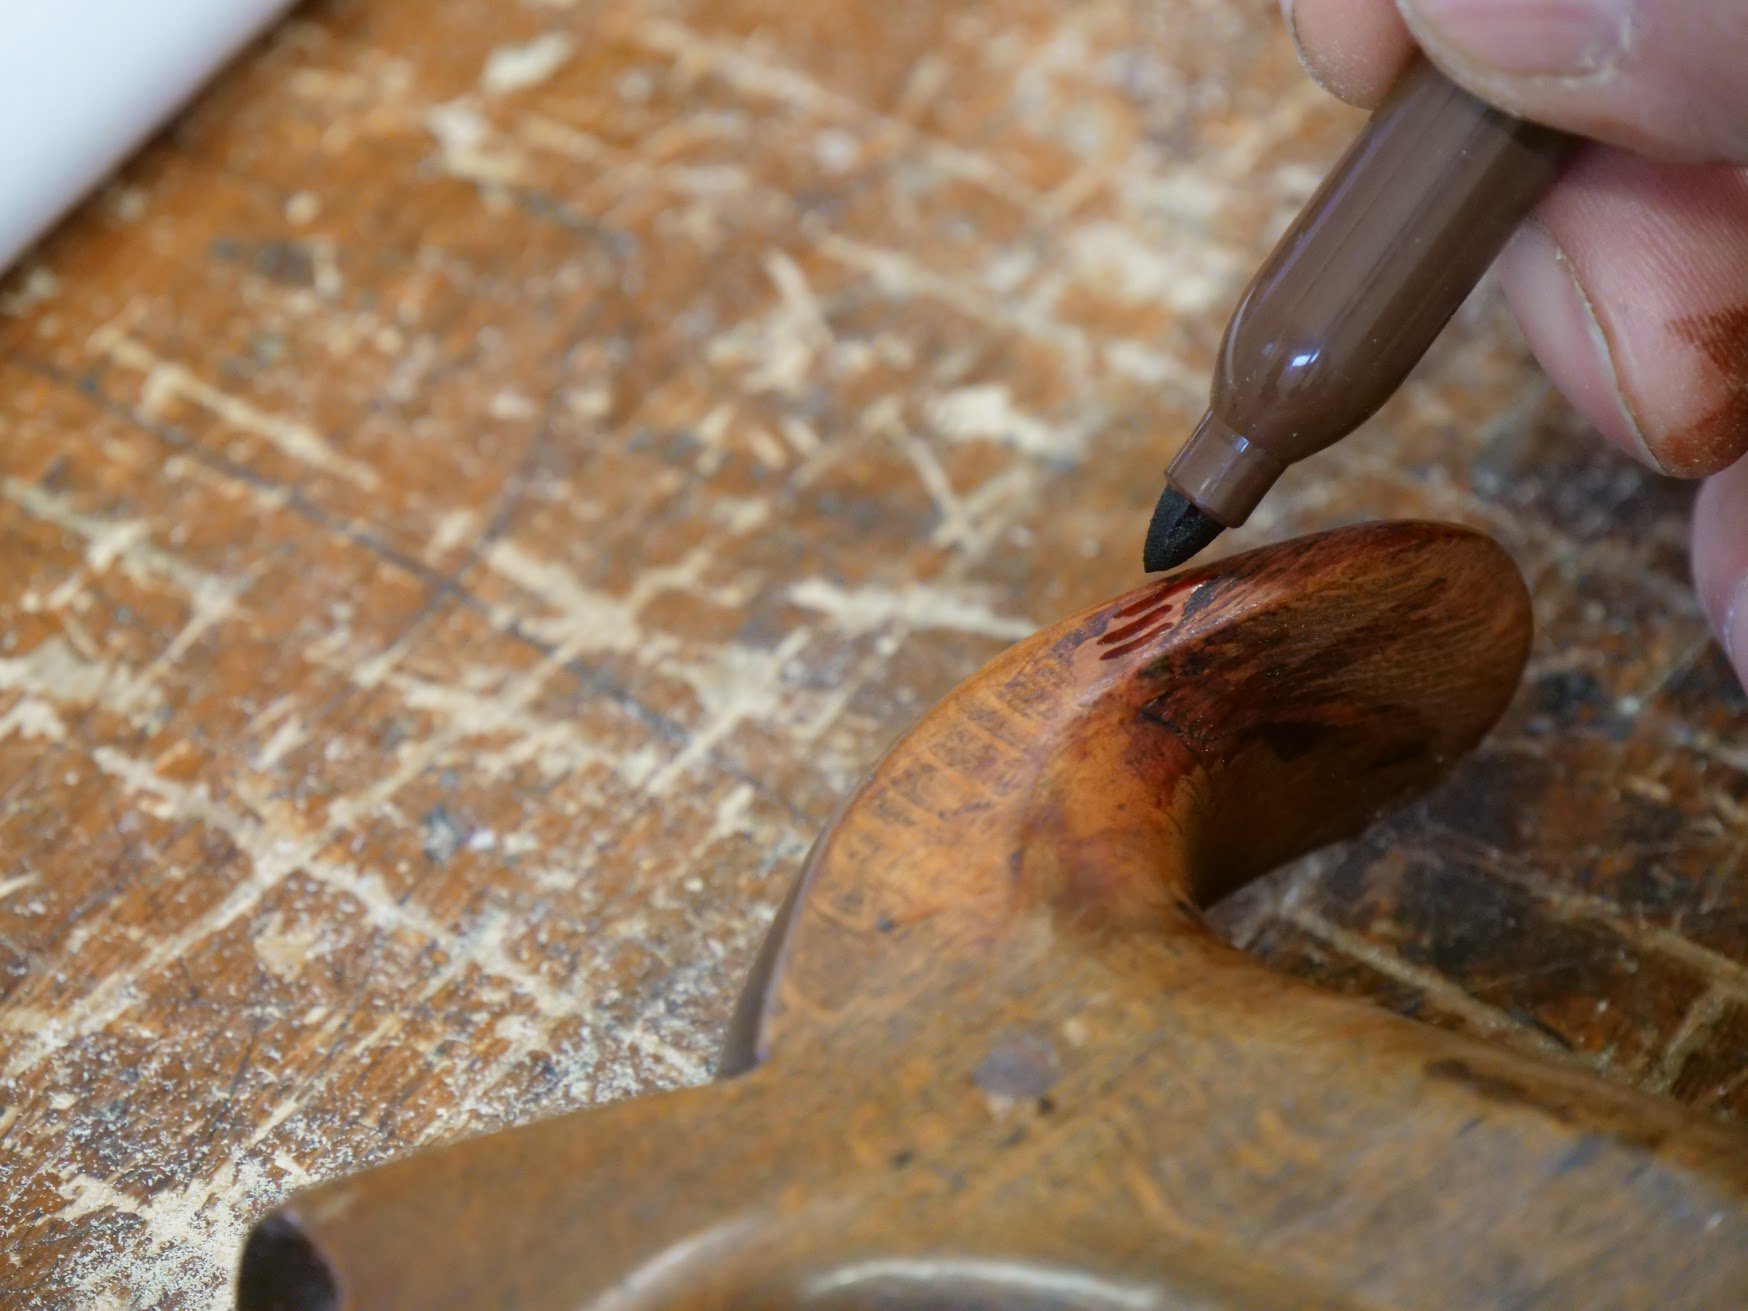
All that's left now is to change the colour and apply a coat or two of boiled linseed oil or just a wax finish thzt will blend and tone the colour and feel.

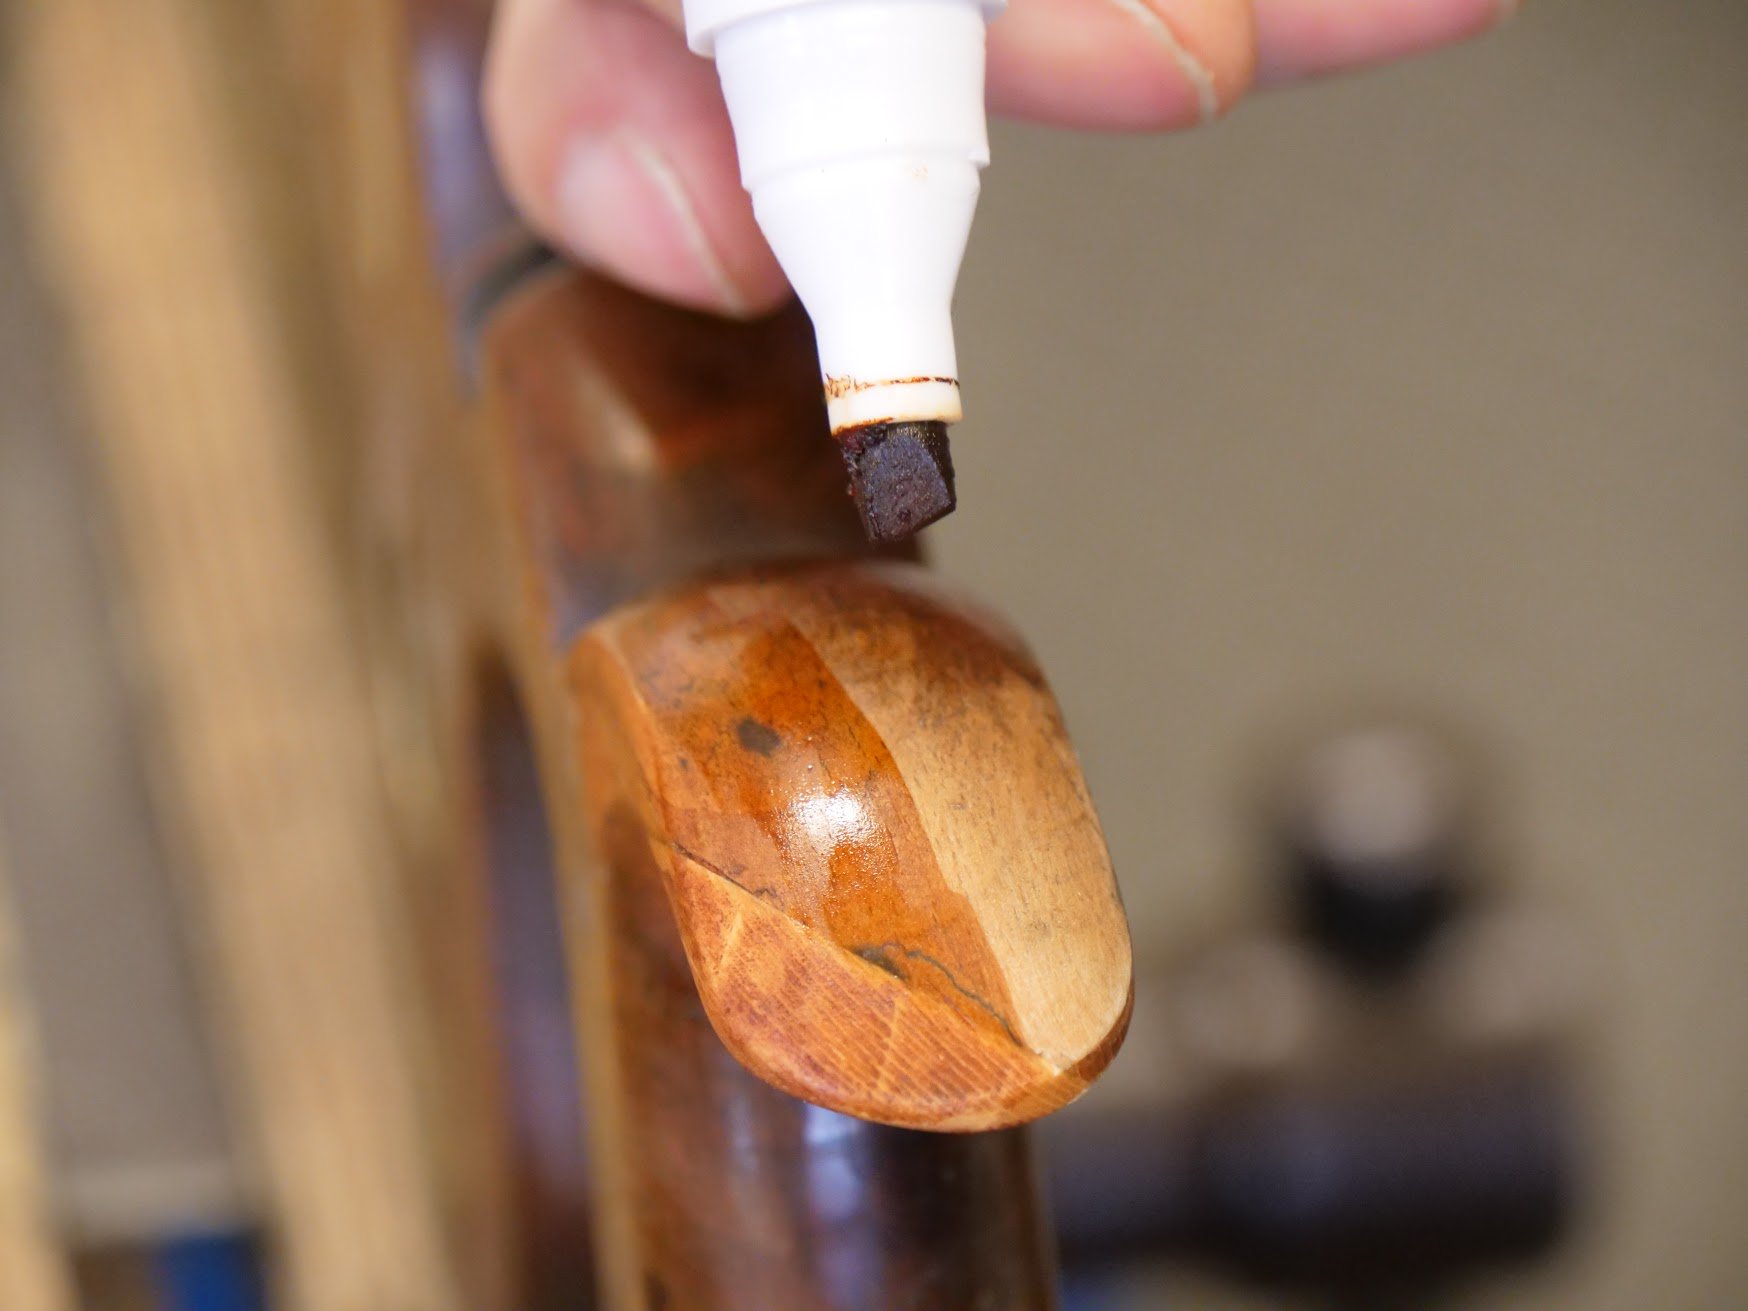
I used furniture touch-up felt tips to add the colour I needed. Two colours did the trick mostly but I needed to dd a little darkness and used brown Sharpie pen for the final depth of colour.
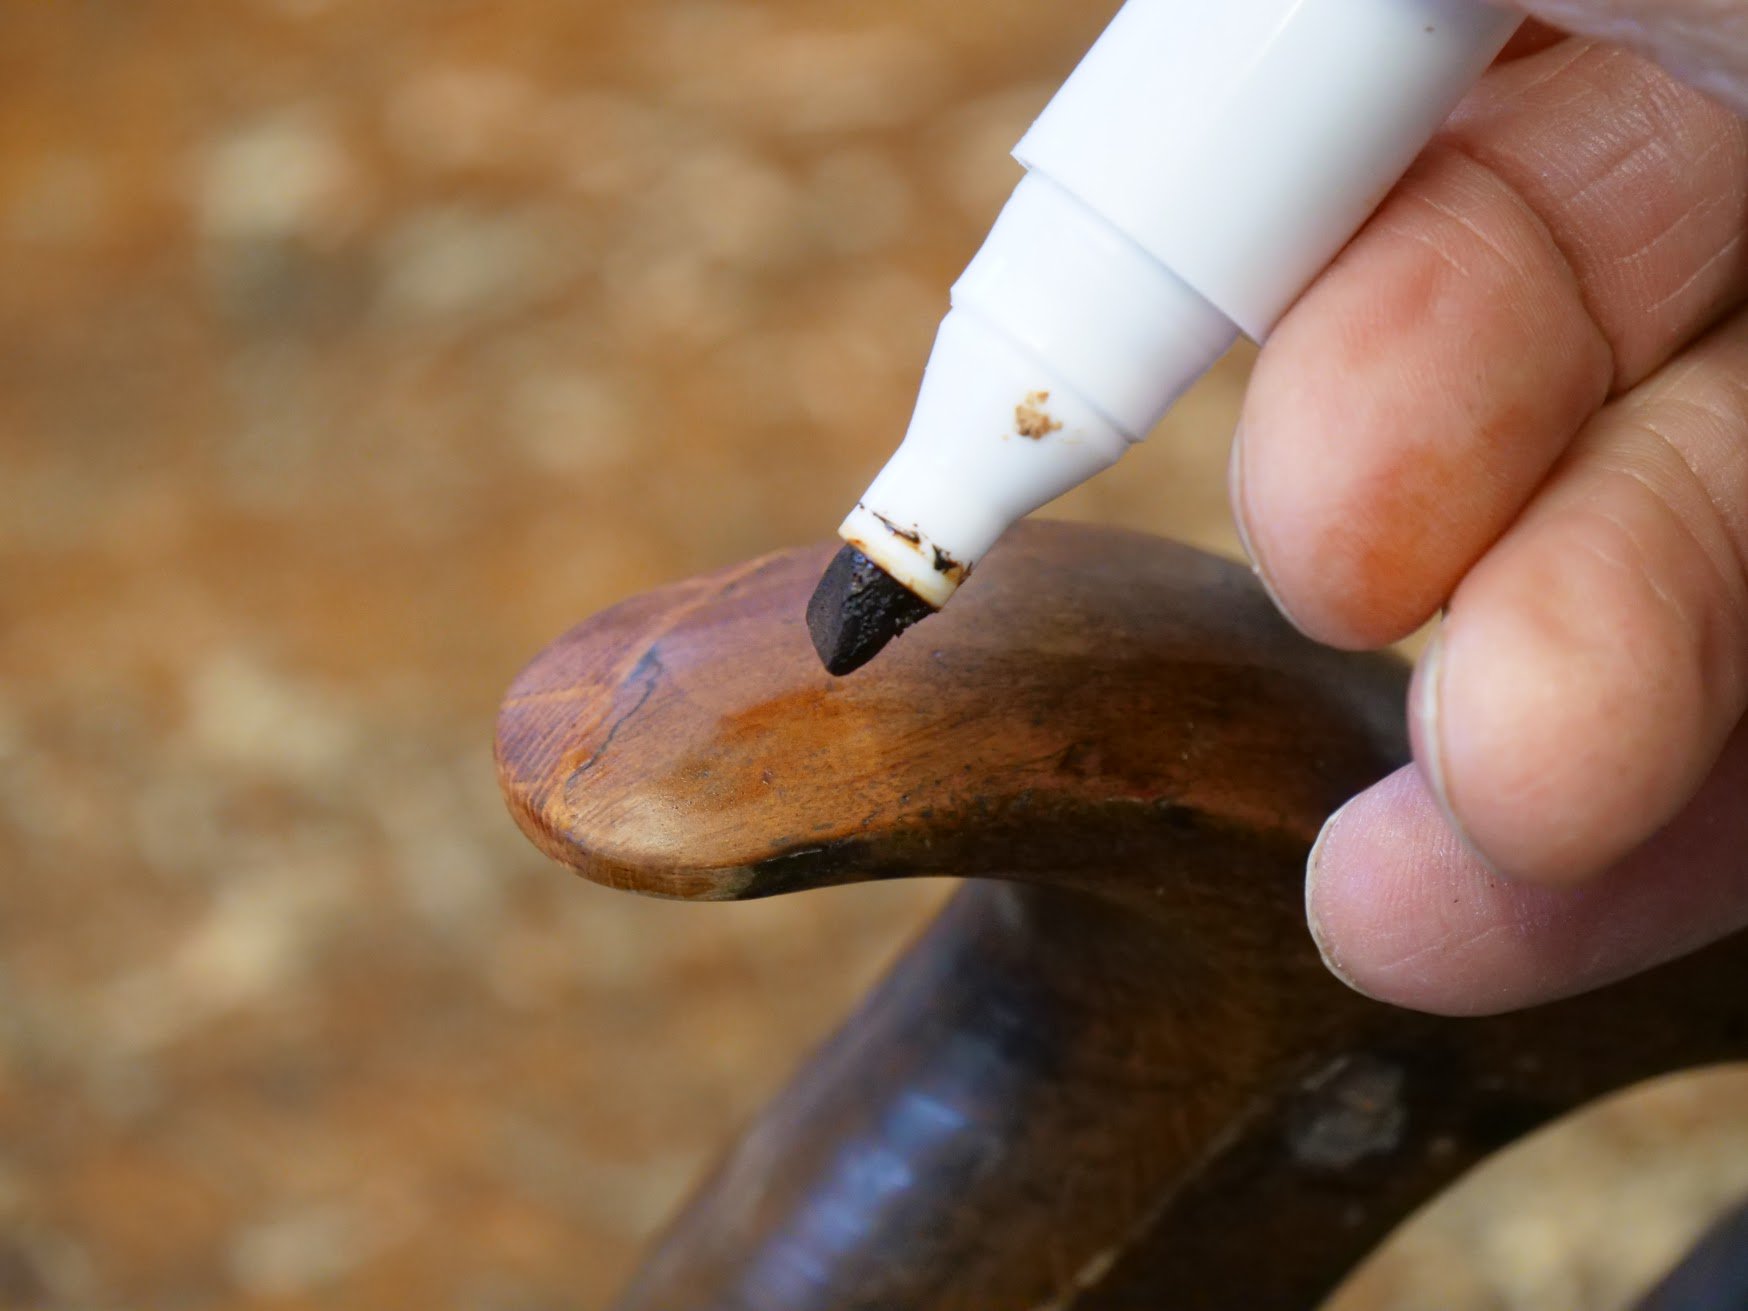
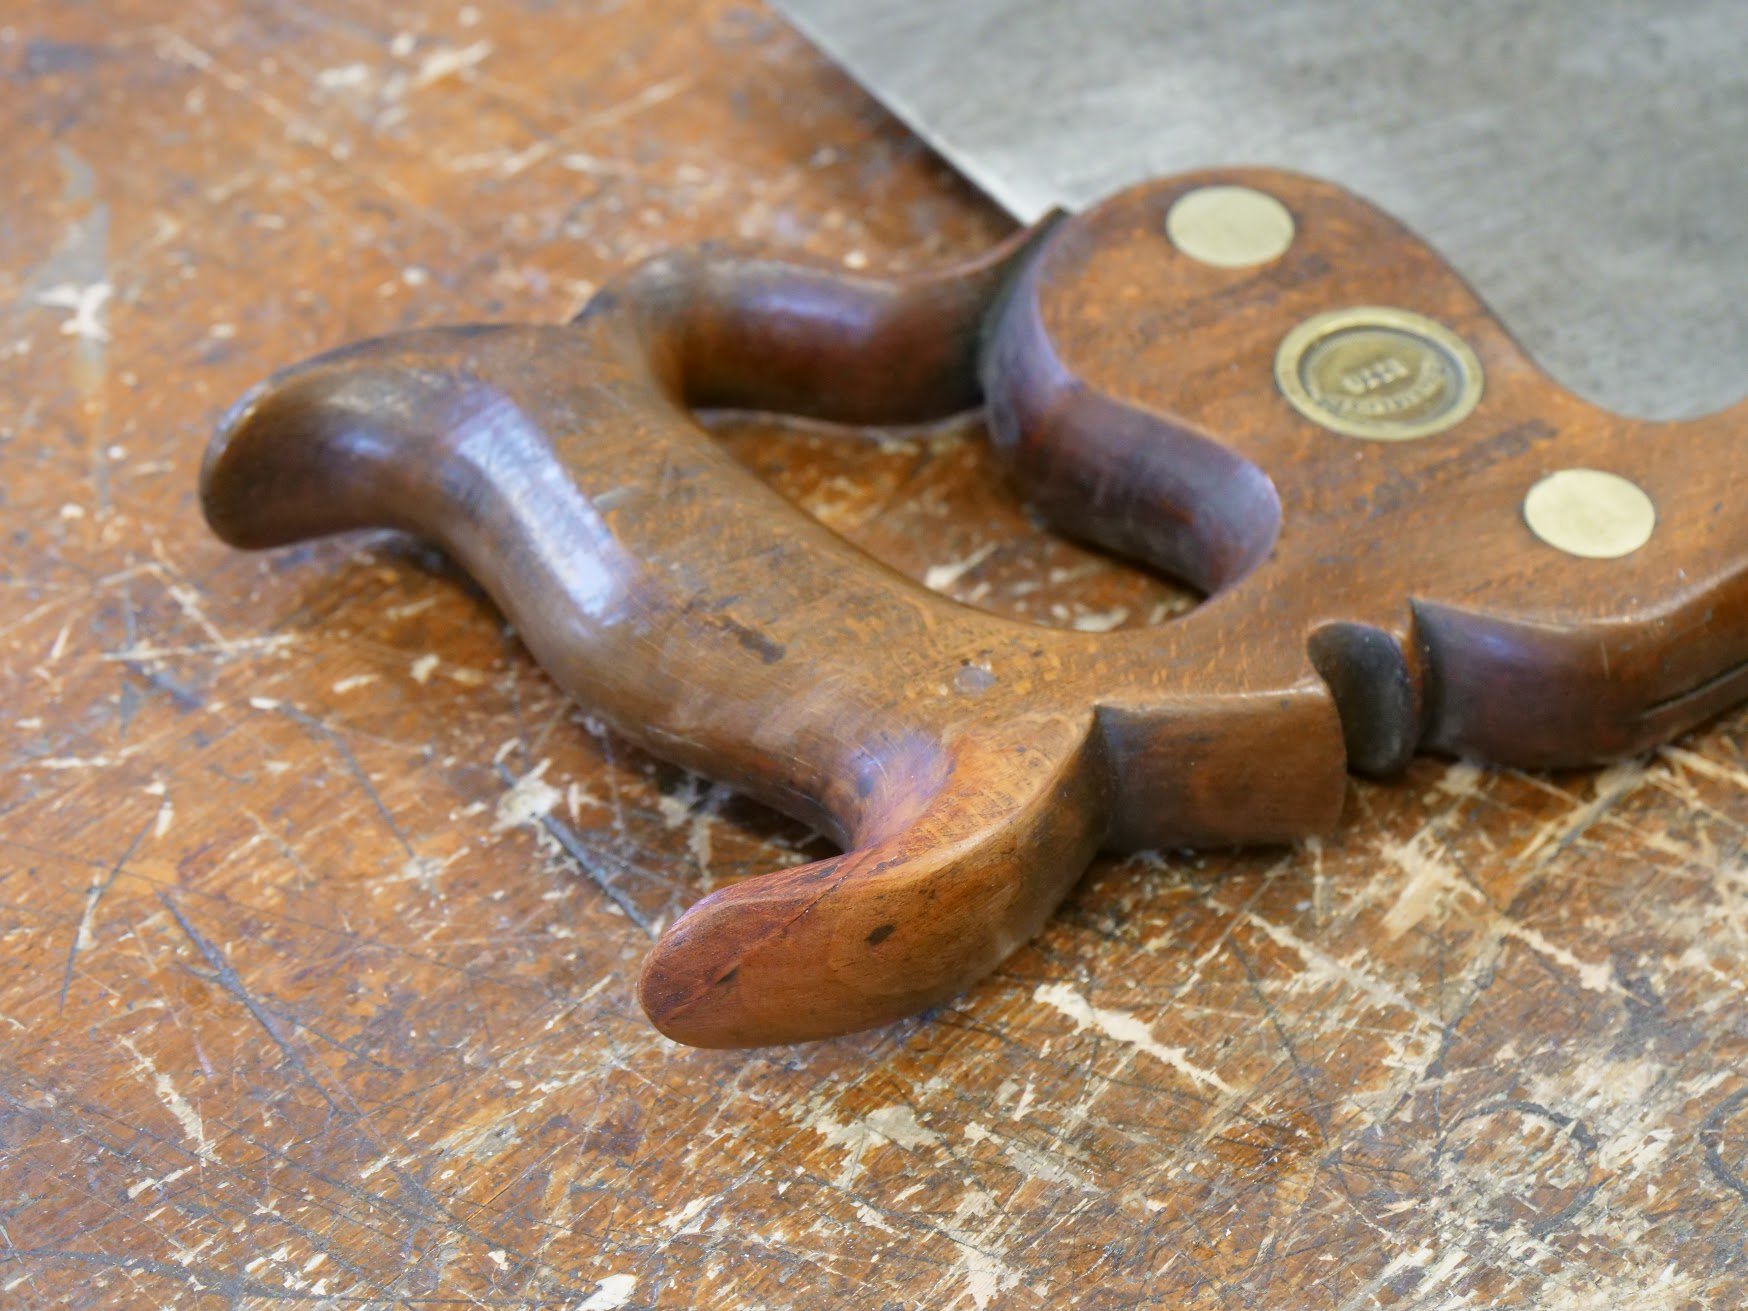
Here's the final look I was looking for.
Comments ()