Filing/Honing Guide for #80 Scraper
Watch the video first to see how effectively it works. Go here:
https://vimeo.com/239092002
After a class, most times, I notice that two or three (some times more) of my cabinet scrapers have been filed and honed incorrectly and end up out of square, often with the bevels are far from 45-degrees, often to a bull-nosed camber. In developing the highly refined cutting edge to a scraper there is no doubt that starting out as near to flat on the 45-degree bevel is important. It's not so much the angle of the bevel as the straightness and flatness that's important. Here is my answer to inaccurate filing.

Most people including woodworkers fail to get the edge they need for a couple of basic misunderstandings. On the one hand they misunderstand the use of the term burr, which, as I explain at length in my book Essential Woodworking Hand Tools, is not at all a burr but a highly refined and developed turned edge. The second issue is that because the edge is bevelled in similar fashion a bevel down bench plane iron they think that the blade is indeed loaded bevel down because they don't realise that the bevel is drawn out with a steel burnisher and then subsequently turned along the edge so that the cutting edge engage the grain along the 'hooked' cutting edge. If you can at least start refining the bevel with a dead-on bevel filed and honed to 45-degrees you are well on your way to developing the final edge. Making and using the guide takes but a few minutes and takes out any guesswork; once you have made it you have it for life.
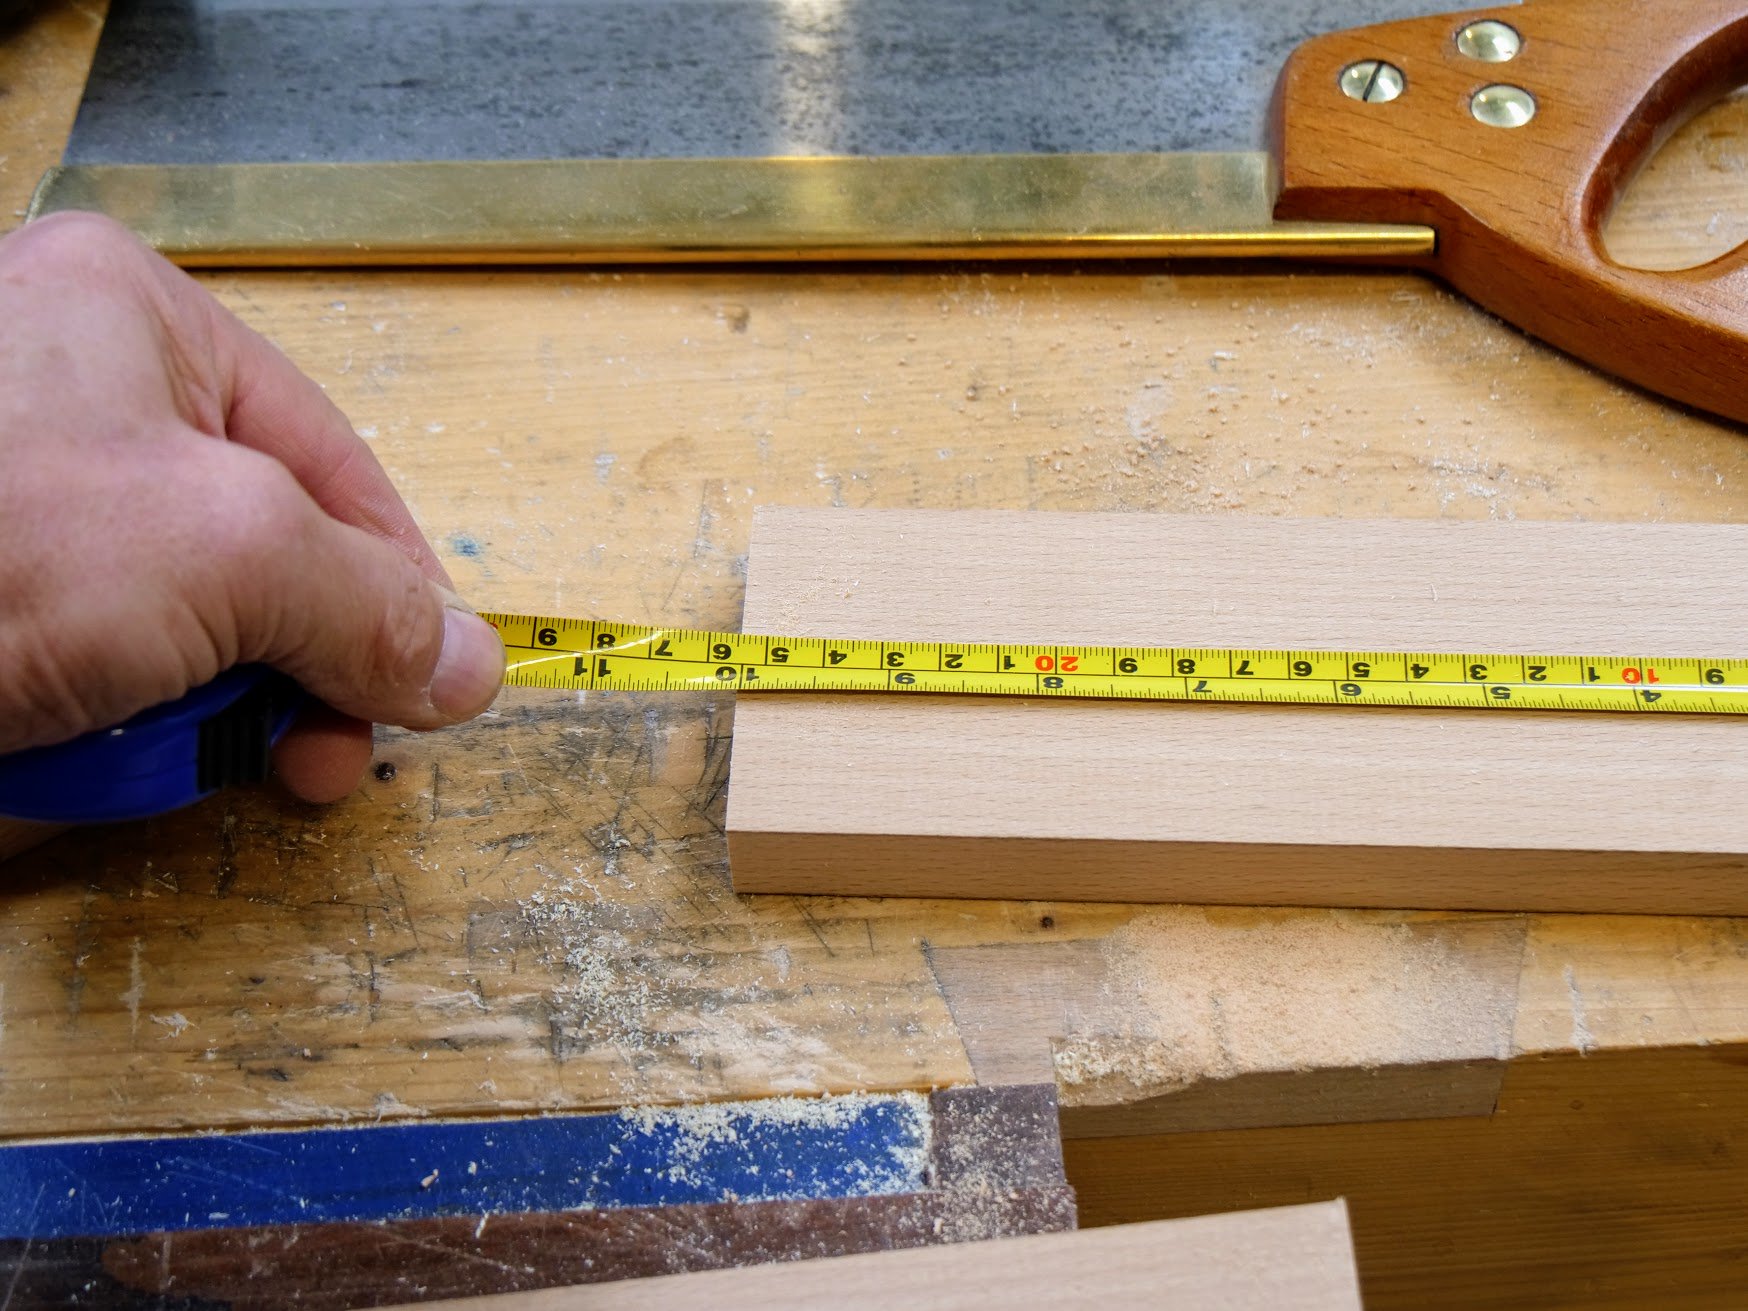
I used a 10" long piece of beech in thus case because the wood is rigidly stiff and resilient, but any wood will do.
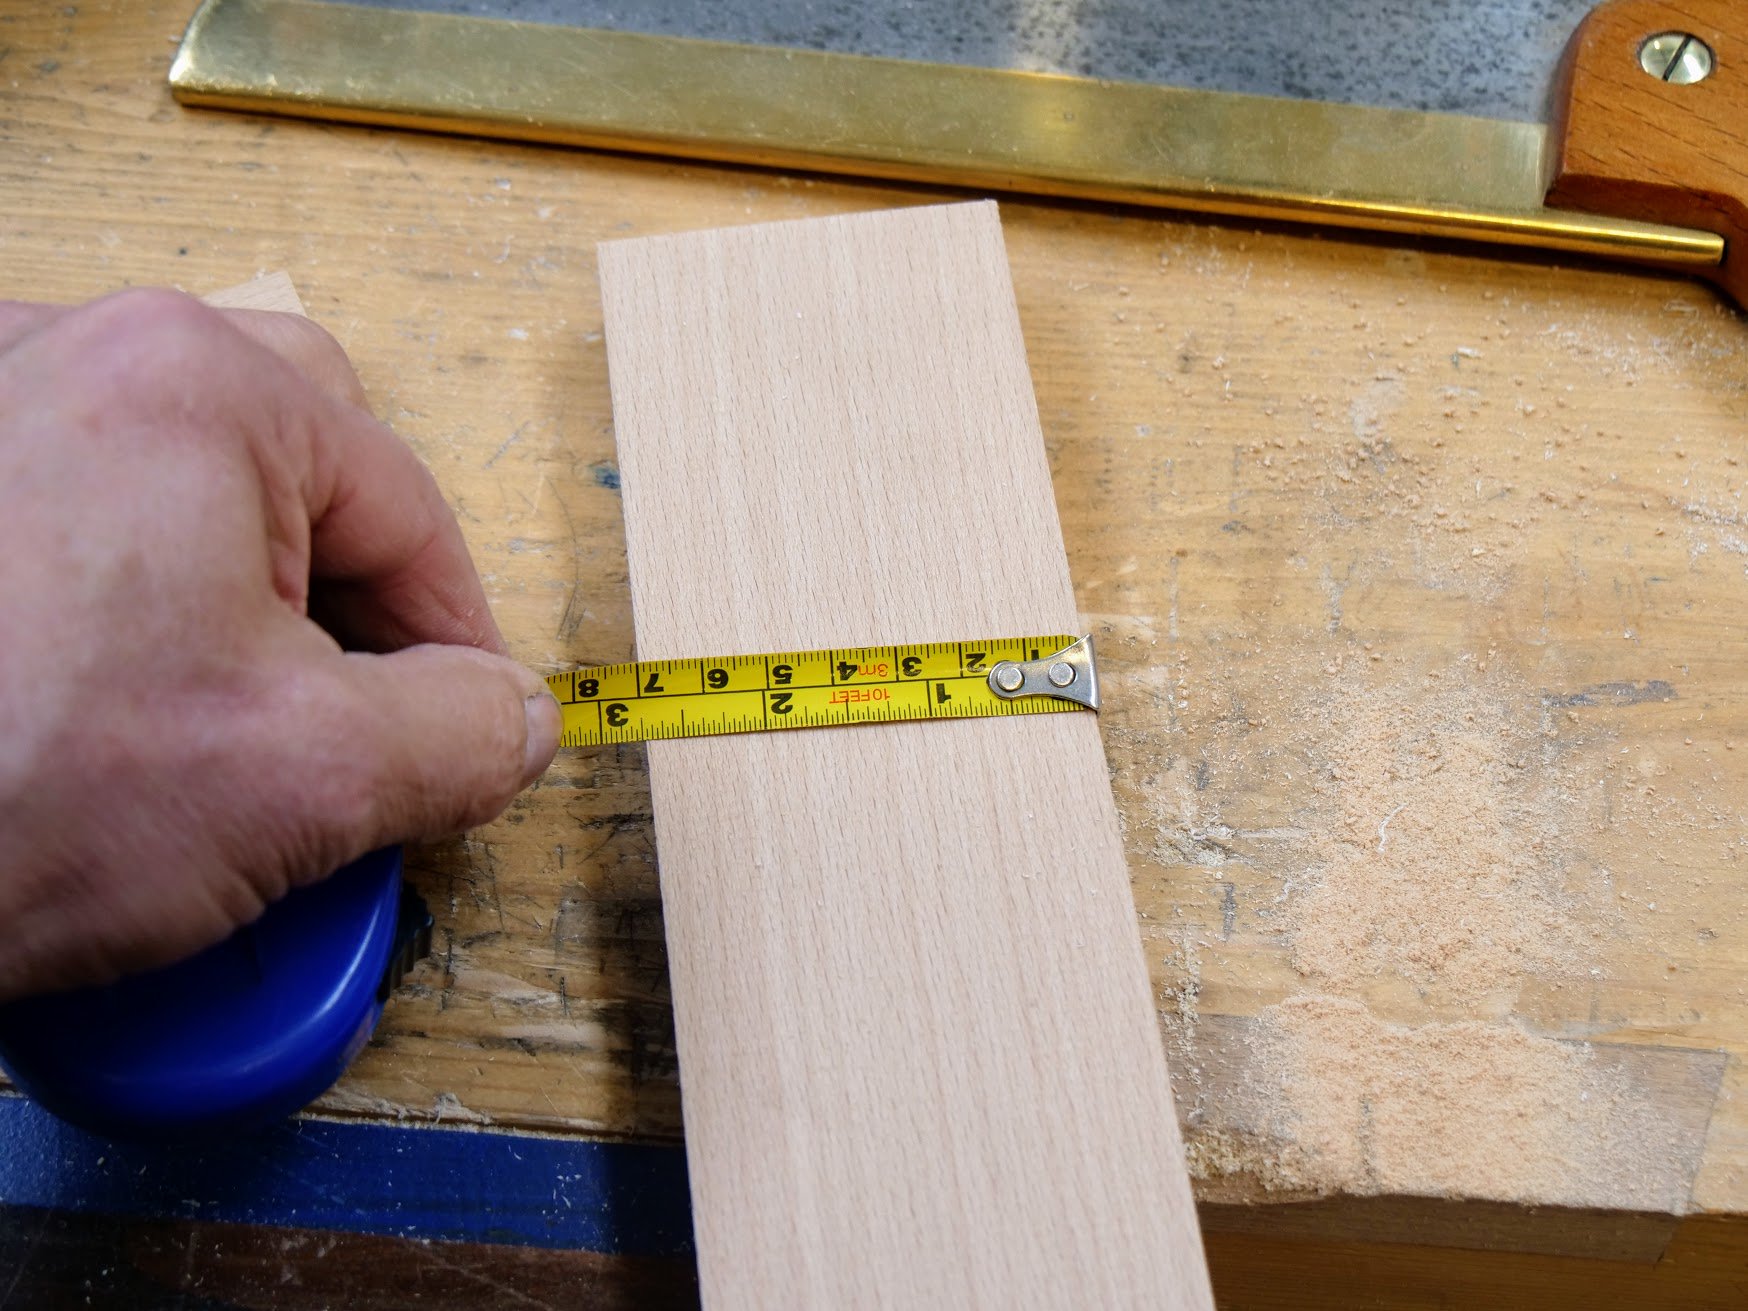
3/4" by 2 3/4" is a practical size.
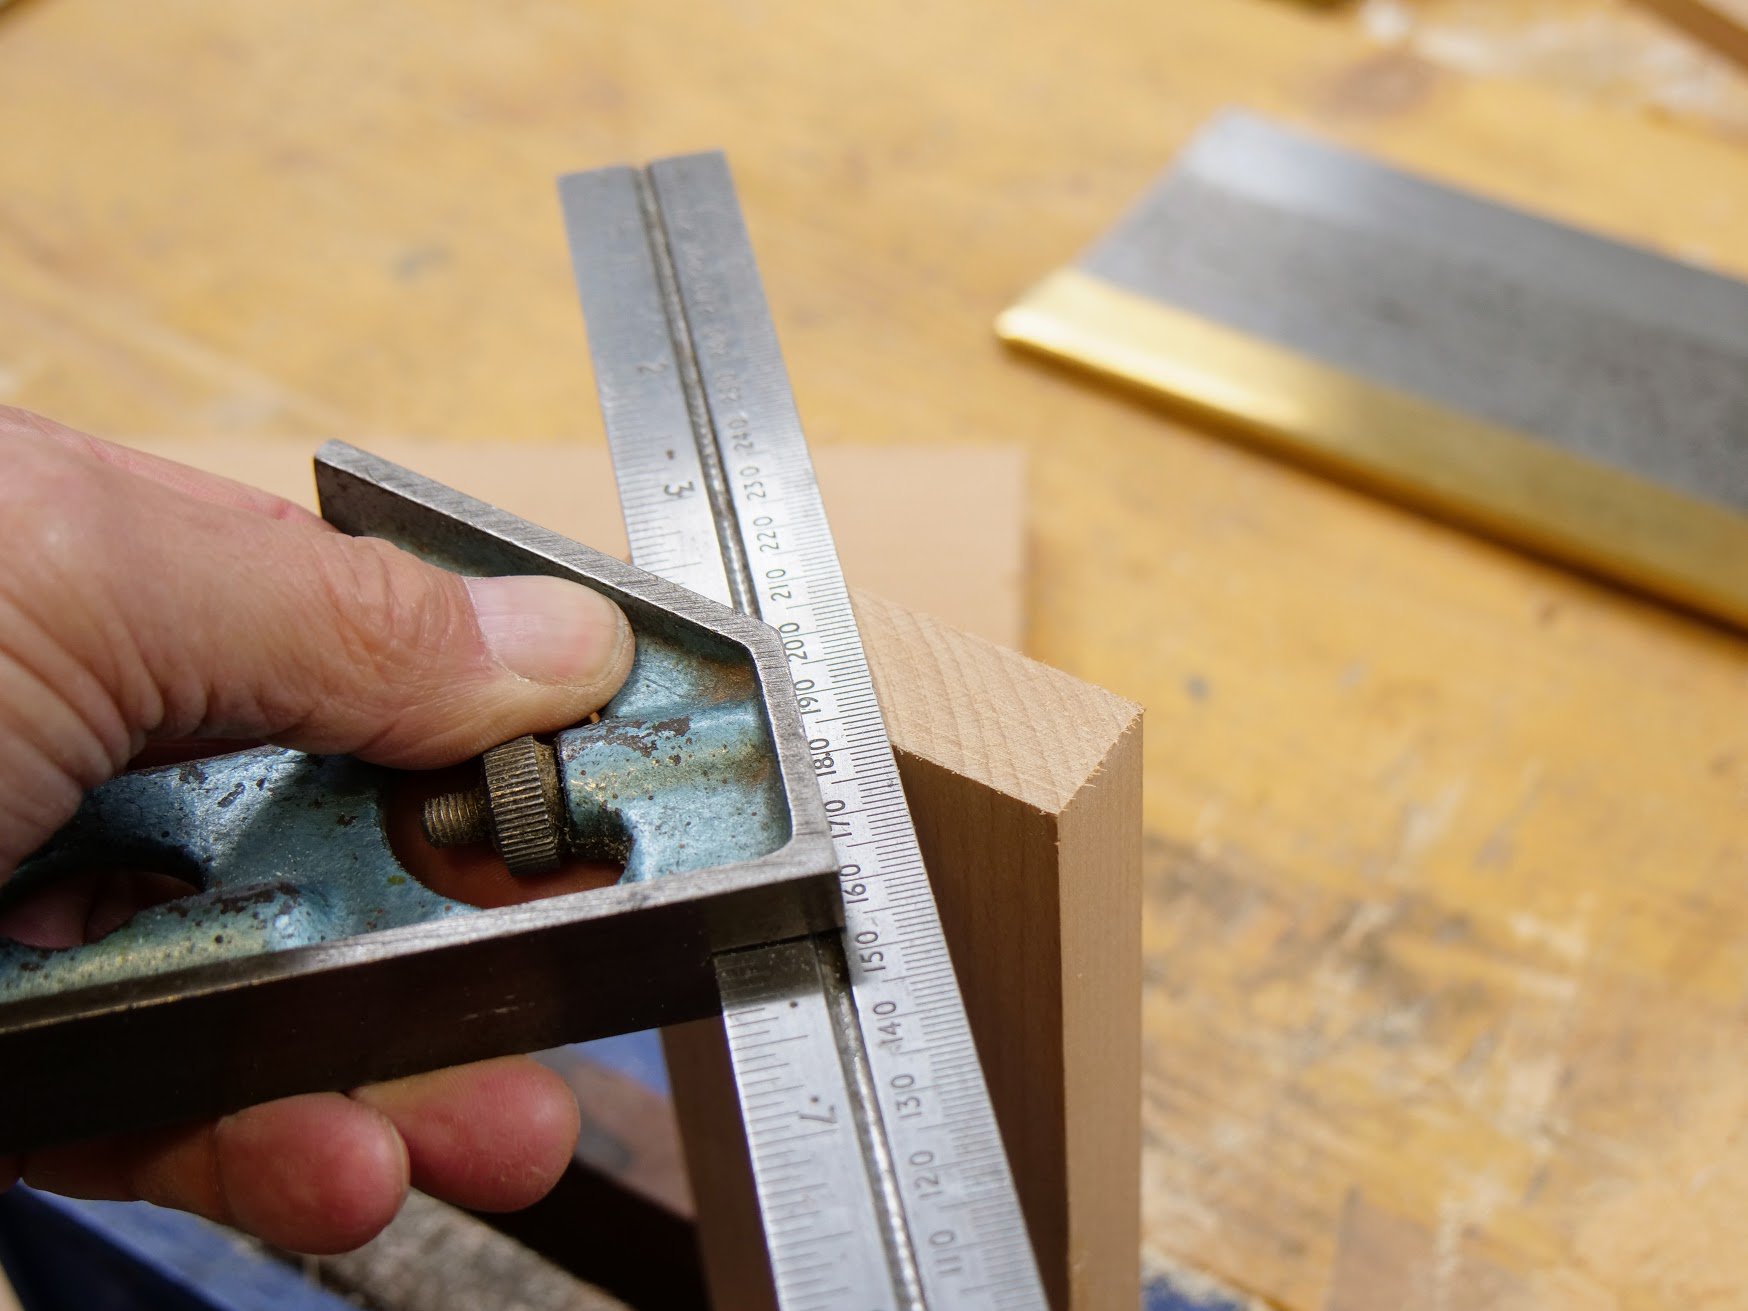
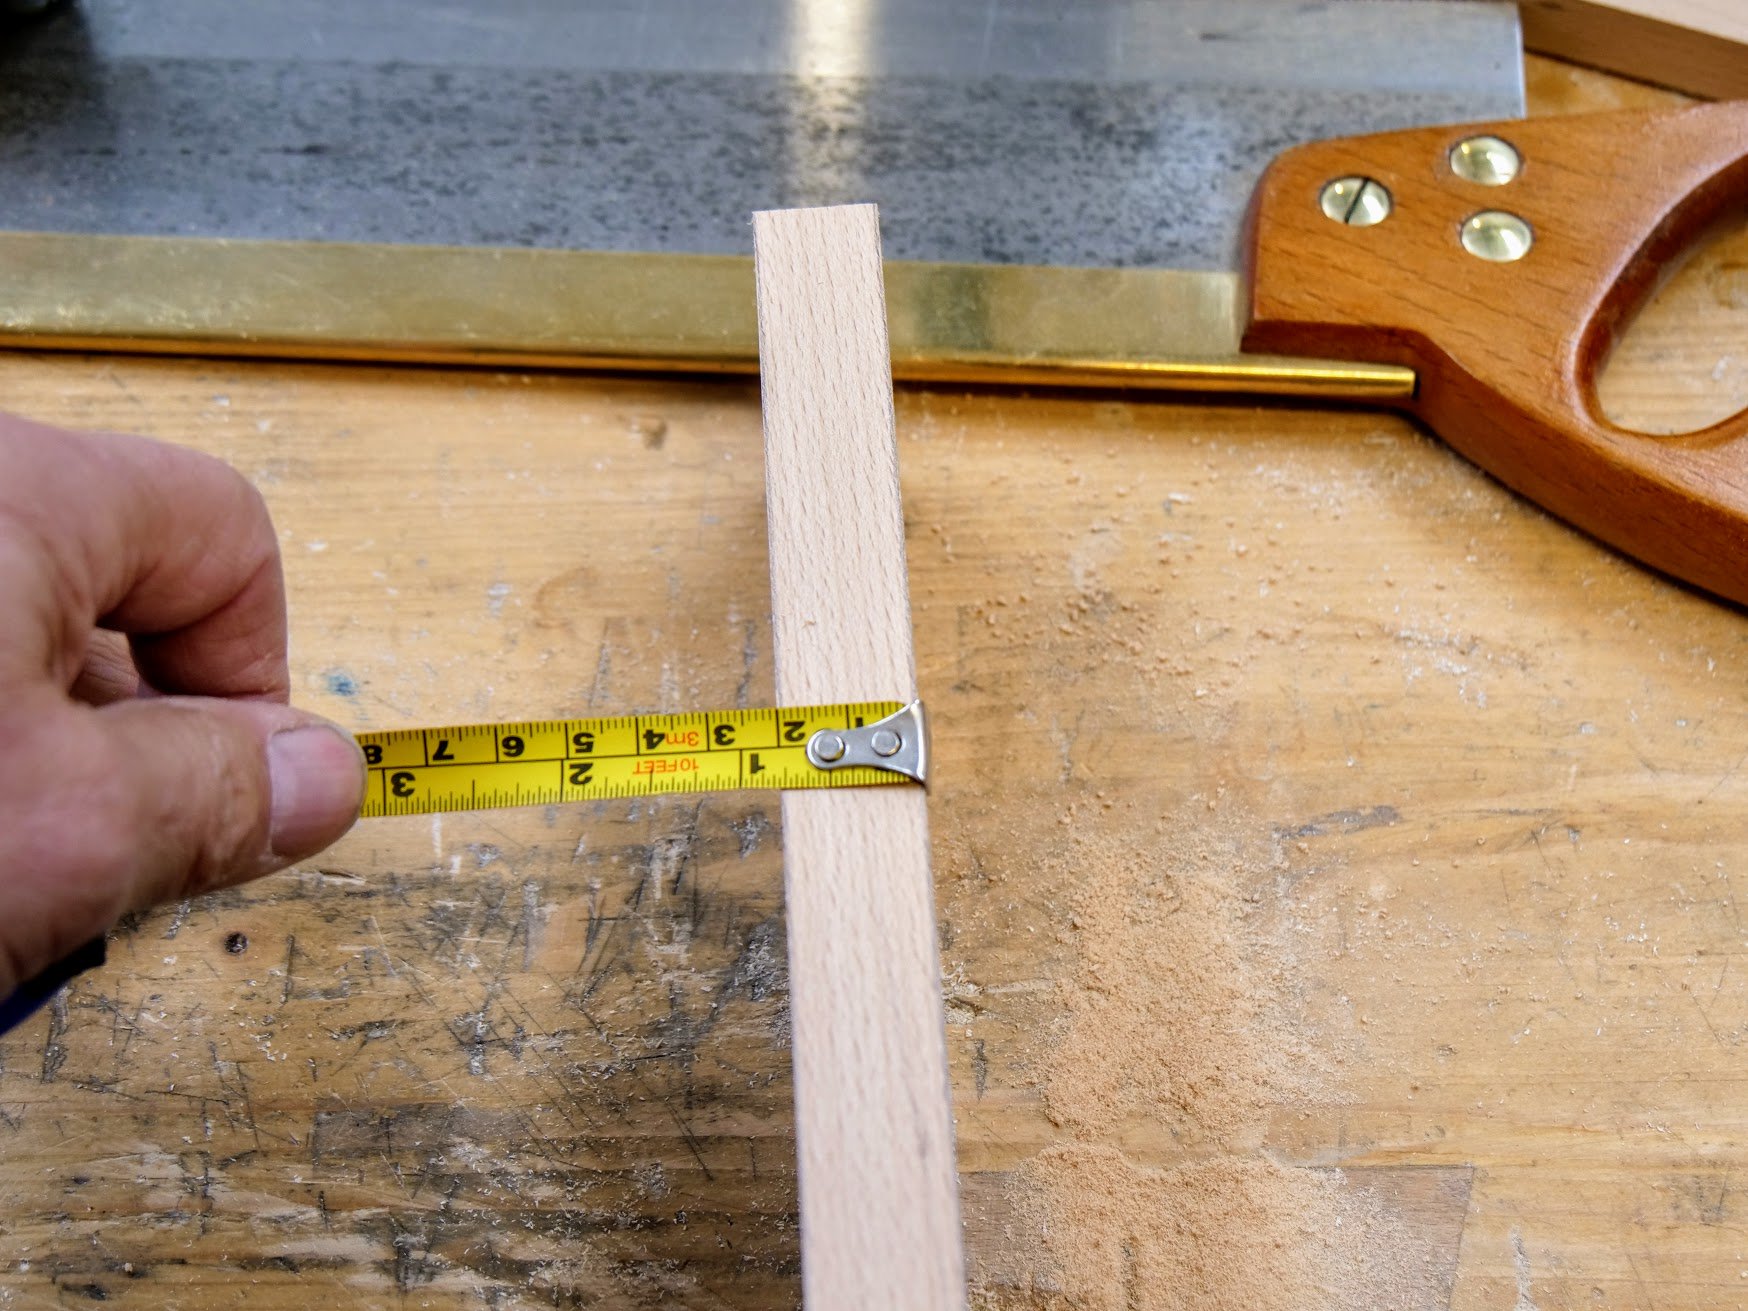
3/4" from one edge make a 45-degree mark and run a parallel line to the long edge for about 7".
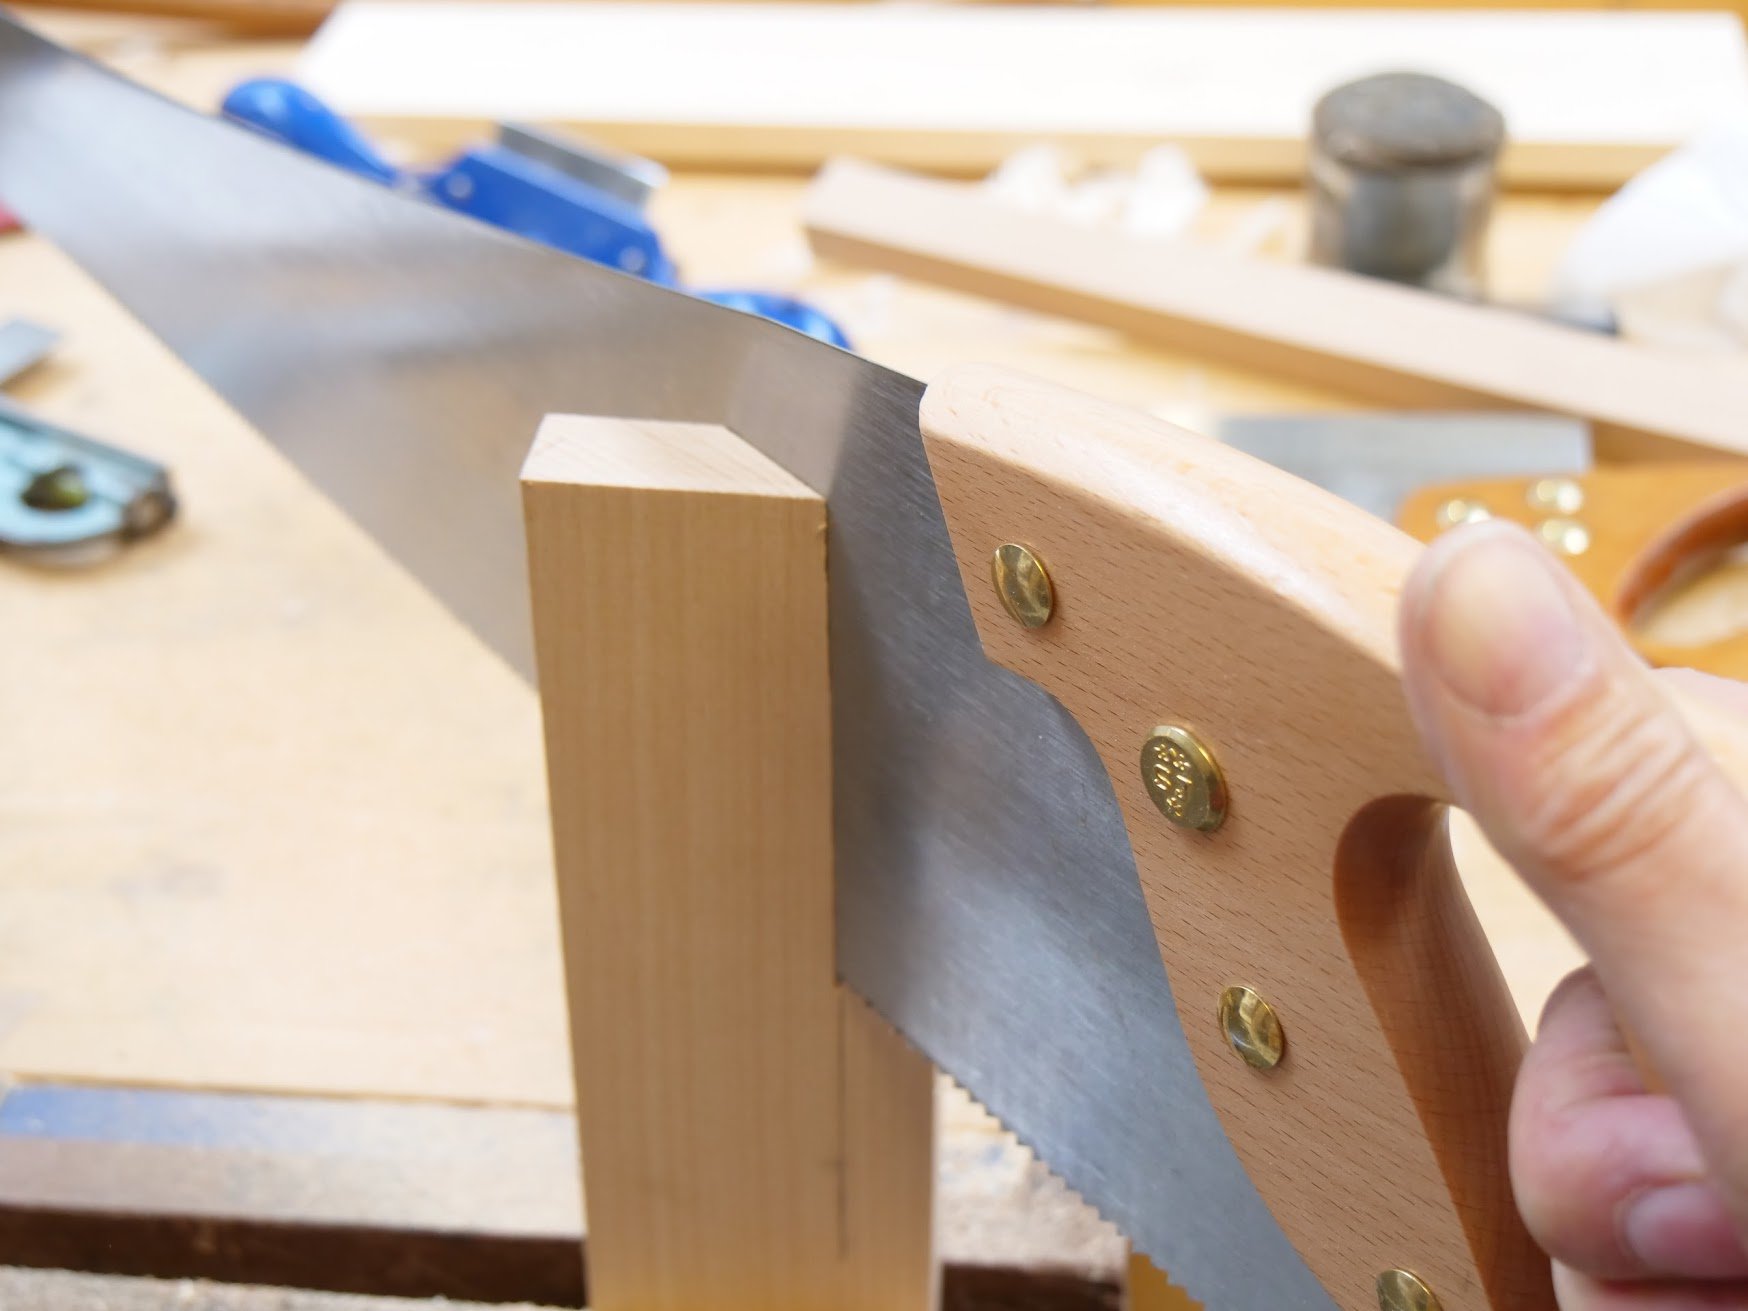
Saw down at 45-degrees with a handsaw to about 7".
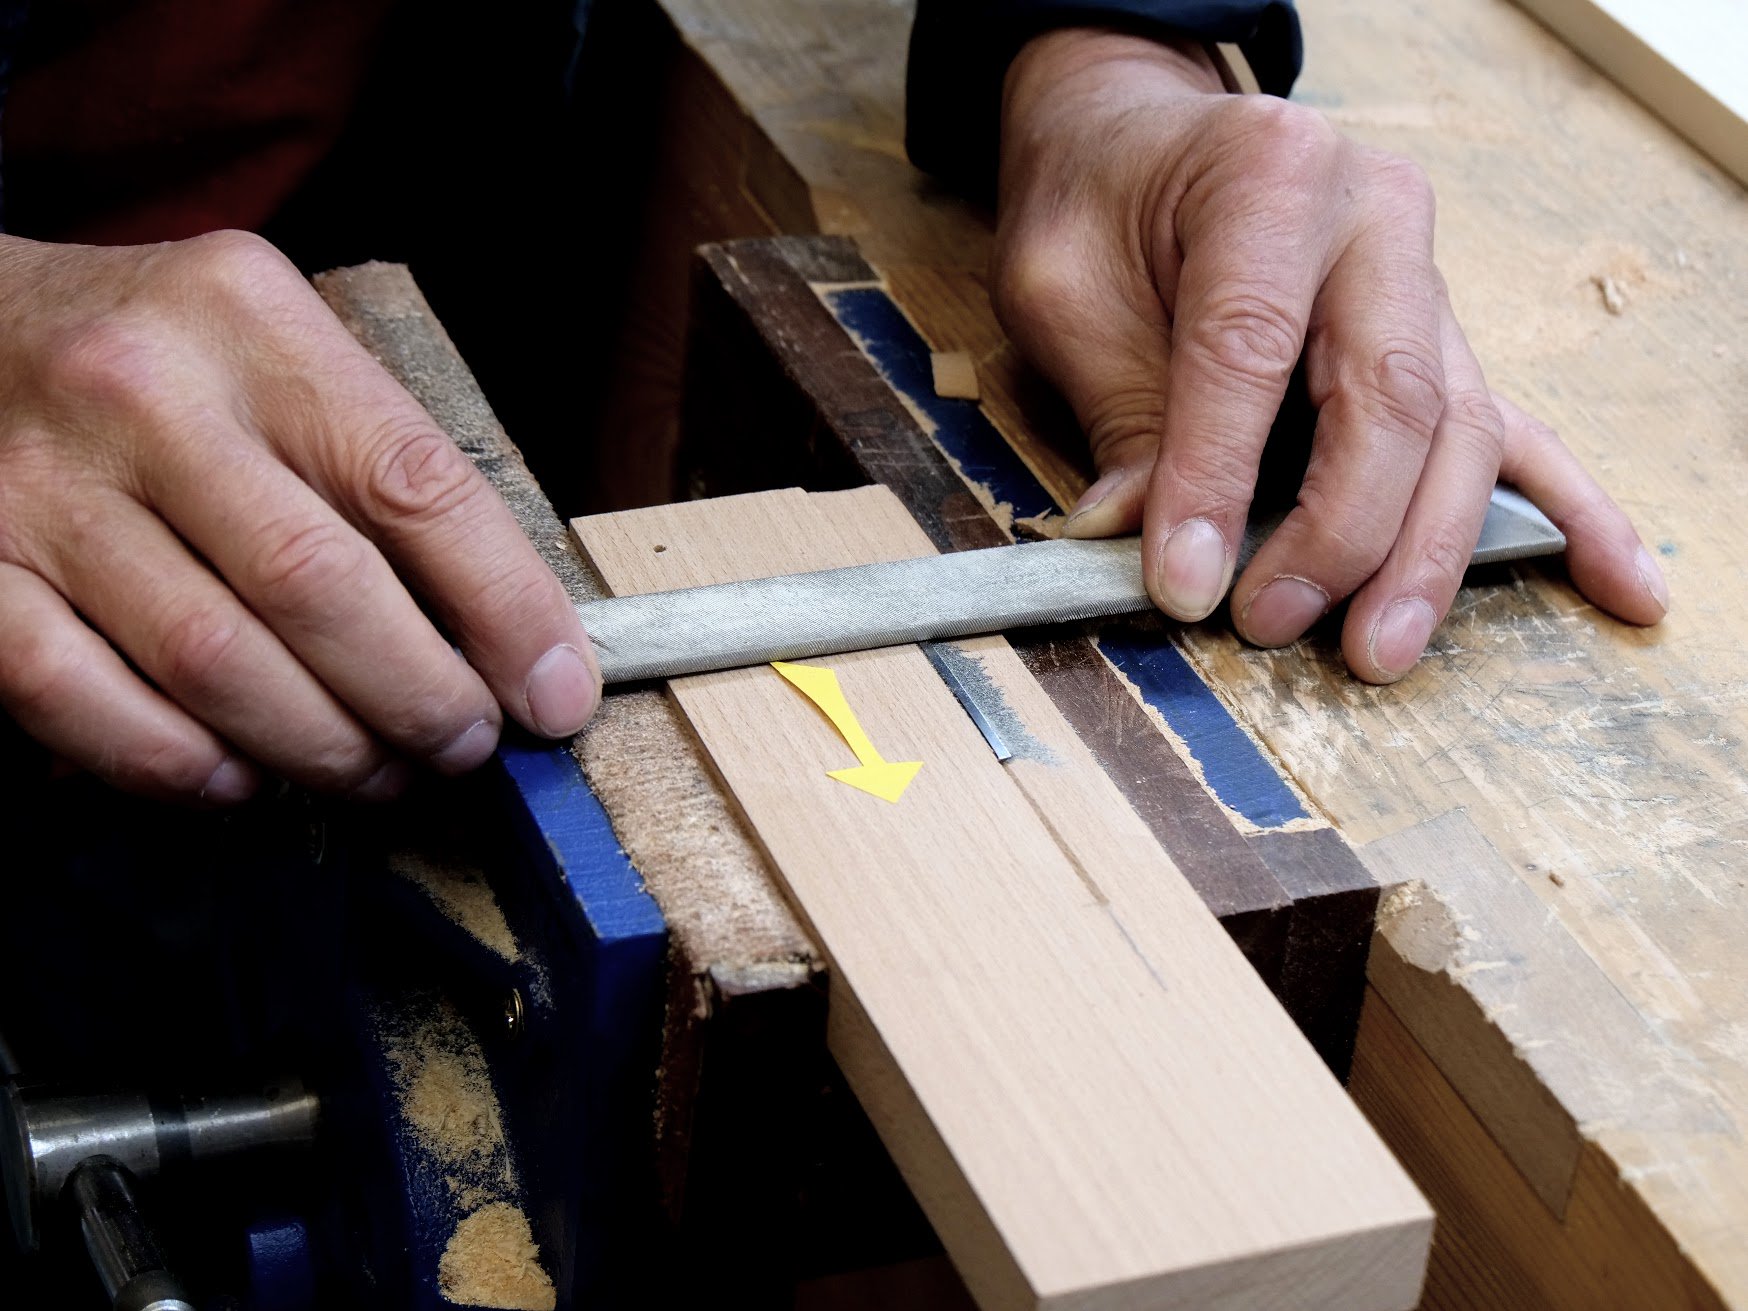
The scraper cutting blade slides into the kerf and is clamped into the vise but because of the slope the opposing areas tend to slide up when the blade is in place because it acts like a shim.
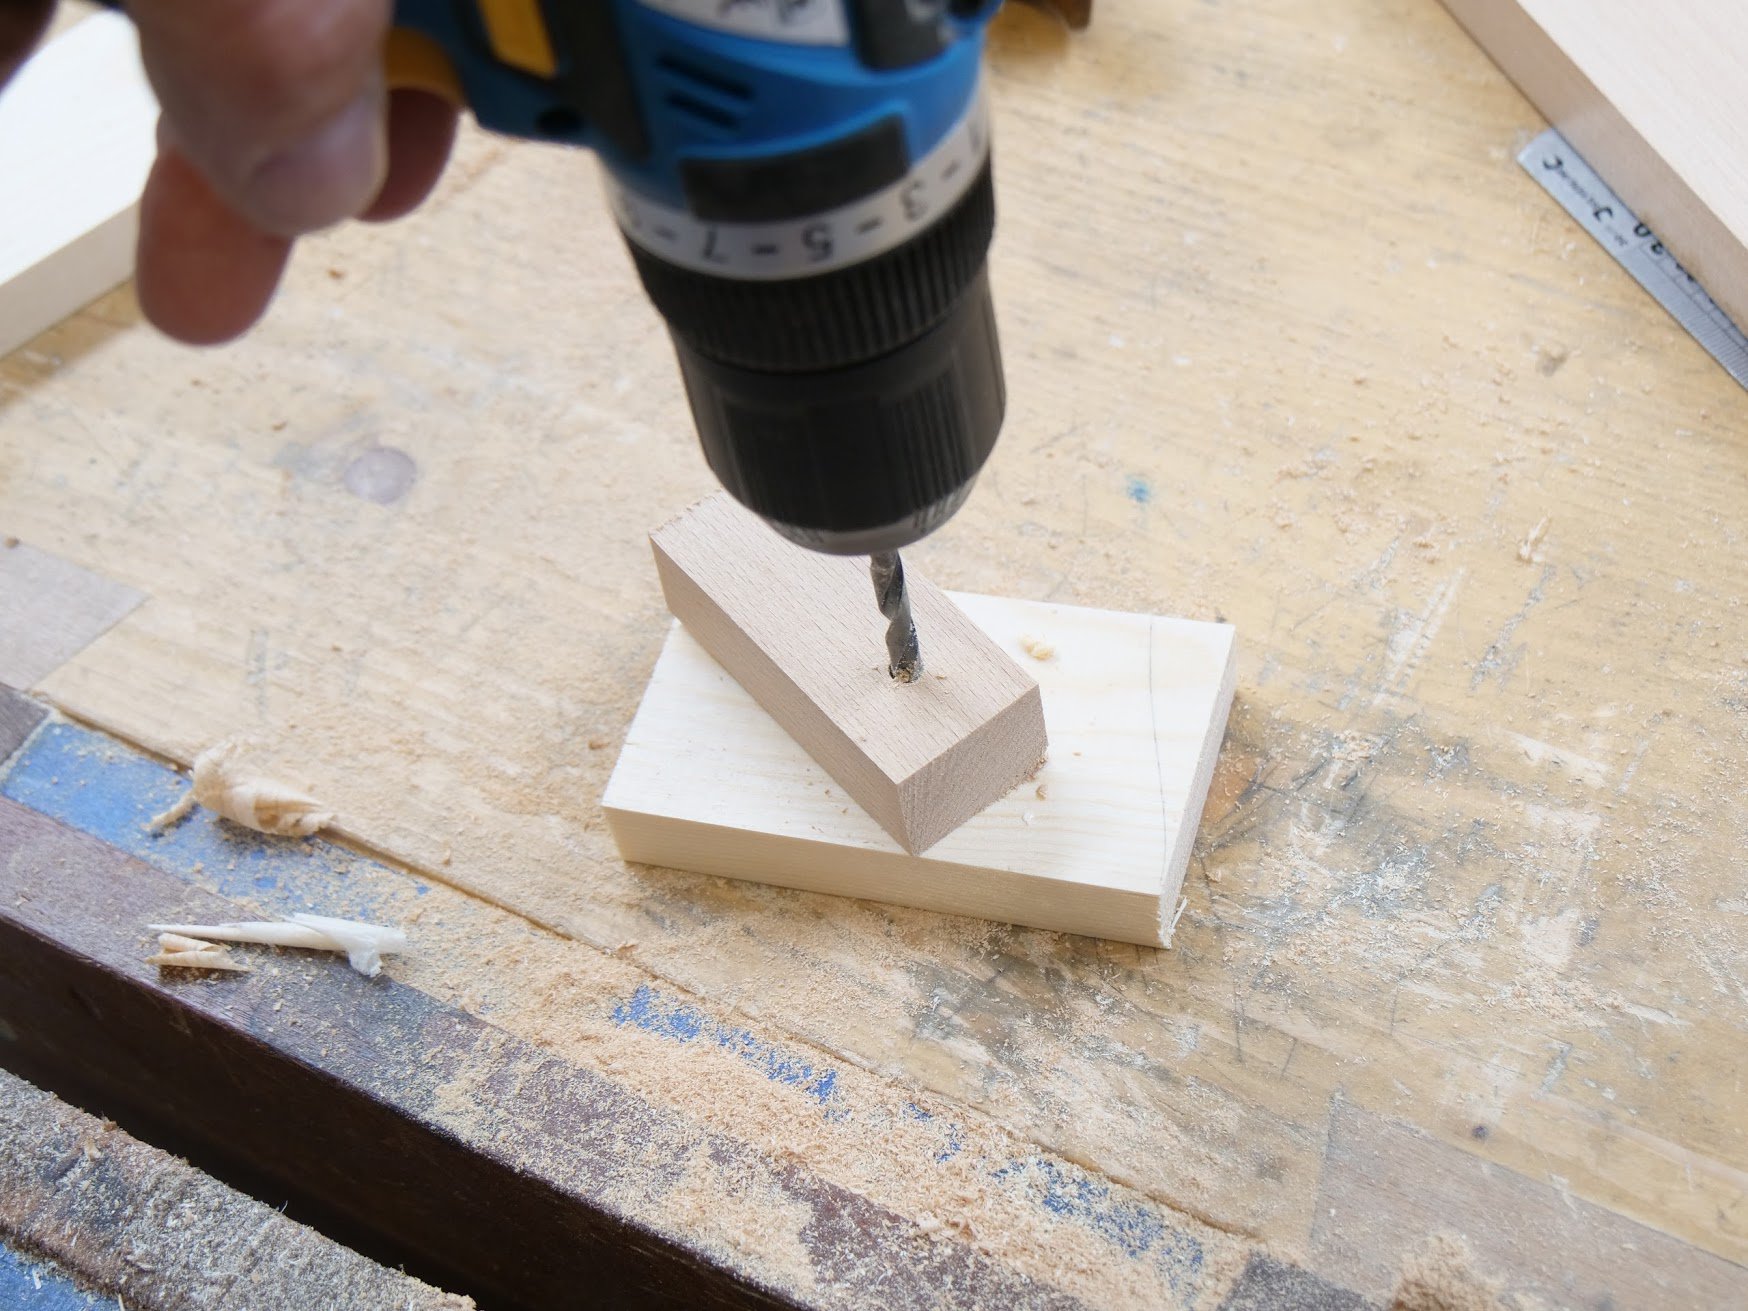
Screwing a block that swivels to allow the blade sliding into place prevents this slippage though there may be a little give.
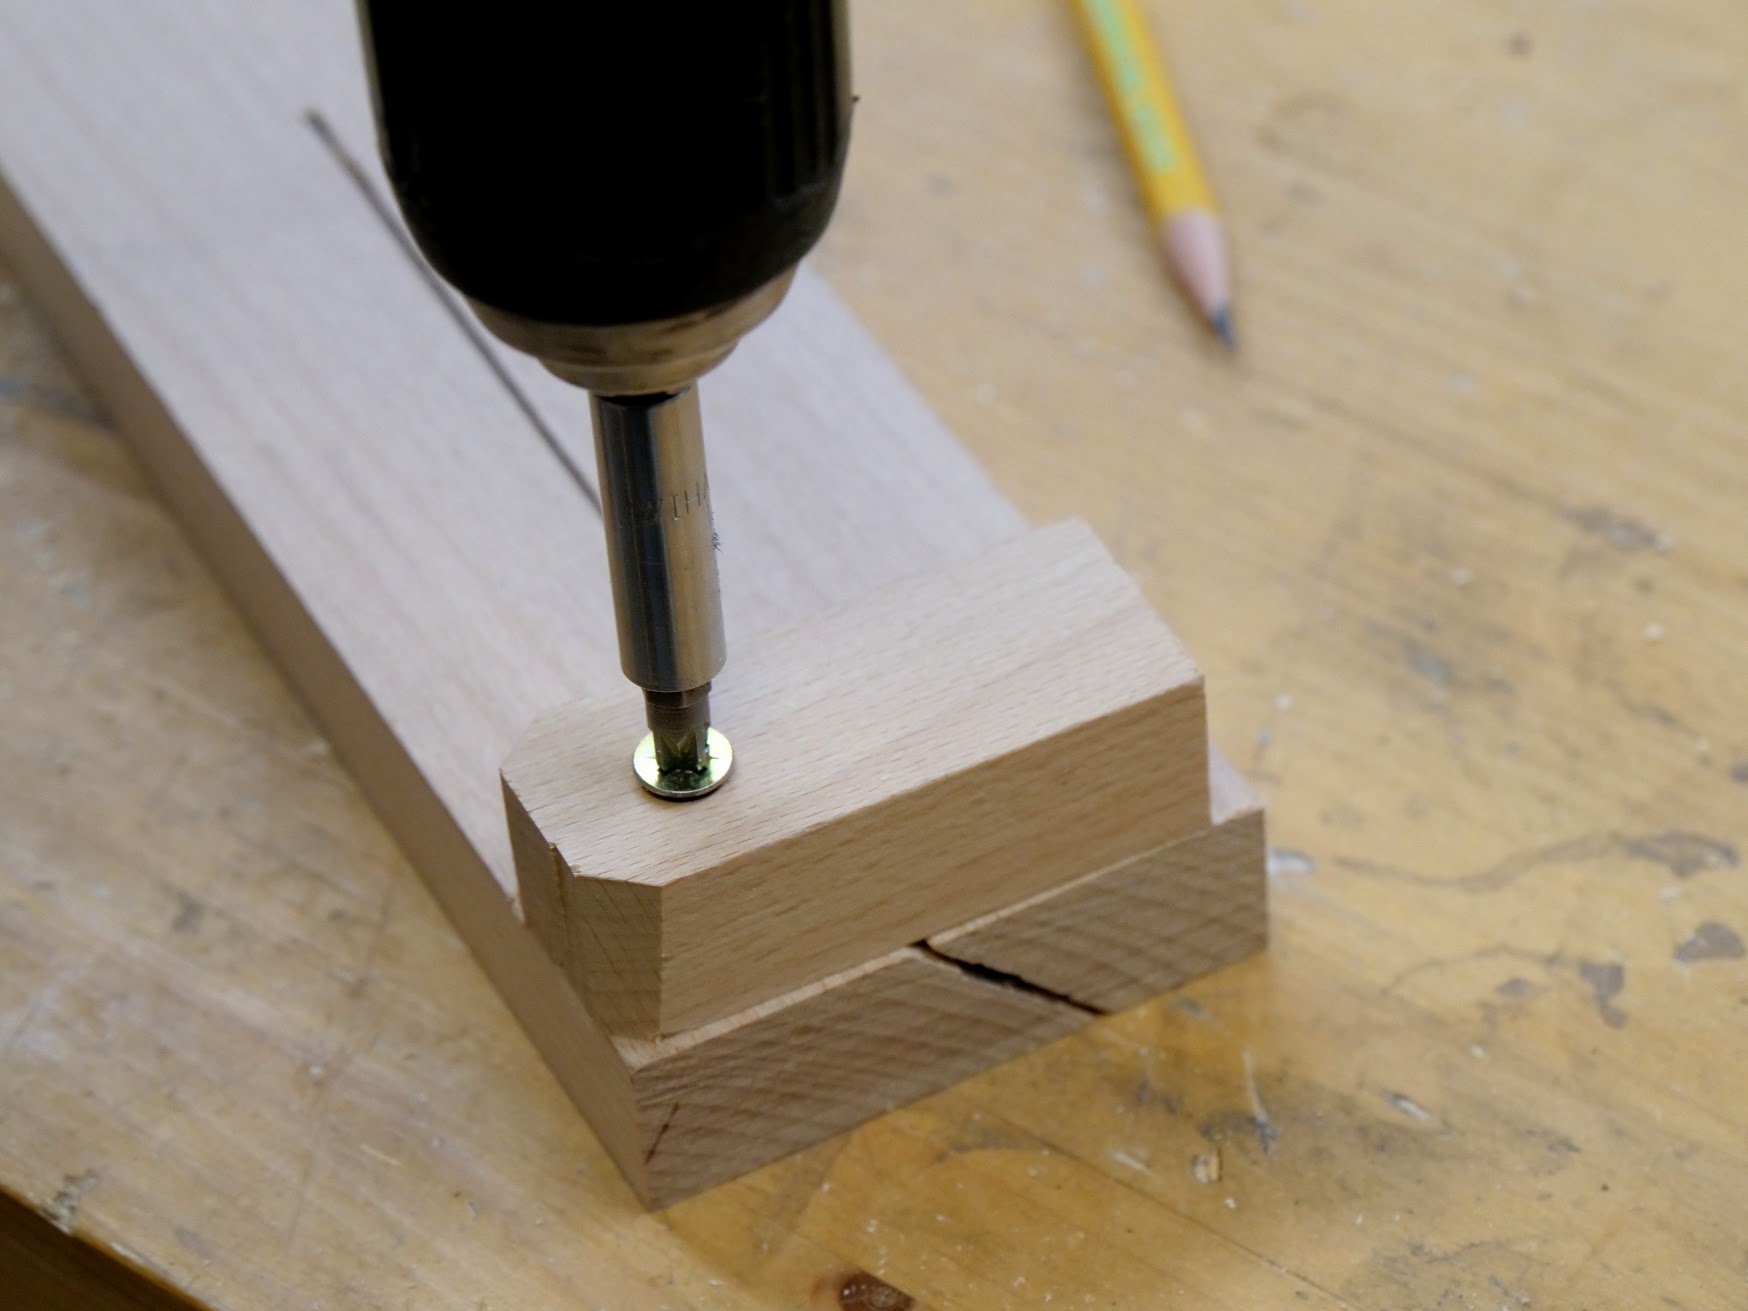
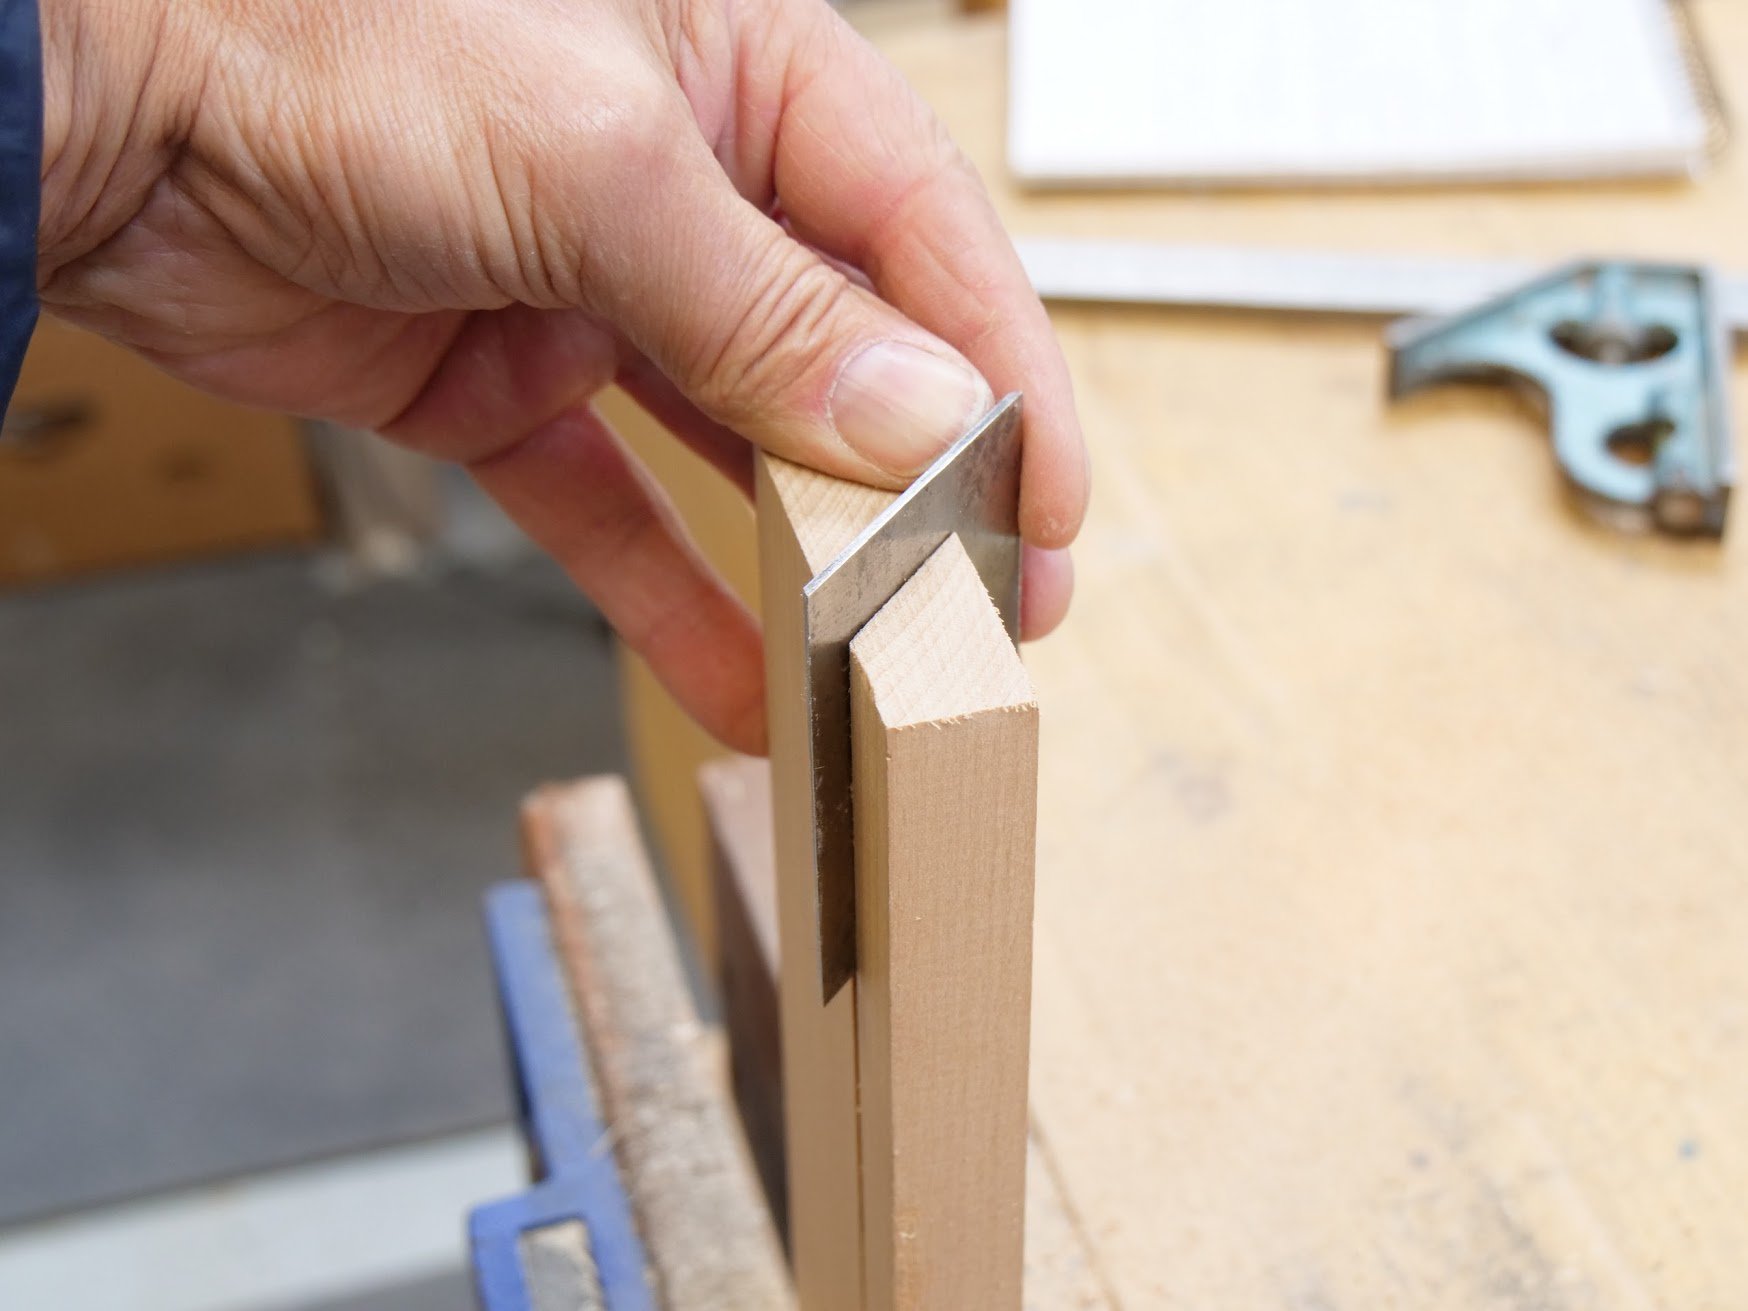
Attach the turn button to the underside of the guide as shown, making sure that when the button is turned to align with the long axis the kerf is cleared to install the blade.
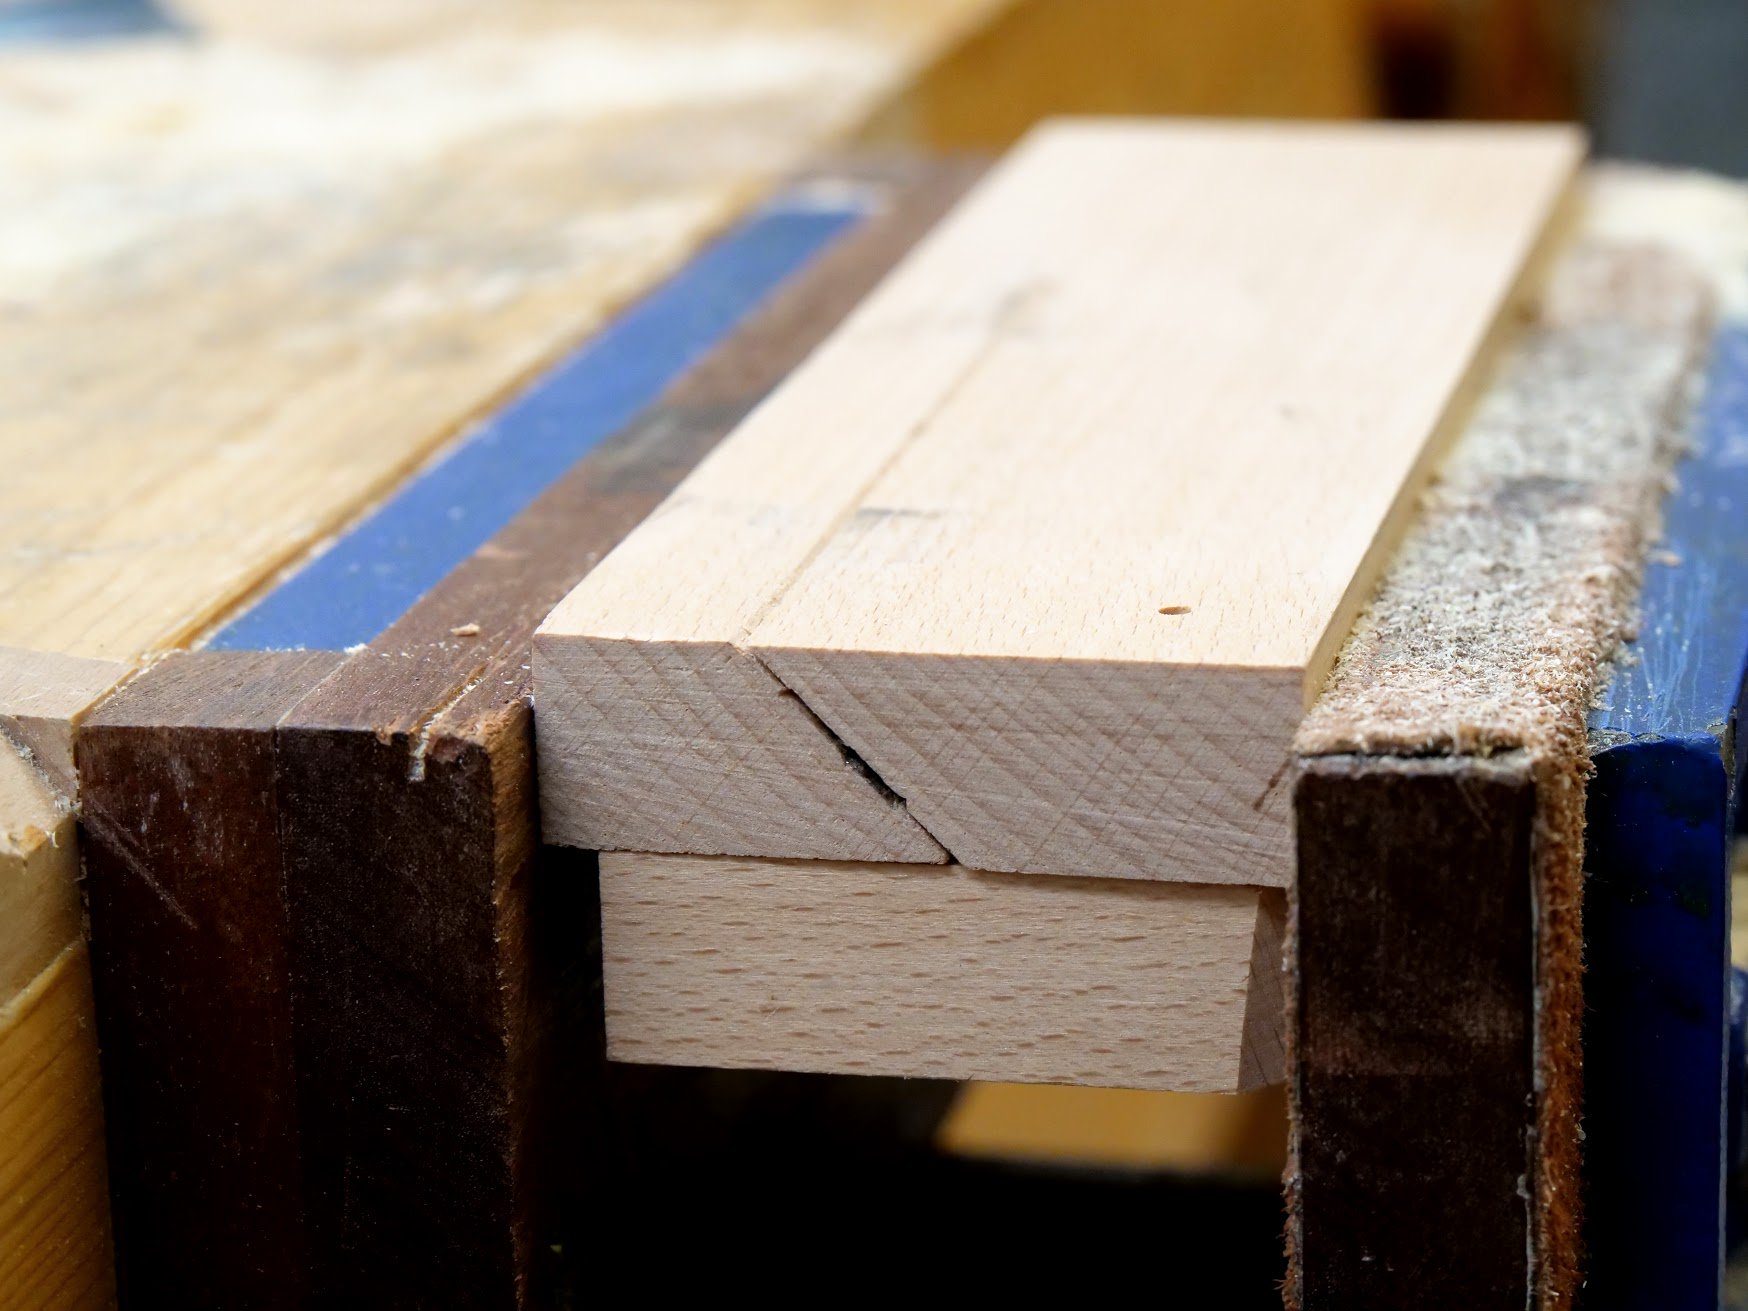
Clamp in the vise with the blade protruding a millimetre and you are ready to first file across the blade bevel.
See how the turn button helps keep the two opposing inclines aligned under clamping pressure.
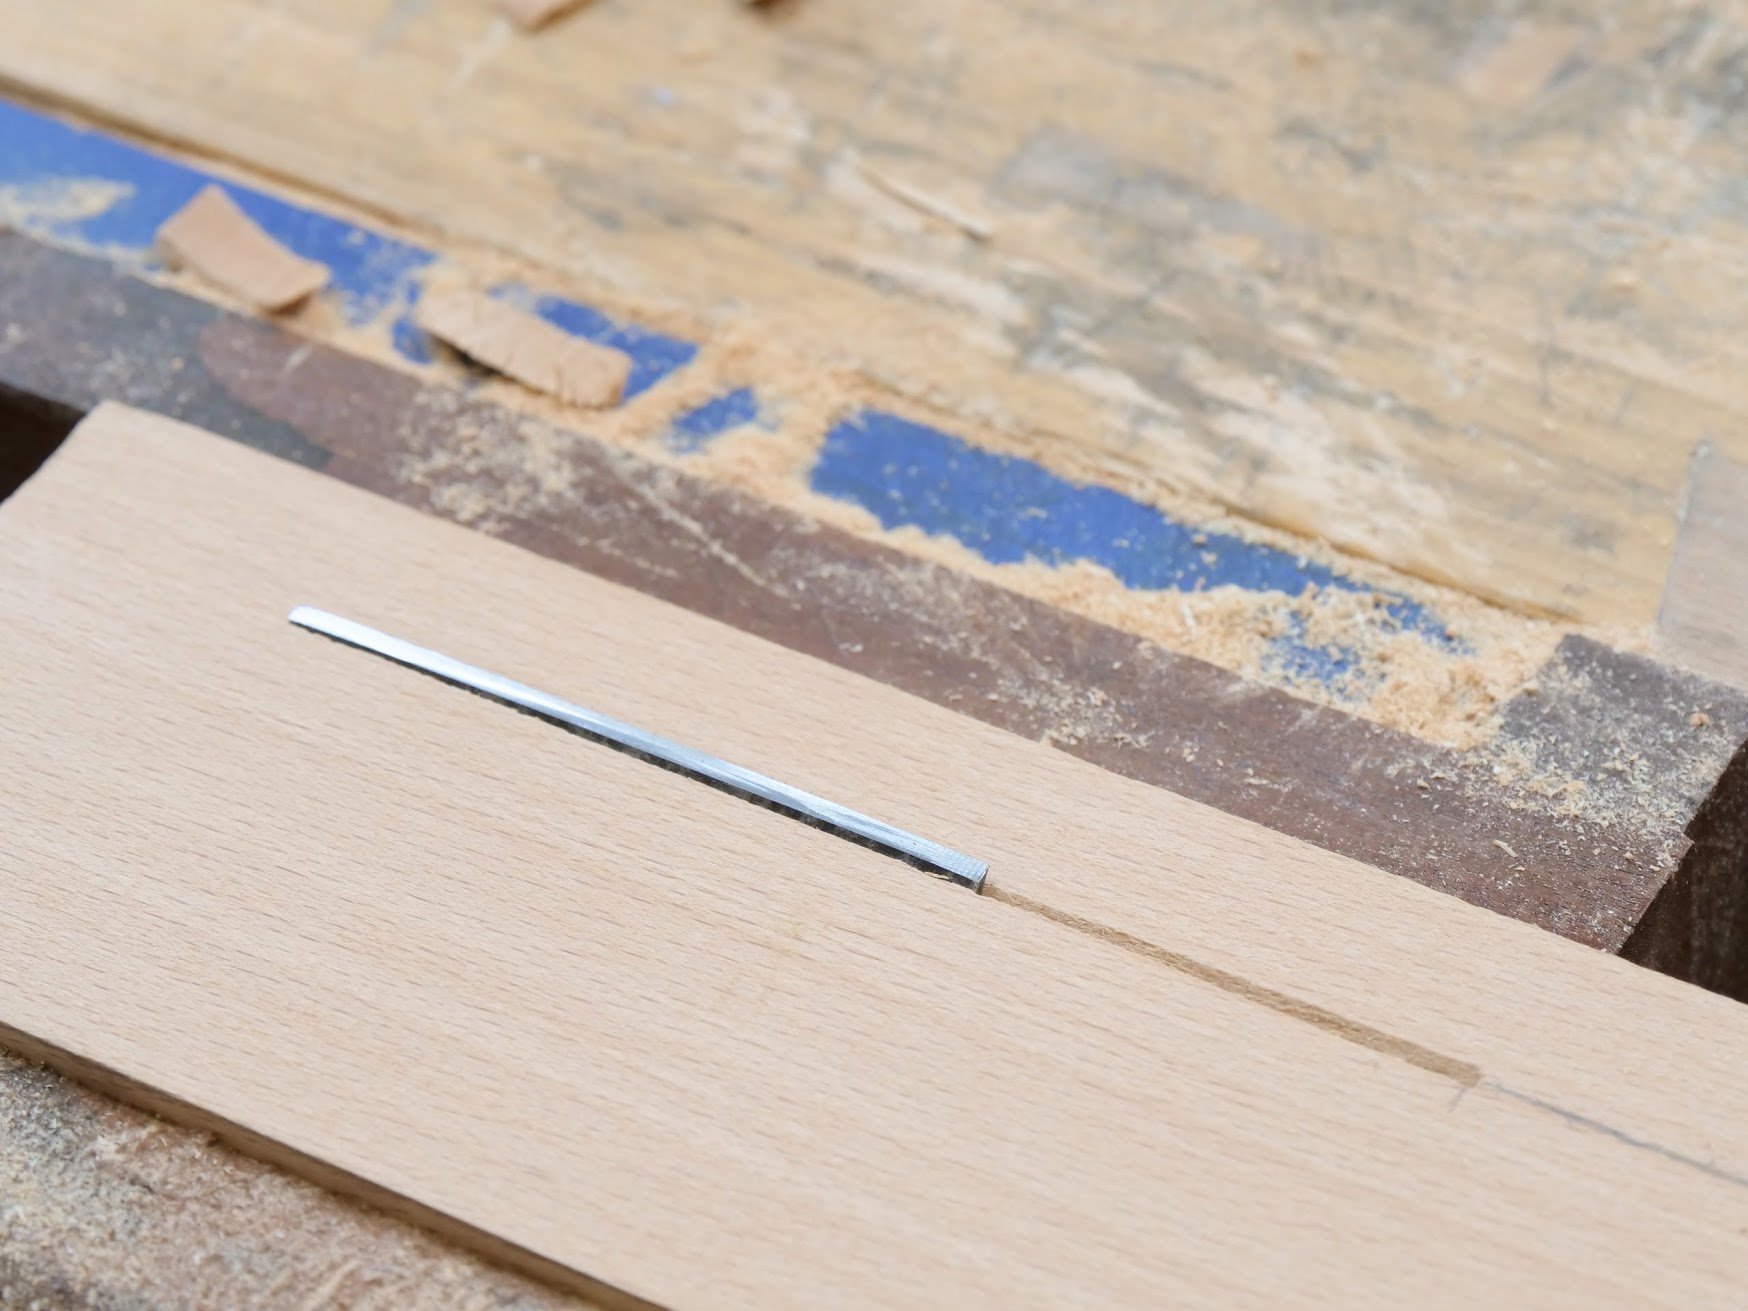
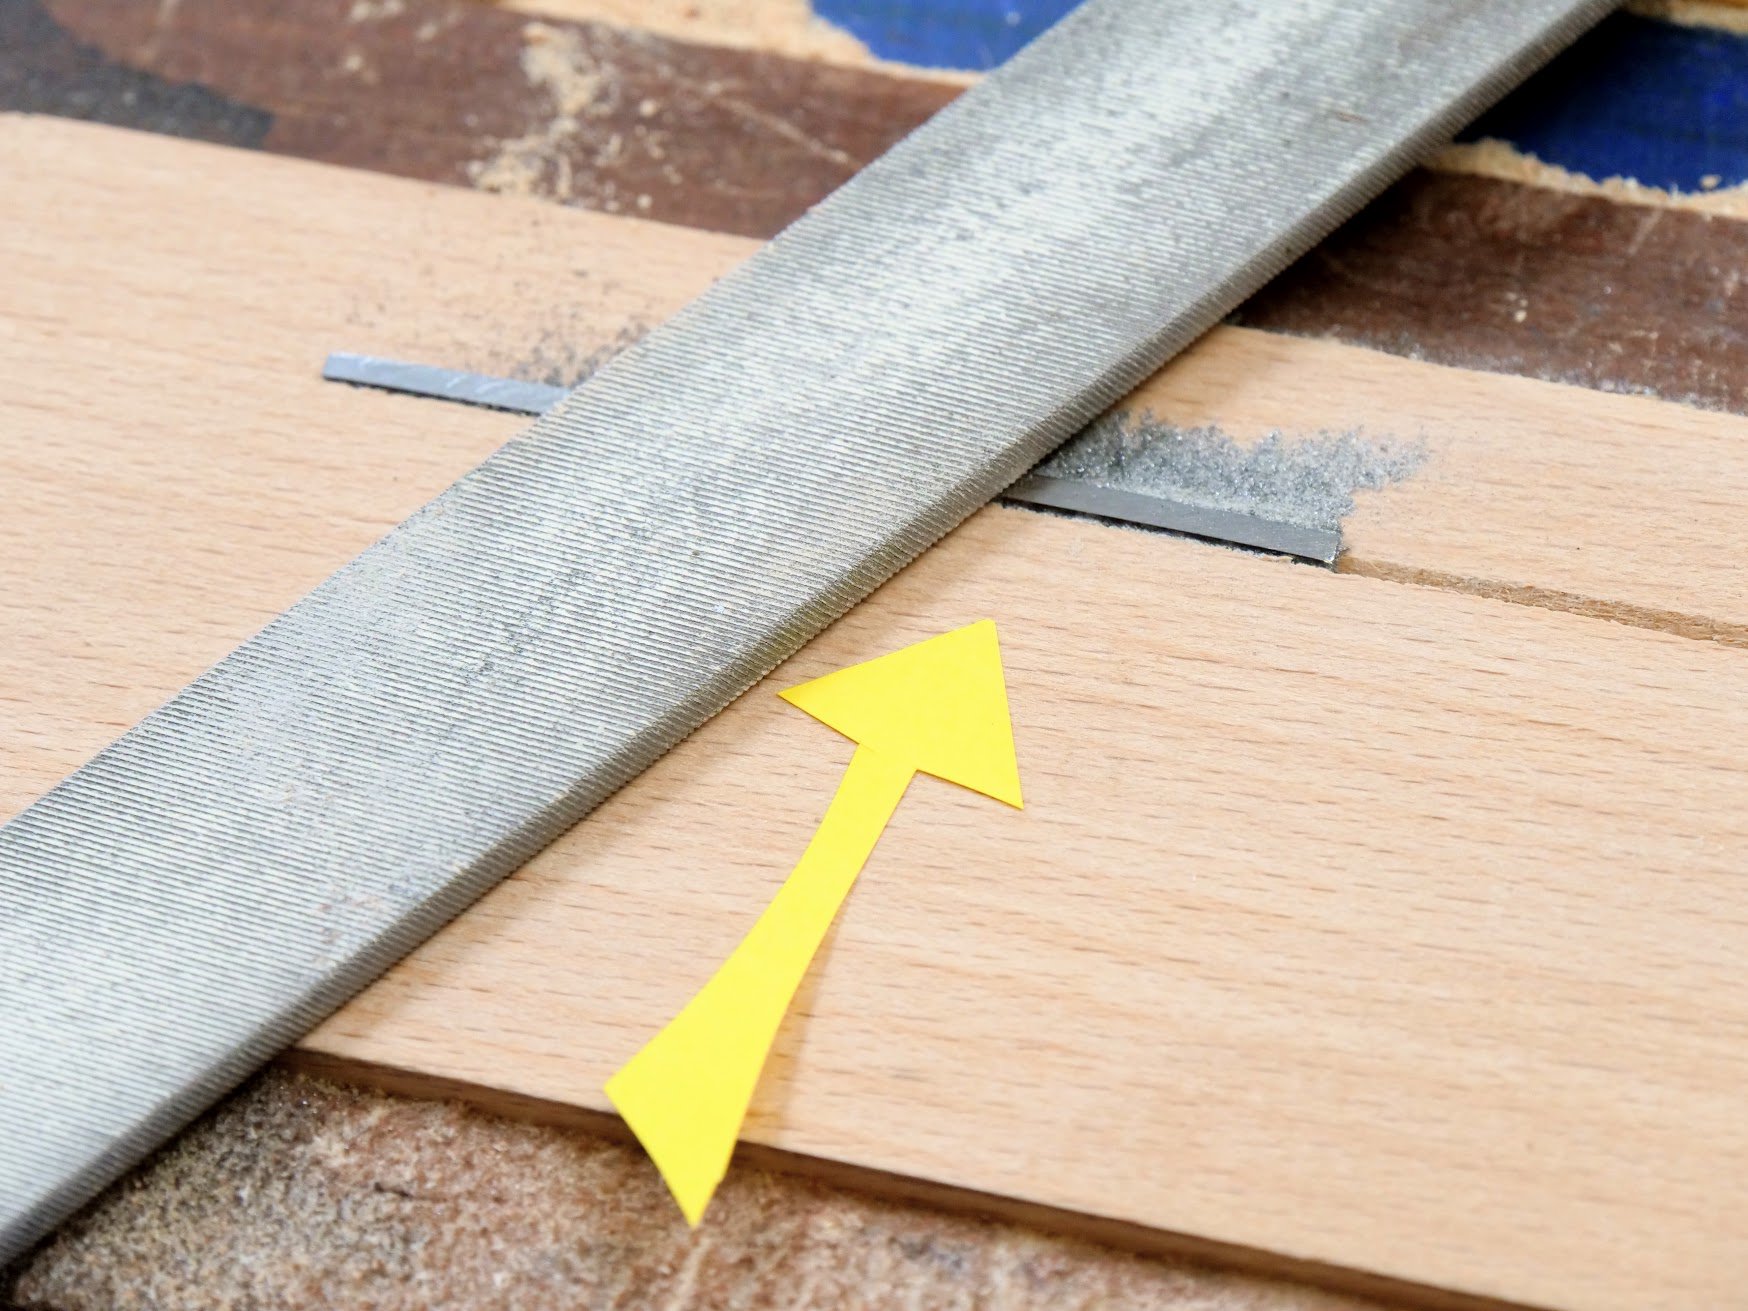
Once down to near level, begin through- filing by pushing the file directly across the bevel according to the arrow shown.

Pushing the blade across and away from you results in particles of powdery steel. Stop a couple of strokes above the surface of the support wood but let the wood guide the file.
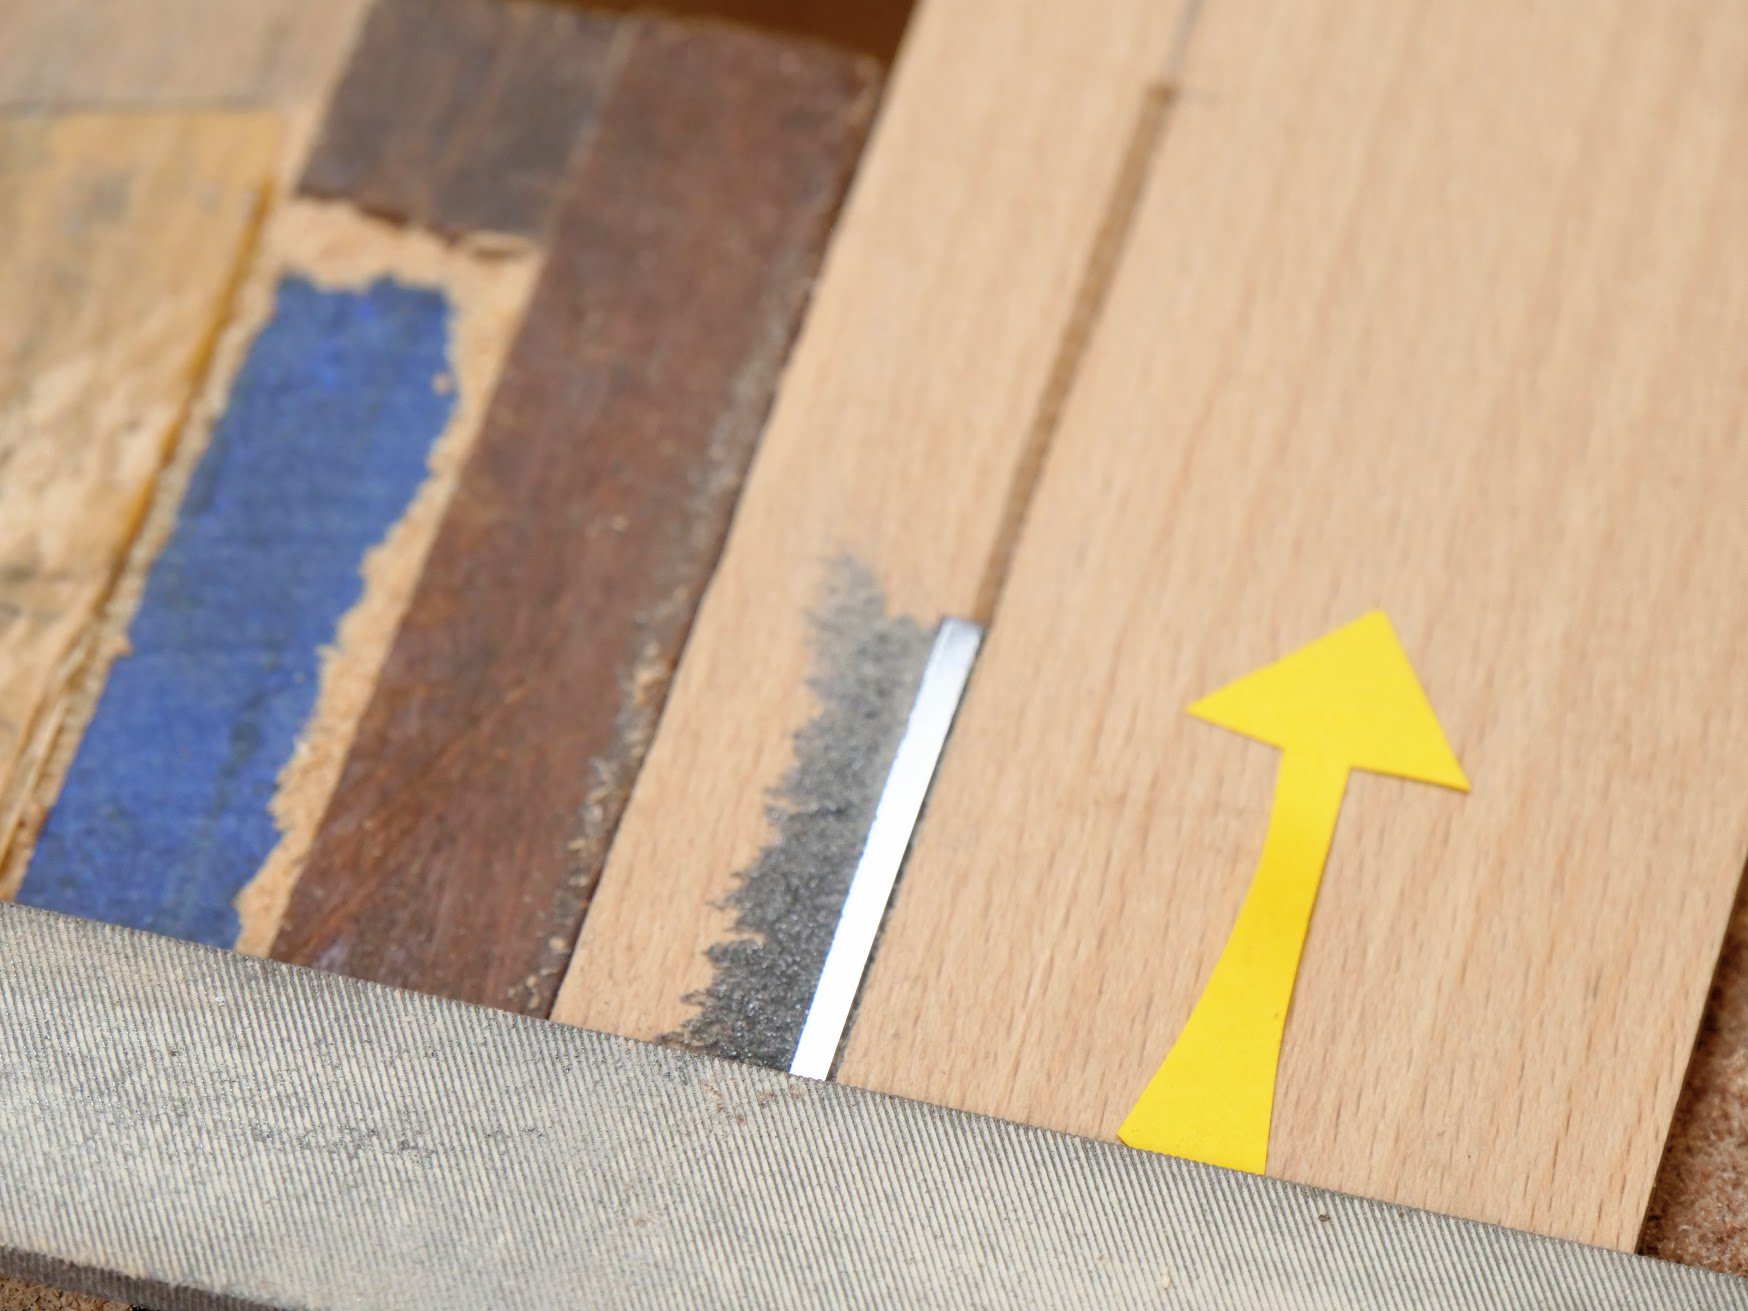
The next stage is draw filing with further smooths the steel and draws the surface of the steel in curls instead of fractured filings.

This smoother surface readies the steels for further smoothing further with a fine diamond plate or slip stone.

The filing and honing will result in a burr but this is not the cutting edge we are creating. To remove the burr place the steel blade flat face down on the honing plate and slide it along back and forth to weaken the attachment to the cutting edge.
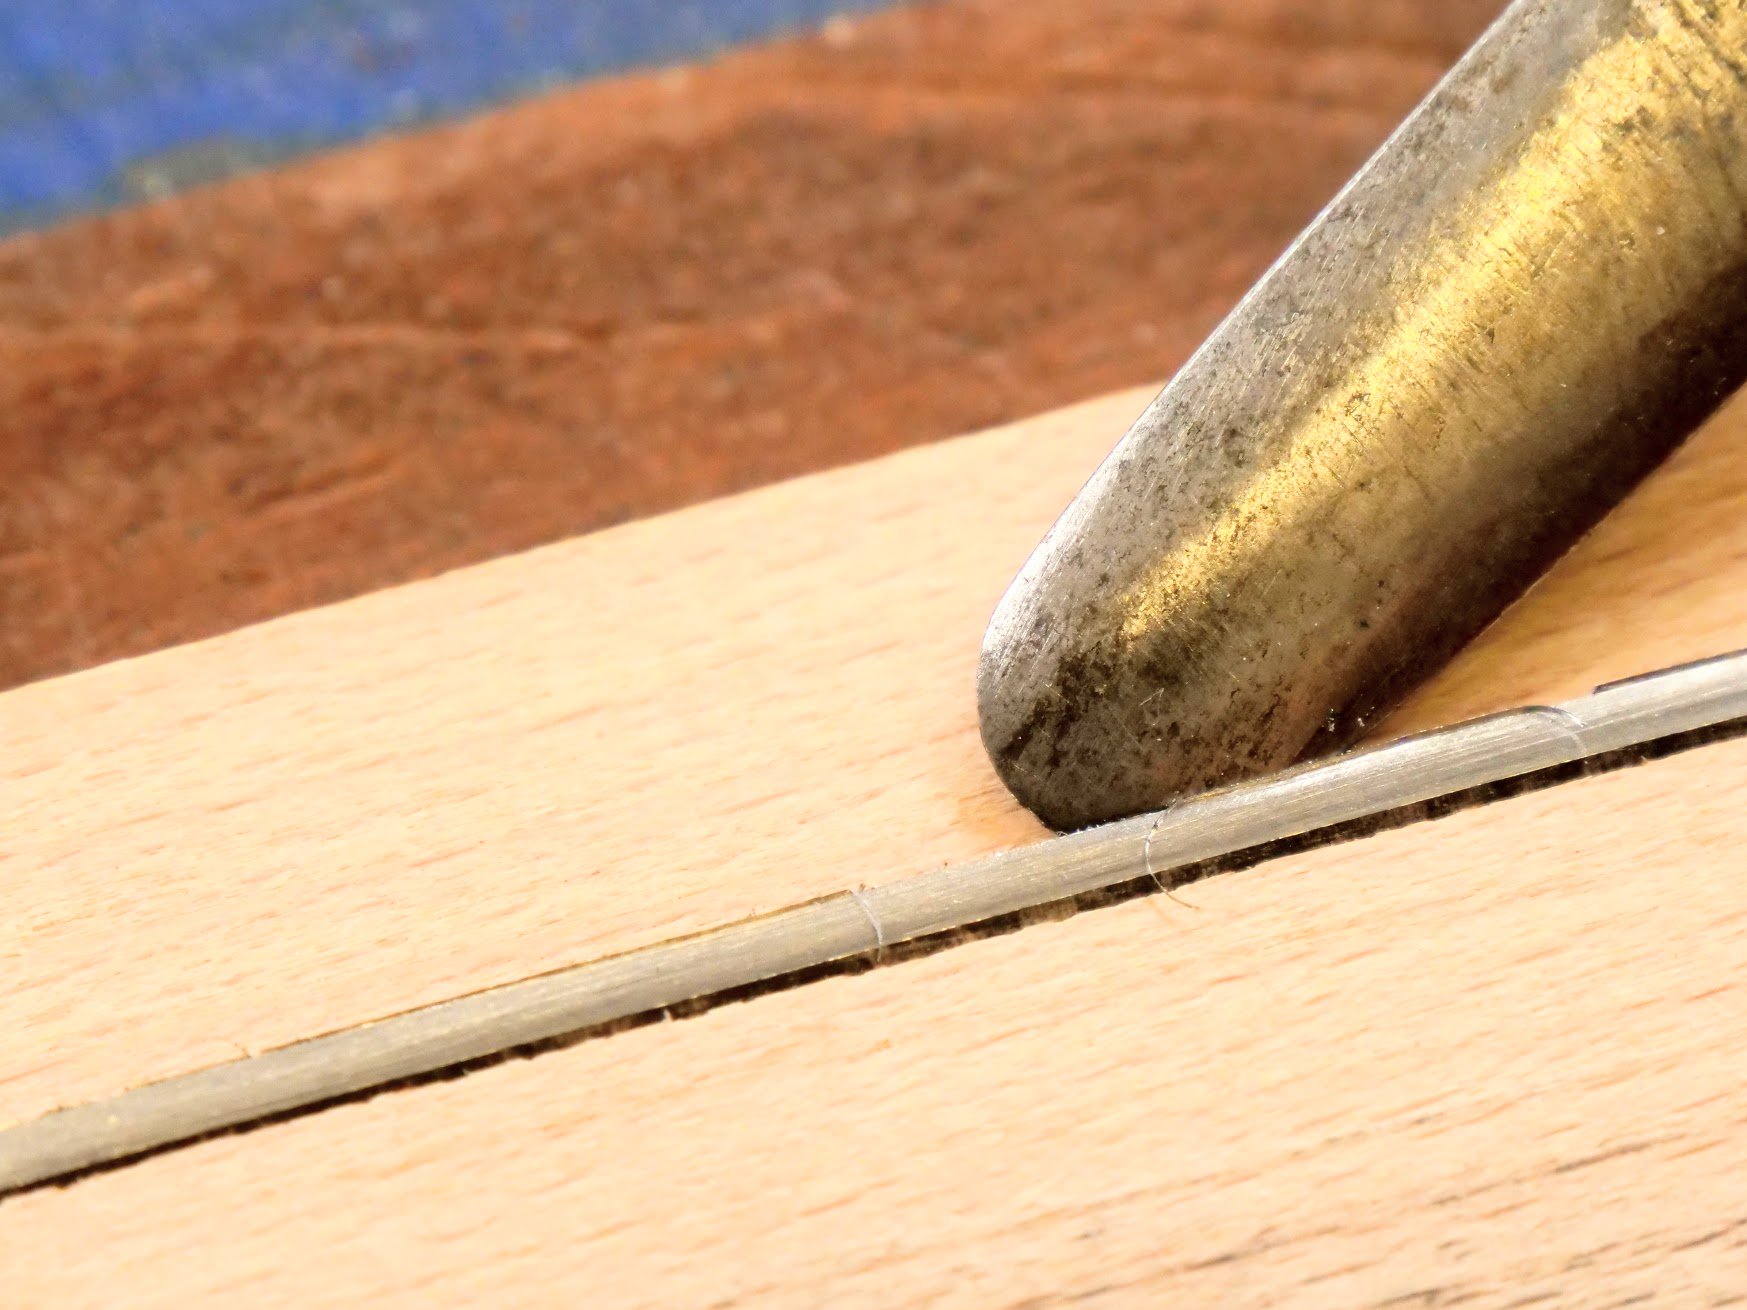
Looking closely at the edge you will see what we call a wire edge which will pull away before consolidating or will fall away during consolidation.

You are now ready to consolidate the steel.

Do the same to the bevel and slightly raise the burnisher so as to turn the edge from the 45-degrees with each stroke.
Don't raise it too much as this results in the edge not cutting. The blade is now ready to install back in the body of the holder.
Comments ()