Changes II —Workbenches and Garage Walls
NOTE: If you are interested in this updated version of Paul’s workbench please click the button down below. This page links to a cutting list, tools list, FAQS and much more.
Click here to go to the workbench page
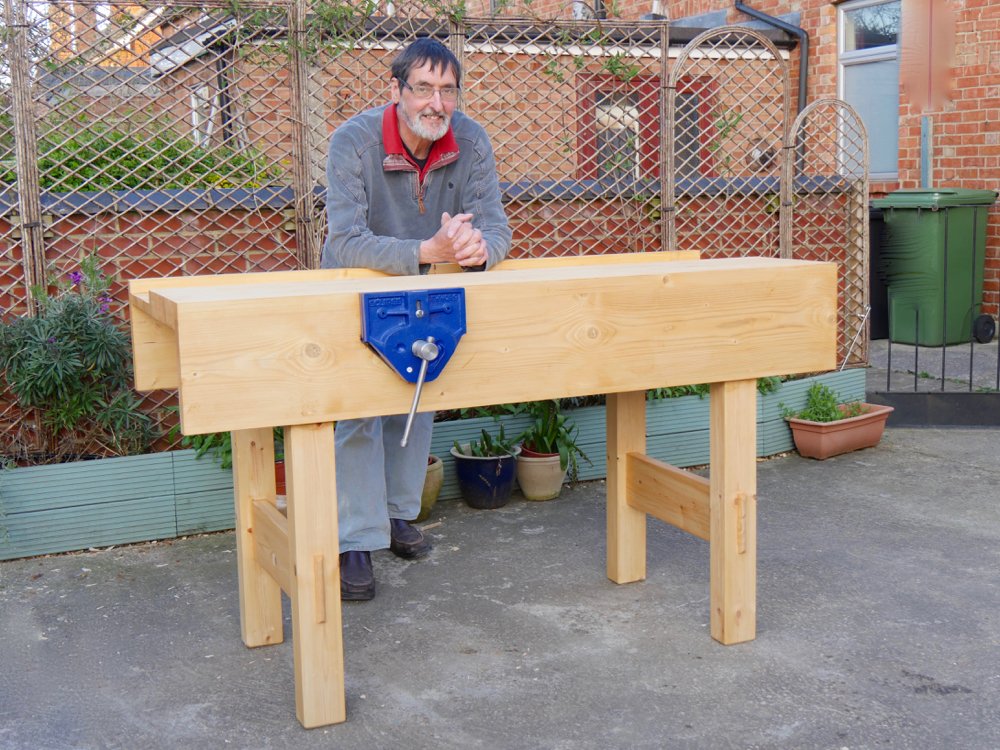
If you're like me you will realise that often changes you might resist or even reject at first turn out for the better in the long run, in ways you may never have thought even possible. We so want a predictable plan, perhaps even a path that's risk-free, even if the outcome can end up more mediocre and humdrum rather than truly expressive of what we really wanted. In 2016 you may recall me buying wood from Oxford Wood Recycling to make yet another workbench from. You might also recall I bought enough wood to make at least two benches for under £100. I always enjoy making no matter the project but for some reason, it was putting myself in your possible and even probable zone and thoughts of equipping you excited me the most. My two outcomes were two practical workbenches and from making these two I wrote my newest curriculum on a bench build to incorporate any and all improvements I might want in my own working workbench. Well, I did write the how-to for a 38" tall by 27" deep and 66" long workbench and the reason for the sizing was it is basically what I work at wherever I go be that at home, in the workshop and then in the filmset where I work too. My workbenches have been much larger in the past but that was for when I worked on much larger framed projects. I have found that I am comfortable making any type and size of furniture piece on this bench.
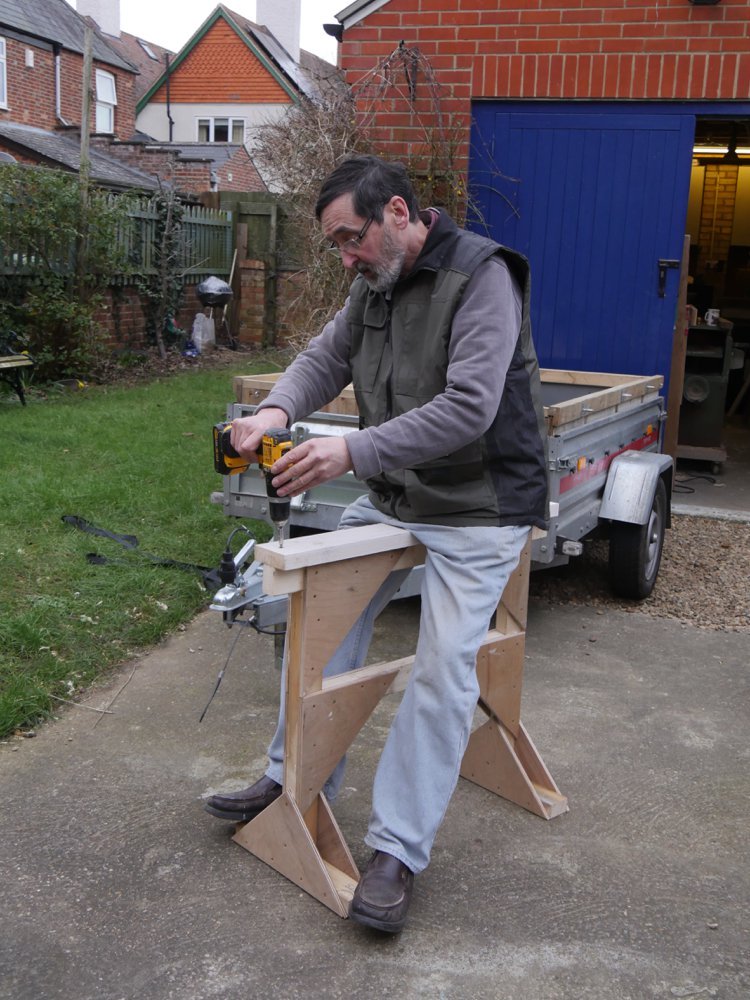
In making Workbench 1 above I built two trestles to work from to give me a stable platform. Using standard construction stock sizes at 1 1/2" by 2 1/2" (three 8' lengths will make a pair of trestles) and scraps of 1/2" plywood to create gussets made the whole project quick and simple. The length is 30" long and height 24". They are basic and are screwed together through the plywood along with PVA glue. I will use them for the next few years as temporary tables as assembly tables probably.
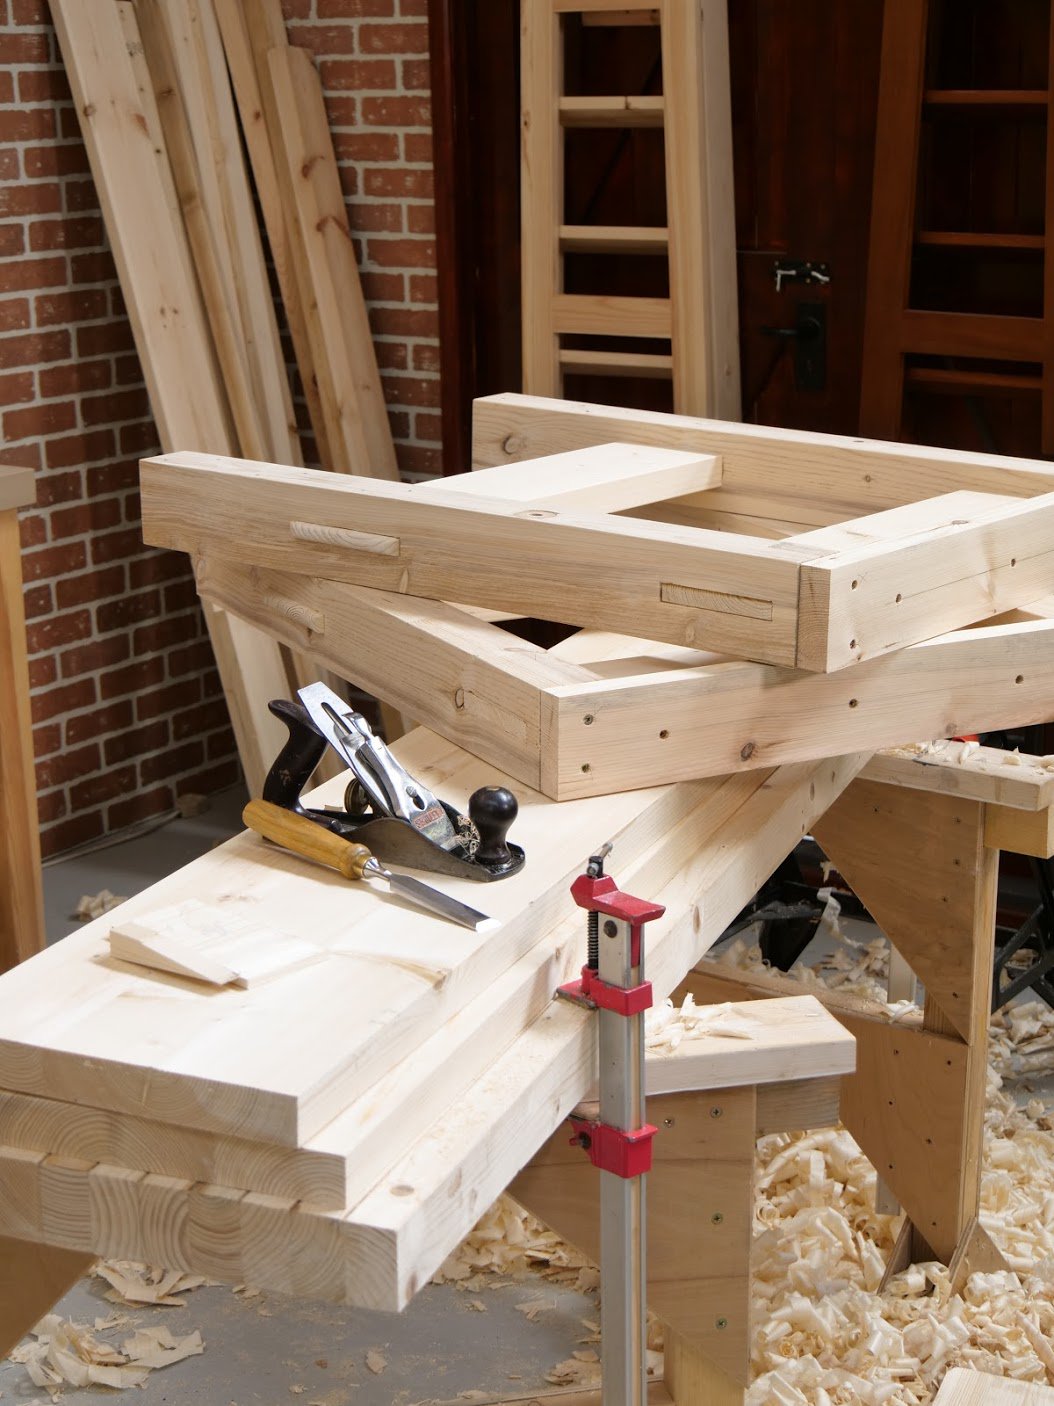
The reason for the workbench is its core essentiality to good woodworking like furniture making, joinery and then general woodworking too. It quickly becomes the key anchor providing a central third hand to holds and support all of the work and the tools and equipment we depend on. Without it, the work will always be awkward much of the time so most people starting out recognise that, for hand tool enthusiasts, the workbench is most essential. The use of temporary stations is exactly that, temporarily useful but not practical long-term supports.
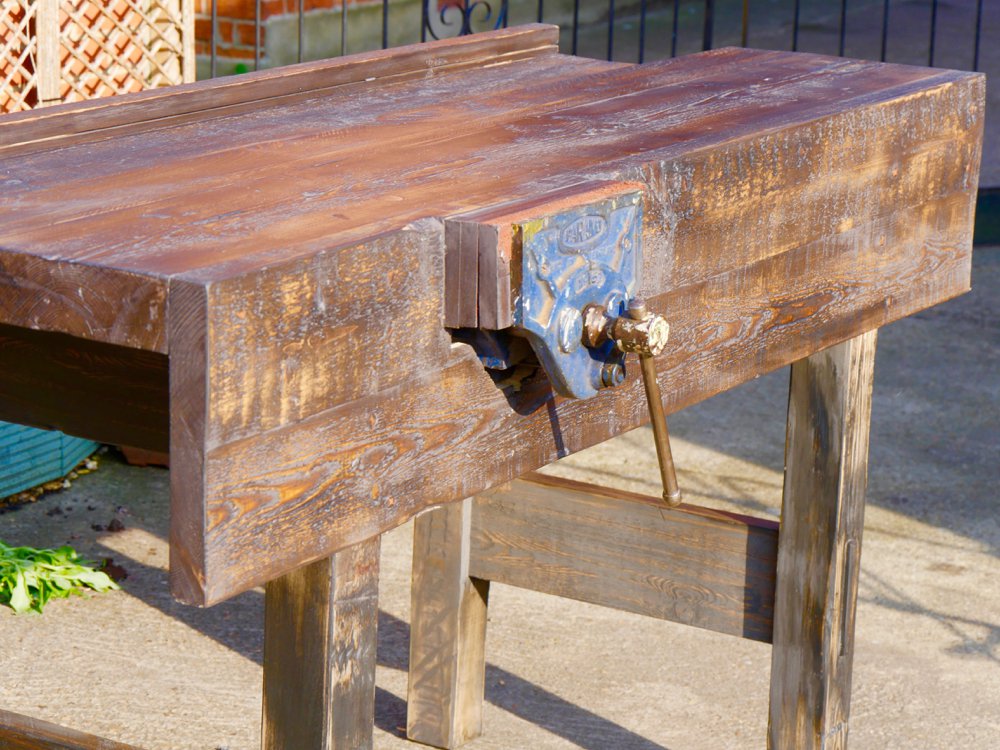
I have drawn up the drawings for this current workbench and generated a cutting list straight off because I worked to it and could refine it as I made any adjustments and refinements. The end result is now to be tested by those who are making one as a result through woodworkingmasterclasses.com and I anticipate that thousands will be made to this pattern over the coming years. The PDF is not available just yet but will be available soon (now available here).
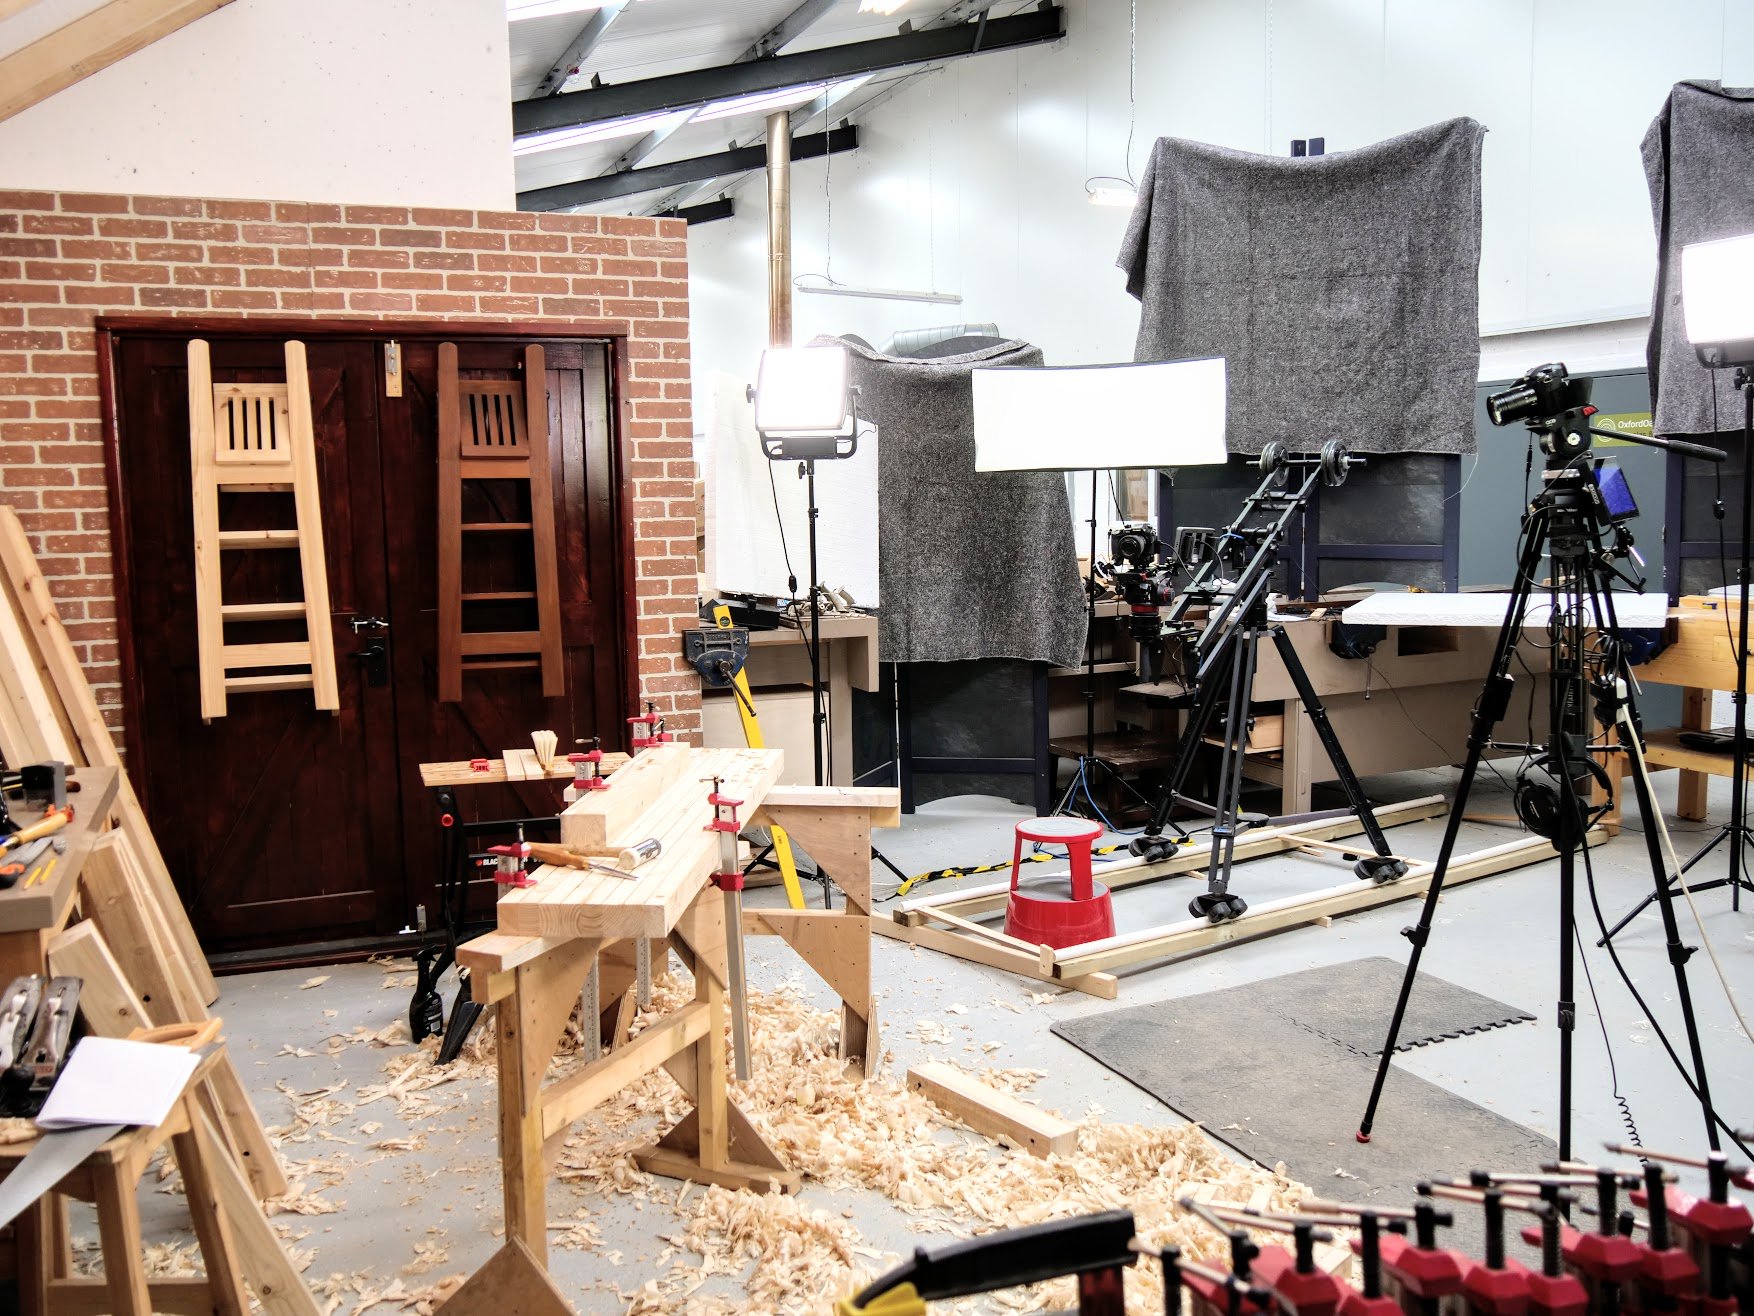
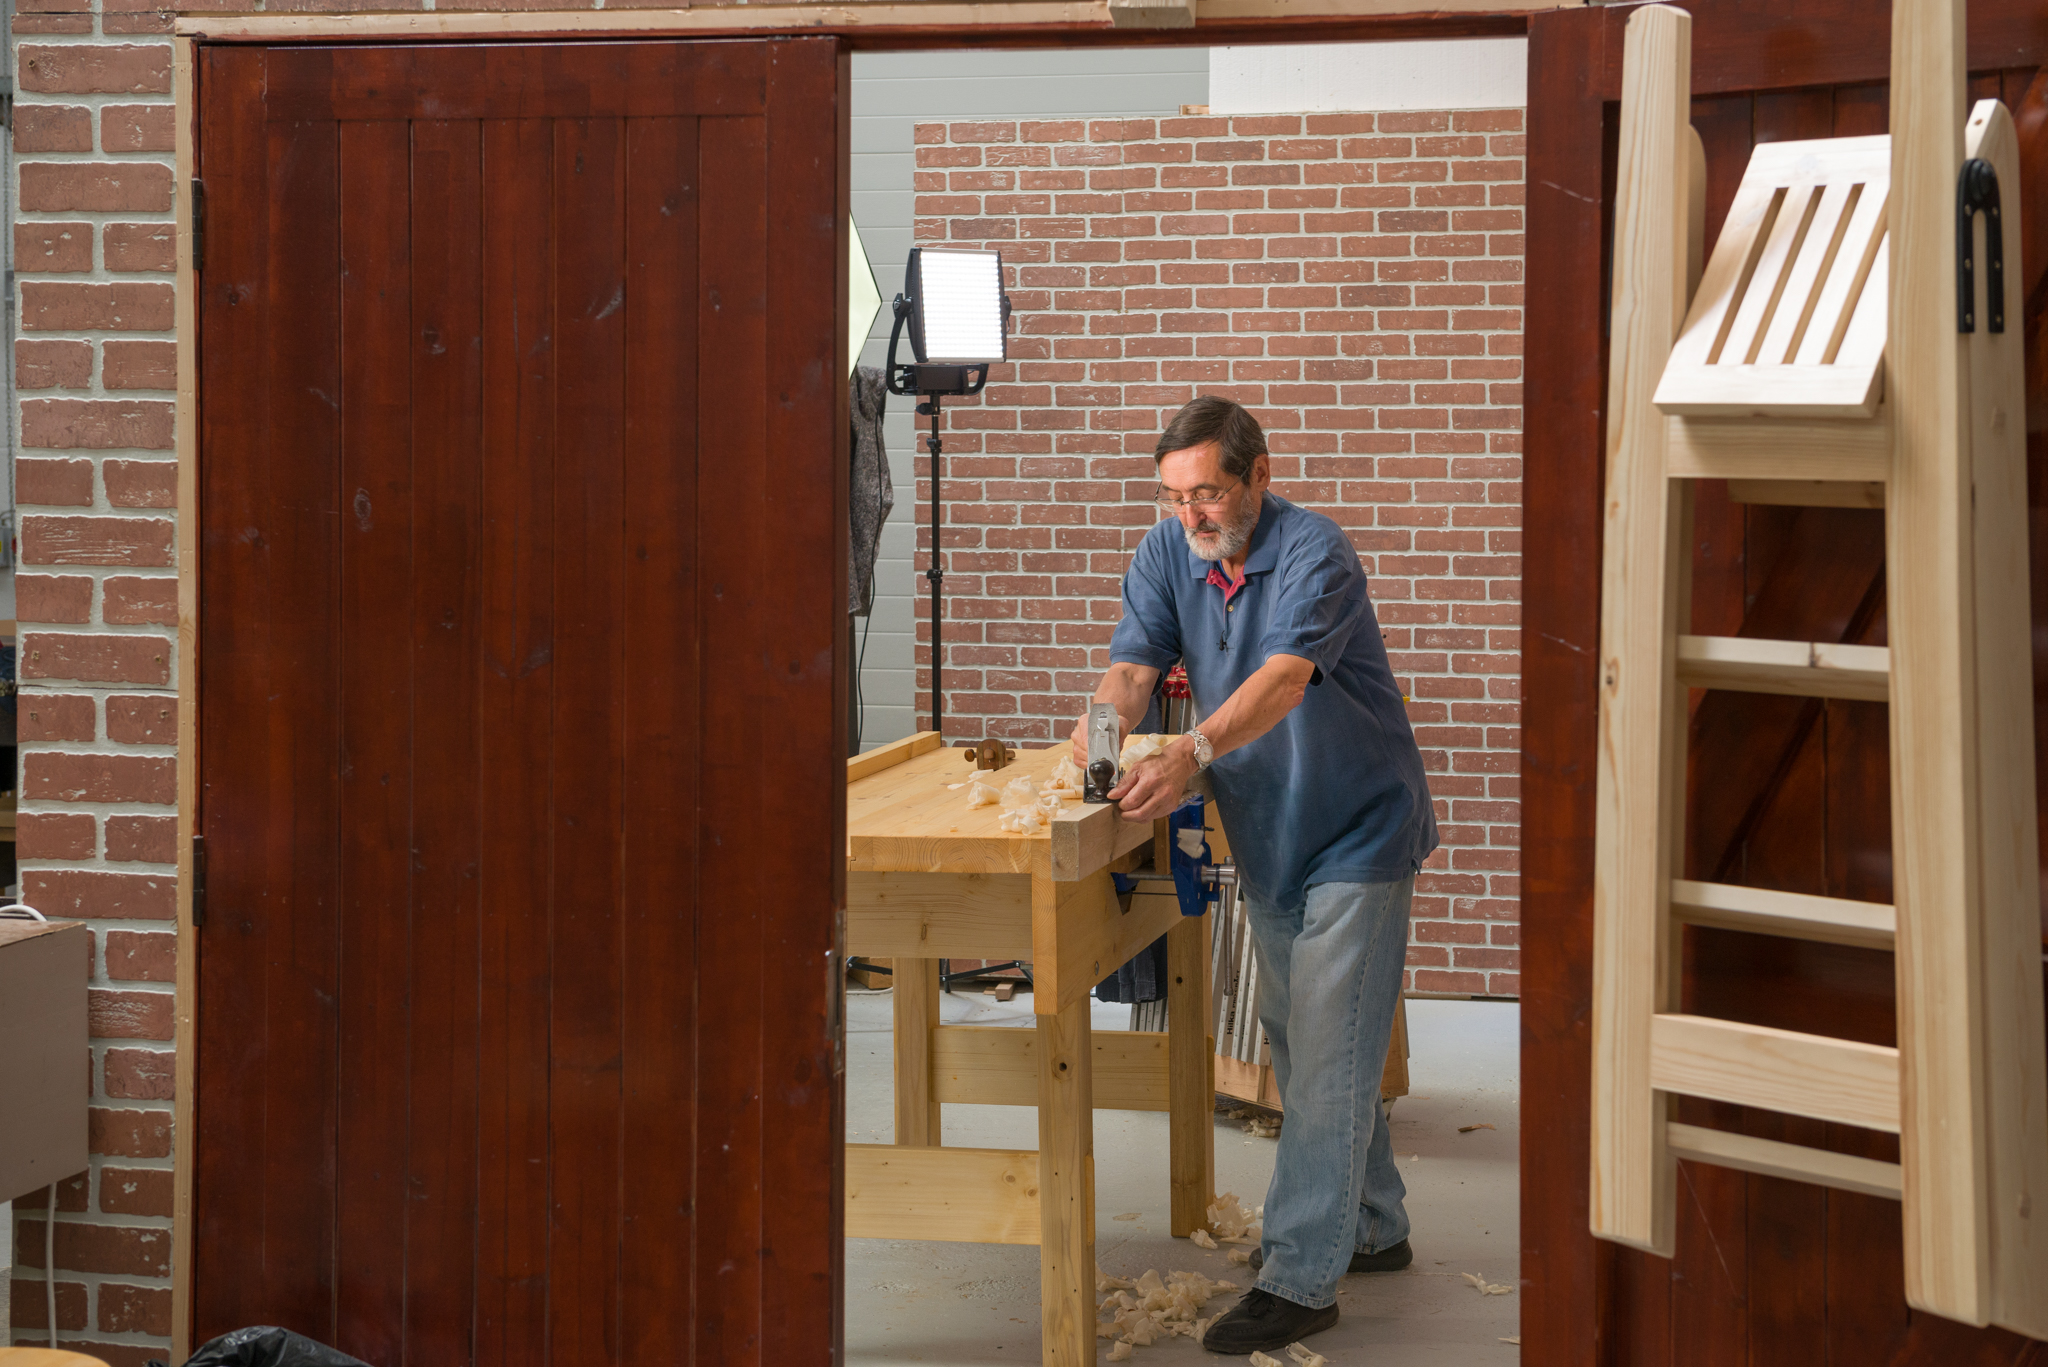
The studio garage set
Building the garage was simply a question of framing up three stud walls and skinning the frames on the inside faces with 4' by 8' faux brick fibre panelling. I wanted to give it a context but filming outdoors or in my home garage would not have worked because of the quality of filming we want to give. We wanted the quality to match the work I do and there was too much noise and light variance for a good quality instructional video. We did, however, want it to be as close to realistic as possible of course and when we built this final version in our more permanent setting the walls basically delineated the workspace and gave the impression of being in a garage that we wanted. In our new space shortly we will indeed be building in brick. So you will understand how the studio set has become necessary to encourage others as best we can.
NOTE:Just so you know, this is an older workbench series. Paul has a newer Workbench series. If you are interested in the updated version of Paul’s workbench please click the button down below. This page links to a cutting list, tools list, FAQS and much more.
Comments ()