Talking of Beauty
An abandoned wardrobe lay bereft of its doors on a burn pile and I tugged on it to lift one end from the pallets below as if the pallets deserved to be there but the massive wardrobe didn't. It was pine, only pine! I remember hearing the man say. But I tugged on it anyway, perhaps all the more because it was 'just' pine.
Inside my workshop the wood seemed of real value to me. I looked for the good way to part the sections from one another. Wide boards 60cm wide and 250cm long seemed a goodly size to me and then the dovetails that had held throughout those 150 years seemed at least more worthy than just a cursory glance. Of course i didn't need a massive wardrobe or a cupboard that size for anything at all. I wanted the well-seasoned and dry wood, the wide, knot-free panels, the free wood too, of course, yes, but more than that, it wasn't so much what I wanted but what I didn't want. I didn't want it to become mere firewood. Surely it was worth much more than that.
The dovetails are all utterly free-hand cut as expected. Not pretentious as we might be today with the luxury of time on our hands. Nope, this man just cut and completed each corner in 15 minutes or so. He was biased. All of the angles on one side were dead set at one angle whereas the other side of the dovetails were different but consistent too.
Free-handing and without measuring makes the job fast, of course, and simplifies things markedly too. I liked the honesty of the work altogether. The era was honest somehow. Such was the era I think because alongside the exposed dovetails there were the sliding dovetails (detailed below) retaining the main full-width shelf too. Don't you just love that. There you have a sliding dovetail that could just as well have been just a dado because no one would have seen inside, but he just couldn't bring himself to do it. No cheating here, only honest to goodness joinery. Notice that there was indeed no glue used but that some of the dovetails were nailed with square nails from the blacksmith's hammer.
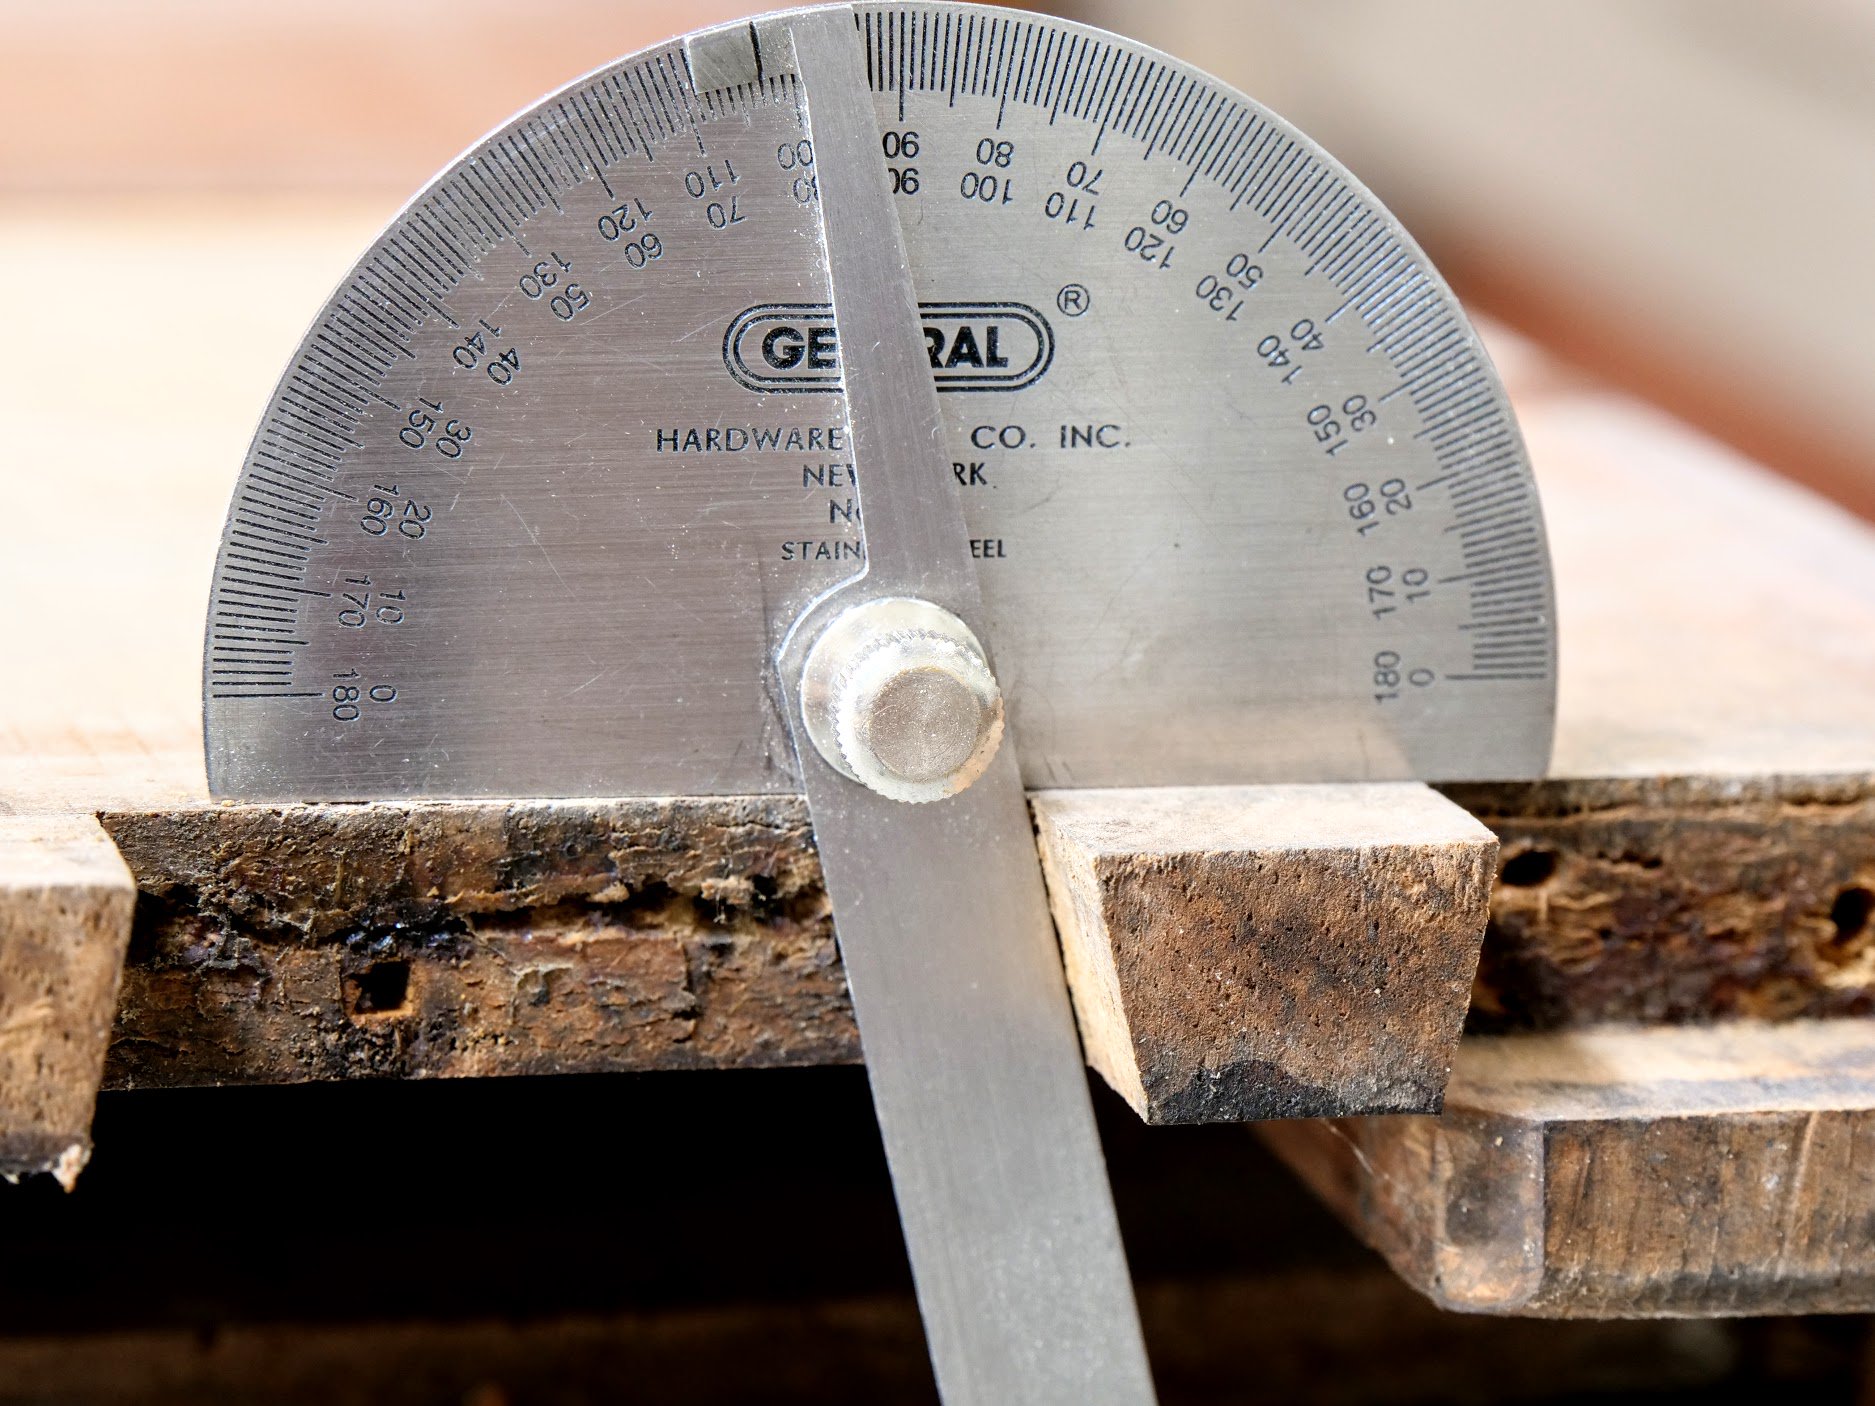
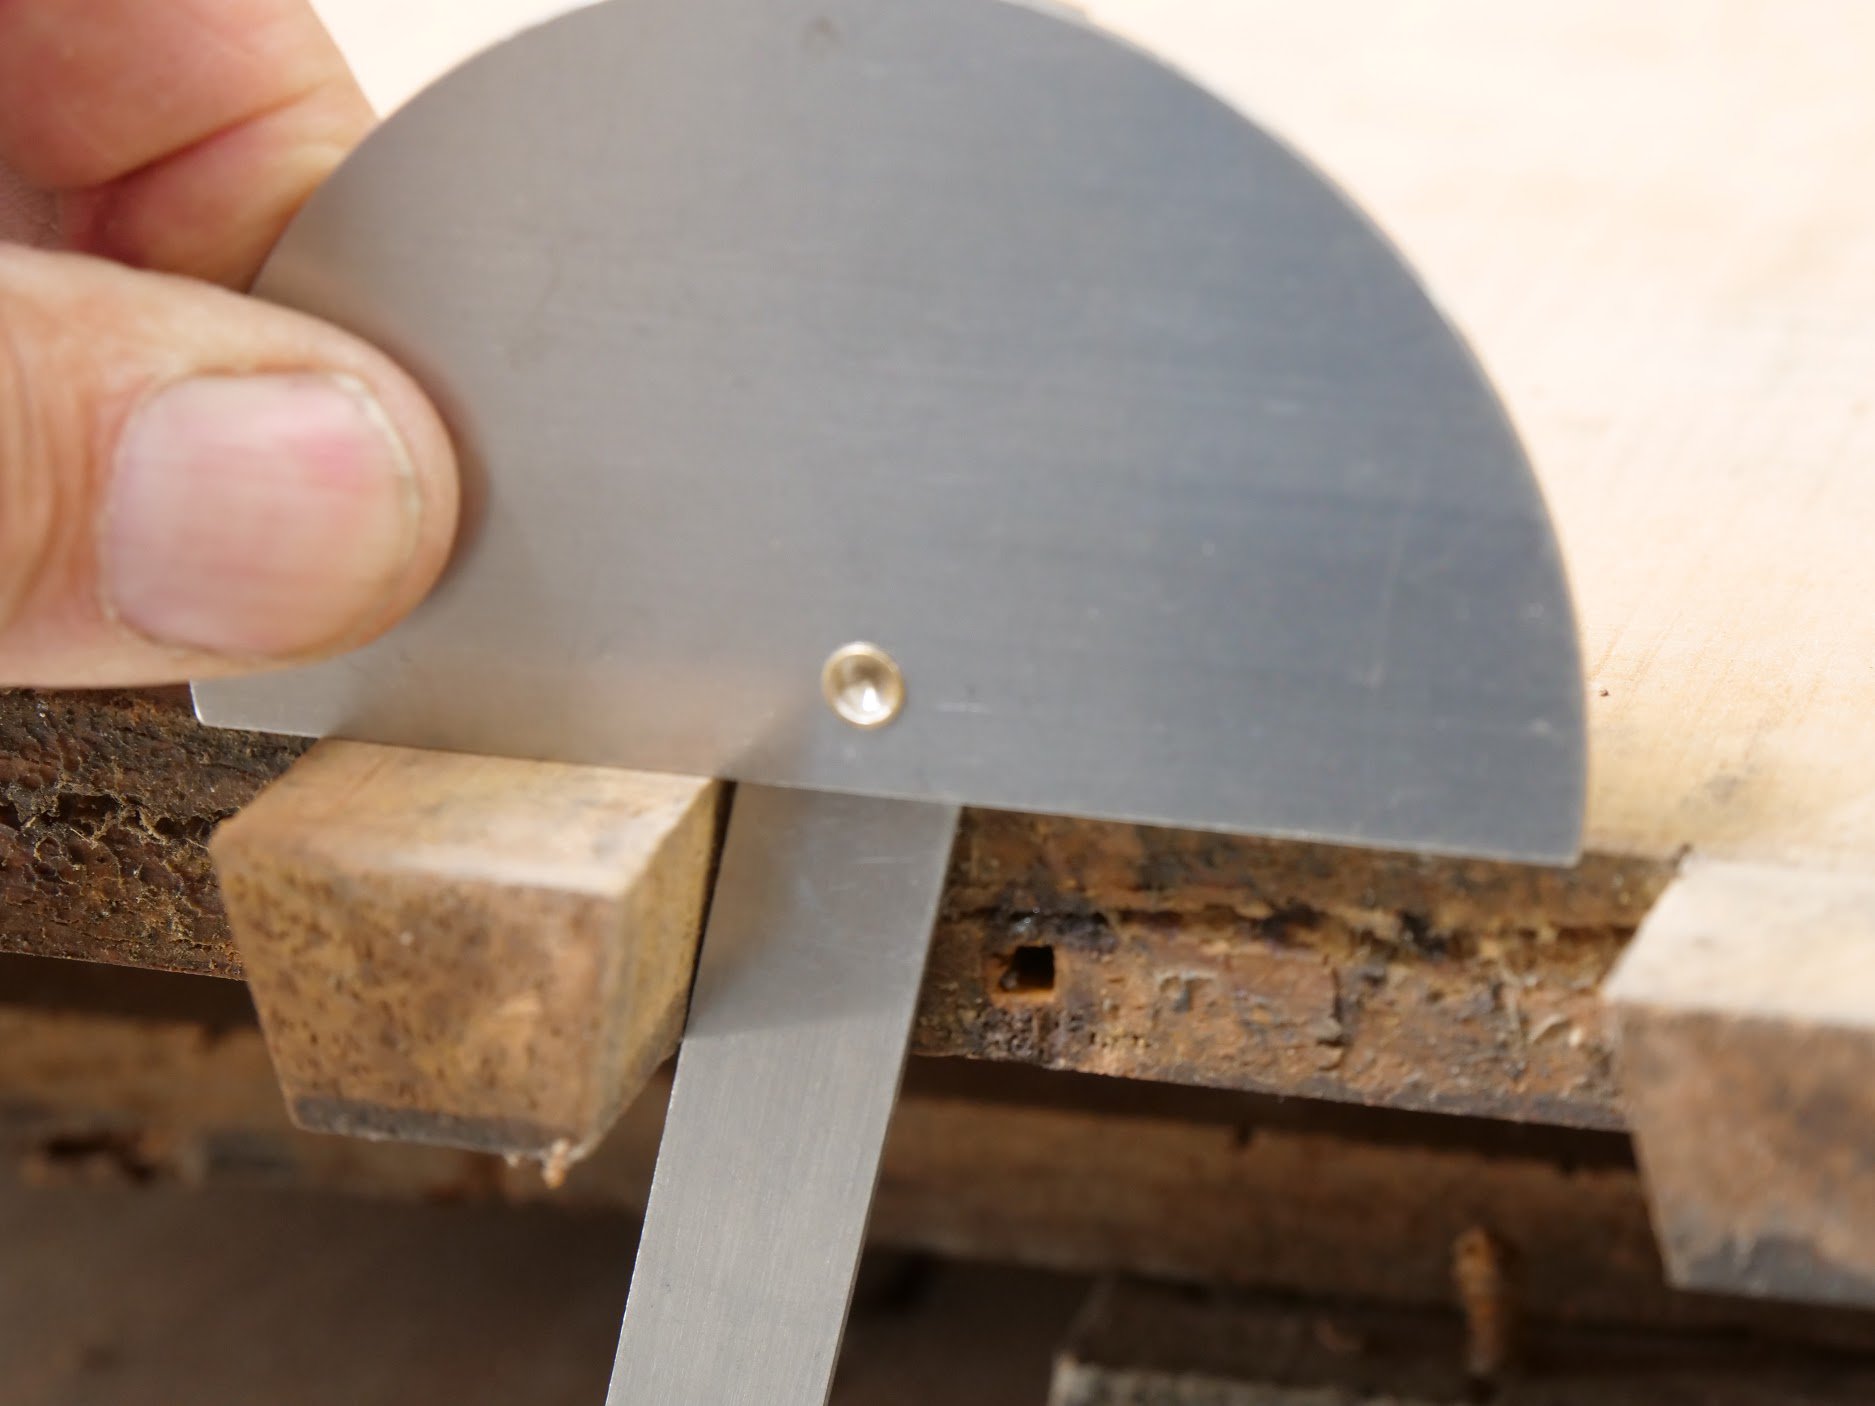
Here I transferred the angles directly from dovetails with my protractor and established the different pitches.
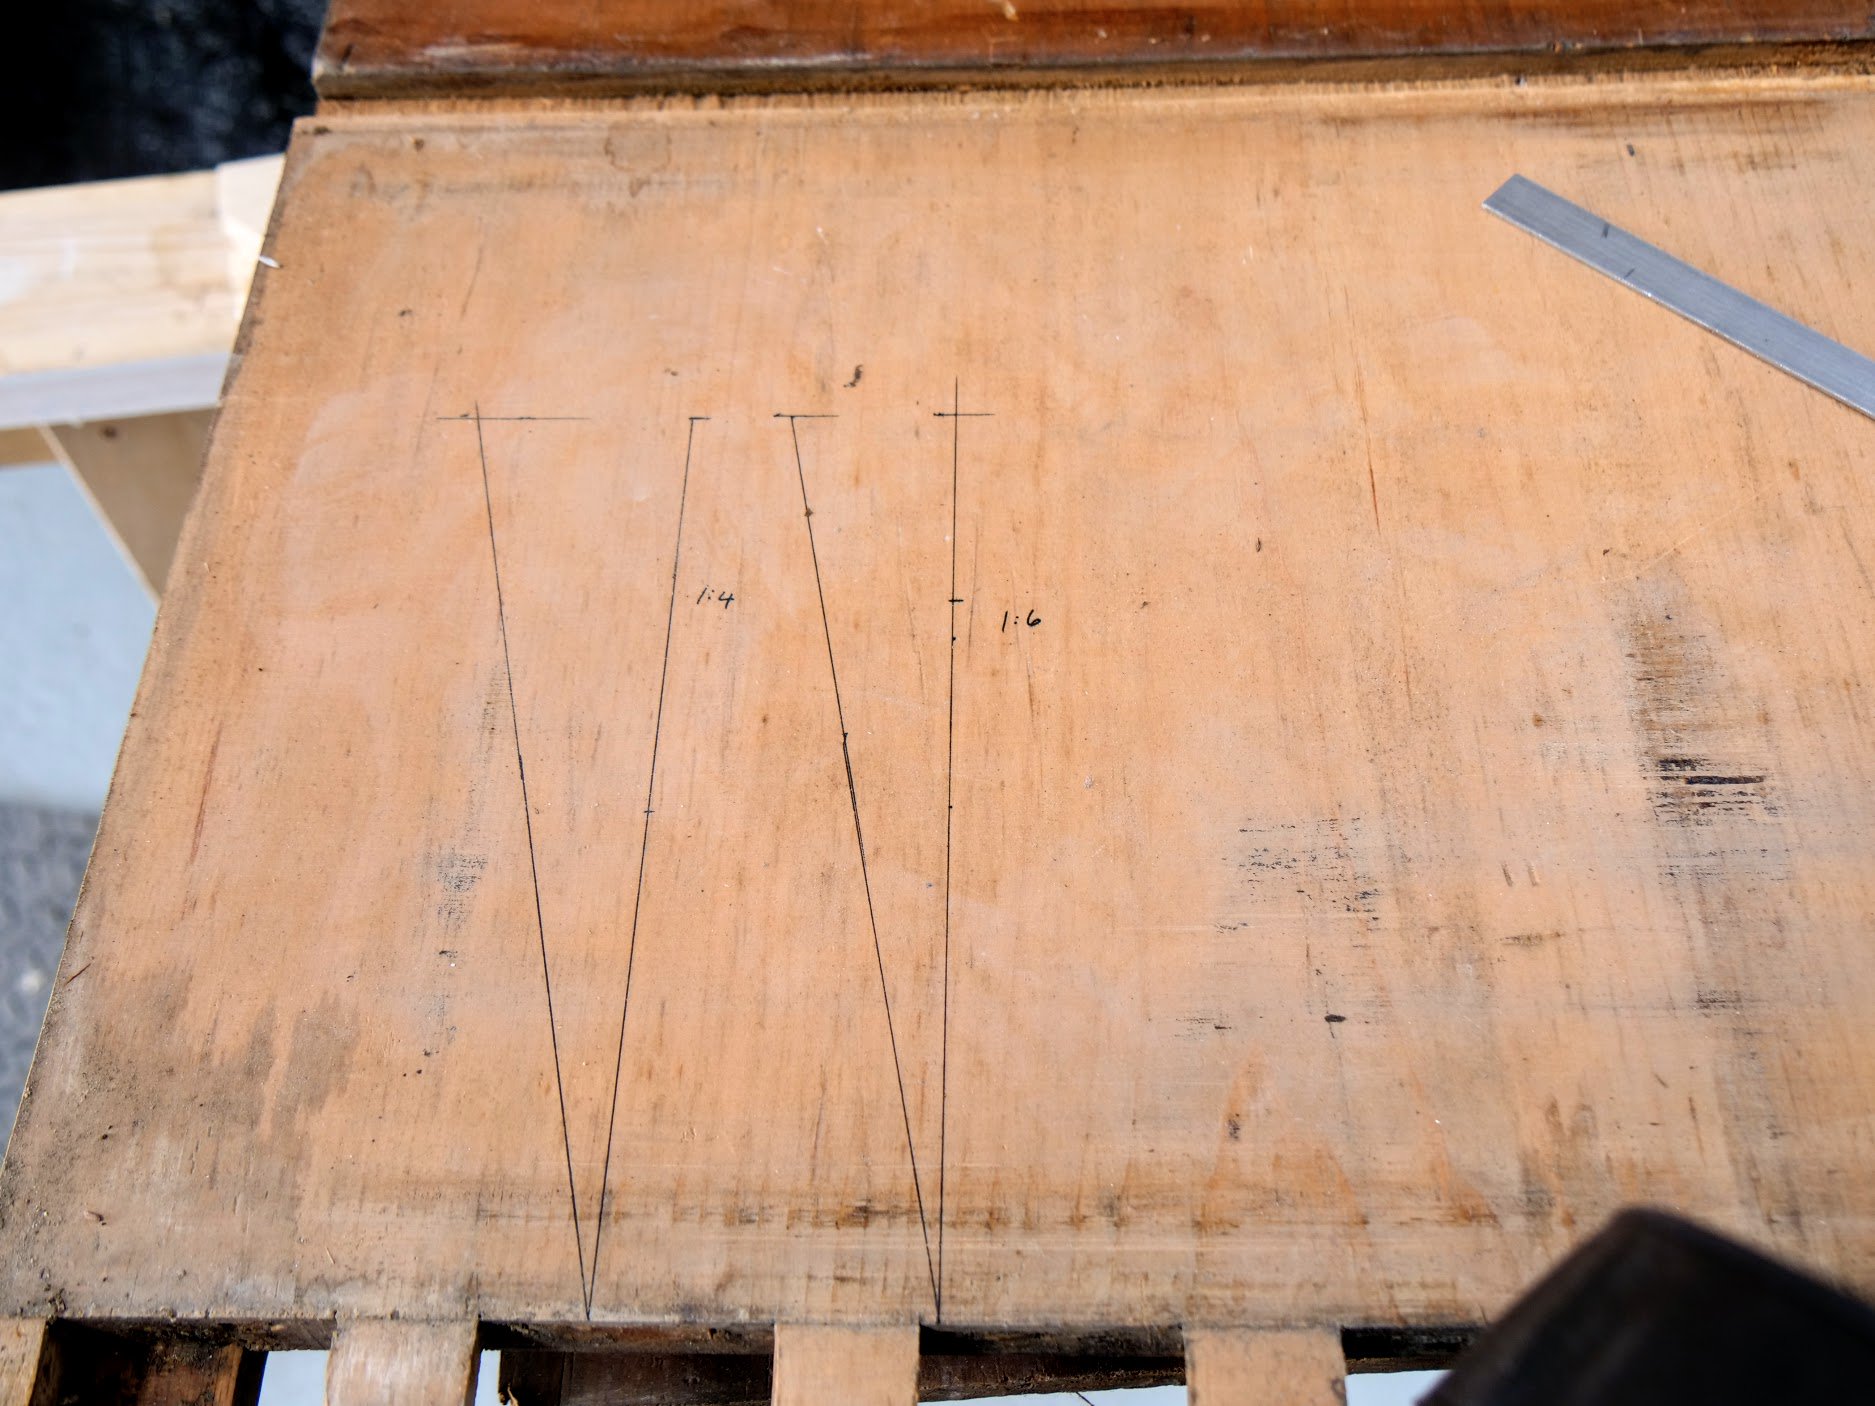
One thing I like is the utter defiance of this pitch or that that comes from that era. Nothing squeaky prissy about this man's work. He just got on with the job. No BA degree in furniture making here, just the long term judgement and acceptance of his peers. The variance in pitch was between 1:4 and 1:6. They held.
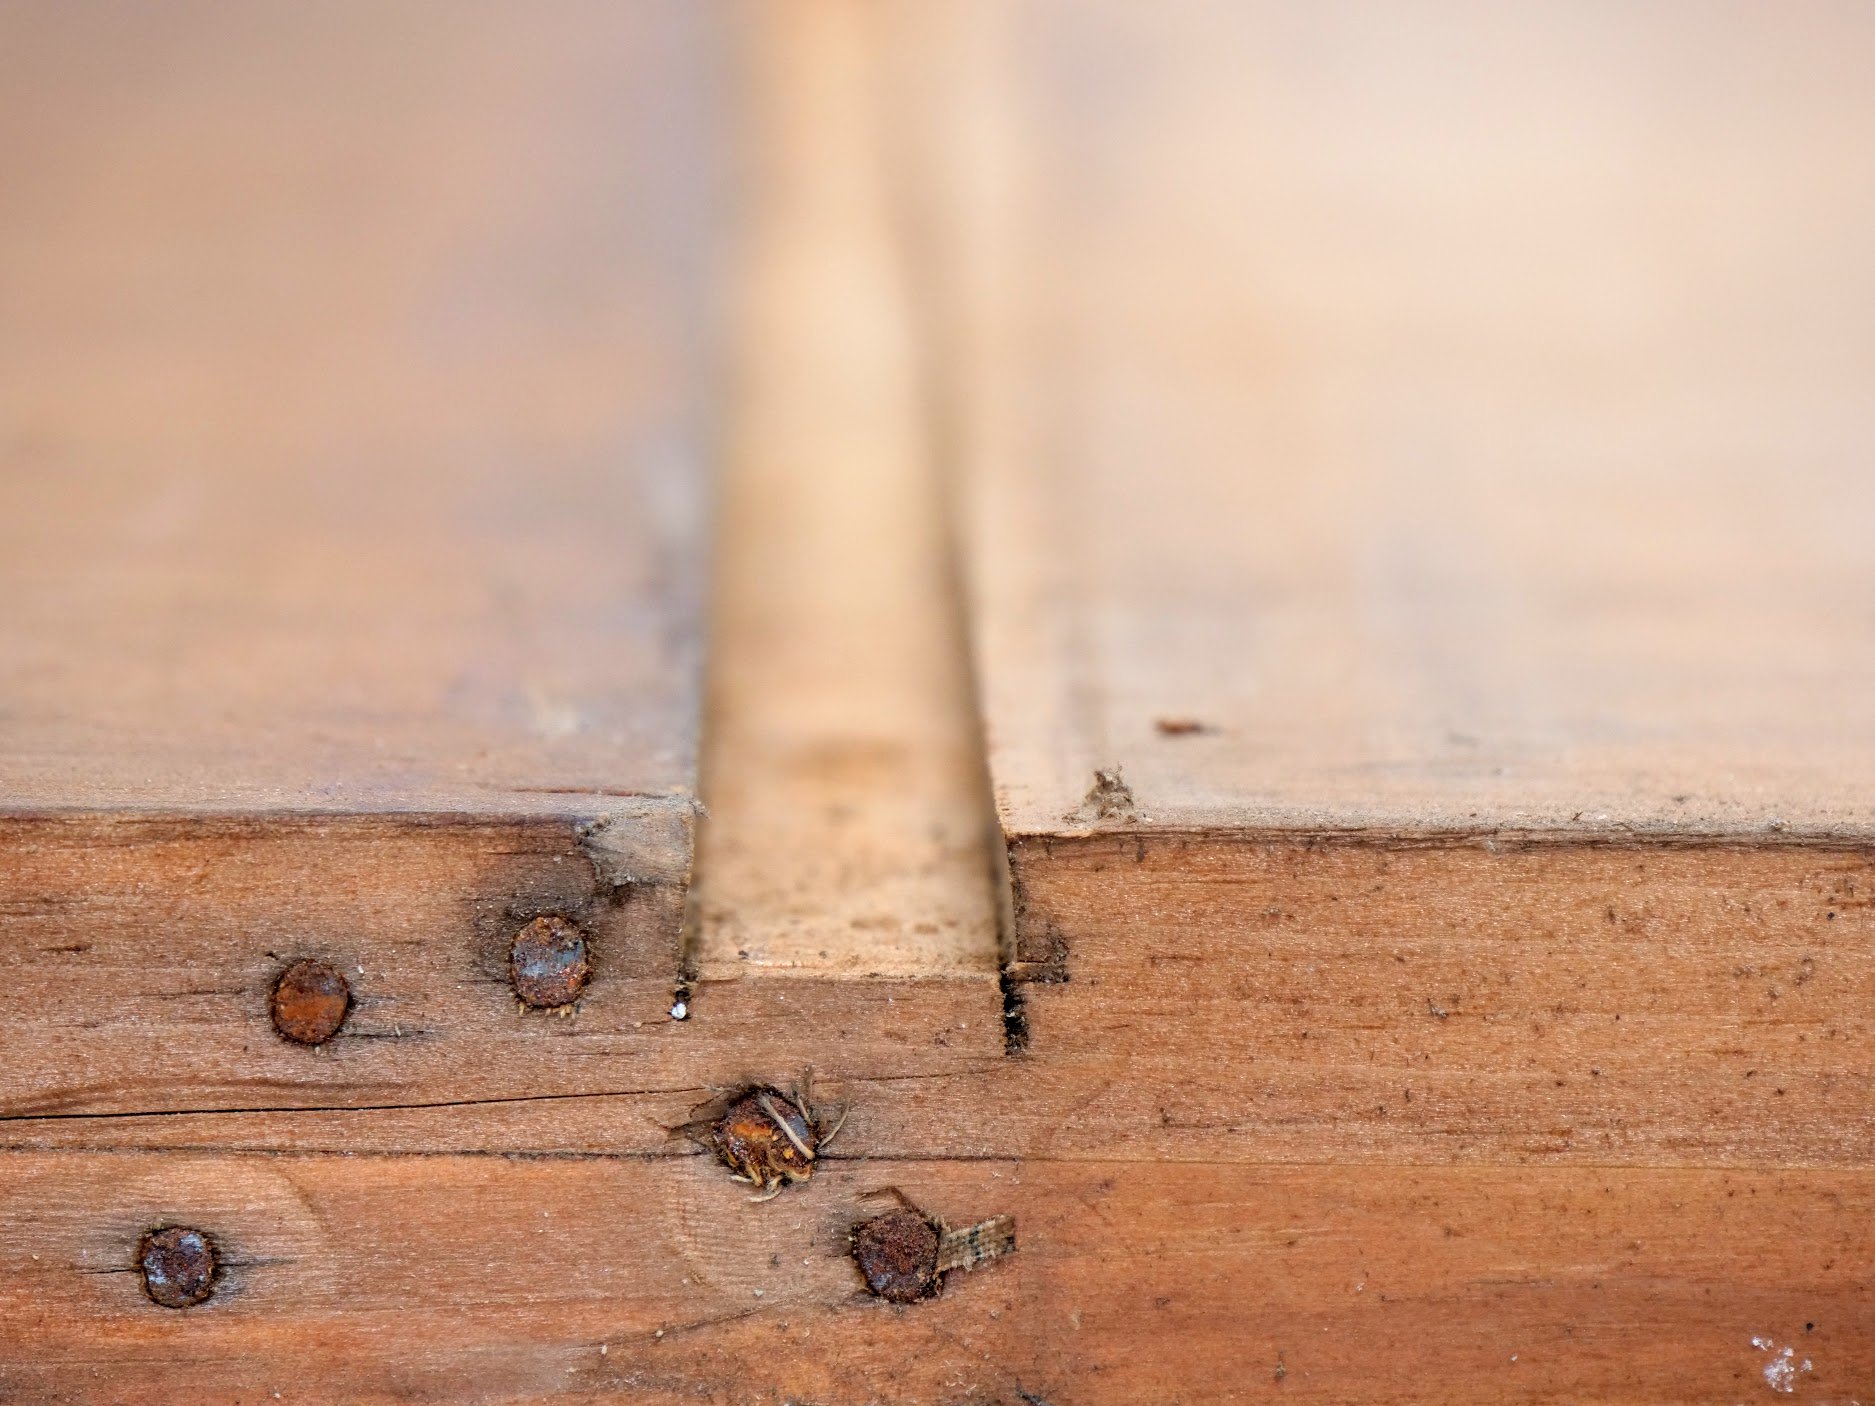
The sliding dovetails were almost always sawn, as these were, but little telltale signs show you exactly how. In this sliding dovetail, though not a through sliding dovetail, the walls and angles were sawn 90 percent of the way across, but how was it done if it wasn't sawn all the way though? As a lad I was taught to use the same methods as the man used here. Having laid out the lines for the walls of the recess, you chisel down a recess at the furthest point away from you about two inches long. This recessed area enables you to start the saw cut using the start of the tenon saw. You drop the points of the leading teeth alongside the chiselled walls, angled for dovetail wall and the square down wall too, as both are used in the case of this sliding dovetail, and start sawing with short strokes, lowering the full line of teeth into the cut as you progress and working back from the recess. As in the case of the craftsman here, depth didn't matter. He just ran the saw cut until he felt it was deep enough and then chiseled and routed out the waste wood to depth. He sawed the dovetail too, to the corresponding angle. No fuss, no messing about, Two honest cuts and in it went. Ten minutes to each sliding dovetail max. Dead easy.
You see in this photo you can see the traces of the chisel work where the fibres of softer wood compressed between the hard aspects of the growth rings. Along the rest of the length of the recess the evidence of saw work is crystal clear. Crisp, exact, unfaltering! Talk of beauty.
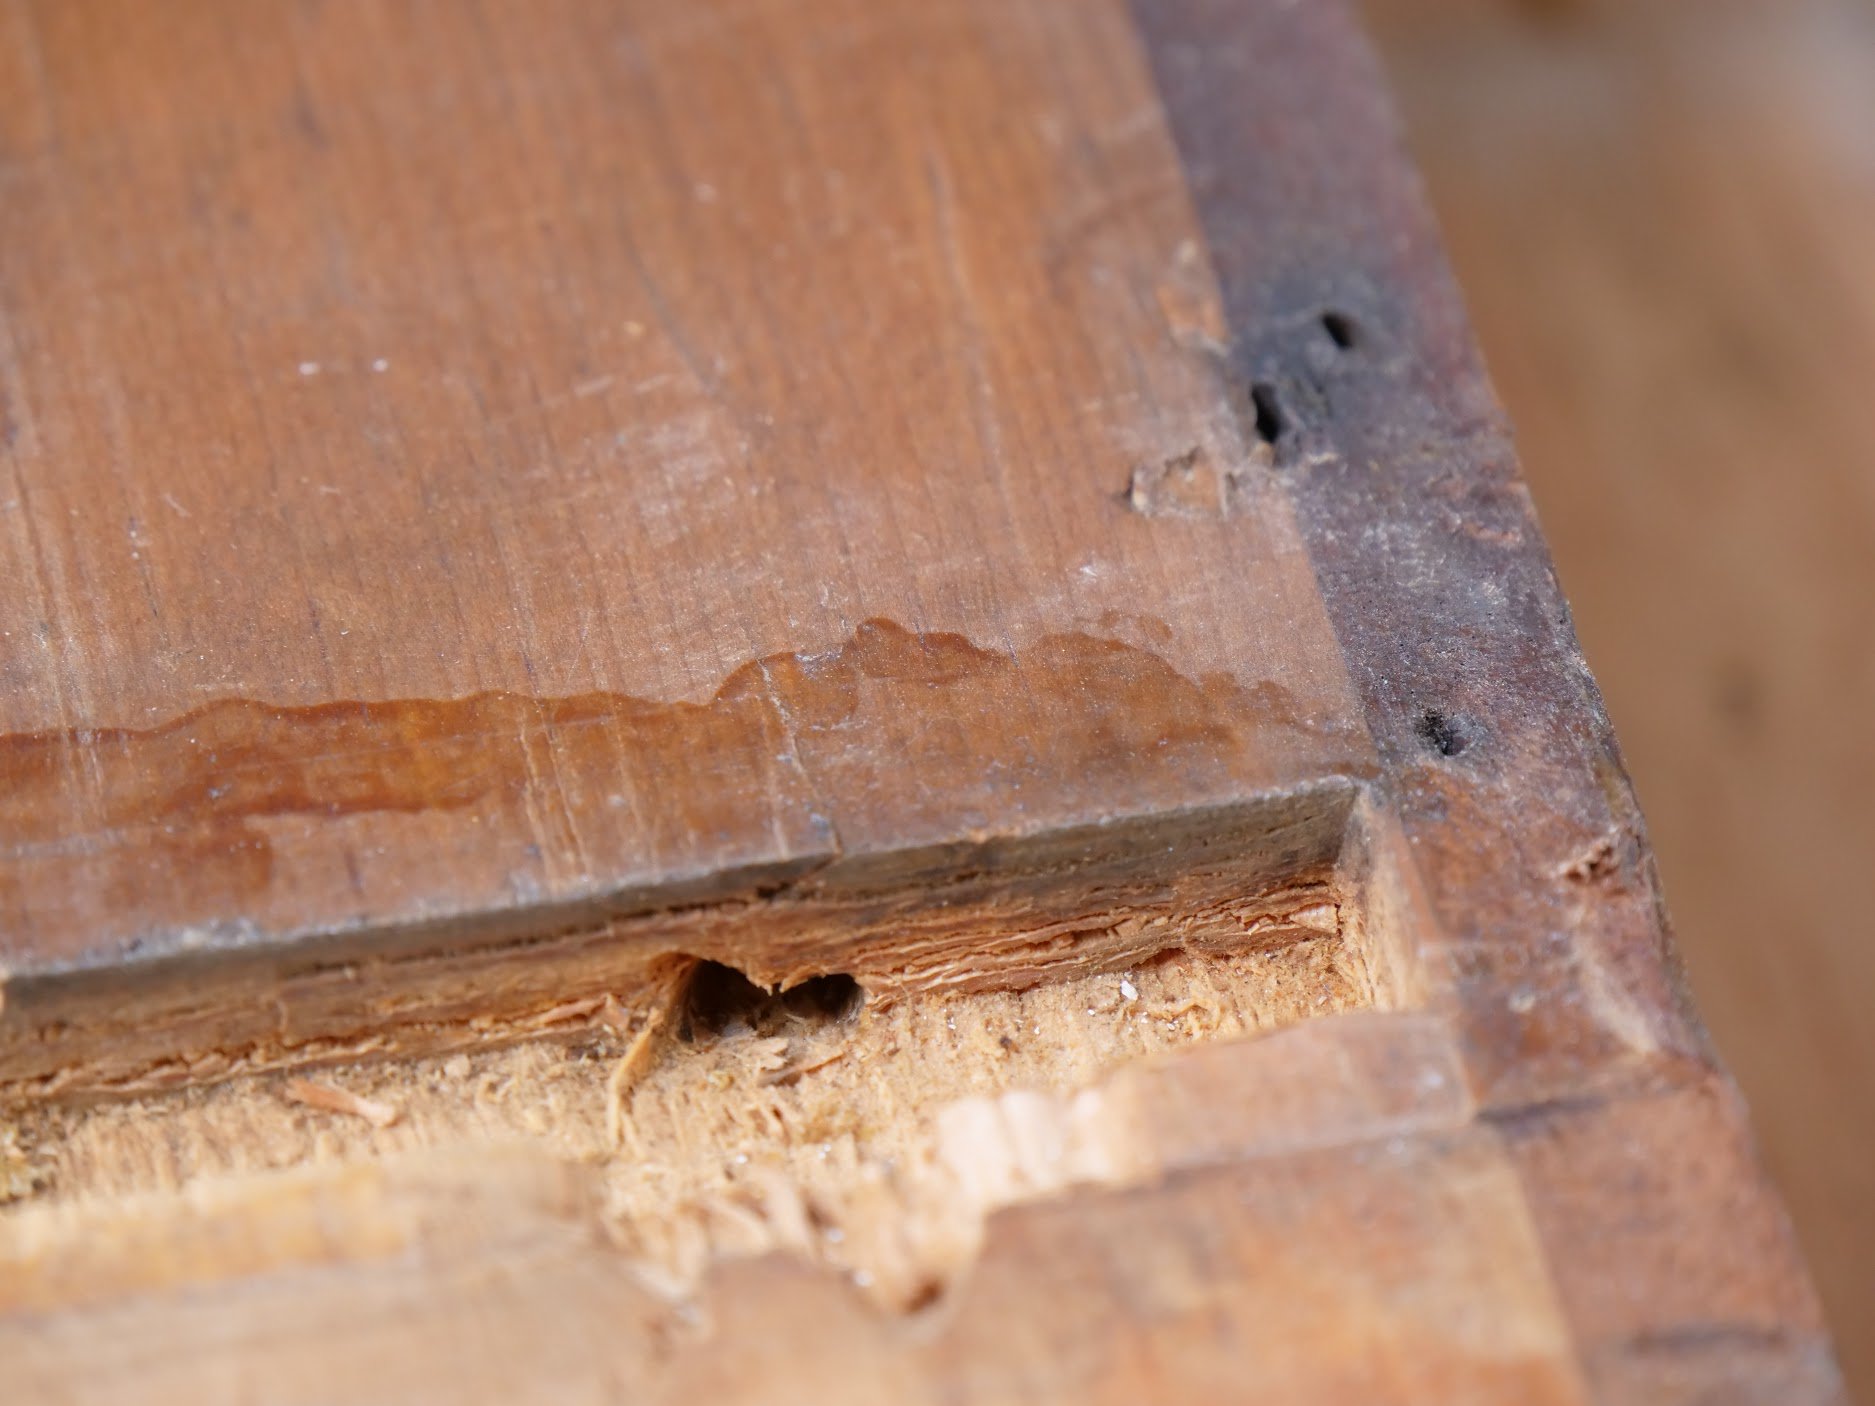
Here you see the sawn work clearly on the dado...
...and the end of the shelf, to the dovetail, which is single sided. Very crisp workmanship.
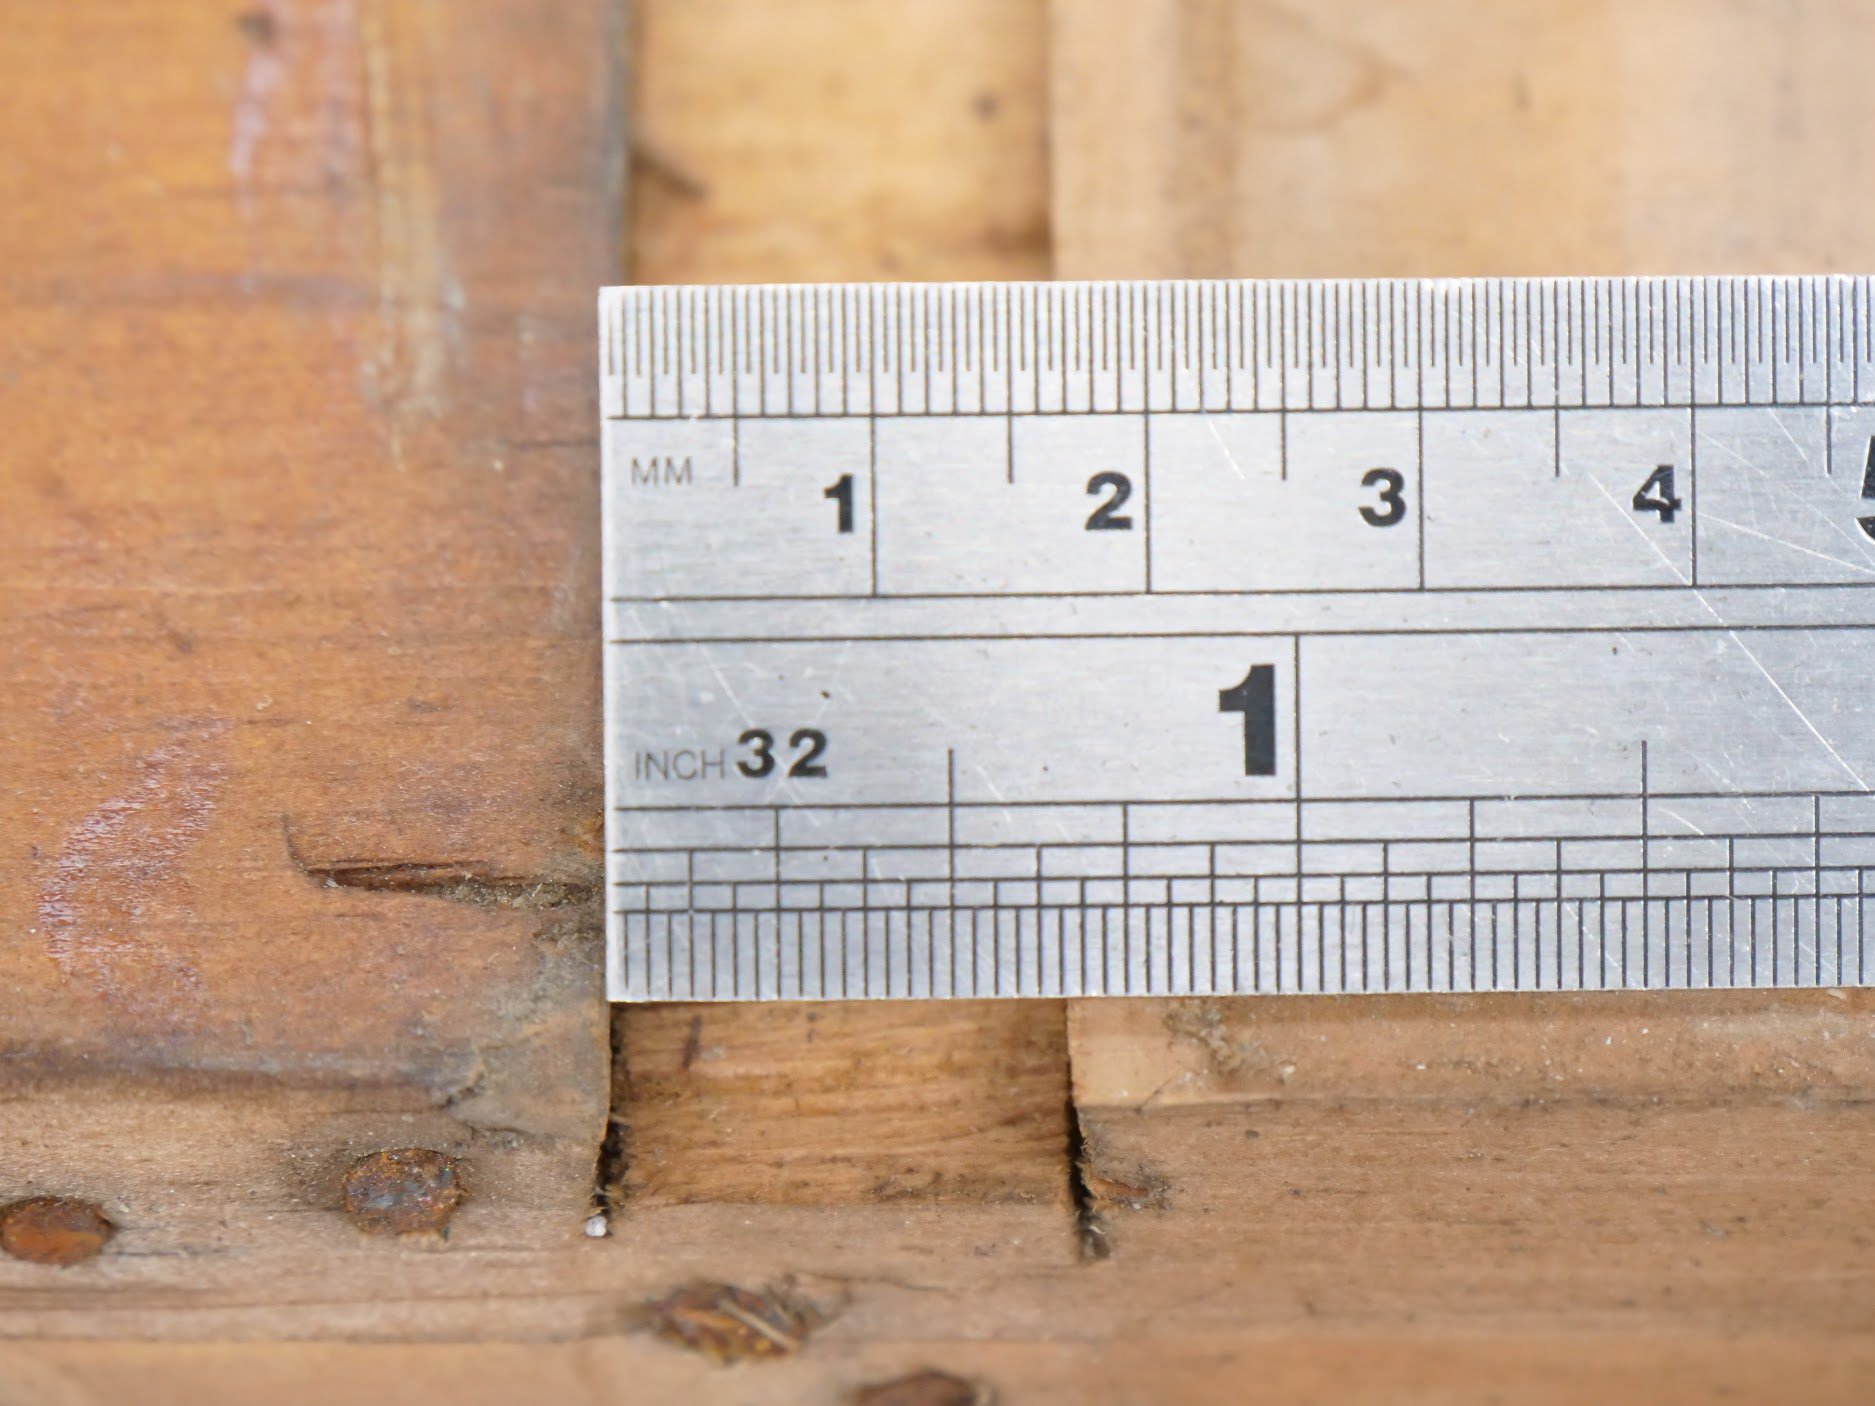
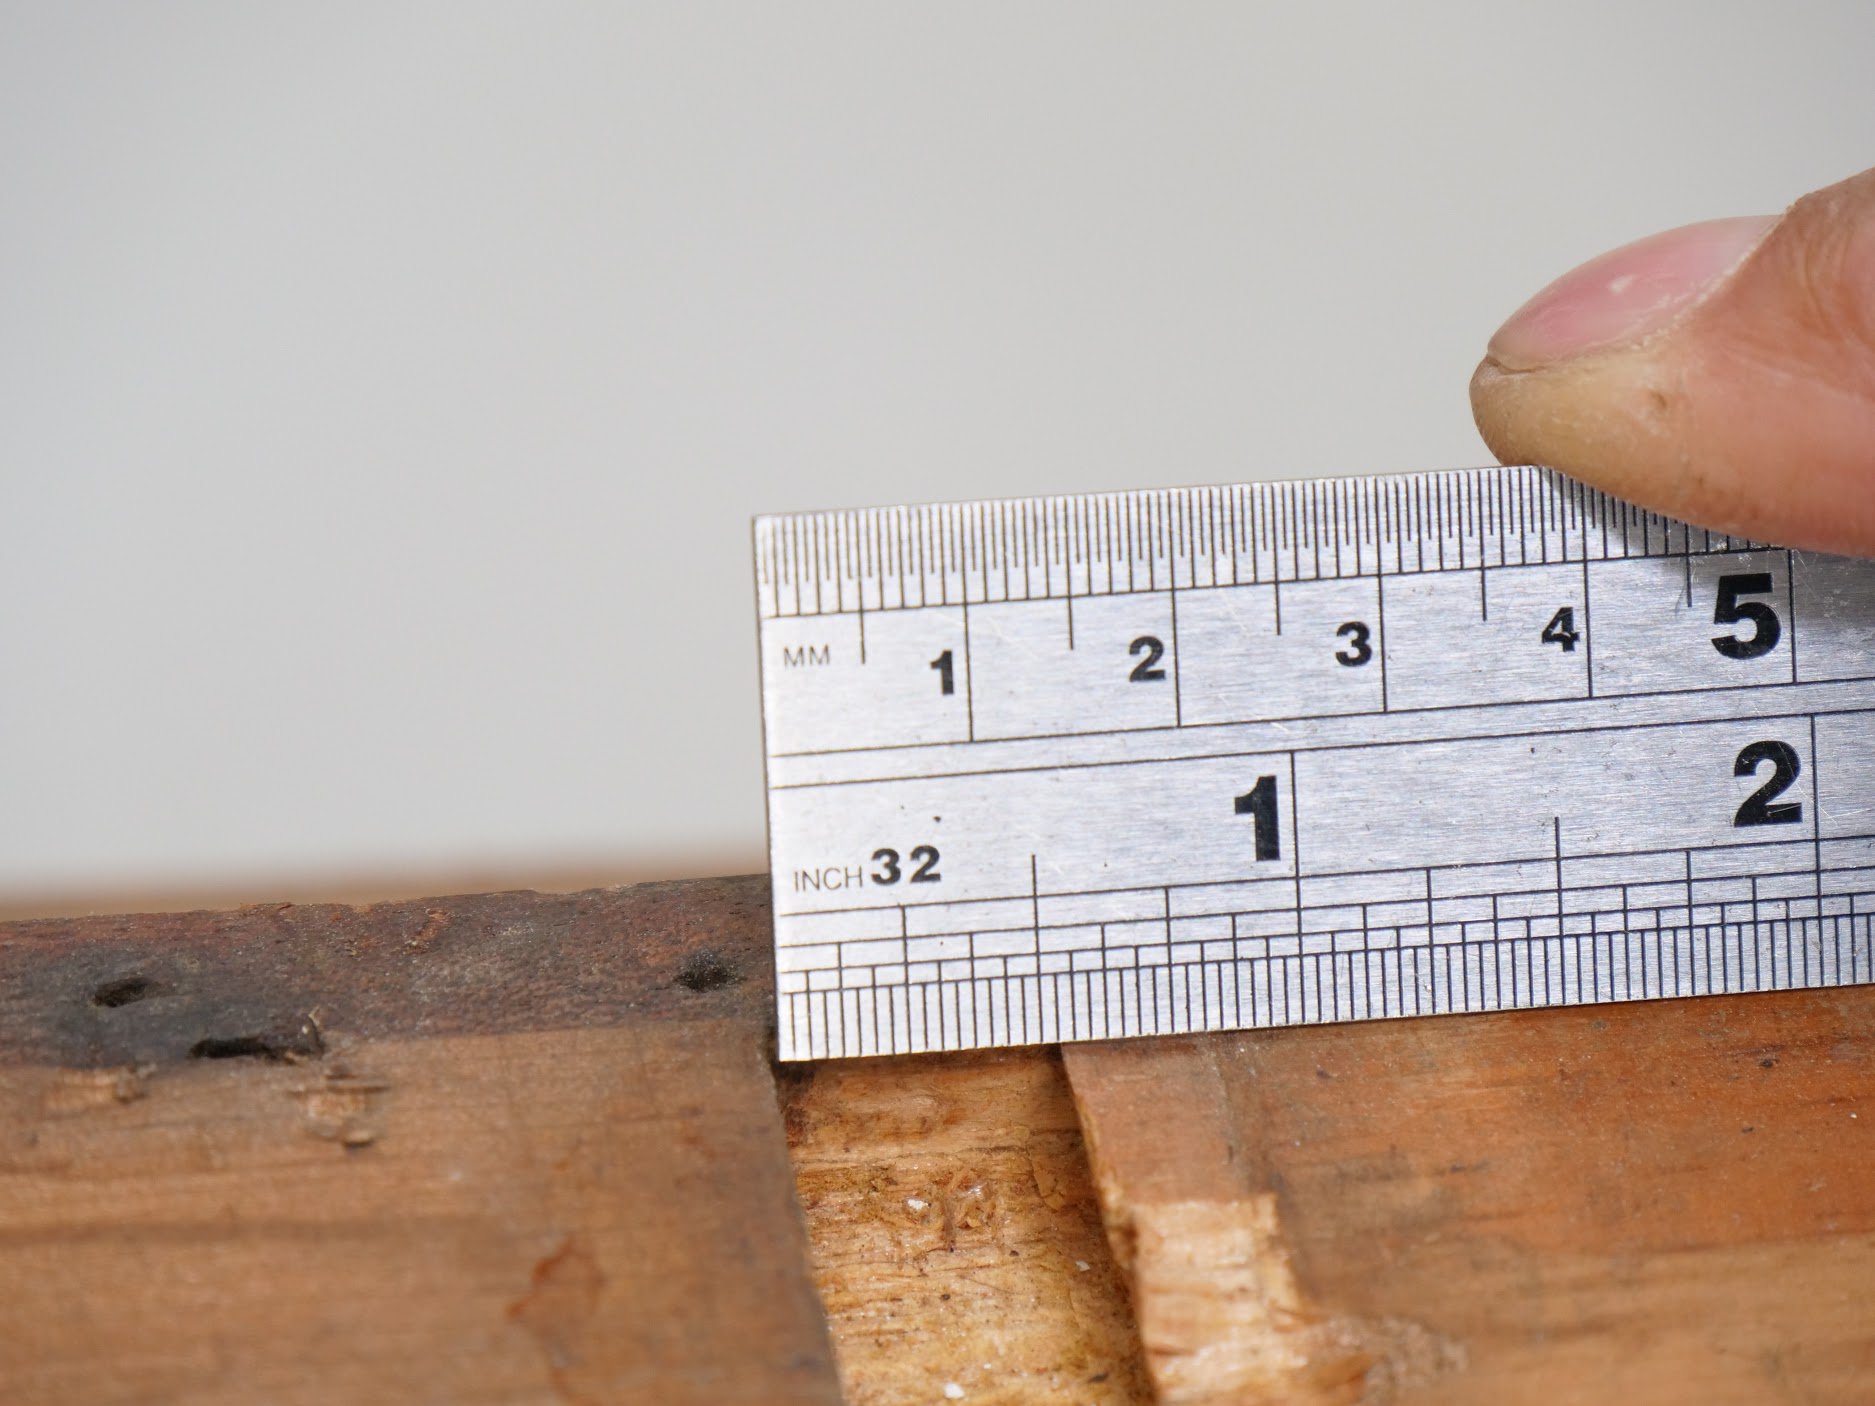
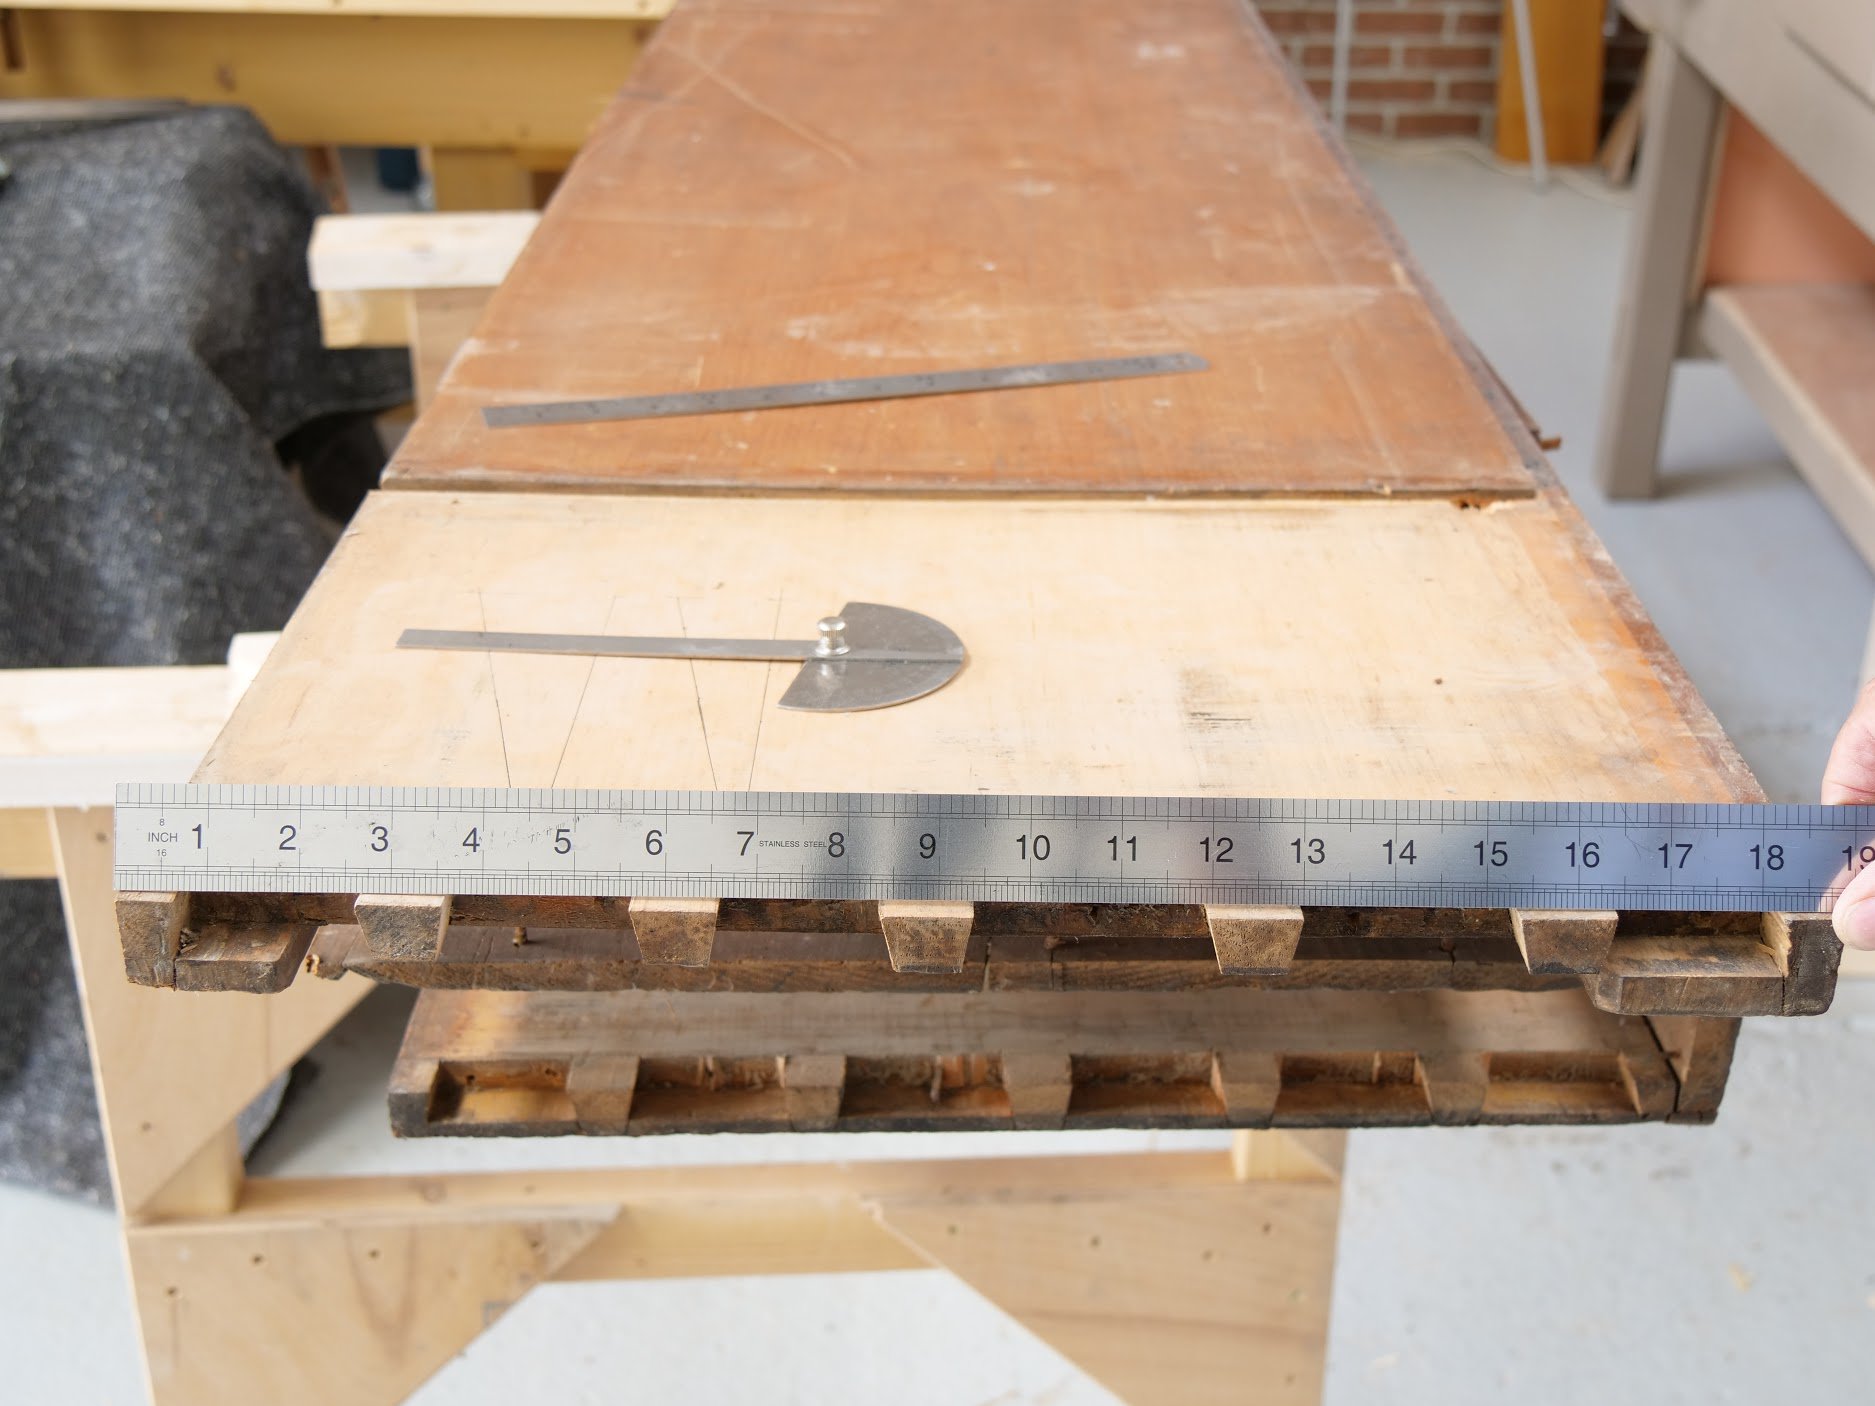
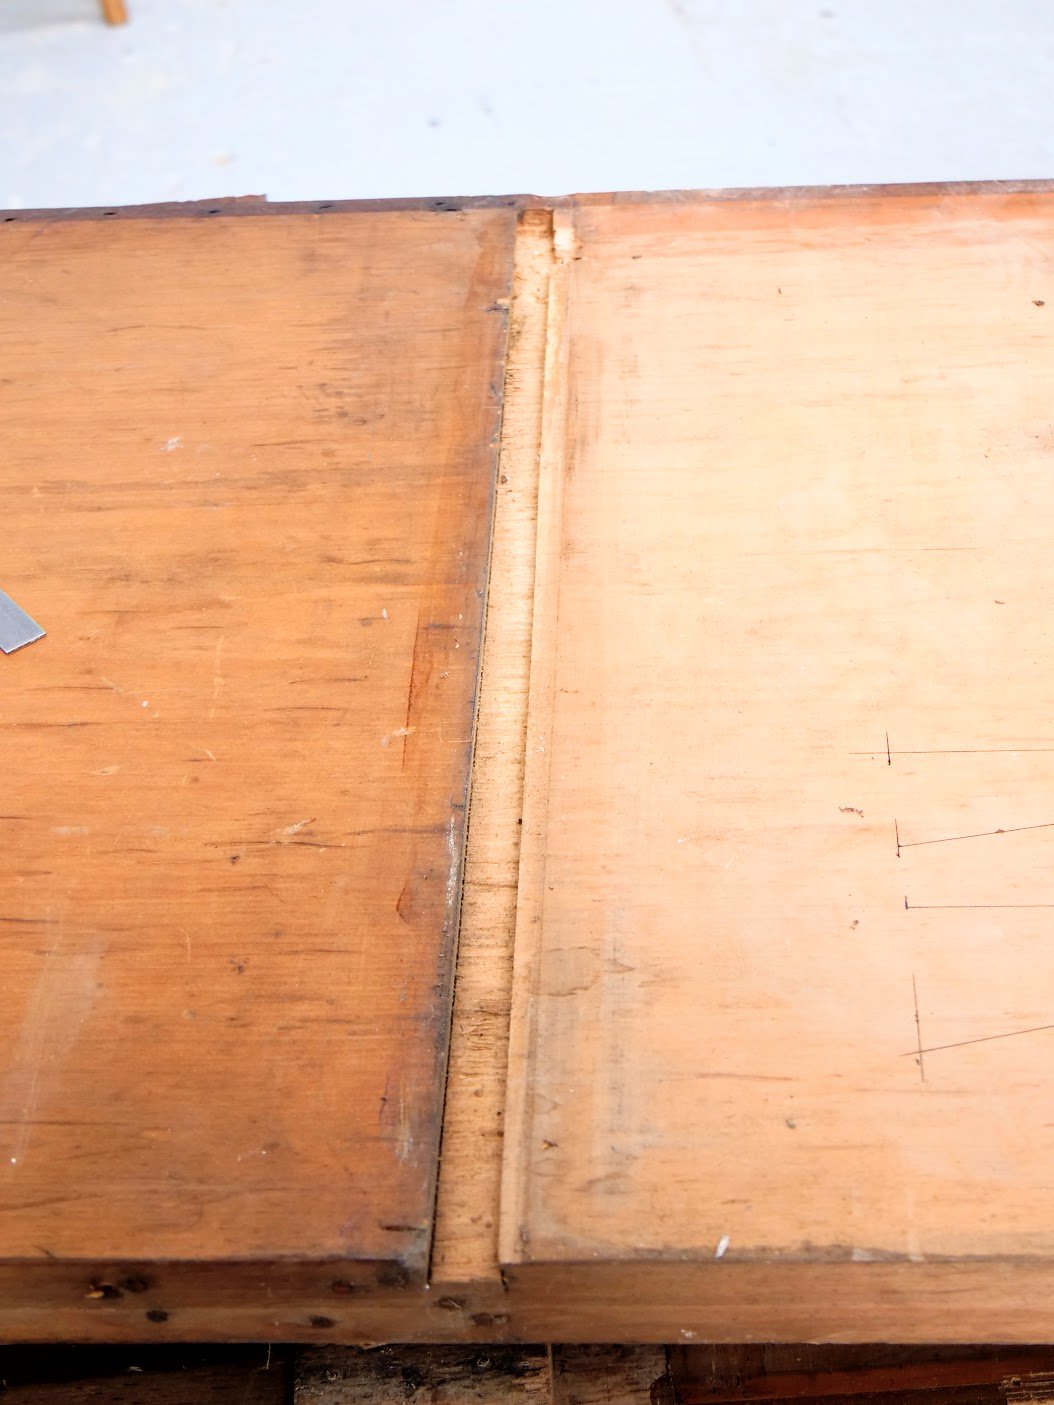
These two following pictures are for recording references of the man's work and show the long and shallow taper to the sliding dovetail.
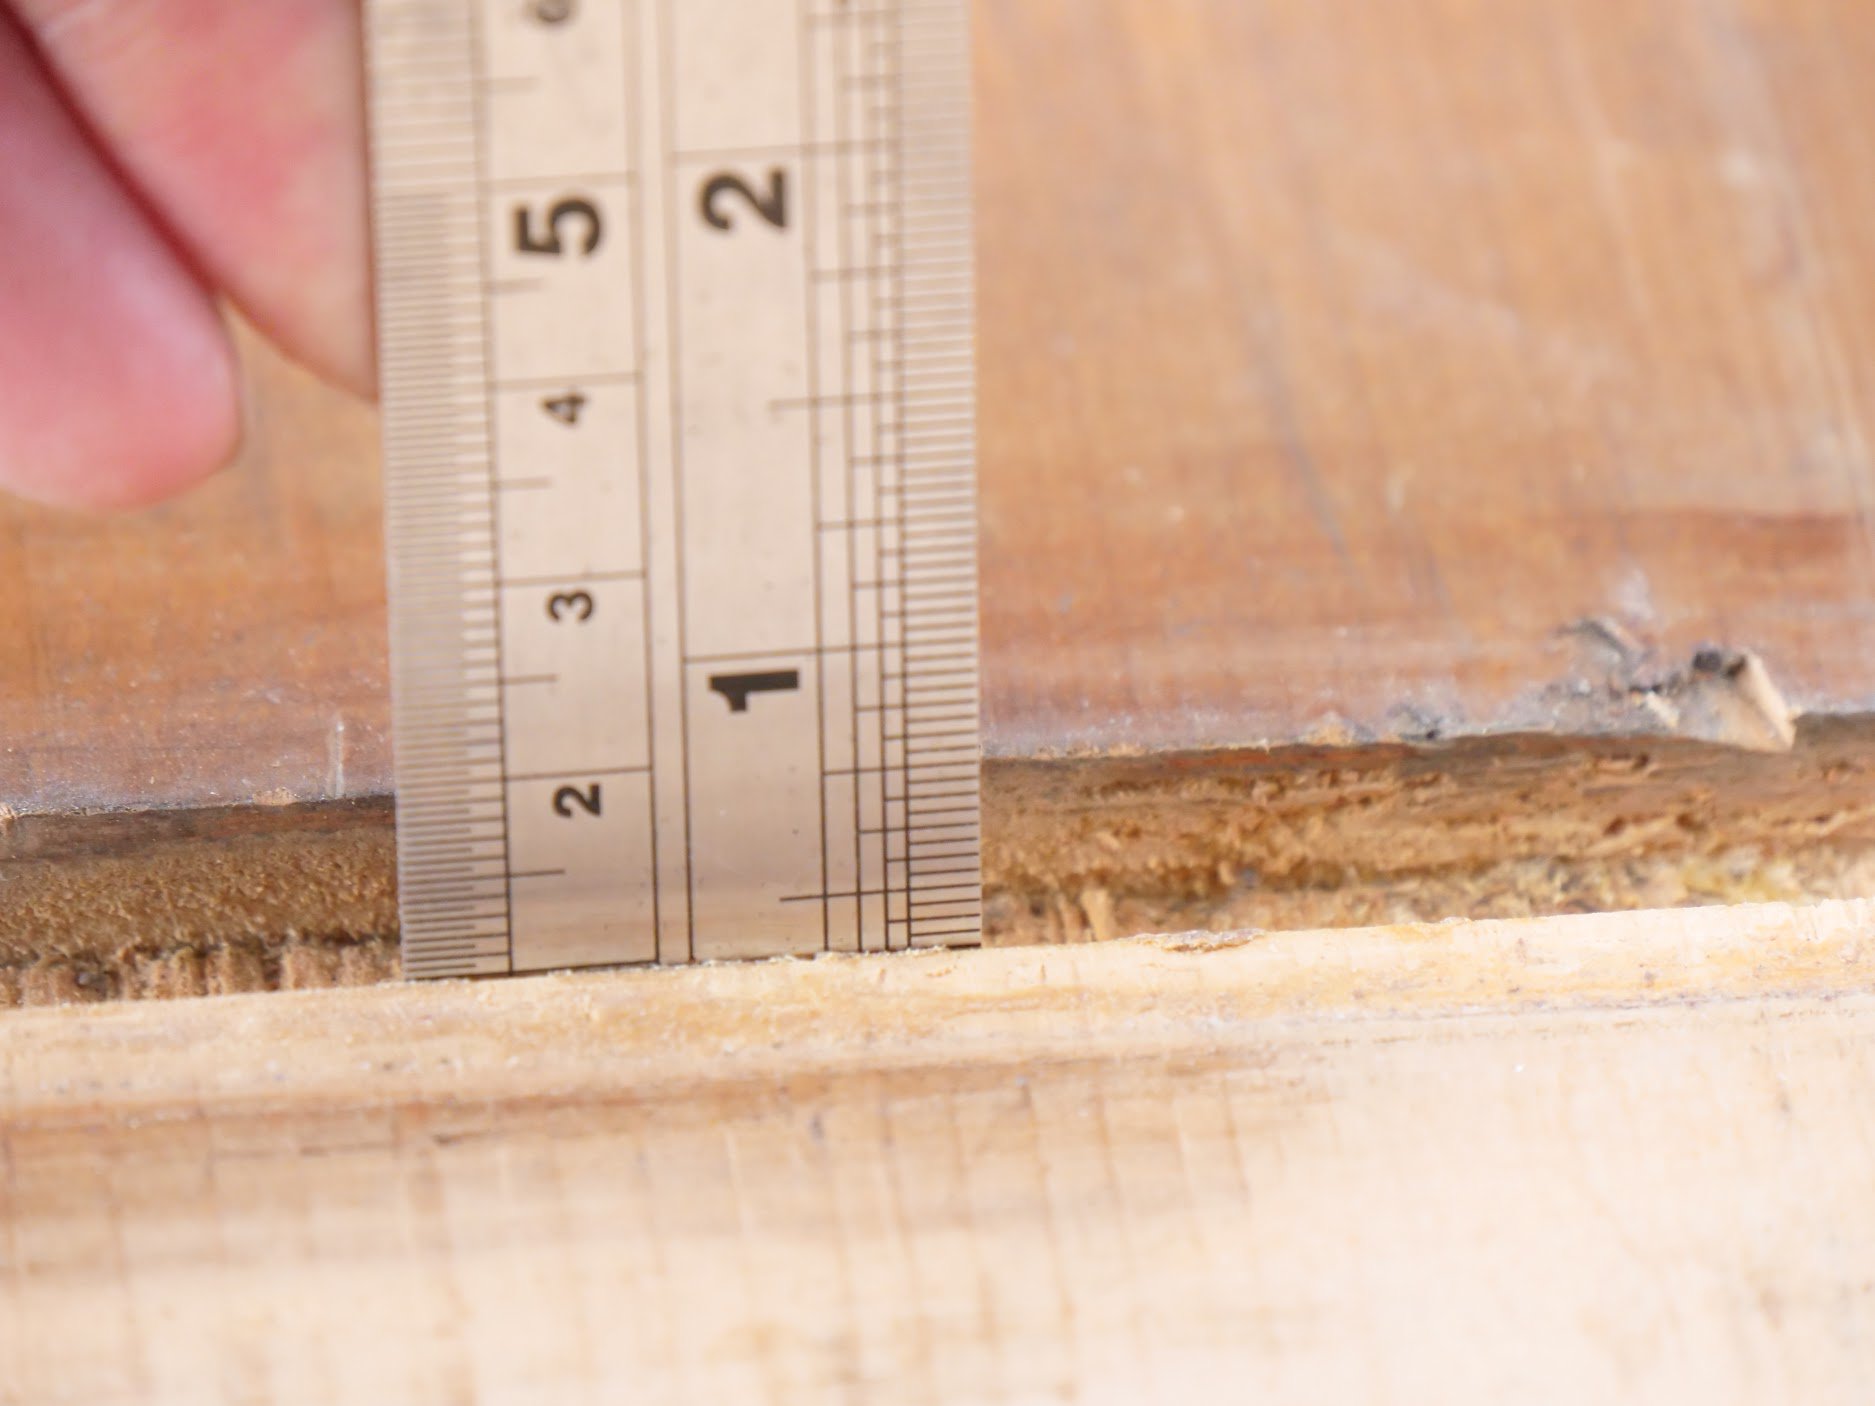
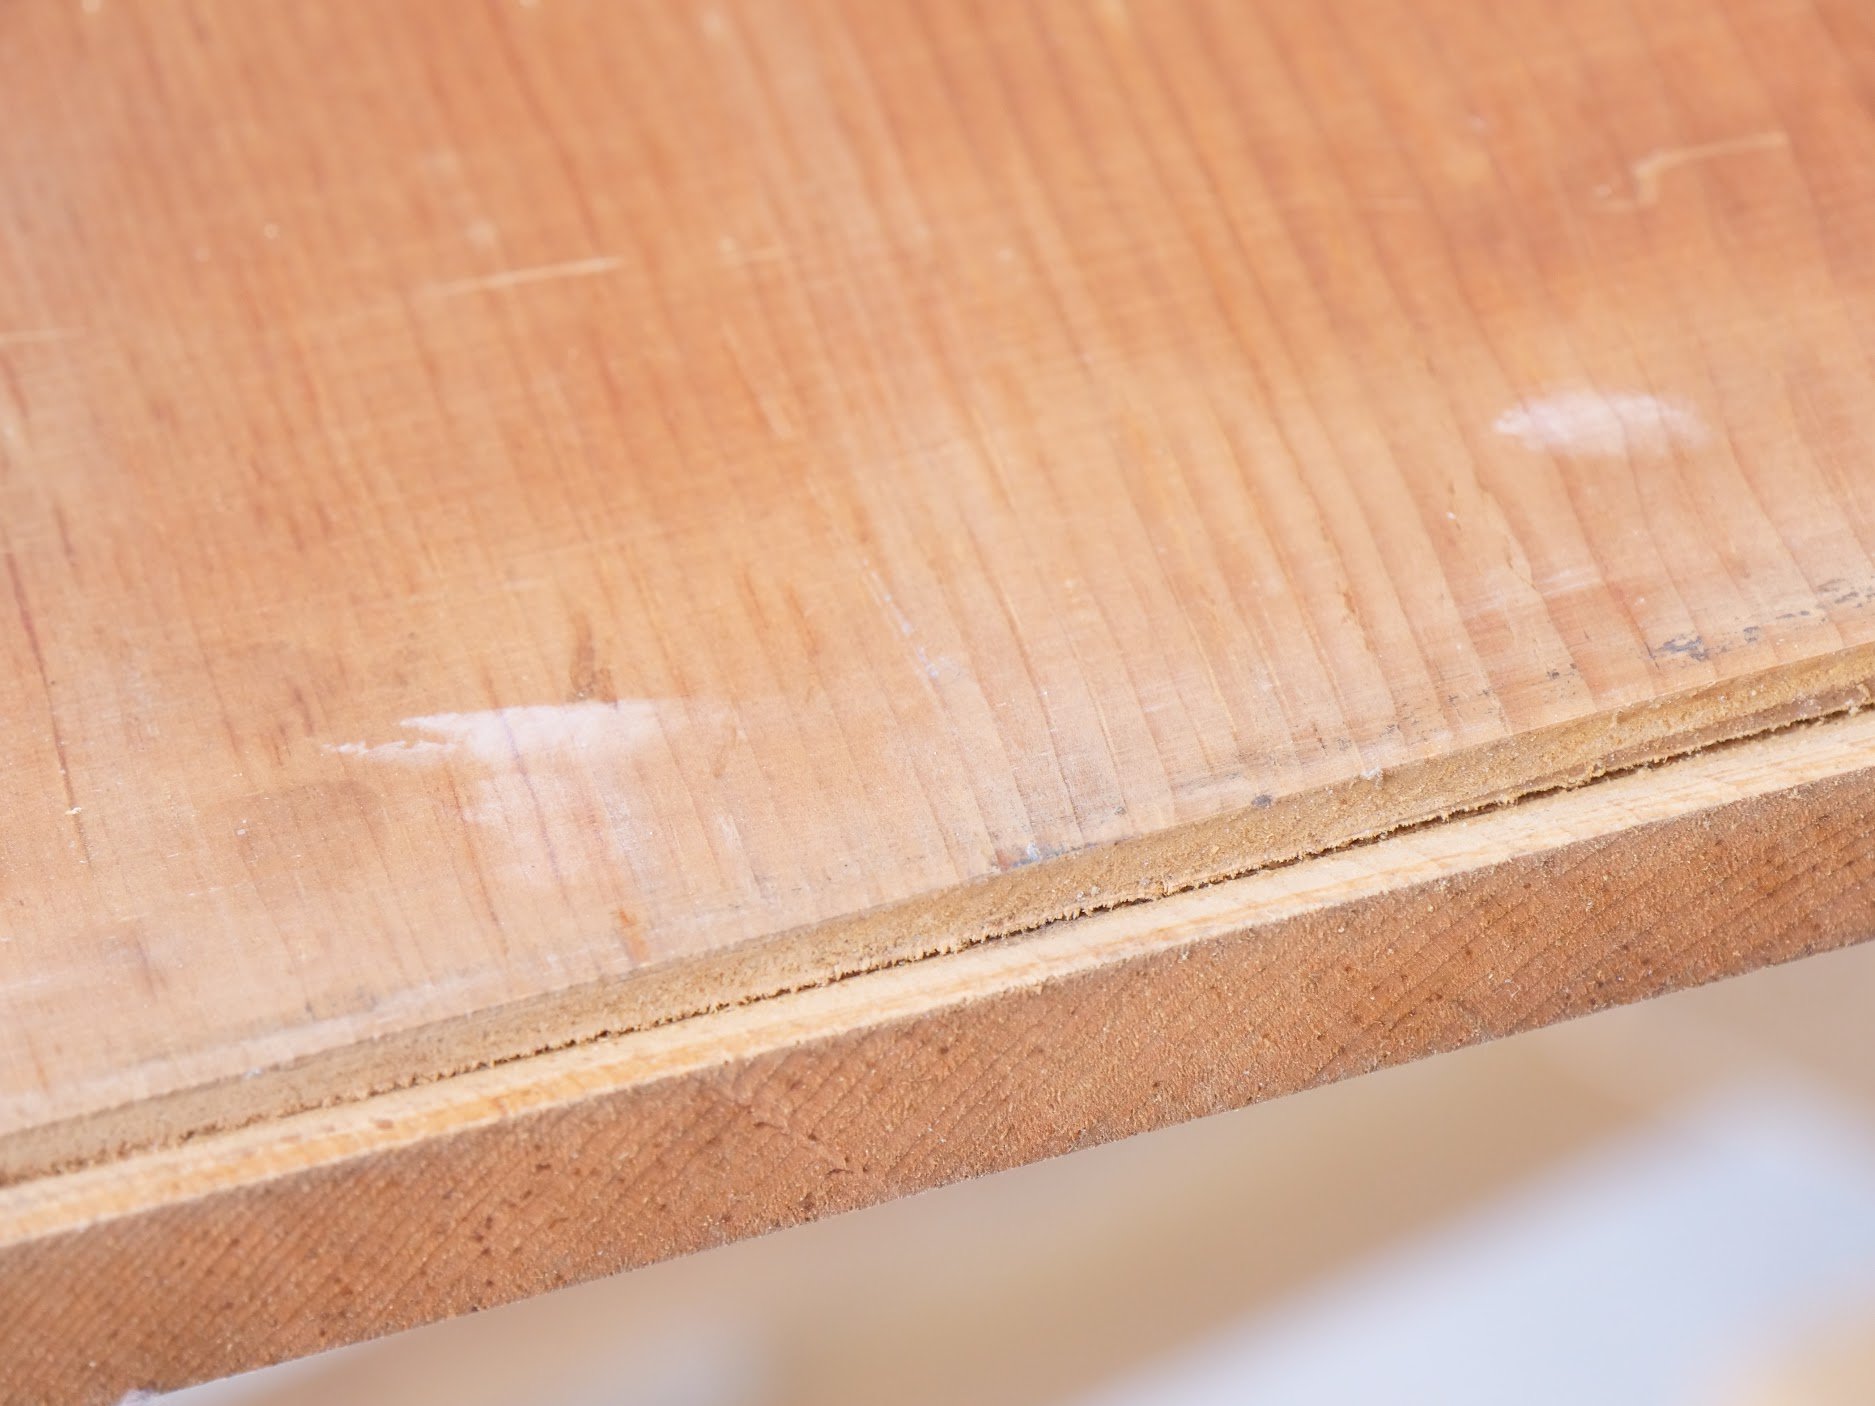
This last image shows the depth of the housing. Again for reference.
Comments ()