Another Week's Work Unfolds
Friday 3rd March 2017
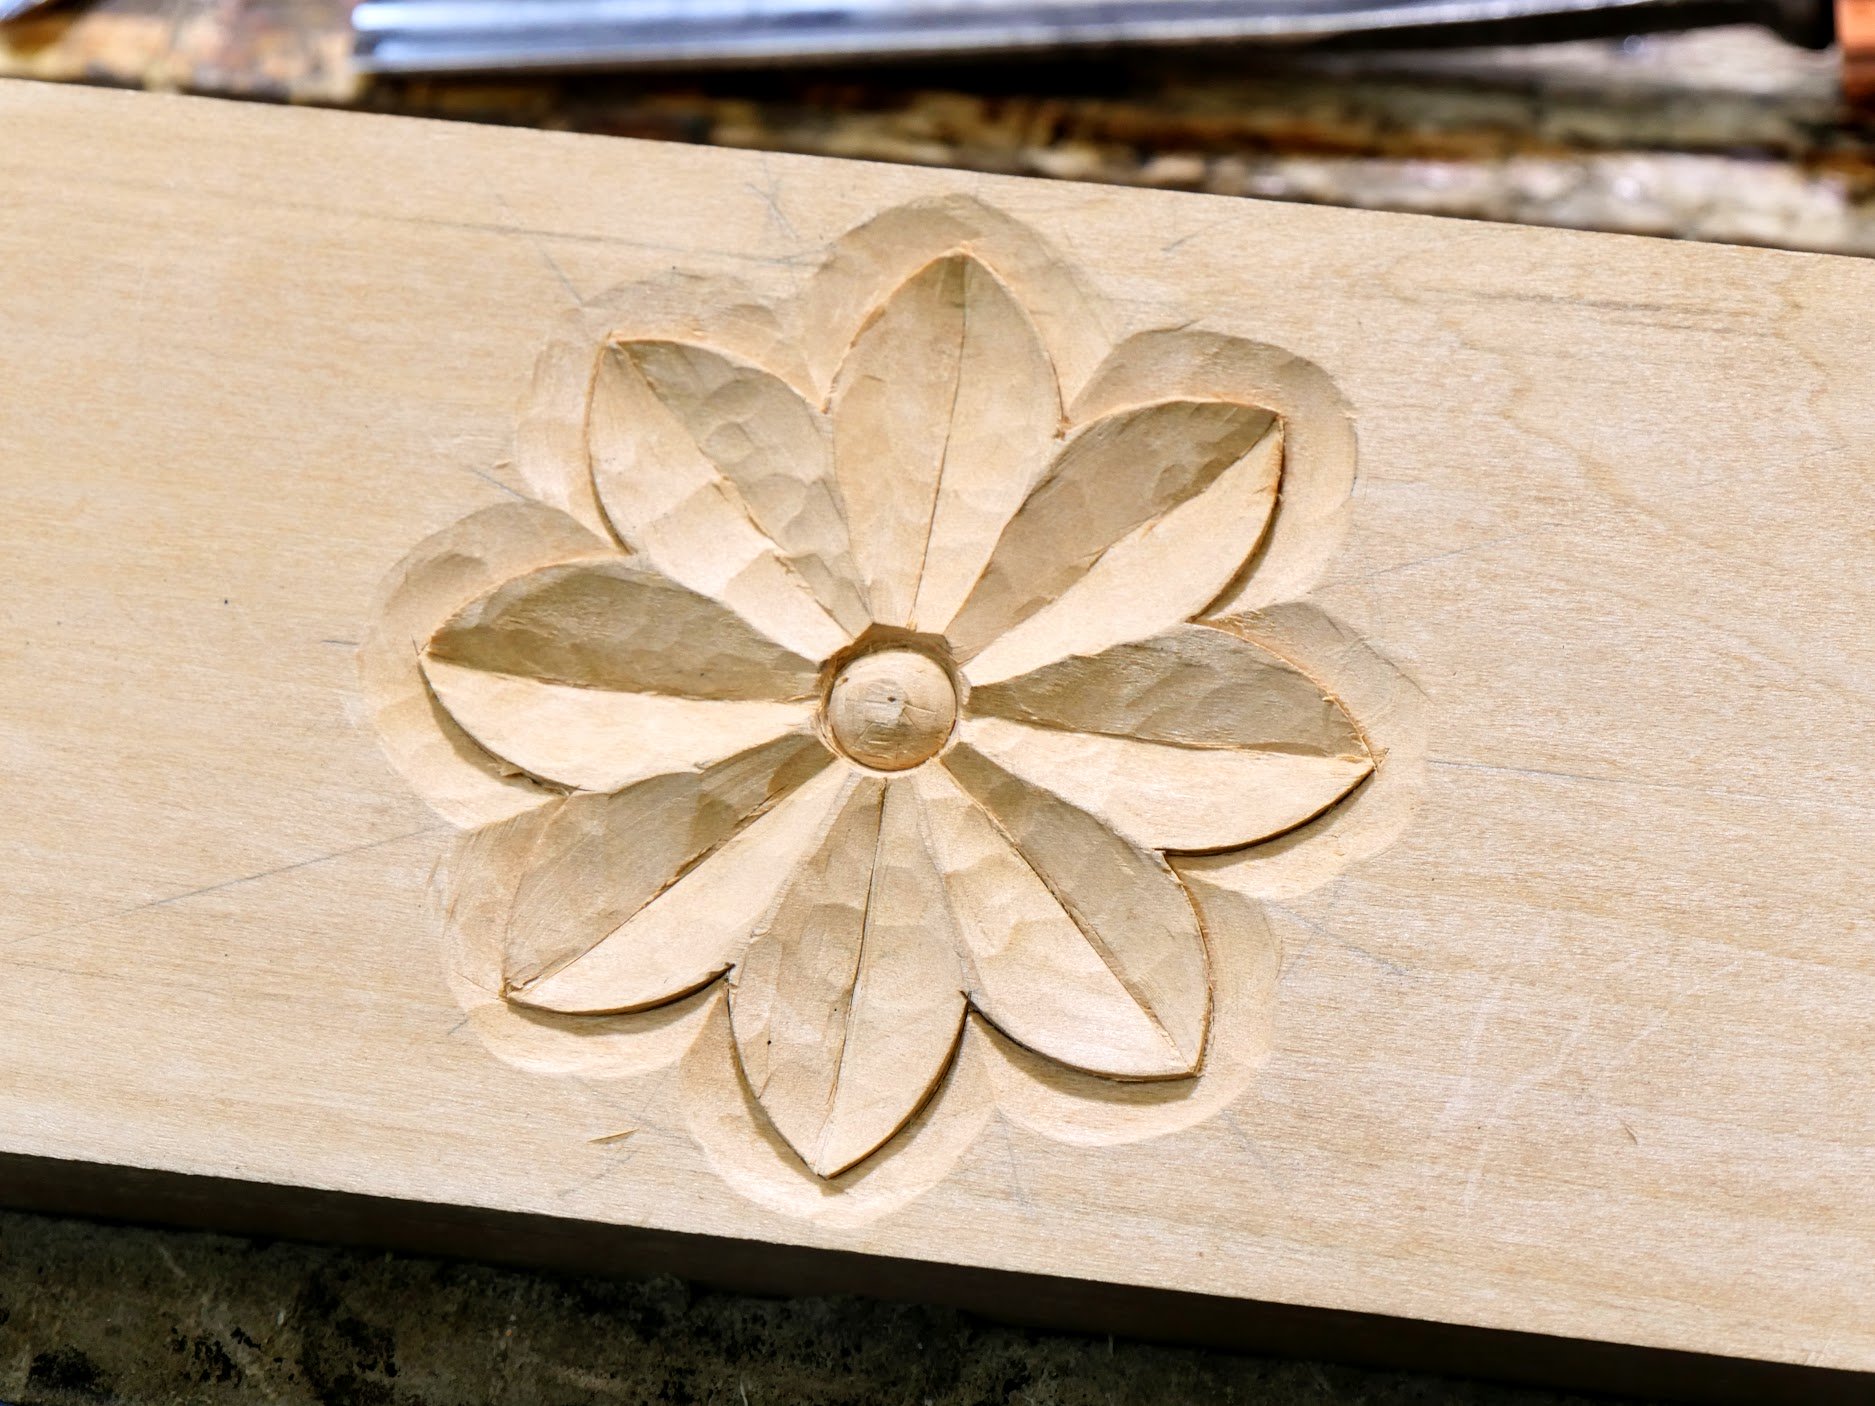
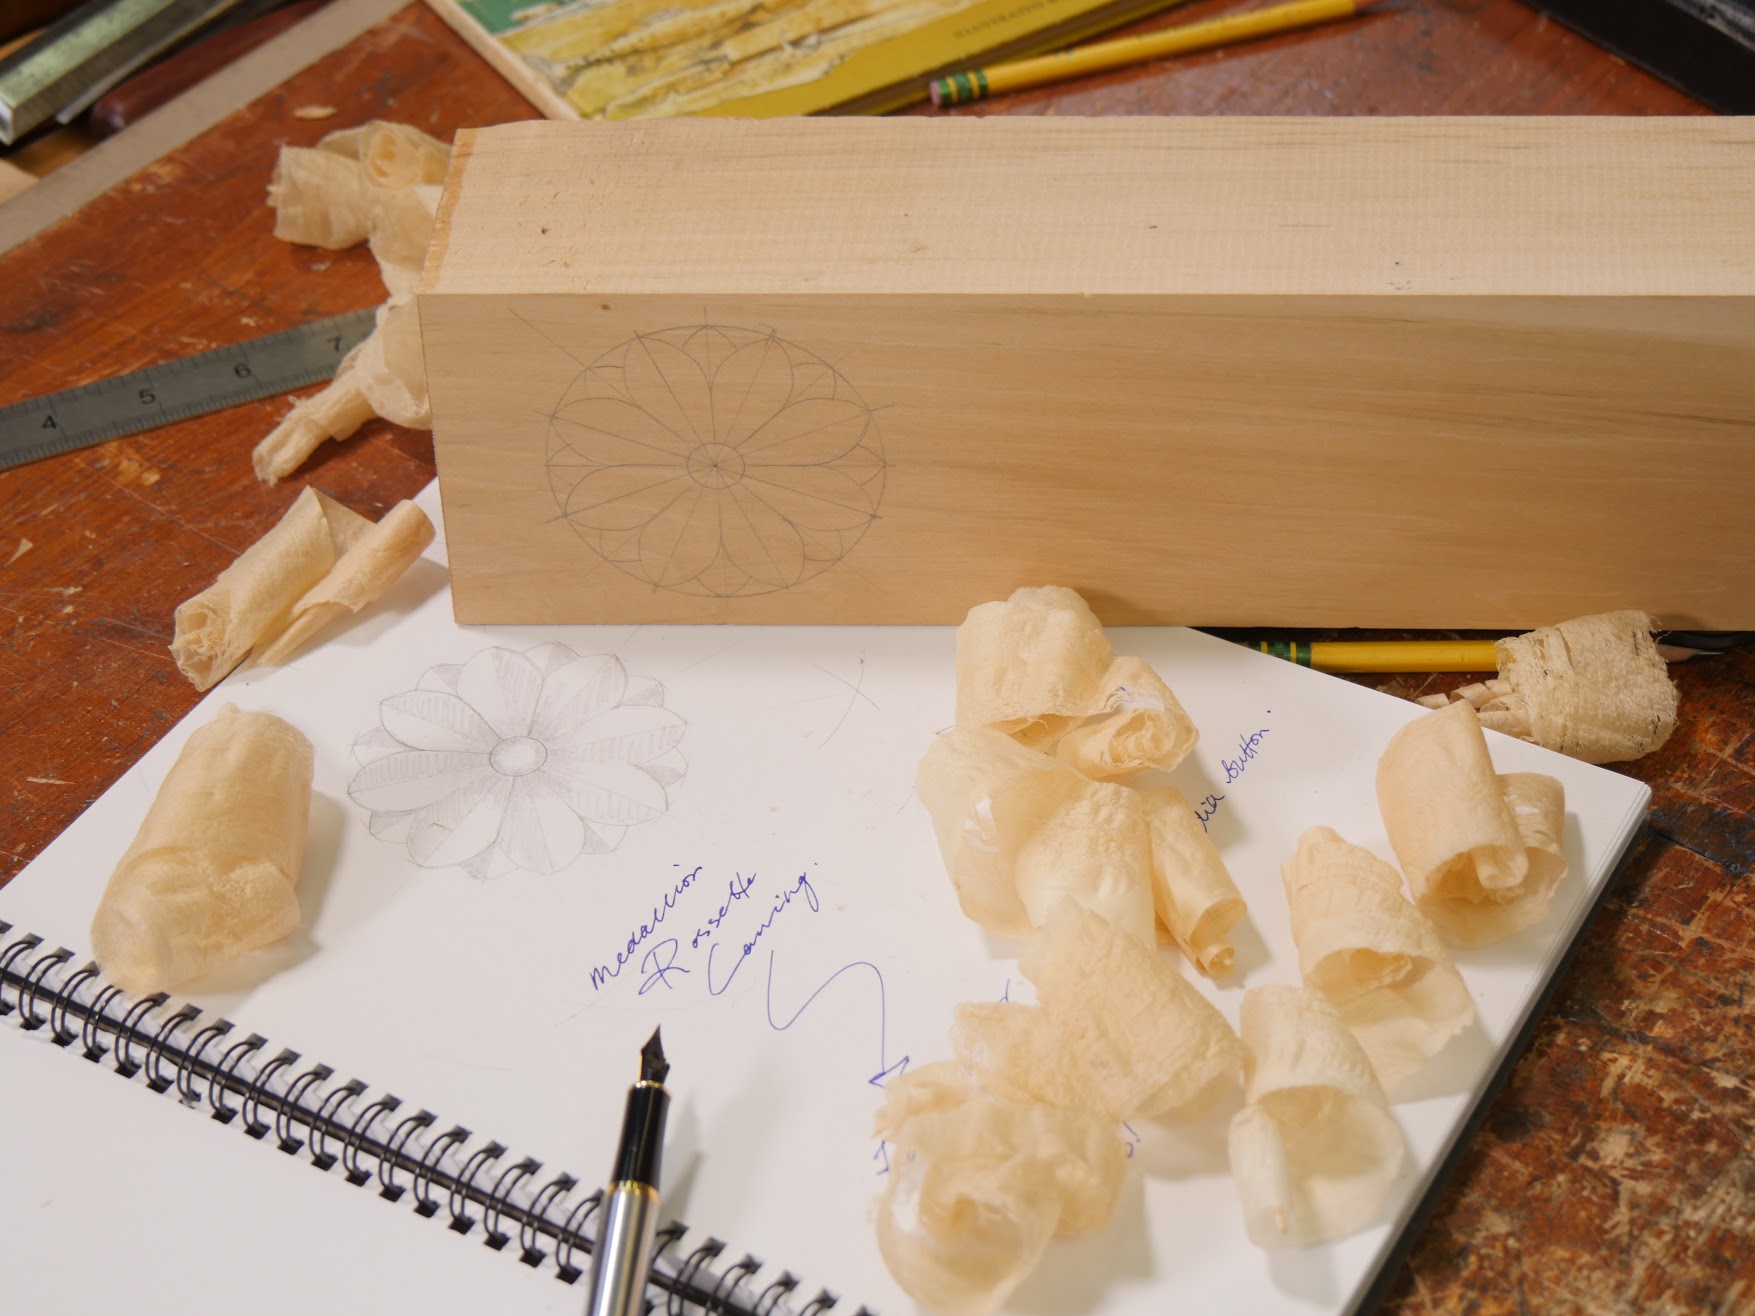
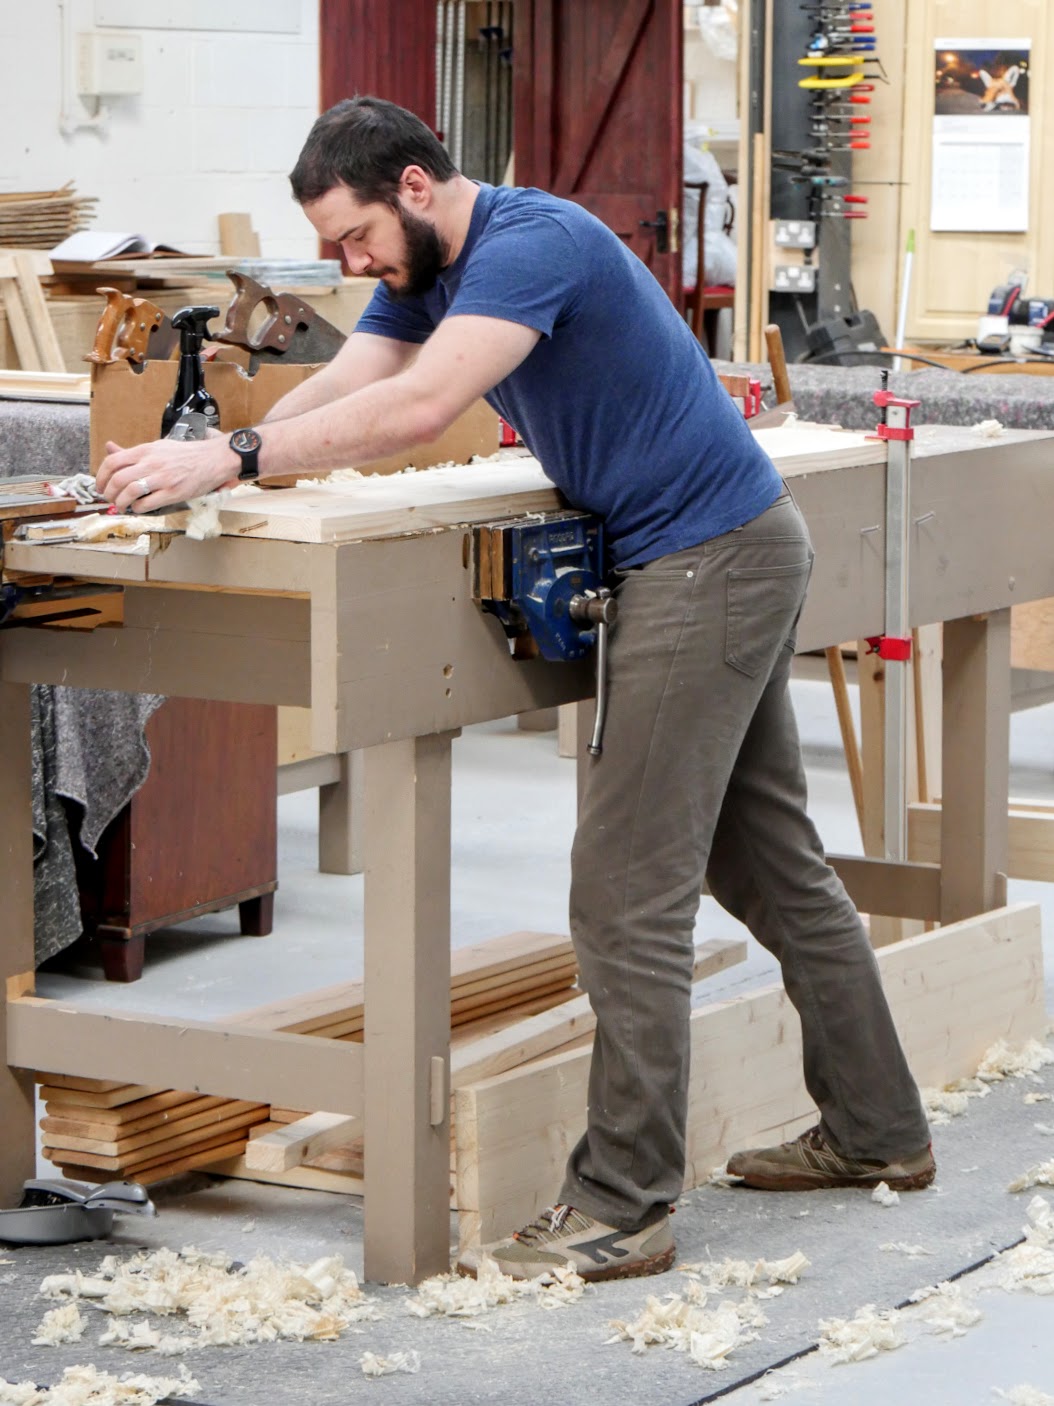
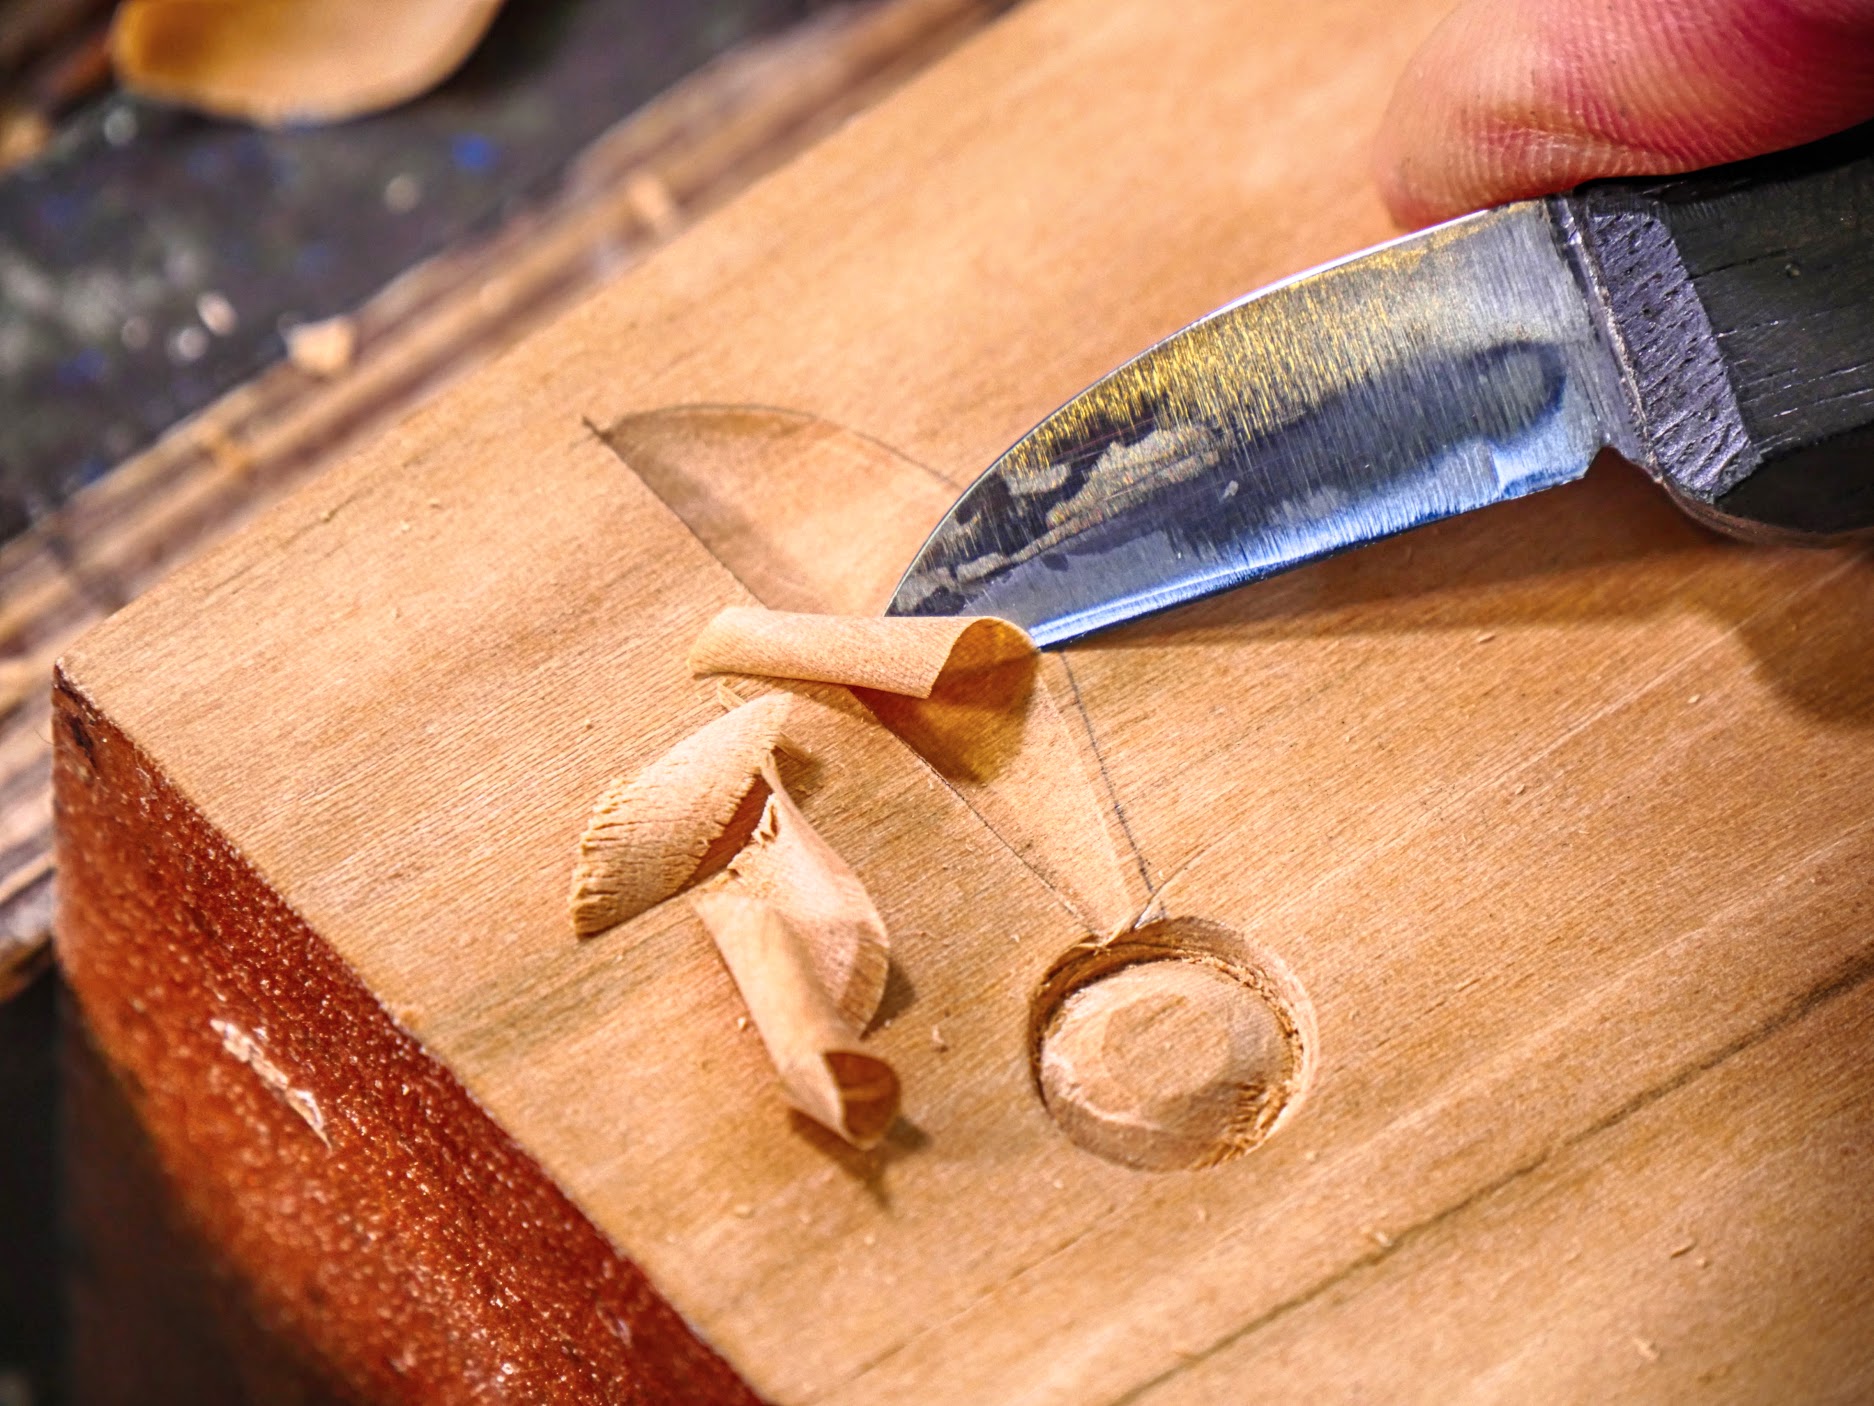
So, then, my week came together and I made the final drawings for the next three upcoming projects for woodworkingmasterclasses.com. They are all very different projects with two shorter video series and then the box, which is about 5-part series. One is the one on making the straightedge I mentioned recently and then I wanted a simpler decorative carving video, so this one on carving out a rosette seemed perfect. Learning decorative carving equips you for practical applications where say a carved component is purely functional and not decorative at all. Since we decided to start filming a few years ago my working life and environment has changed quite markedly, but not just for me, for others too. For many years, a decade or two, I worked mostly alone. It took a little getting used to but I like sharing my workspace and the added aspect of being in the workshop where others might not typically be. Phil has been with me the longest (Joseph not included because he has been with me since birth) and, though he does less making these days, he's currently building a workbench to test out the methods I suggest for building your own workbench. We want to make sure what I have written for my new book makes sense, and that the systems of construction work without glitches. Soon the book will be with the printers and we are all looking forward to that. It’s actually a book with DVD all in one and full colour with my drawings too. If you want to be updated when the book is released please enter your email address here.
Others share too
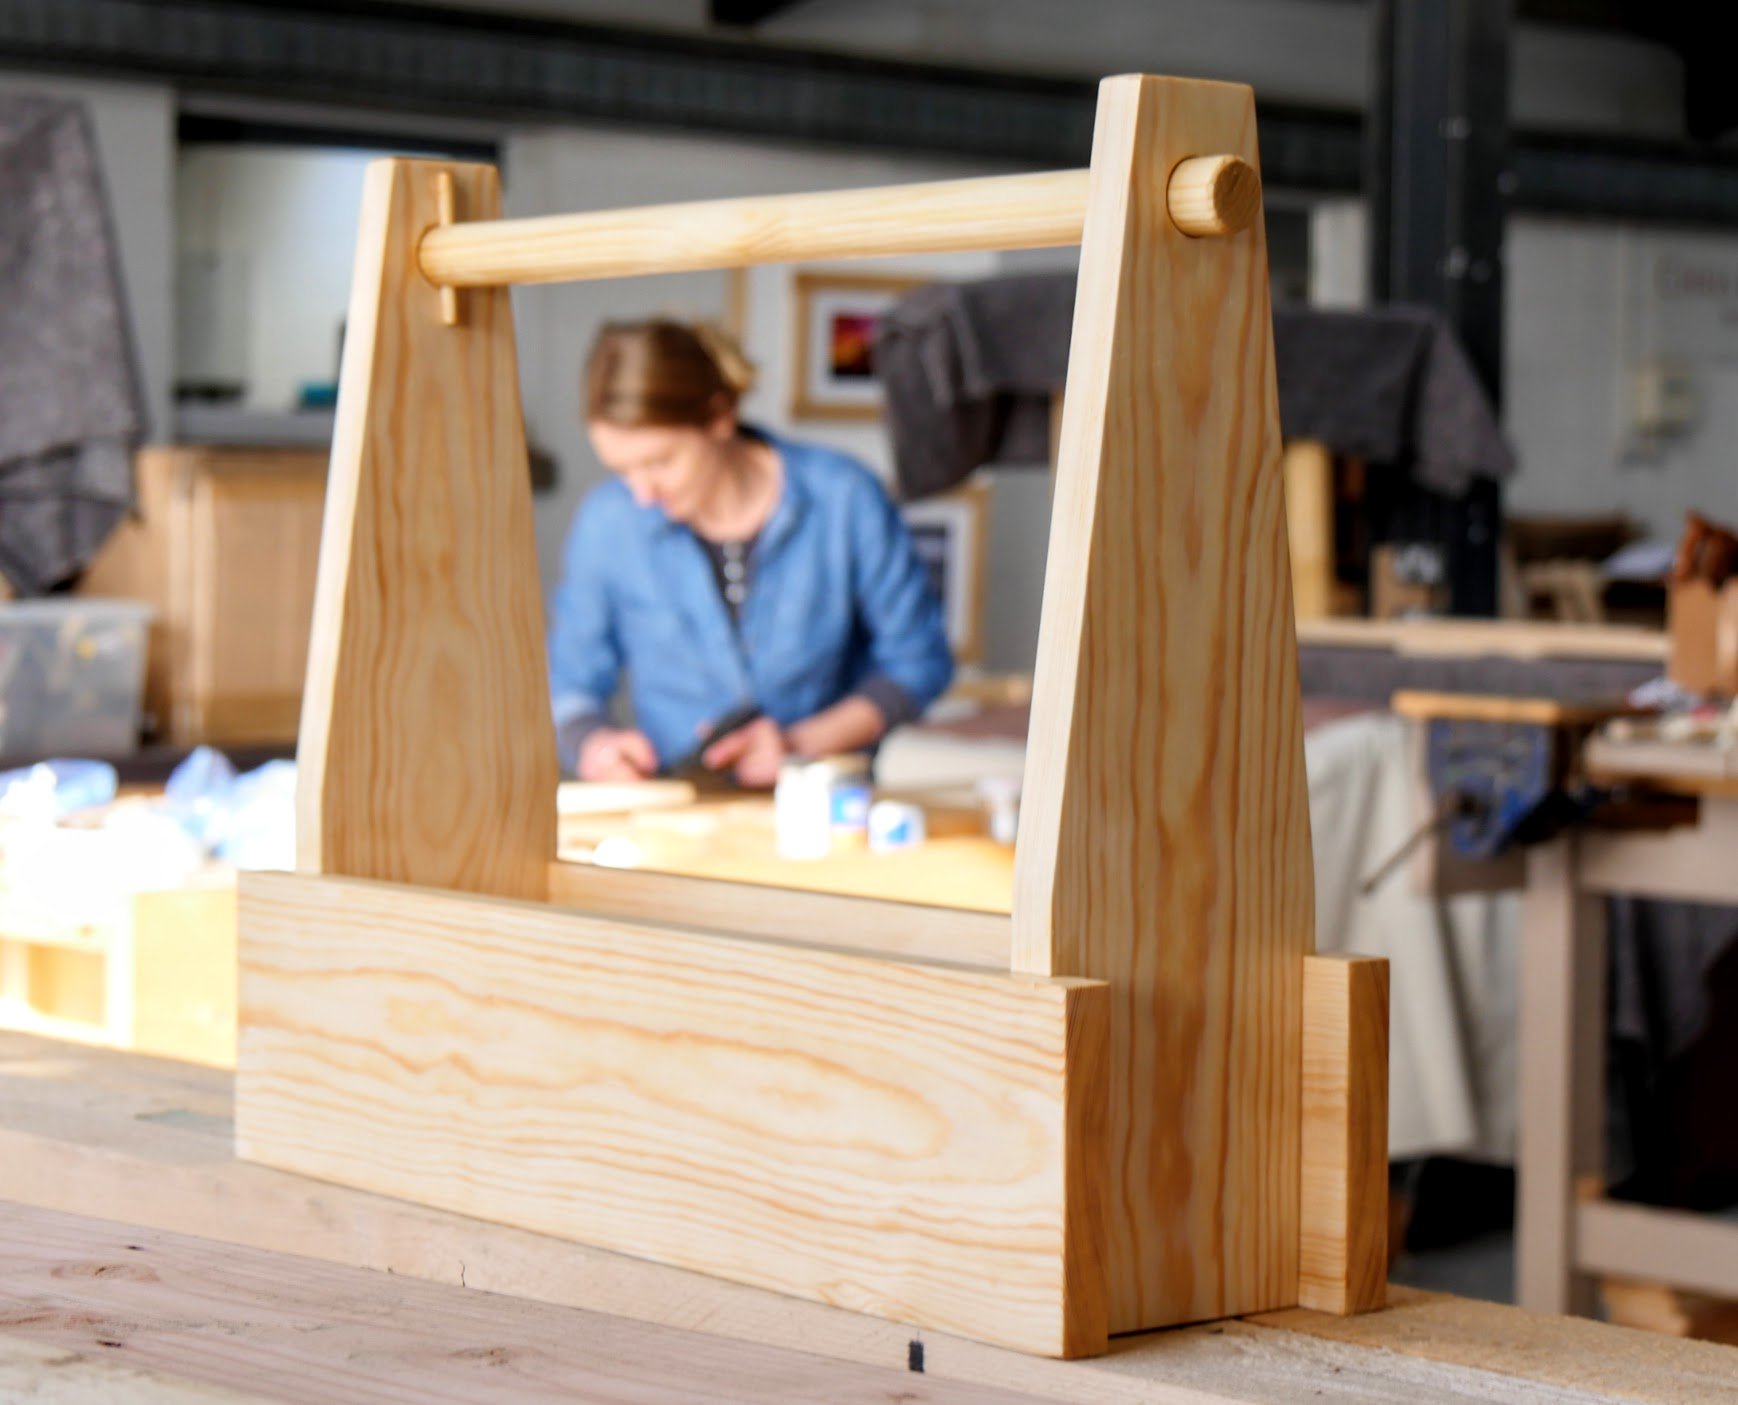
Hannah comes in each week too. She’s doing well and her work is just lovely. She’s excited to learn here and between her working at the bench on benchwork and observing our video work she's learning a lot. She also keeps up with her homework, which comprises research, drawings, sketching and so on too. This last week she worked on marking gauges; she's checking out the different types, finding out what they do, how they work and how to use them. Last week she was given the task of drawing options of the three most commonly used woodworking joint but I suggested she not look anywhere for information beyond her own accumulated knowledge so far, until she had drawn and written down all that she already come to know from her own explorations. This week she will research the same subject. I think she was surprised by what she already knew and had retained.
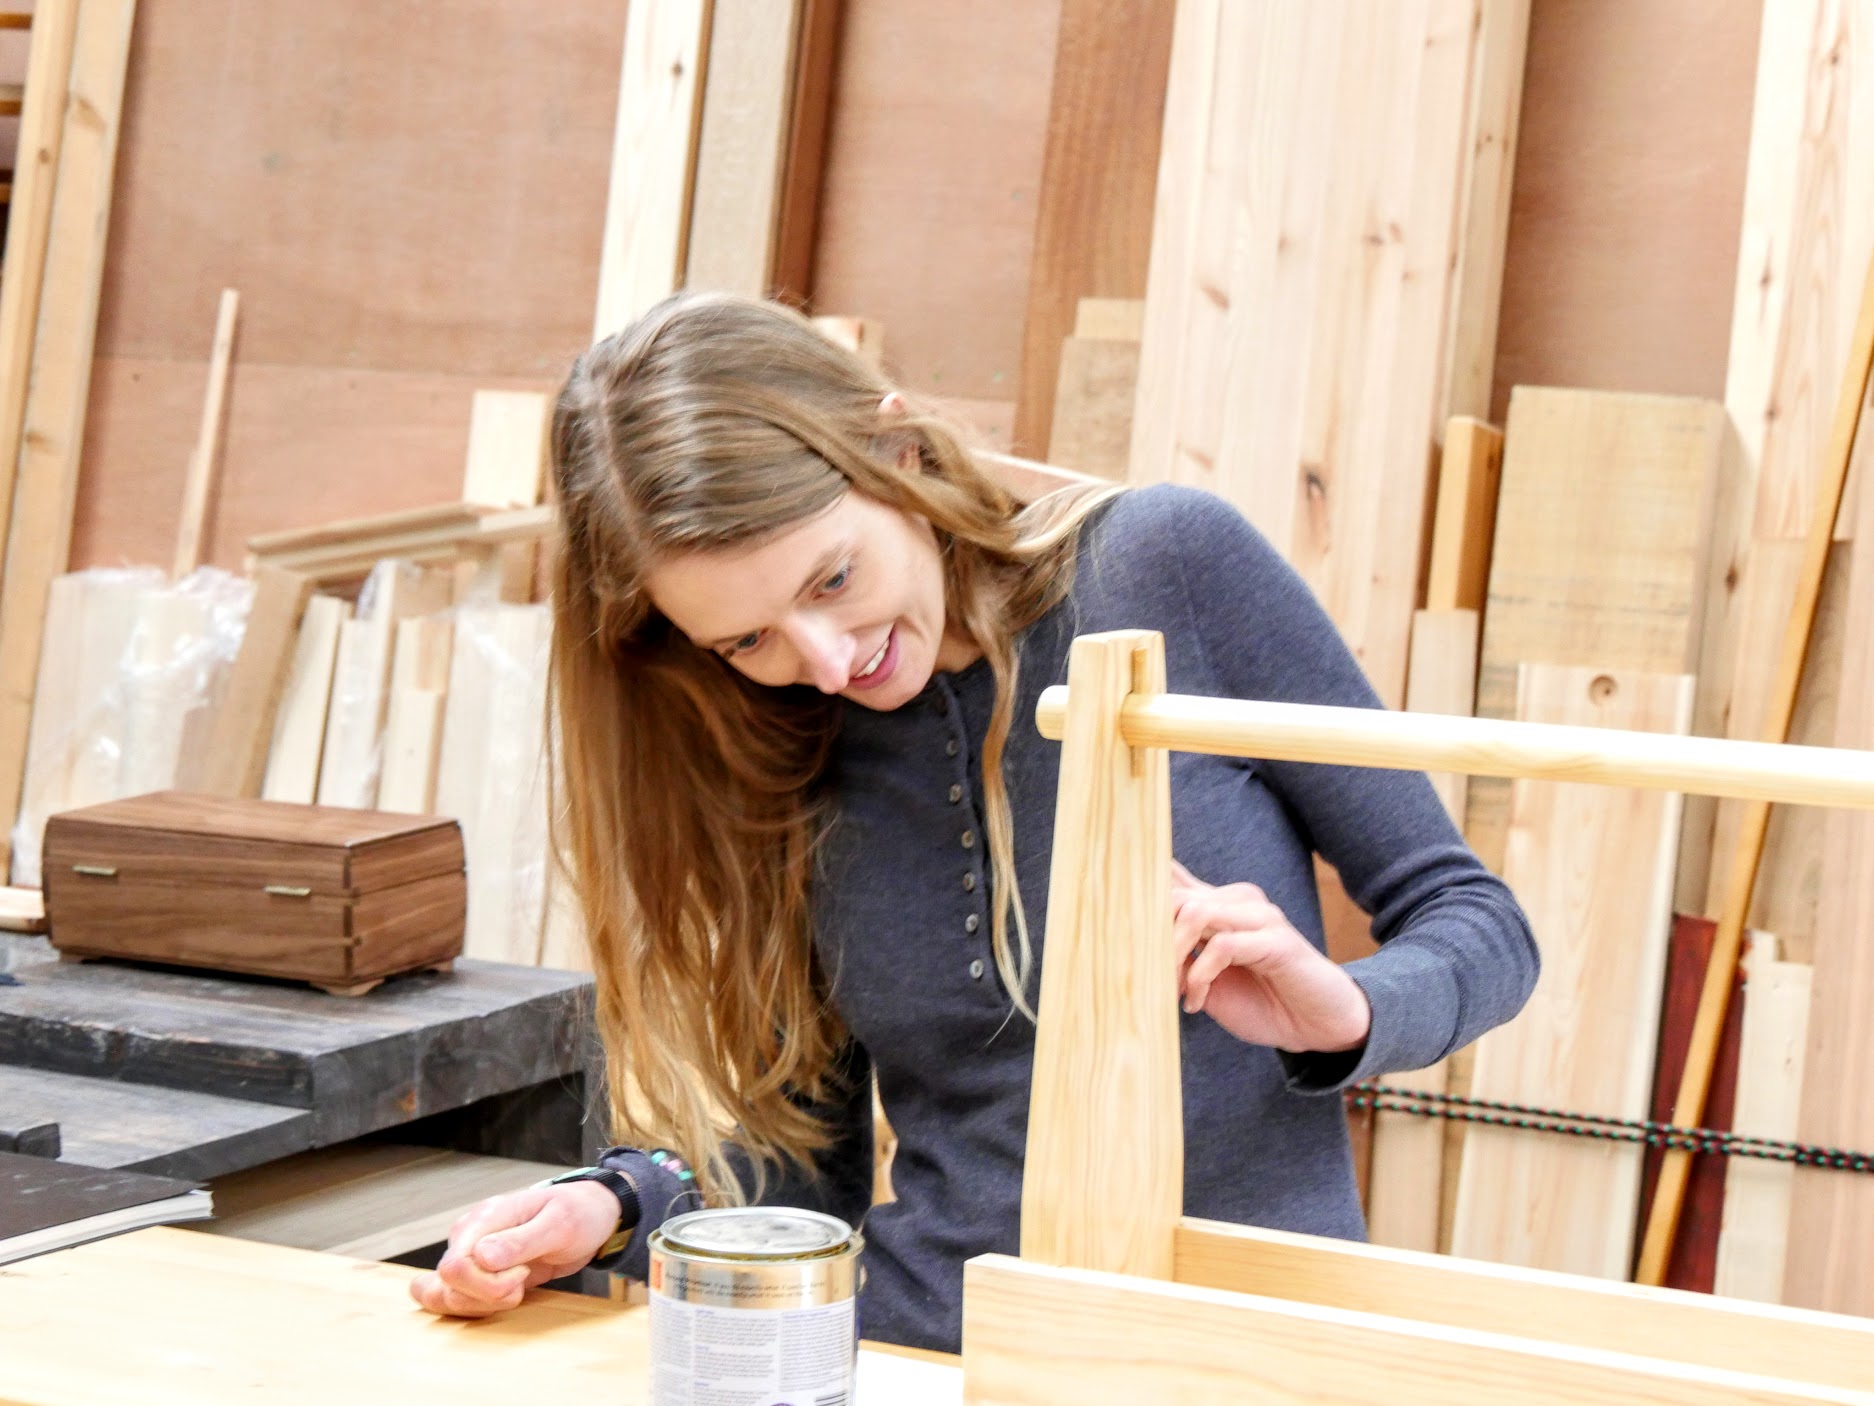
This past week, she applied the first coat of finish to her tool tote. All the joints were snug and I enjoyed seeing her face when all the components finally came together. She rounded the handle by hand planing and split the small dowels by splitting and rounding with a chisel. The rounding was perfected by driving the rough-cut splits through a ¼” hole in steel; the poor man’s dowel maker - see it here.
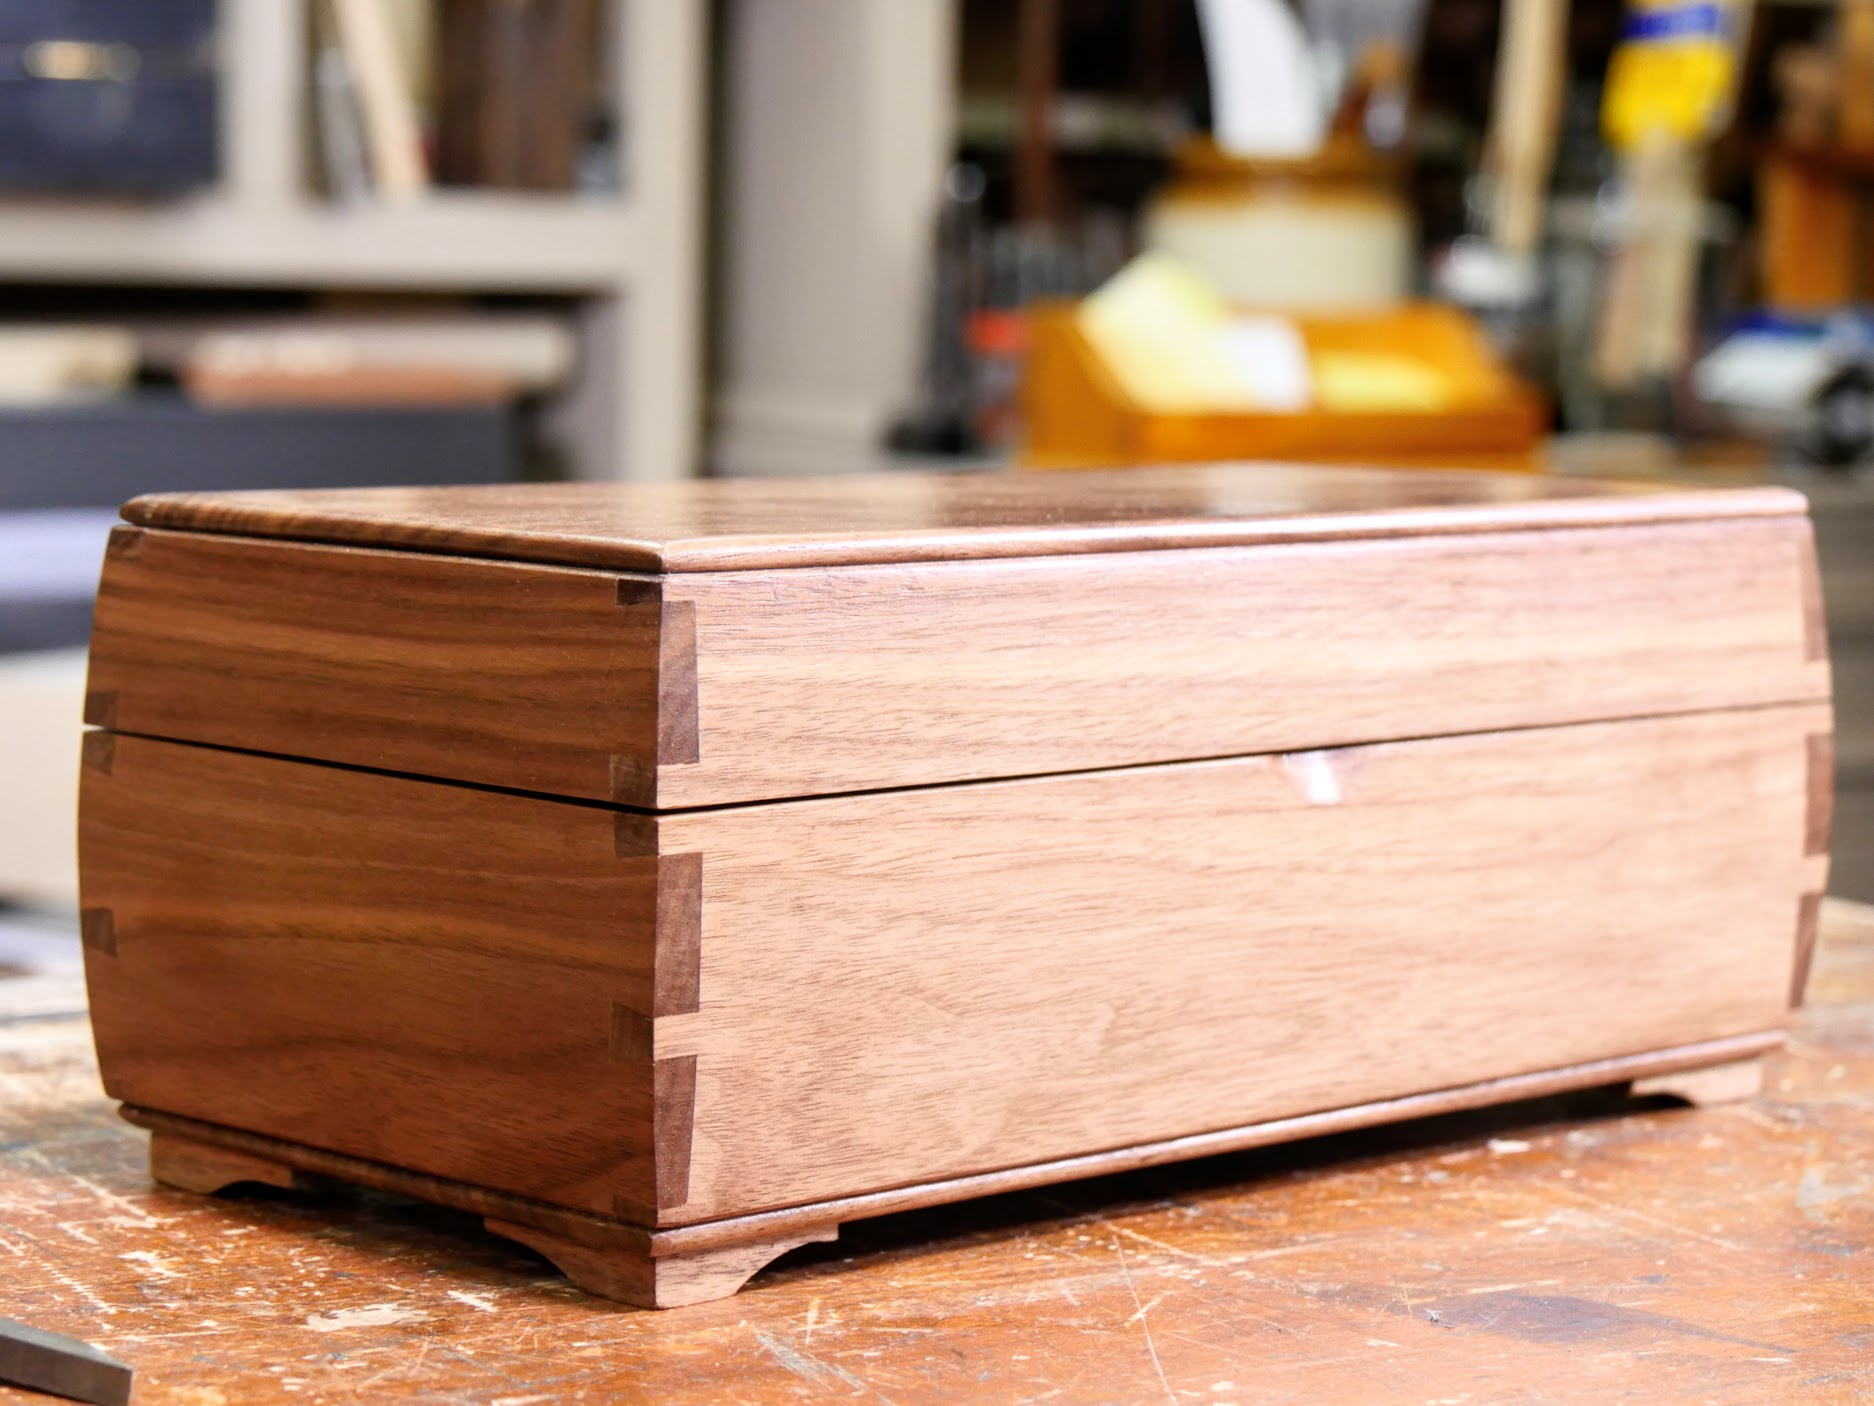
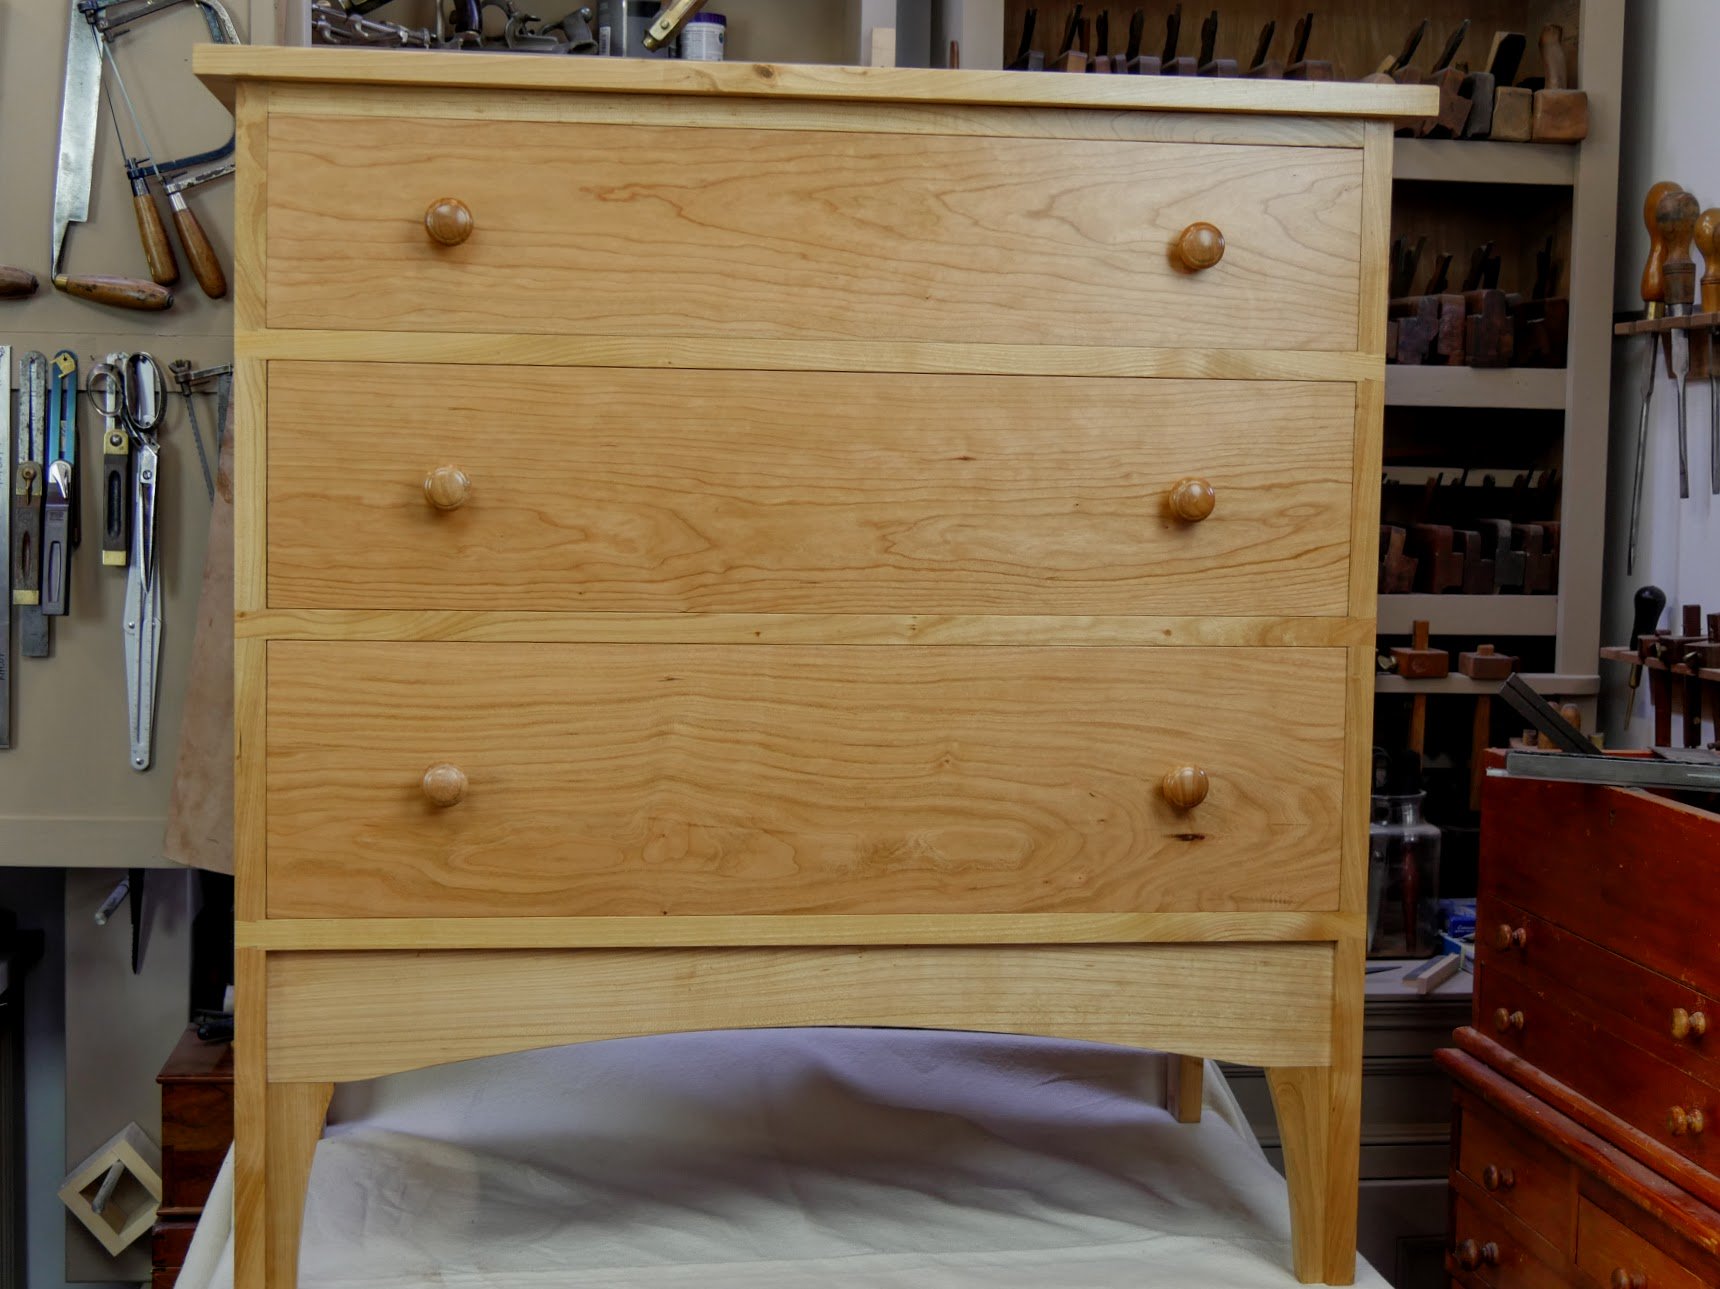
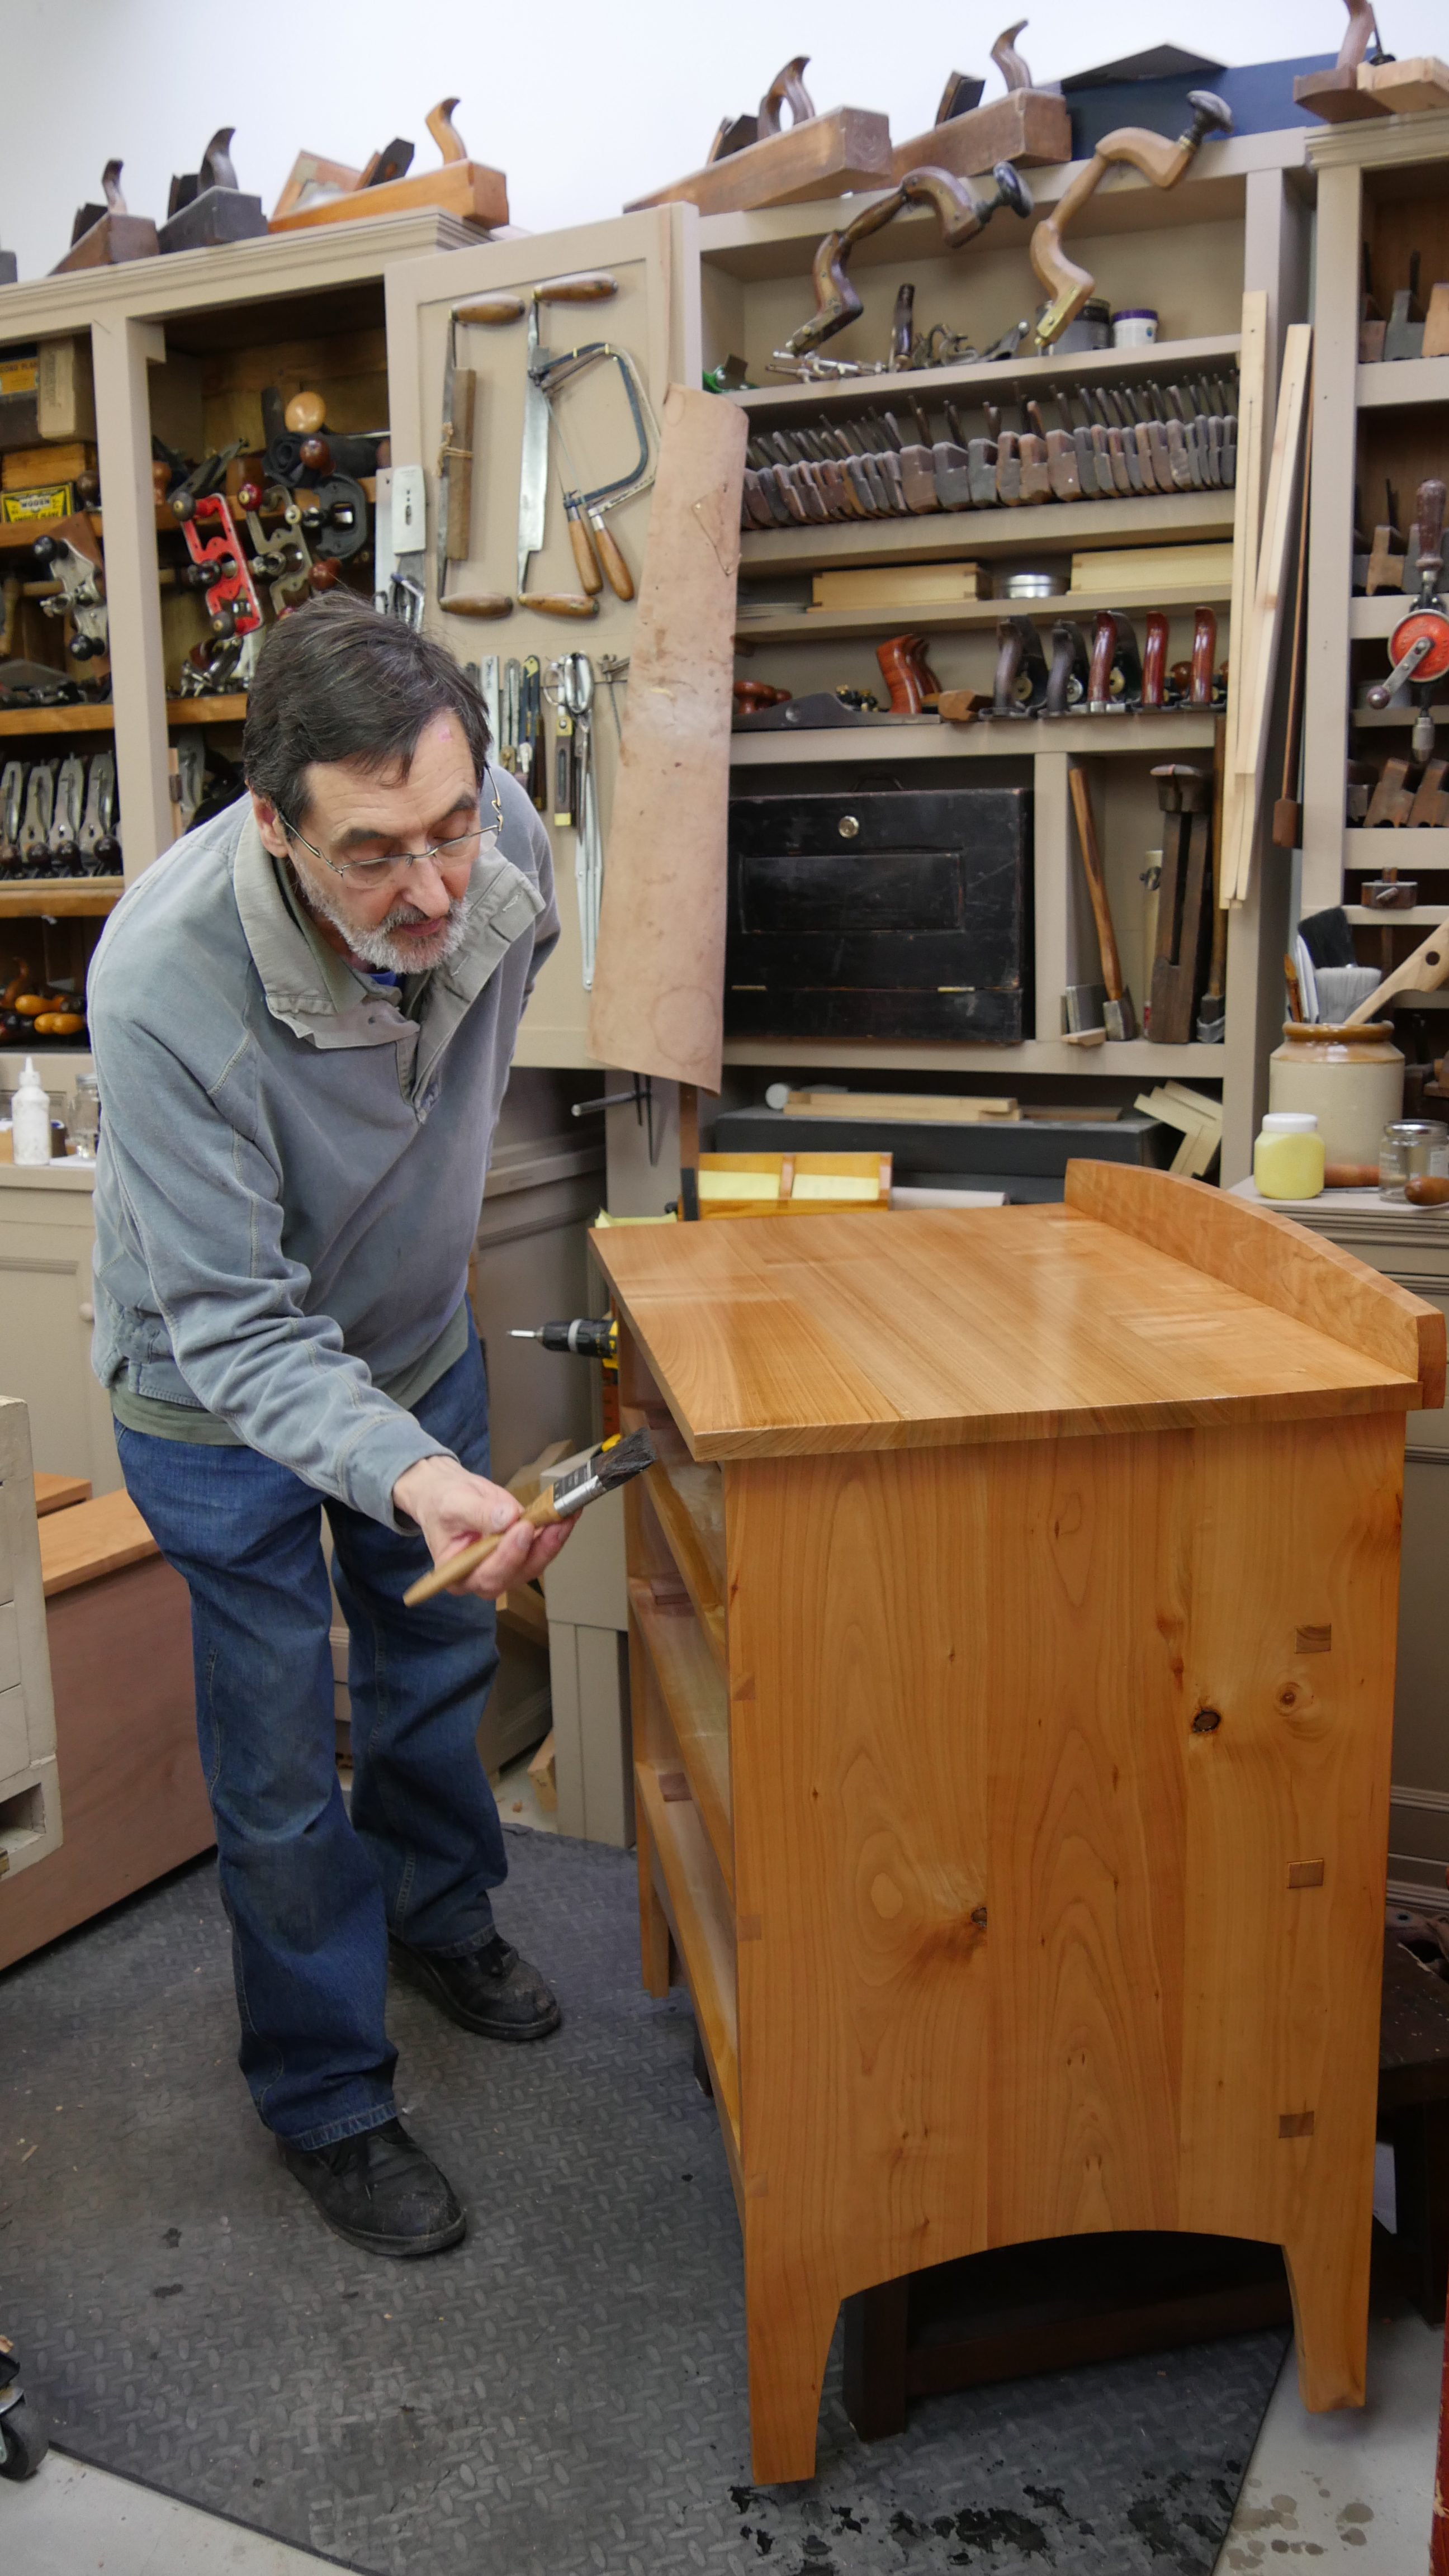
My highlight was finishing off my new box–actually, though it is a completely new design, it’s my second one in that I made the prototype first, to test out the methods I’d devised in my head. Of course they worked. There are complexities throughout this design. With both sides and end pieces rounder, as they are with a 10 ⅝” radius, I developed angled shoulder lines to give something of an illusional curve; it worked I think. What this did was took out the clumsiness to make the overall appearance lighter looking and more graceful. I sketched out my thoughts in my sketch pad to prepare myself and search out what could be problem areas before I began the actual work. This is useful for developing the final working drawings. I also made the joints independently first, I mean as a single corner and not as part of the box. This helped me to know I was on the right track. As it was in the cherry chest of drawers currently being built now wwmc, there are hidden complexities to enhance the project. In this case, we once again must allow for expansion or contraction of wood. In this case I groove the inside faces of the box top and bottom and then grooved the edges of the top and bottom pieces. The plough plane is perfect for this, quick, simple and highly effective.

It’s not too simple a project but with just a little prior practice making one of the joints and then a little added patience it should prove very much a fun project to make. I see it as an ideal gift for someone’s wedding, Mother’s day, birthday and such. I always look forward to seeing the gallery pages after a few weeks of posting the videos - rocking chairs, clocks, tool boxes and tool cupboards. They all look wonderful.
Closing the days and then the weeks means planning out for the upcoming week and the work we all have to do. My part is basically three-fold but the main part is writing. I feel that all the more today woodworking should be more accessible, less exclusive and I have seen many harmful changes happen through my five decades of woodworking. One is of course the ever increasing use of machines for even the simplest of tasks. It then stands to reason that anyone new to woodworking will think that this is the standard or even the only practice for working wood. It also stands to reason that if machines do indeed make woodworking simpler and easier then that is simply progress. What’s not always apparent is that the cost of woodworking machinery is not the only cost. Additionally they need housing and stowing in a building and then the noise they make in residential areas must be dampened down too. Beyond even that of course you can double the cost with the added equipment you need to support it all. Things like dust extraction and specialised sharpening for cutters and blades. You know, the things you cannot do yourself. In most cases, certainly in Britain, that means the loss of a garage or a decent sized shed. Then following what's become standard practice in the US doesn’t really work for European woodworkers where houses are mostly compact and space comes at a very costly premium. I say all of this to say it's important to count the cost when for decades now I and others have proven that it may well be all the more rewarding to work your wood by hand and master skill in the process. Machines can and have been overemphasised over the decades though I have seen a remarkable turnaround.
I am sometimes asked when do I choose to use a machine. Well, machines do very much have their place and I own a couple of machines in my own home garage/workshop. I still prefer to do almost all of my joinery by hand so that’s mostly a non-negotiable. My machines are effectively isolated for dimensioning my wood. That’s resawing, some thickness planing and crosscutting to length. For woodworkingmasterclasses we mostly have the wood prepared this way as it can be too much for me to do everything by hand in time for all that we produce in a given week. Machines do this well. For many home woodworkers time economics is important too. It's about working out what you want and what works best for you. I enjoy a bandsaw and a chop saw at my home shop. That's pretty much it.
Mostly it has been a learning experience for me to know exactly what I need. In the coming year we will be revisiting the world of woodworking and looking at bandsaws. We must make woodworking accessible on the one hand but keep progressing our endeavour to ensure people continue to become skilful. The likelihood is that many home woodworkers following our online instruction these days are more highly skilled than machine-only woodworkers. That’s been a change I have seen and welcomed over the last 20 years. Oh, they may not be super-fast but boy do they enjoy those hours of peaceful existence!
Comments ()