Making 'Snap-to-line' Templates
Wednesday 8th March 2017
Making templates
Templates can be made from a variety of materials, plastic, wood, man-made boards like plywood and MDF, cardboard and more. Usually templates are relatively small, a taper for part of a leg, arches for table aprons, spoon and spatula shapes, you name it. Whereas I always do like to make them in wood, different materials do offer different advantages. Shapes in solid wood can be easy to shape just using common hand tools like spokeshaves, chisels, drill bits, files, rasps and planes. Add in a knife, abrasive paper, saws too of different types like, keyhole and coping saws, and you are on your way. Boring large holes in thin plastic can be a little more challenging, but otherwise it can be shaved and shaped with the same tools as wood. Plywood retains its shape and lasts well but of course it’s never so pleasing to work as wood, especially with hand tools and not with machines either really.
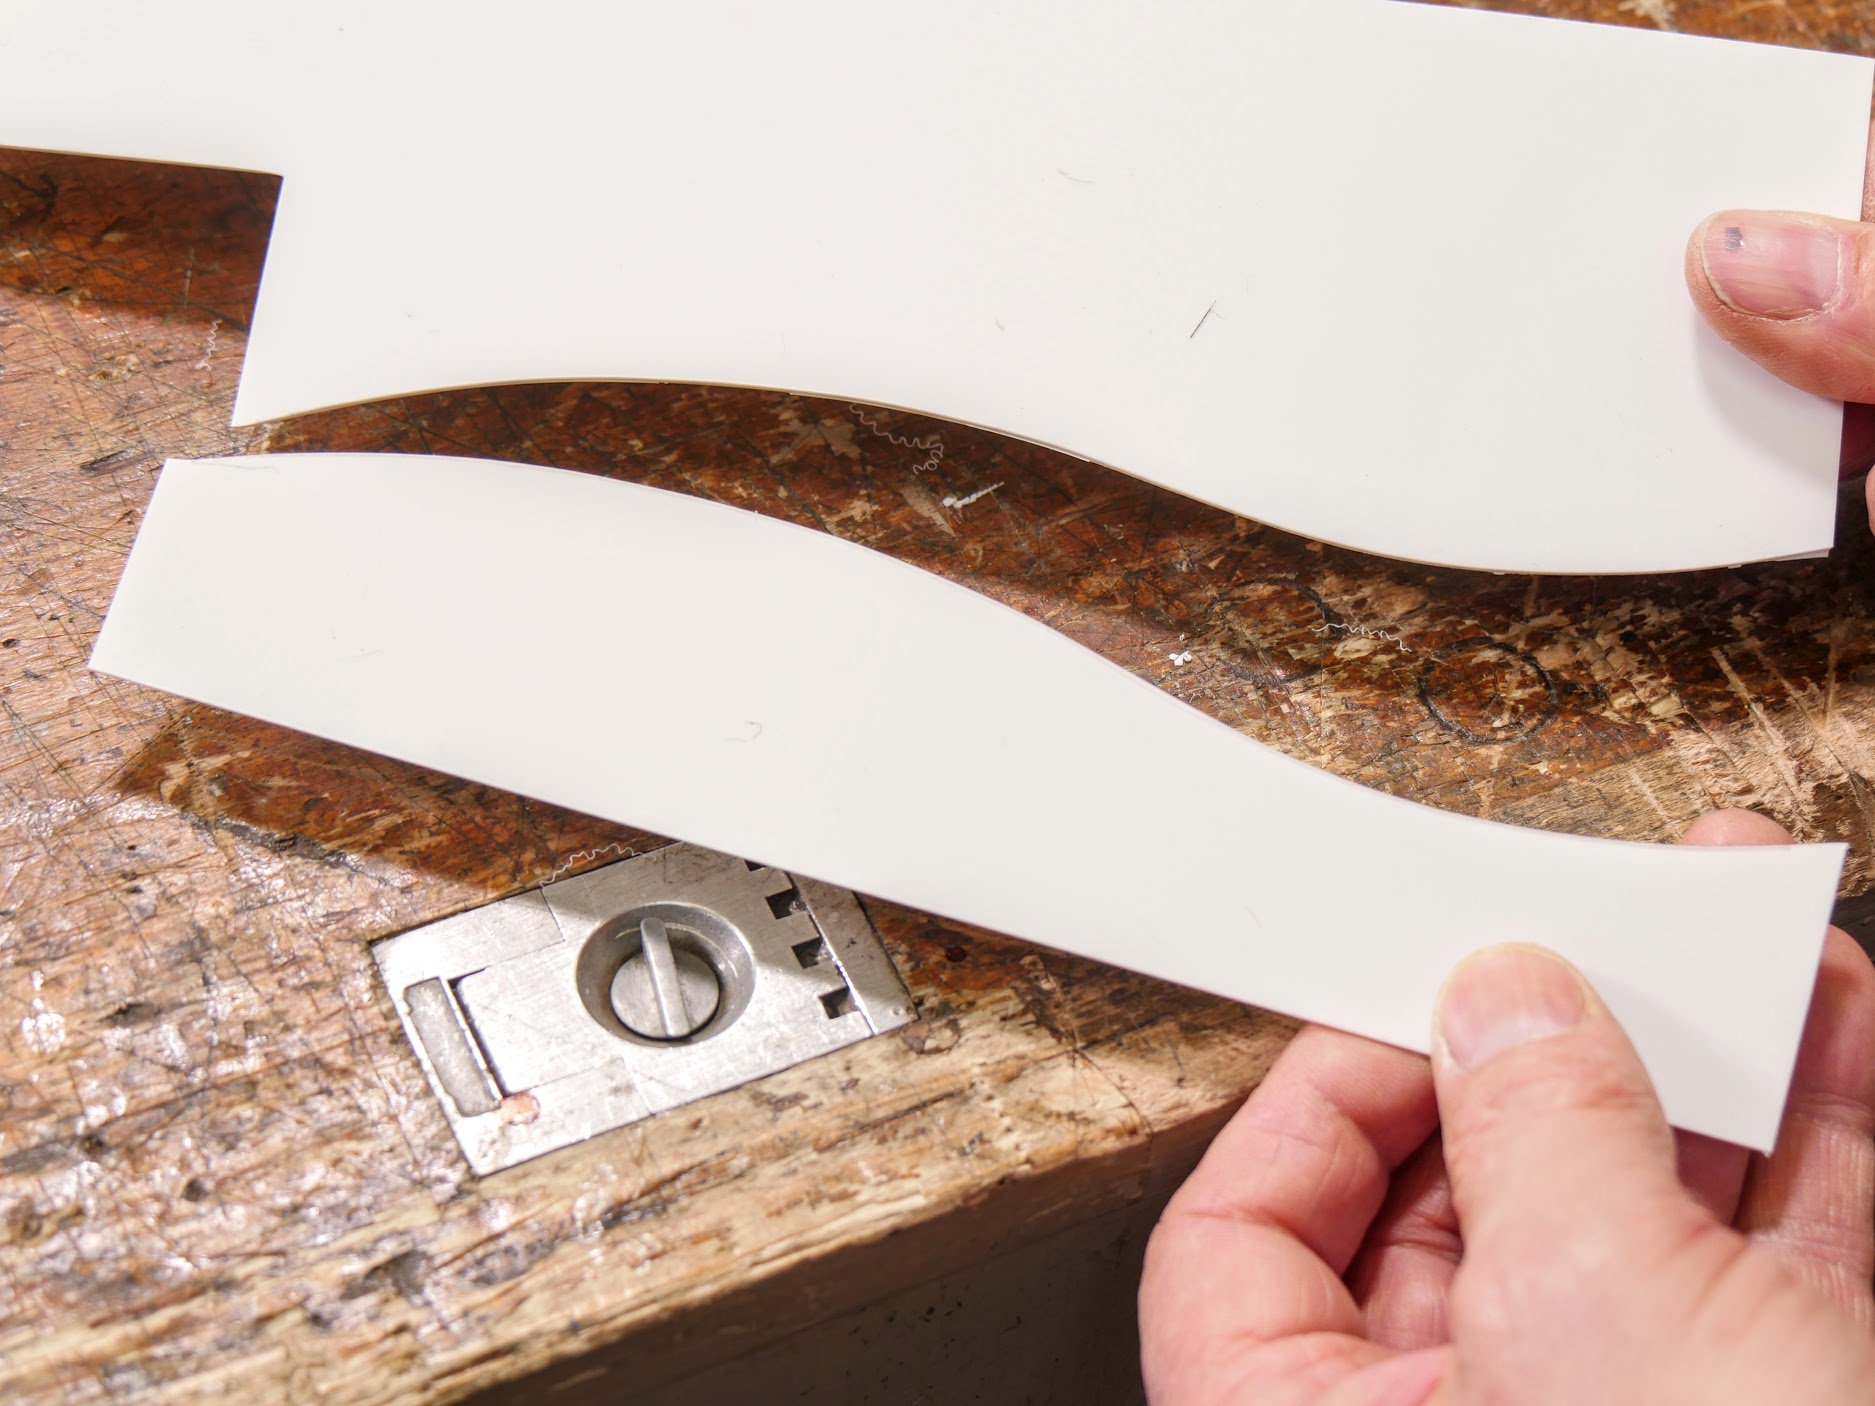
Whereas I do still use more common materials like wood and plywood, I use them mostly because of the extra size they give and then they retain shape too. Plastic, on the other hand, seems to me to champion all even when it comes to larger areas. I use them for arches. Remember that your layout lines with a knife serve at the same time as your 'snap' line so really you are expediting two jobs in one. I have made complete circles with a pinpoint, stick and knife. For this I generally use the thinner plastic; 1mm is great for this. Tape your sheet to the benchtop, drive a small finish nail through the plastic as a centre-point to pivot your arc from and in only a second or two you've got your arch or circle. I first learned about plastic when arching the belly and back of a cello I was making. The arching requires several diminishing profiles and then a level of rigidity to offer the shape to the wood you are reducing. Tracing a knife point over a smooth surface of sign plastic results in a perfect snap-to line. I agree it is just like plastic signs in that it looks utilitarian, but for functionality and clean lines it remains unsurpassed.
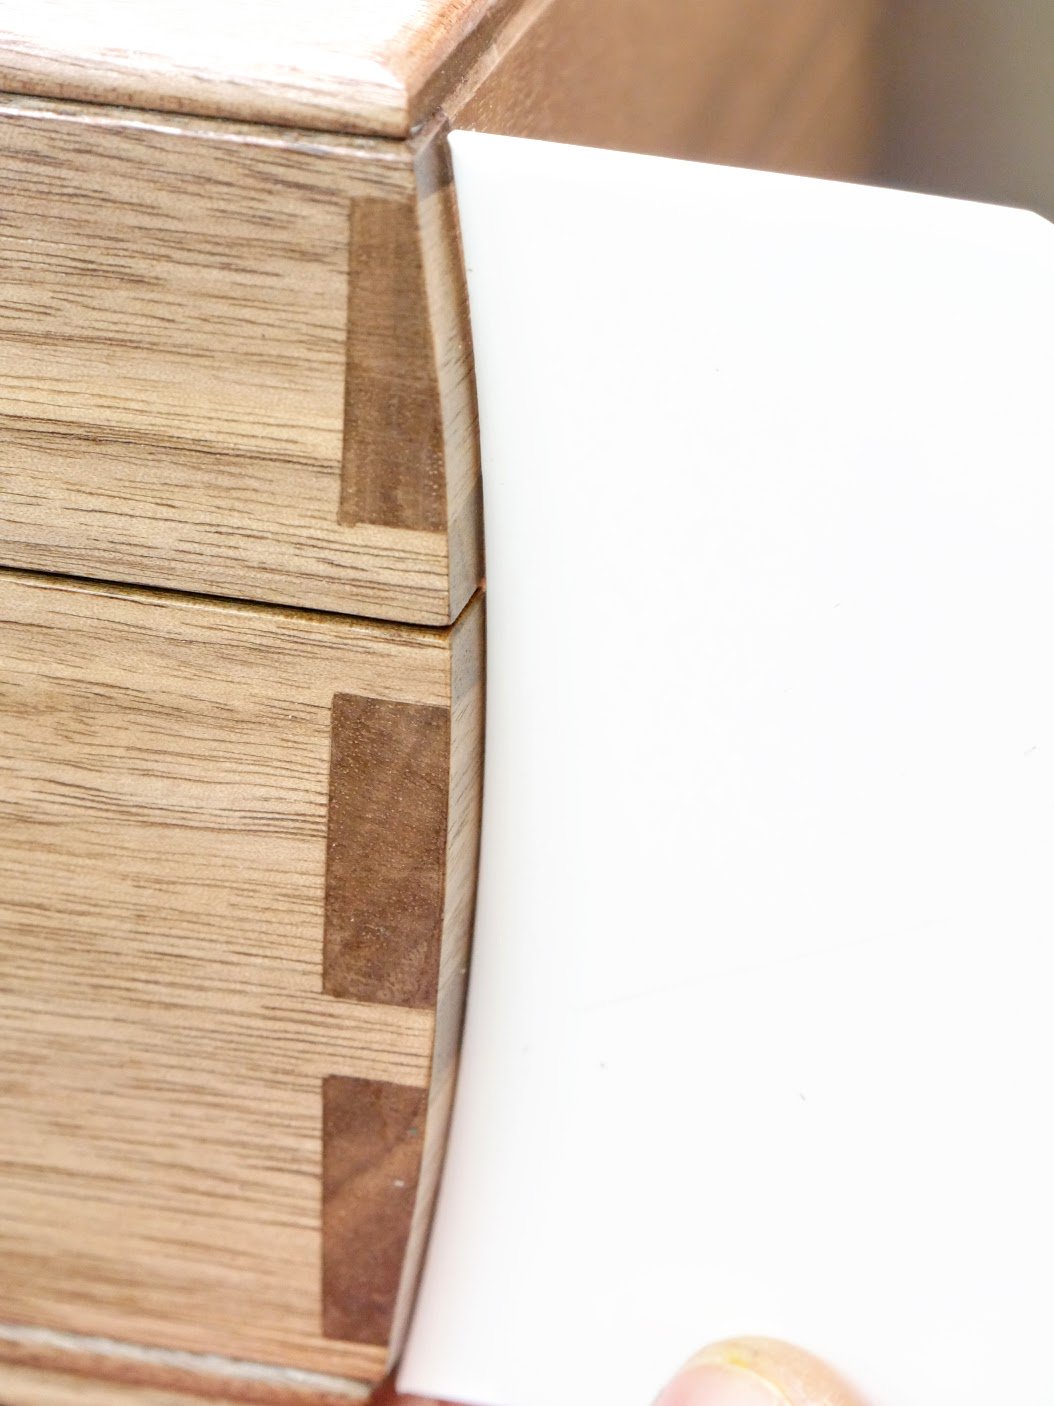
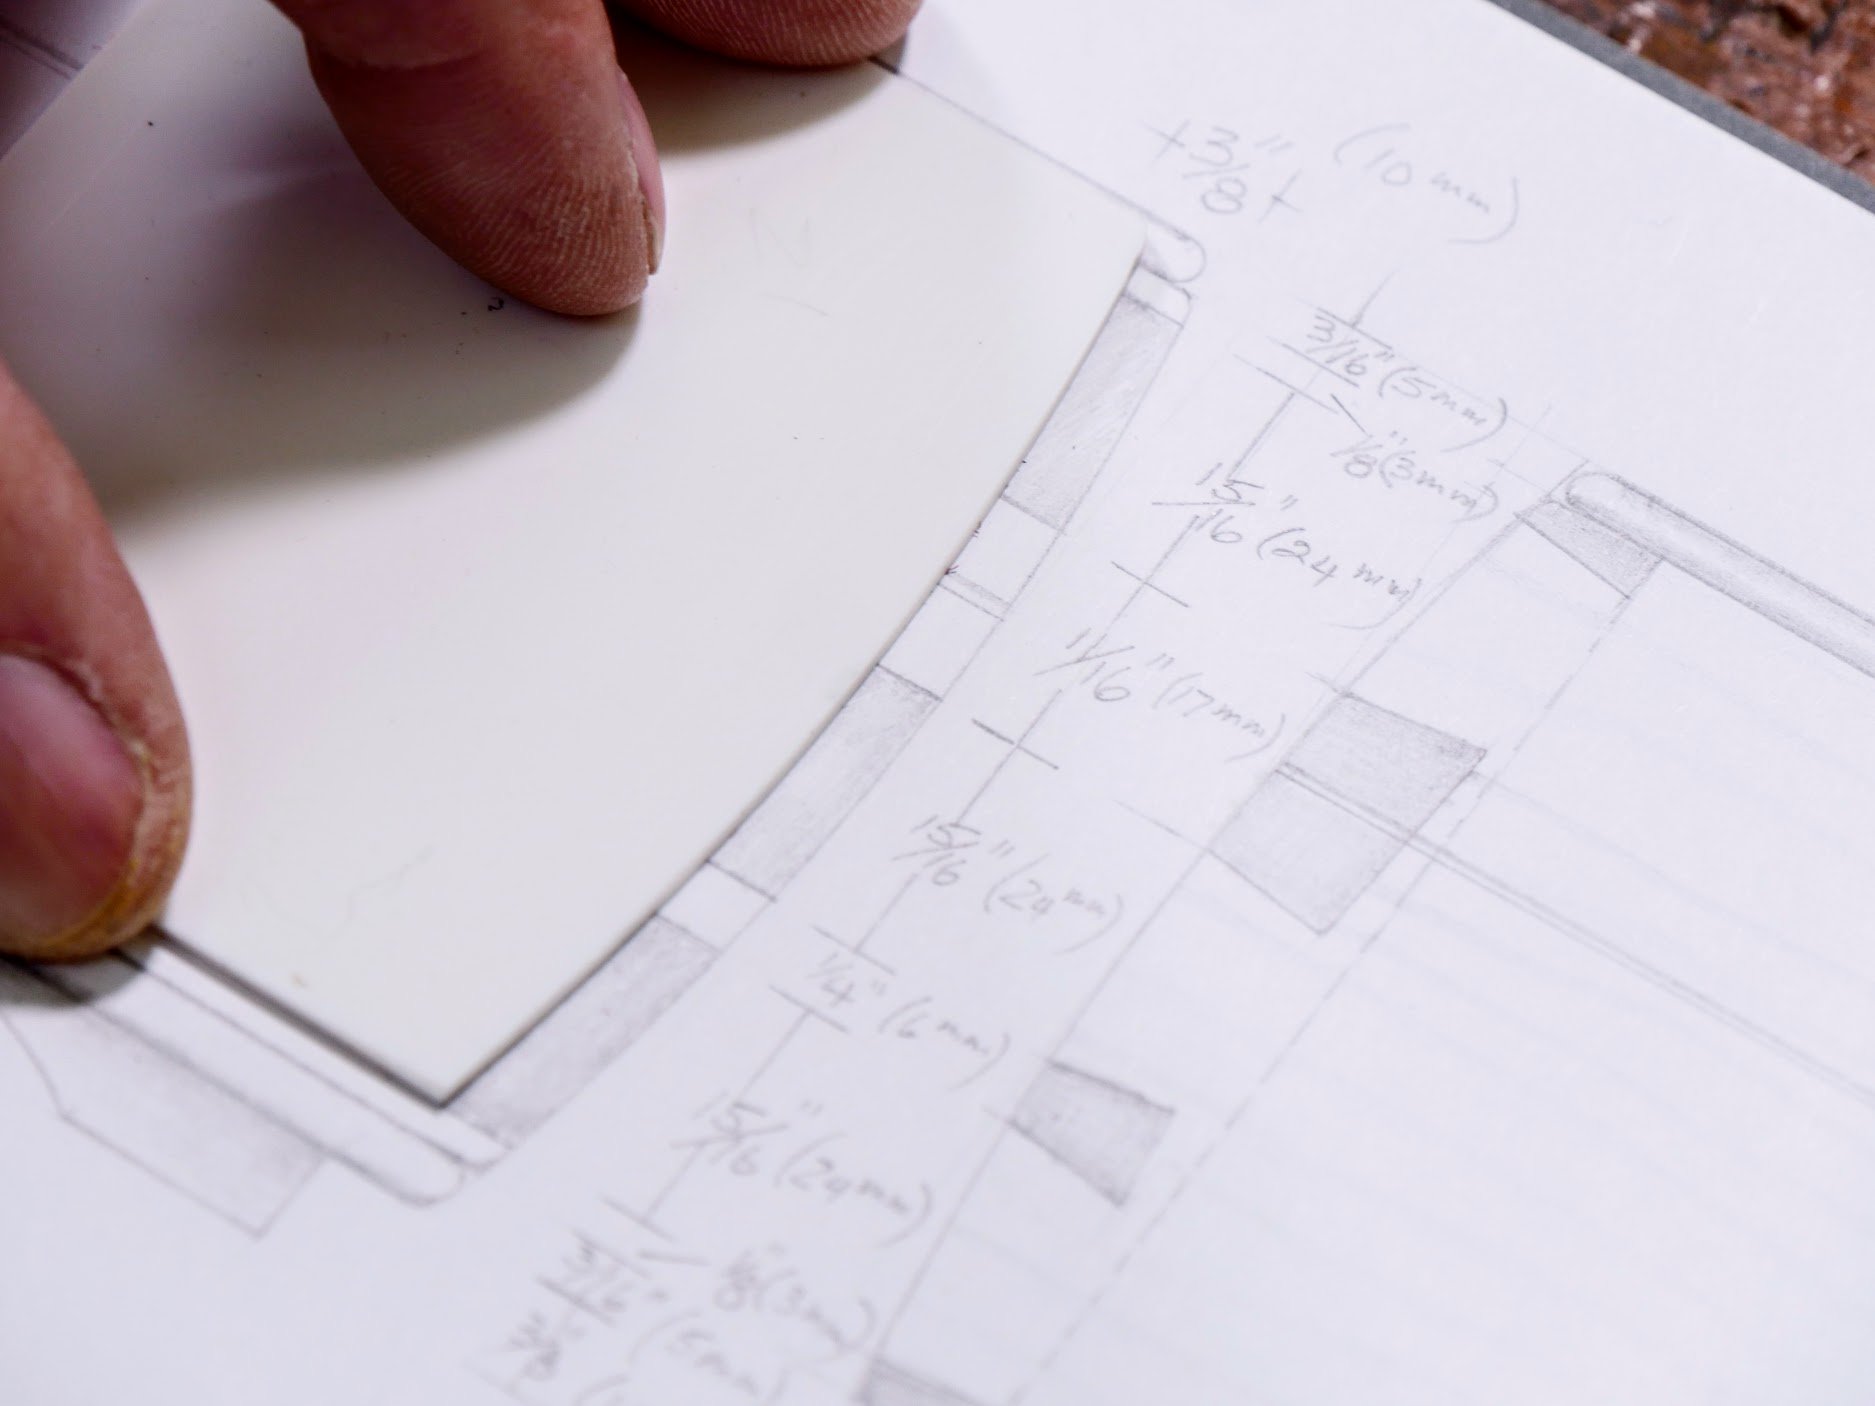
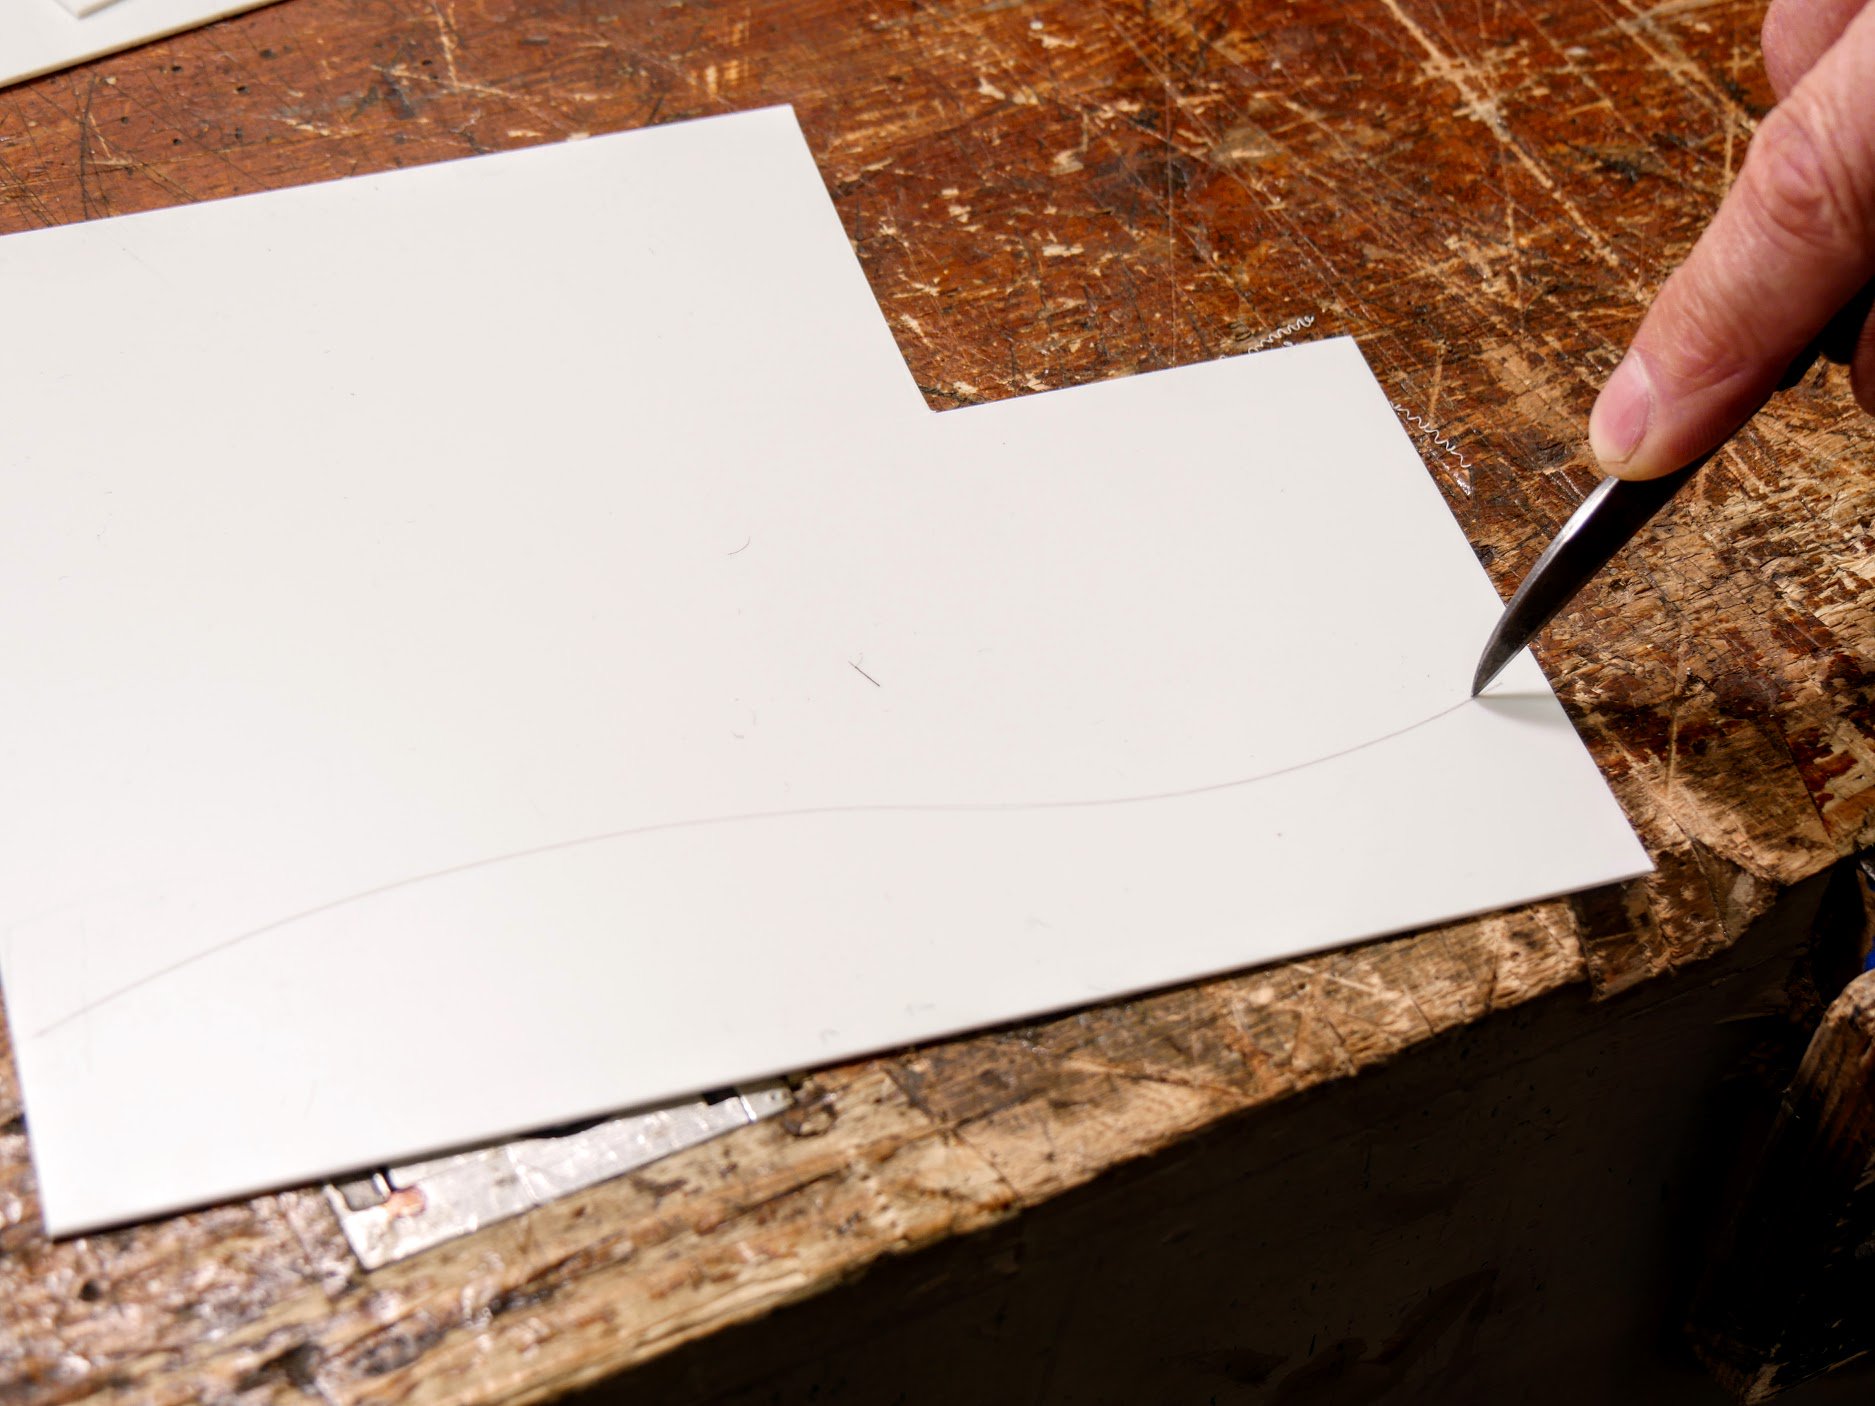
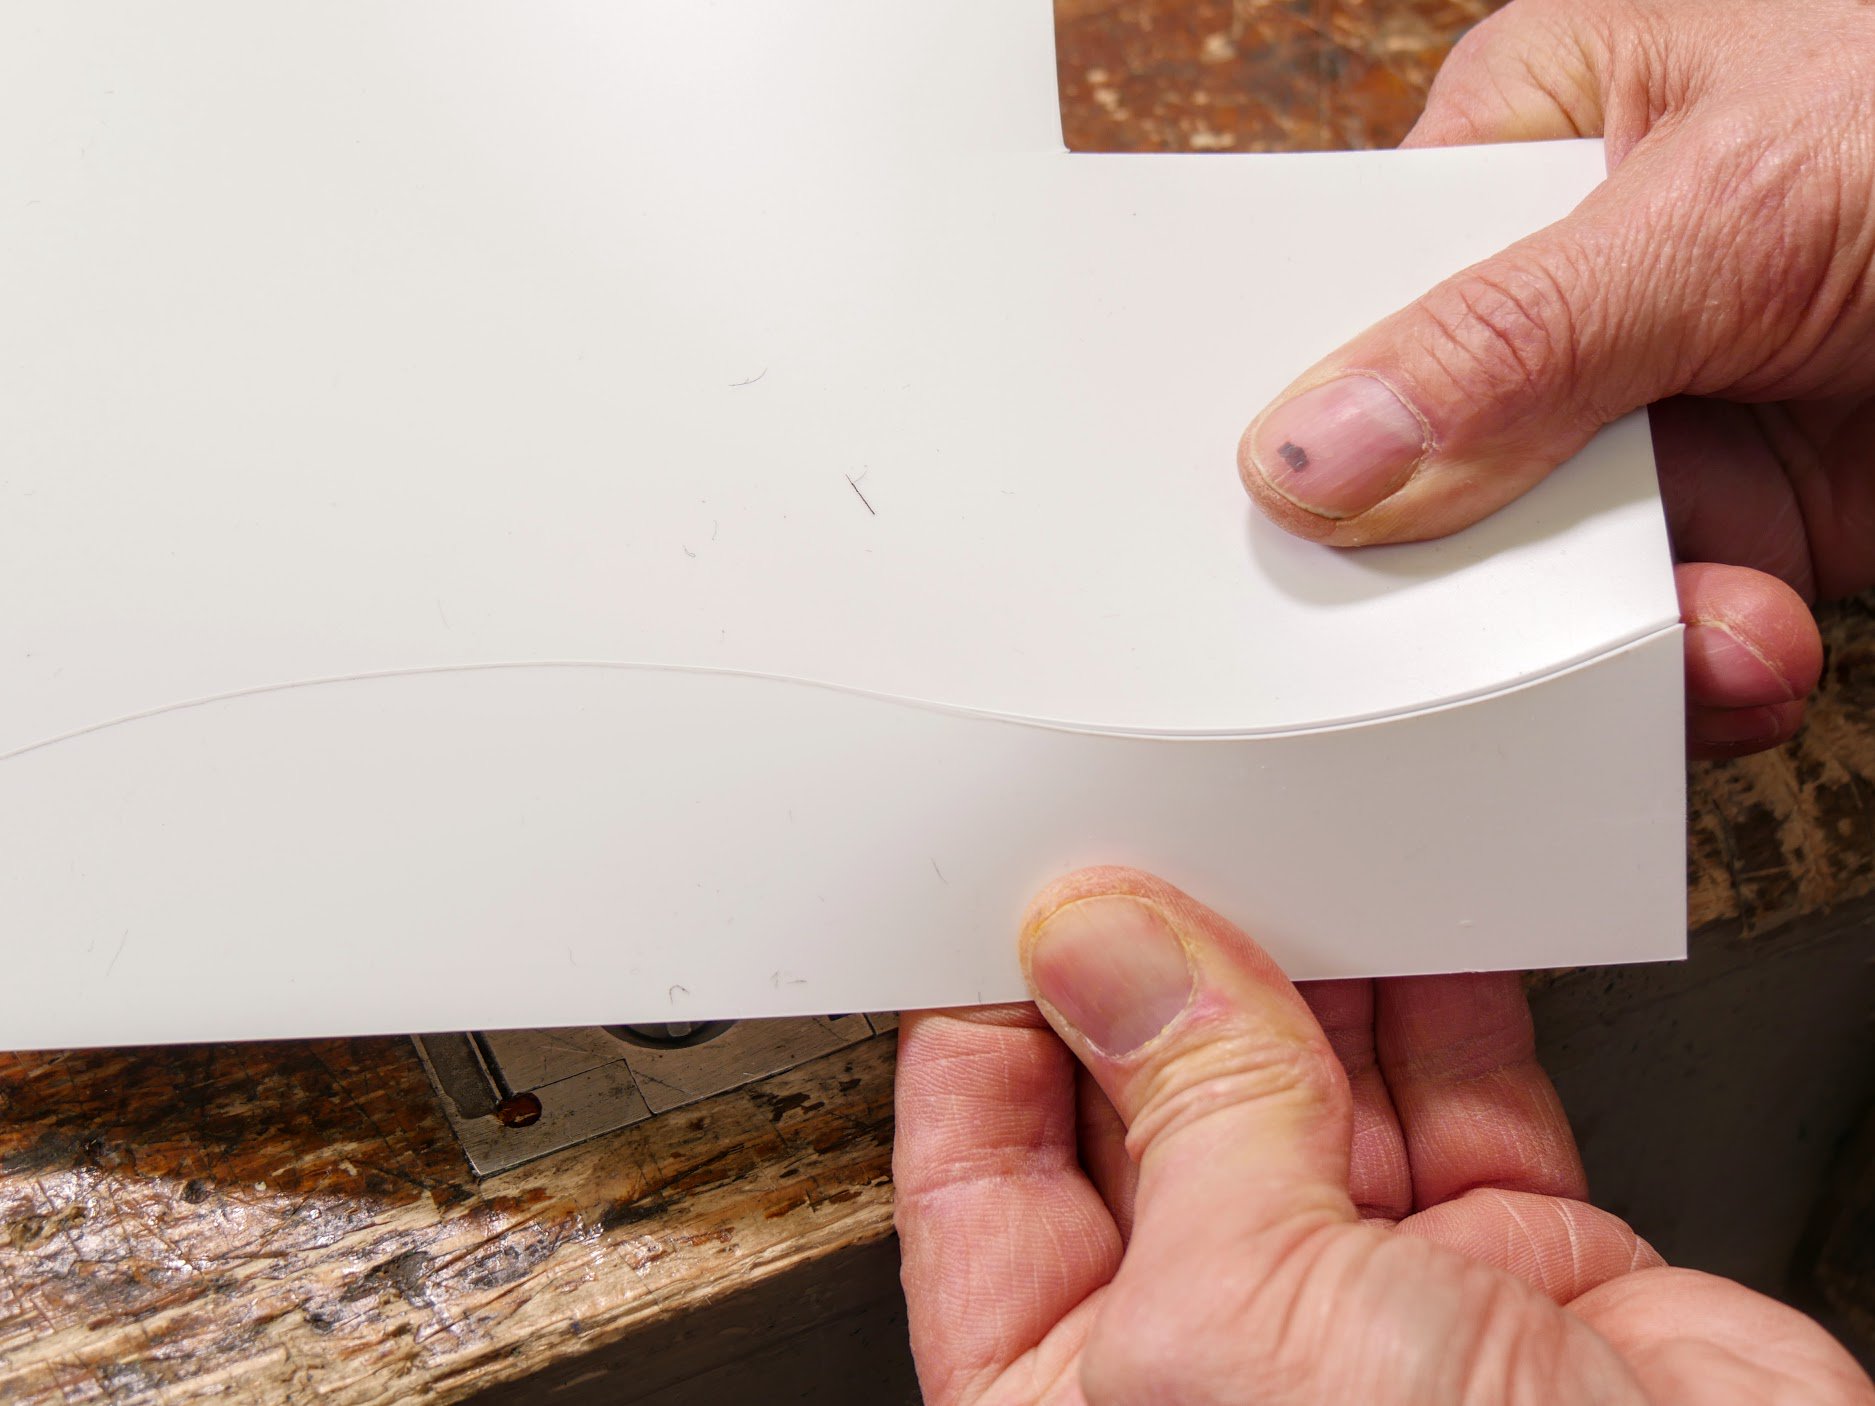
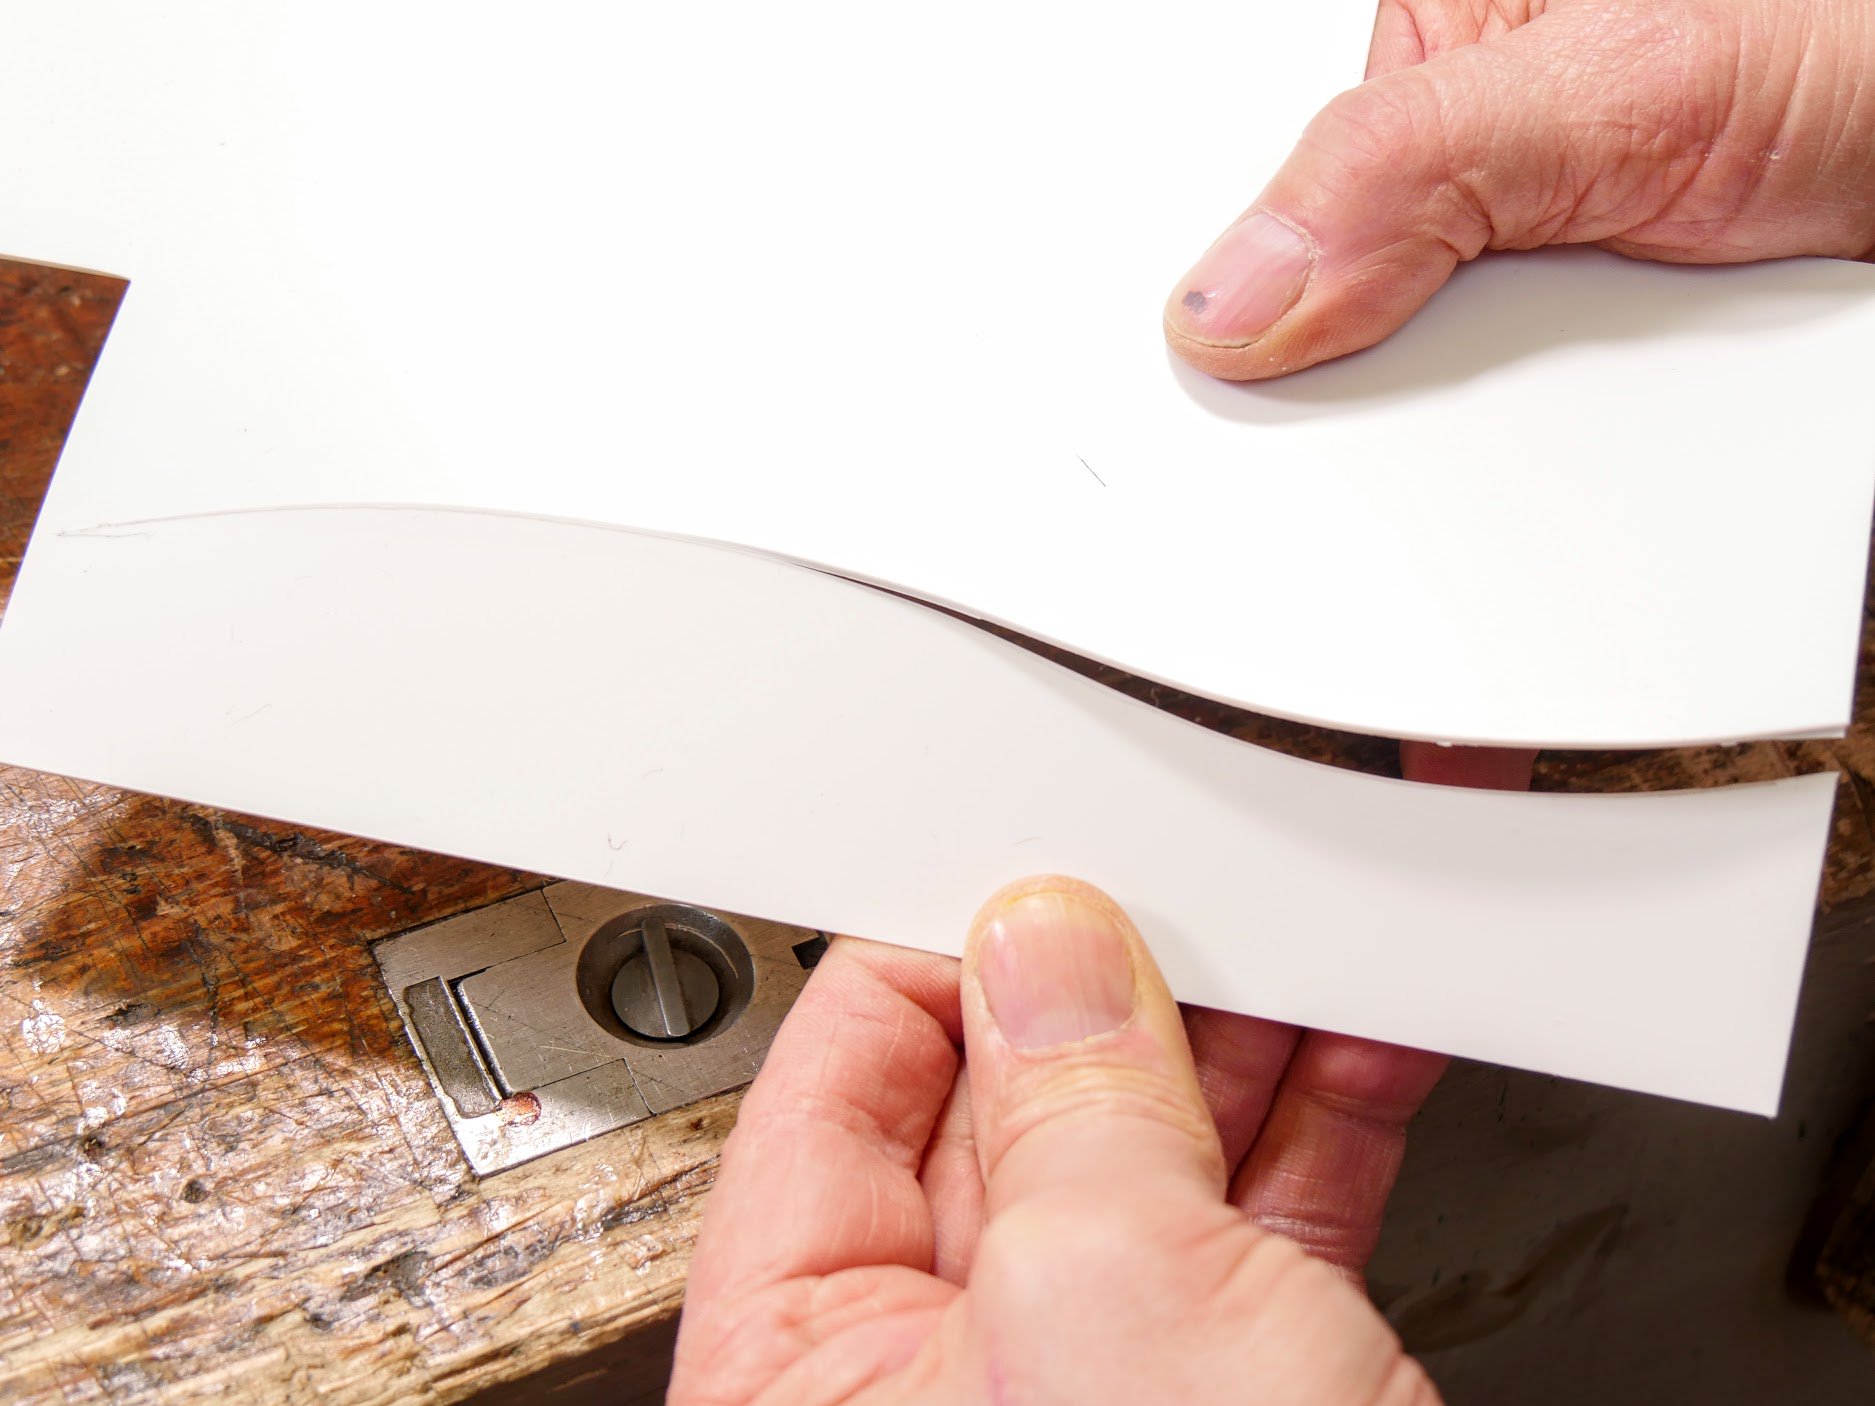
Most often a clean knife line results in an edge that's smooth, continuous and square-edged; requiring no further treatment. Perfect for laying out and transferring shape or repeating shape to multiple pieces, it’s easy to see this as practical for all types of woodworking crafts such as turning profiles, neck shapes for a guitar and much more, but I also use it to make my drawing templates, straightedges, squares and my own English curves too. If I want a perfect arch, as in the case for checking my box sides a short while ago, or developing my drawings, I can readily custom-make my templates. I can scale them to size using scale rules if say I am using a scale to reduce size to fit my paper size. Of course hand drawing and and such gives my drawings the organic look I strive for and after a year or so of learning to work my drawings on a computer I went back to hand drawing. So, whether it’s to freehand shape or conform shape to specific angles or curves, once the knife point cuts the surface you have a snap-to-line.
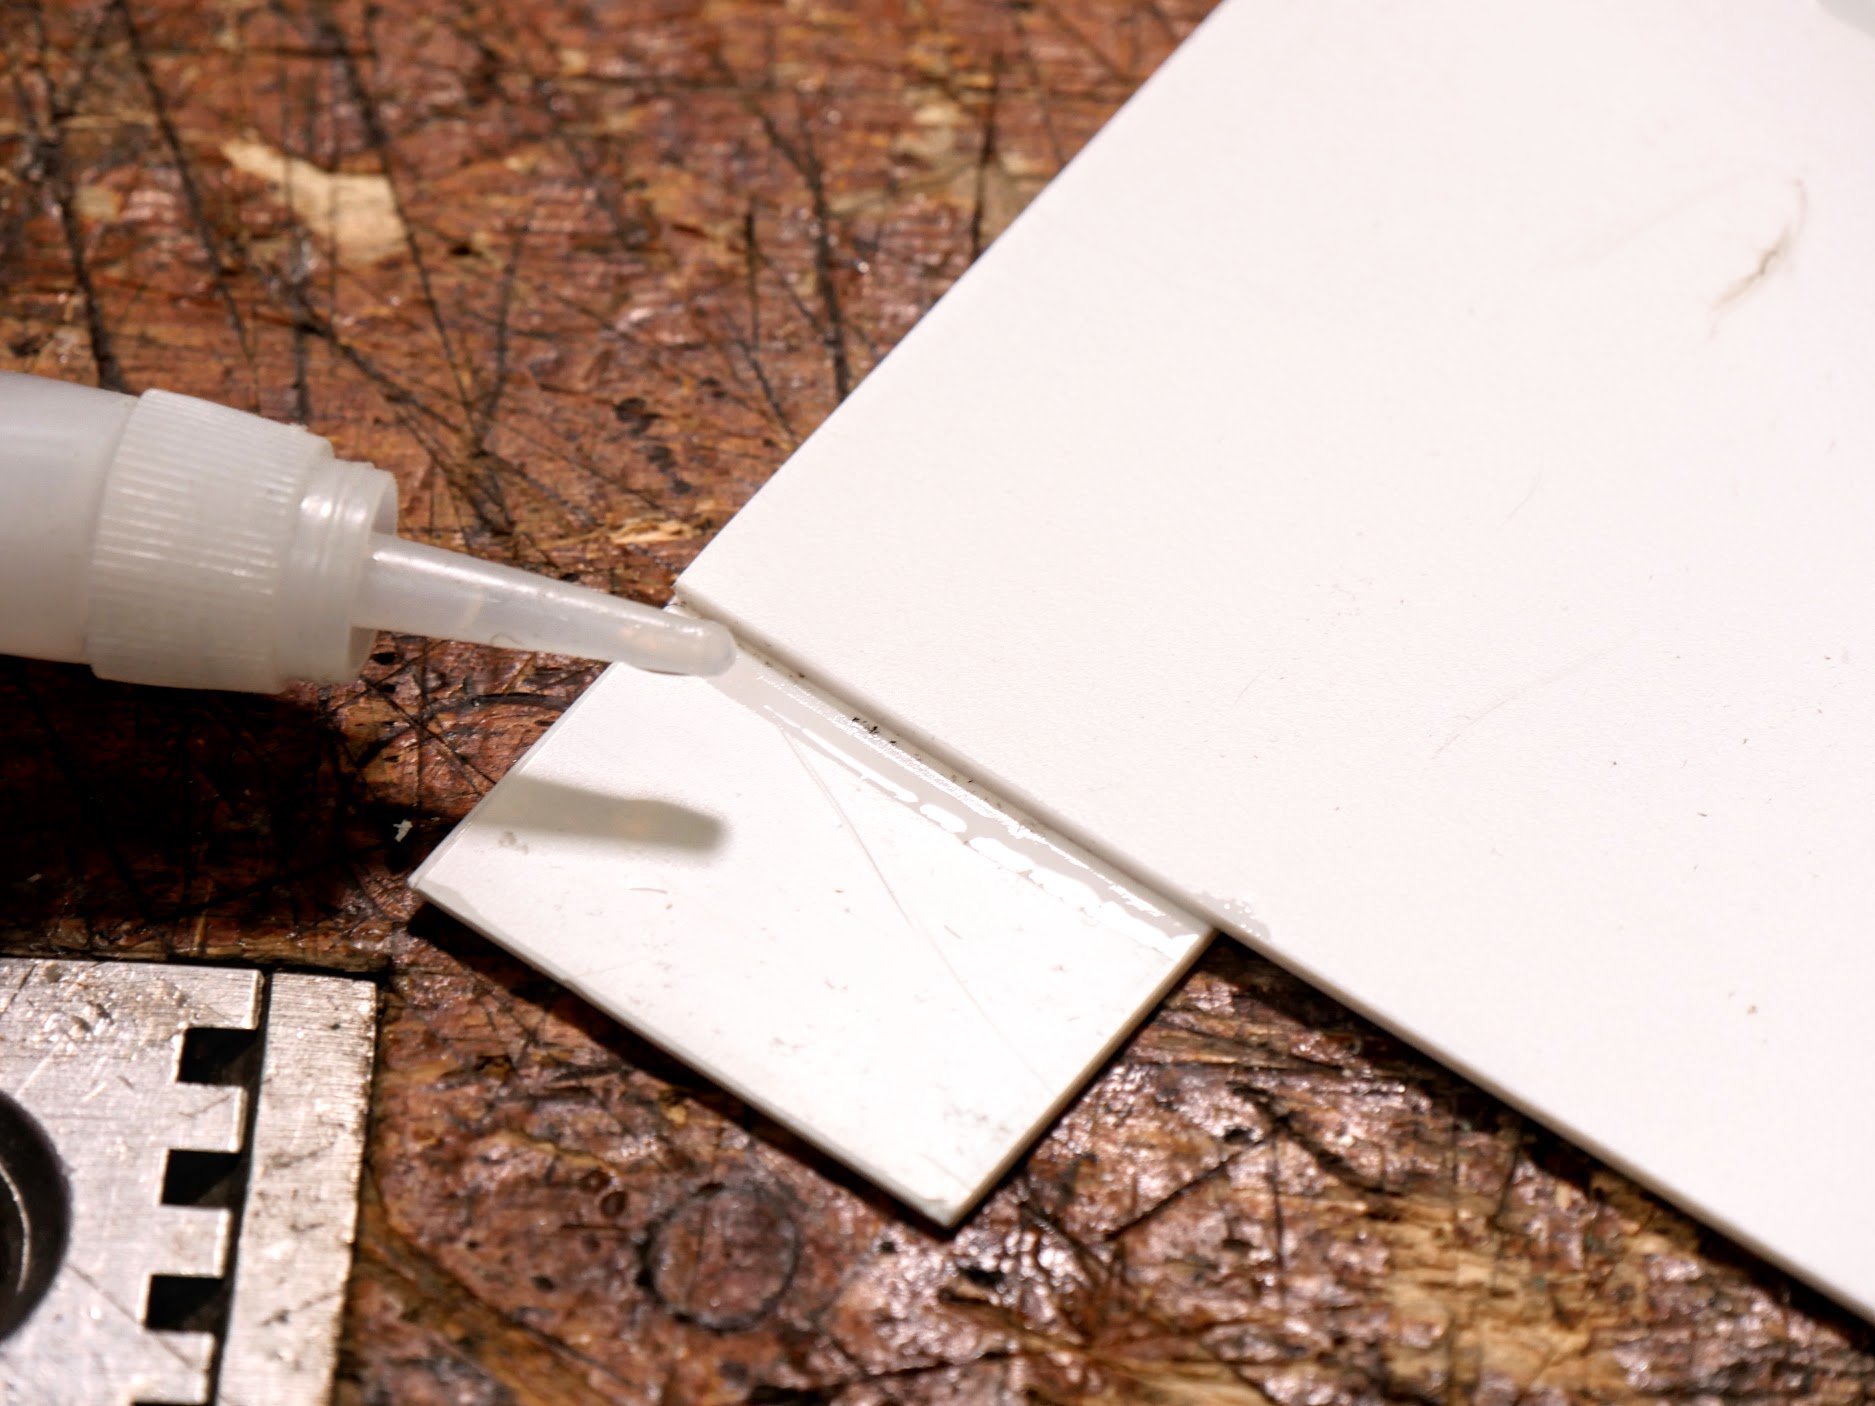
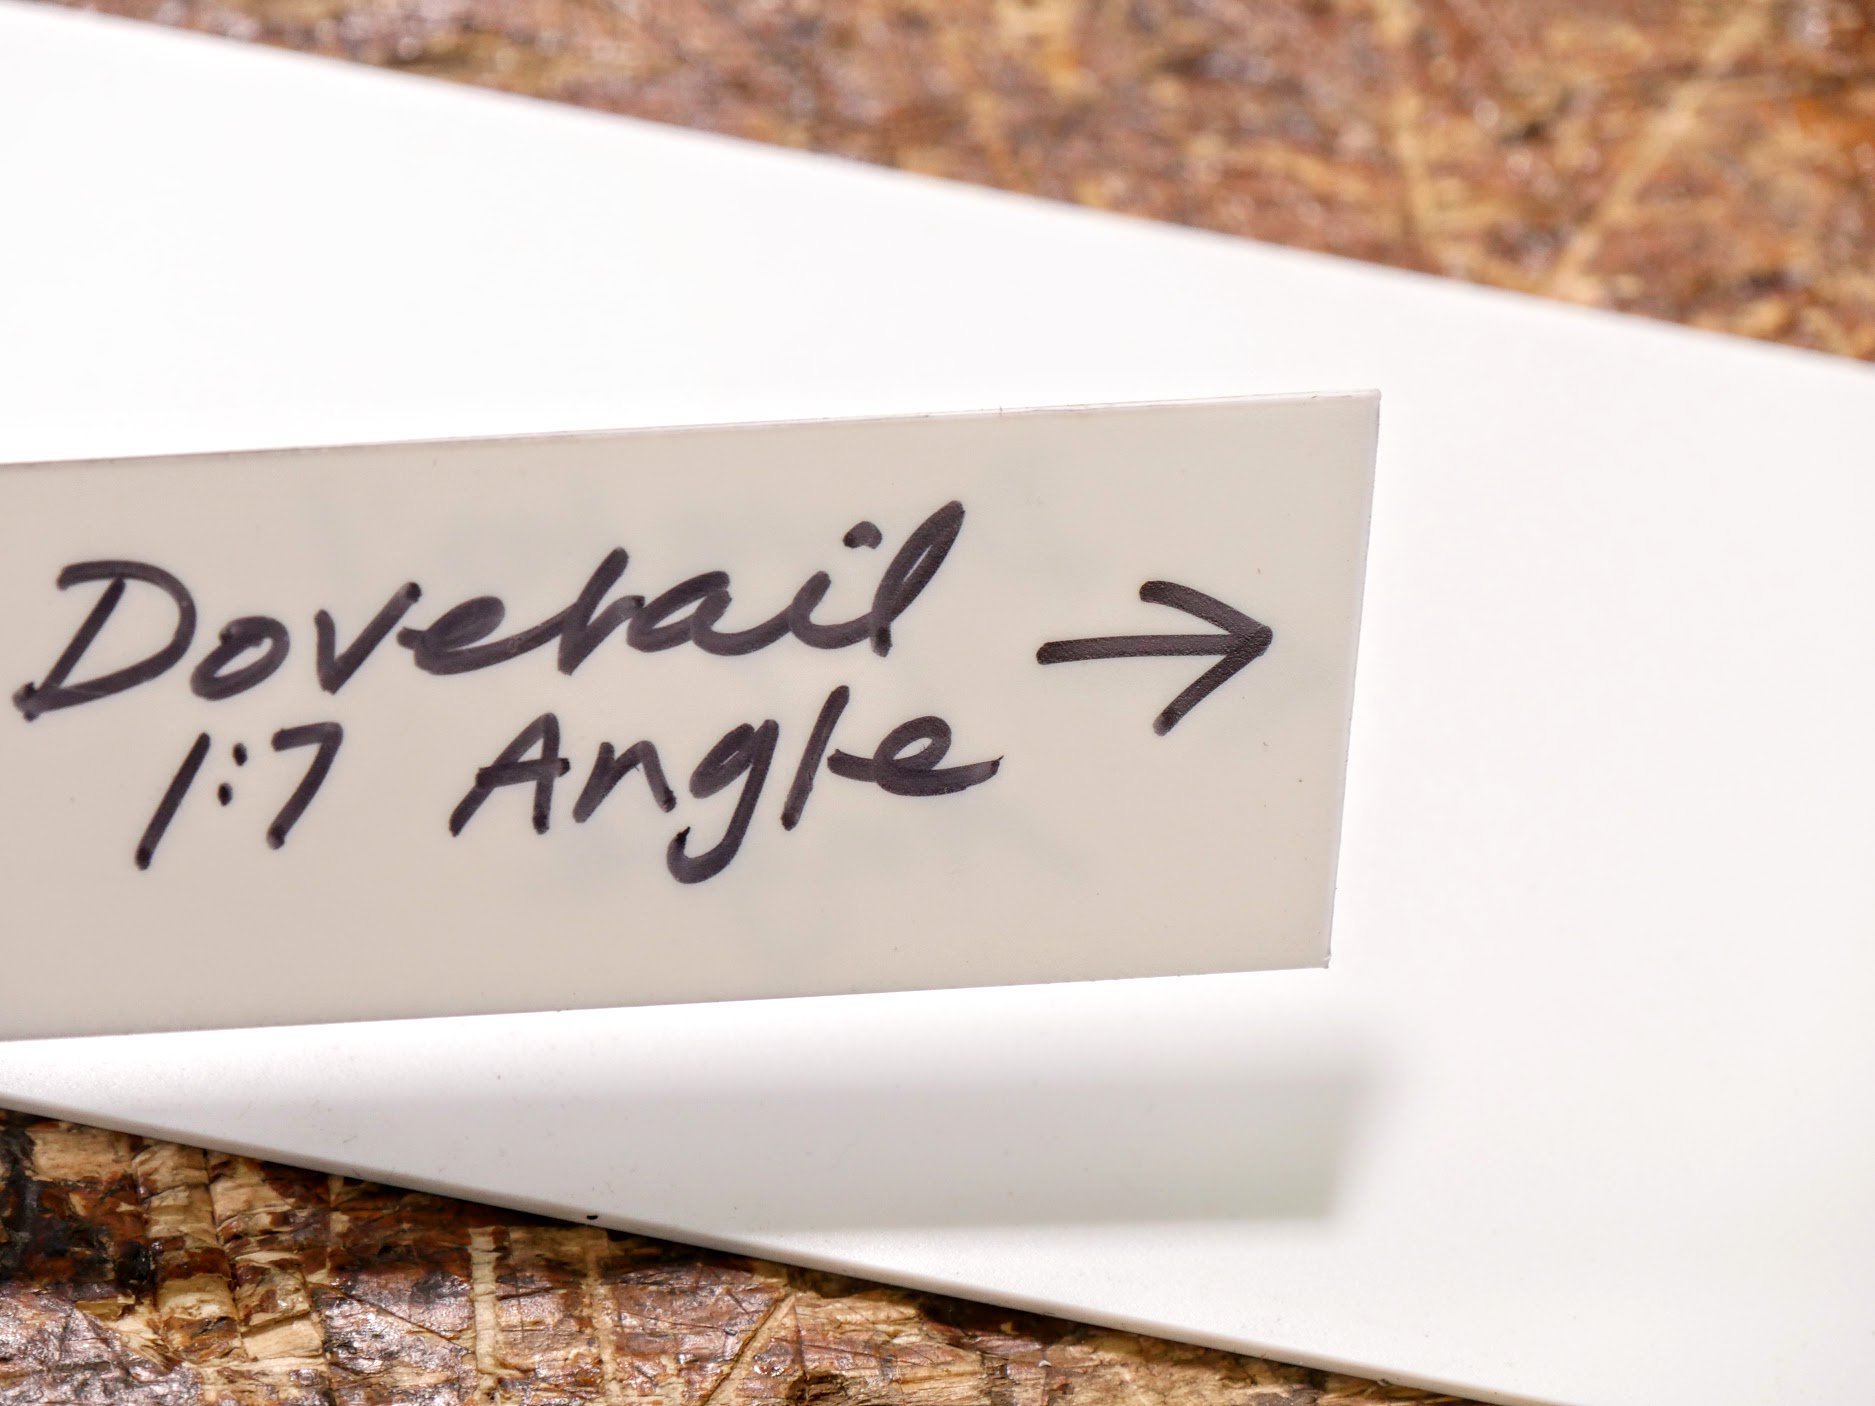
Make dovetail templates and so on using double sided tape to stick component sections together and then, once checked add a little superglue along the joint lines for a permanent bond.

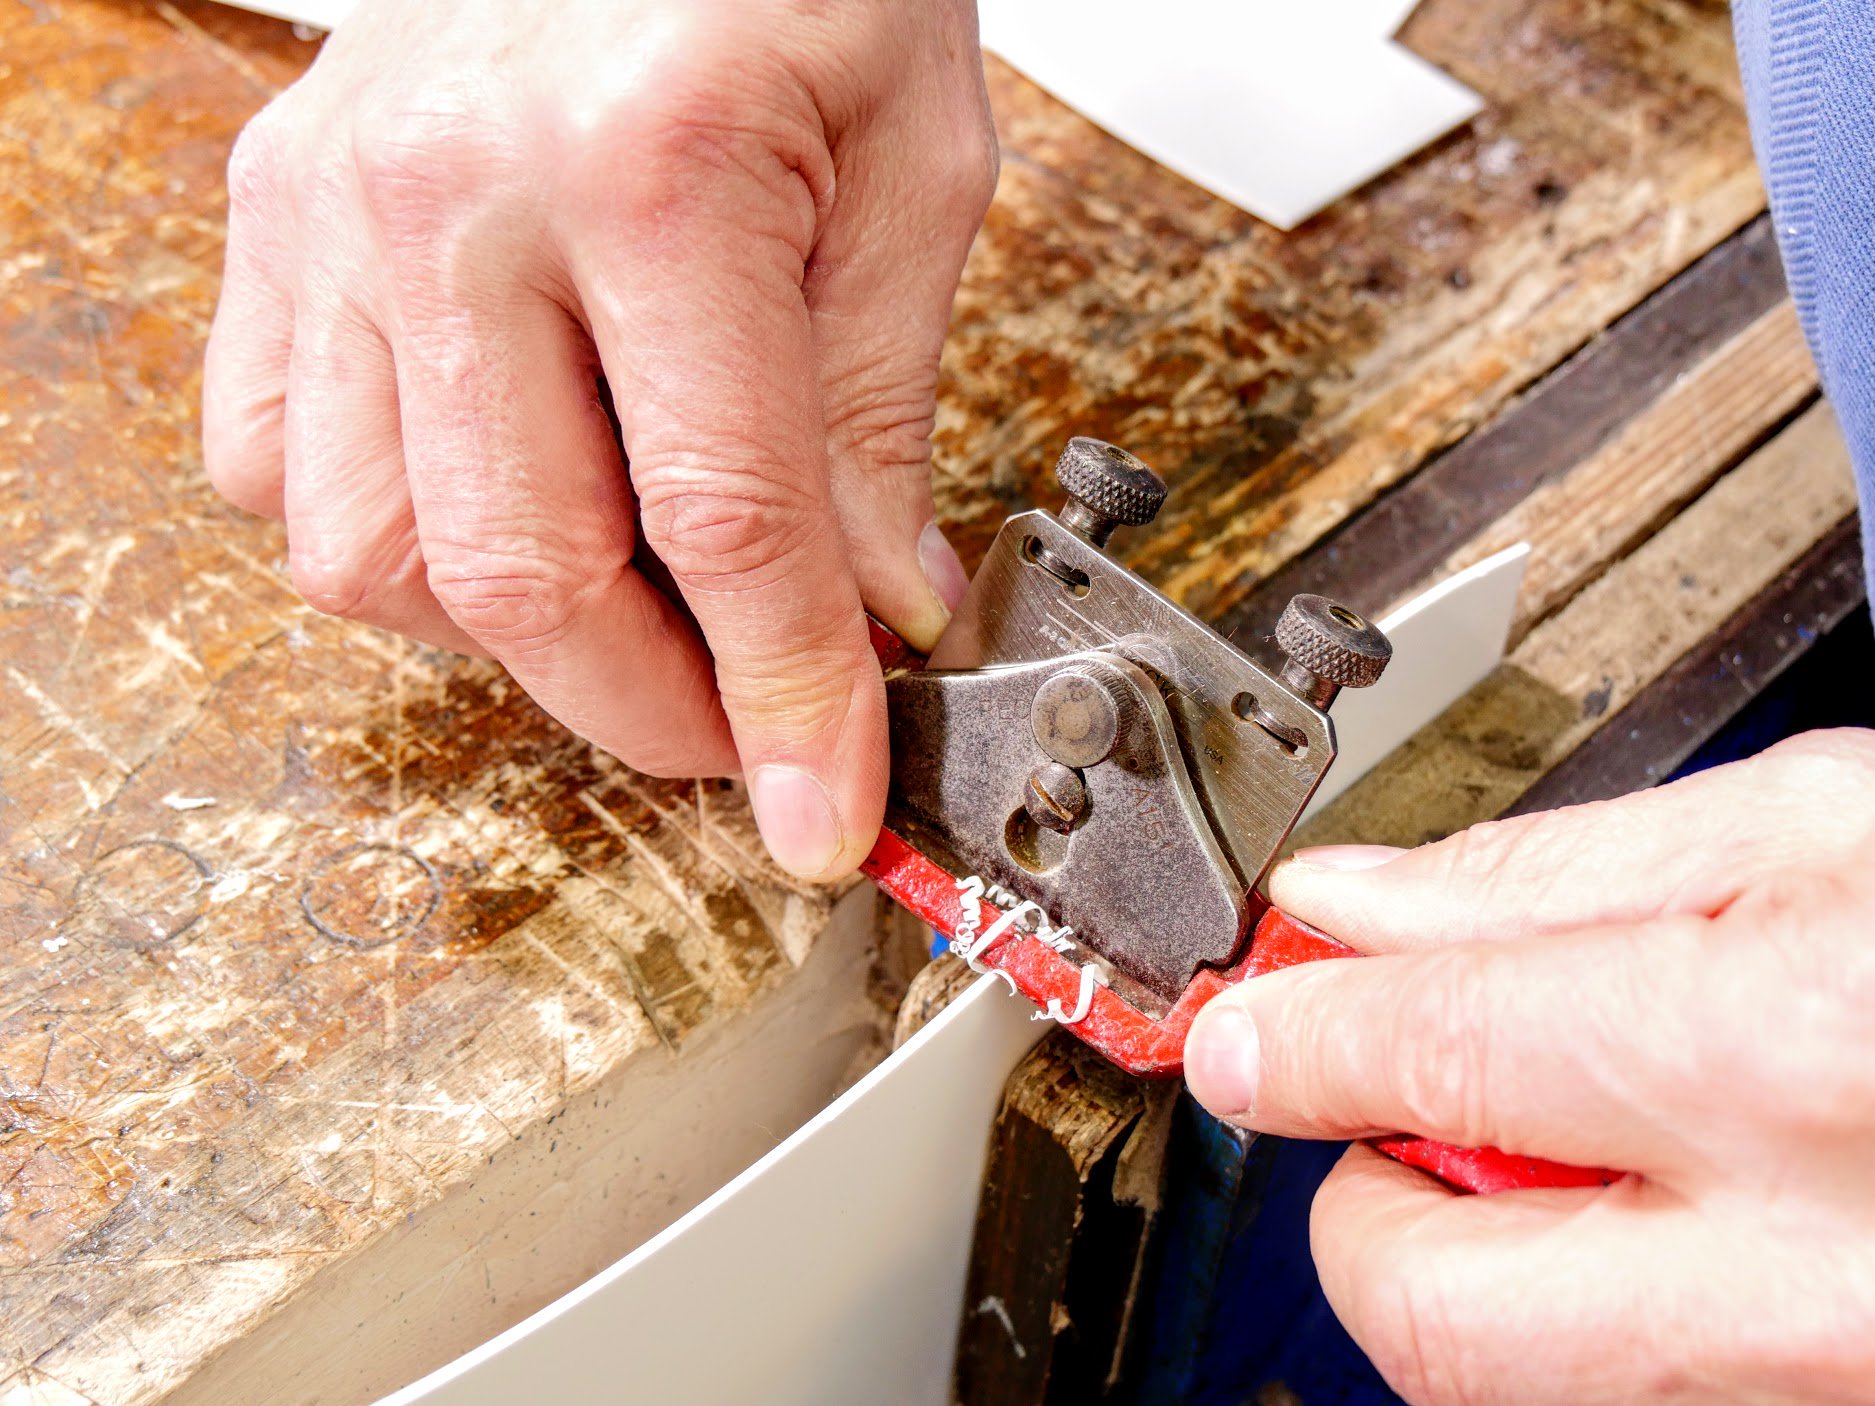
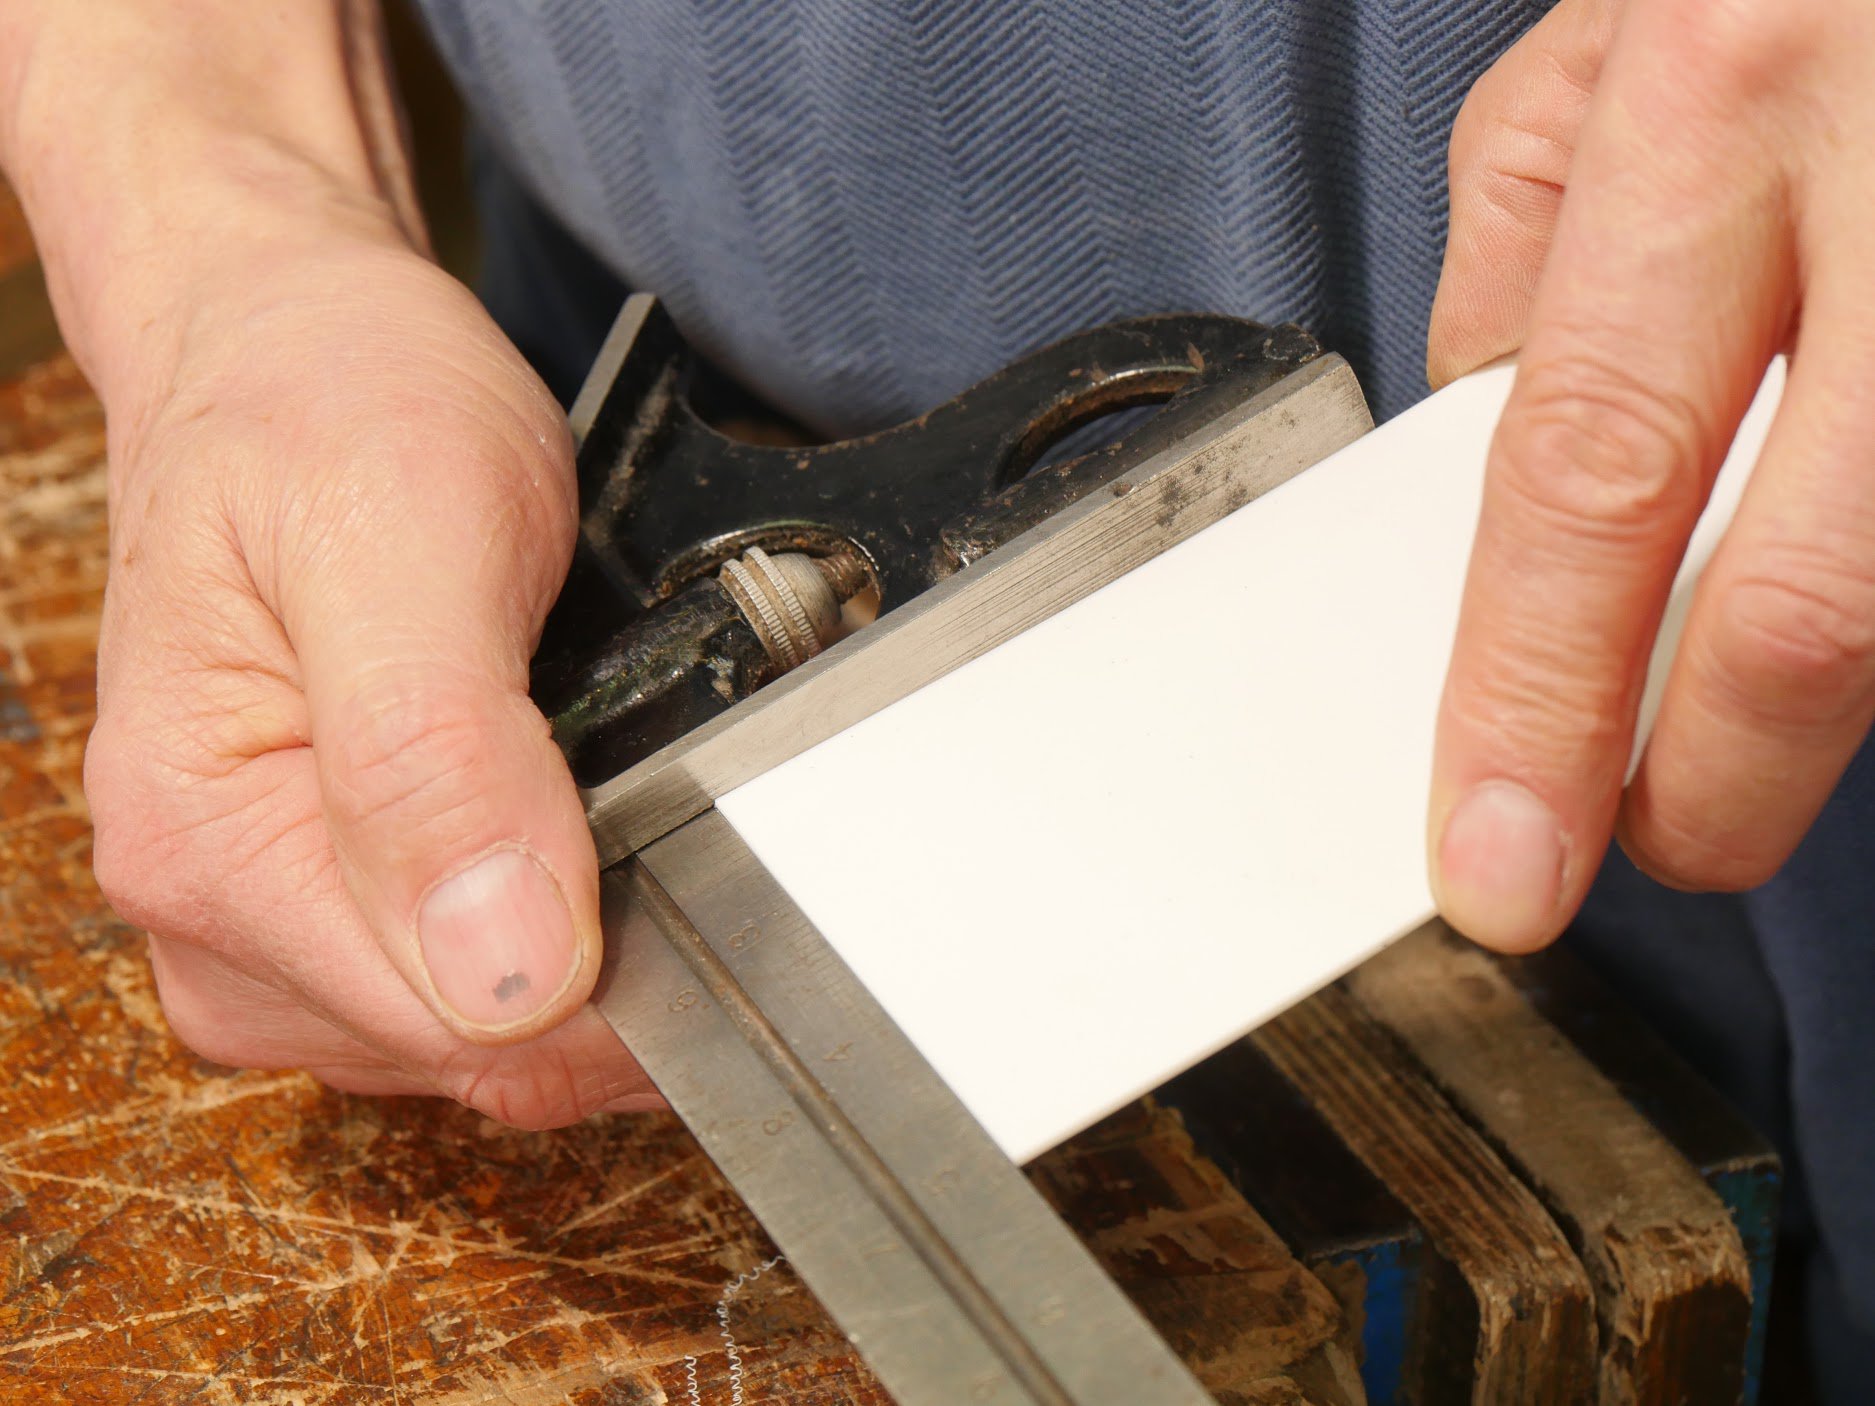
Sign plastic is available in many thicknesses. I use different thicknesses from 2 mm on down. 2 mm down to 1 mm can readily be planed, spokeshaved and knife cut. These thicknesses give sufficient rigidity to work with hand tools. Thinner stock can still be refined but can flex away from the cutting edge. So there you go, "Snap to it!"
Comments ()