Mortise Gauges to Look For
Thursday 16th February 2017
I’ve worked on and off with marking gauges all my working life. New ones have come and gone with the generations and then, because an originator passed, a stepson or nephew took over, and the heart and the art was lost, we ended up with slop around the stem.
I have yet to receive one of these bought via eBay to be sloppy in the mortise and the have a perfect amount of margin that keeps them square to the work. I have also found that they are almost always in good condition too, with no wear noticeable wear to the pins.
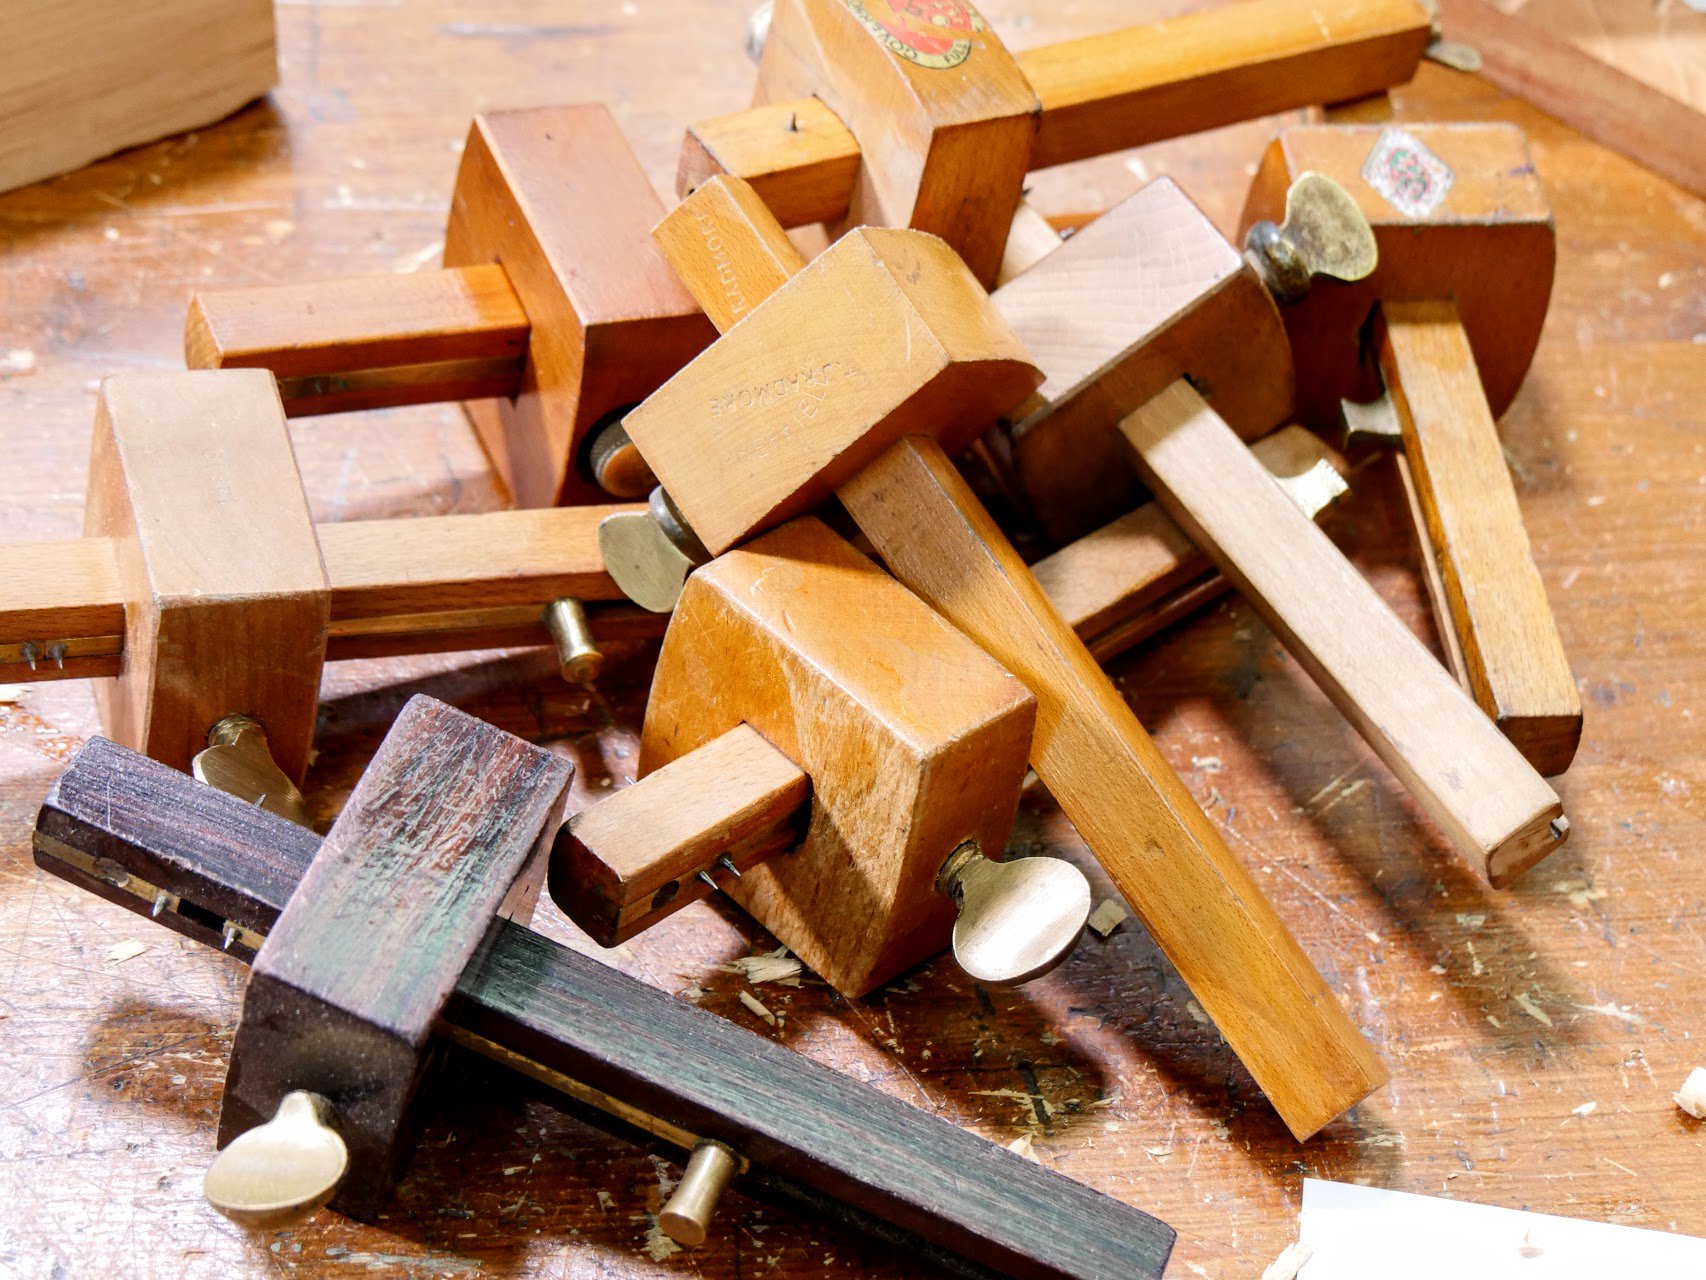
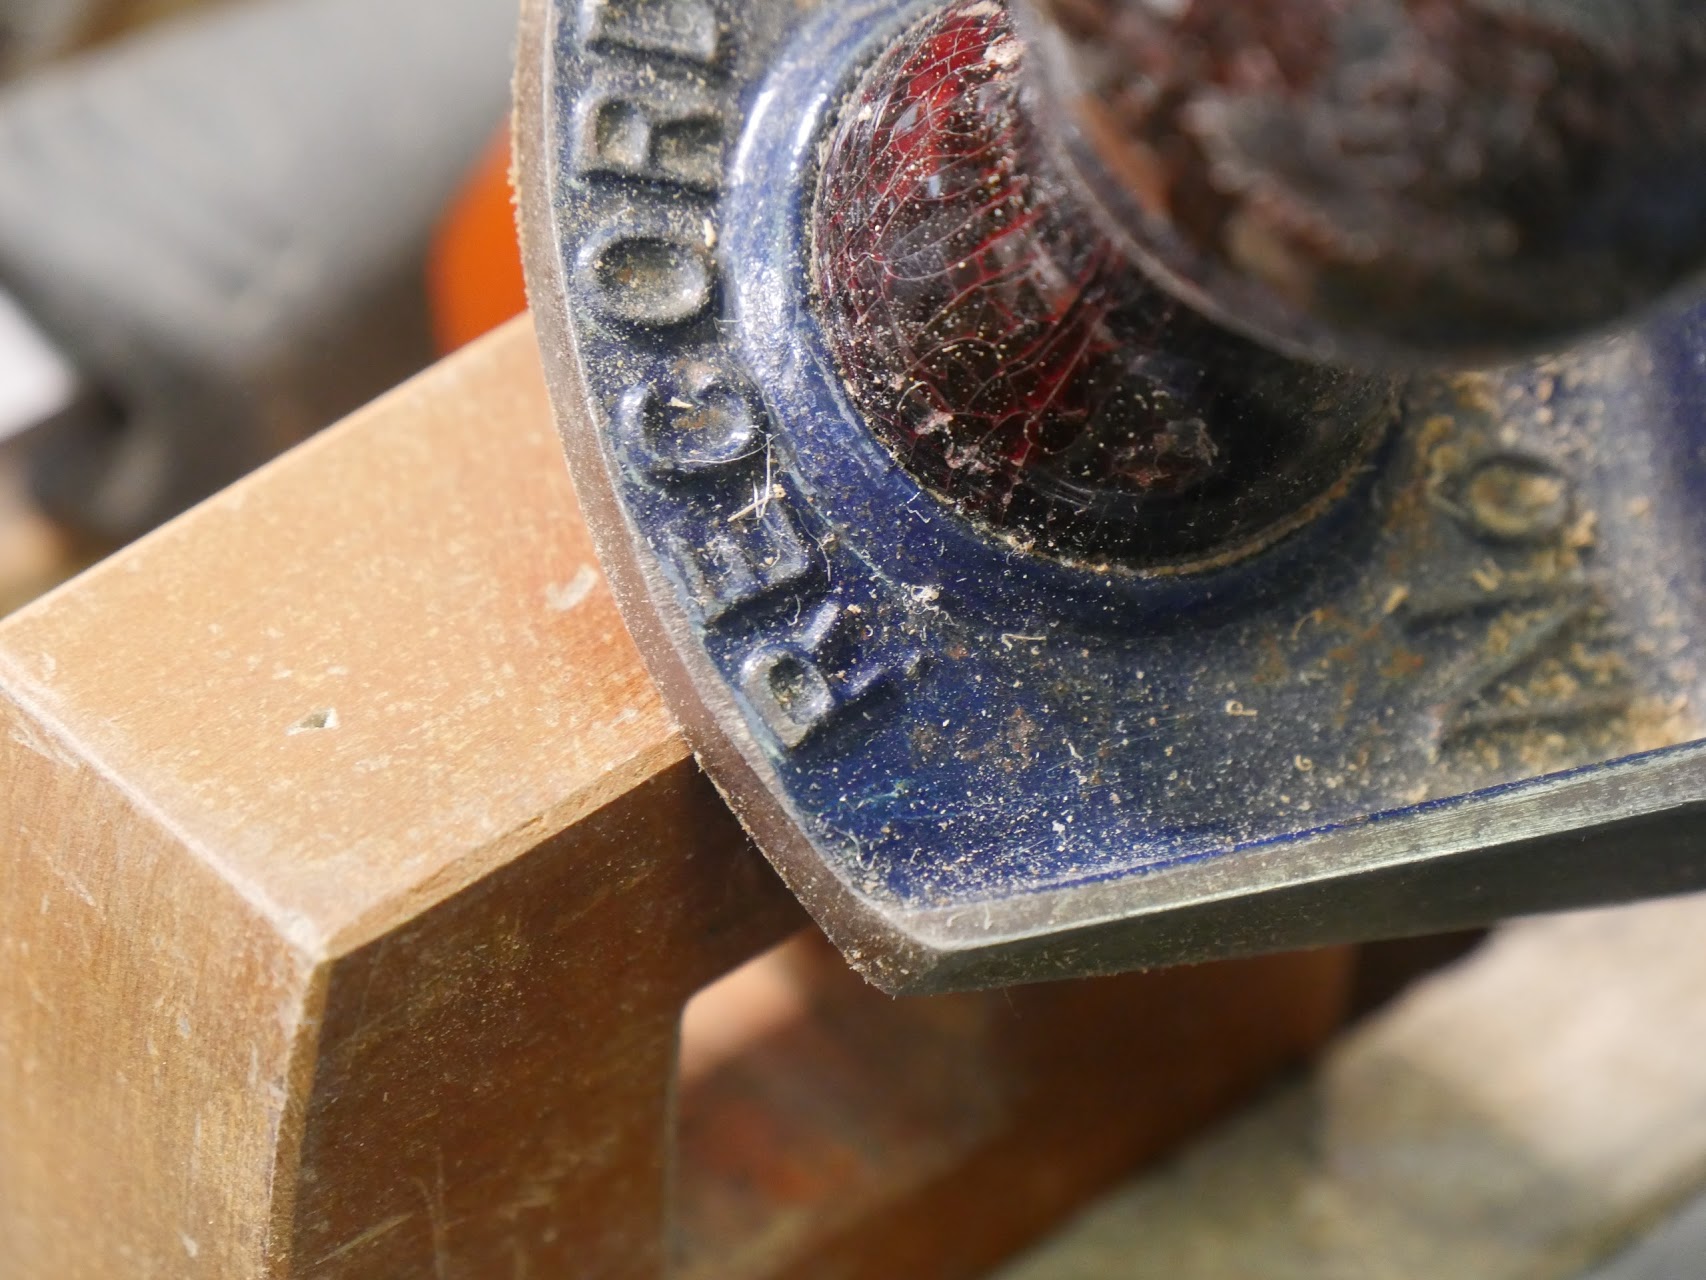
Some more fanciful makes are nice and well made, look lovely but have a sort of exclusivity about them. Some are more sort of snobby, but they work fine. I could never afford them or justify the price but then again I don't care for exclusivity anyway and that’s where fancy things often ends up. Anyway, I have acquired many of my preferred combination gauges to keep the school stocked and I thought a blog might help with the what I like about these. The standard model is an unpretentious blend made for the working man of the mid last century as the first offering range of what has become the combination gauge. It's hard to believe that it didn't happen a century earlier but that's the reality of good ideas. Whereas several of these are stamped with a maker's stamp, many of them were made by one producer and stamped as produced by a distributor with their name. That was common for Sheffield back then. It was cost effective. So instead of giving a maker's name, rely on the picture above.
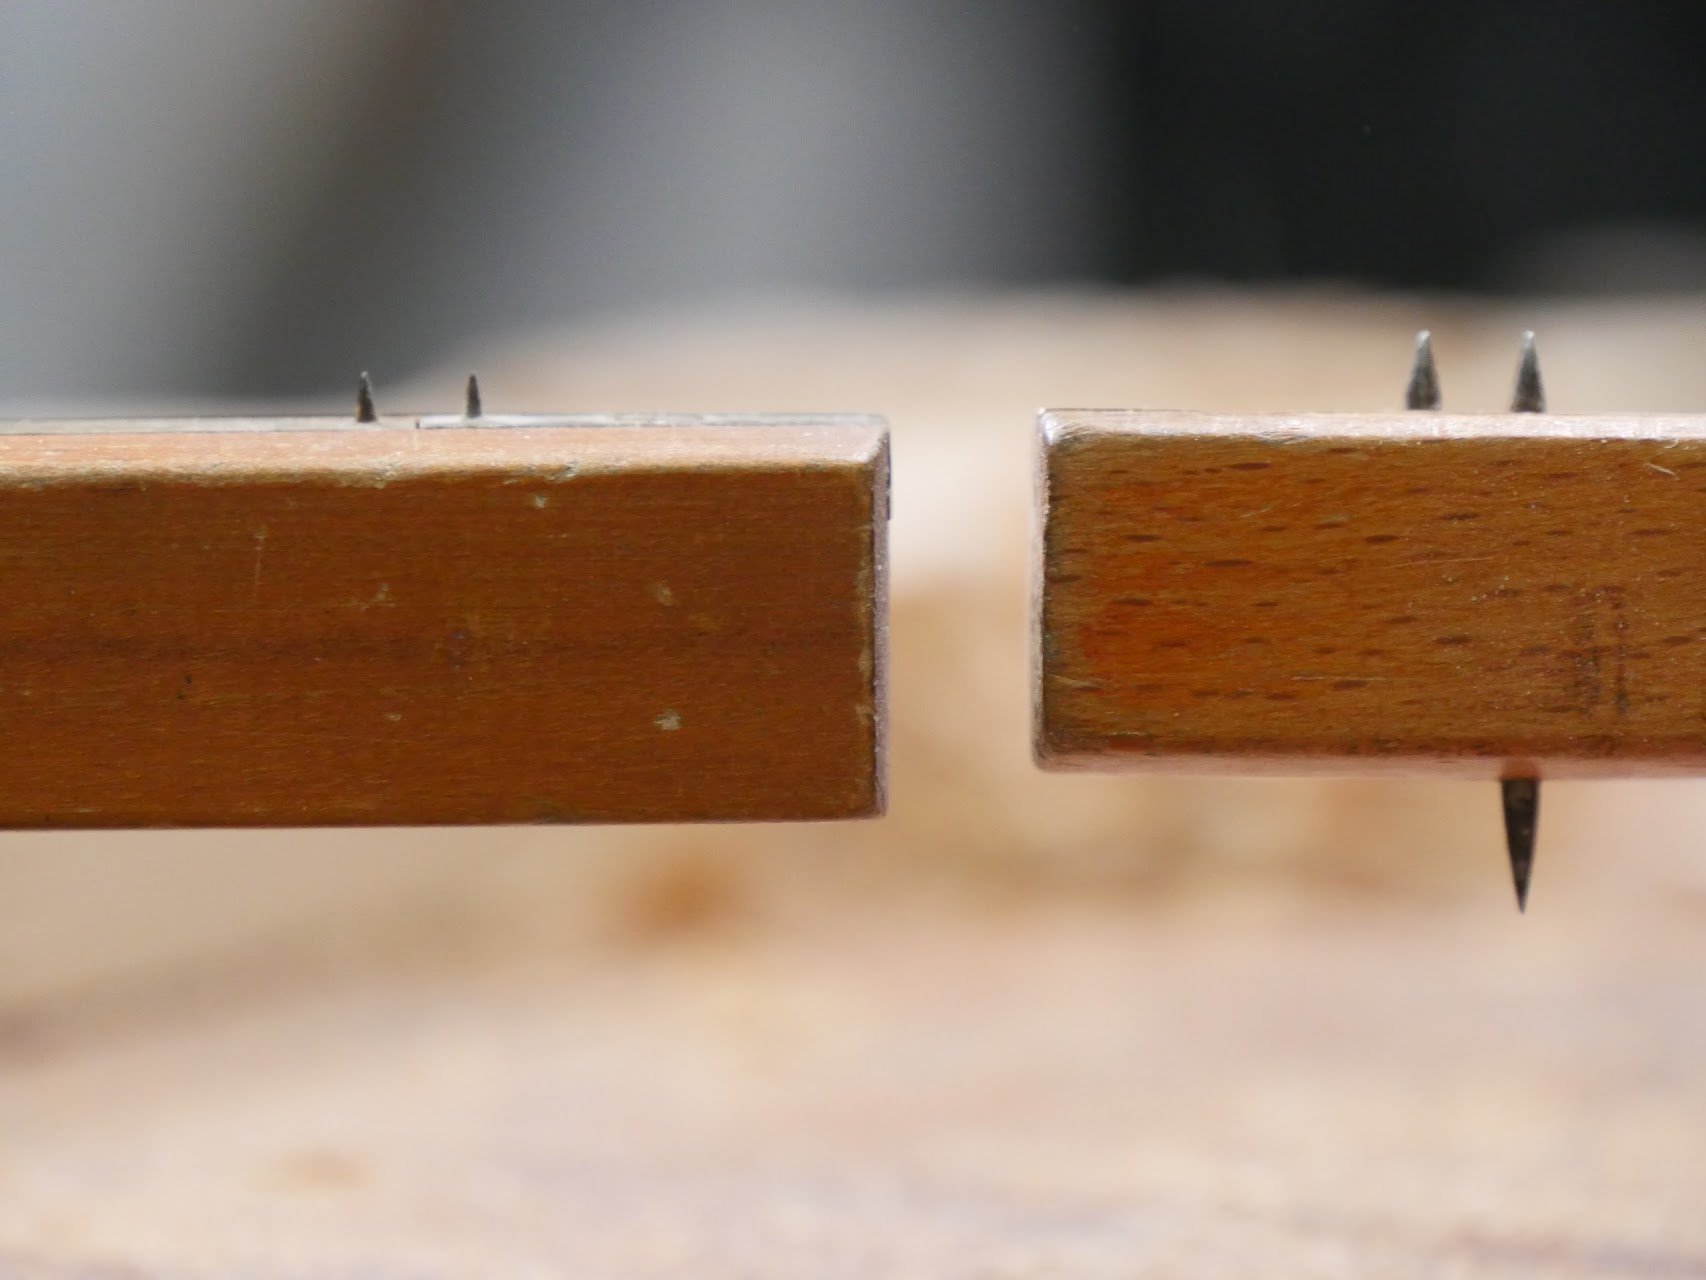
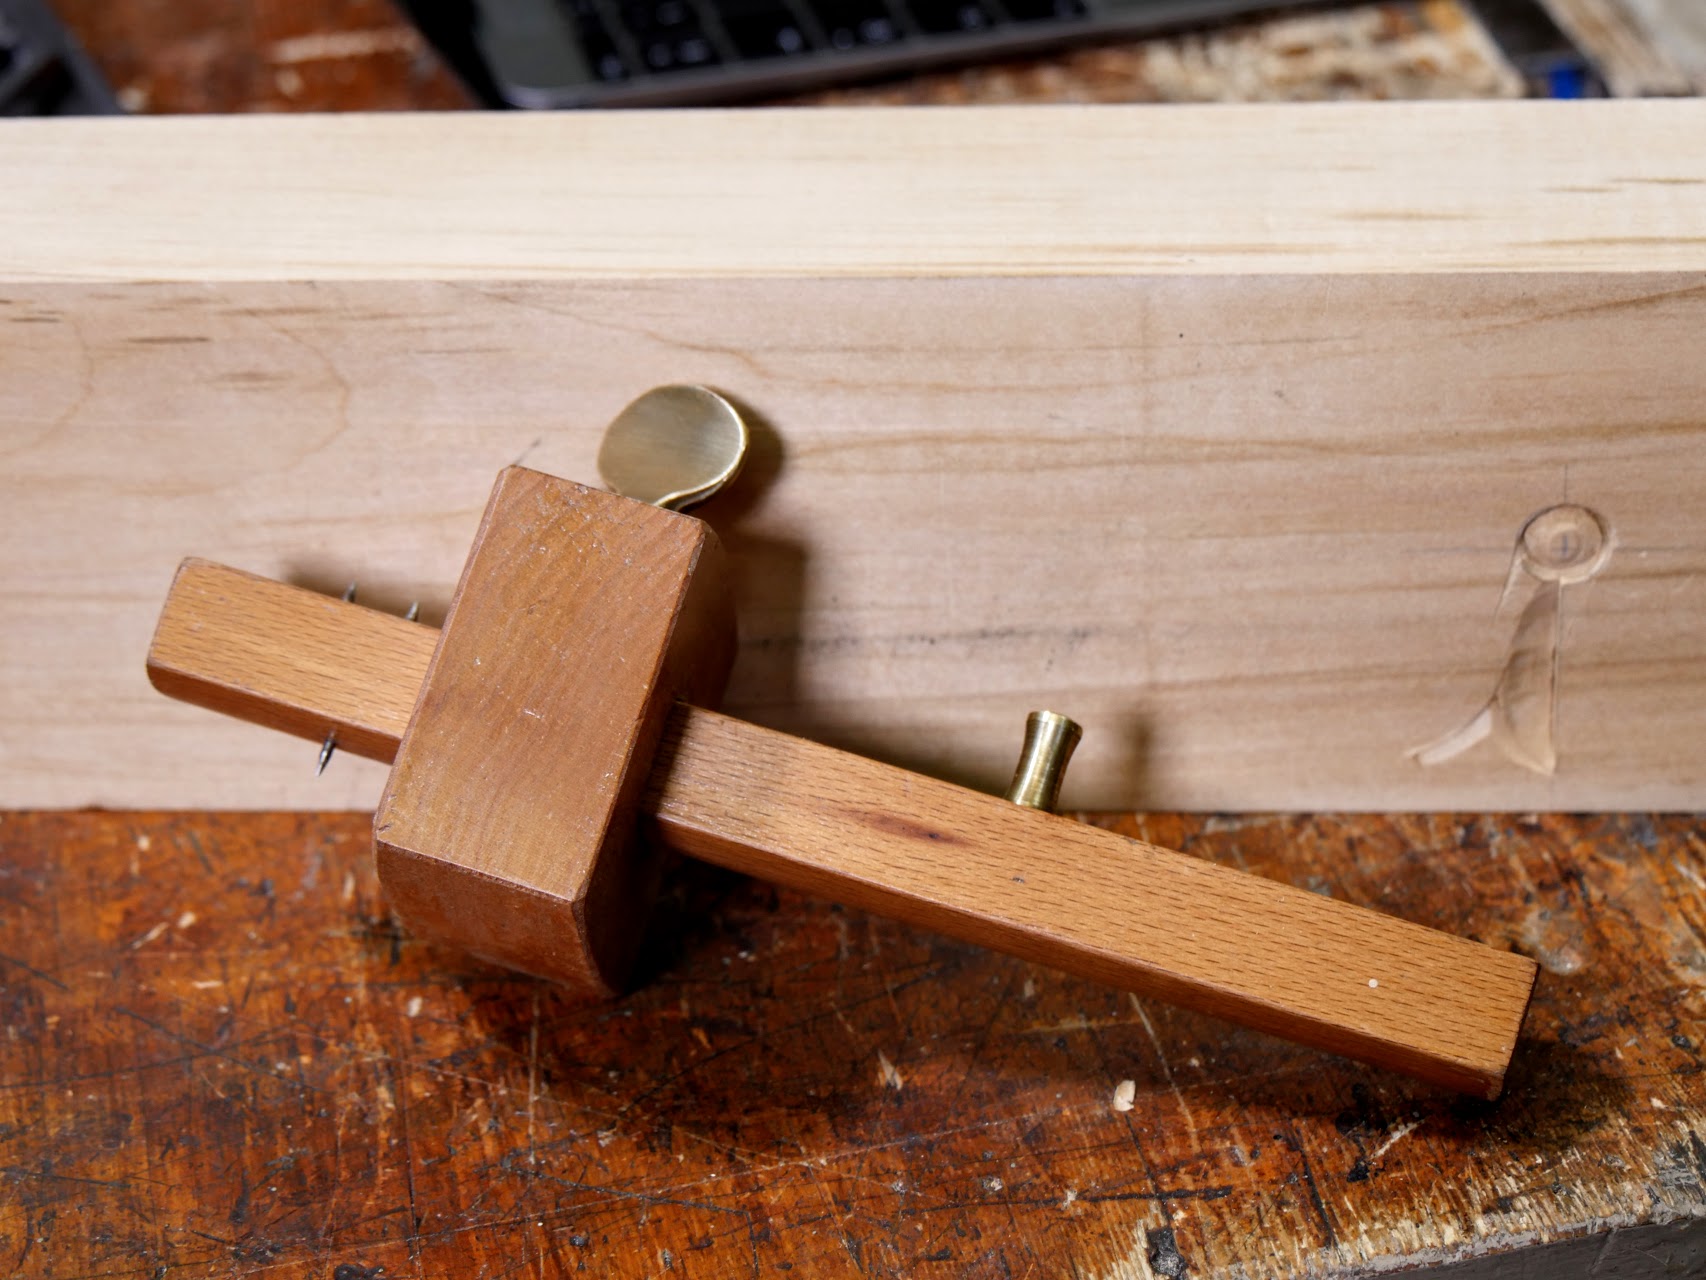
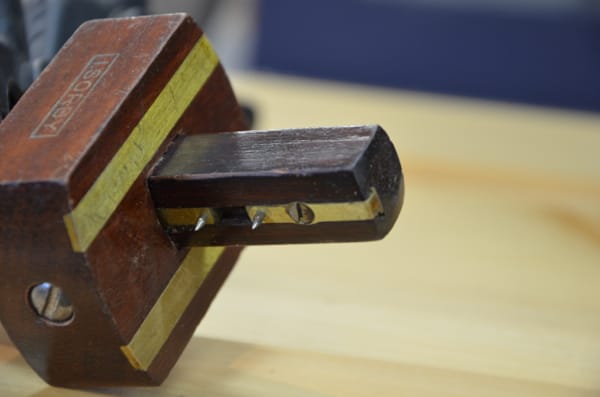
The mortise gauge on the left had only two pins, one fixed and the other adjustable, and so it was a mortise gauge. Of course to the initiated it’s title tells you what it is, a mortise gauge, and that tells you it’s not a combination gauge at all. On the other hand, many gauges listed or described as mortise gauges are often combination gauges or not mortise gauges at all. In one sense any of the three can indeed be listed as simply marking gauge because that is what they do. That being so, it’s not technically wrong to call any of them marking gauges, but that's not helpful in the early days as far as identification goes so it is best to adopt the nomenclature early on. A single pin gauge is a marking gauge, twin pin versions a mortise gauge and with the extra triple pin, 2 on one side, 1 on the other, a combination gauge.
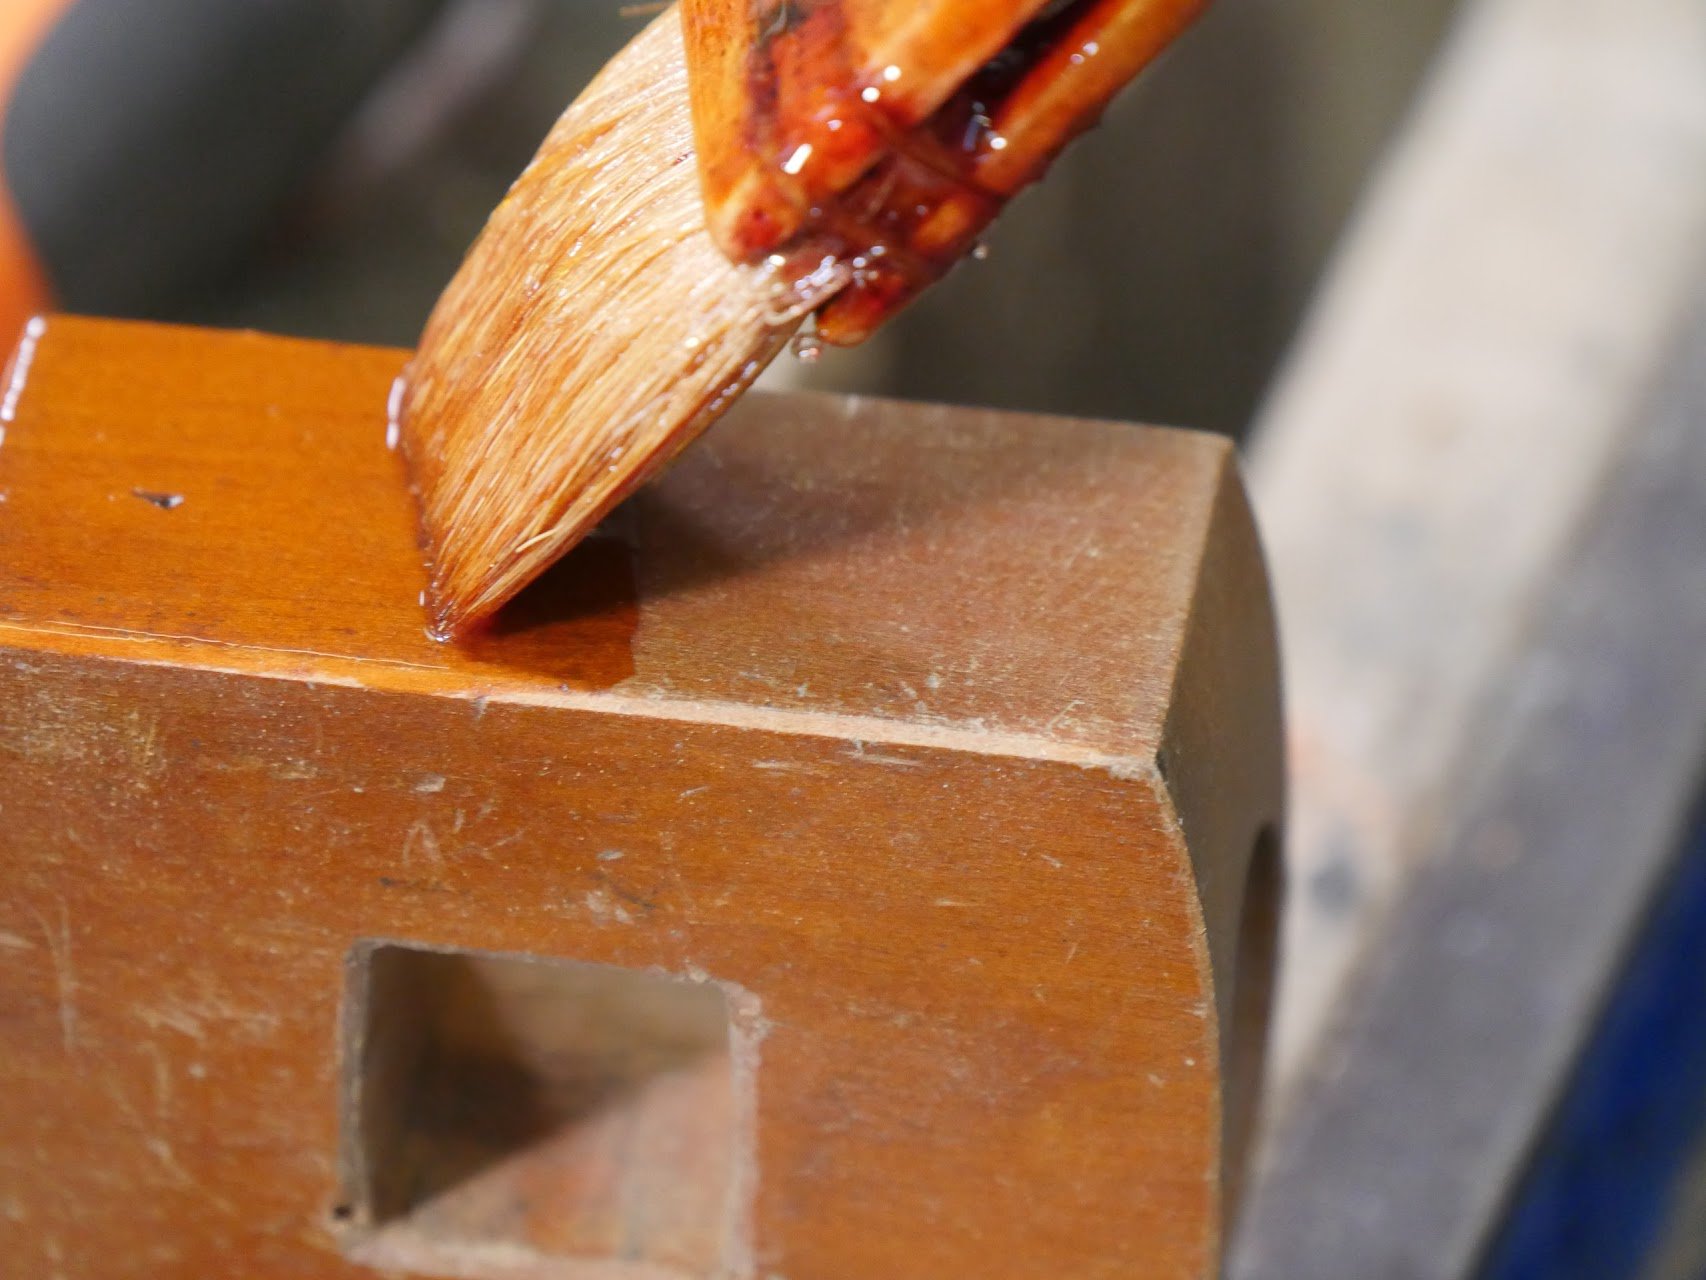
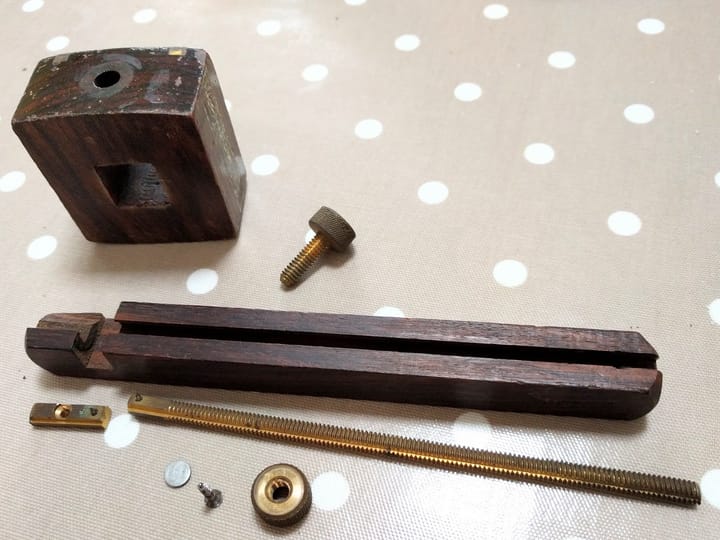
The two I bought this week are a combination and a mortise gauge. I simply buffed over the existing shellac finish and added 2-3 coats of shellac.
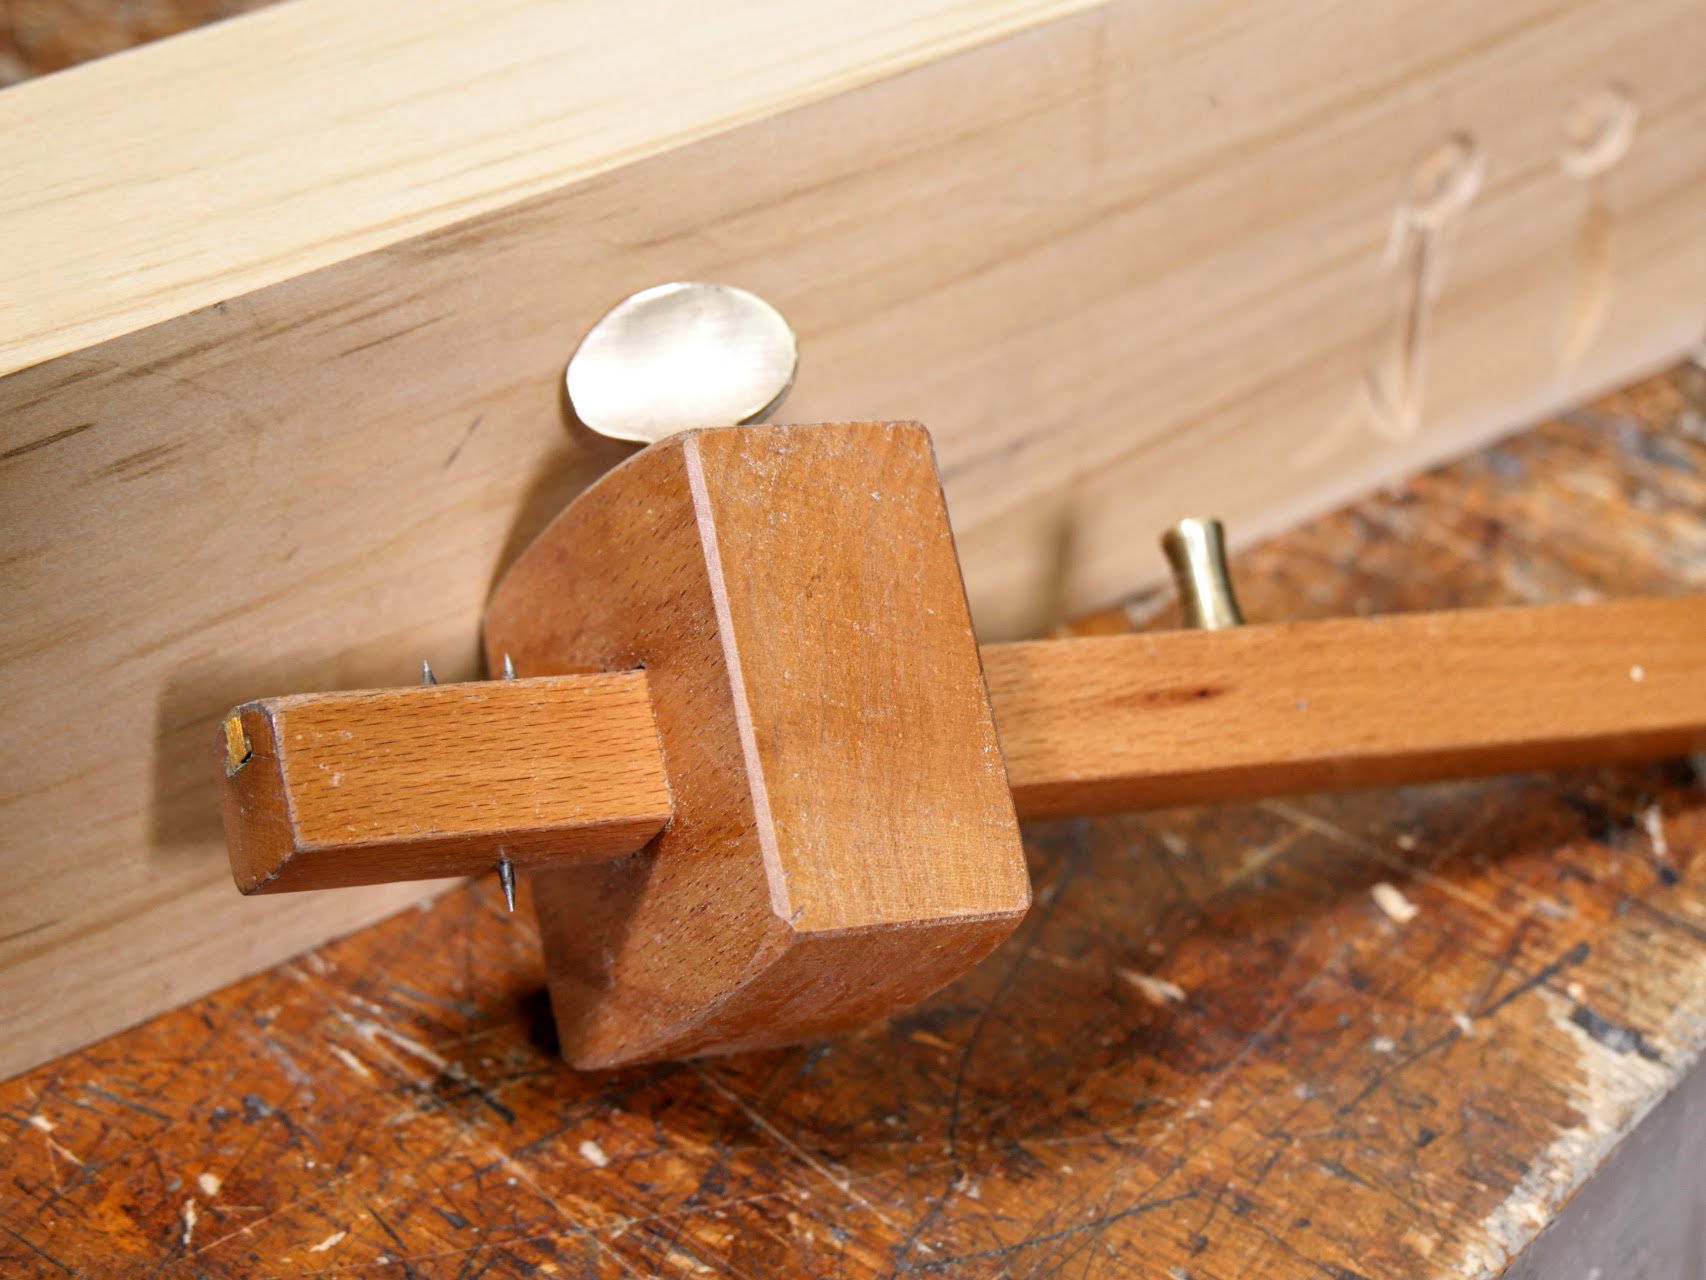
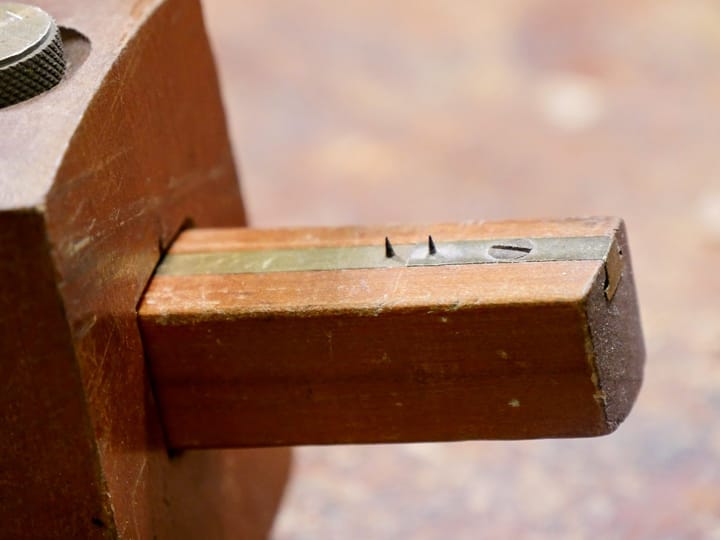
I removed any sharp arises first and lightly sanded the parts. The one with two pins I upgraded by adding a pin. I generally keep combination-square scribe pins for this as I don’t use them in my work. These re the removable pins used for scoring lines in metal. They have lovely long points and the steel is hardened. Because we use these combination gauges in the school and have no need of the pins, they are readily available to me.
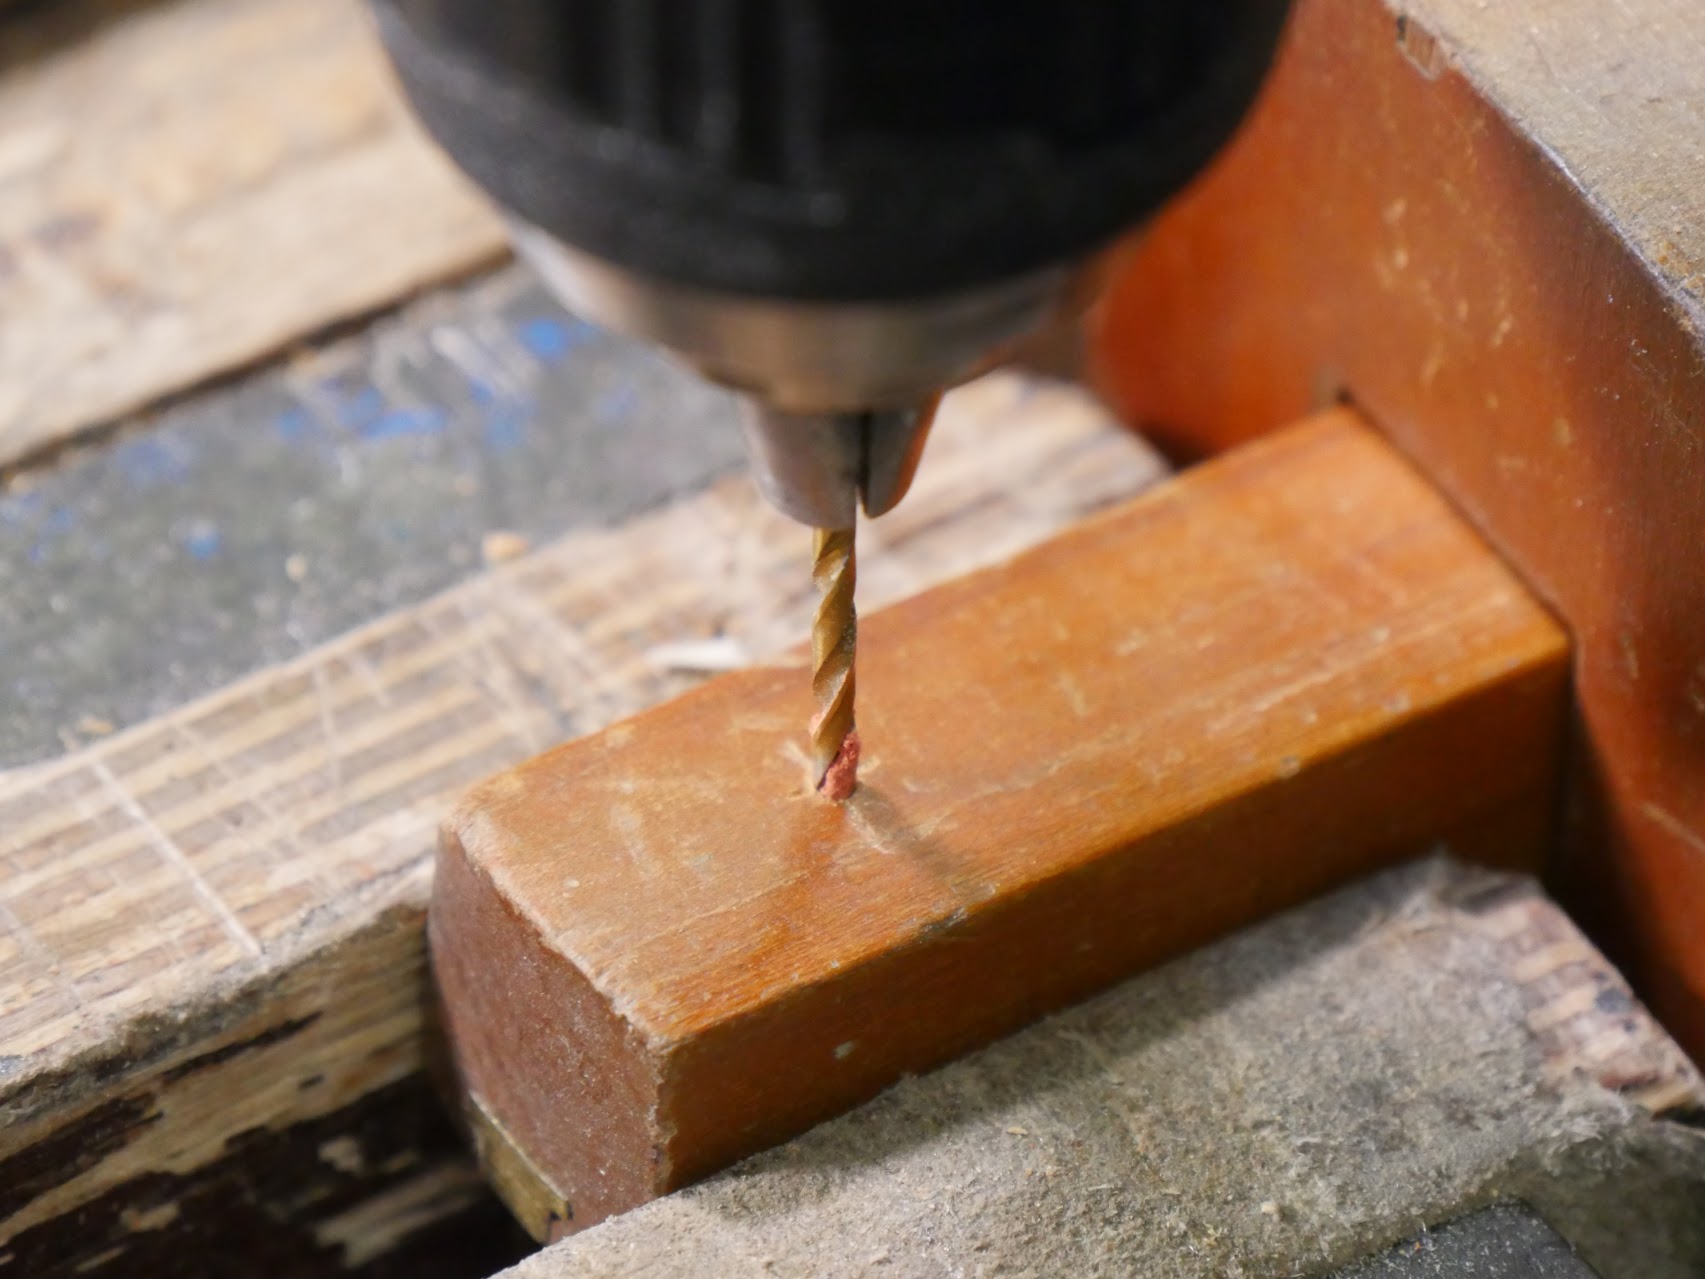
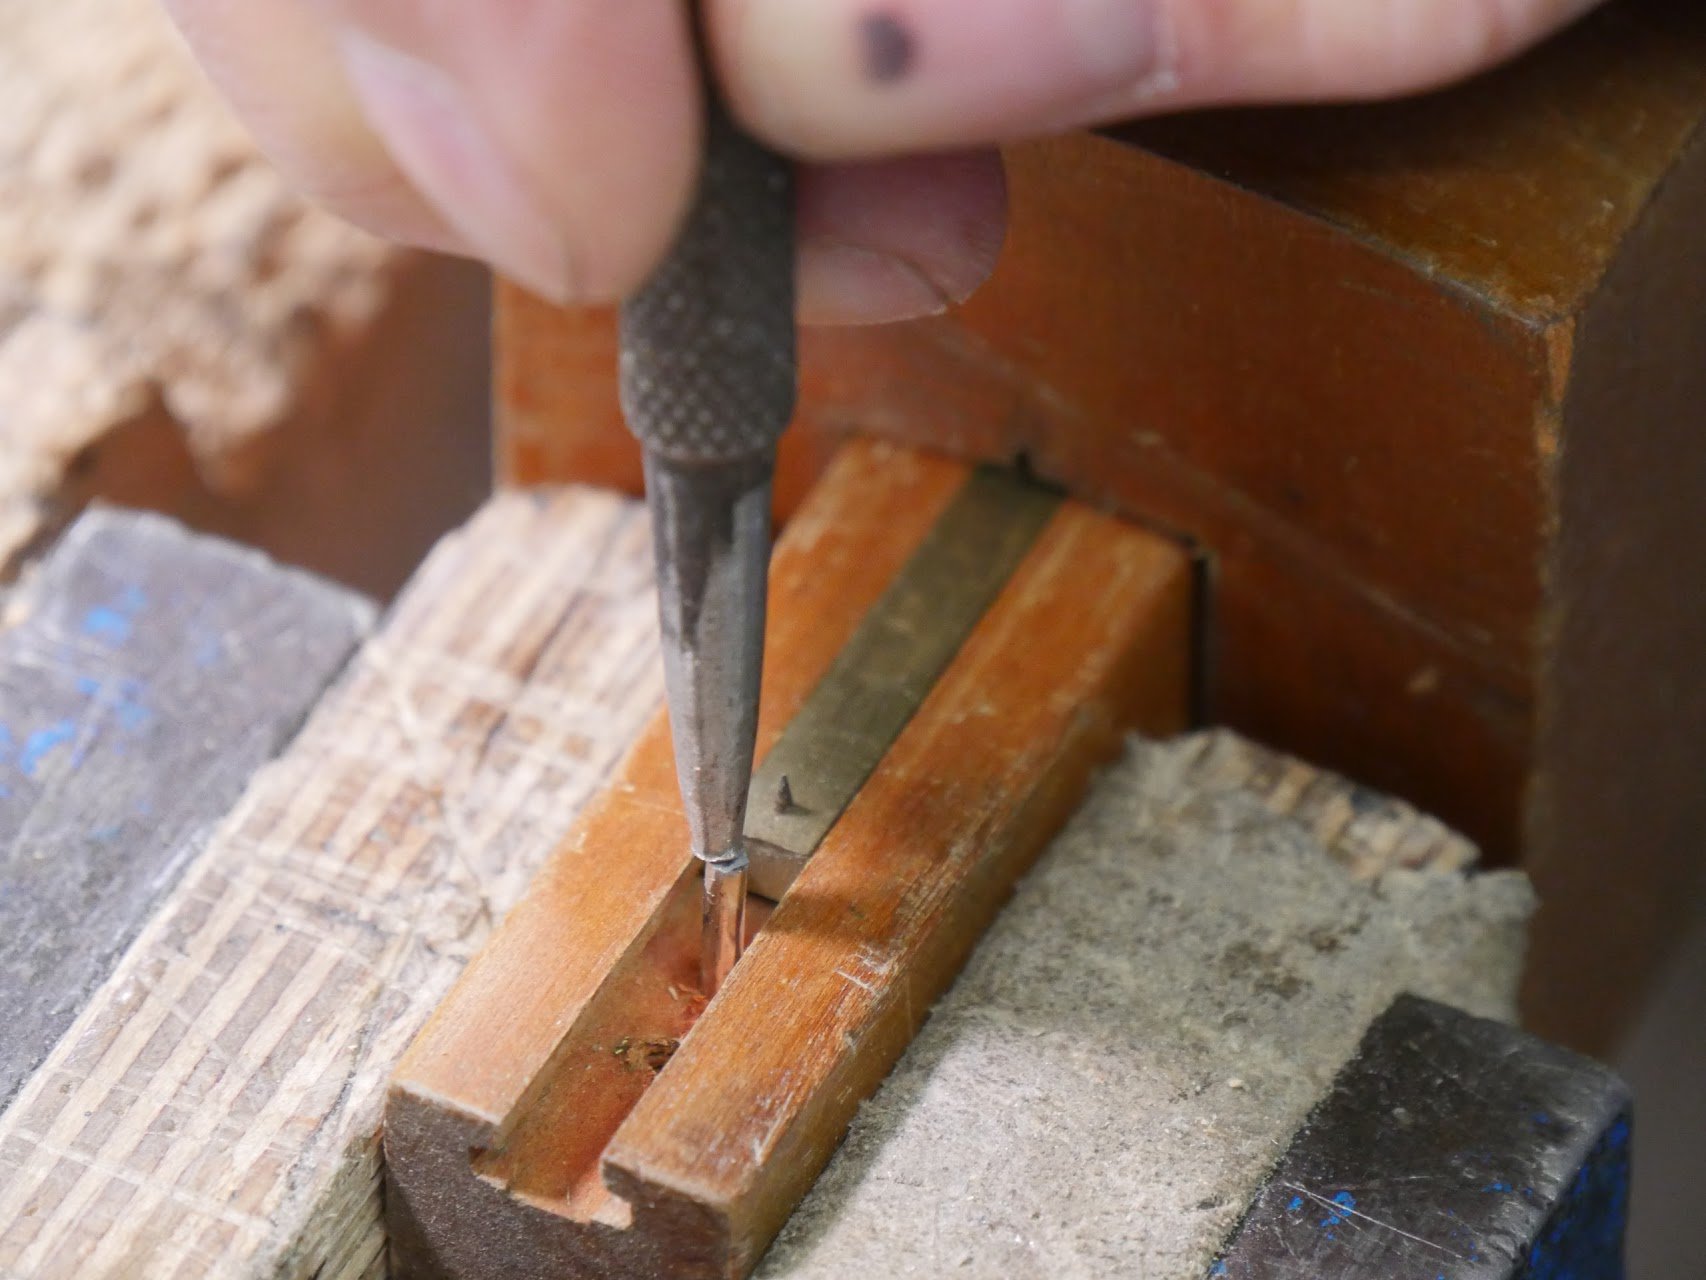
To do this I snap off the length I need by bending back and forth with two pairs of pliers. I drill a small hole through from one face into the opposite ending in the slot, but behind the brass 'T' bar on the other side.
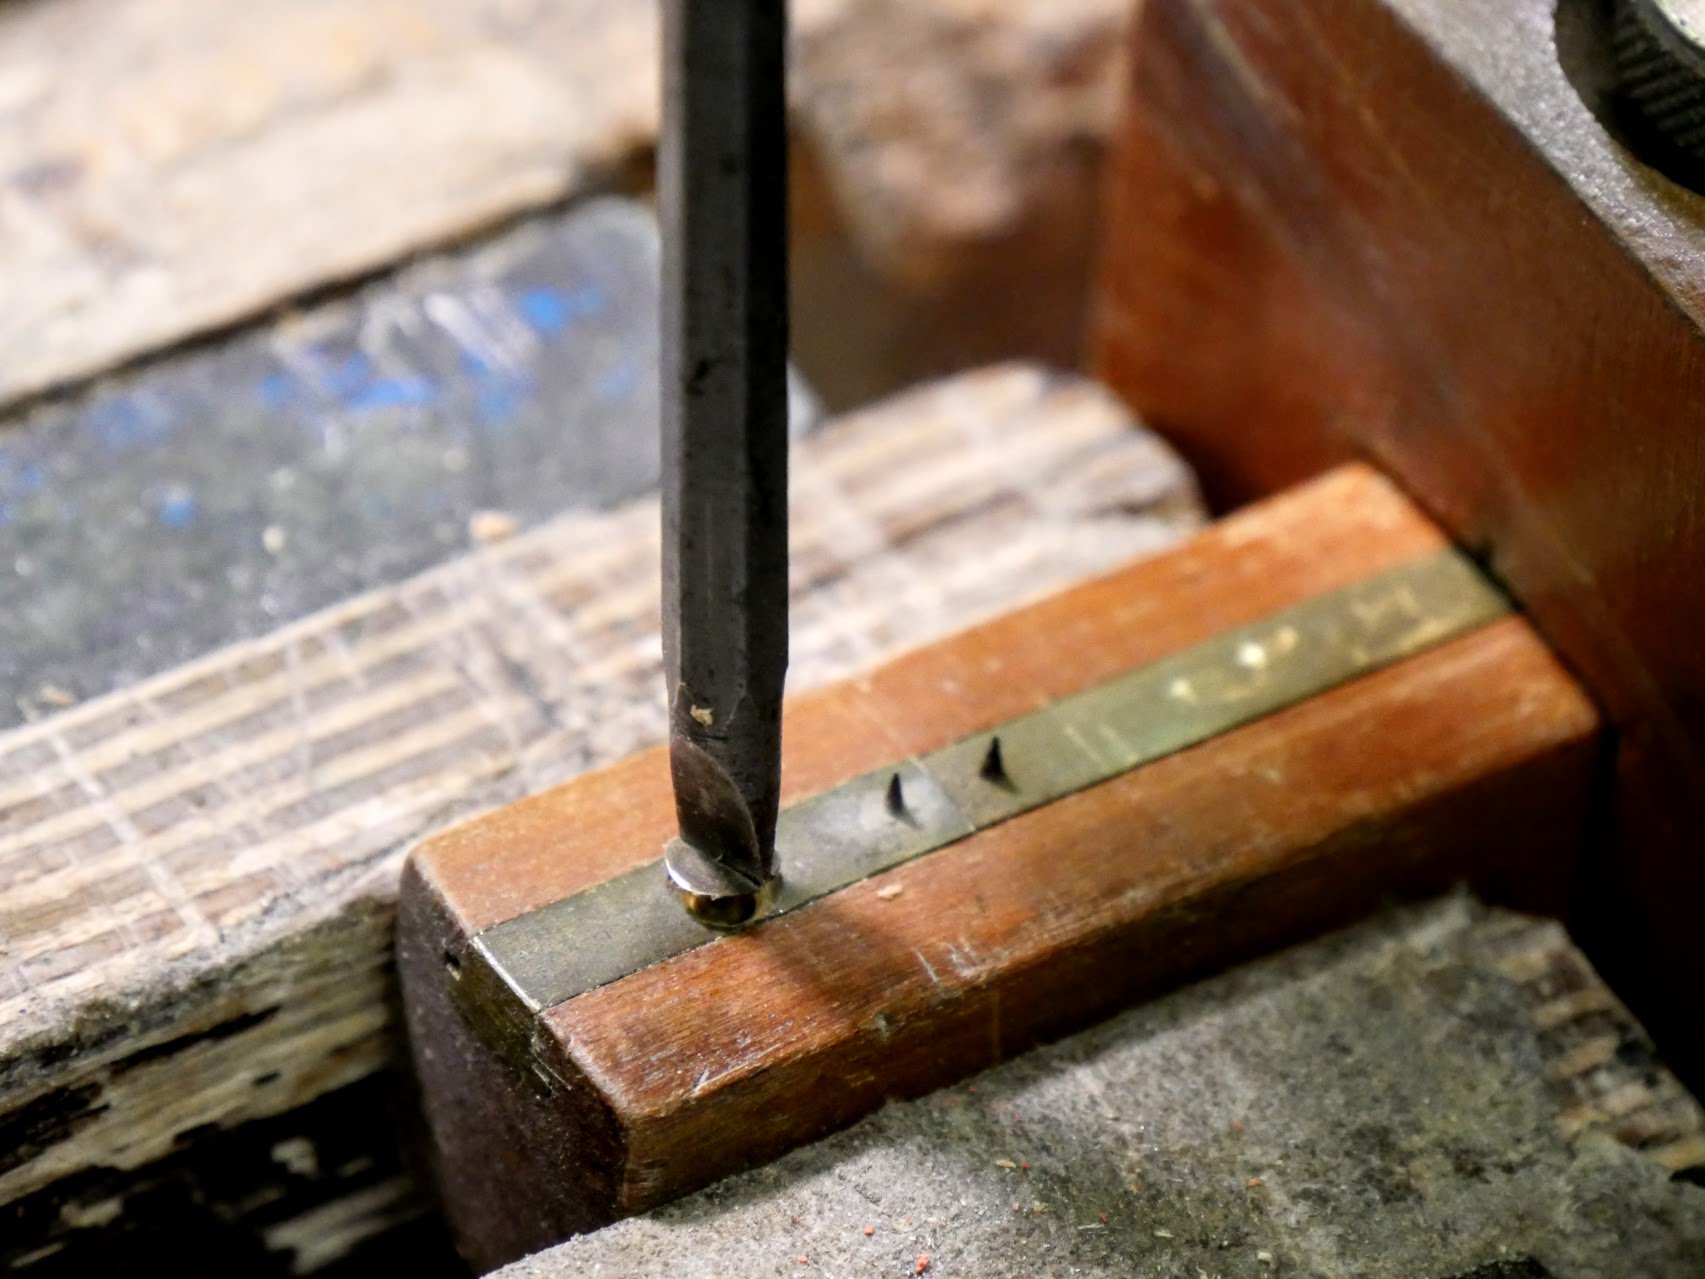
Then I remove the 'T' bar and send the pin point through the hole until it protrudes about 3/16” - 1/4”. The hole I bore is slightly undersized; just hair. I use a nail punch (US set) to set the pin flush so that it sits behind the stub of 'T' bar. Then I replace the 'T' bar and the gauge is good to go. I know it’s not technically upcycling, but it has the same uplifting feel.
Comments ()