Screwfix Sash Clamps Upgraded (UK)
When I lived in the USA I discovered a line of sash clamps made for Harbor Freight, a US chain supplying DIY building and engineering products, mostly low-end quality. The clamps were made from extruded aluminium boxing with an alloy head and shoe and whereas they were not at all a top quality, they were lightweight and strong enough for most work. I used them there for a decade or so and they were adequate. Unfortunately the clamp heads were made of some low grade alloy with air holes throughout and so where the head connected inside the alluminium extrusion they periodically snapped, and regularly enough to be an issue. That said HF replaced without question no matter how often you took them back or when you bought them. It was on these clamps that I perfected my retrofitting techniques and whereas I could do nothing about the snapping heads, I could beef up the clamps as I have blogged before and make them function much better. For the then $5 price tag they were a bargain.
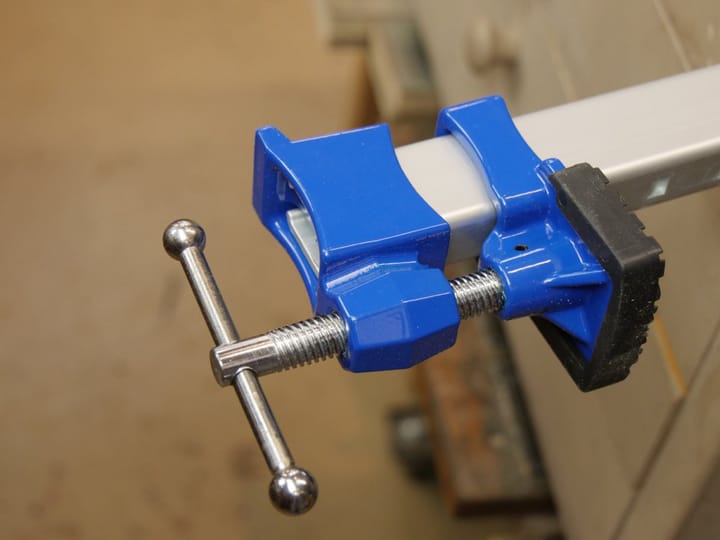
When I returned to live here in the UK again I latched on to an almost if not identical model made for sale here. Some were made by a company distributing tools and equipment called Hilka with red heads and then I turned to the Screwfix chain supplier whose clamps had two main differences to the USA Harbor Freight versions. The painted components were coloured red for Hilka and black for Screwfix respectively instead of turquoise, and the clamping heads were made from steel and did not snap no matter the torque I placed on them. I preferred the Screwfix models. The problems associated with these clamps in their raw, straight-from-the-store condition, and there are many suppliers attaching their names to them, just like Harbor Freight, is the lack of factory finessing for a refinement level guaranteeing functionality out of the box. Of course the cost factor determines such things and I am sure Screwfix fixes pricing by dictating what they will pay. Anyway, below are the steps they need to make them function. And I know it is shameful to put out a product that needs more refining to function proper;y after manufacture and Screwfix should indeed be quite ashamed to send clamps out with such minor requirement for a well made product but they do. If you do however take the steps following, and add a little reasonable maintenance from time to time, the clamps will serve you very well for years.
Step 1: Remove the sliding or free clamp shoe...
...and the clamp head.
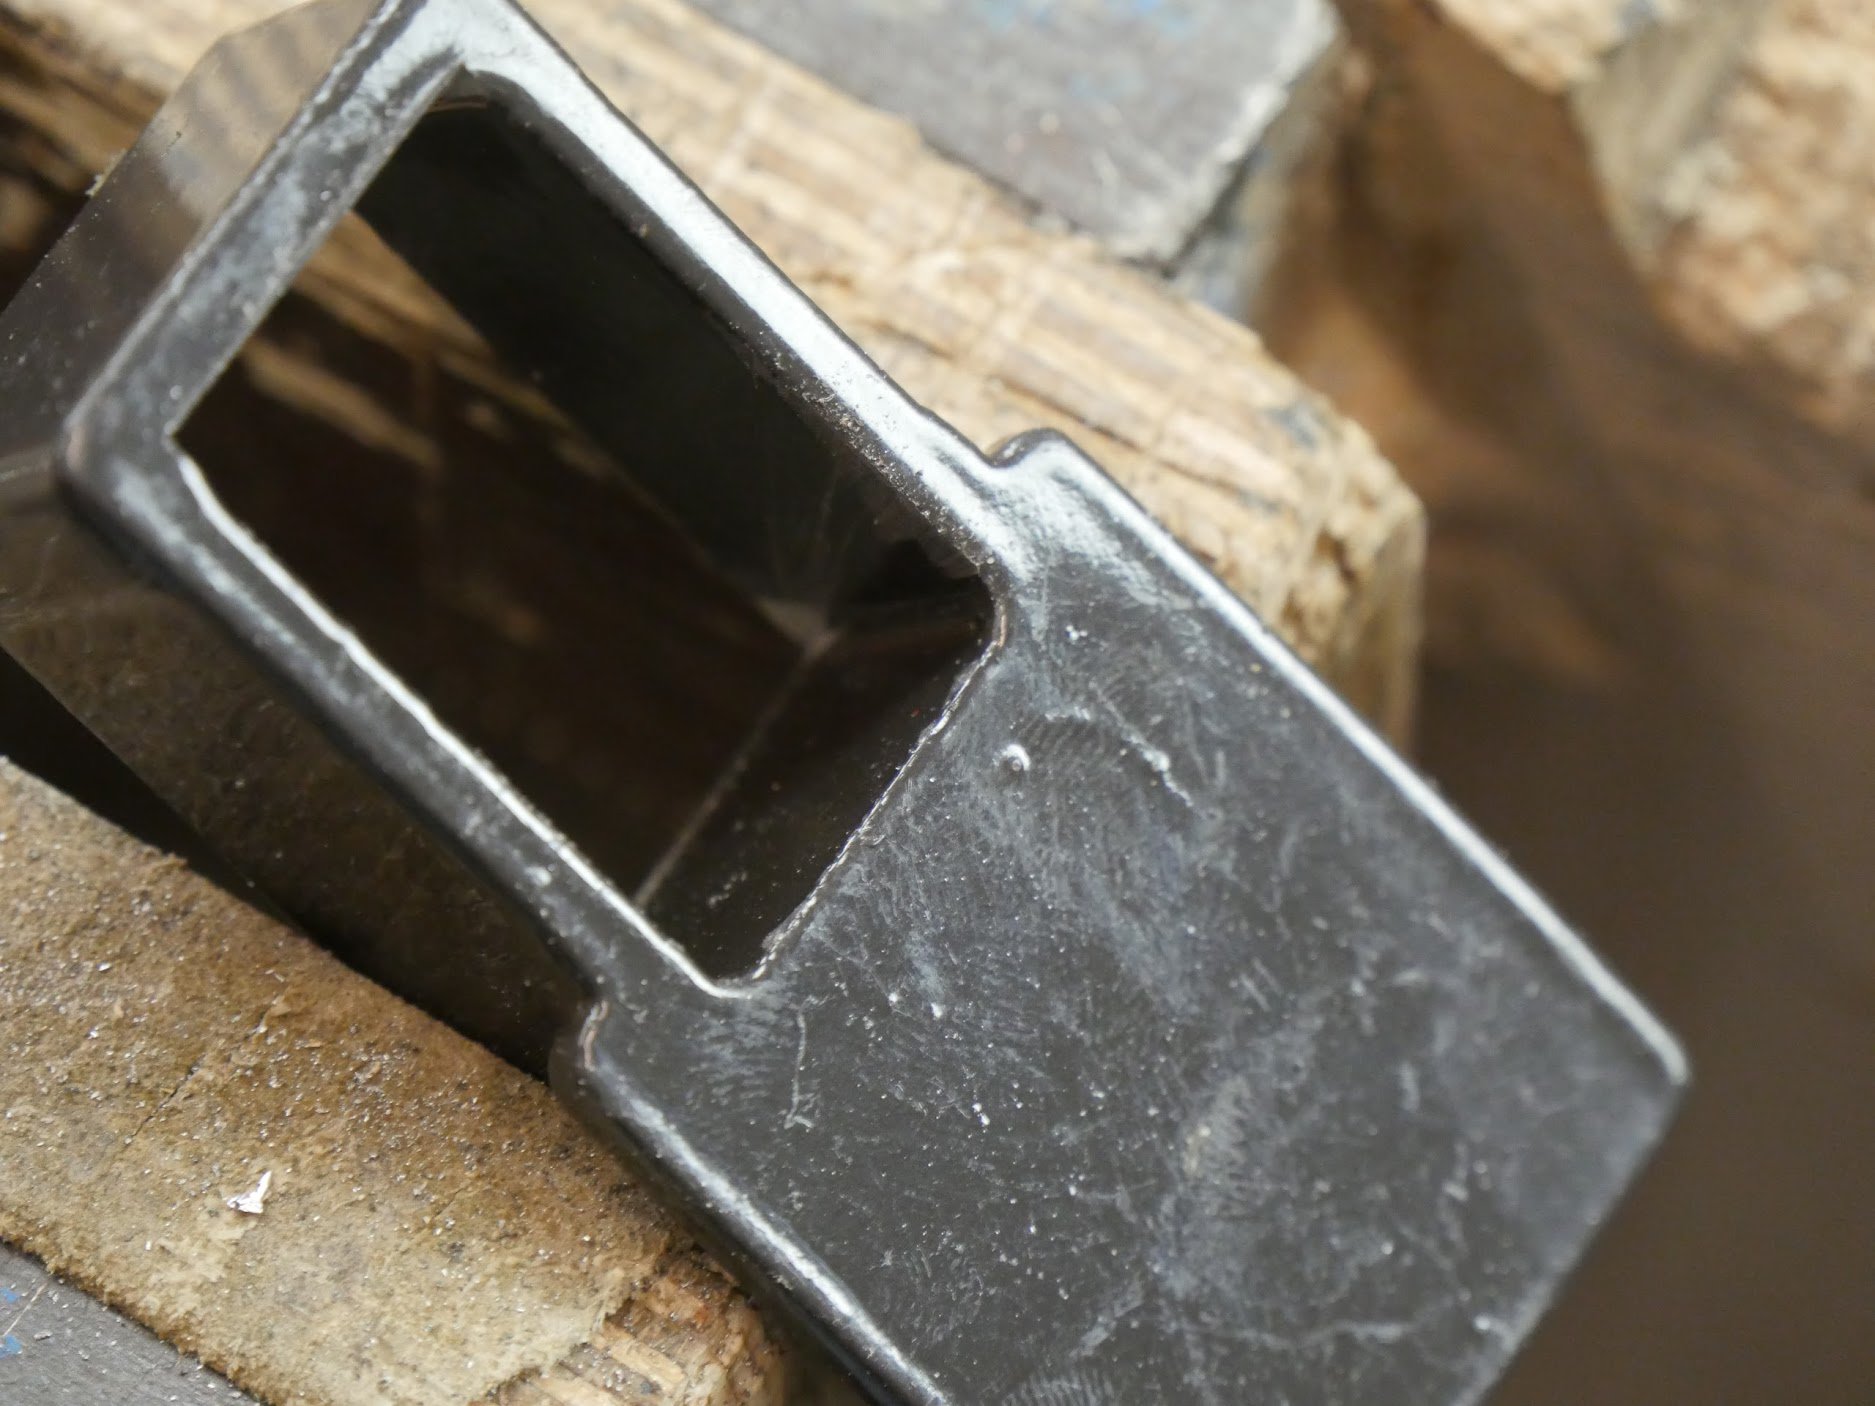
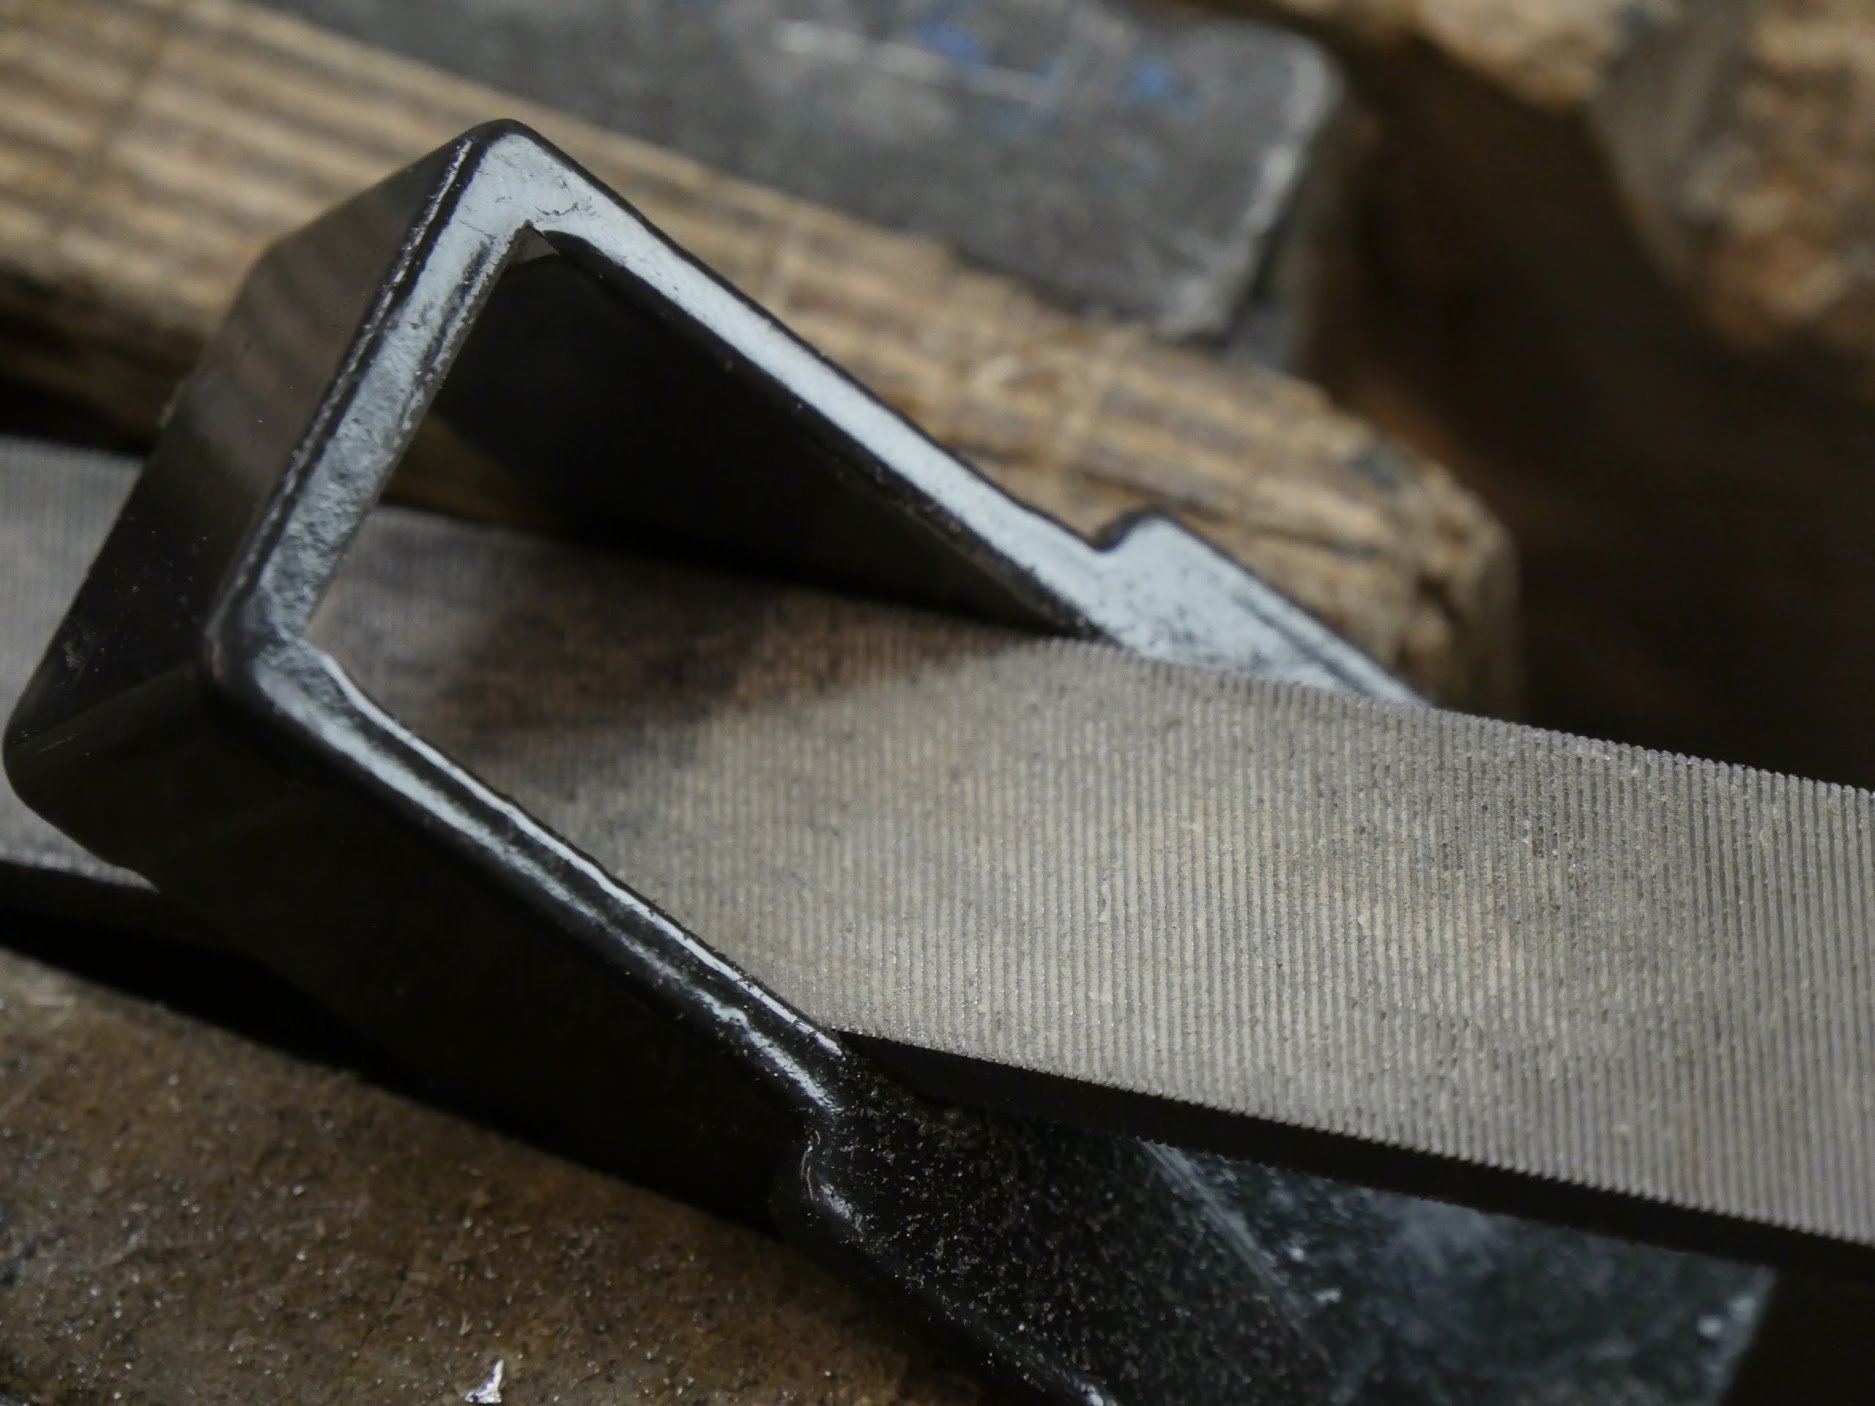
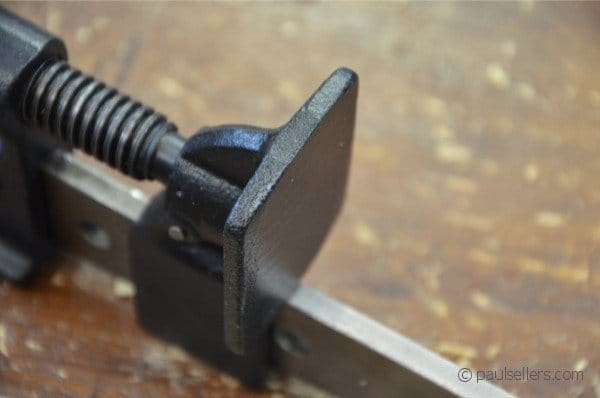
Step 2: With a flat file file the leading edges to each internal corner on the clamp head and shoe to create a round-over for a leading edge. Without this step the clamps bind too often for comfort and they are awkward when you least need it, which is usually during gluing up. Only do the edges in contact with the clamp bar and not the sides.
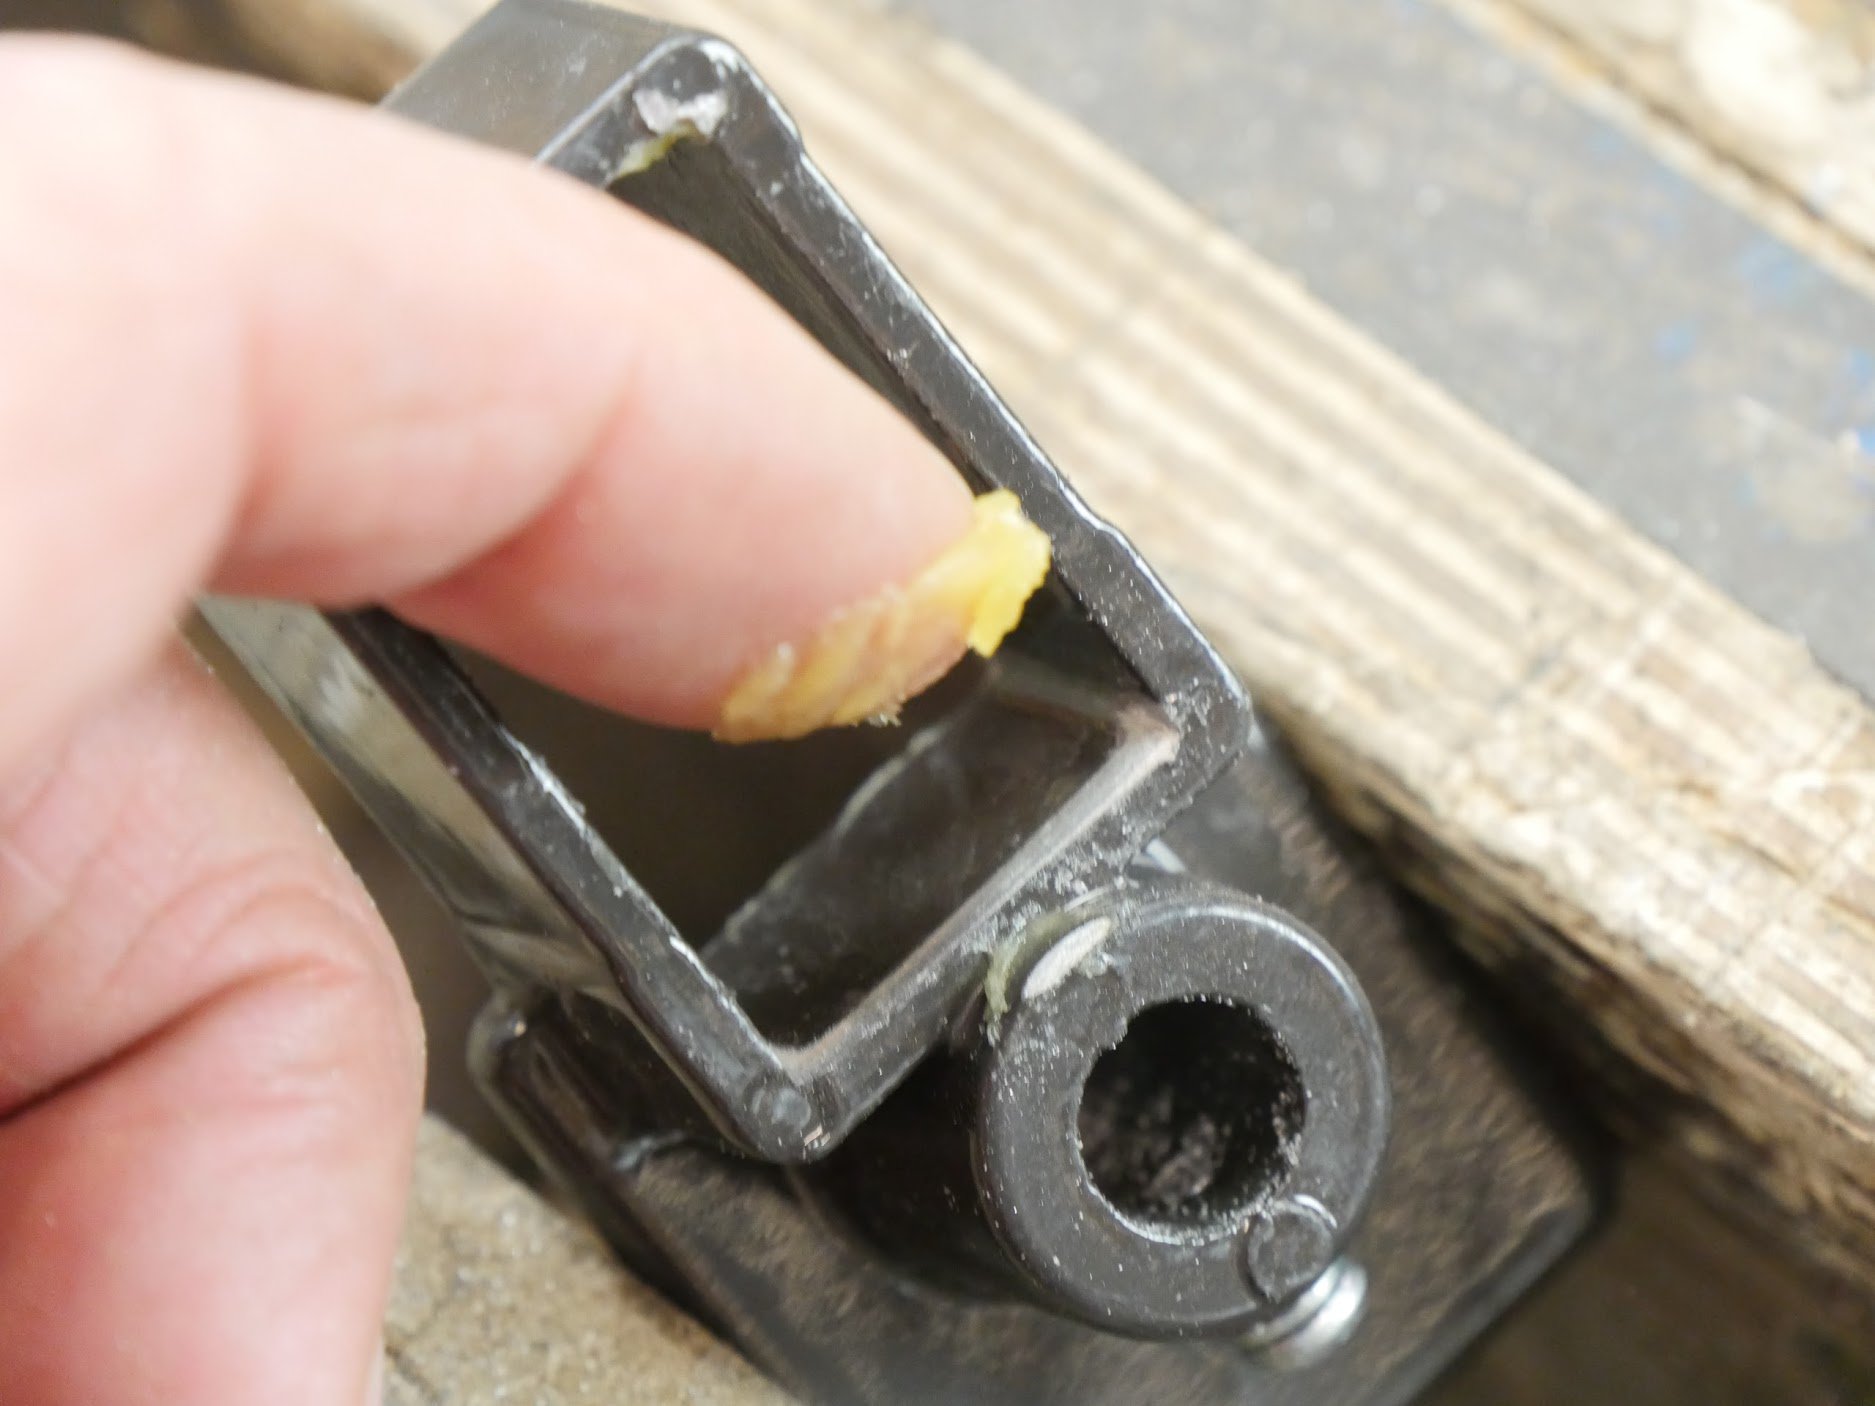
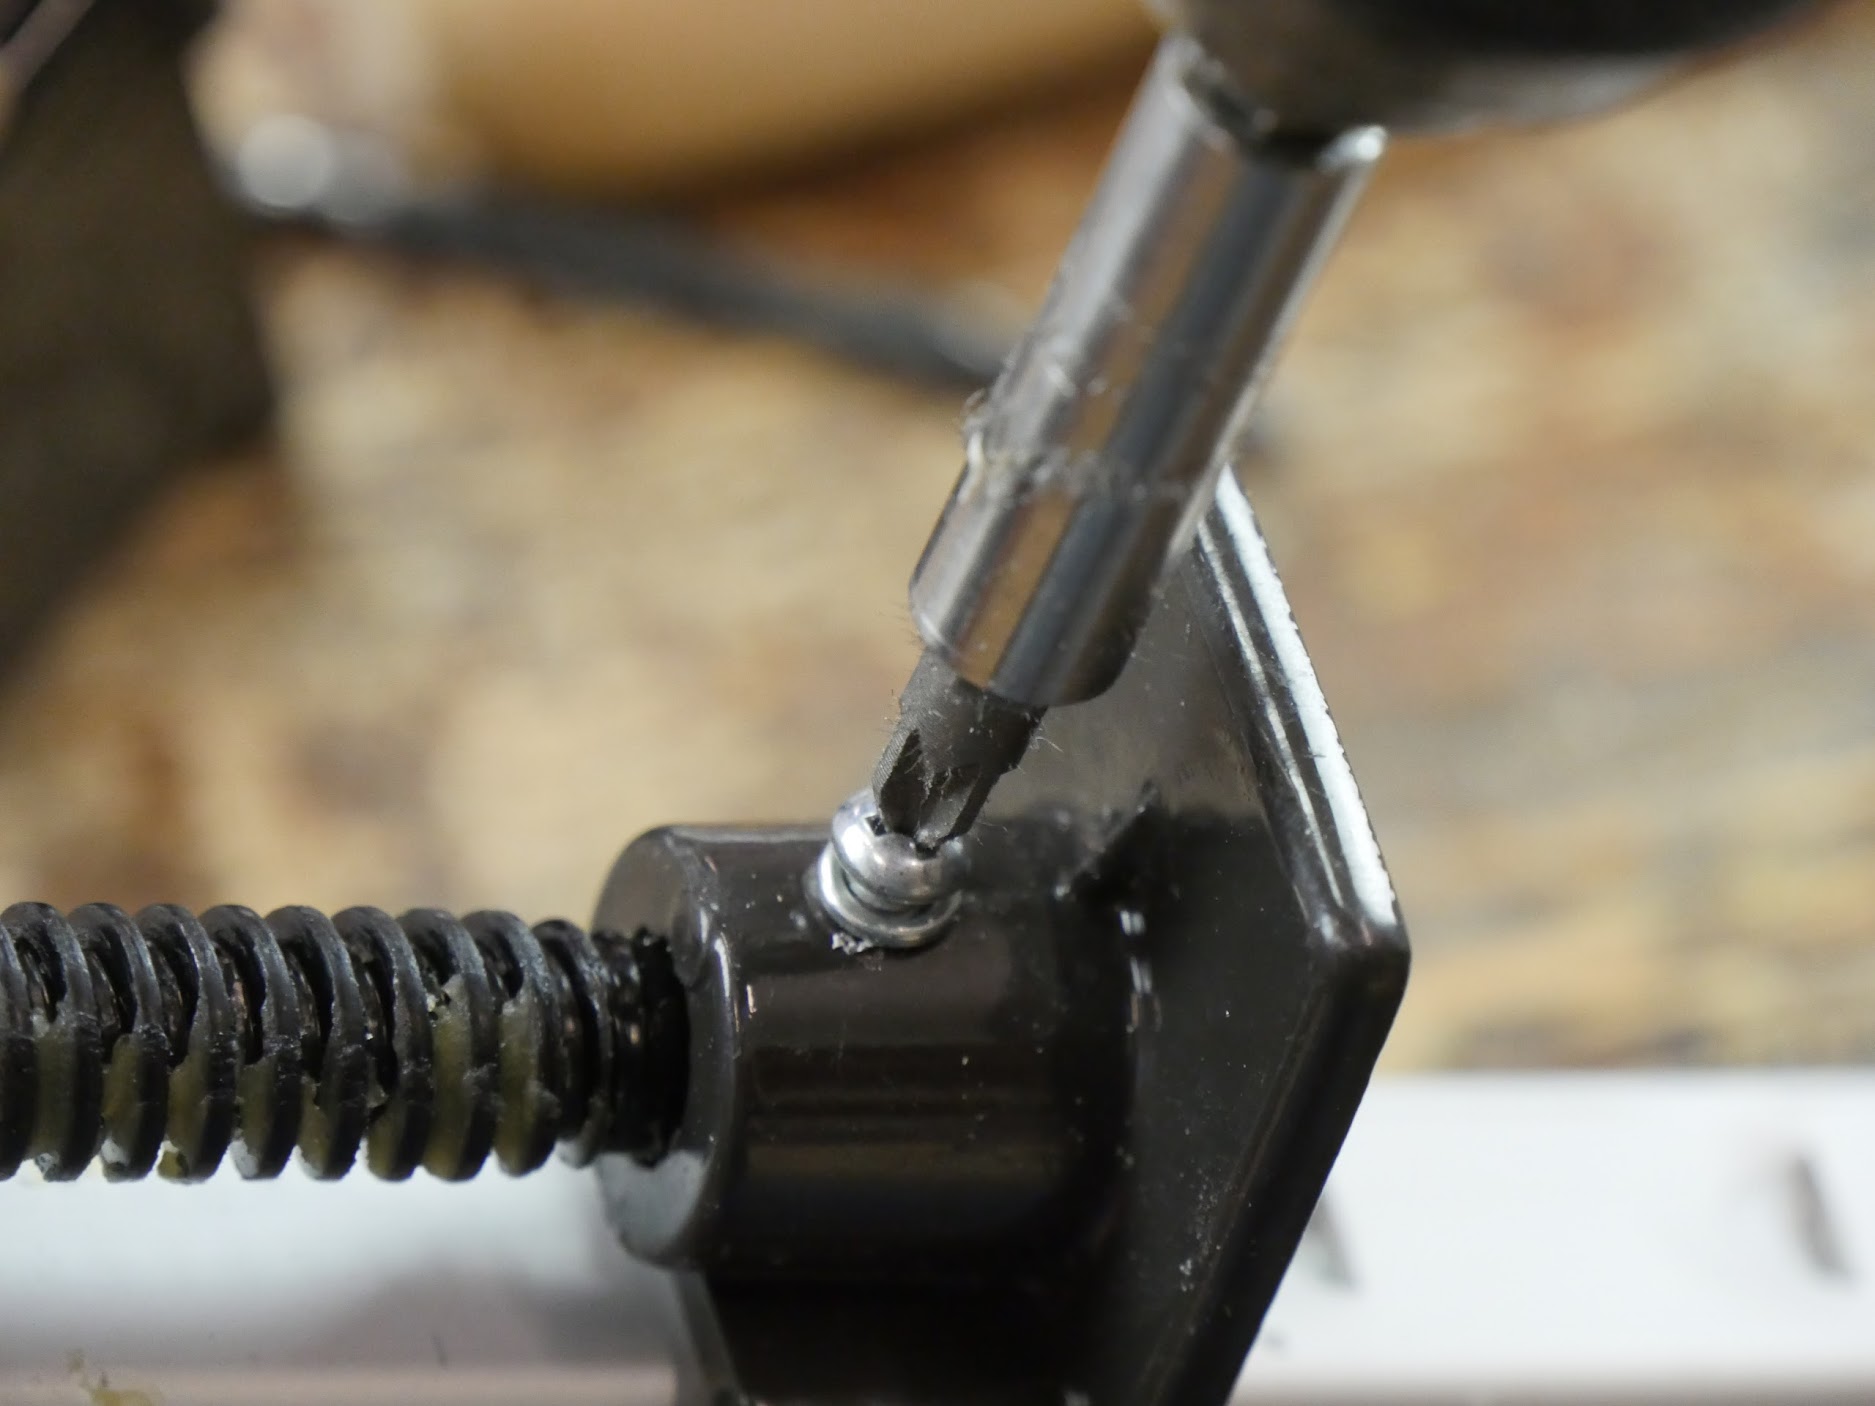
Step 3: Use a light lubrication like petroleum jelly to reduce friction between the head and shoe. I also use this to lubricate the threads of the head clamp and along the bar itself. This act alone makes everything slide perfectly.
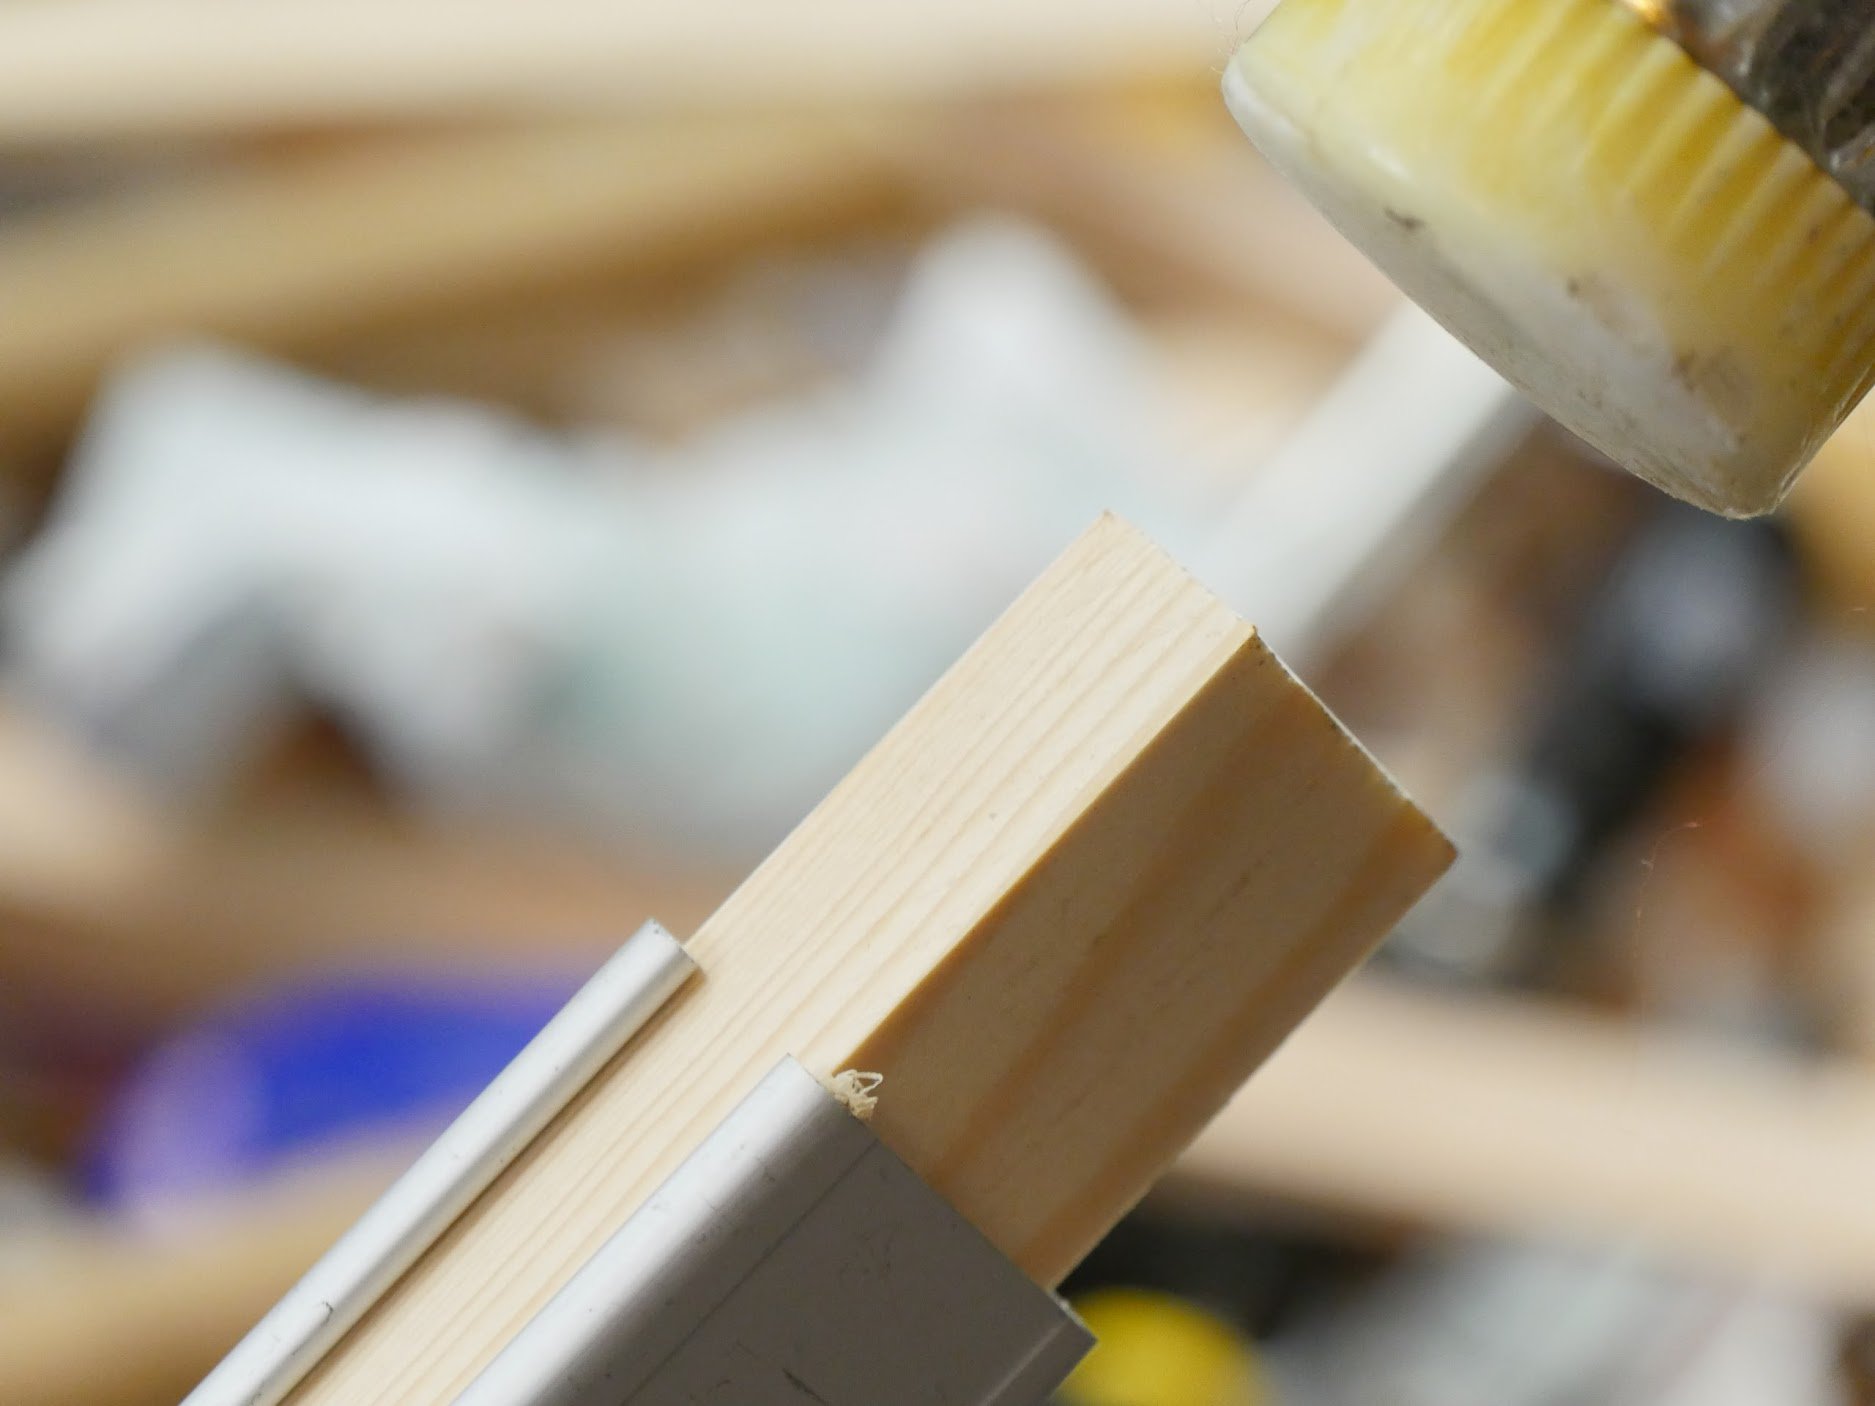
Step 4: Cut a 16mm by 25mm wooden stick to fit inside the aluminium extrusion the full length measured from the inside of the clamp head to the end of the square tube. Any wood type will do but try to choose straight grained stock as knotted or wiry grin can snap. You do not want a super-tight fit as it gets harder and harder to insert the deeper the wooden insert enters into the tube. Just a snug fit is best. It can get to point where it will neither enter further nor be withdrawn. Insert the section of wood and drive it home.
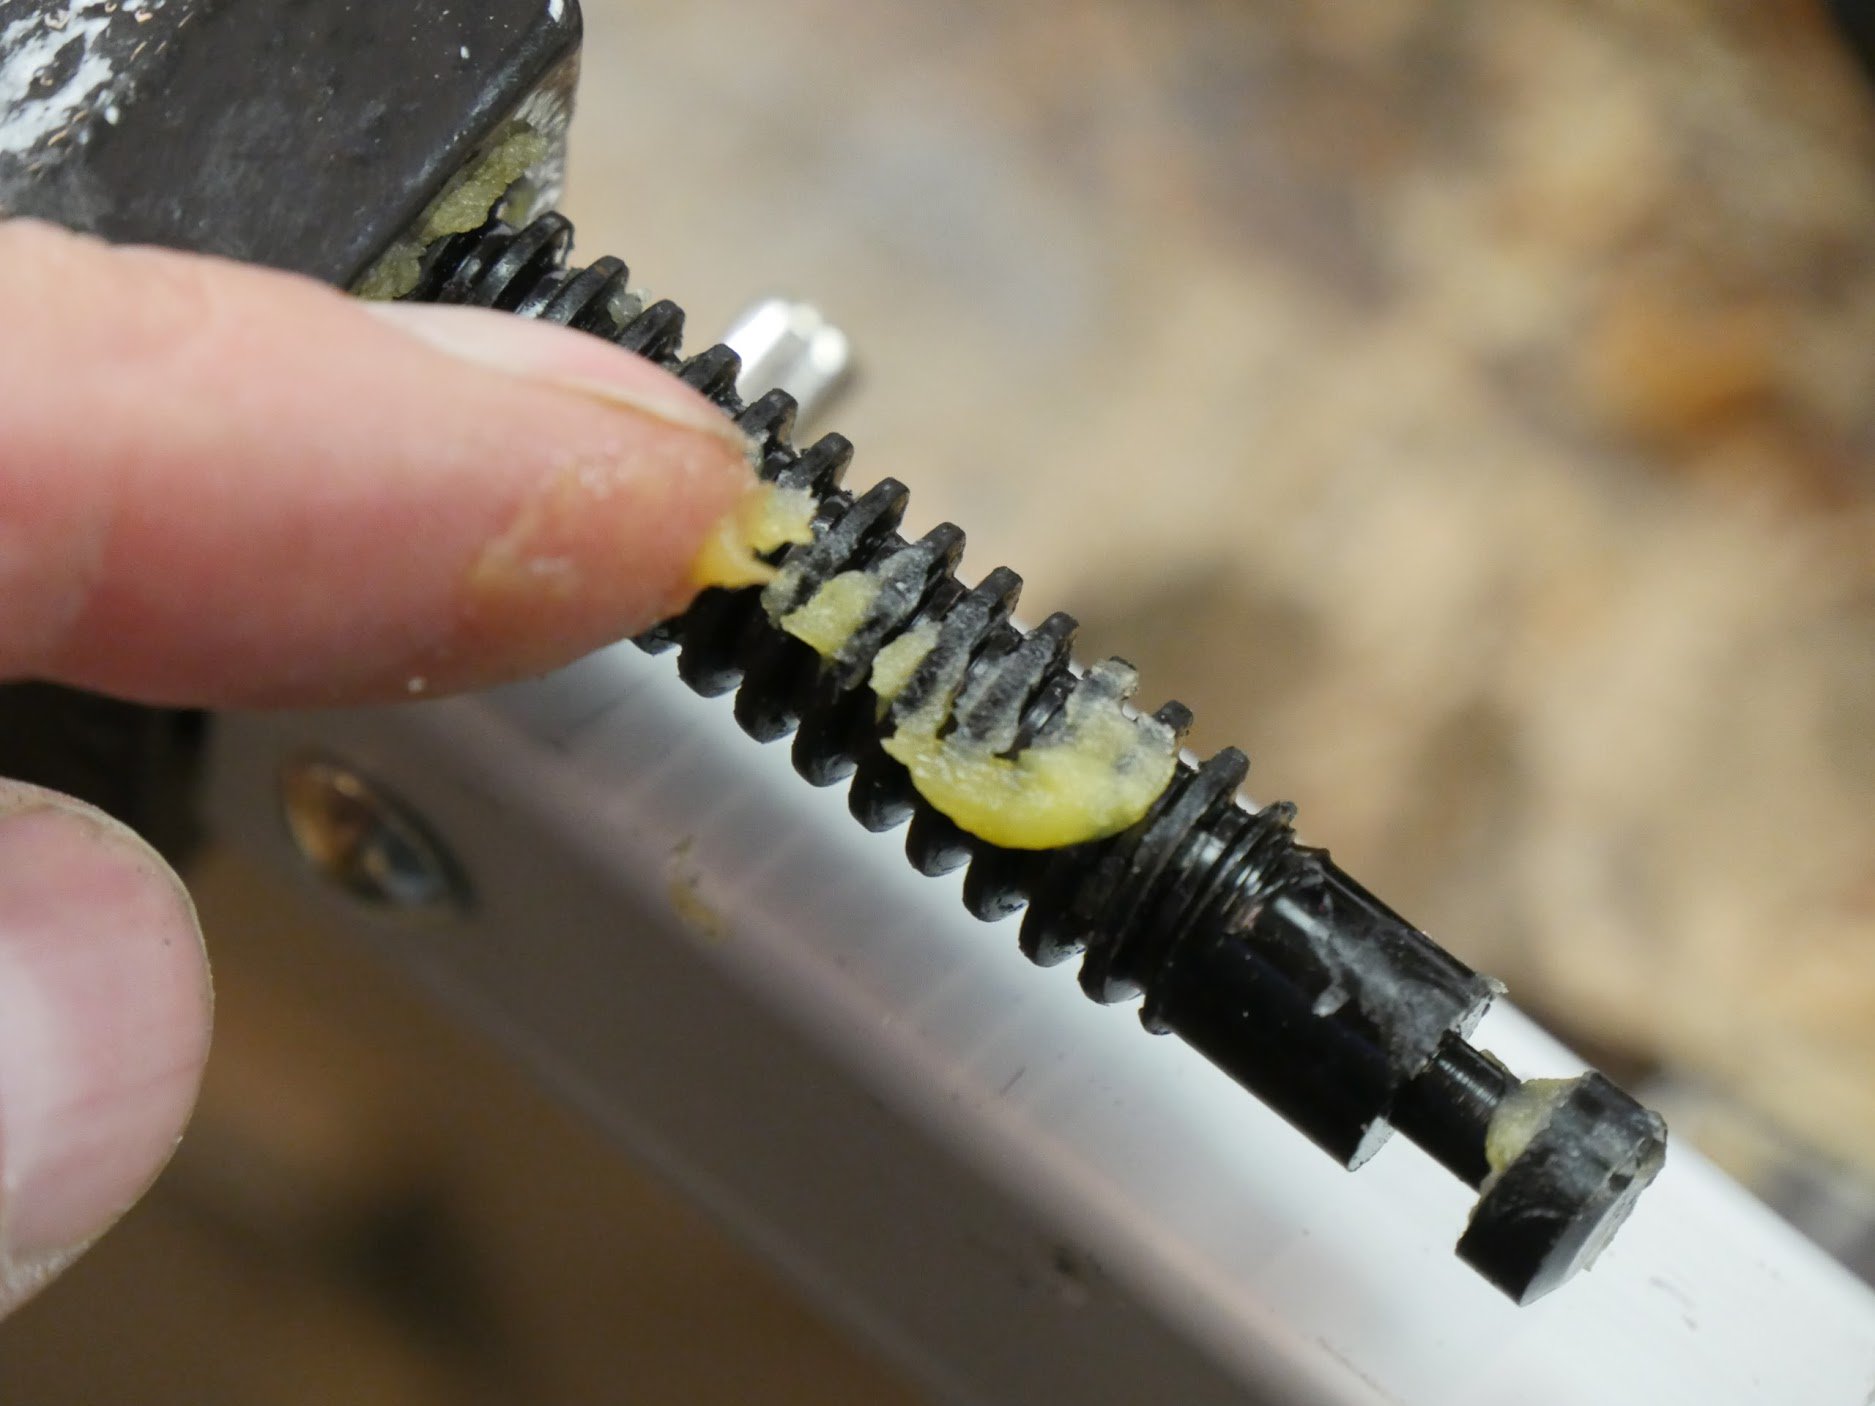
Step 5: Grease the threads of the clamping mechanism.
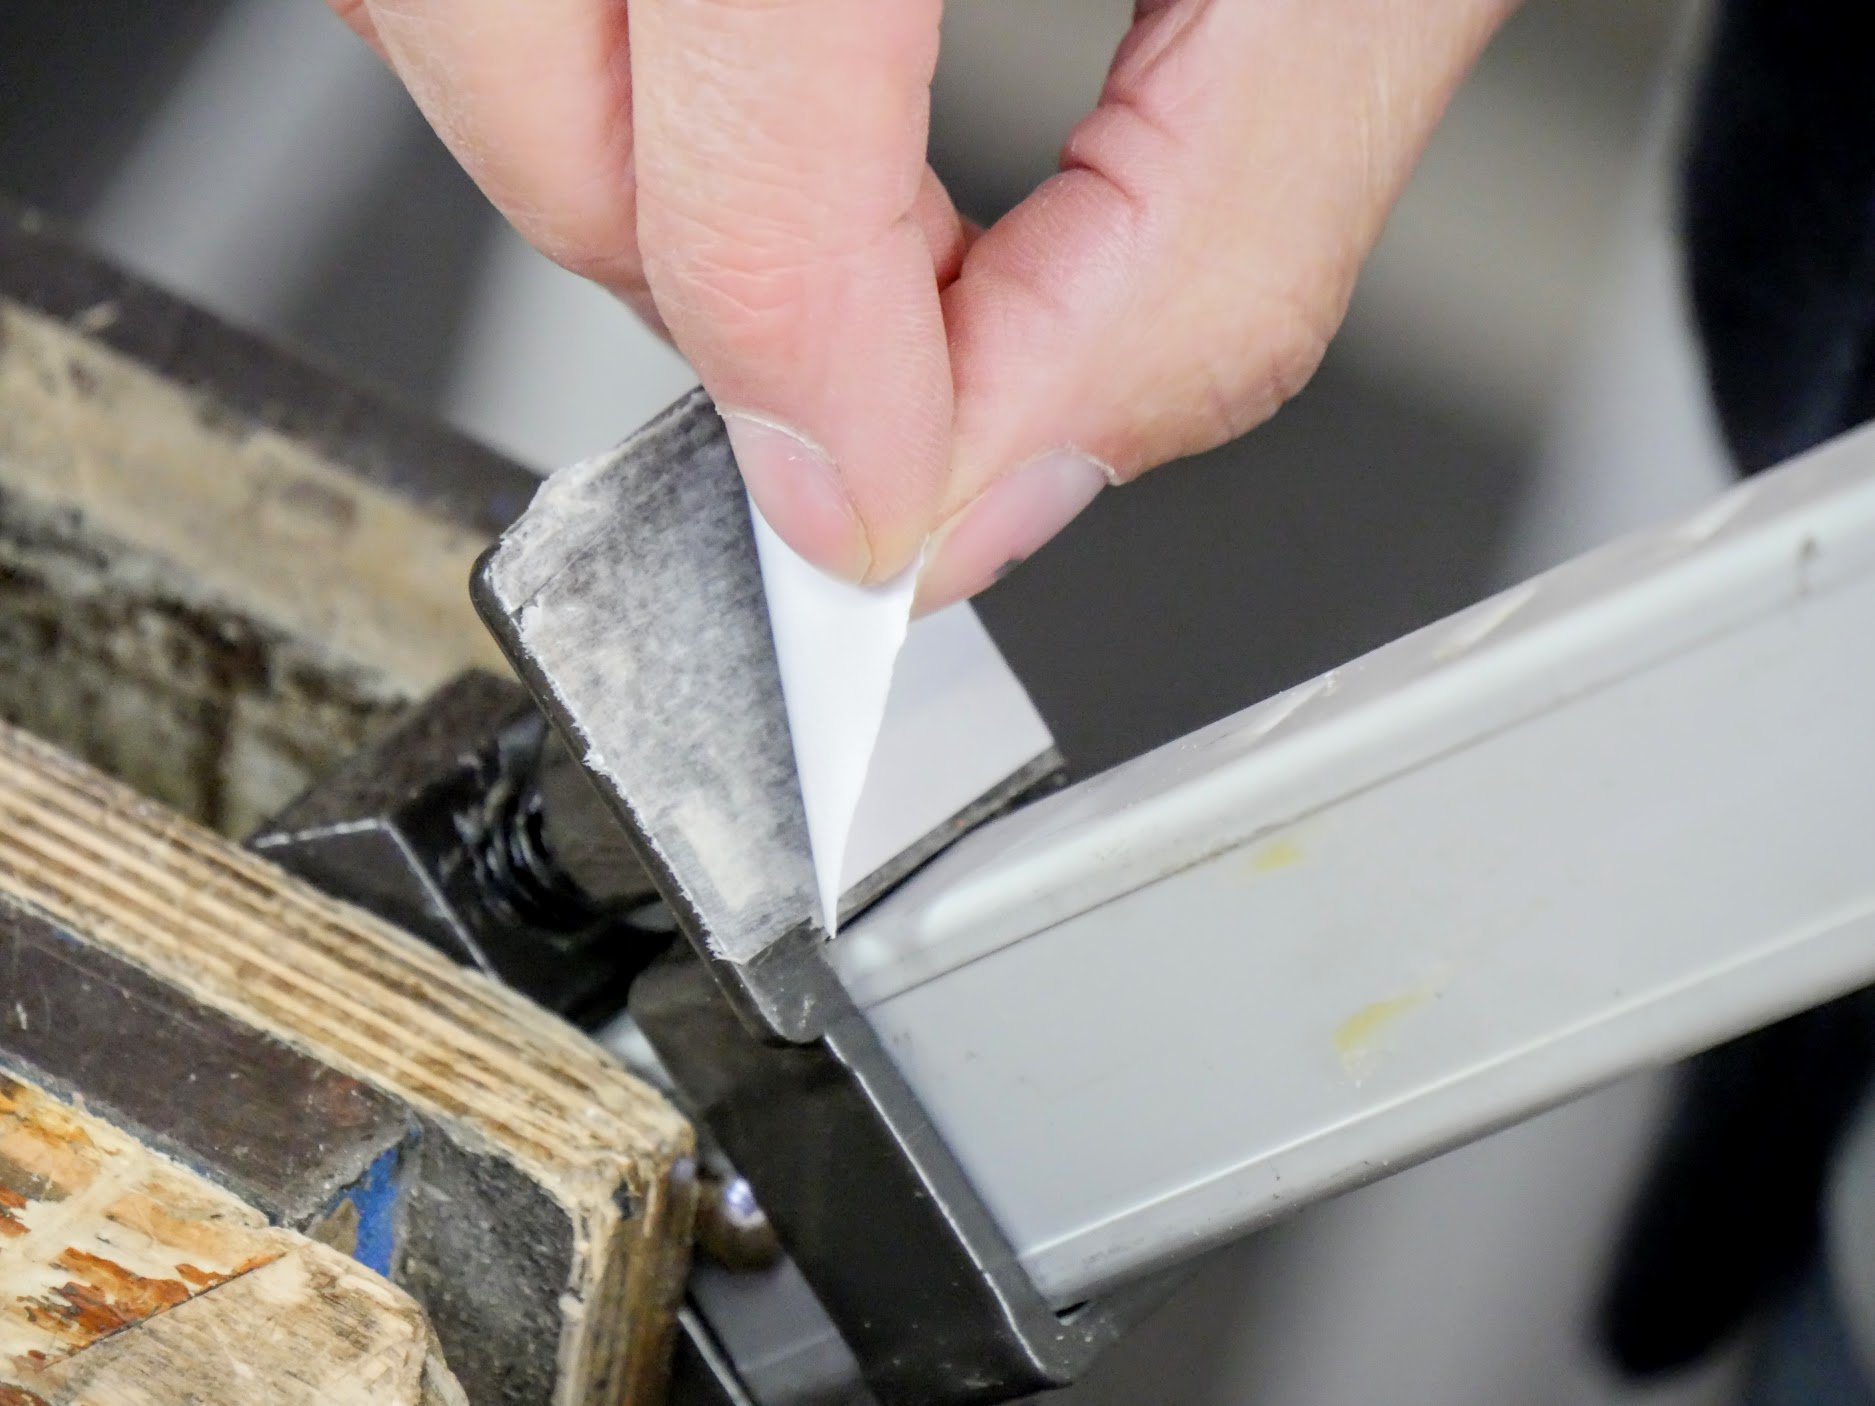
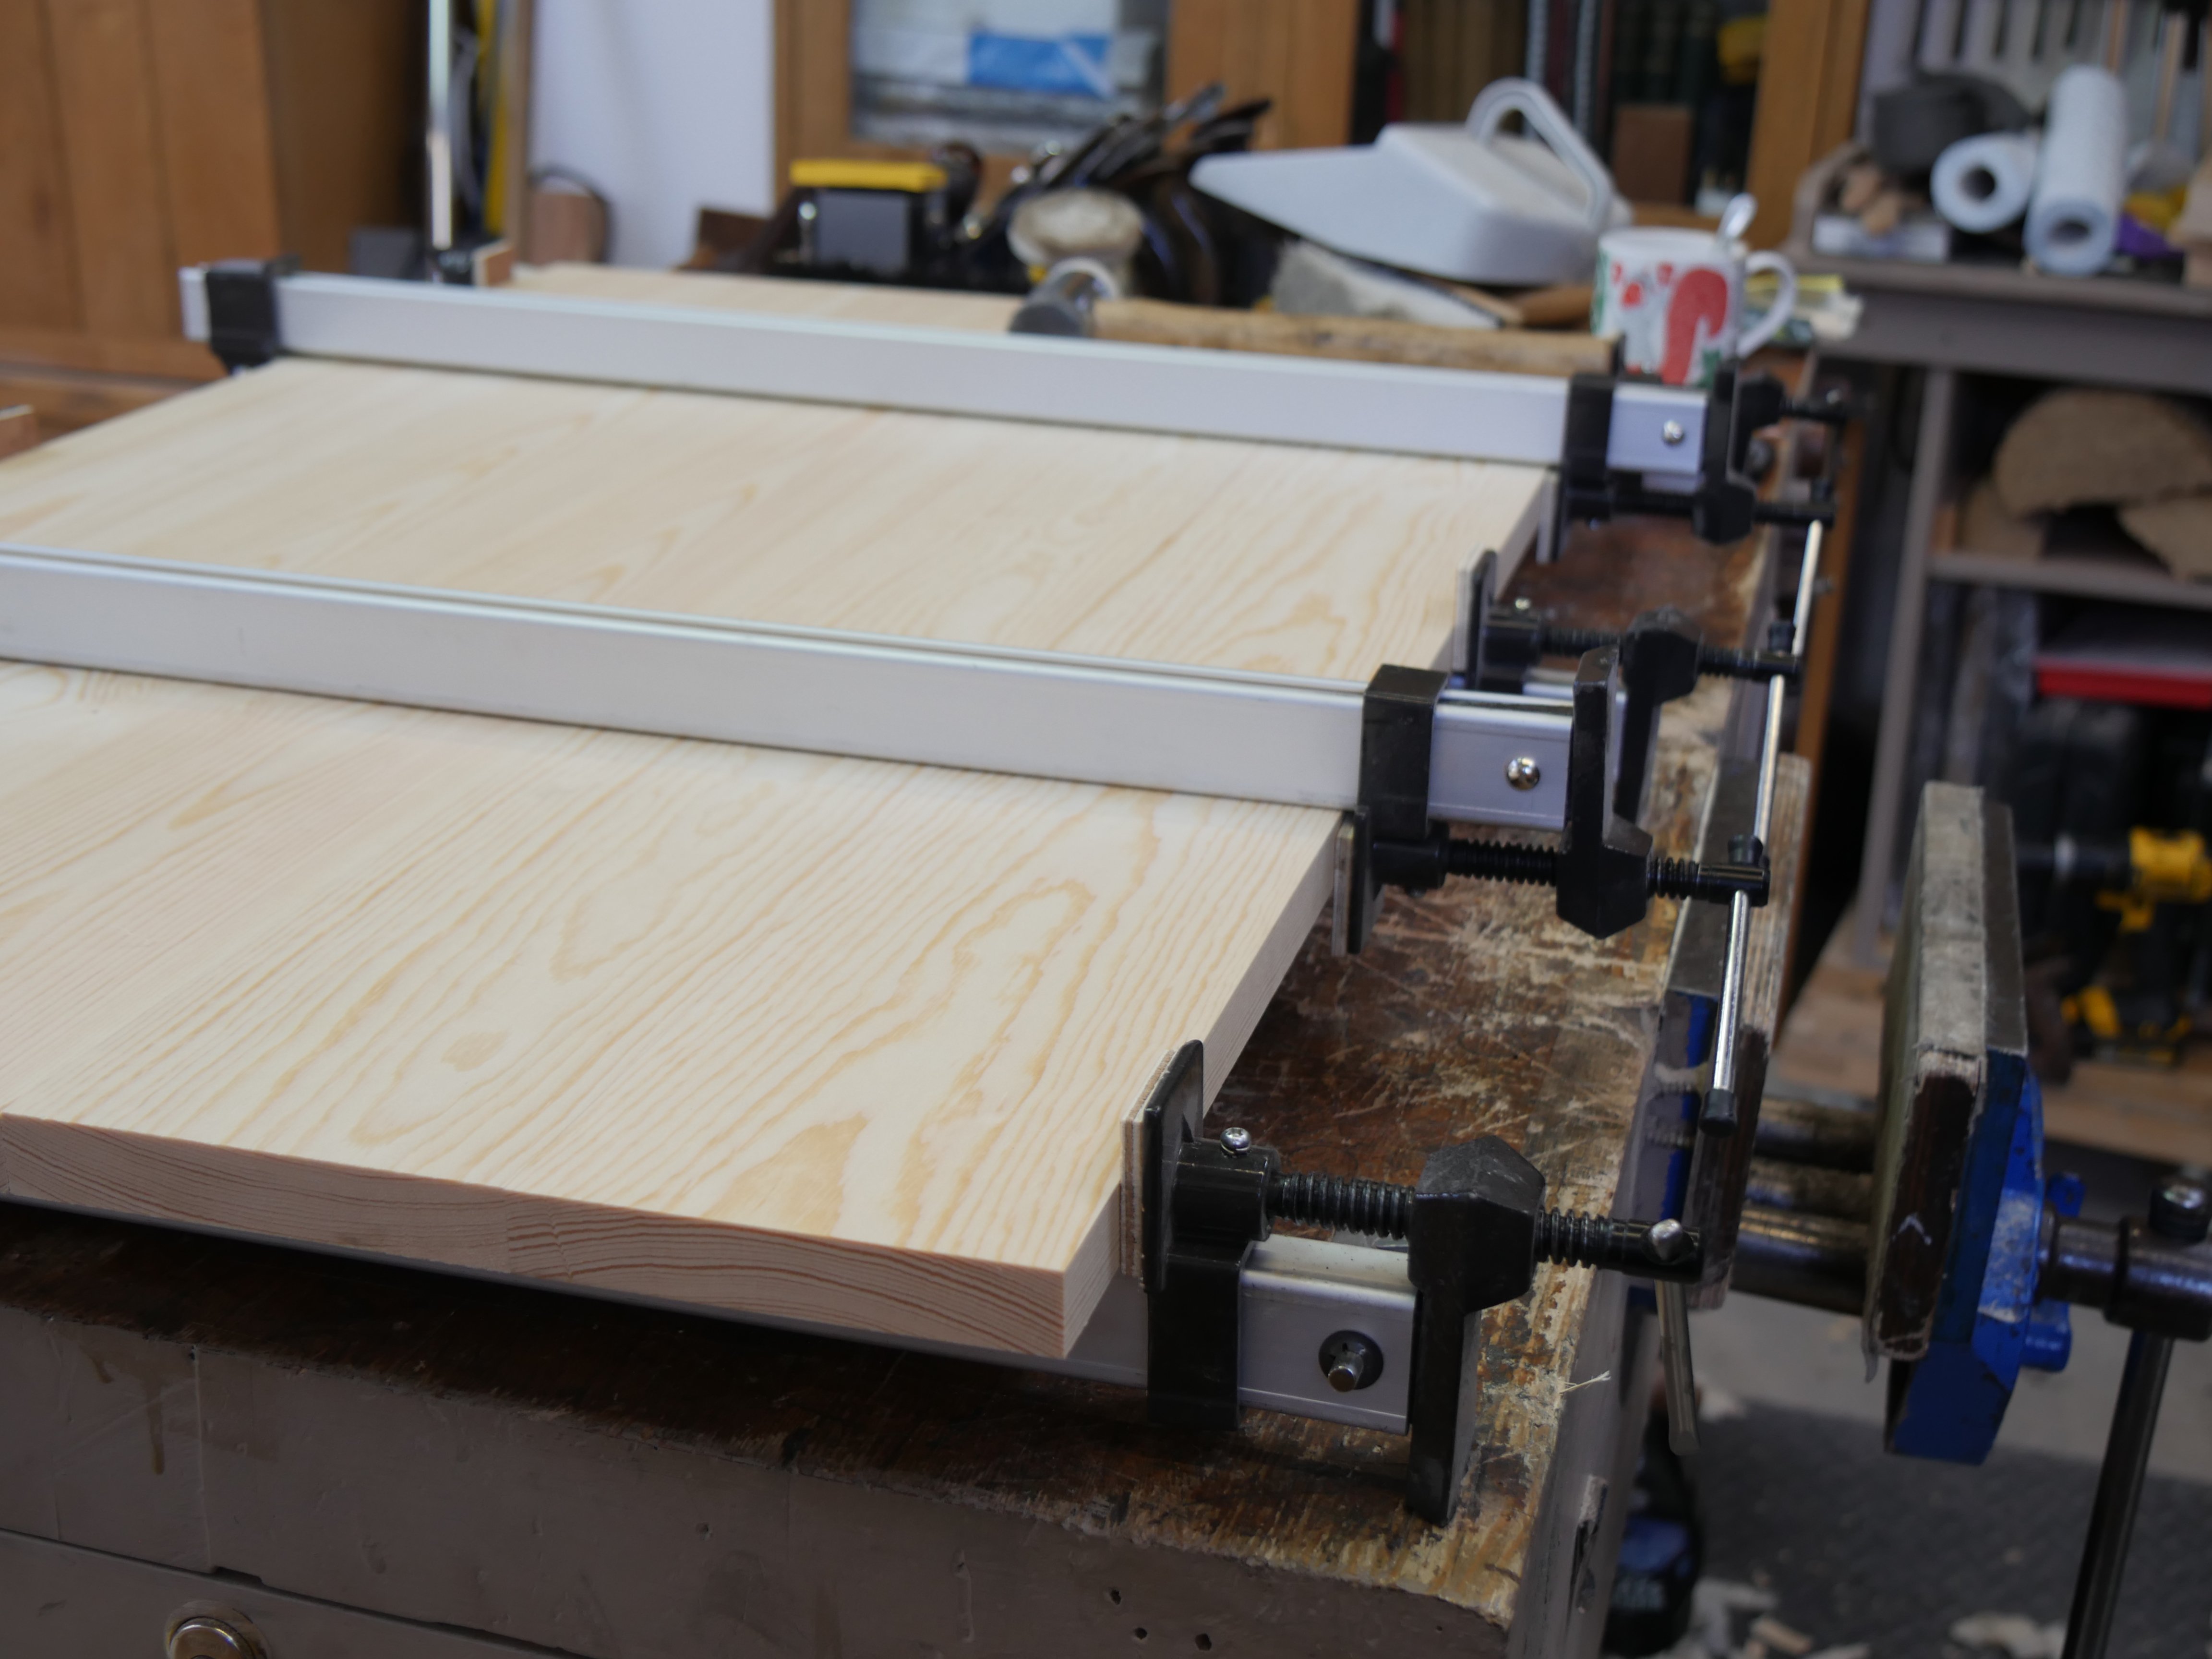
Step 6: The clamp heads come with no cushioning and can mar the wood. I use squares of 1/4" plywood as this holds up well under the pressure of the clamps. Use two-sided tape like picture mounting tape to stick the pads to the clamp heads. Roughen the paint surface with abrasive paper first to improve adhesion.
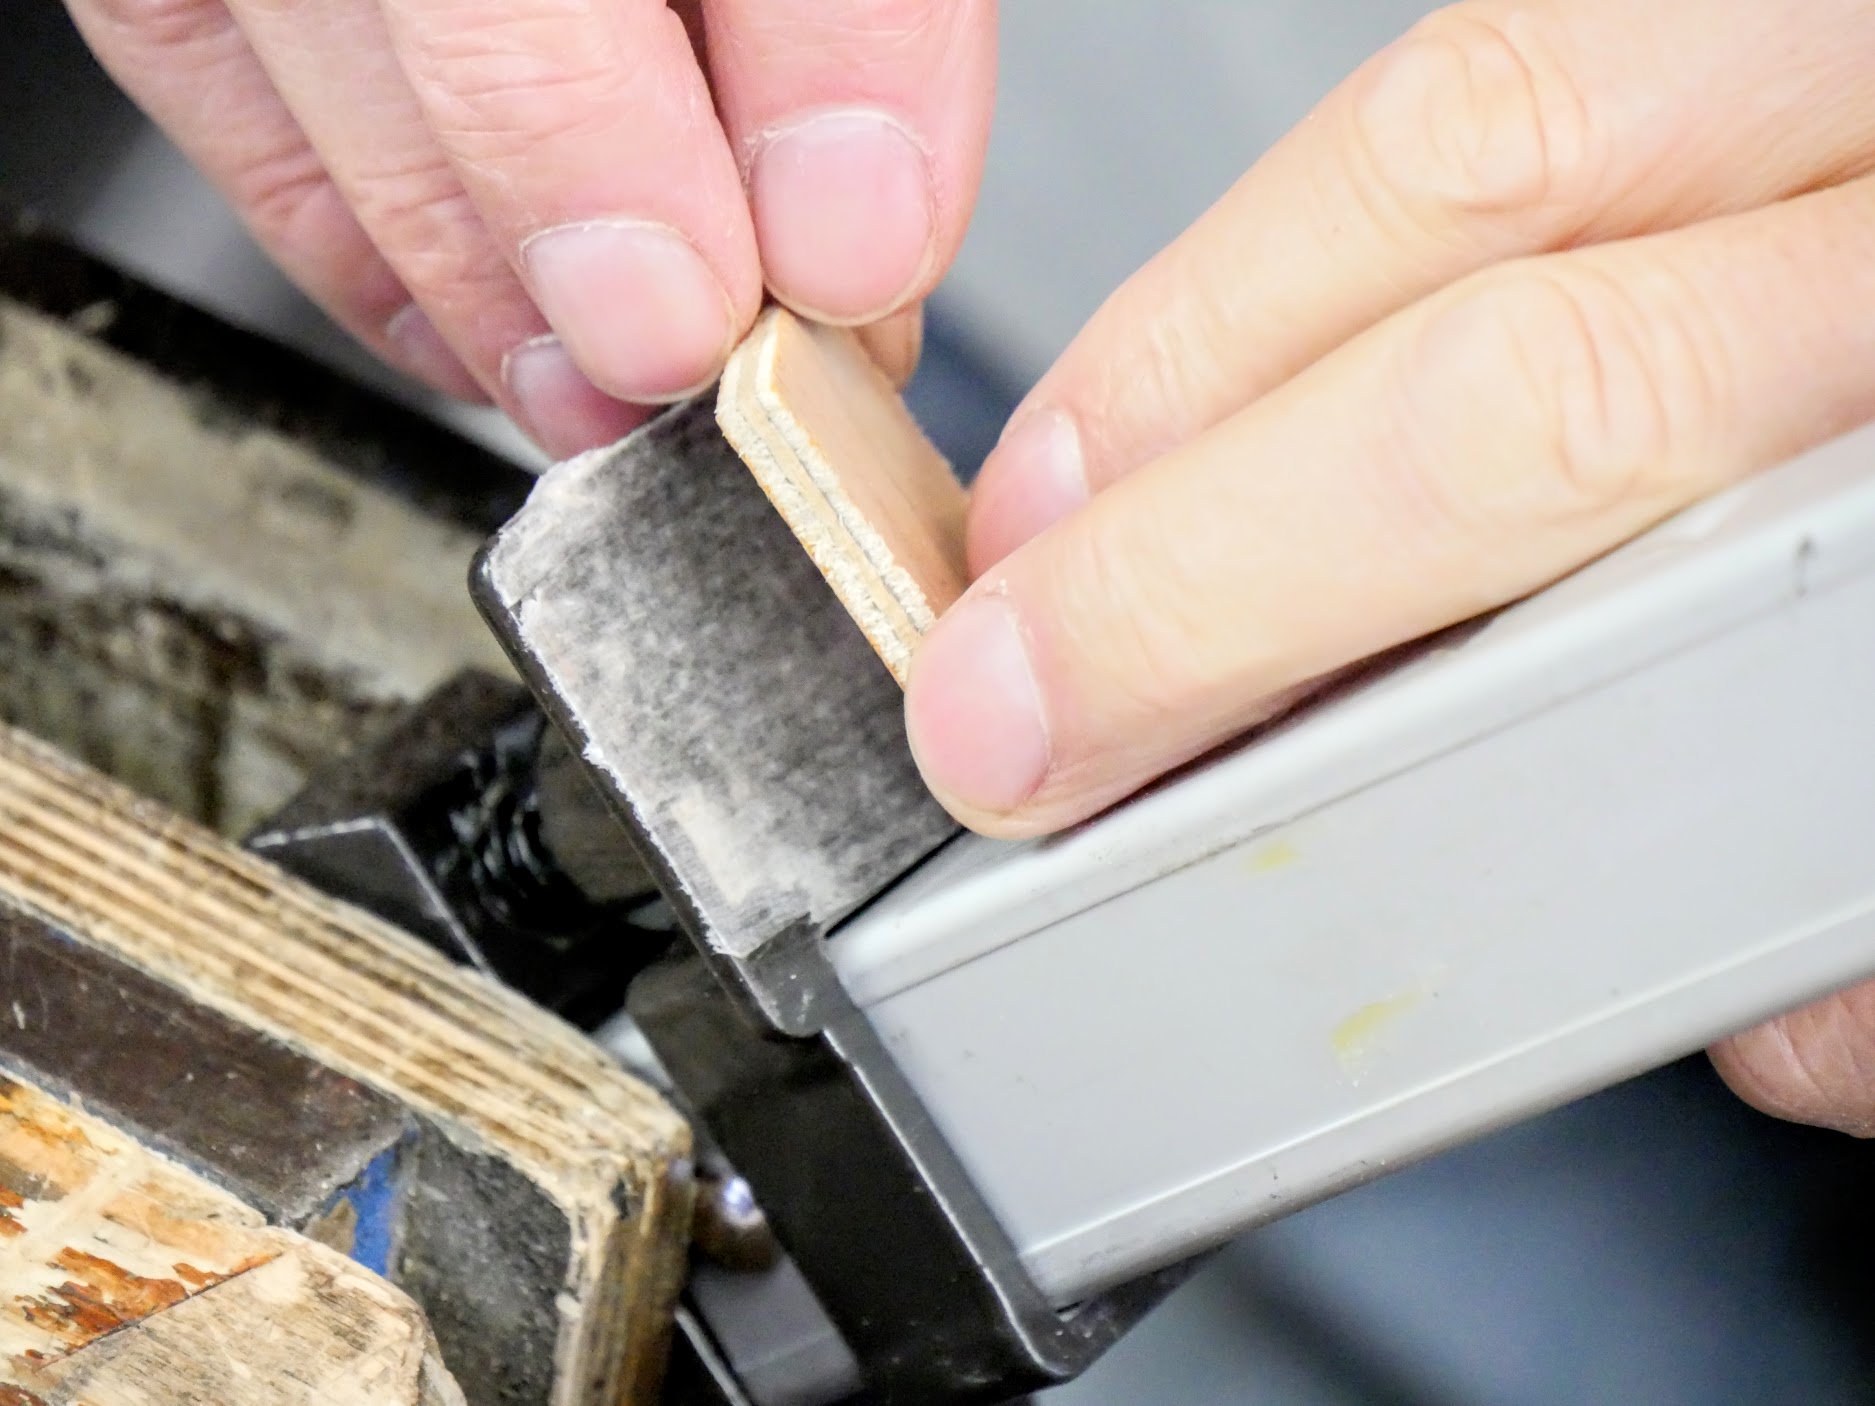
Step 7: Press on 1/4" plywood squares.
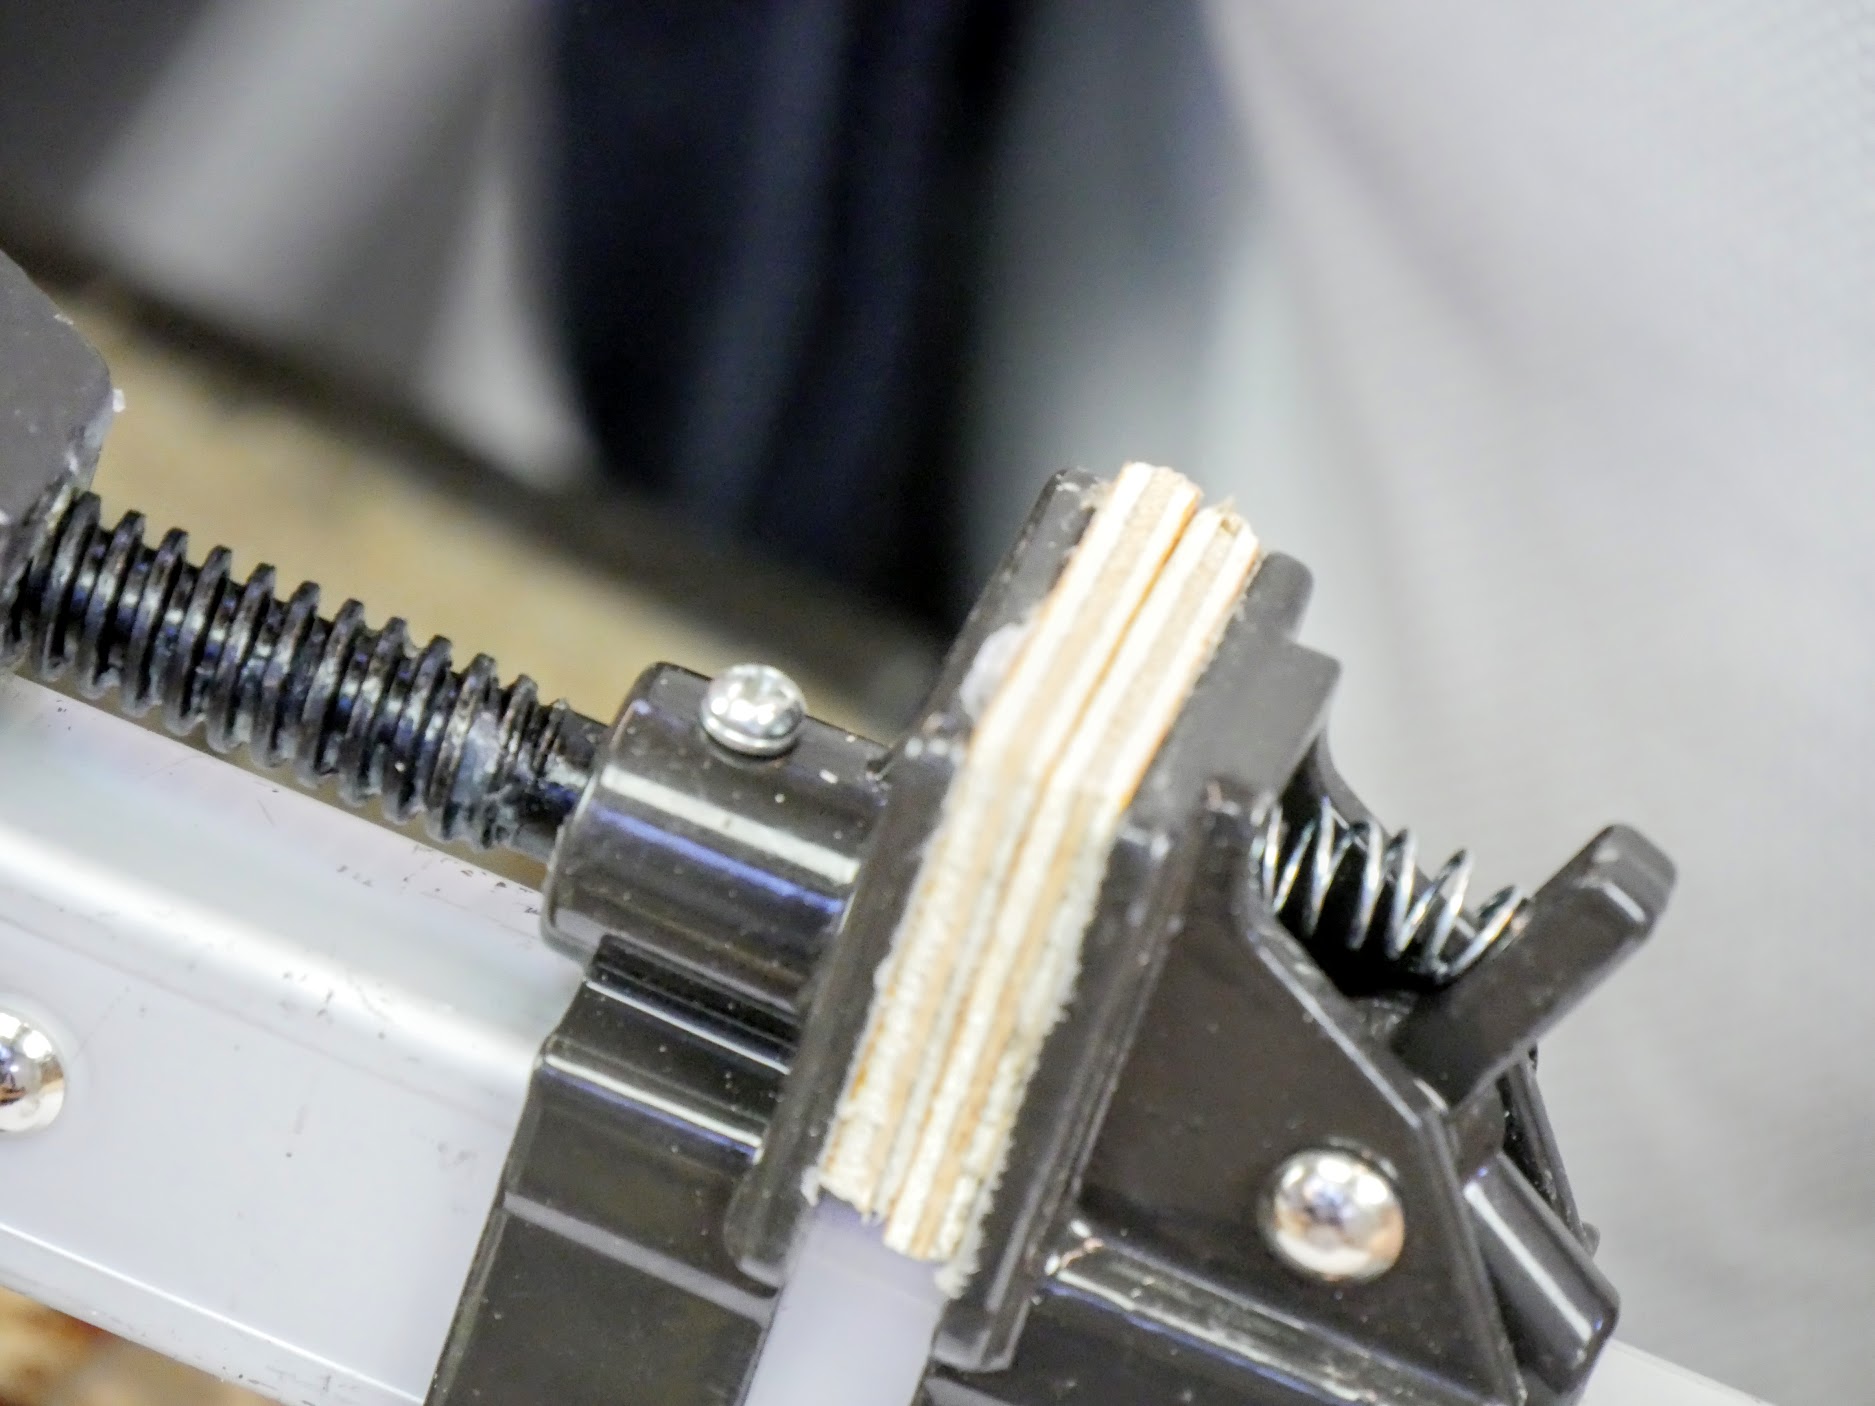
Step 8: Use the clamping pressure to seat the plywood squares.
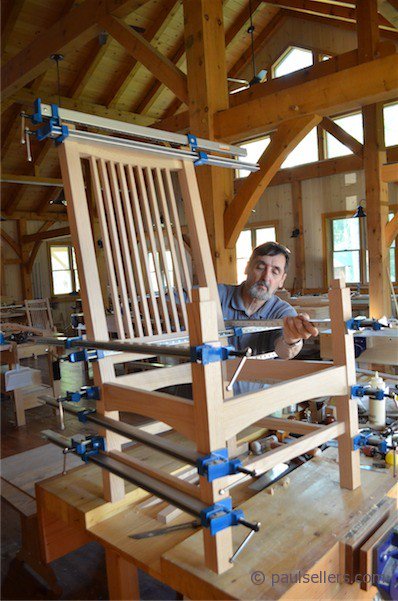
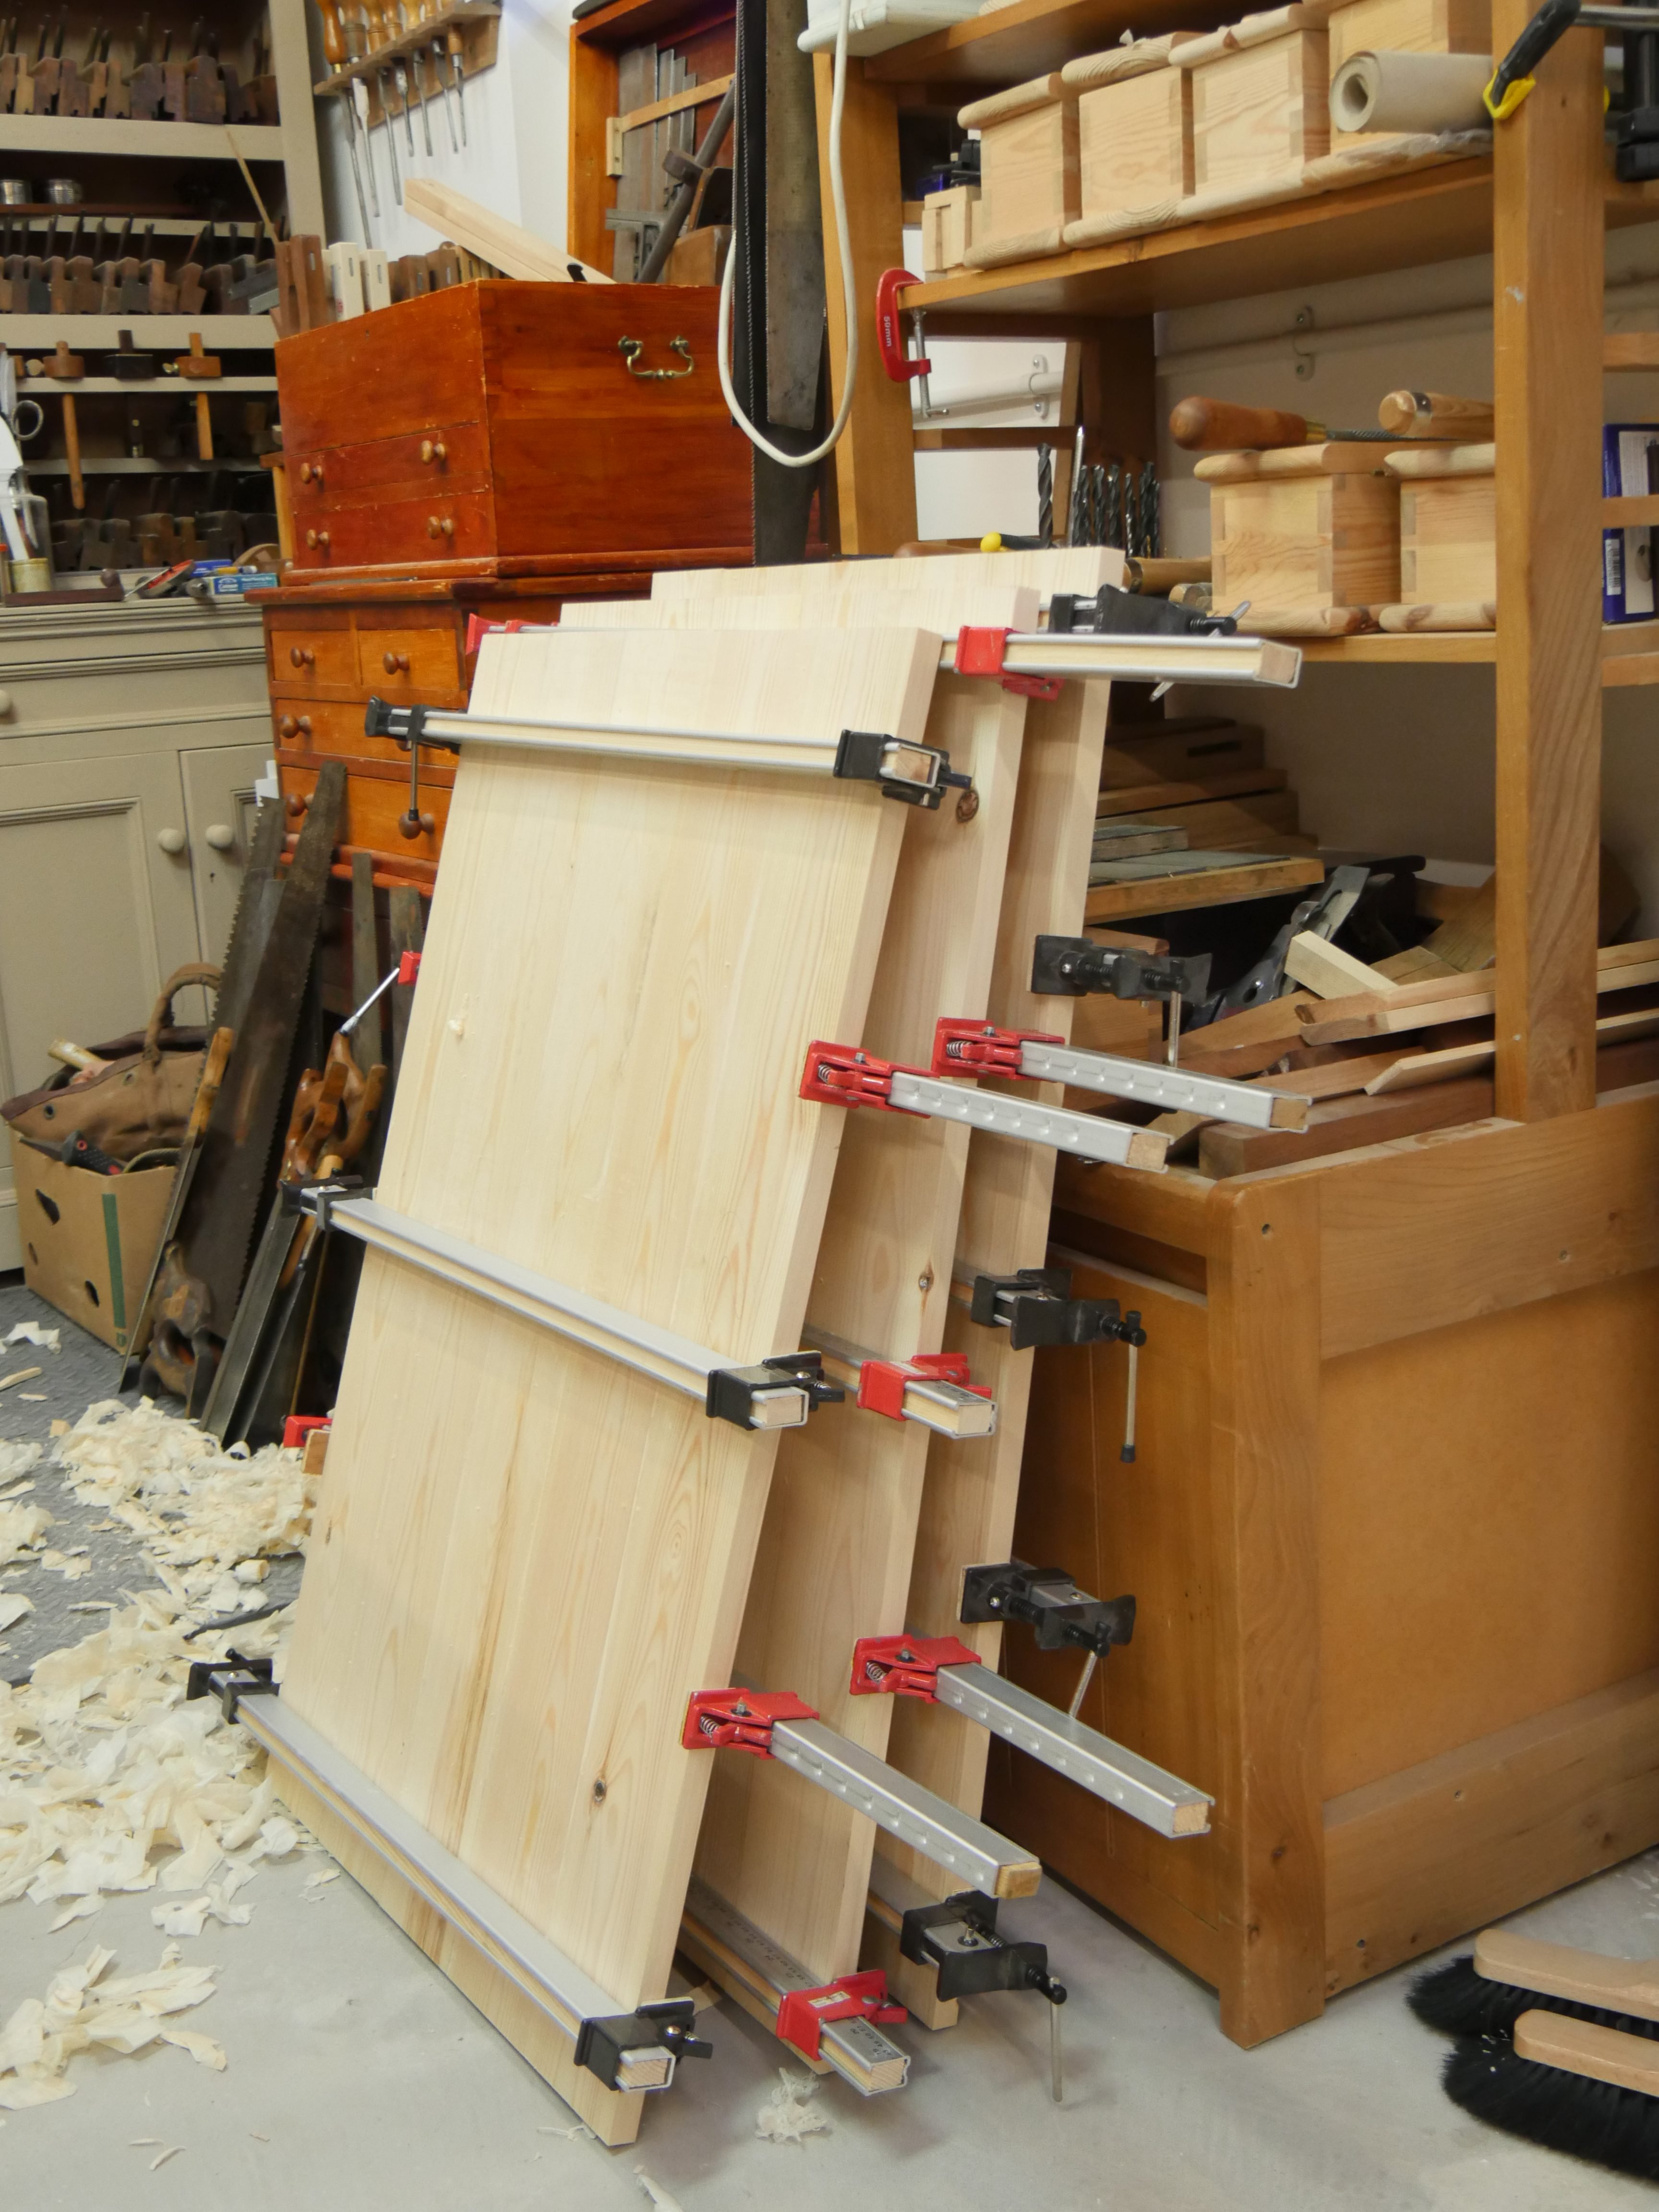
Now you have some decent working clamps for about a third the price of most others. You will be amazed how these minor upgrades make the clamps feel in use.
As an added note. Deiter Schmidt at Fine Tools Germany offers their Juuma clamps for sale and they are very good clamps made from thicker alluminium and you can still upgrade with the inserts. I blogged on these two years ago.
Comments ()