A Shaker-style Dresser 2

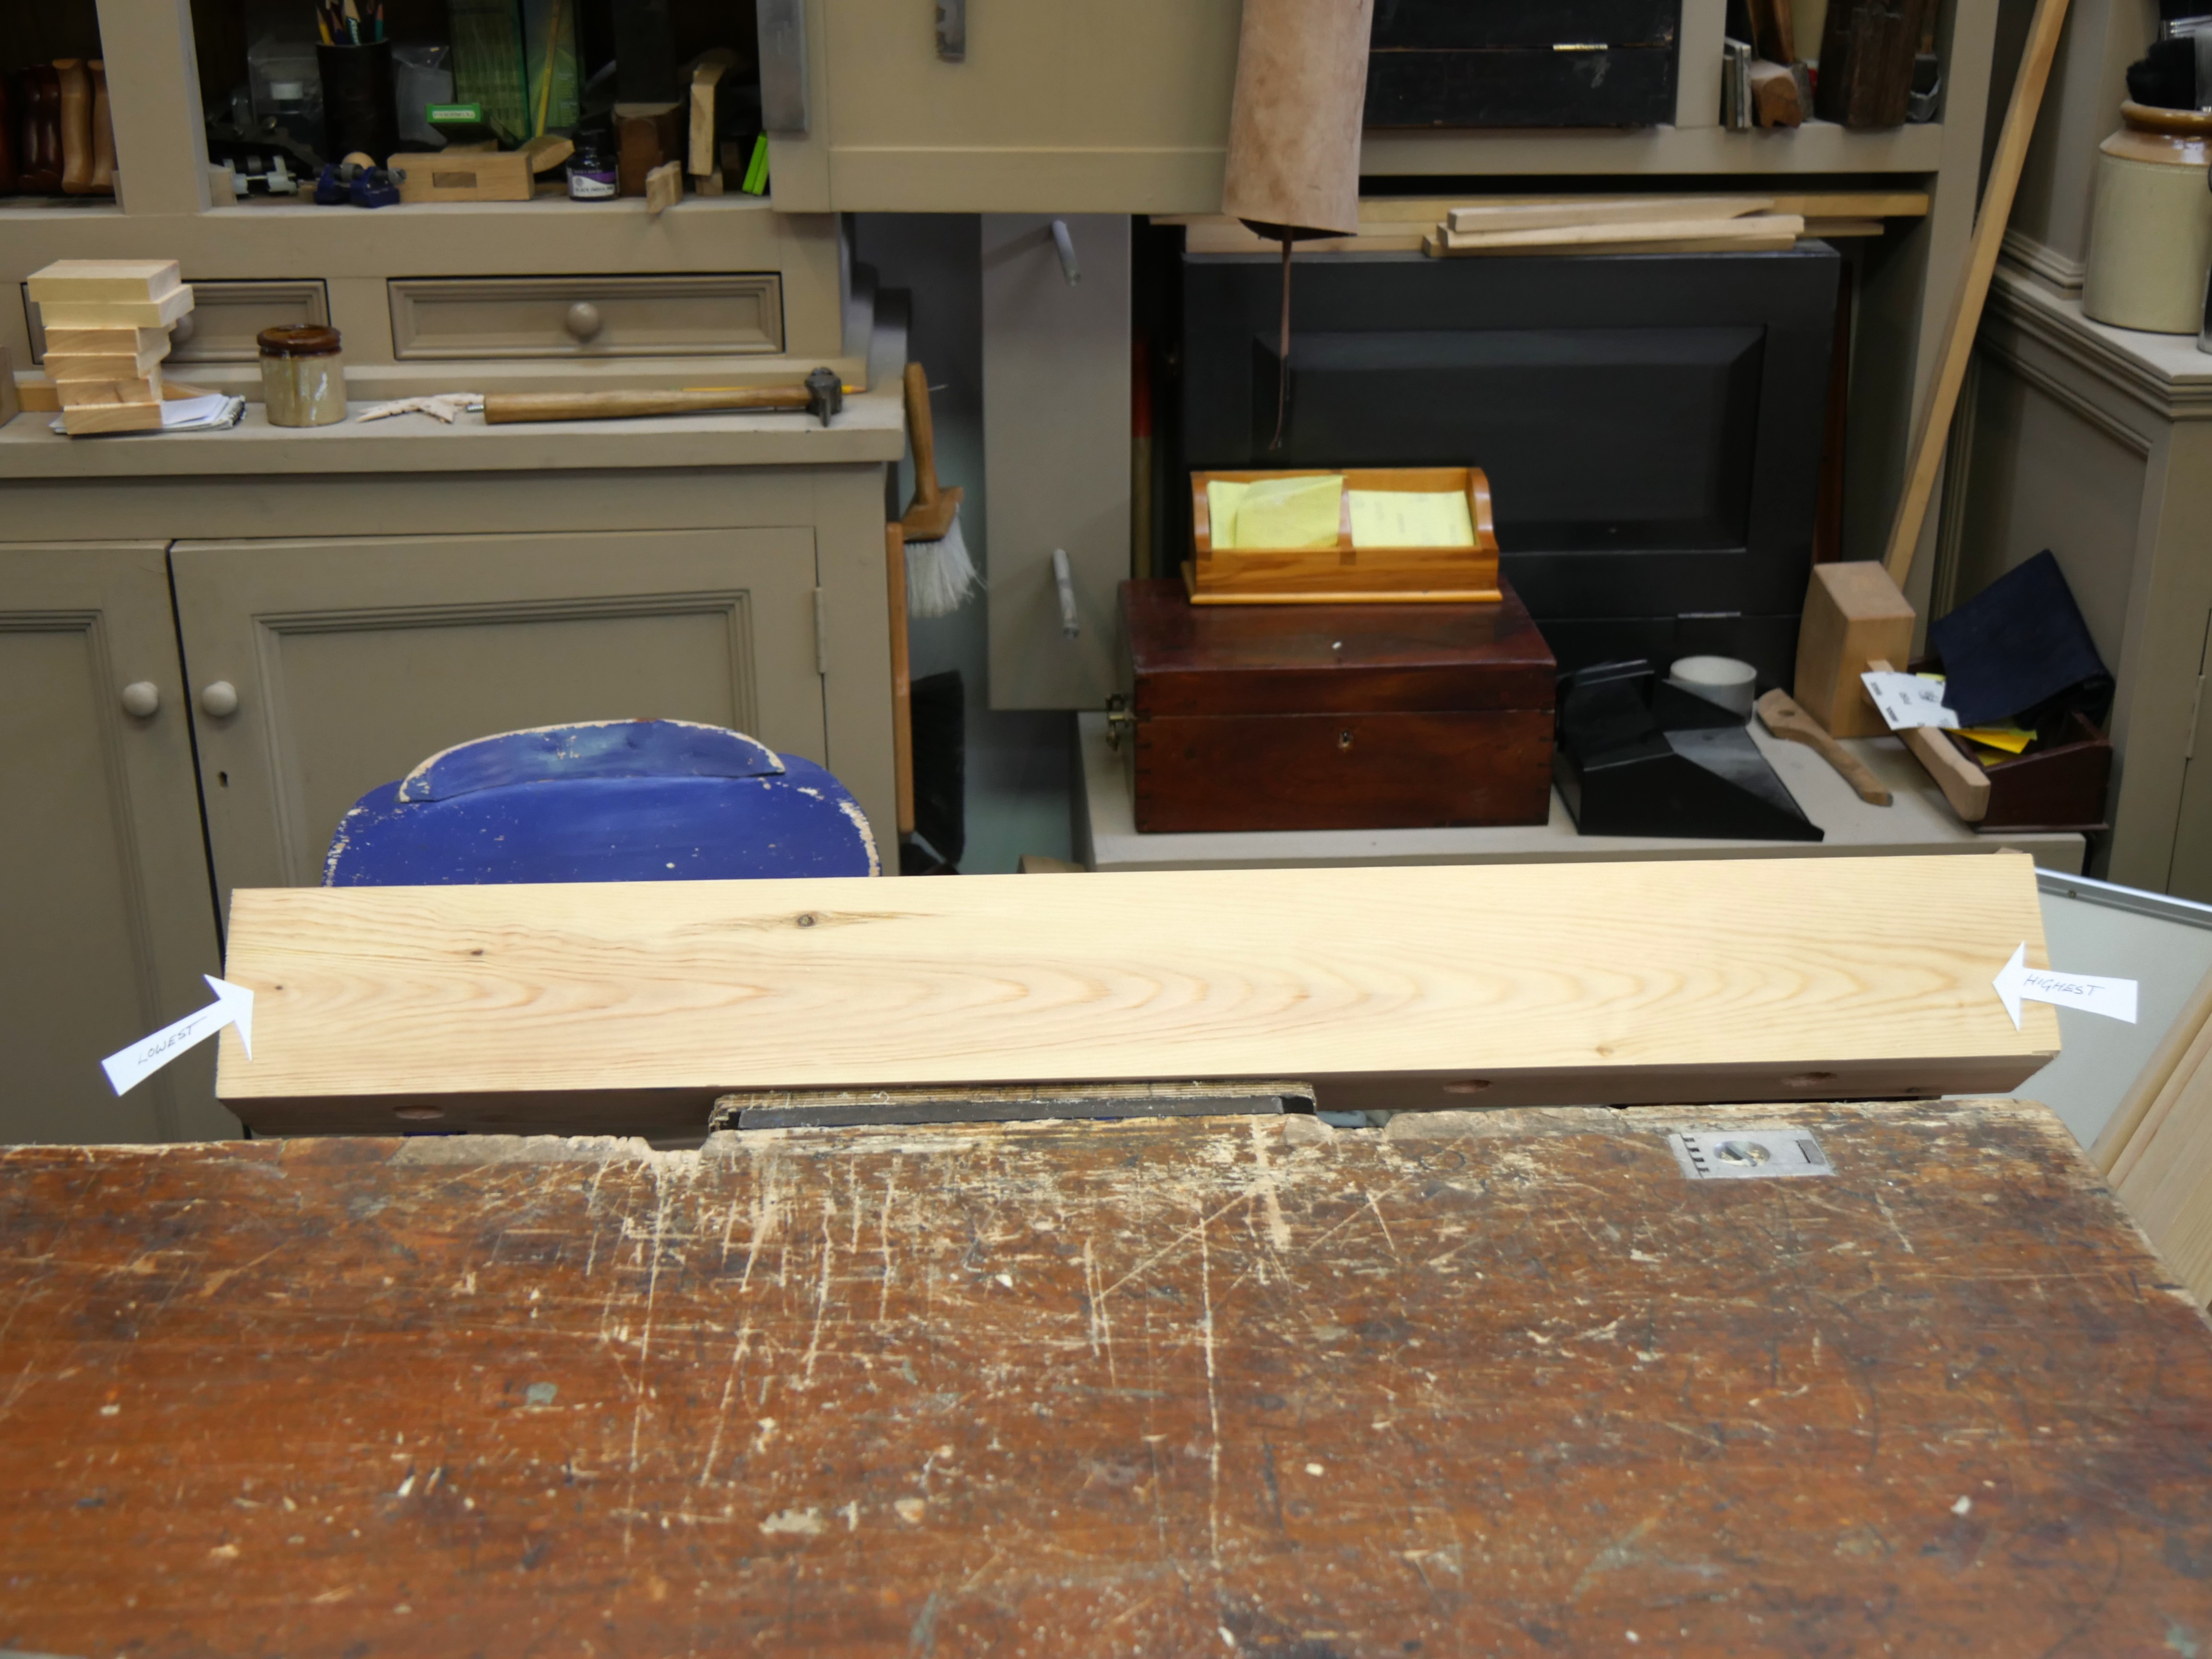
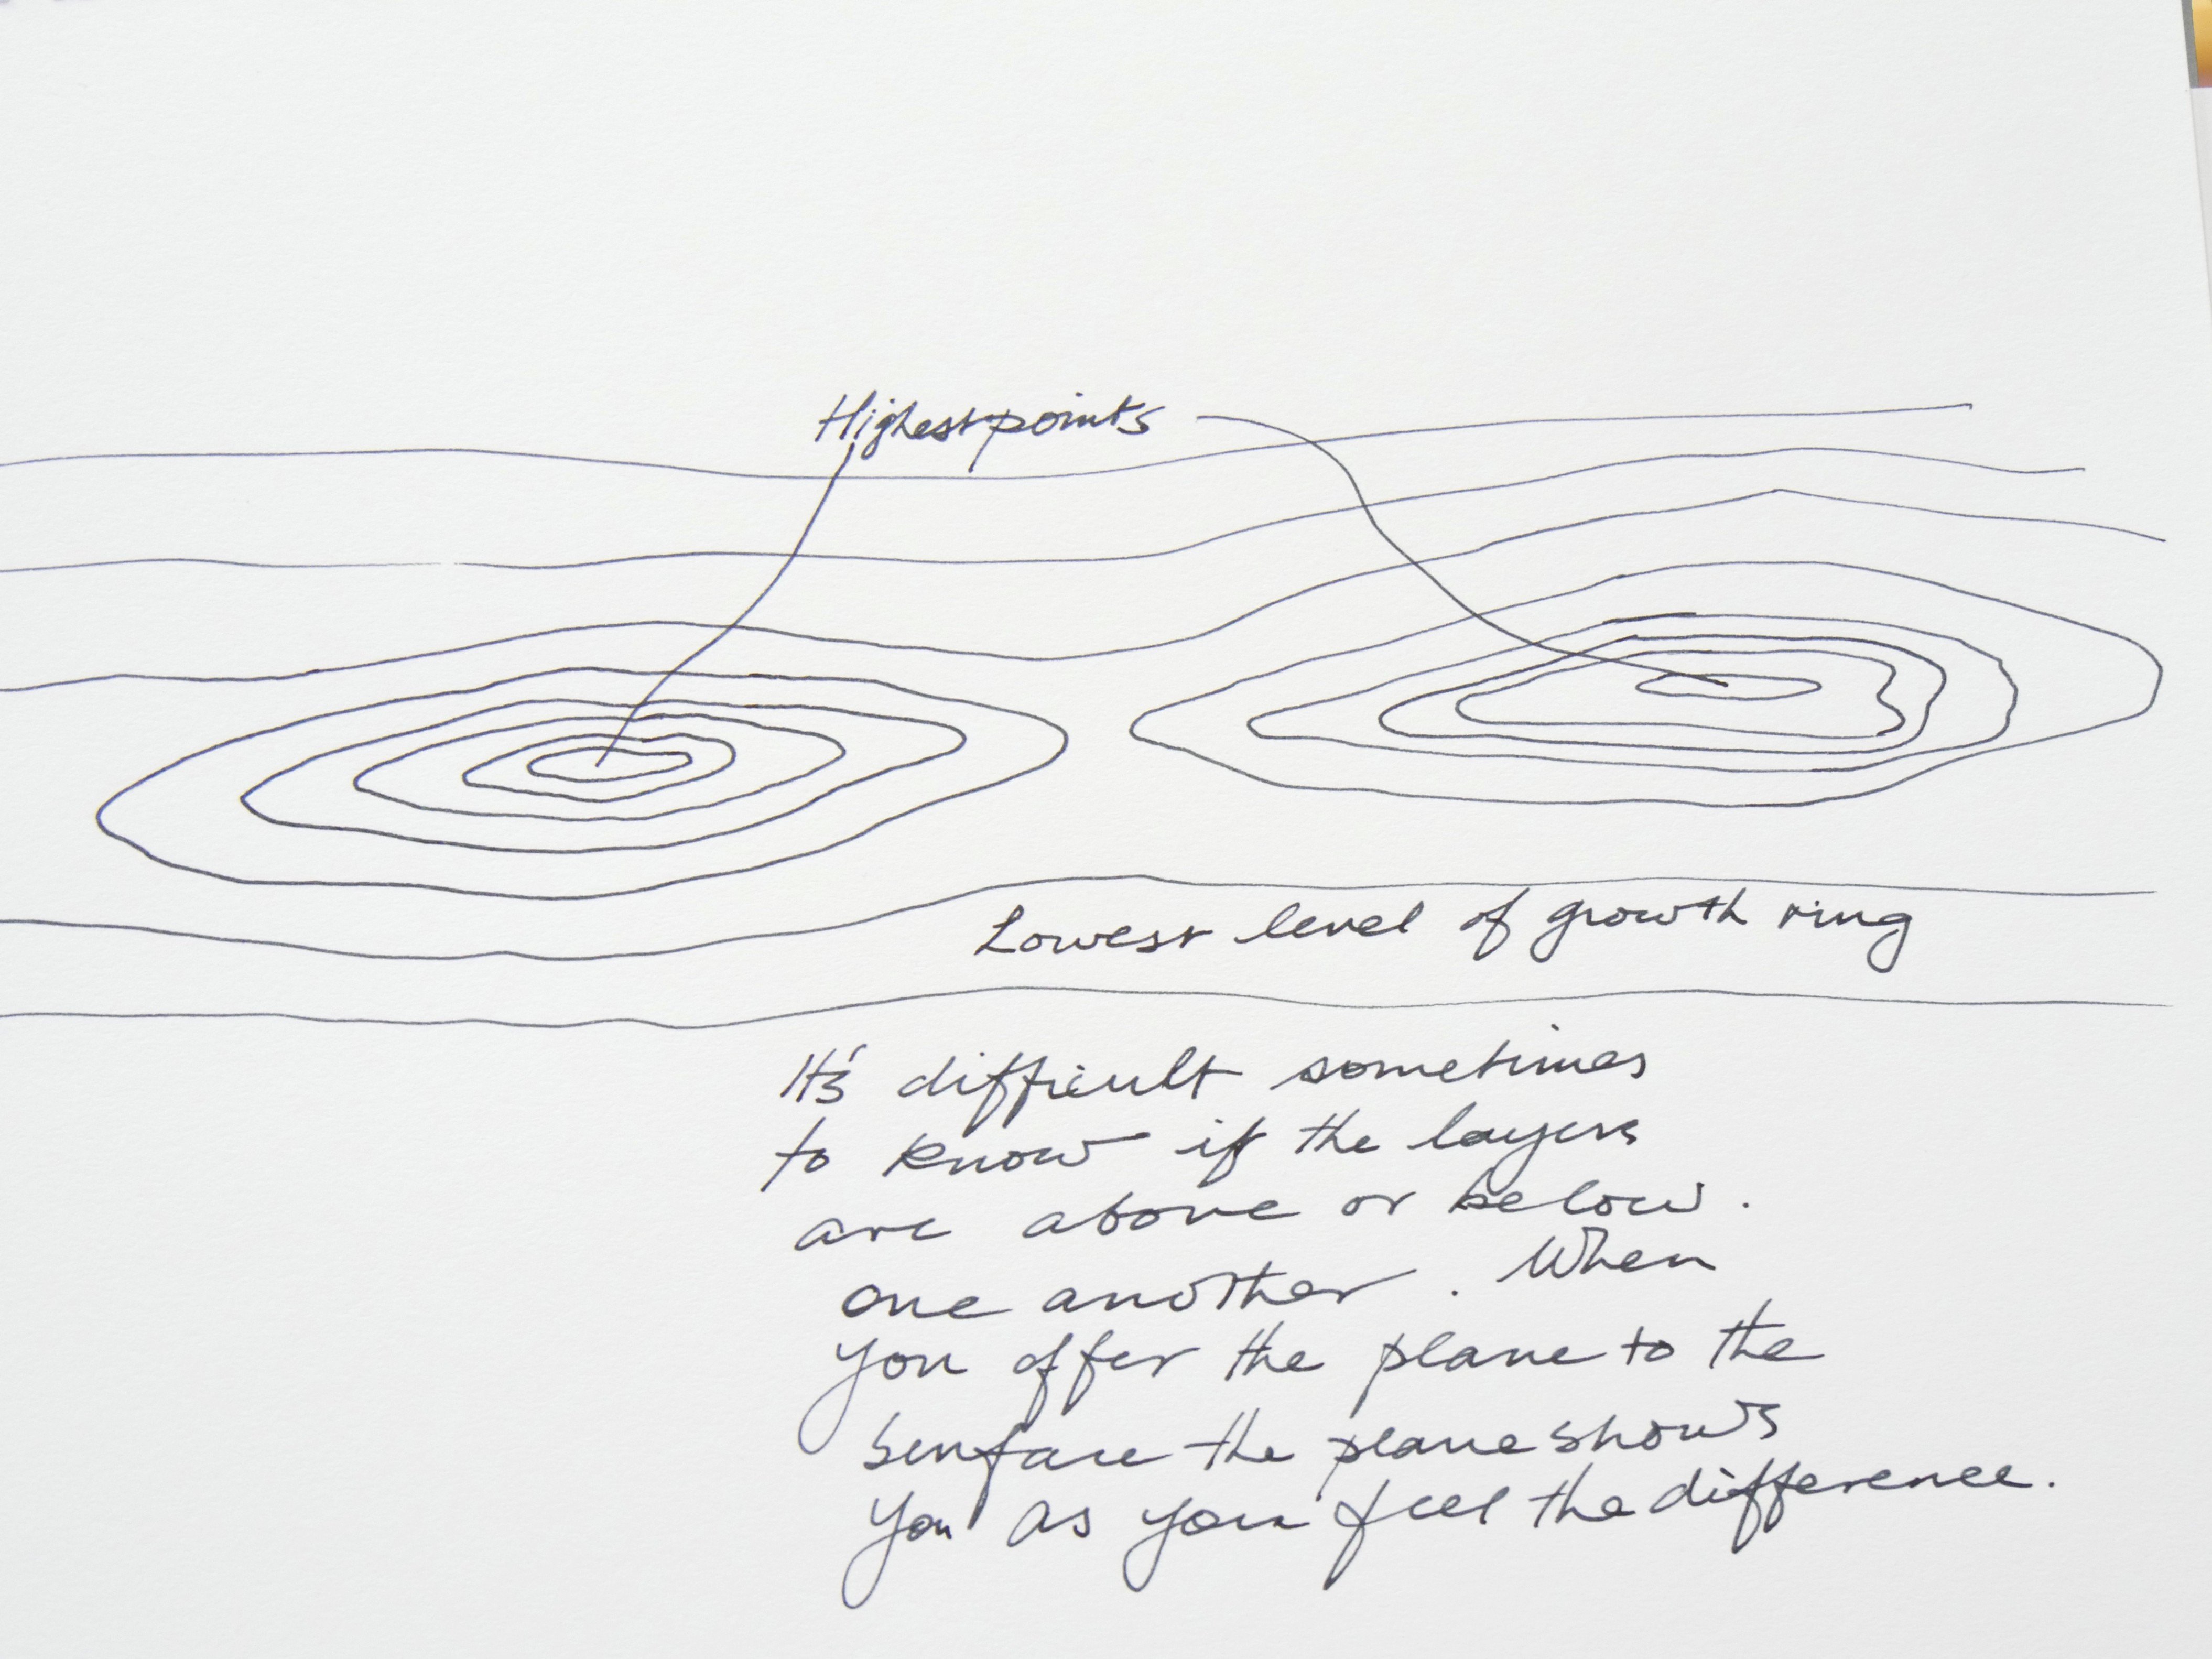
Planing the panels is simple and quick with any #4 smoothing plane. The shorter sole gives the versatility I need for localised high spots and the panels should be near flat anyway using the method of glue up I use. As we make the videos you will see (via woodworkingmasterclasses.com) later, you will understand what I mean and how that works. Working in straight-grained pine of a quality like this is very nice and often more the luxury in our present age. My boards were 18 feet long and completely knot free. Generally that's not the case but there can be grain patterns to guide you as to possible problem areas and I look for these as I prepare to plane as this type of grain-reading can eliminate or at least minimise possible problem areas. This is where the topo'-map theory helps. What's that? Look at a topographical map with hilly and mountainous areas and you can judge the rate of ascent by the closeness of the lines delineating or depicting the rise of the slopes from bottom to top. Looking for the layers means you envisage where you might be entering end grain at one point in your planing but then on the opposite side of the 'hilltop' you are exiting the grain. By this I mean that the plane can enter end grain, or perhaps better understood, 'rising grain', and the plane lifts the surface fibres, parts them from the main body of wood, and ends up being ripped off or out rather than the slicing cut we get with normal planing. In woods like pine this is exacerbated by the growth rings that part or separate more easily between the disparity of the hard and soft aspect if each growth ring. The answer is to see the growth levels and determine beforehand which will be the best direction to go. If you must go into and what we call 'against the grain' then stop and sharpen to a meticulous and super-sharp level before you go any further. Once this is done flip the blade over onto its flat face on the finest plate or stone you have, lift the blade so that only the cutting edge touches the stone. Now push forward with the cutting iron inclined by about but no more than 3-4mm (1/8") off the plate so that you are effectively putting the shallowest and narrowest bevel on the flat face side along the length of the cutting edge. This is the poor man's York-pitch. This takes care of wiry grain and working rising grain. It's quick and effective. Once the grain is planed, continue using the plane as is until the next sharpening. Ignore it being a 'York-pitch'. It will work as per normal for regular planing. As you sharpen next time the pitch on the flat side will be removed and your plane edge normalised. I would add here the suggestion not to dismiss the poor-man's 'York-pitch' as somehow second rate. It's not at all. I use it fairly regularly and it's never failed me.

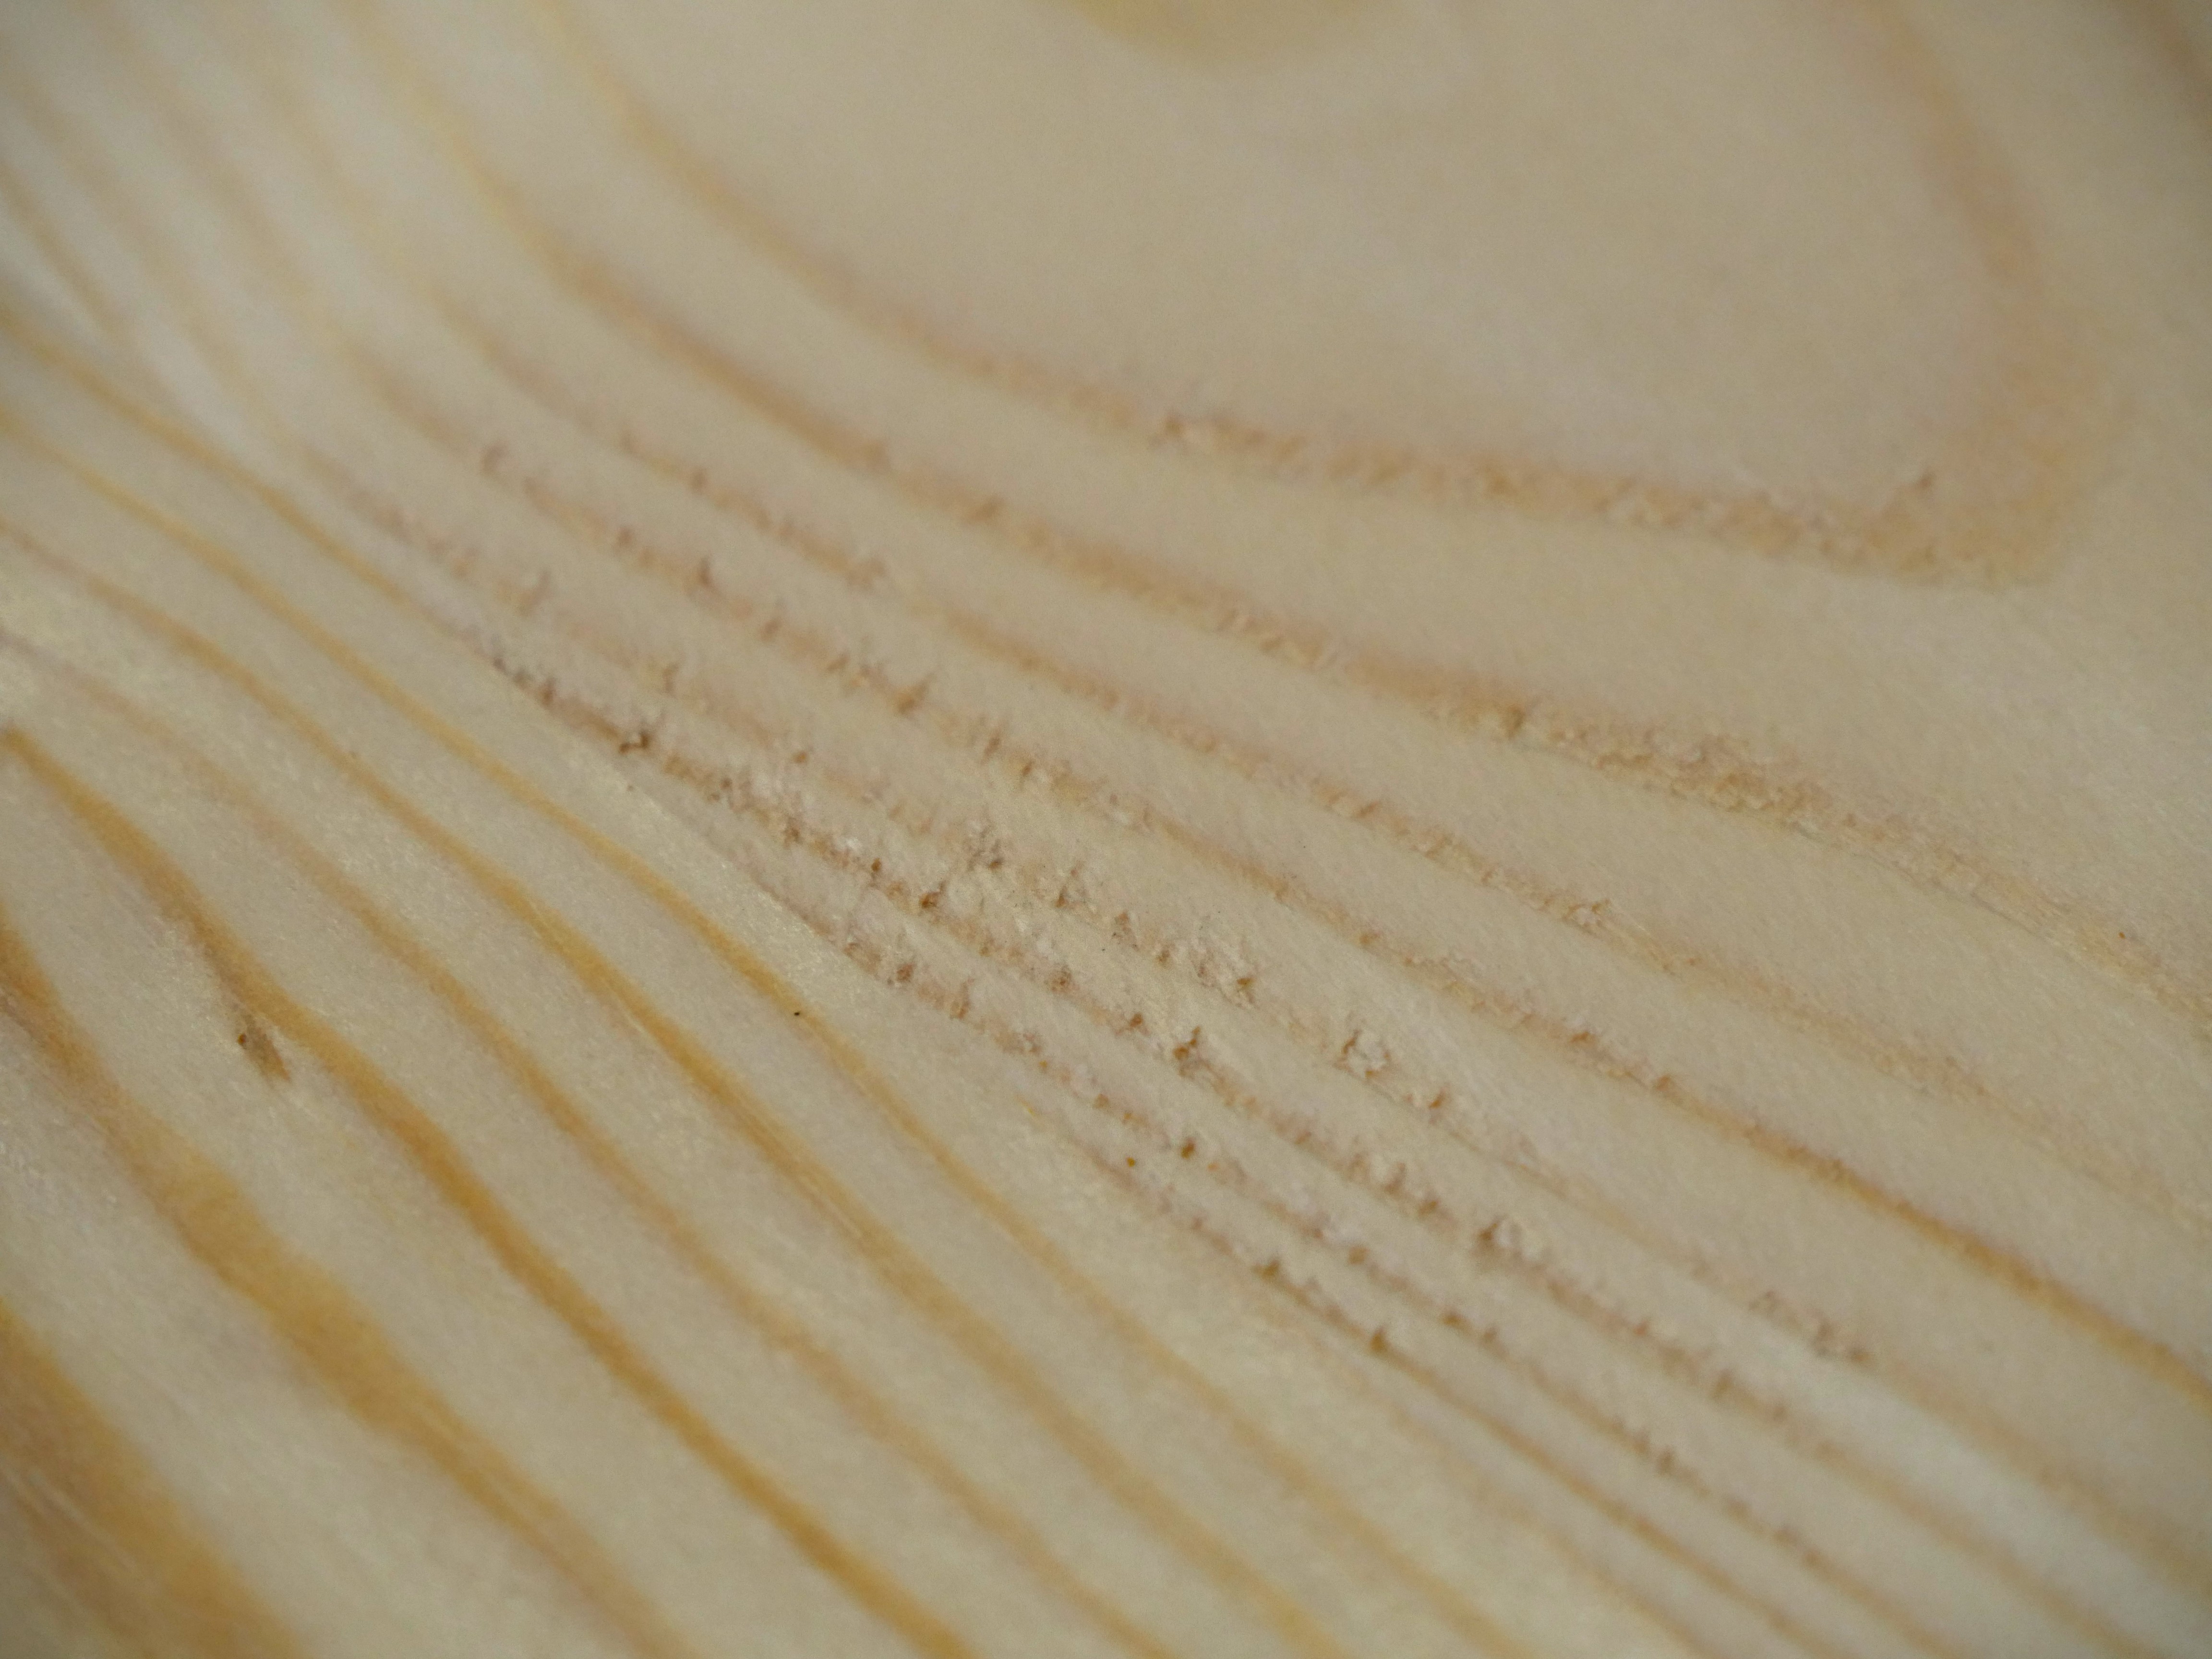
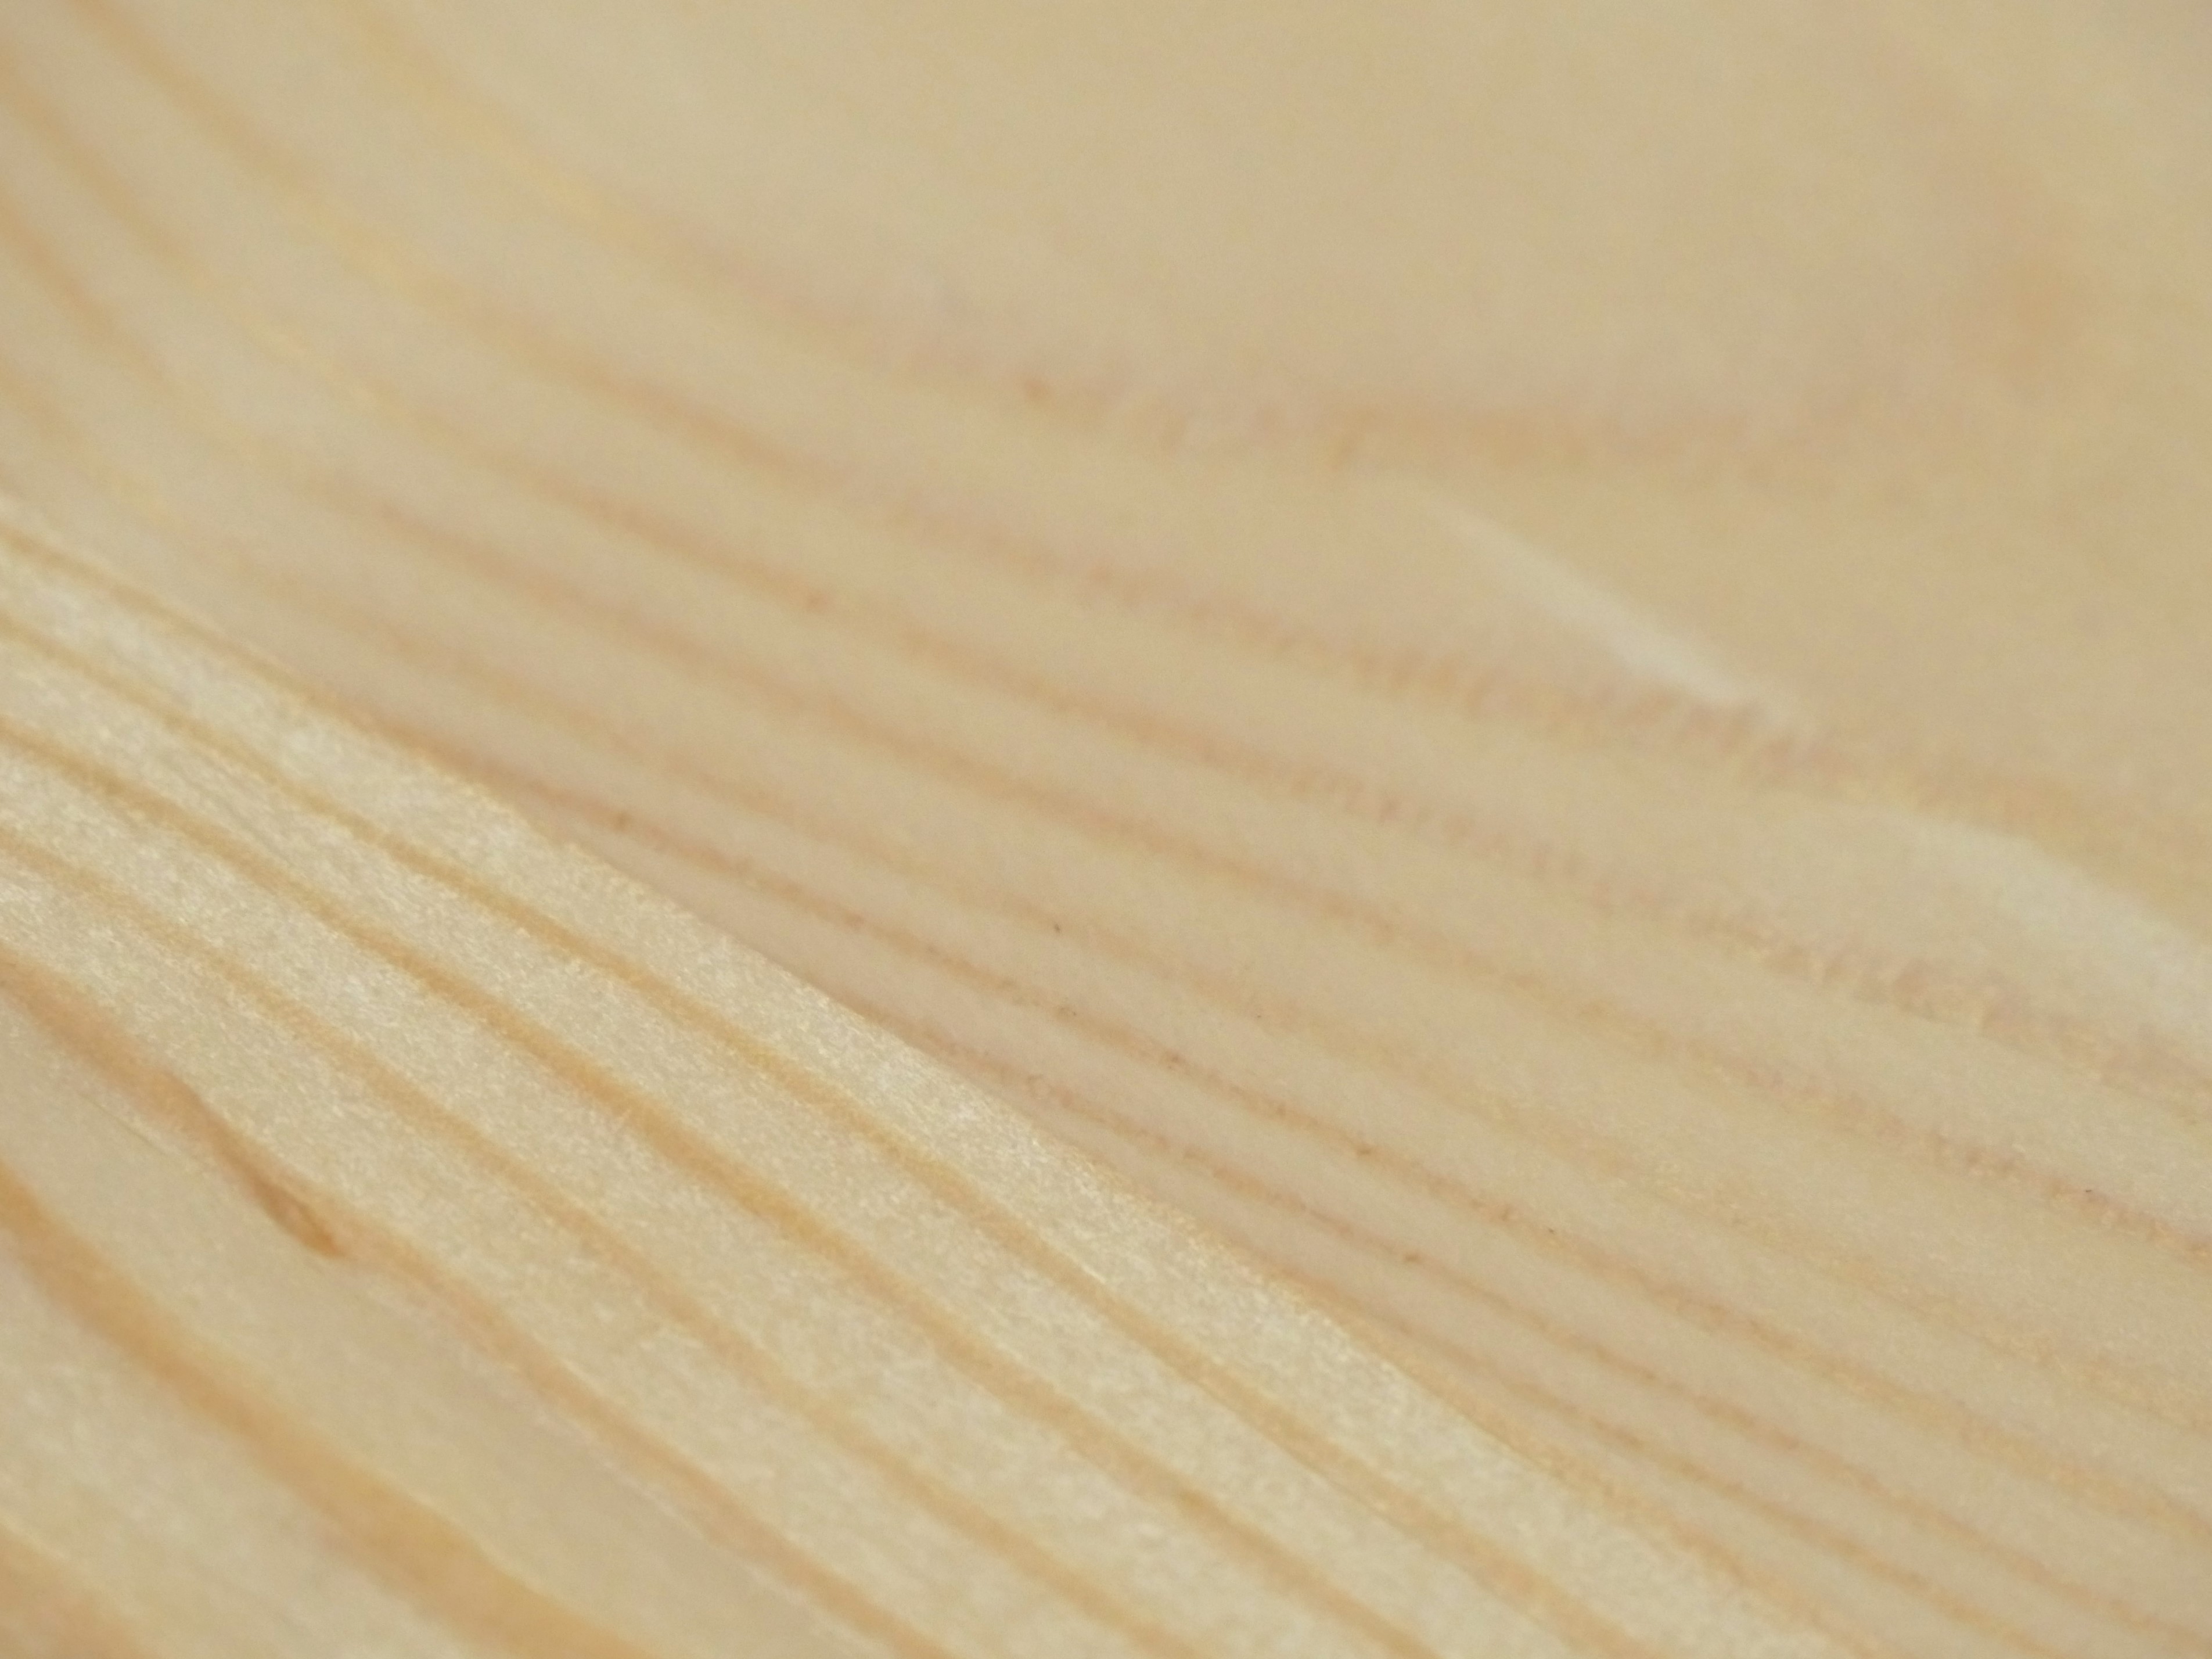
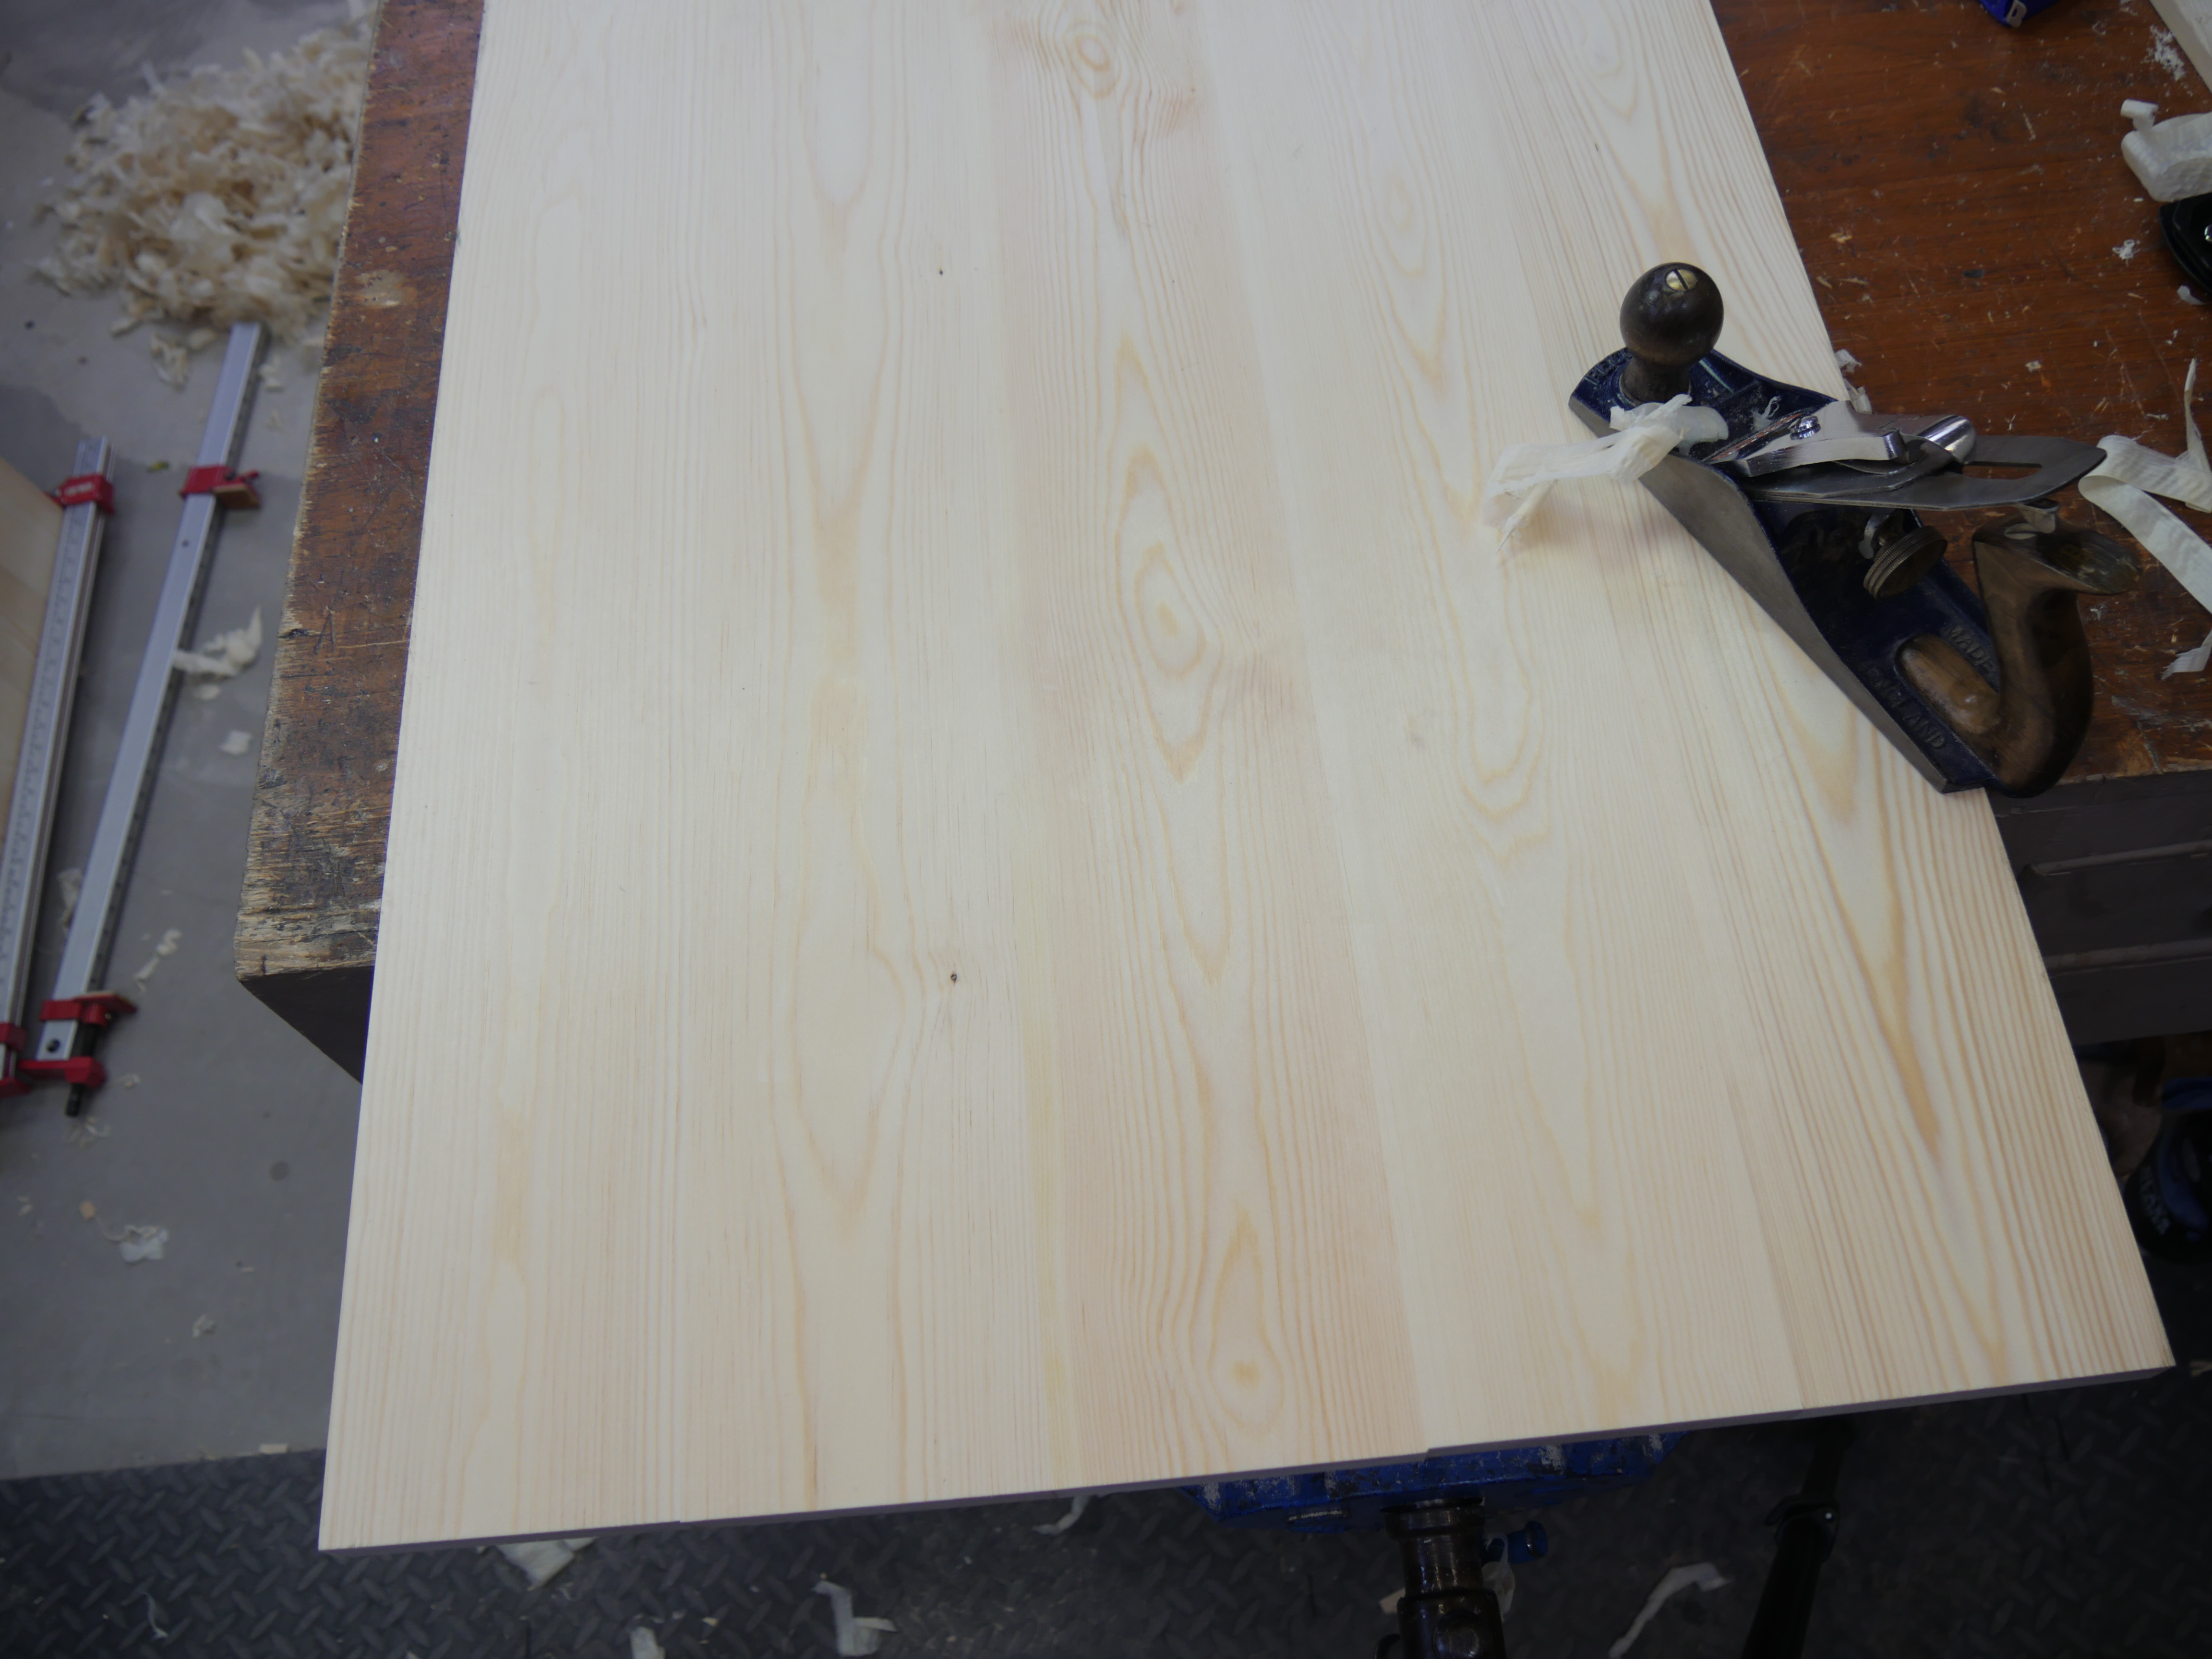
These two images show the same section of the panel with before and after shots. The first (left) is using a regular plane iron on a standard unaltered #4. The torn grain is obvious to the right of the joint-line. A few strokes with retro-refinement of the iron to a York-pitch resolved 95% of tear-out issues (right).
So, I got both faces of the three panels planed in fairly short order and there was zero tear-out in any of the panels because I used the poor-man’s York-pitch. Of course the true York-pitch is where the cutting iron is permanently bedded at 50-degrees. I am now ready to start working on the joinery for the carcass but I am making my drawer divider frames because they will be part of the carcass joinery.
Comments ()