A Shaker-style Dresser
2nd November 2016
Today I started prototyping a new project for filming, a Shaker-style dresser for a series of videos we are working on. There are always features to Shaker pieces that lay hidden to the casual observer and I will be incorporating some of their features in this piece. Prototyping for me is different than most. It’s not that I need to work out a design as such but develop the project in such a way that I can make sure the filming goes progressively forward as smoothly as possible. Though sometimes we fail, seeing even just a few seconds of the back of my hand or head is annoying if you have to assume what’s happening rather than seeing it. Even setting a screw in a hinge has more interest than the back of my hand. So in making the prototype I have to consider more than how I present myself to the camera but how I present the action and operation I am involved in too. And it’s not just a matter of changing direction for the benefit of the viewer. People need to see exactly what it takes to do it rather than some artificial and awkward misrepresentation of an action. So, whereas I prototype creating the piece, I also prototype presenting the work itself.
For the prototype I will use pine, but the filmed version will be in cherry.
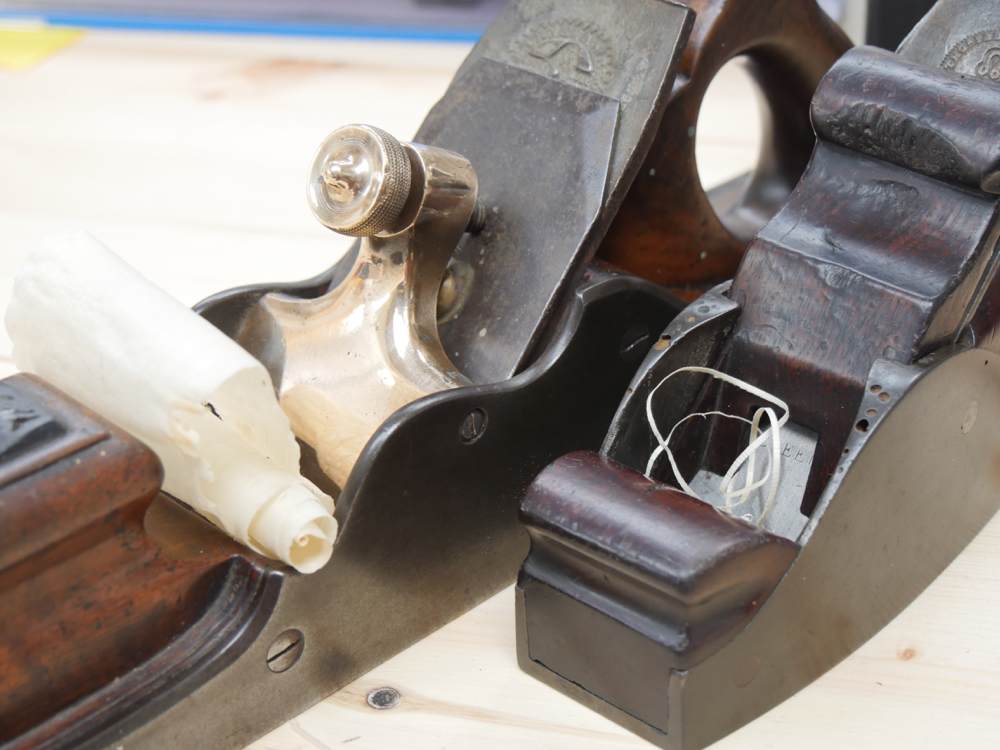
This week I will make the chest of drawers I’ve designed as a training project for people to learn from. In the process I will also discuss the details of why decisions were made by the shakers to create specific pieces even down to the planes they used and the resultant plane marks left in the wood. I plan on using wooden planes alongside their metal counterparts too, to put me in the zone of the American Shakers of say the 1800s. I think you will find this interesting. I am using redwood pine for the prototype work and then cherry for the filming. Of course both will be finished out, one possibly with a wash stain made up from milk or chalk paint and the other cherry version with a clear-coat finish; either water-based or possibly shellac.
Panel Making
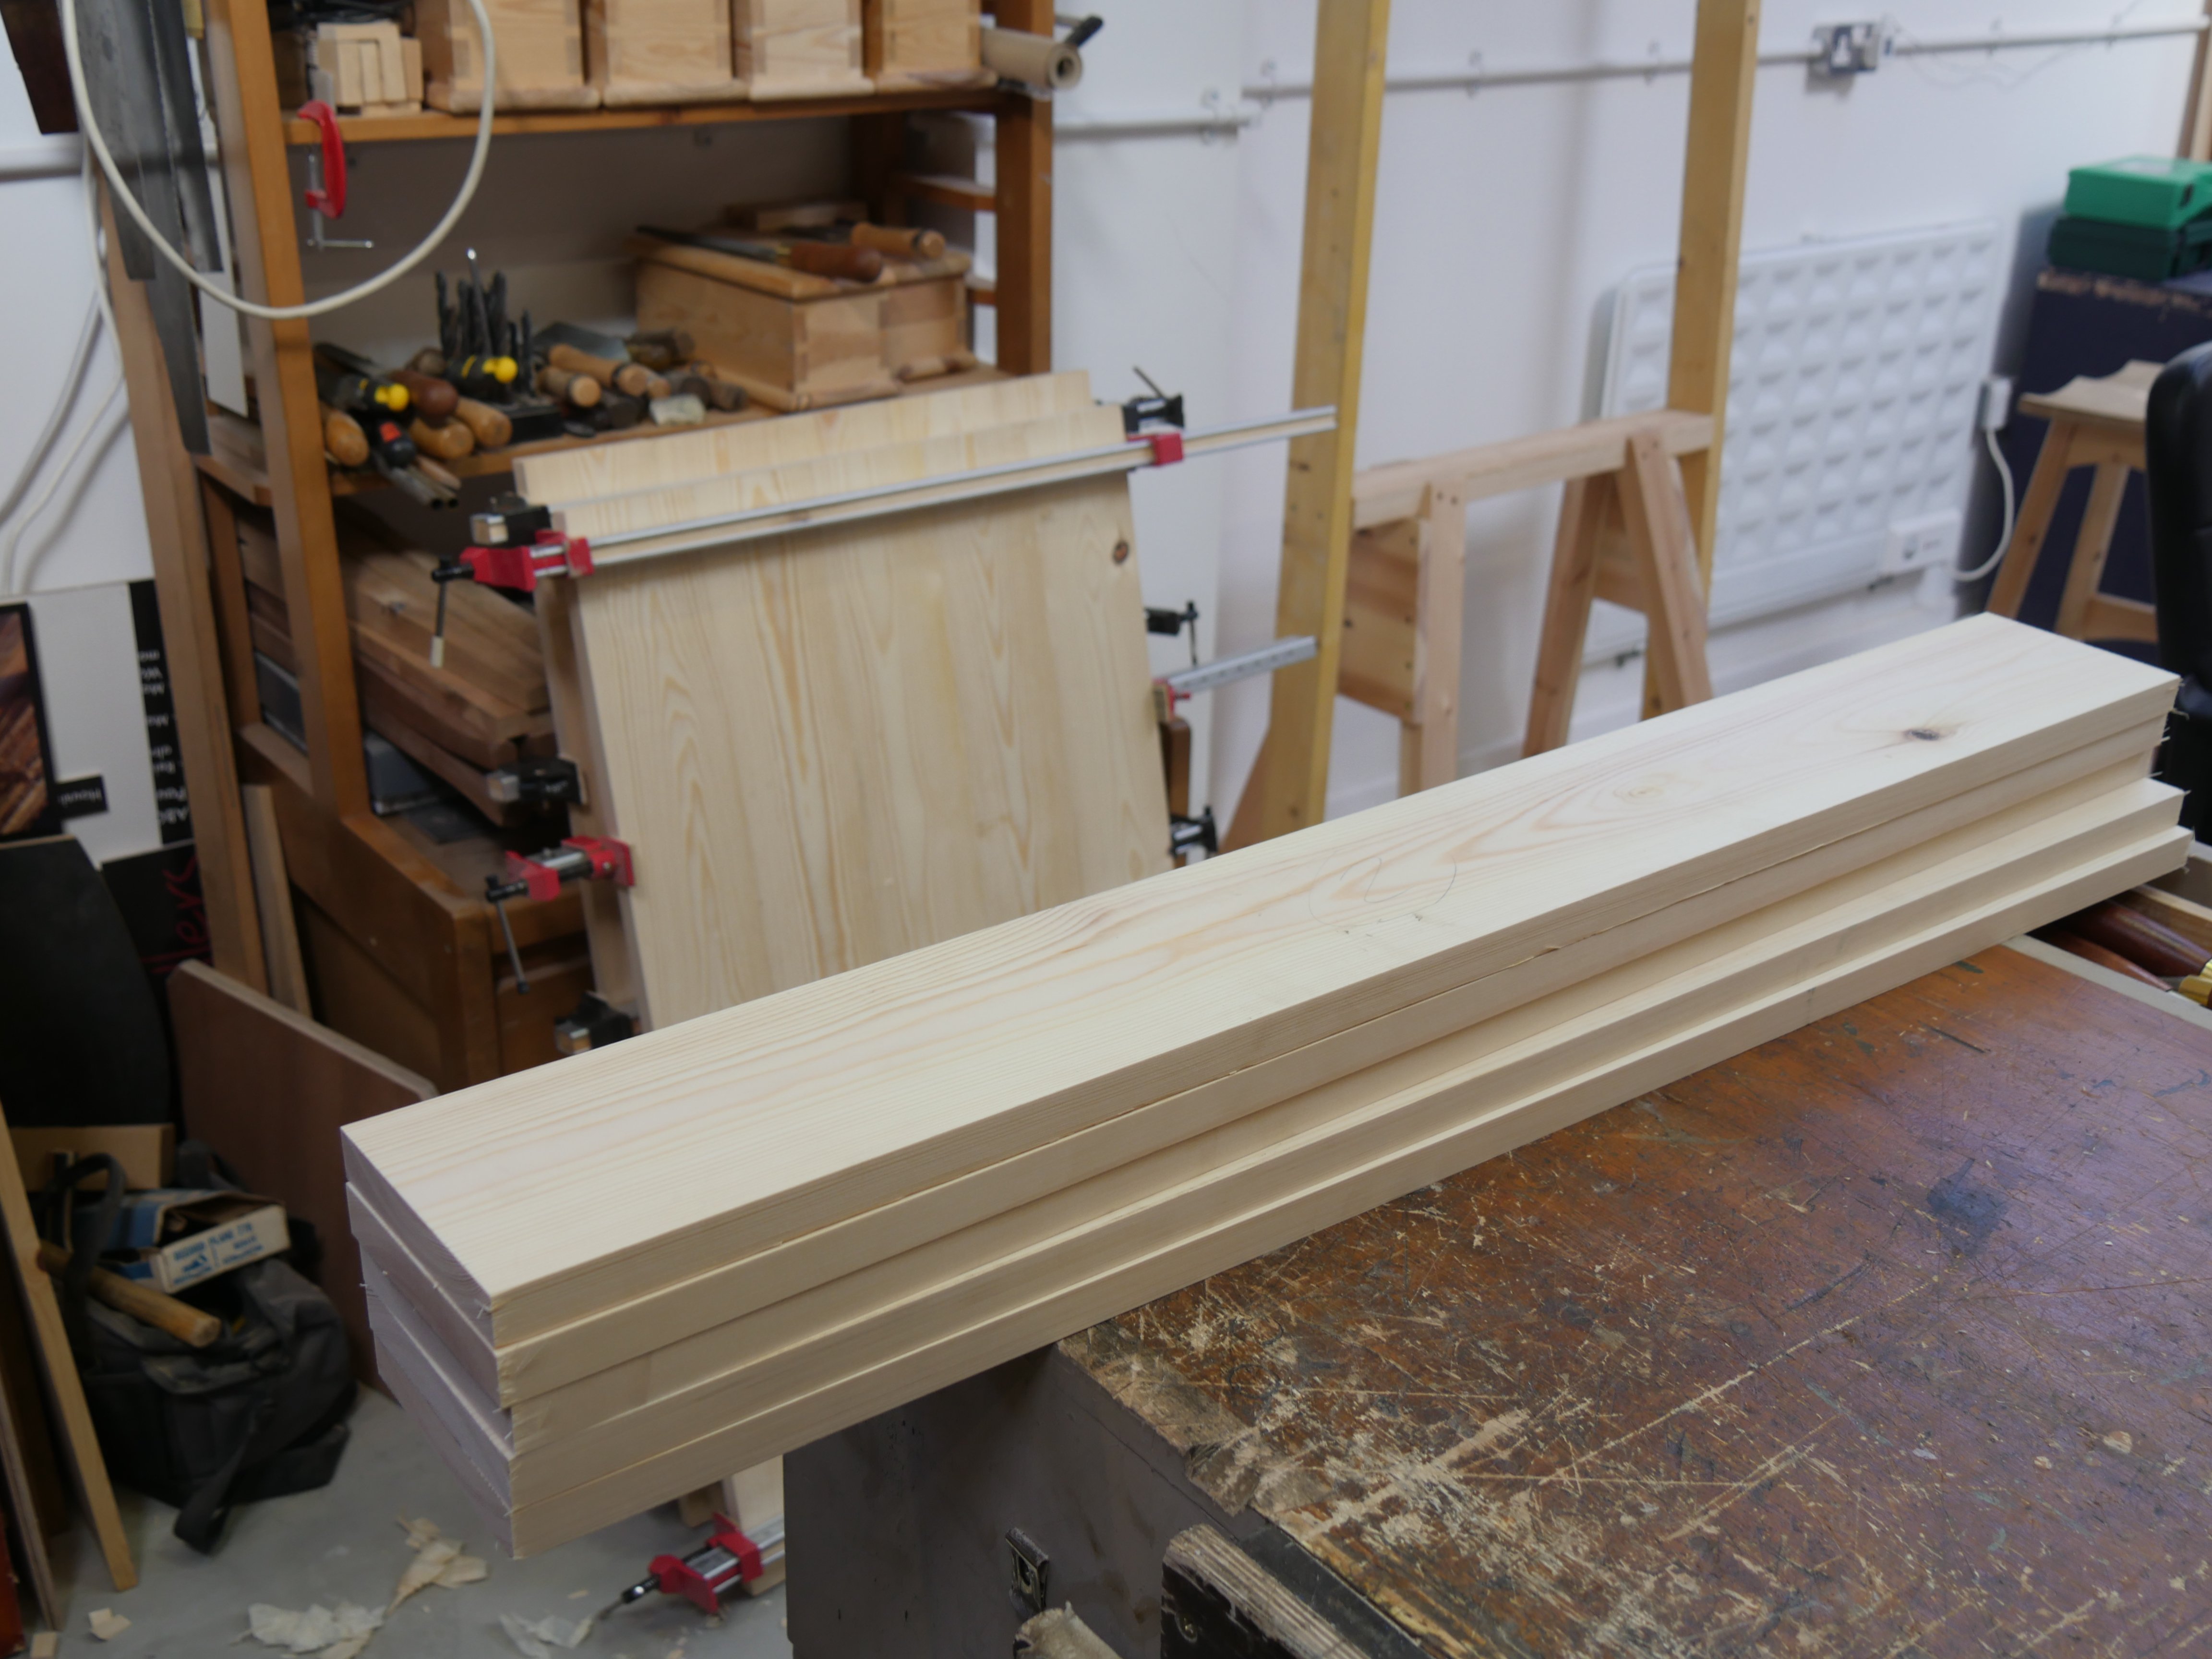
My project needs three panels sized for the sides and the top. I am using pre-machined material bought from the local builder’s yard. The wood is very nice and clear of knots. Not always possible with the available pine here in the UK.
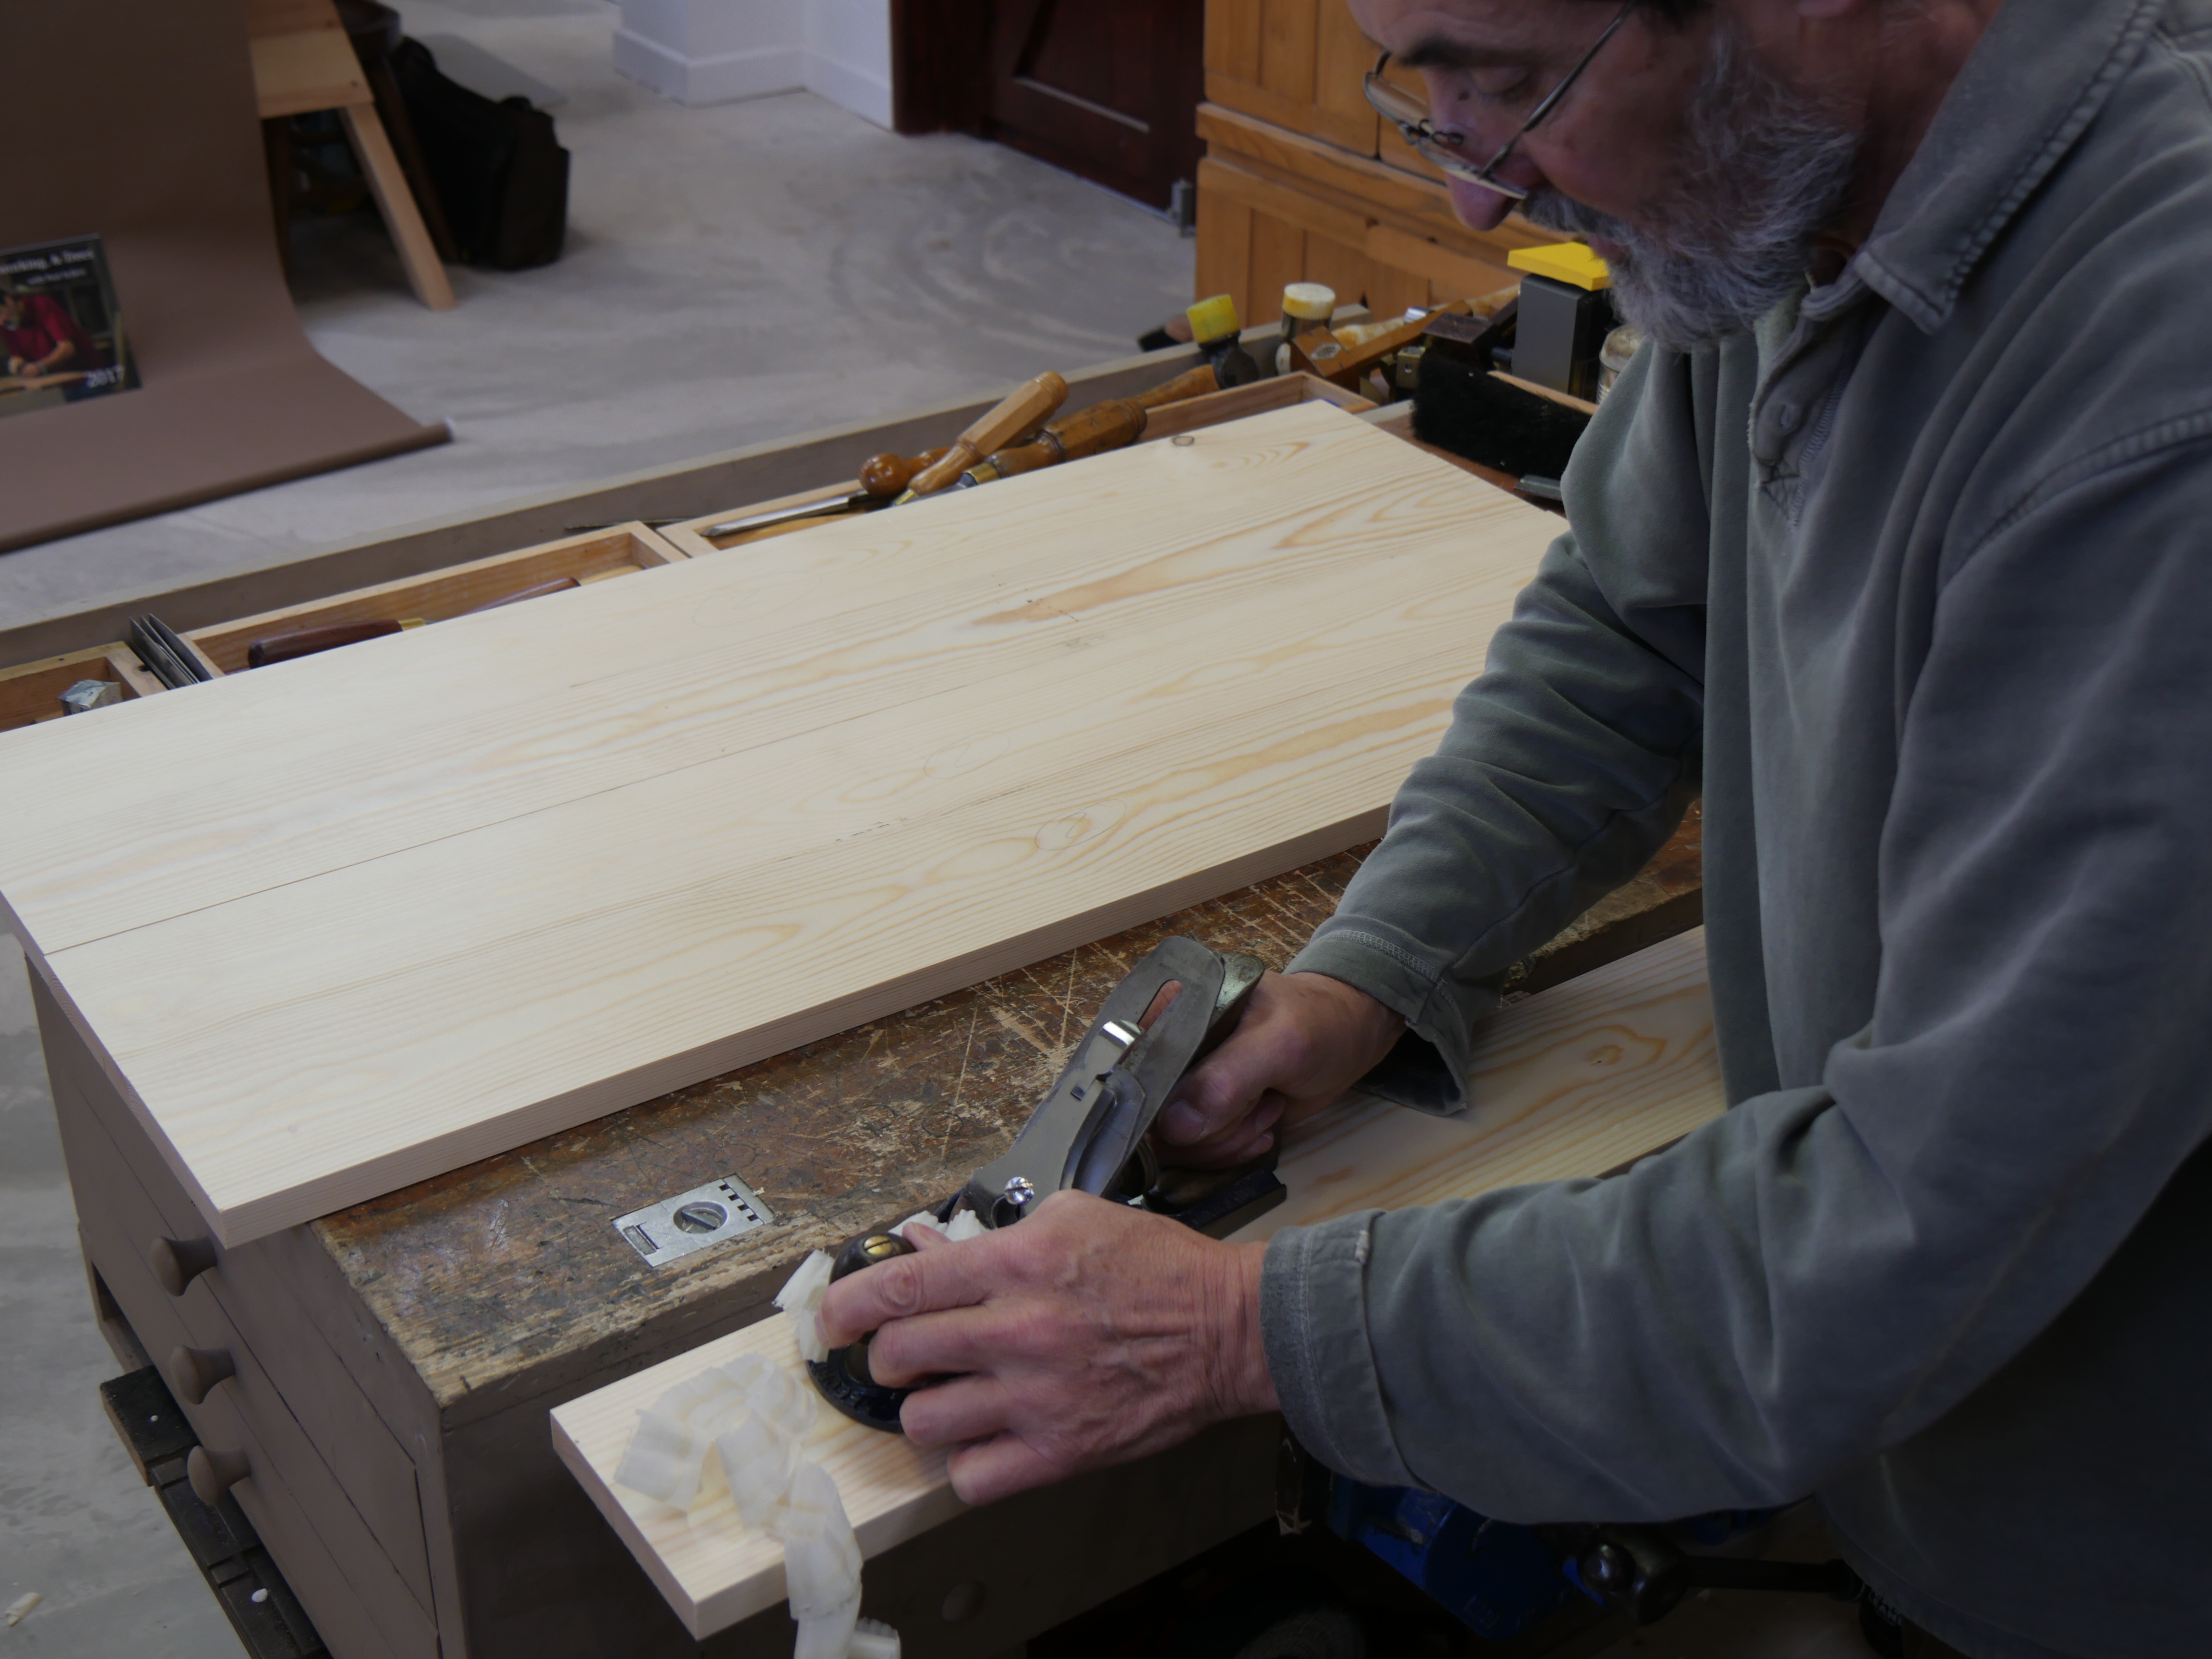
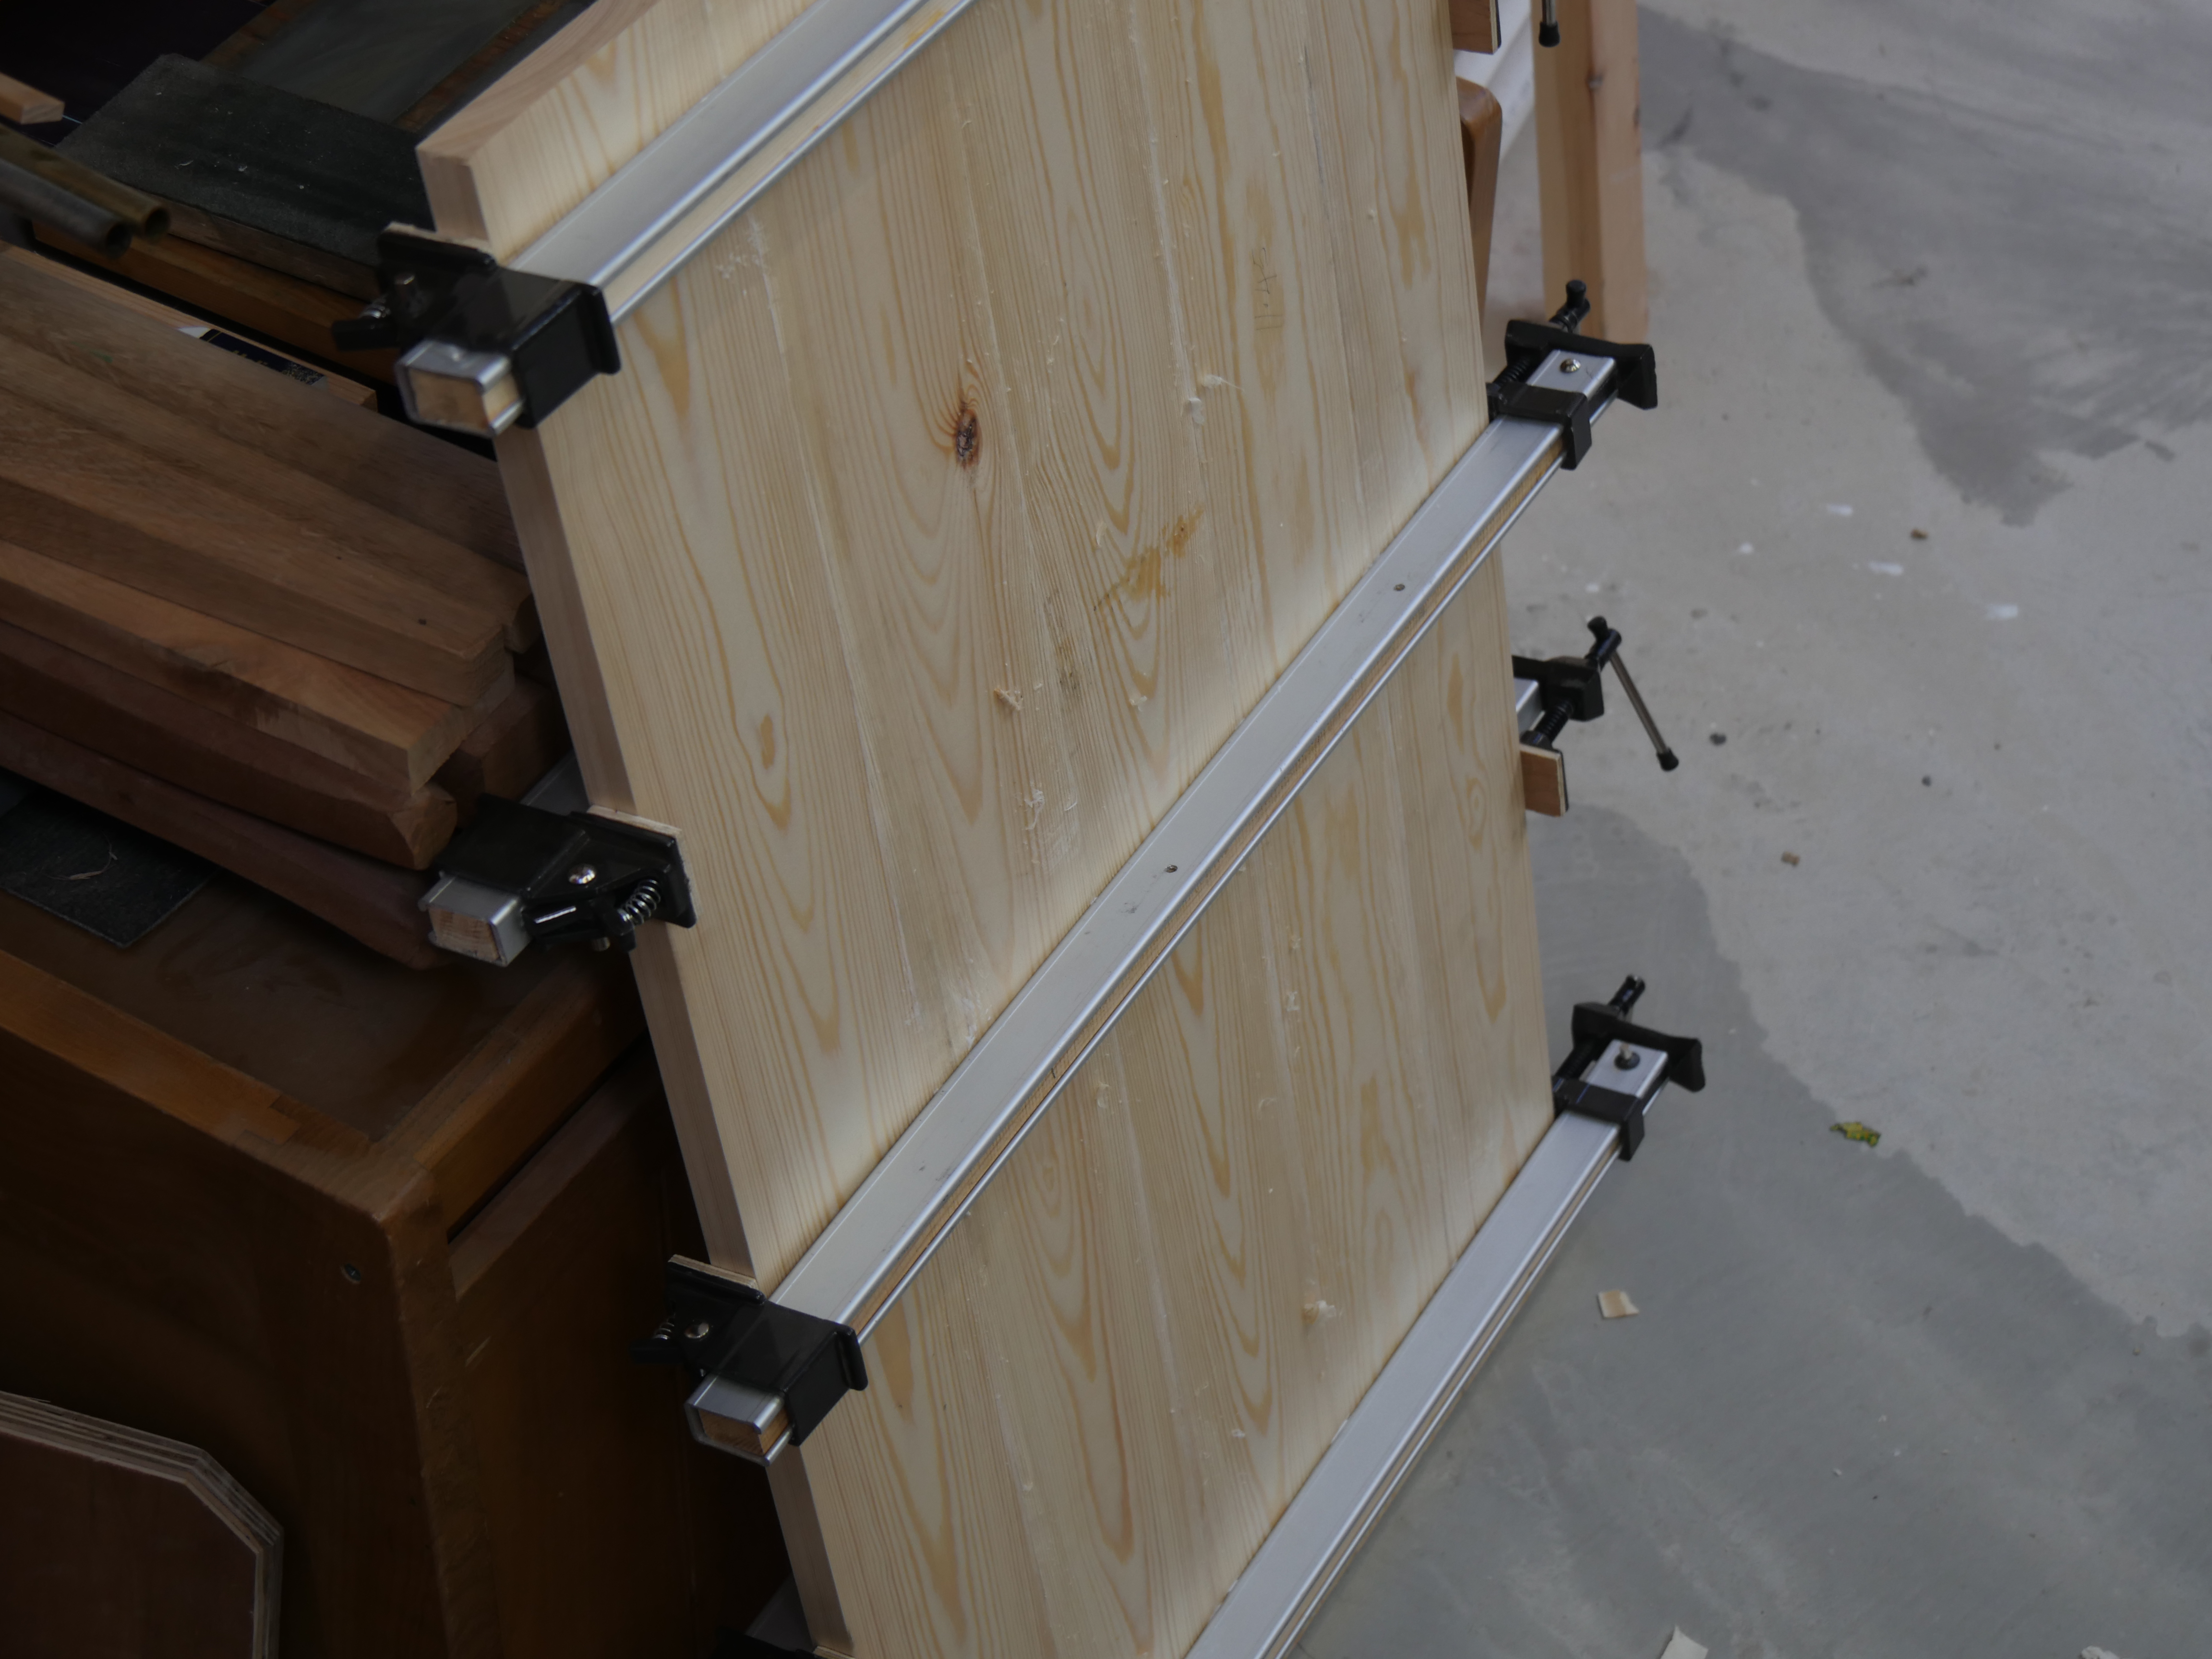
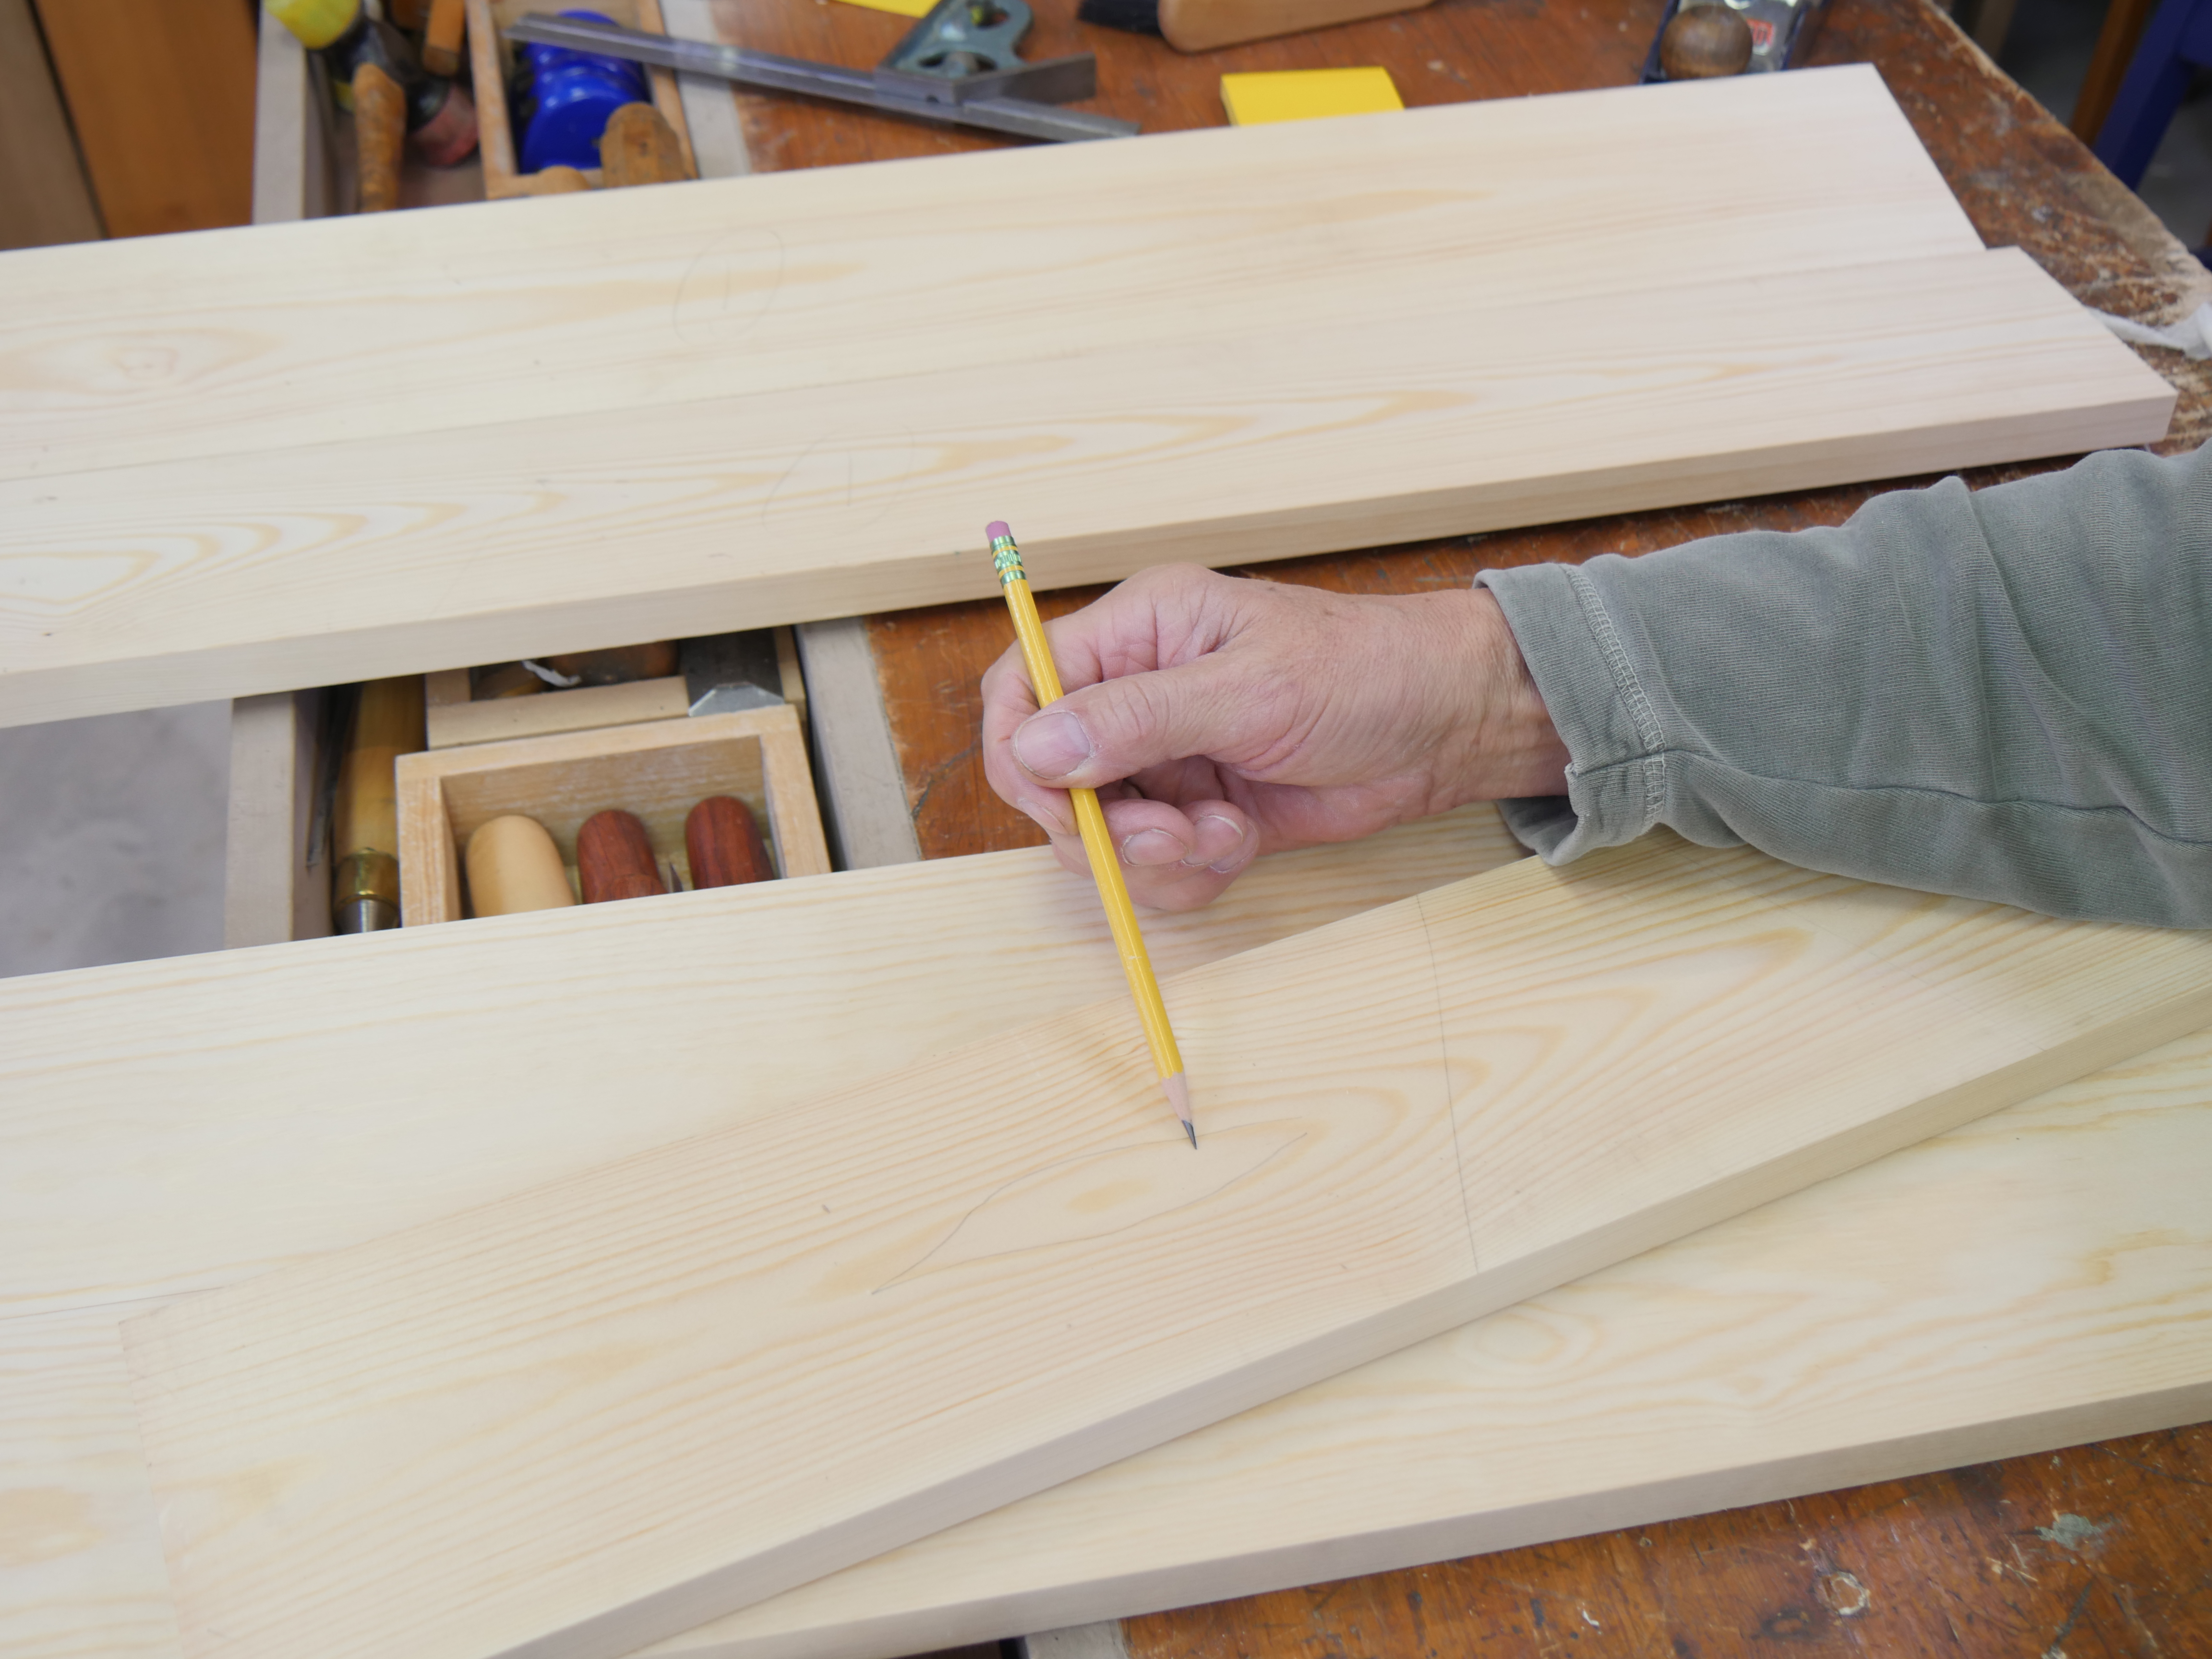
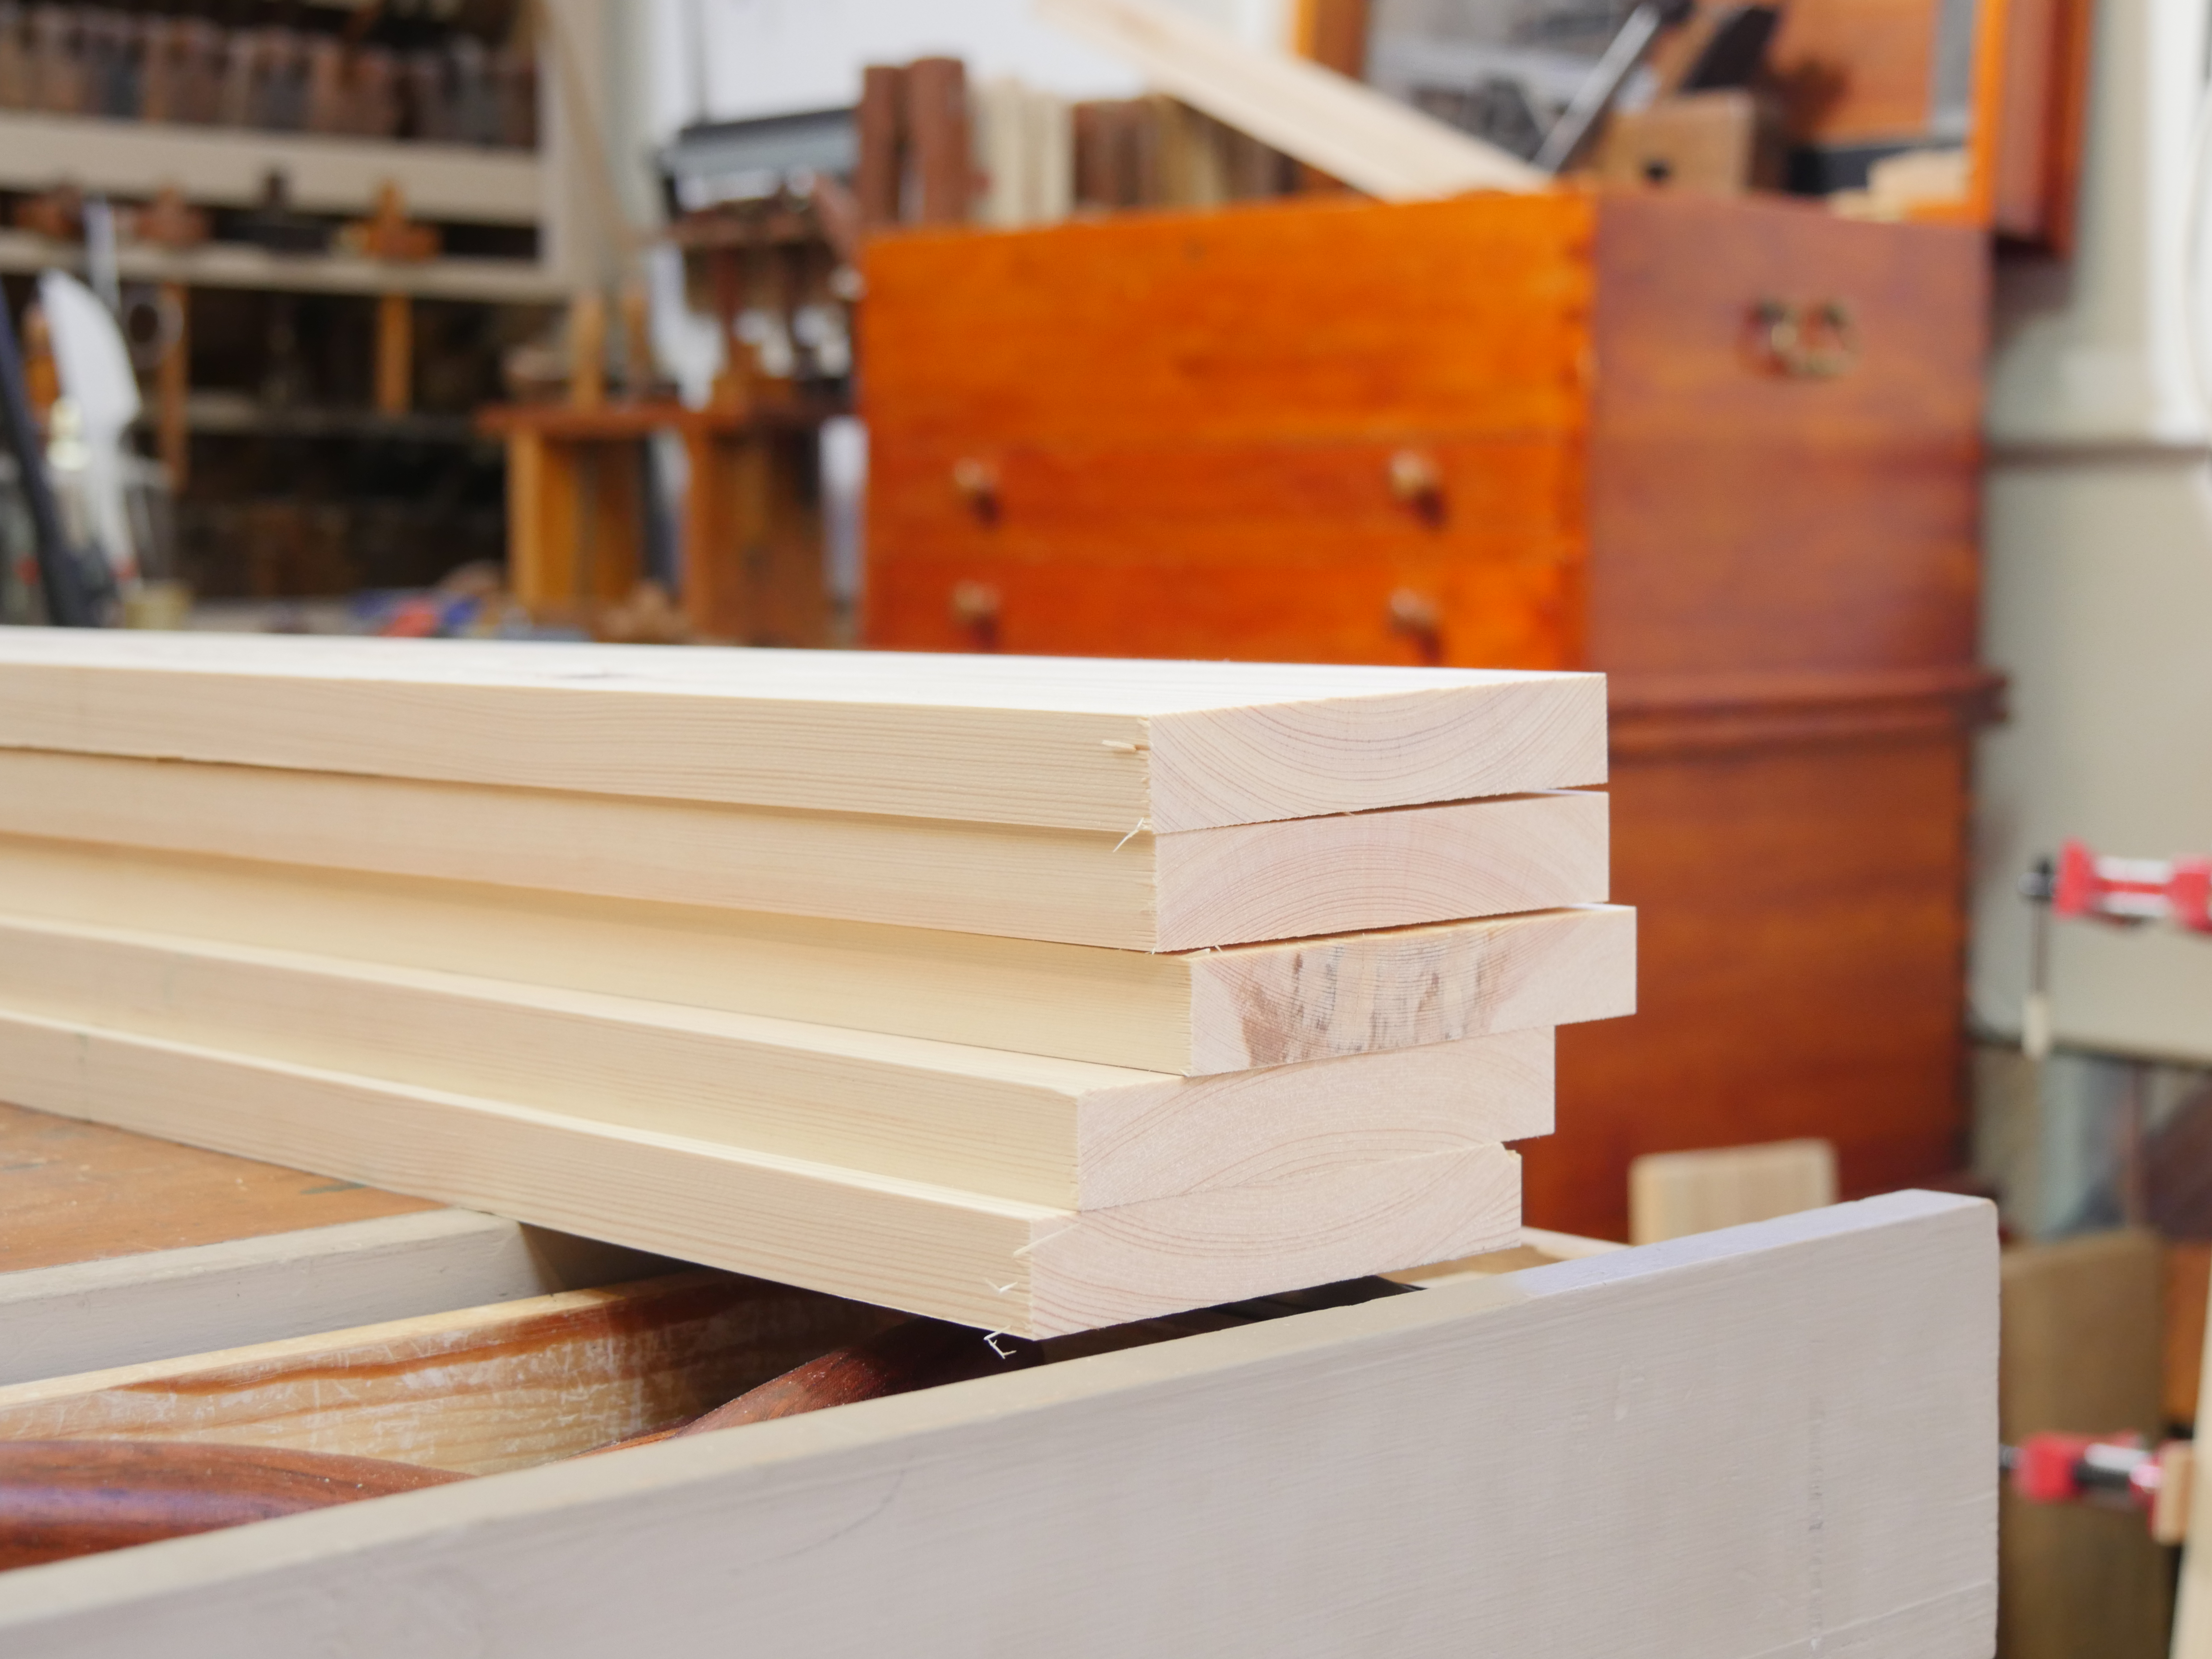
Because my wood comes from pre-machined I can simply start out by surface planing the faces I have chosen as the external or visible surfaces. In this case it is a single shaving a plane’s width across the width of the boards. I start planing at about 10-12” from the out-cut end, the end my plane exits towards and from at at the conclusion of the strokes. I work back in increments of 10-12” but just barely overlapping the previous stage of planing. I lift the heel of the plane as I exit the cuts. That way the planed surfaces are seamlessly smooth and level. When I come to sanding the surfaces after glue-up a few shallow-depth shavings will level and unevenness caused in the glue up and also remove any film of glue. Sanding then generally needs no more than hand sanding at 240-grit. I am edge-joining and jointing my top and side panels first, gluing them up, and then I will work on the drawer divider frames. In pine it took me 30 minutes per set of five pieces per panel to surface plane and edge joint each five-part panel. Pine is an easy wood to do this with and of course don’t forget that the Shakers were famed for using eastern white pine for making many of their pieces and of course they have survived in use for one to two and more centuries. Redwood is a tougher and more dense-grained pine that’s 30-50% harder too. It’s ideal for this project.
So, the end of my day came with the panels glued up ready for tomorrow’s joinery to begin. I will progress the frames for dividing the drawers next and leave the panels in the clamps until I am ready for the carcass to be joined. As the frames are very much a part of the overall carcass I want these to go together at the same time and there is much joinery to do. Once the joints are done and the carcass glued up the material is much less likely to move because of the constraining of the joinery. Here is where I am heading. Next I will begin the drawers. The joinery on these, though dovetails, is very unusual and I highly respect the Shakers for leaving the legacy of what they contributed in the way of longevity using this method.
Comments ()