On Vises Part I
Bench vises
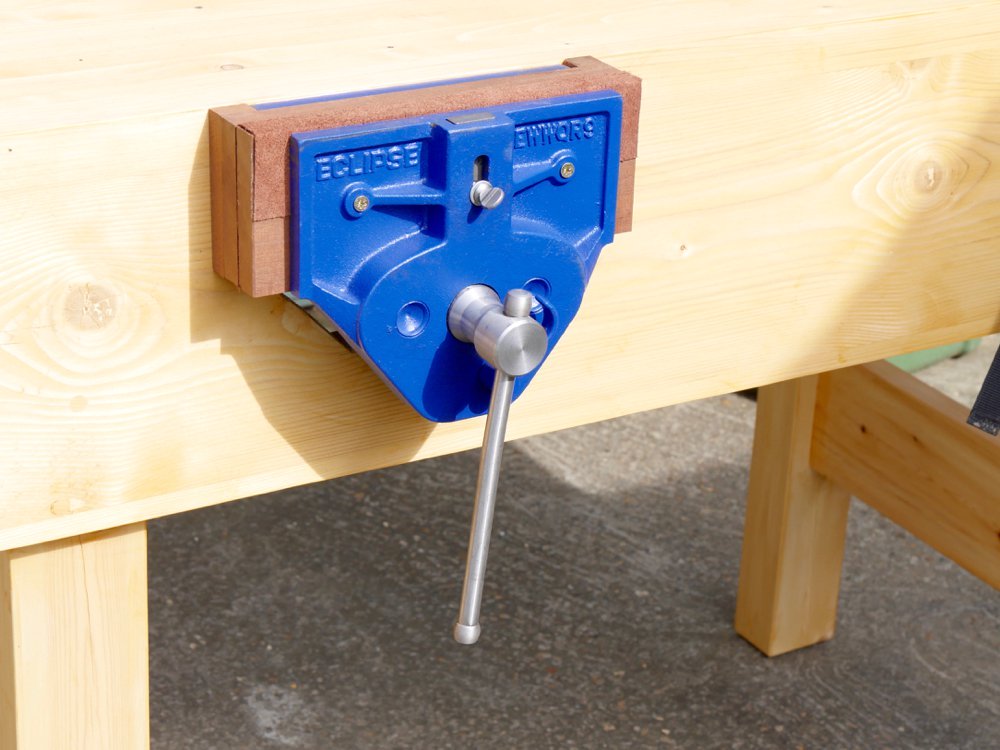
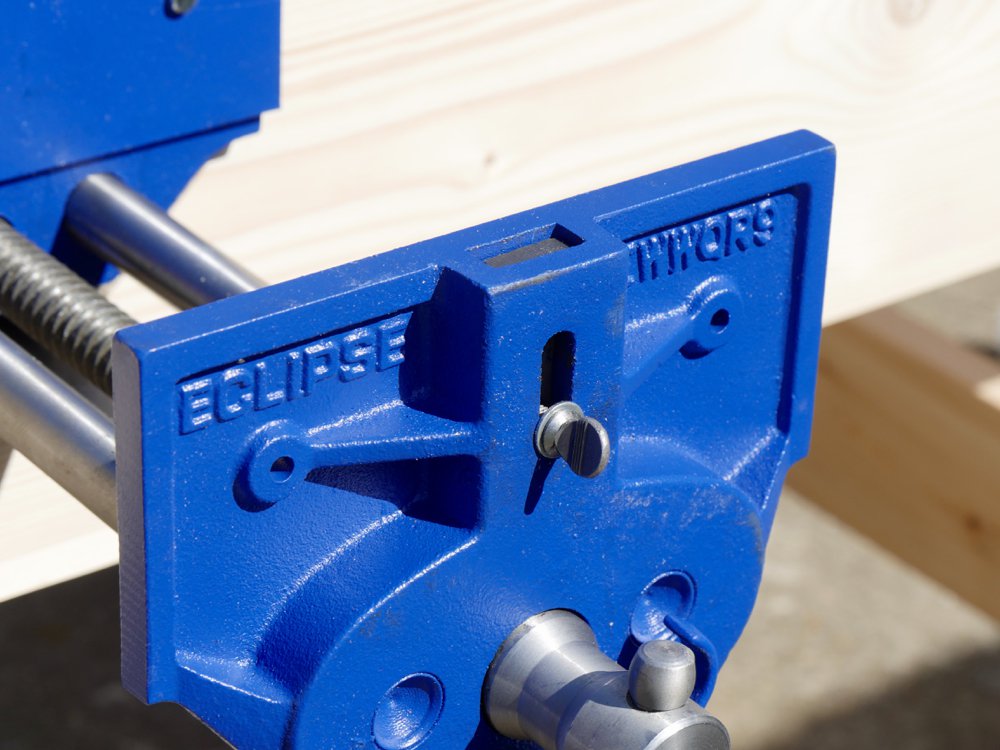
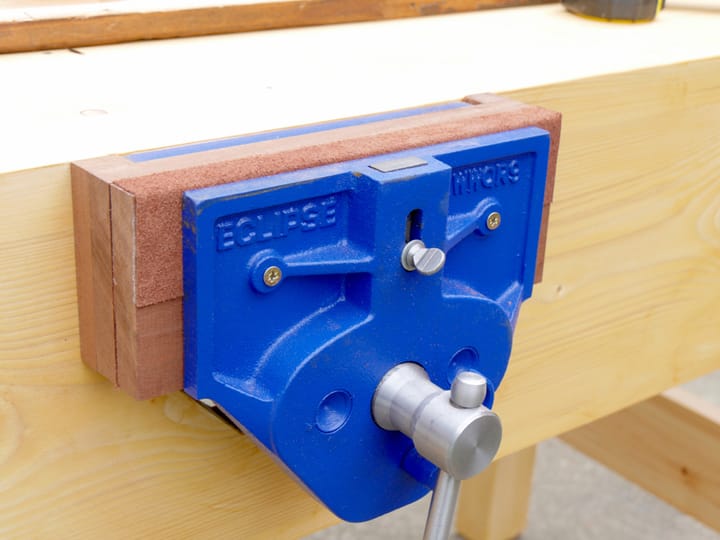
I’ve installed more vises through the years than I care to even think of counting, well over 200 I suspect. Add to that those I have coached in the fitting of them and it would triple that number because I used to teach a workbench making course to 16 students at a time, which included installing and fitting vises. Spanning five decades of periodic workbench making you inevitably discover different aspects and nuances that improve the workbench in terms of functionality and quality. Those who follow my blog will note that I have tried different things and recently I installed a couple of vises in two new bench builds made from reclaimed materials. A vise I recently settled on as a decent workbench vise is the Eclipse 9” bench vise made by or for Spear and Jackson UK. I bought mine via the Amazon jungle and had it delivered to my home here in the UK. I also checked around in the USA and with Highland Woodworking because they have sold these vises for a number of years and have rated them as worthy of stocking. This is one in the range of vises they stock and so they are available there in the USA from them.
Quick Release Means Quicker Holding Power too
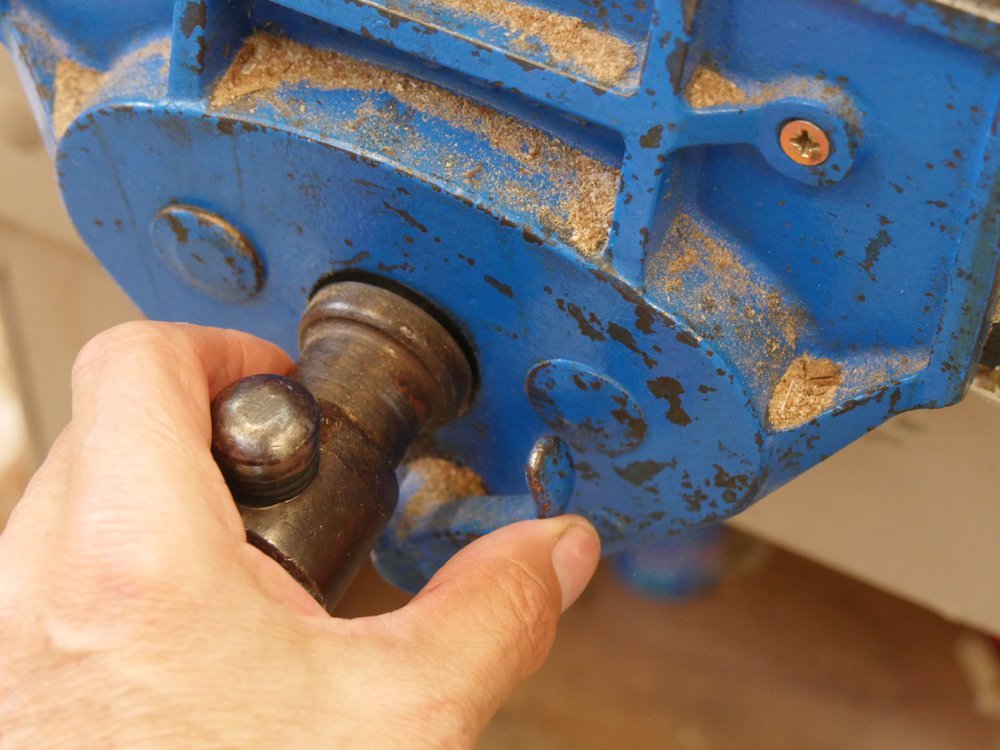
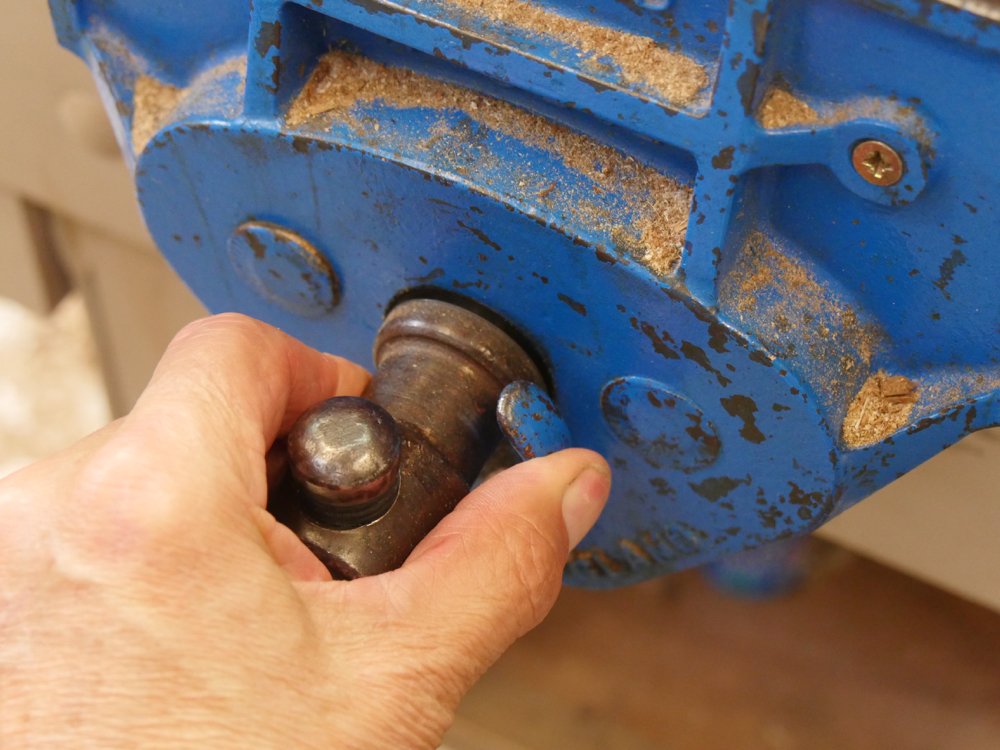
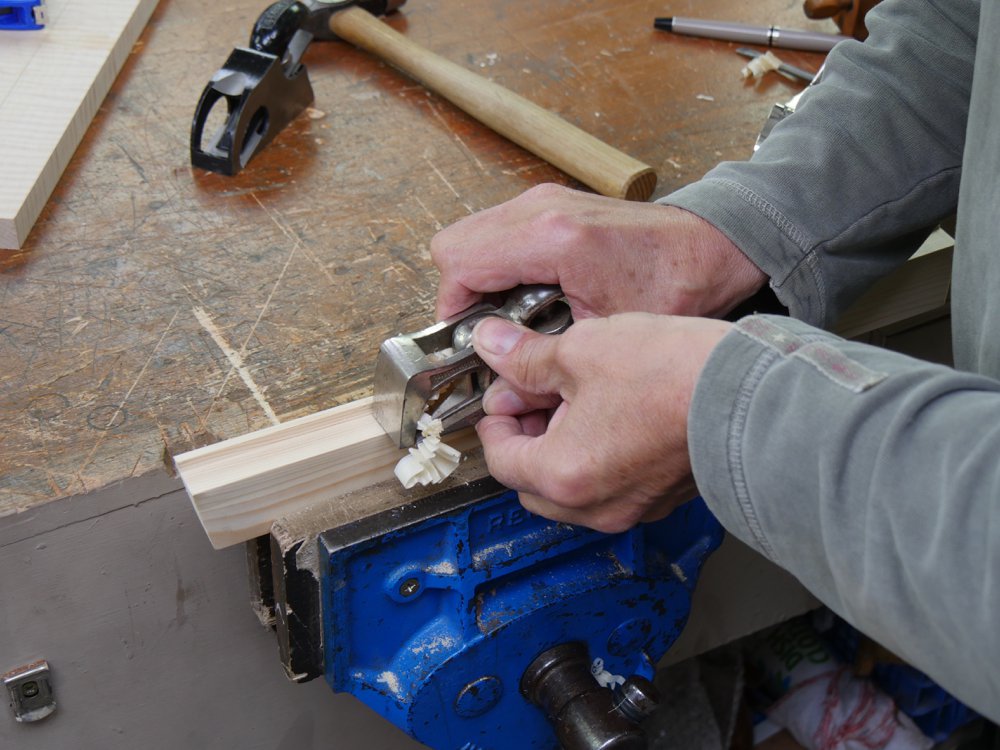
I am not sure why they called these vises quick release (QR) because the lever does not release the vise jaw from its grip but the handle itself. The QR lever facilitates a slide of the jaw without winding so it's not technically quick release so much as quick slide. Regardless, in or out, the jaw moves equally well against or away from the wood being held and is extremely fast when it comes to anchoring the work or releasing it. With a single clutch of the spring-loaded QR mechanism the jaws move readily. I suppose in many ways I am indeed stuck on the QR versions with the lever adjacent to the vise handle because I find it the most practical and the longest lasting of any vise type I've encountered.j Remember that I am used to vises lasting problem free for around 100 years, even though I may well have only been one of many users throughout the life period of an old vise. With a quick pinch twixt thumb and forefinger the outer jaw is freed to move in or out and thus releases or latches onto the wood being worked. Final securement is usually a part turn clockwise or counterclockwise to hold or release the work. Dead simple.
Installation
In this series of steps and pictures I have used hand tools instead of say a jigsaw. Jigsaws work great too if you own a decent one like the Bosch I have had for 20 years. With a series of holes, a handsaw and a chisel it takes about 15 minutes to cut out the opening to install the vise. There are no complications or idiosyncrasies to it but there are small details that make them perform perfectly and that’s what I want to cover here.
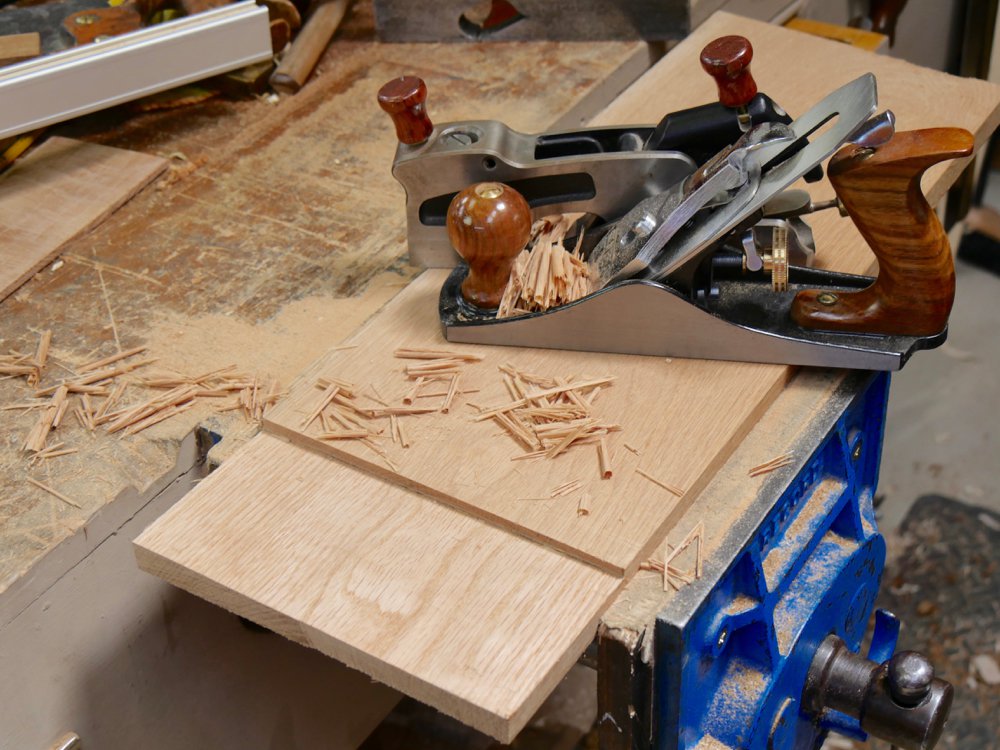
For the type of woodworking we woodworkers do we do need something totally immoveable, solid in weight and holding power and indeed efficient in the transfer and release of power. Mostly the vise is of course used for holding wood for operations like planing, sawing and creating joints. Much joint making relies on chopping and splitting, paring lightly and then using heavy thrusting cuts in power strokes and cuts too. The vise must be bolted to the benchtop via heavy cast lugs designed to withstand this type of continuous work. Anything less leads to uncertainty and diffidence that always denies the kind if confidence we rely on to work effectively. The vise must measure up to the workbench. This partnership is always unquestionable and should never be unequal. That’s why when I look at vises I look for weight, strength, quality of casting and mechanics and sizing. Generally a 9” vise is large enough for everything I might do I a day. If I need anything larger I rely on clamps and the benchtop. That takes care of all of my needs.
This vise is described as a 9” vise, but they go smaller and larger. Smaller ones can work well for children but for most adults the 9” will best take care of their needs. The larger version, the 10”, is also a good choice and what holds a lot holds a little. You might consider whether you have the upper body strength to handle the larger vise. Most men and women will have a weight to strength ratio capable of working the 9”. Going to the 10” may take more shoulder, upper arm and indeed finger-squeezing strength, but how you measure this is a matter of trying the vise somewhere. Not always possible and most companies will shy away from returns because of shipping costs. A 9” vise has always been large enough for me. Perhaps this is a good guide?
Making the opening
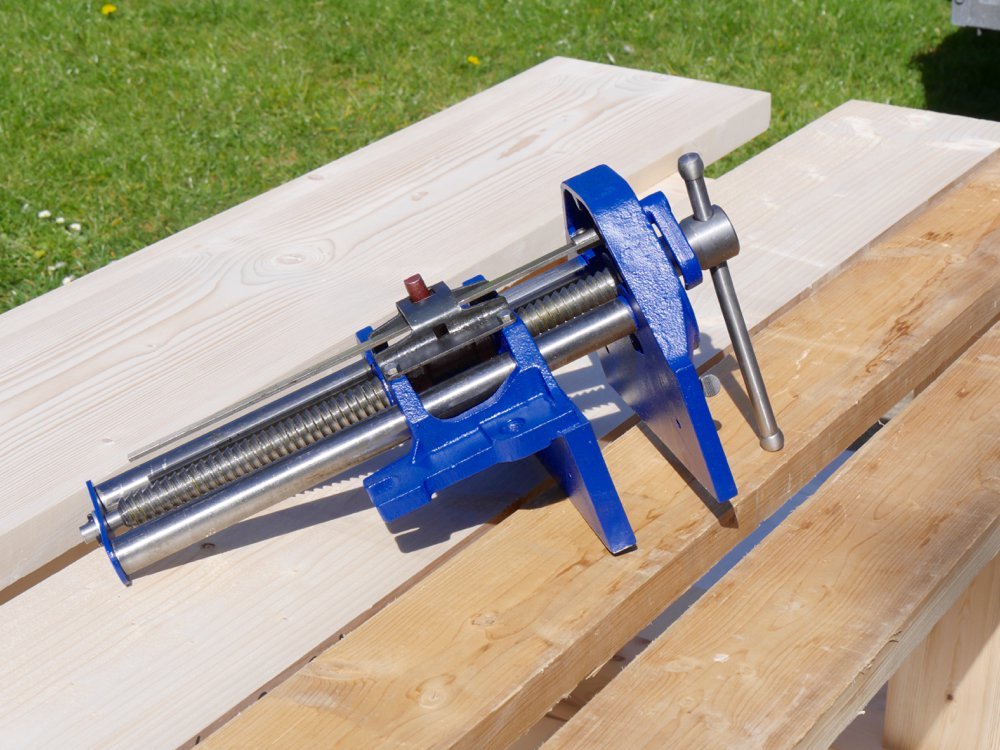
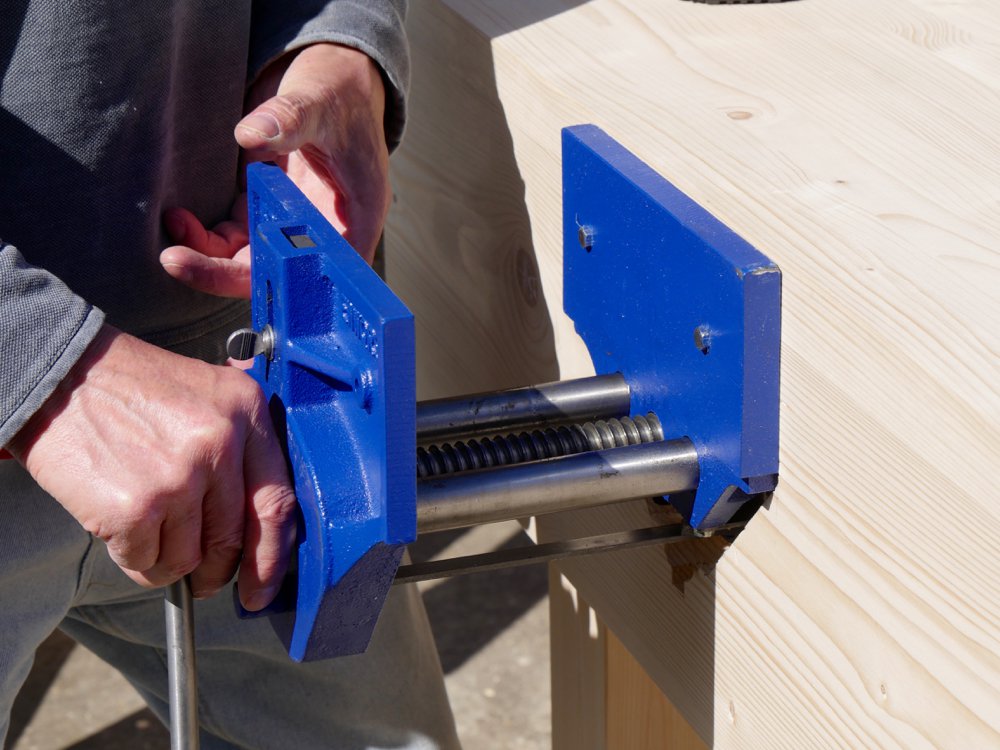
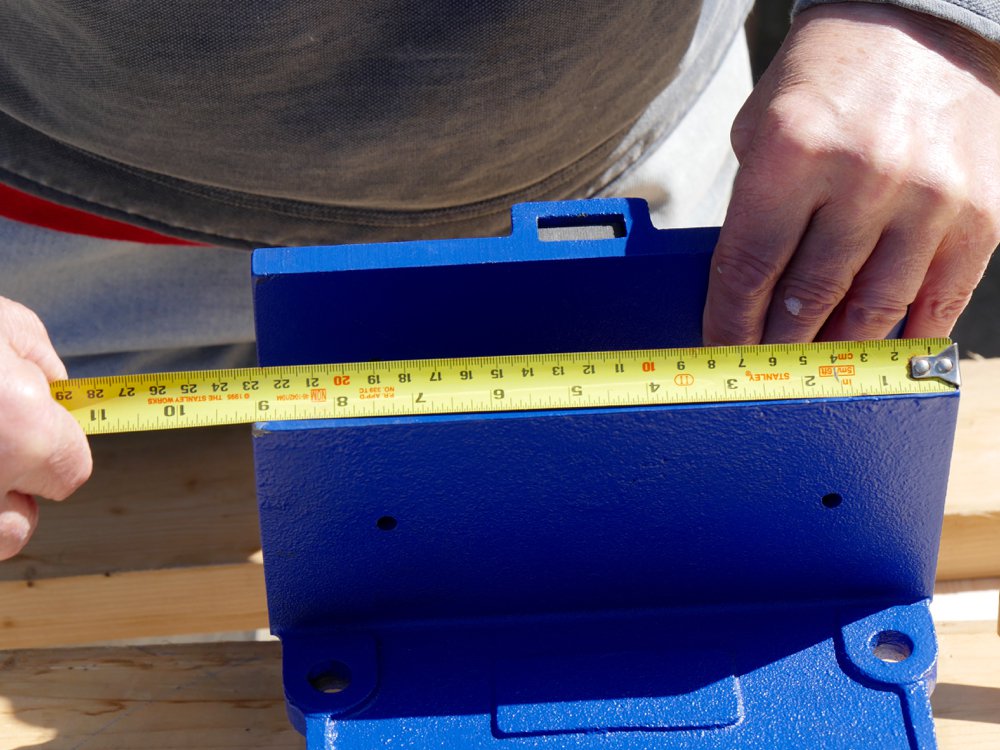
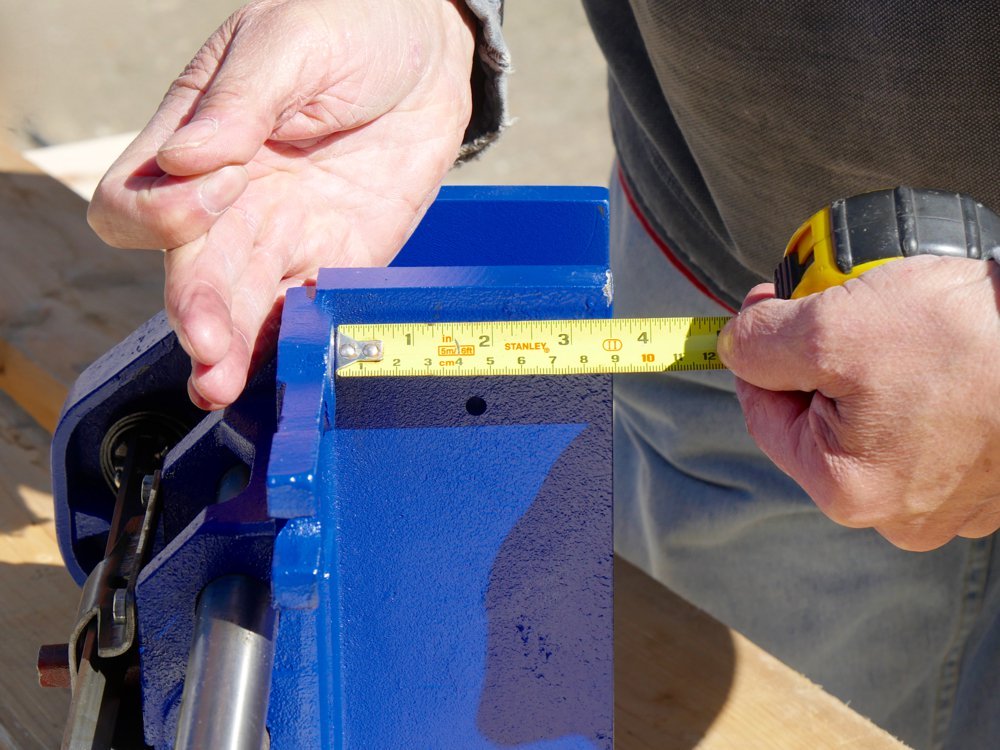
Because the vise is made from cast iron and steel, with no lightweight metals used, the vise is indeed heavy. Because it is large, awkwardly shaped and uninstalled things twist awkwardly during handling and this makes it clumsy to handle as it twists in the hand unexpectedly until it’s fully fitted and anchored to the workbench. A few simple guidelines simplifies installation and the first rule for me is to not over engineer the installation tolerances. The reality is that gappy is good, so don't make the opening dead to size. I have found that a good margin is around 1cm to the underside and side angles whereas the width of 9” (it varies a little between castings) for the ‘L’ of the rear, fixed-to-the-bench vise jaw can be close to dead sizing. I say leave a margin because most often there can be a lot of in-and-out action during the installation process and having it tight offers no real benefit; once fitted the marginal gap is scarcely seen and almost always unnoticed anyway. Tightness of fit has little ever to do with solidity when it comes to vises either as it will be the bolts and the seating of the vise that provide for this.
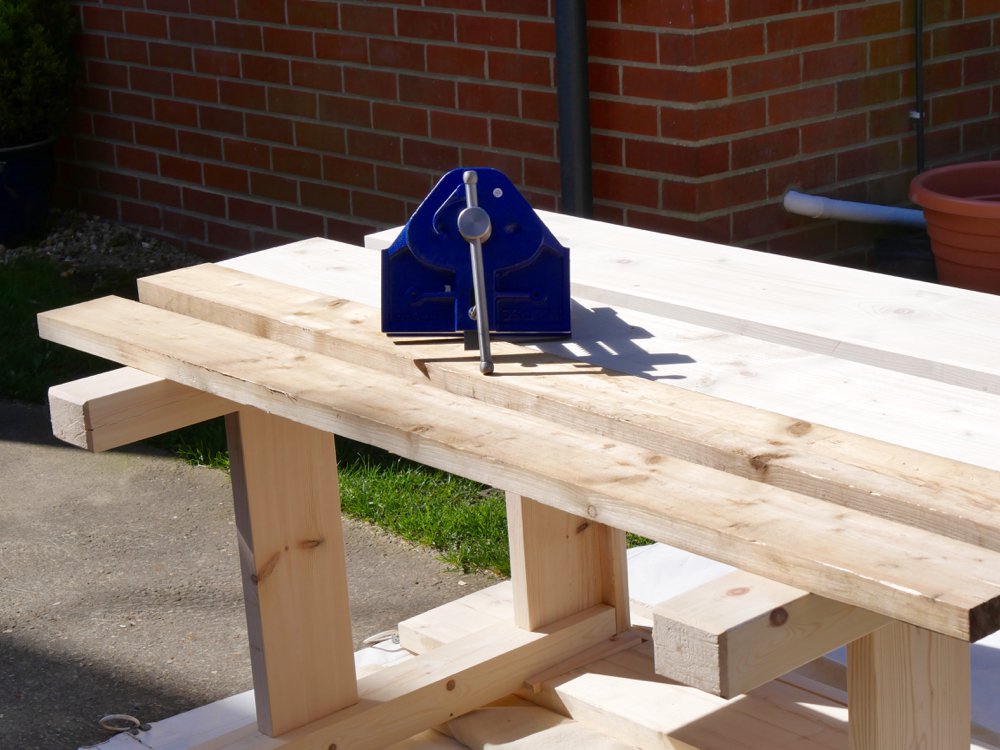
Many people seem disposed to recess the face of the rear vise jaw flush with the corner of the bench and then add a 1 x 4 the full length of the workbench to have a flush-to-the-corner straightedge along the length of the workbench. For some unknown reason of substance it’s “so they can clamp work flush to the bench for maximising support.” Whereas I don’t deny some may find good reason for this, I have yet to find a reason of real value, even for edge jointing work, so perhaps for me it is more the rarity than the norm because we generally edge joint much of our work in short lengths relying only on the vise and not longer than say three or so feet long. If we do need to we simply add a packer and clamp away without hindrance. Much better to have the vise jaw lining the width of the vise plus say an inch each end and have the real benefit of being able to grip your work throughout any process you care to name be that overhanded or underhanded. Now then, that said, if you do want the long edge feature you can always screw on a planted jaw in there and keep it in place until you need the long edge and remove the jaw. Two screws will work to hold it in place.
The vises may well arrive with oil on the exposed bare steel parts and especially the parallel bars, screw thread and handle. Painted parts inevitably get their share of excess oil too, so it is a good idea to wear rubber gloves and handle the vise straight from the plastic bag with a wiping cloth. Taking it all off with the cloth will leave the exact amount of lubrication and at the same time sufficient protection.
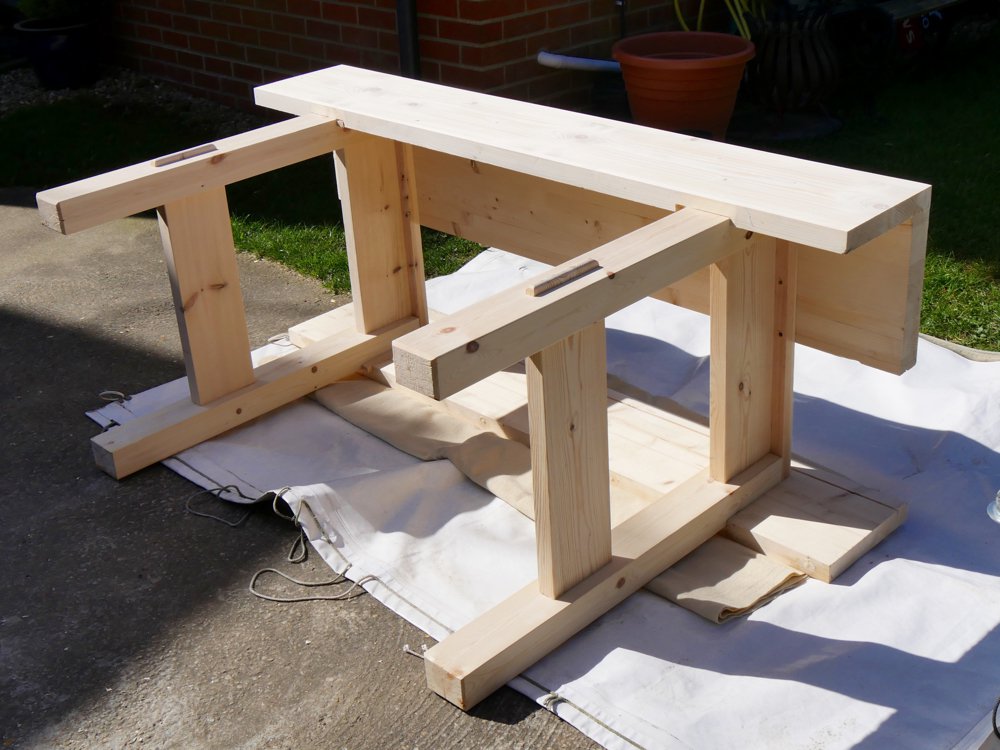
I found it best to lay the bench onto its back face for layout and cutting the recess. Working overhead to start out makes everything simple and easy to do. Some added board give me a place to roll the vise around as I layout and take measurements during the preparation.
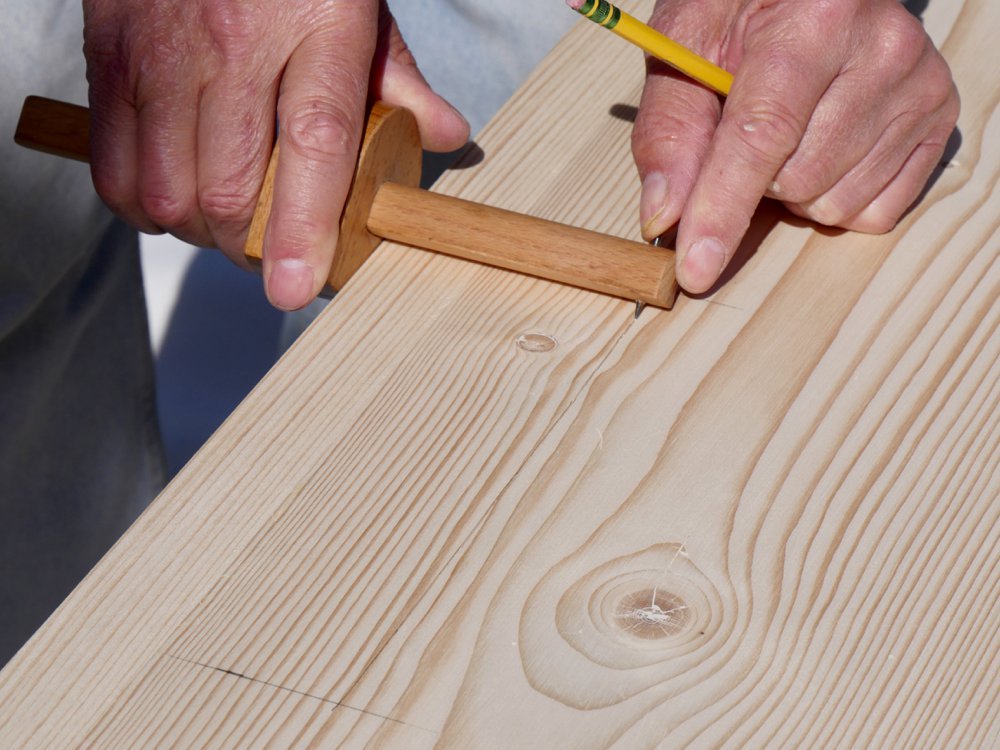
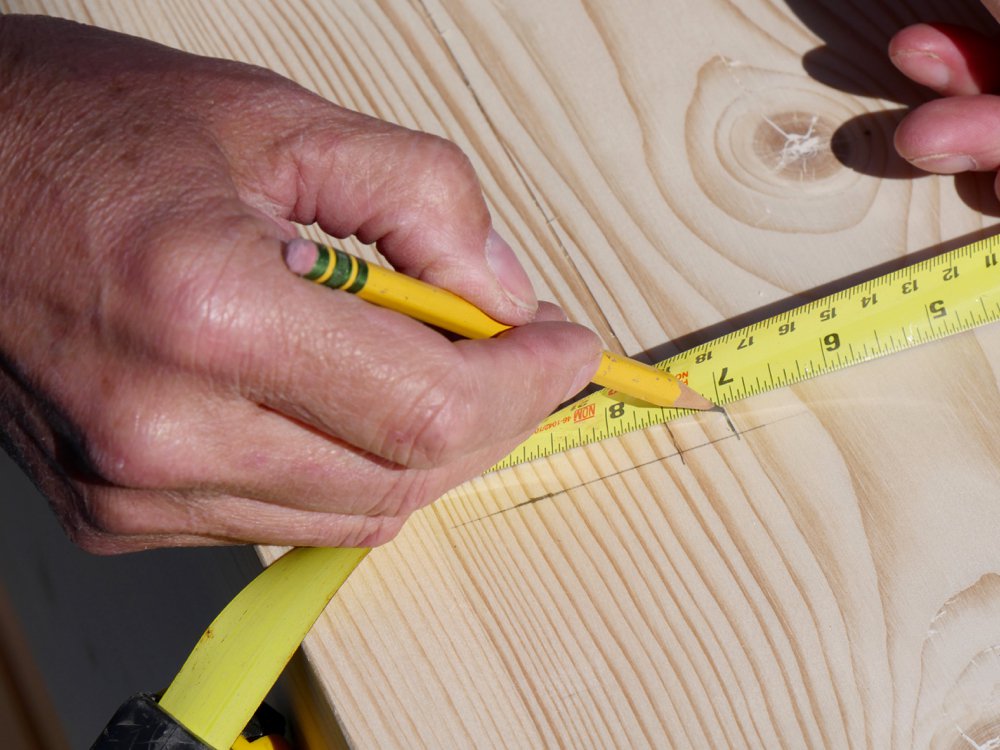
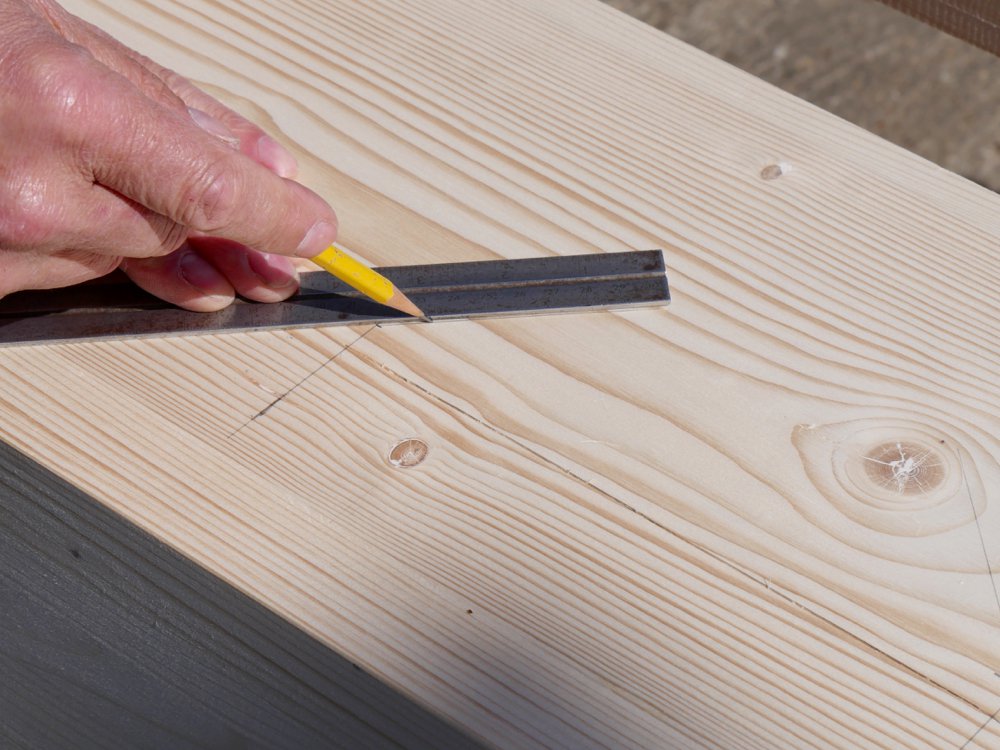
It is easy enough to cut the opening as the maximum width will be the width of the jaws plus perhaps 4mm to allow snag free installation for ease. I also add the thickness of the bottom 'L' to the depth line as a cross hair for marking a 45-degree line for the cut lines I need to the side of the vise jaw. The distance from the top of the bench corner is the depth of the jaw inside the ‘L’ plus say 3-4mm; about an 1/8” is good. Use a gauge or a combination square for marking this distance. The distance of the vise should be around an inch or two from the inside face of the leg. Putting the vise ‘outboard’ results in flex during joinery work that requires chopping. There is also a lack of solidity in my view. There is no benefit that I have seen in having the bench vise at the corner.
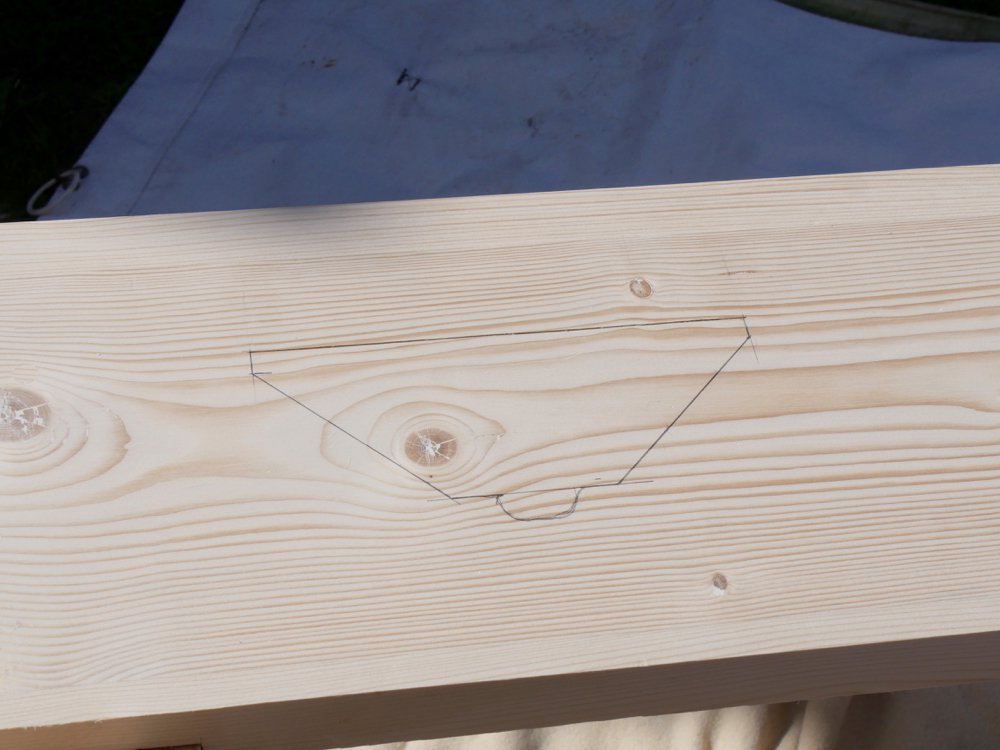
Marking out the whole position gives you a visual to work to.
More shortly.

Comments ()