Sharpening Your First Crosscut Saw-PartII
Let Sharpening Commence
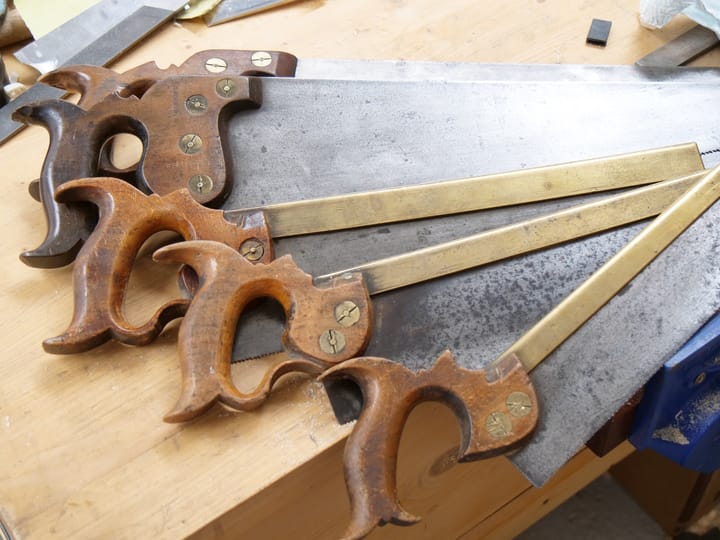
Firstly, let’s assume the saw is just dull but already established as a crosscut saw. My previous blog here shows you what to look for to differentiate between the two in both western and Asian saws. Of course we should assume that the saw is sharpenable and not one of the hard-point versions extolled by the carpenters of our age who generally know very little about hand tools any more. If we do assume that the saw is just dull we can then focus on simply sharpening and not taking care of flaws that necessitate reshaping teeth from rip to crosscut and we also know the teeth can be cut with sawmills too.
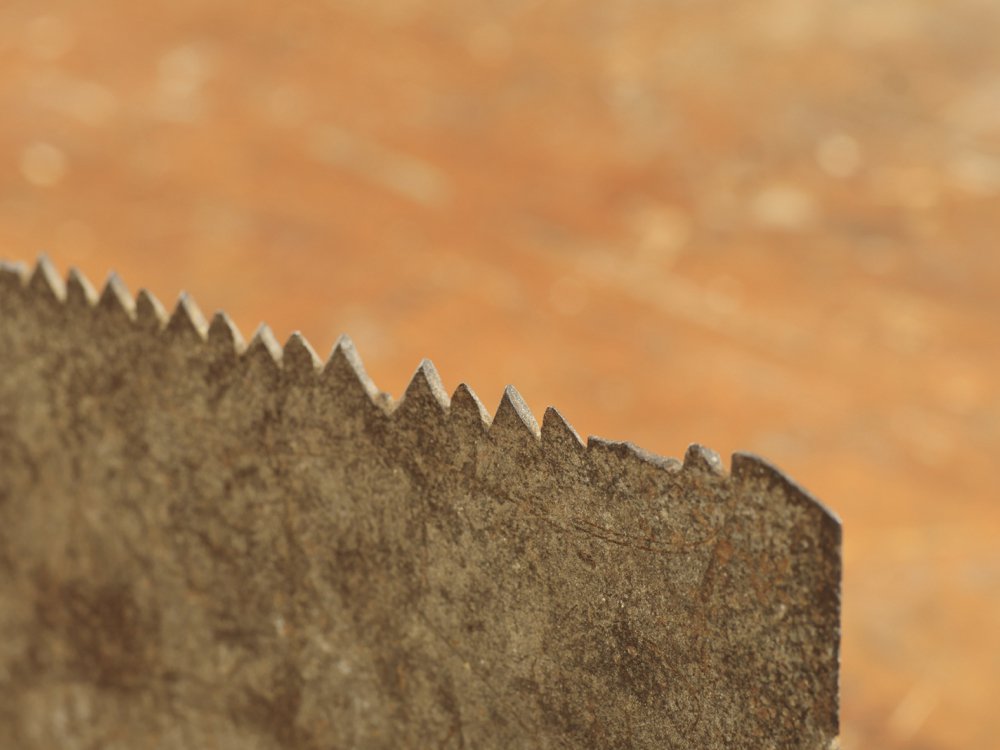
It is important to understand that unless you know what to feel for a saw can feel sharp but not cut too well at all. The S&J is not a sharp saw from the packet but it is a great saw to sharpen and then to practice on for the first go and it makes a decent saw when you are done too. Also, you should know that many (and that means about 99.98%) advertisers selling saws via eBay or elsewhere more than likely know nothing about saws and are indeed selling them because the saw they are selling lost its edge to a point (or lack of it) that it no longer cuts at all well. They will also sell most saws as crosscuts even though it is more likely to be a ripcut saw if it is not a hard point. Of course if it is sold as a crosscut in theory you can return it, but usually they will get around this by stating “the photographs form part of the description." So let’s also assume a step further that the teeth are not badly out of shape, really rounded over or very mis-sized and so on. This means the saw is ready for just sharpening with no additional complexities. I mean, like you bought a saw new a few weeks ago and now it is not Cutting's as well as it did when you bought it.
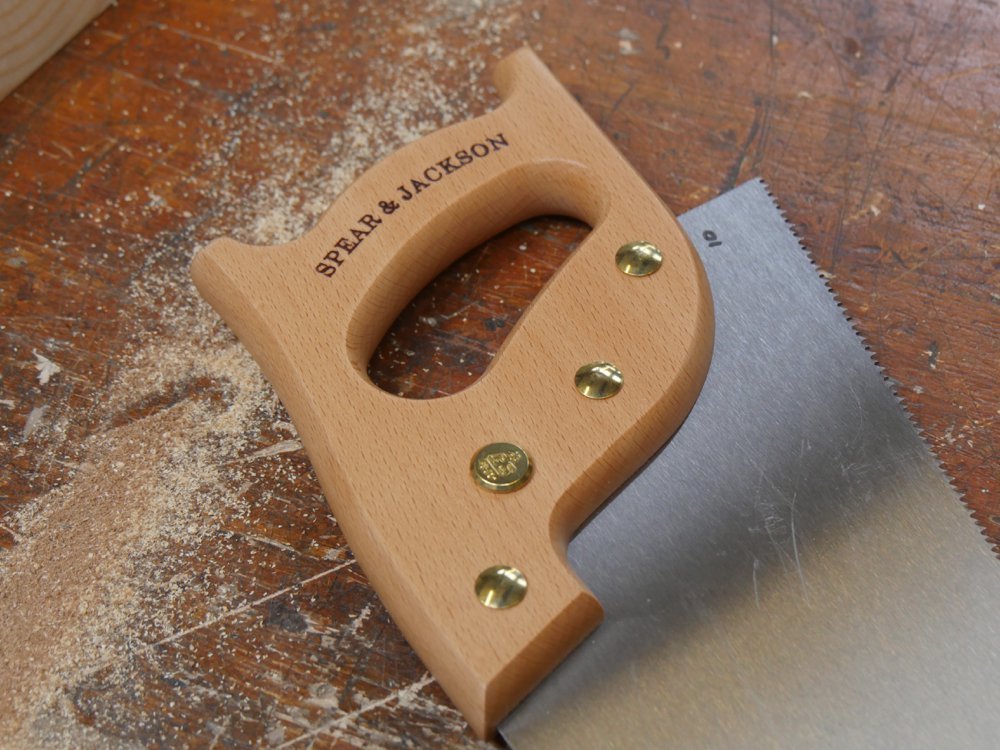
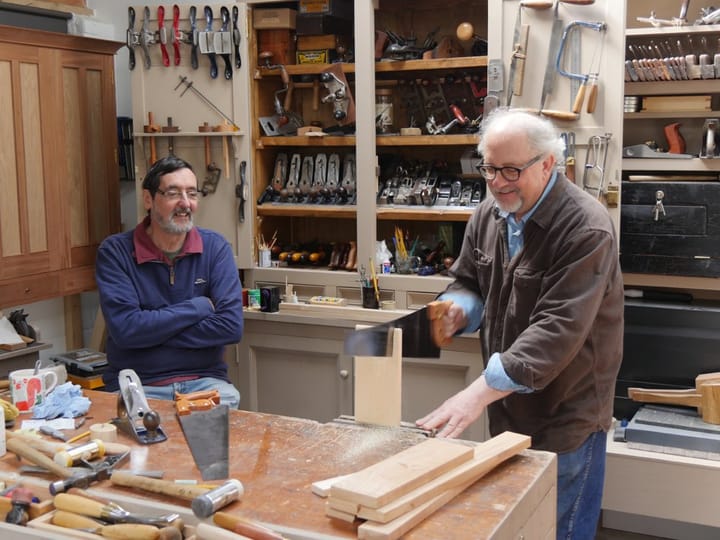
Here I bought a new saw made by Spear and Jackson, UK. That does not mean that the saw is made in the UK. It’s not––it’s made in Taiwan. The saw is exactly what I am talking about in the past blog Part I, but it is brand new. If you bought this saw and followed the instructions I will be giving here you will have a resharpenable saw that will cut as well as those made by most of the premium saw makers but for anywhere between one third to one eighth off the price. It takes me only a few minutes to sharpen one regardless of whether I keep the crosscut profile teeth or change the teeth to a rip profile.
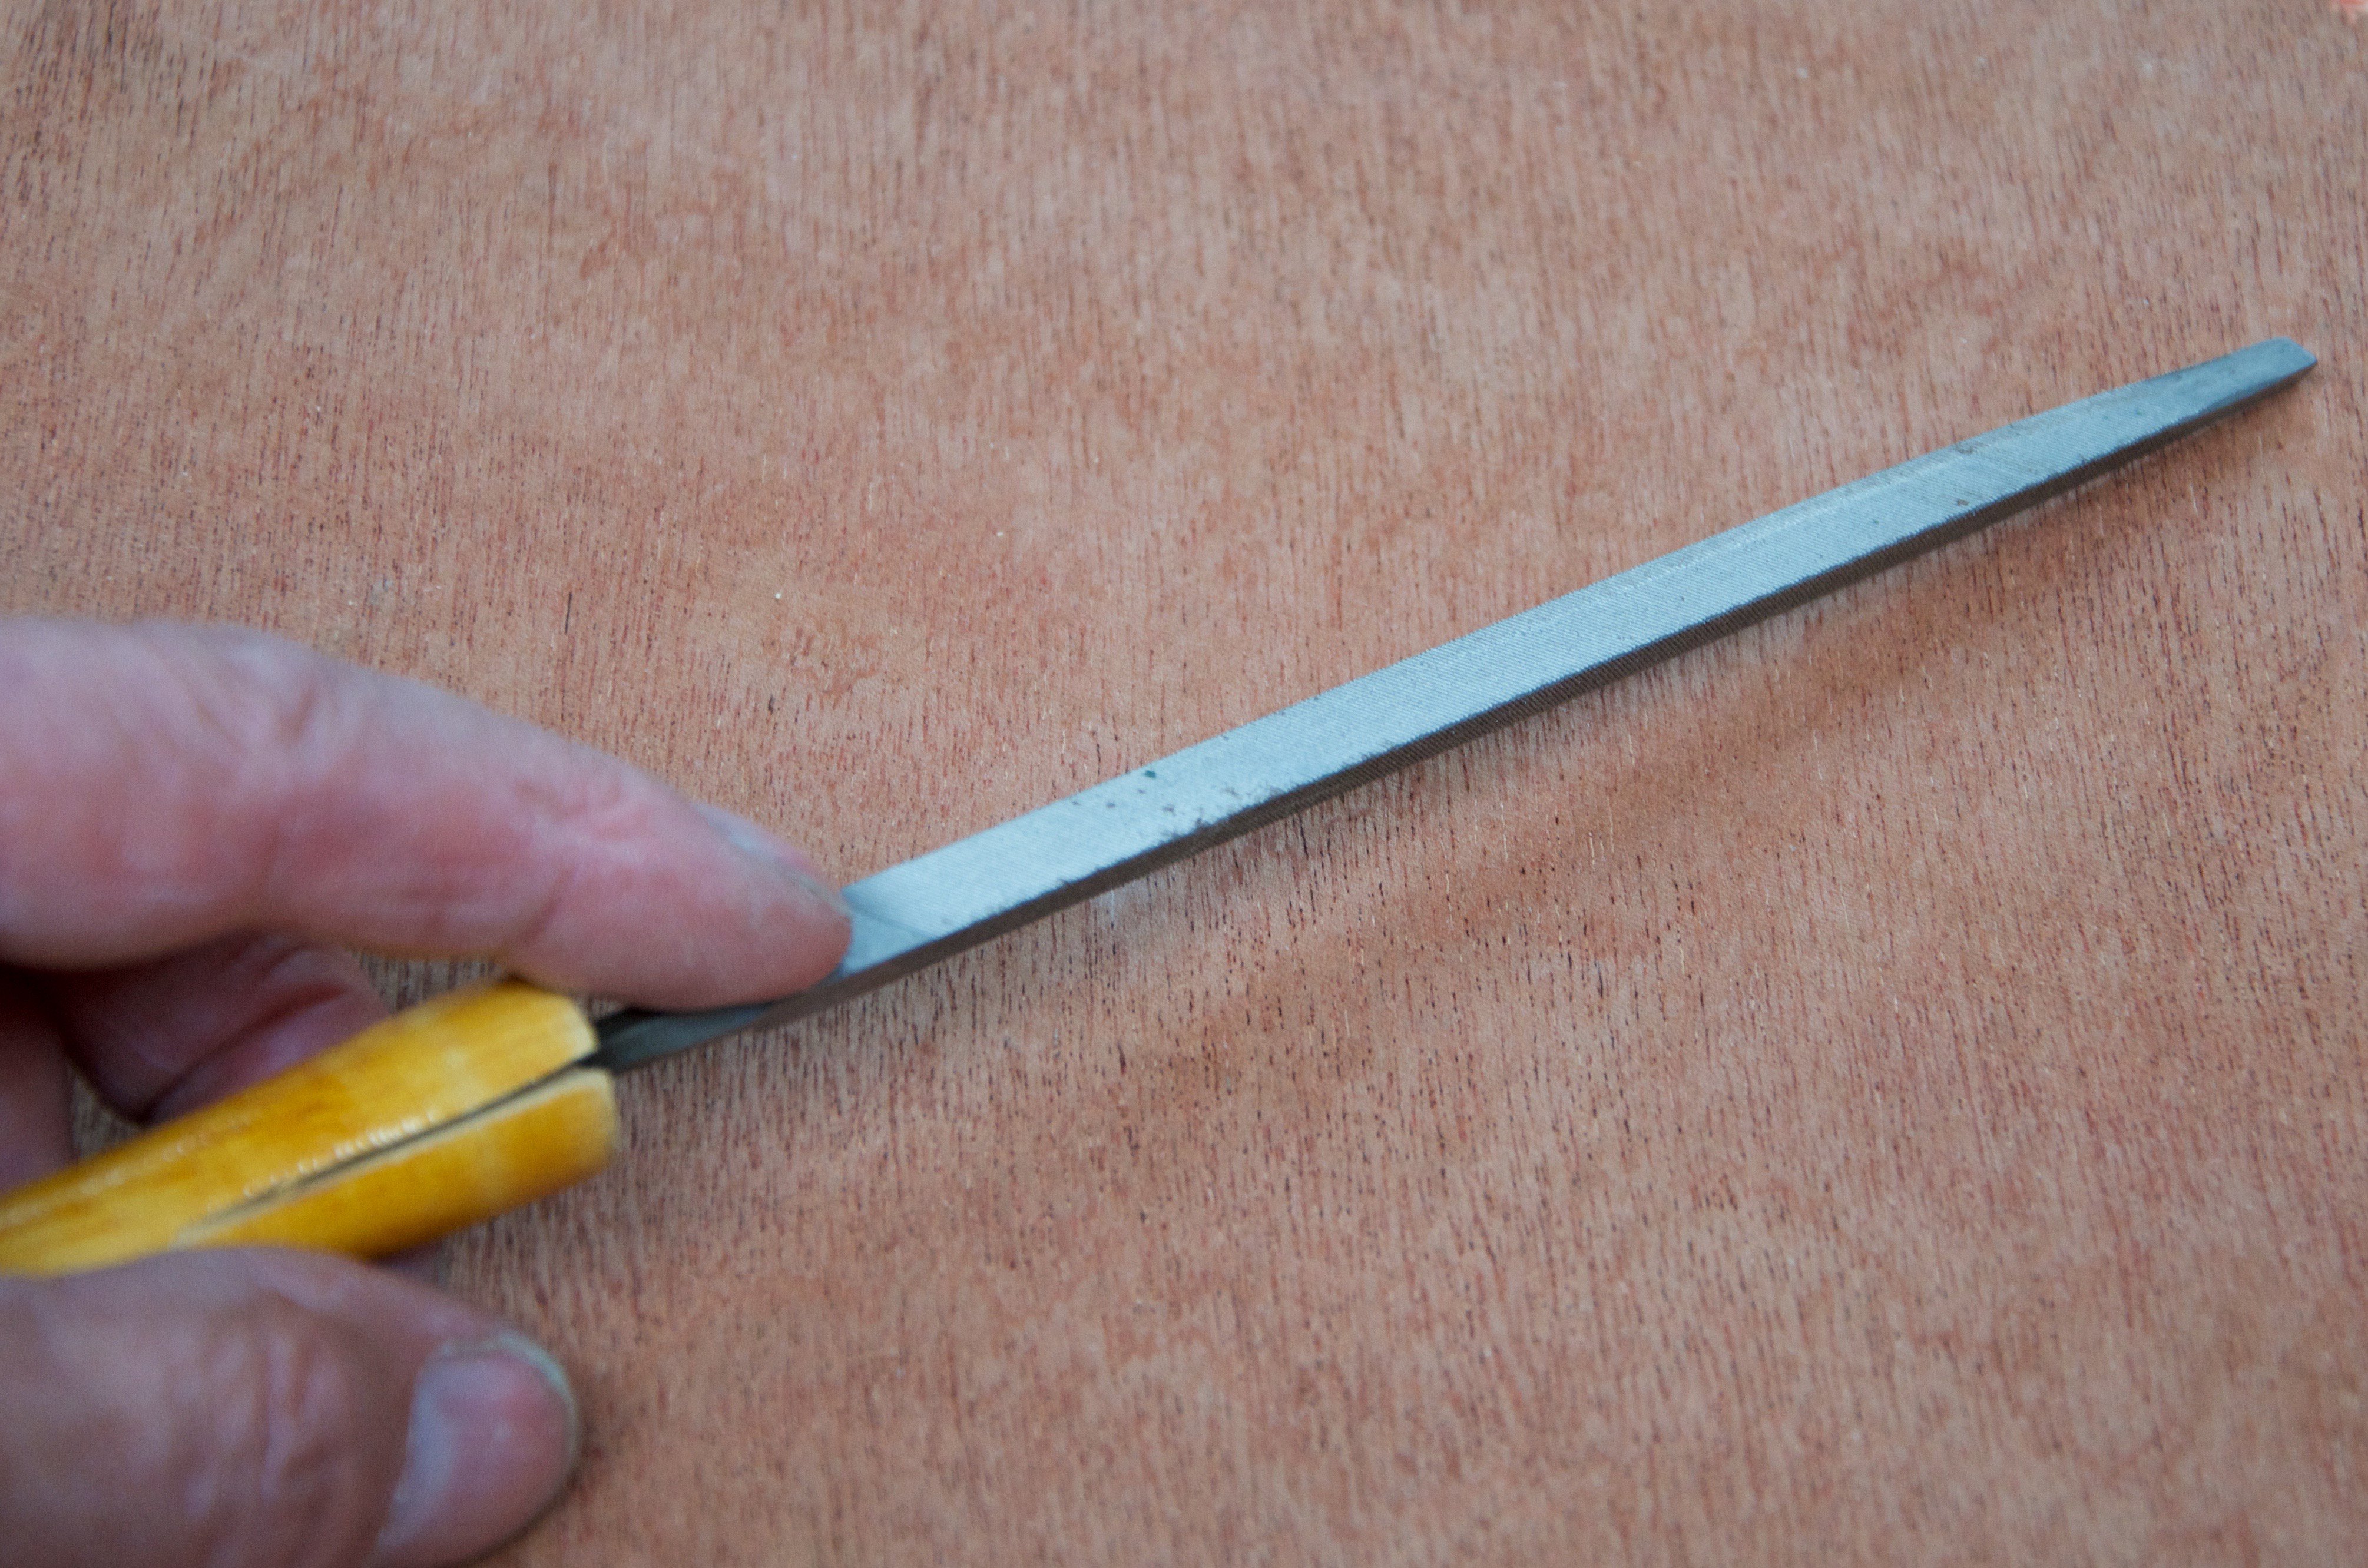
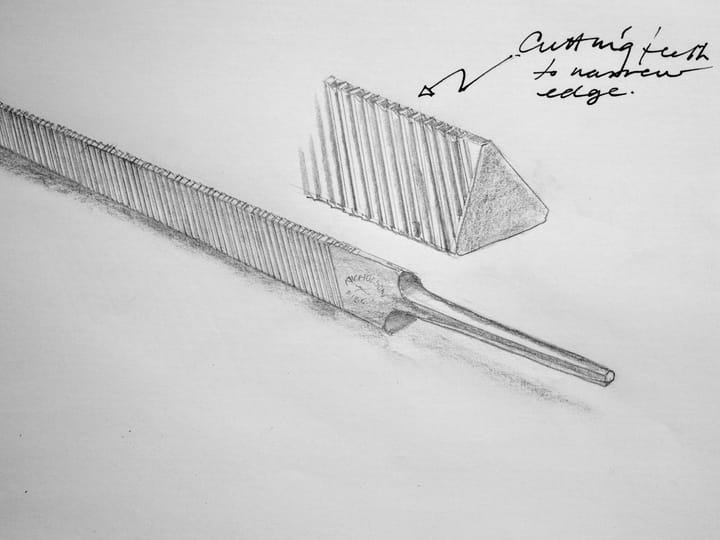
You will need the right sized file for the saw teeth you are filing. The flat faces of the saw file need to be a little more than twice the height of the tooth. That way, as you rotate the file for a fresh face, the file teeth will be worn more equally throughout the life of the file. Files do wear out through use, but a good file will sharpen many saws. It’s not possible to say how many saws a saw file should sharpen because saw tooth hardness is so variable between saws and also between makers. Then, again, file hardness and brittleness varies that way too. For a rip or crosscut 7 PPI saw you will use a 6” extra slim tapered file. Currently, a good saw file make with proven quality for me has been the Bahco range of saw files. This can change as has happened to makers who exported their manufacture to other countries. We take one day at a time with the exalted world of global manufacturing. The standards of western manufacture constantly decline when it comes to quality and honour. If anything reinvents itself it’s national pride.
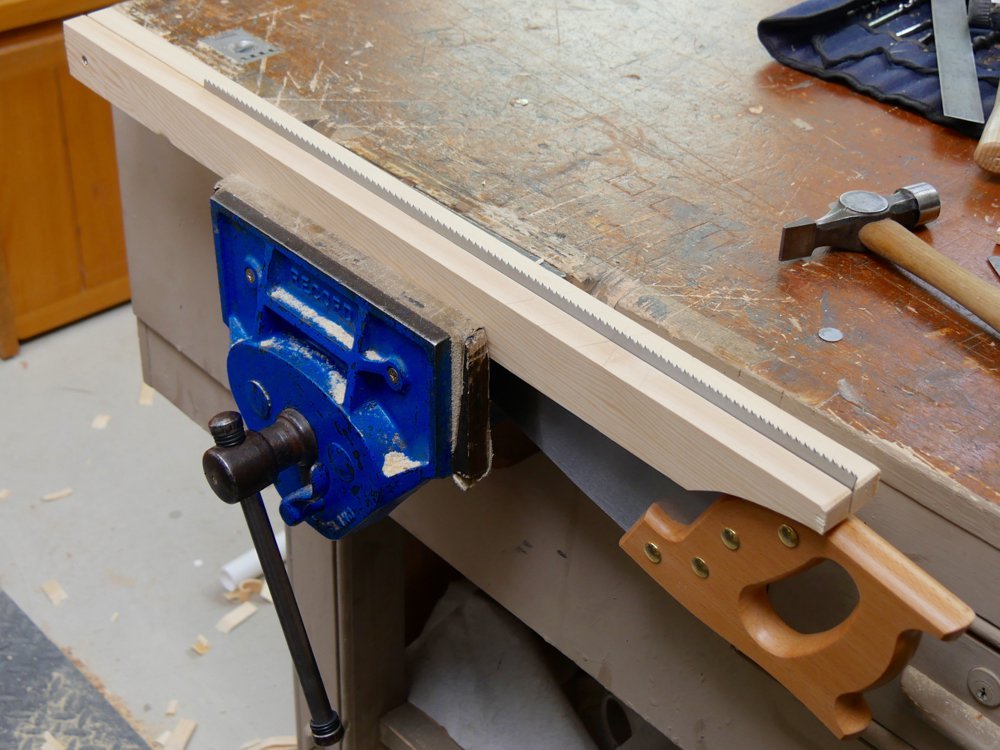
So, now you have a bought your file and made your saw holder, which can just be two appropriately sized battens of wood, you are ready to start sharpening. One thing strikes me from my experience teaching this task and that is people tend to be aggressively forceful and rock solid rigid. With this impression governing you you will almost certainly lose sensitivity and the flexibility you need to perform saw sharpening to a quality level. You are not a machine and you shouldn’t try to act like one. It’s not a question of ‘bulldogging’ the file to the plate but presenting it carefully and firmly and following through with as precise a stroke as you can muster. I like to work within my rhythm, which is not your rhythm. Therefore, because I have sharpened thousands of saws, I tend to work quickly, but I can tell you that every single stroke I take is a felt-for-stroke and not mechanical at all. Stroke that tooth and feel for the pressure first. Engaging the steel tells you about the steel in that particular whether you know it or not. It tells you the way the file cut cuts the steel, helps to set muscle memory for direction and then gauge the amount of pressure you need to expedite the cut and so on. Try to register the file fully into the gullet before the stroke starts and continue through at the same angle of presentation until the stroke is done. These elements are important.
Because the saw is relatively new or even new, the gullet is fully formed and the angles forming the fleam are exact. Because this is the case you can place the file in the gullet and move the file from side to side to feel for its total registration in the gullet. What this action is doing is aligning the file for the optimum cut engaging both facets of the two adjacent teeth. It is giving you the angle of the teeth facets to the long axis of the plate also and then it is showing you one more important factor, which is the orientation of the file along the files long axis which sets the pitch or rake of the saw teeth both from and back. Because westerns saws cut on the push stroke the back of the tooth is unimportant but it is governed by the shape of the file. It’s the front rake of the tooth that is important to our work. The more we rotate the file toward the toe (tip) of the saw, that's the top facet of the file tiled toward the toe, the more aggressive the cut will be. As I said, with a new saw the angles are set by the existing gullet. After you have sharpened this saw a dozen times you will start to feel truly confident and even consider changing the angles for more or less aggressive cuts that suit you and suit your type of work.
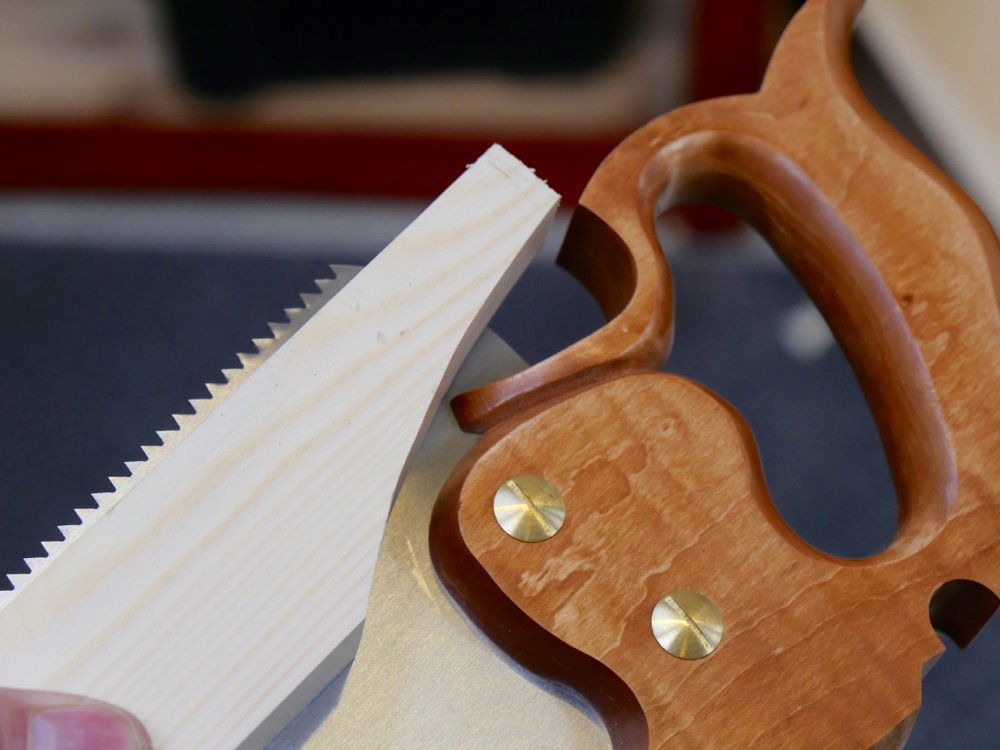
A saying that my teacher taught me was that “we are sharpening the back of the tooth that’s leaning away from us.” Whichever side of the pate you are working from you will point the saw file toward the handle but at the 65-degree angle. When we sharpen crosscut saw teeth we look for the set of the teeth to see which of the teeth are leaning away from us. It’s this single fact that tells us where to place the saw file. If the saw in the vise has the handle to the right and we begin sharpening we must place the file into the gullet, rotate it to match the 65-degree angle and then roll it into set it fully into the gullet. With the file set take a light pass forward followed by a second in the same gullet. Now skip a tooth gullet and do the same to the next. look at the gullet to see if indeed you did file both surfaces and that the file strokes were even and precise. That’s the goal. You must also ensure that the weight of the stroke and the length of the stroke are consistent. If not then the teeth will be uneven in height. It’s just a matter of being sensitive. Work along the saw length until concluded and then turn the saw end for end and do the same but to the opposite teeth. This means altering the angle to an exact counter 65-degrees and again pointing the tip of the saw file toward the handle. Follow through exactly as before and work toward the opposite end. Though I have said work toward the handle, you can in fact work from the opposite end. It makes no difference though you may end up with a preference.
I teach people to use a reference card with angles of 65-degrees marked on the card. You can also use a piece of wood or marks on the holder to guide you too. If you do drift slightly it will make little difference if any to the sharpness or functionality. Just correct yourself for consistency. It is not necessary to go back over the teeth as this will cause uneven teeth. The saw will cut just fine.
Friendly footnote: Mentioning this saw isn't an invitation to post suppliers via Amazon or eBay. I know that it's helpful, but people know how to Google it for themselves and keeping my website clean is nice. I generally avoid this myself as much as possible these days.
Comments ()