Magnetised Saw Sharpening Holder

We just filmed some new stock on saw sharpening for crosscut and ripcut saw sharpening and in the move to the new workshop some of my gear is still submerged in the container we used to pick up the slack until the new facilities are in place. One thing was the long holder I use for sharpening handsaws so I came up with this one that works great.
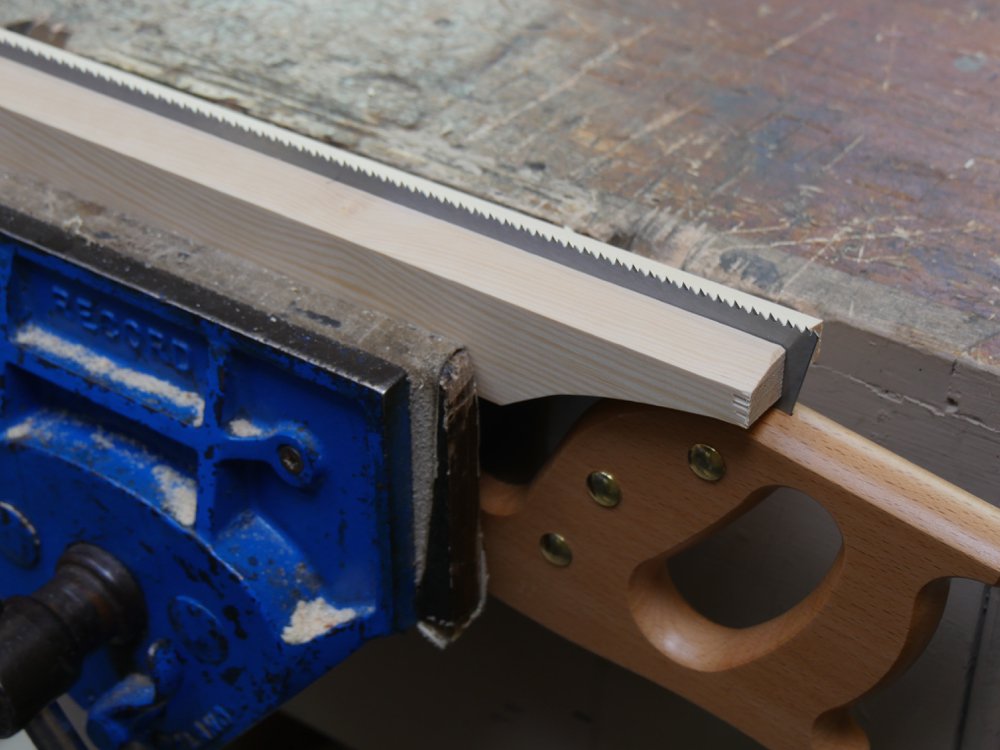
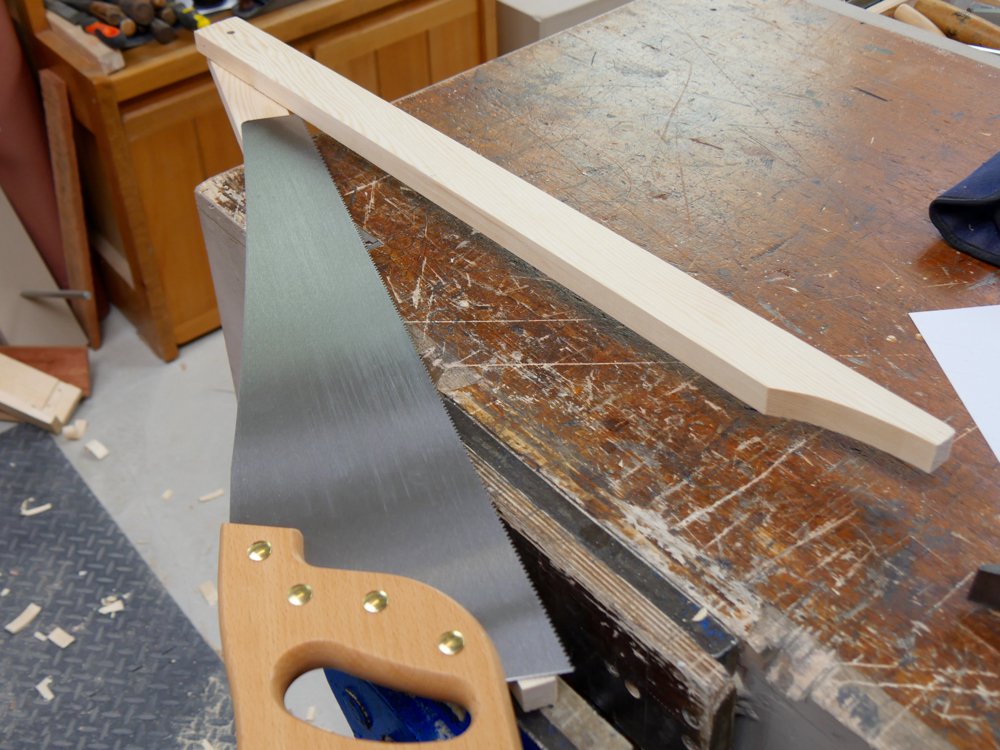
First I used stock I had, which is 22mm (7/8") by 45mm (1 3/4") and in my case I made the holder 710mm (28") long, which takes all saws up to my longest saw of 660mm (26"). The thickness of the combined two pieces should allow the handle of the saw to fit into the bench vise for securement at that end of the saw when filing. It's just more solid.
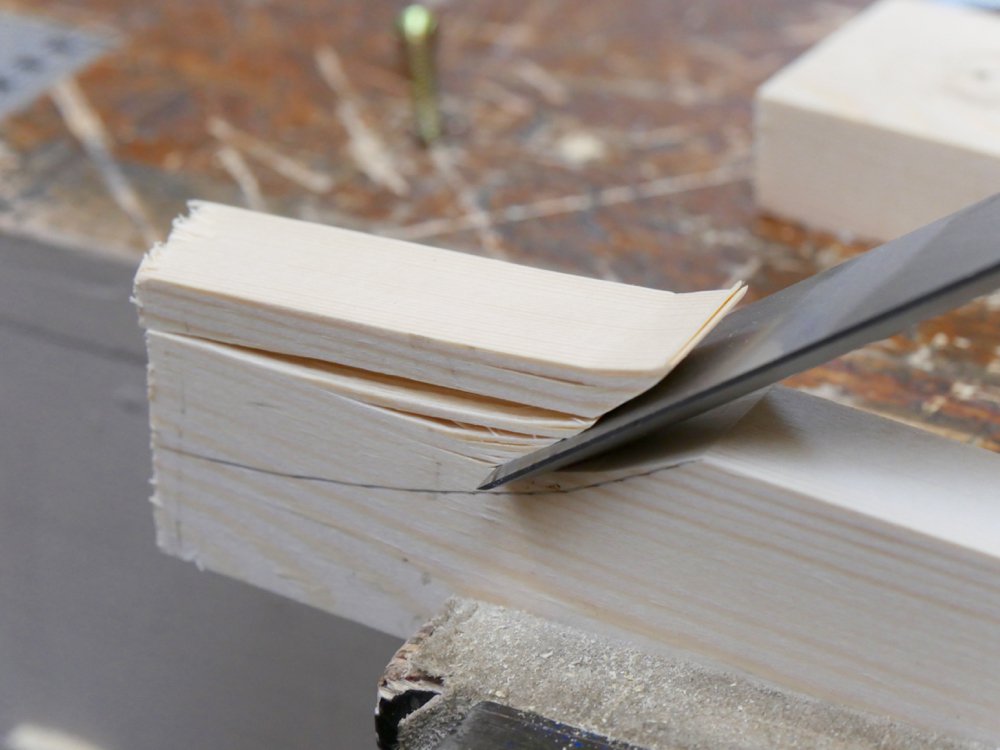
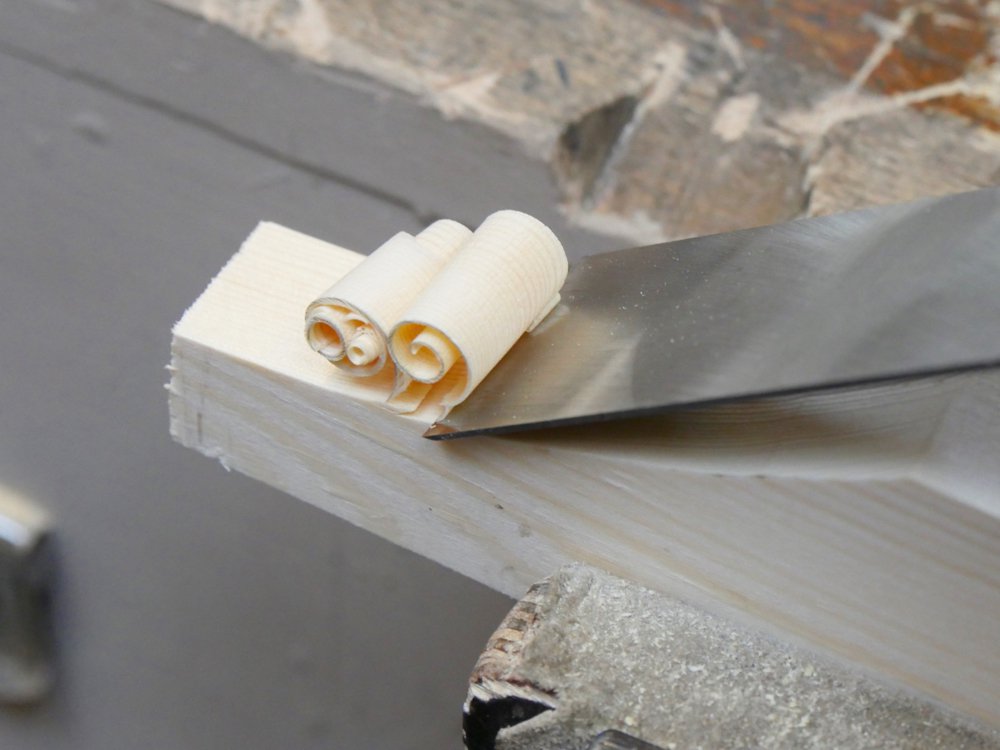
I cut the usual scallops to the ends of the pieces as shown to allow clamping up to and including the heel of the saw. Using the chisel bevel down firstly to remove the bulk of the waste and then refining the cut to smooth out any remaining undulation works well and negates the need for a bandsaw or coping saw.
The screw is centred 25mm (1") from the end of the holder at the opposite end and centred between the top and the bottom (see 5th image below). I drilled a 5mm (3/16") hole through the one piece only. I used a larger 38mm (1 1/2") flat bumper washer but any washer over 20mm (3/4") and up will work fine.
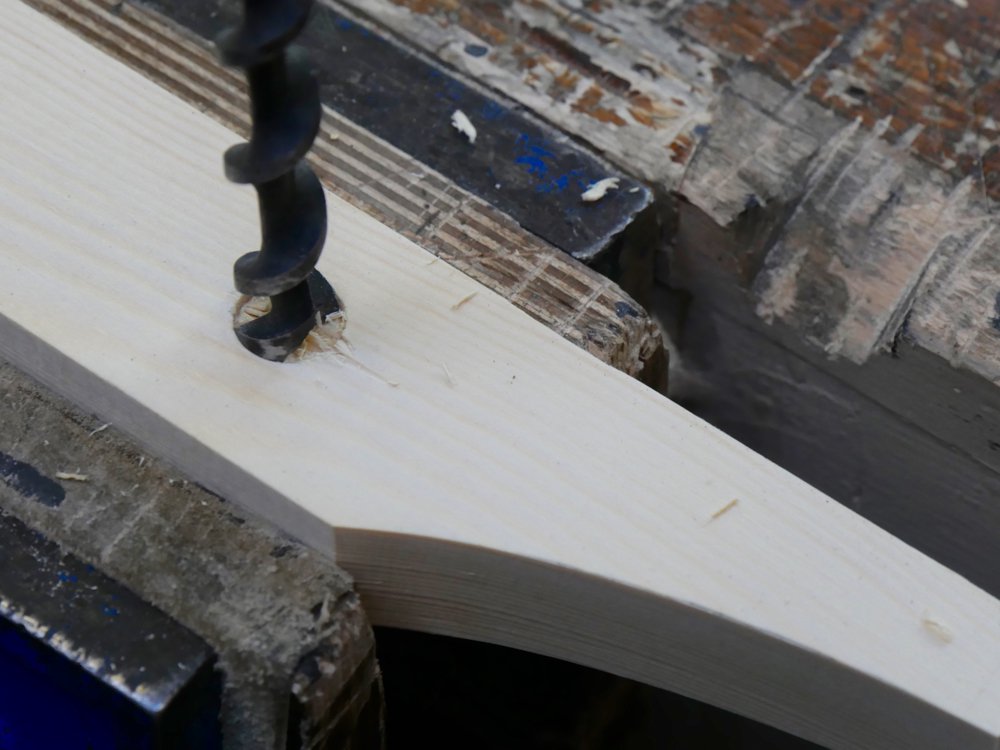

I used three round magnets 12mm (1/2") diameter but any diameter larger than that will work. Start by boring a shallow recess the depth of the thickness of the magnet near the arch cutaway as shown. I made my first recess 100mm (4") from the end. The other two are 200mm (8") on centre. You may need to level the bottom of the recess with a small chisel as I did otherwise the magnet doesn't lay parallel to the surface which can negate the pulling power of the magnet.


Simply supergluing the magnets in place works fine. If you use rare earth mags you can superglue them in as I have but you can also buy them with countersunk holes through holders too if you want to. The magnets don't need to be recessed. You can just buy a couple of magnetic cupboard catches and fix them to the bottom edge of one of the pieces. That will work well too.
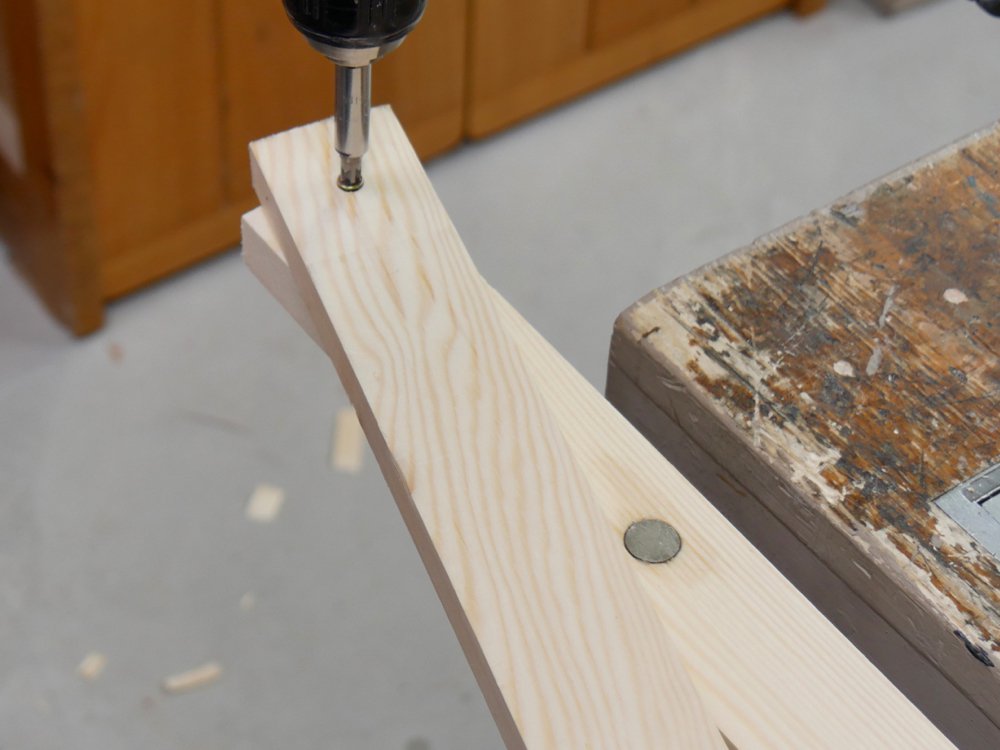
Assembly is just a matter of placing the washer between the two rails creating the holder and cinching the screw down fairly tight. If you prefer you can change the screw for a bolt and nut but just a screw is fine as it doesn't need tightening or slackening to use it.

Now you can use the holder as is, but I like to bevel the top edges away from the meeting line of the two pieces. This is a practical step as it allows a little better access as the handle of the file and your fingers near the end of each stroke with the file.
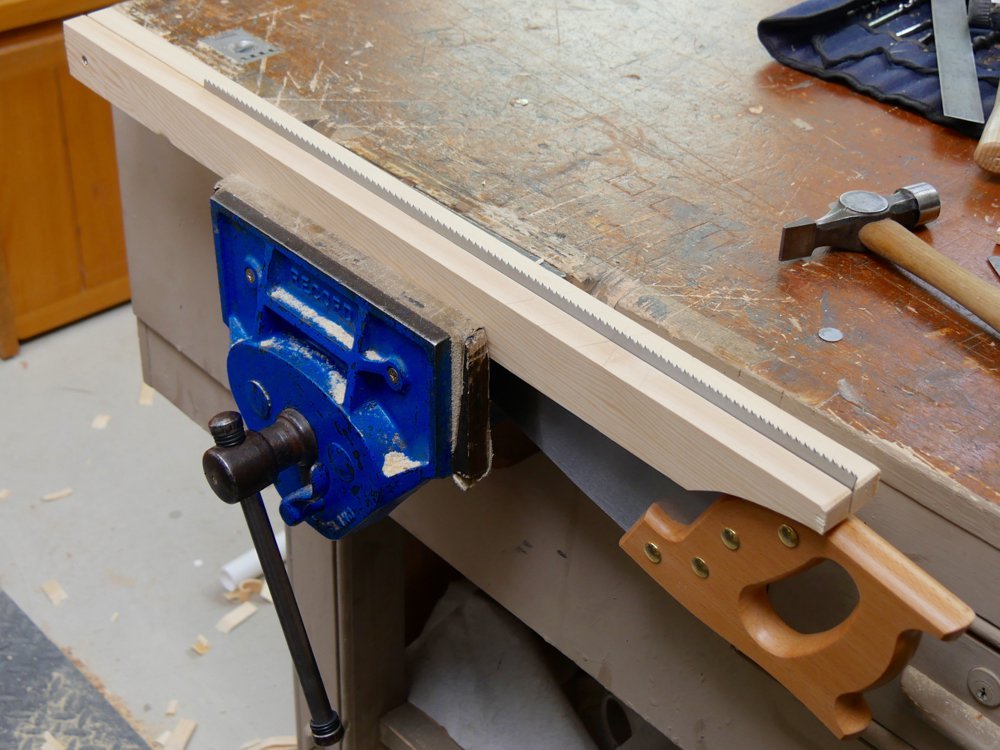
Once made, pull up the non magnetic side, slide the saw into place and register the height you want above the top edge of the saw teeth. 10mm (3/8") works well (for saw filing) and lower the other rail to match the original. The plate will have clicked to the magnets by now. Squeeze together and lower into the bench vise.
Comments ()