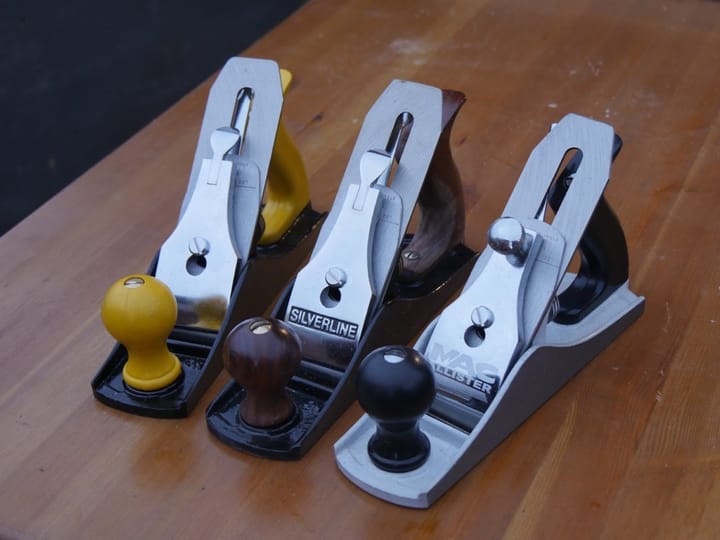
Import planes-Part II
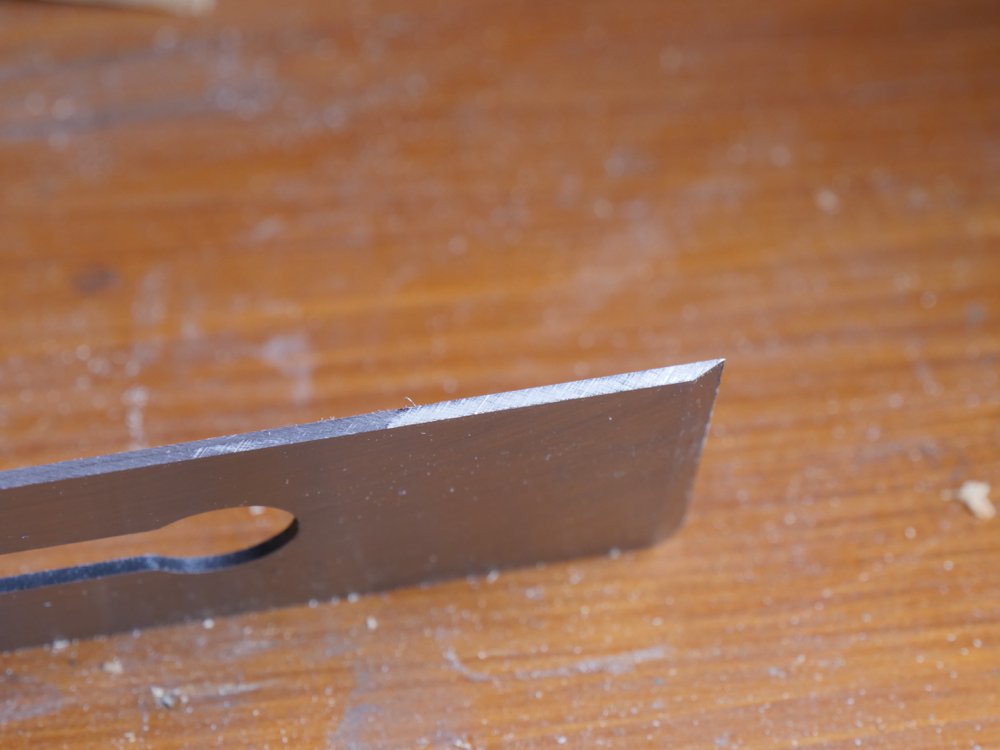
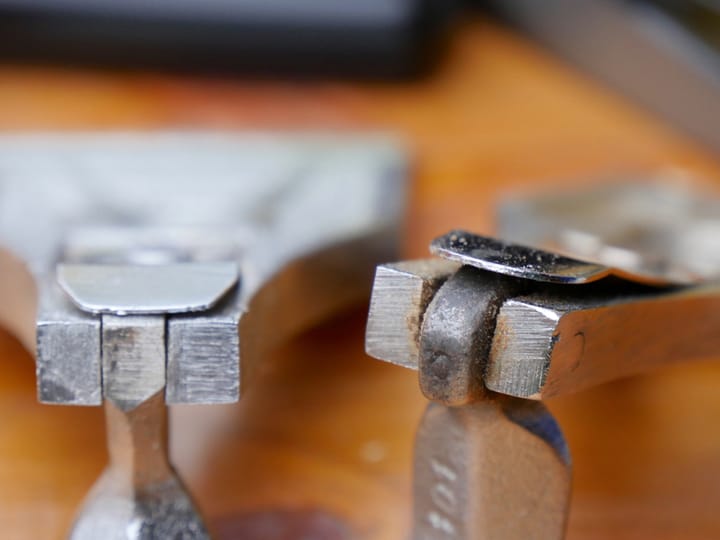
I dismantled the plane after initially rotating it and and tumbling from tote to knob to get my initial feelings and it didn't feely rattly, loose or anything different than say a new Stanley. In fact it did feel better than a Stanley. Two things stood out visually immediately and perhaps most might not see at first glance. The cutting iron was 3-4mm out of square. Not a big deal but enough to irk me. This then means that the cap iron (chip-breaker USA) couldn't be set to the 2mm I prefer without shaping that out of square to match. Not a good choice. Issues like this happen with other plane makers and I did have this happen once with a high end plane too.
The sides of the cap iron were slightly out of parallel so whereas one edge to end was square the other was out so I would have to align one edge to the edge of the cutting iron instead of just centring it as I normally do with my fingers either side. Irritating that's all. Also, it is generally helpful to use the cap iron to confirm squareness to the cutting iron as you unite them. Not a big deal but just my thoughts.
So for me it is worth taking a flat file to the offending side and filing it parallel and straight. A two-second job, that's all.
The cutting iron is hardened well and takes an edge just fine. To really test it out I must use it for a month or so daily and then throughout the day. It doesn't take much to make a good plane iron and I am not sure if any plane irons are hammer forged with drop hammers anywhere in the world in general any more. So basically, most of the makers order their steel alloys to a certain recipe and the steel comes in from rolled stock, which they then cut to length, grind, shape and harden. It's one thing to take an edge and another to hold it keenly. Silly bench tests in magazines are, as with any experiment or test, influenced by some degree by the experimenter and often less accurate than they purport to be as they usually test for hardness alone and rarely distance tested at all.
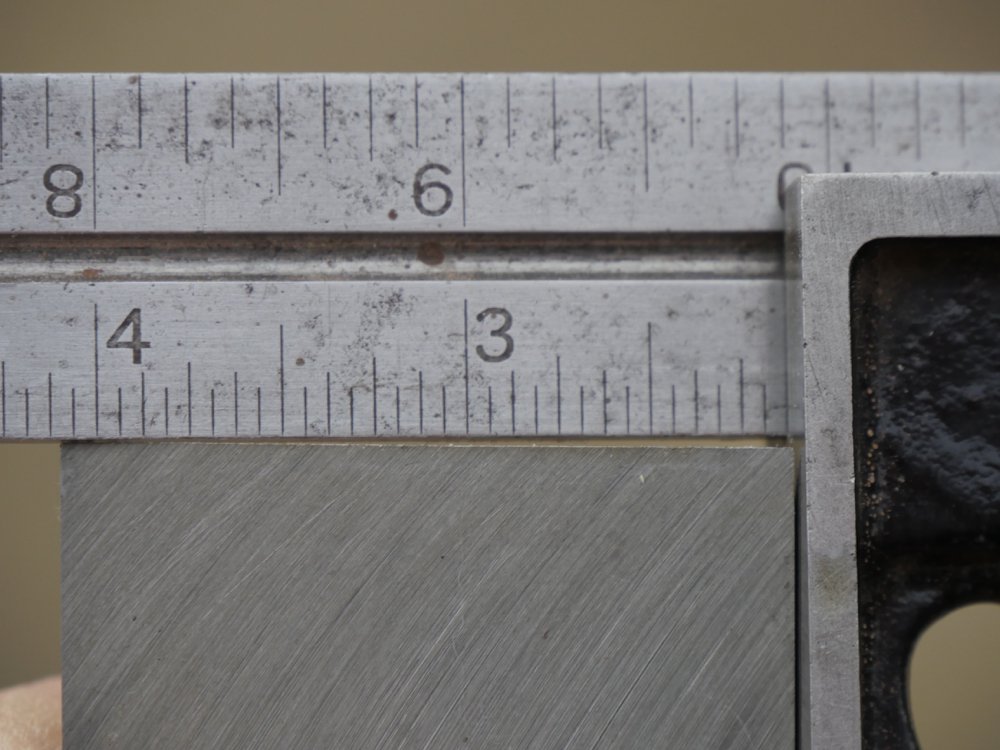
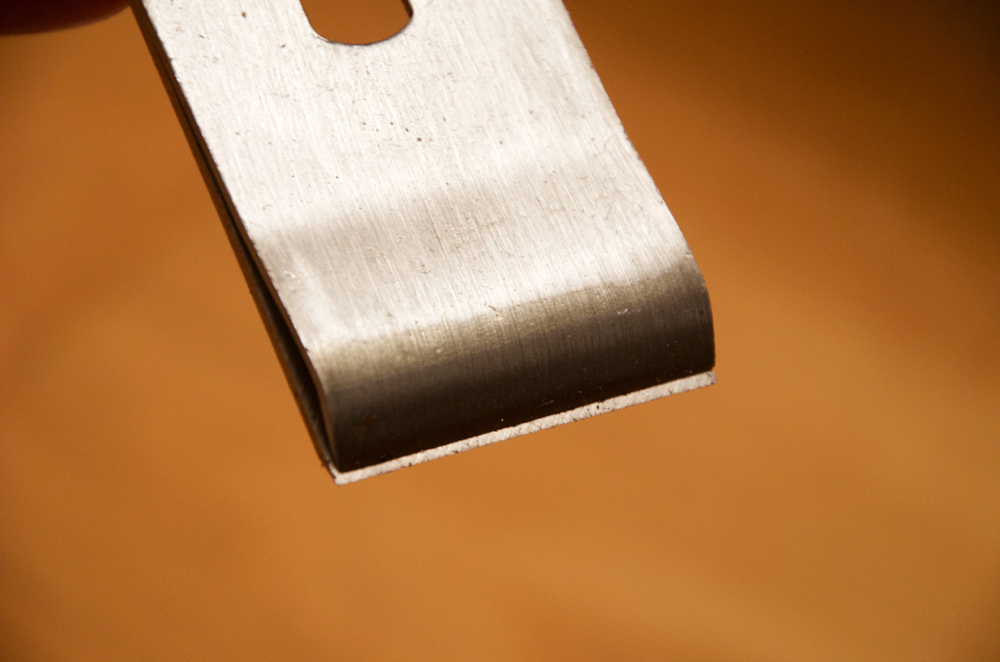
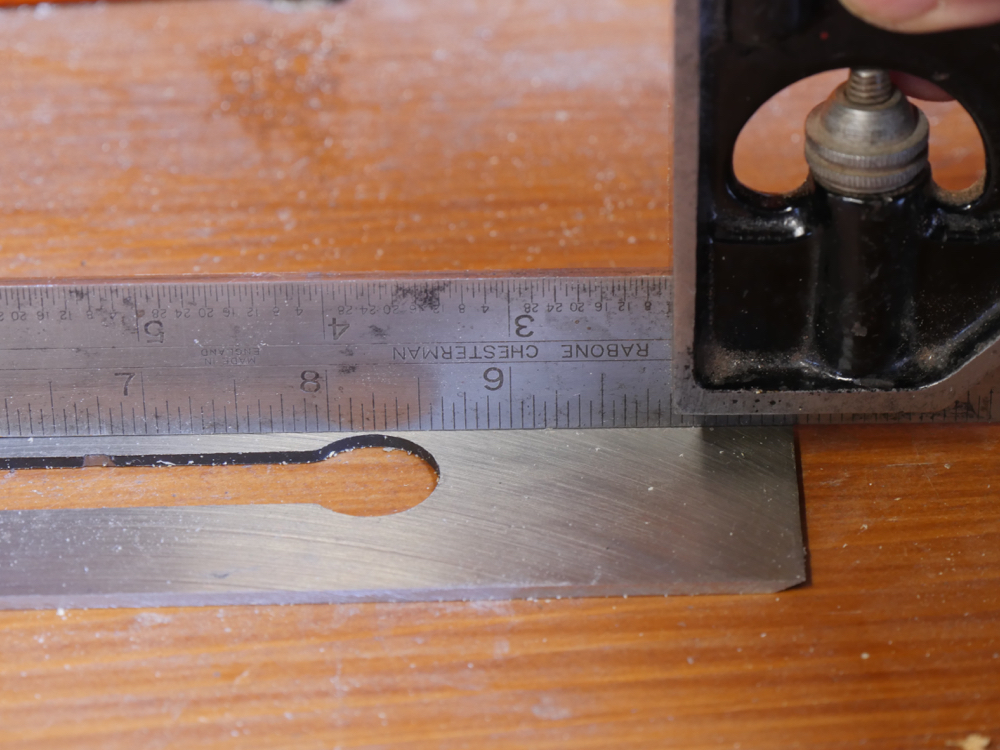
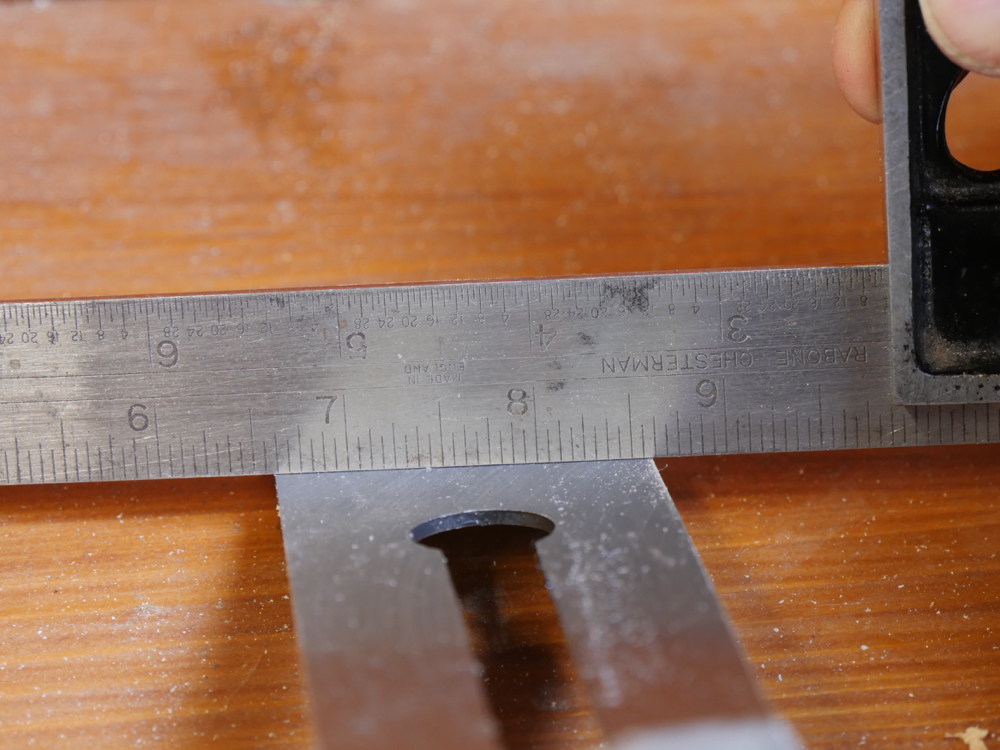
My first test for hardness is to file the outer edge of the pane iron. Here you can see the change in colour to the edge of the plane iron after I filed it from the cutting edge to the opposite end. The first 1 1/2" (32mm) barely filed whereas the remainder did file just fine. This shows me that the business end is indeed harder. The iron was just a tad thicker than my Stanley iron from the 60s at 2.06mm whereas the Stanley was 1.86mm.
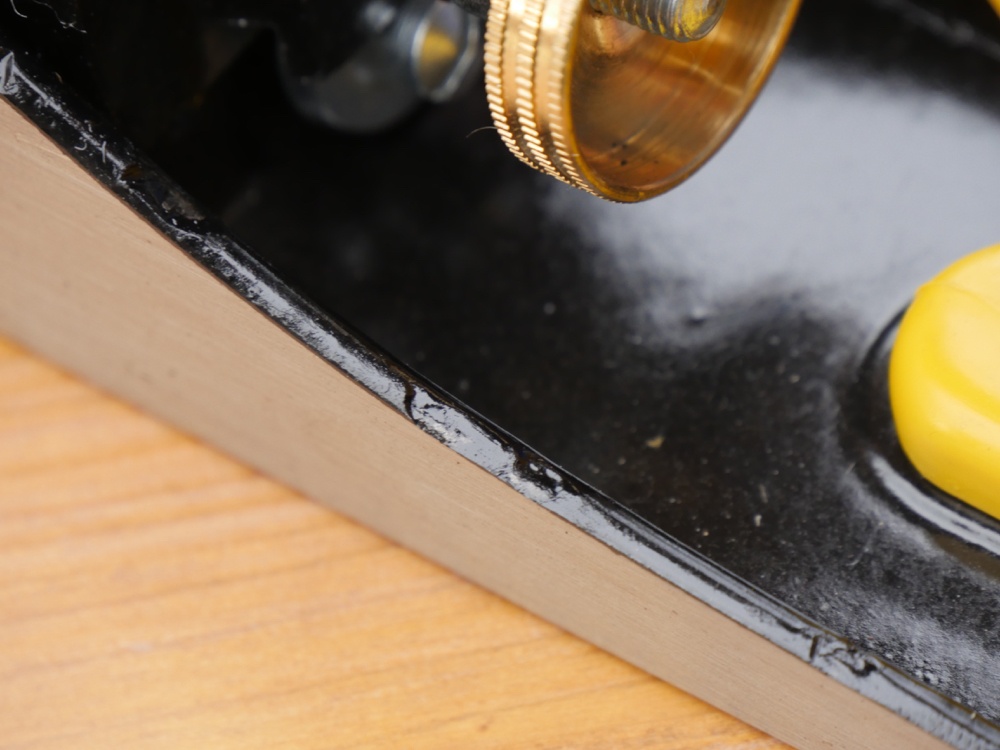
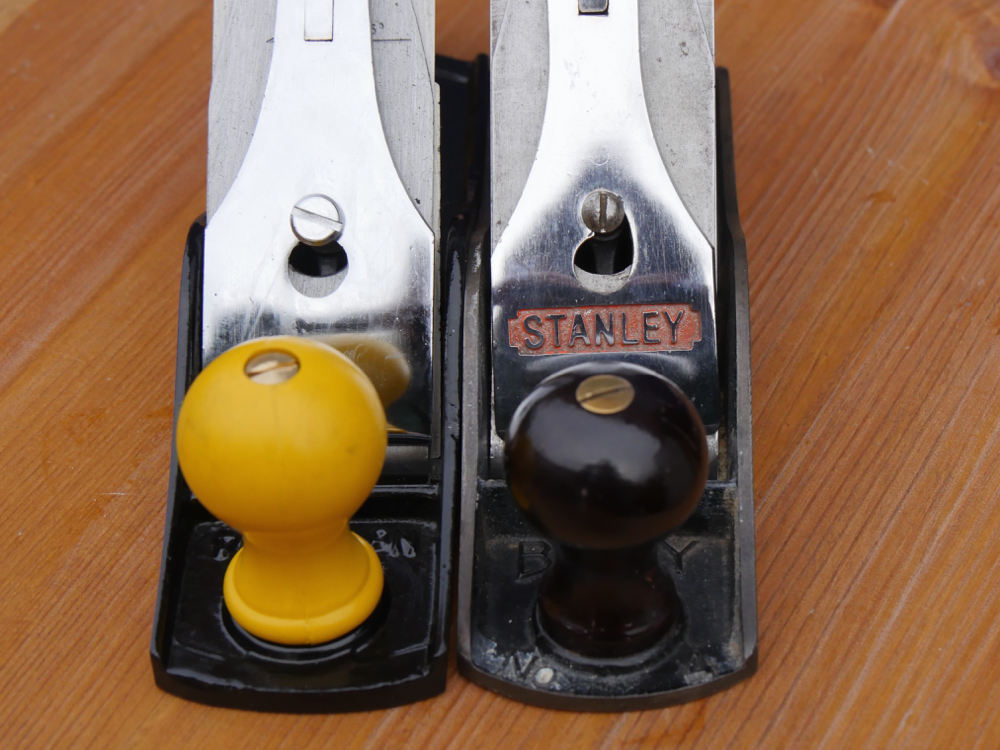
The plane weighed in at 3 1b 13 oz and the Stanley was 3lb 1 oz, which I found interesting, but the nylon handles might be part of the reason for this as they often weigh heavier than wood. Above you can see that the sole is thicker and this too would contribute markedly to the weight difference. Poorer refinement to the casting above the sole wouldn't at all affect performance but it would take so little to take out the flaws had the worker decided too. The paint hides it just a little.

This brass depth adjustment wheel worked just fine and the threads were really quite smooth all told. The split yoke just above worked fine too.
When it came to the flatness test with straight edge I was quite impressed as this was both along the length and across the width and with no twist, bow or buckle at all. So, so far so good at this stage. i have a gut feeling that this plane could be the answer for those looking to get started without spending masses of money to know if woodworking os for them. BUT...don't buy just yet. I have some more to share about it that you may want to really consider first. Give me another couple of days.
Comments ()