Restoring Bench Planes Video on YouTube
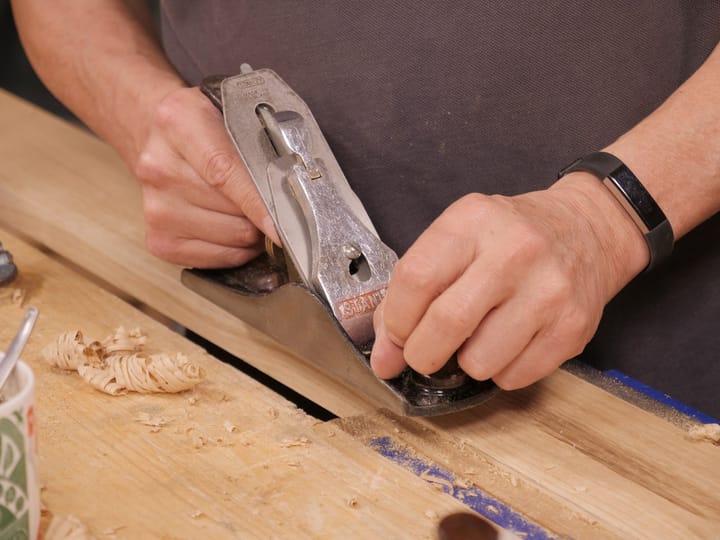
You've asked me for a video on how to set up and even restore hand planes for some time and we put this one together as a starter video. It's just over an hour long realtime at my bench. I hope it clarifies some of the the nuances for plane initialisation including total restoration work. We take what is basically an unusable plane and, step by step, walk you through the stages so that your plane can take its rightful place back as fully orbed, capital plane capable of creating the most beautiful work you can imagine.
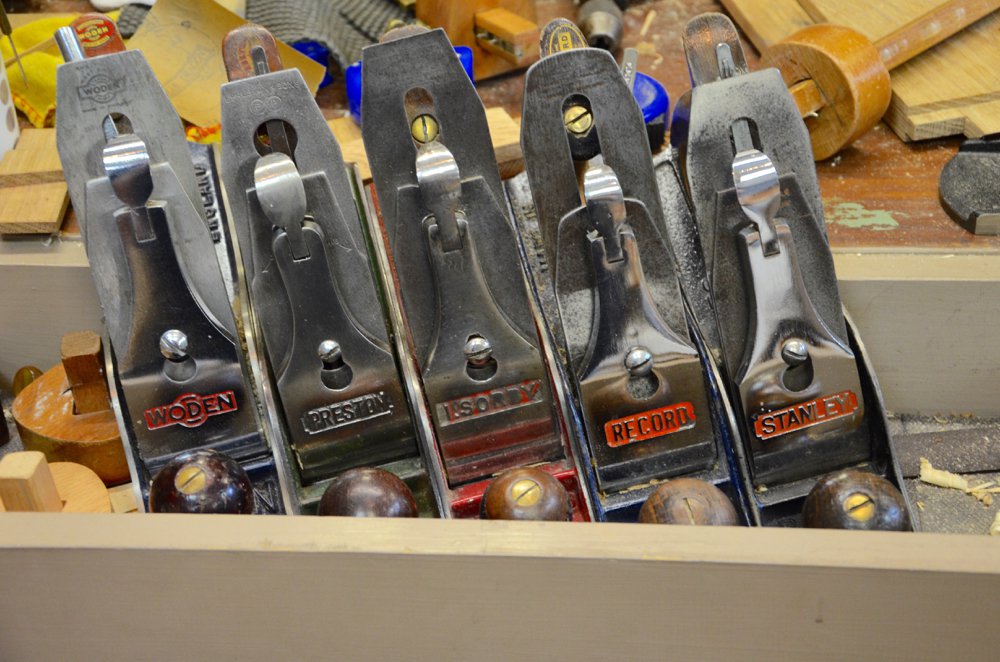
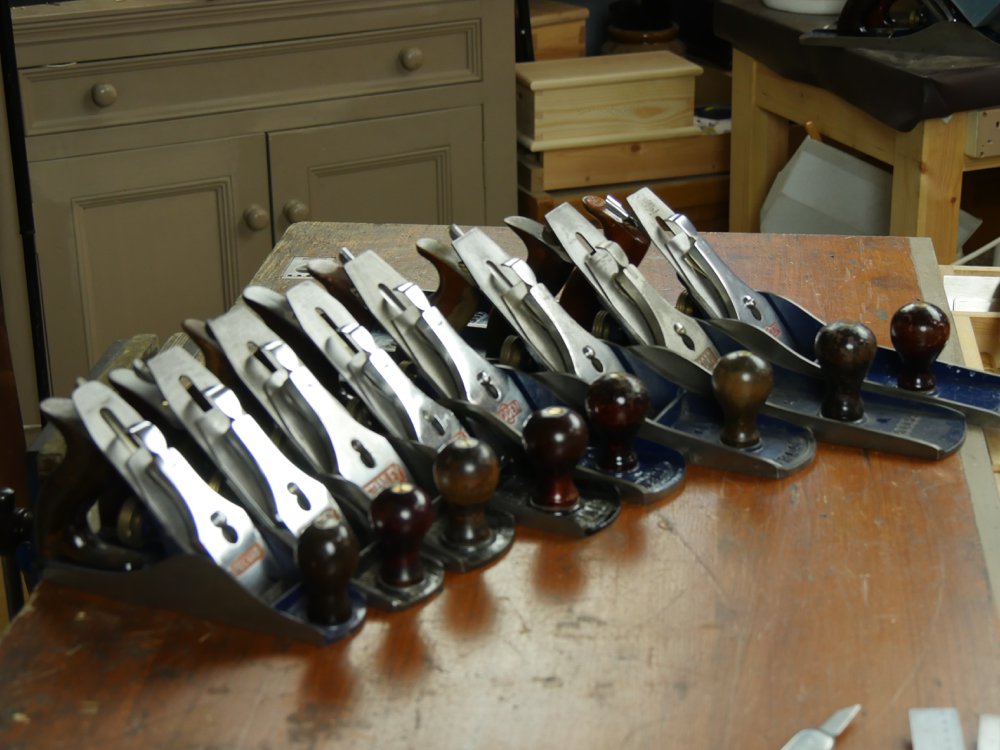
Yes, it is a fact that we have sent the price of eBay #4 plane finds up to double what they were a year or two ago, and, yes, they won't stop, but even if they went to £50 and over they are always worth every penny. Beyond that, your fettling your own planes this way give them an even greater value in that you truly understand the plane because the restoration work dismantles every part, restores it and and then sets it all back up in the setting up process.
When you look at the ugly and totally rusted plane we start with at the beginning of the video and see where it ends up in all its glory I think you will be totally inspired to give it a go. You'll love it.
Just to stave off your needing more answers I will tell you here what I have already answered on woodworkingmasterclasses.com, the online broadcast where this video first aired a couple of weeks ago. Here is the YouTube video:
https://www.youtube.com/watch?v=RYyV6IUpsYk
Now for some early Q&A time:
Question:
Thanks for the guide, Paul!
Can I just ask, what is this dye that you put in the shellac? Its a rather nice colour, this one.

Answer:
Brown leather dye from Tandy leather, a teaspoonful per half a cup but add more as needed.
Any of the brown dyes will work but I use the dark and cut it with the solvent also made by the same company.
Question:
Paul, thanks for the tip on the Tandy brown leather dye. This leaves the question though on what type of shellac are you using? De-waxed, blond, garnet, etc. ?
Answer:
Any you want. The colour is strong so whatever you have in stock or want to buy works for this.
Question:
Mr Sellers if I may ask what is the dye you used in the shellac? The color is lovely.
Answer:
Cut the dark brown leather dye by just a teaspoonful of solvent to a half a cup. Add more as needed. Remember that applying successive coats of the mix increases darkness layer by layer. Also remember that successive coats dissolve previous coats so apply fast and do not fuss with the coats after application. My maxim: apply fast, evenly and let well alone.
Question:
Thanks for another great video Paul!
I was hoping you’d do a restoration video for a metal bench plane. I still have a specific problem that wasn’t addressed in this video though:
My plane has a frog that doesn’t sit inside the plane straight. It points to the right slightly, and I end up with a mouth opening that is narrower on one side than the other. I have to put the adjustment lever all the way to the left as well to compensate.
The only way I can think of to solve this is to file a bit out of the groove in the bottom of the frog, but this will result in some give sideways. How would you go about fixing this?
Answer:
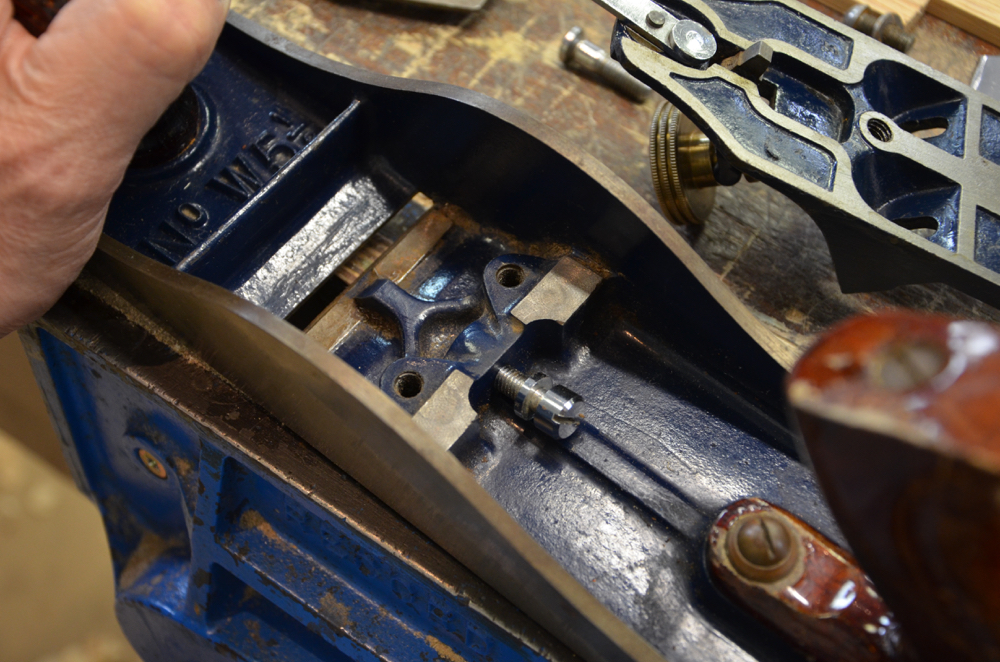
Best thing is to take off the ‘U’ shaped yoke for forward and backwards movement of the frog, the bit beneath the depth adjustment wheel at the back of the frog, and reinstall in the sole to see if possibly this is preventing the frog from aligning. It is very rare but it does happen. Once the frog is reinstalled and cinched down tight, minus the yoke part, you can see if there is something in the casting that prevents the frog from aligning. If it still does not align you will be able to check the castings for bumps and humps and twists. If you have another same plane try using the parts in each to see if they do the same thing. if the yoke is twisted or unevenly milled it can offset the frog and so may need correcting.
Question:
Just curious,
How would you know it laminated steel? and what would happen?
Answer:
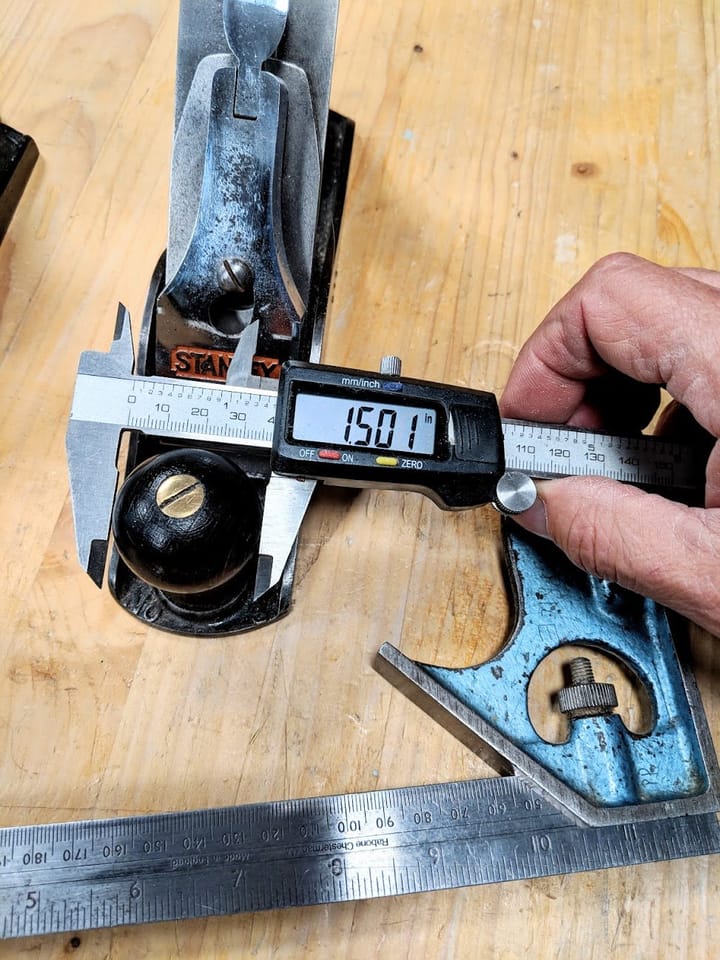
You can usually see a line and actually, in the video we did, I just happened to have a laminated blade from Stanley who made them that ways for a while but stopped. The steel is ultra hard. When you stop the video and look at the image you can see a line that looks like I have a secondary bevel but it is the contrast between the two steels.
Question:
Paul thanks for the video and I do have a question. I have restored several older planes well enough, at least to my liking. On occasion however, I have had problems with the rear handle. The screw seems to be fine and holds the handle firmly, yet under stress, as when I am planing, the handle will twist side to side a little. I have tried what I can thing of to fix it, but with no success. Do you have any suggestions?
And I do like the idea of using the chisel to scrape the handle! Never would have thought of that! I have used a scraper to clean up the handle; works OK to clean up a saw handle as well.
Answer:
The magic of silicone shelf liner is amazing if handles refuse to stay in place. This is the cheap stuff in a roll that you buy for shelves and drawers in kitchens as a liner. Place a piece between the metal and the underside of the wooden handle and it will never move again. Trim with a sharp knife and you have it.
Also, I noticed one of the answers someone gave on WWMC who said he used a small tab of double sided tape there and it worked well for him.
Question:
Can you use just paste wax as a finish?
Answer:
You can. Don’t apply too much. Apply a coat and then use the plane for a week and add another coat. Leave it a month and then another and that, combined with your hand sweat and it will be good for a few months. reapply as you feel necessary.
You can also become a free or premium members to woodworkingmasterclasses.com and follow our training videos there.
There are more and I will add them as I find time.

Comments ()