Edge planing square–To tilt or not to tilt...
...That is the Question:
Hello Paul,
I attempt to try woodworking with whatever time I have, but I can not get the hang of it. I have watched countless videos and spent hours on hours on end shaving to square wood, but I can never get it perfect. I have purchased a used #4 plane, a Starrett combination square, a Veritas router plane and chisels from ebay. I learnt how to sharpen with your videos. I even watched countless hours of your videos on squaring and edging, I just can't get anything perfect. Do you have any advice? I do not want to give up trying to learn some woodworking. I enjoy hard work and feel like there's always something to learn, but at times I feel like it's not going anywhere. I thank you for your time and reading this in advance,
Regards, MB
Answer:
Yes, it can be a trial for many people in the beginning and even after what does seem like endless hours of planing to practice, square edges and ends can seem to be elusive. The important thing is indeed stick-with-it-ness. Former British prime minister, Winston Churchill, who said, "Never, ever, ever, ever, ever, ever, ever, give up.
Several things come to mind that I have seen in my work and especially with the new-age woodworking guru online and at woodworking shows selling planes. It's the classic pose of squaring the plane to an already squared off piece of wood, posturing a muscled grip on the plane, fists clenched, back leg braced, shoulders forward and leaning into the heavy load like a draft horse into its collar. You know, the immoveable bulldozer stance with wood dogged and that overbearing dominance to force down and forward in the same move. RELAX!!!! A bench plane is not a road grader and if I have learned one thing about working with bench planes over my fifty years using them most days it is the need for a suppleness, flex, directional change, sharpness, correct setting, correct forces and correcting and then that overarching willingness to feel the wood at and through the very cutting edge. Only when you develop this can you truly master the hand plane. In the reality of working it is different than planing carefully chosen boards to demo with. The knots and rising grain in softwoods like pine and spruce pose far greater problems than maple and beech or oak and walnut all of which plane just beautifully even and perhaps especially when the grain is indeed curly and contorted. That's my experience anyway. Yes, occasionally a hardwood grain creates an issue, but mostly they plane just fine.
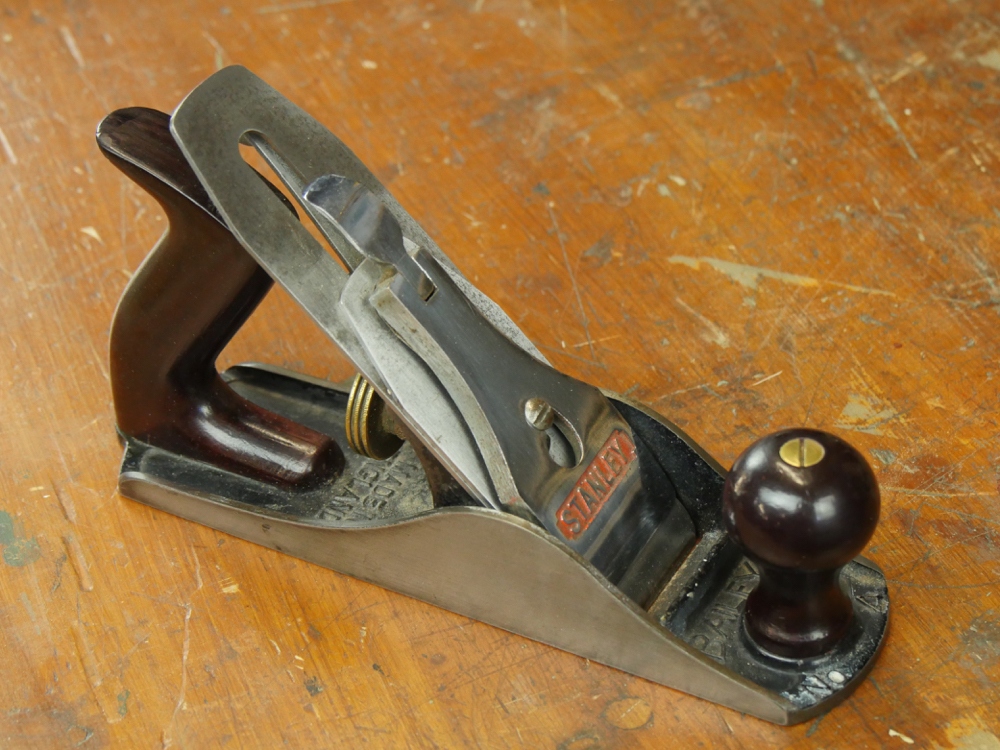
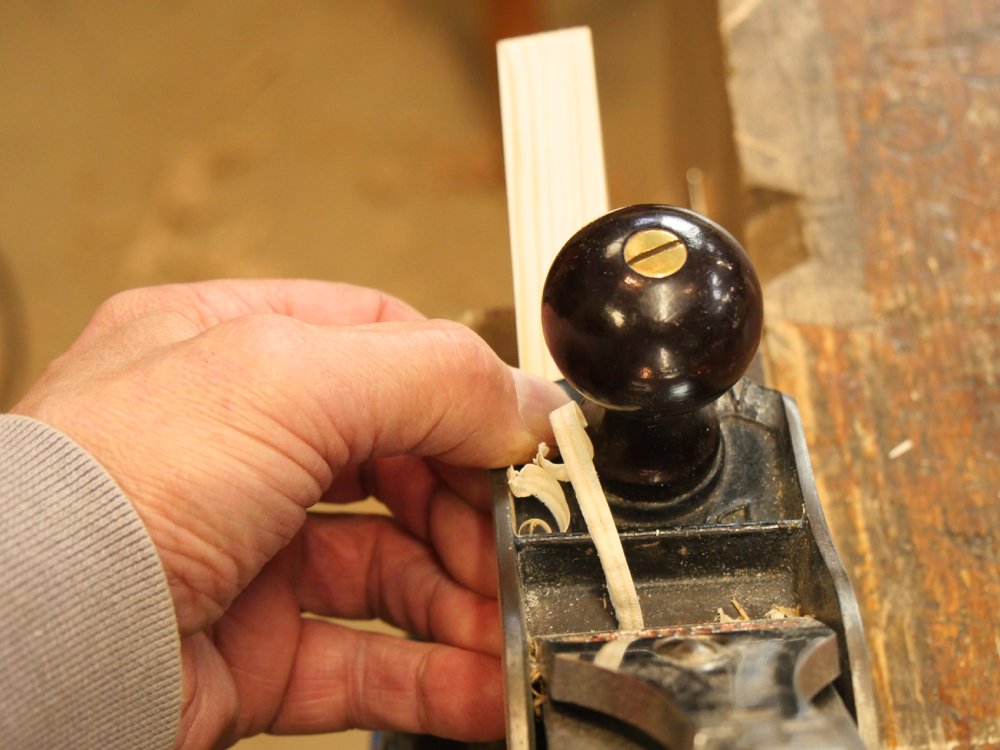
I am glad you found a used #4 plane, presumably a Stanley or a Record but you have many others there in the States that were good makes too. Here the importance is setting up the plane once restored and fettled and new or old. The cap iron (you may know this as the chip breaker for some unknown reason) should be set to 2mm or thereabouts. You do not want to set it more as there is no point and the cap iron diverts the shaving upwards and separates the shaving away from the throat. Setting it nearer is only necessary for very isolated situations and rarely necessary because this then restricts you from taking the heavy cuts that reduces wear on the cutting edge and on your body too. Once set and cinched tight, load it and set it. If you have followed my videos on YouTube you will already know the best way to do that is not by sighting alone but on a narrow strip of clear wood and watching and listening for the shavings as they emerge, first from one side of the plane and then the other . You can hear the difference in the sound. Once the sounds are the same the iron is set to the sole and is within a fraction of a thou. (I suggest anyone watches the video above as it makes setting up your bench planes very simple and clear.)
Assuming the plane is set thus, the edge of the wood plays its part too on what we are trying to accomplish. Always remember that different woods offer different levels of resilience and indeed compressibility. A heavy dominant hand, arm and shoulder will or can cause the plane to press into the wood and whereas one stroke might make little difference, successive strokes is usually where things go wrong. What happens is the wood compresses under the pressures/weight of the plane and upper body and the surface springs up ever so slightly into the throat which is why we should rely on the plane's sharpness to effect the cut and not overhead bearing down on the plane. A sharp plane pulls itself to the surface. At last people are grasping this reality but it has taken me a long time to get this across. If a plane is miss-set by one thou then ten strokes in the same plane and positioning creates a bias ten times that one thou. I first knock off all of the high spots to get the edge close to straight and, if it is obviously out of square, take off the high side too. But I am not trying to fully square at the stage; just correcting the obvious to get me close to a true starting point.
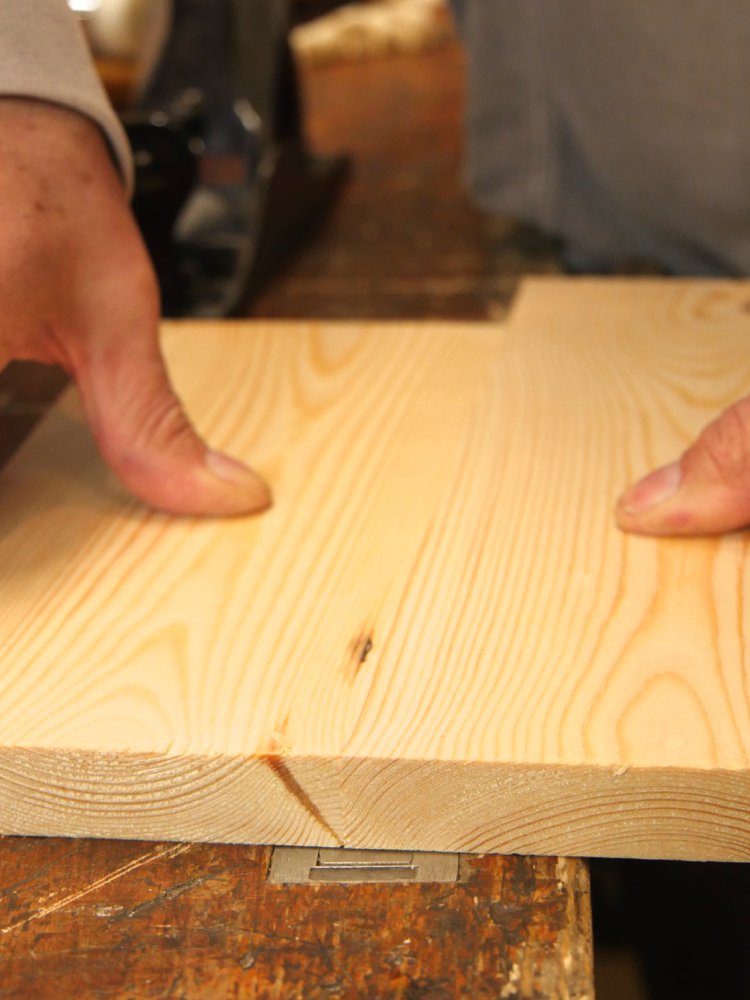
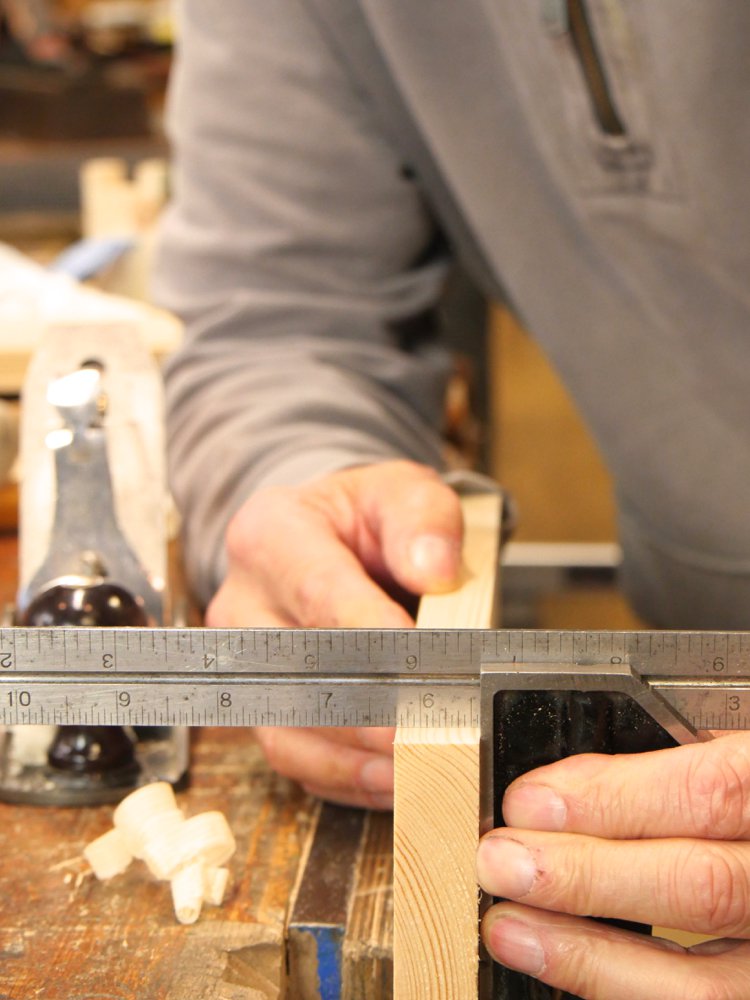
This is the point where we often try to do two things at once and that is square the edge and straighten the edge. Focus first on straightening the edge. You can get this with the #4 just fine by eyeballing along the corner and taking out the high or highs. Instead of taking full length shavings and relying on the sole, start in the centre of the high, take a short swipe and with each stroke elongate the stroke slightly. Keep checking by eyeballing or use a straightedge if you have one. Once you get to what seems straight, back off the iron to take super thins and refine the closing cuts. It is usually best to do two edges together for this as then you can bring the edges together to see if hollow or rounded as it is impossible to create one round and one round using this method. If the edges come together and are indeed gapless the edge must be dead straight.
You can now focus on squareness.
If as you say you are planing out of square this is of course something we all do from time to time no matter how good or experienced we are and we must correct this bias. Most books, articles and information says you must lean into the work to oppose the bias by tilting the plane but that rarely really ever works in my view. It does seem logical but it is rarely controllable and not really the thing to do.
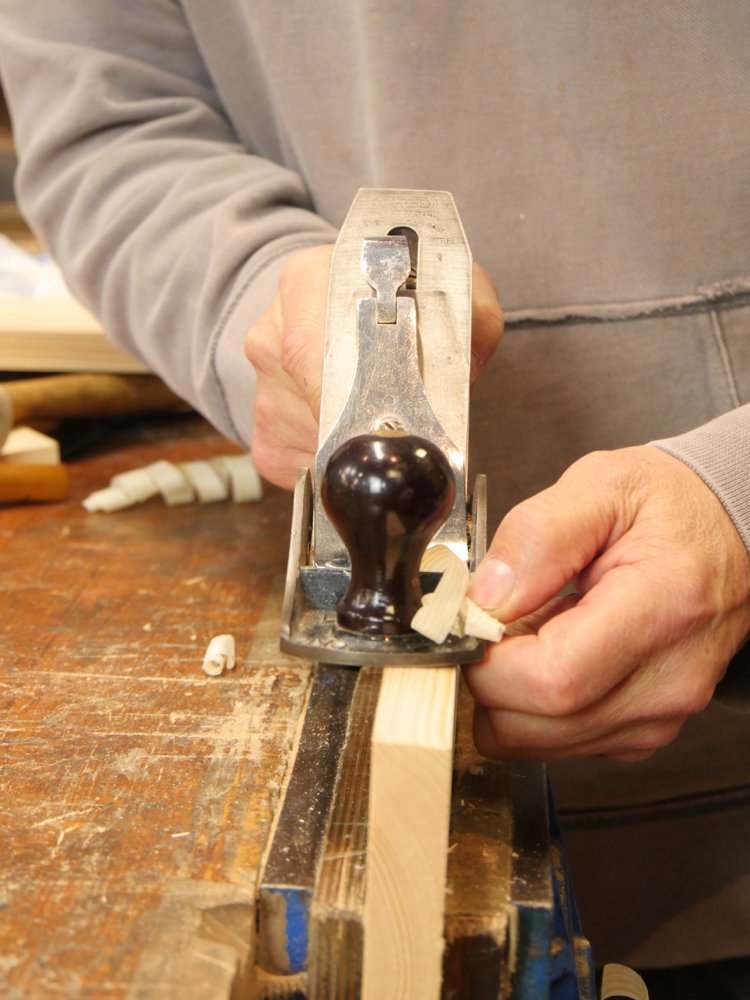
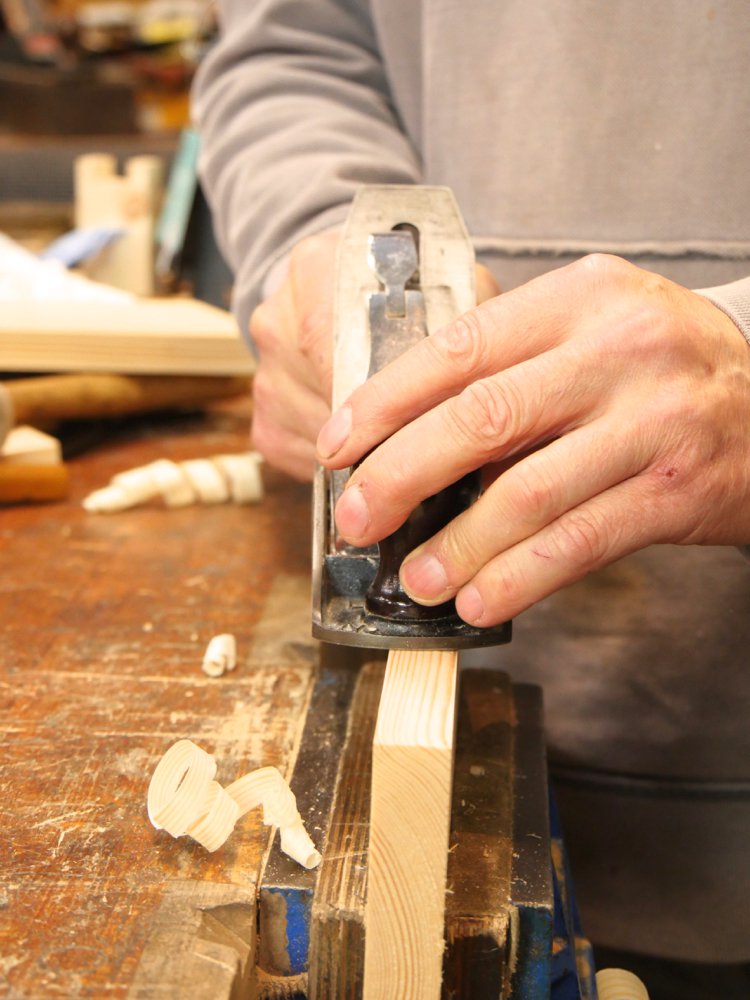
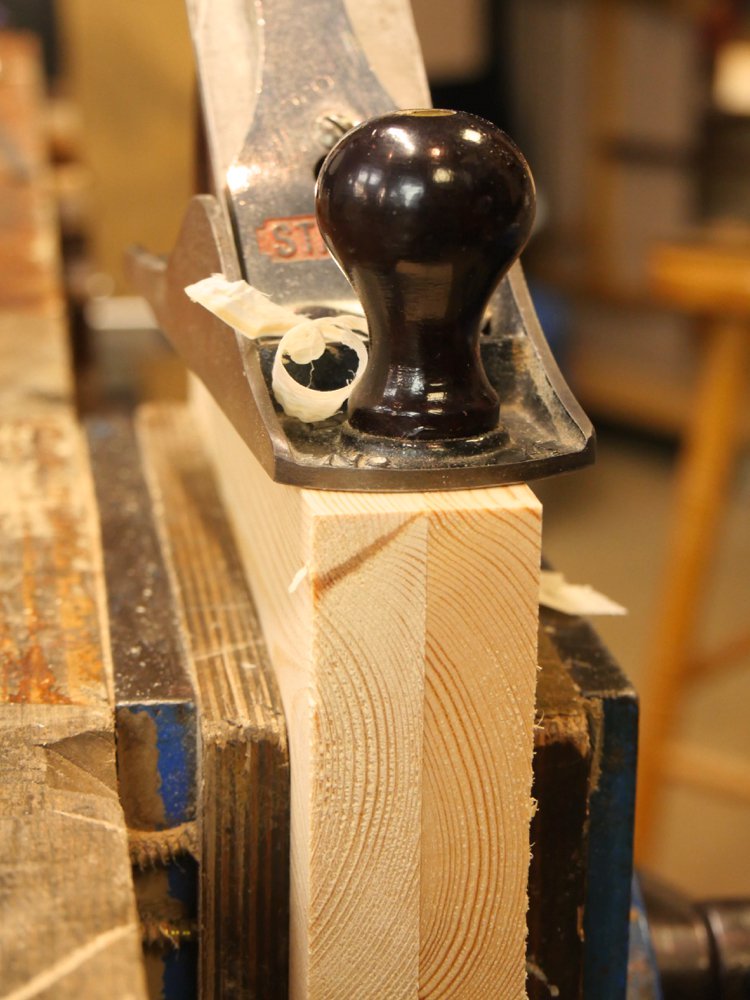
In the reality of life, what we craftsmen do is move the plane all the way over to the high side so that half the plane overhangs on that side (see above). Moving the plane along the high, keeping it aligned with the forefinger underneath the planes sole as shown, we remove a shaving or two and then check to see how close we are. We continue this way until the wood is squared and then on the final stroke we centre the plane and take a full width full length stroke to establish the dead flatness and dead straightness we want.
Now then, that said, if you want to you can add extra width to provide a carrier for the plane and that is simply adding say a 2 x 4 to the wood and clamping it in place. This serves as a training aid. I have used this with belt sanders for sanding the ends and sides of tables to stop the sander from tilting out of square or indeed digging in unevenly.
Comments ()