Sharpening traditional spokeshaves
Question:
How do I sharpen my wooden spokeshave, Paul?
I have a wooden spokeshave and want to use it but with the two prongs sticking up I can’t really work out how to sharpen it. How do you sharpen yours?
Answer:
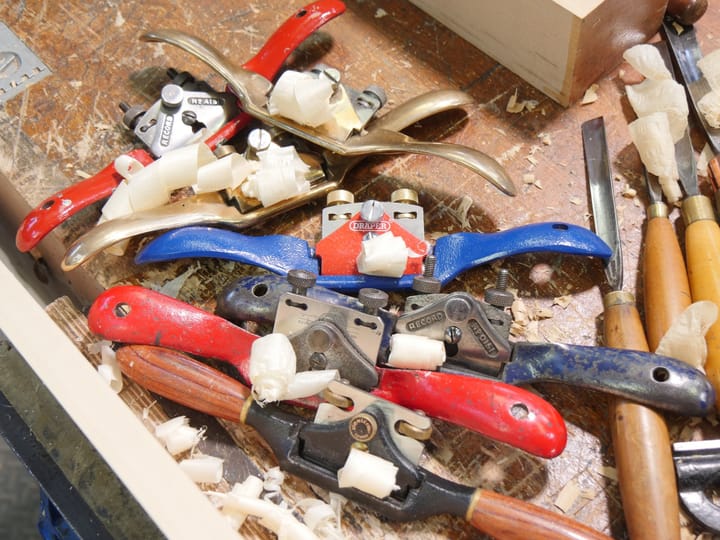
This question drops through my letterbox often enough to need an answer and the answer to it is really very simple. This spokeshave is quite different to the all metal cast spokeshaves but you can also use this method for those too.
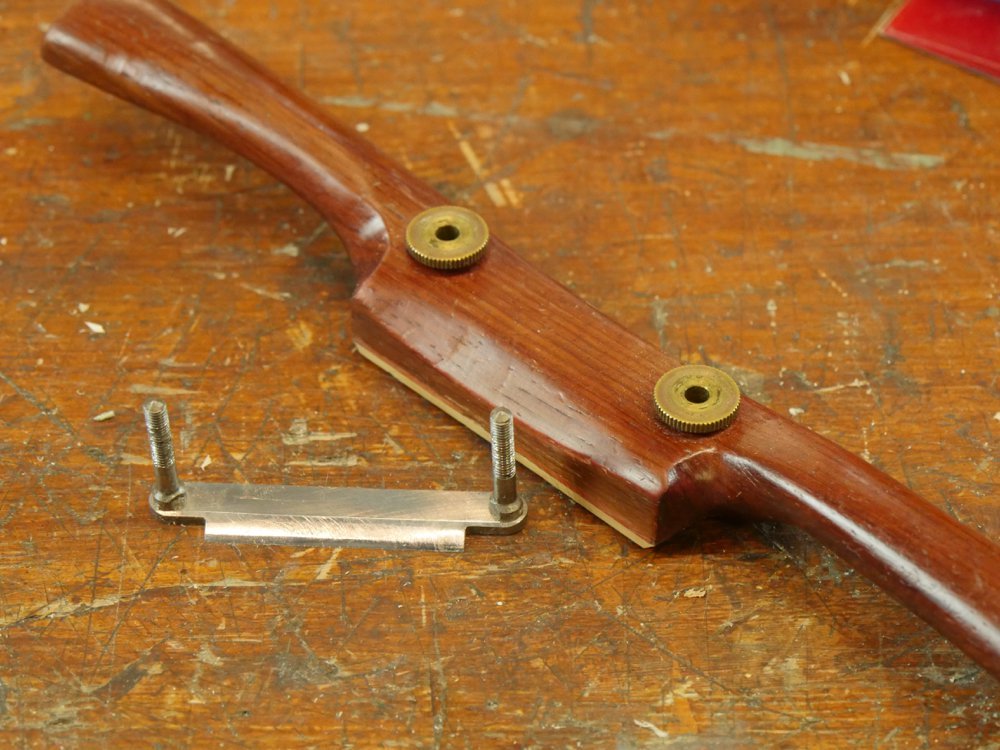
The shaping of the blacksmithed spokeshave is radically different than modern ones because the blade aspect has a relief in the underside that forms the sole of what is effectively a side-handled plane and the top edge also has a deep relief too. This is not always the case as some of the spokeshave blades have had these features abraded out of them or were made without them. The sharpening issues are the same however. Relieving the back or bevel edge of the spokeshave blade eased the work of the user and meant he had only 1/3rd or less of steel to remove when sharpening. The relief to the flat face or underside of the iron meant a much more effective cut. If spokeshaves don’t have this feature then the front edge of the spokeshave itself has a relief that allows the spokeshave to tilt and so provide relief that way. As I said, both methods work just fine.

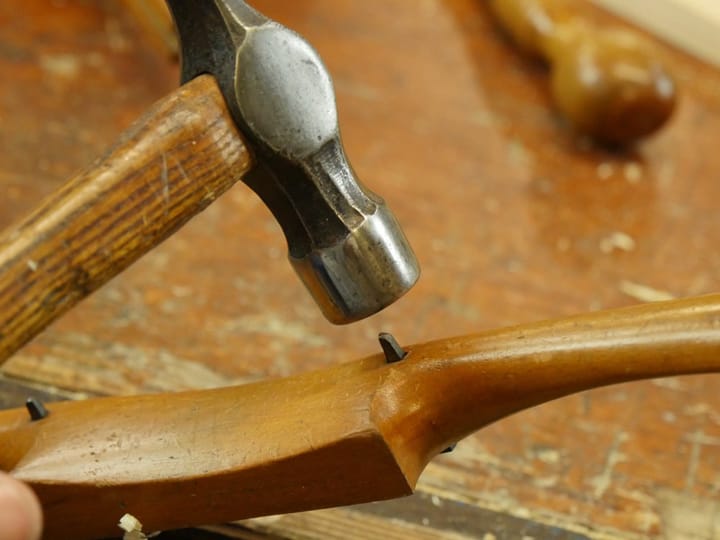
Remove the cutting iron by tapping the tops of the tangs equally and without straining them too much against the wood.
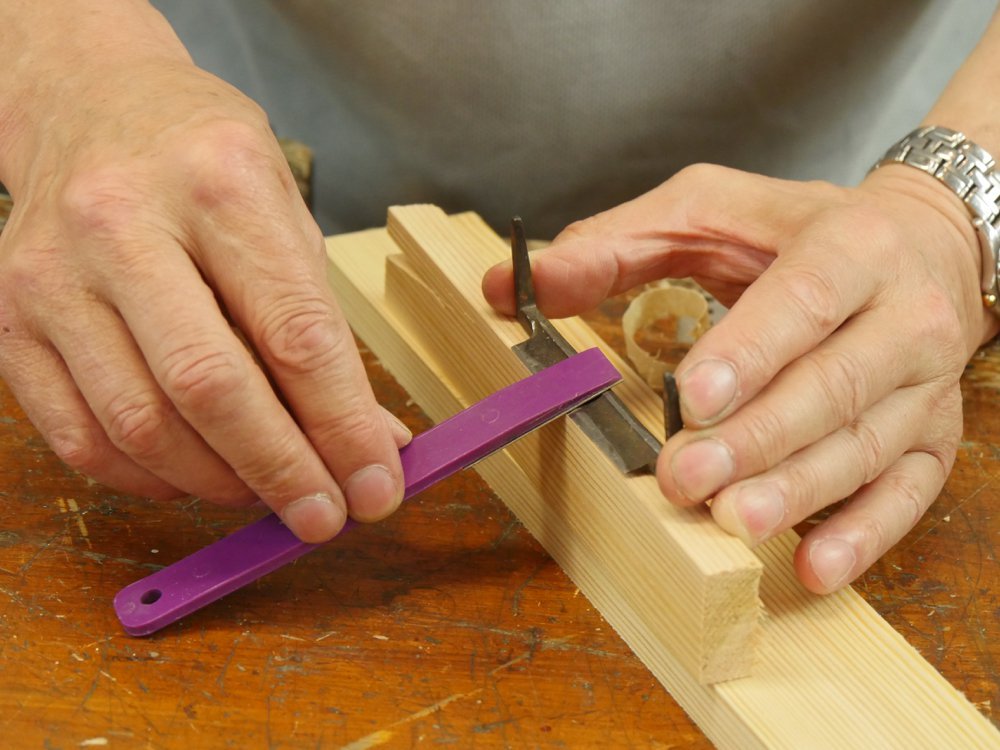
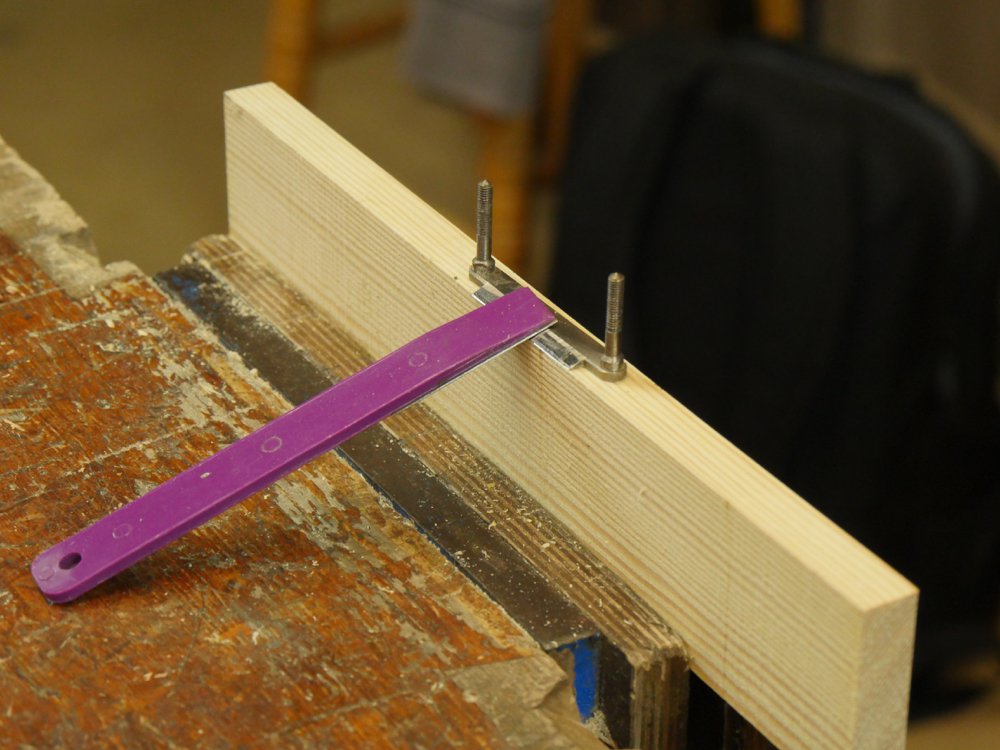
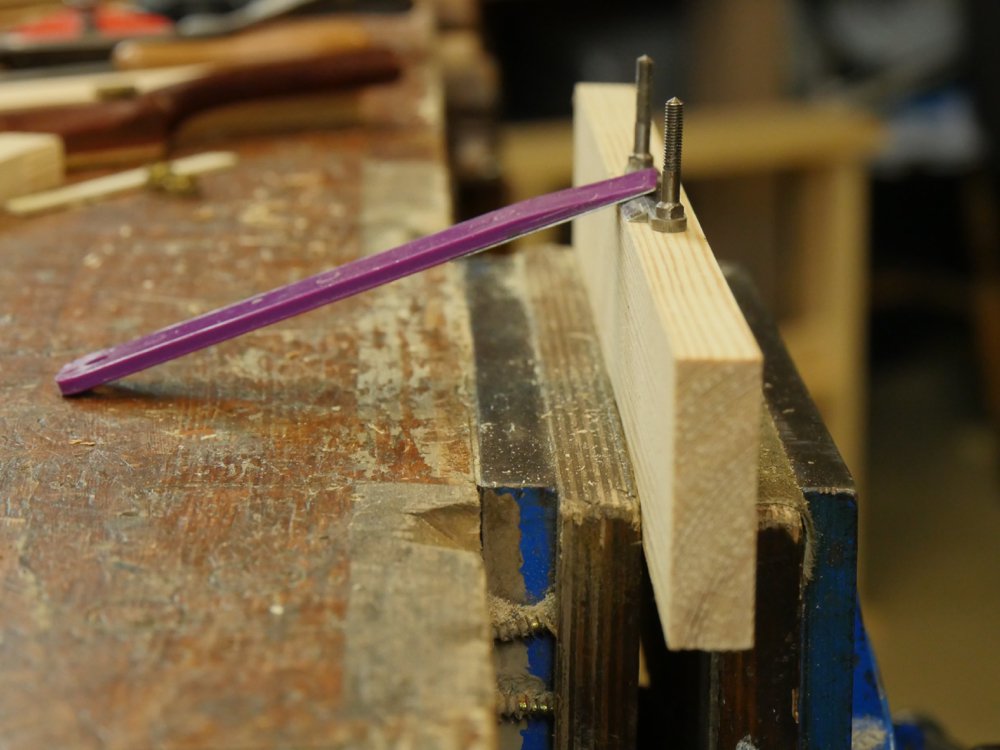
To establish the bevel angle jack the blade up onto a block or blocks as shown. Notice the end of the hone registers to the workbench top for the semi-fixed angle. By moving the paddle sharpener called a diamond hone in or out you can match the angle exactly. You are shooting for 25-30-degrees, but often you can just follow the existing angle unless it is way to steep or shallow. If it is too steep you can abrade the back edge of the bevel with coarse sandpaper glued to a paddle of wood. If it's too shallow you can establish a new bevel of 25-30-degrees quite quickly and it need not be very wide at all. 2mm is plenty. Gradually, through subsequent sharpenings, the whole bevel will be abraded bit there is no advantage to doing that early.
I am using EZE-Lap diamond hones in coarse (purple), fine (red) and superfine (blue) grits. If cost or availability is an issue you can use sandpaper adhered to a wooden paddle. The diamond hones work exceptionally well for this as they remove steel fast and they last for hundreds of sharpenings too.
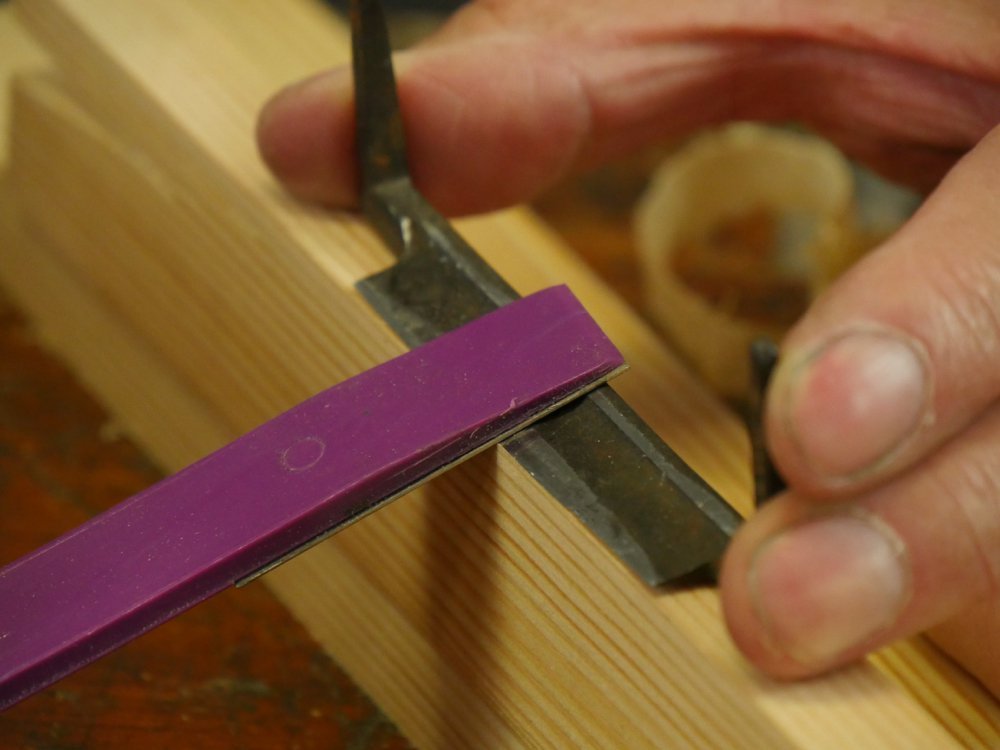
With the cutting iron at the right height I move the hone in elongated elliptical rotations to abrade at the first level until I feel a small burr to the opposite side of the cutter on the flat face edge.

I change abrasive to the finer level and repeat the procedure without altering the angle at all. This polishes out the bevel further.
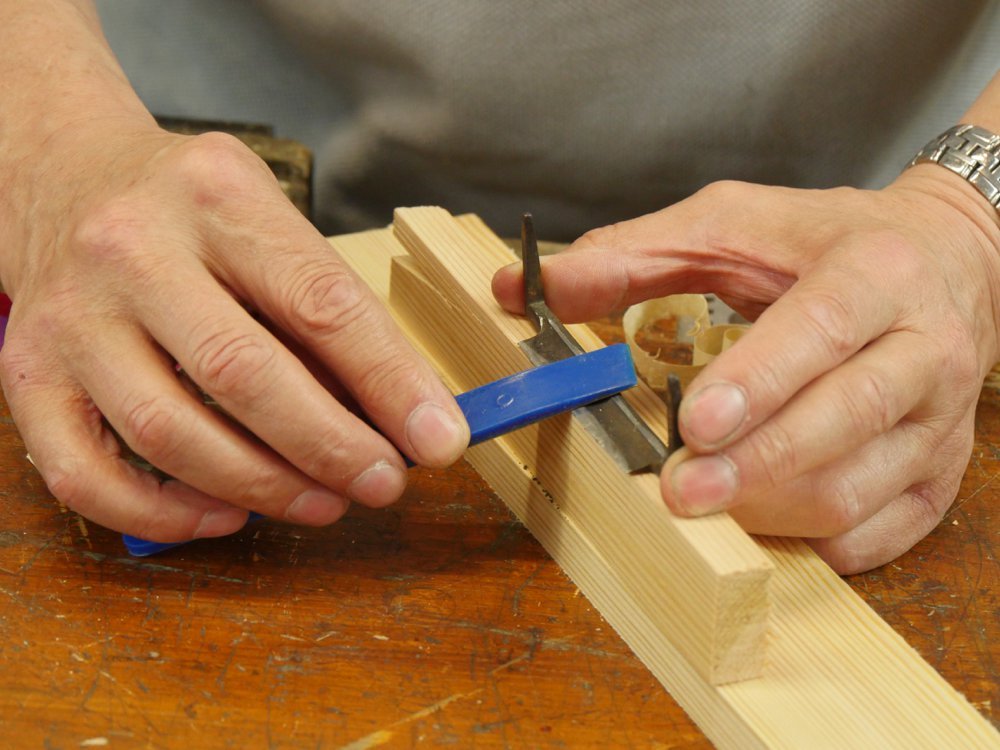
On the finest diamond hone I remove the mid-level striations to more polish out the surface and this means I am ready for the last level, which abrasive compound charged to a flat stick.

I charge the flat face of the stick of wood with chromium oxide buffing compound. This is not absolutely necessary because the spokeshave will work at this level. But it is so little extra to do this it's worth doing.
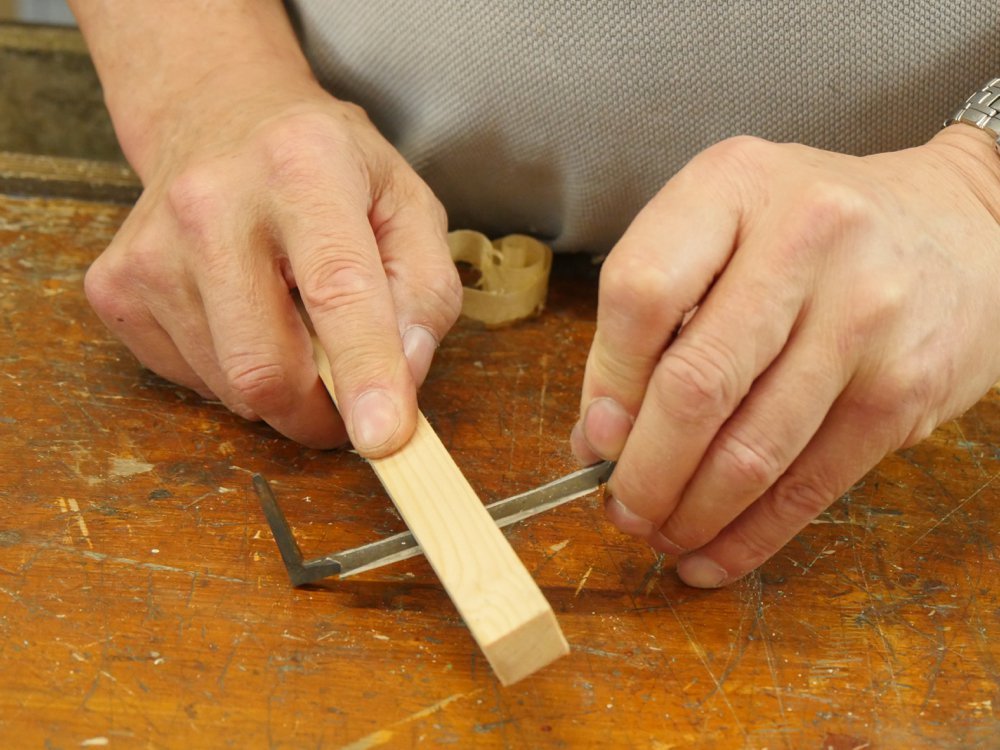
Pushing only polishes the bevel perfectly and gives me the ultimate edge.
I have already done the same to the wider surface on the reverse in previous honings and of course with wood being abrasive the face rarely needs any more work after the original initialising process.

I use the same paddle to work the flat face just enough to release the wire edge.
I use the same system for my Veritas (and others of this type) cutting iron too. This saves me removing the threaded tangs and makes the process effective and fast.
Everything else is the same as above, except...
...here, instead of blocking up, I am using the vise to hold my platform to the right height instead of blocking up to height.
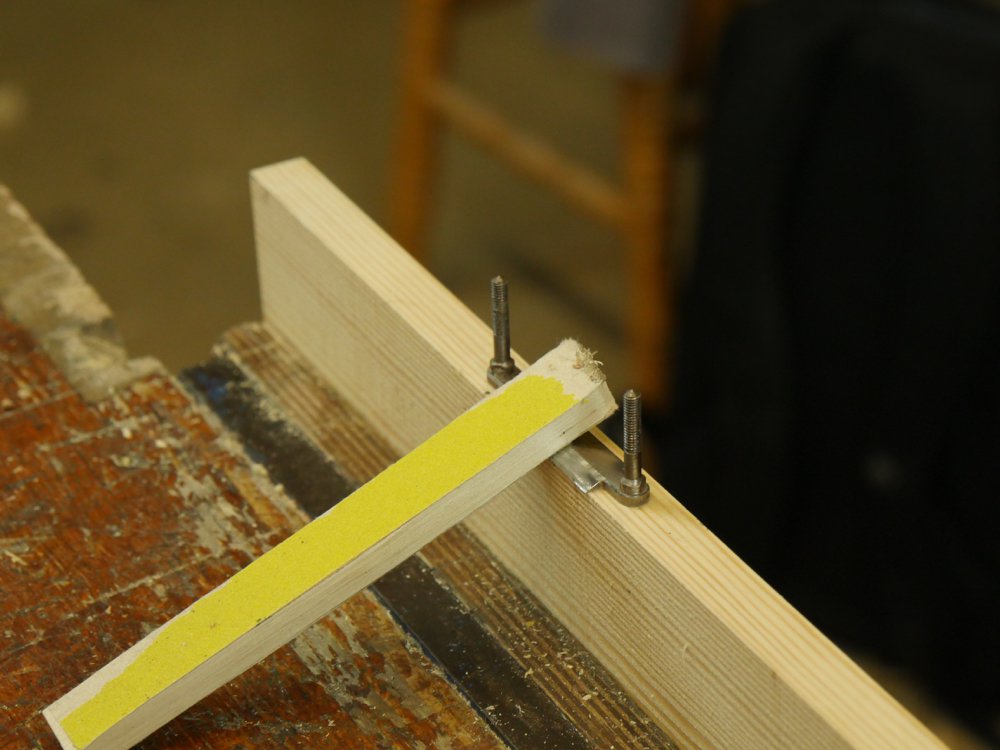
Oh, and remember to use paddles with abrasive paper of you don't have access to diamond hones.
Tomorrow we can install and set the cutting iron.
Comments ()