Setting your plane after sharpening
Question:
Paul -
I really dread having to remove the irons from my hand planes for sharpening as I have so much trouble getting them back in so that they make consistent shaving both in thickness and width (i.e. square). So far it takes me at least 30 minutes (sometimes longer) testing on a scrap of wood them measuring the thickness and looking at the cut across the width.
I have looked at your blog entries and did not find one that answered that question (at least by the titles). So do you have a blog that addresses that? If not can you tell me how to accomplish re-setting the iron for consistent cuts without taking forever (I know there has to be a way or no one would mess with hand planes).
Regards,
Terry
Answer:
In times past tool makers sent planes out just barely assembled and wrapped in wax paper in a box, unsharpened but ground and quite badly finished too. Both Stanley, Record and others lowered the bar to whatever they could get away with, which is as low as it gets. Post-war engineering in tool producing entities came to an all time low certainly UK makers Record and Stanley UK left the door wide open because of their lethargy and diminished standards. New planemakers saw the flawed standards and entered the market with a well set and sharpened plane straight out of the box that, unless the postal service were really in a bad mood, could be applied to the wood and give the pristine shaving people were looking for. Whereas setting the standard was important, it served mostly to prove that the plane was in good working condition when it arrived, but reality hits of course when it needs sharpening. All that really happened was learning to sharpen and reinstall the plane iron and set it well was postponed for a few days. So what is it that’s so intimidating?
First of all, new or old, planes shouldn’t really be feared and the best way to counter any fear is a determination to fully understand what is intimidating you.
I can assume from your letter that you have mastered sharpening and that the plane is fettled for flatness and so on, so it is purely a loading and setting issue and I realise that this is indeed a miserable thing when you try hard and have no one to show you. Let me run through what I do in the day to day of life when I have just sharpened my plane iron and I am ready for reassembly:
1) I make sure that I hone my cutting iron as near to square as possible.
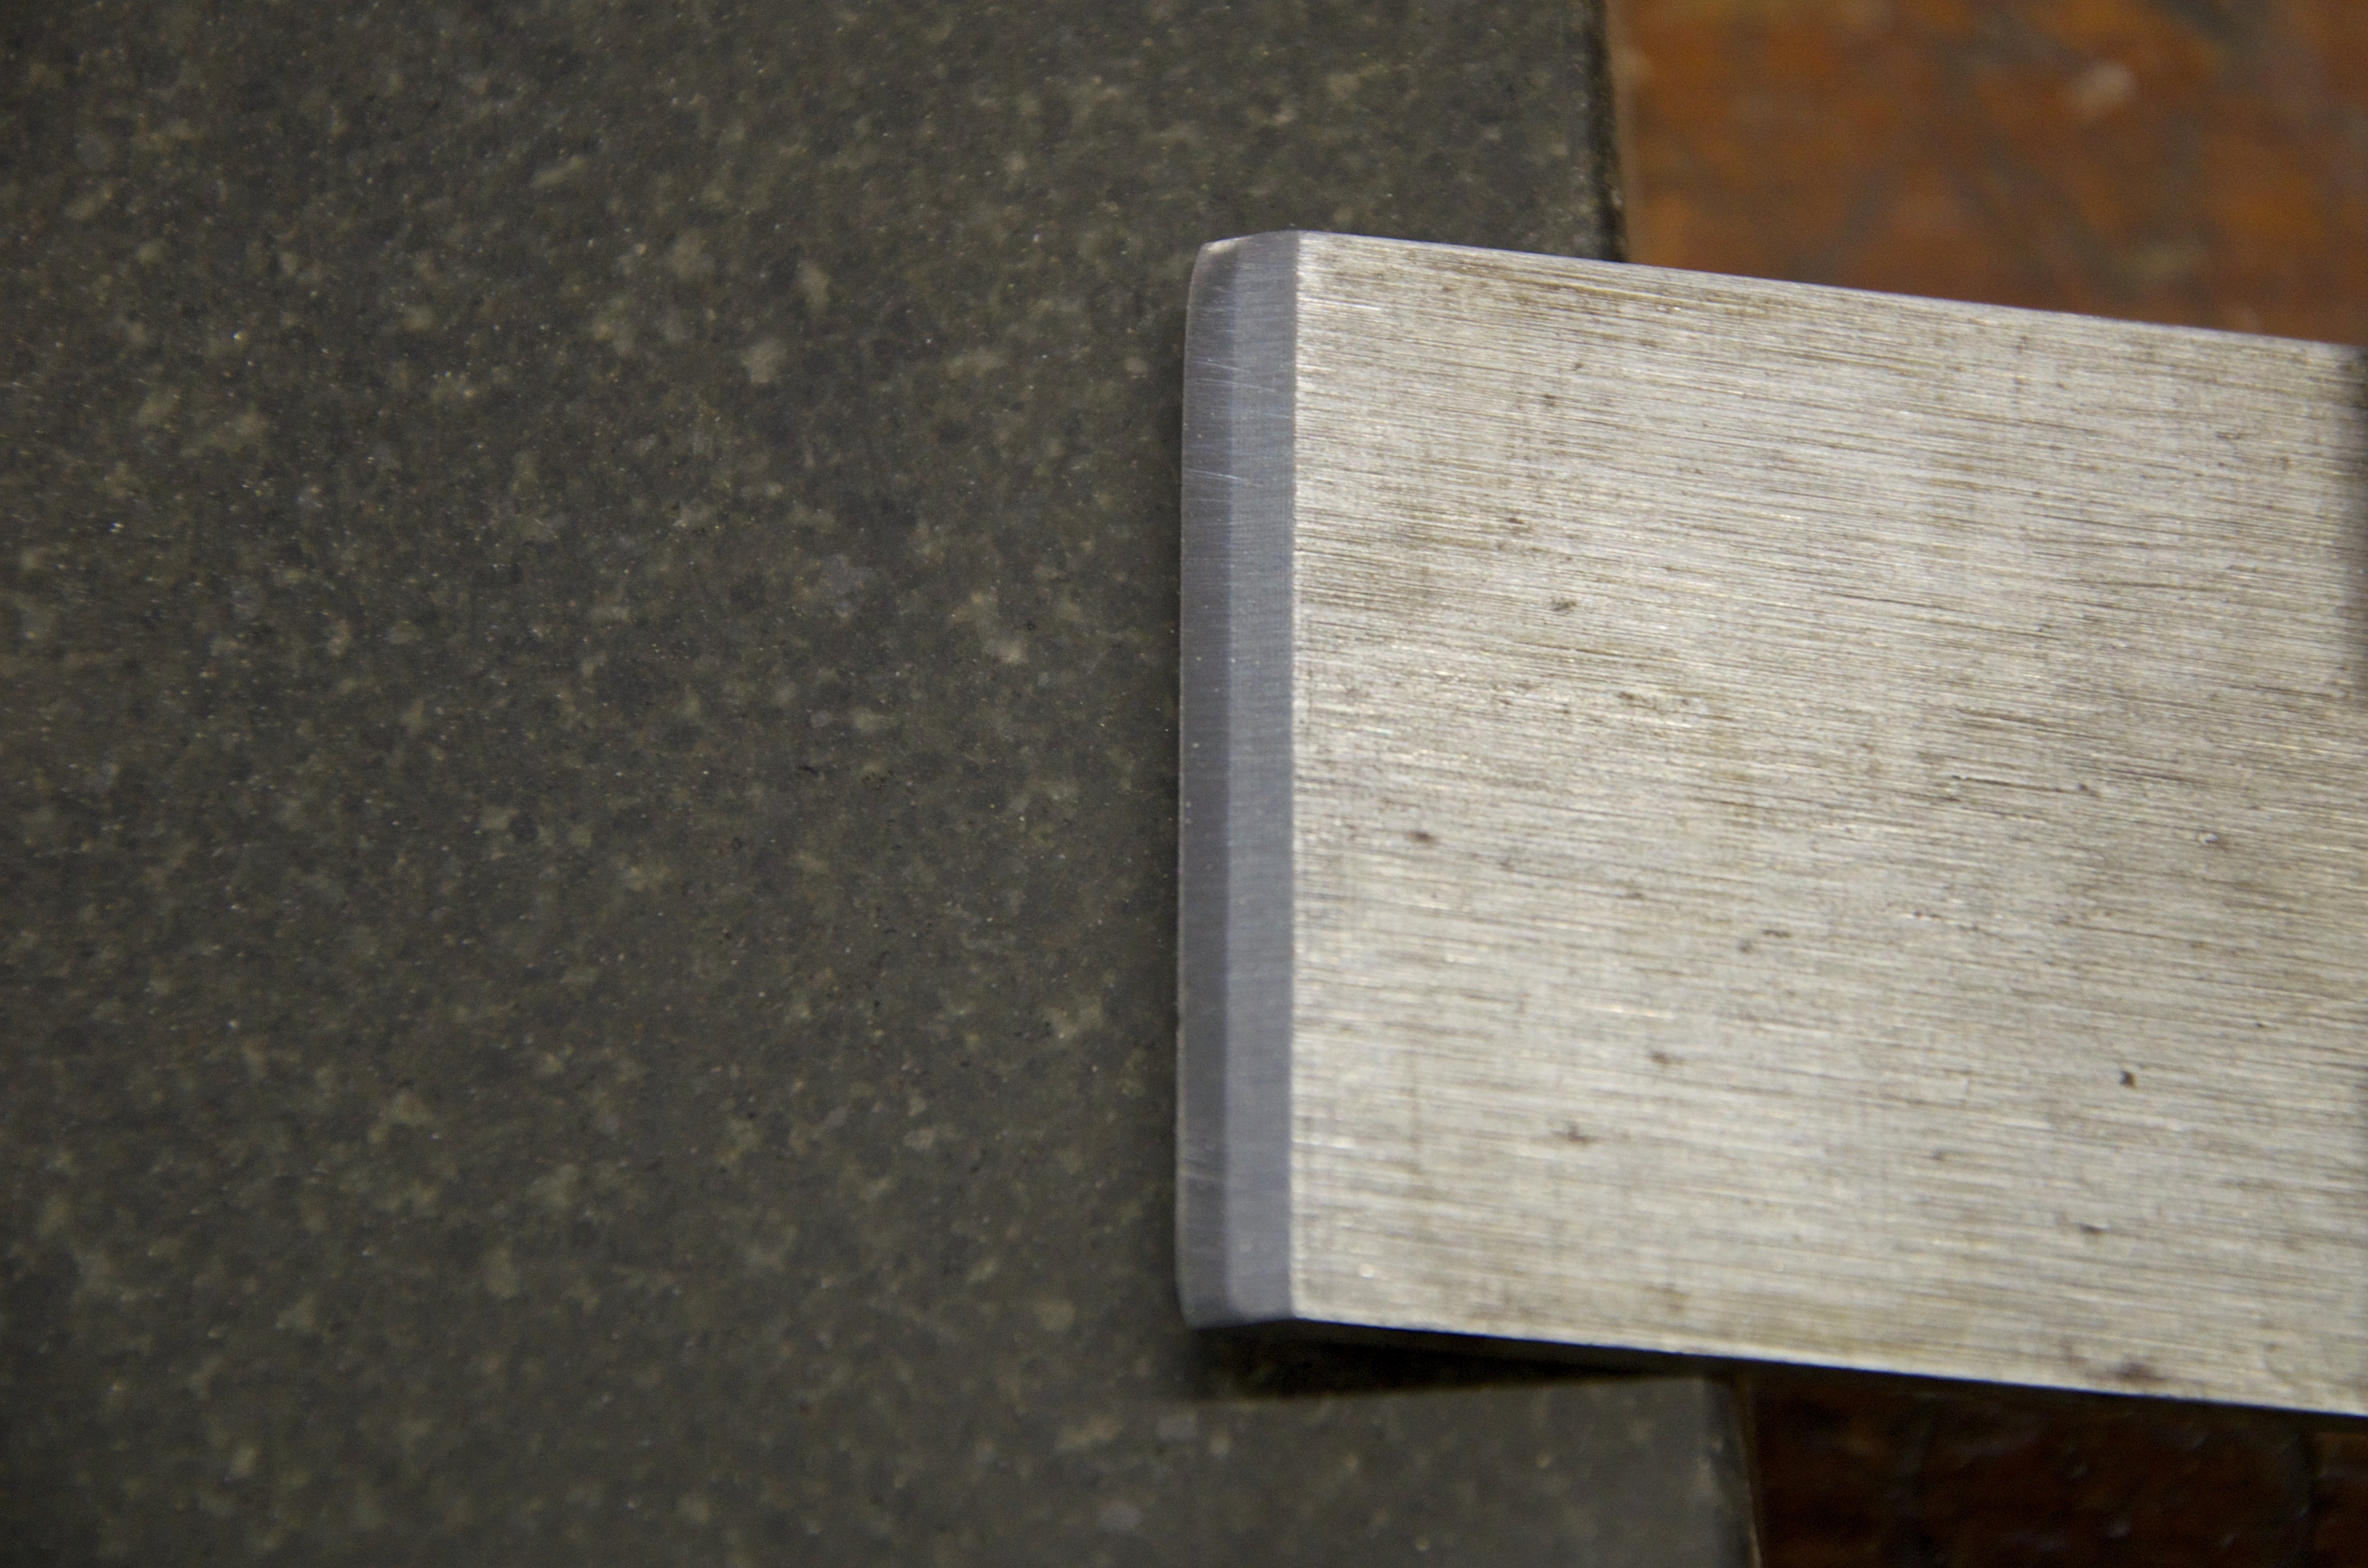
2) I make sure that the bevel of the cutting edge is never more than 30-degrees and certainly not less than 30 at the tip because the latter here makes the edge weaker.
3) I make sure all the moving parts are periodically oiled with 3-in-One or similar light machine oil. Oil ensures easier movement and serves also as a dampener.
4) I make sure the face of the frog is periodically surface-smeared with same. This eases the swivel action when the blade edge is aligned via the lateral adjustment lever.
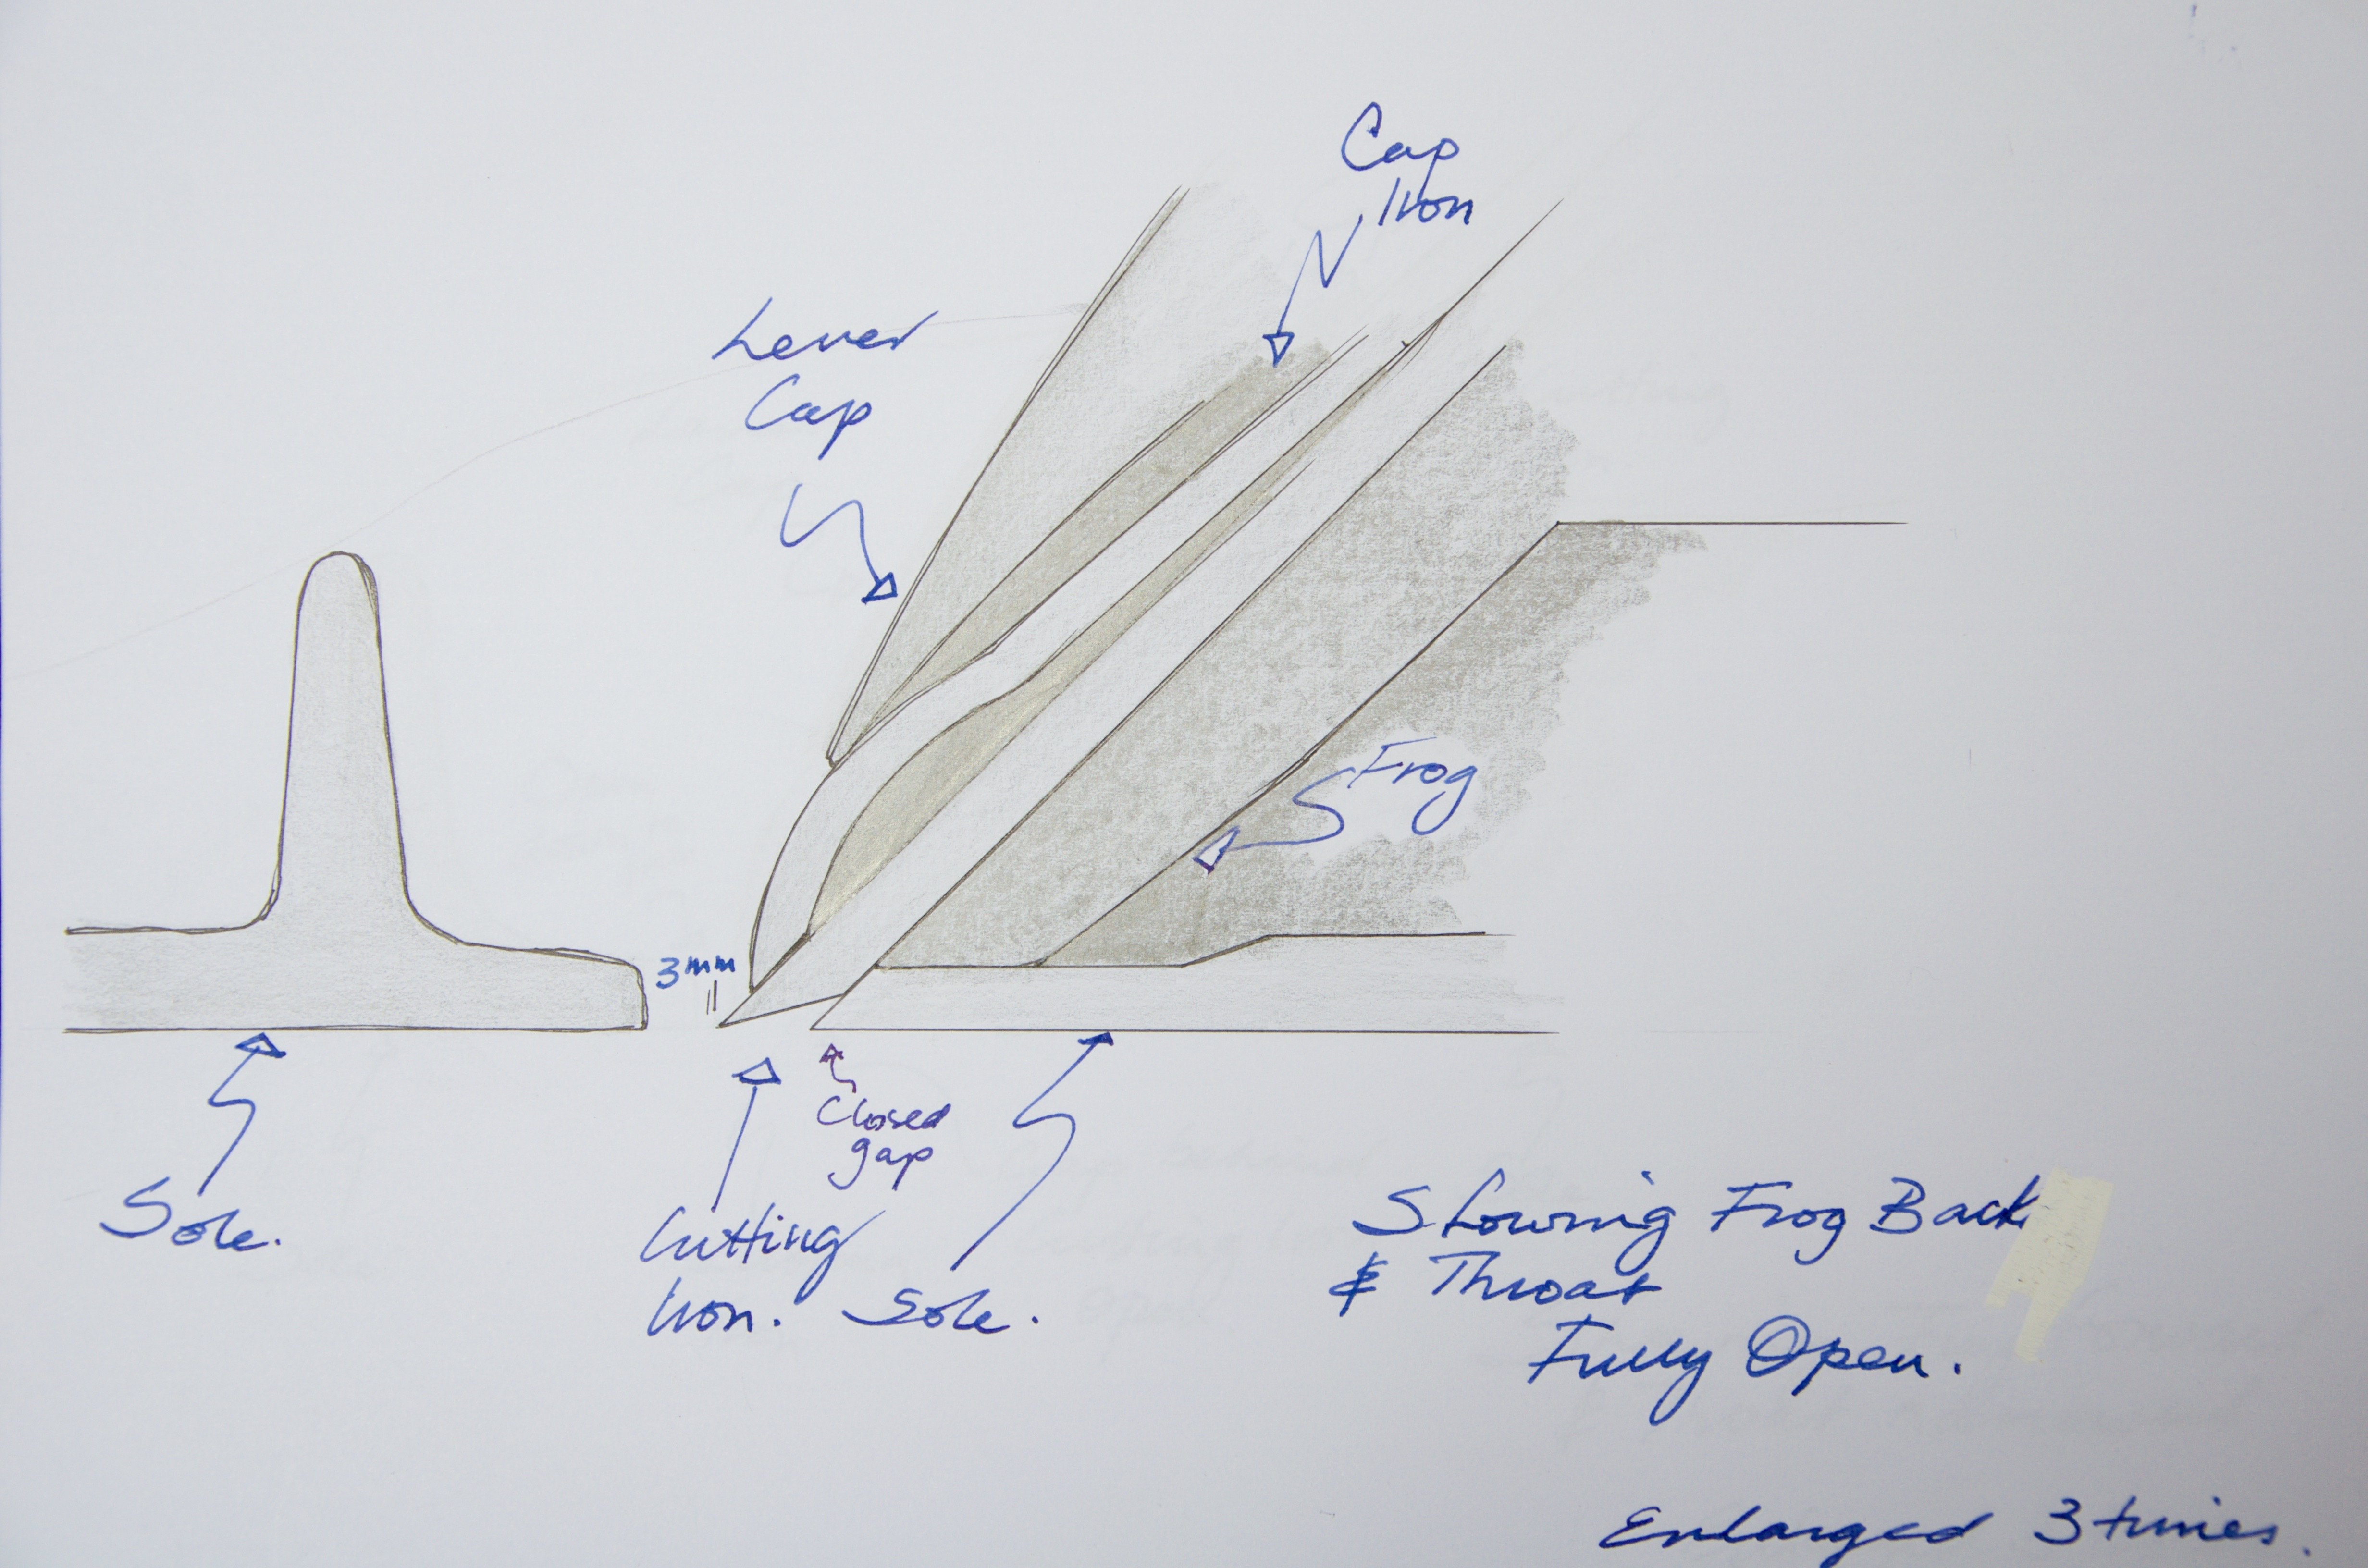
5) I make sure that the frog aligns level with the fore-edge of the rear aspect of the sole. This is a good position for general work which is almost all work.
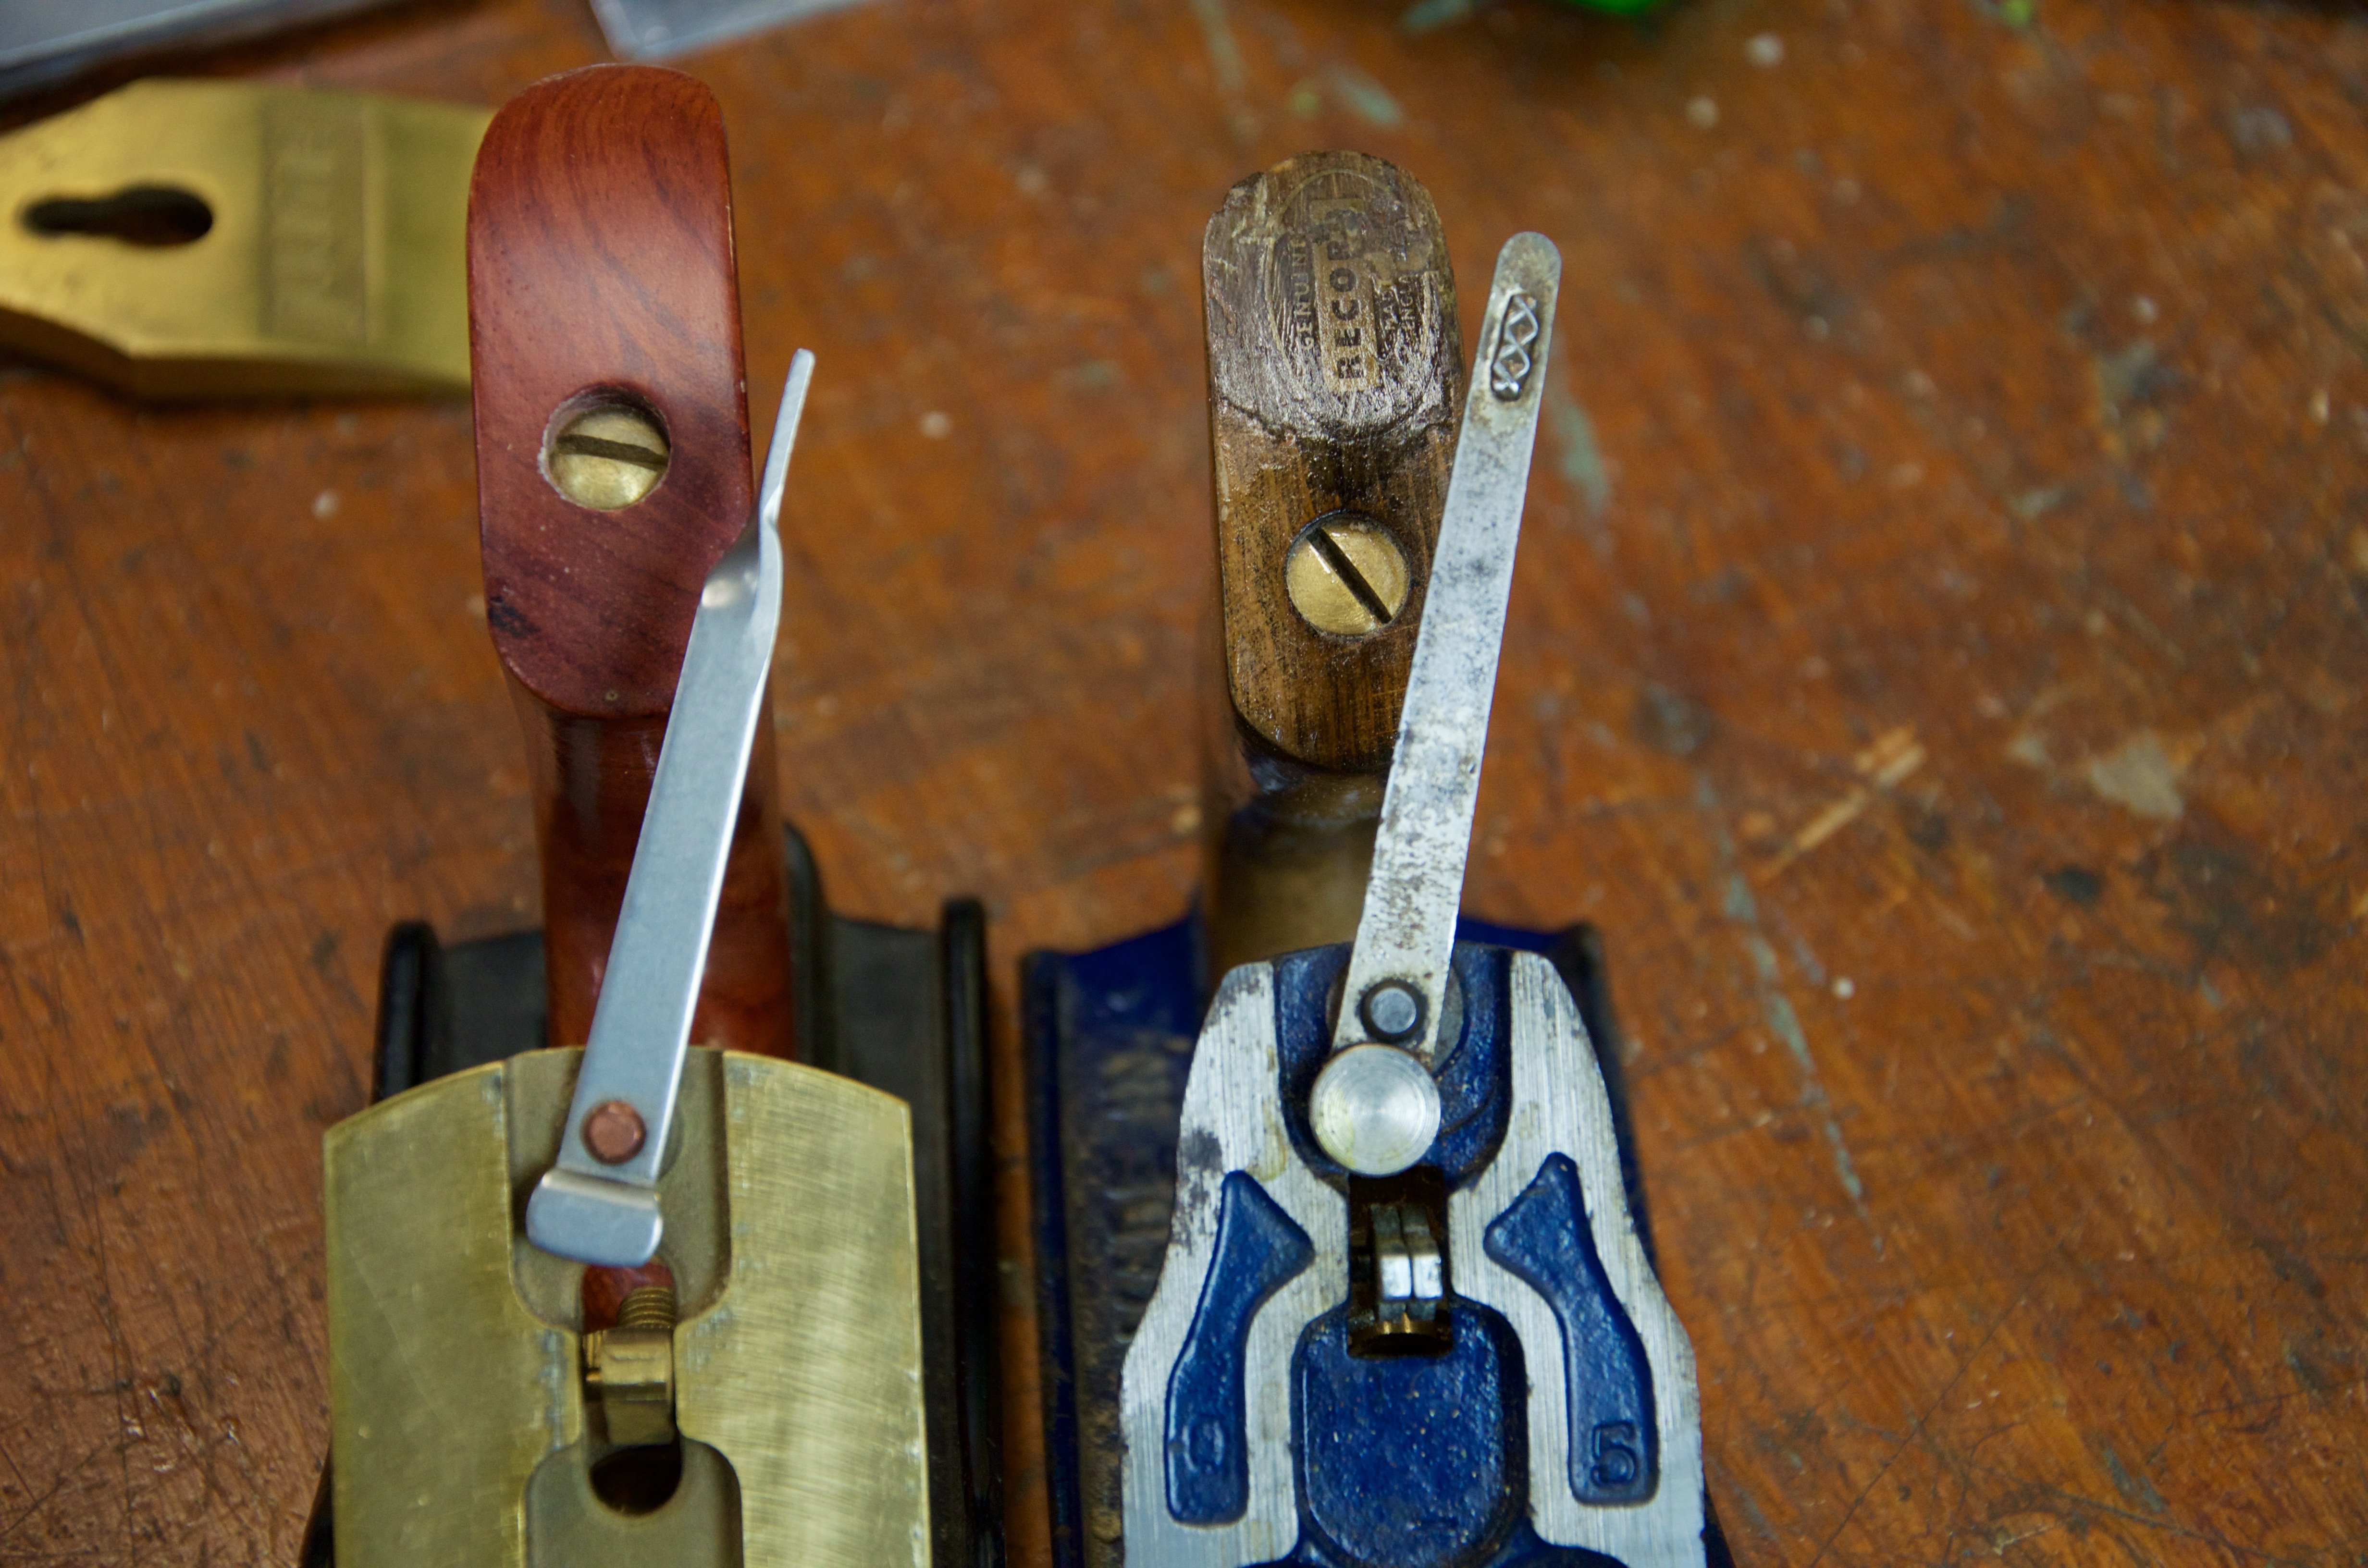
6) I make sure that the cap iron (chip breaker USA) is set about 2mm from the cutting edge. Some say set finer but I have never felt or seen any advantage to this.
7) I cinch the setscrew and lock the cap iron and the cutting iron together. Make sure there is no slippage as the screw tightens the two.
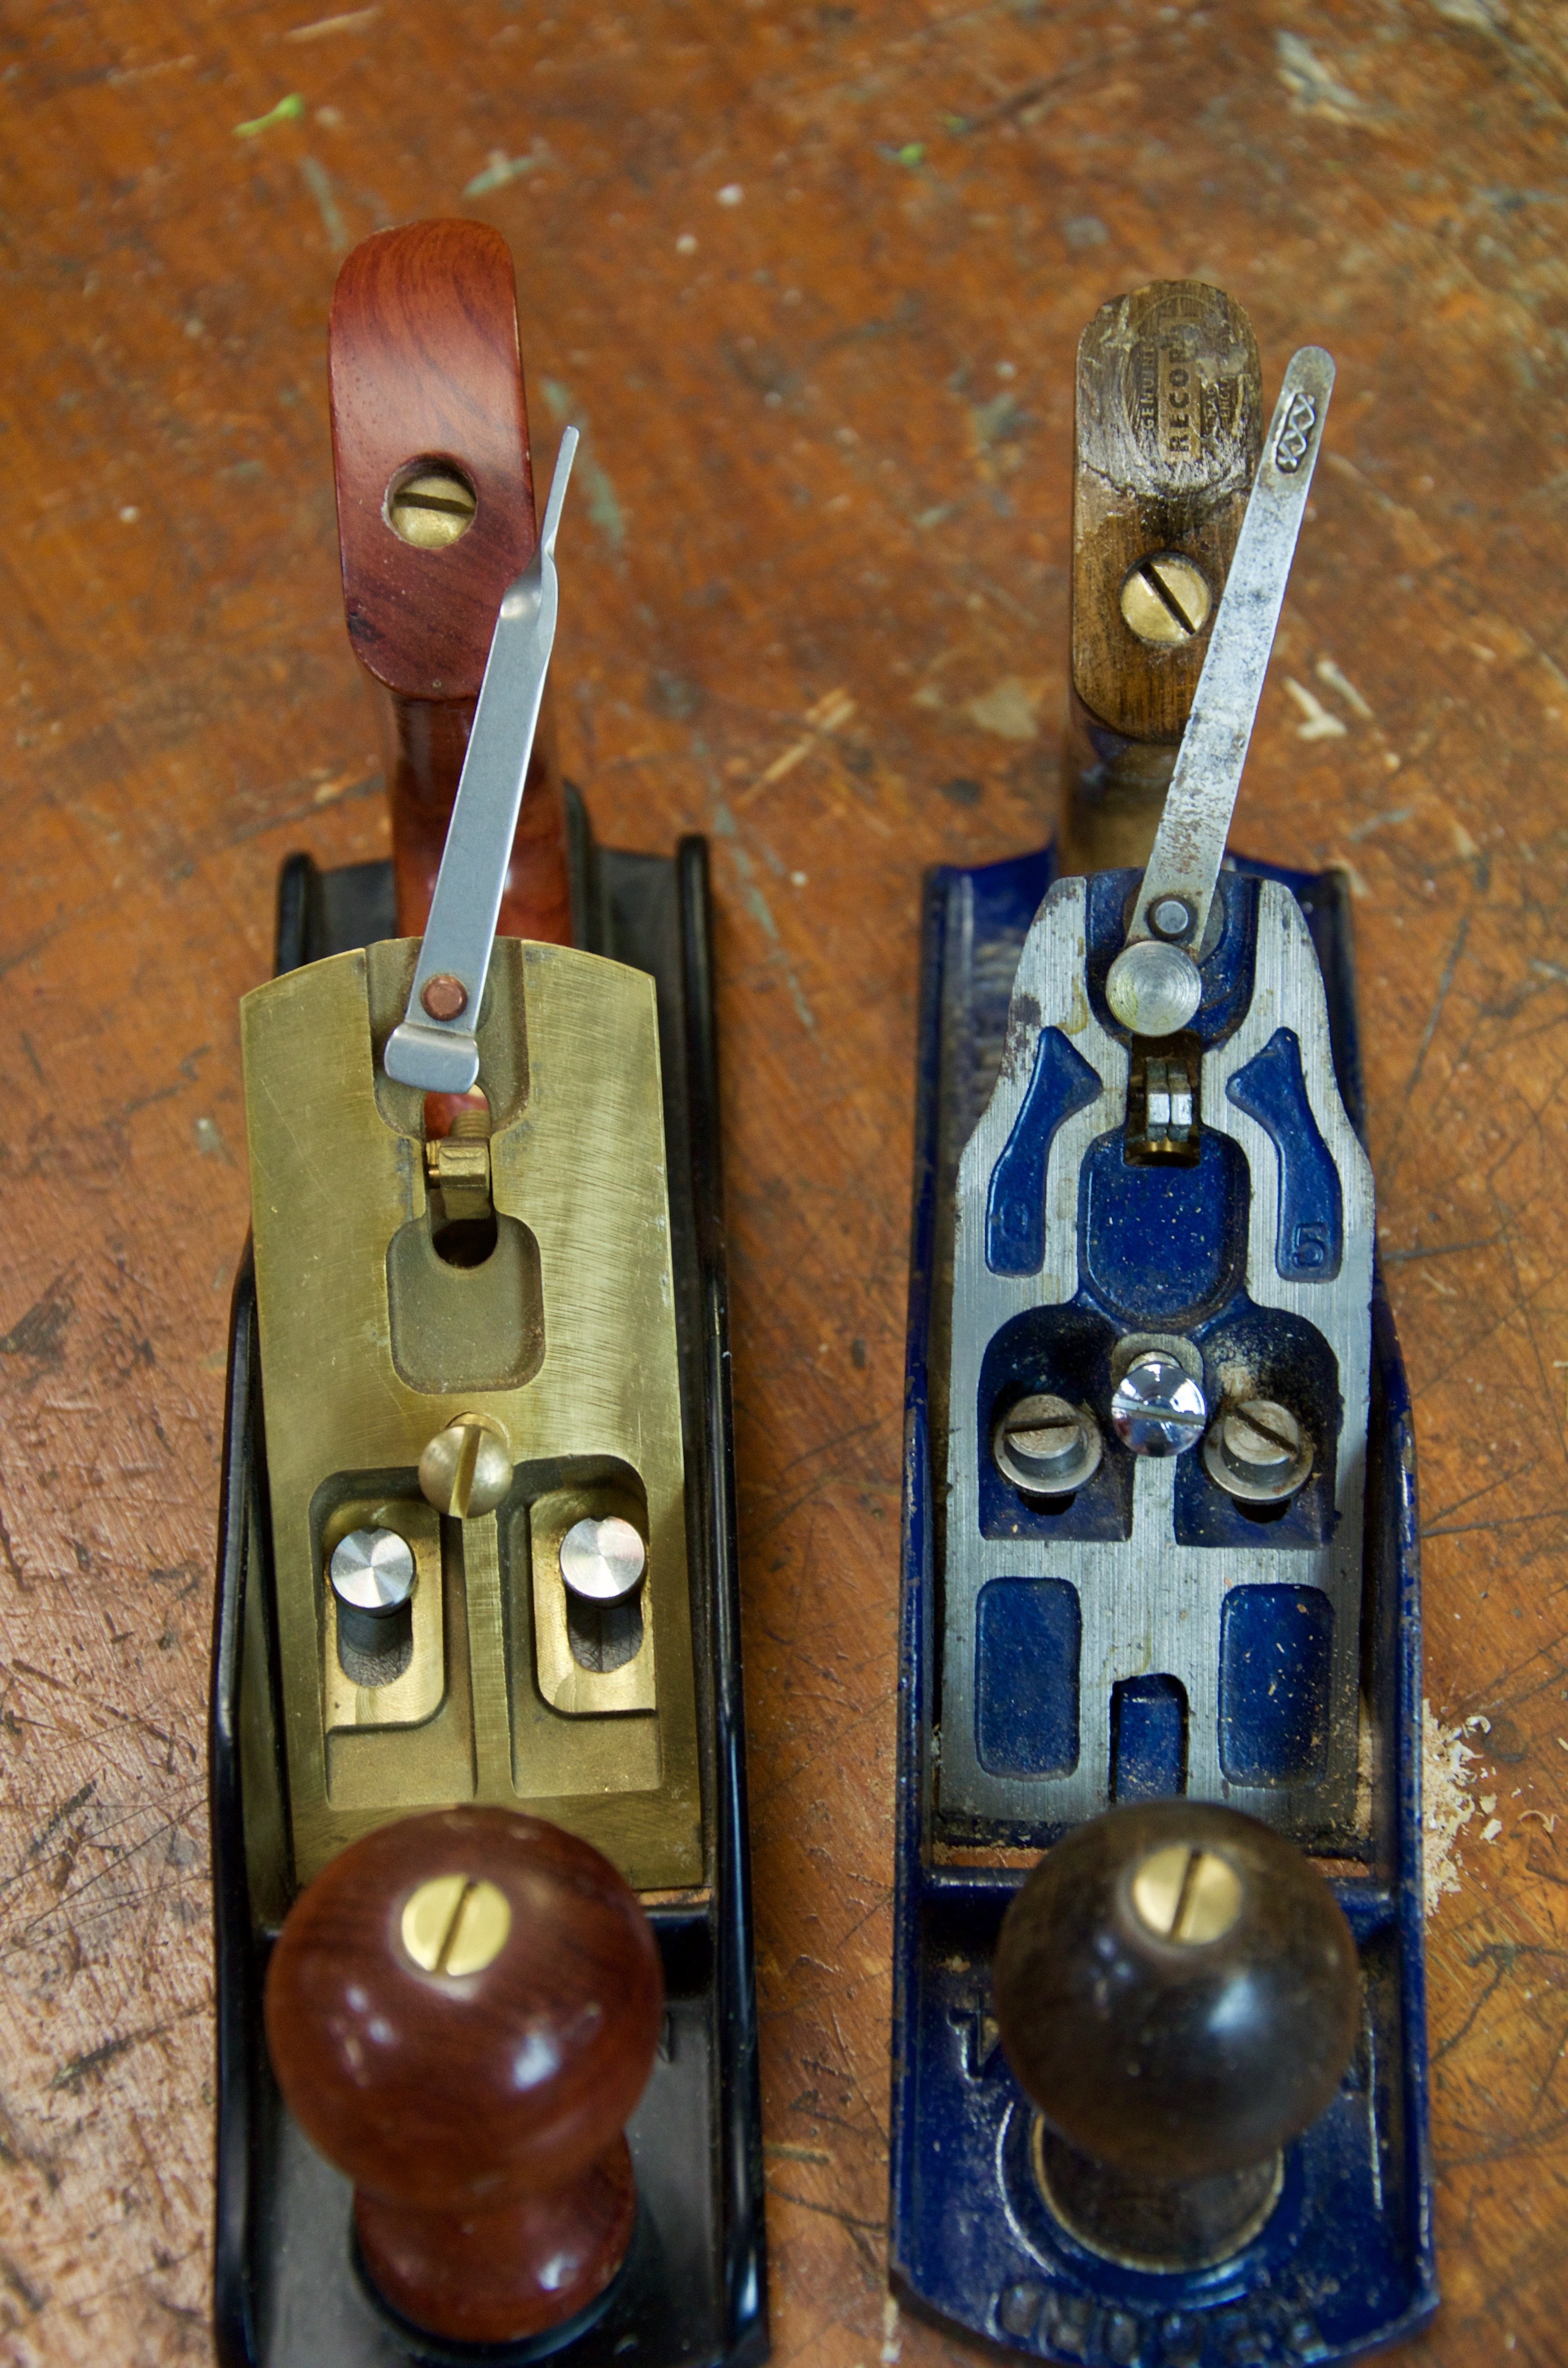
8) Drop the cutting iron assembly onto the frog and move laterally so that it seats onto the rectangular end of the yoke of the depth adjuster and also they lateral adjuster sets in between the long slot in the plane iron.
9) Install the lever cap.
10) Pull the lever from its open position toward lockdown but don’t lockdown. Feel for the pressure. There should be some pressure but not a two handed fist grip to get it down. It should be a fairly solid thumb pressure. More makes it too tight and immoveable and less makes it move around.
11) Back the iron into the plane using the adjustment wheel and winding anticlockwise. Using your finger tips (carefully), feel for the cutting edge very lightly to see if, one, you can feel it, two, how much. If you can’t feel it, that’s fine. If you can, feel for how evenly set it feels. If it's uneven move the lateral adjustment lever until it feels and sights evenly and once it seems even back the depth off until the iron disappears into the body of the plane so no protrusion through the sole. You can also flip the plane over and sight the alignment for close parallel.
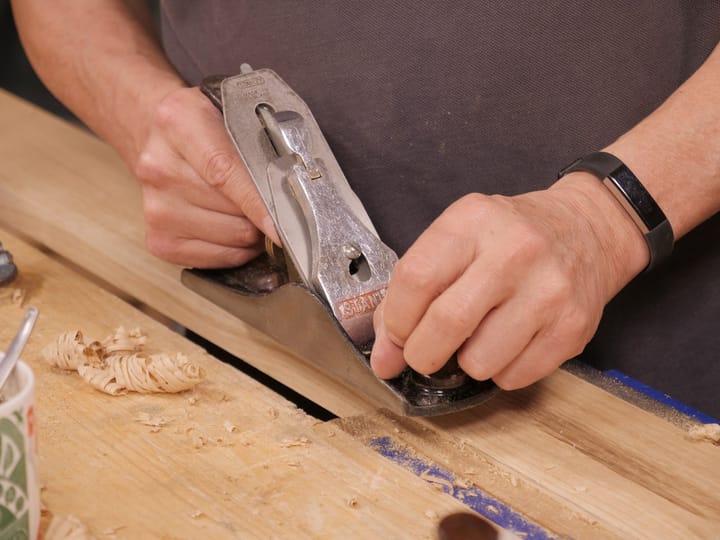
12) Place the plane on the edge of a 1/2” piece of straight-grained pine with no wild grain or knots and held tightly in the vise. Push the plane forward moving from one side to the other to see if any shaving comes up. There should be none. If there is, tweak the lateral adjuster toward the side where a shaving came up. This should even out the alignment of the plane iron cutting edge parallel to the sole, but will not set the depth of cut as we want it yet. It’s purely a step towards that at this stage.
13) With no shaving emitted, turn the depth adjuster 1/2 a turn, no more, clockwise and try again moving the plane from side to side each time. Keep turning 1/2 a turn until you see a shaving somewhere in the throat. Once a shaving appears you can start micro-adjusting from here on.
14) When the first hint of a shaving appears, turn the adjuster 1/4 of a turn, take another shaving from the same side and then move the plane from that side of the wood to the other with each stroke to see where the shavings come up from.
15) If one side only, move the lateral adjustment lever towards that side where the shaving is, but only a small amount. Sometimes this small amount is only a millimetre and sometimes its. several millimetres. This swivels the cutting iron assembly on its pivot point and aligns the cutting edge to the sole.
16) Advance the depth of cut by only 1/4 turns until a shaving appears on both sides of the plane throat. Adjust, take a pass and then repeat until the shaving comes.Quarter turns will rarely be too deep on normal work. One eighth turn for finer work.
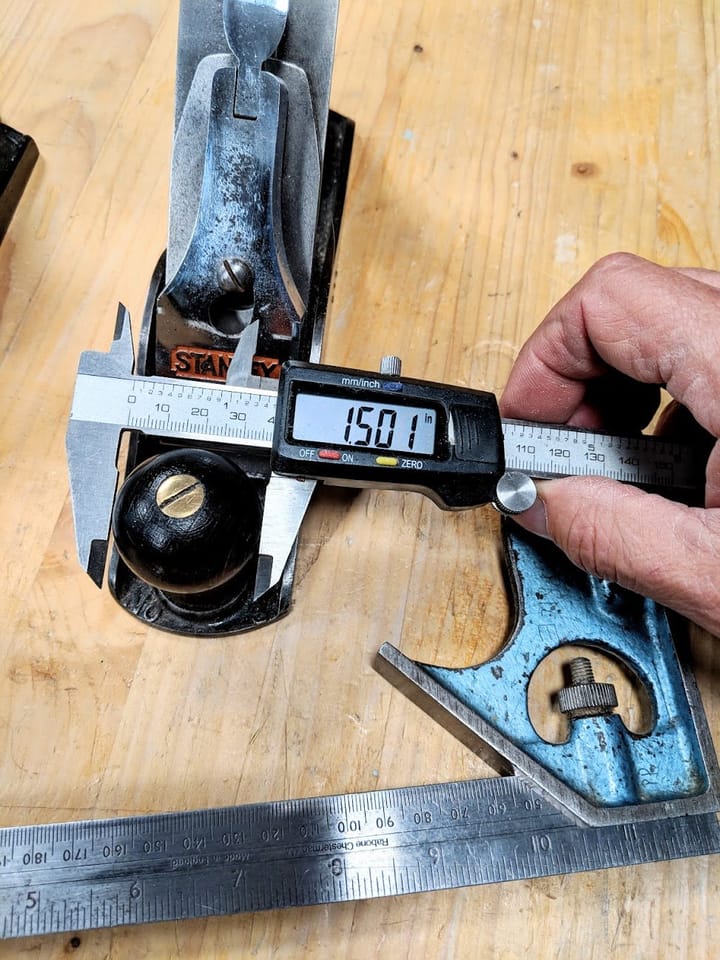
17) Once you have a shaving both sides, look at the shavings to see how closely even they seem to one another to you. Now take a shaving on one side and then the other and, and this is very important, ‘listen’ for the thickness. That may be the first time you’ve ever heard someone say, “ listen to the thickness”, but I hope every time you set your plane in future you will here me saying, “listen for the thickness.” Listening tells you most accurately how thick the shavings are, and successive strokes between the two sides of the iron will tell you within one thousandth and less how close you are to thickness evenness. It’s as accurate as using a vernier, so forget measuring thicknesses.
18) You must tweak the lateral adjuster to perfect the thickness. Once set, the depth of cut will be maintained and it’s purely a question of now setting to the depth you want.
Reading through this post takes longer than the actual process of doing it. From start to finish, and I just added this to the post following the timing of it, it took me 38 seconds.

Comments ()