Changing the Shape of Ash Chisel Handles
Ash Chisel Handles Are Still Great
Wooden handles are always preferred to plastic ones, at least that's how I feel and that's how most people feel, and and yet manufacturers of mass-market chisels seem intent on supplying only plastic handled ones with metal caps to protect the plastic from hammer blows. Plastic does of course hold up well, but, somehow, seeing the steel caps to me seems as though it launches the user into a different sphere of workmanship and I hear carpenters from time to time say they like the metal capped ones “because you can really beat on them and you can’t hurt them.”
On the other hand you might see boxwood as the choice wood for chisels because it’s so hard and long-lasting yet I think I see more chisels with split boxwood handles than any other. So, that begs the question, just what is the difference and the best choice wood for chisel handles?
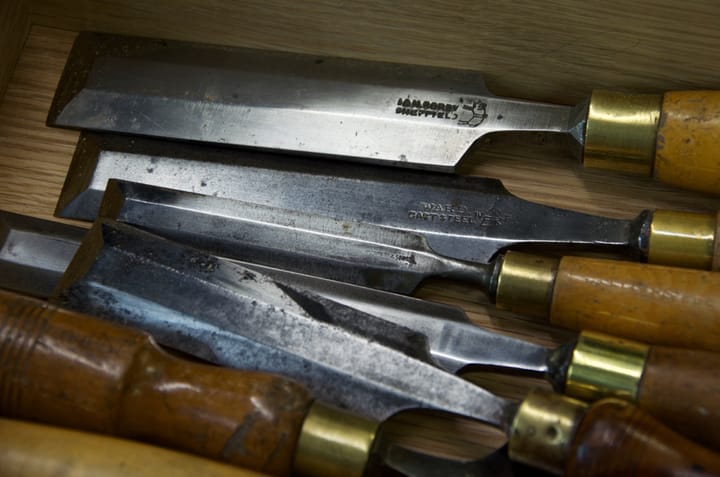
Traditionally the three most common handles for chisels in the UK has always been beech, ash and box. These three woods reach back centuries with ash being the most common handle of all. In the US there’s an additional choice and that’s hornbeam which is extremely durable too.
Recently, John bought an Ashley Iles gouge that split with the first gentle blow and it took a bit of reconciling with the supplier and with Ashley Iles too. Eventually he got it sorted but ended up doing all the replacement work himself, but that's another story. That said, tanged chisels still prove the best choice for me as we do in fact spend as much time pulling on the handle as we do shoving and tapping it. That means we want the handle to stay connected to the metal bit and tangs do stay holding inside the handle better than sockets. Don’t be deceived by thinking socketed chisels don’t split and tanged handles always do either. Socketed chisels have their own annoying problems too. If you do decide to buy an old chisel and the handle is not split, the chances are it will never split. You must decide if you want a handle that stays in place or one that pops out of the socket regularly enough to be annoying.
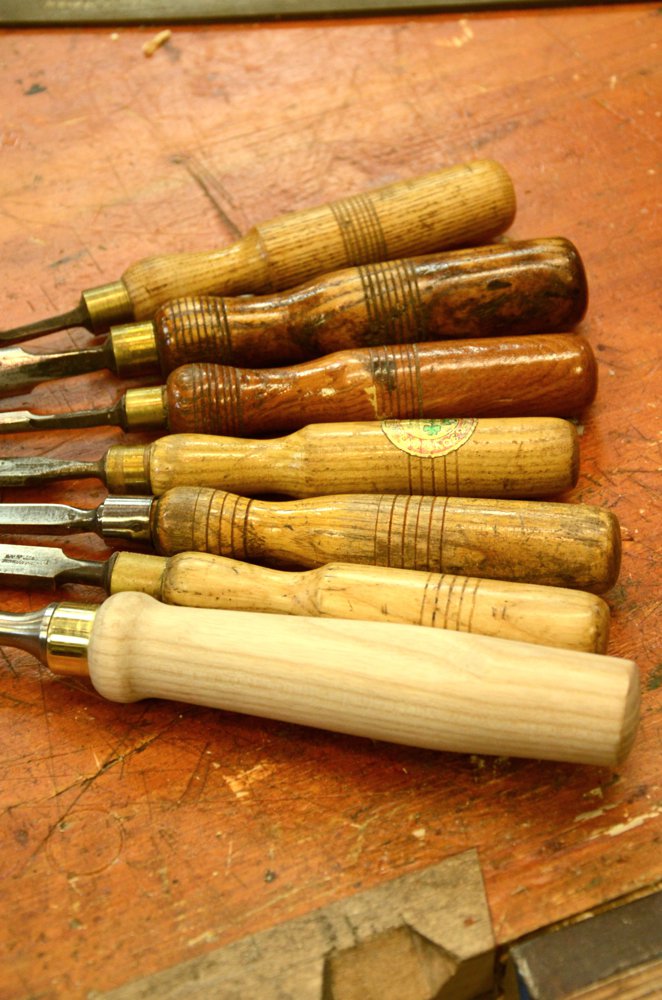
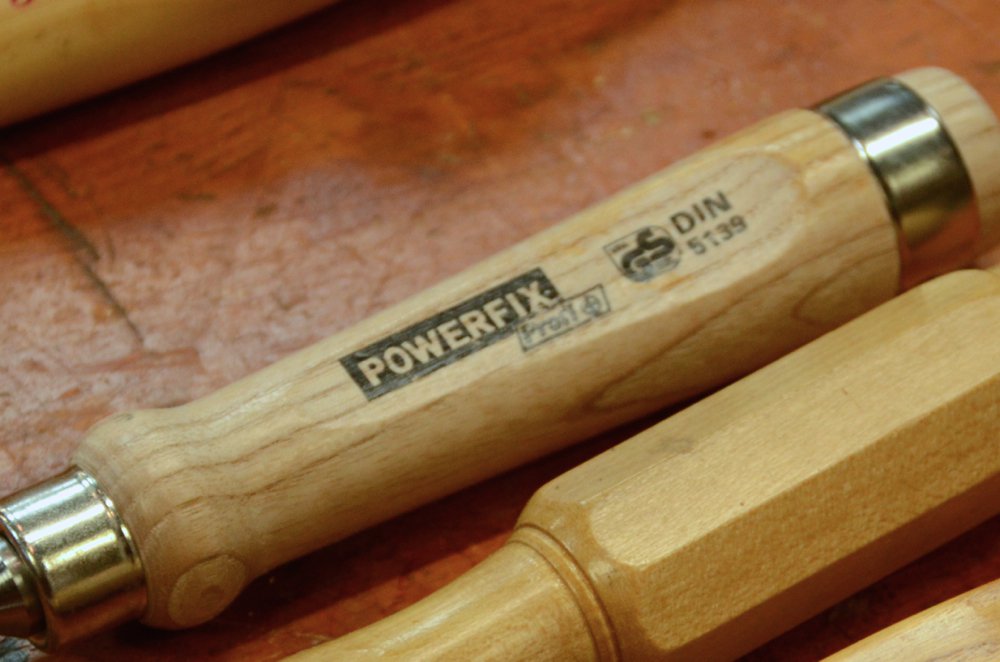
When I first discovered the German chisels made for Aldi and Lidl I had to take a second look because they were made using ash for the handle. I was surprised that they hadn’t gone the plastic and metal route because, after all, they are mass-manufactured. I was also very glad to see that they had indeed chosen ash because ash is about the best general chisel handle that seems to be the one that doesn’t generally split.
In a moment of up-cycling madness I decided to see what I could get from the existing Aldi and Lidl ash handles; to see if what I ended up with was a viable improvement in any way at all, but I wanted to make it doable without any specialised equipment such as a lathe and turning tools. Now it wasn't at all because the chisel needed a functionality upgrade but simply to improve the overall appearance. I wanted to change the looks with the tools I had.
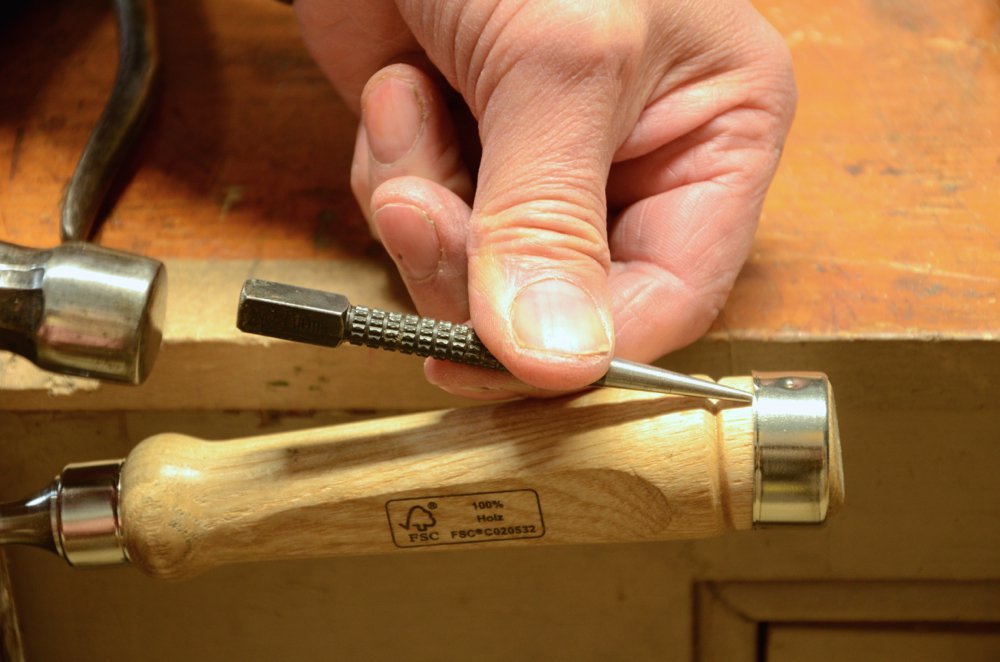
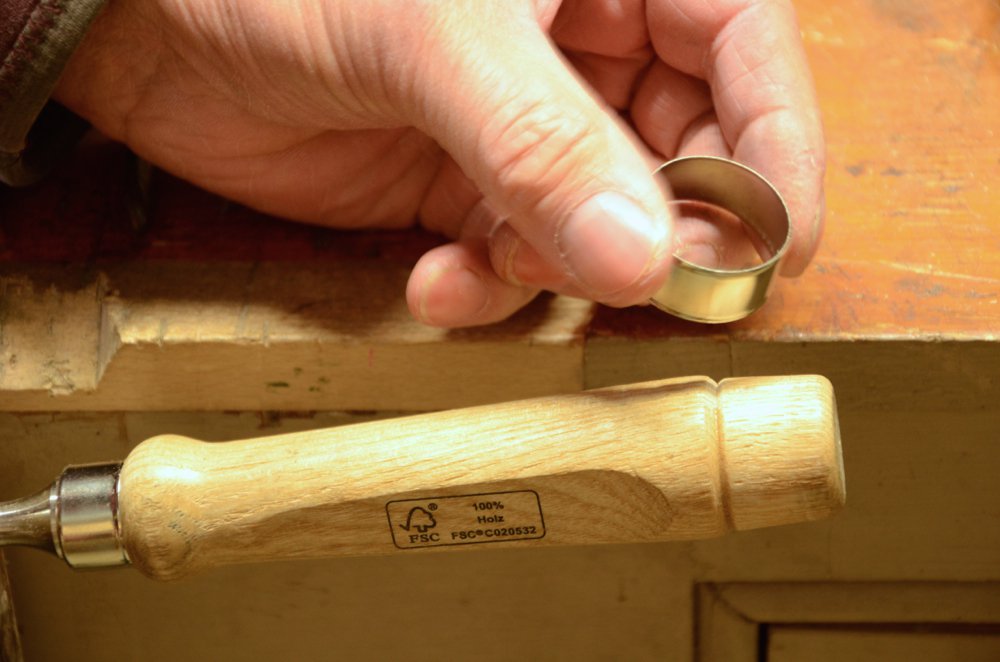
To remove the chintzy looking steel hoop and ferrule that cheapen the appearance I used a nail punch and tapped from each side. I was surprised how readily they came away as they are pressed on onto a shallow groove. I didn’t want to drill into the dimpled hoop because I wanted to keep as much original wood as possible.
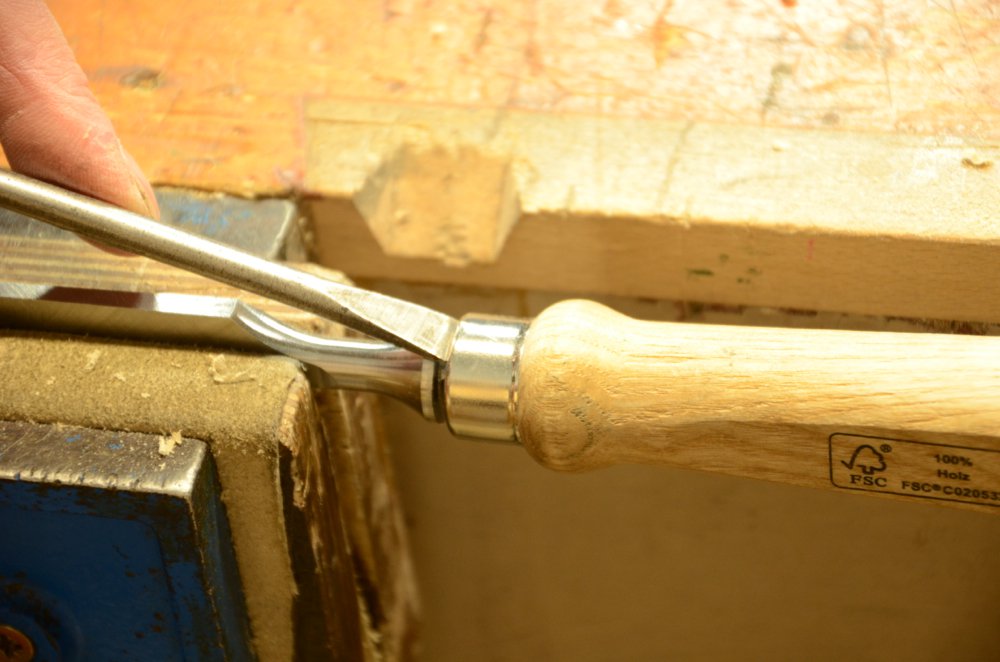
To remove the ferrule I had to first remove the handle from the chisel. At first I used the same nail punch but found it pierced the ferrule and so used flat head screw driver (pic above) which worked best for this as it distributes the pressure over a wider area.
The nail punch quickly separated the ferrule working it from opposite sides.
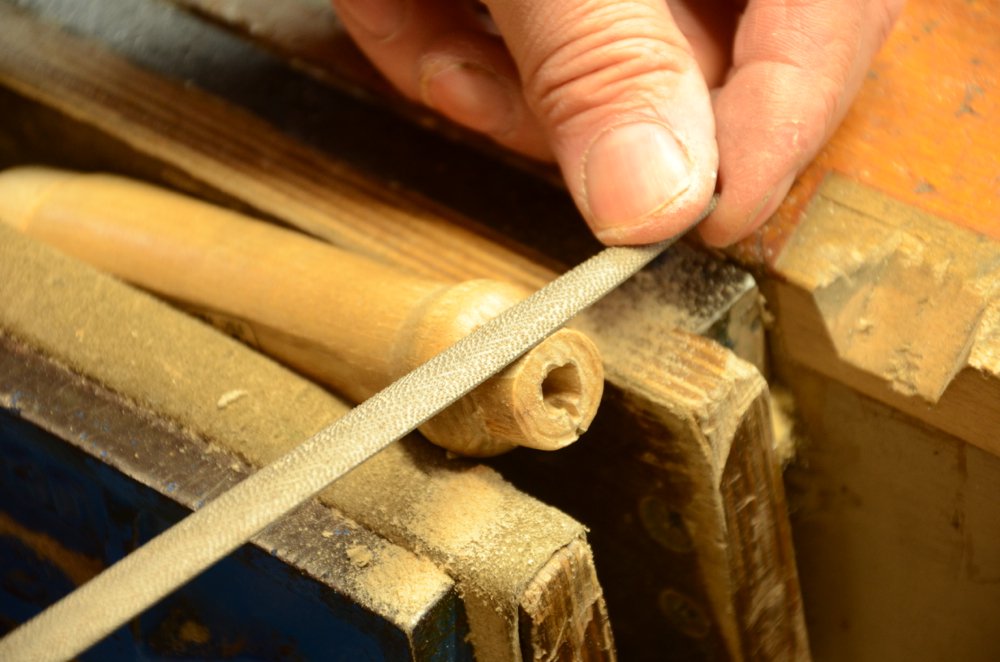
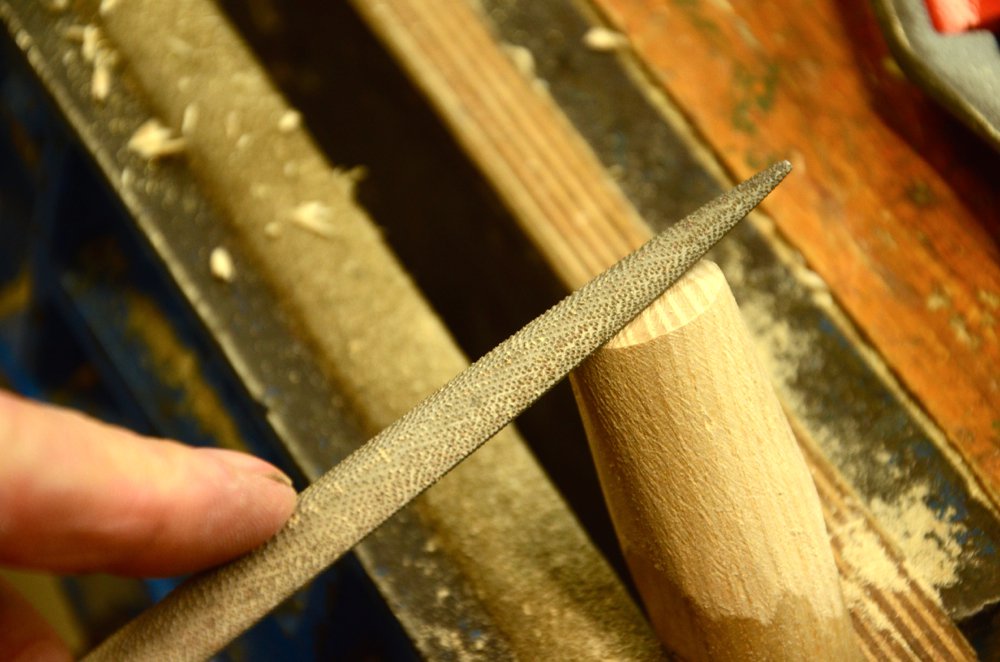
With the ferrule removed I used the rasp to create a leading edge to receive the ferrule.
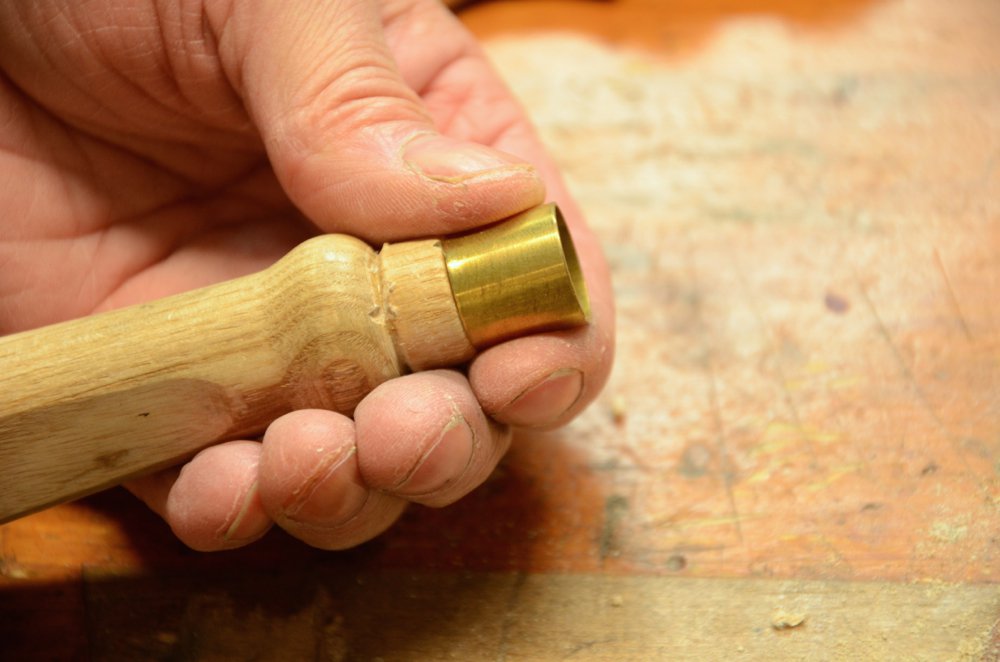
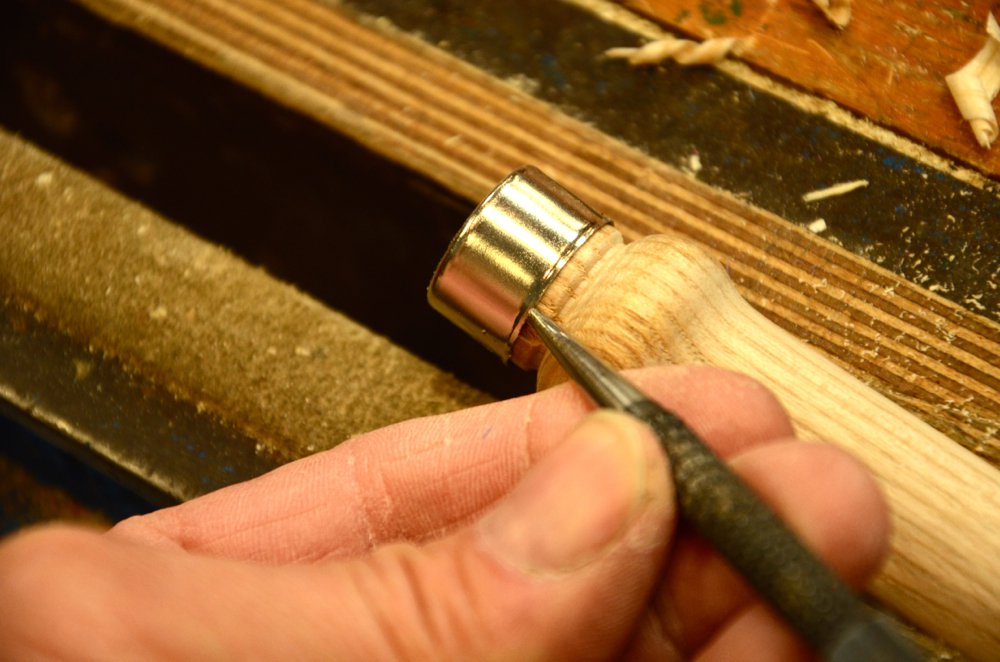
I continued to fit the brass ferrule by using the fine rasp to reduce the diameter of the wood. Once the ferrule fits far enough onto the end, about half way to two thirds on, I start tapping the ferrule onto the end. I follow marks on the wood as reference bruising to work my cuts to with a chisel. I keep trying the ferrule as I don’t want it to be loose at all but dead tight so that it must be finally hammered on.
With the ferrule secure and in place I use a flat file to file the ferrule flush with the endgrain of the handle.
The two recessed sides are nice to have as they help present the chisel to the work squarely and improve grip. I kept them in the chisel and simply removed the signage etc with a card scraper.
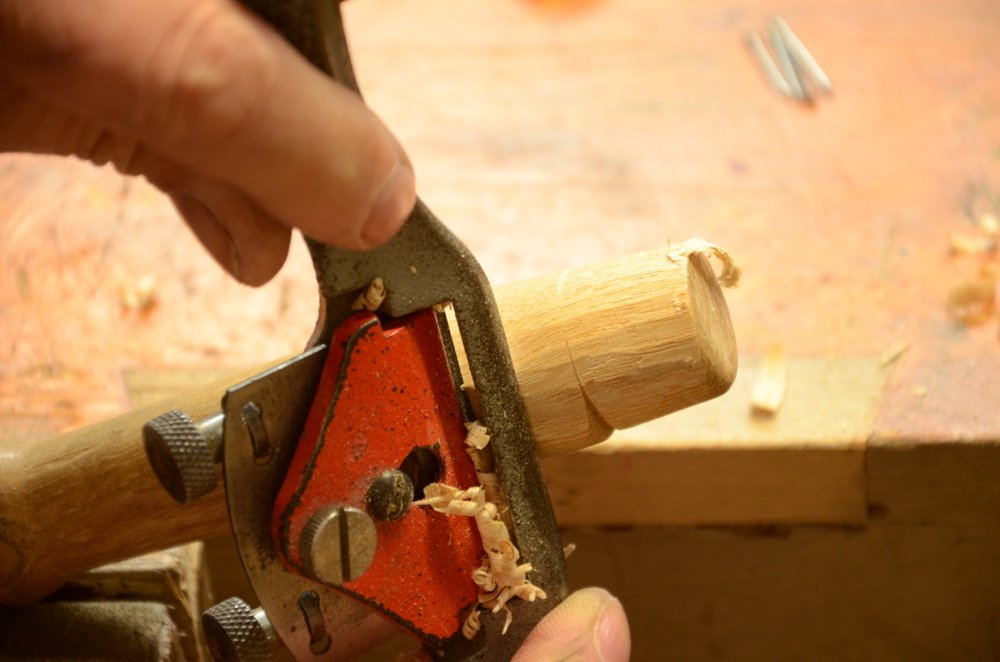
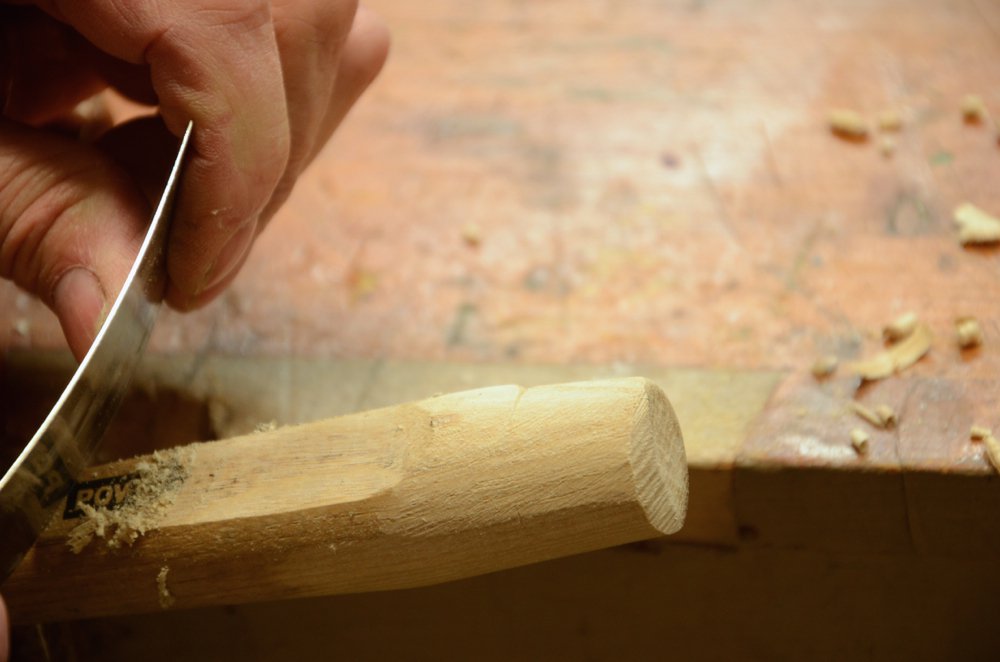
I used a spokeshave for the initial shaping and to redefine what I felt would make a better shaped chisel minus the metal hoop. By carefully removing the waste i just left enough to shape the final shape with the fine rasp.
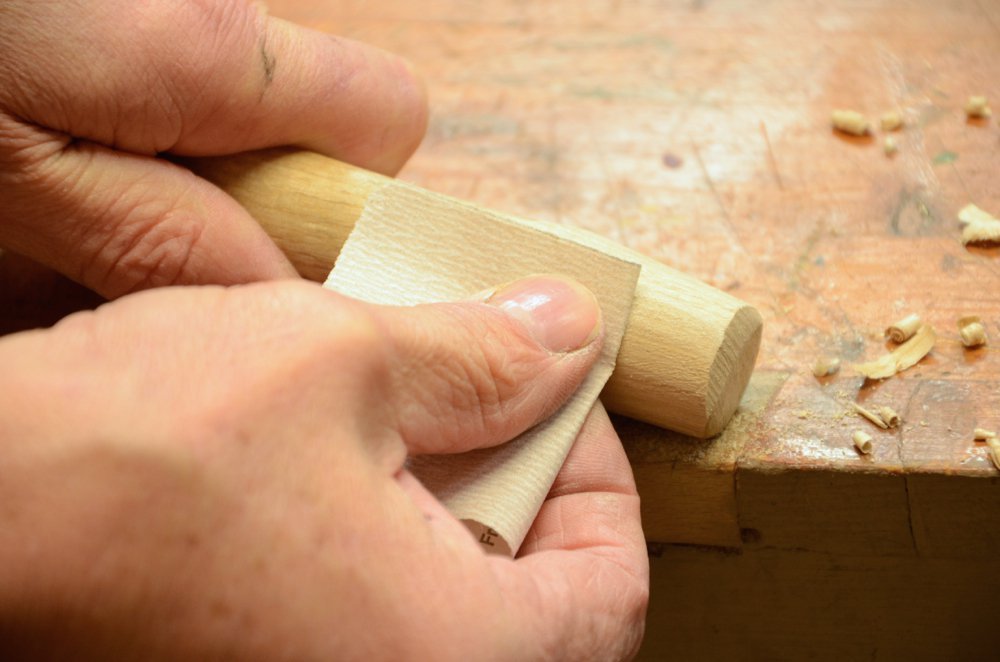
Now that the shape is established I used the thin and flexible card scraper to clear off all rasp marks before final sanding with 240-grit sandpaper.

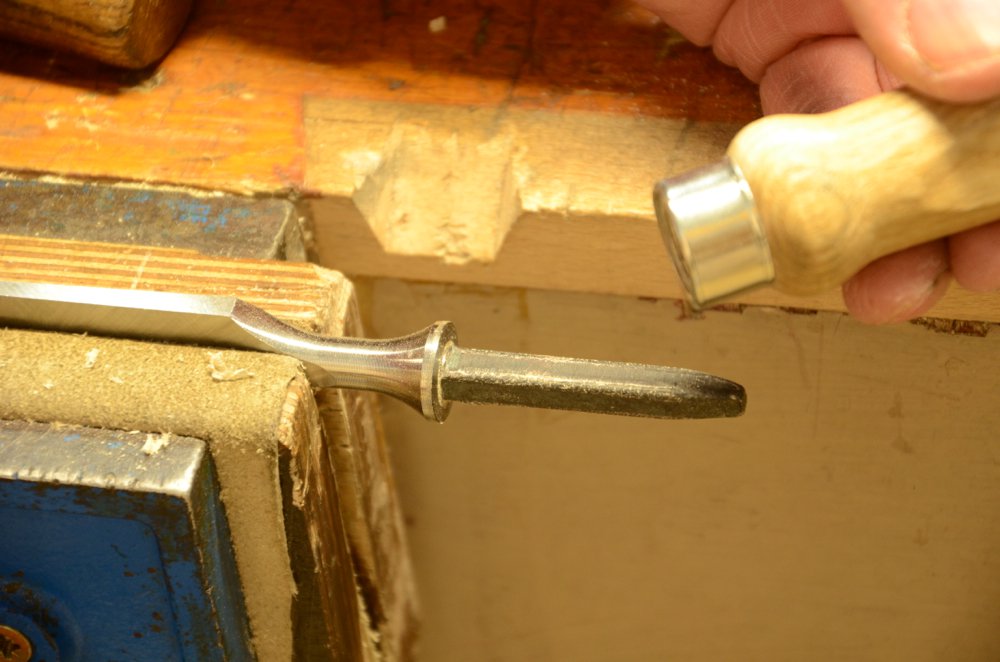
Knocking off the handle from the tang wasn’t hard either, although it was positively firm. You can see that the tang is indeed robust, which accounts for why we’ve never had a single chisel break or even bend slightly. Brass really improves the appearance of the chisel when compared to the original.
Another thing that proves the quality of ash as a handle wood for chisels is that, though the ferrules are unusually thin, and through shrinkage might be loose, the wood has never split on a single chiseling action in the school. All of my ash handled chisels are in good shape too. Where most ash chisels fail is not through the wood being a flawed choice but some brute beating on it with a heavy steel hammer. All metal hammers are hard on wooden handles including brass, copper and especially steel ones. Now there are some cutesy little ones with stumpy, curvy handles I’ve seen around. Not really too sure about them though.
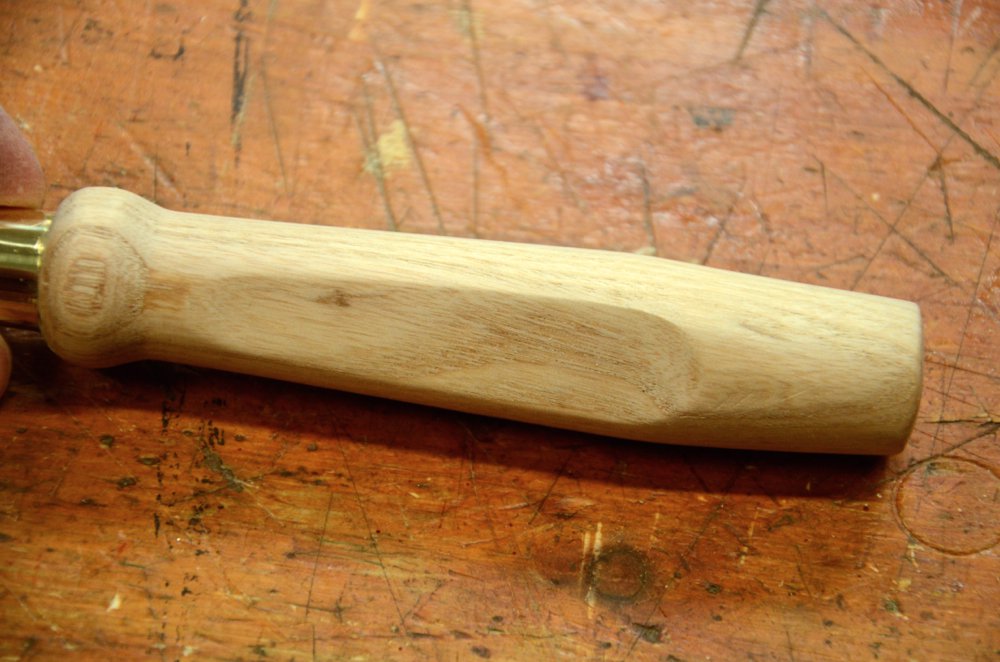
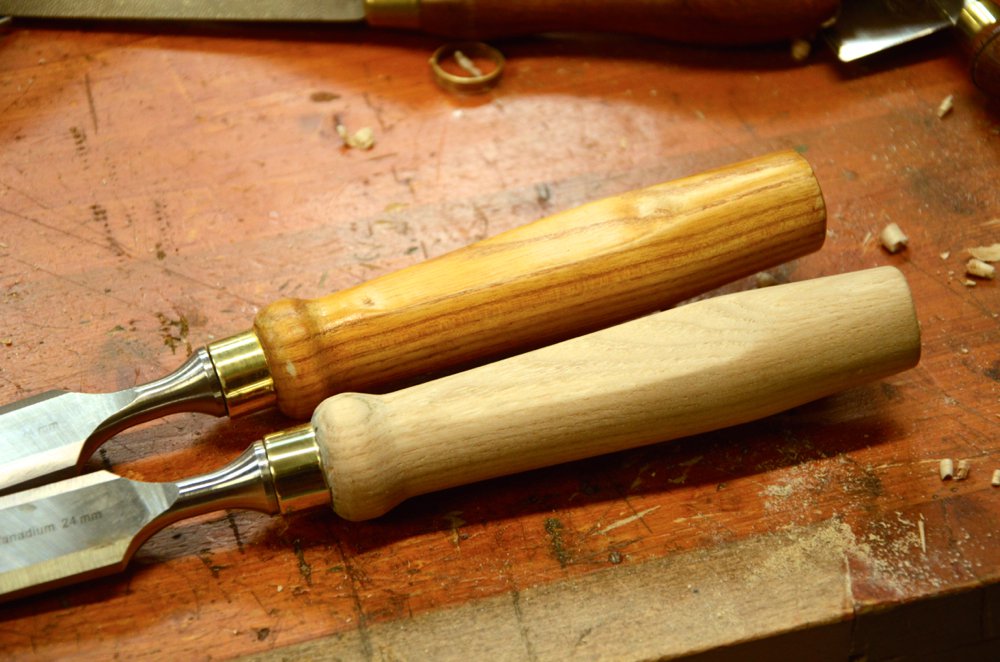
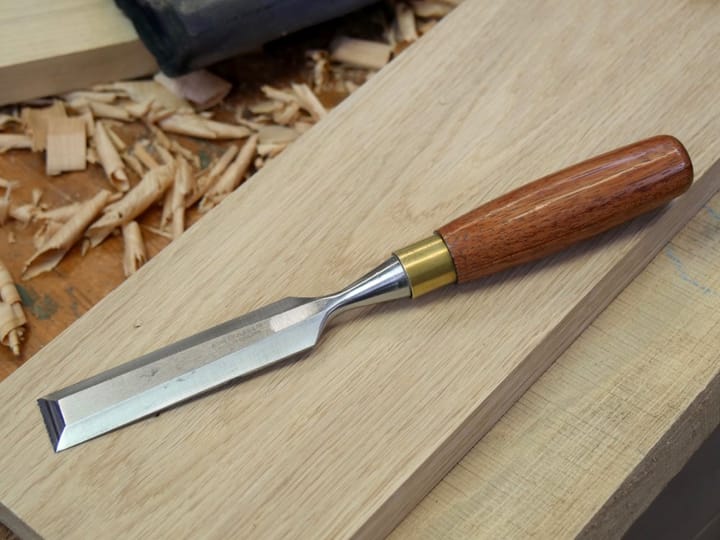
The finished chisel shaping looks appropriate now and I like how it looks and feels.
A scrape and some sanding finishes all the shaping work in preparation for applying finish.
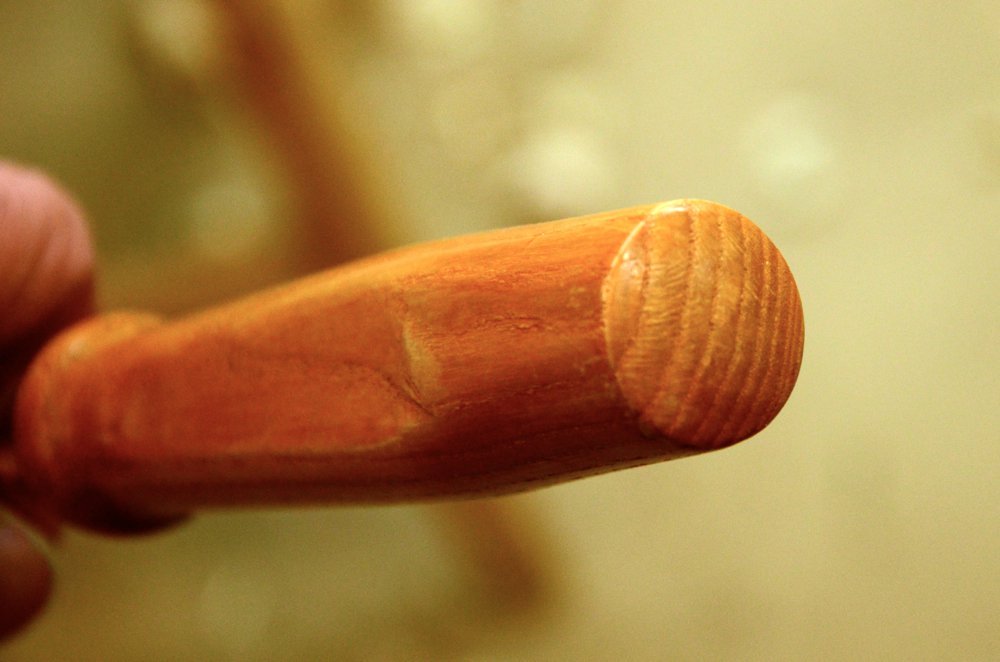
I apply three coats of shellac and coloured the first coat to take away some of the stark whiteness. A coat of wax paste polish makes it feel good to touch and I have good working chisels I can work with in comfort.
I have always felt the these chisels were well designed as far as ergonomics go. The best really. My changes did improve the feel a little more, but so marginally I could almost say it was unnecessary. But this is what ergonomic design is about. The chisels we generally accept as traditional were designed to come straight from the lathe. It was fast and effective to produce them this way and took only seconds per chisel handle. The Aldi/Lidl chisels are indeed turned and turned out in a heartbeat by rotating the blank into a cutter head. The simple flats scalloped top and underside added an ergonomic advantage over other chisels that create a near perfect chisel handle.
Comments ()