Using Your New Timber Dogs
To use the dogs
By preparing the edges in the usual manner of two boards side by side and face to face in the vise, plane the edges jointly.
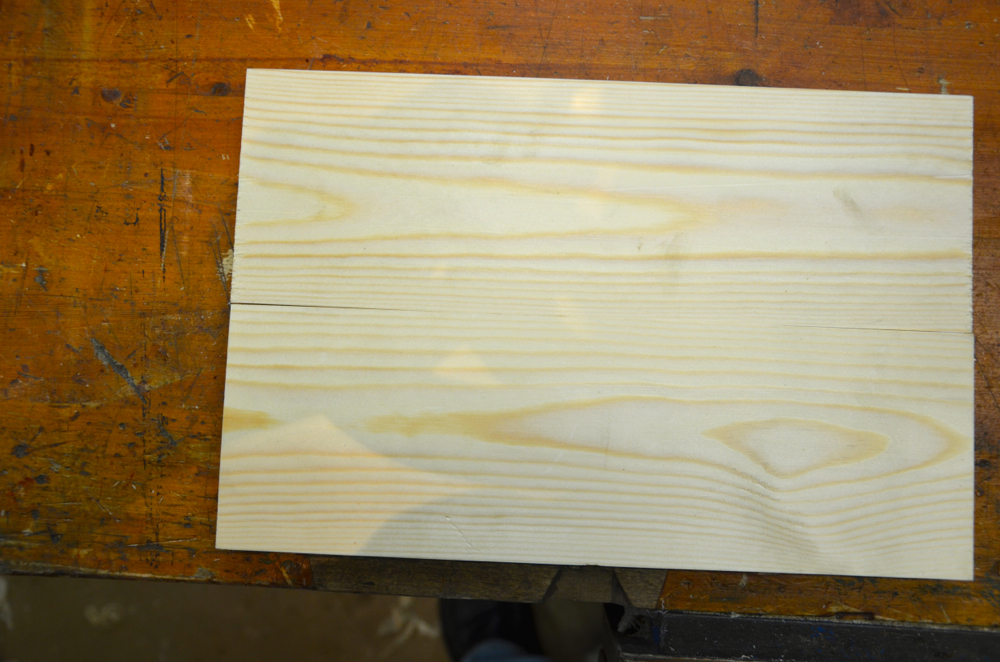
You can create a long but very shallow camber, a slight taper from the centre to one outer edge, or two straight edges in readiness for glue up. Hollows don’t work with timber dogs alone but you can add a clamp or two to the centre section and still save on clamps.
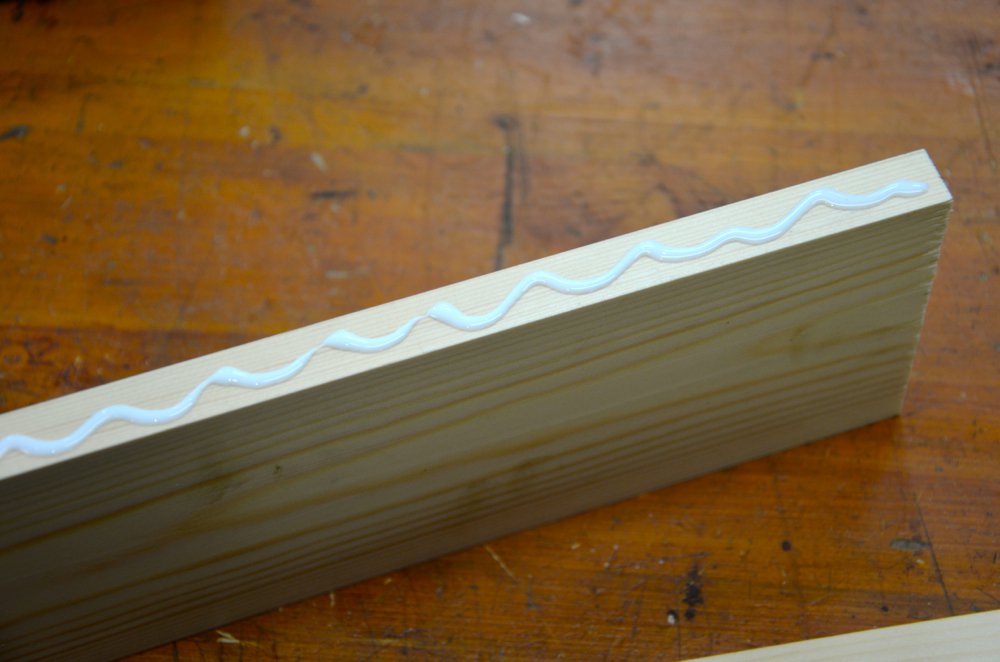
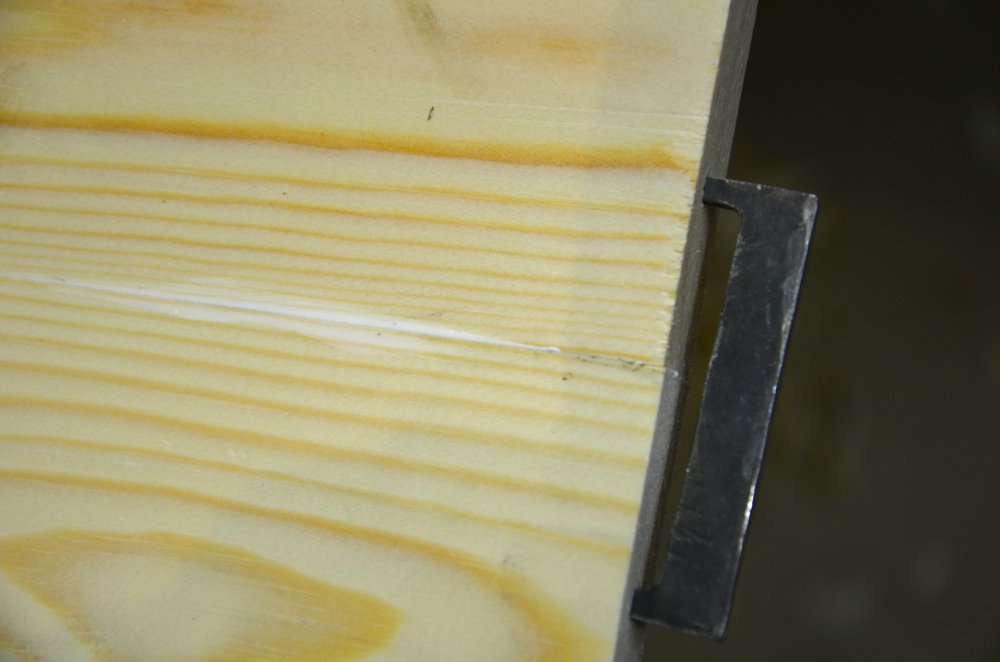
With the edges prepped according to desire, glue along one edge.
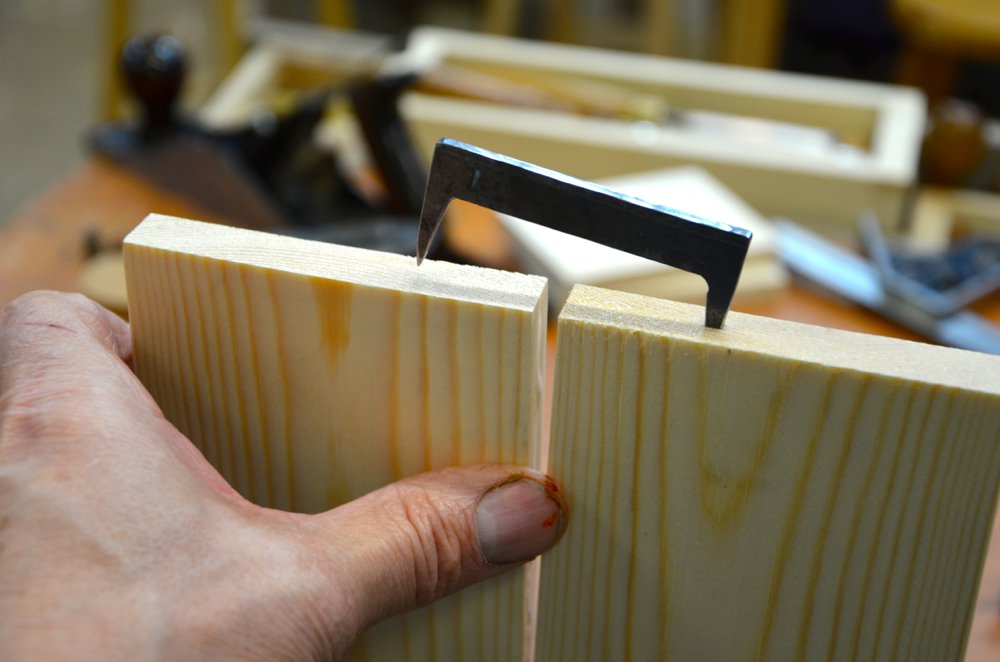
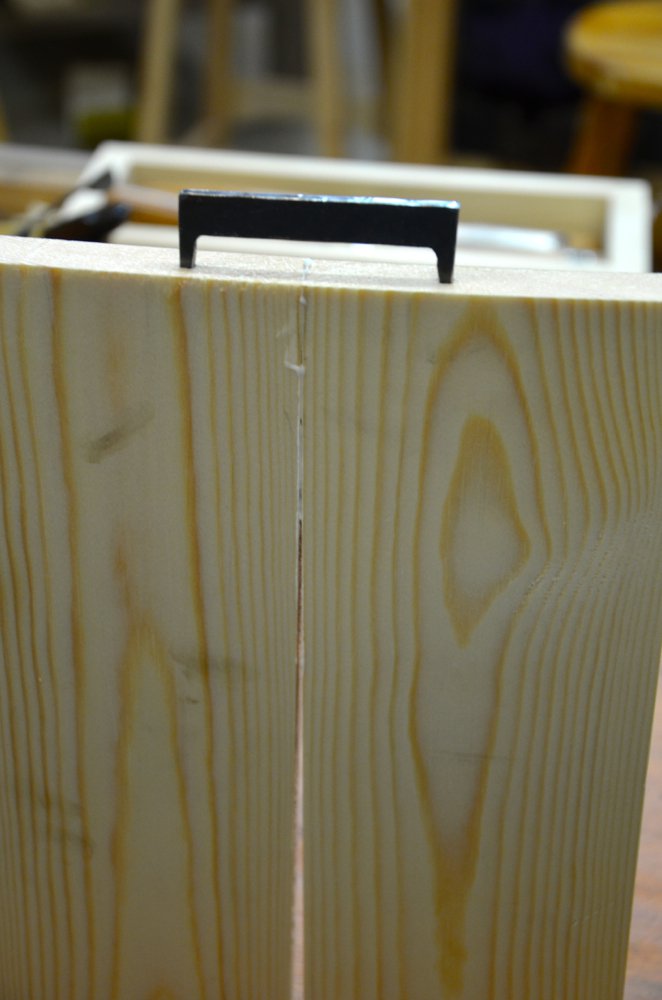
Now start the dog on one side piece, squeeze the edge together near to the end and penetrate the opposite piece with the other pin. Drive the dog into the wood. The pressure from the driven dog will open the opposite end considerably but hand pressure readily pulls the two parted pieces back together.
Turn end for end and start the second dog in the same way.
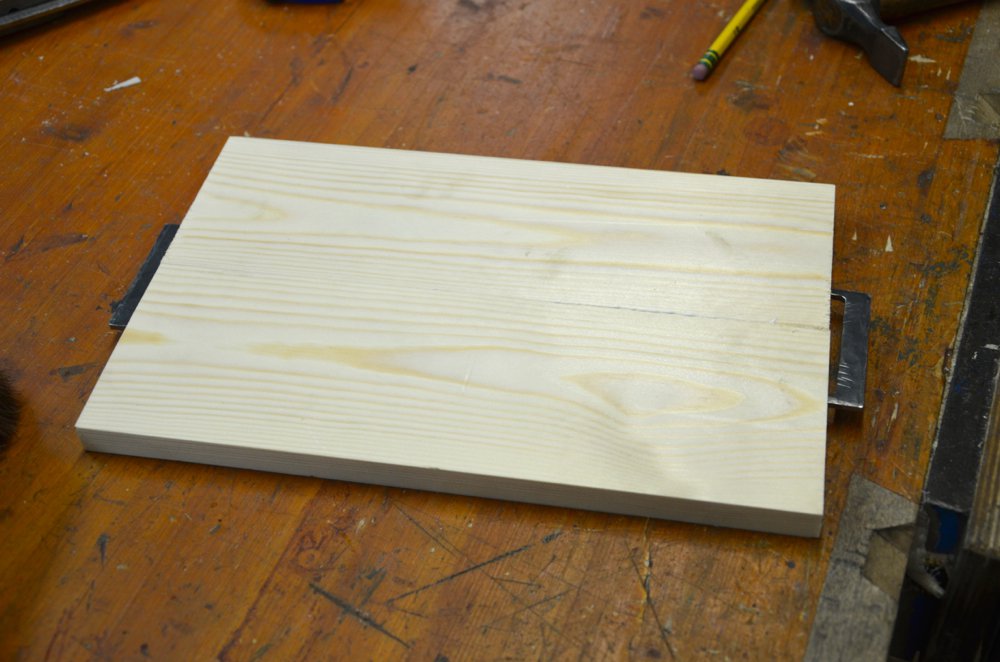
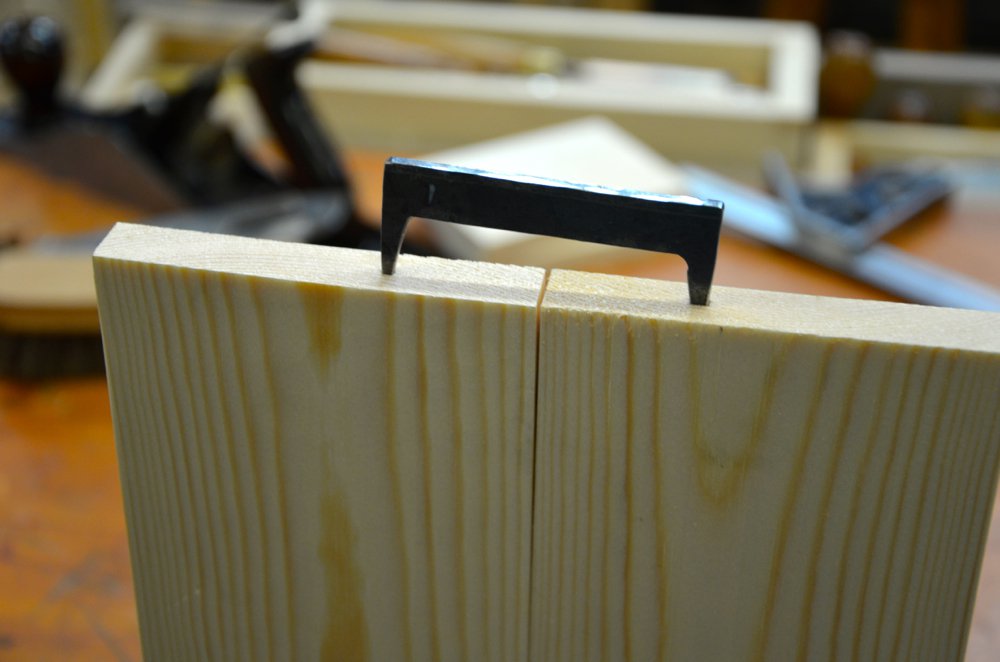
Pull the adjacent board close and start the second end of the dog. Place on the edge of the bench and tighten the dog, alternating end to end until the joint fully closes.
Leave to dry until the glue is cured.
More on using them tomorrow.
Comments ()