Steps to Making a Traditional Oilstone Box
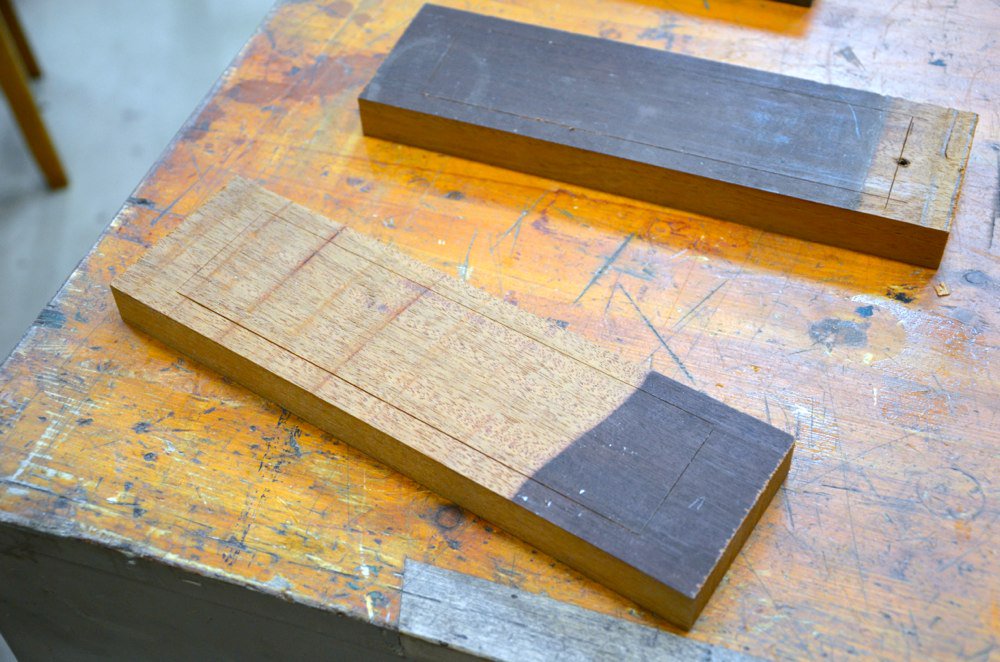
I made an oilstone box and used old mahogany from the table I dismantled. I only needed two pieces 3” by 10” long and 7/8” thick. I’ve made many before and all of the ones I ever saw had lines of holes from the snail of the brace bit the carpenters used to remove the bulk of the waste wood. It was a tradition but I never liked that method much. The idea was to bore down to a fixed depth and then chisel out the waste. Bit rough but the outcome worked fine.
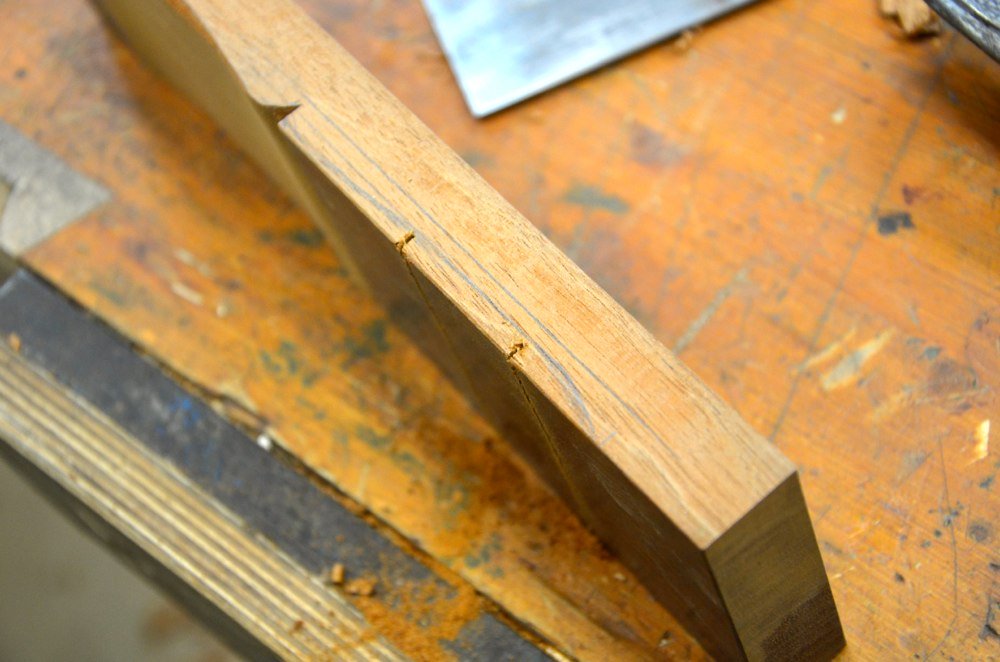
I laid out the perimeter with a knife and square and a marking gauge to line out the cut lines for the 2” width of the stone.
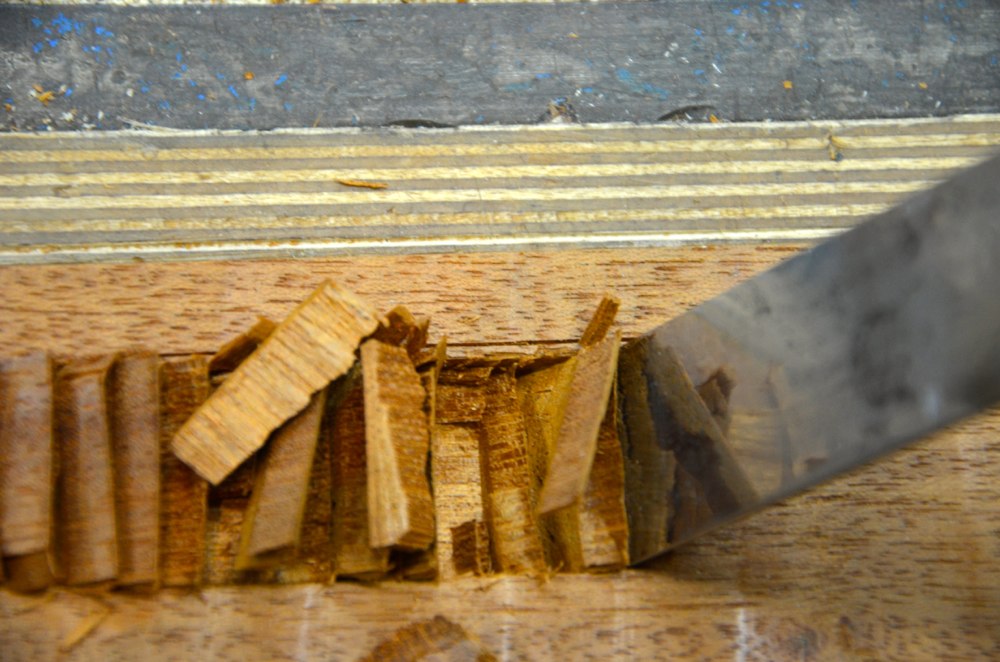
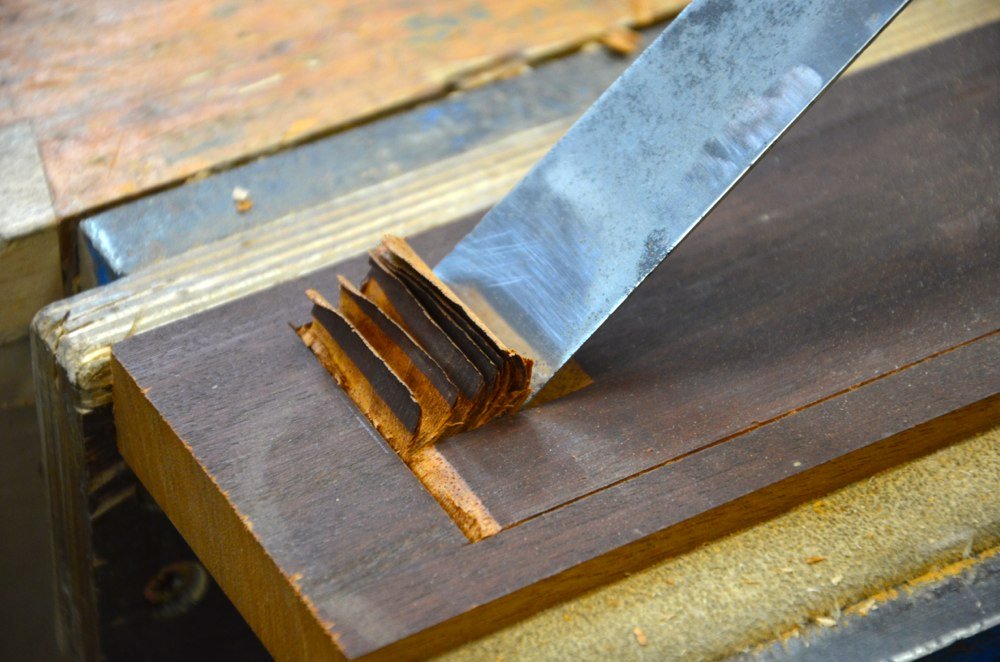
I chiseled into the knifewall to make the wall deeper and to guide the perpendicular chops for the ends.
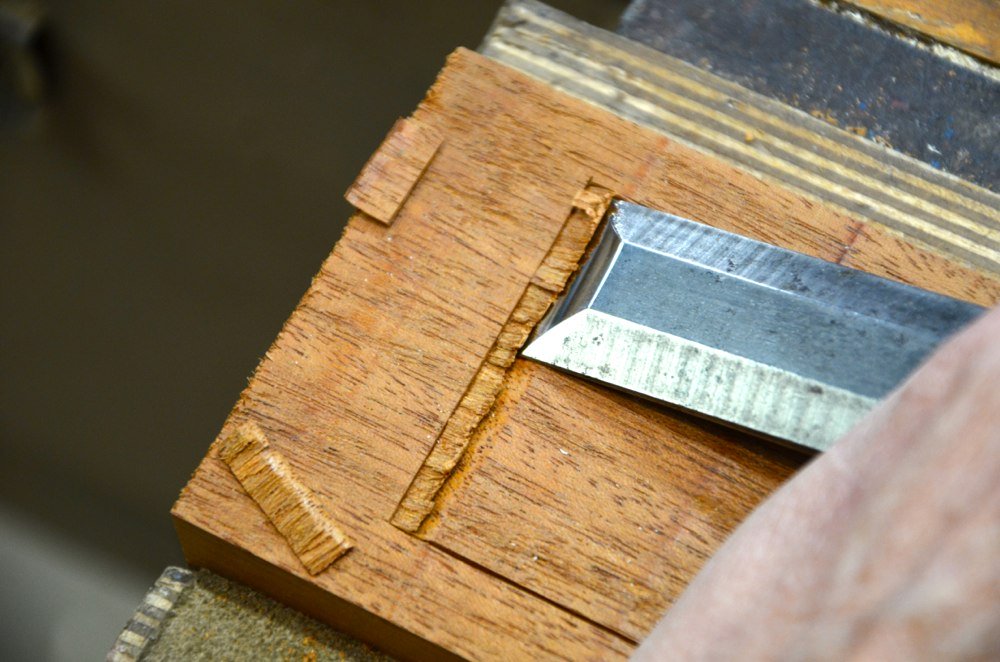
Then I chopped vertical cuts from one end to the other.
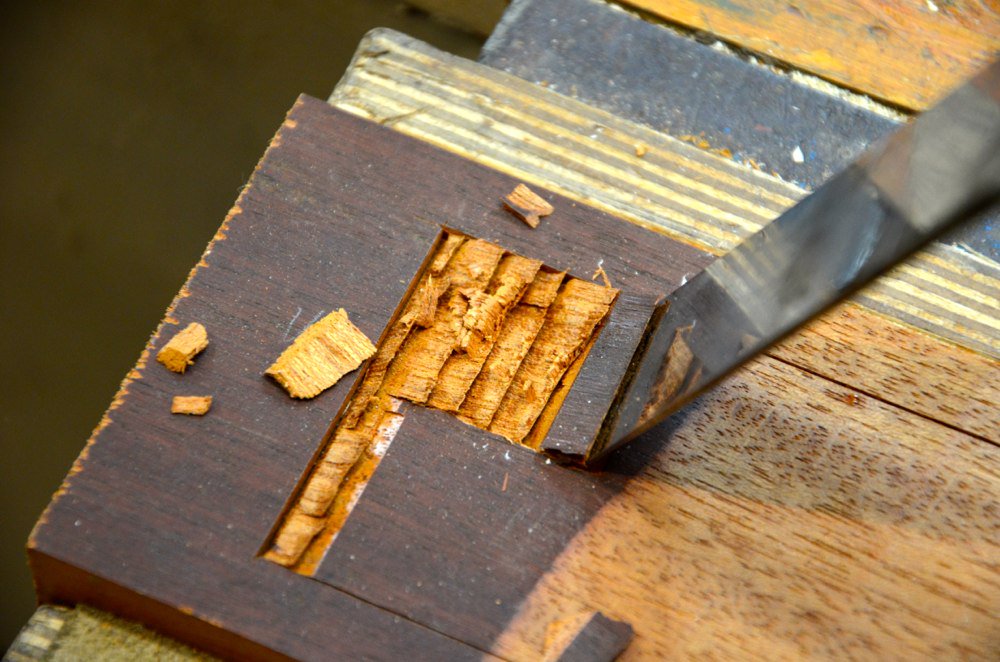
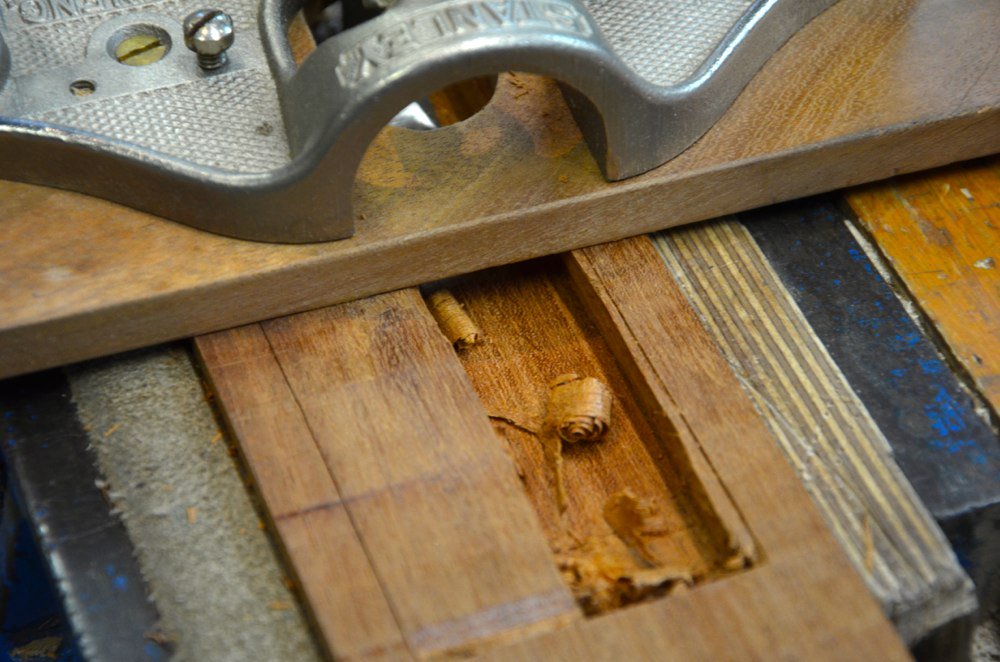
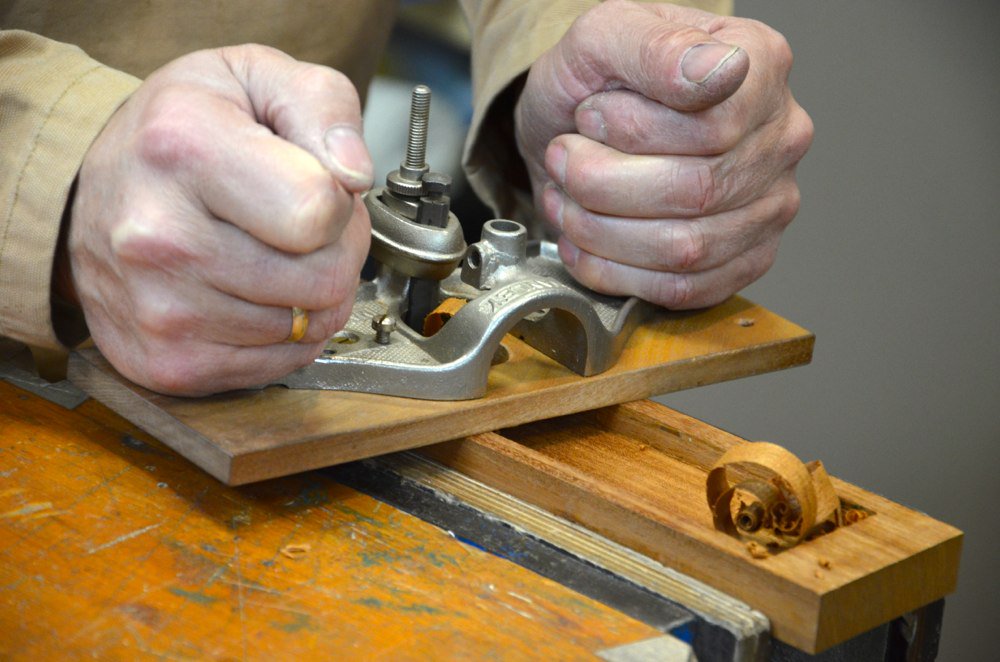
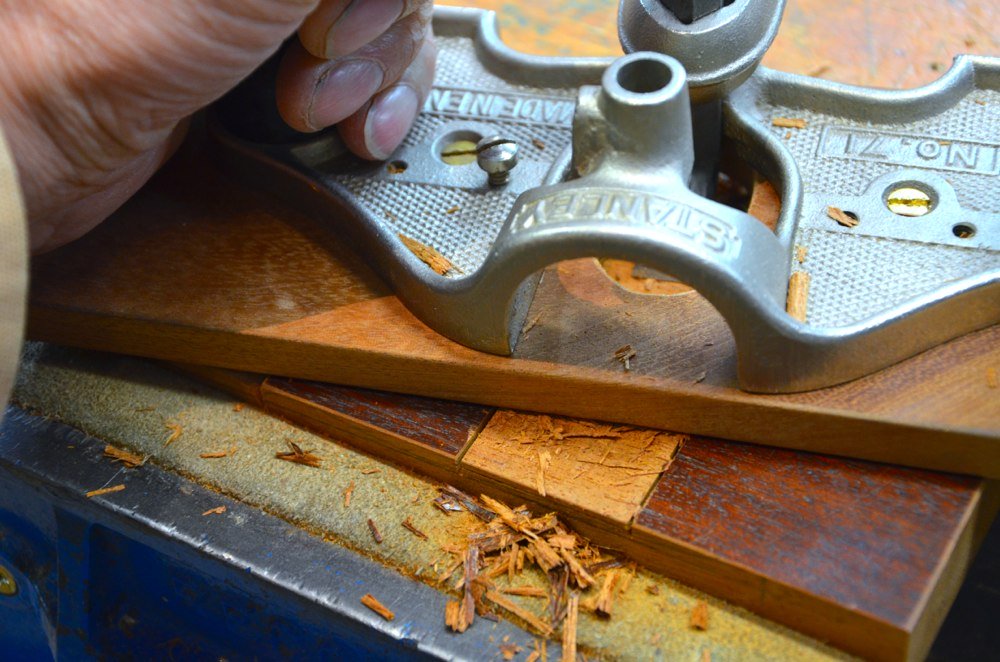
When the bulk was removed I went in with the Stanley 71 router and levelled out the bottom to 1/2” deep.
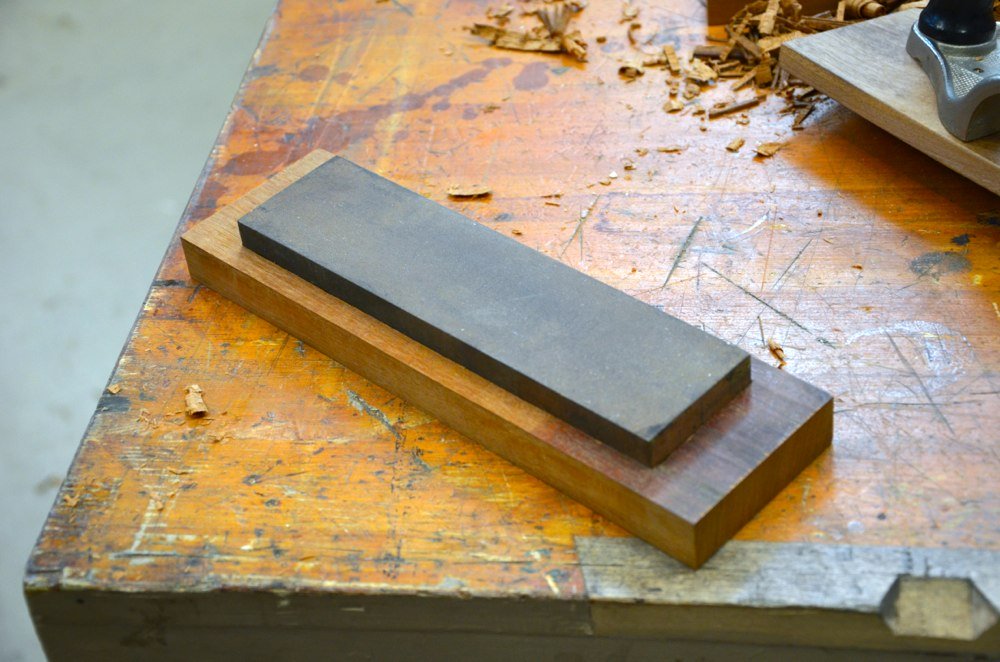
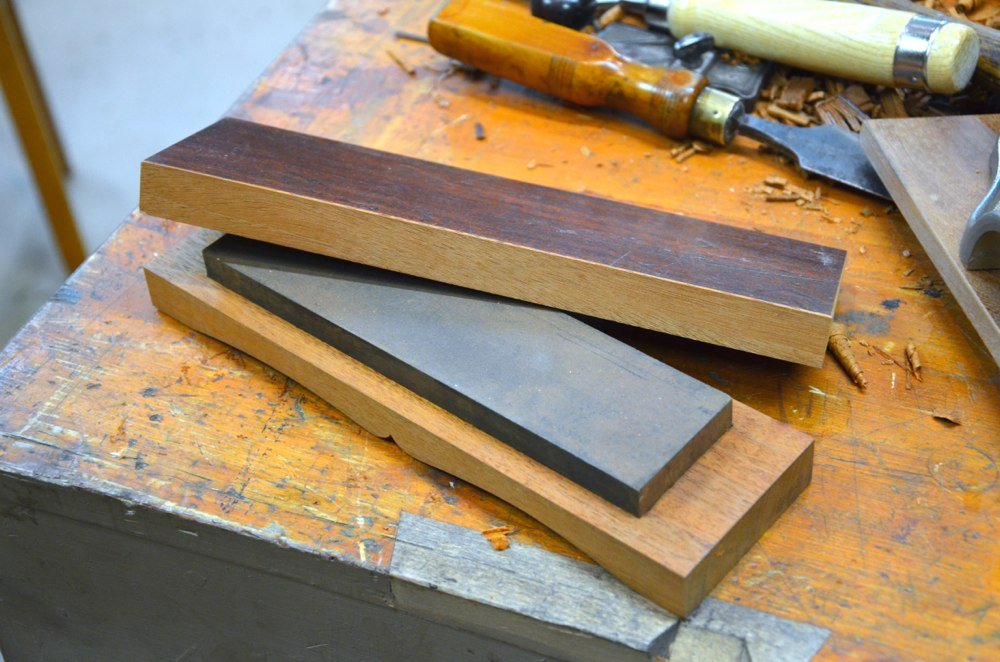
The stone is just under 1” thick.
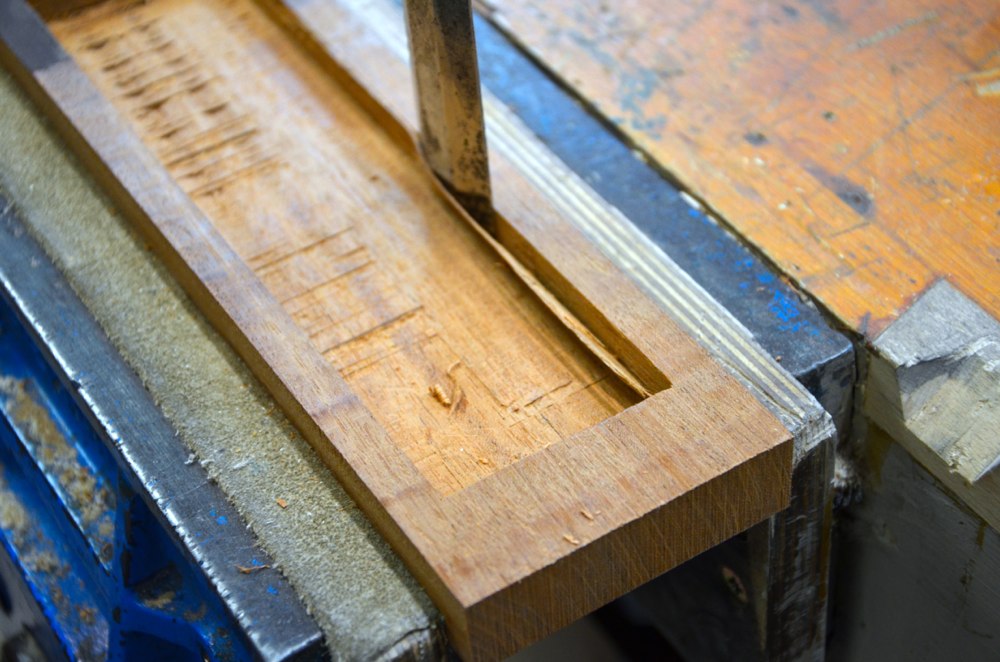
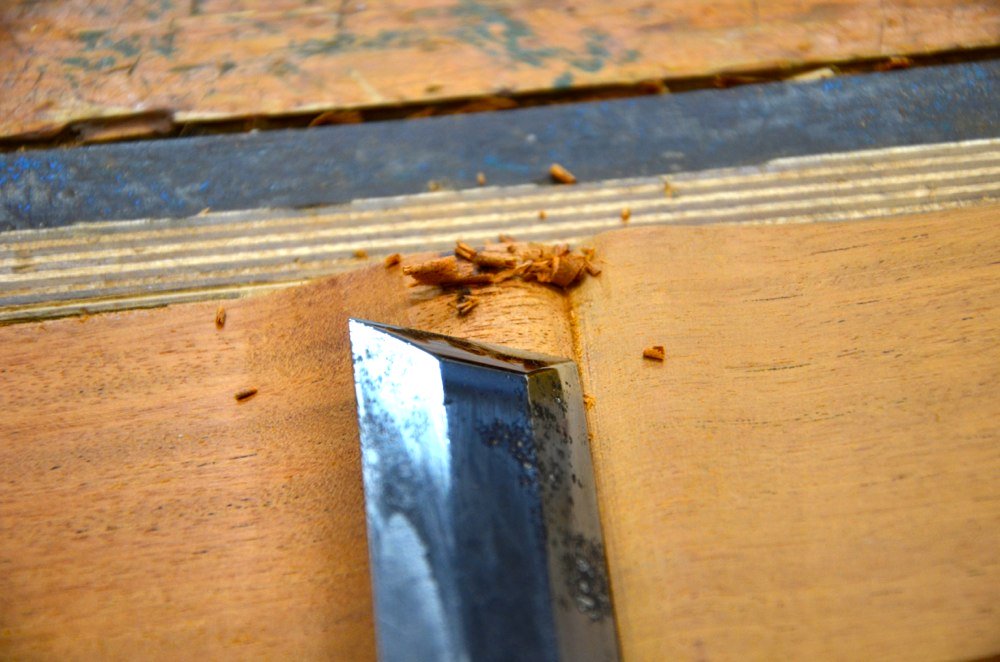
I pared the sides and ends until the stone fit snuggly in its new housing.
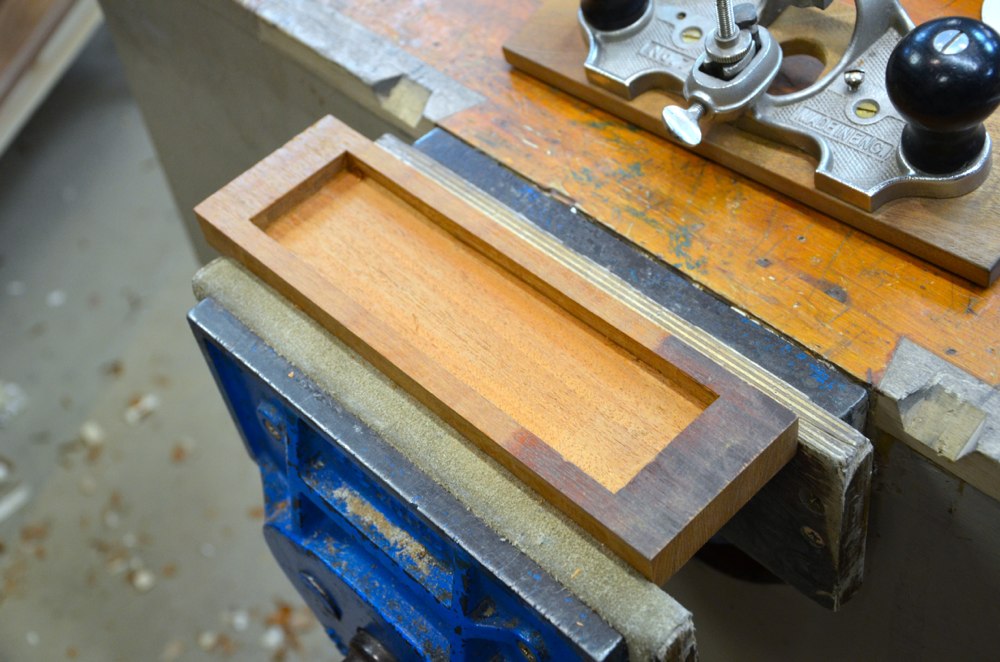
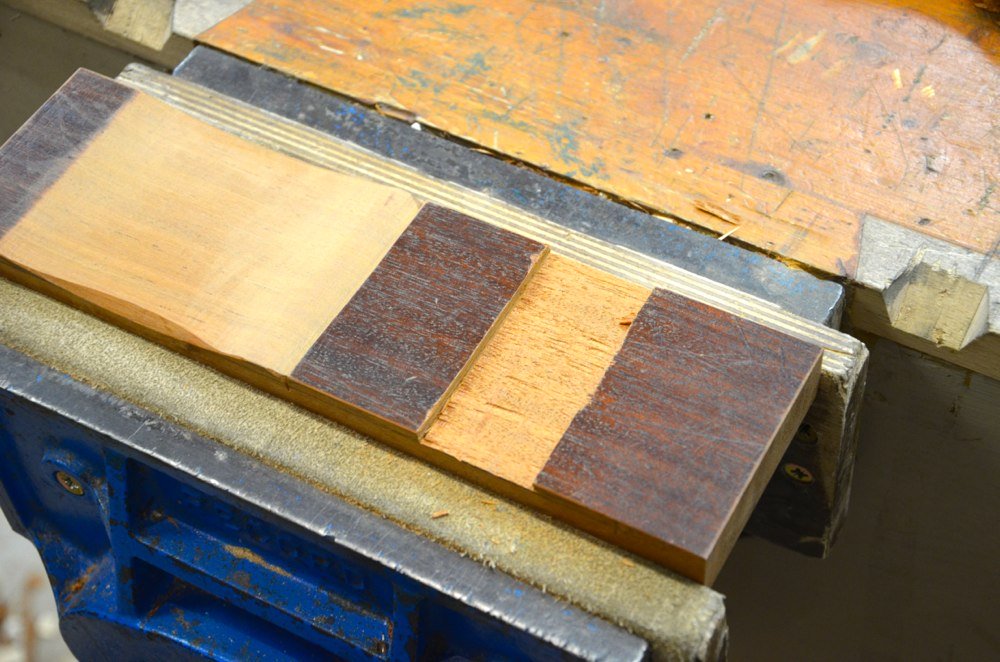
This is how it finished out.
I fitted the stone snug and tight enough not to slip but easy enough to tap free.
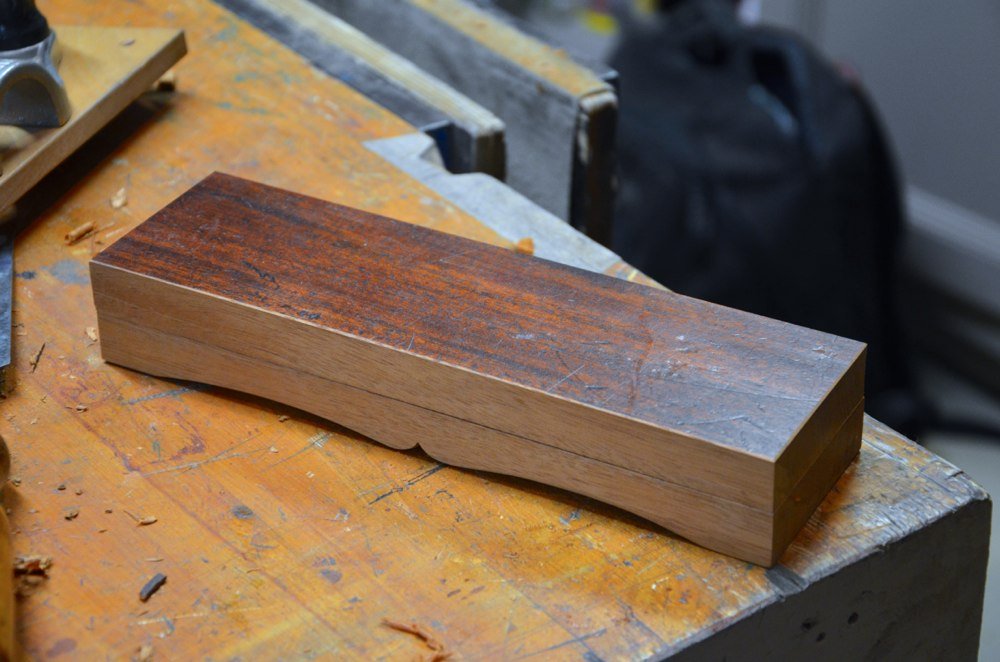
The underside has scallops to the midsection to allow the stone to kinda squat on the benchtop. Often they are shaped like the one here.
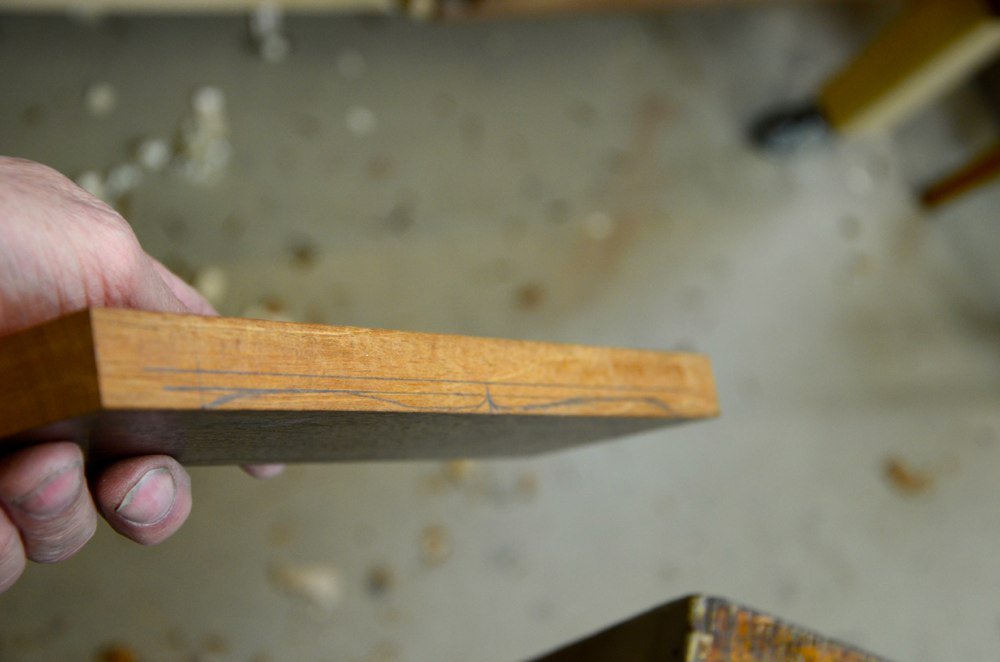
I pencilled a depth line to make certain not to go through the bottom and scribed lines to the shape I wanted. Pretty traditional.
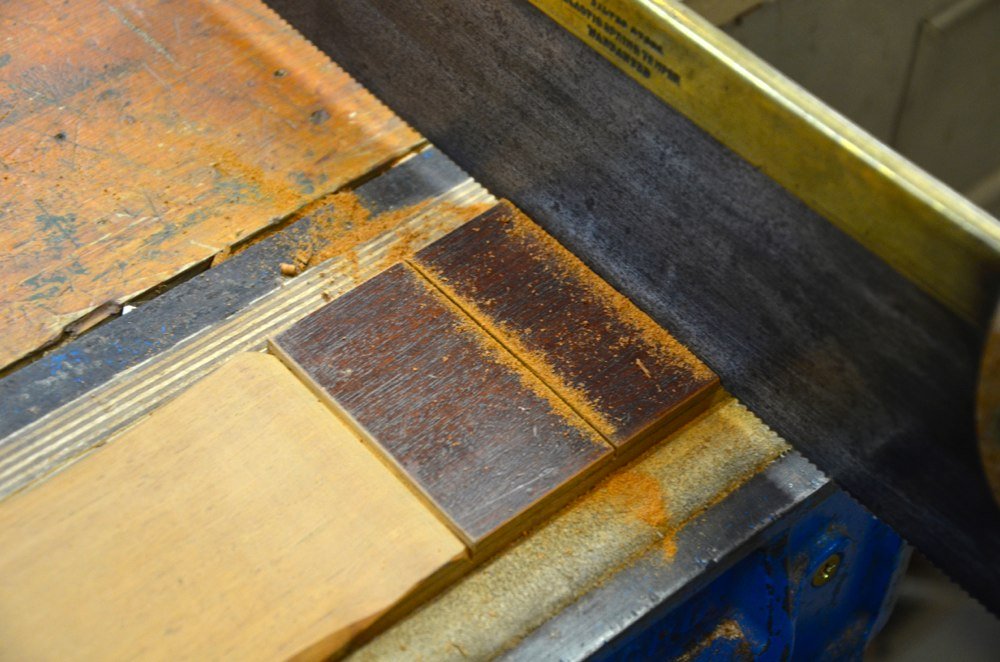
I used a tenon saw to cut either side of the middle of each half.
I stopped just shy of the depth line.
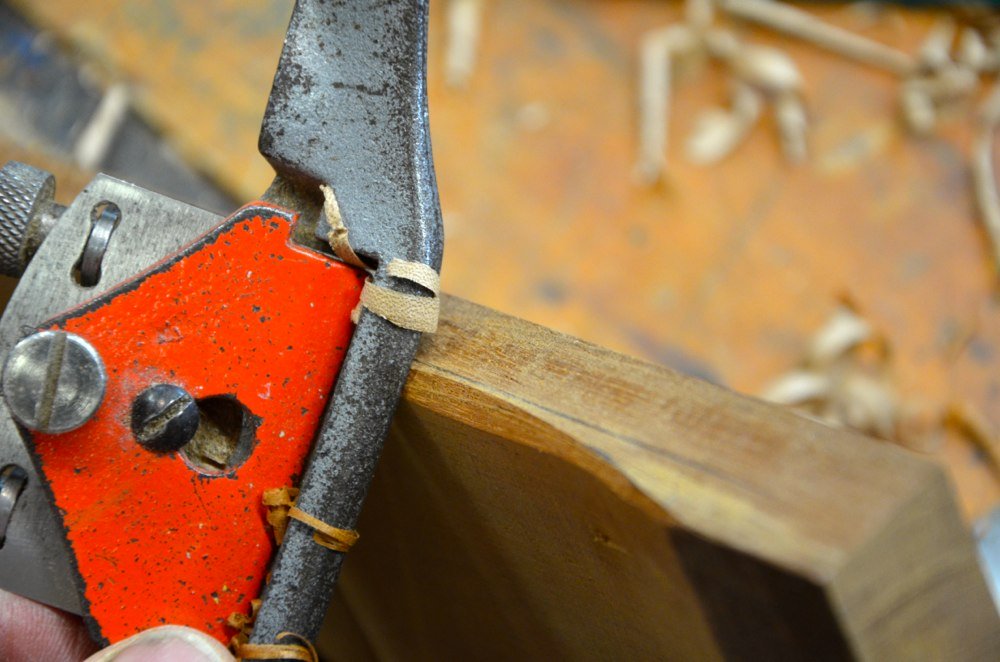
Then I went across with the hand router to remove the waste but I went down in shallow stages so as not to gouge but pare cut.
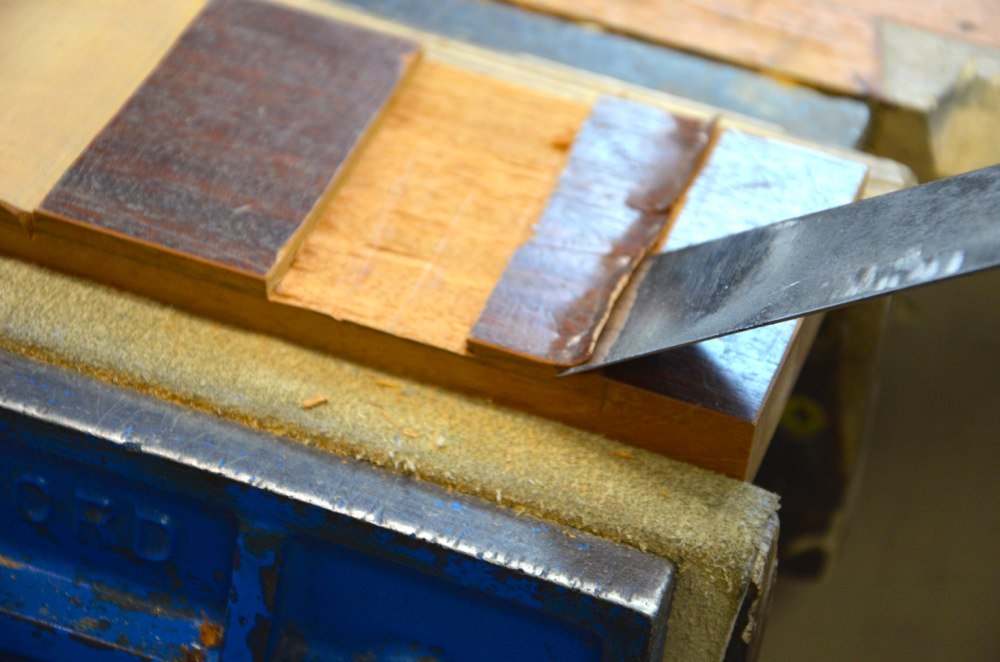
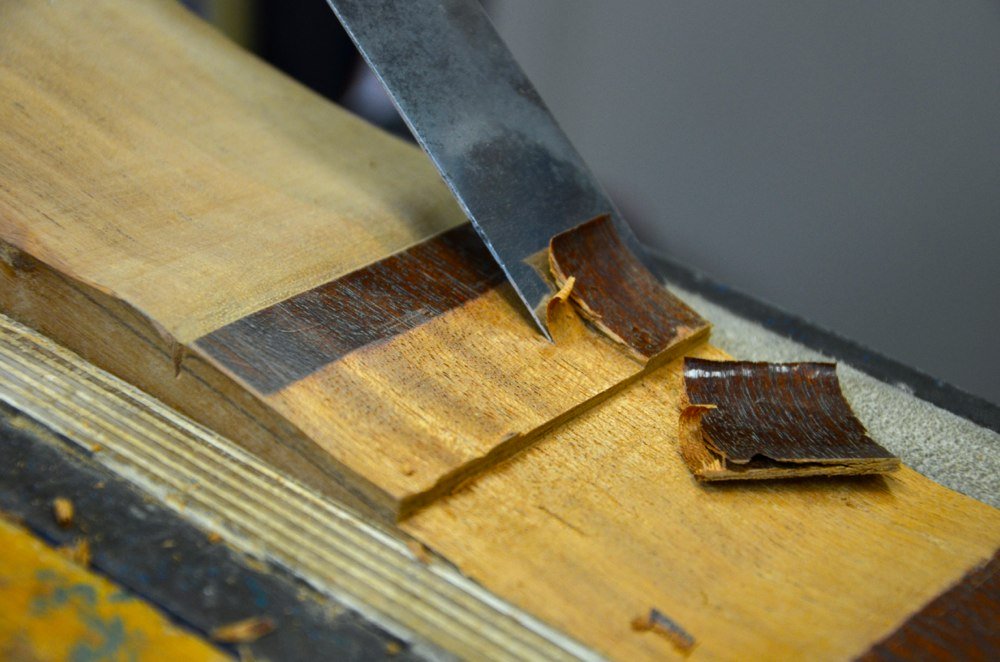
I used a chisel bevel down to scallop the ends.
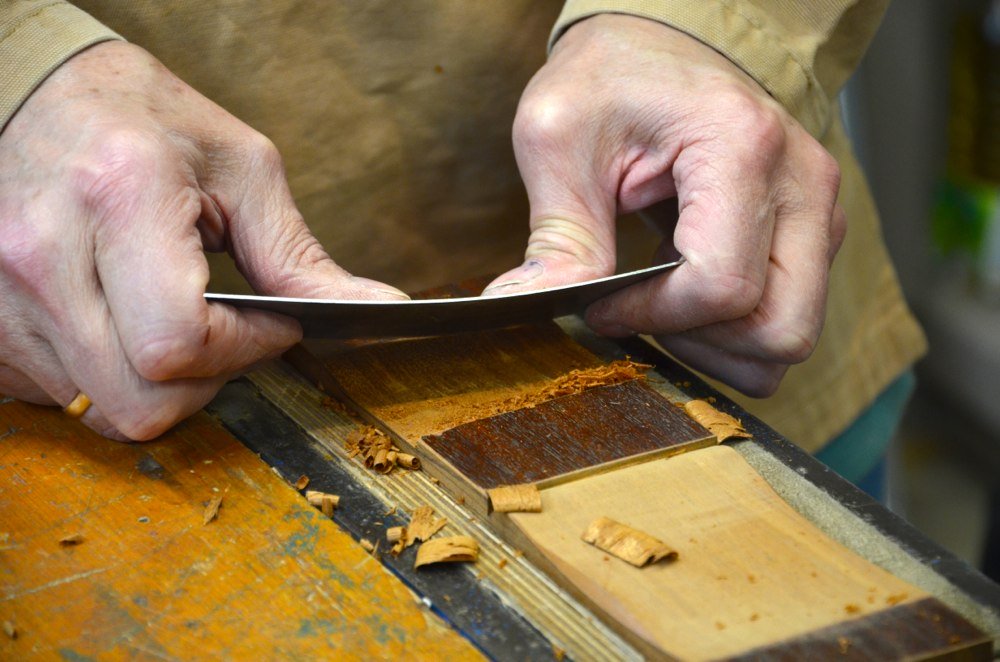
I used a card scraper to clean up the transition.
Once the main shaping was completed I used a spokeshave to emphasize the countered area.
I chiseled a more incised cut to the centre section kerf.

The box lid goes through the same housing treatment.
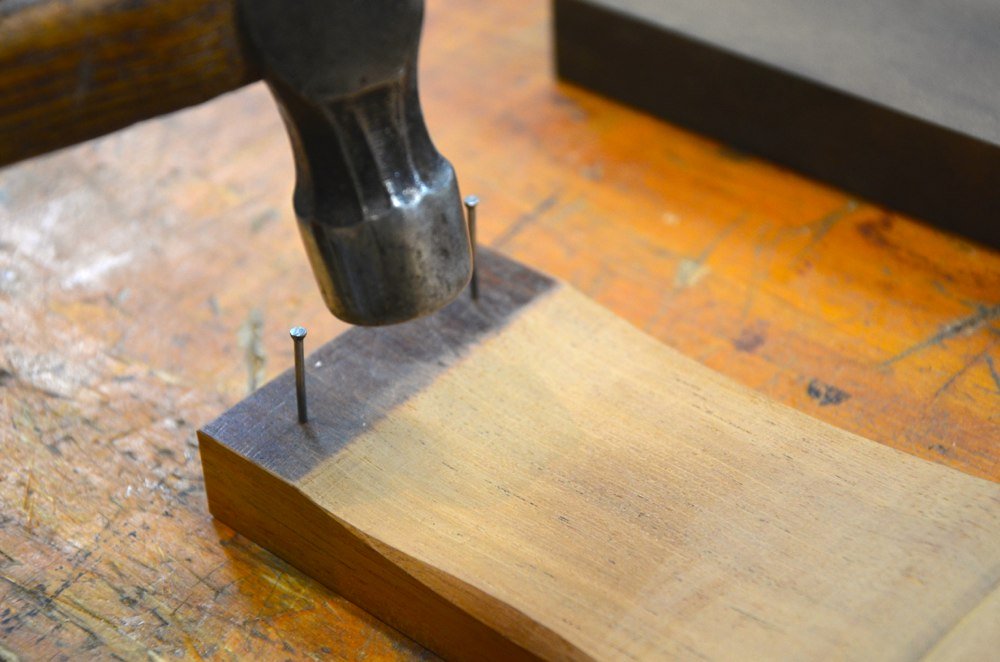
The majority might not like this but traditionally we drove to pins into one end of the stone box...
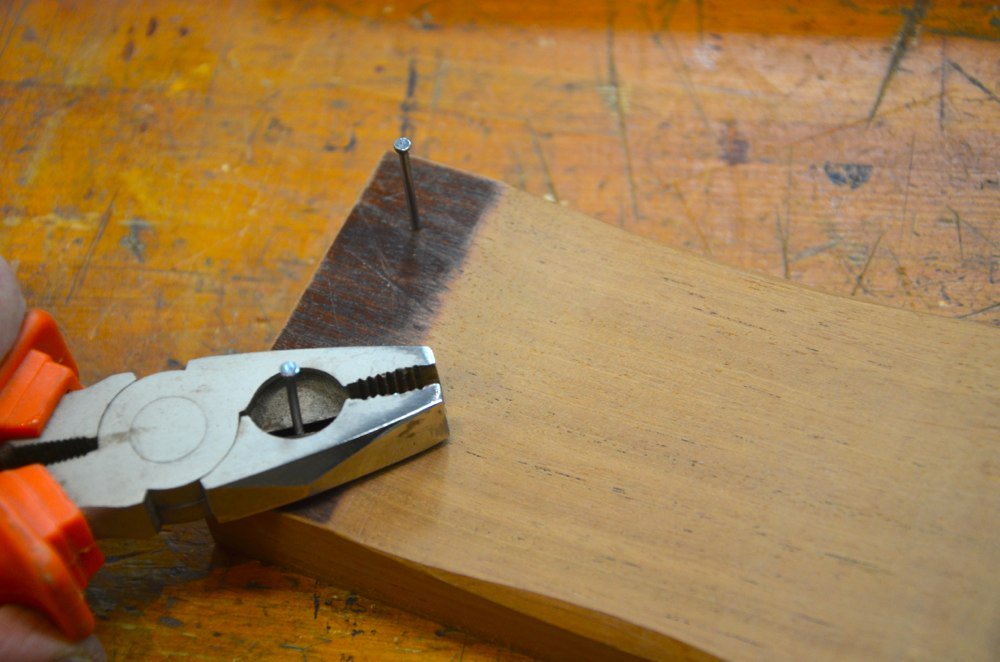
...and clipped them off wight the pliers.
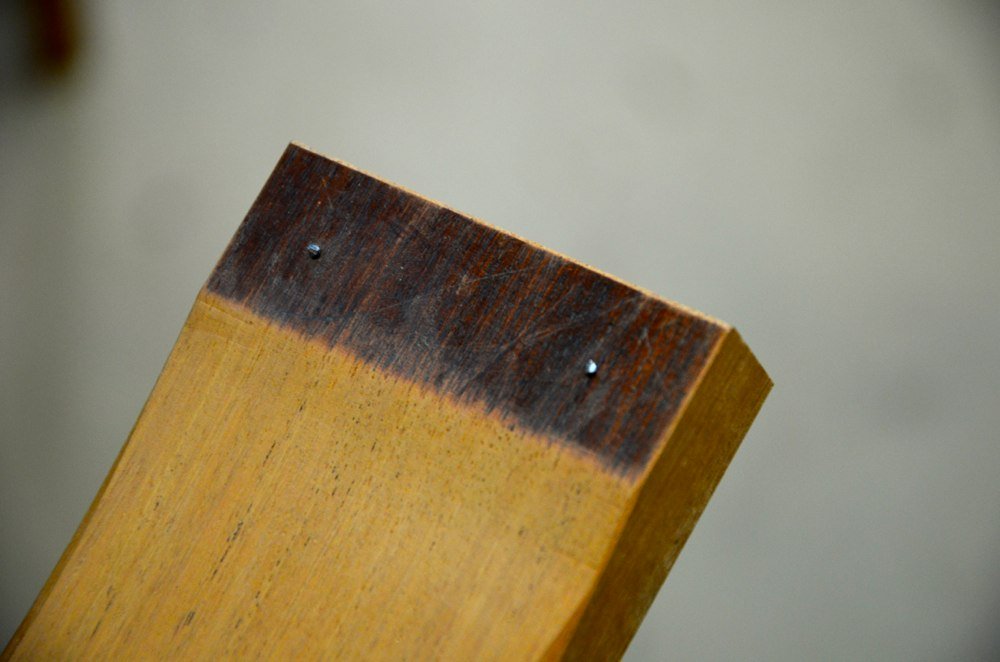
The remaining nubs barley protrude but these prevent the stone from slipping in use. It works well.
And here is the finished oilstone box.
Comments ()